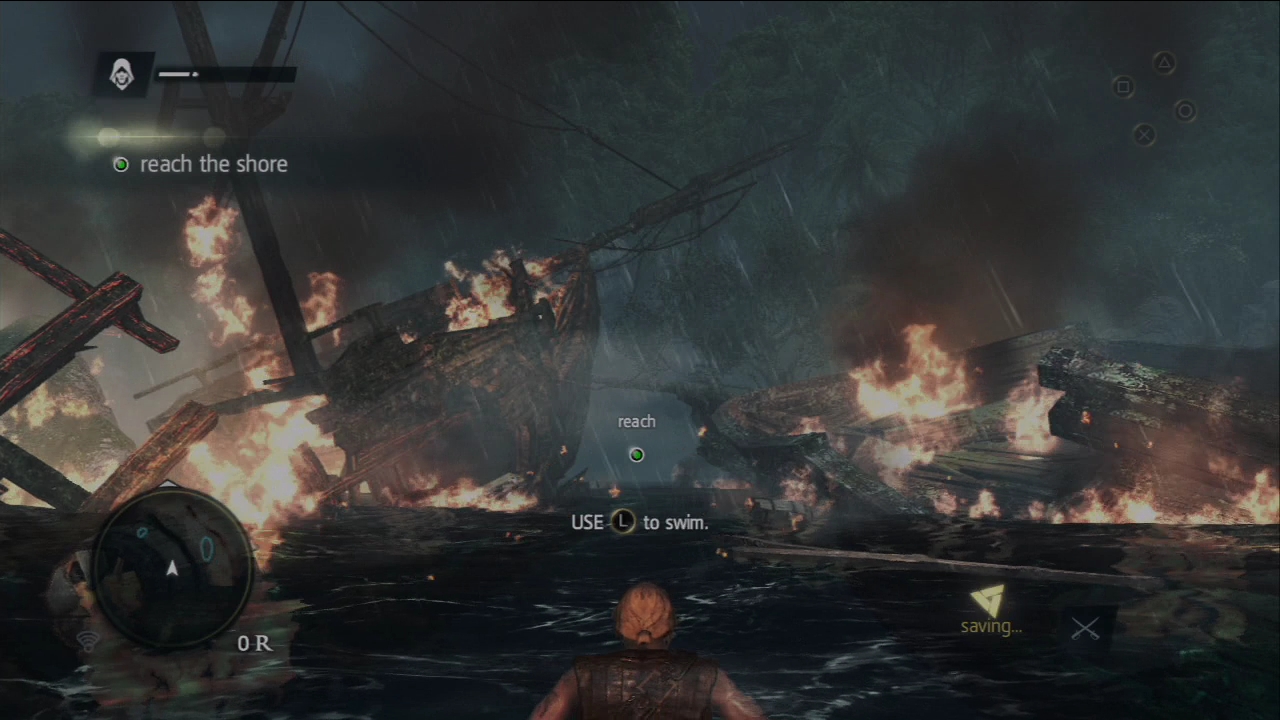
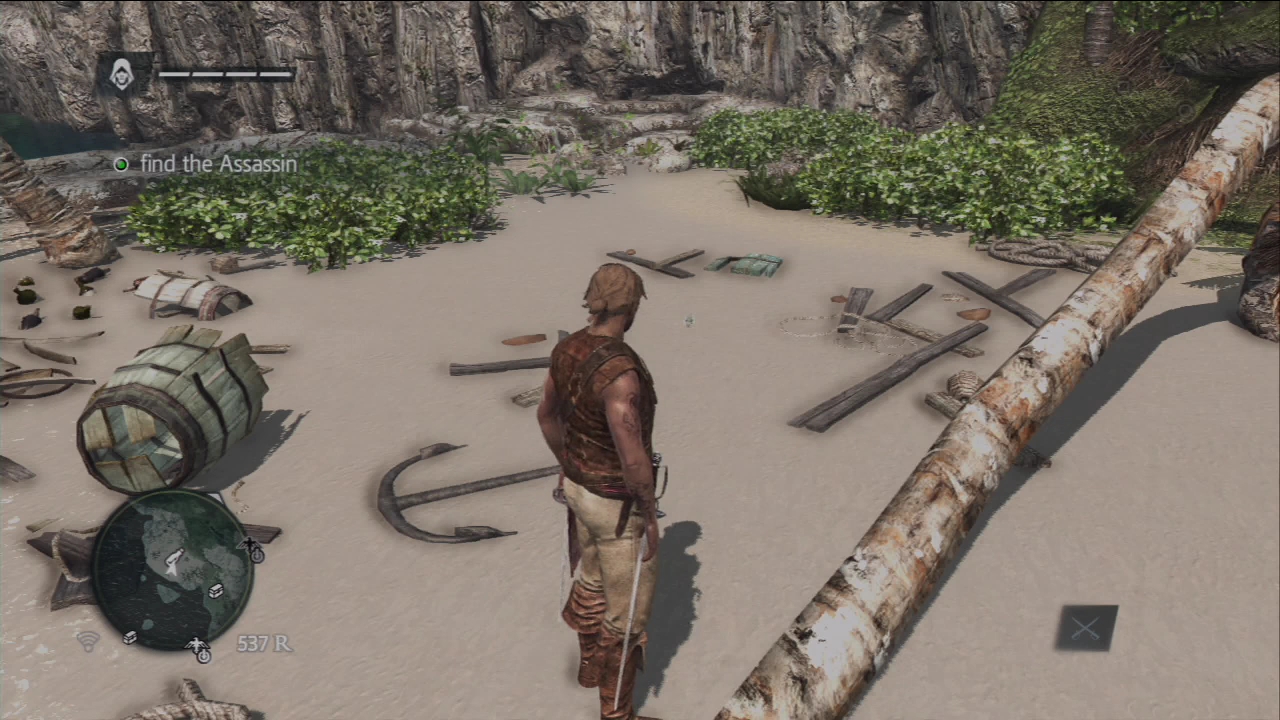
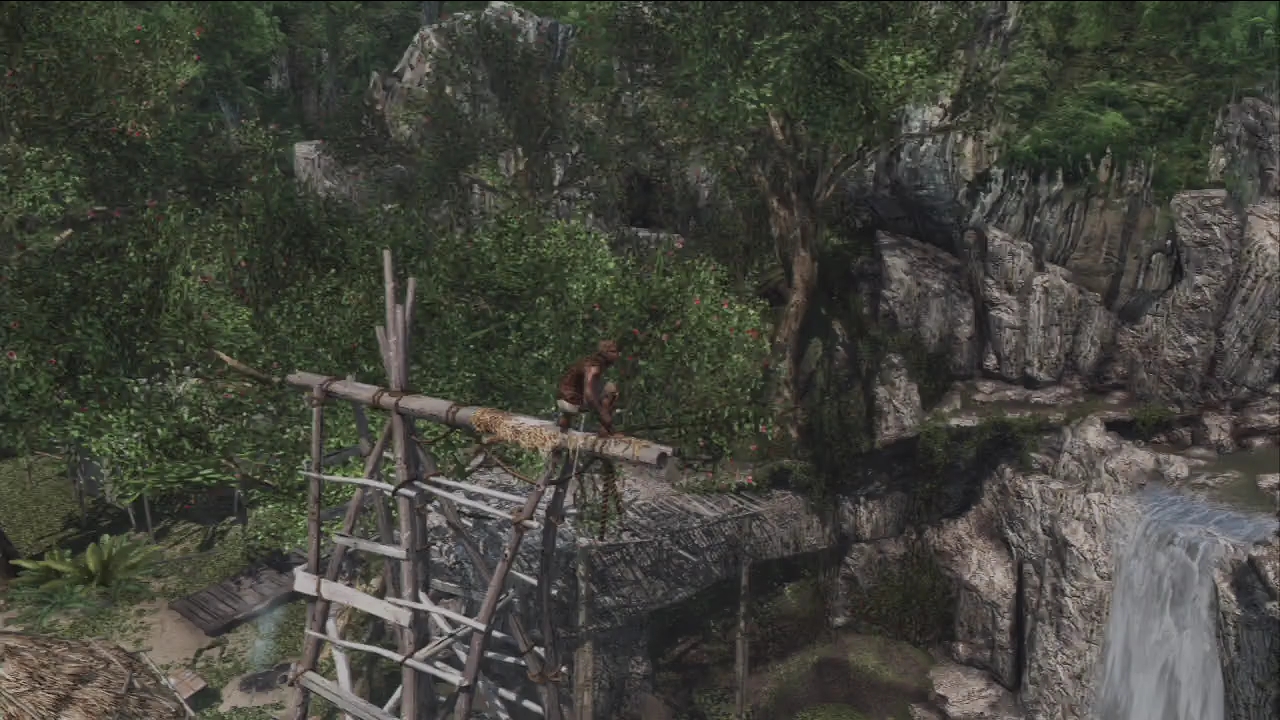
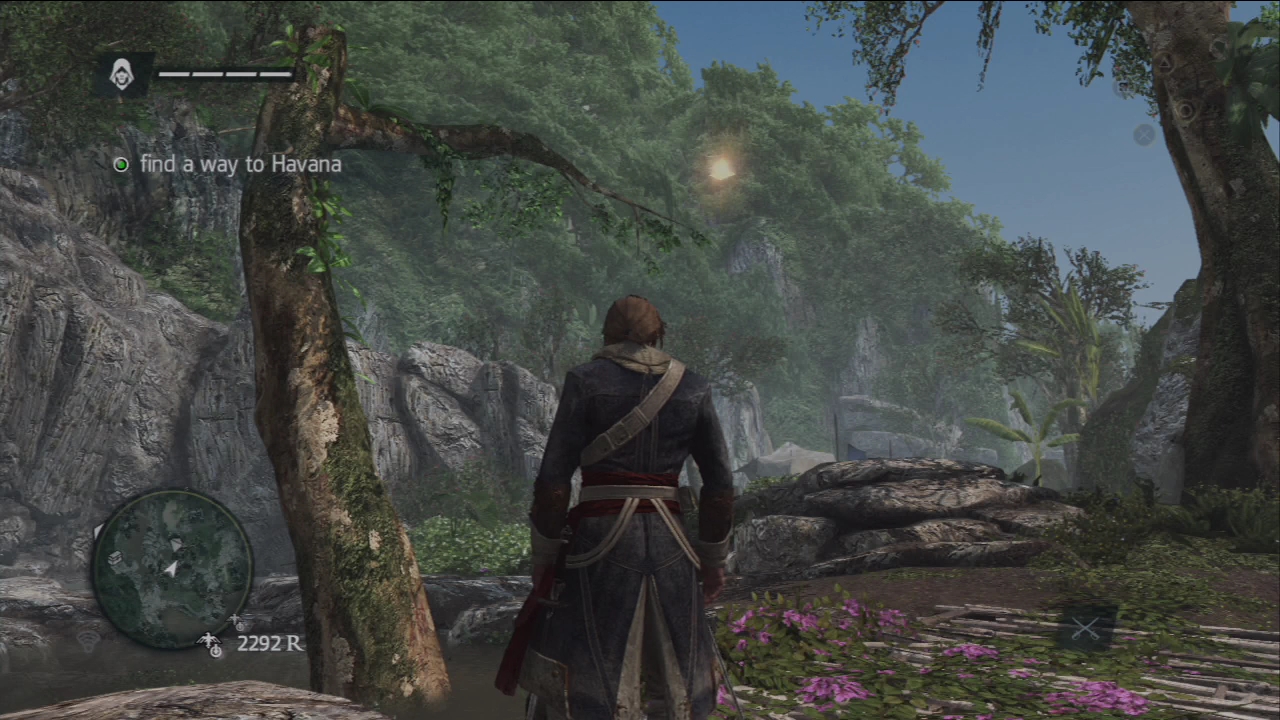
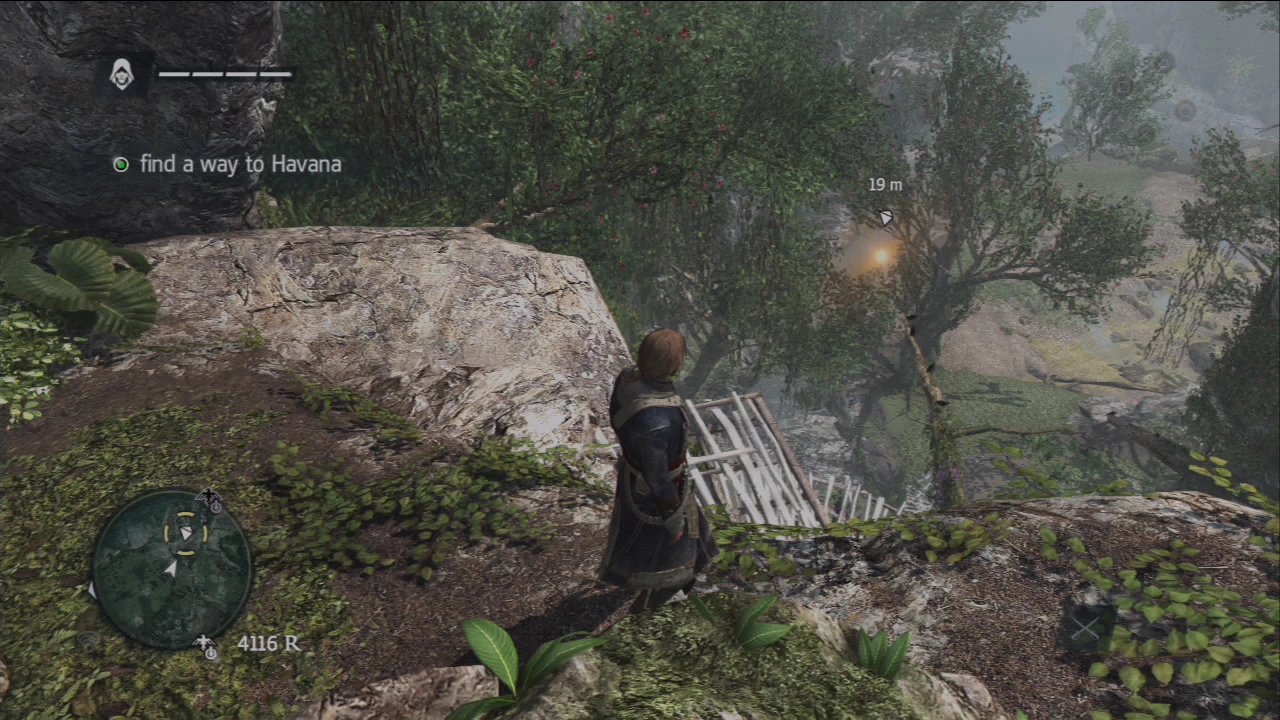
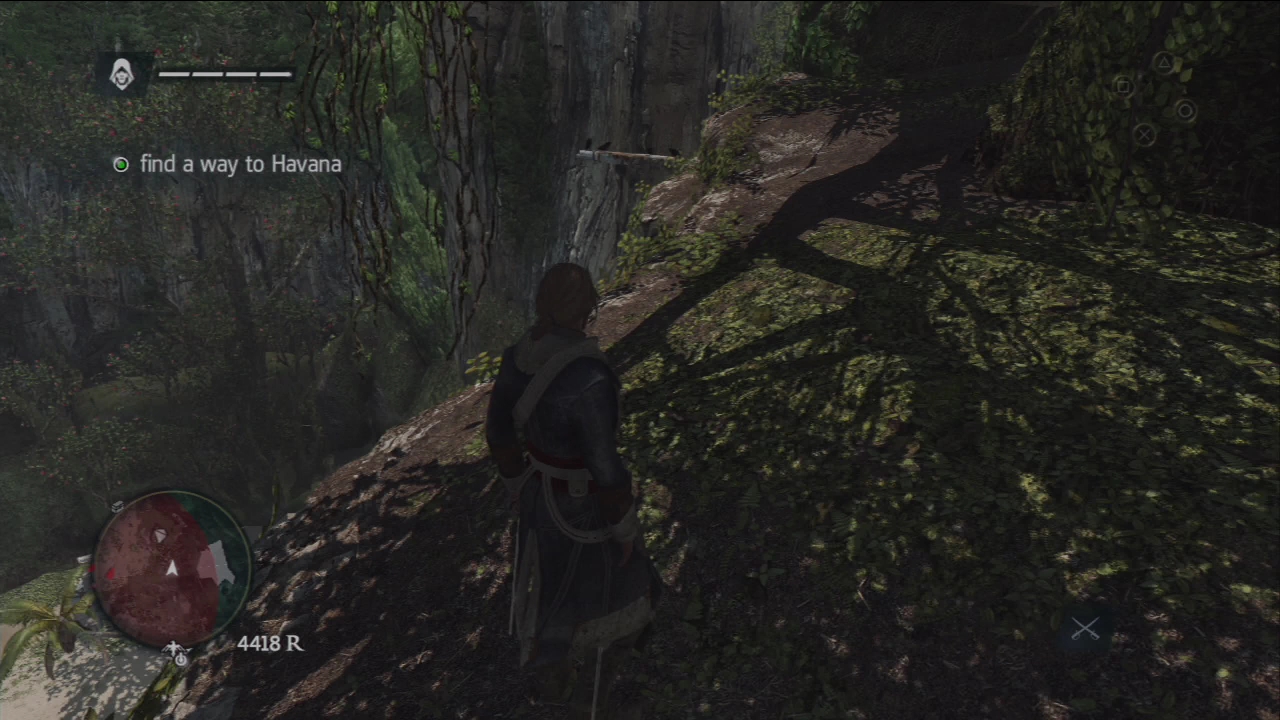
After waking up, you have to swim to the shore where another brief scene will take place. Once in control again, follow the trail until you reach some wooden scaffolding past the hanging bridge.
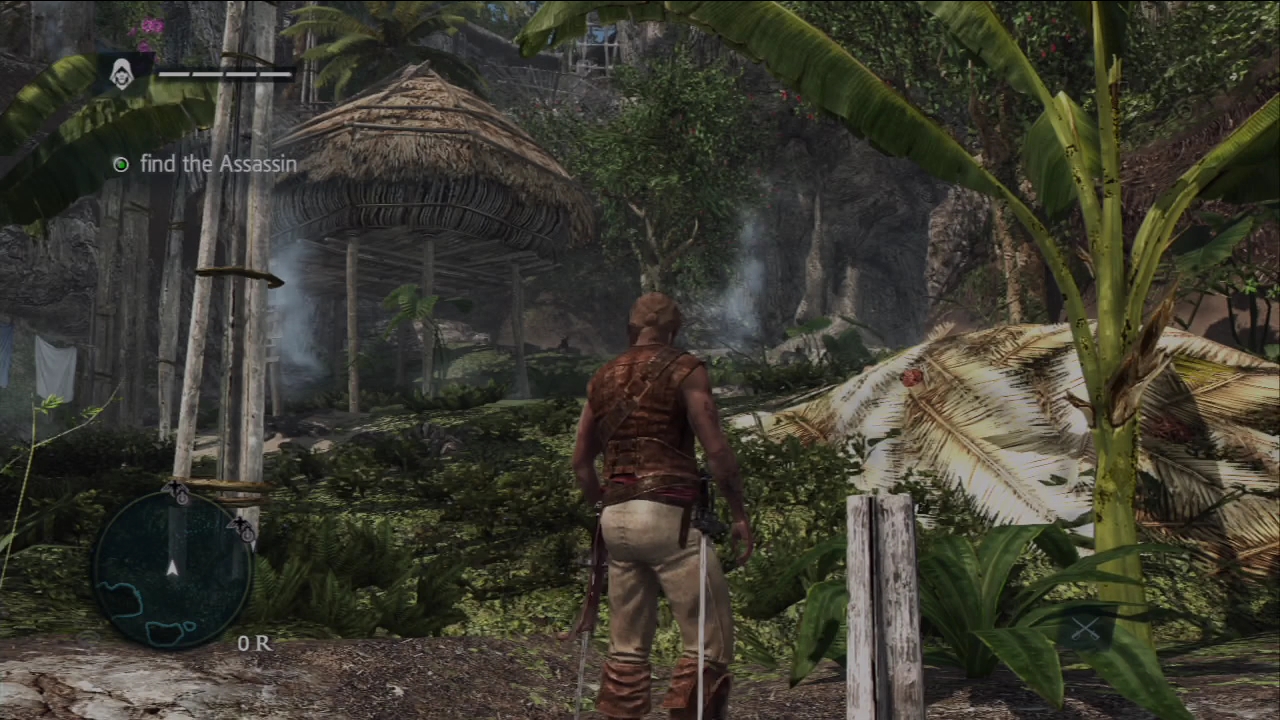
You have to climb these scaffolding and make your way to the first viewpoint where you can synchronize. This will clear up the map and reveal important items and locations of interest. Best of all, you can use these synchronized viewpoints to fast-travel.
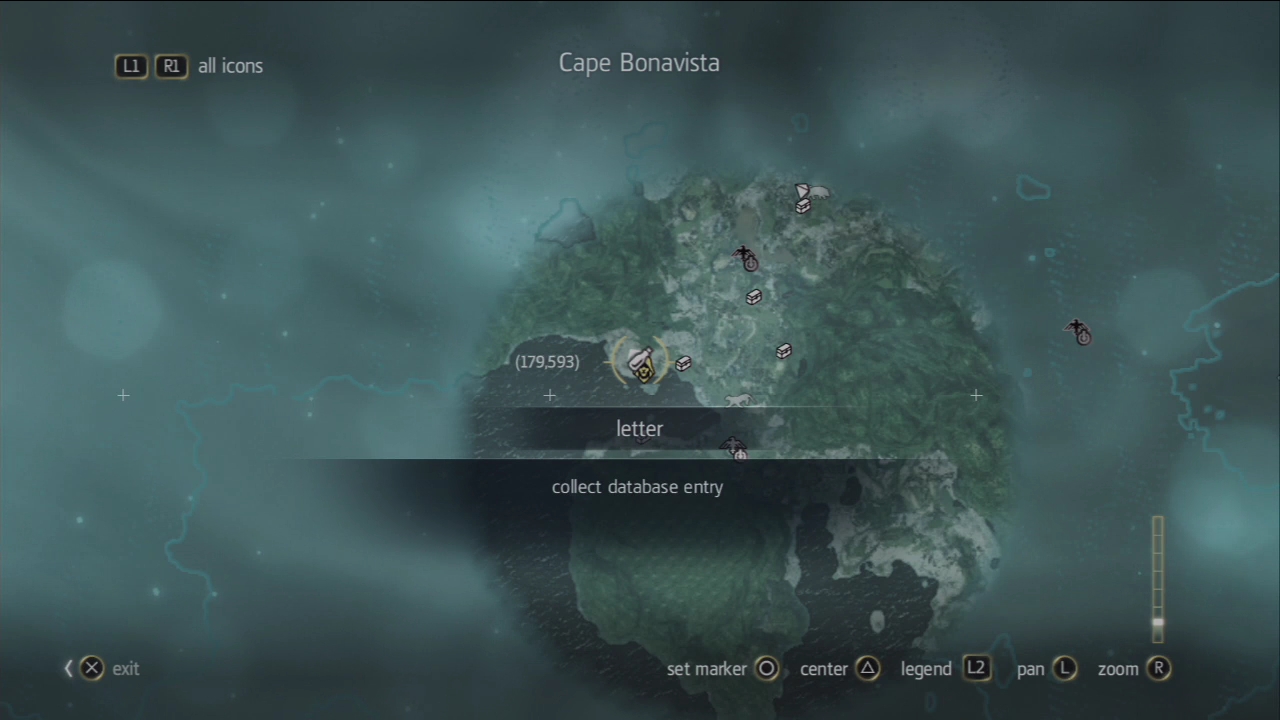
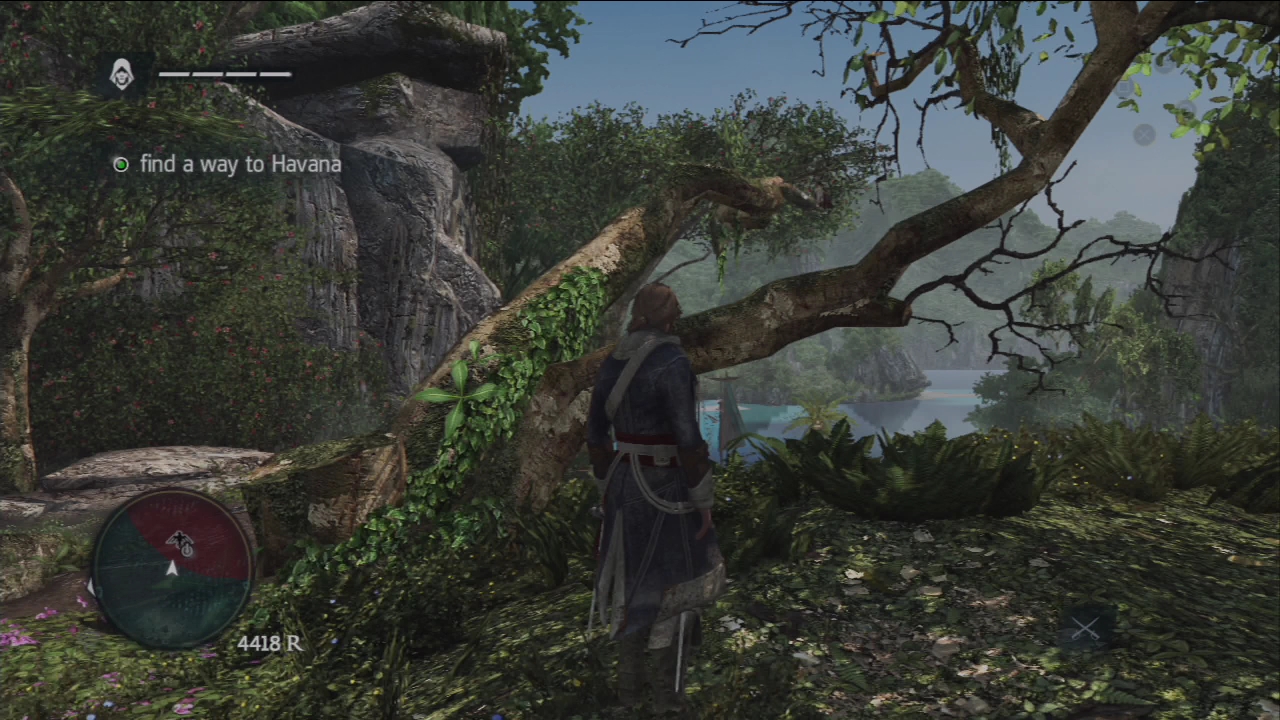
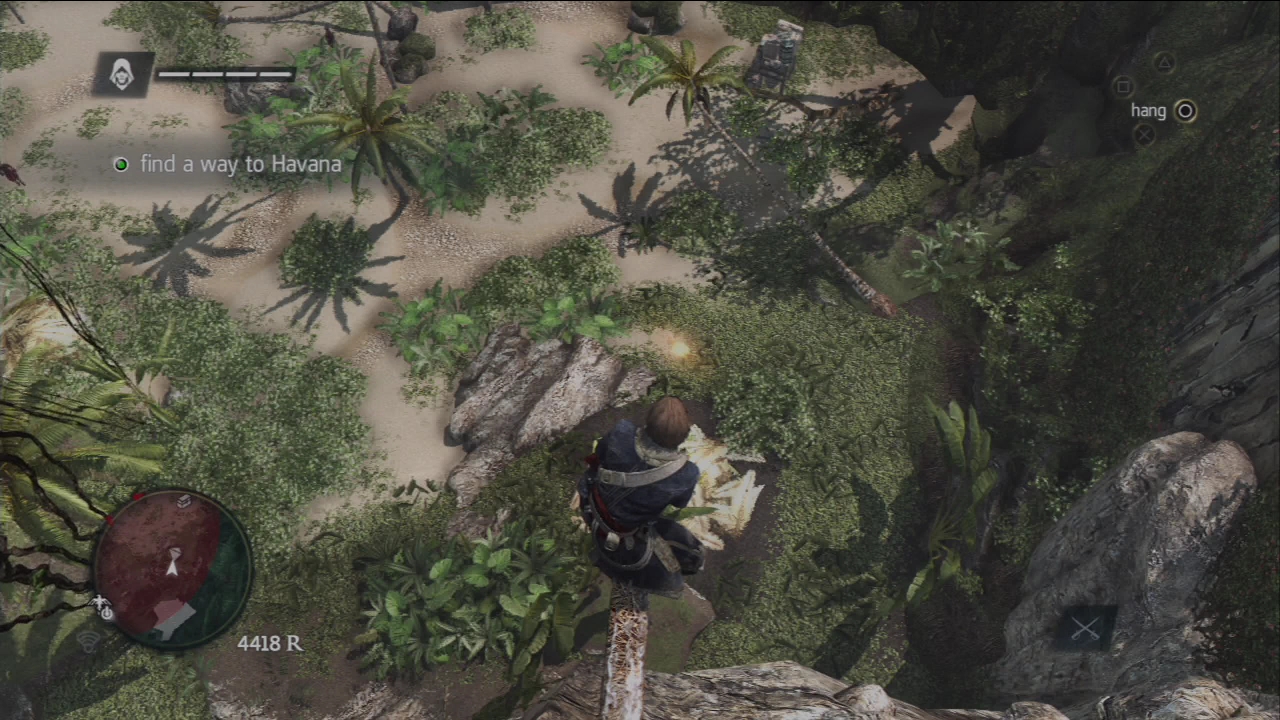
From the tower, do a leap of faith to land on the dried leaves below. Loot the first chest nearby and grab the animus fragment floating above the leaning coconut tree. To reach it, refer to the video below:
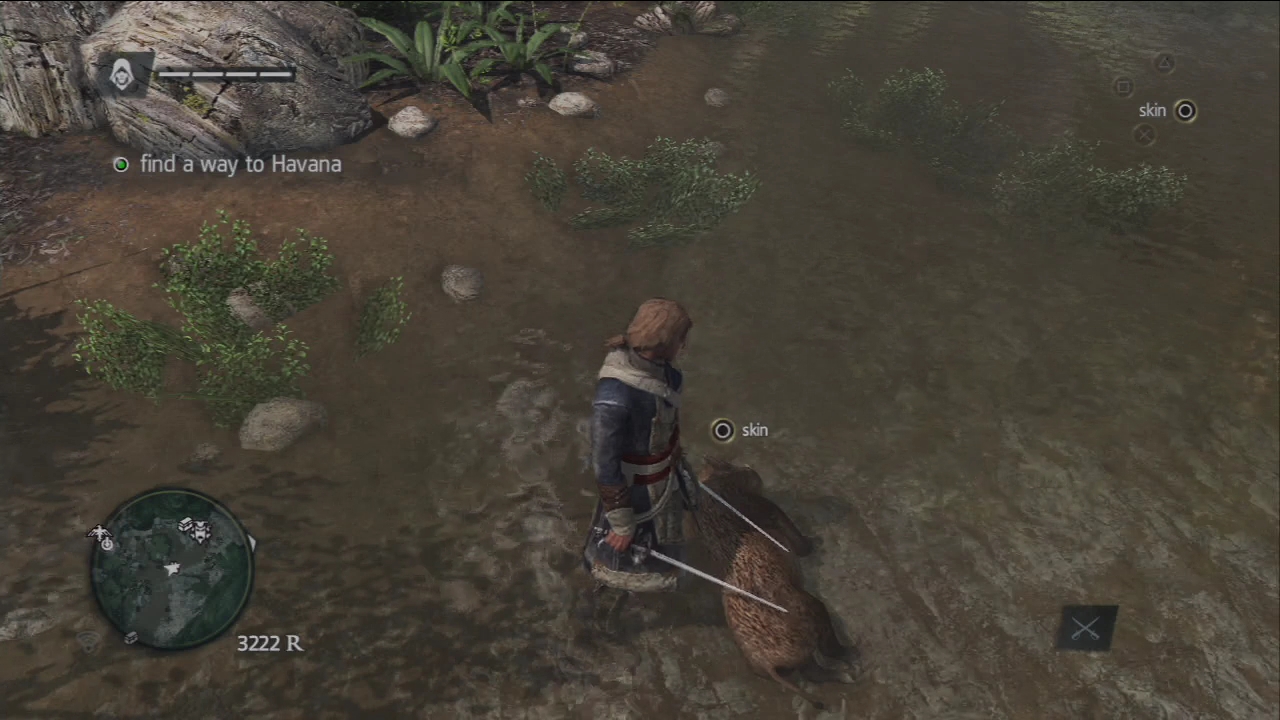
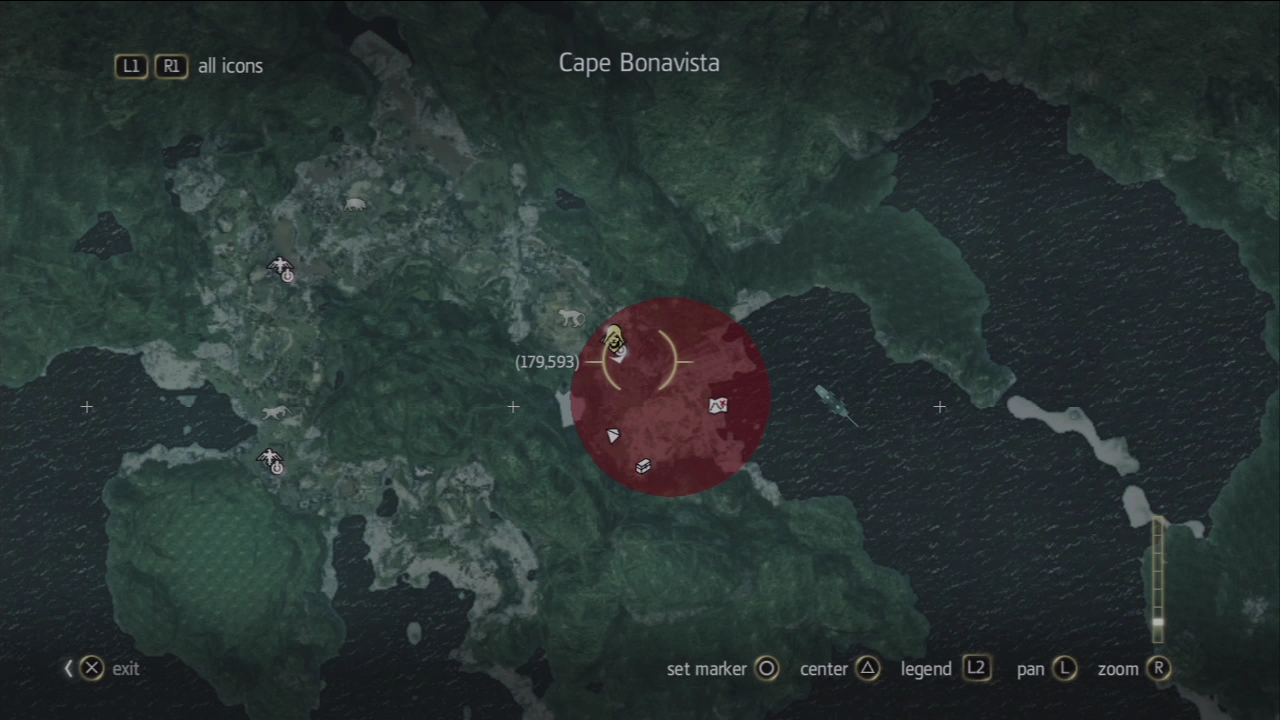
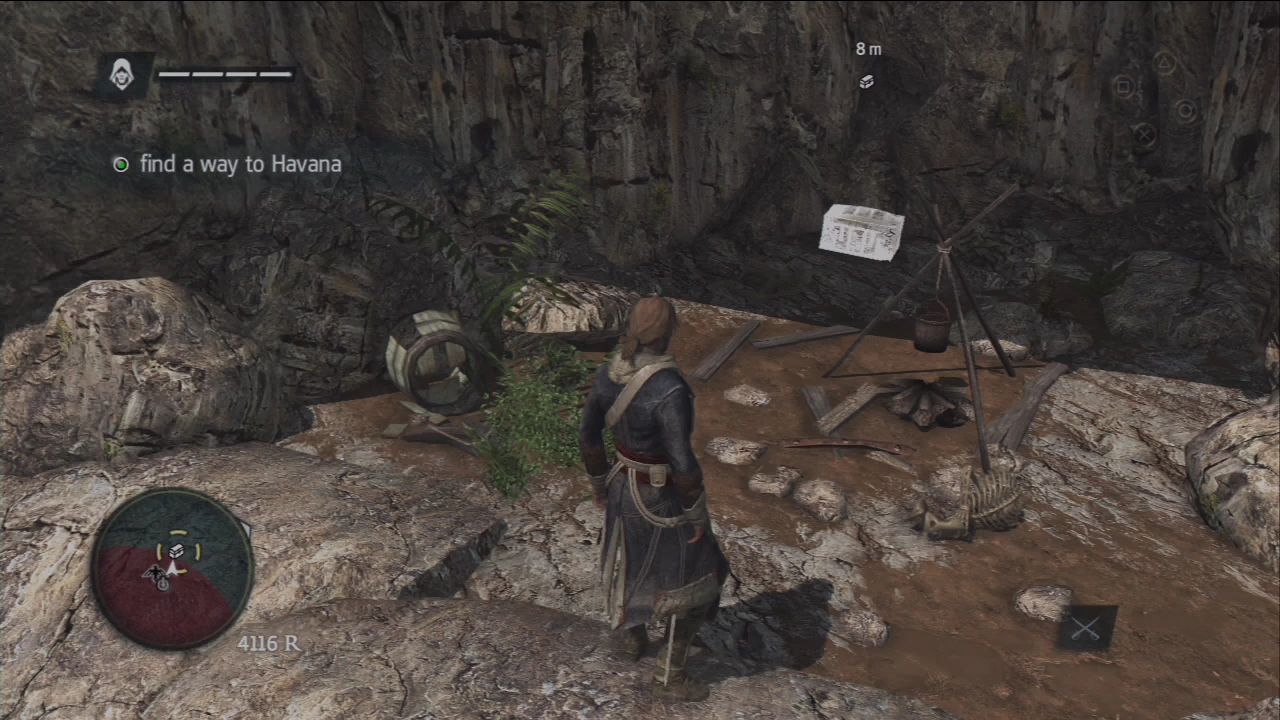
After getting the fragment, refer to your map and loot the other marked chests in the area as these are counted towards some upgrades. You can also skin the dead pig nearby to get some hunting goods. There's also a letter in a bottle in the western beach. (#16 The Observatorie)
Proceed to the next viewpoint and synchronize it. Loot the chest to the northwest then proceed to the northeast. You'll finally catch up with the assassin and he will open fire at you. Chase him and kill him.
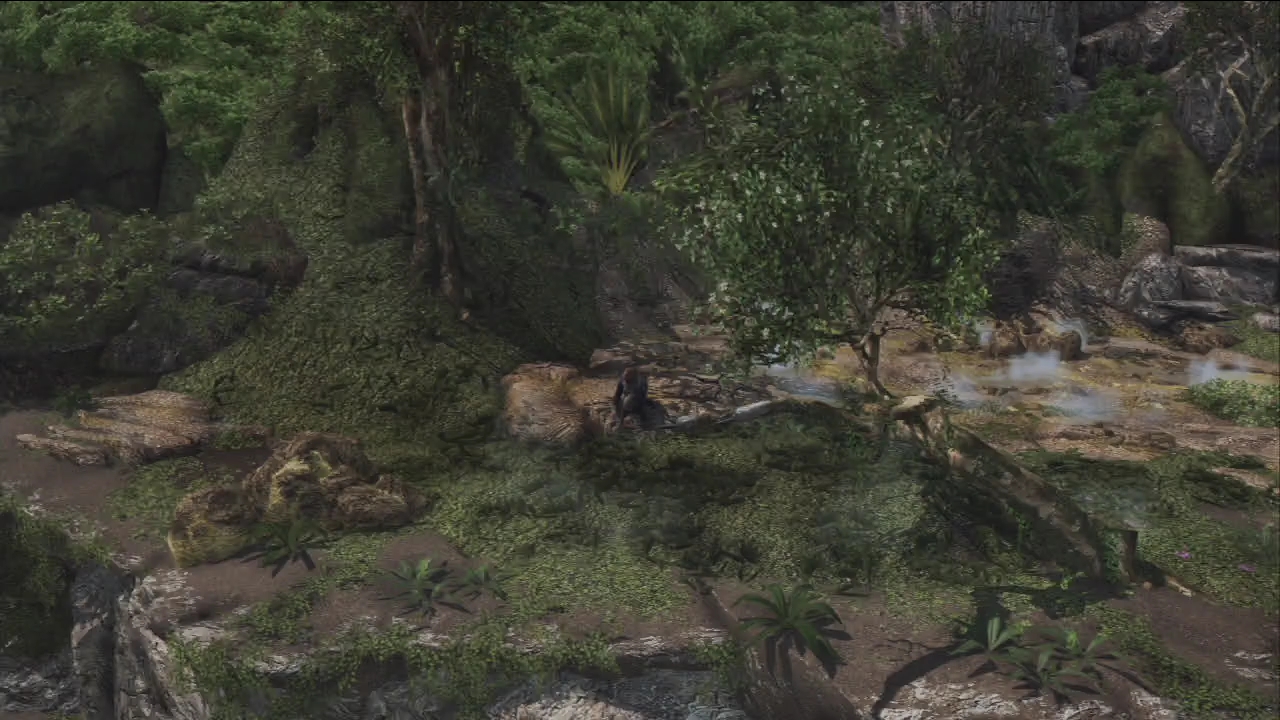
After the scene, backtrack and collect all the marked chests and collectibles in the area. Like an animus fragment in high ground:
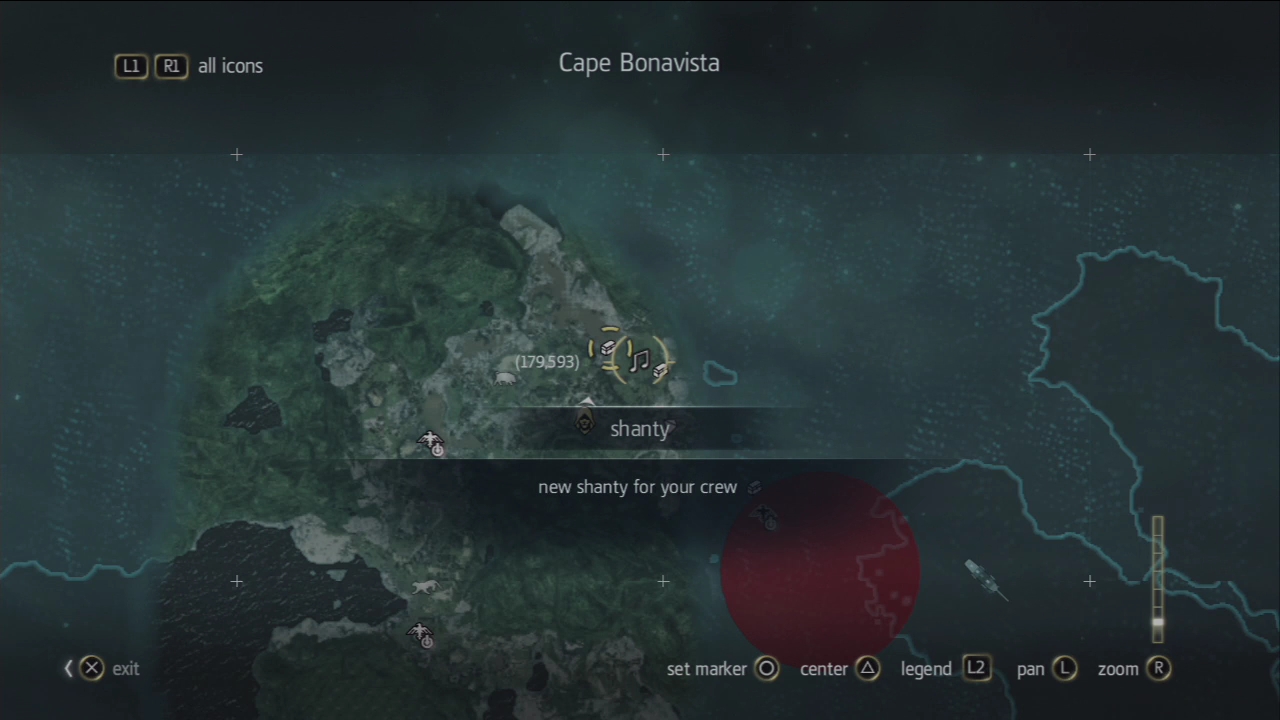
Further to the east, there's a floating "shanty" on top of a tree branch. Take note that it will fly away from you when you get near it and you have to catch it before it disappears; if you fail, you have to wait for it to reappear back to its original position and try again. This may take a few attempts unless you're very fluid in controlling Edward.
There's a trick for catching shanties however. They'll follow the same exact path and will fly up in the same exact spot. You can find the shortest way there and just wait for it to fly towards you. This is very useful instead of following shanties through tricky rooftop chases.
There are also some wild pigs in the are that you can hunt. There's a Mayan Stela to the northwest corner as well. Climb up the stone then interact with it to reveal some hidden markings on the ground. Align the markings on the highlighted stones to triangulate the location of the mayan stone. After finding, go to the spot and dig it to obtain the mayan stone.
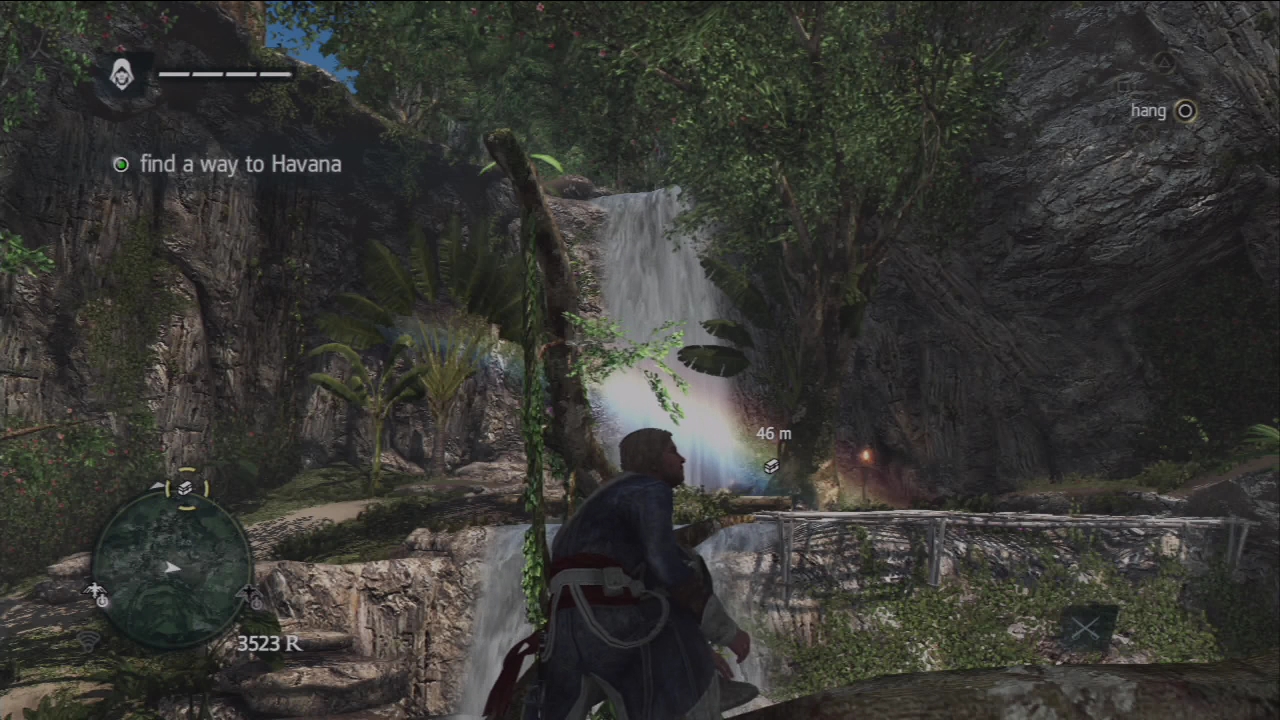
There's also a couple more chests that's apparently located underground. To reach it, you have to find the secret entrance behind the waterfall to the south.
Finally, there's another Animus Fragment floating near the end of a tree branch to the east. Just head east from the tree where you found the shanty earlier to reach it.
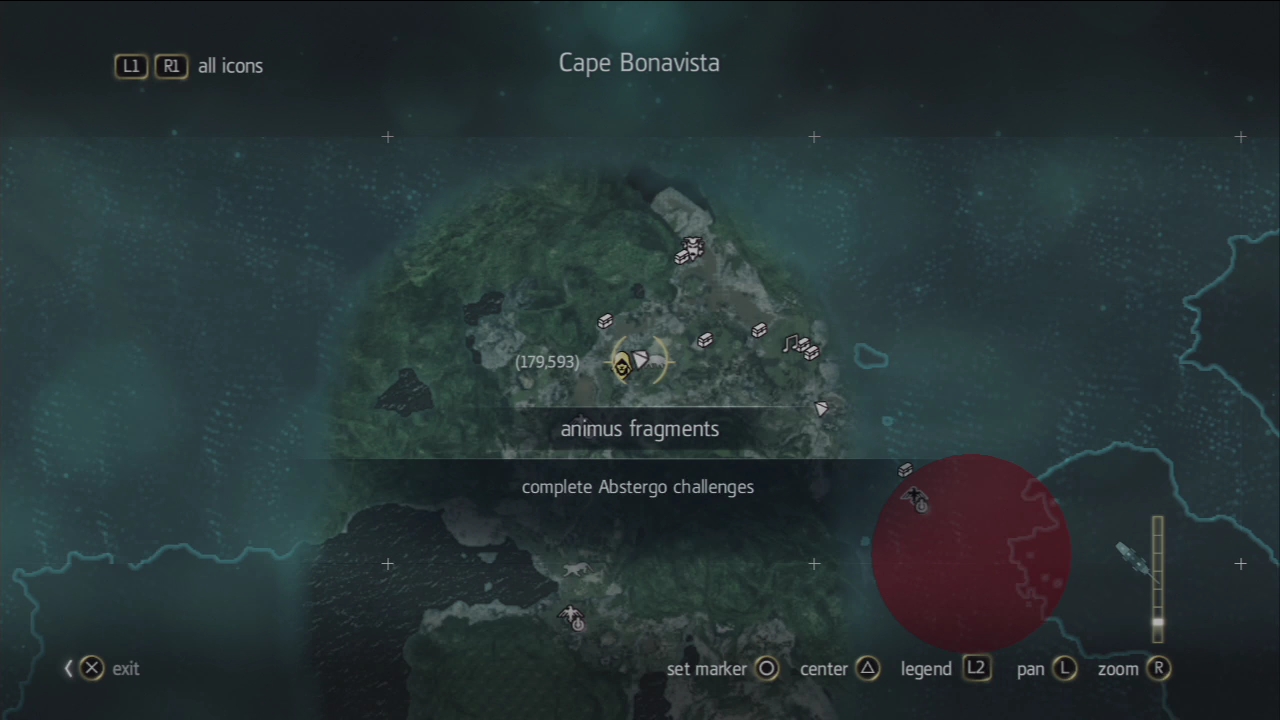
After getting all the collectibles in the area, proceed to the southeast, towards the restricted area. There's a view point here; climb the tree branch with an eagle perched on it then synchronize the area. Three collectibles will be revealed in your immediate map.
Get off the viewpoint and head south towards the animus fragment marked in the map. To get it, you should find a wooden pole where you can perform a Leap of Faith.
After getting the fragment and emerging from the bushes, you'll get a tip about using dense vegetation as stalking zones. You'll have to heed this advice to take out the hostile targets ahead without raising an alarm. There's a chest a few steps away from the landing point so don't forget to loot it as well. There should be a lone chest right outside the red circle and below the viewpoint. You have to dive down and check behind the waterfall to find it.
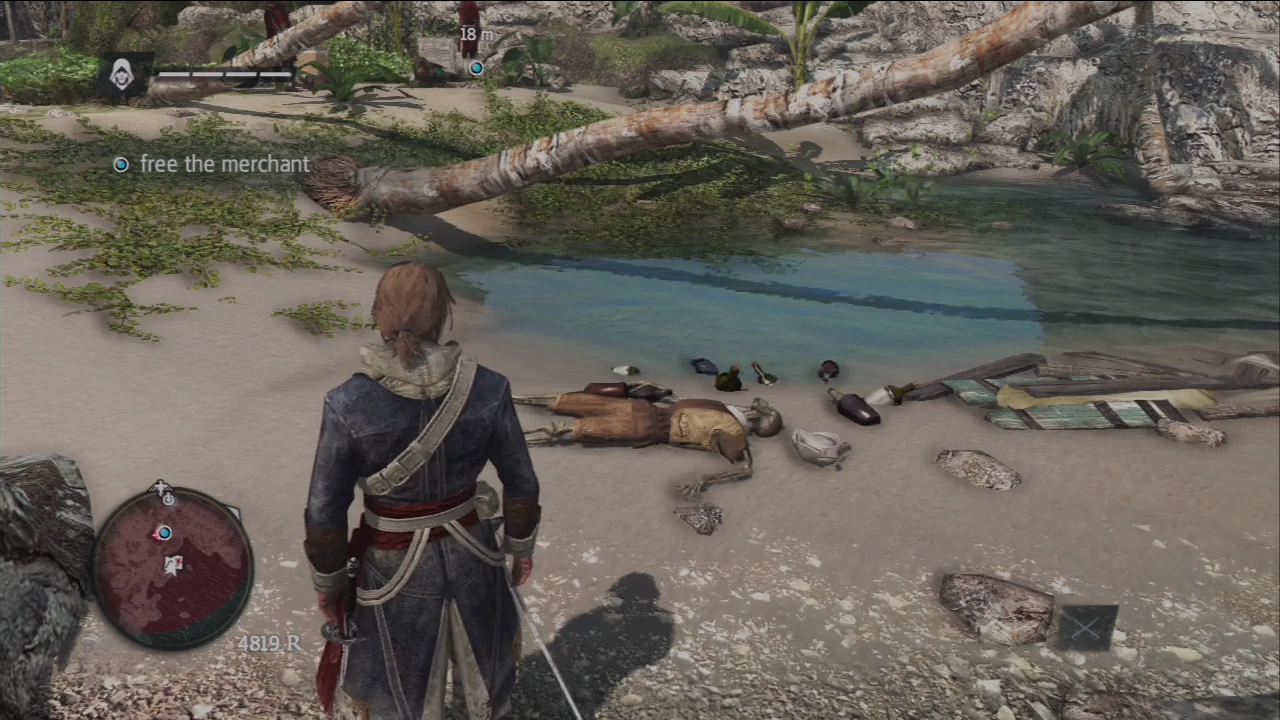
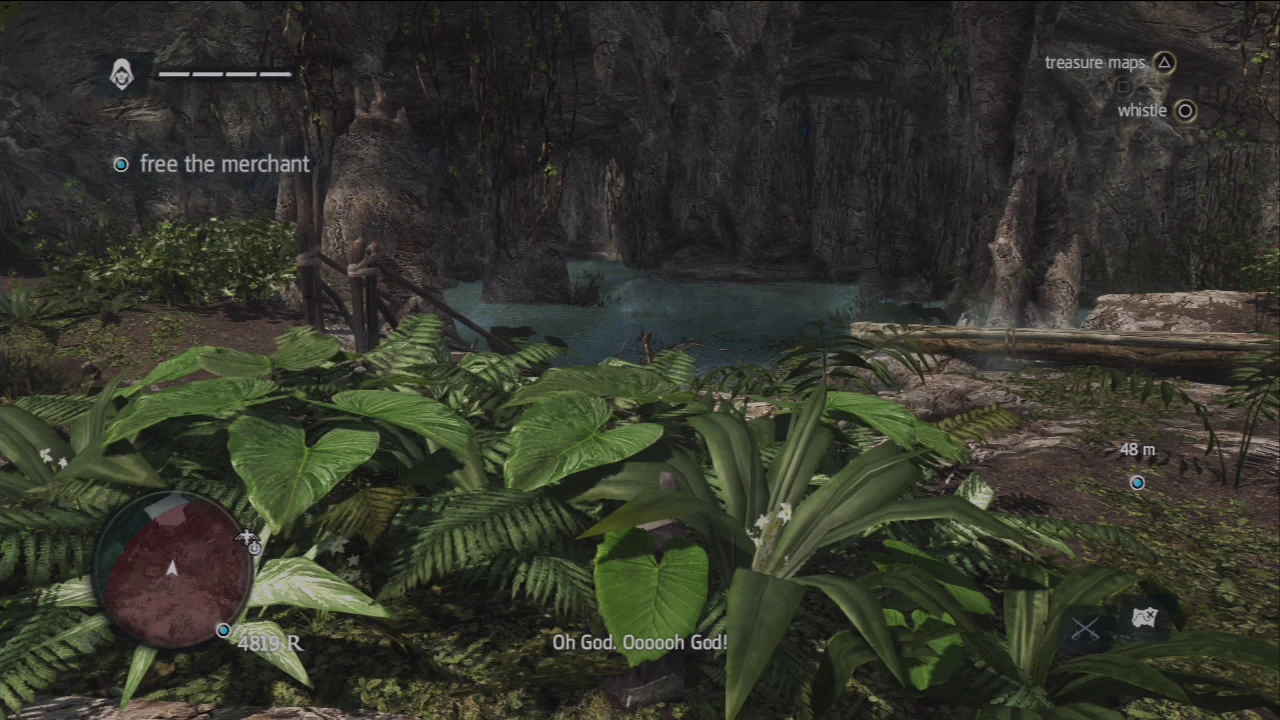
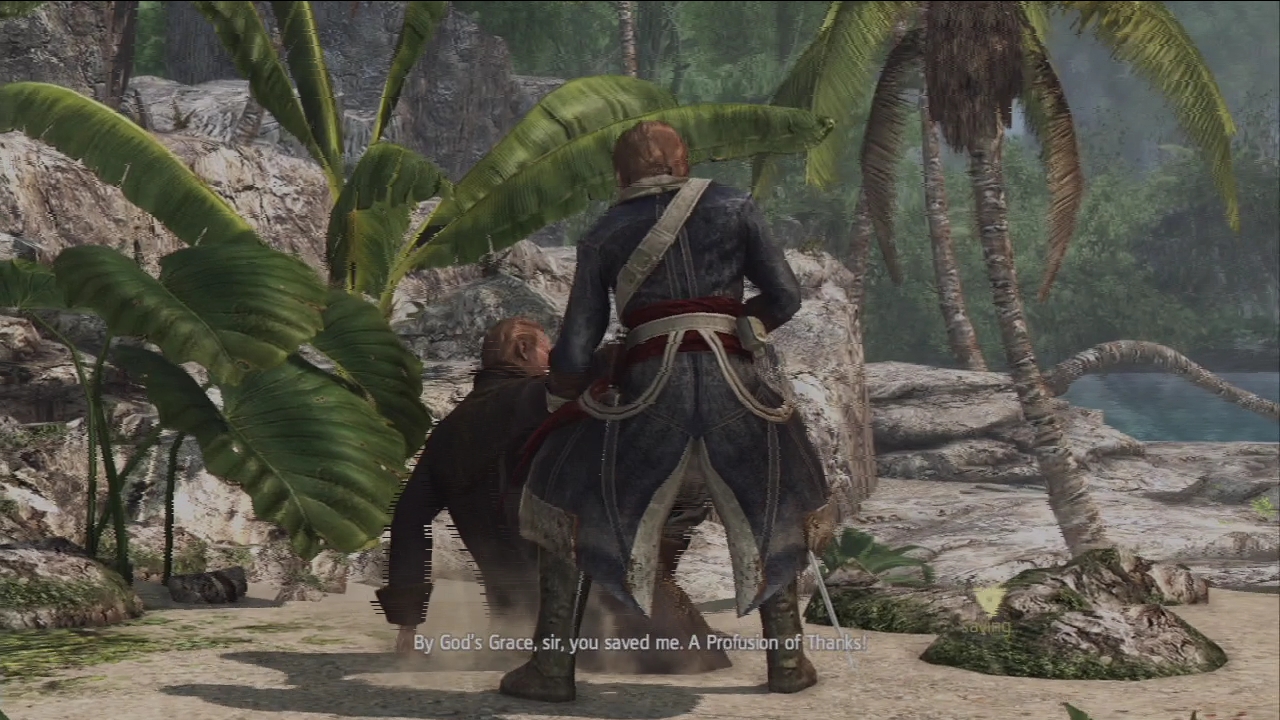
After getting the item, you'll have to free the merchant. Approach the targets and carefully take them out from the bushes. You can also get their attention by whistling at them. Just remember to target them one by one. After taking them out, you can press and hold the O (for Asian consoles) or X to loot the bodies.
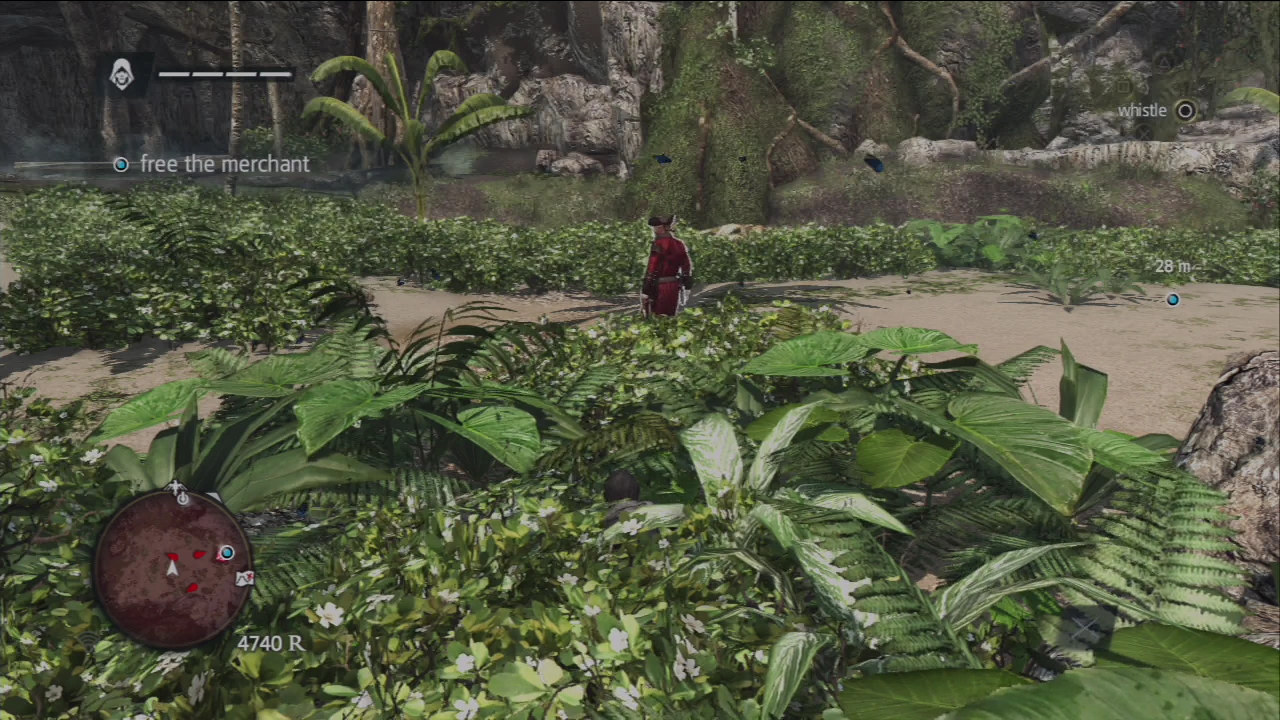
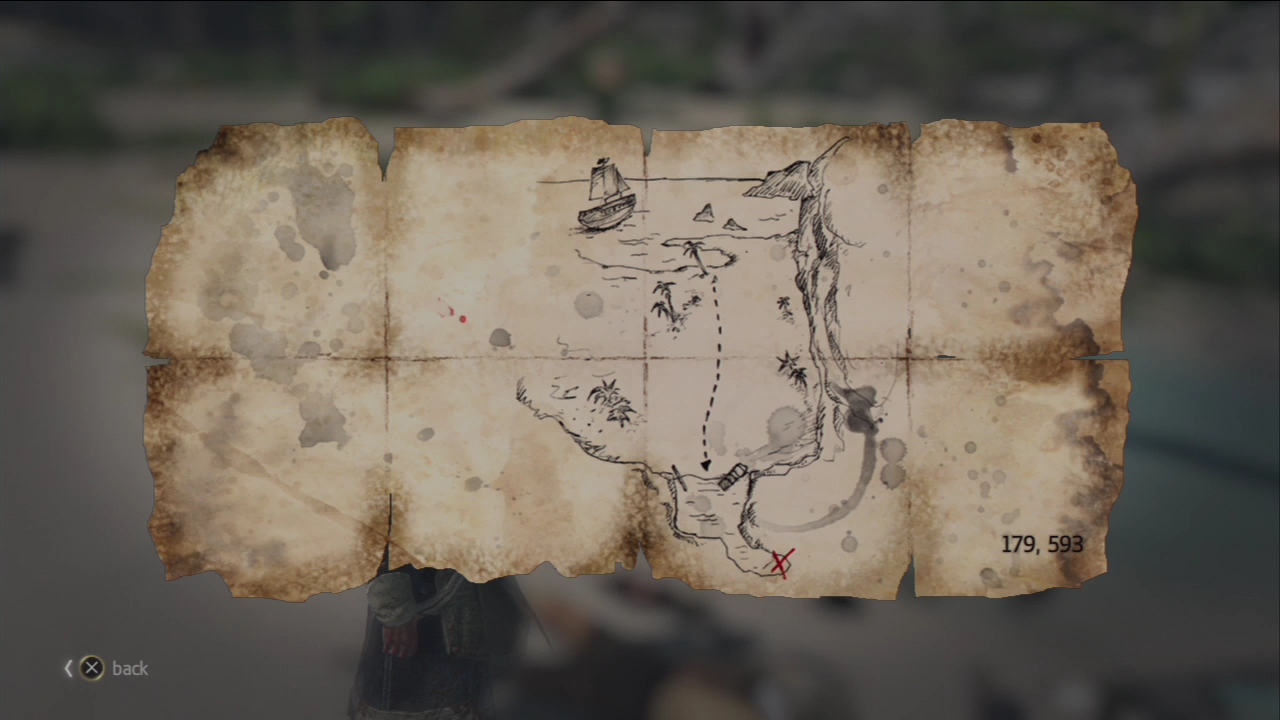
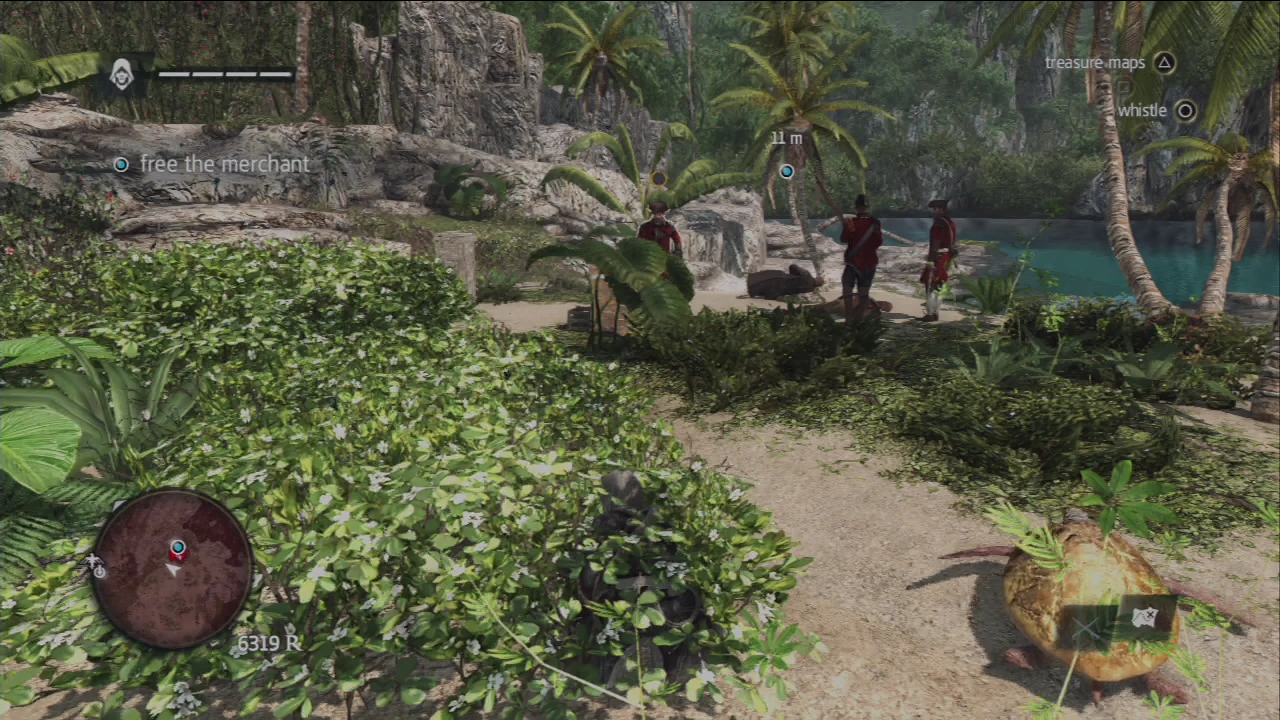
Kill all the patrolling soldiers and leave the three surrounding the merchant. Before rescuing him, circle around the rocks by the shore to find a cadaver containing a treasure map.
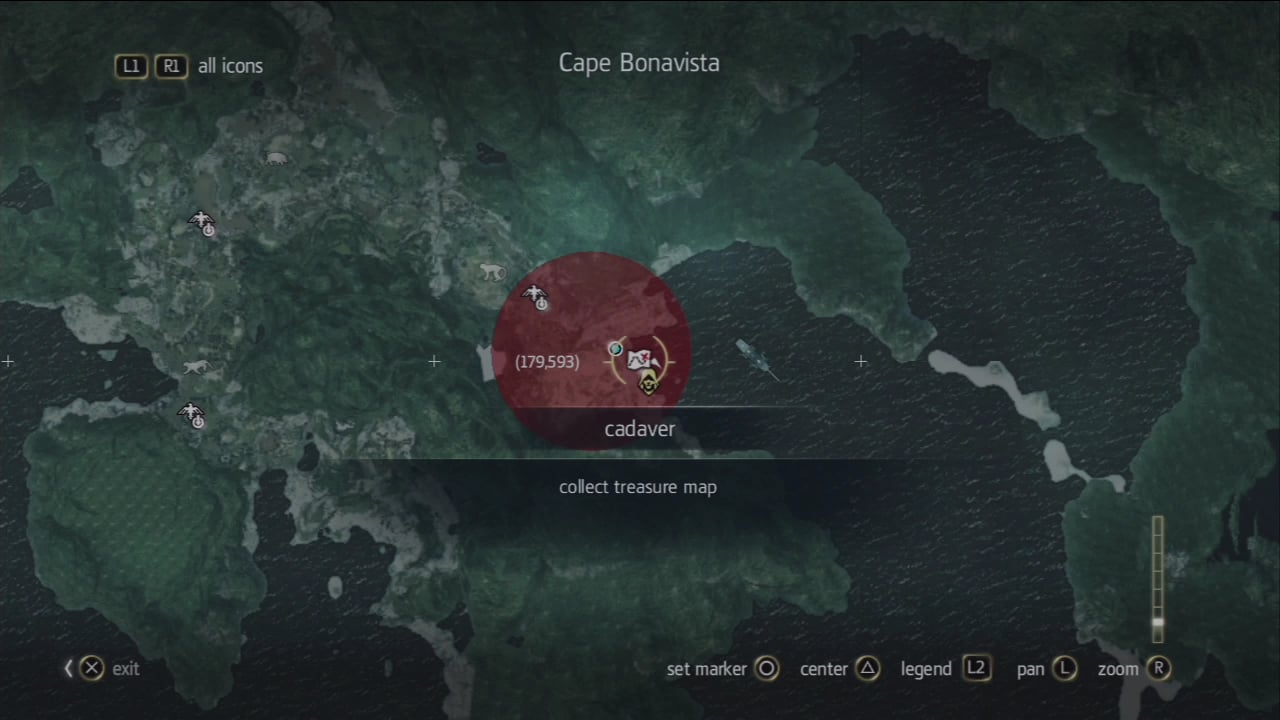
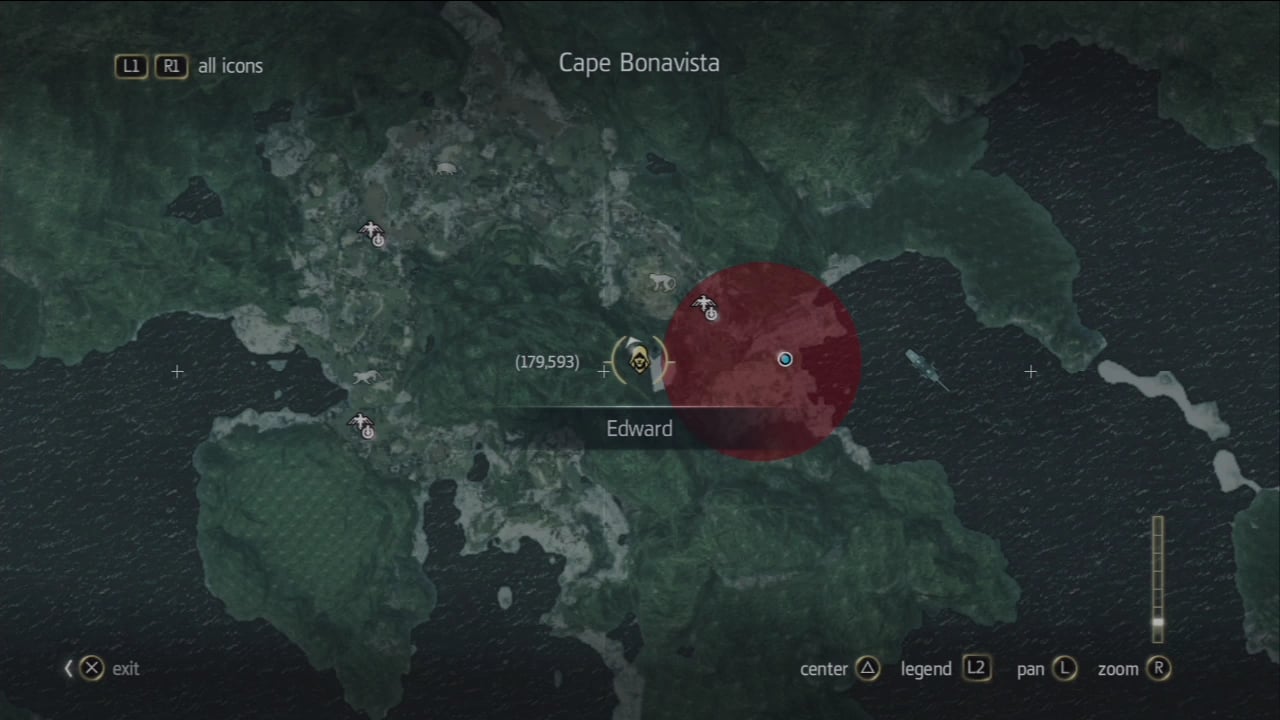
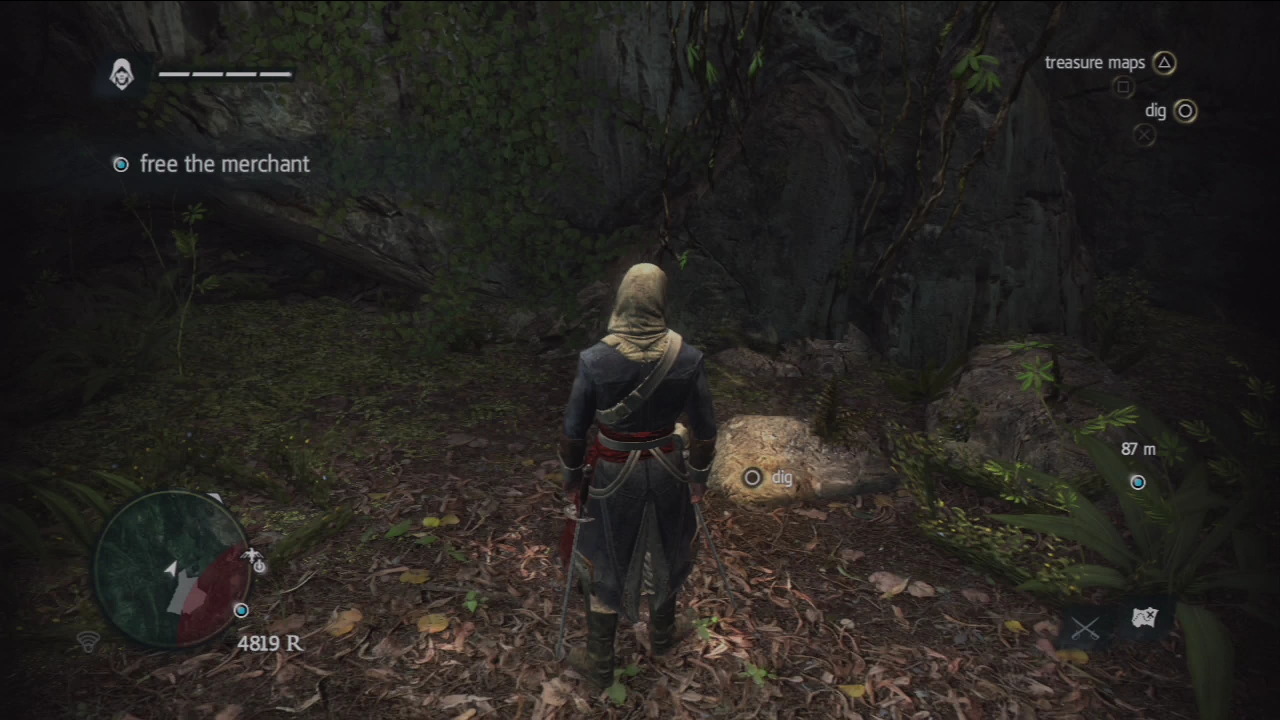
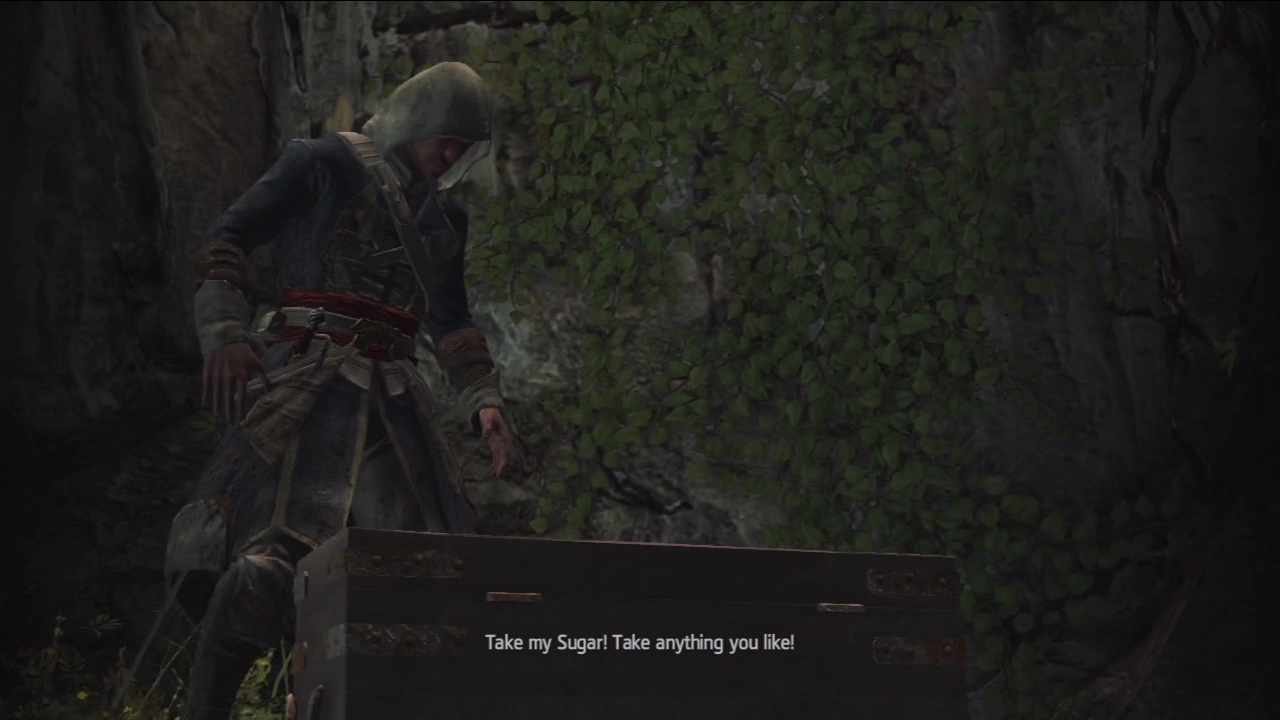
The treasure indicated in the map is located in the same area as well. Head straight to the west and you'll find a small cave. Head inside and walk near the rock until you get a prompt to dig up the treasure.
Now you can go and take out the guards. If you want to remain stealthy, go back to the vegetation and briefly peek out behind the two gunners to get the attention of the lone guard. Once he gets near you, take him out then approach the two remaining soldiers to score a double-kill.
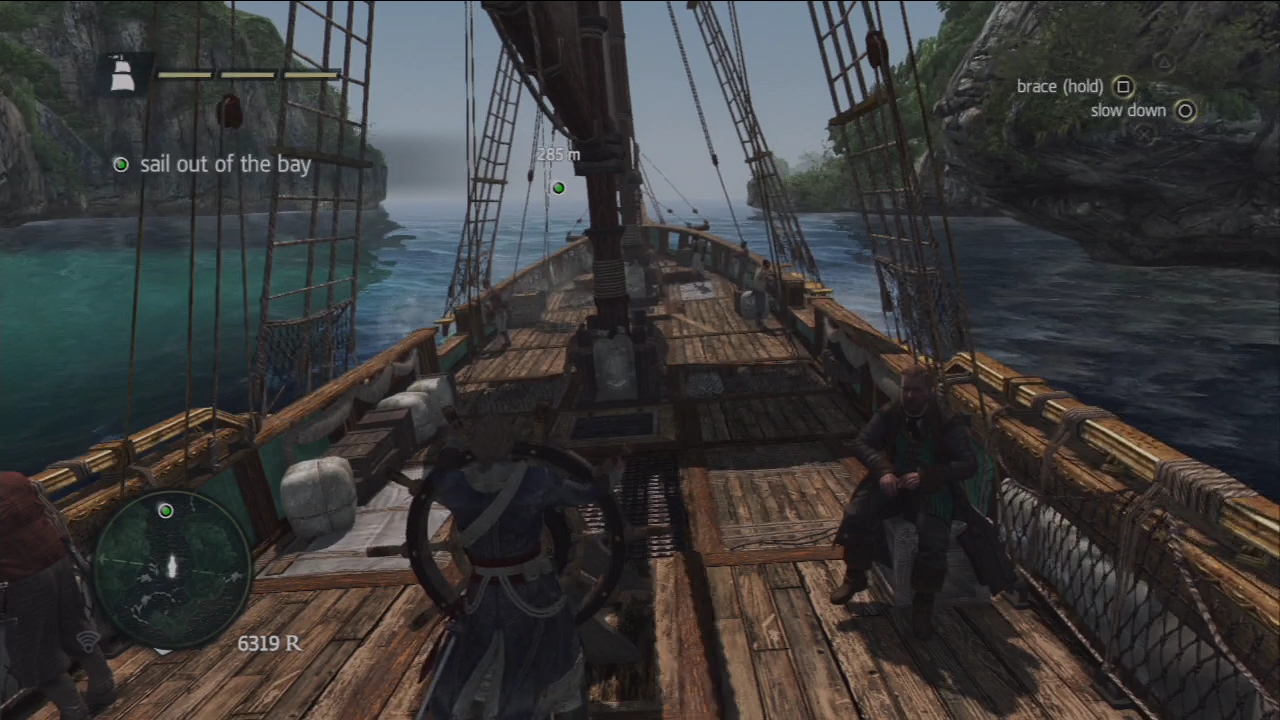
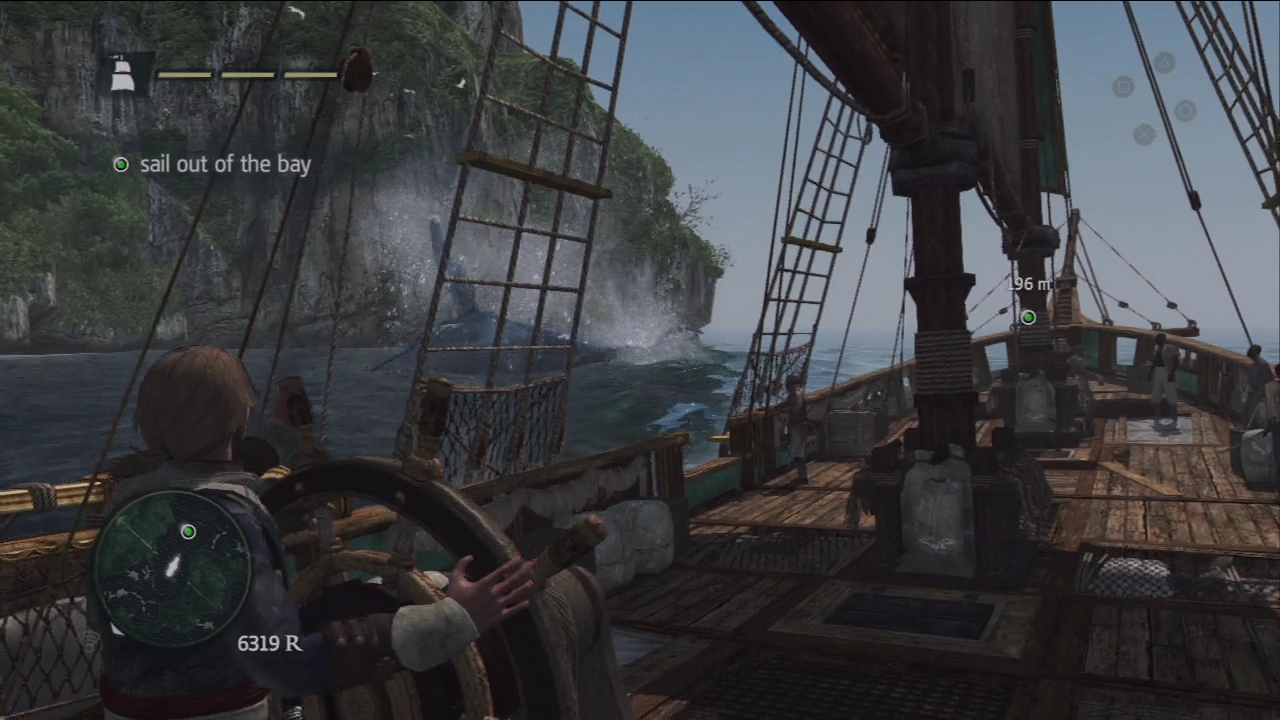
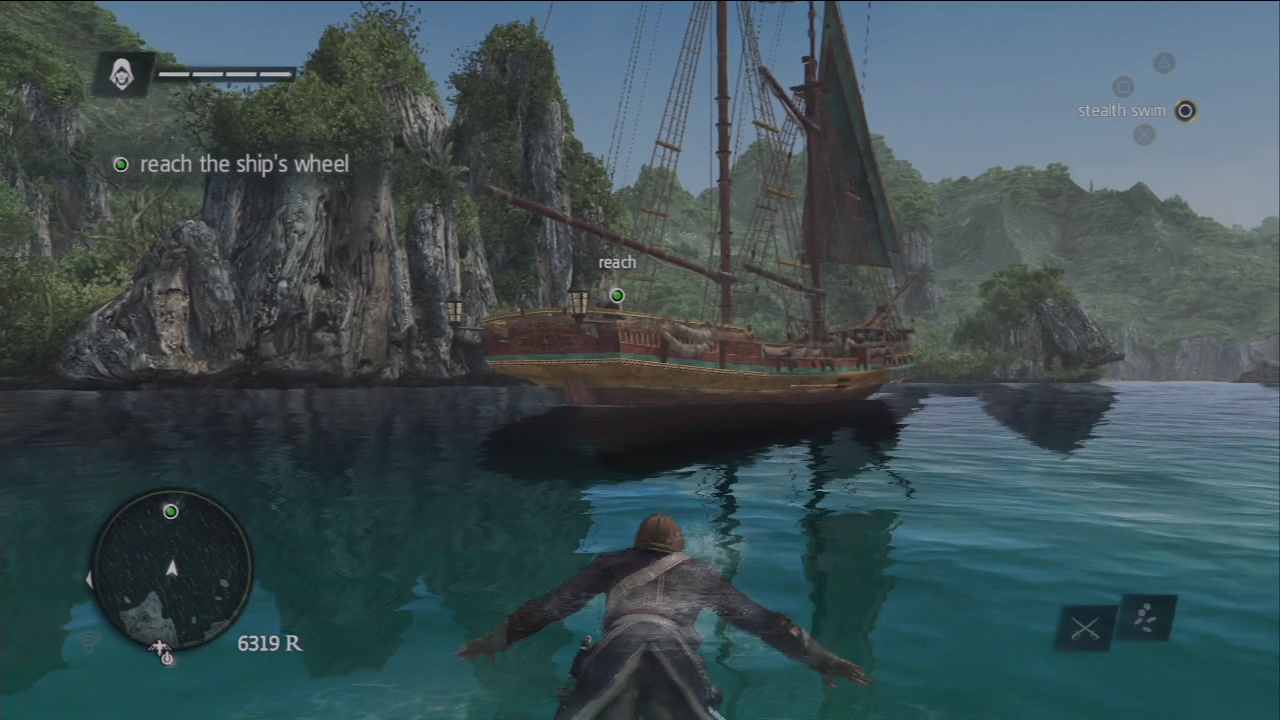
Swim to the schooner and take the wheel. Now you can start sailing. Take note of the commands to the upper-right corner of your screen. The controls of the ship are your orders to the crew; thus, you only need to press the buttons once per command.
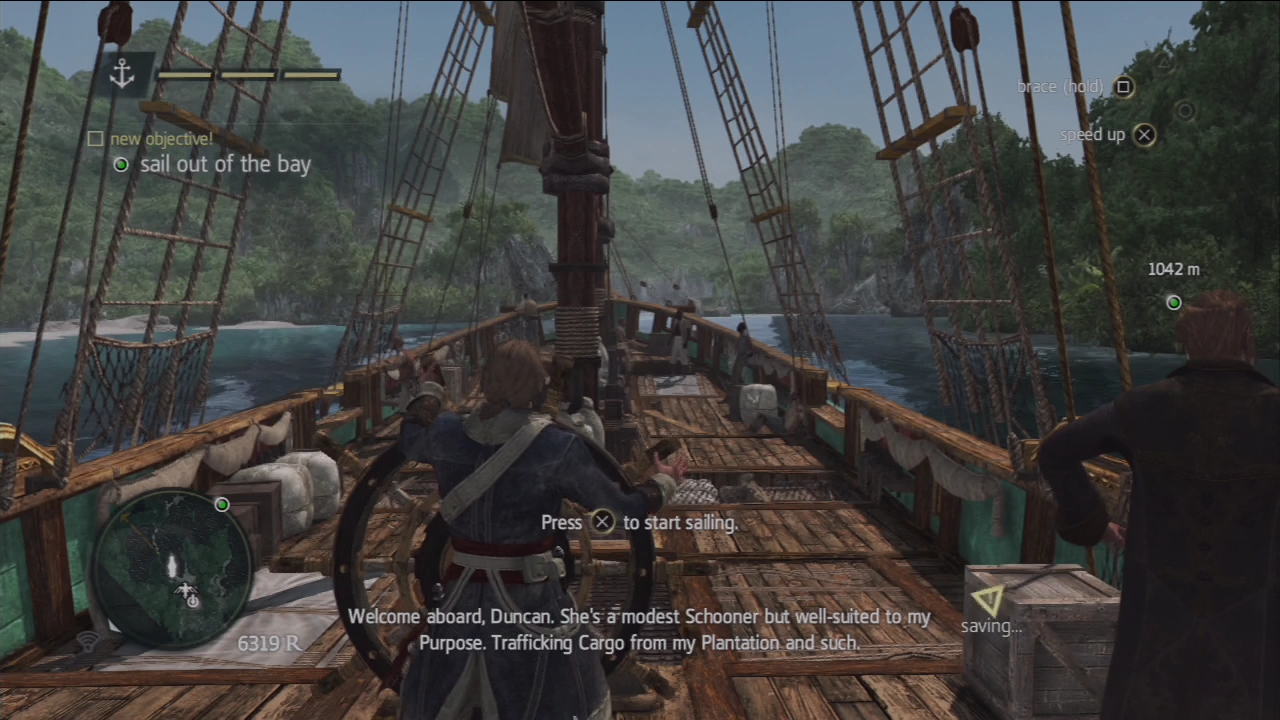
You have to navigate the schooner around tight and winding parts of the bay. Once you've reached the objective point, the simulation will end.