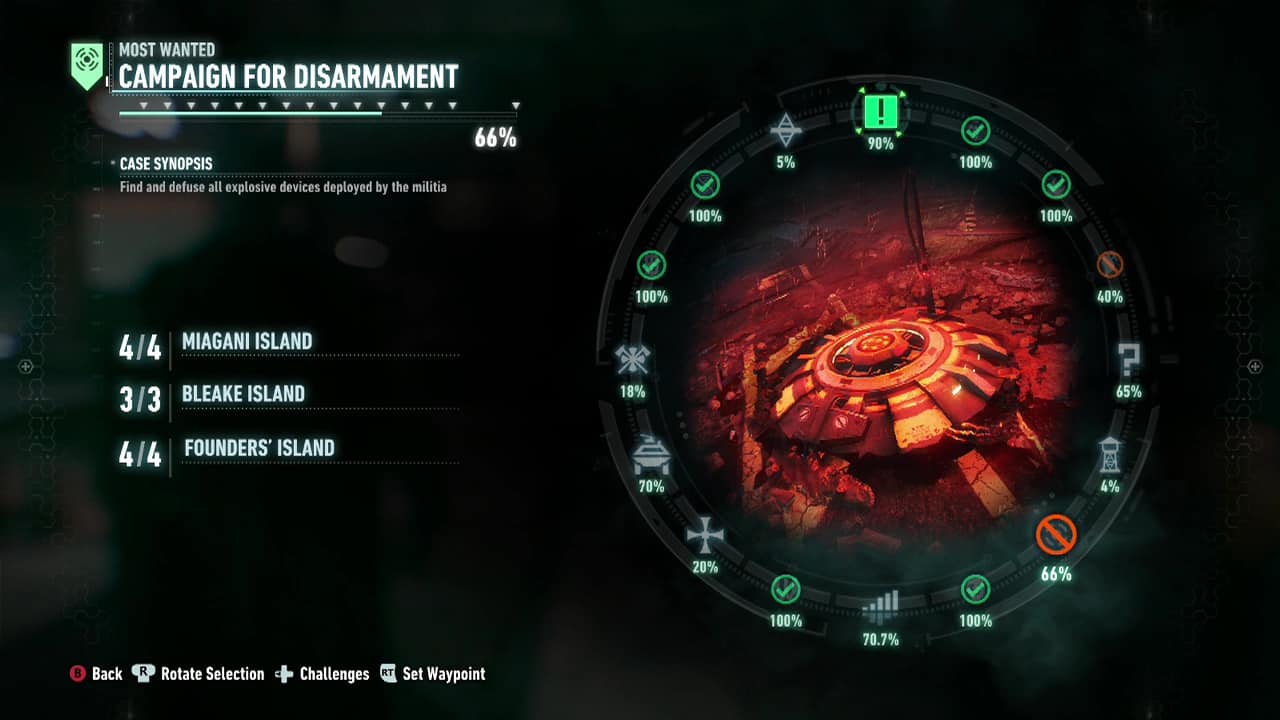
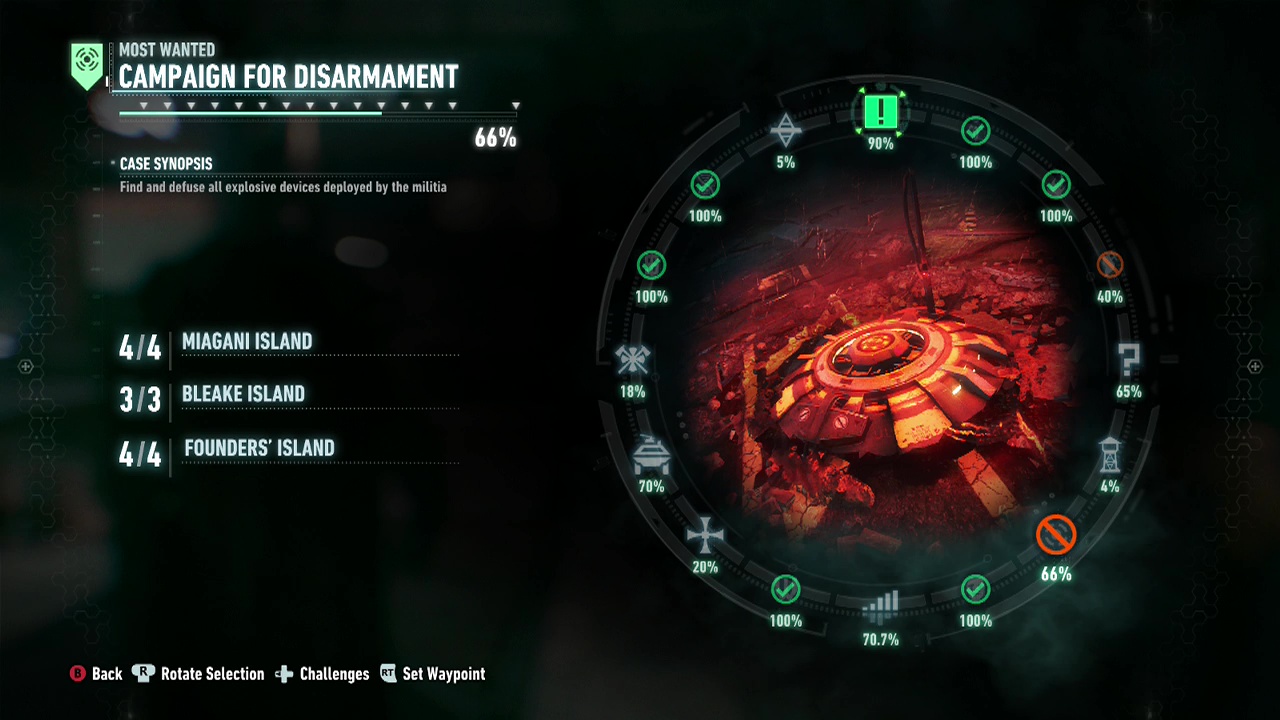
MOST WANTED: Campaign For Disarmament (In progress)
The first explosive device you encounter is on Bleake Island during mission 06 – On the Arkham Knight's trail automatically. Defusing it successfully will scatter many more across the three islands. Keep in mind, you will need the Batmobile's Power Winch to disarm them, so the bridges to the other islands must be unlocked to reach some of them.
Note: Until certain other conditions are fulfilled (completing the second last mission of the game), you will only be able to reach 66% in this sidequest (3 explosives on Bleake Island, 4 on Miagani and 4 on Founder's).
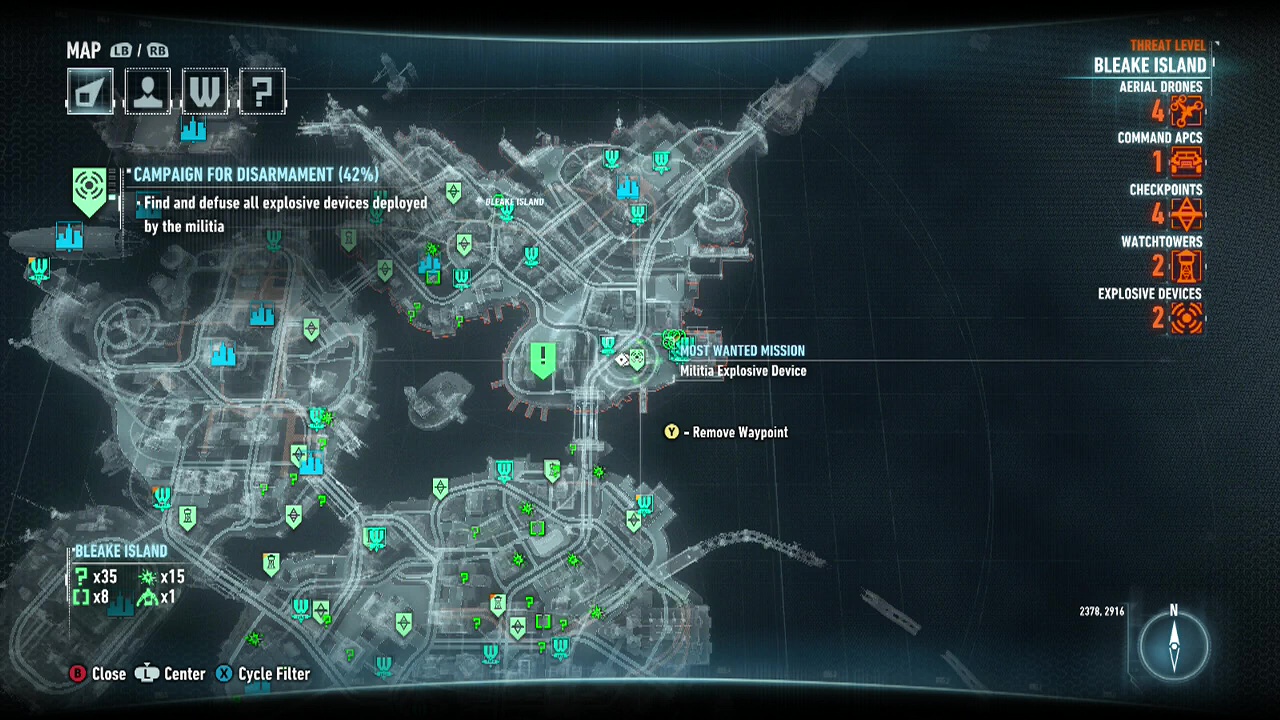
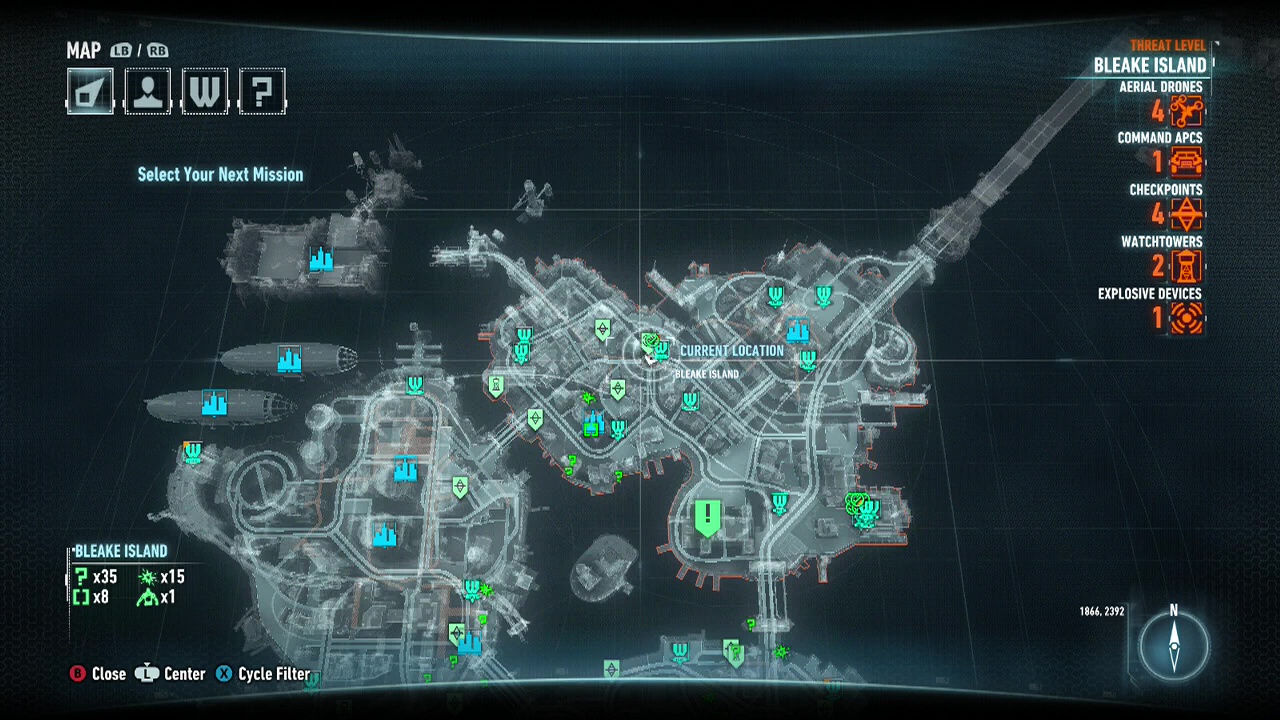
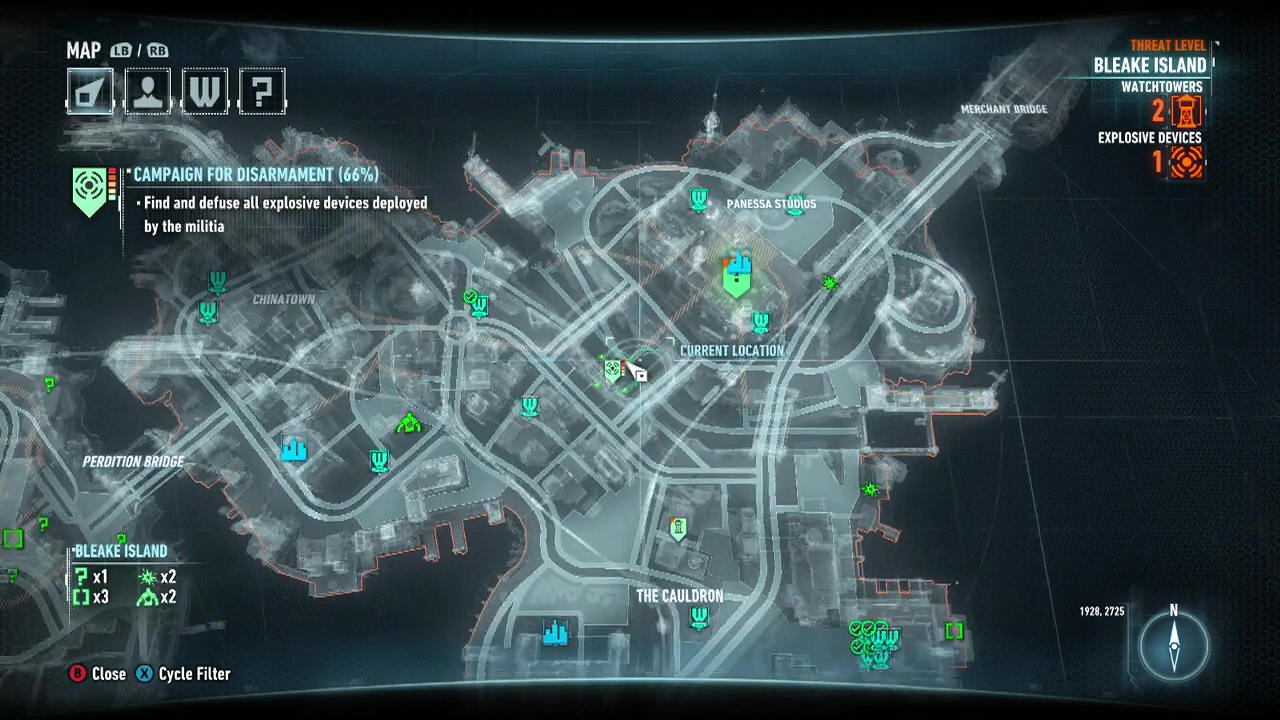
Bleake Island
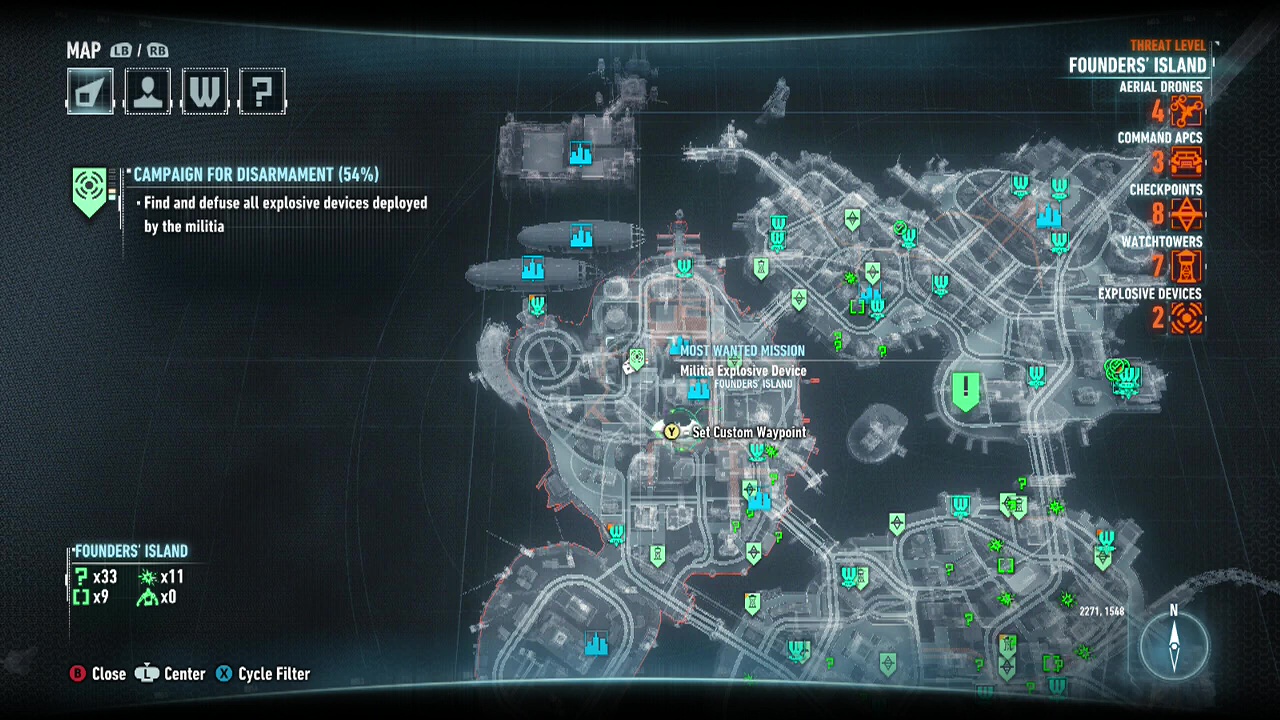
Objective: Find and defuse all explosive devices deployed by the militia.
Go to the marked location of the explosive device and upload the virus on foot or by shooting it with the Power Winch. After initiating the virus, jump back into the Batmobile (if you need to), and take on the masses of drones sent to destroy you. Diamondbacks, Twin Rattlers, Rattlers, Missile Launchers, Dragons and Heavy Missile Launchers may all be part of the forces sent against you depending on which device you are disarming.
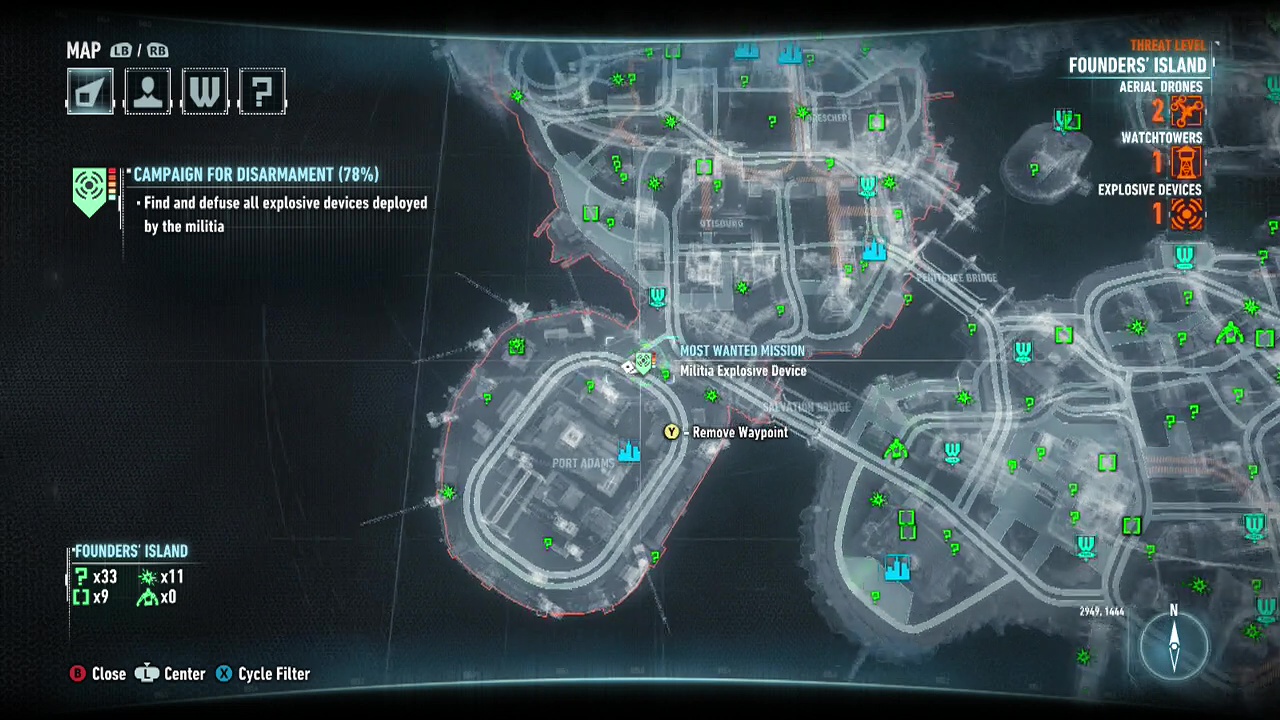
The difficulty of each device (or the strength of the enemies sent against you) is shown by a bar to the right of the icon (in the top left corner) when you view it on the map screen. Use this as a gauge to decide if it is best to come back later with more upgrades or to take the device down.
While dealing with the attacking forces you must stay within a certain radius of the bomb, shown as a red wall when you get too far away from it. If you move too far away the screen will become obscured by grey static. Once they are all defeated (when the number in top right corner drops to 0), use the Power Winch to destroy the bomb.
You will need to rev the engine to keep the needle in the orange bar while it moves up. Once it has moved up as much as it can go, max the revs to trigger the explosion. After destroying the first one, Deathstroke will have a chat with you. Each device follows the same pattern, the only differences are the number and type of enemies thrown at you.
Difficulty rating: 1/5
Enemy number: 20
Difficulty rating: 3/5
Enemy number: 32
Becomes available after completing Mission 22 – The Siege of GCPD
Difficulty rating: 5/5
Enemy number: 48
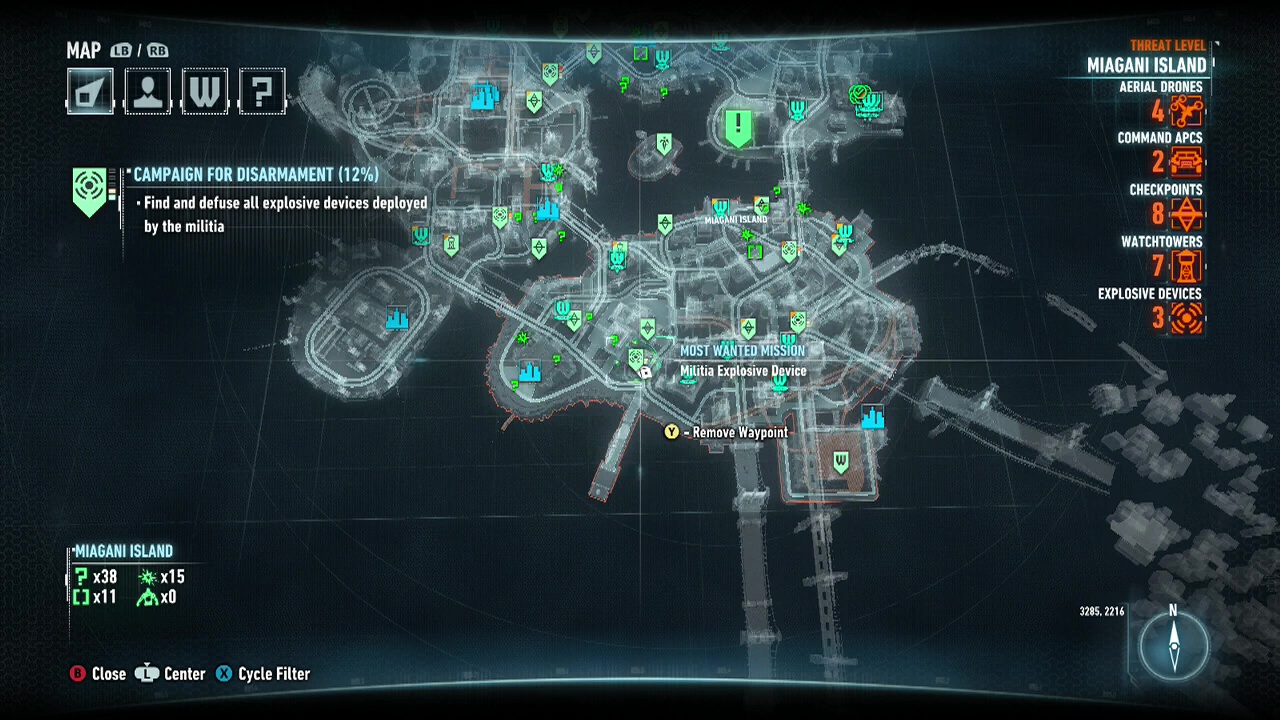
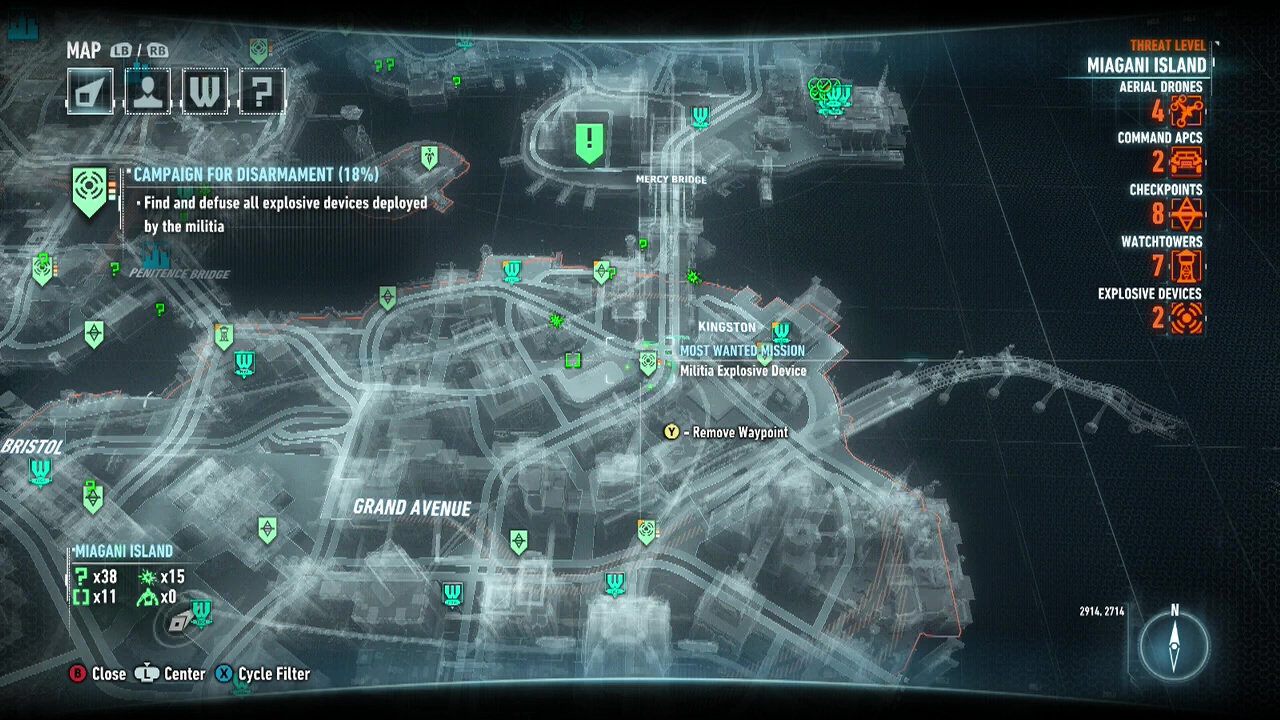
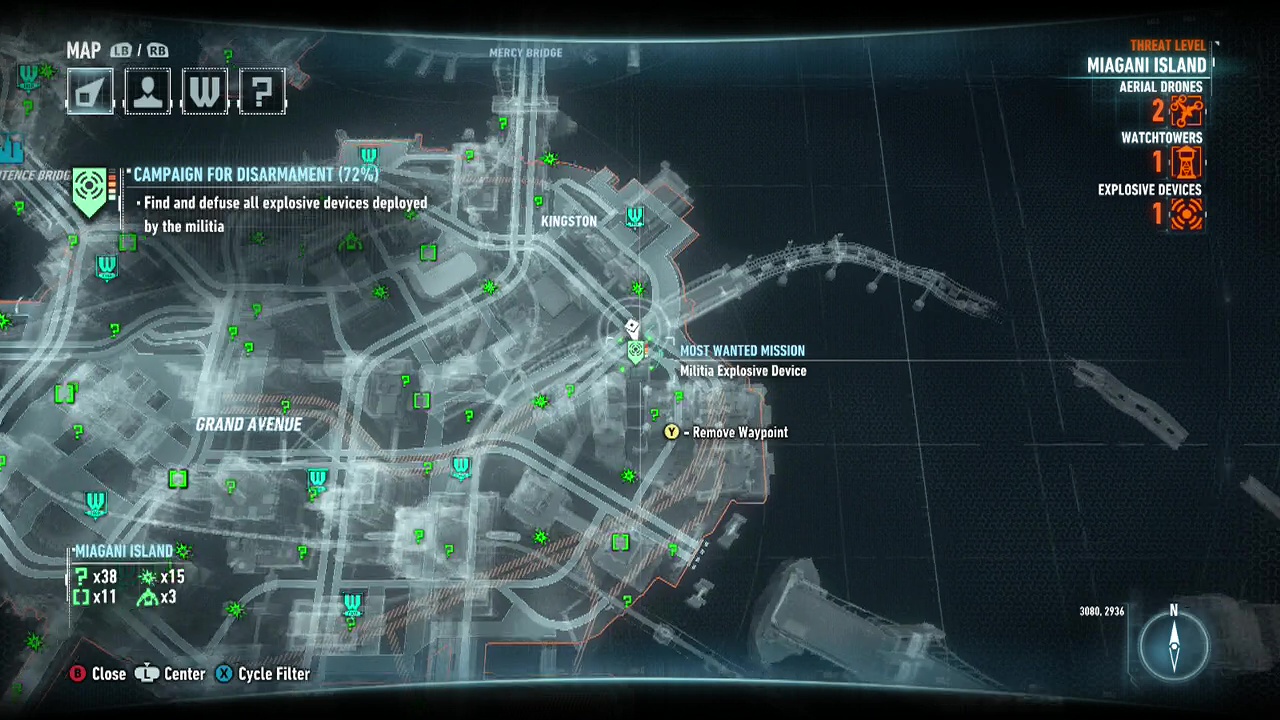
Miagani Island
Difficulty rating: 2/5
Enemy number: 24
Difficulty rating: 3/5
Enemy number: 22

Difficulty rating: 2/5
Enemy number: 24

Difficulty rating: 1/5
Enemy number: 20
Becomes available after completing Mission 22 – The Siege of GCPD
Difficulty rating: 4/5
Enemy number: 36
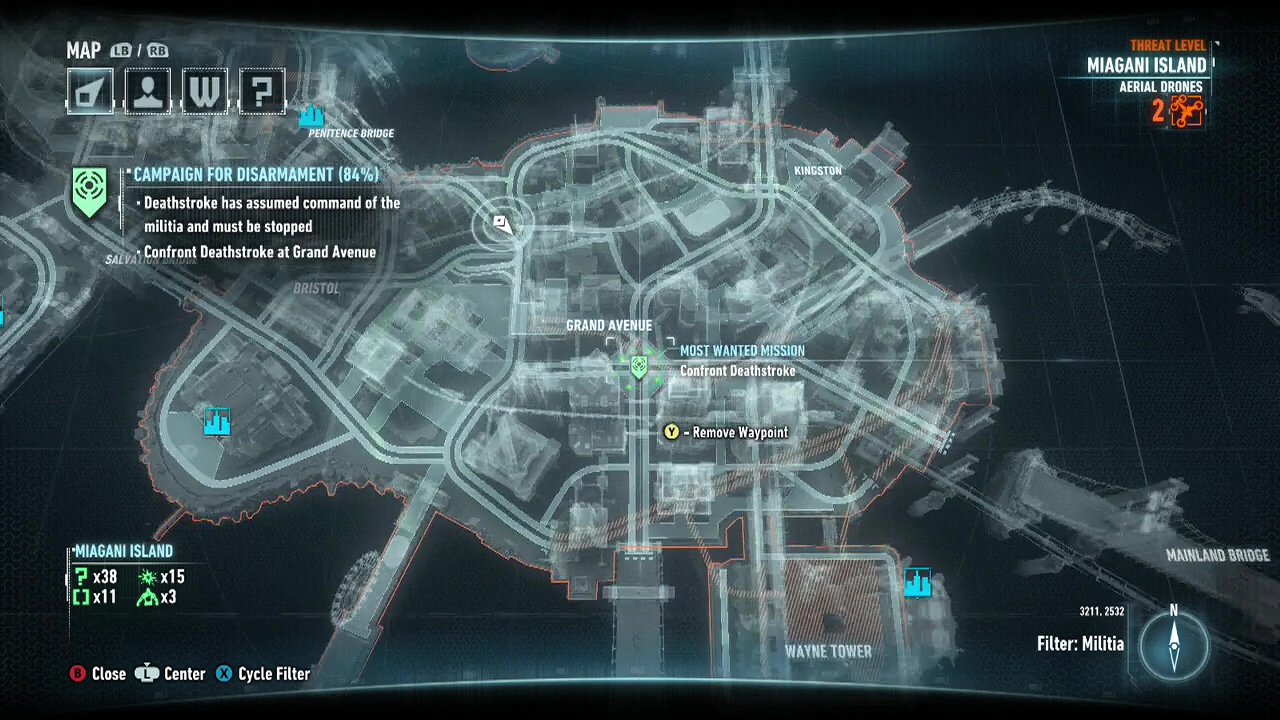
Becomes available after defeating all Watchtowers, disarming all militia explosives and destroying all militia checkpoints
Difficulty rating: N/A
Enemy number: 6
Think of this as a reenactment of the battle against the Arkham Knight in the Cloudburst tank from Mission 17 – Destroy the Cloudburst. The matching excerpt can be found below, slightly modified for this battle:
"Initially as the fight against Deathstroke begins, you will be badly outnumbered. Deathstroke's tank (easily spotted on the map) will be flanked by five Cobra tanks. They also seem to have the uncanny ability to move roughly in your direction, no matter how well you are hidden which makes them difficult to deal with.
One of the most important things about this battle is finding and using alleyways and other shortcuts to get behind the Cobra tanks for silent tankdowns (unless you count the explosion) and for quick exits when the enemies are on to you. They also act as a quick way to break enemy line of sight.
Basically the inital phase is similar to every Cobra fight to date, wait for a Cobra to move away from the others (or lure it away if it won't split off by waggling your delicious unexploded ass at it) before popping into cover and back attacking it. The only difference here is the dangerous Deathstroke Tank in the center of the group. Unlike the Cloudburst tank, the Deathstroke Tank has a 360 range of vision, making it impossible to sneak up on. So only concentrate on picking off it's escort to begin with.
The bad news is that if it sees you it goes totally nuts and flies after you extremely fast firing all kinds of damage dealing projectiles at you. So staying out of it's sight is crucial to staying alive at this point. While slow and tedious, the stealth and lure approach is the only real way to deal with the surrounding Cobra tank guards."
Once the escort Cobra tanks are dead, it's time to give Deathstroke a run for his money. If you have fully upgraded the Batmobile's armour and have a decent amount of skill behind the wheel, you can take on the Tank directly. Firing off shots and dodging out of the way of incoming projectiles. If you need a break, turn around several corners in quick succession to break line of sight and catch your breath.
You can also do the slow but steady stealth approach, which while time-consuming is safer if you haven't got a fully upgraded Batmobile. As Deathstroke's Tank reaches 0% health, a scene will take over. Afterwards, load Deathstroke into the Batmobile and drive him back to the GCPD lockup to finish this extremely long series of sidequests.
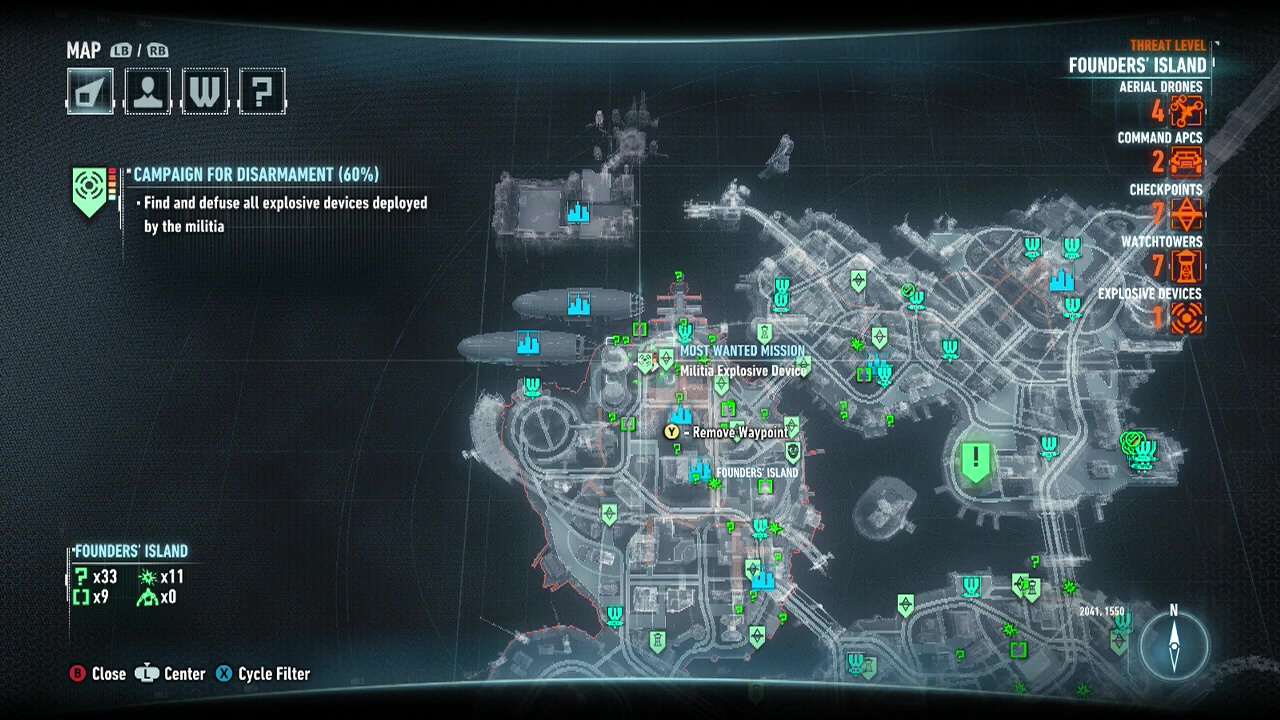
Founder's Island
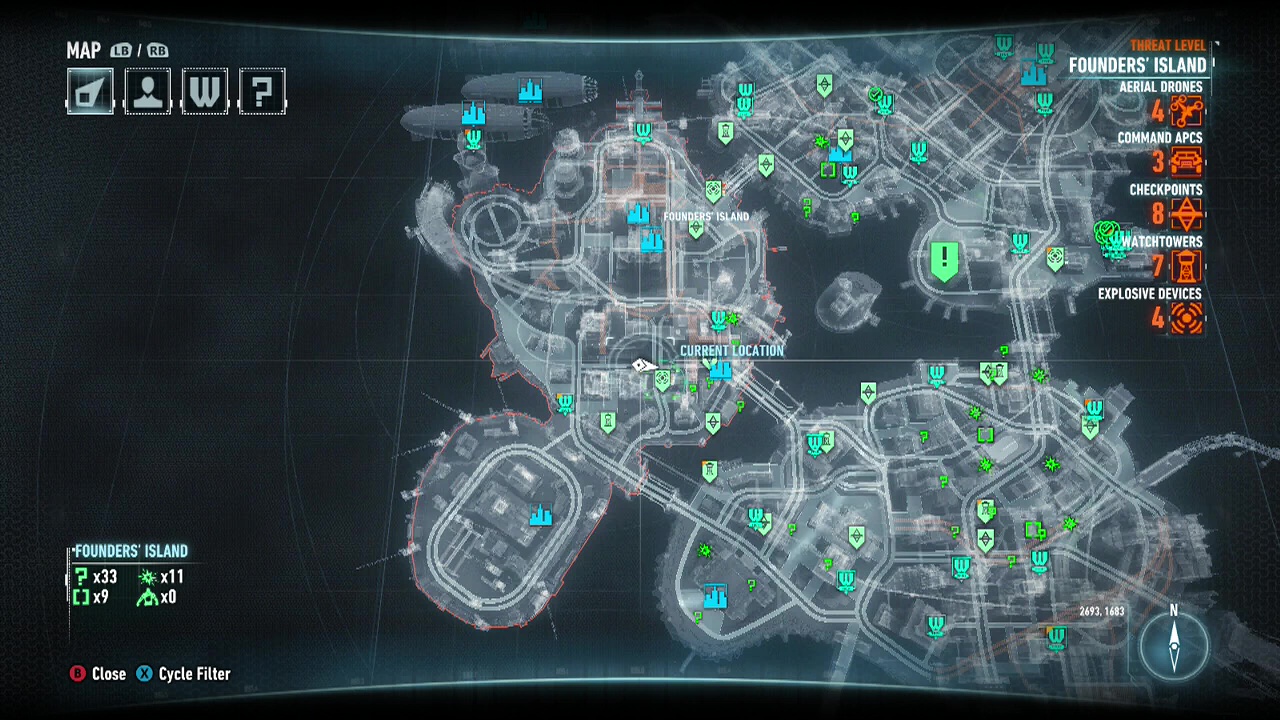
Difficulty rating: 4/5
Enemy number: 33

Difficulty rating: 4/5
Enemy number: 32
Note: Flying Drone and Missile Launchers – ML will spawn on the upper areas on each end and effectively flank you. Take them out or be prepared to take constant blindside damage. Later one will spawn towards the bridge, and another under the overpass (somewhat opposite). The battle is much easier if these are taken out as soon as possible.
Difficulty rating: 2/5
Enemy number: 24
Difficulty rating: 5/5
Enemy number: 48
Becomes available after completing Mission 22 – The Siege of GCPD
Difficulty rating: 5/5
Enemy number: 40