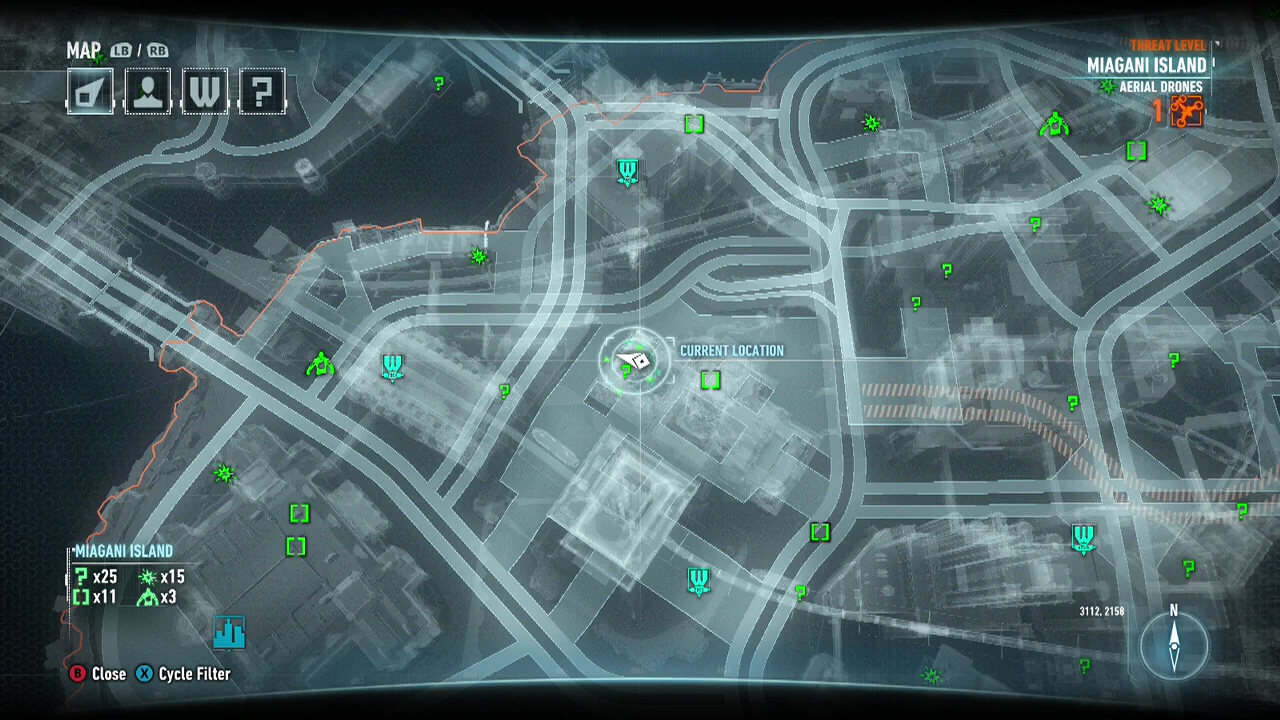
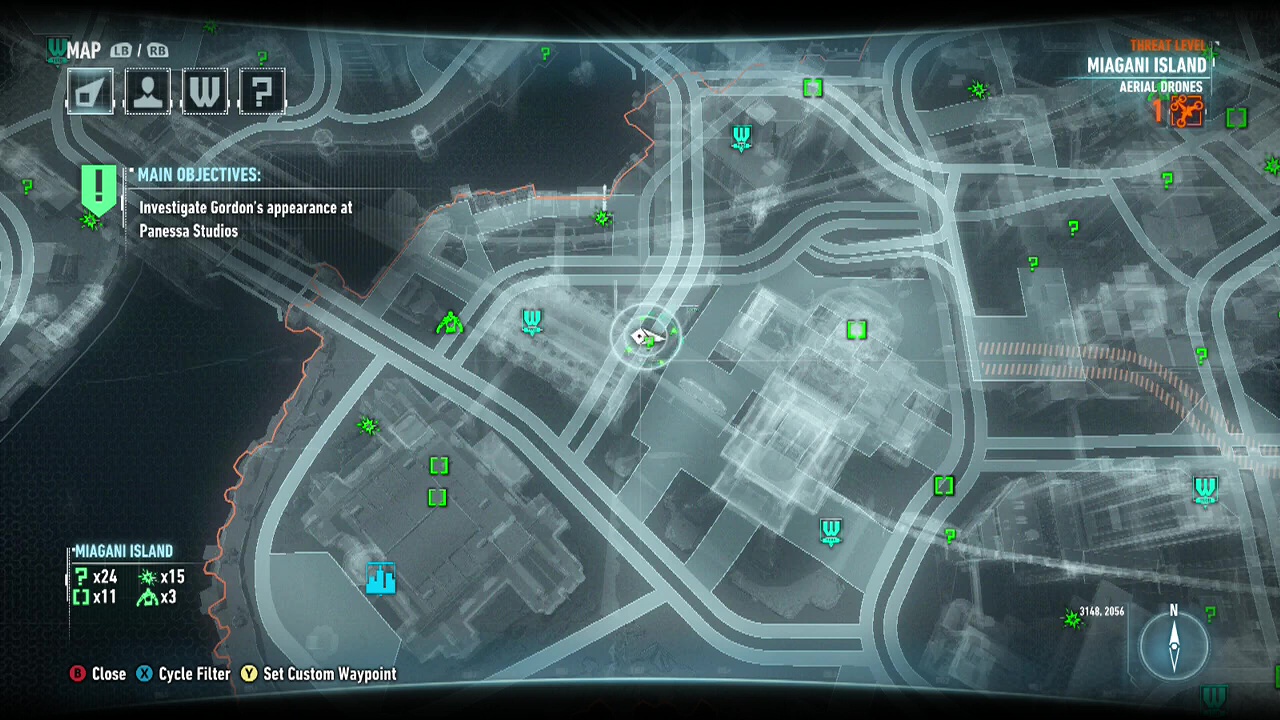
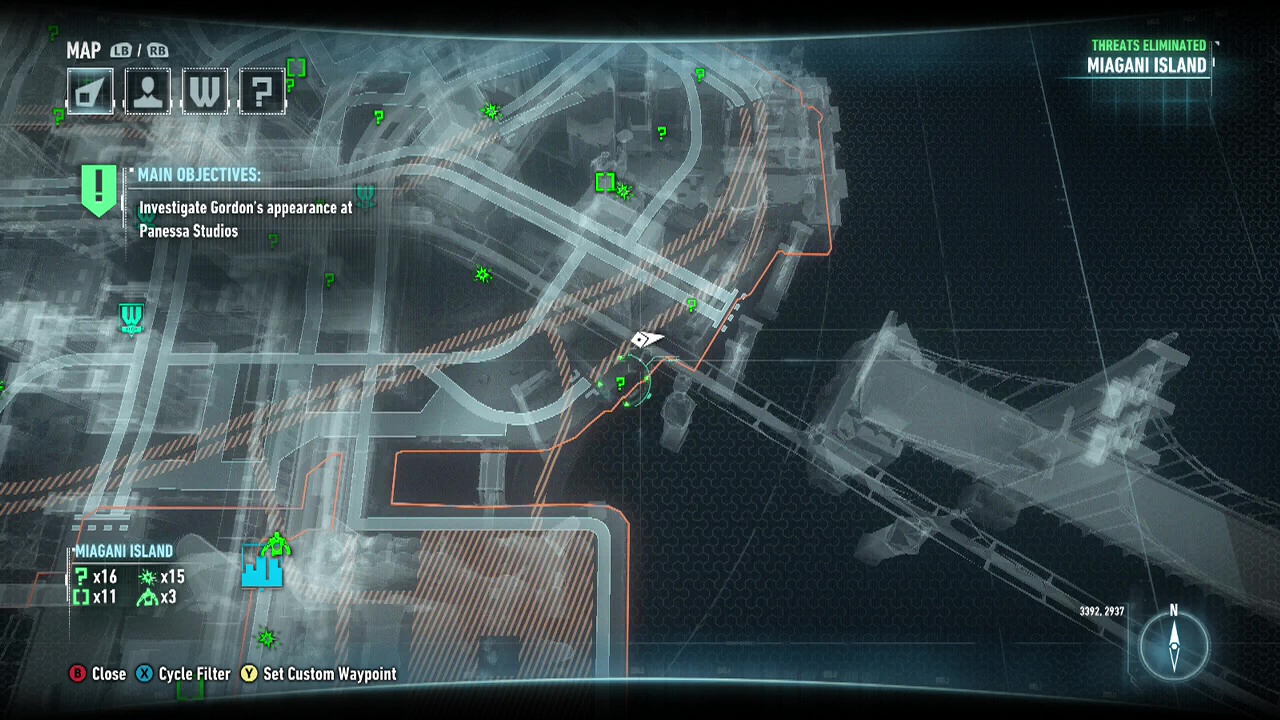
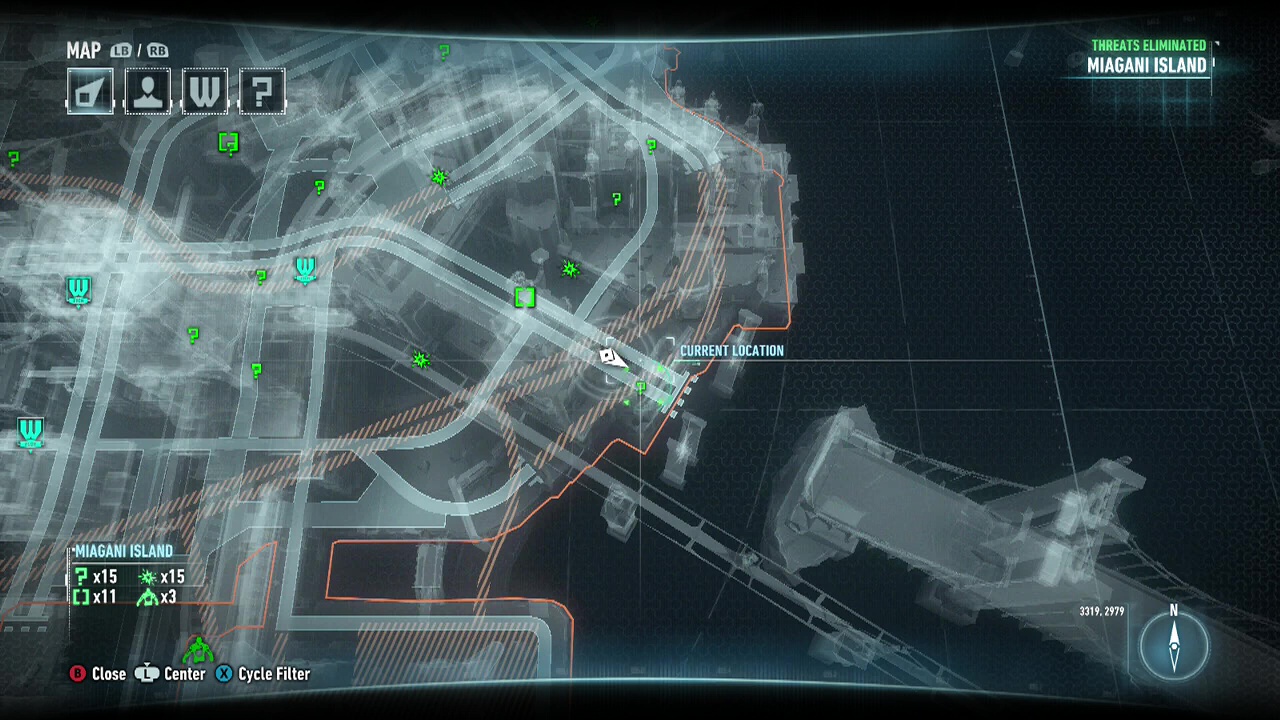
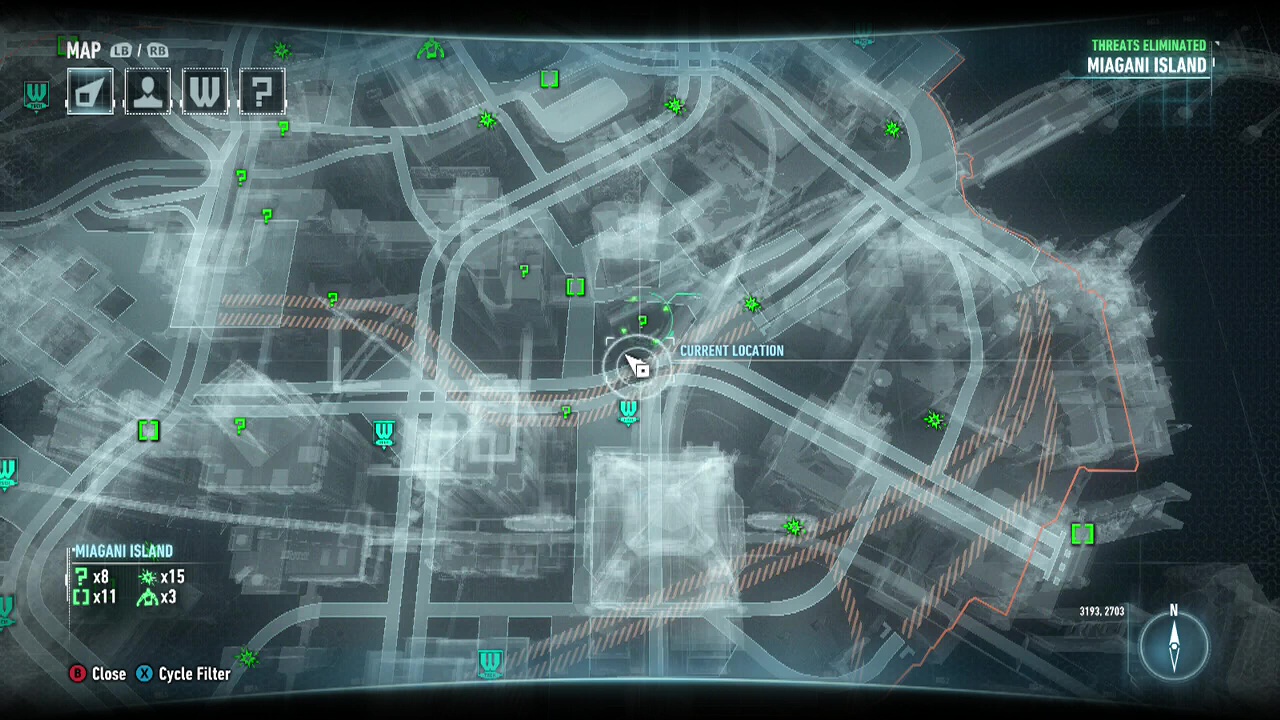
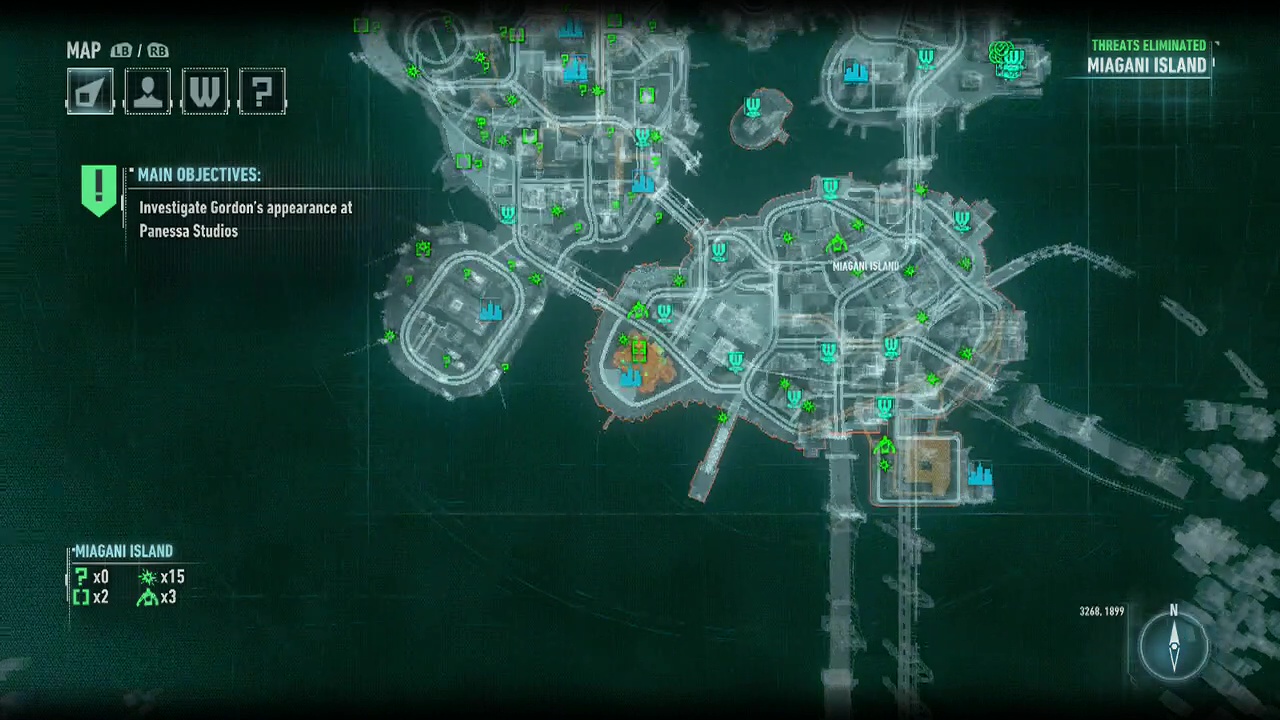
COLLECTIBLES: Miagani Island
Riddle: Equipment needed – Method
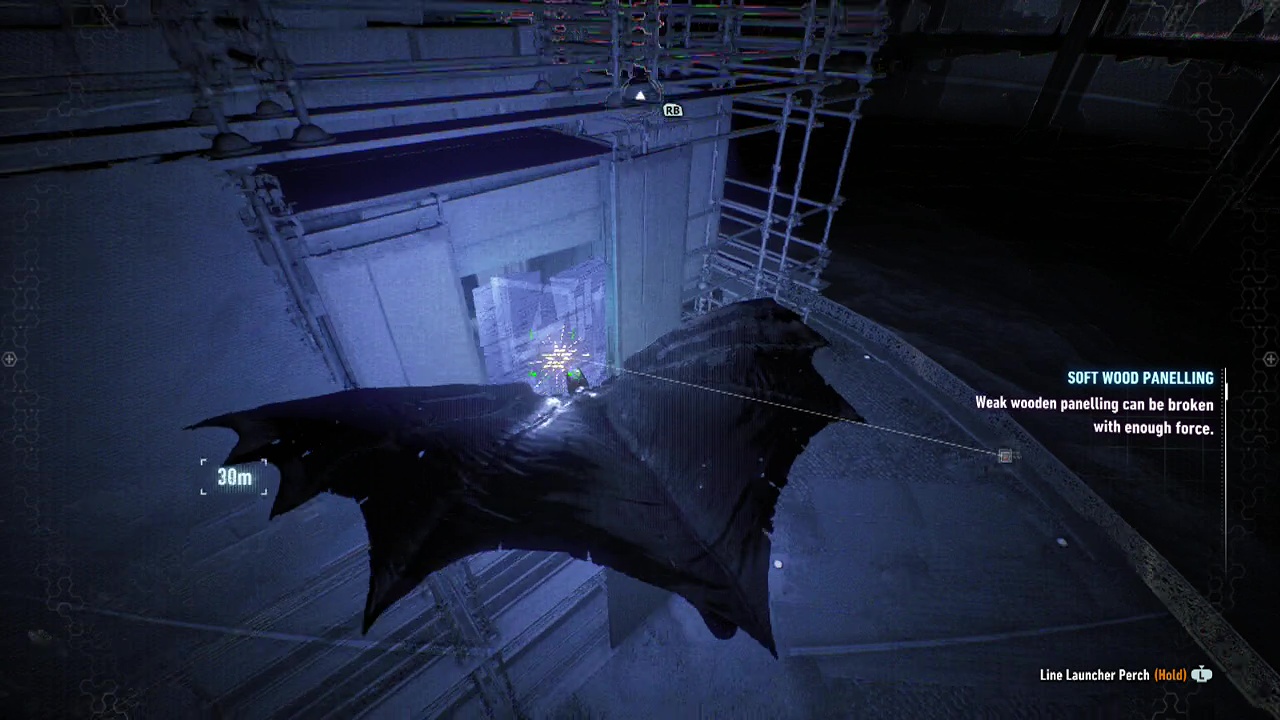
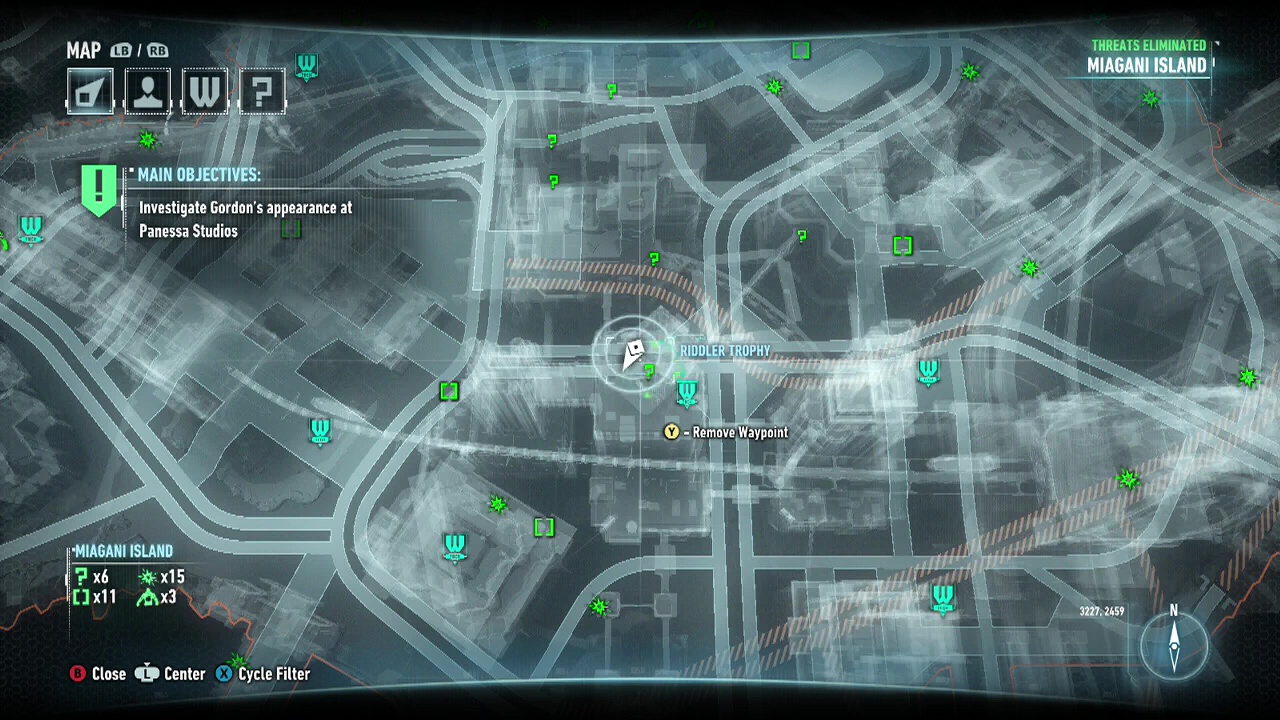
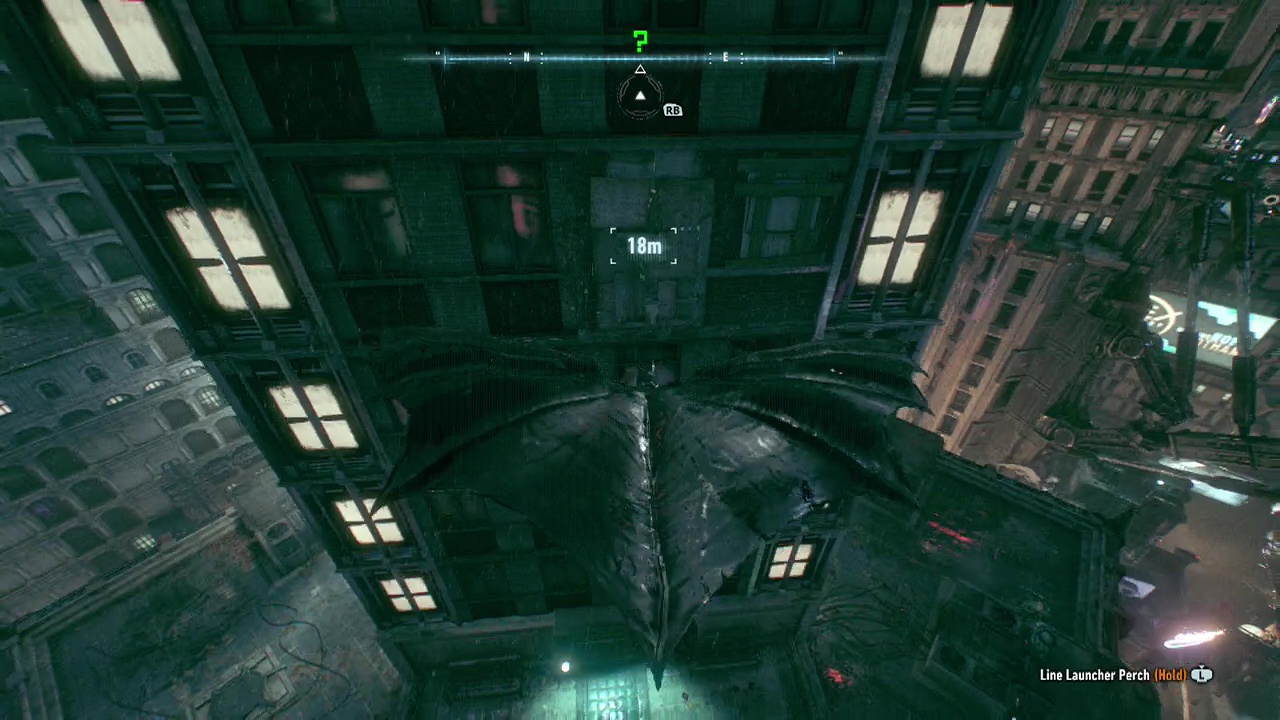
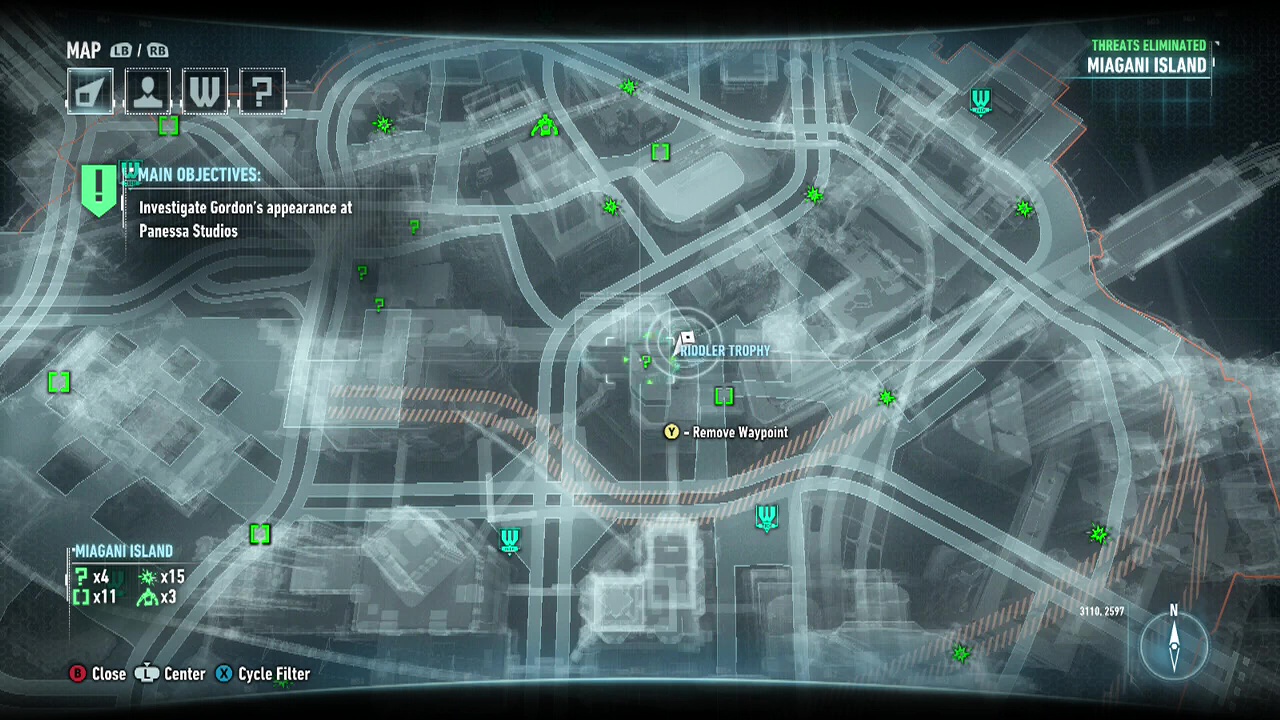
Riddler Trophy 1: From the ground level in front of the statue, head to the North-West side. Turn on Detective Vision and look up. You will see a breakable wooden wall. Gilde through it and collect the trophy.
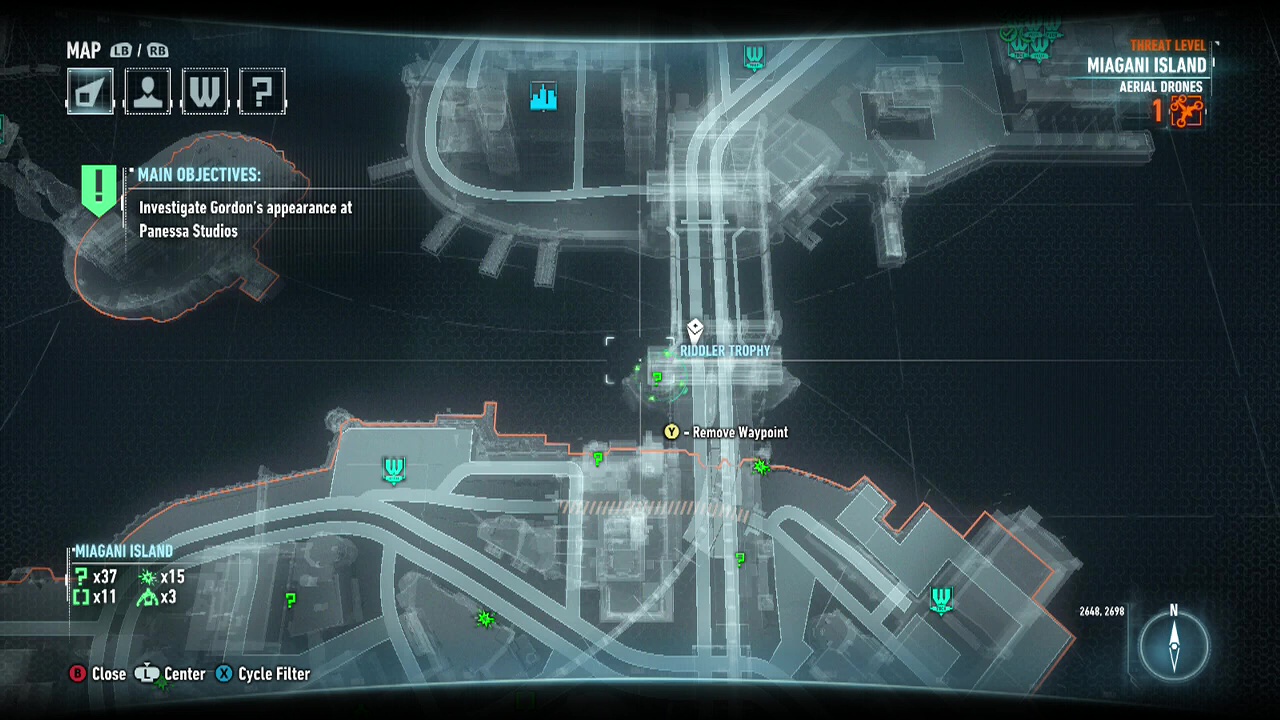
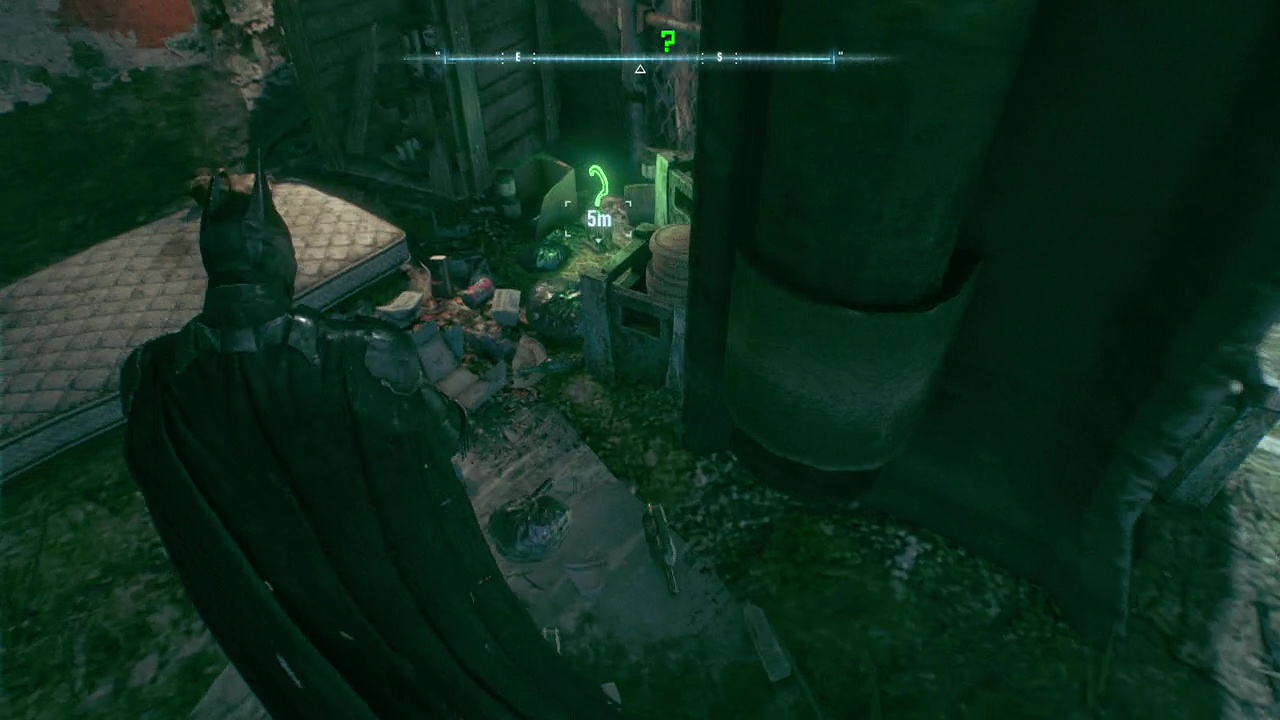
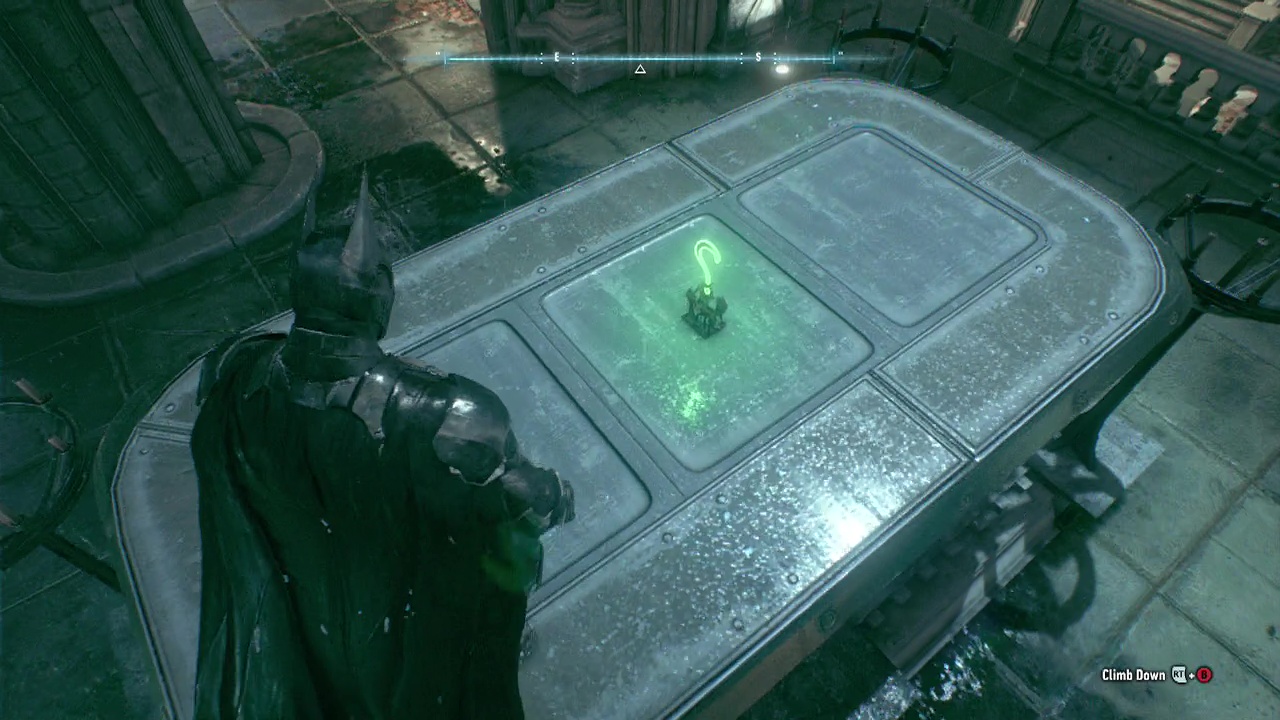
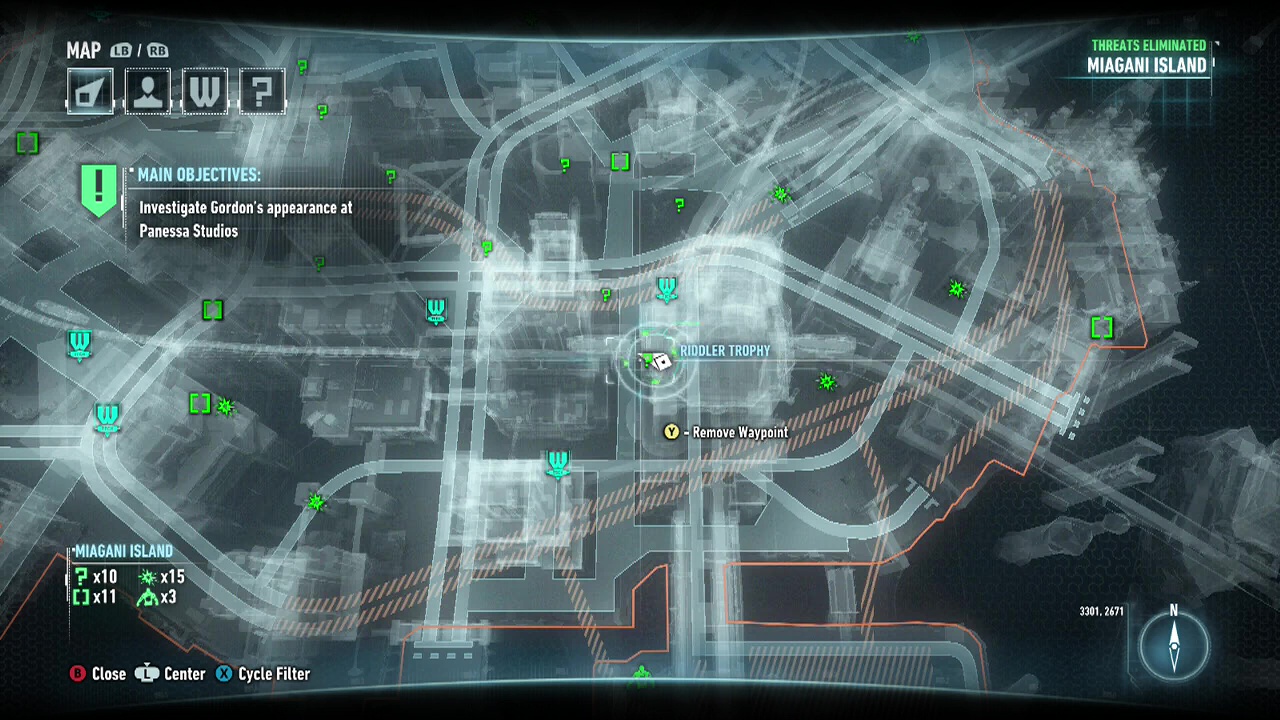
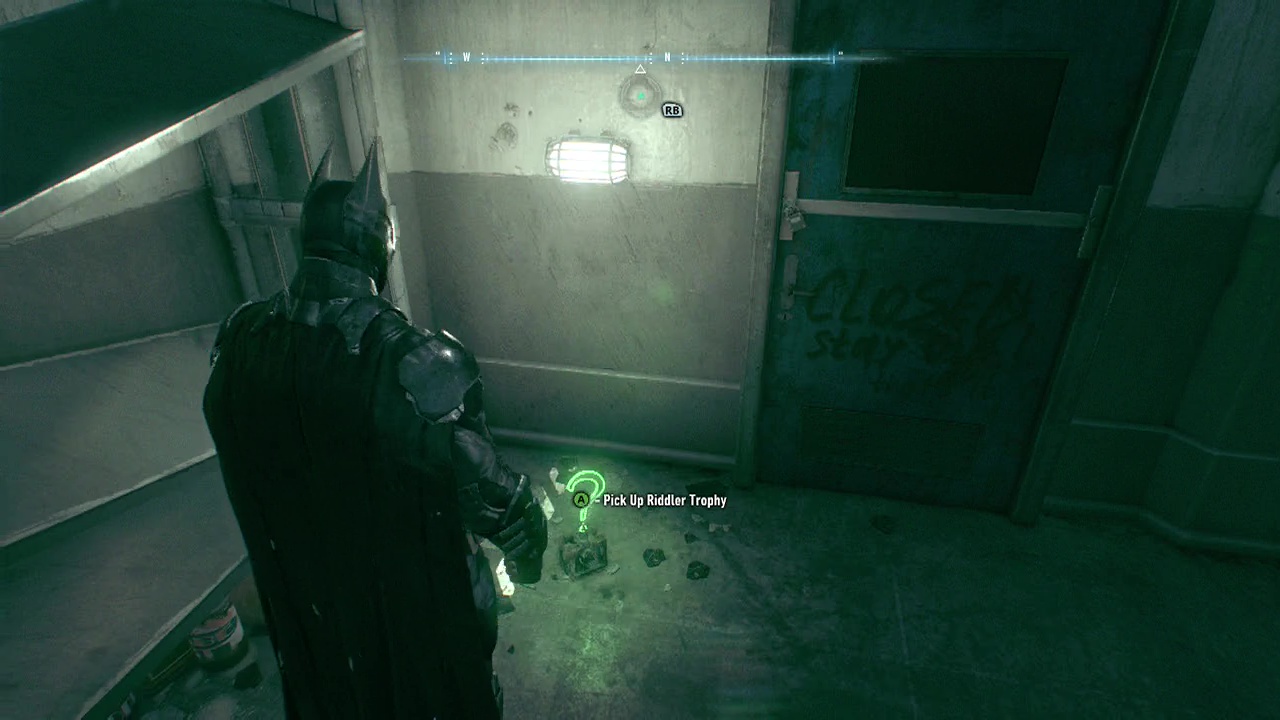
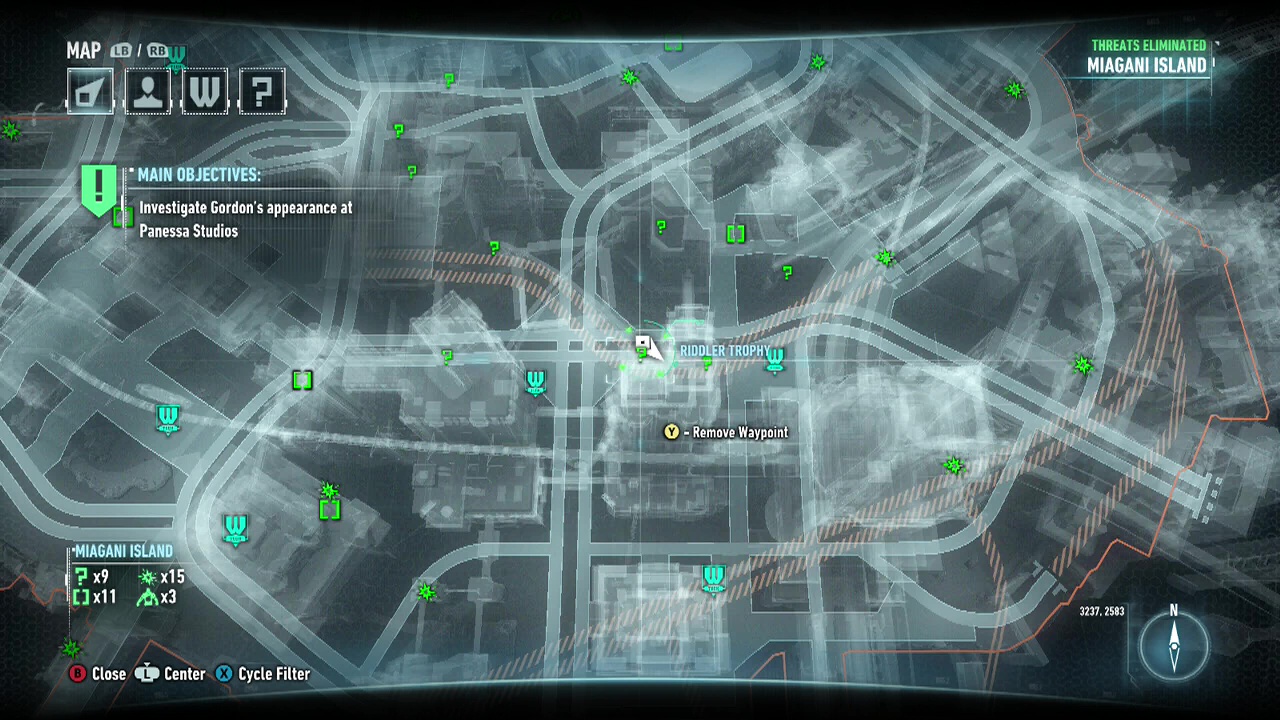
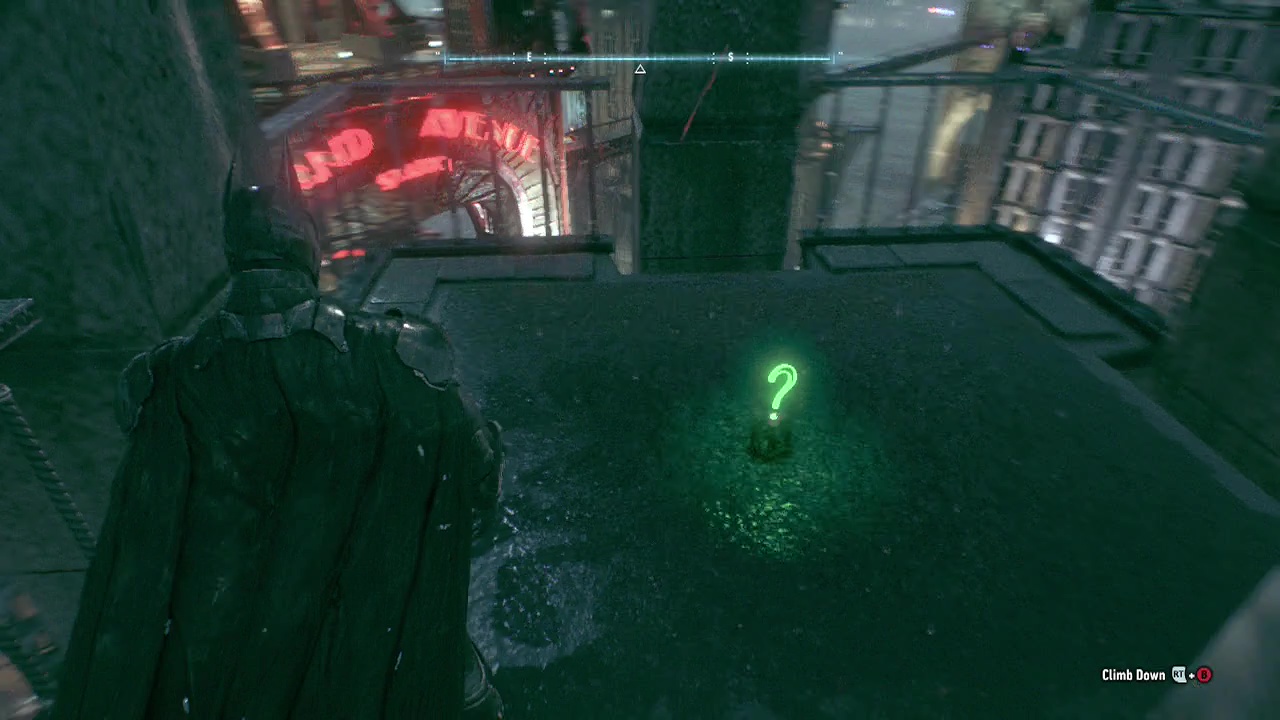
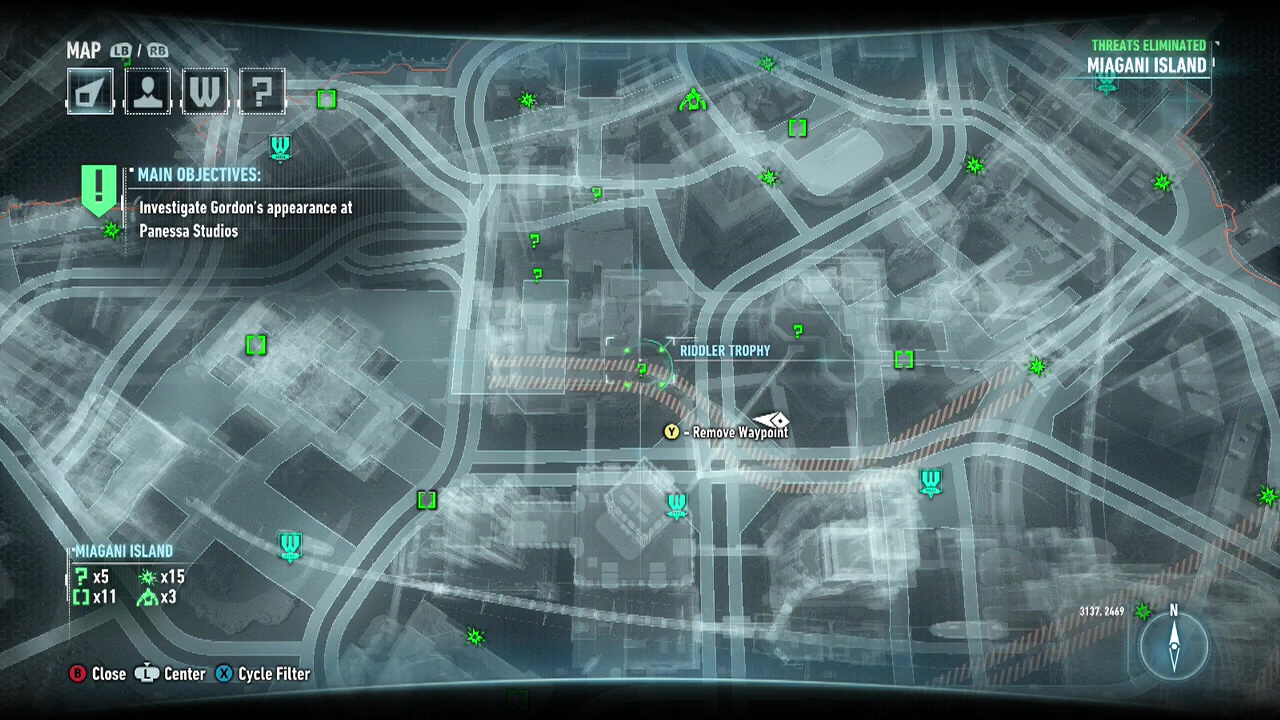
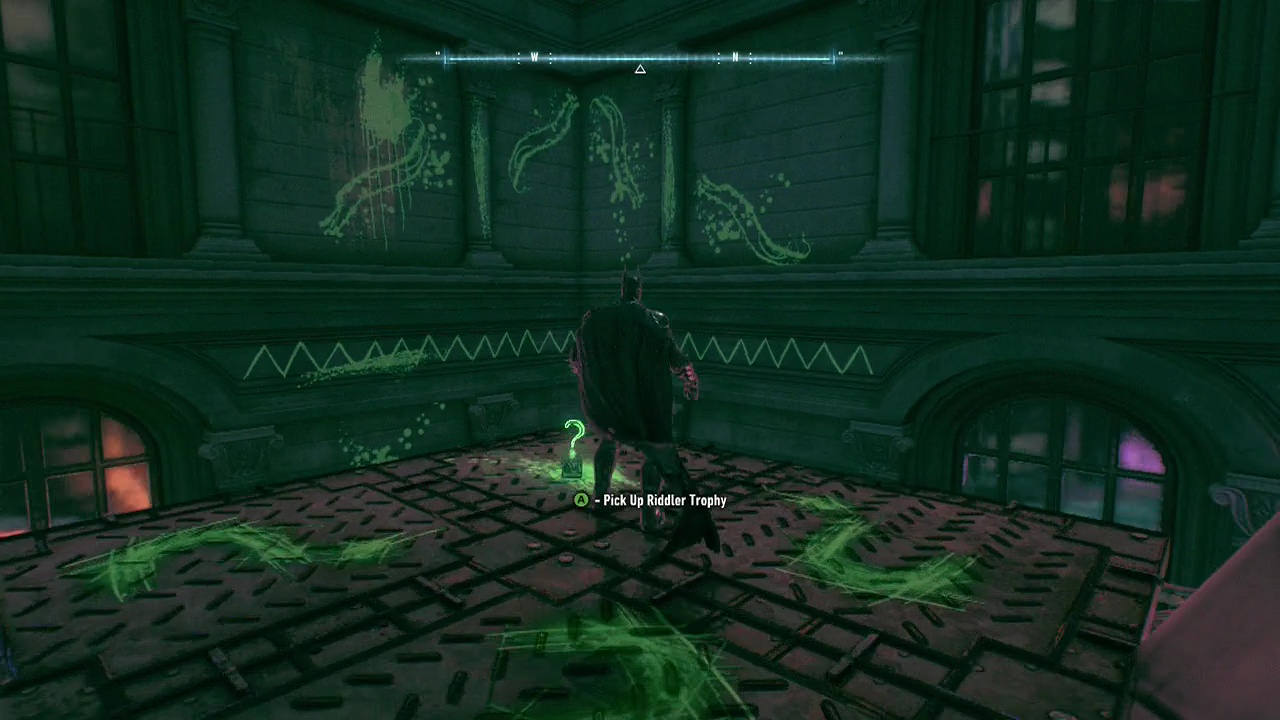
Riddler Trophy 2: Glide down and pick up the trophy.
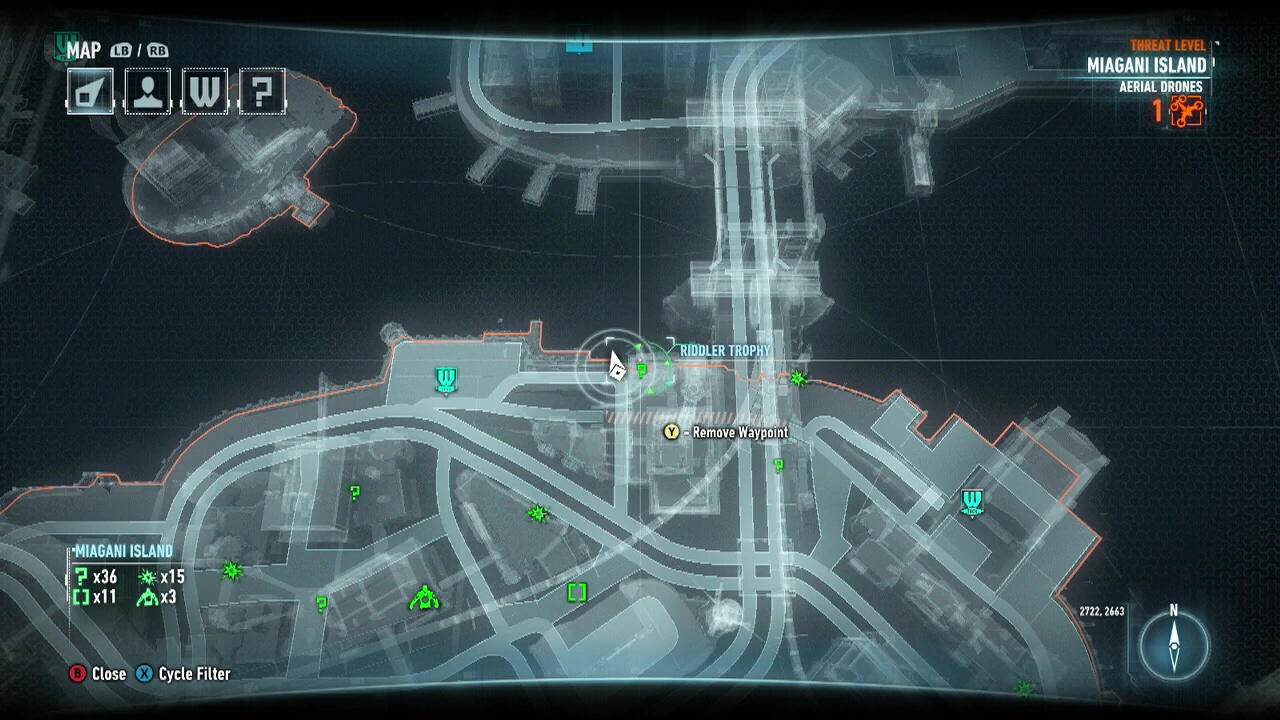
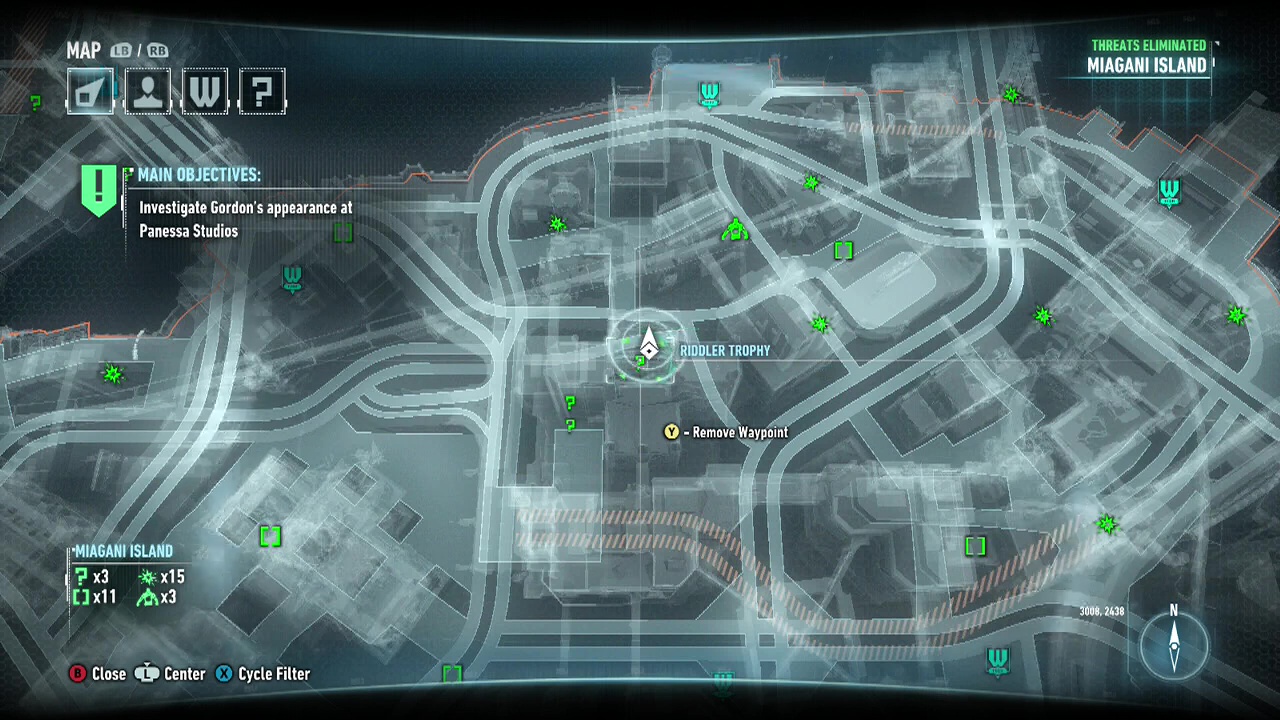
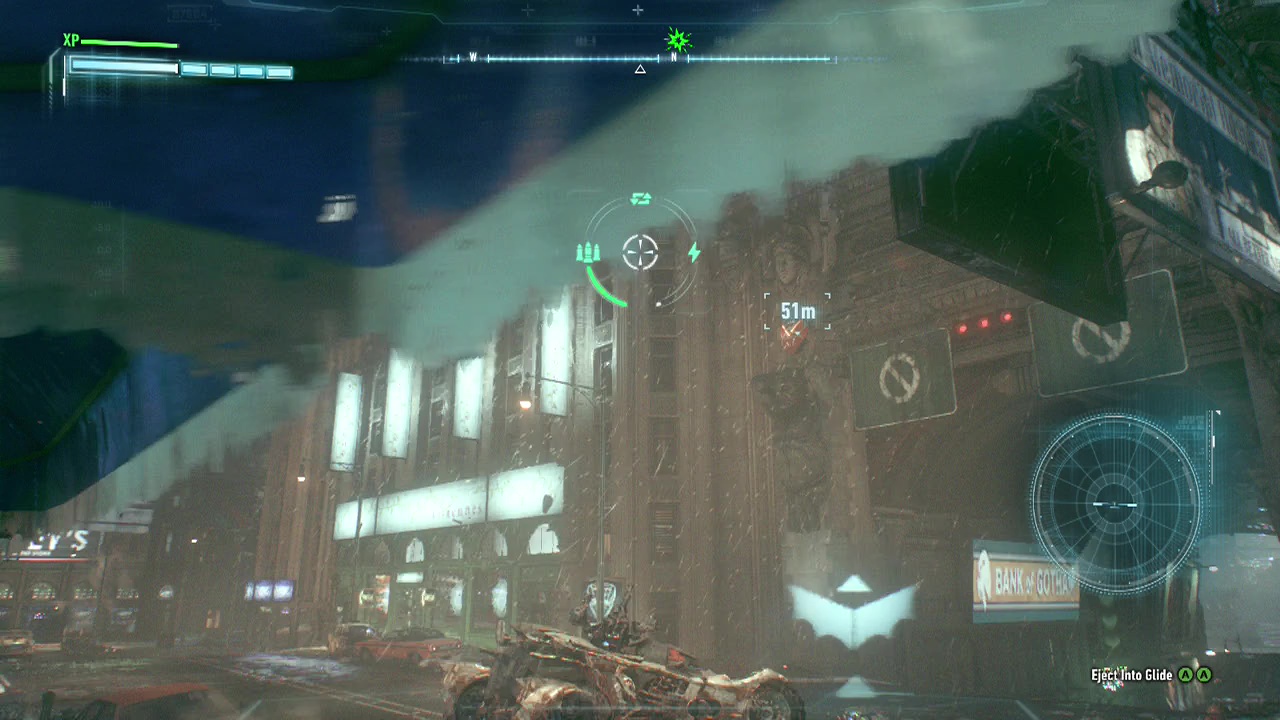
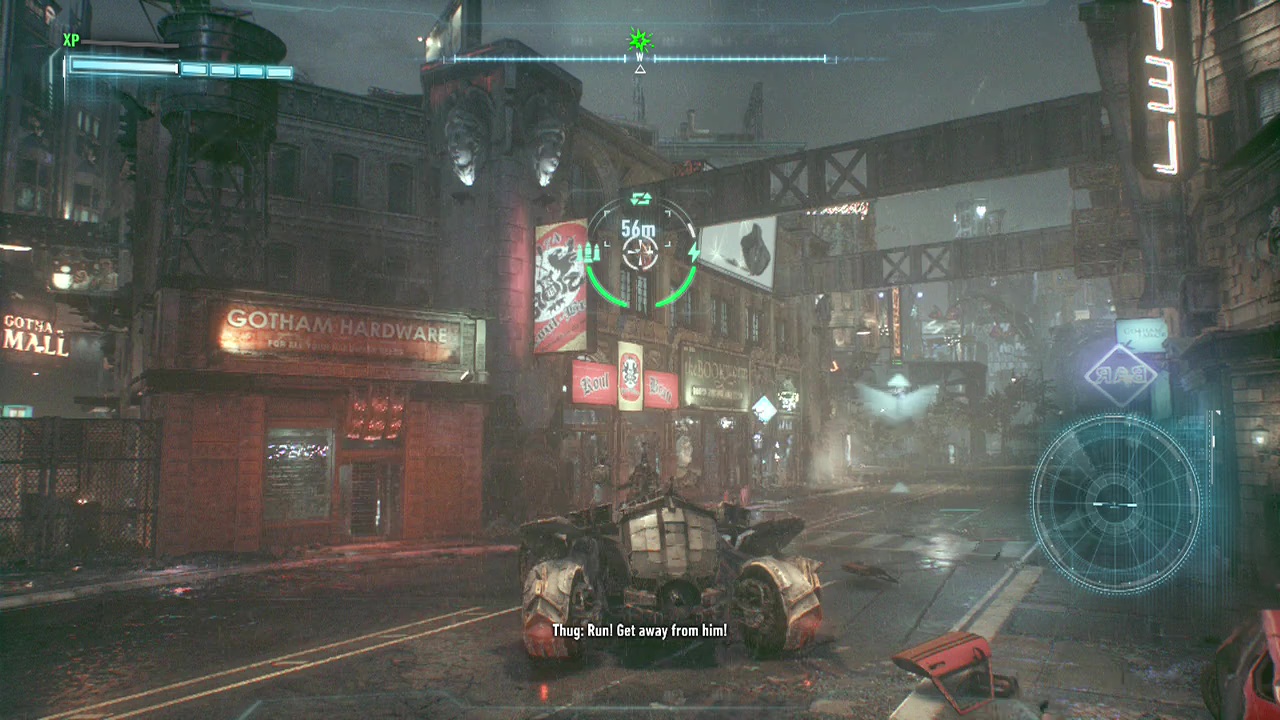
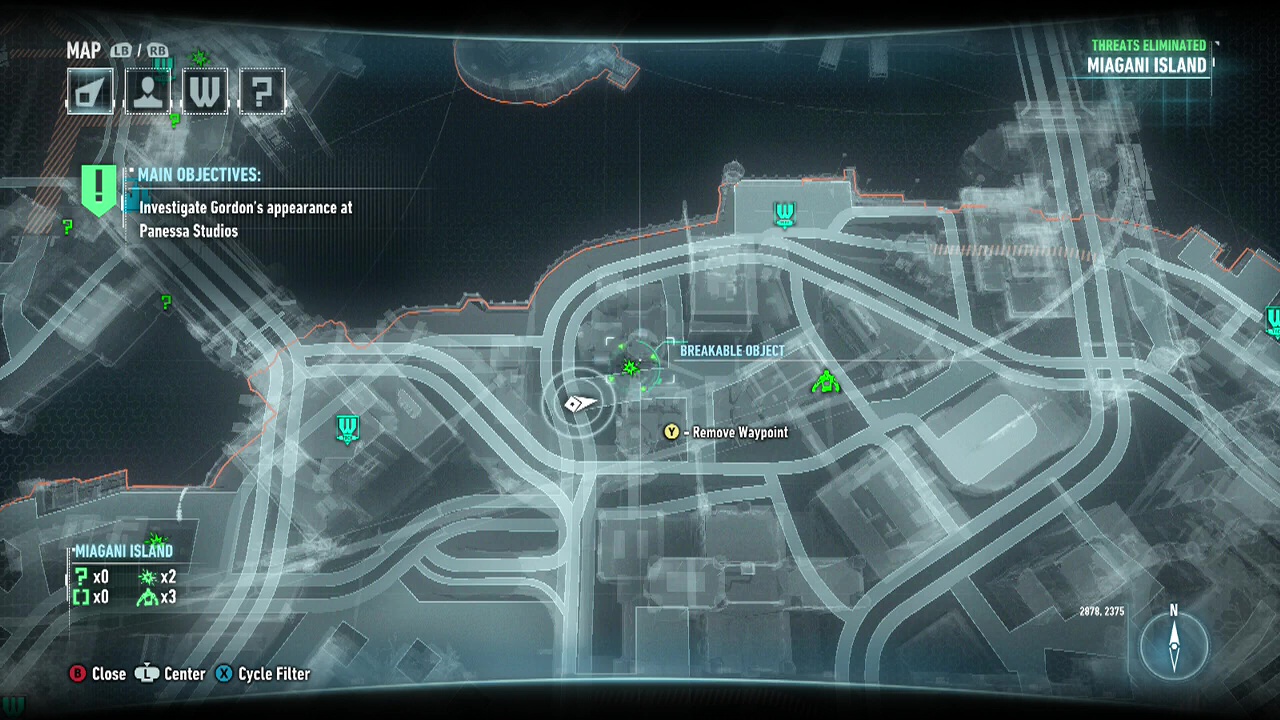
Riddler Trophy 3: Batmobile – Take the Batmobile around the corner so you can shoot the breakable wall. Destroy and glide in to pick up the trophy.
Riddler Trophy 4: Batmobile, Voice Synthesizer, Remote Electrical Charge, Batarang – Use the Batmobile to break open a hole in the wall and climb inside. Use the Remote Electrical Charge on the Generator to move the wall of death closer to the pressure plate. Use the Voice Synthesiser to command the Robot to move as close to the wall of death as you can. Remote Electrical Charge the wall of death back to where it started, destroying the Robot along the way. Use the Batarang on the Reset button on the wall to revive the Robot (if this doesn't work, it is because the wall of death is blocking it. Move the wall, revive the Robot and try again). Then Voice Synthesiser on the Robot to move it onto the pressure pad to collect the trophy.
Riddler Trophy 5: Batmobile, Power Winch – Drive to the nearby parking garage to gain some height. At the top of the garage is a ramp in the direction of the trophy. Jump the ramp. When the junction box is within sight, use the Power Winch on it. That thing has some range. Glide back over to obtain your trophy.
Riddler Trophy 6: Batmobile – Use the Batmobile to shoot the breakable wall. Grapple inside to collect the trophy.
Riddler Trophy 7: Batmobile, Forensic Scanner – Use the Forensic Scanner to start the trail. When it goes up the wall, quickly drive around and scan to continue the trail. When the trail leads to a drop, drop down and the trophy will be in the wall.
Riddler Trophy 8: Voice Synthesizer, Explosive Gel, Batarang – Use the Voice Synthesizer to move the Robot onto the pressure pad. There are four targets to hit, two of which you cannot hit from the pressure pad you need to stand on to activate the other two. To get around this, spray Explosive Gel on the two nearby Question Marks. Then stand on the pressure pad. Throw Batarangs at the two now activated Question Marks on the far side, and quickly turn and detonate the explosive gels. Collect trophy.
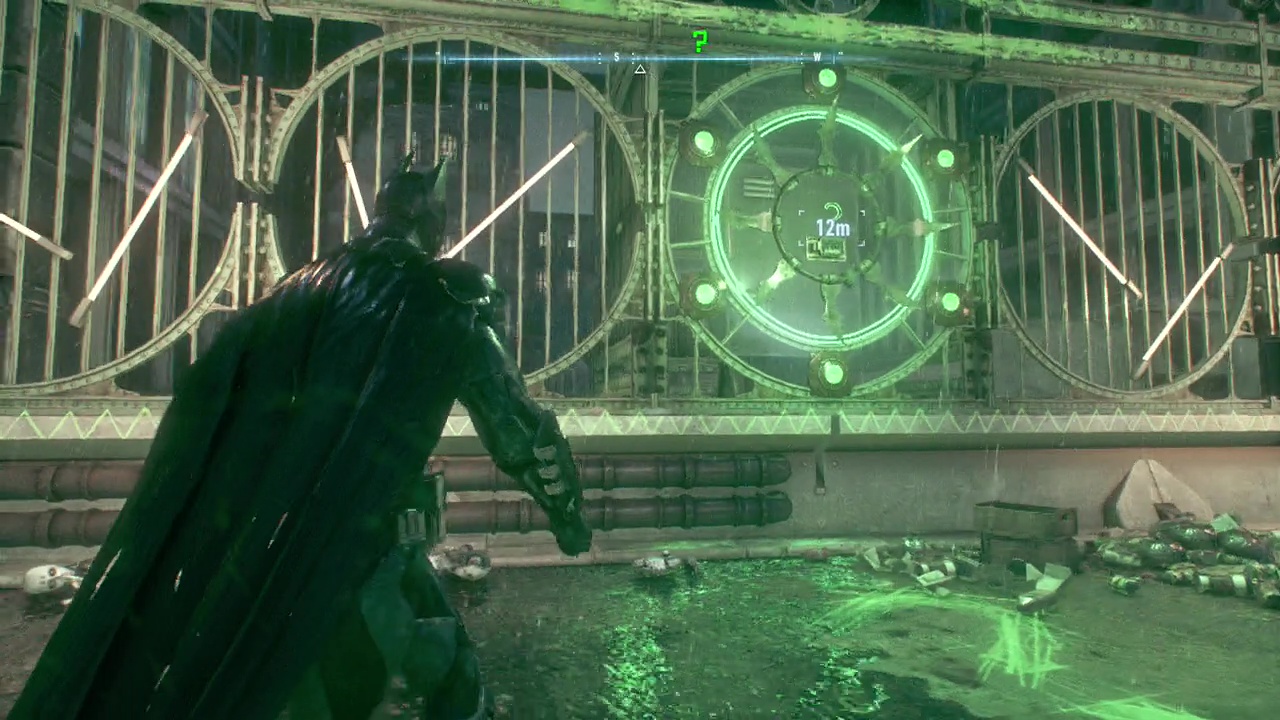
Riddler Trophy 9: Batmobile, Power Winch, Remote Electrical Charge – Use the Batmobile Power Winch to pull the highest Grab Point out. Exit the Batmobile and use the Remote Electrical Charge to move the Trophy Ball into the newly created hole so it drops. Get back into the Batmobile and use the Power Winch on the second highest Grab Point. Pull it out, exit, use charge, drop. Do it again for the last, and pick up the trophy in the ball.
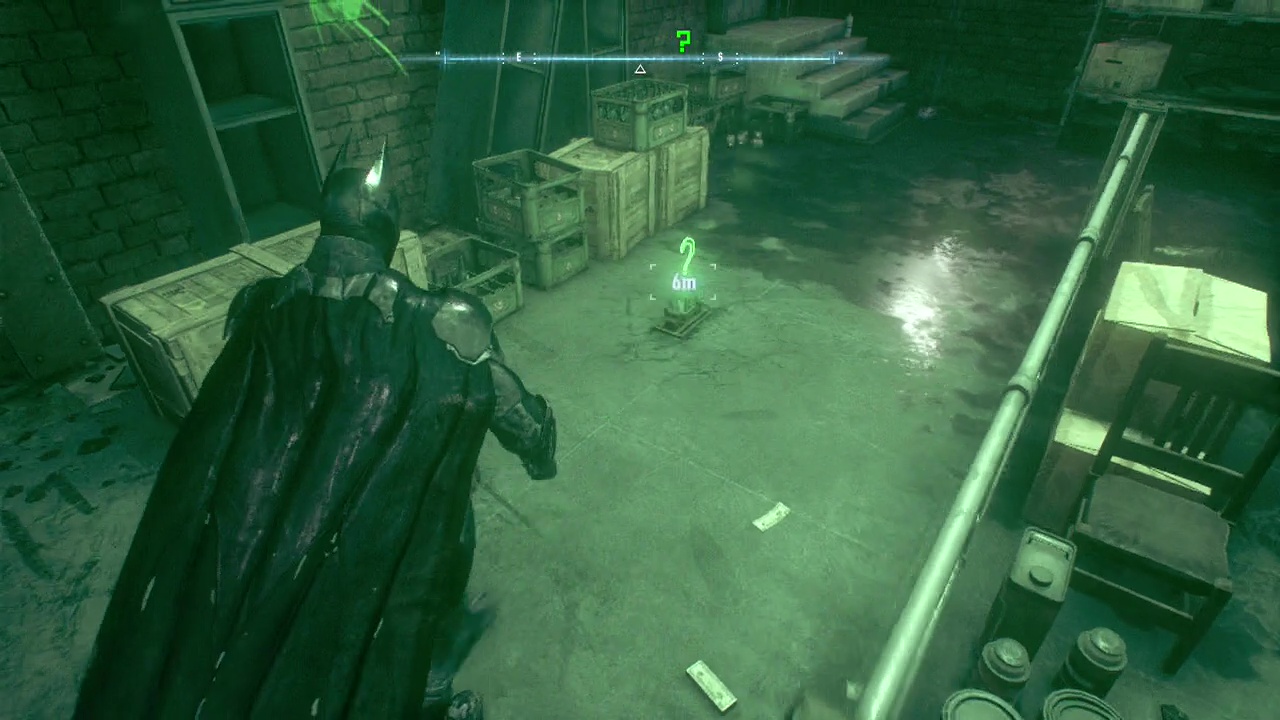
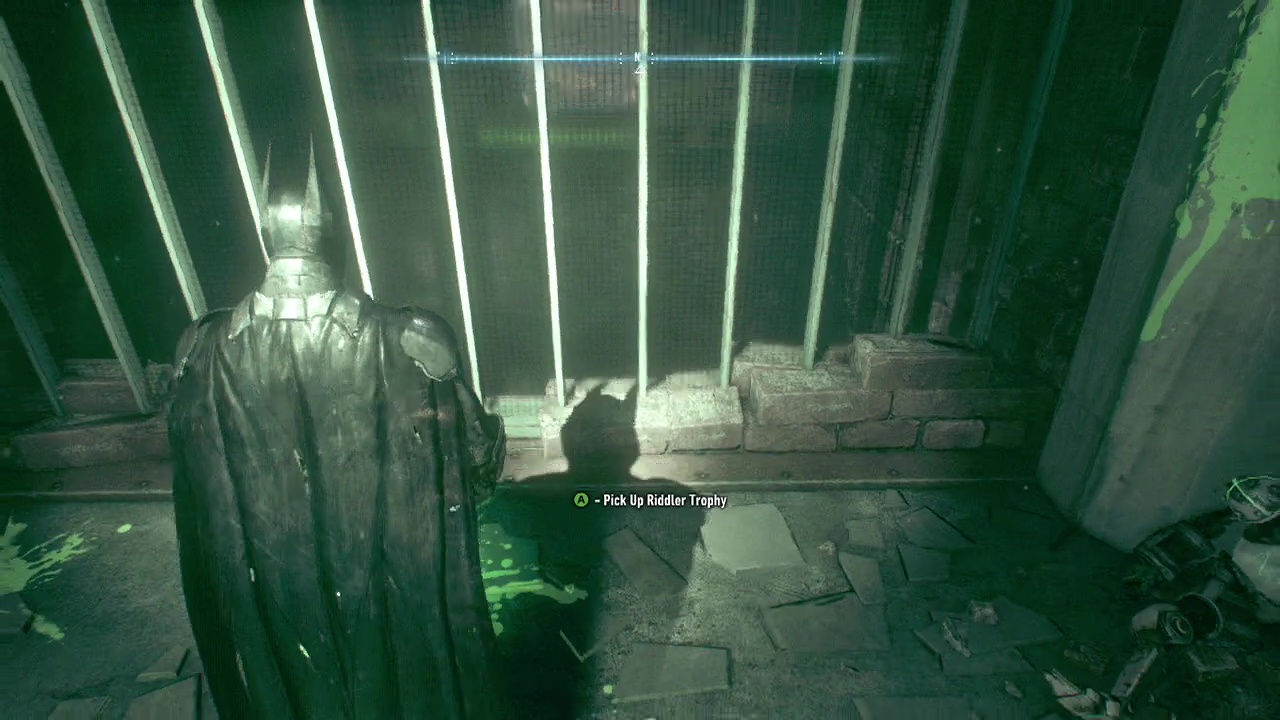
Riddler Trophy 10: Walk up. Trophy. Yours.
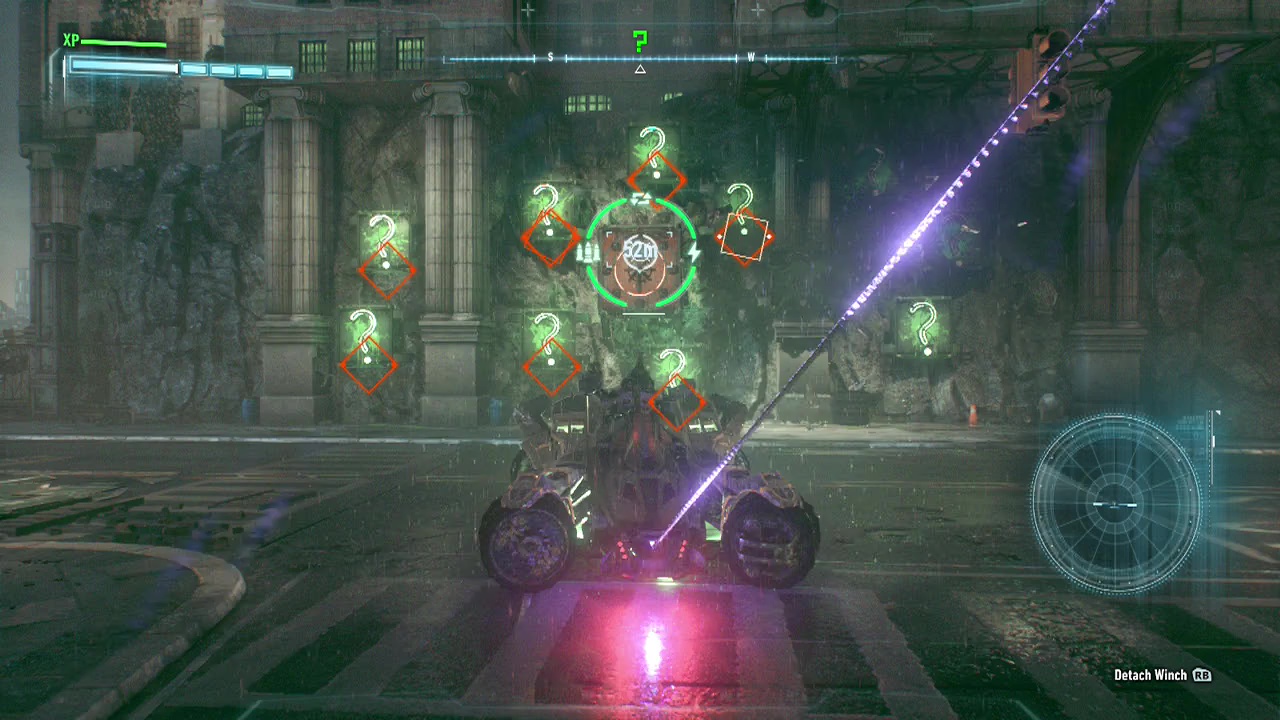
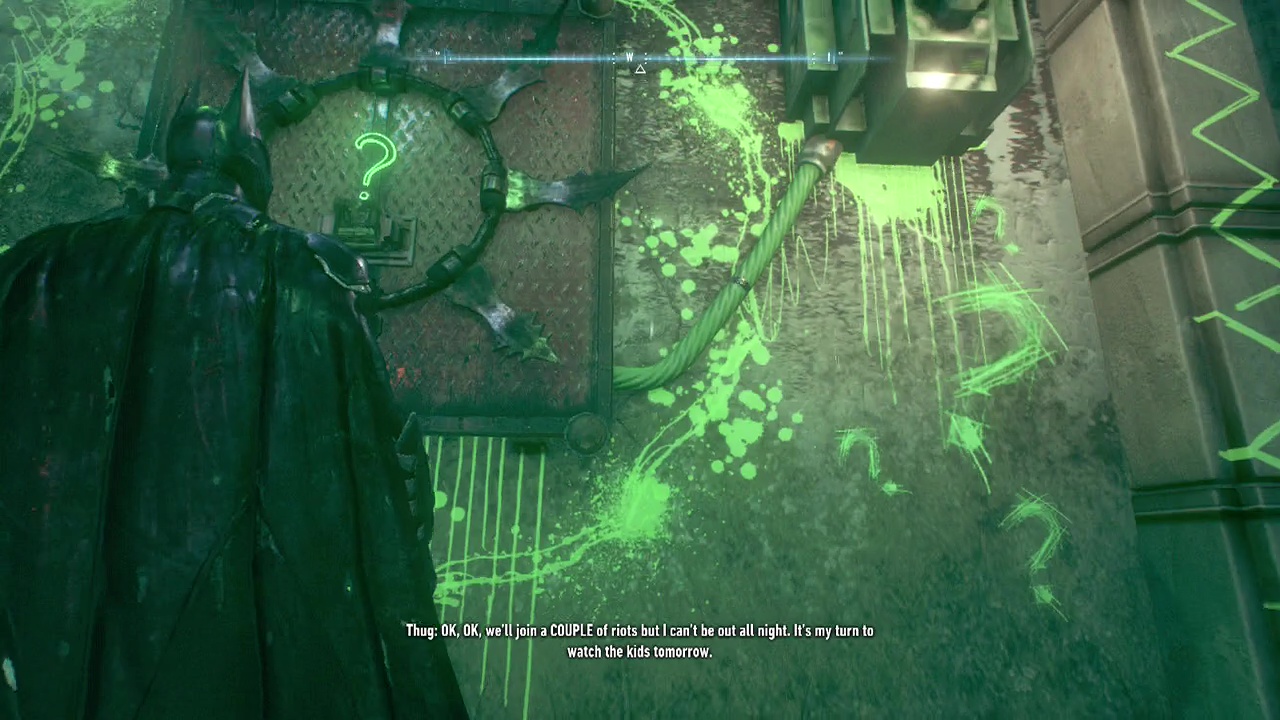
Riddler Trophy 11: Batmobile, Power Winch, Overcharged Secondary Weapon (10x shot) – Drive the Batmobile near the pressure pad, facing away from the Question Marks. Behind the pressure pad and up, is a Charge Point. Move the Batmobile onto the pressure pad, and use the Power Winch to start charging. Turn the turret back to the Question Marks and start firing your missiles to take them out. Once it goes through the ones, it will glow four on the left, and after that four on the right. After those are done, all 11 Question Marks will light up. Use the 10 shot to take out 10 of them, and shoot the remaining one with your turret. Collect trophy.

Riddler Trophy 12: Pick up the trophy in an elevator.
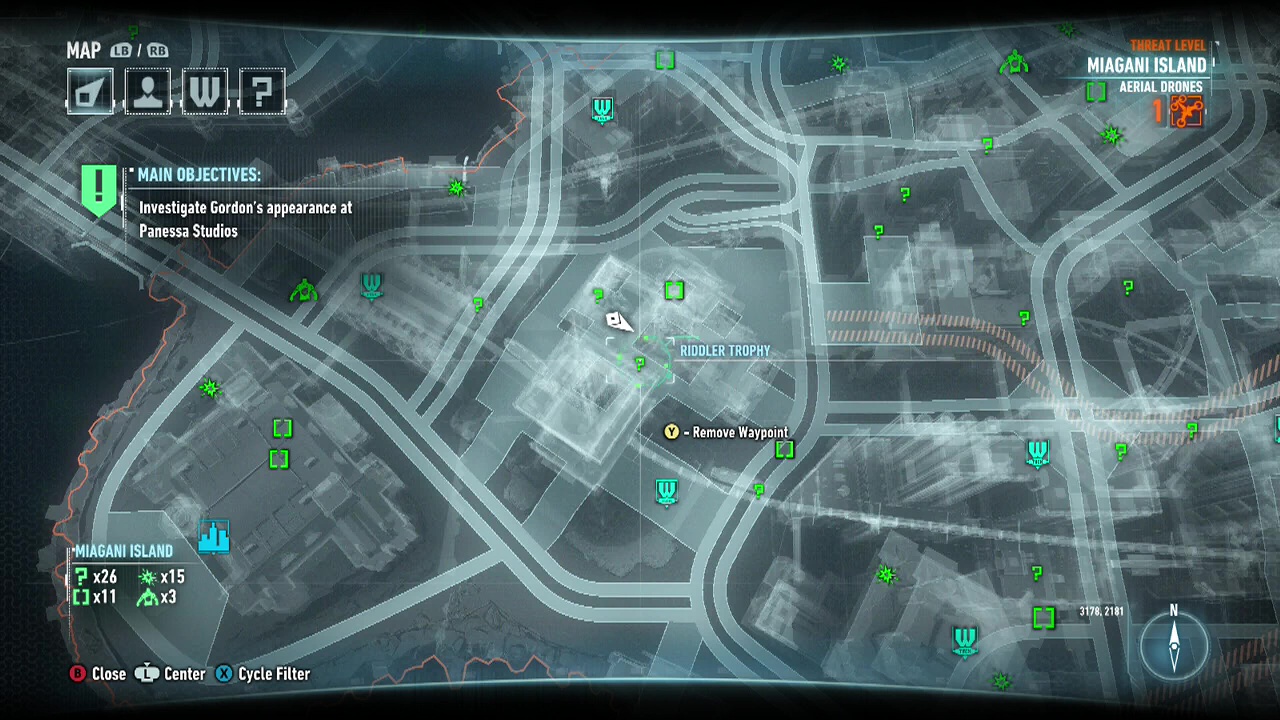
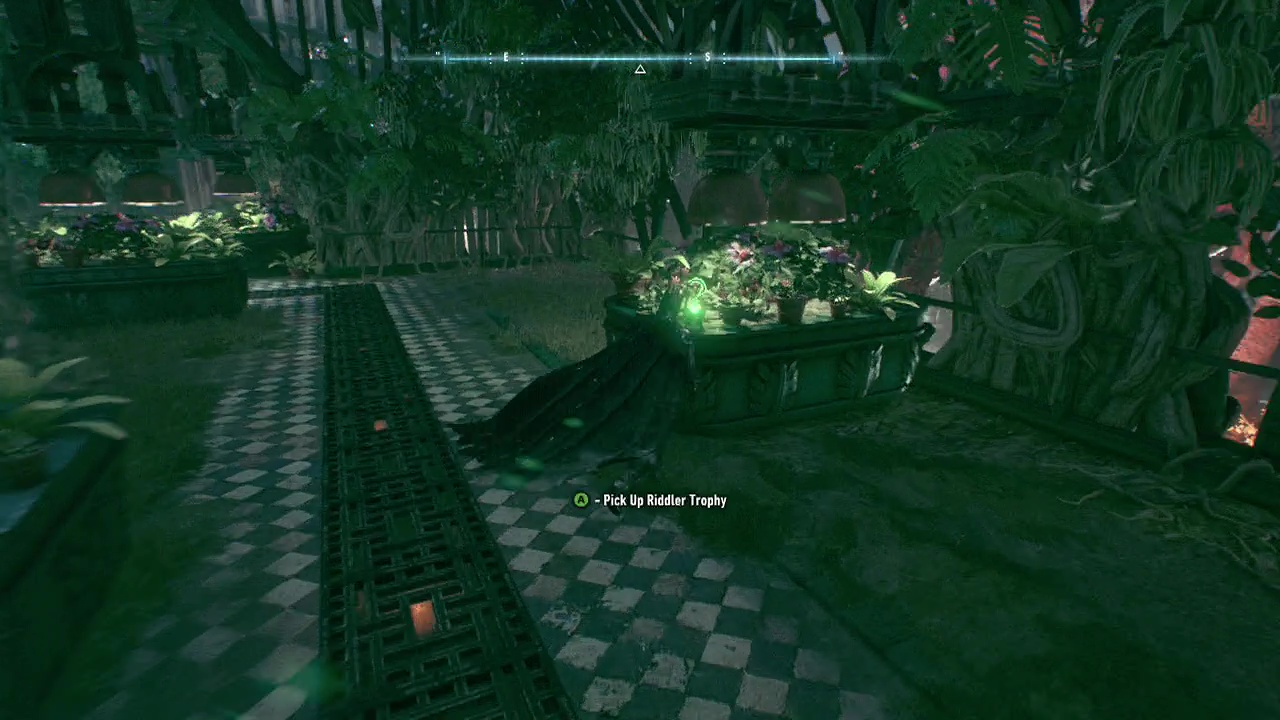
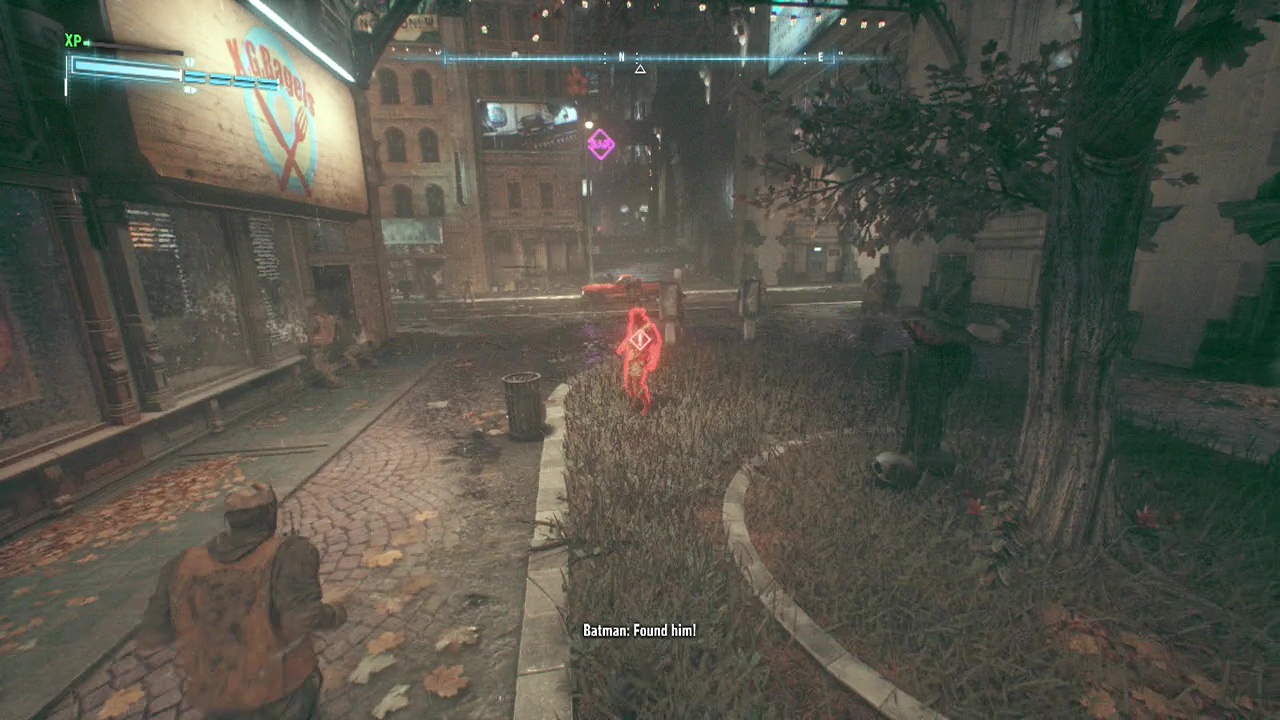
Riddler Trophy 13: Pick up the trophy at the base of one of Ivy's plants, among some flower beds.
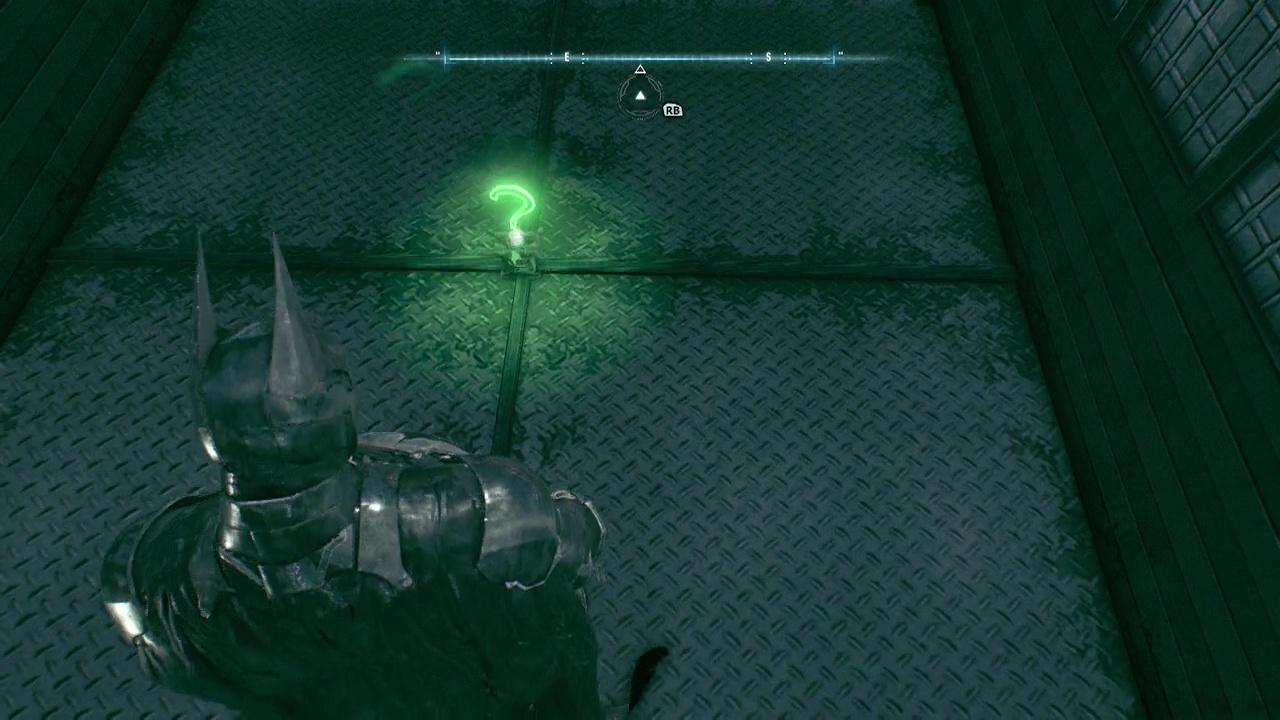
Riddler Trophy 14: Drop onto the balcony and down through the hole in the floor to pick up the trophy.
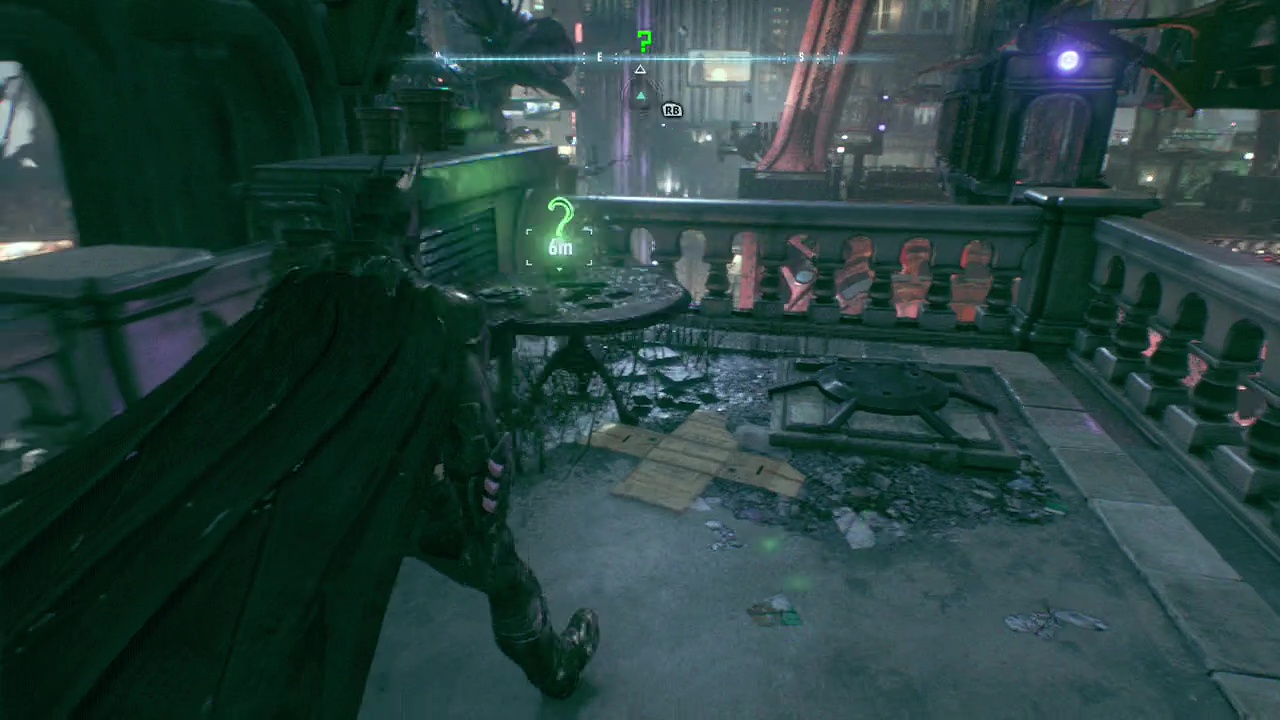
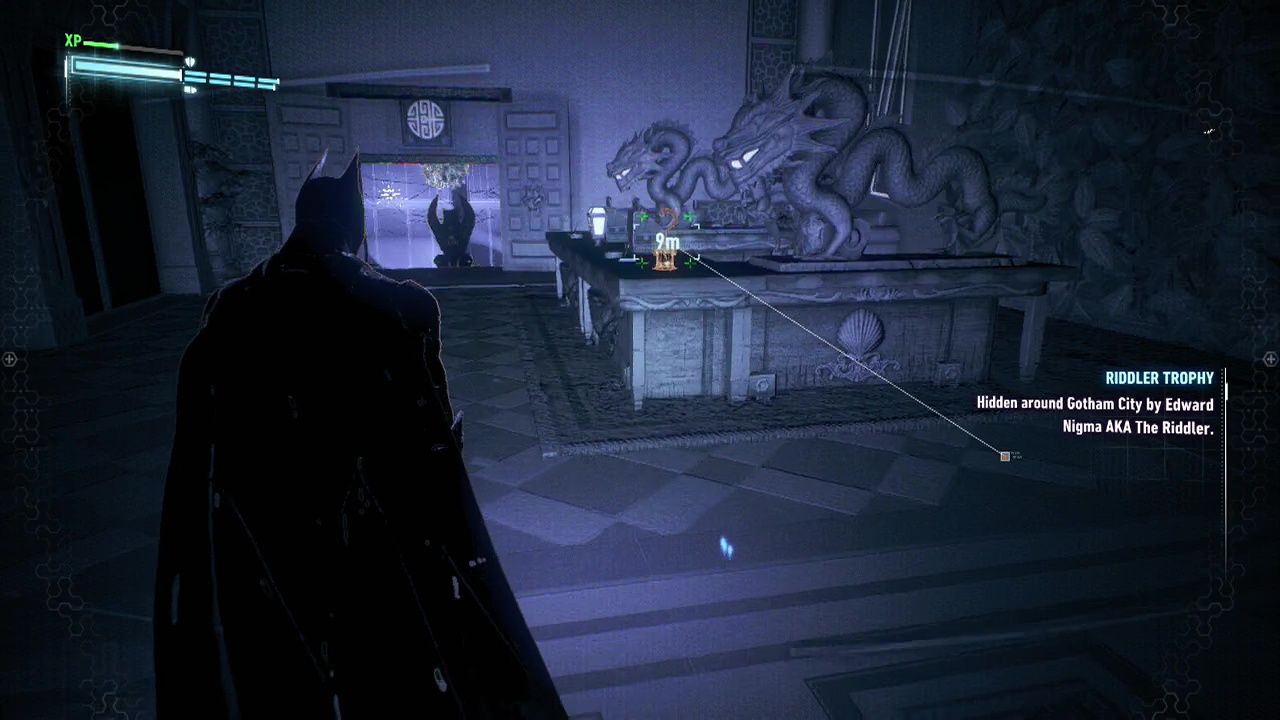
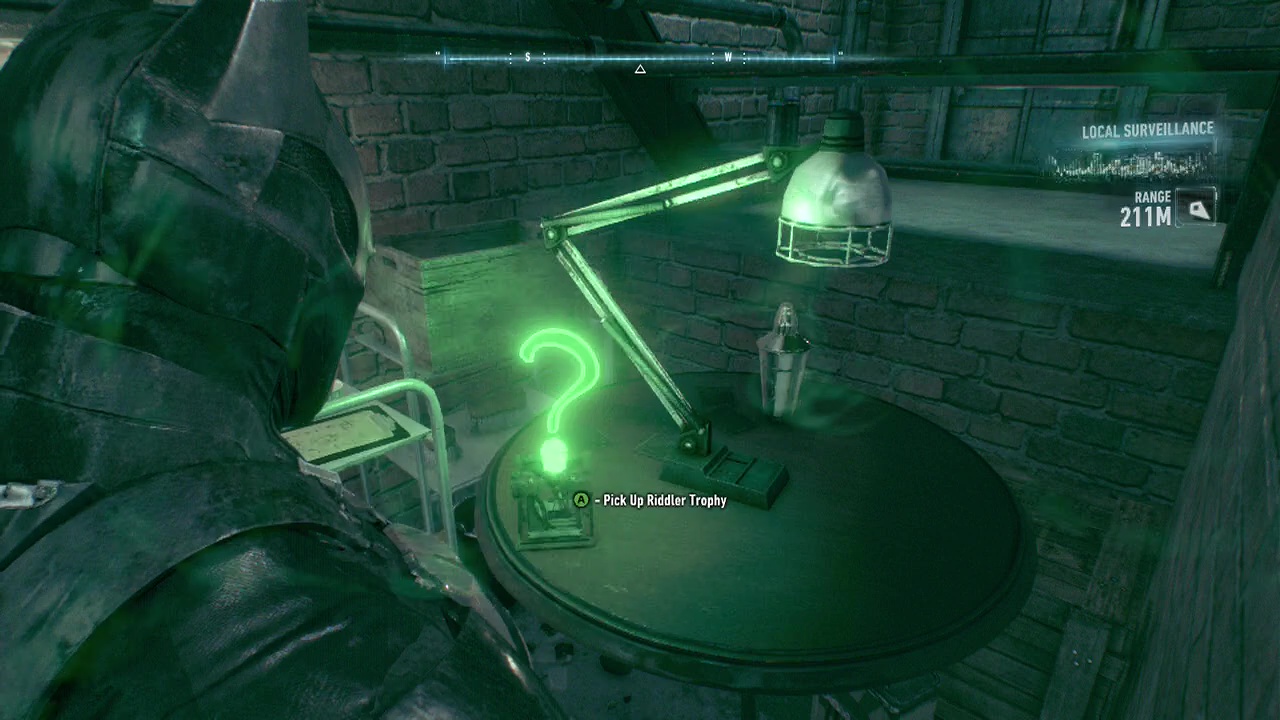
Riddler Trophy 15: Grapple up to the balcony and pick up the trophy sitting on a table.

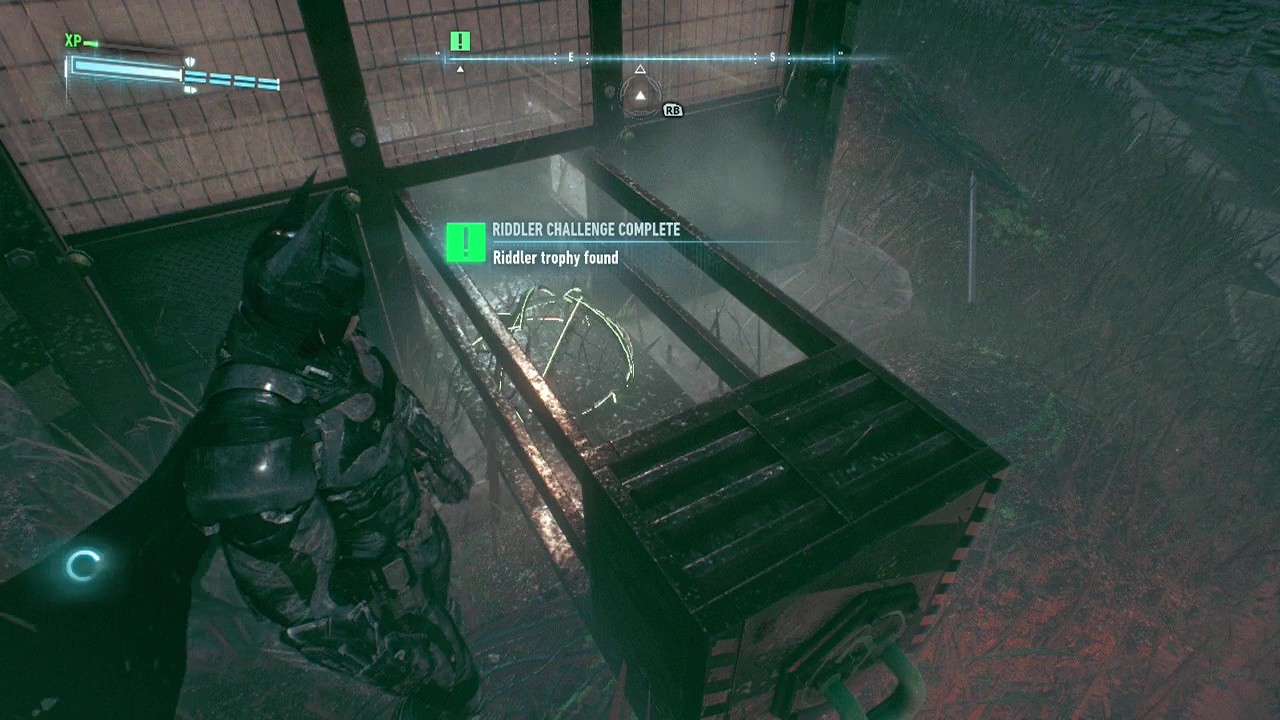
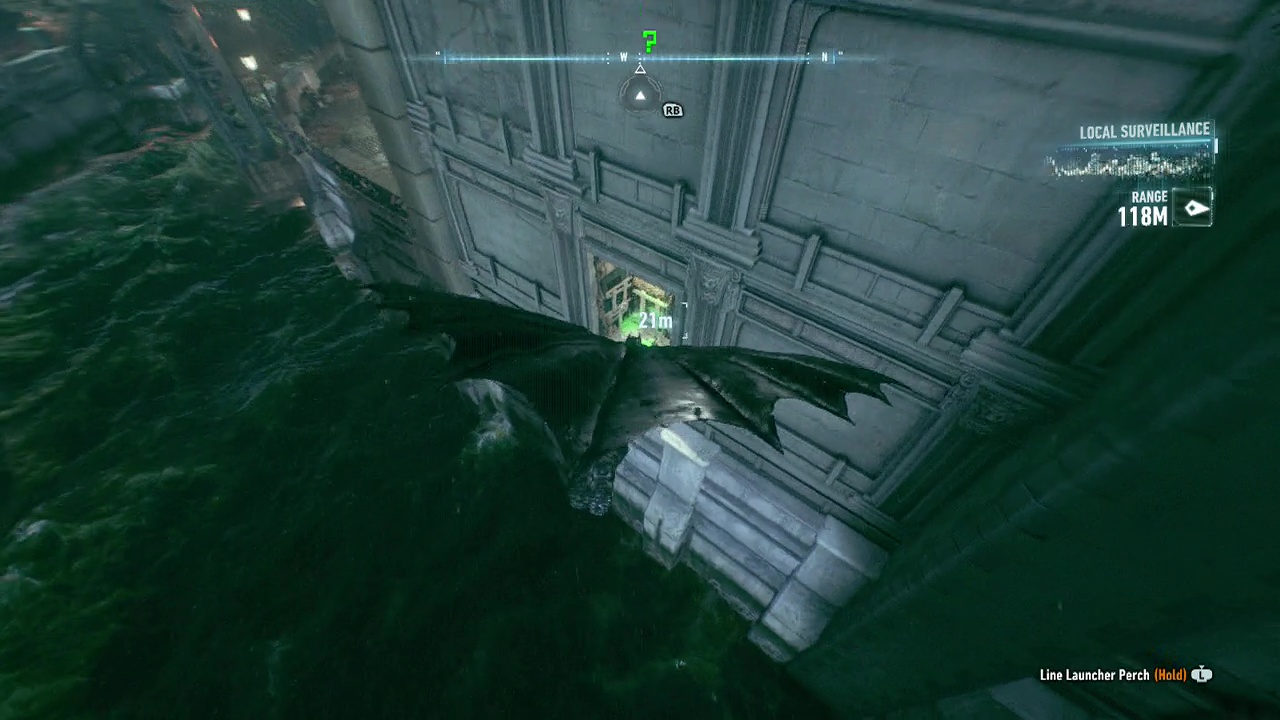
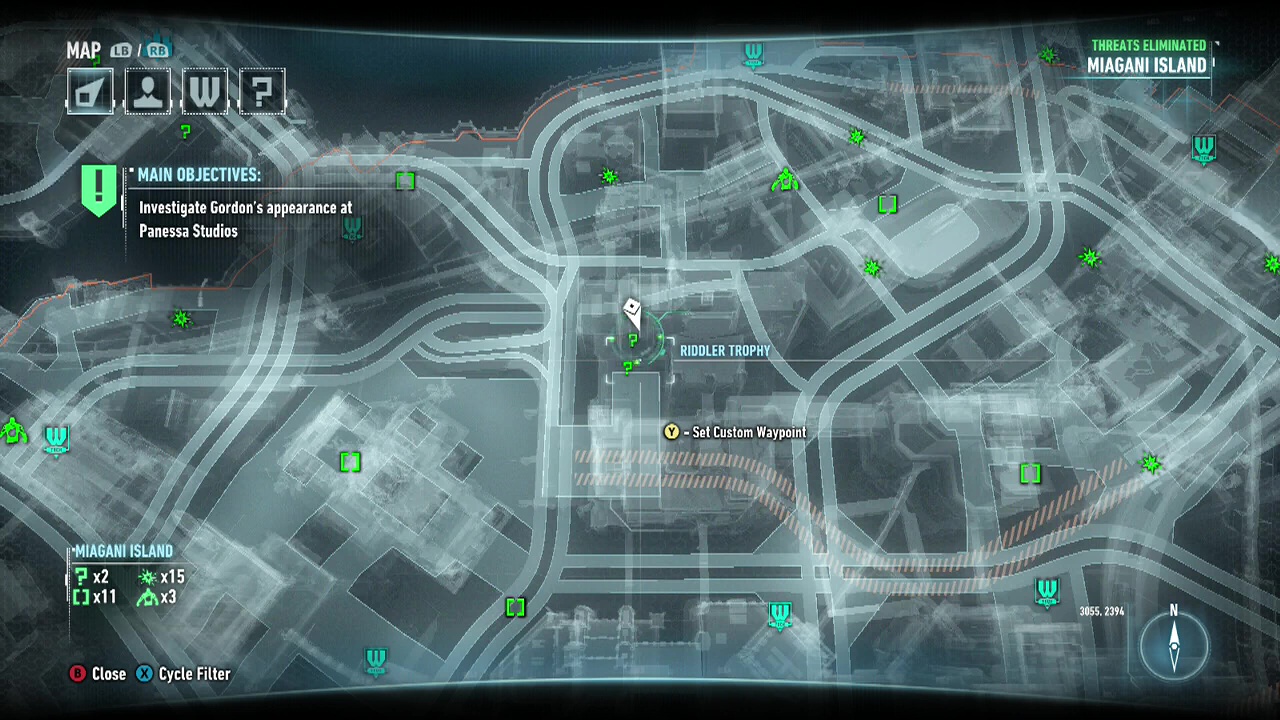
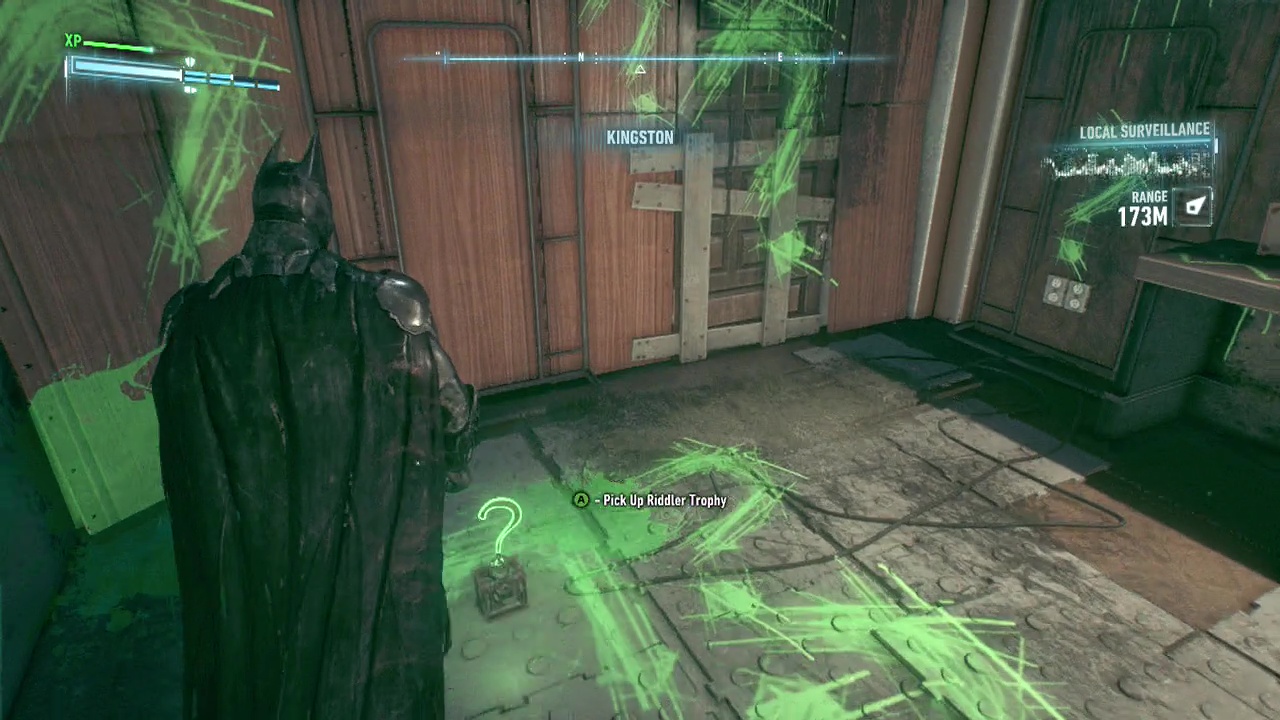
Riddler Trophy 16: Trophy is just sitting in a suspended train car, that is actually more difficult to get into than it looks. Front on is blocked, as is the back. Glide into the open door in the middle of the car and walk over to your trophy.
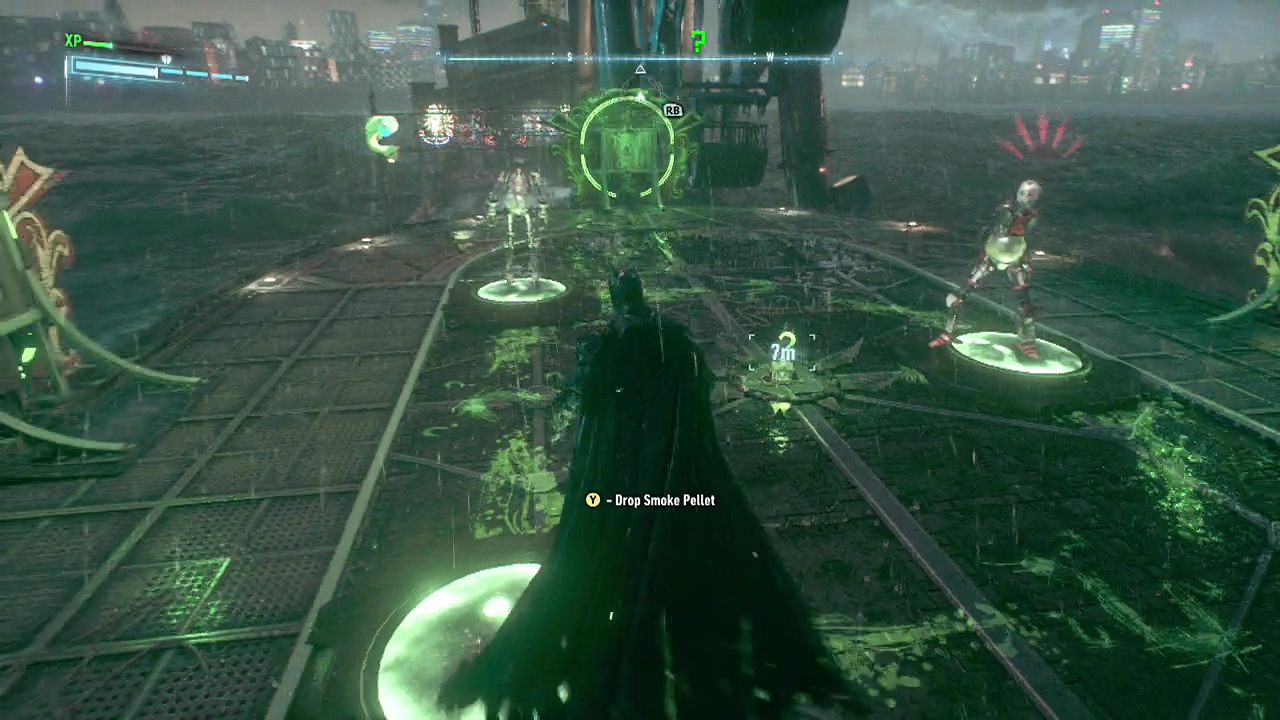
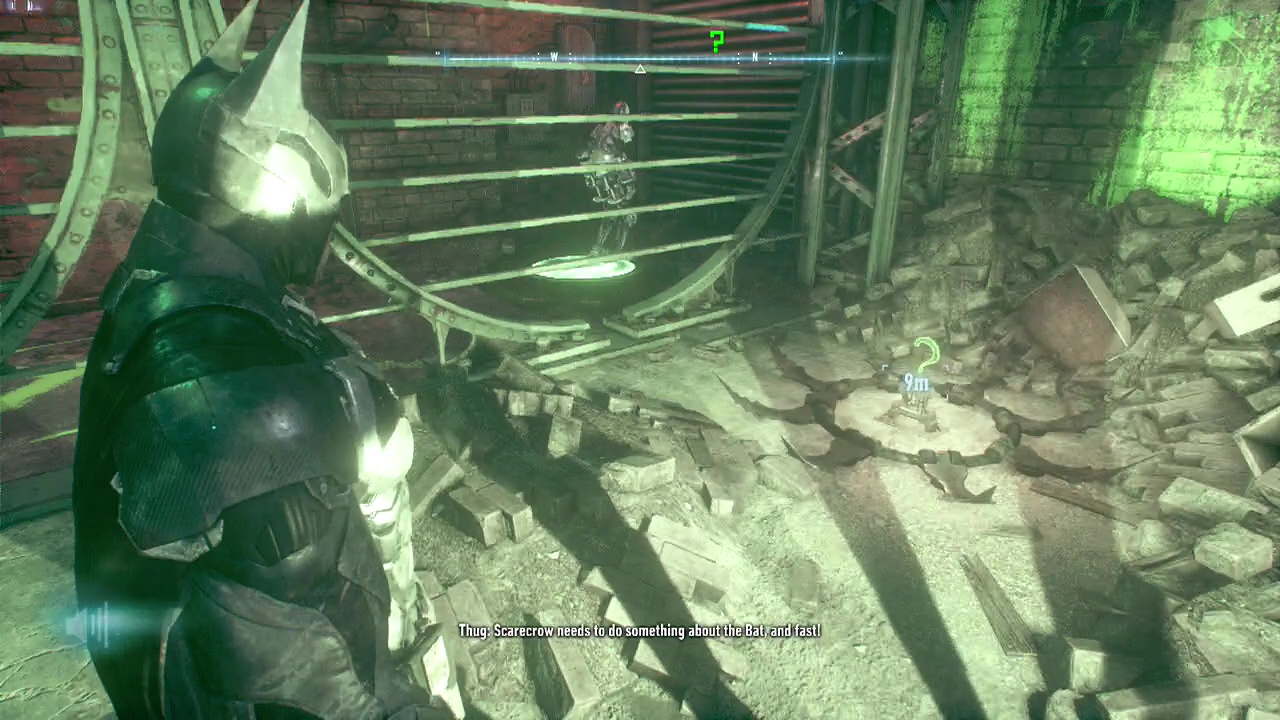
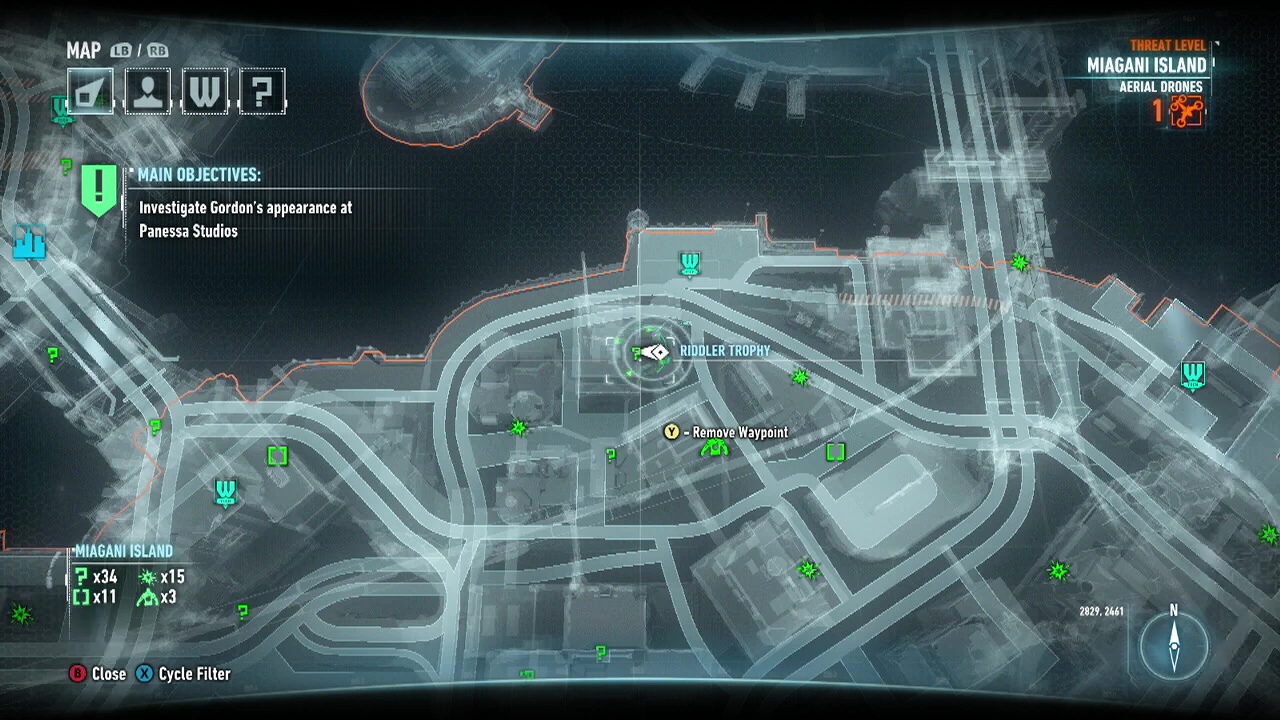
Riddler Trophy 17: Voice Synthesiser – The two Robots here will attack you if you approach them. From a safe vantage point, use the Voice Synthesiser to move the Robots onto two of the pressure pads. Then glide down and land on the last one. Then either take out the robots and collect your prize, or collect your prize and Battail it out of there.
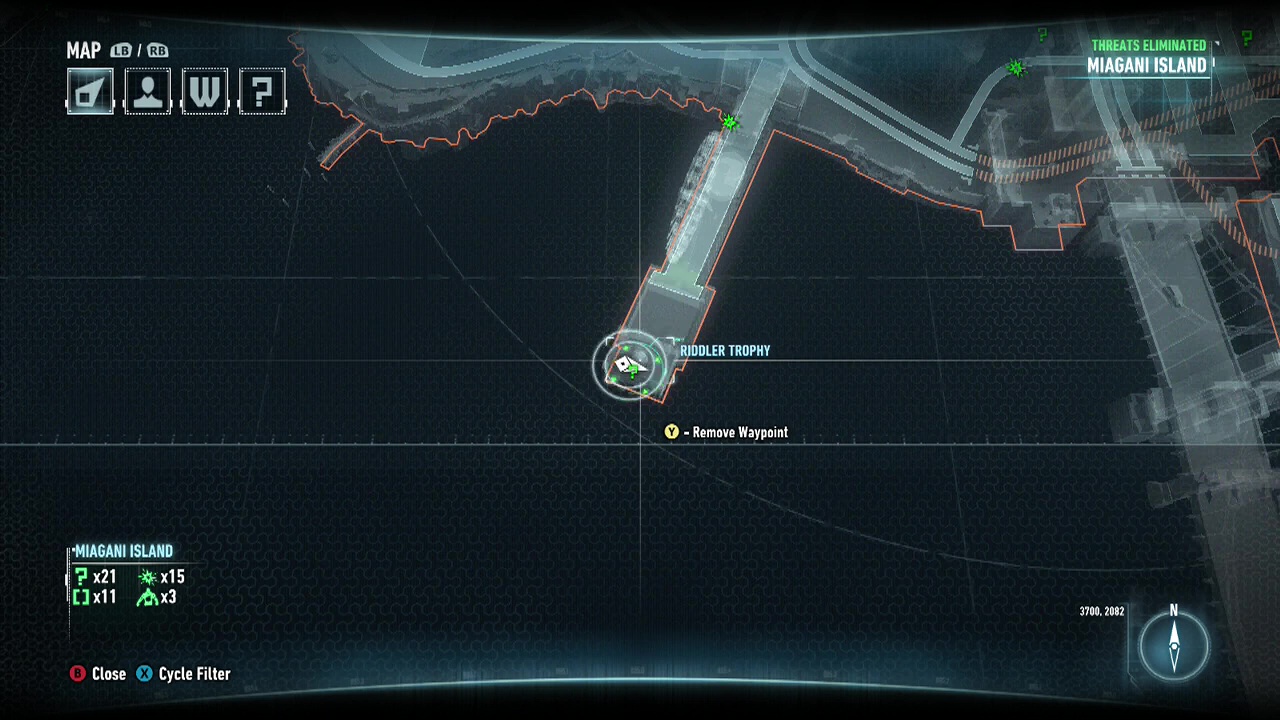
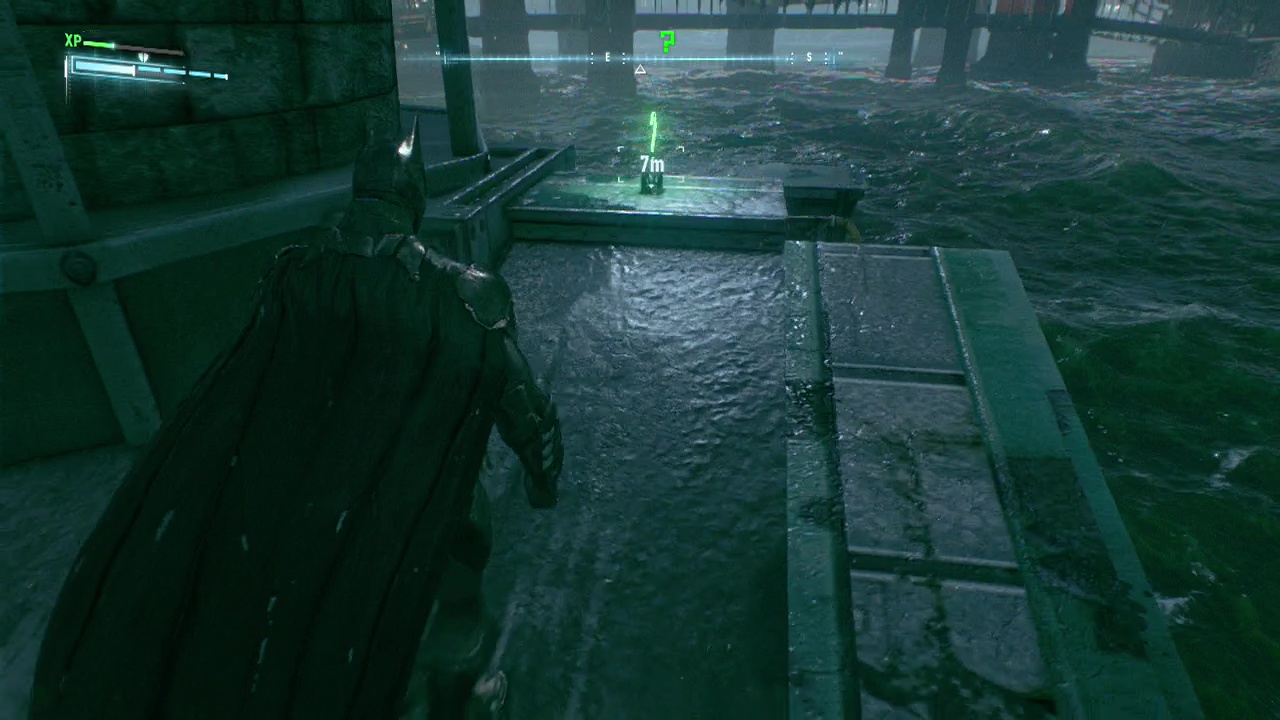
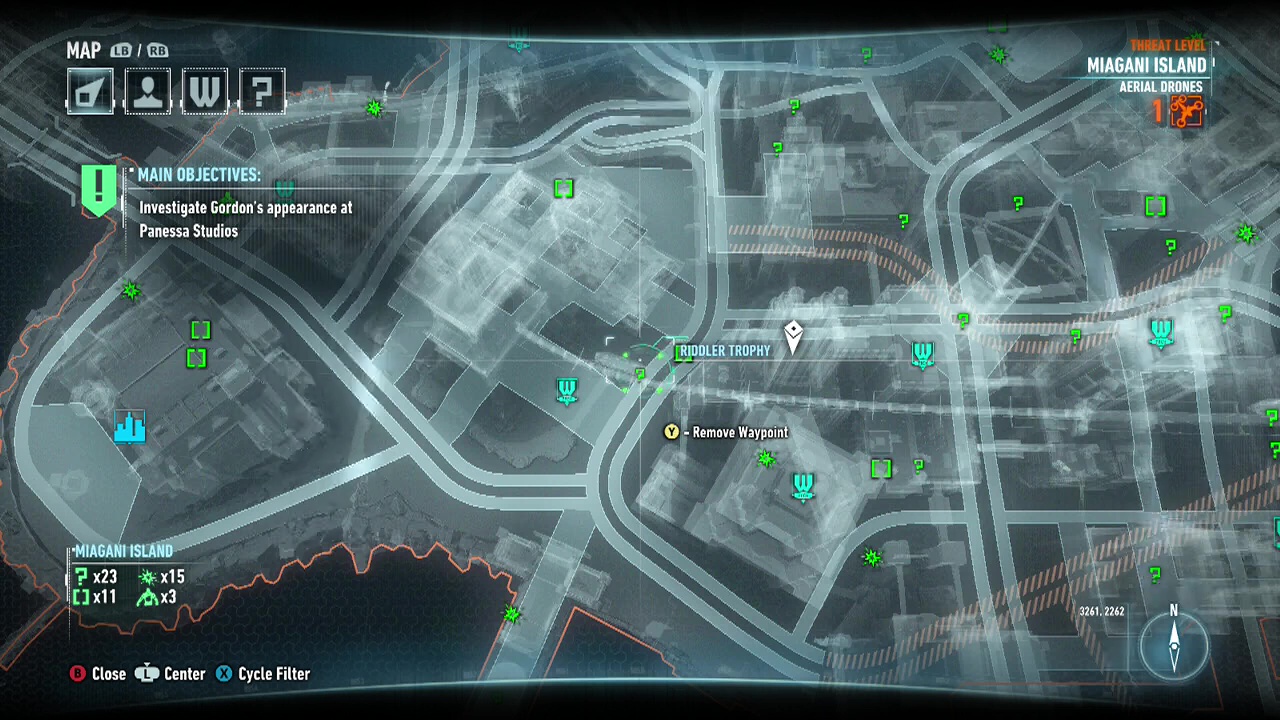
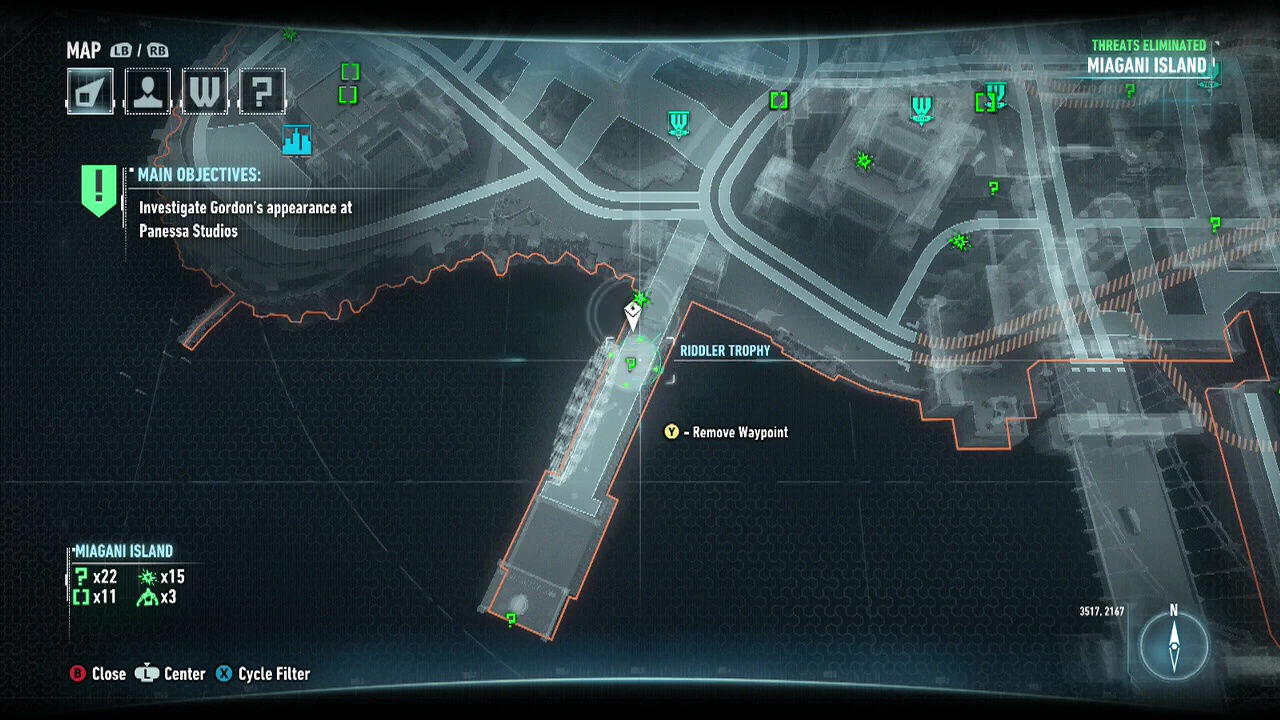
Riddler Trophy 18: Head to the end of the pier and collect the trophy.
Riddler Trophy 19: Batmobile, Power Winch, Remote Hacking Device/Batmobile Remote – Use the Power Winch on the breakable wall to enter. Once you pick up the trophy, a sentry gun will appear in the doorway. Use either the Remote Hacking Device to disable the turret, or the Batmobile Remote to shoot it from behind.
Riddler Trophy 20: Batmobile – Approach the building from the east side. There is breakable glass on the same level as the trophy. Shoot the glass with the Batmobile, and then glide in to collect the trophy.
Riddler Trophy 21: Batmobile, Forensic Scanner, Remote Hacking Device – Start the trail with the Forensic Scanner. It will lead you over a ramp, and eventually to a closed gate. Quickly exit the Batmobile, and head around to the left, drop down and grapple up. There is a Hack Point here to open the gate, so use the Remote Hacking Device. Head back to the Batmobile and continue the scan. If the trail has disappeared, you will have to restart from the start, but the door will remain open. Shoot the wall at the end and climb in to get the trophy.
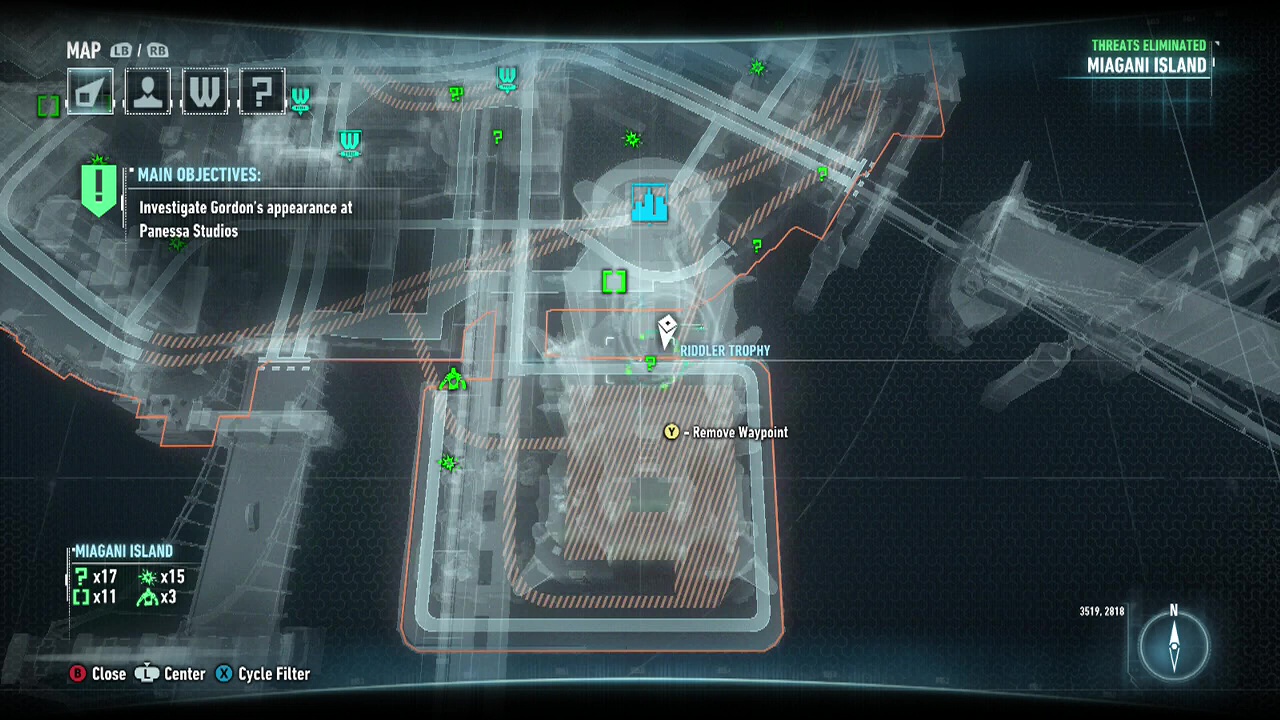
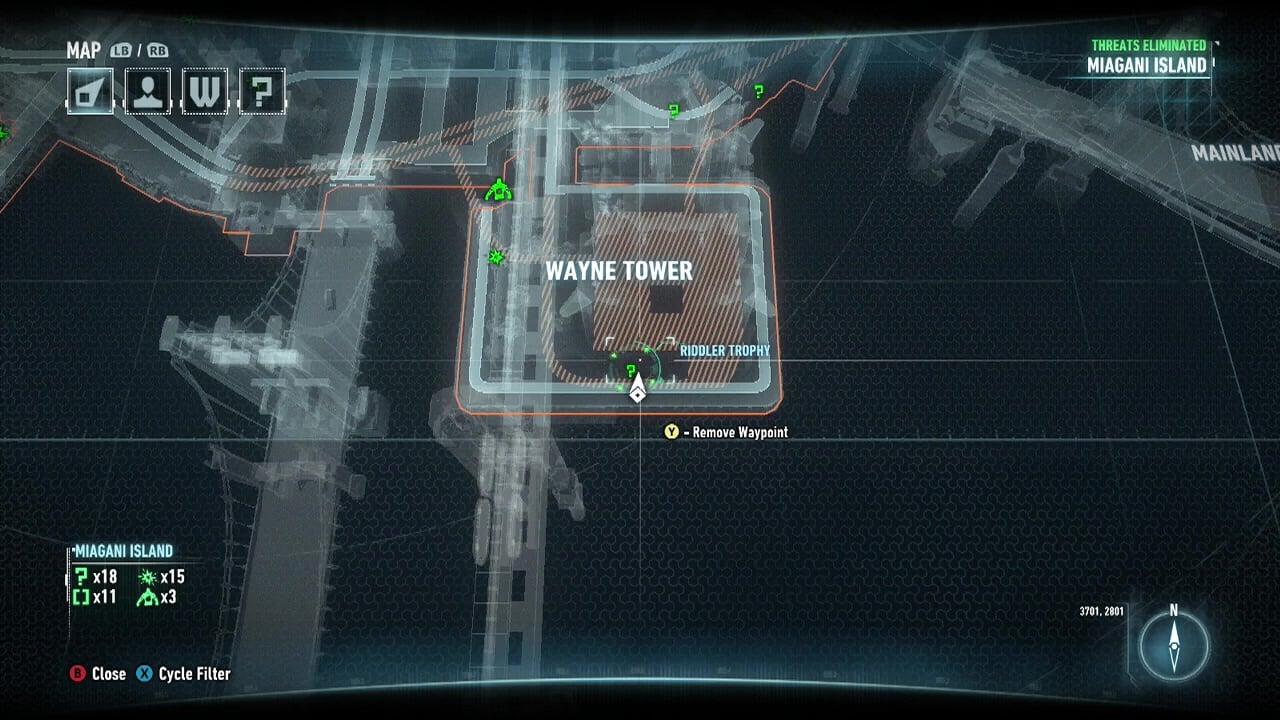
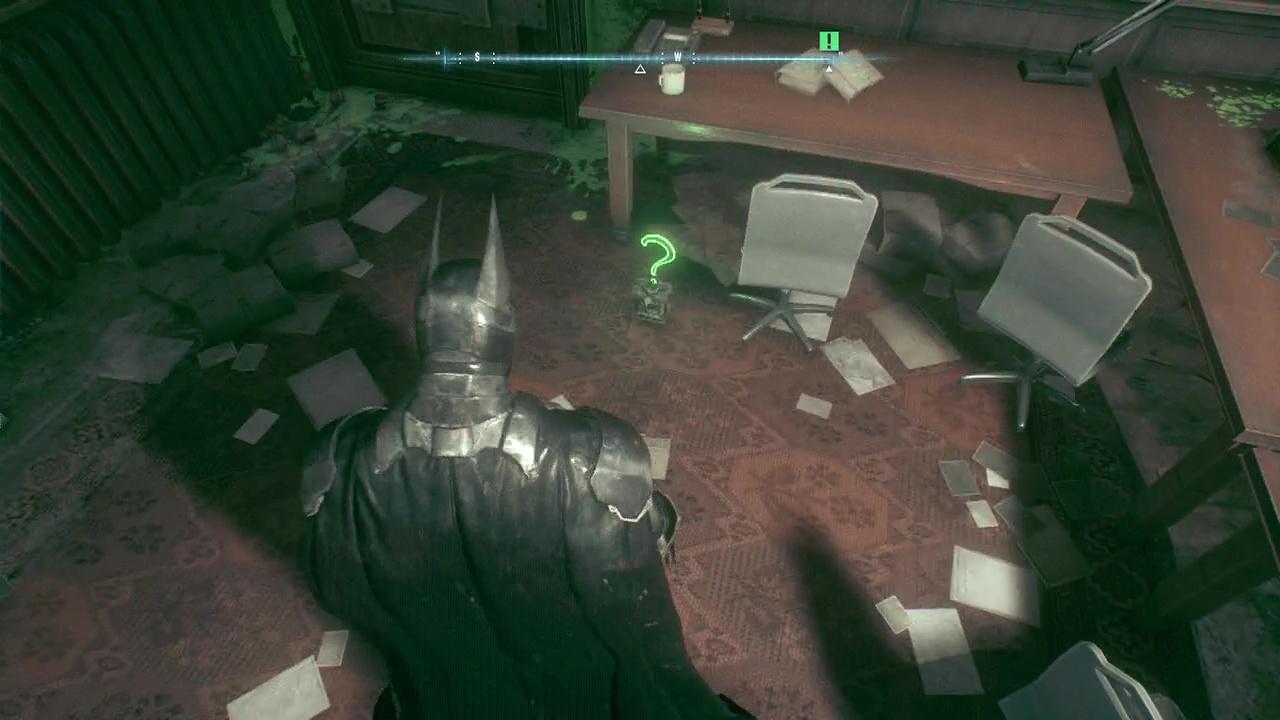
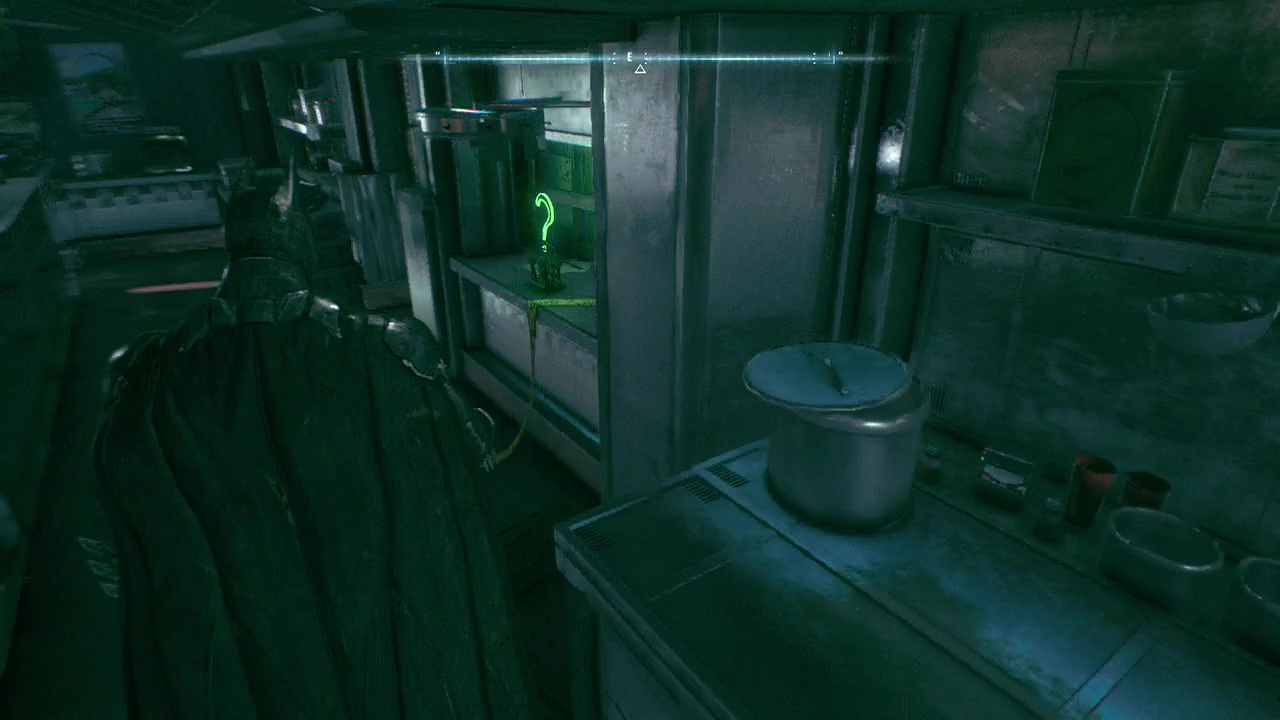
Riddler Trophy 22: Enter Wayne Tower from one of the upper levels. There is an open door and some stairs. Head down teh stairs and pick up the trophy sitting in the closet. Martini anyone?
Riddler Trophy 23: Batmobile – From the corner of the ground level of Wayne Tower, use the Batmobile to shoot the breakable wall. Then glide in to take the trophy.
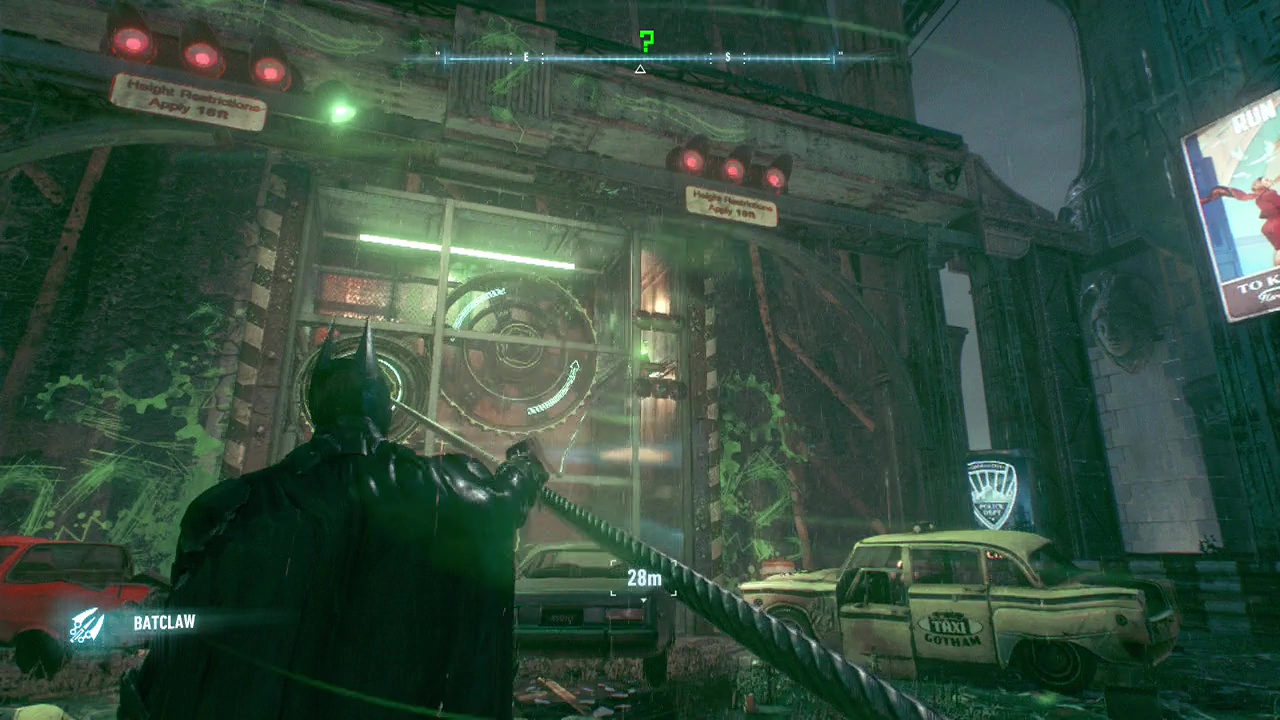
Riddler Trophy 24: Batmobile, Power Winch, Batclaw – Use the Power Winch to pull the cog and start the trophy on its journey up. Exit the Batmobile, and use the Batclaw on the trophy when it raises between the two solid bars.
Riddler Trophy 25: Batmobile, Power Winch, Batmobile Remote – Use the Power Winch to raise the floor up. Walk in and grapple up to the trophy. When you pick it up, a lot of Robots with Guns will spawn. Use the Batmobile Remote to lower the floor, crushing them, and raise it again to get out.
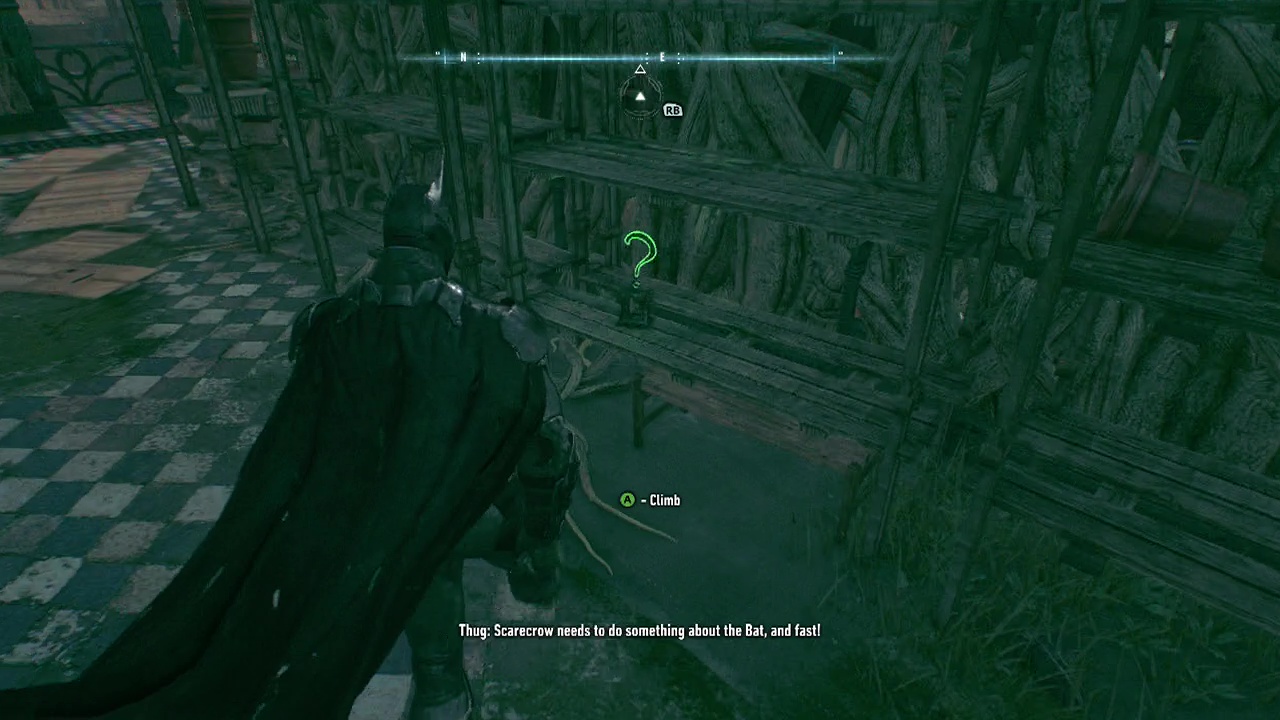
Riddler Trophy 26: Climb up and get the trophy.

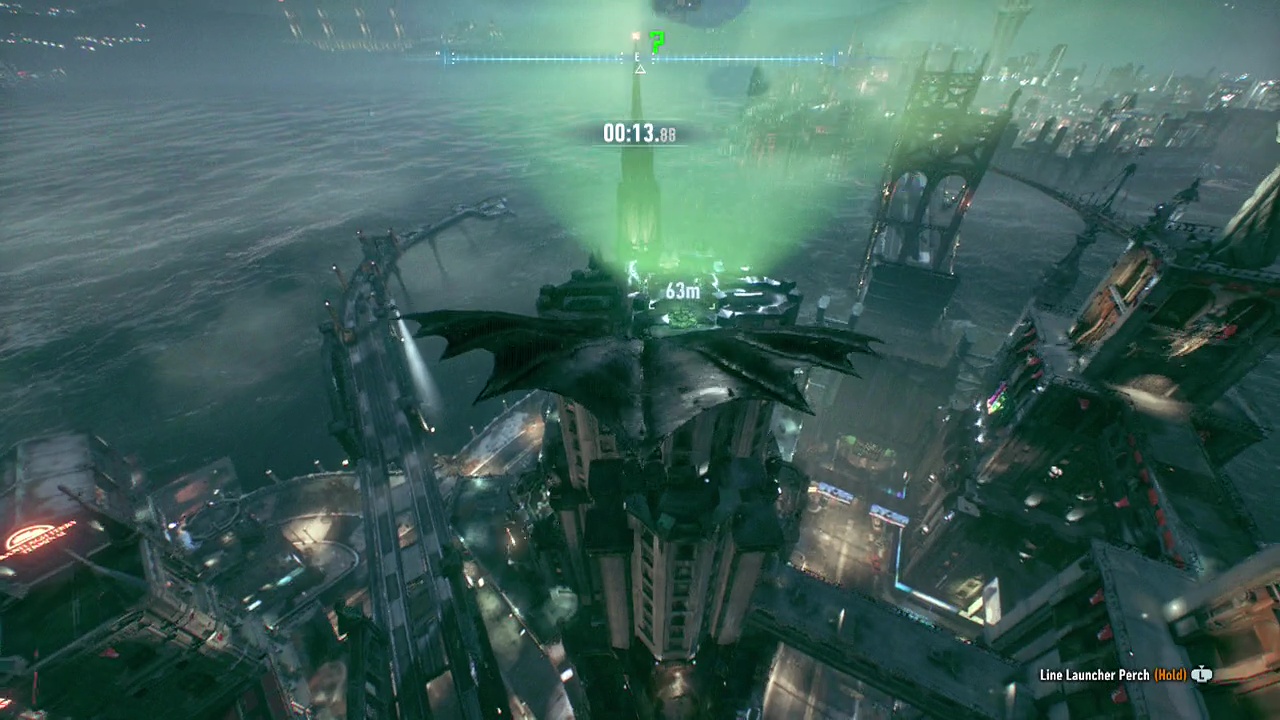
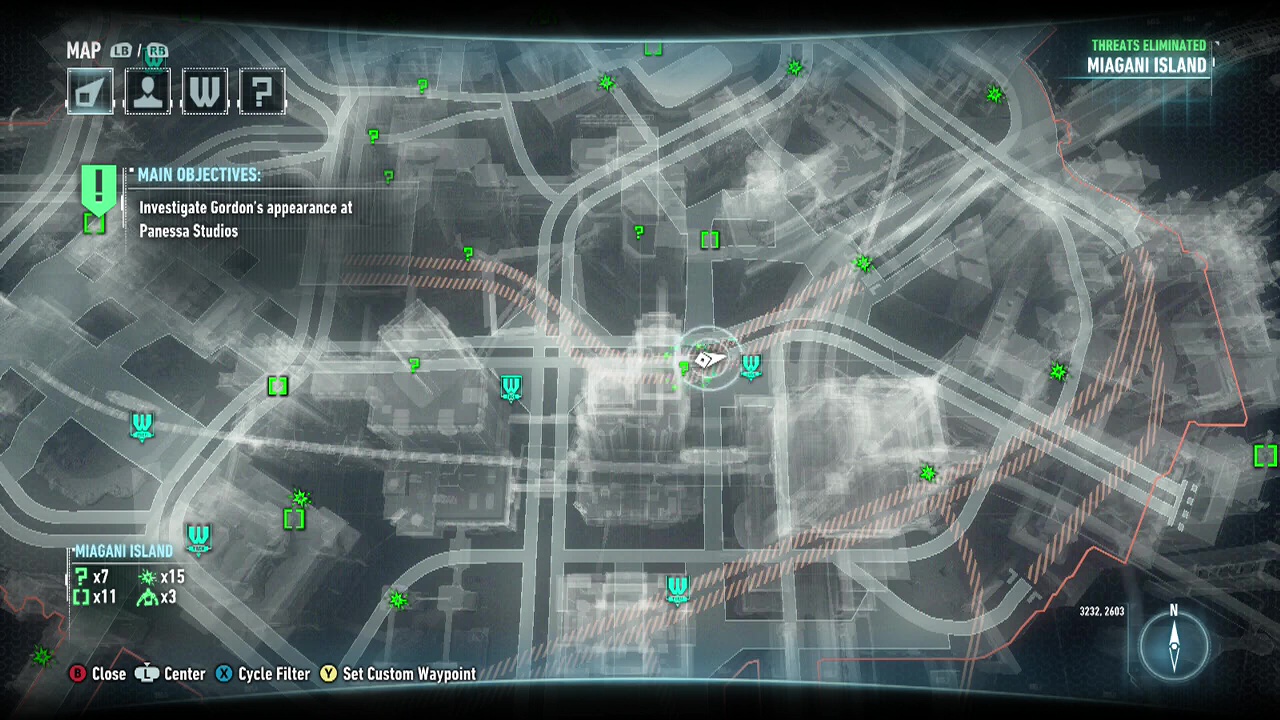
Riddler Trophy 27: Batmobile – 2887-2171. Head to the marked location. The pressure pad is on top of the hospital. Jump off the building and either glide or Batmobile your way back to the trophy. Either way works, but glide is a lot easier, especially if you have upgraded the grapple speed boost.
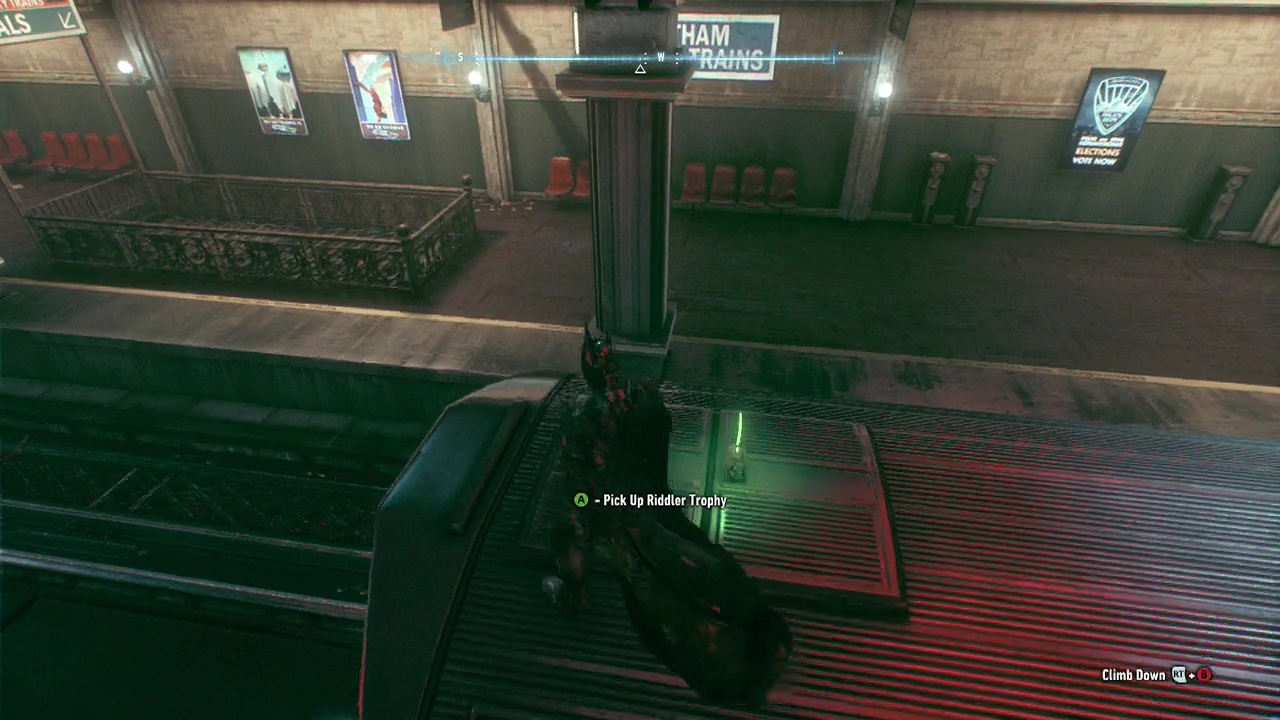
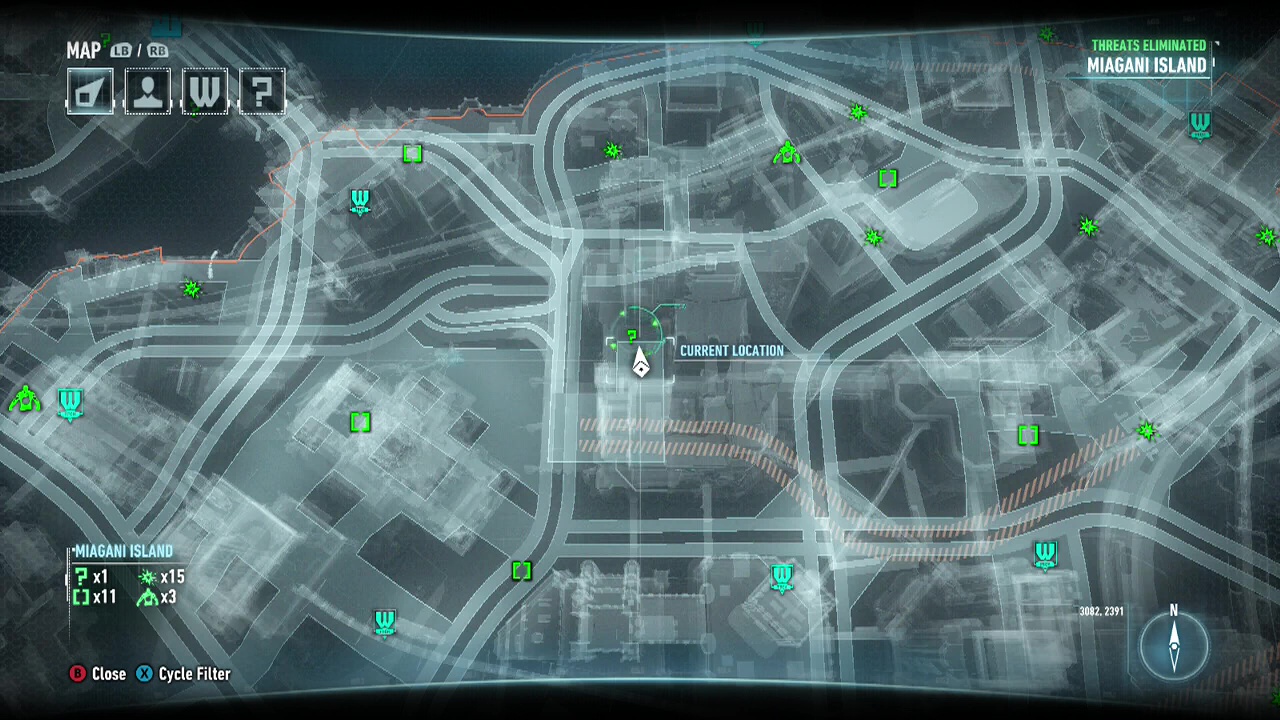
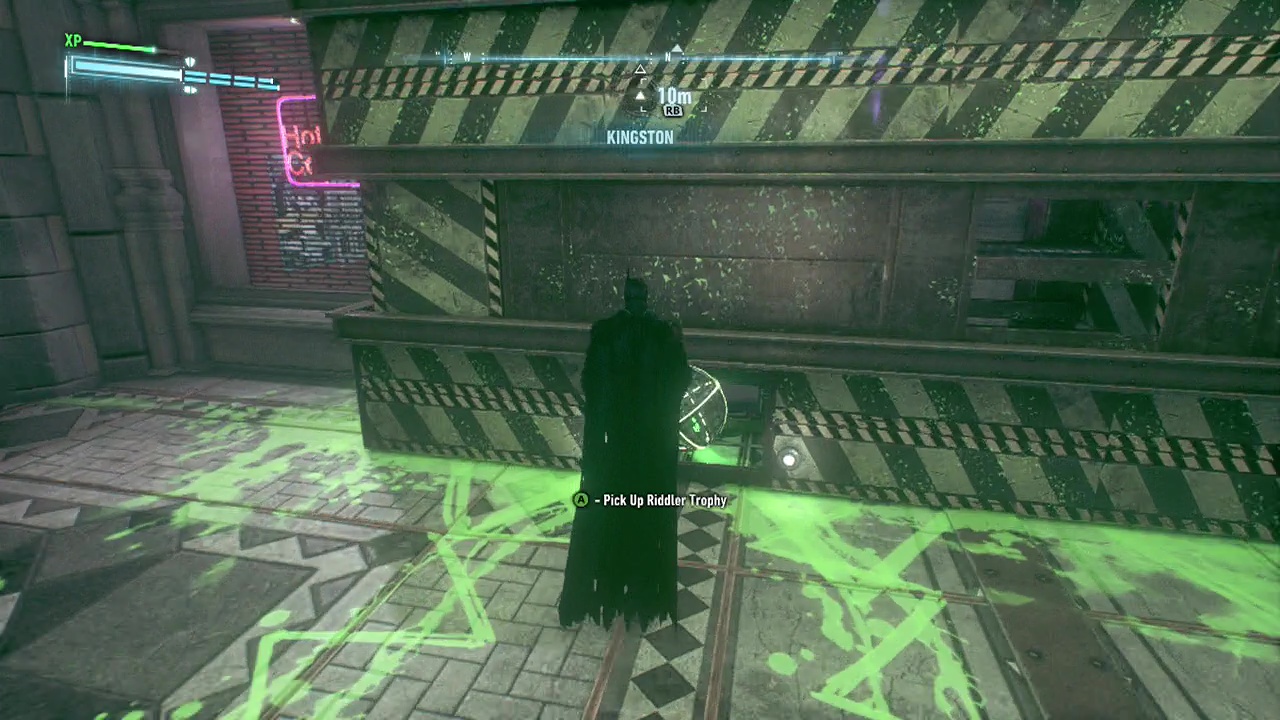
Riddler Trophy 28: Climb the train and pick up the trophy.
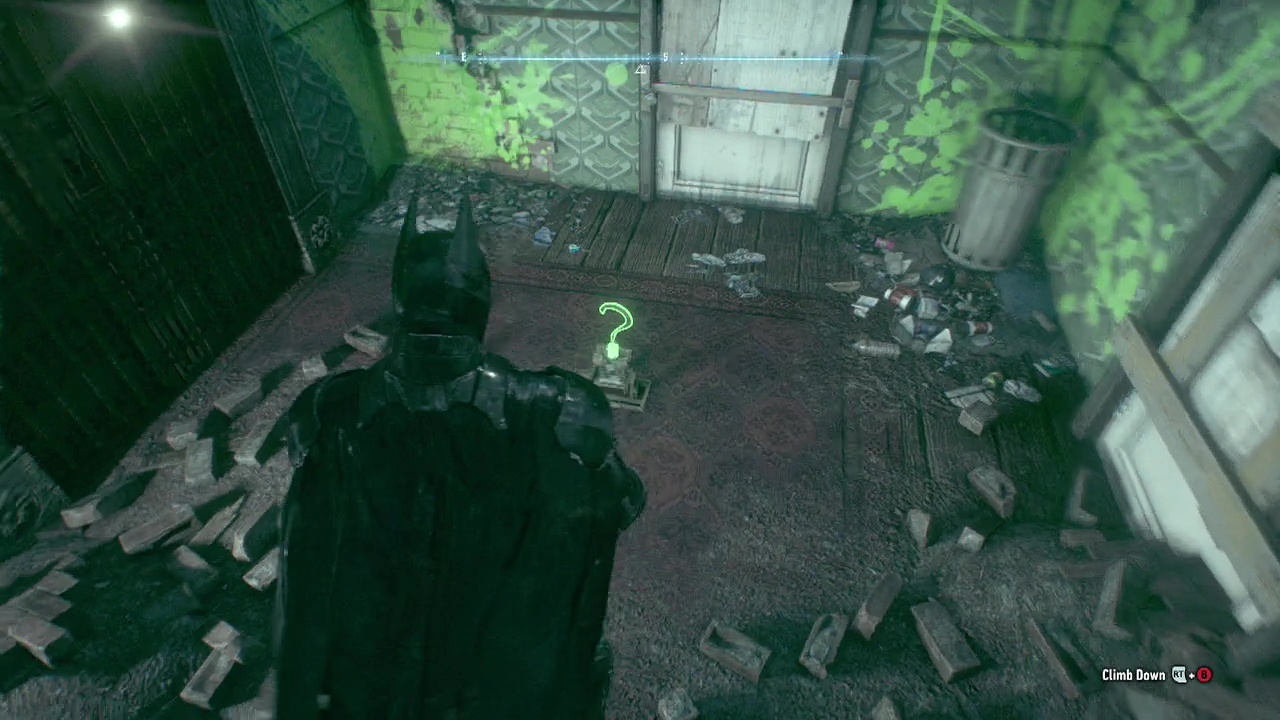
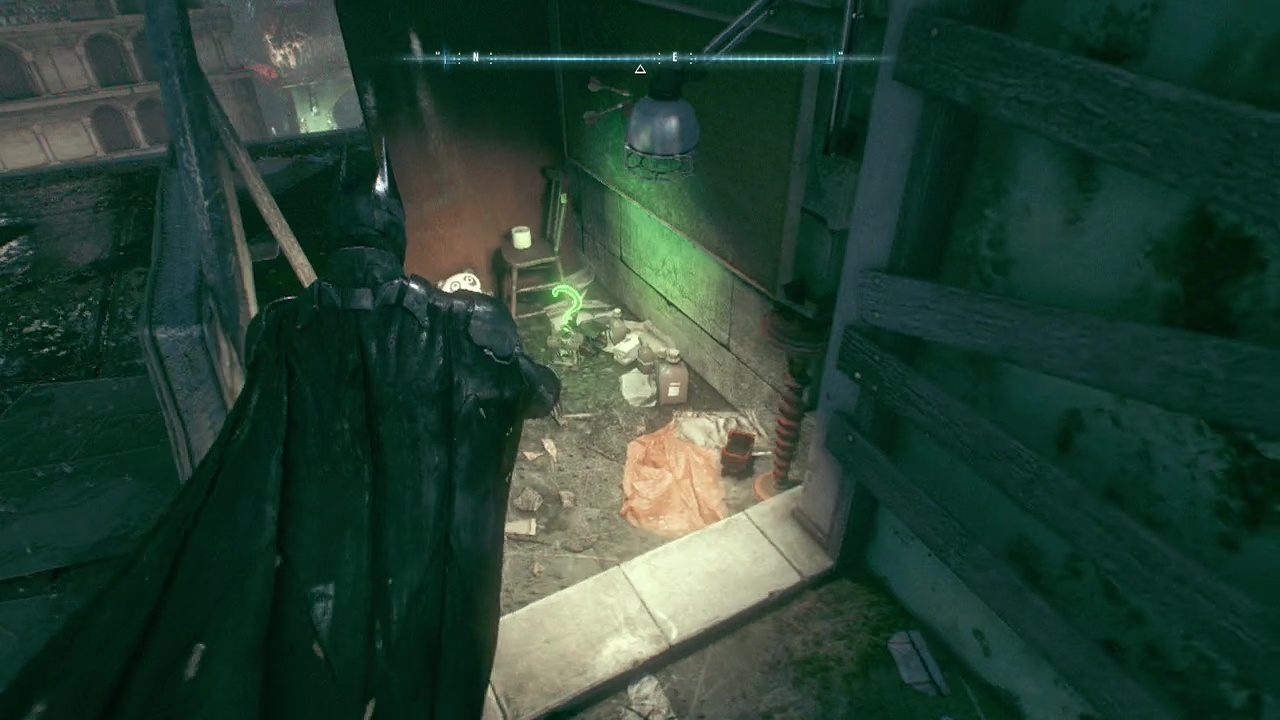
Riddler Trophy 29: Head to the top of the train station, and jump down the grate. Or through the hole on the wall. Or through the wooden barrier. Whatever works. Pick up trophy.
Riddler Trophy 30: Grapple your way up to the top. Find trophy.
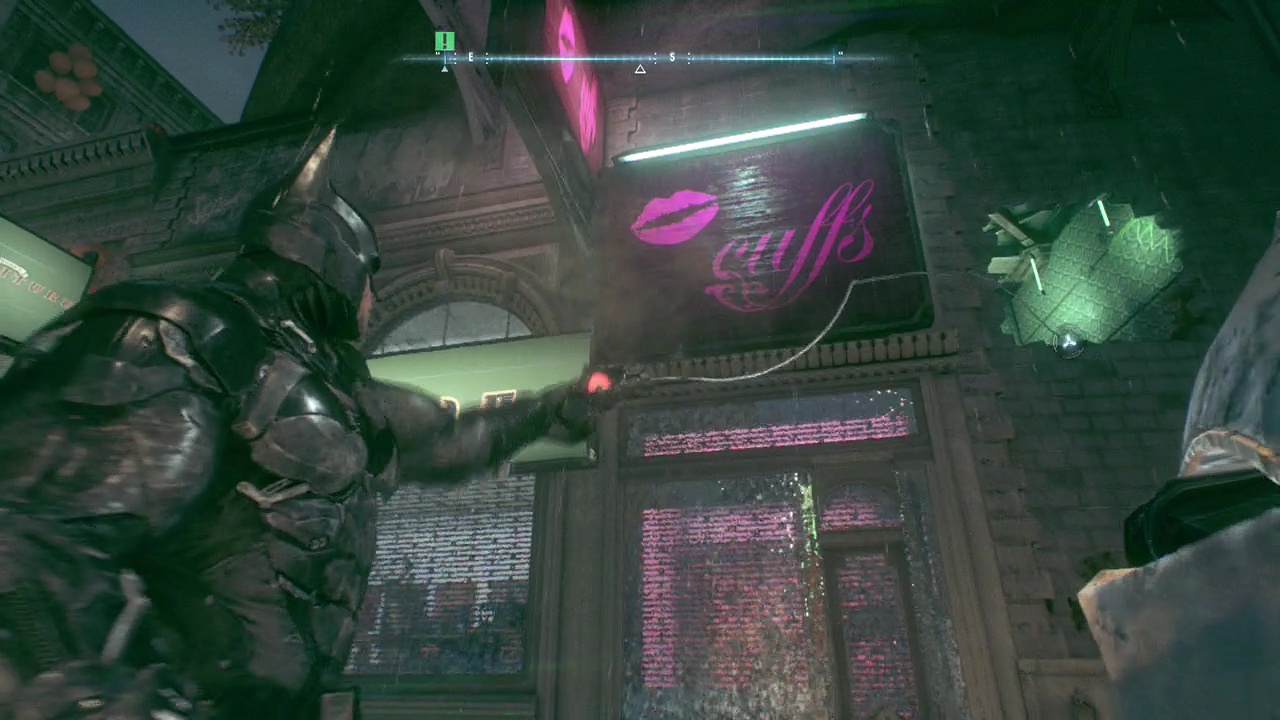
Riddler Trophy 31: Batmobile, Power Winch – Use the Power Winch to lift the sign, and shoot the breakable wall behind it. Jump out and grapple up to get the trophy.
Riddler Trophy 32: In an underground passageway (striped orange lines). Enter from the north-east. Grapple up to collect trophy.
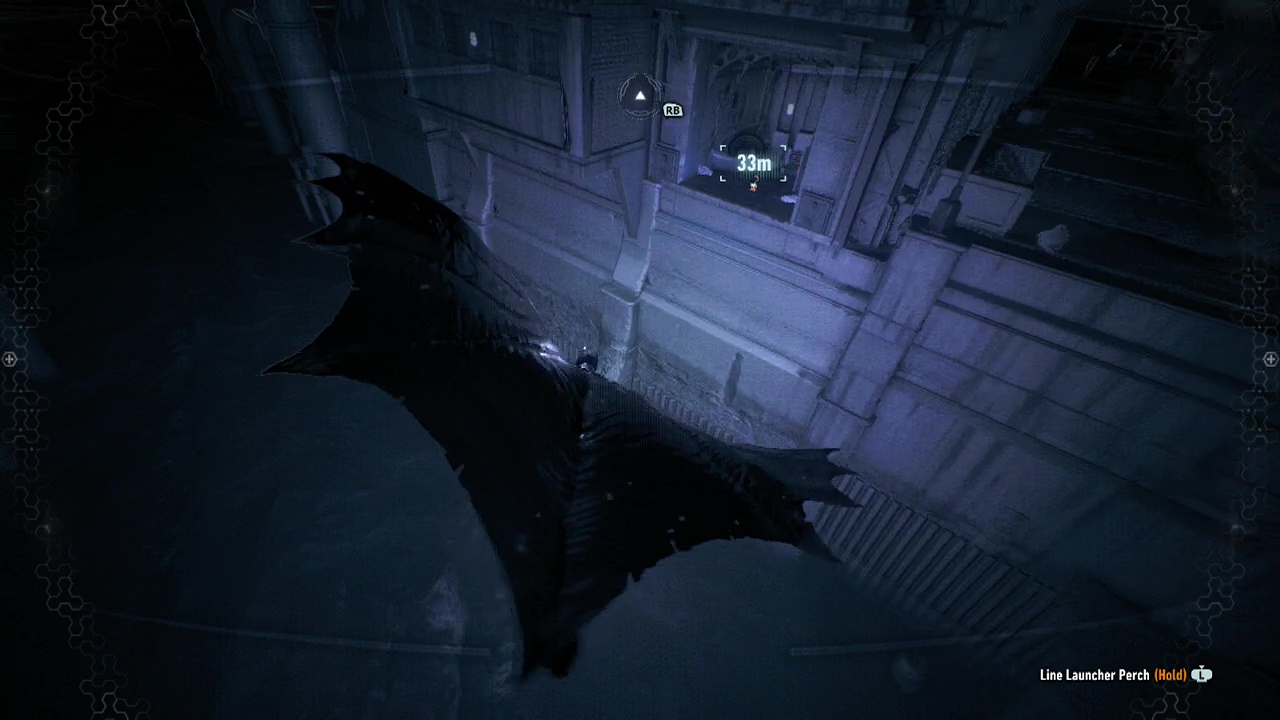
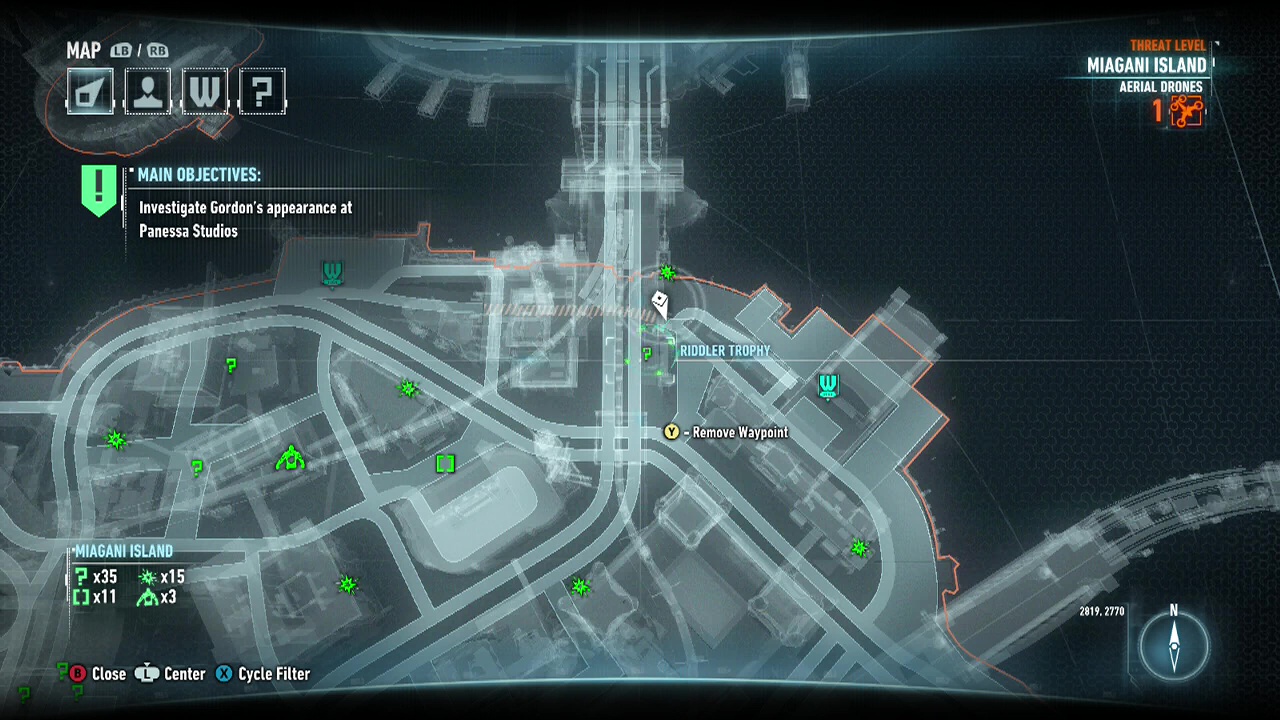
Riddler Trophy 33: Glide down and break through the wooden wall to get the trophy.
Riddler Trophy 34: Glide down through the gap in the Dang Good Donuts sign. Trophy is inside.
Riddler Trophy 35: Head inside the diner and jump over the counter to get the trophy.
Riddler Trophy 36: Batarang – There are 6 enemies here to defeat. The switch at the back will swap the colours of the Robots. Take out the three green Robots, and then use the Batarange on the Question Mark to swap the colours. Now take out the rest of the (green) Robots. Take your trophy prize.
Riddler Trophy 37: Glide down and break the wooden wall to get to the trophy.
Riddler Trophy 38: Batmobile, Power Winch – Use the Power Winch to pull the left most Grab Point to the left to drop the ball down. Then drag it right so it drops again. Then release and grab the right Grab Point, and pull it left so the ball drops again. Then to the right to again drop. Pick up the trophy.
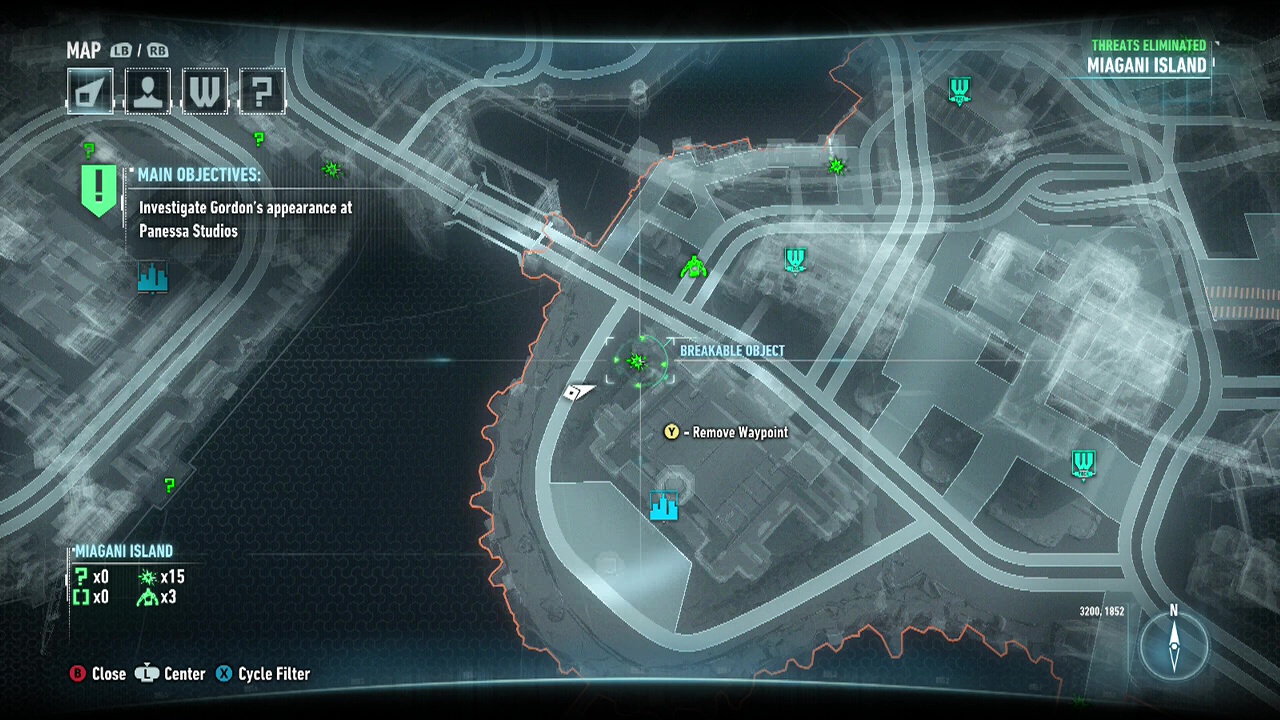
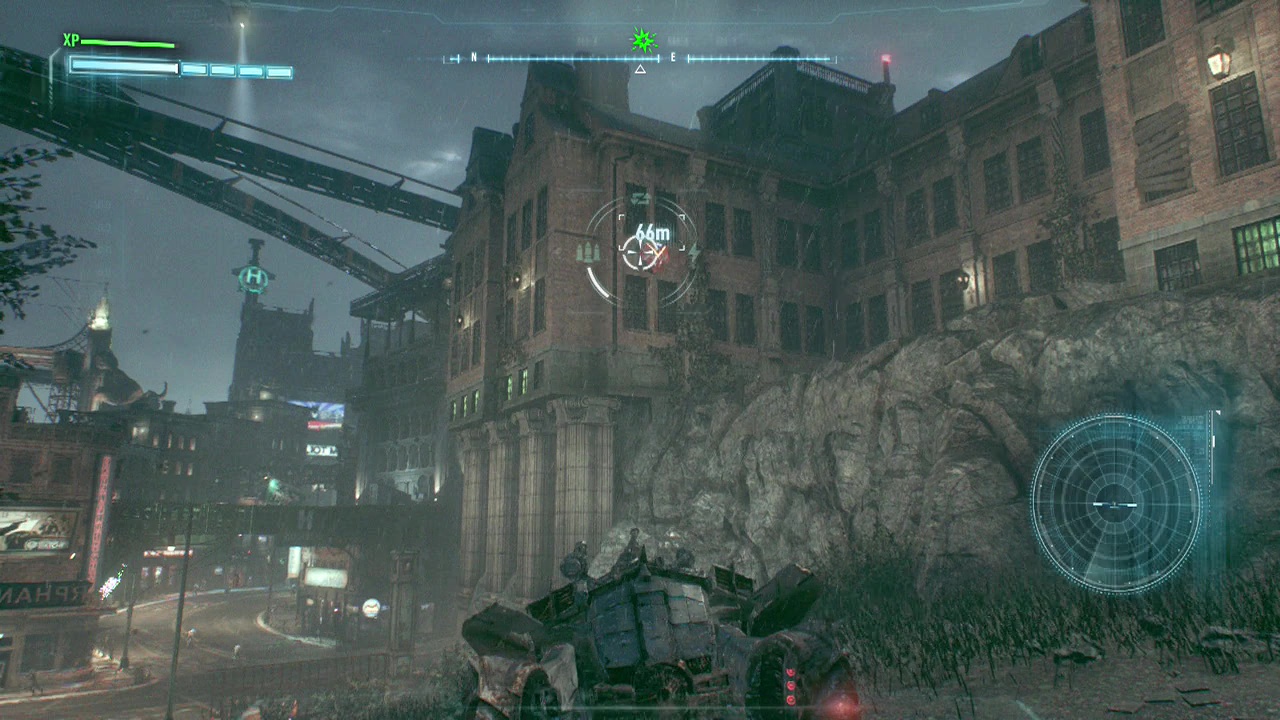
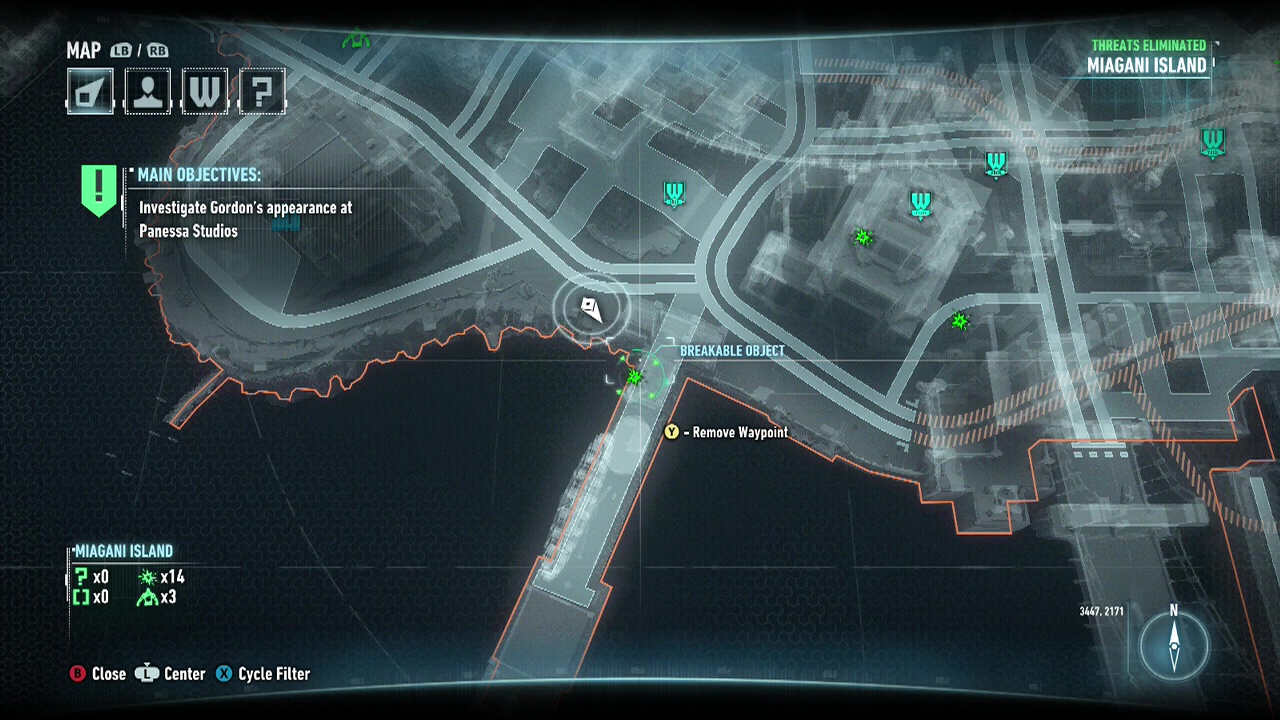
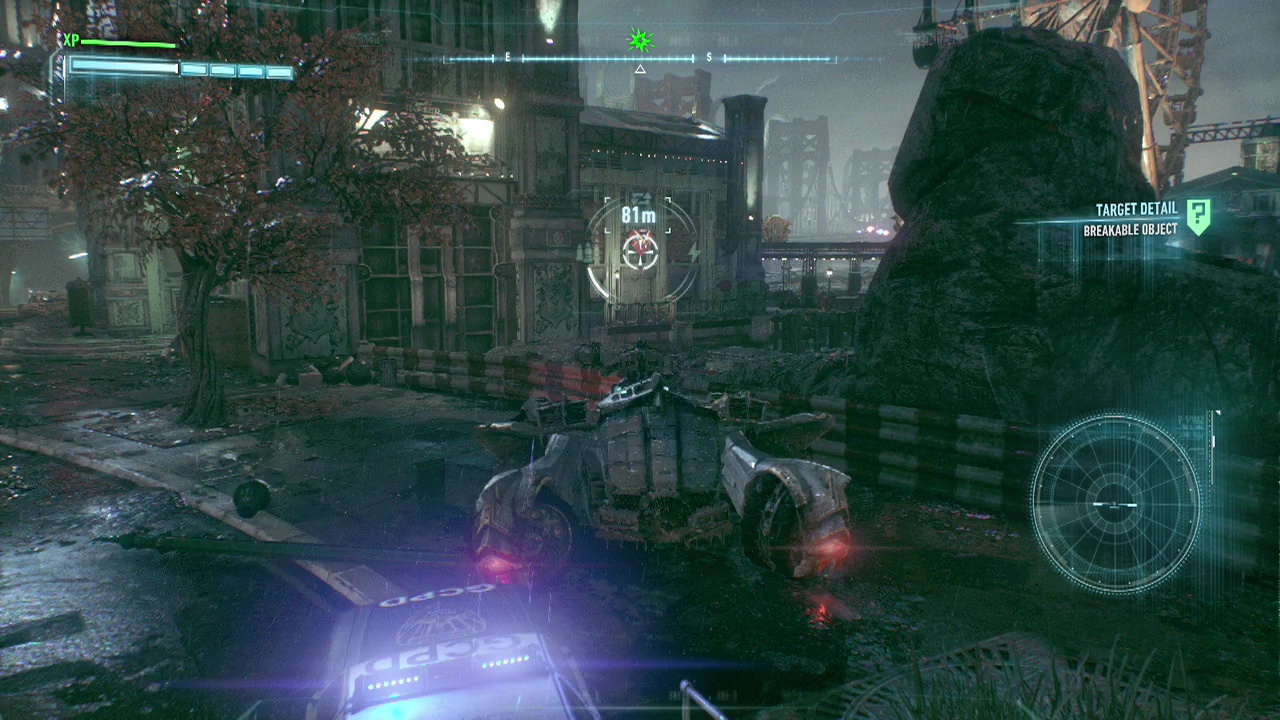
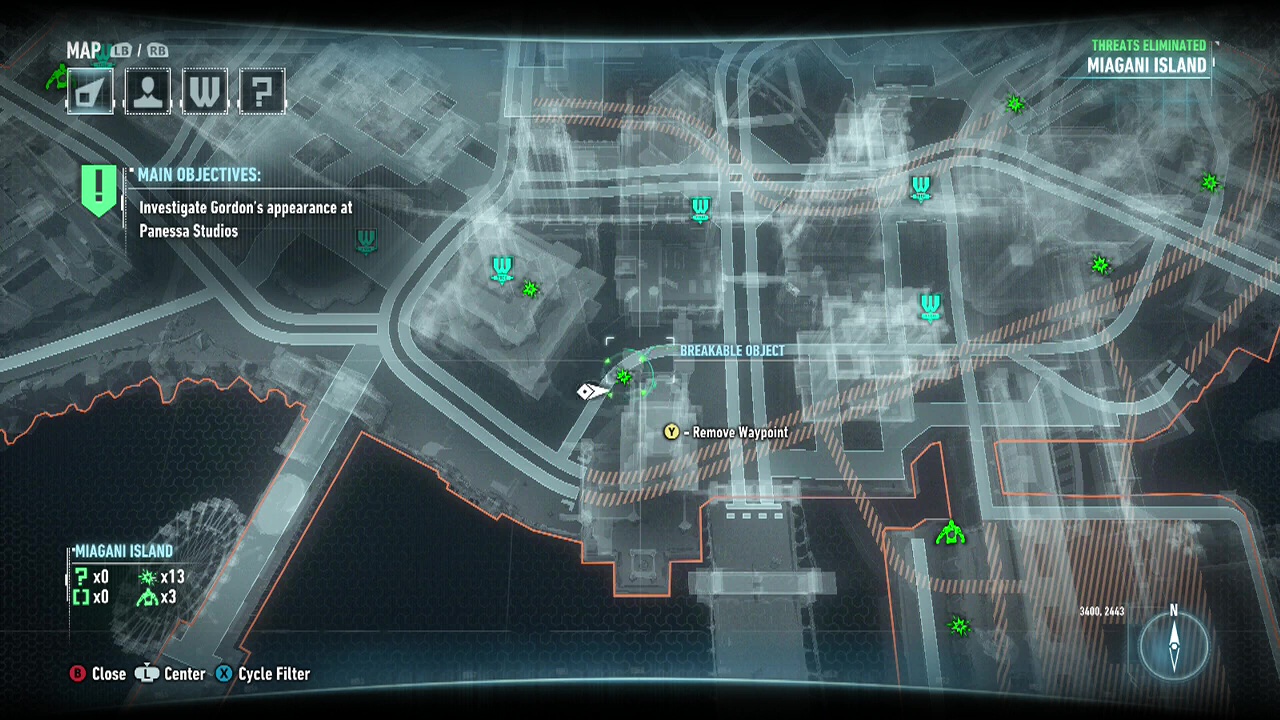
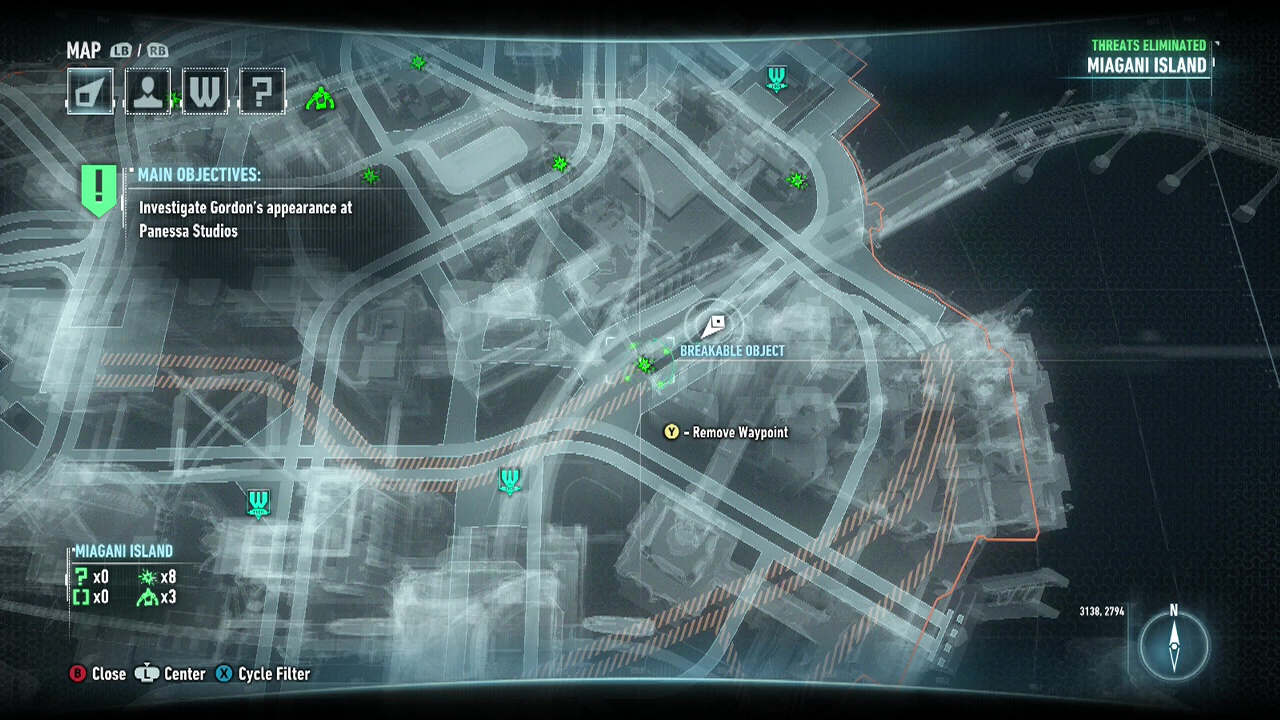
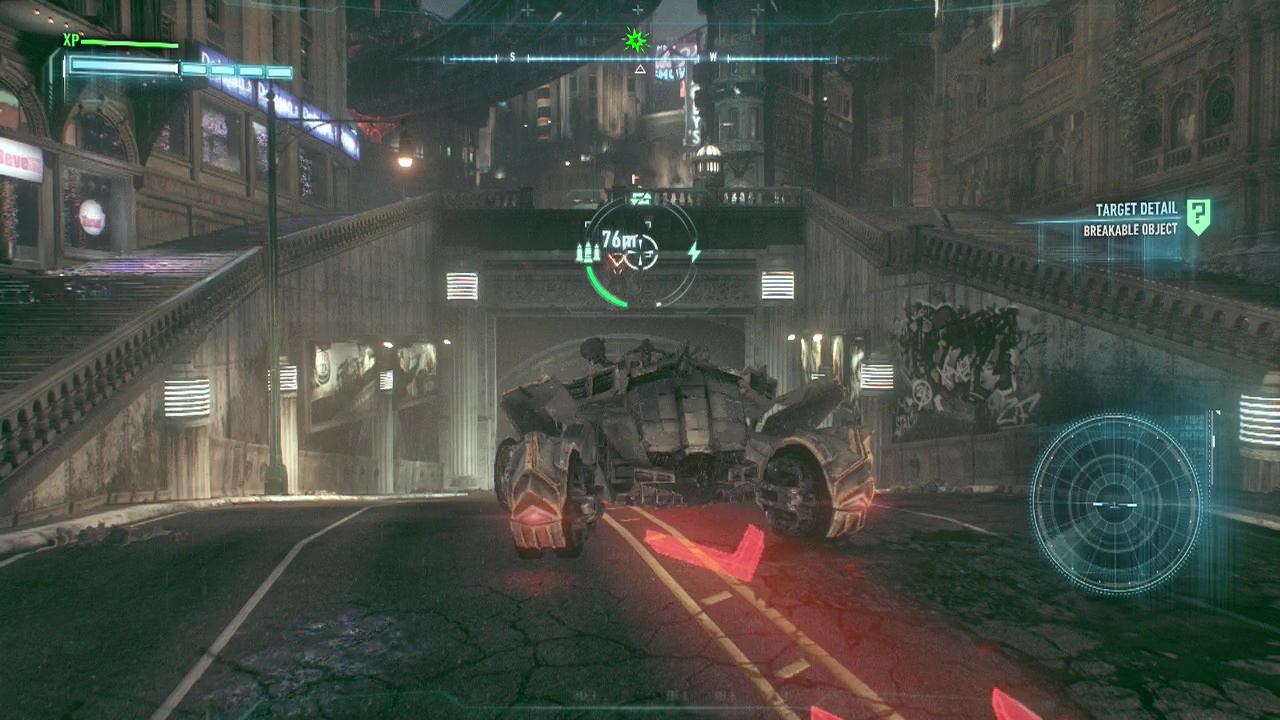
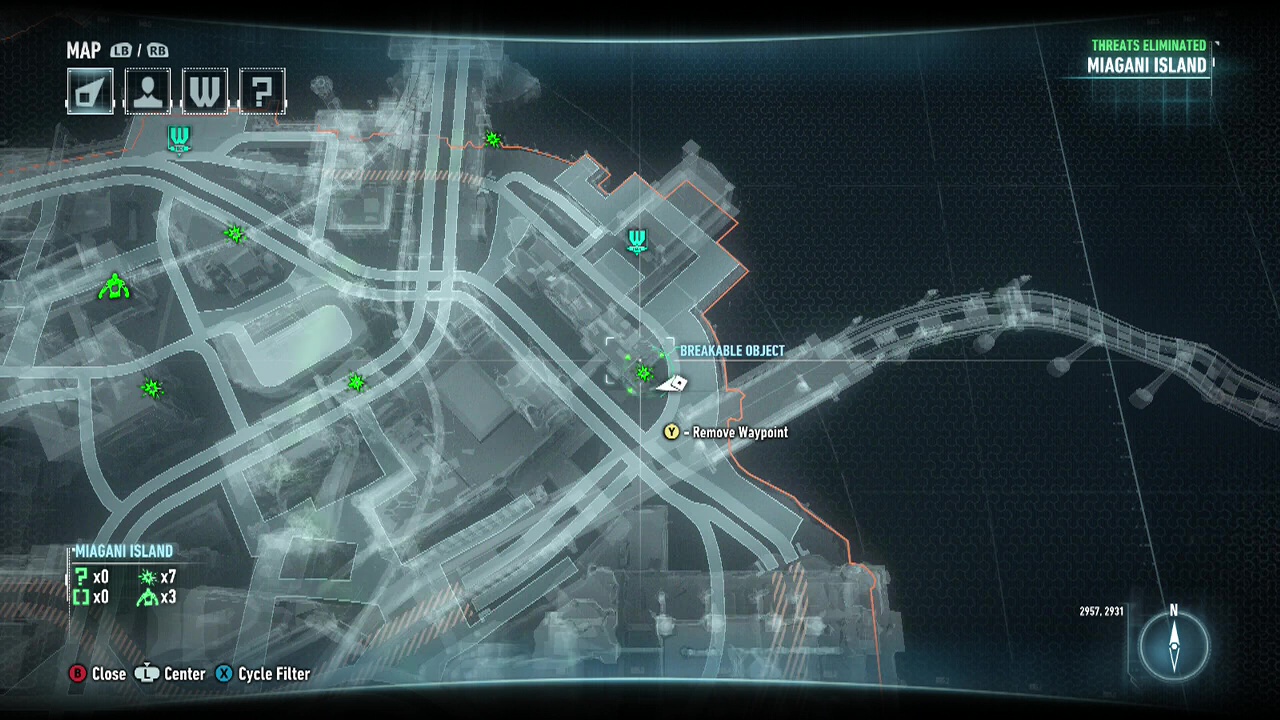
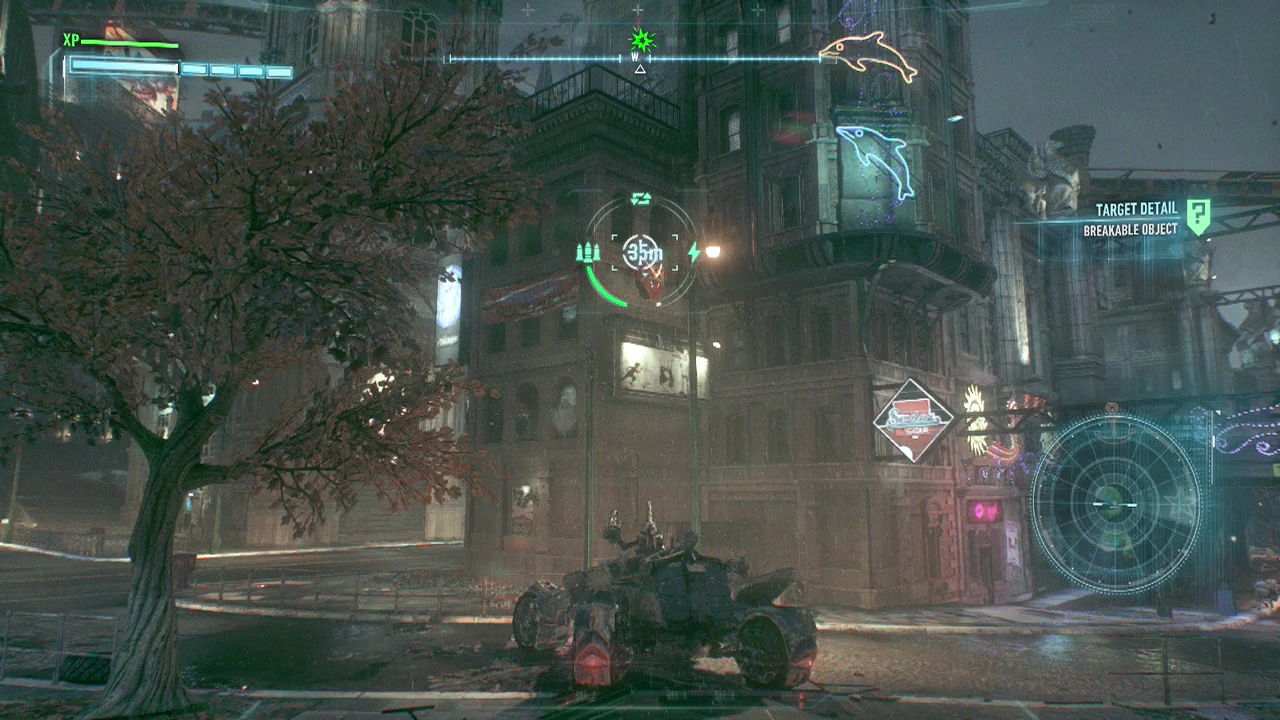
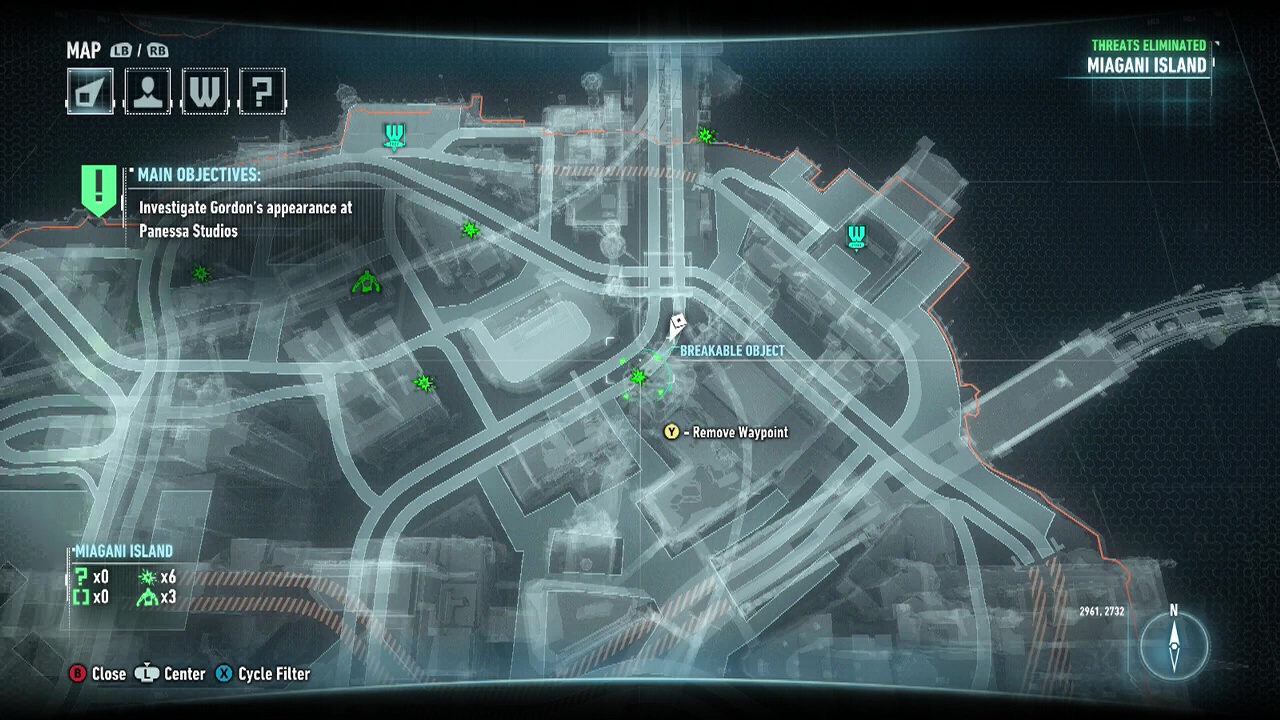
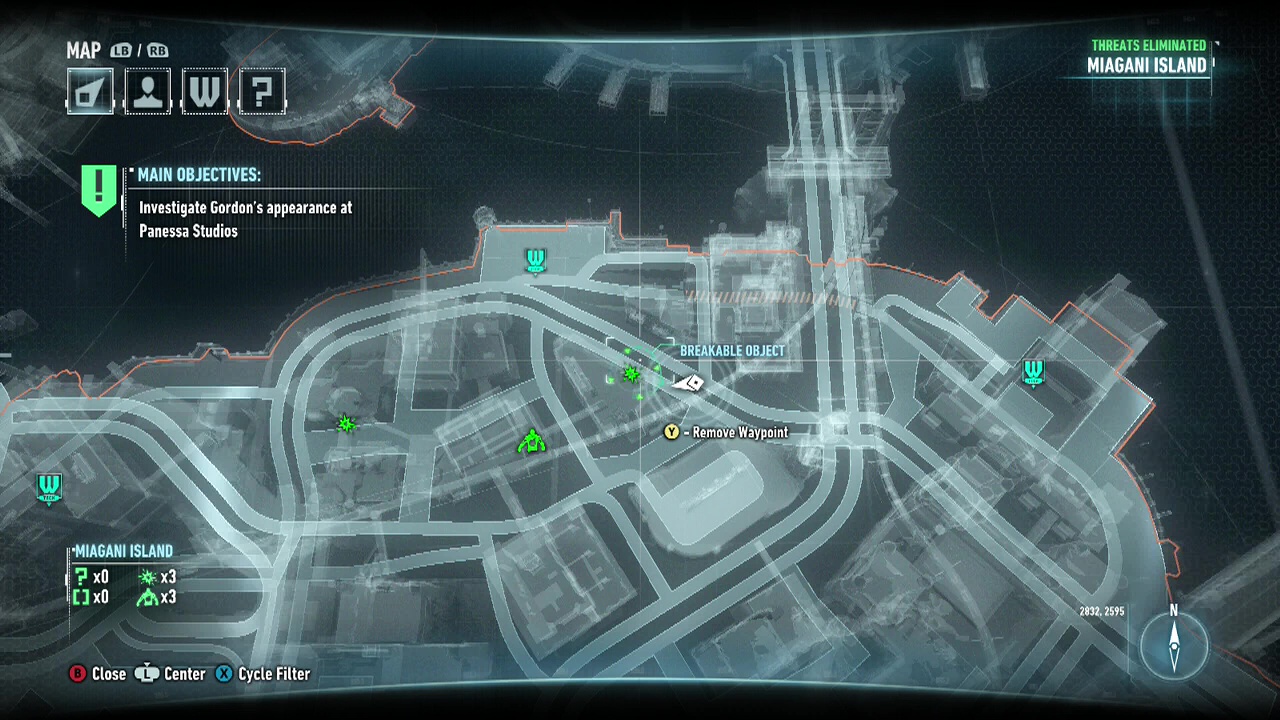
Breakable Objects
Breakable Object 1:
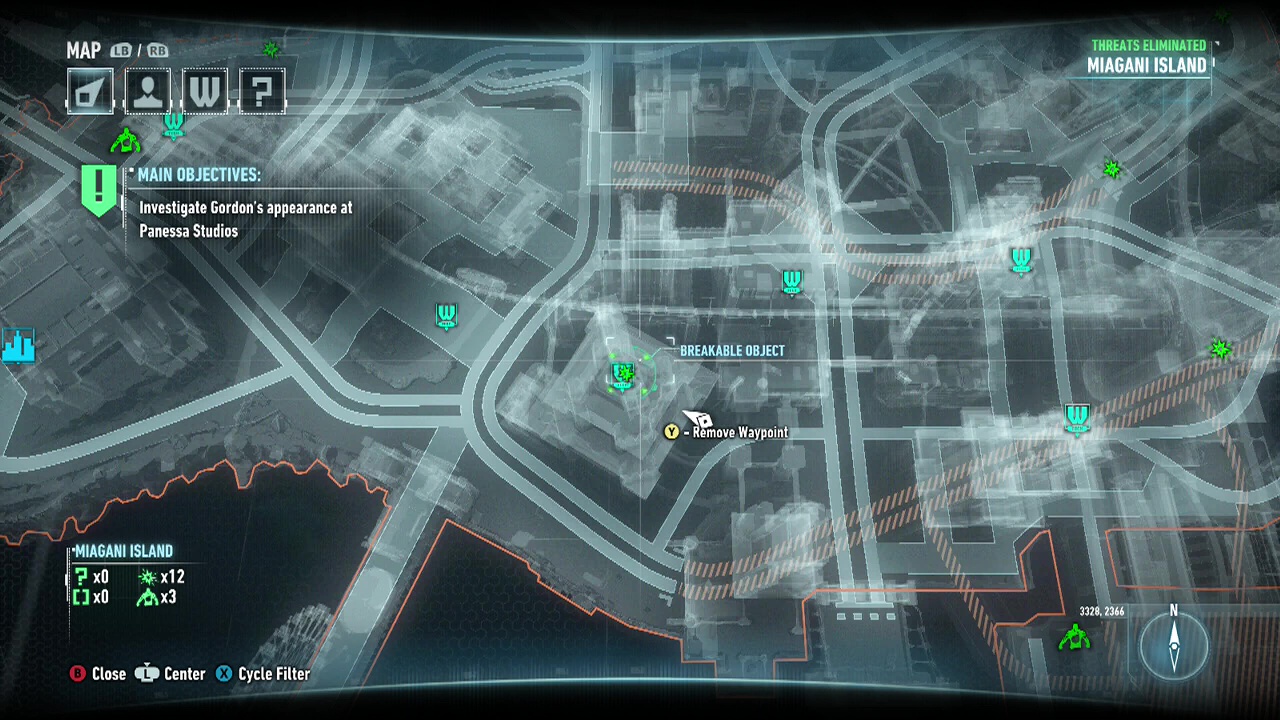
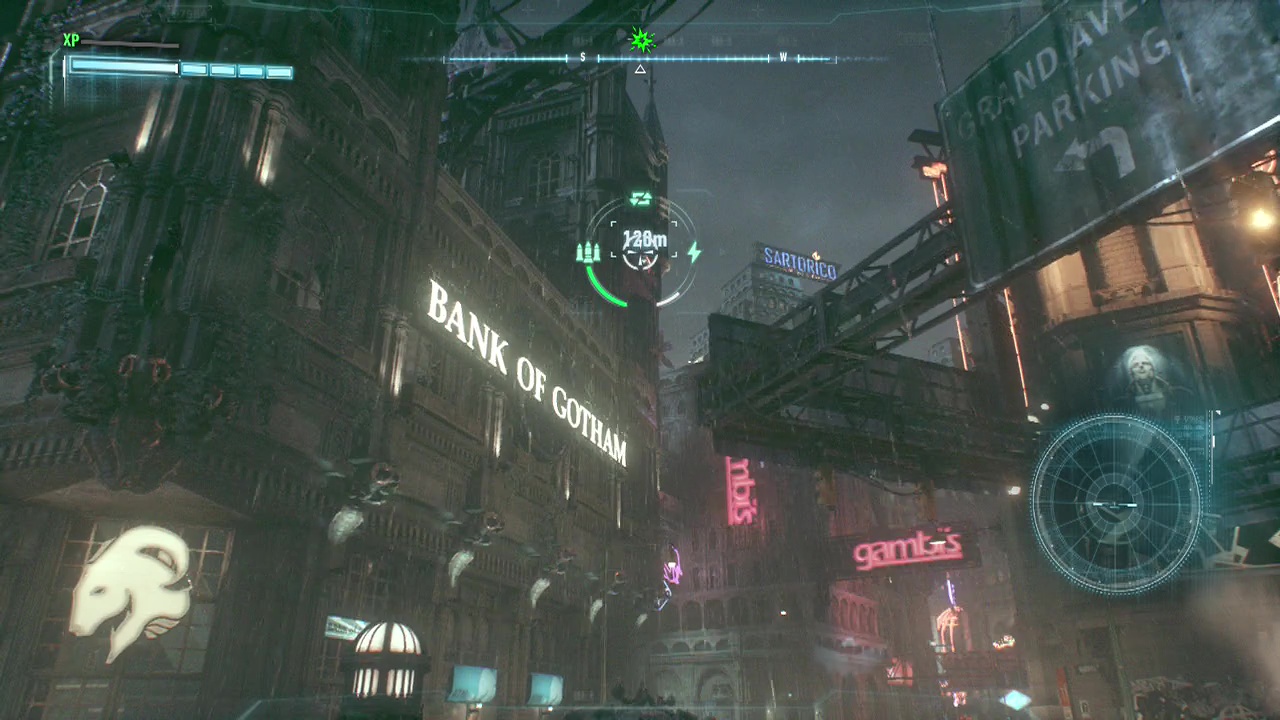
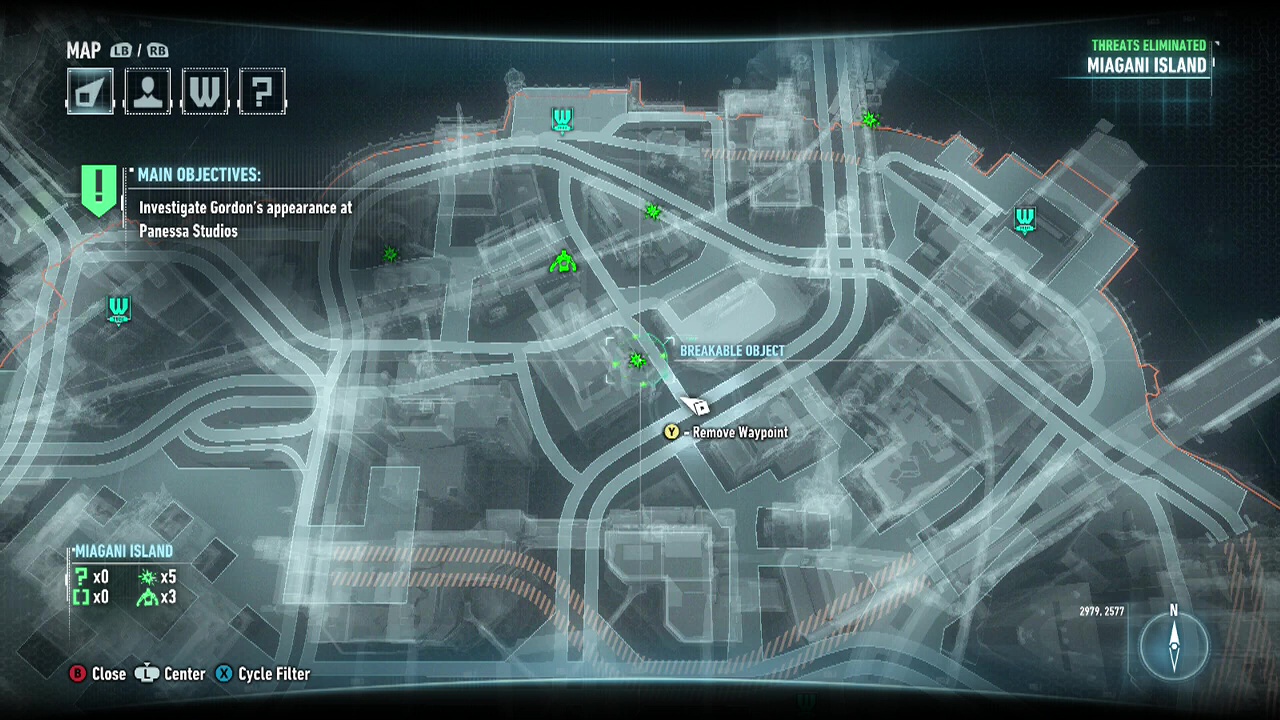
Breakable Object 2:
Breakable Object 3:
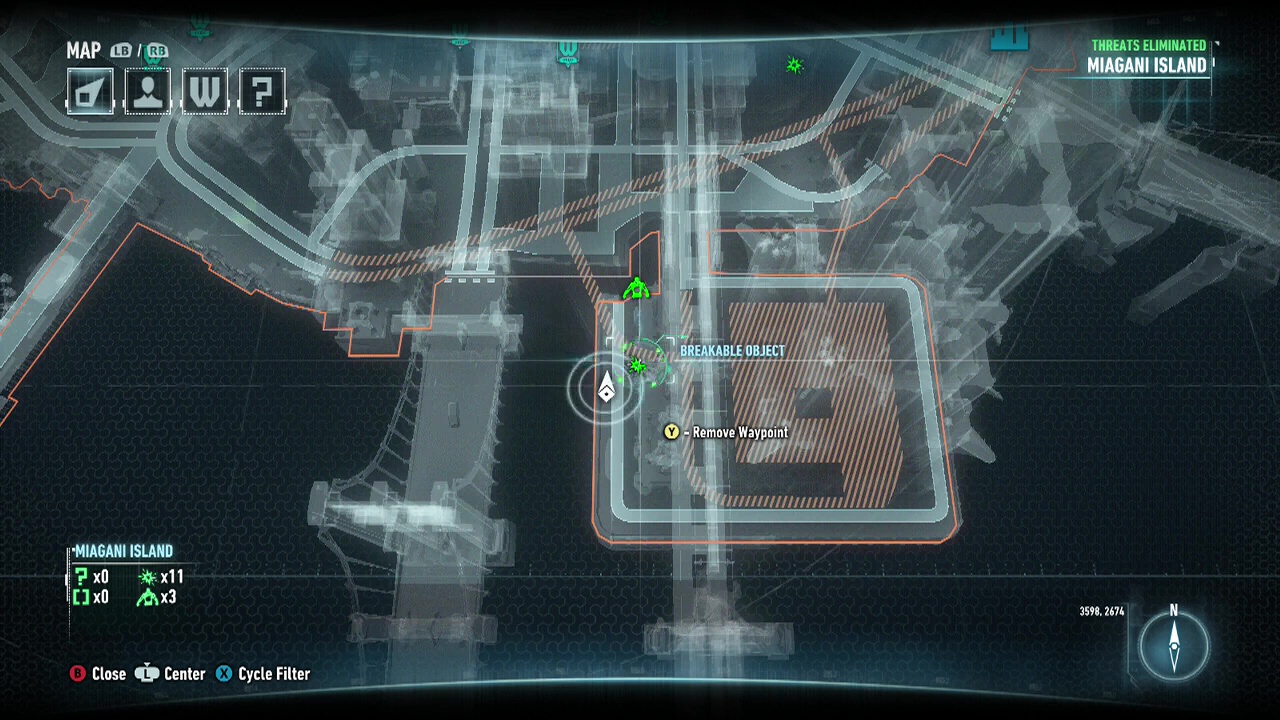
Breakable Object 4:

Breakable Object 5:
Breakable Object 6:
Breakable Object 7:
Breakable Object 8:
Breakable Object 9:
Breakable Object 10:
Breakable Object 11:
Breakable Object 12:
Breakable Object 13:
Breakable Object 14:
Breakable Object 15:
Riddles
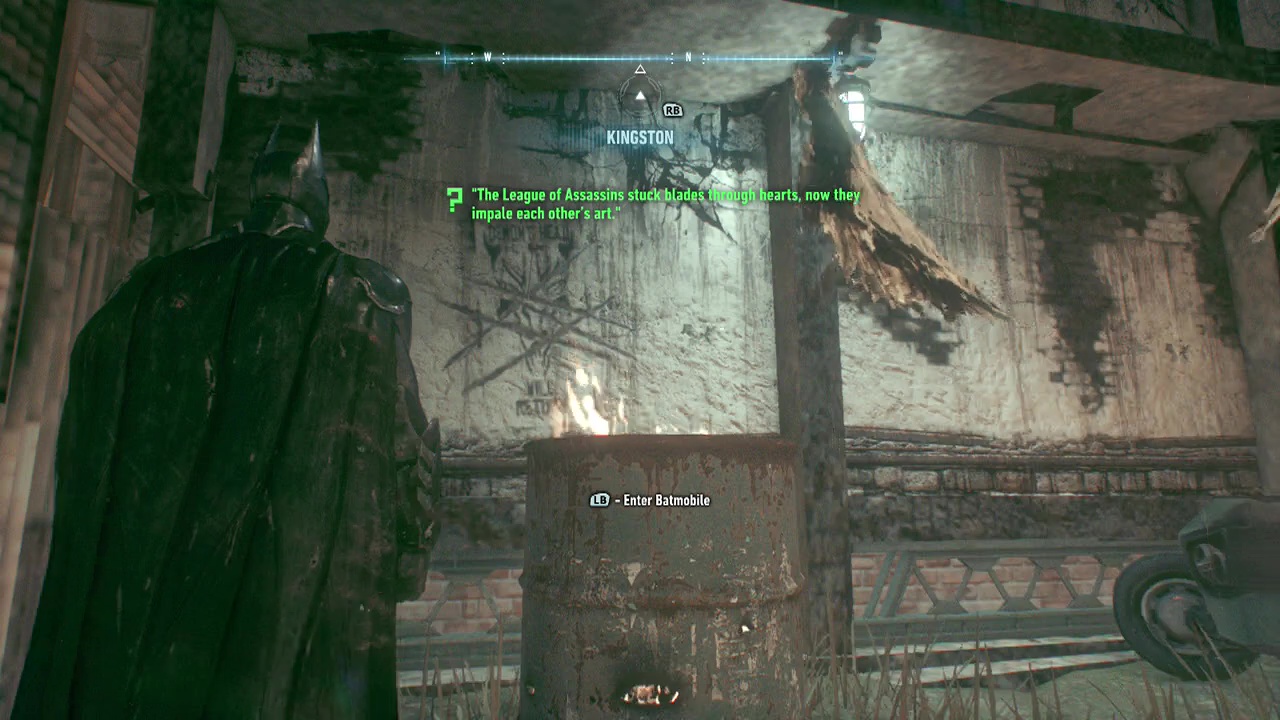
Riddle 1: Look at the wall nearby for some scratched out graffiti. Scan away.
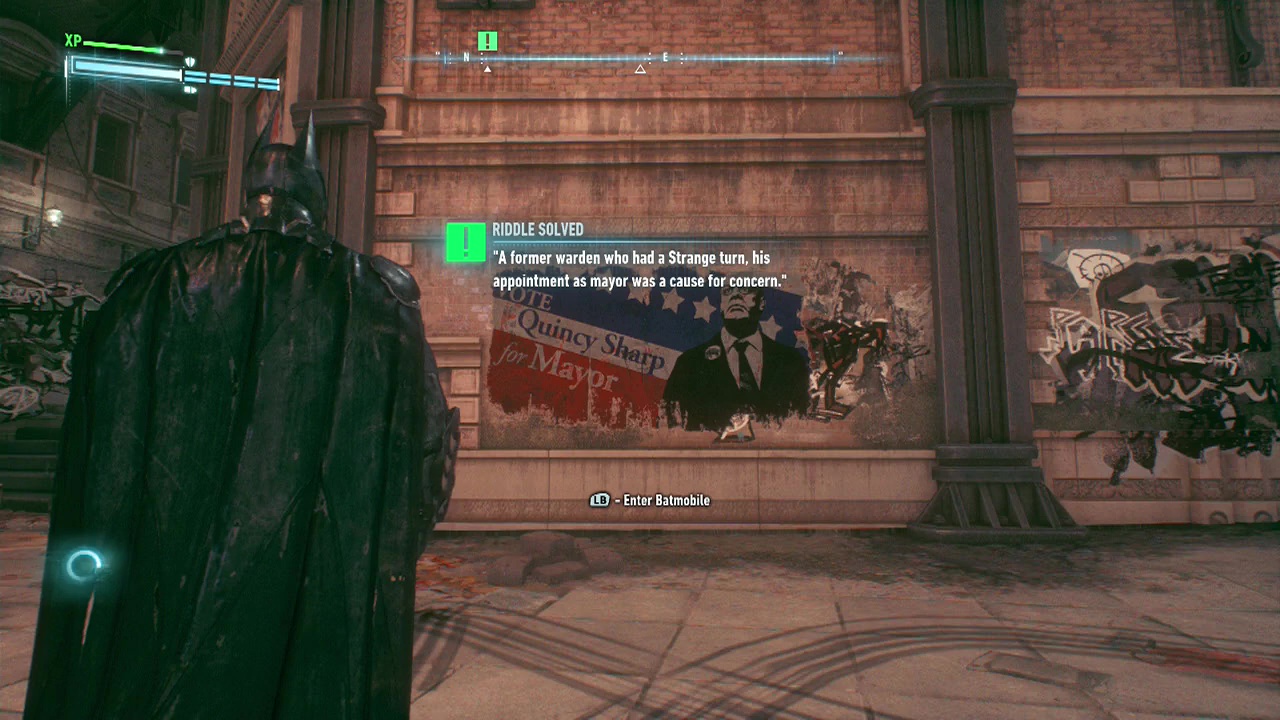
Riddle 2: Find the building with the Lacey sign on it. From the front, go around to the left side of the building. On ground level is a torn poster for mayor. Scan.
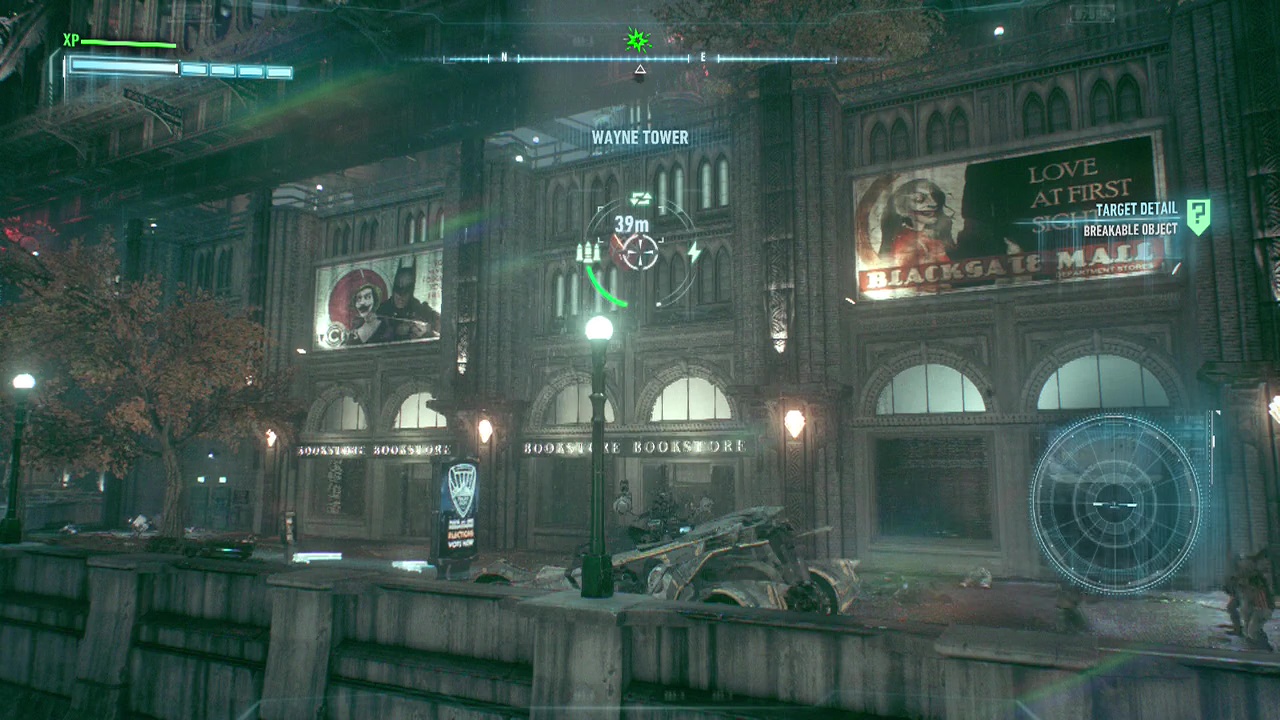
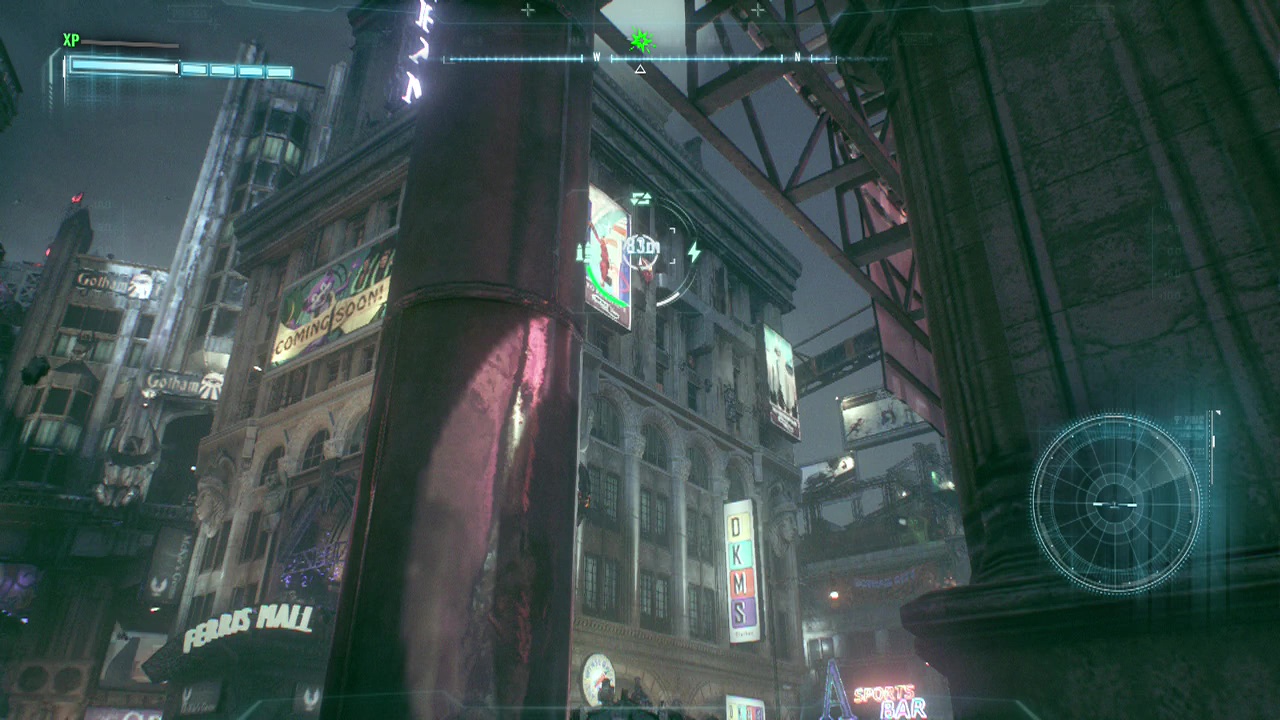
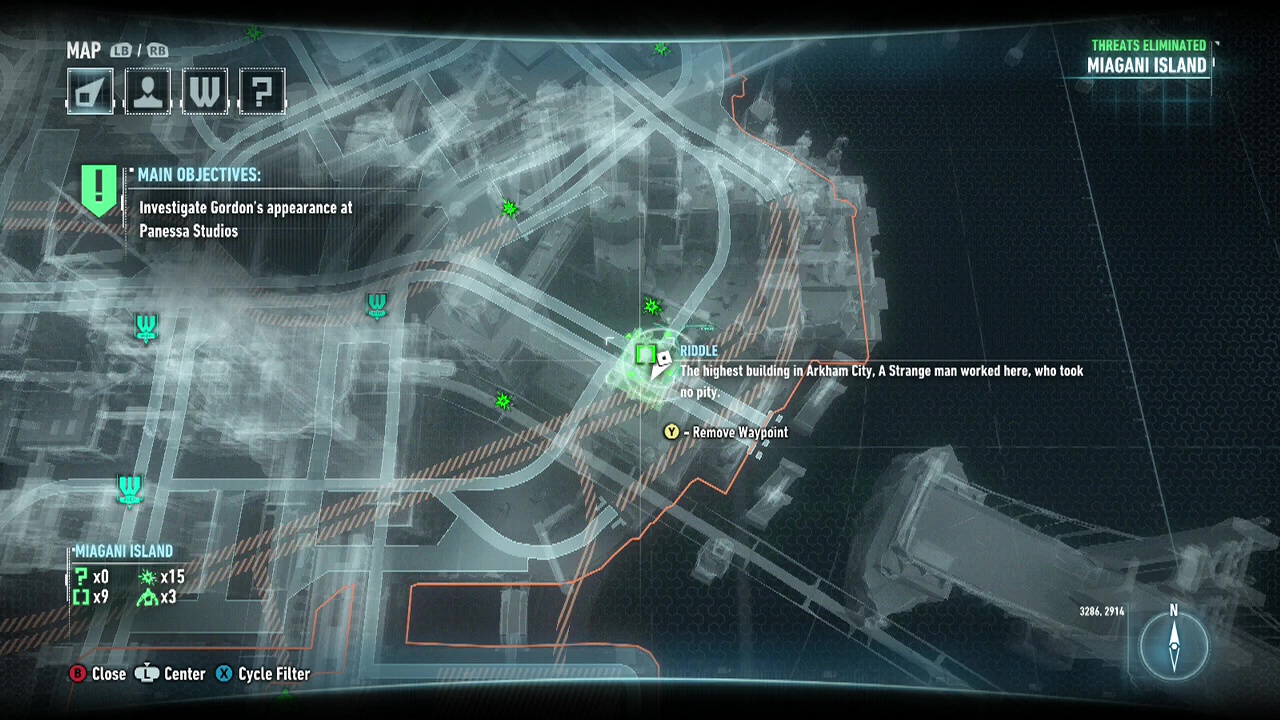
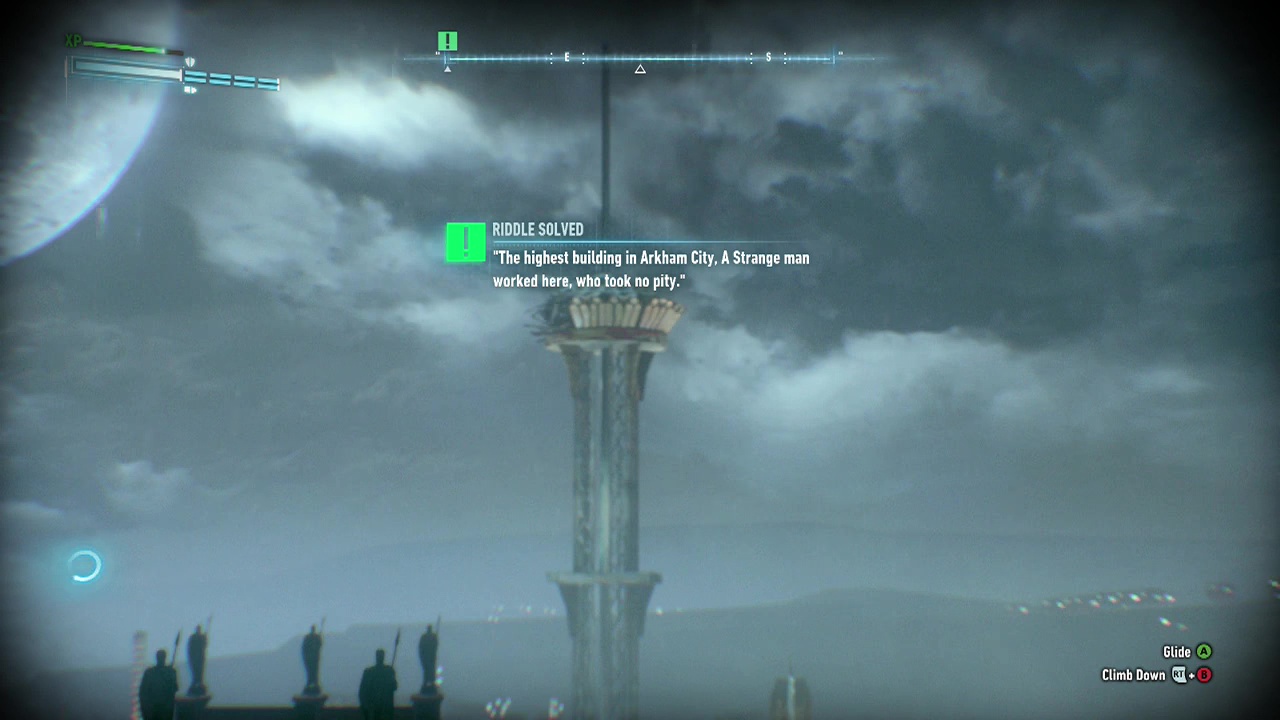
Riddle 3: Climb to the top of the GCR building (where the marker is), and look to the south east for a tall building in the distance. Zoom in to enlarge the building and scan.
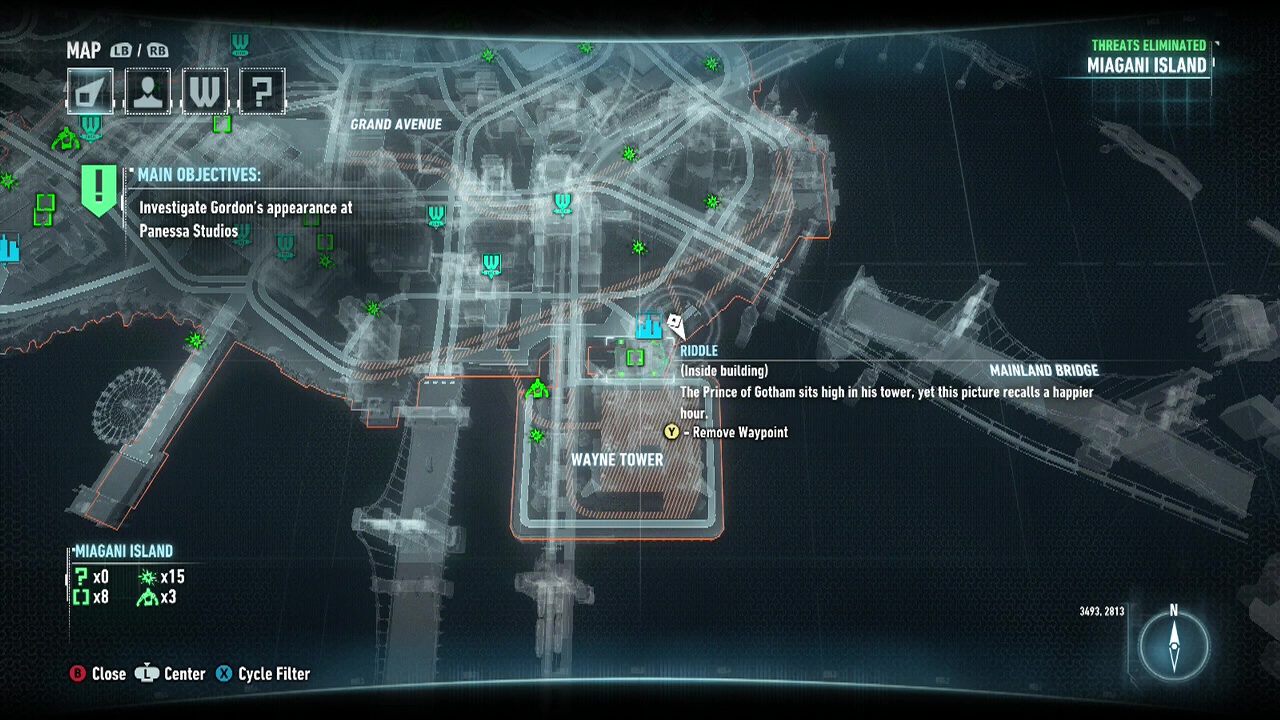
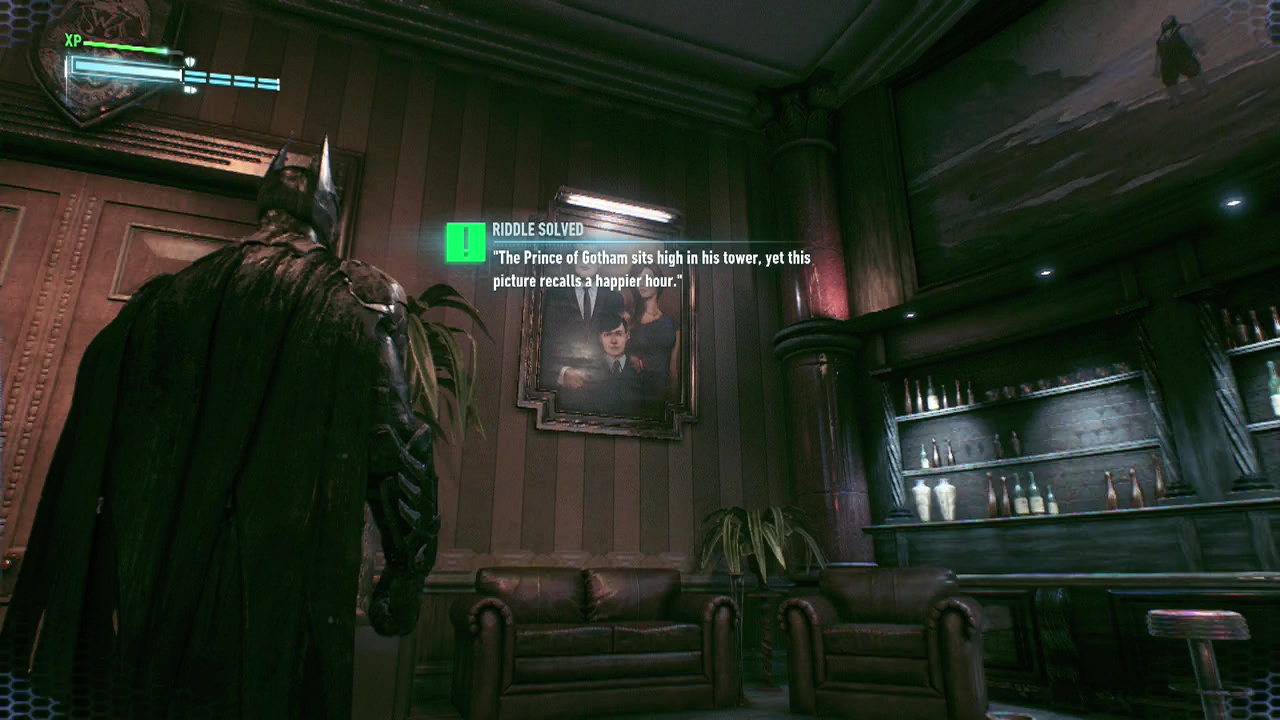
Riddle 4: Enter Wayne Tower from the balcony and scan the photo on the wall to the left of the bar.
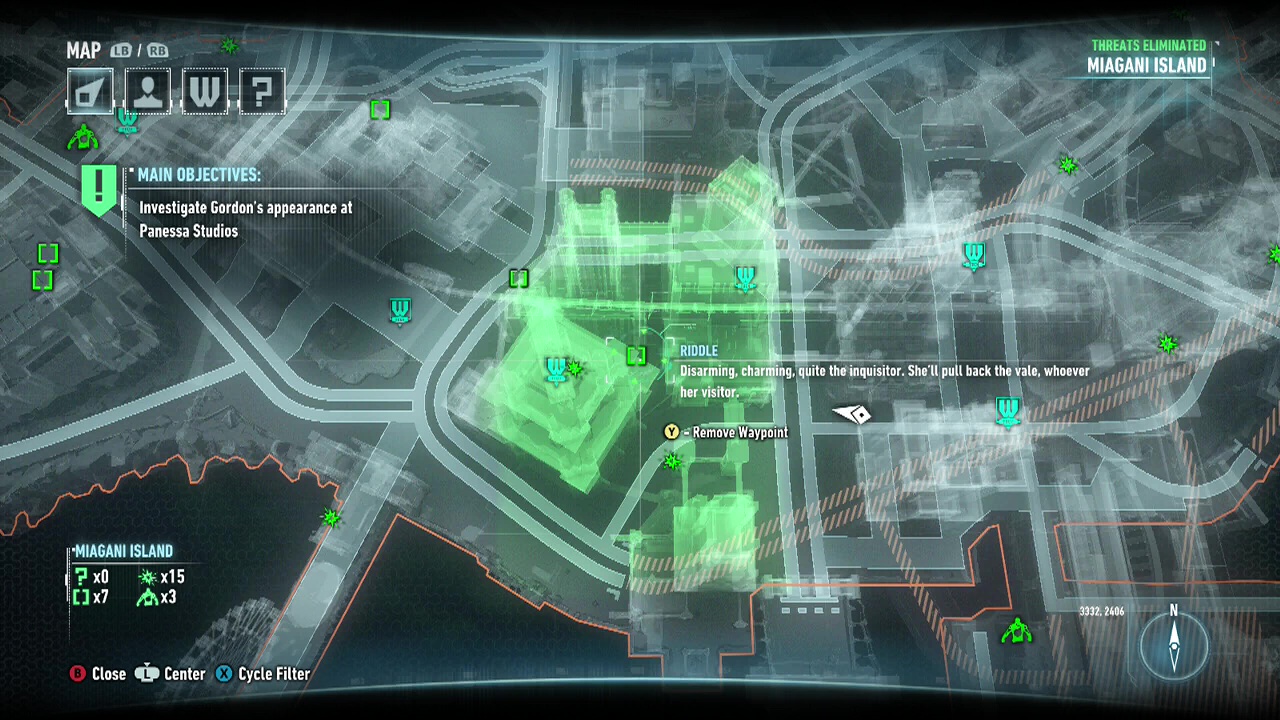
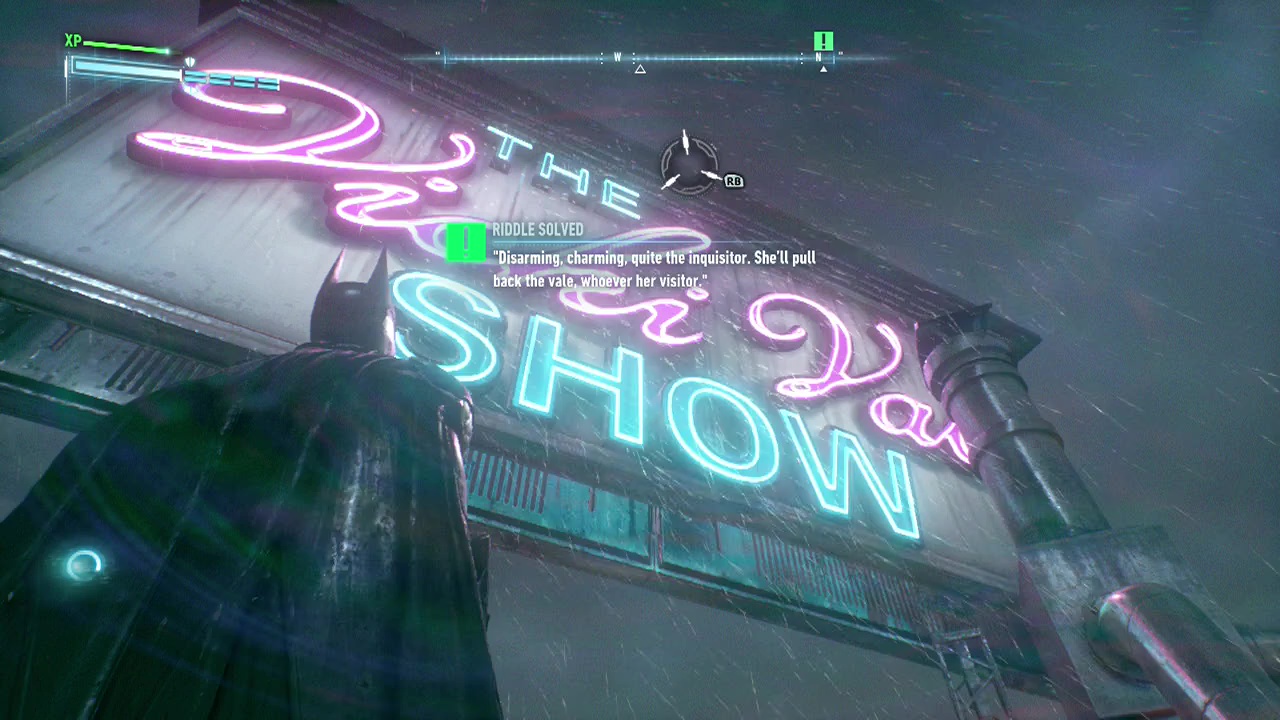
Riddle 5: Scan the giant Vicki Vale sign on the roof. It's a play on words, not a typo.
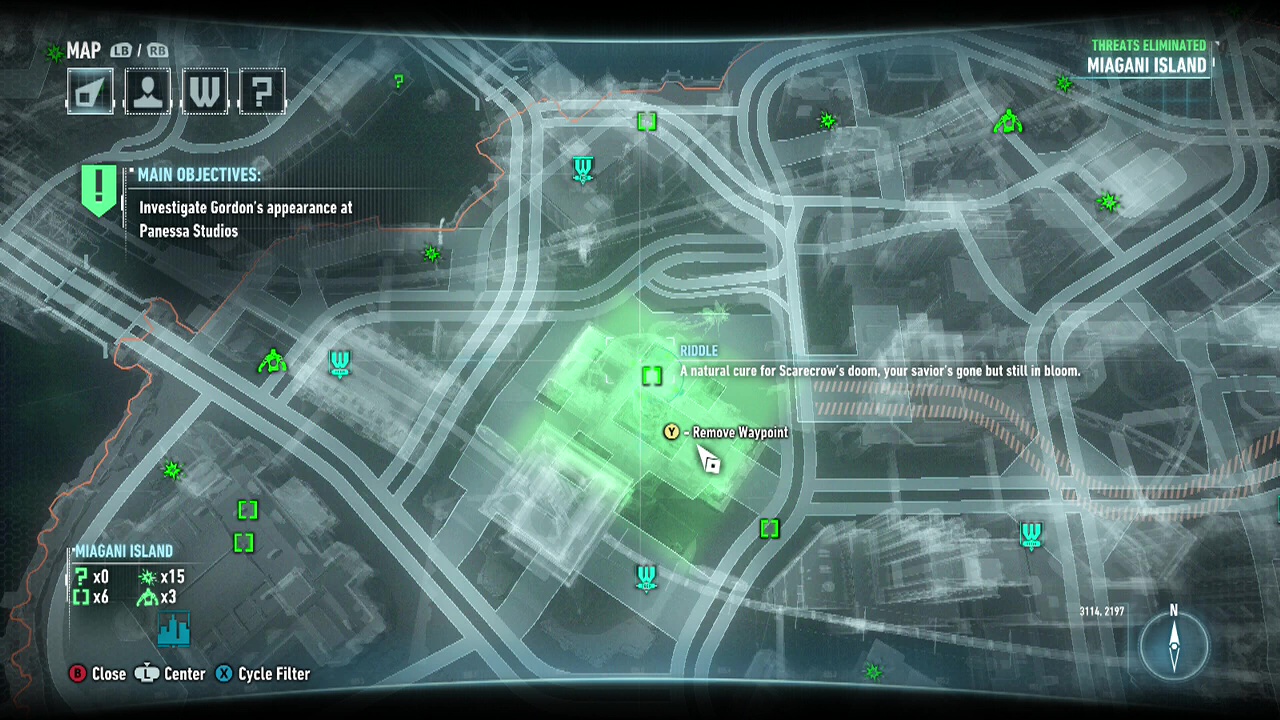
Riddle 6: Scan the Memorial Hospital. Apparently you can scan it with something small obscuring it. Like giant roots that cover the entire screen.

Note: The actual location is to the North-West of the one shown. During the scan, it accidently scanned this instead of riddle 7, hence the messed up screenshots.
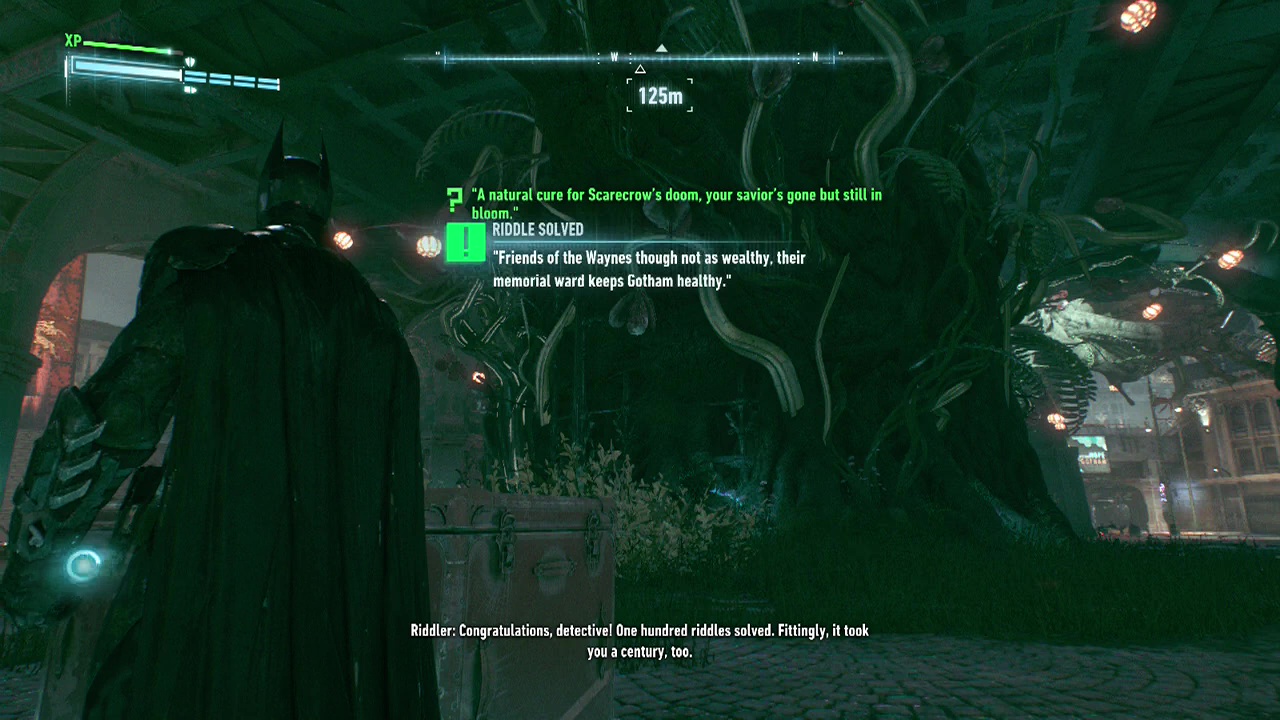
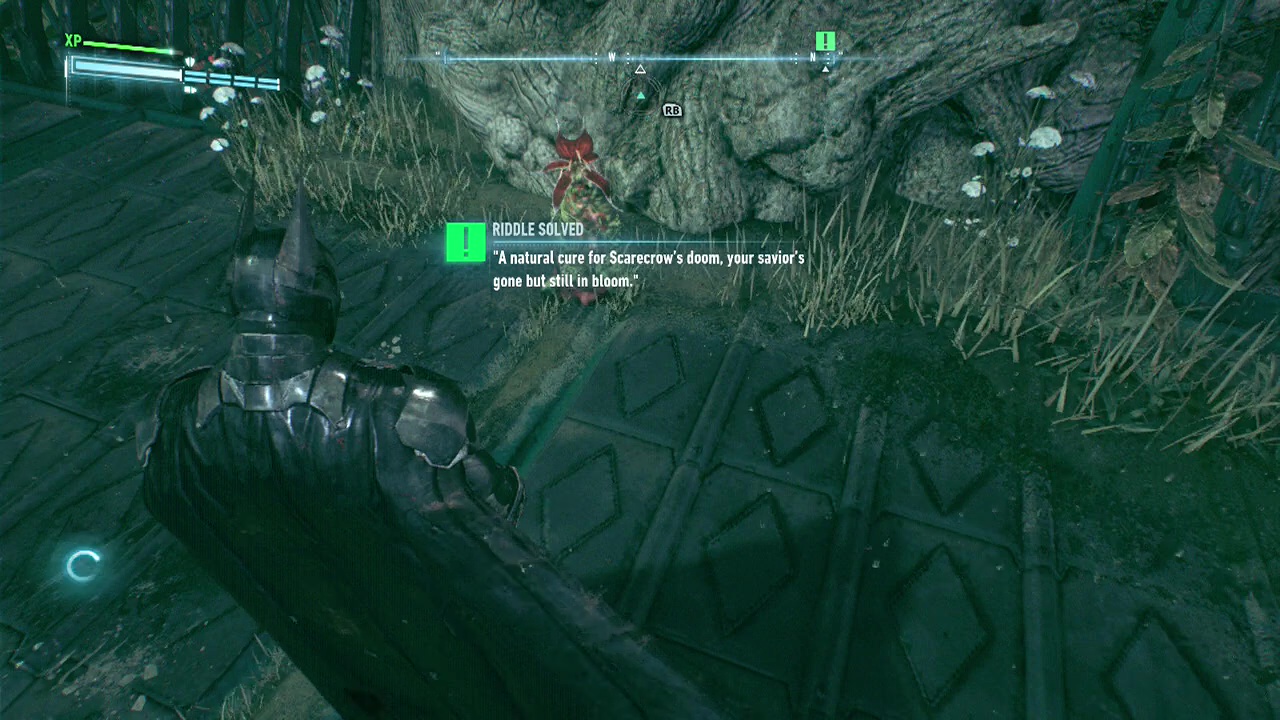
Riddle 7: Head to the roof of the Botanical Gardens. At the base of the giant plant, where you could enter in the missions, there is a single red flower. Scan.
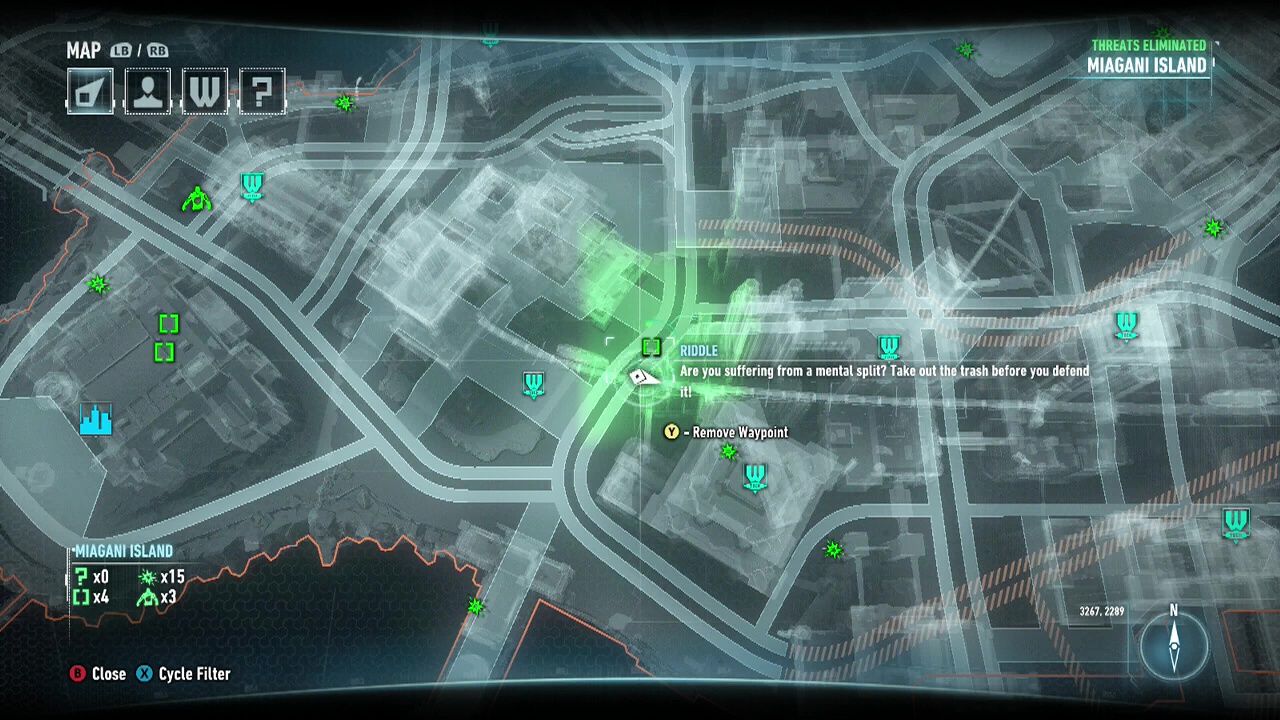
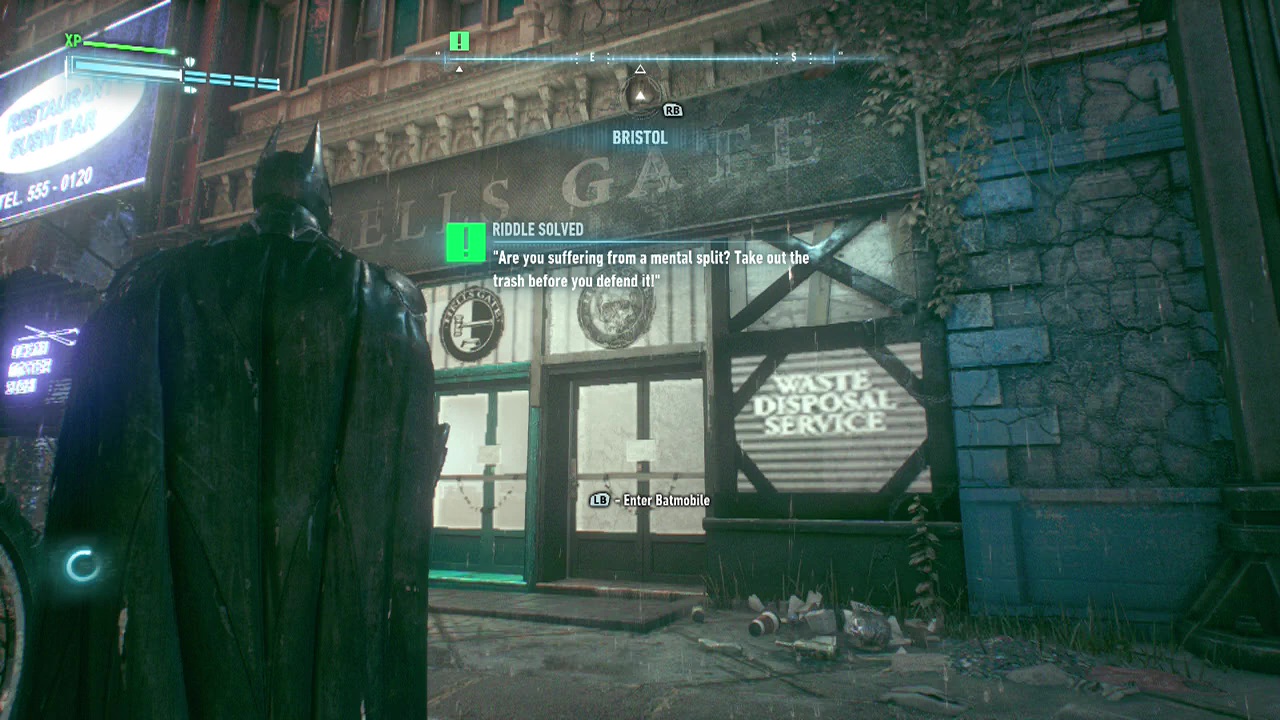
Riddle 8: Look for a glowing blue vertical neon sign saying Lounge. The storefront to the left of it is Hell's Gate. Scan it. Note: In this playthrough, this Riddle counted for two in the tracker on the bottom left of the map screen.
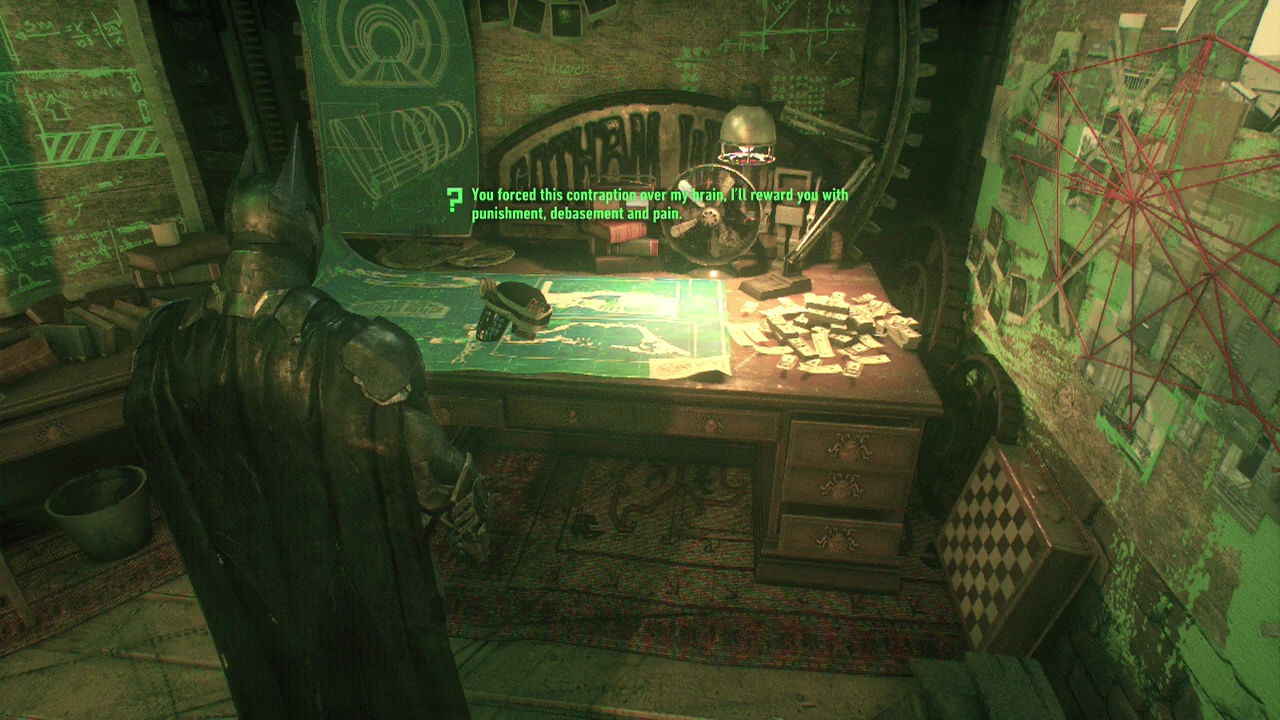
Riddle 9: Only available after getting to the Final Exam room during Riddler Sidequest, Remote Hacking Device. Use the Remote Hacking Device on the button on the shelf with the teddy bears. Once inside the Masterplan room, look at the helmet on the table. Zoom in and scan.
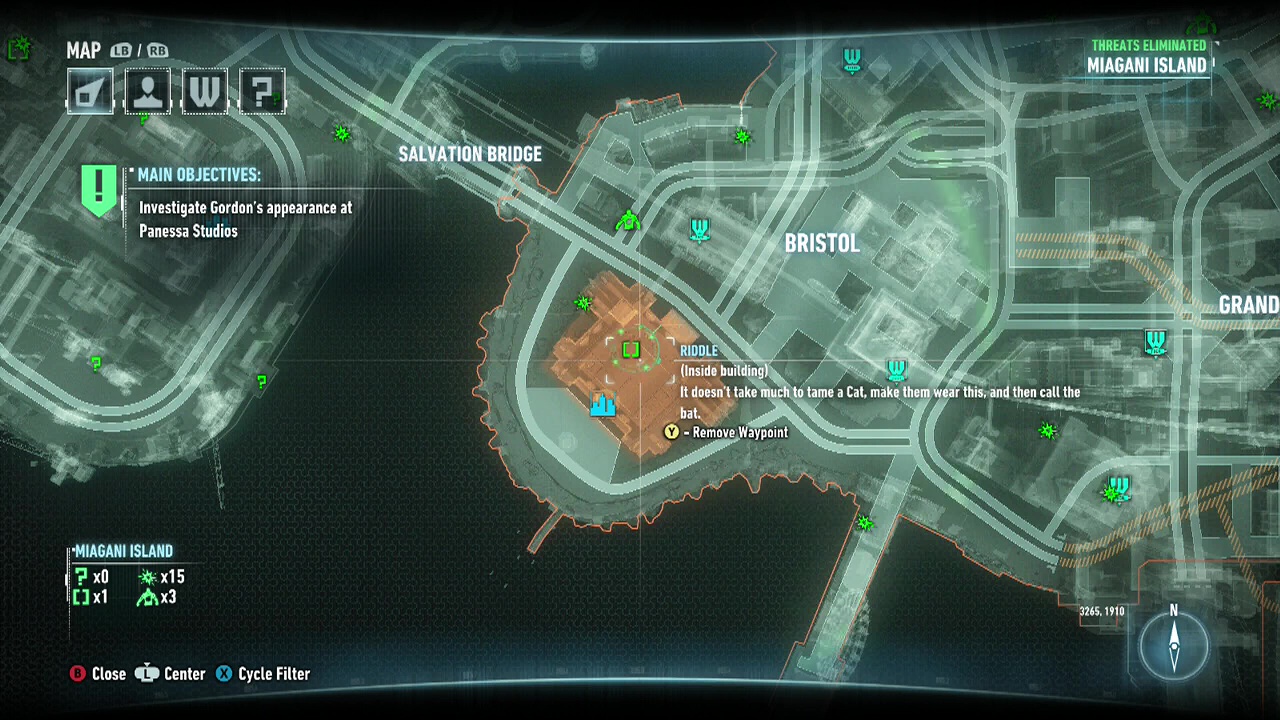
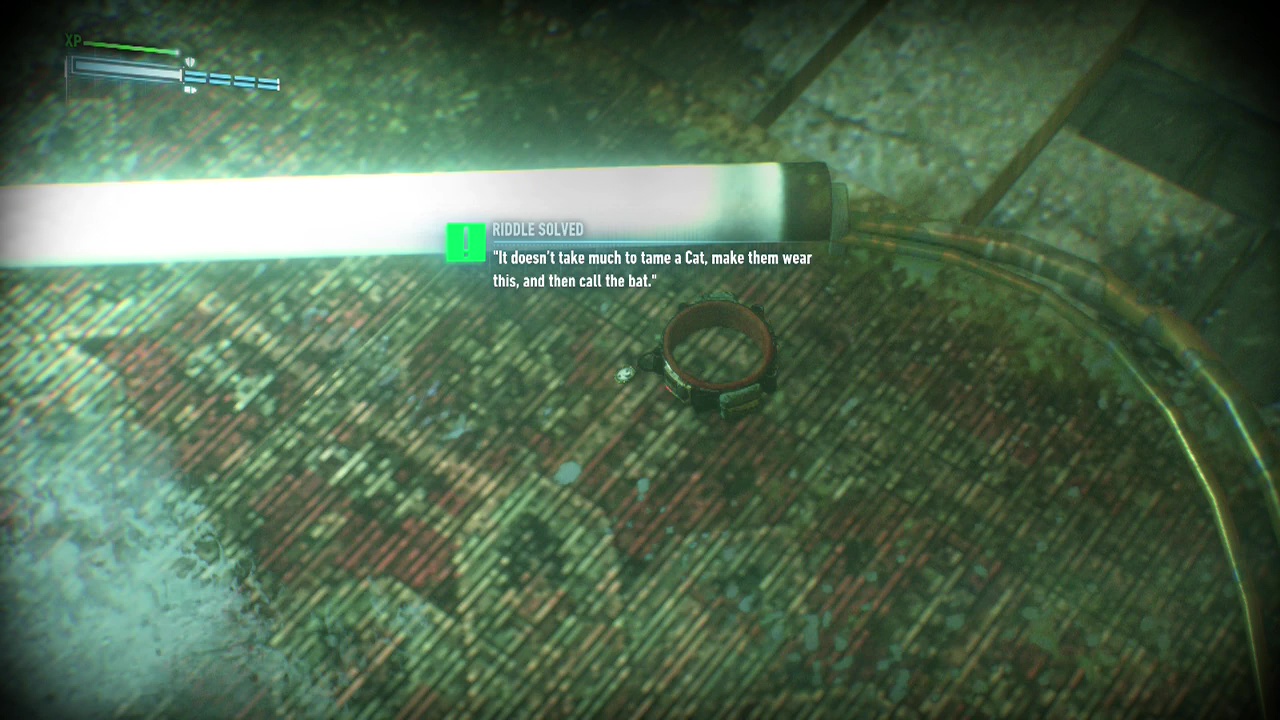
Riddle 10: If you have saved Catwoman: Head to the Final Exam Room and look at the floor to the right of the key box. There is a really bright glowing light on the ground. At the right end of the light, made darker by the fact that there is a light right next to it, is the collar. Zoom in and scan the collar.
If you have not saved Catwoman, yet: Go up to Catwoman, and scan the collar on her neck.
Bomb Rioters
Bomb Rioter 1:
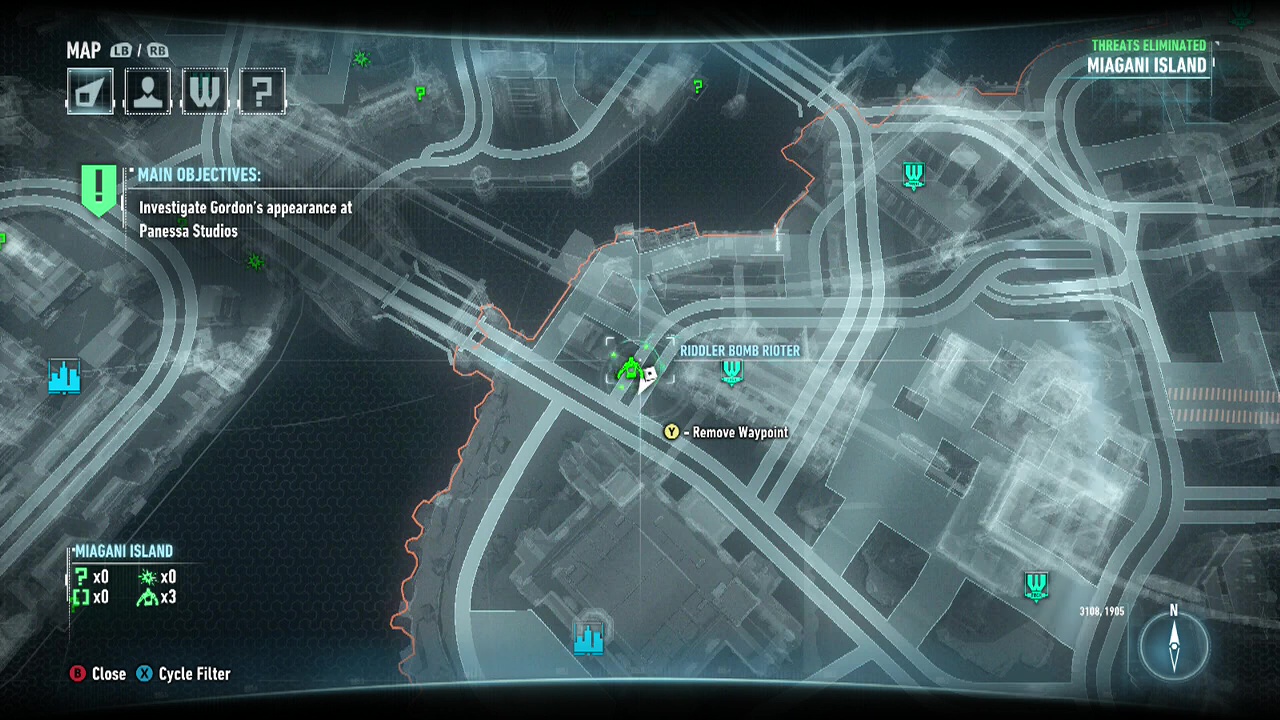
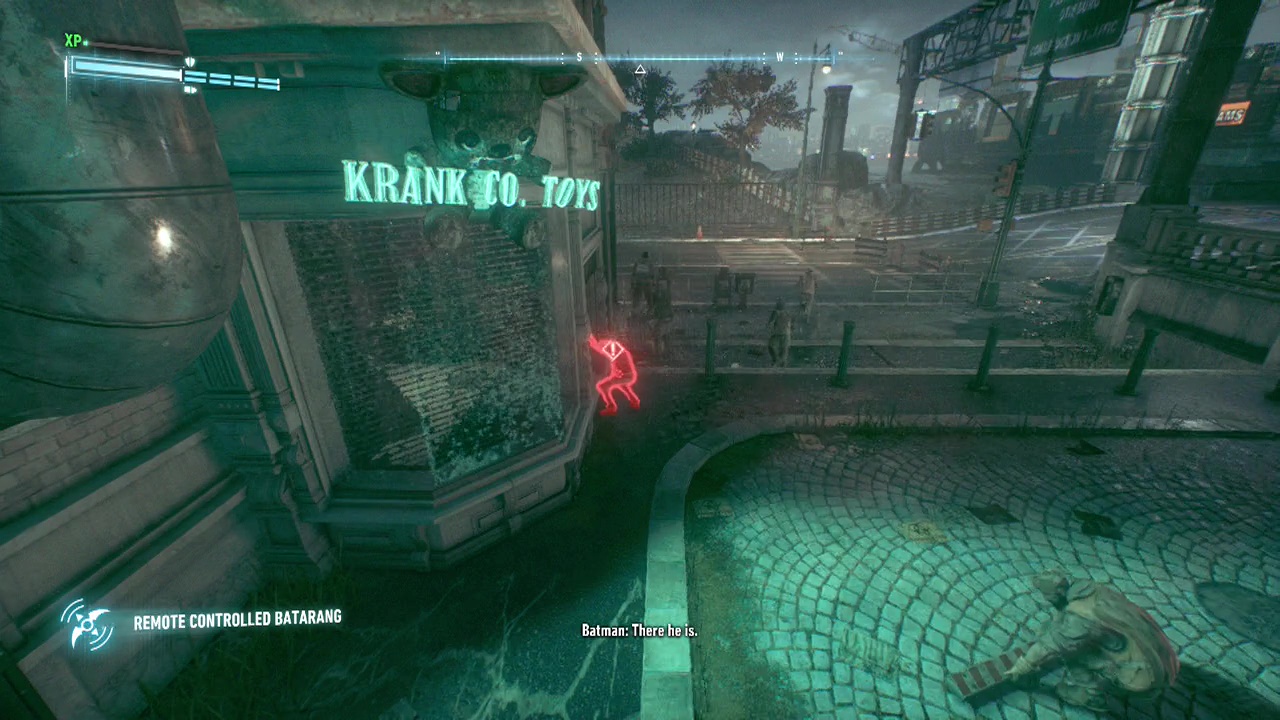
Bomb Rioter 2:
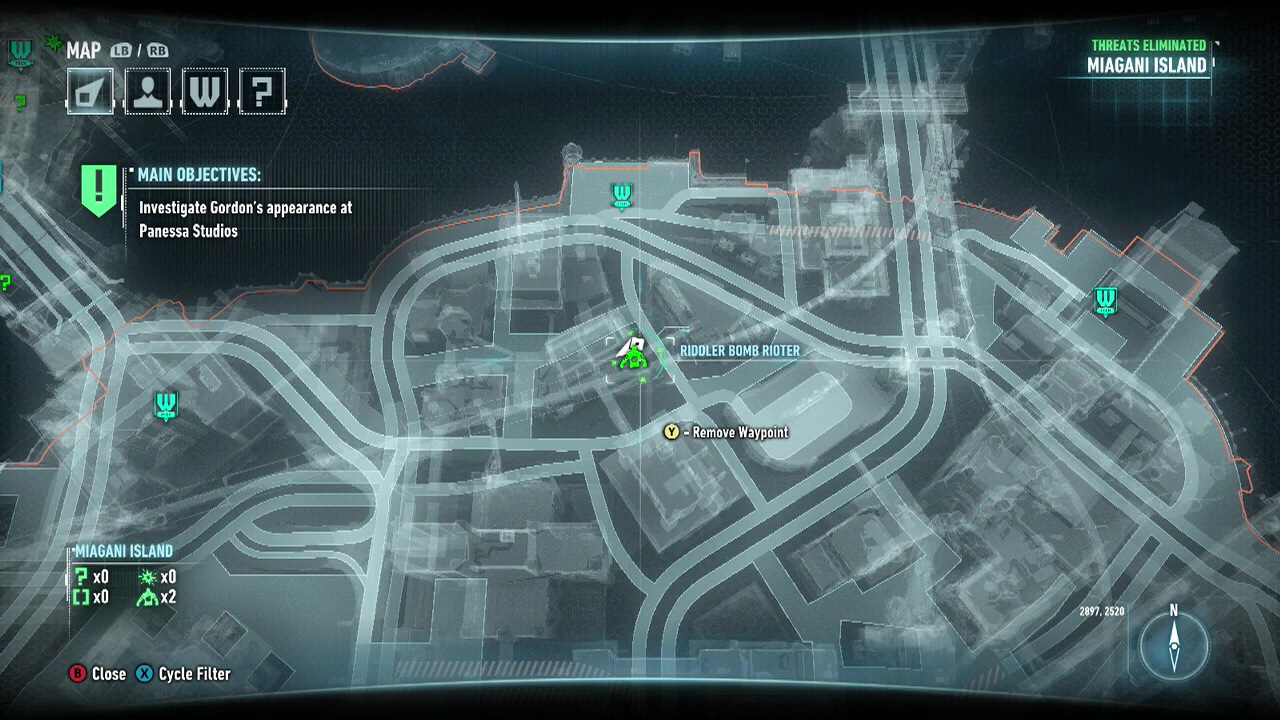
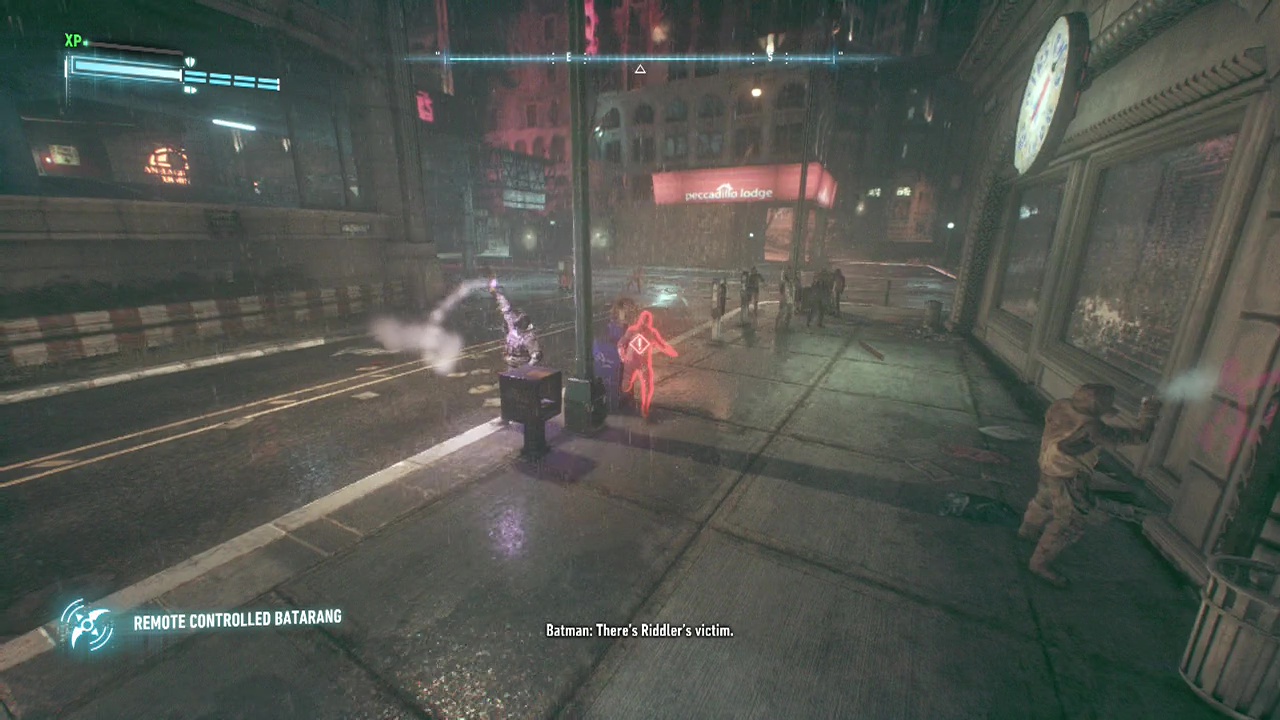
Bomb Rioter 3: