MISSION 18 – The Arkham Knight Headquarters
Objective: Speak to GCPD communications officer to investigate possible lead
Now that the dramatic scenes involving Poison Ivy are over, you'll be standing amongst the falling seed pods as Scarecrow taunts you. Gather your thoughts and start making your way across the city to the GCPD where a strange communication on the SWAT channel needs investigation. If you take to the streets in the Batmobile, you'll probably encounter a wave of eleven drones patrolling the streets for you to deal with.
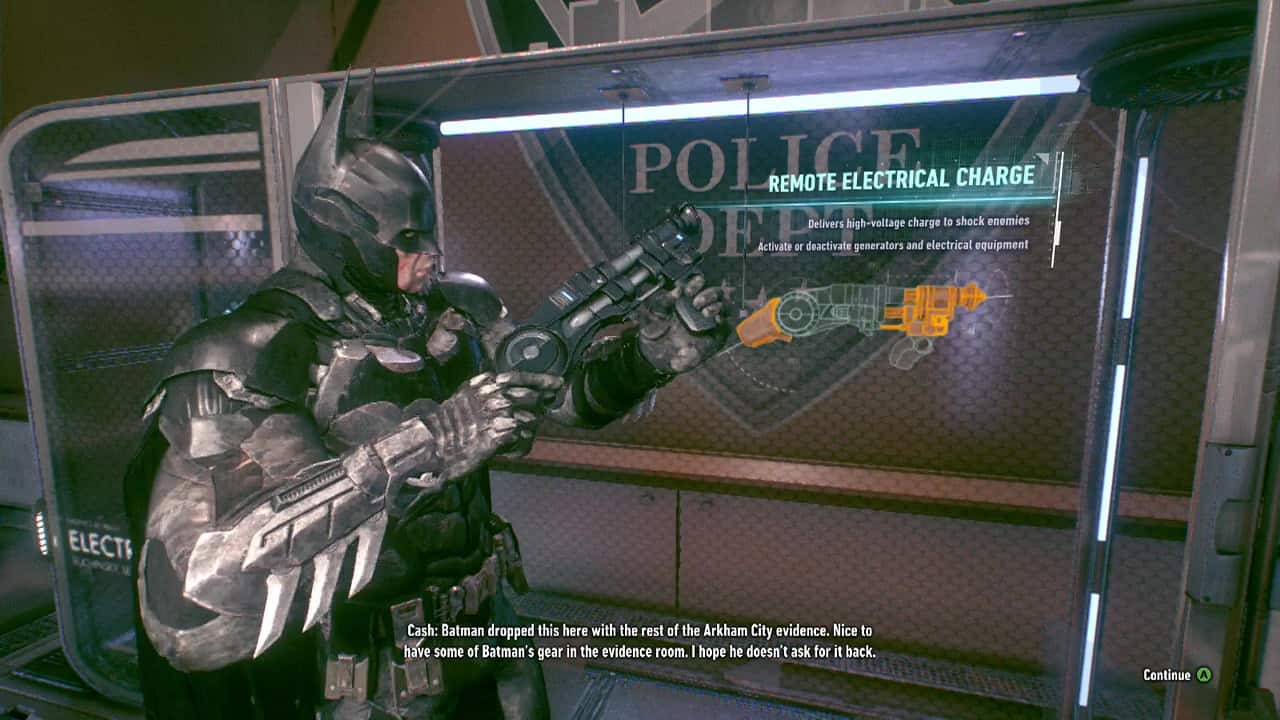
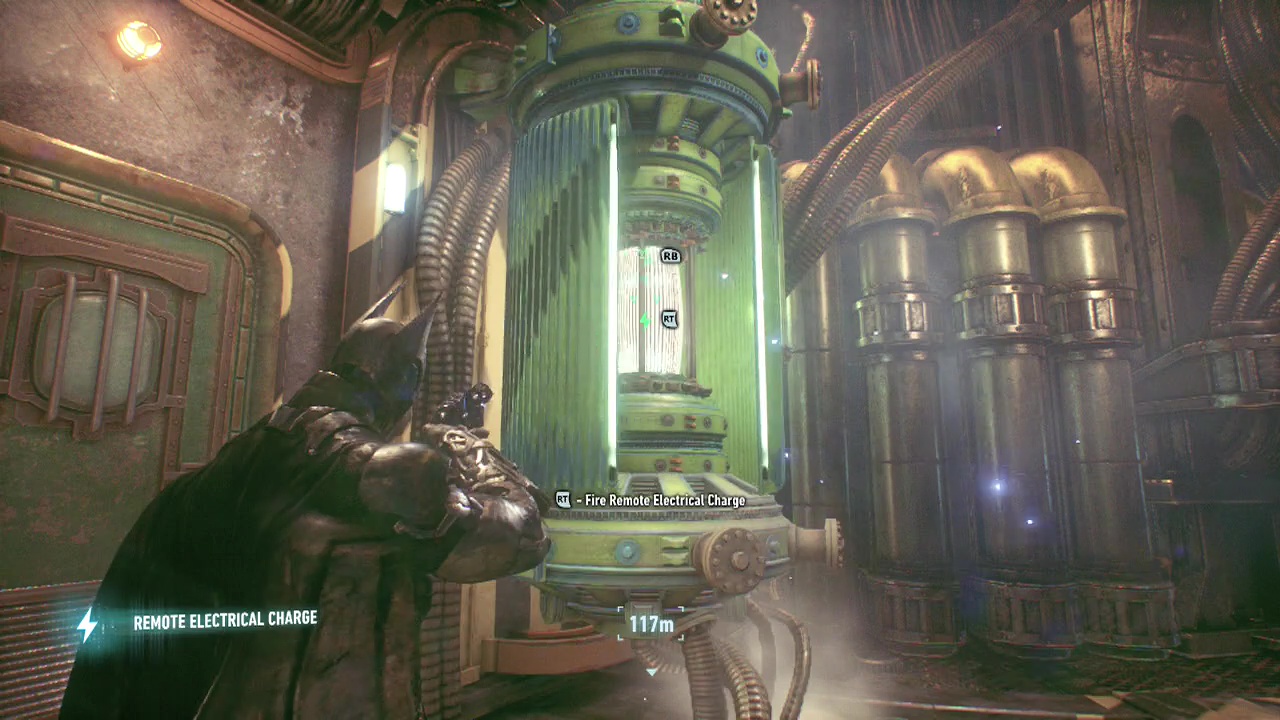
Once you arrive at the GCPD Precinct, stride through the entrance and make your way through to the maximum security area where your objective marker awaits. Before approaching it however, look around the room to spot a large sign reading 'evidence room.' Inside you'll find the weapons of the enemies and super-villans that you have defeated on display. In a smaller side room at the back is a display with one of Batman's gadgets inside, the Remote Electrical Charge gun.

Smash the glass and take back your little toy (subtle isn't he). This gadget can power or short out devices that run on electricity. A little further on, this will be an essential tool to making progress in the mission. Now that your arsenal has been upgraded, return to the maximum security room and follow the marker to the waiting Sergeant McAllister. After a brief chat, you'll be on Gordon's trail once again.
Objective: Track down Gordon and work with him to take down Scarecrow
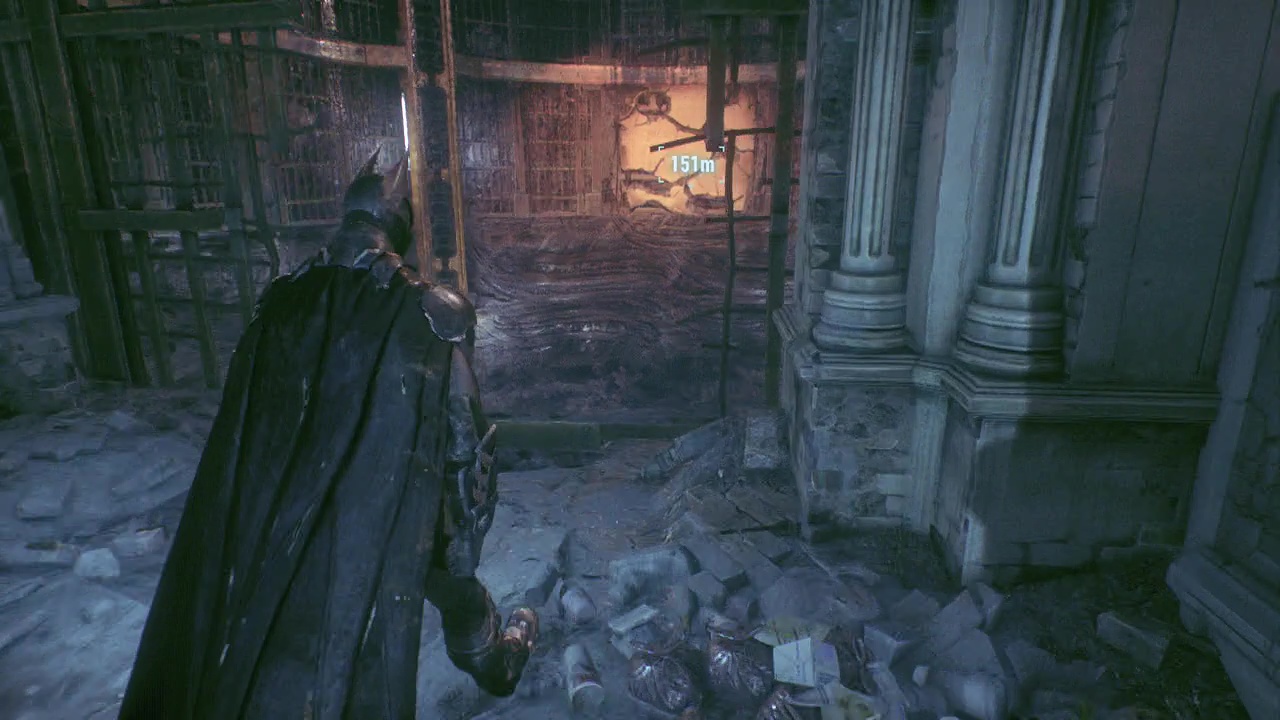
Stroll back out of the maximum security area and reunite with the Batmobile in the parking lot. Roll out of the building and rumble through the streets, dealing with any drones you encounter on the way. When you reach the marked Department Store, pop out of the Batmobile and enable your detective vision. You should spot an electrical system behind the walls and a nearby service hatch. Open it up and drop down into the corridor below.
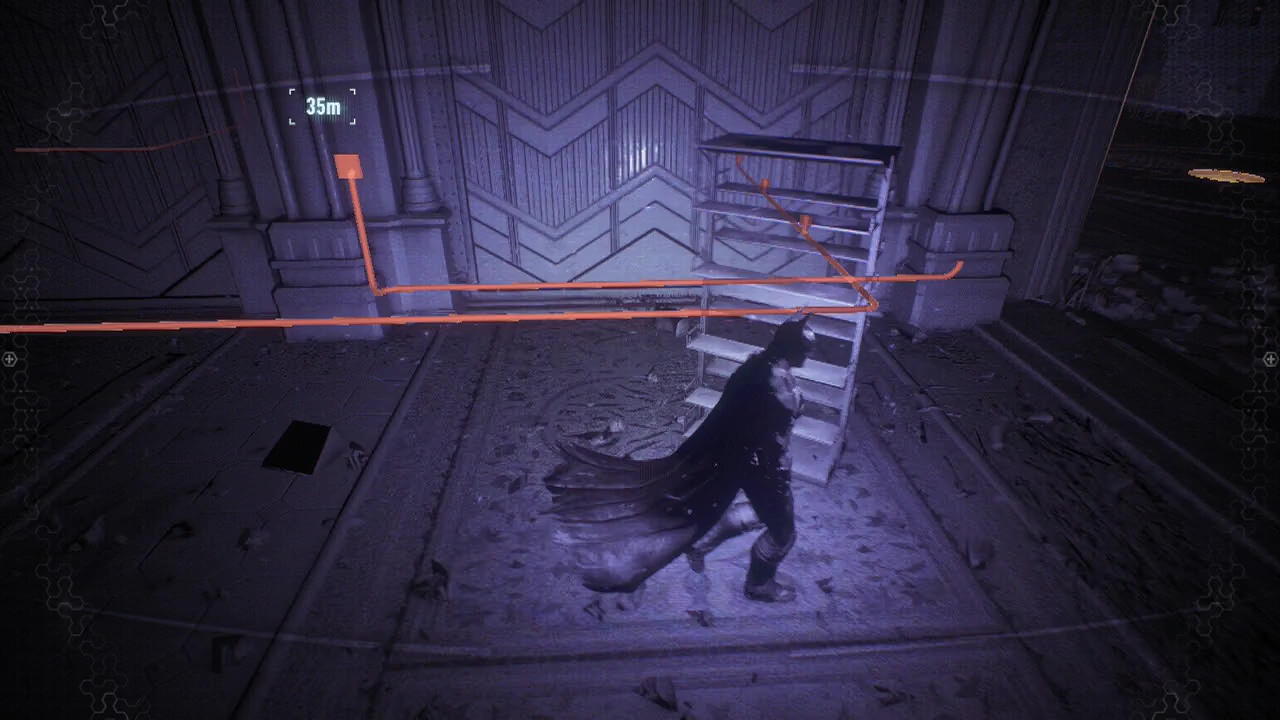
Round the corner to find the first obstacle that requires the new REC gun you just obtained. Use LT to aim the gun towards the sparking generator and tap RB to short it out, making the water safe to cross. On the other side, you'll be stopped by a set of metal bars. These are controlled by the generator you just disabled, so turn around (making sure you are out of the water), aim the gun and press RT to restore power. Step through the now open gate and enter the duct above.
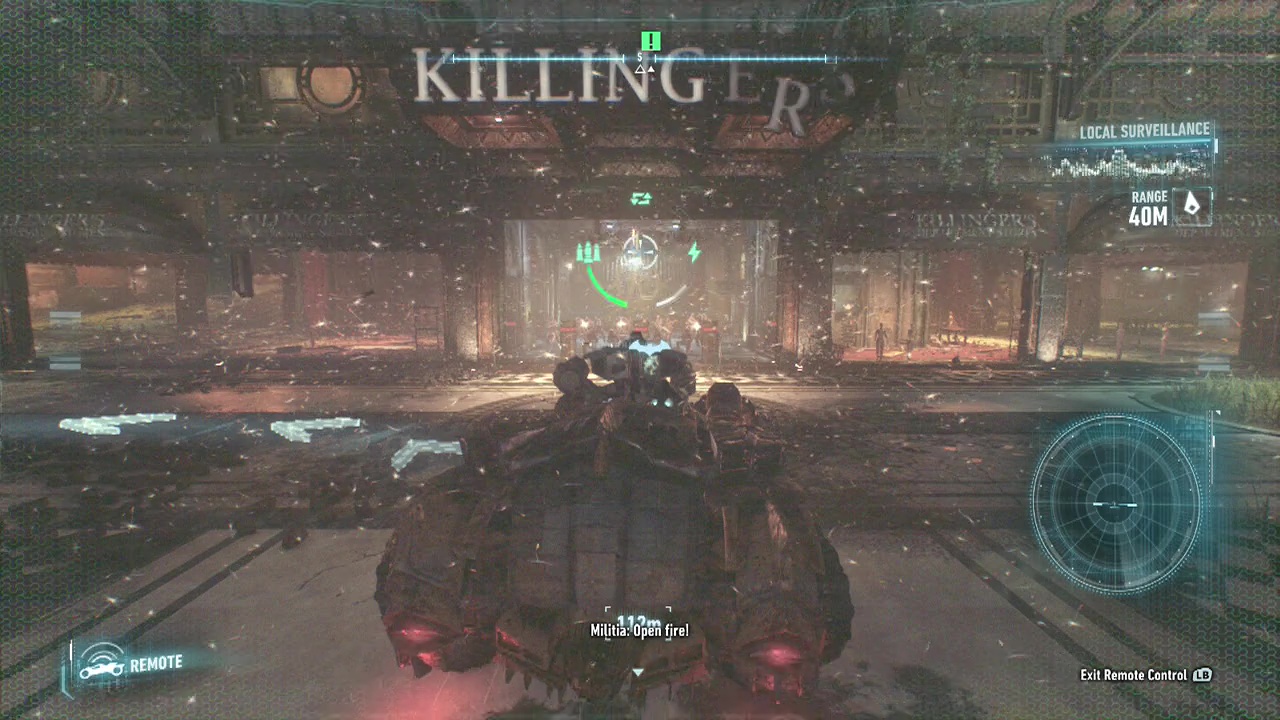
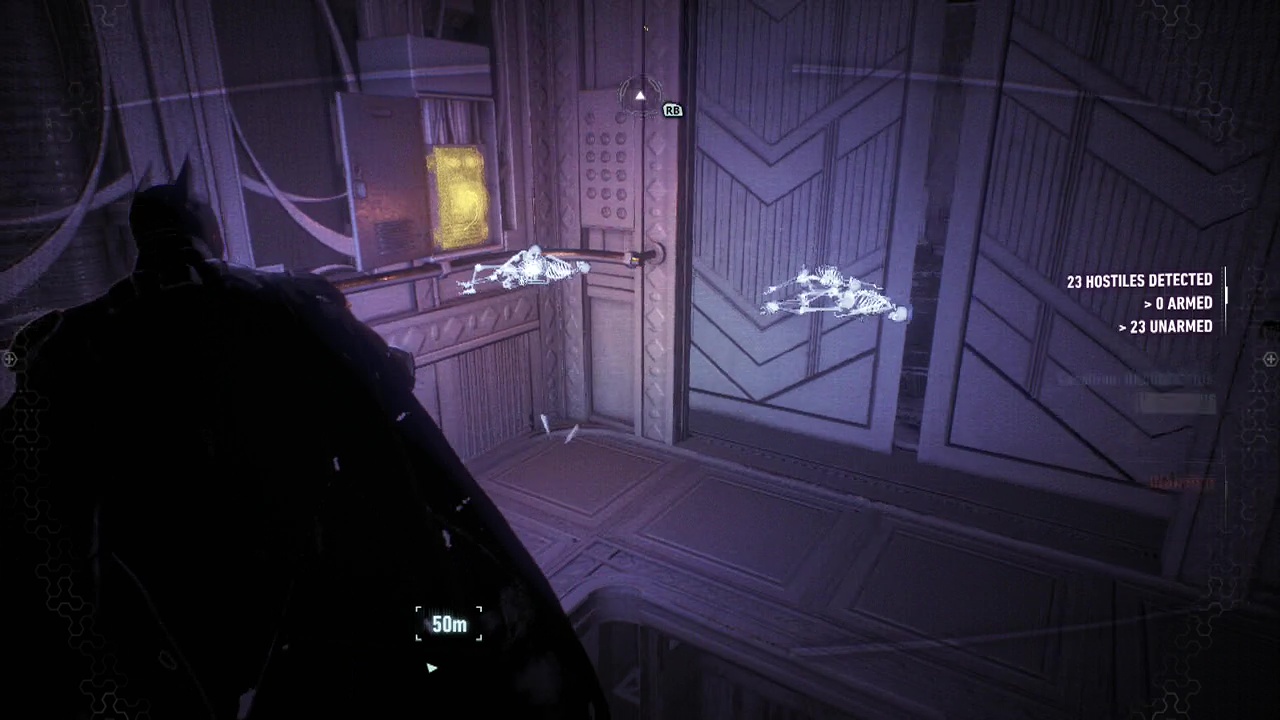
As you enter the duct, you'll be able to see the large squad of militia forces escorting Gordon. You won't be able to pop up into the room like a Bat-in-the-box, but you can take advantage of the enemies stupidity and your Voice Synthesizer. Aim it at one of the guards near the switch for the shutters and command him to open them. Bad move guys, bad move. Take remote control of the Batmobile and start mowing the group down with rubber rounds from the Vulcan Gun.
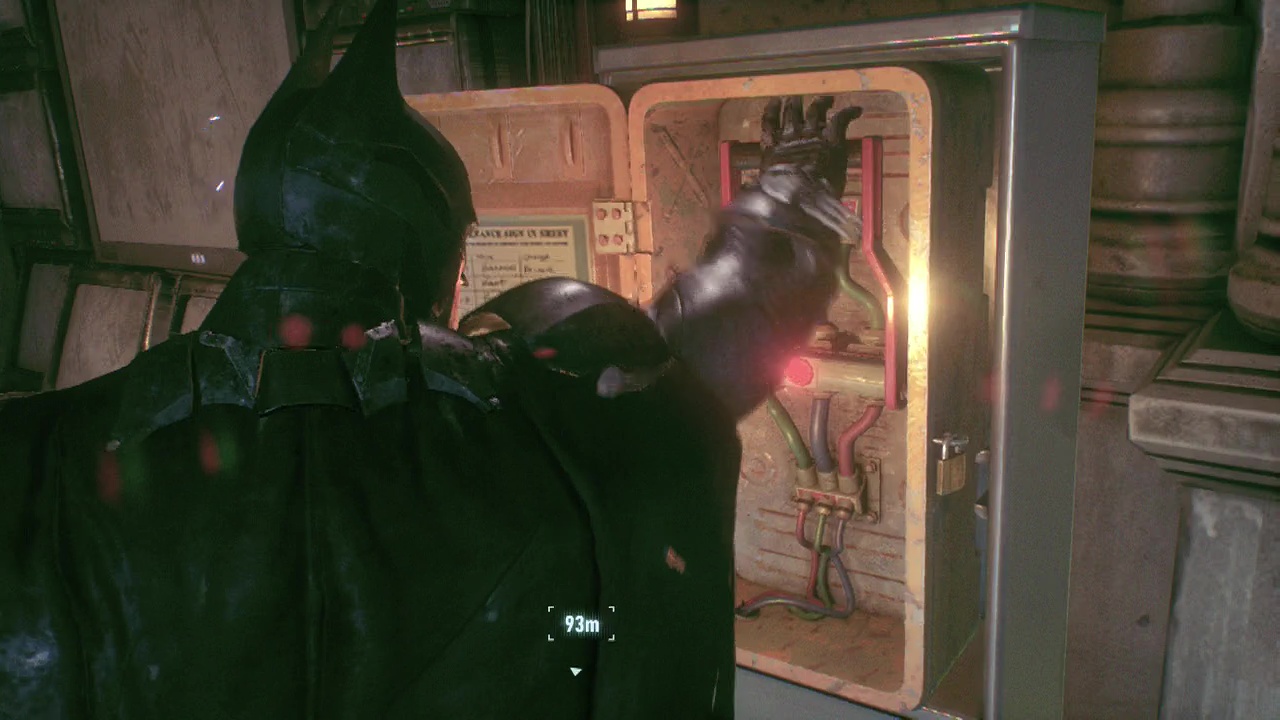
Now that the lobby only contains yourself, leave the duct (which you can mysteriously open now) and look in the corner of the room to the right of the elevator doors for a fuse box to interact with. This will get you into the room beyond where a large pit with massive spinning fans below. Grapple on to the beam that sits above the pit and spot the cracked wall nearby. Take remote control of the Batmobile and fire your cannon at the cracked wall to open a path.
Back in black (er, I mean bat), swing across the gap and into the newly created hole in the wall. After vandalizing another fuse box, you will disable the bollards preventing the Batmobile from entering the building. Eagle eyed players will have already spotted the cracked panel on the ceiling above the pit, and were probably wondering how to fire at it. People who have completed the Riddler sidequest: Drain Pain will probably have a pretty good idea.
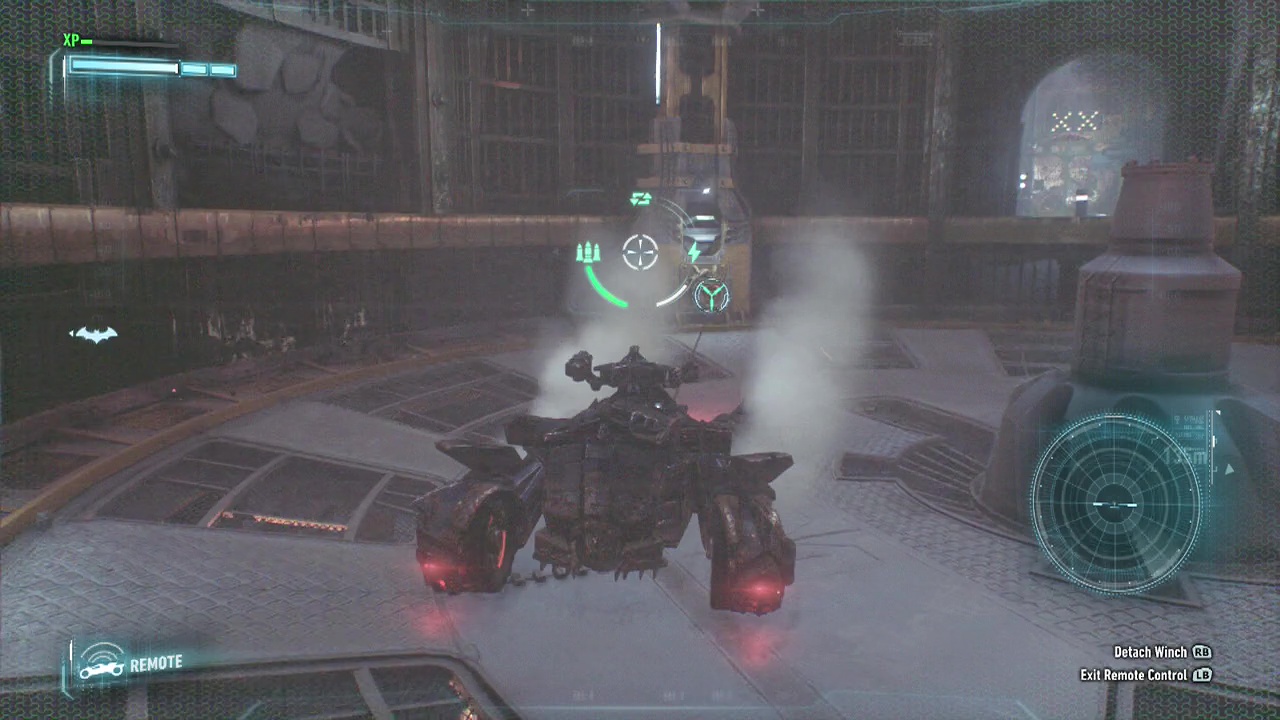
Take remote control of the Batmobile and drive it up to the edge of the pit. Trigger battle mode and spin the car around to spot a grab point for the Power Winch. Yep, we're gonna wall climb with the Batmobile once again. Rappel down the wall so the Batmobile's cannon is facing upwards and aim at the cracked panel above. Players who didn't remote control the Batmobile may be turned into Batshimi when they eject.
Turn off the remote control and enter through the now cleared hole above. Up here you'll find the generator controlling one of the spinning blades below. Get close to it and examine the generator to see the spinning shields protecting it. You need to fire charges (power up) between the shields until you overload the generator, disabling the fan under your feet. As you charge up the generator, the shields will spin faster making it more difficult to connect.
Once you are successful, the first set of blades will come to a halt. Glide back down to the lower level and take control of the Batmobile again. This time you can go further down the wall, past the stopped blades to see another cracked panel on the opposite side of the pit for you to blast away. You can just shoot the enemies on the other side to make life easy if you like. Leave the Batmobile to glide and grapple across to the opening.
Quick players will notice an object you can interact with through a gap in a set of doors. More observant players will notice the gap in the wall above that you can grapple up to to enter the shaft beyond the doors. You'll find yourself standing on top of an elevator. Drop down inside and shoot one of the generators to get it moving. Shoot the generator in the floor to continue further down until you reach a breakable wall.
After spraying explosives all over the crumbling wall, detonate it to open the way. A quick scene will show you a pair of militia enemies wielding electric sticks (cattle prods). These can be temporarily overloaded in combat by pressing LT + B/ Circle to quickfire an electrical charge. While the prods are disabled, they are just regular enemies so go to town on them. Keep this technique in mind from now on as they will appear during certain fights.
Now that the spark plugs are on the ground with Batman's boot atop their heads, use the lever on the wall next to you to open the gate to the halfway point of the pit area. Here you'll see a large archway leading off to the right, so amble over and head through it (note the second blade generator behind unbreakable glass on the opposite wall). A little way on, you'll see a grapple point above and to your left that brings you to the top of a large container overlooking four bickering militia thugs.
Pull out your REC gun and aim it at the generator next to them. You know what to do. How is that not killing, Batman? Are they partially insulated or something? After clearing the hallway, Pull the switch at the far end to open the elevator door next to you. Step inside and use the REC gun on the generator to start the elevator on it's descent. When it stops, grapple out of the elevator onto it's roof and climb up onto the ledge next to you.
From this point, shoot the generator with the REC gun to send the elevator upwards, allowing you to reach the vent cover below. On the other side of the cover, you'll see a militia leader briefing his men. Batman will point out that he is wearing an explosive vest so the leader must be targeted first. Be aware of the weapons container in the corner as enemies may grab guns in the upcoming fight if you aren't careful.
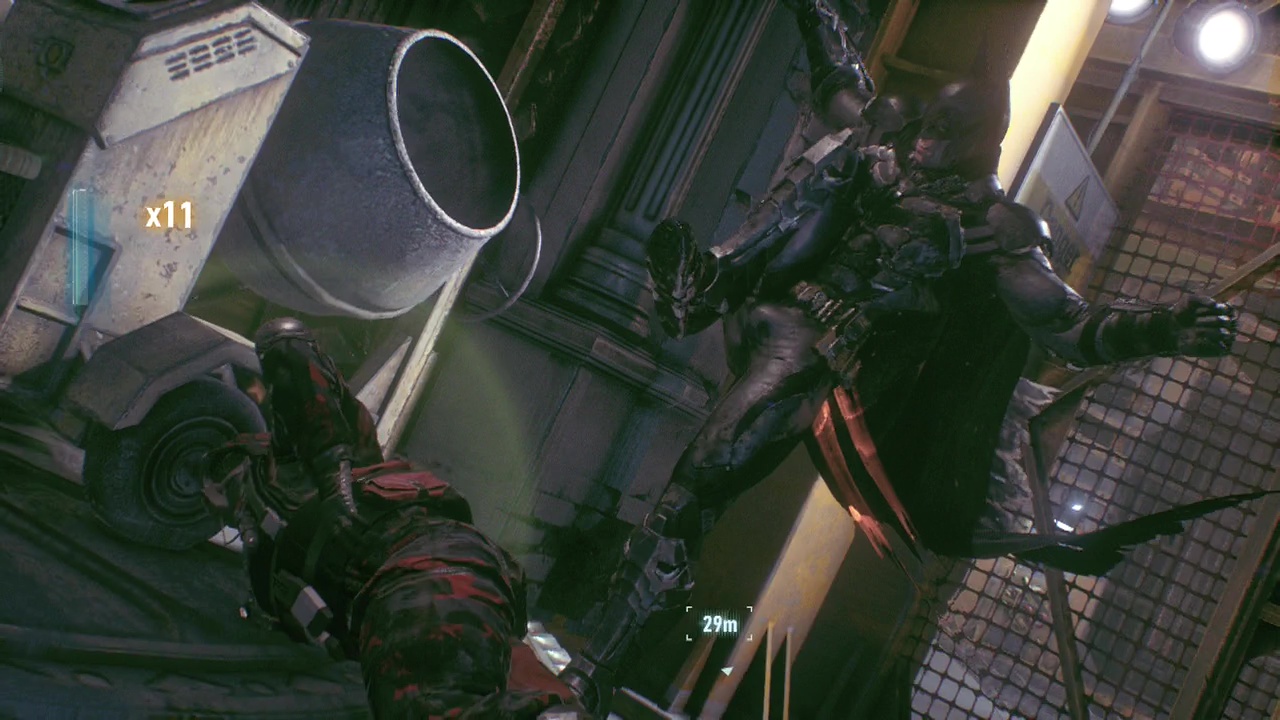
Disable it with the Disruptor to make life easier. Cross the twisted cables strung above the room and drop down behind the banner. From here you should be able to trigger a special takedown to disarm the explosive vest before launching yourself into a large fight. As always, target the medics first when you can. Those new cattle prod enemies will also be present in this fight so remember your RT + B/ Circle technique to deal with them. Other than that, the rest of the enemies are just regular militia so enjoy your balletic fist to face smackdown.
Note: There is a Riddler trophy in the corner of this room to grab.
Now that the dust has settled, stroll over to the fuse box on the wall and interact with it to open the door. At the end of the new hallway, you'll finally reach the bottom of the massive pit. It's obvious you need to get the Batmobile down here to deal with the cracked wall. But how? Drop down and enter the corridor leading off to the right. Behind a metal gate, you'll spot a sentry turret. Use the Remote Hacking tool to disable it and sprint into the doorway it was facing.
Quickly grapple up to the top of the chute to find yourself in the room holding the second blade generator. Repeat your overload job with the REC gun on it to disable the second set of blades, allowing the Batmobile to reach the mid level of the pit. Don't try to retrace your footsteps, as the sentry gun will be active now. Instead take remote control of the Batmobile and move it down onto the huge metal disc below.
Now that the Batmobile is horizontal again, you will see four grab points for the Power Winch on the walls. You are actually sitting on top of a giant drill platform that can be powered by attaching the Power Winch to a grab point and spinning the wheels to turn the disc. This lowers the platform and allows you to reach the lowest area of the pit where Batman is waiting (and that cracked wall we spotted earlier).
Make your way down, blasting away the cracked wall and the sentry gun blocking Batman's path. Once it's gone, you can rejoin the Batmobile and drive through the now open entrance to the underground mining area. A final fuse box awaits beside a giant metal gate for Batman to open up. Do so and roll on through to finish this mission.