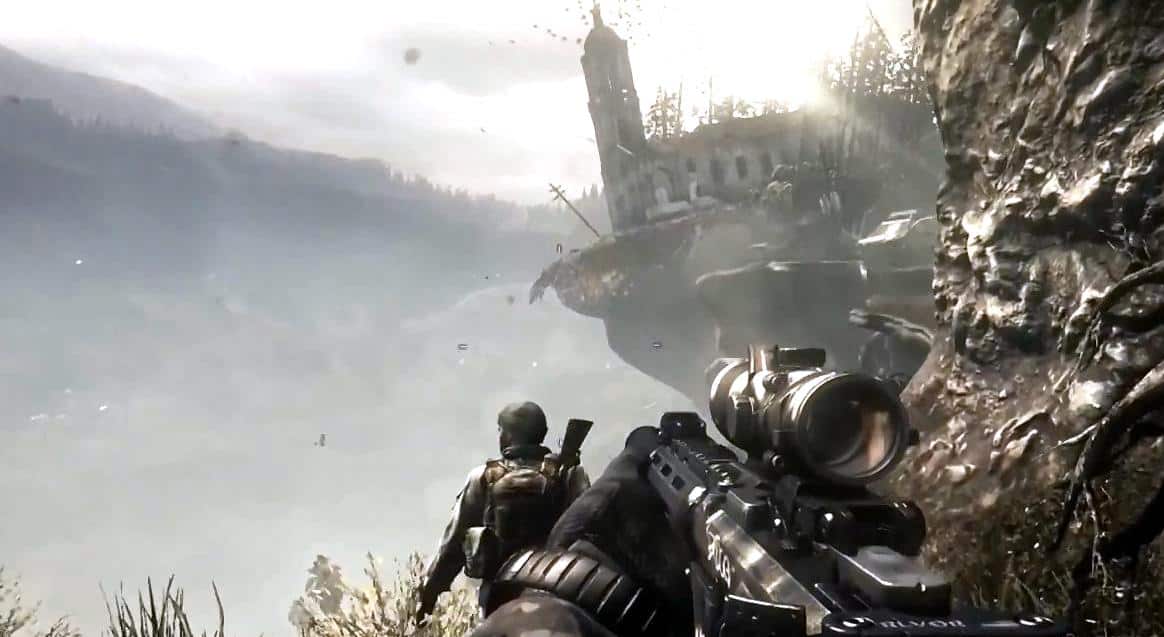
After spotting the nearby enemy patrol, you have to press L1/LB to order Riley to attack. Once he's taking down an enemy, shoot the other enemies to clear the path. Continue to the next area and go through the ruins of your destroyed home. Continue following Hesh and you walk along the narrow path at the edge of the cliff.

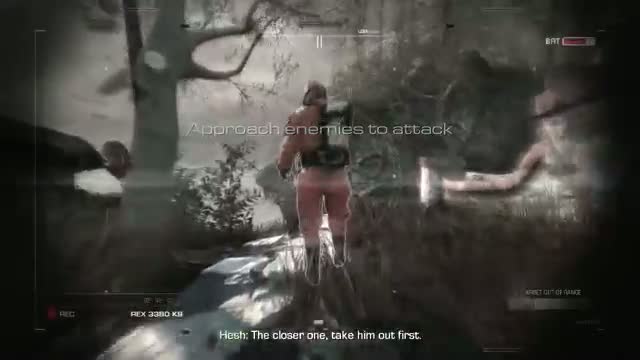
After getting past the cliff, synch with Riley by holding Square/X. You'll be able to control him and use him to take out the enemy patrol. Approach the nearest patrol and press the attack button once you're close enough. After taking the first patrol down, follow the path and order Riley to bark to get the attention of the next patrol. Just stay put as the enemy gets near; wait for Hesh to take him out.
Next, you'll have to order Riley to search the house. Carefully move inside and wait for Hesh to take out the sniper on the balcony. Have Riley sprint towards the nearest armed enemy then chase after the fleeing enemy and finish him off as well. After this, you'll de-synch with Riley and will be controlling your person again.
Stack up by the nearby door and wait for Riley to stir up trouble inside, prompting the enemies to flee out through the door. Use this chance to finish off the stragglers. Head inside the house and pick up the L115 rifle on the right. More contacts will be waiting right outside the house. You can also order Riley to kill enemies behind corners. Don't worry about him since he's practically immortal.

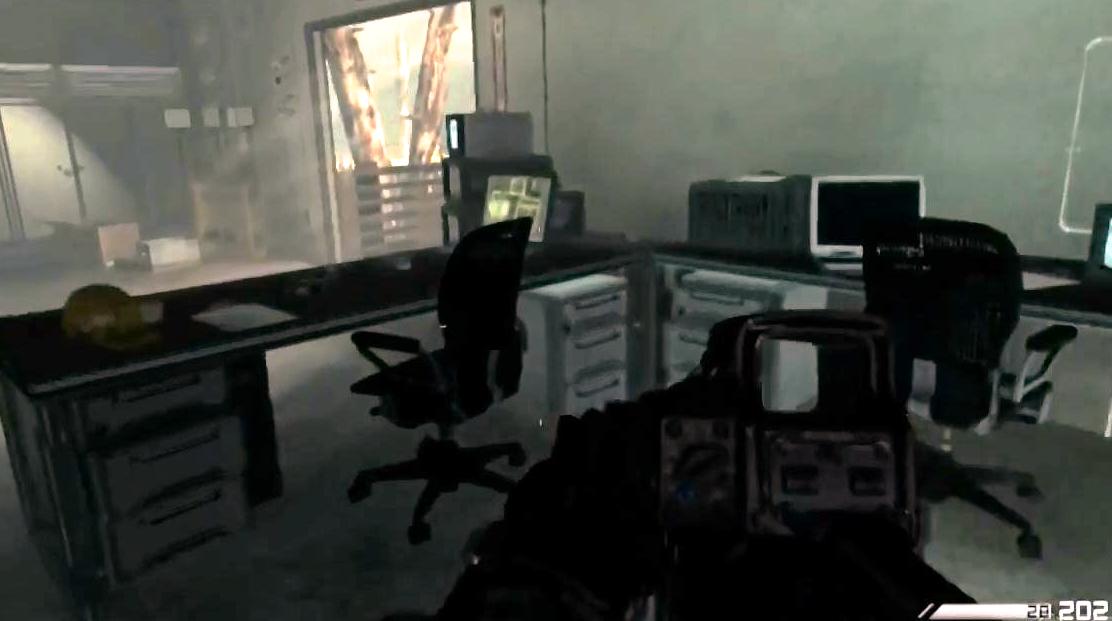
Continue clearing the path until you reach a metallic office building. Take out the remaining enemies then head inside. You'll find another Rorke file on the desk near the second door.
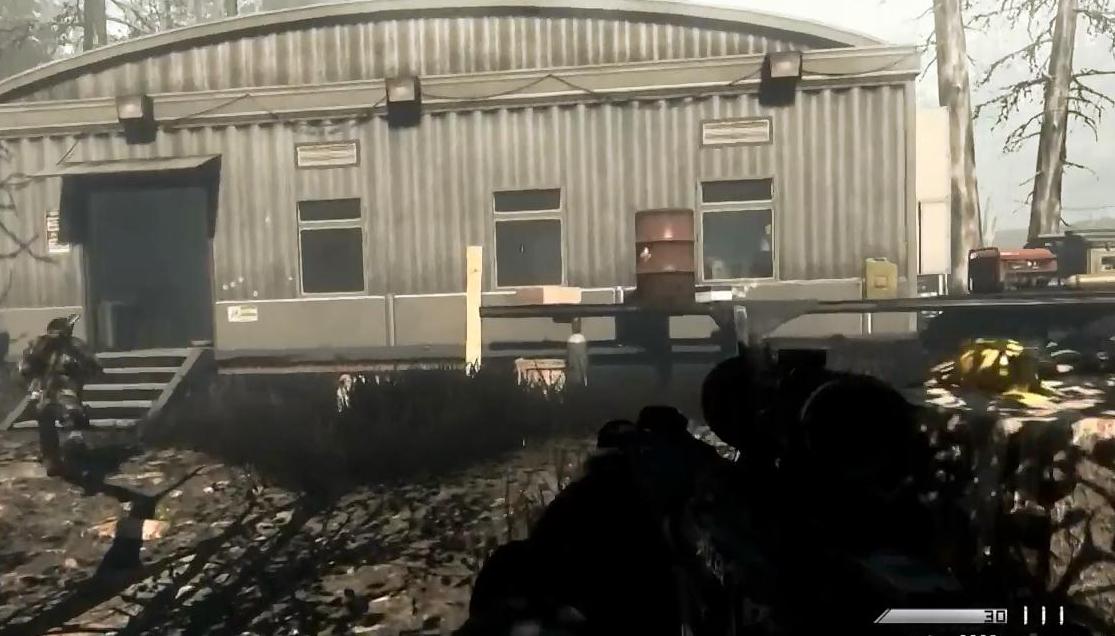
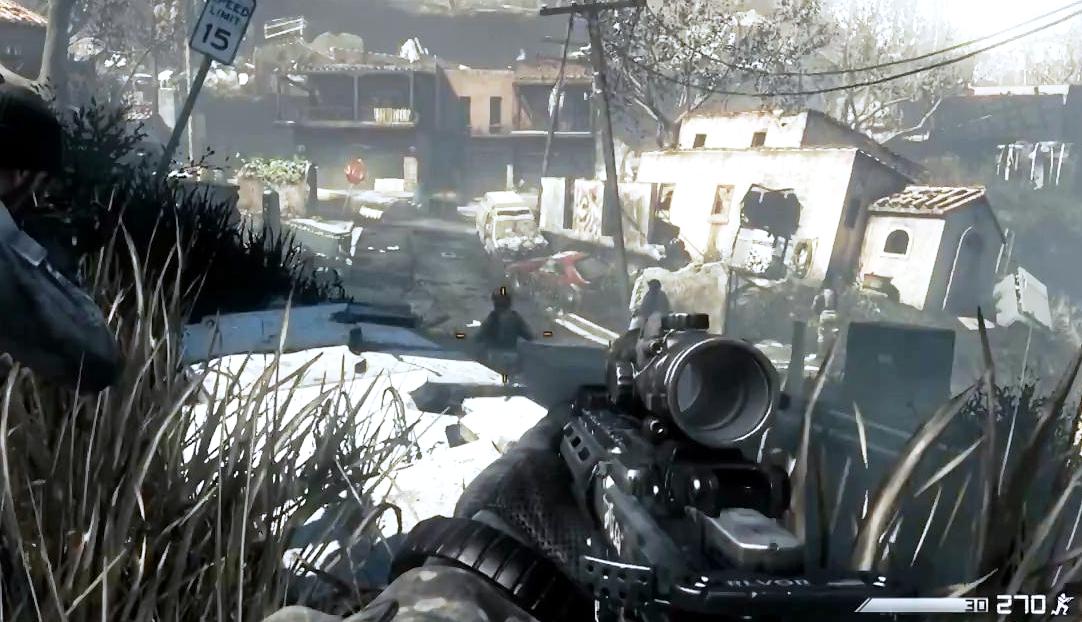
Exit the office building and head through the walkway while clearing more enemies. Be careful of an enemy hiding inside the tent to the left since he's carrying a Bulldog shotgun which can easily take you by surprise. Follow the path until you reach the road. Continue along the road and you'll arrive at a tunnel shortly. Stay behind cover to the right and move while crouching to avoid getting detected by the armored convoy.
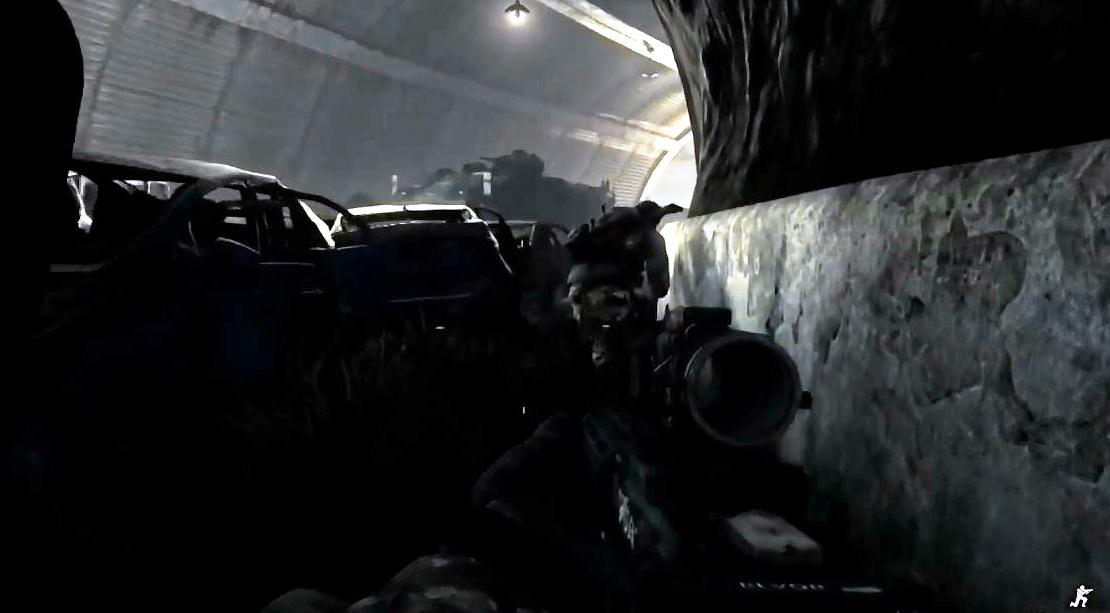
After the convoy passes, you'll find a group of enemies at the end of the tunnel. Keep your trigger fingers at bay since you only need to take out the lone enemy that will separate from the group. Move quietly and enter the breached hull of the shipwreck to observe the enemy movement ahead. Since you can't scour the area without getting detected, you'll have to synch up with Riley and have him do some recon.
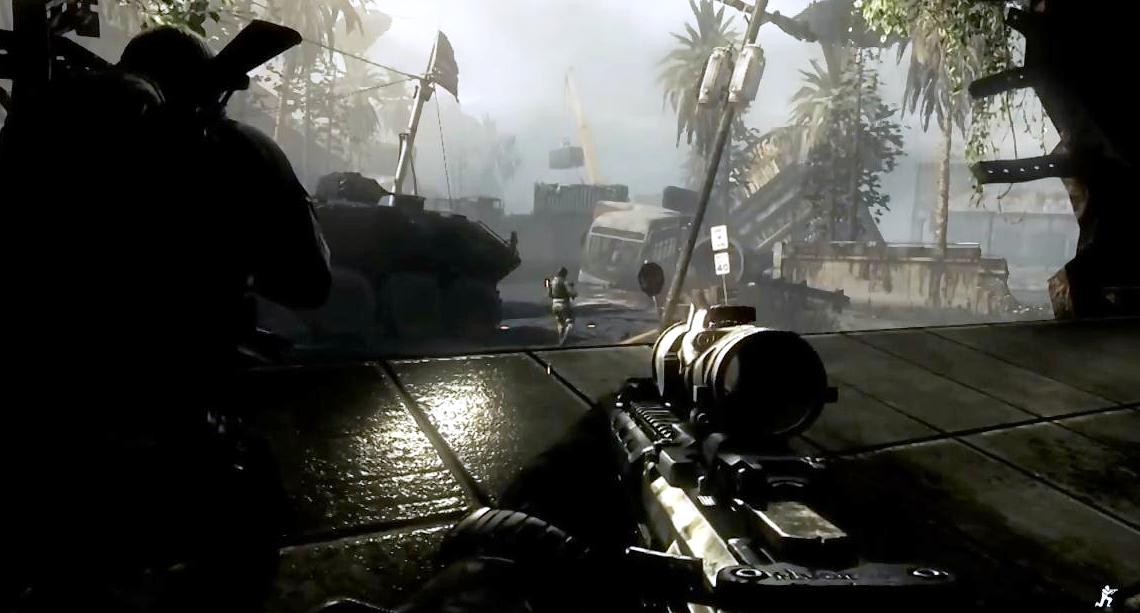
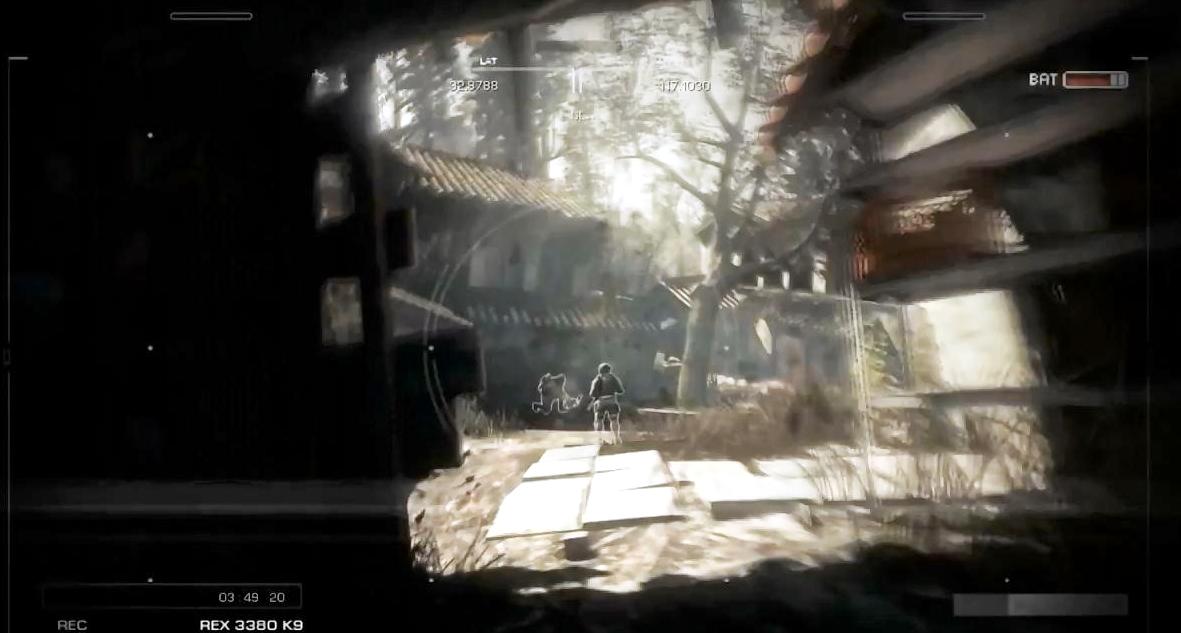
Have Riley move along the grass patches to avoid enemy detection. There will be numerous patrols but you only have to take out the ones along your way. After entering the first pipe ahead, approach the enemy and attack him from behind to kill him stealthily. Go through the nearby bus and slowly approach the next enemy. Wait for the BTR to pass by then take out the tango ahead of you.
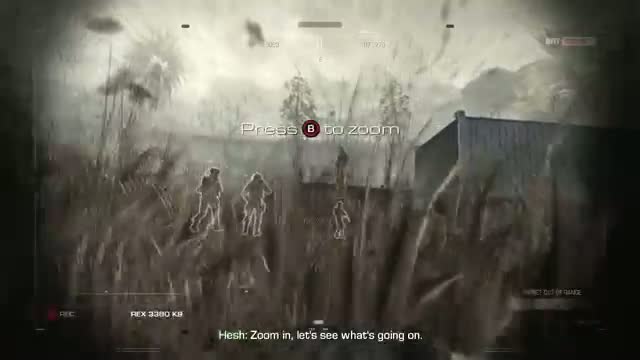
Go past the trailer ahead and you'll find more enemy patrol. Stay on the right and take out the roving guard if he ever gets too close for comfort. Continue ahead and take out the tango near the pipe. There will also be a couple of enemies moving ahead so move inside the pipe to avoid detection. Move behind the crane to find the trailer that you need to investigate. Zoom in to pick up better audio and visuals.
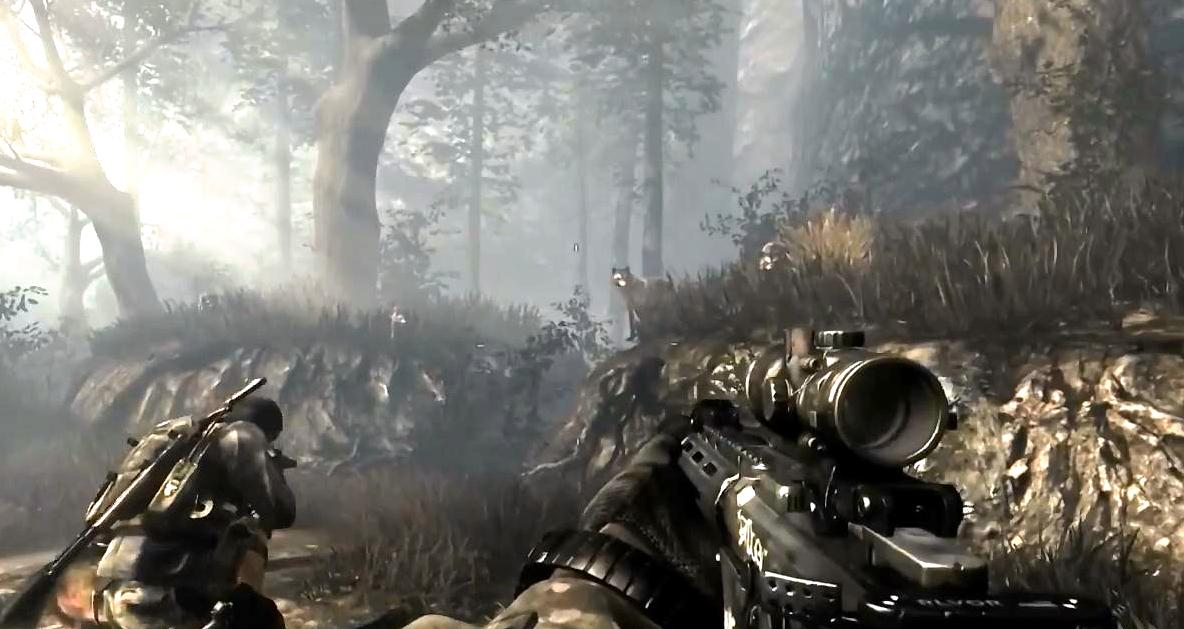
After the scene, a new waypoint will be added to the hud. Move to the next location while staying in cover until Riley regroups with you and Hesh. Move along the trail until Riley becomes rattled and will run ahead of you, ignoring orders to slow down. After catching up with him, you'll be face to face with another threat – wolves.
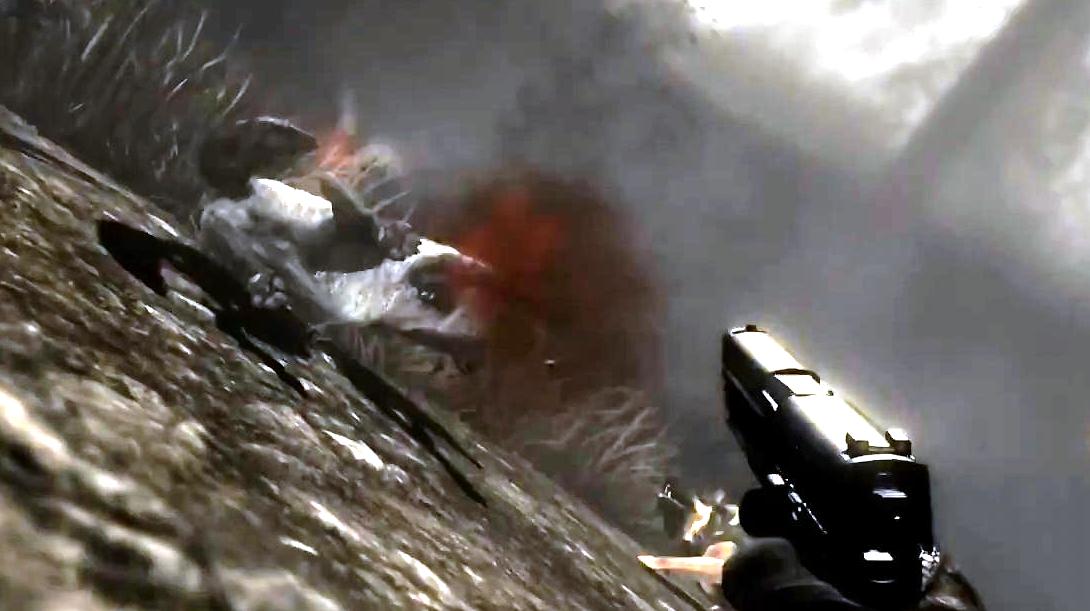
Shoot a few of them but expect to be knocked down immediately. Struggle by pressing the Square / X button. You'll be saved by Riley but he will be in danger from the wolf himself. Shoot the wolf and ready your weapon for more. Just as one of them pounces again on you, a couple of allies will jump in and rescue you.
Follow the allied team until you reach the beach landing. You'll encounter an enemy patrol so take them out and engage more enemies ahead. Move from cover to cover and clear the building ahead. Go through the building and kill more enemies uphill. Continue following your teammates until you reach the edge of the firebase. Mission complete.