
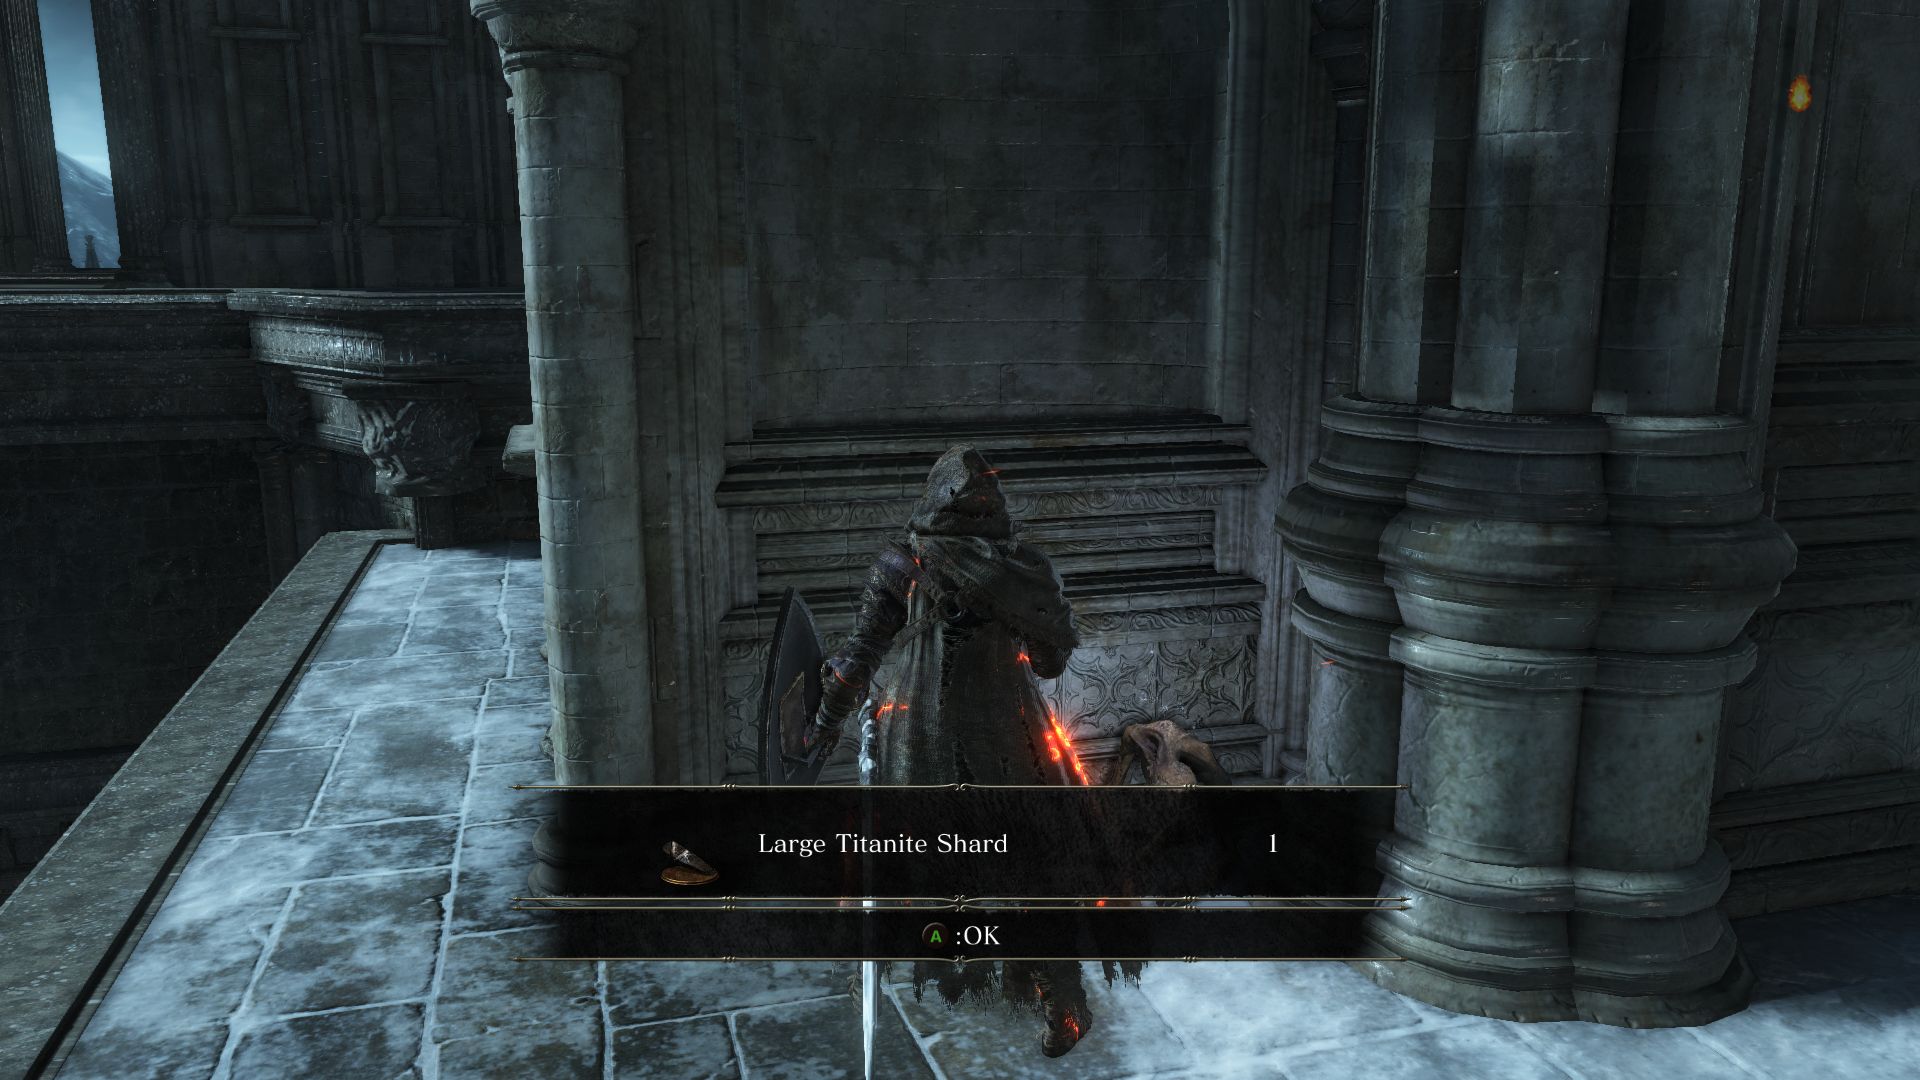
After you defeat Pontiff Sulyvahn, proceed to the balcony at the back. You’ll find 2 crystal lizards below that will drop a Twinkling Titanite each. Check the right side from the exit for a dead end where you will find a corpse holding a Large Titanite Shard.

Now head to the other direction towards the castle until you come to a courtyard with the fallen bodies of Giants. Of course, if you have guessed by the breathing sound coming from the courtyard, two of them are alive. Better not take on the giants yet. Go left under the bridge to deal with the Deacons you may have spotted on the upper walkway.
Take the path to the right under the bridge to fight some invisible Irithyll Slaves. Around the corner is a spellcaster. Take it out and loot the Dark Stoneplate Ring. Head to the left of the bridge to find some stairs going up.
When you are on the walkway, you’ll notice many Deacons lined up against the railing of the walkway. Just behind the stairs you’ll notice a door that lead to the upper area of the cathedral, but let’s clear the courtyard first.
The Deacons here may have a bit more HP and hit harder, but they’re easy to take down like the ones you’ve faced before. As you make your way towards them, dodge around the incoming fireballs. The bigger Deacons have a higher poise, so they won’t stagger like the rest. Carefully take out the Deacons but be wary of not drawing attention of two imposing enemies waiting in the courtyard below. After you’ve defeated all the Deacons on this walkway, it’s time to take on the two Drang Knights.
These Knights attack fast and often. Good news is that they are lacking a bit on the defensive side. If they’re giving you trouble, you could run into the courtyard below to stir the giants who may support you. However, if you’ve ruined your friendship with the giants, this could prove to be more of a danger. Try to dodge around the two Knights and find openings in their attacks to take them down. Killing the Knights will reward you with Drang Twinspears.
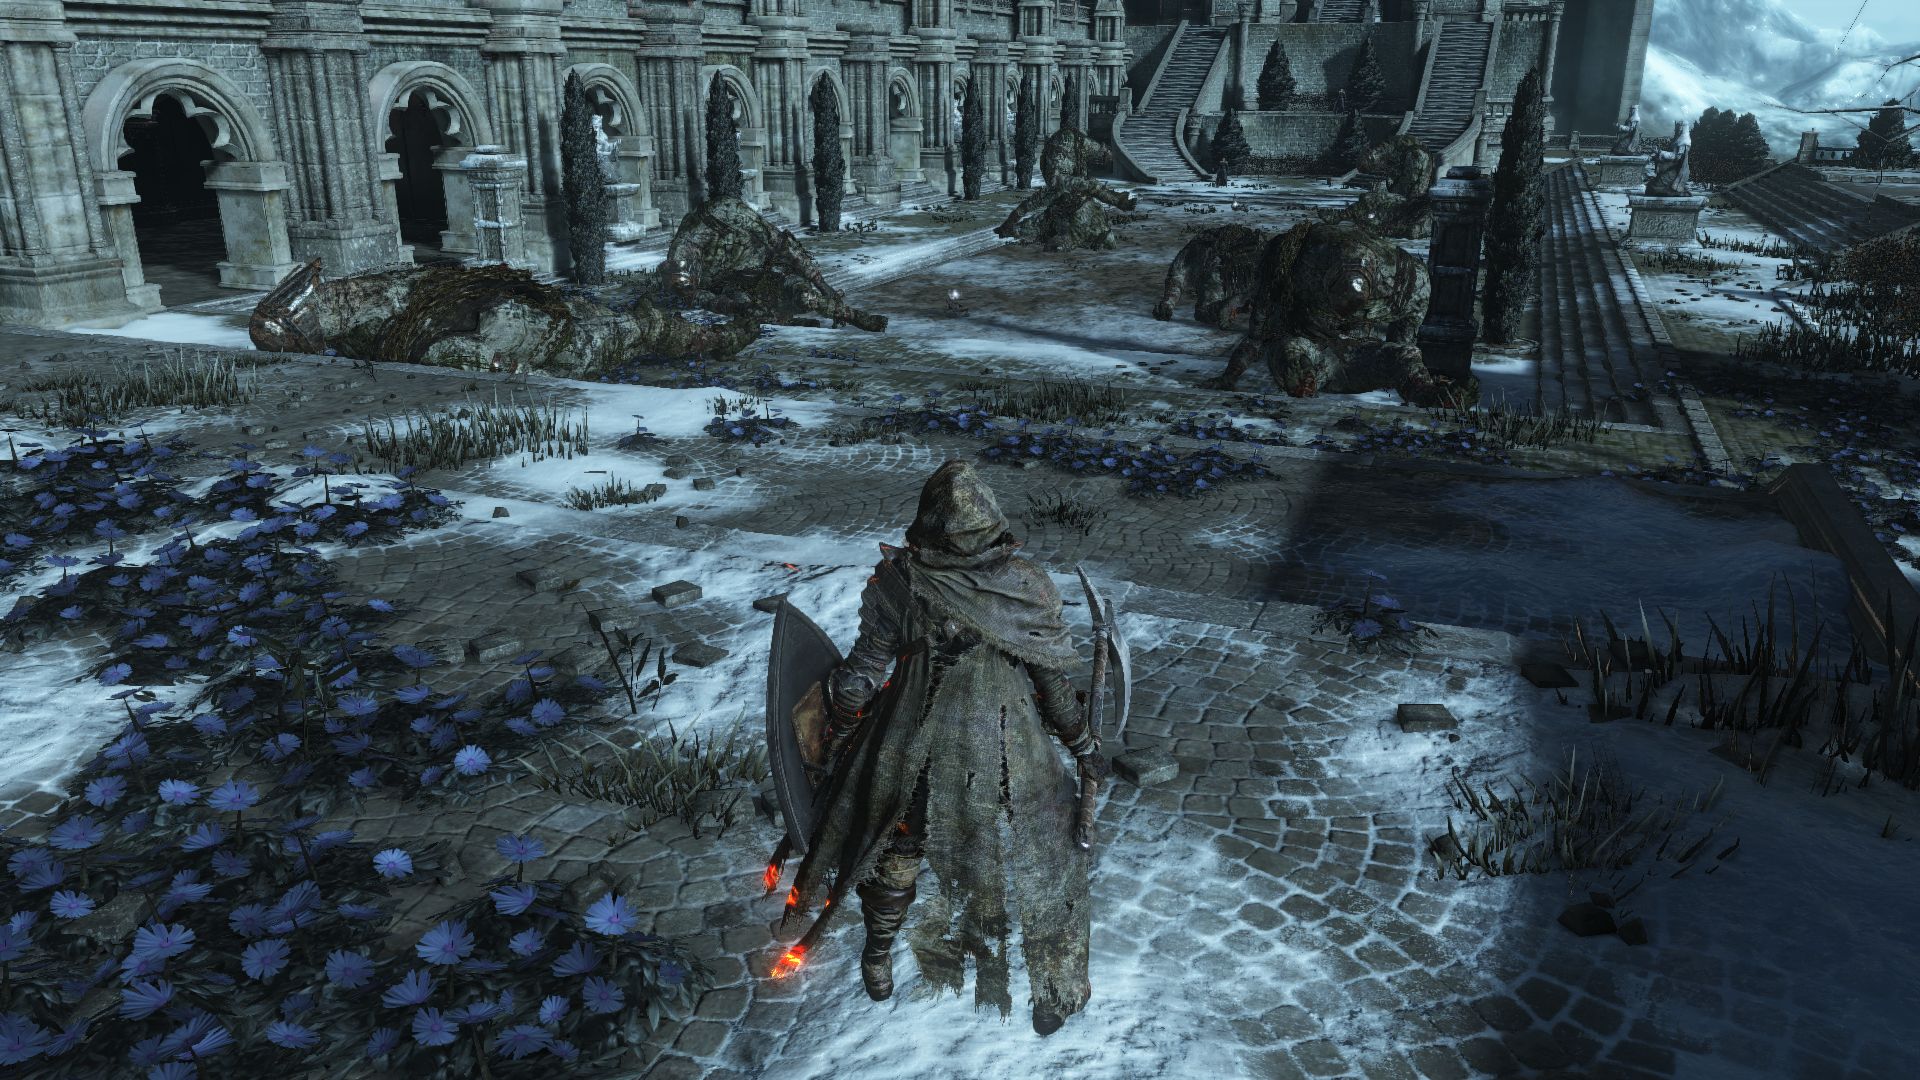
If you want to defeat the Giants too, by all means go ahead, but don’t let their smaller size fool you. They will try to stomp on you and pound you with their fists while being rather mobile. Try to stay on their backside as you chip away at them. After you’ve cleared the area, search the courtyard for 2 Embers, a Soul of a Weary Warrior, and a Large Titanite Shard on the balcony.
Once the courtyard has been cleared and looted, go back up the stairs to enter the cathedral. But before you do, walk around the outside to the left to find a Large Titanite Shard. Enter the Cathedral to find a lift to your left that will lead back to the bonfire.
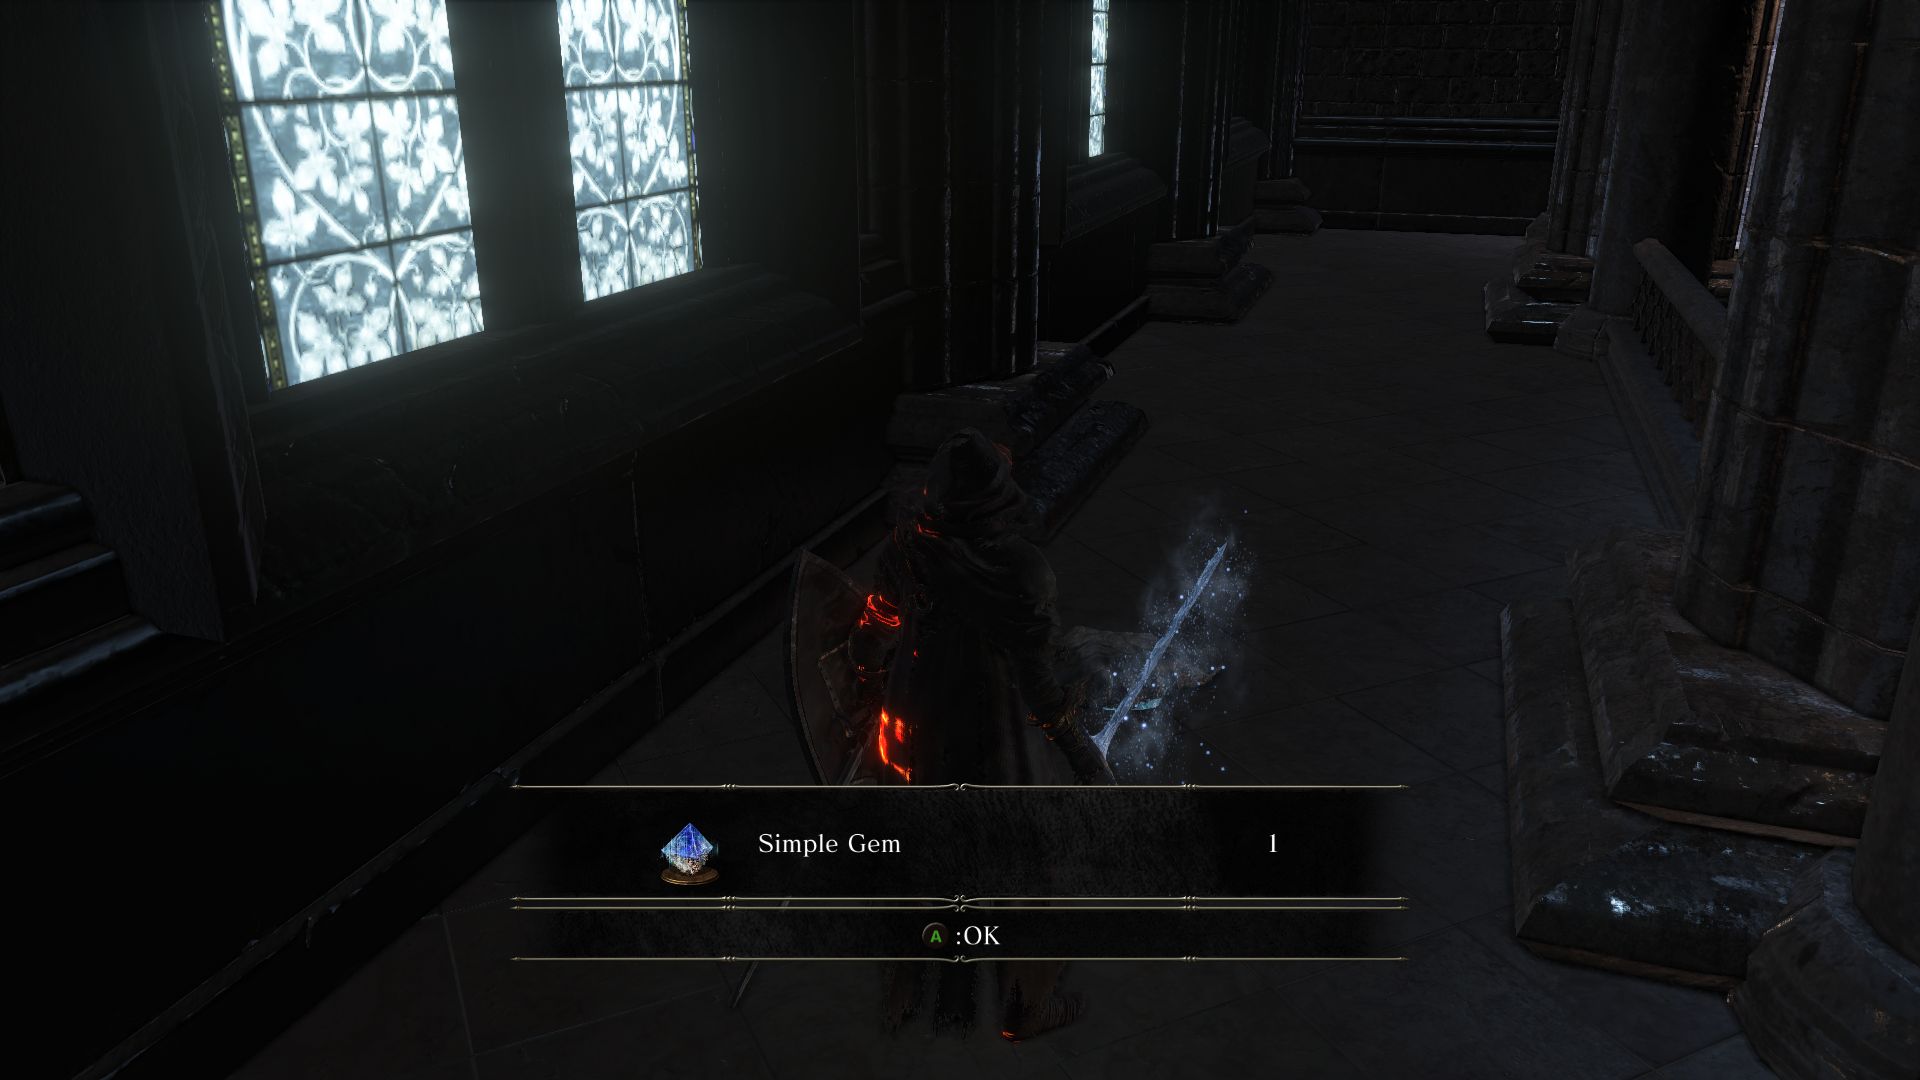
Go to the left side of the bridge to go around the upper floor. Take out the crystal lizard up ahead to obtain a Simple Gem. Go back to the side of the lift and cross the bridge. On the other side you will find a chest which is actually a Mimic. Kill the Mimic to obtain a Golden Ritual Spear. Now go back to the walkway and run to the other side of the courtyard.
COVENANT – ALDRICH FAITHFUL
As you enter the tower there is an illusory wall you can reveal that leads to a covenant opportunity. Strike the walls opposite the stairs until you find the illusory wall. You will find a ladder leading below into a waterlogged area with 2 Sulyvahn’s Beasts. This is an extremely difficult fight if you draw the attention of both. Your best bet is to try to snipe one from as far away as possible to draw it by itself. After you kill the beasts you will obtain a Ring of Favor. The area also has two corpses with Human Dregs and a Deep Gem. Light the bonfire and talk to the Archdeacon in the corner if you want to join the Aldrich Faithful covenant.
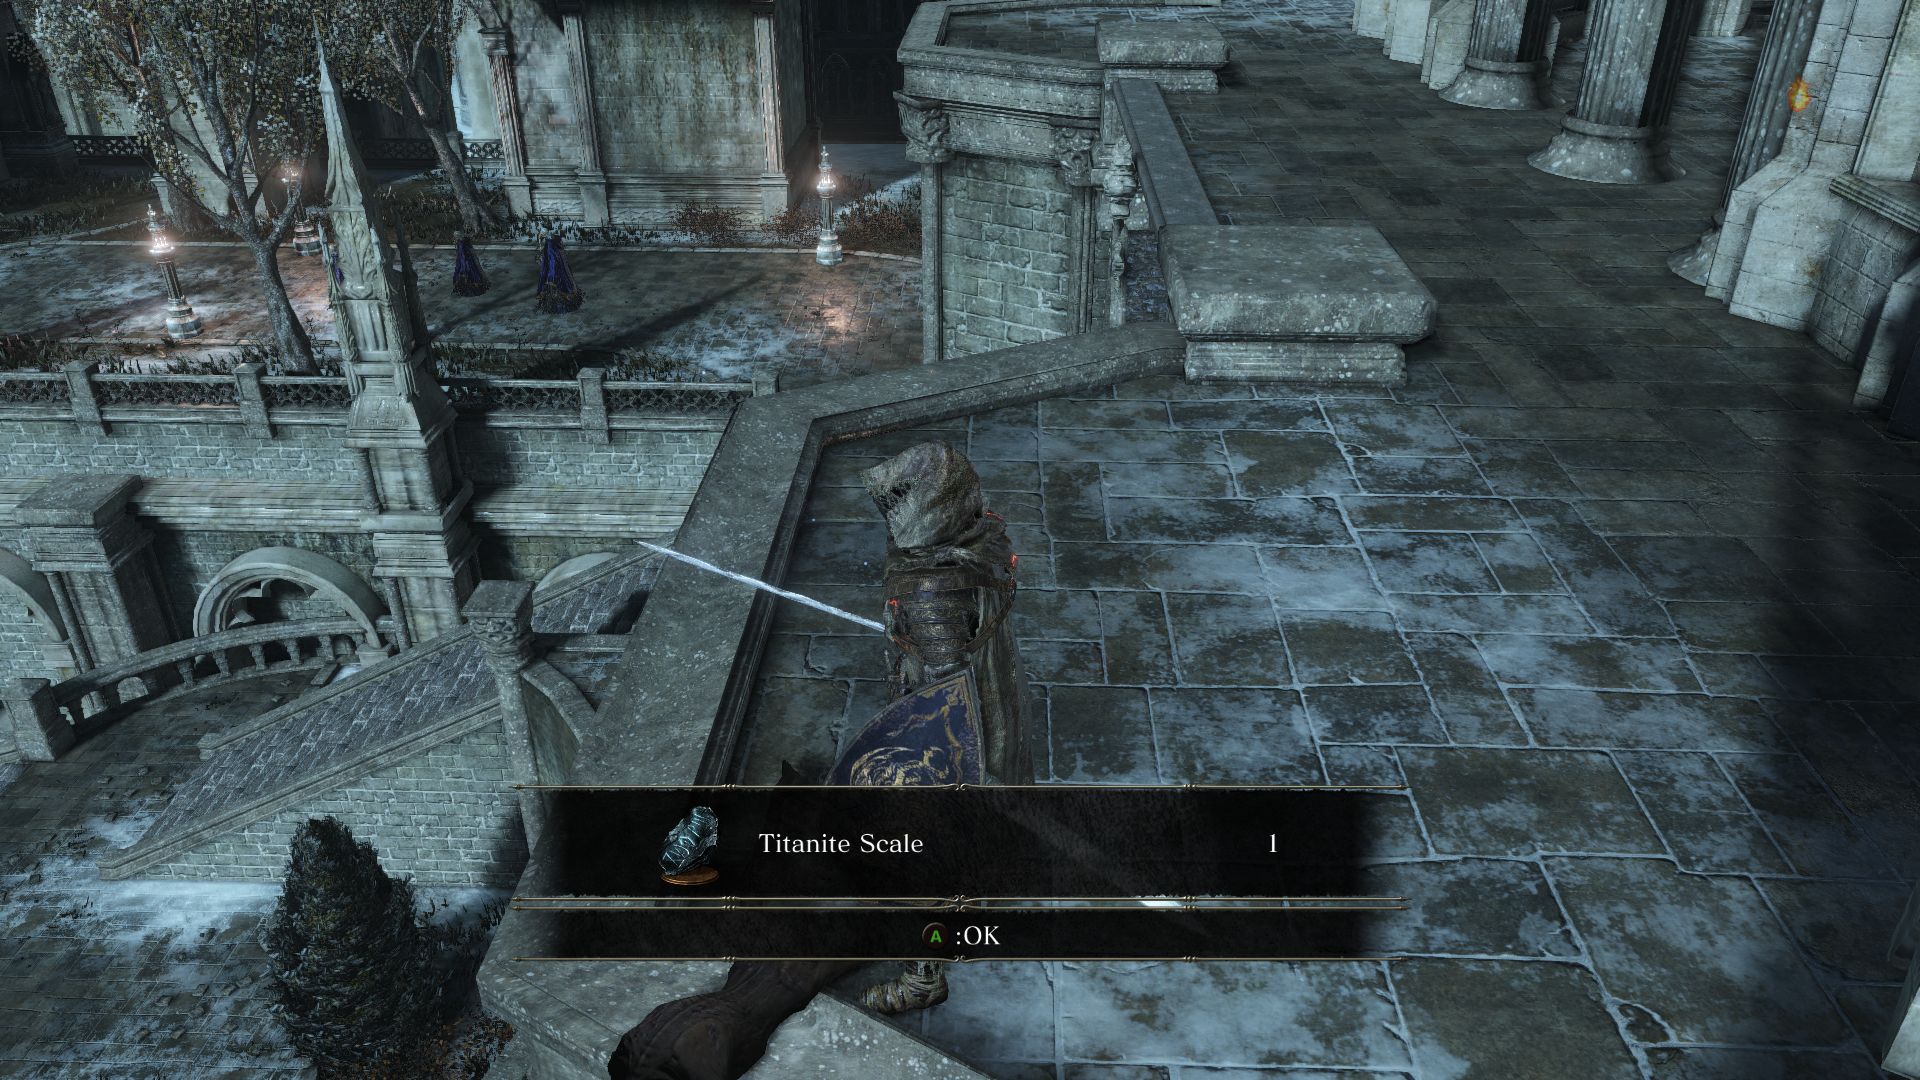
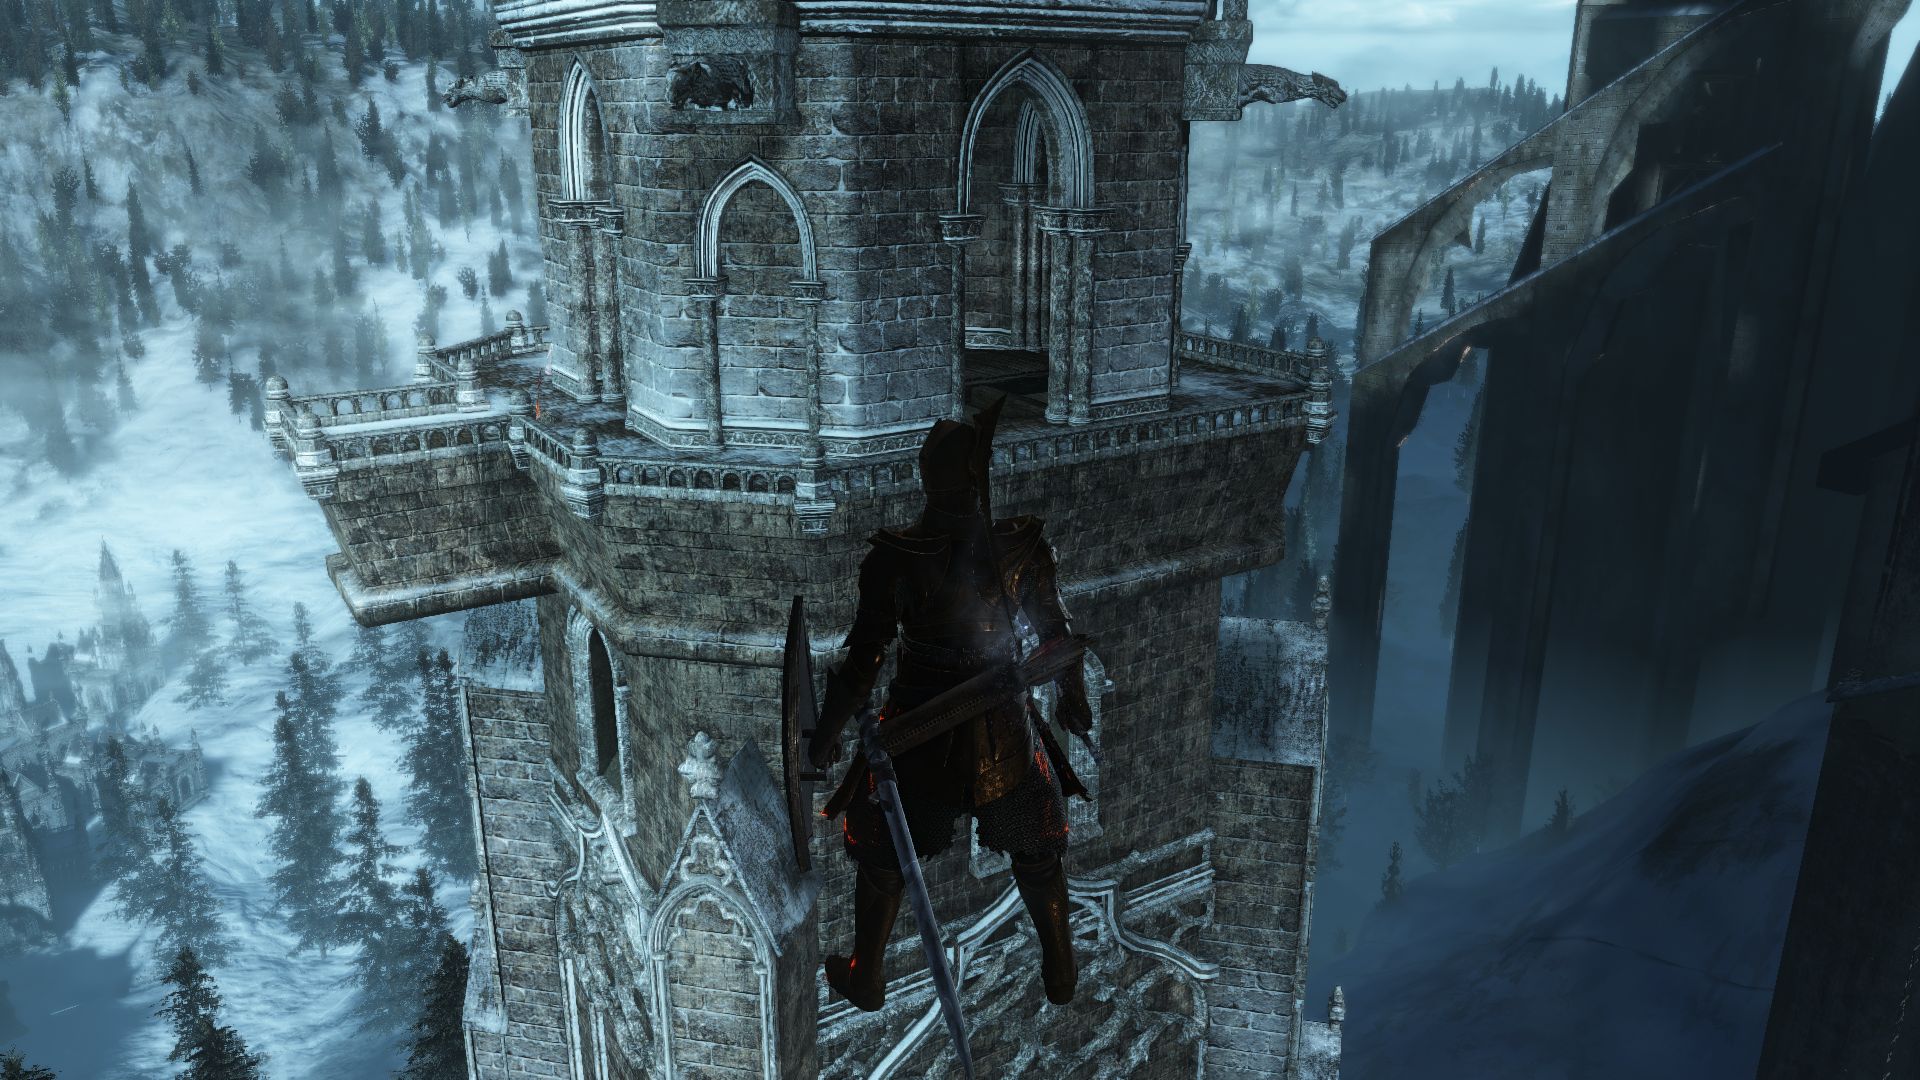
Back in the tower, climb the stairs and search the balcony for a Titanite Scale. The next part can be very annoying as you make your way across the rooftops with Silver Knights stationed along the buttress platforms. If they see you they will shoot you with their powerful bows which may push you off the platforms to your death.
Don’t take the platform in front of the stairs as it leaves you open to several Knight’s sight. Rather, jump down onto the platform to the right and loot the Large Titanite Shard there before walking up the first buttress.
A Silver Knight awaits you on the platform ahead. He will attack with his bow when you’re at a range, so try to force him to draw his sword and pull him back to the lower platform as it is rather risky to fight him on the narrow buttress. After you kill him, head up the platform but be wary of the other Knights shooting arrows from the top. Try sneaking up to take out one of the Knights from behind on a balcony. You should be able to knock him off the ledge. Proceed to take on the other Knight waiting nearby.
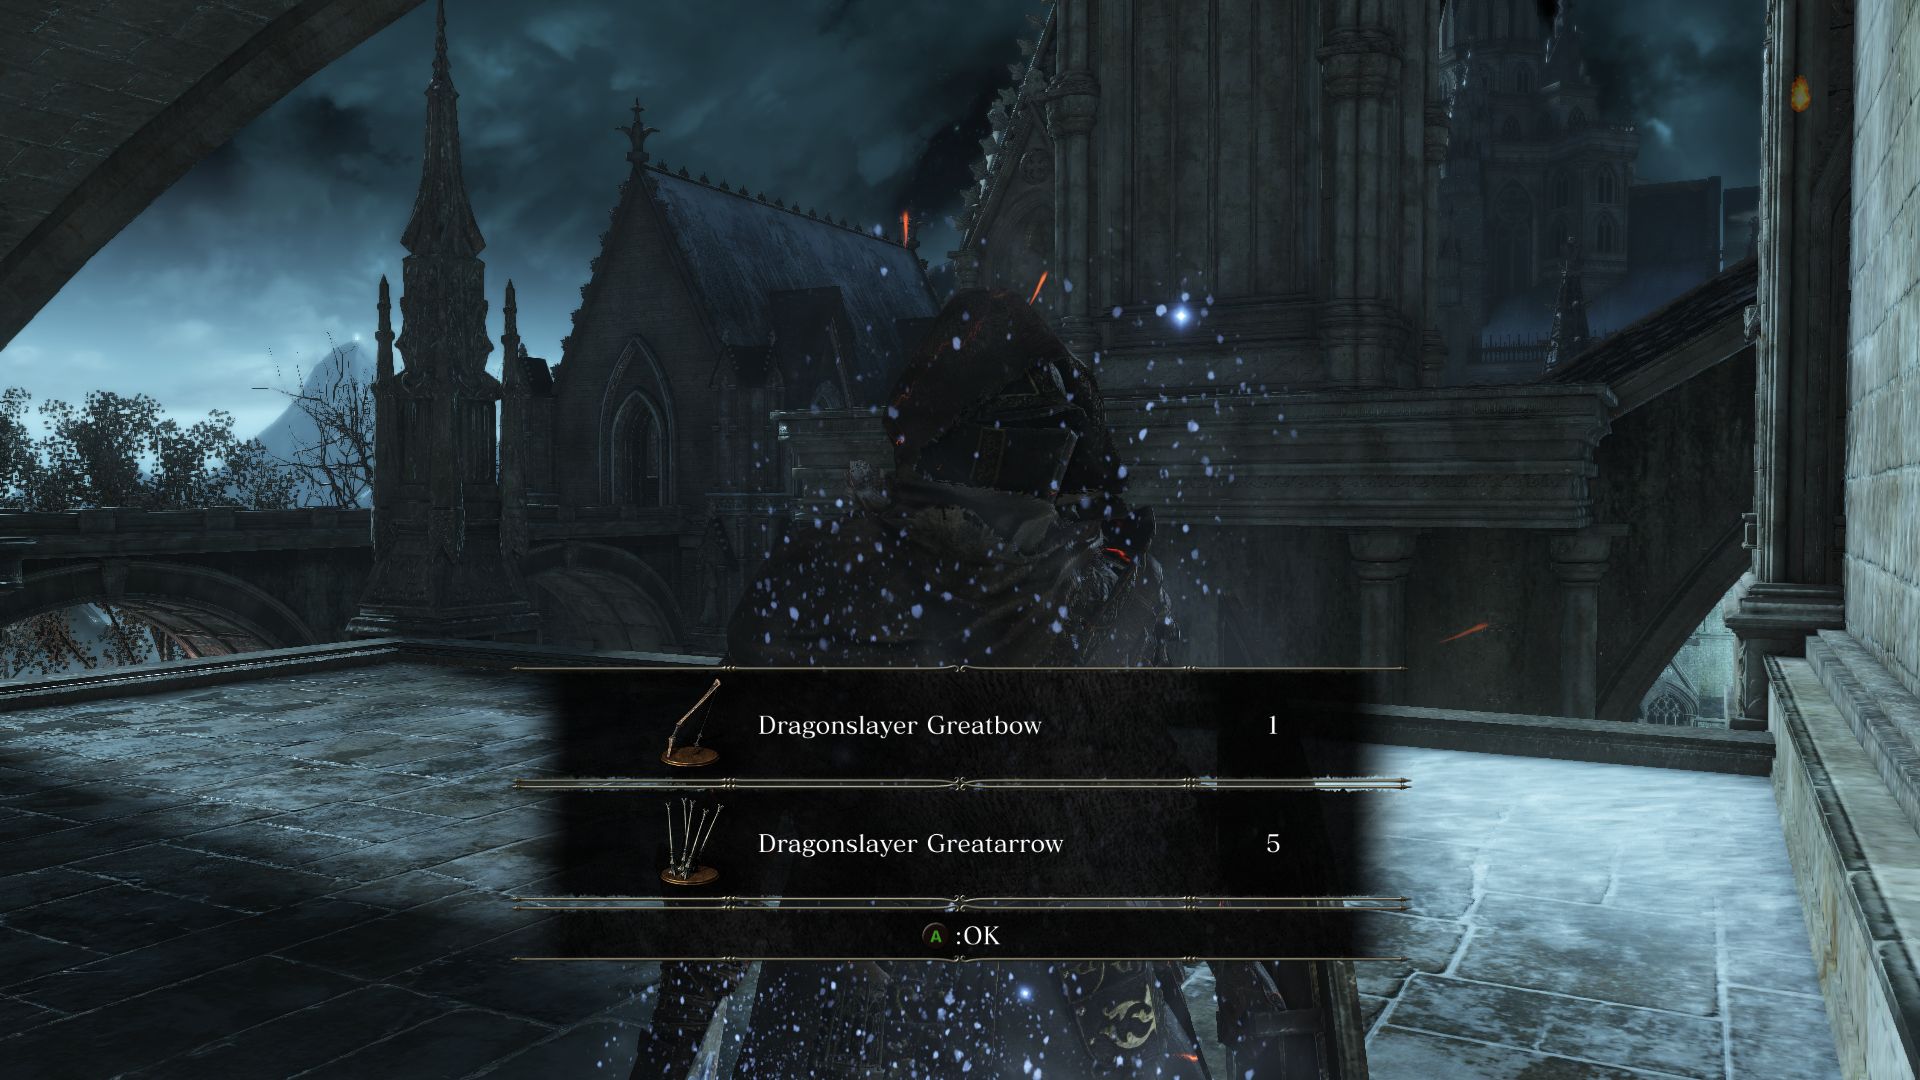
When you get to the roof, head right and you’ll find some stairs heading to a lower roof. Loot the corpse there to find Easterner’s Ashes. Close by here you should find an upper platform by a slanted roof where there are corpses holding a Dragonslayer Greatbow and 6 Dragonslayer Greatarrow. You will have to go back up through the tower if you decided to hop down to get these items.
On the rooftop, proceed forward until you find a curve. You will face two Silver Knights there so use caution when engaging them. Try drawing the attention of the Knight with the sword to pull him by himself before taking on the archer.
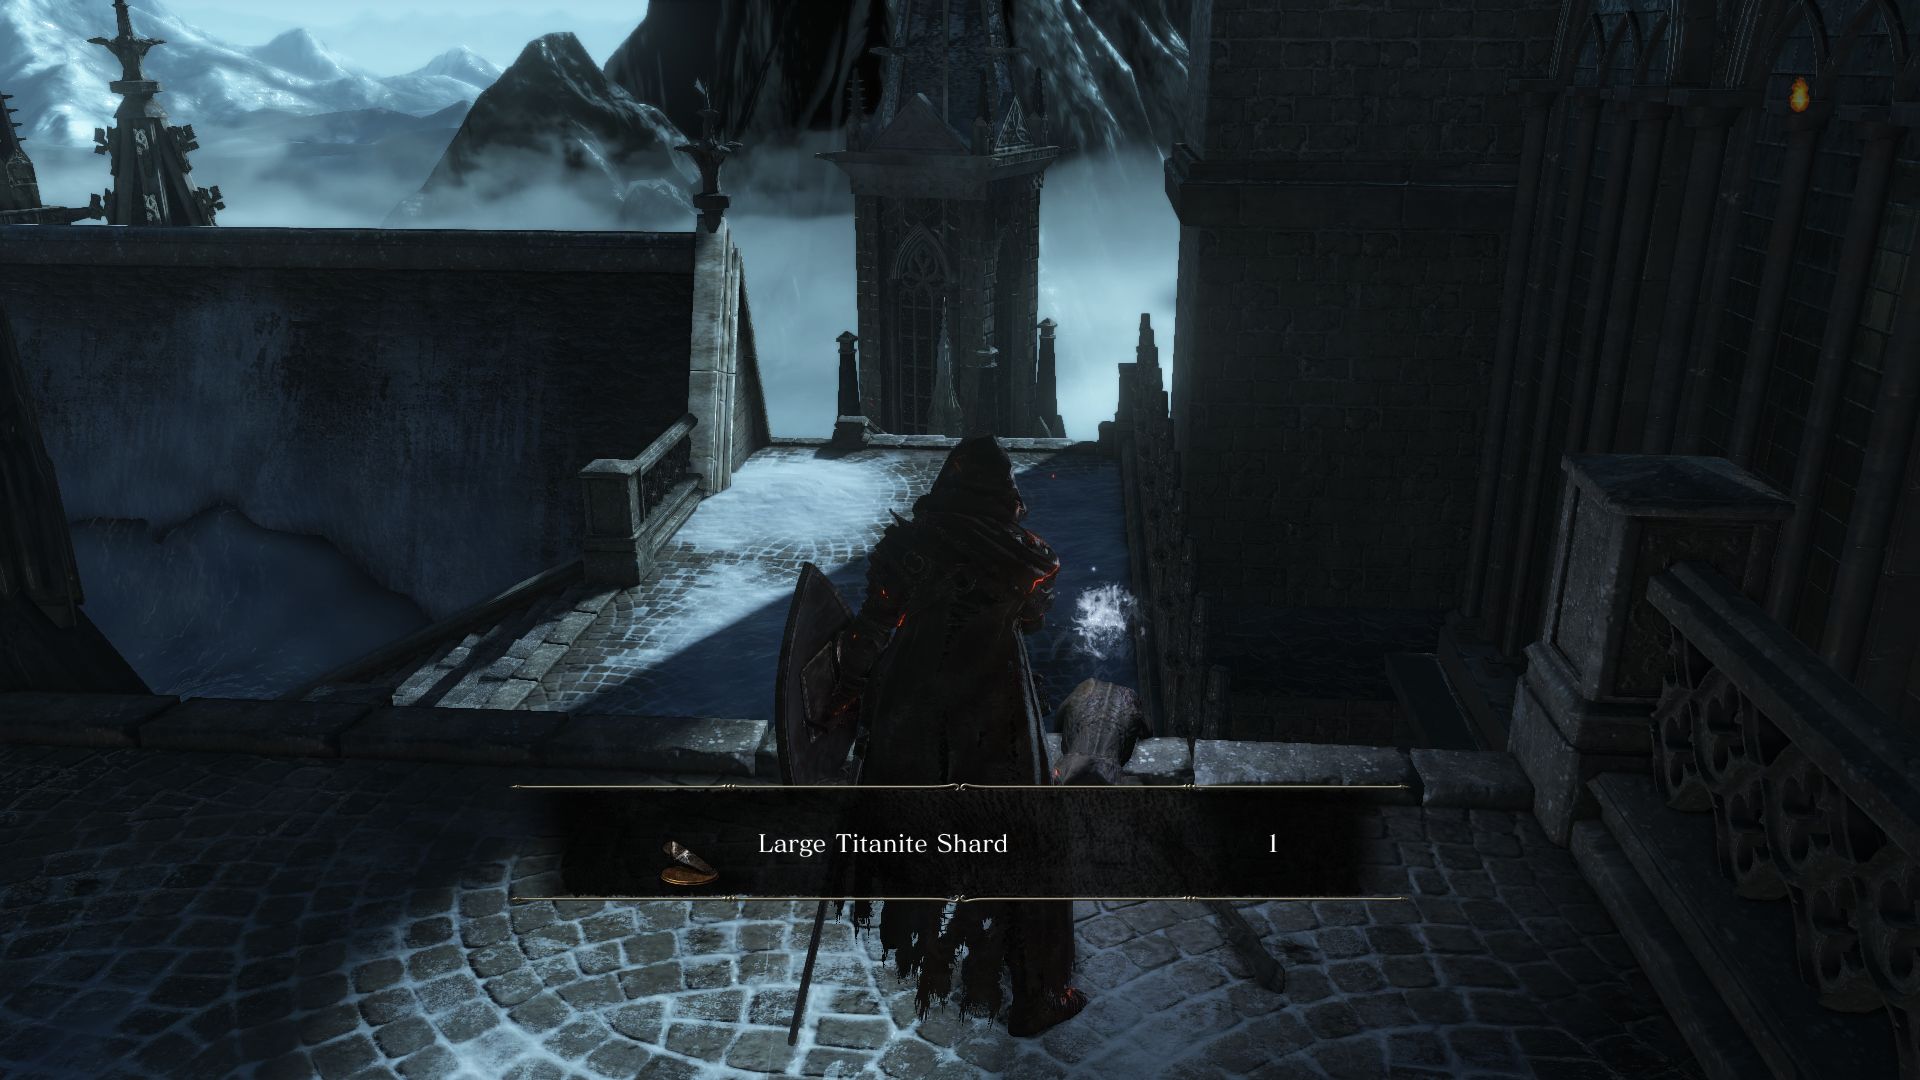
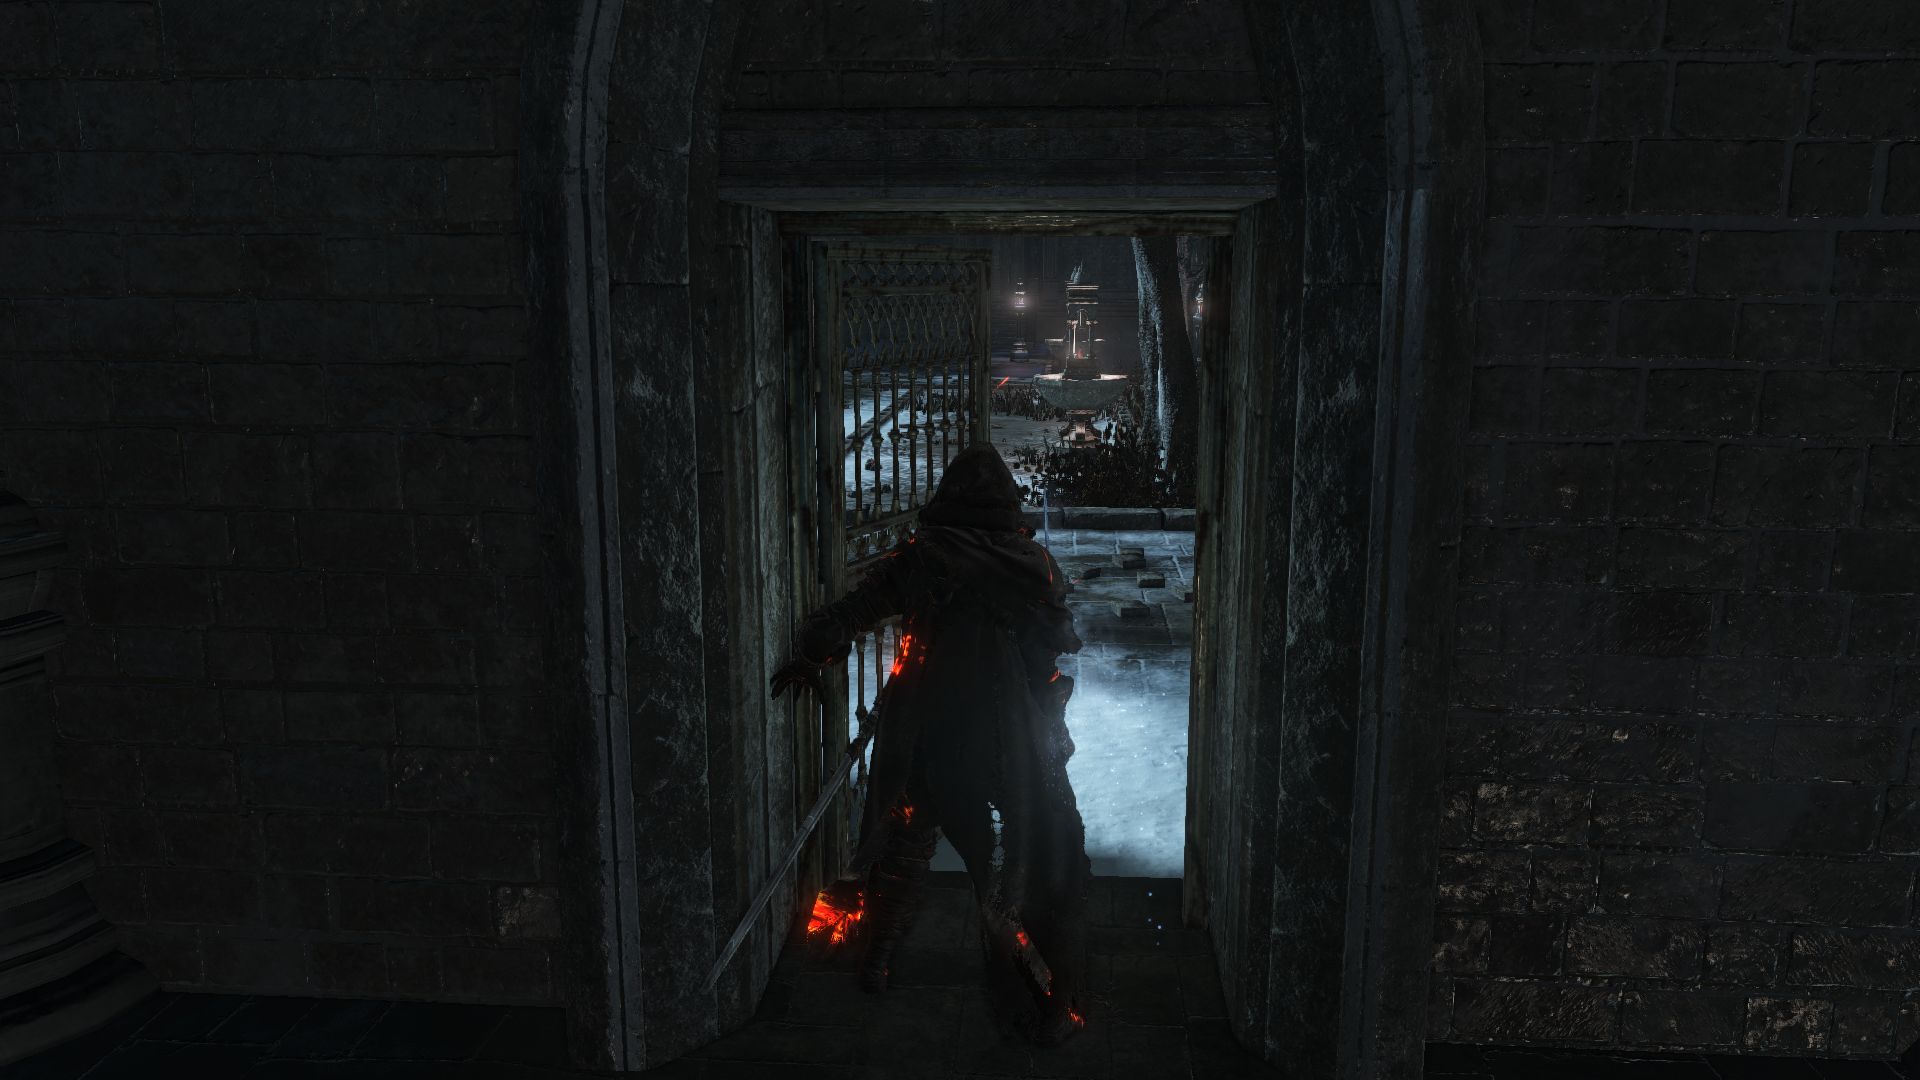
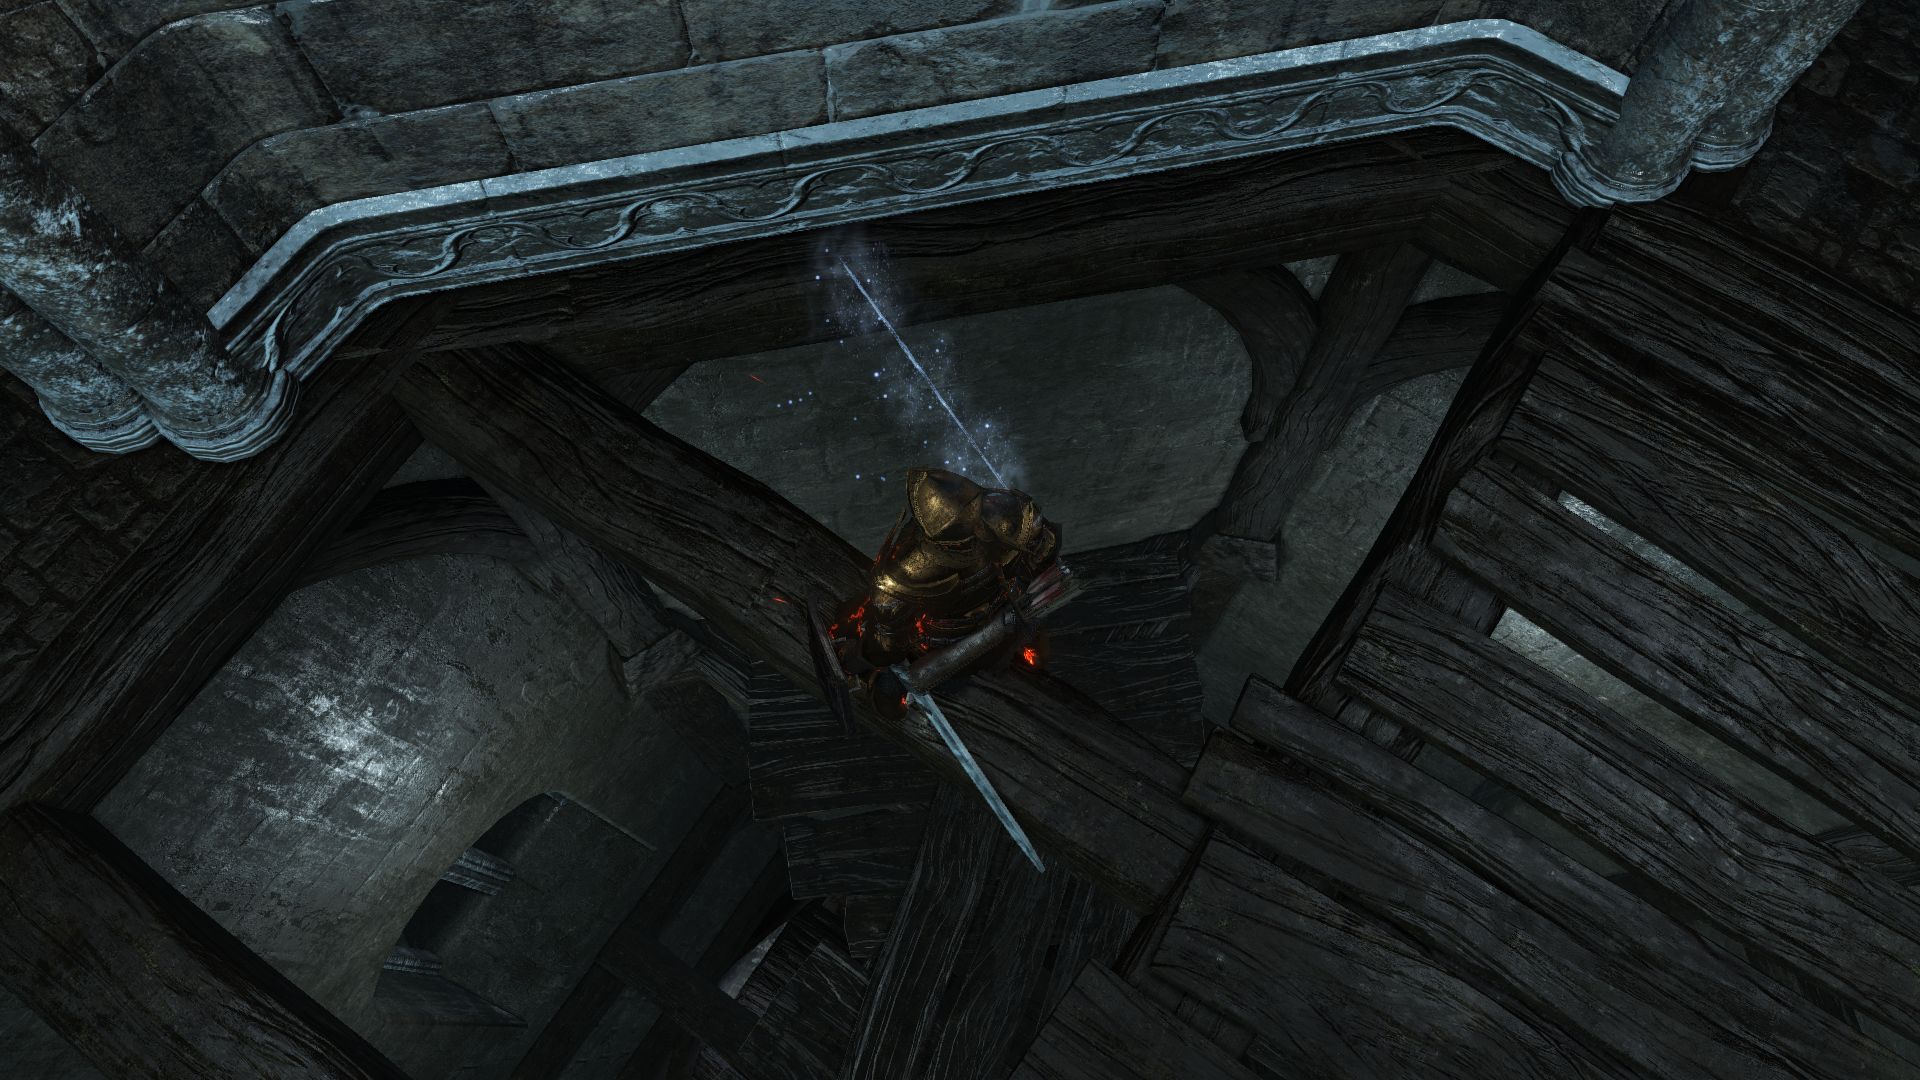
Before proceeding through the entrance into the building, go down the roof platform to find a corpse holding a Large Titanite Shard. There’s also a path here that leads to a ladder which will open a door to the courtyard, creating a shortcut to the rooftops from below should you die.
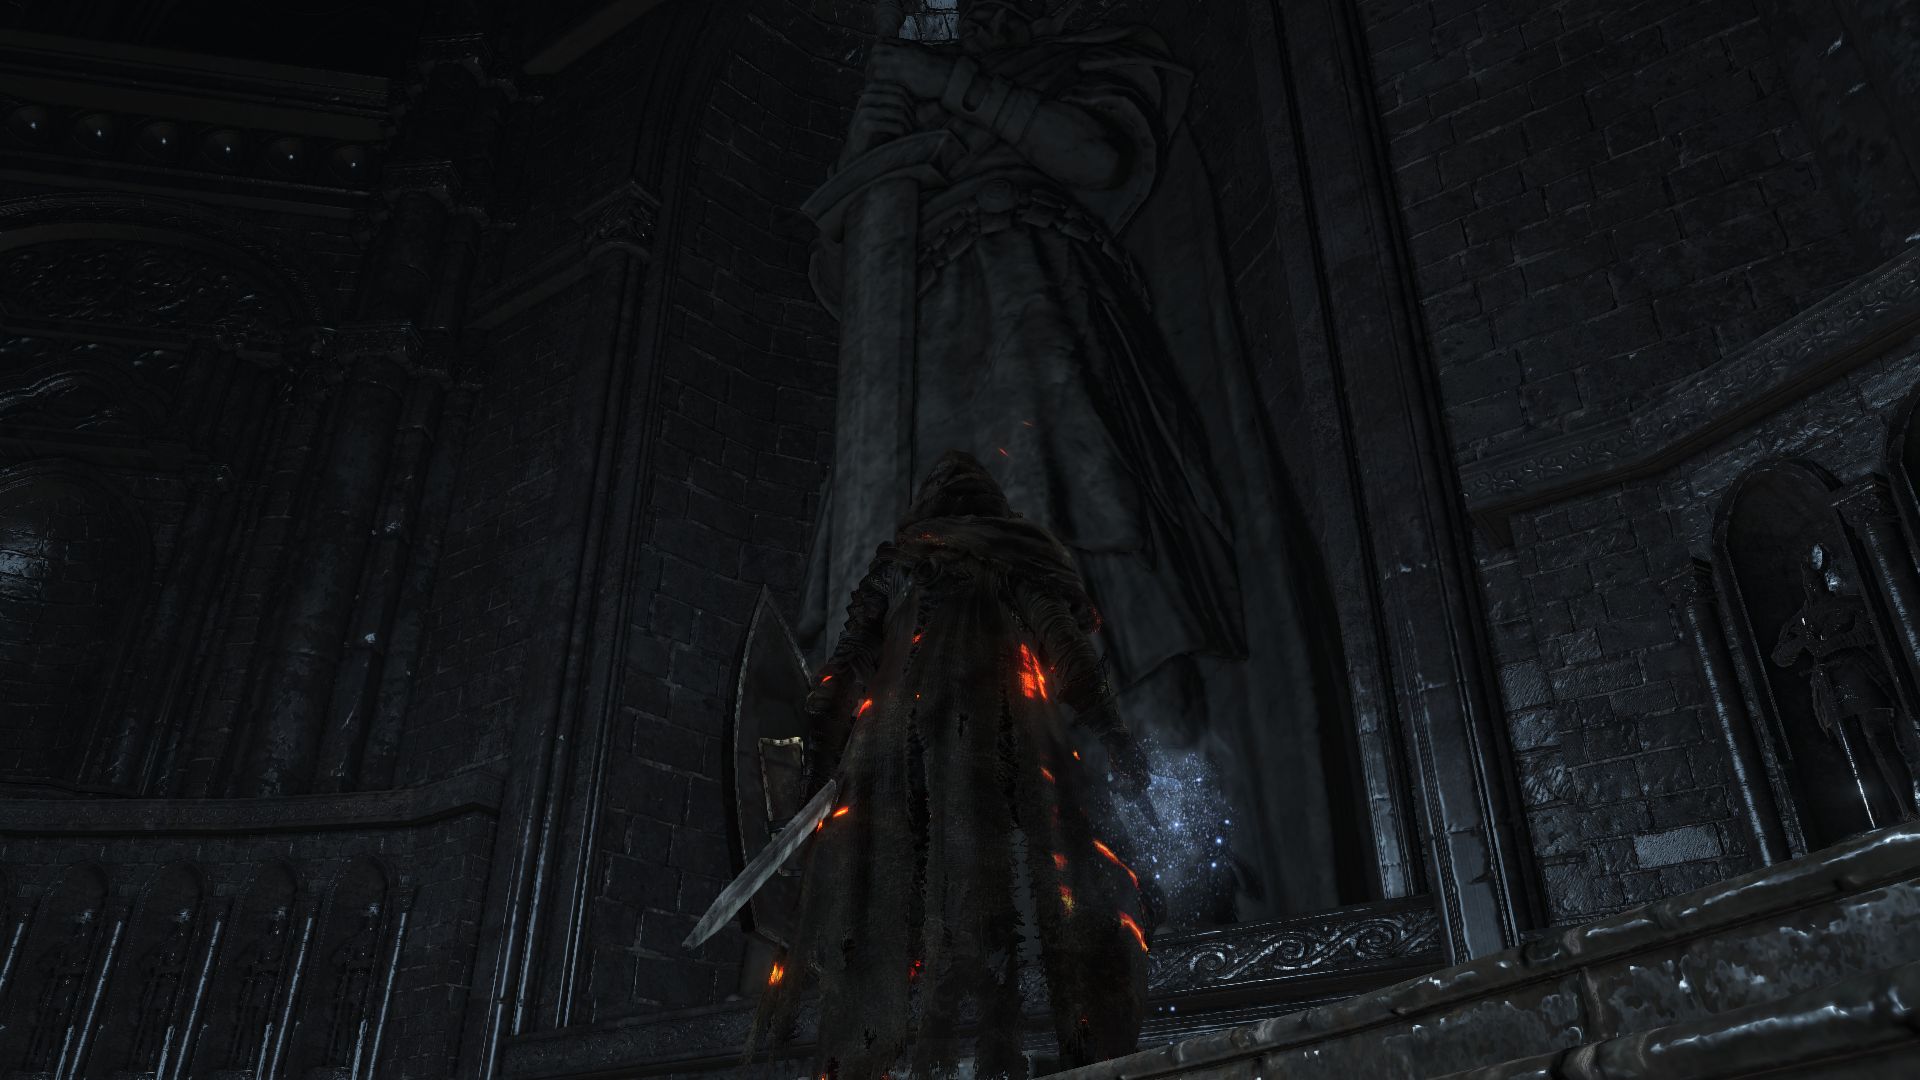
Inside the building you will find a tomb with a huge statute of Gwyn. If you strike the statue, it will reveal an illusory wall.
If you had left Anri by herself back in the church earlier, you’ll find the pilgrim here in the hidden chamber. He’ll give you the Sword of Avowal. Heading down the hall you’ll find a corpse with the full Brass Armor Set. If you had decided not to help Anri earlie, you will find her body at the end of the hall (you can loot 3 Dark Sigils from her corpse). To the right side, you’ll find a chest in the dark containing a Reversal Ring.
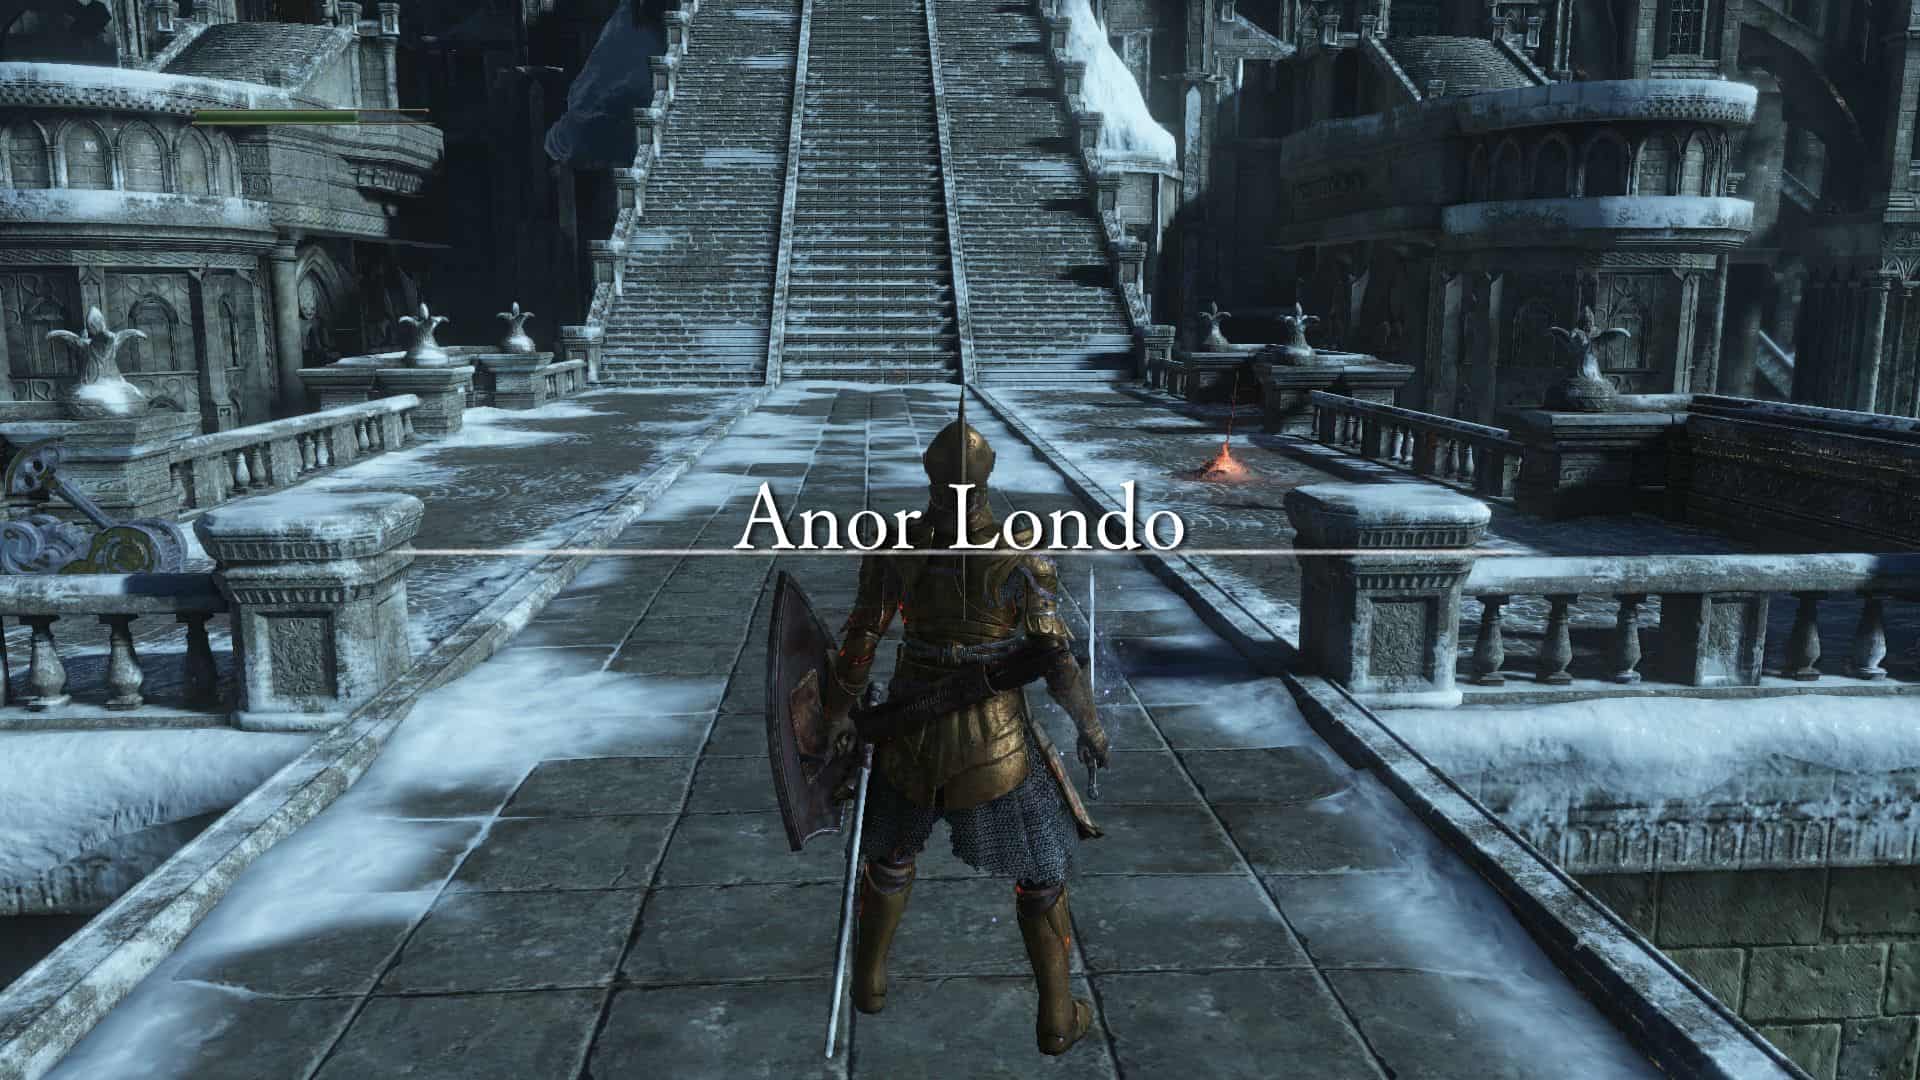
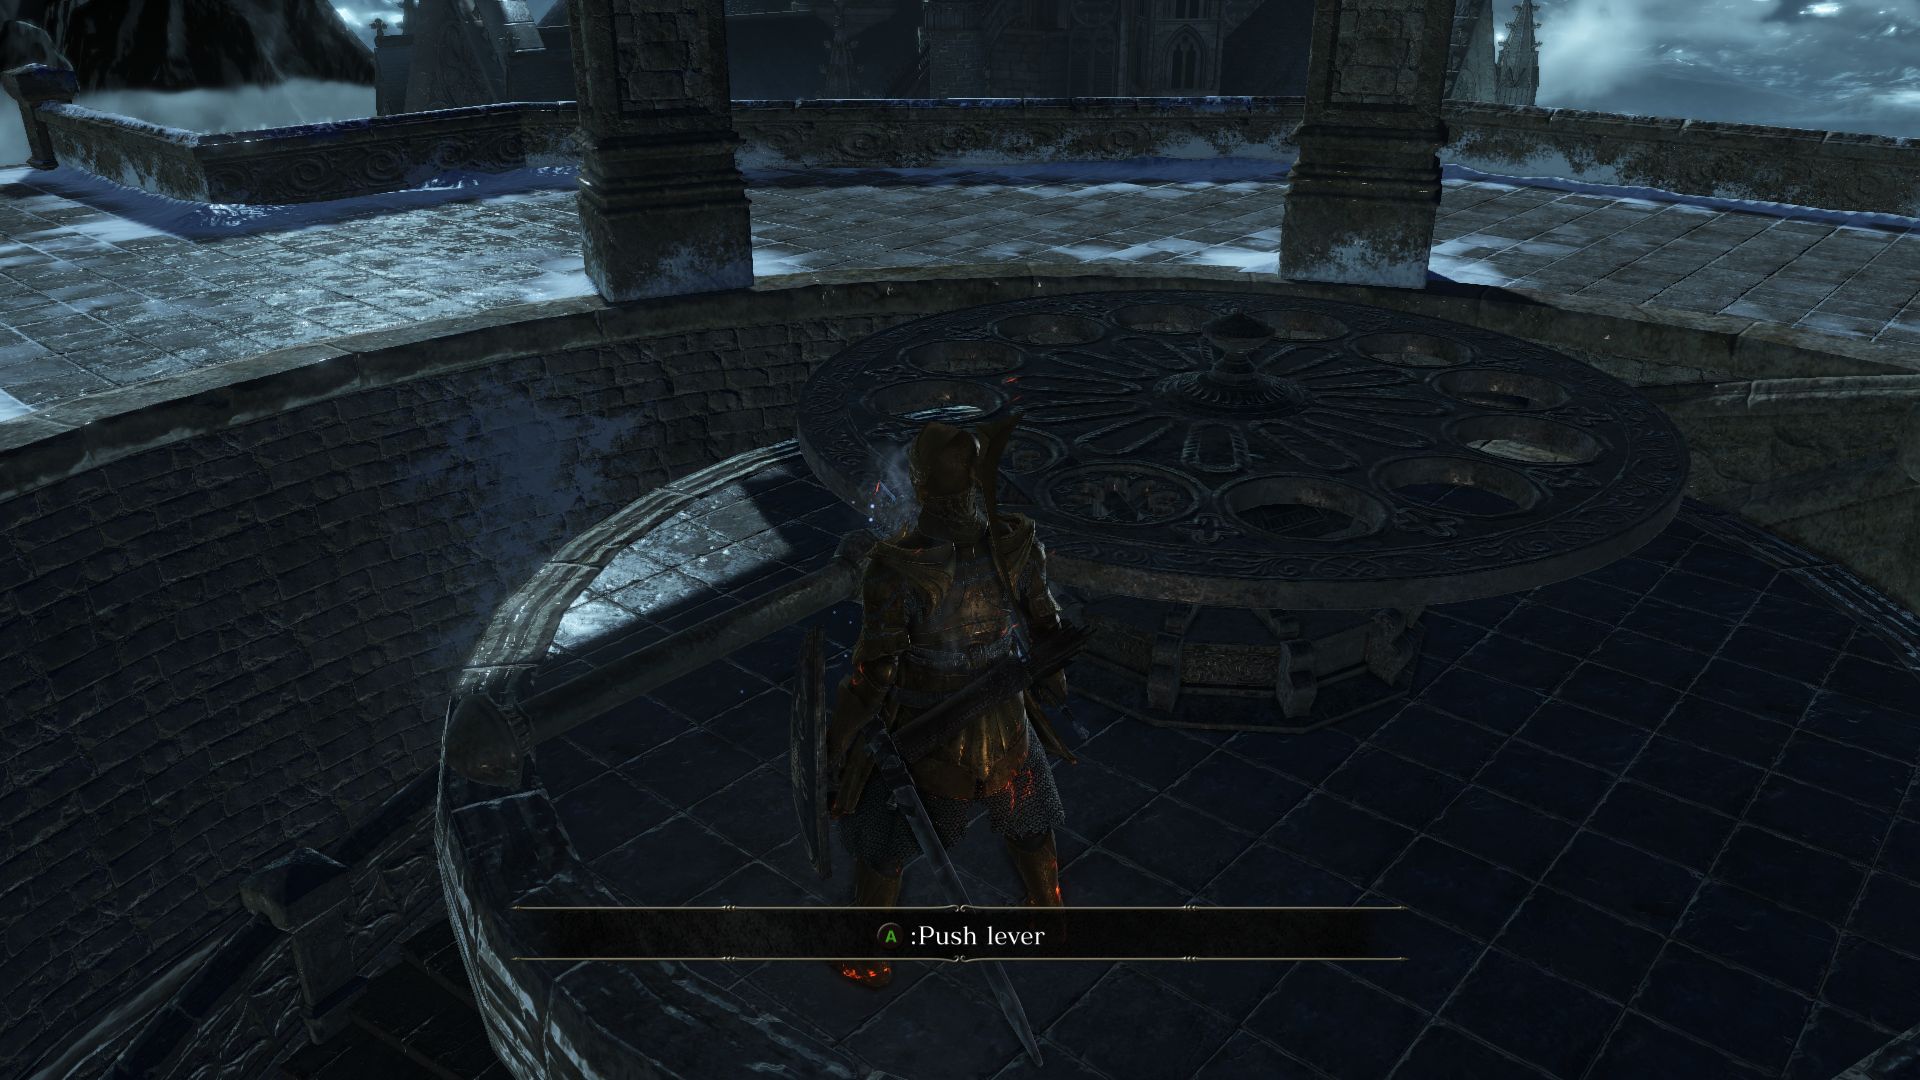
Exit the tomb to find an Ember outside and nowhere else to go. Use the lever next to you and the tower before you will shift position until a bridge connects this platform to the tower. Go inside the tower and climb the stairs to the top and use the lever there to be able to reach the castle and light a bonfire. You’re finally here at Anor Londo.
COVENANT – BLADES OF DARKMOON
Before proceeding, there’s another secret area you can get to where you can join the Blades of Darkmoon covenant. Descend the tower until you are at the very bottom. Do you see a tower ahead of you with no way to get there? As it turns out, there’s an invisible bridge connecting the tower you are on to the other tower. Simply walk on the thin air and make your way to the balcony where you can jump down. Here, you will find a bonfire as well as the NPC Company Captain Yorshka, who will let you join the covenant assuming you had talked with Sirris and learned the Darkmoon Loyalty Emote.
Inside the tower if you carefully drop down the platforms you will also find the Painting Guardian’s Curved Sword and the full Painting Guardian Armor Set.
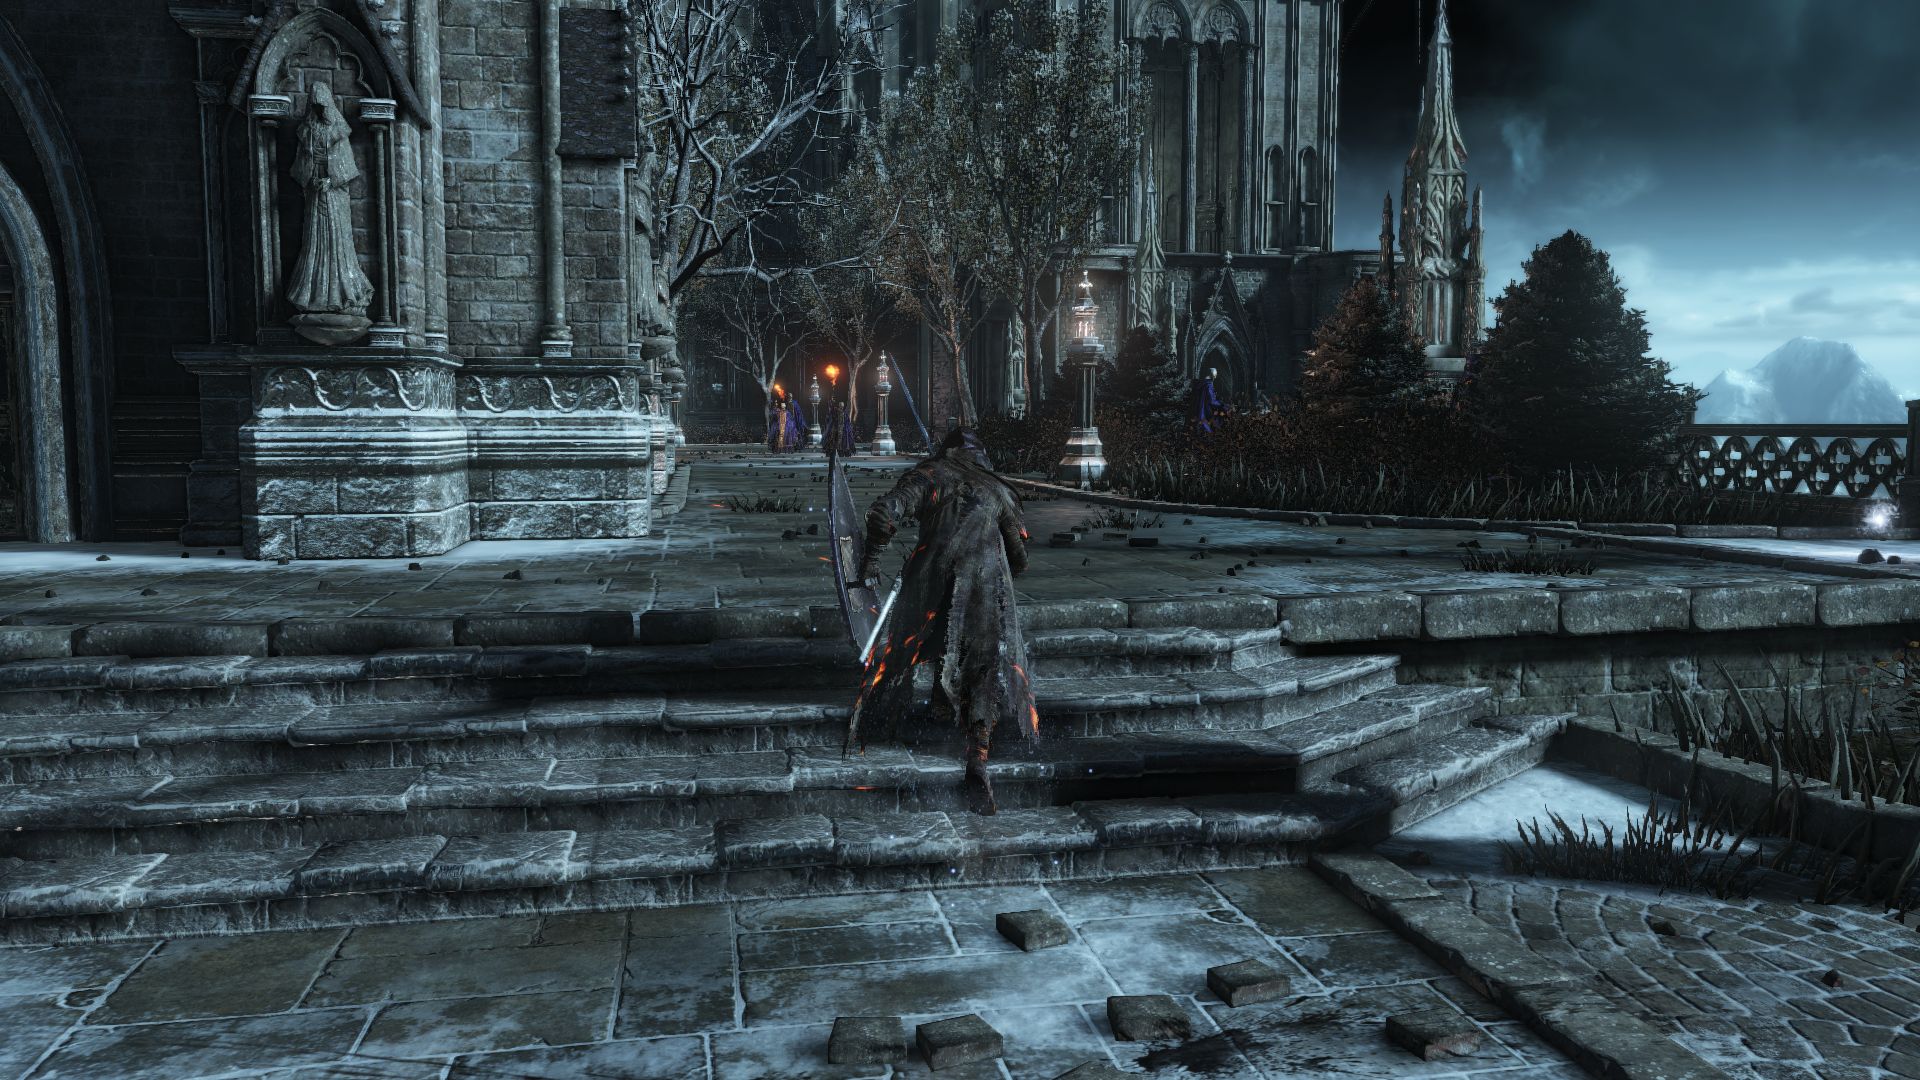
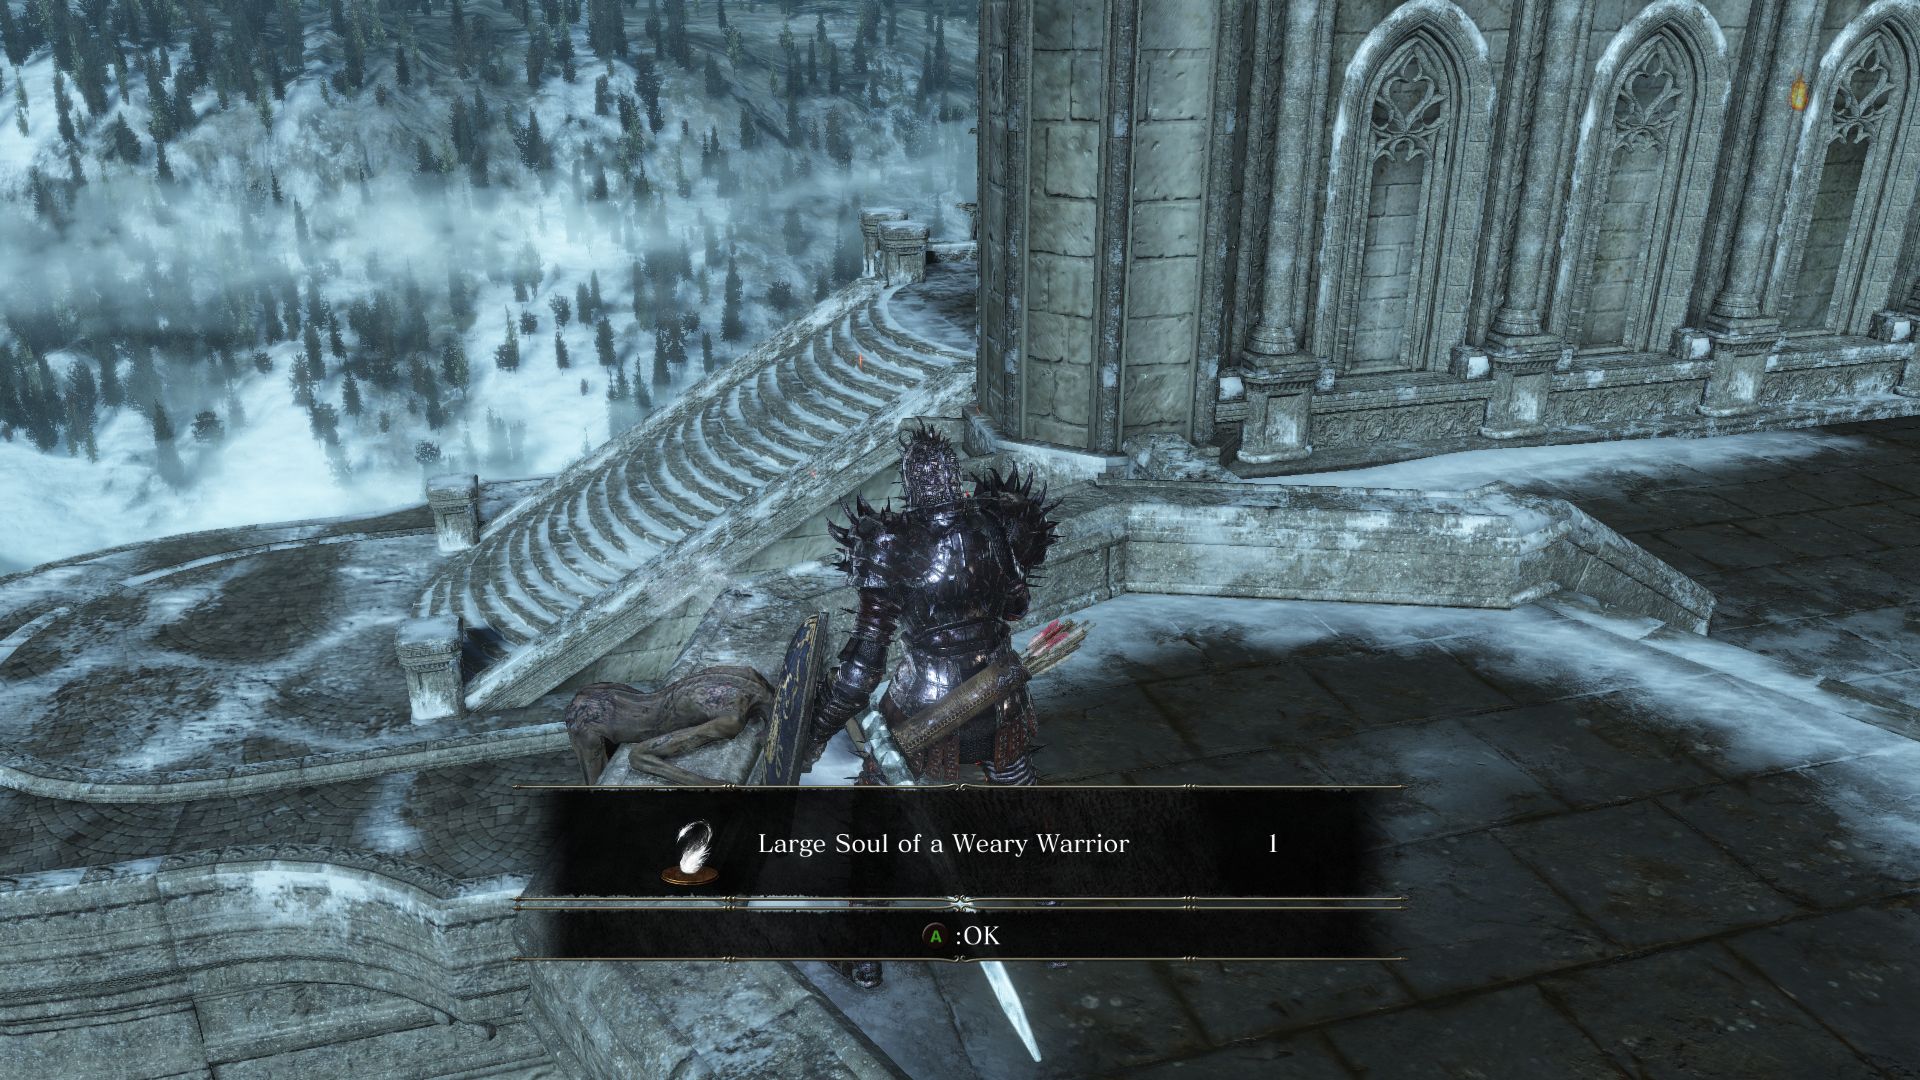
Back at the Anor Londo bonfire, make your way up the huge staircase where you will find a Silver Knight with a spear. This Knight has a long reach, but it’s fairly easy to roll around his attacks to land some backstabs. When you engage him, draw him down the stairs so as not to lure the other Knight waiting up ahead. After taking out the first Knight, defeat the second one at the top of the stairs, this one wielding a sword. The door at the top of the steps is locked, so we’ll have to find a way around. To the left on the balcony is a Large Soul of a Weary Warrior.
Going right from here, you will face a red-eyed Silver Knight who can be a challenging foe. Watch for his 3 hit combos and attack him when you see an opening. The balcony he was patrolling on has a corpse holding a Soul of a Crestfallen Knight. The door by this balcony is also locked so head back to the left side. Head inside the door to find the corpse of the Giant Smith. Loot his body to find the Giant’s Coal that you can give to Andre.
Proceed up the stairs to enter the main hall which is rather dark and grimy. As soon as you enter you may be facing 3 Deacons to your left. 2 more Deacons wait below the first platform. 3 more Deacons patrol the other side of the hall. You may also notice many slime creatures lurking on the floor.
Kill the 3 Deacons to your left and loot the corpse behind them for a Proof of a Concord Kept. If you don’t want to tackle all these Deacons here, you can go to your right and move along the wall to the other side where there are fewer enemies. Kill the 3 Deacons here and grab the 6 Moonlight Arrow from a lower platform.

After you kill all the Deacons make note that the floor is filled with Slime Creatures. There are some on the rafters above as well that will drop down on you. So proceed very carefully in this area. Now if you are looking to open the door on the other side, there is a very difficult enemy up ahead. If you look up on the ceiling you will see a Spider Lion guarding the door.
As you make your way towards the door, take care not to take too much damage from the slimes. One the right side of the wall you should find a chest in the dark that holds an Estus Shard.
When you decide to fight the Spider Lion, be very wary of his curse bites. If your curse meter fills up you will instantly die, which makes this fight very difficult. If you’re feeling brave, you could try to fight it head on and attempt to roll around its leaps and pounces to do damage. Or, you could pull out a bow and kill it from a distance. If it starts chasing you, you can run back up the stairs where it won’t be able to follow you and shoot it with spells or arrows from a safe point. When you kill the Spider Lion, you will obtain an Aldrich’s Ruby. Now pull the lever by the huge door to open it, creating a shortcut from the bonfire to the boss fight.
If you had saved Anri back at the Yorshka Church, she will have a summon sign right outside the door where she will ask for your aid to take down Aldrich. If you decide to help her out, you can talk to Ludleth back Firelink Shrine to obtain Anri’s Straight Sword.
One a side note, if you had told Anri of the Smouldering Lake, you will be able to find her where Horace had been waiting. Otherwise, you can find her outside the entrance of the Cathedral of the Deep. She will be hostile as she has been consumed by the Dark Sigils. After you defeat her, you can buy her Elite Knight Armor set from the Shrine Handmaid.
Now it’s time for the boss fight of Anor Londo.
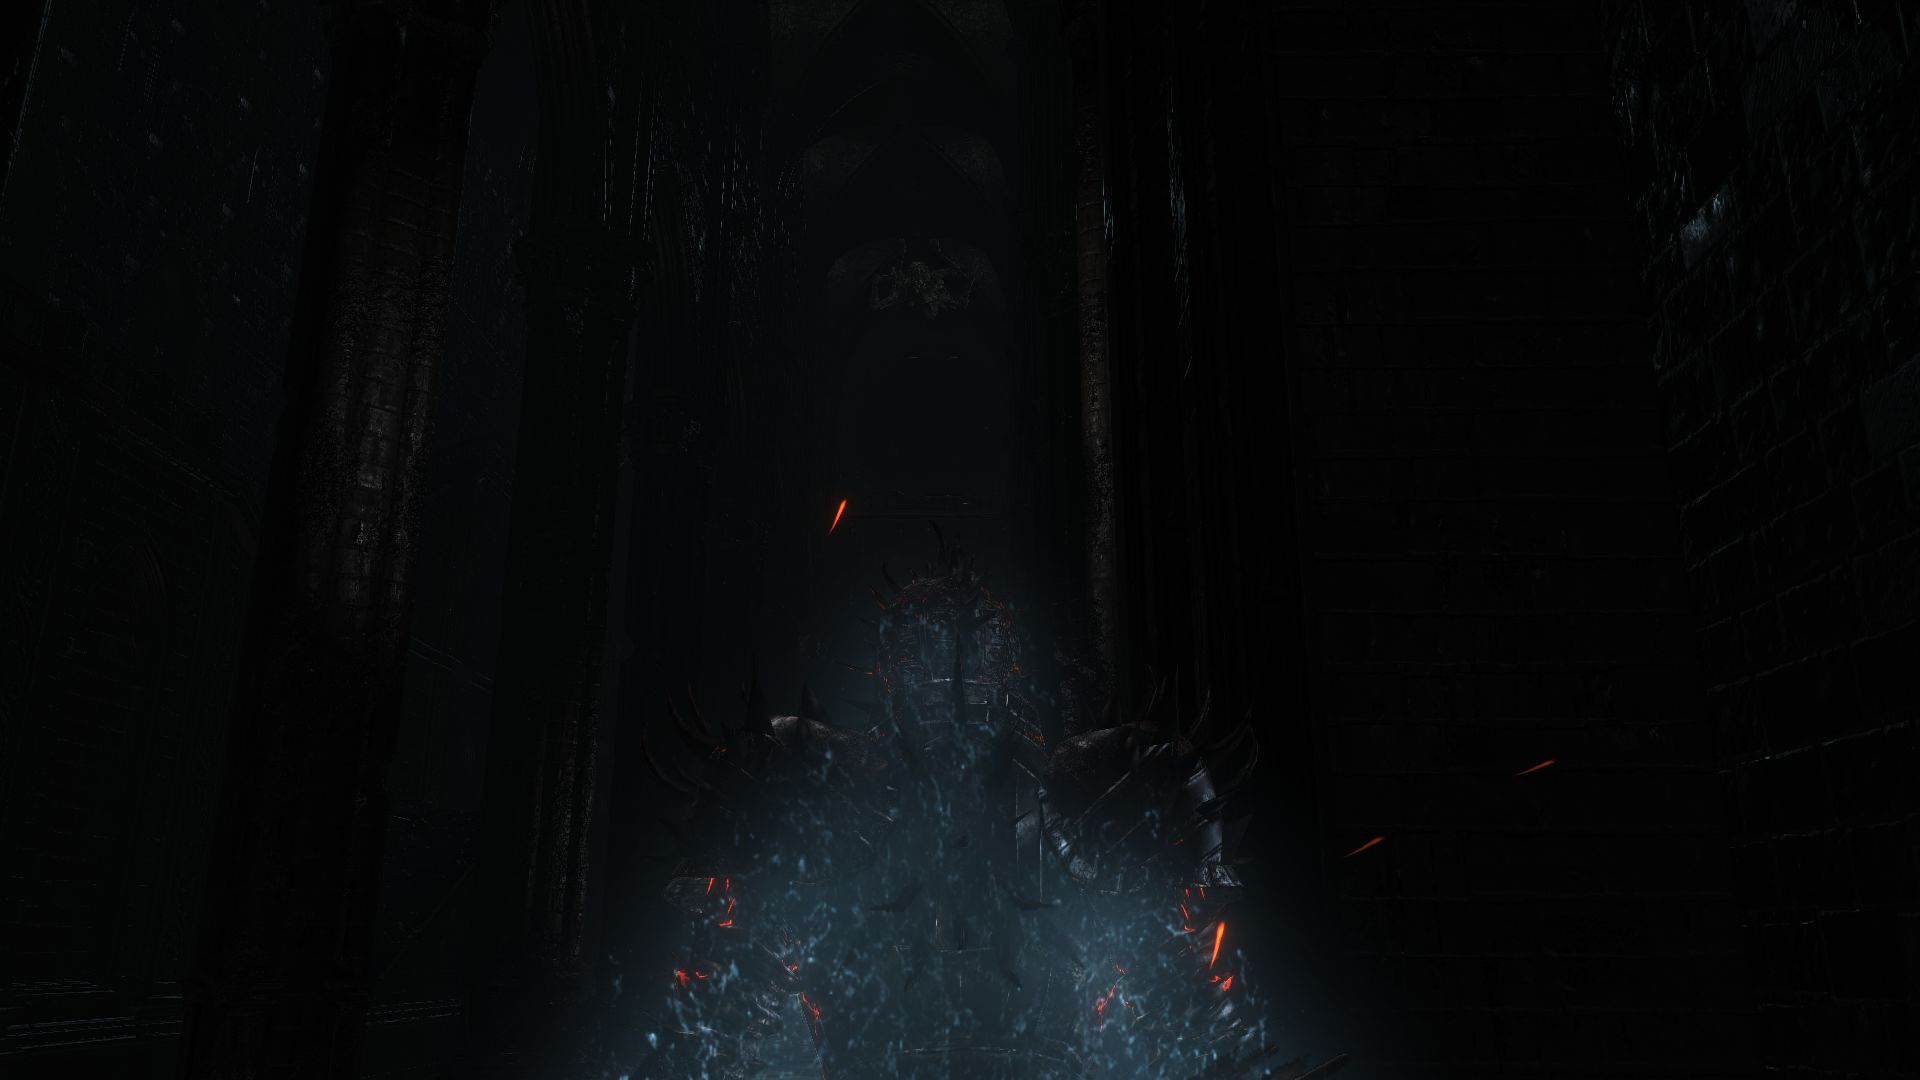
BOSS FIGHT – ALDRICH, DEVOURER OF GODS
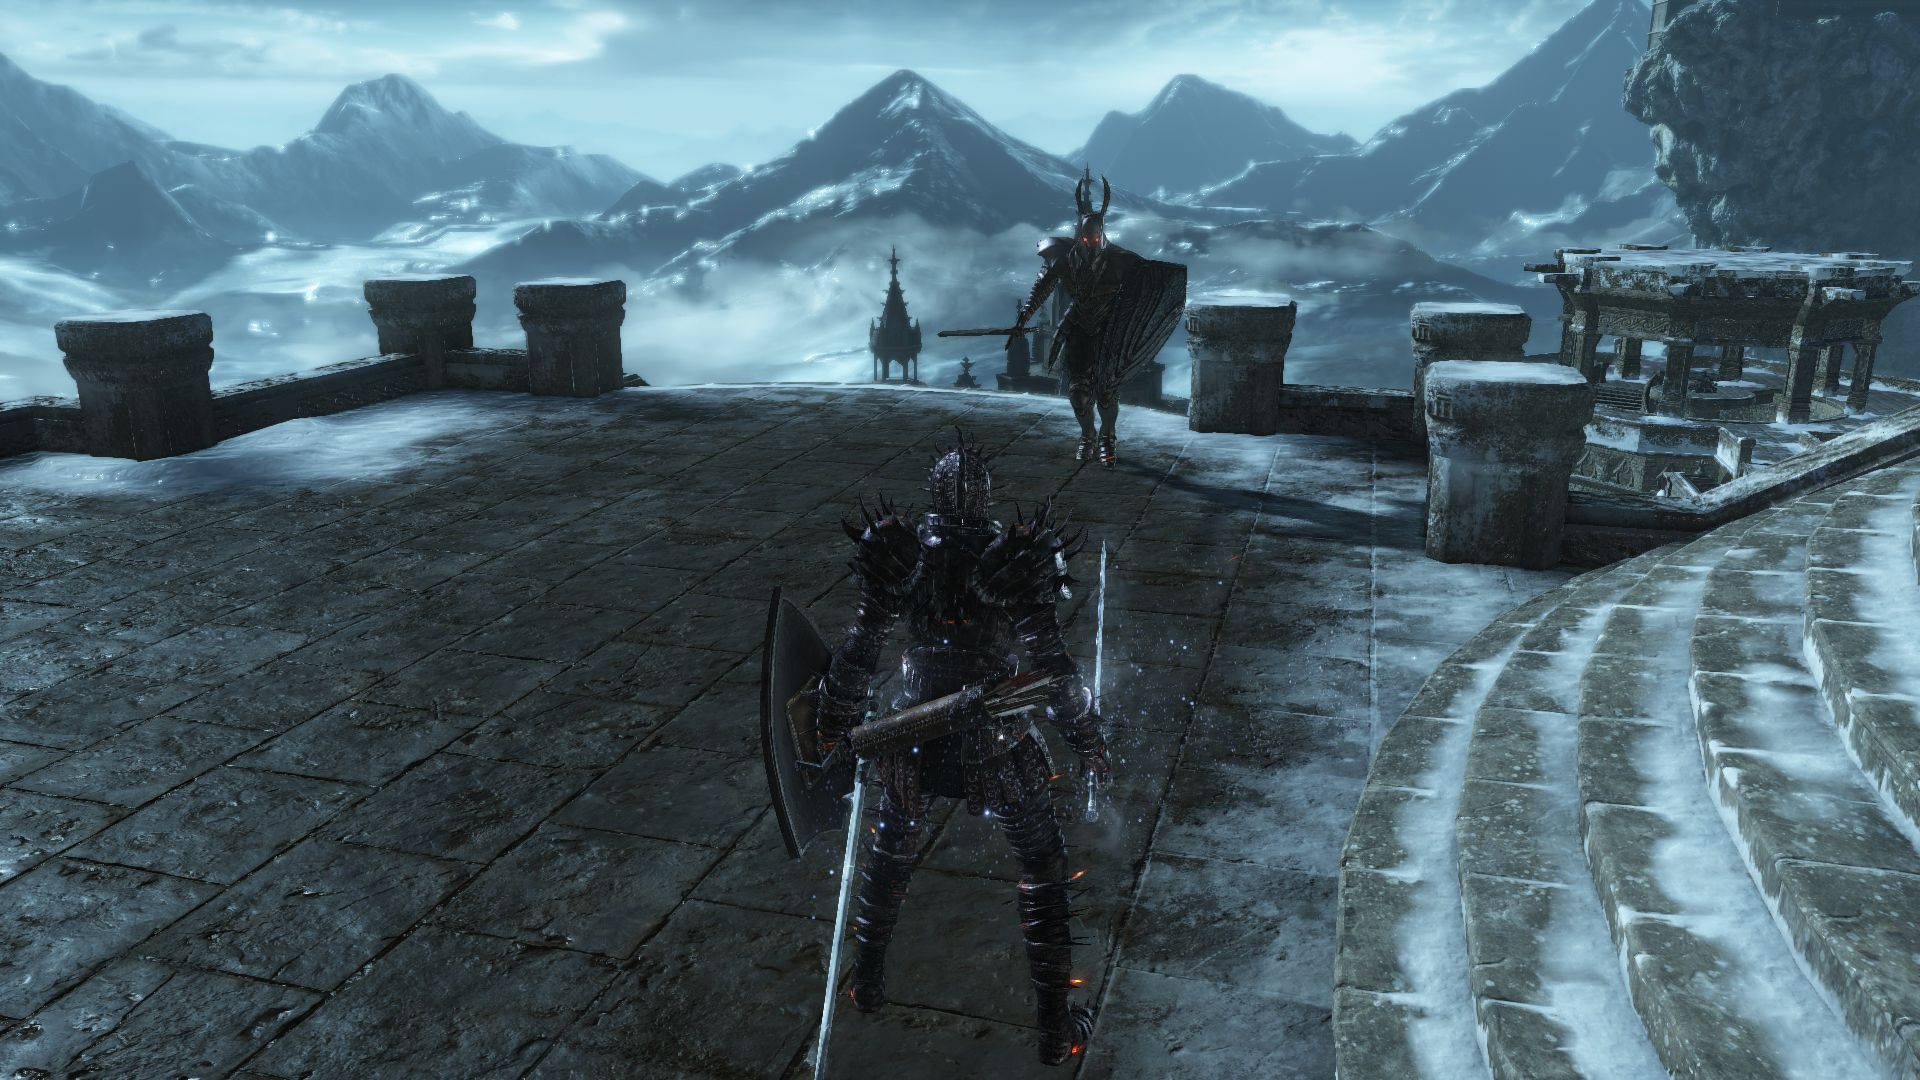
Aldrich is a Lord of Cinder with a humanoid body ending in a long tail. He will cast several different spells throughout the fight and teleport like around the battlefield like the Crystal Sage. Your goal should be to dodge his spells and try to position yourself behind him to strike his tail as much as you can.
Unlike the Crystal Sage, however, Aldrich is rather strong up close as well. When you’re at a distance he will attack you with his spells, but as you approach him, he’ll attack you with his glaive. But these melee attacks is what will give you the openings to roll behind him and attack his tail appendage. When you do close the distance like this however, watch for the sign when he will teleport, indicated by the portal he summons on the ground. This will do AOE damage, so move back to avoid damage.
Aldrich’s will often summon darts that hover above him and hone towards you, which you should roll around to dodge. If you see his glaive start to glow, prepare to dodge the incoming soul spear. He’ll also summon his Darkmoon Bow to fire a volley of arrows at you from above. You need to constantly outrun or roll around this volley as it lasts for quite a bit (more so in Phase 2). While you are outrunning this volley, you may also have to roll past soul spears, so be wary. Just keep an eye on him at all times if you can.
When you’re close to him, he’ll use his glaive to either slash around him or lunge forward, leaving a nice opening for you to position behind him and attack his tail. Don’t get greedy as he may turn around to attack you, or summon a portal to disappear. So maintain distance after a few hits until you find an opening again. When he does teleport, you may want to run to the middle of the room and look around to find out where he will appear next, just like you did at the Crystal Sage fight.
Phase 2 starts at 50% HP. His glaive will light on fire and leave a flaming trail behind him. You don’t want to walk on this flaming trail, wait for him to move so you can position yourself safely and strike him. But be wary of his increasingly aggressive melee attacks in this phase. His Arrow Barrage in phase 2 is long, so you will have to outrun it for longer than you had to in phase 1. Also in Phase 2, he will draw his Lifehunt Scythe to spin twice and steal your health should you get hit, so watch for it when he draws his glaive above him.
Generally, as a melee, you should try to charge at him after he teleports and roll behind him to attack his appendage. If you see the arrow volley, do a U turn as you outrun the arrows so that you end up around him after the volley is over so that you can land a few hits. As a Pyromancer or Sorcerer, you should avoid his attacks the same way, and make use of the pillars for cover if you have to. Hit him from a range when you find an opening in between his teleports. Just watch out for the soul spears. Twisted Wall of Light is also great to avoid damage from the arrow barrage and the soul masses. The boss is weak against fire and lightning and resistant to dark.
After you kill Aldrich, you will be rewarded with the Soul of Aldrich and Cinders of a Lord. Light the bonfire before you take the elevator up to search the area for a Sun Princess Ring.
If you have already defeated Yhorm, you’ll be teleported to Lothric Castle. Otherwise, it’s time to find the next Lord of Cinder, Yhorm. To reach him, you have to go back to Irithyll Dungeion.