Accessing Archdragon Peak
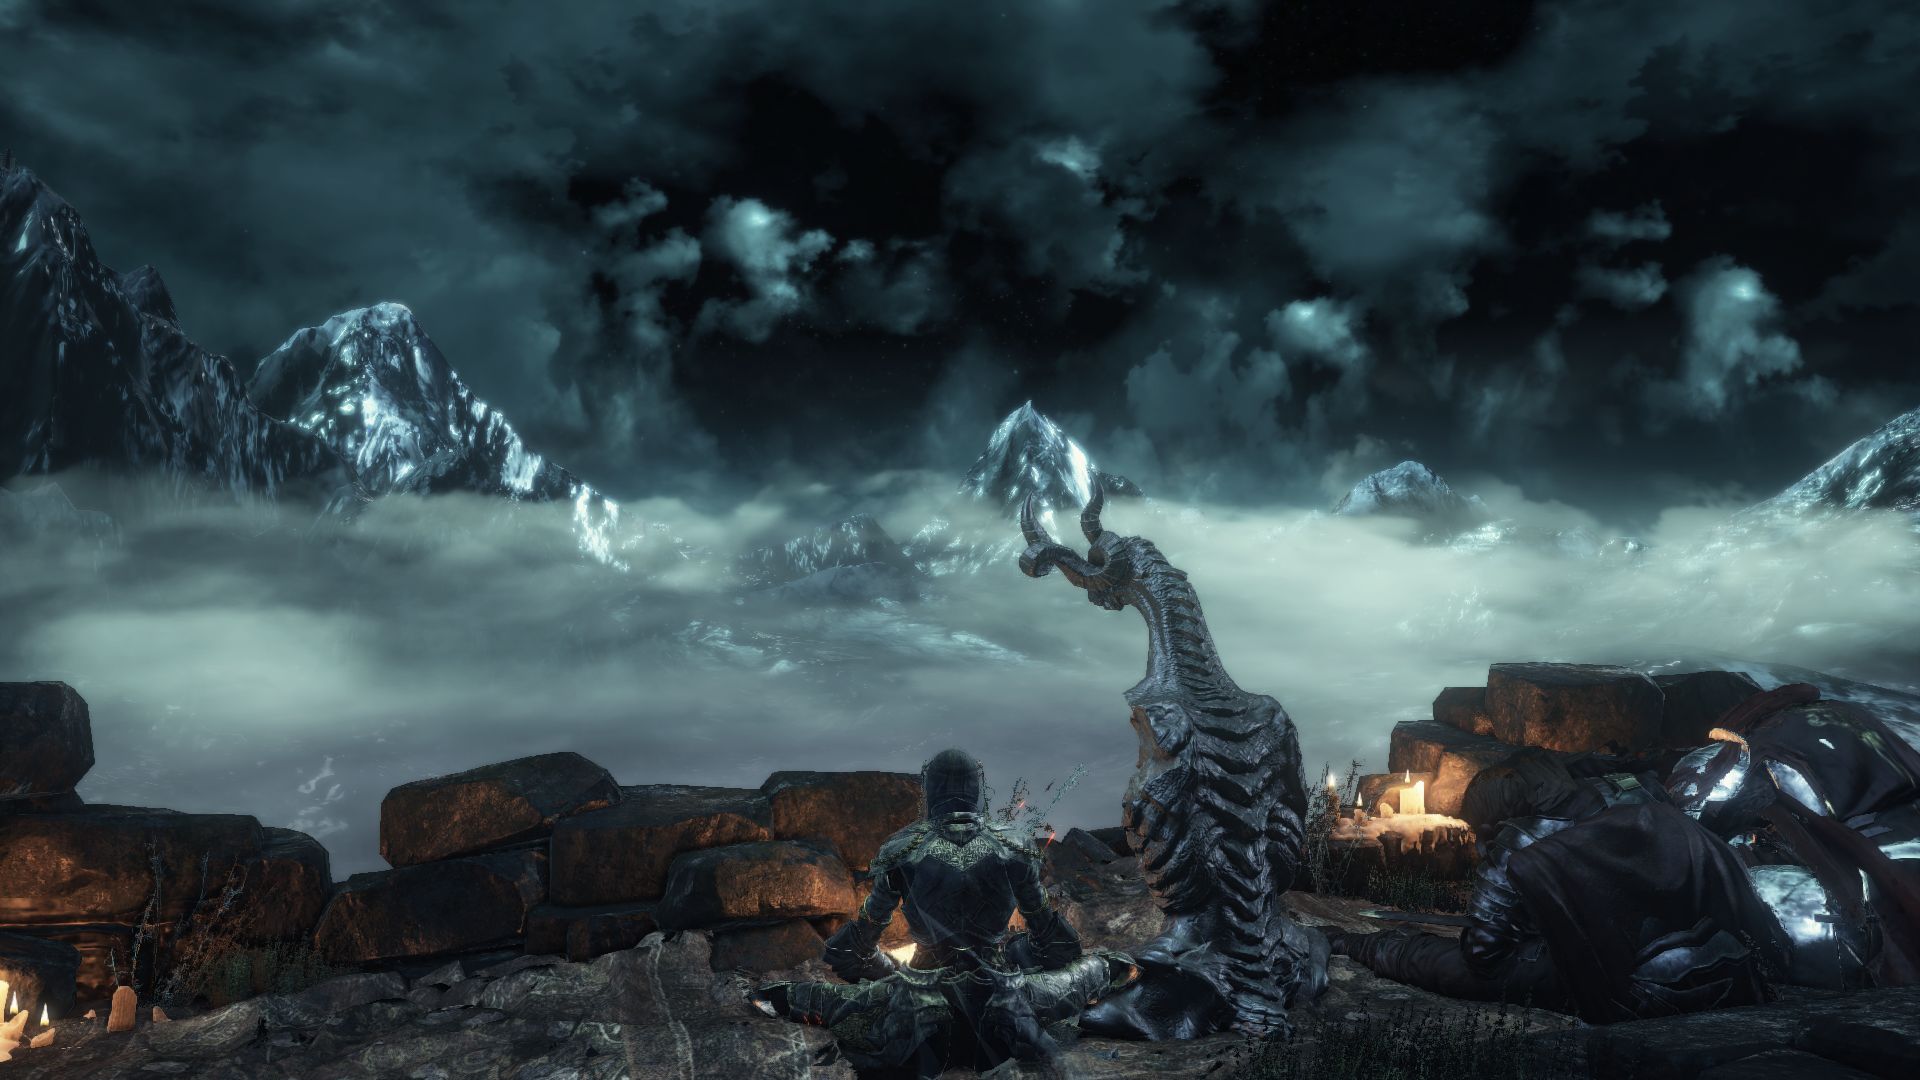
To get to this secret area, first you have to defeat the boss Oceiros in the Consumed King’s Garden. If you open the tomb behind him, you will find the Path of the Dragon Emote inside. Now return to that plateau outside Irithyll Dungeon (outside the very bottom floor with the many Jailers) and look for an interesting skeleton of a dragonoid human sitting by that pose you had just learned. Open your gesture menu and use that emote right beside the skeleton and you’ll find yourself in the Archdragon Peak!
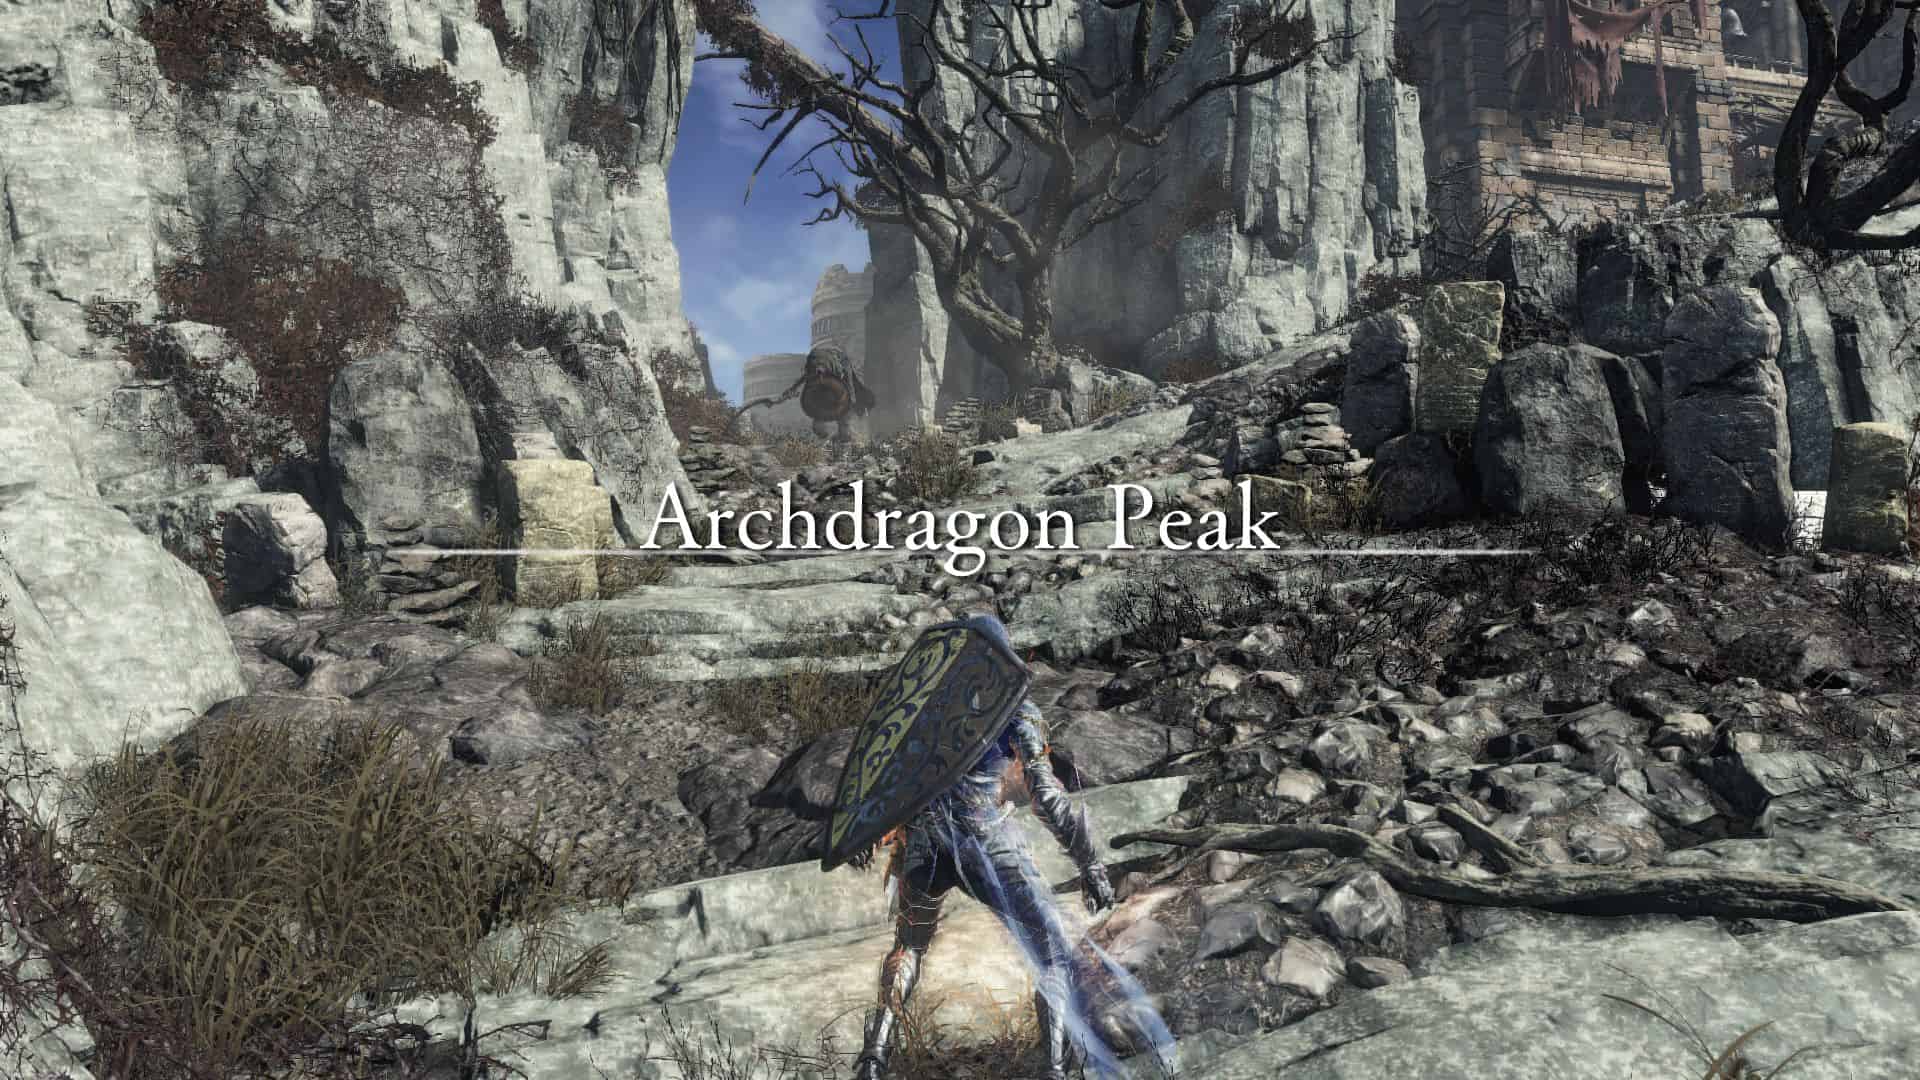
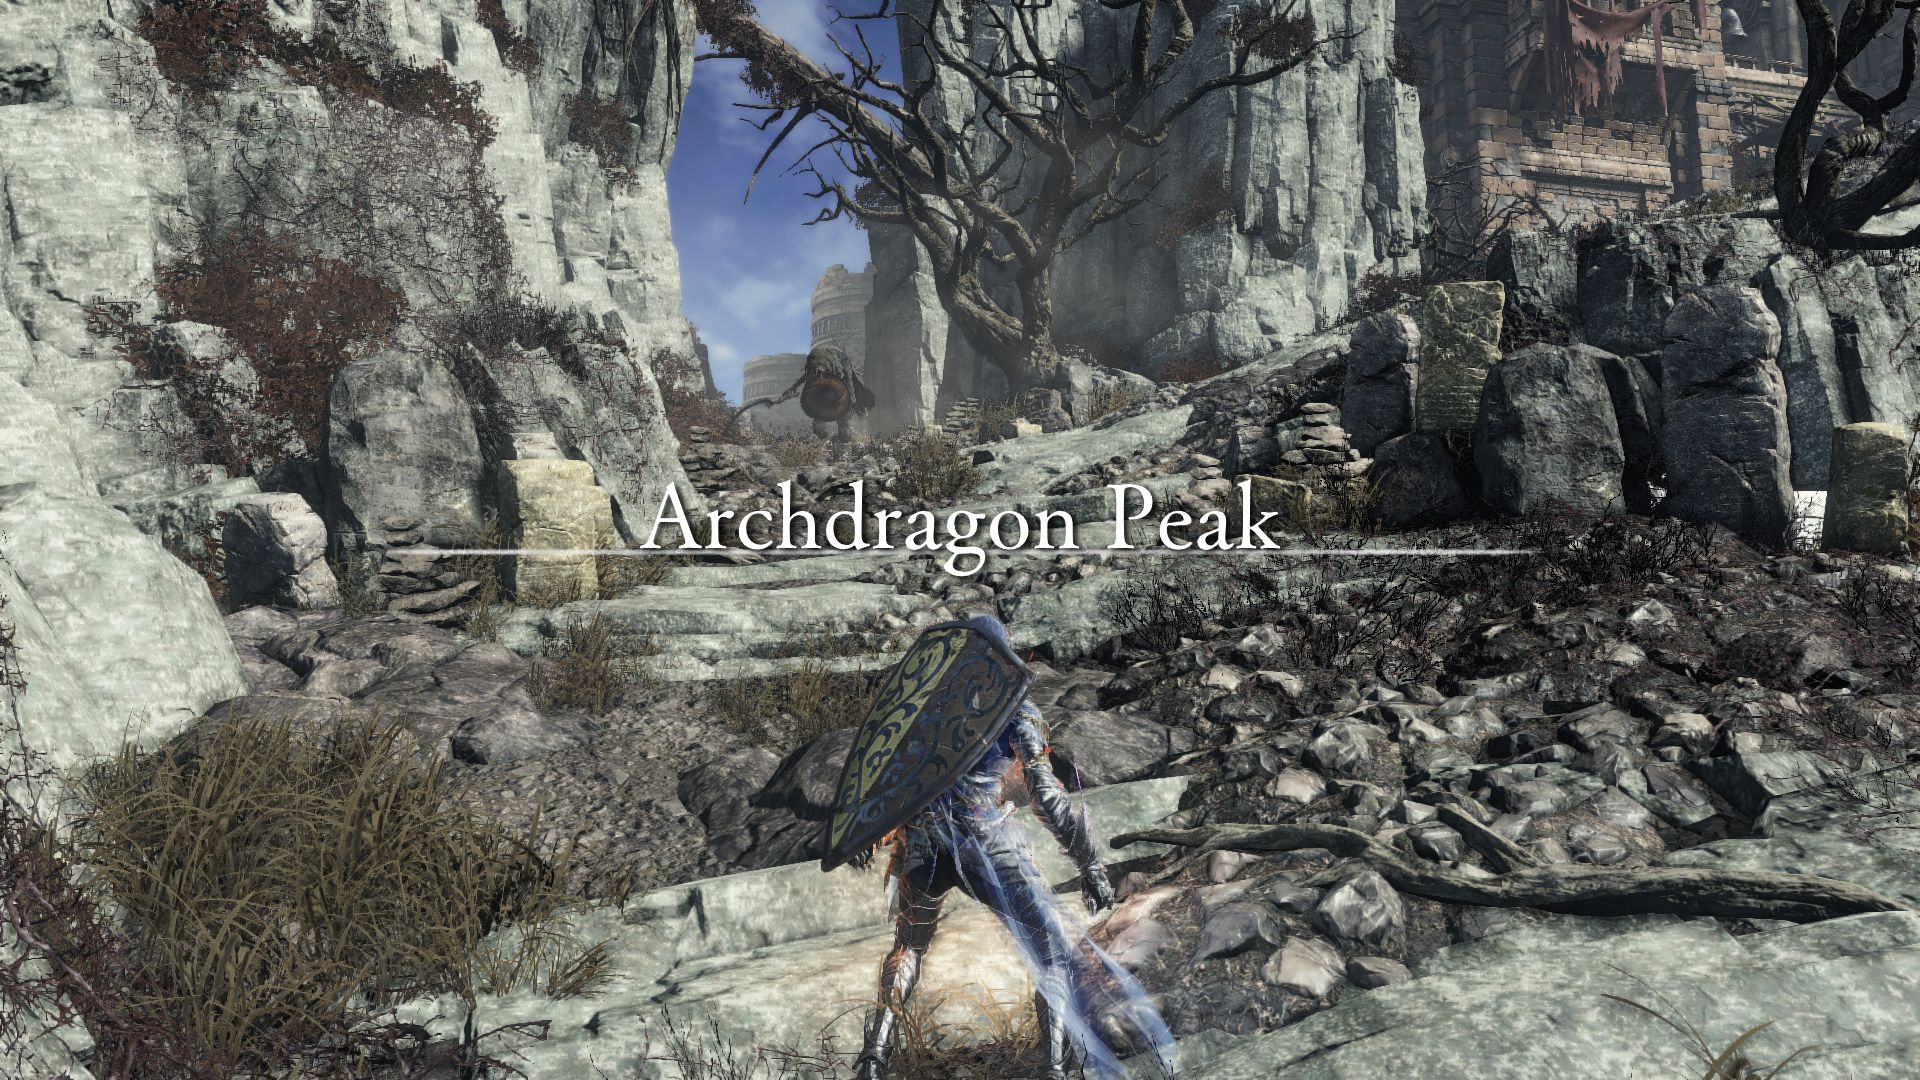
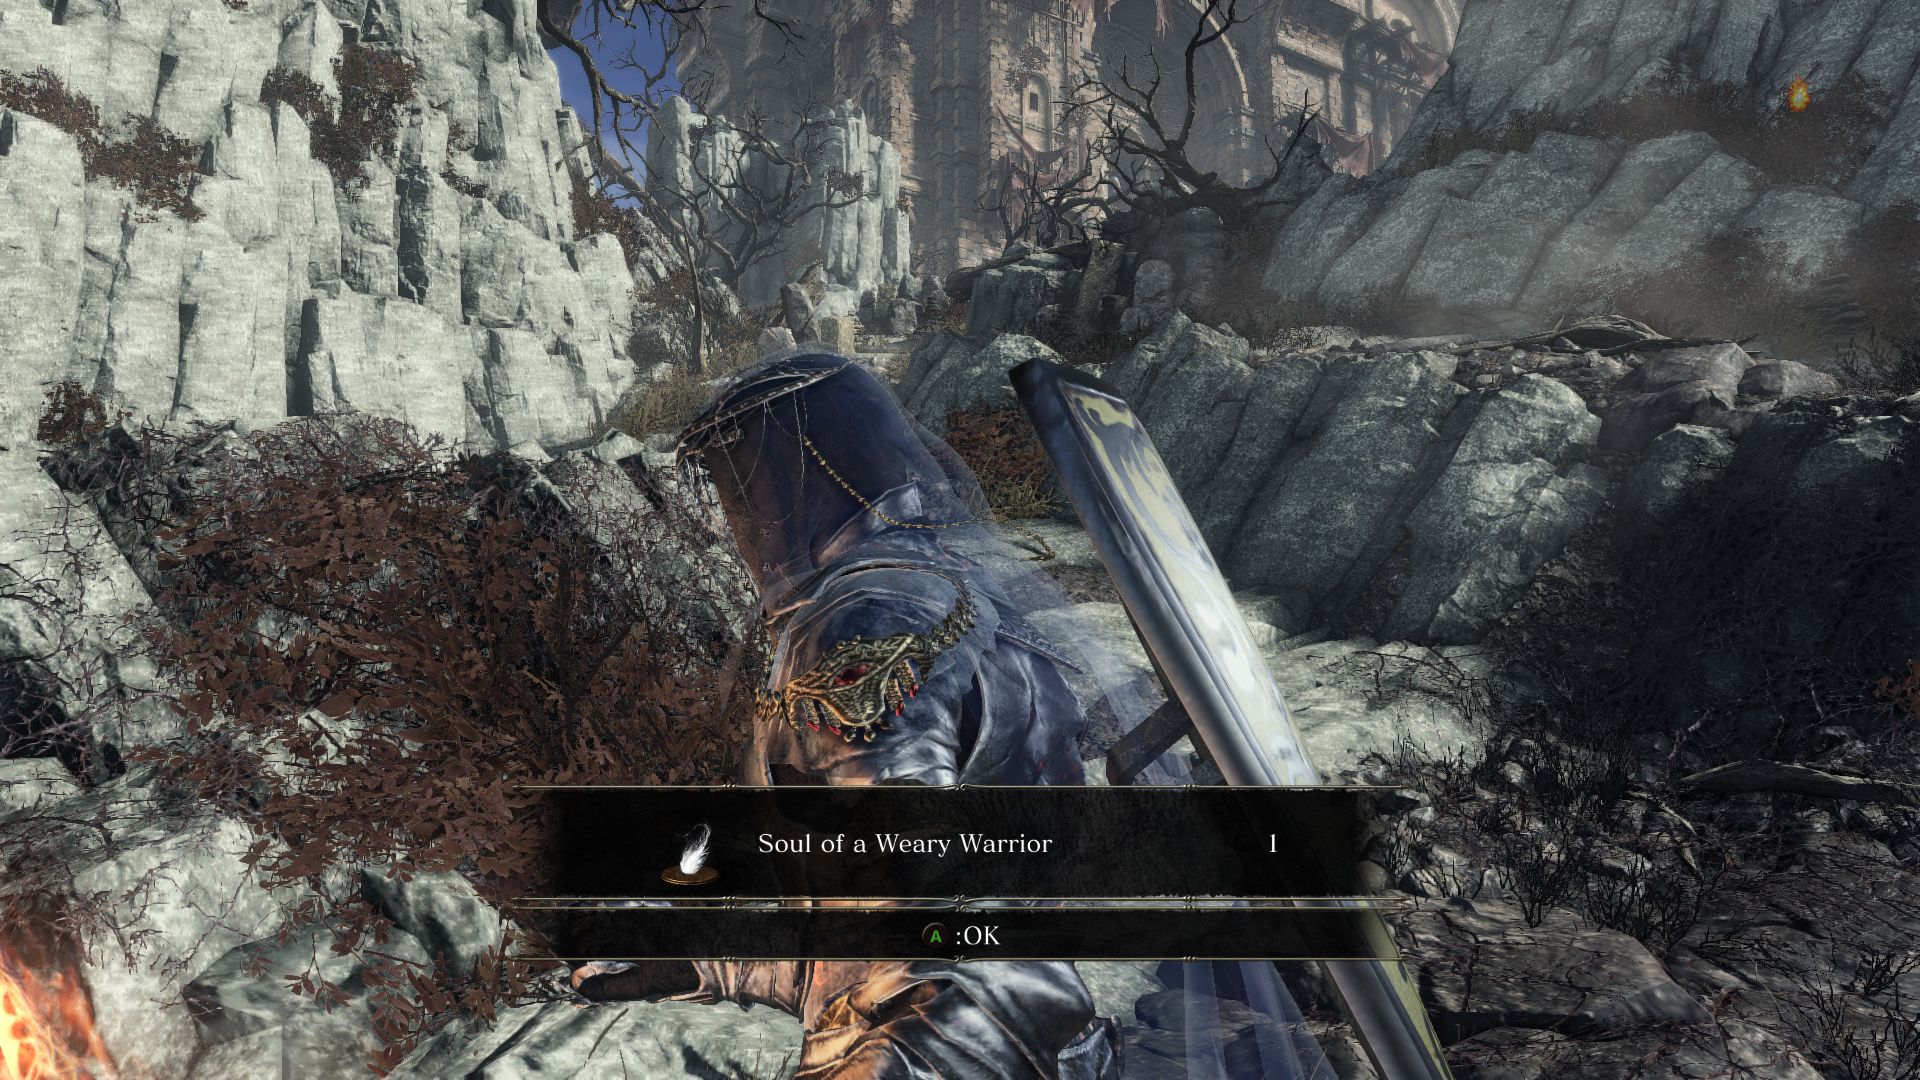
There’s only one path heading up from this gorge. Proceed up the rocky terrain and loot the Soul of a Weary Warrior by the tree to your left. Up ahead you will find yourself facing two serpent-men, just like the one you had confronted in the tomb where you found the emote to get to this place. These enemies are equipped with curved daggers or swords and are taken down rather easily. But their wide swings do a lot of damage and they will also elongate their necks to perform thrusting attacks, which can get really troublesome if you’re surrounded by too many of these enemies. Also, some of these serpent-men will dual wield daggers. When you see them holding their daggers defensively, avoid striking them as they will parry your attack and do some significant damage to you.
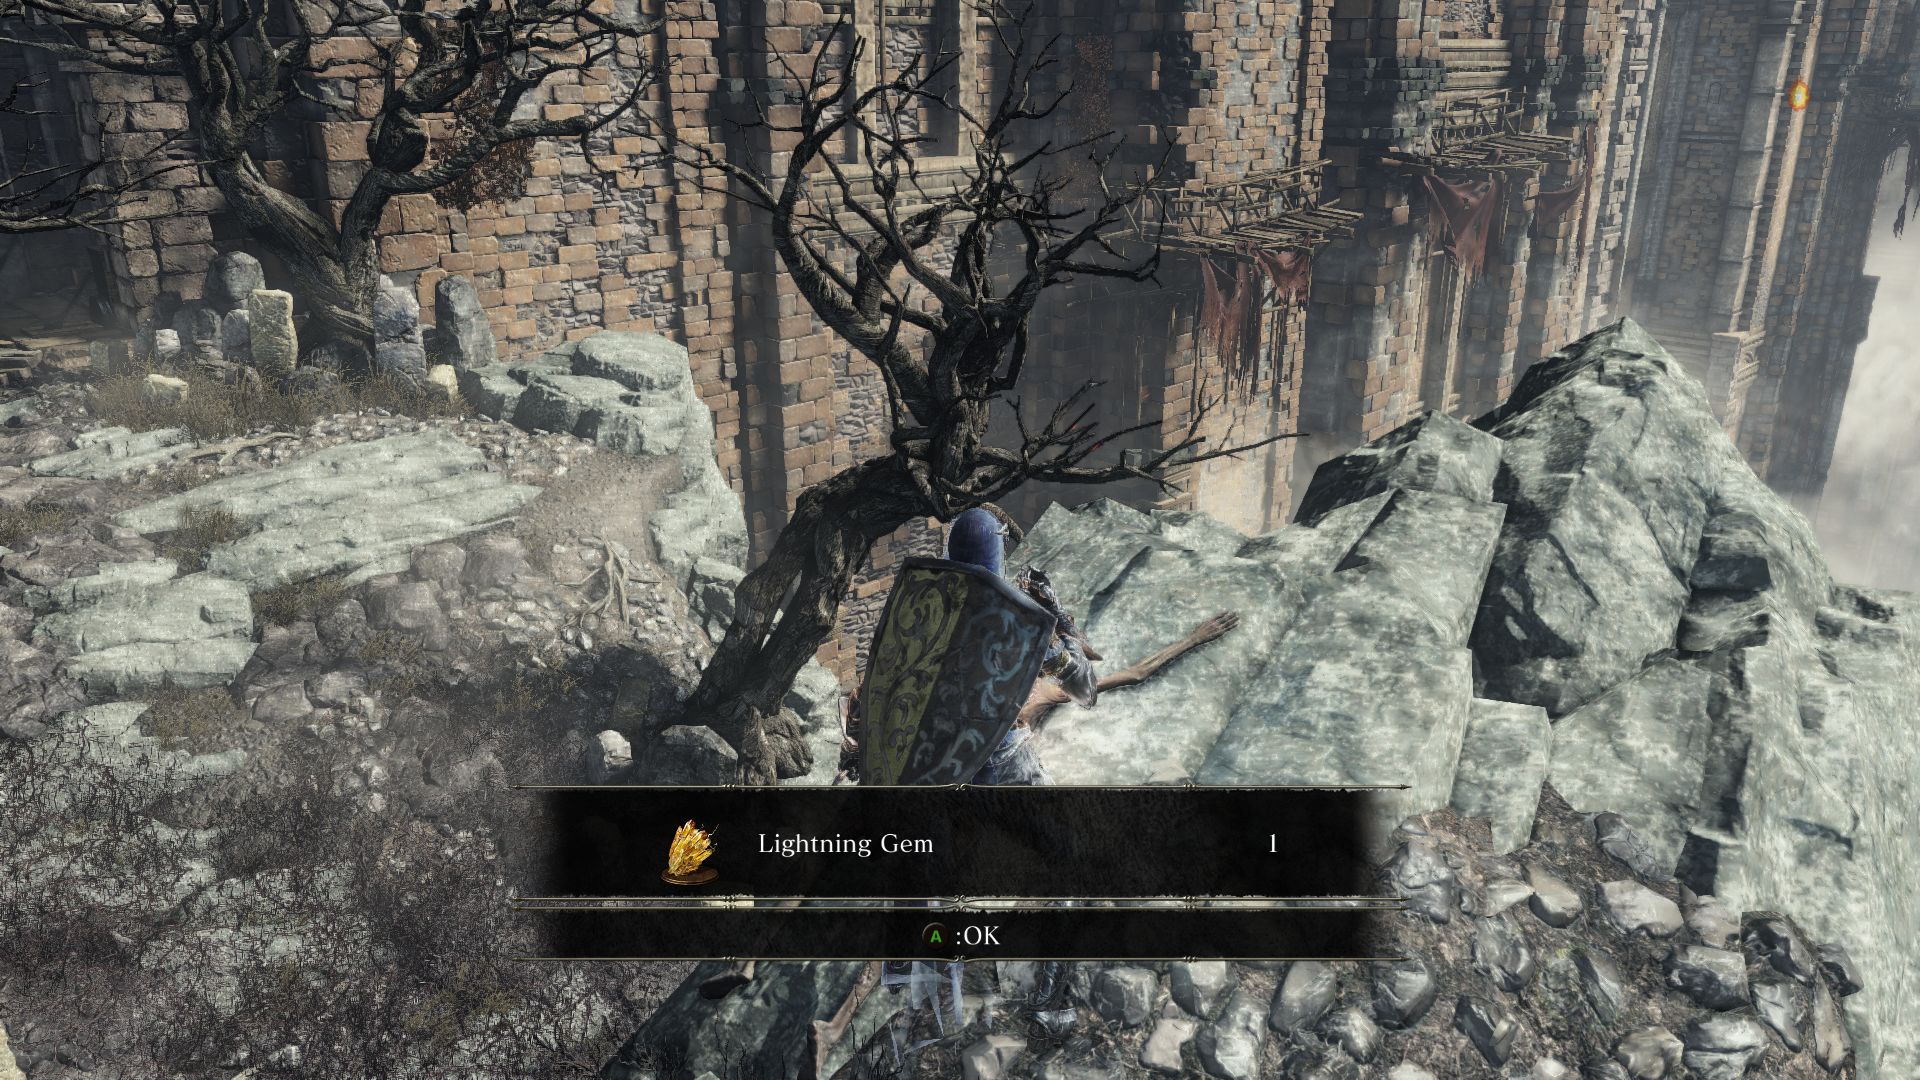
The path ahead will diverge around a jutting rock. Climb the jutting rock to the top where you will find a Lightning Gem. Going around the bend you will find another serpent-man who will shoot fireballs at you. Another serpent-man waits to the right as you charge the one shooting fireball. And a 3rd one will join the fray from behind him. Pull these other ones away from the fireball spitting serpent-man and take them out. As you approach the fire breathing enemy, another serpent man will cover him, so approach carefully.
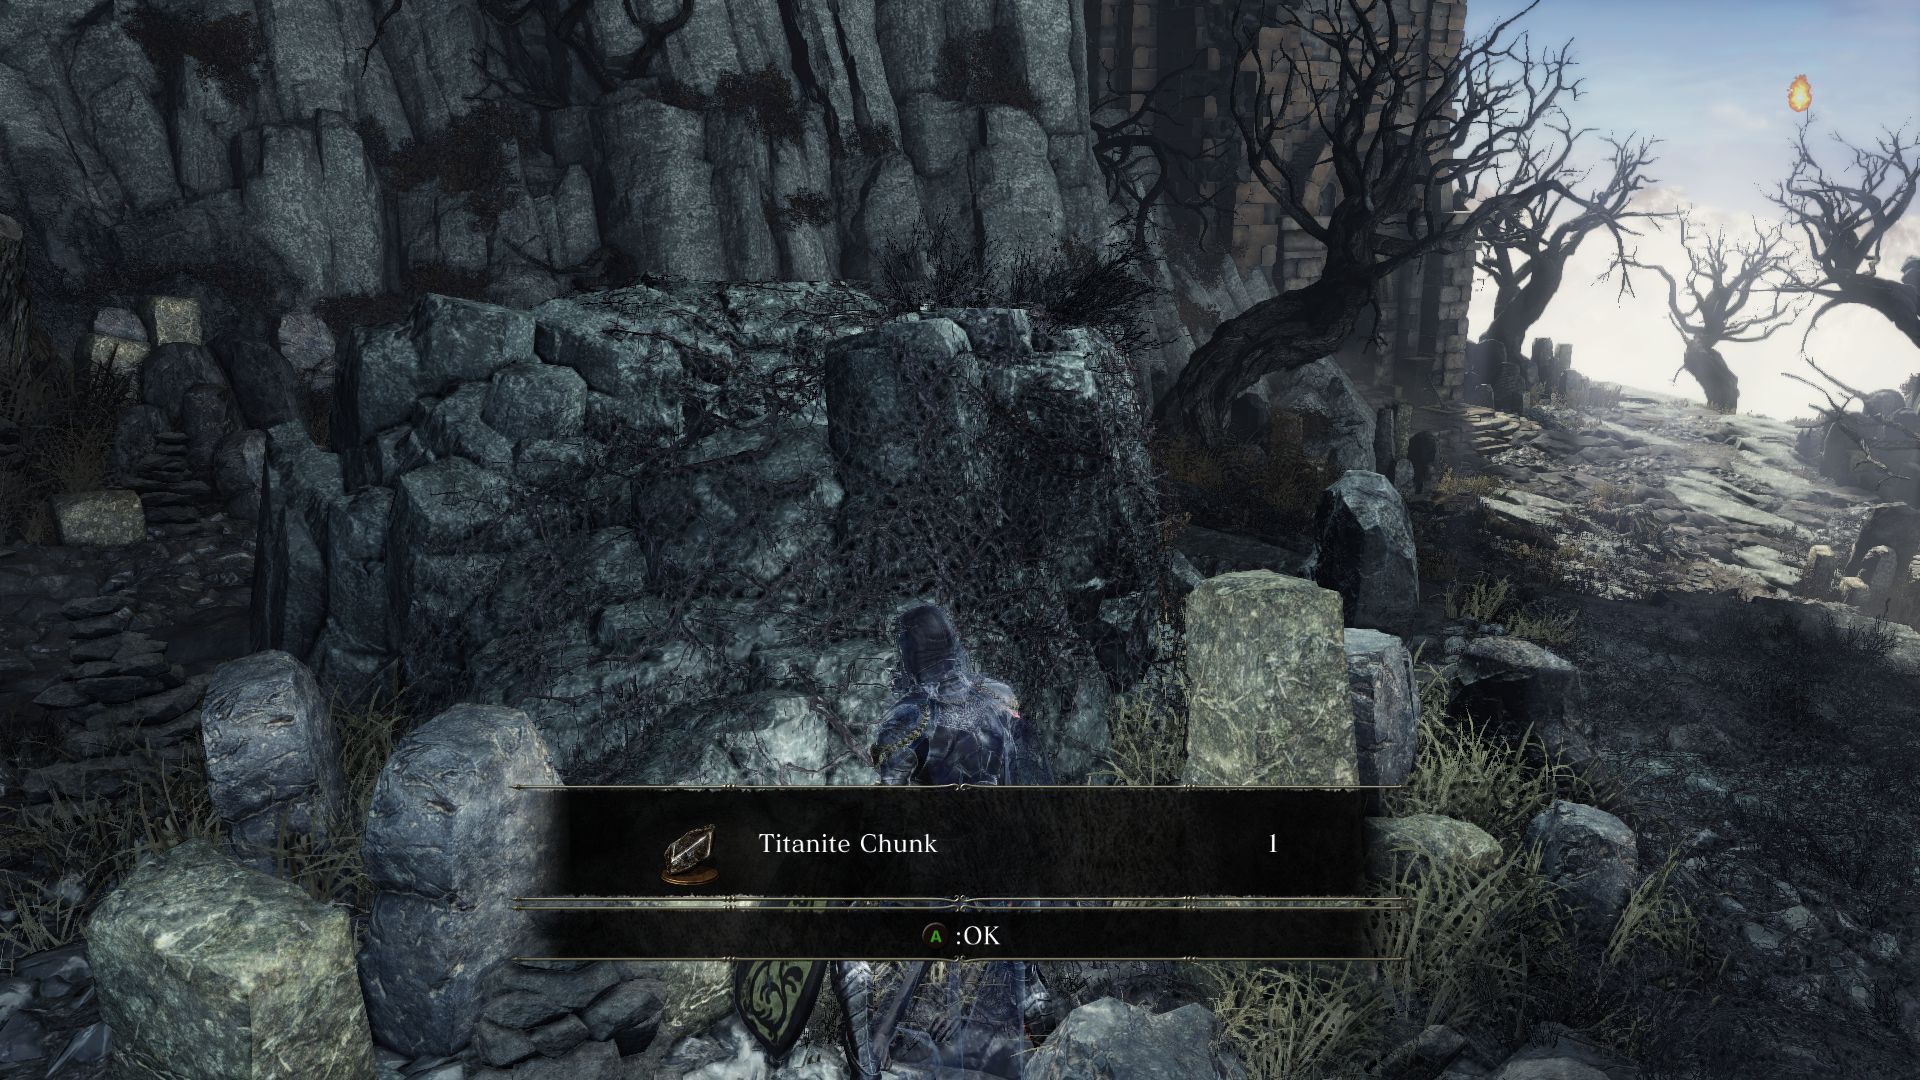
After clearing these enemies go back to the path to find 2 Homeward Bone. You’ll notice a lift to the right that’s inactive at the moment, but we’ll fix that later. Search around the large rocks where the serpent-men were to find a Titanite Chunk. Just up ahead behind where the serpent-men were you will find the first bonfire of this area with a corpse nearby holding an Ember.
Let’s head up the stairs now and grab a Soul of a Nameless Soldier to the right side and a Titanite Chunk to the left. To proceed, you can head straight under the arch, or go around the side and up the stairs past the chunk. Better to pick the path to your left as this will allow you to prevent an ambush.
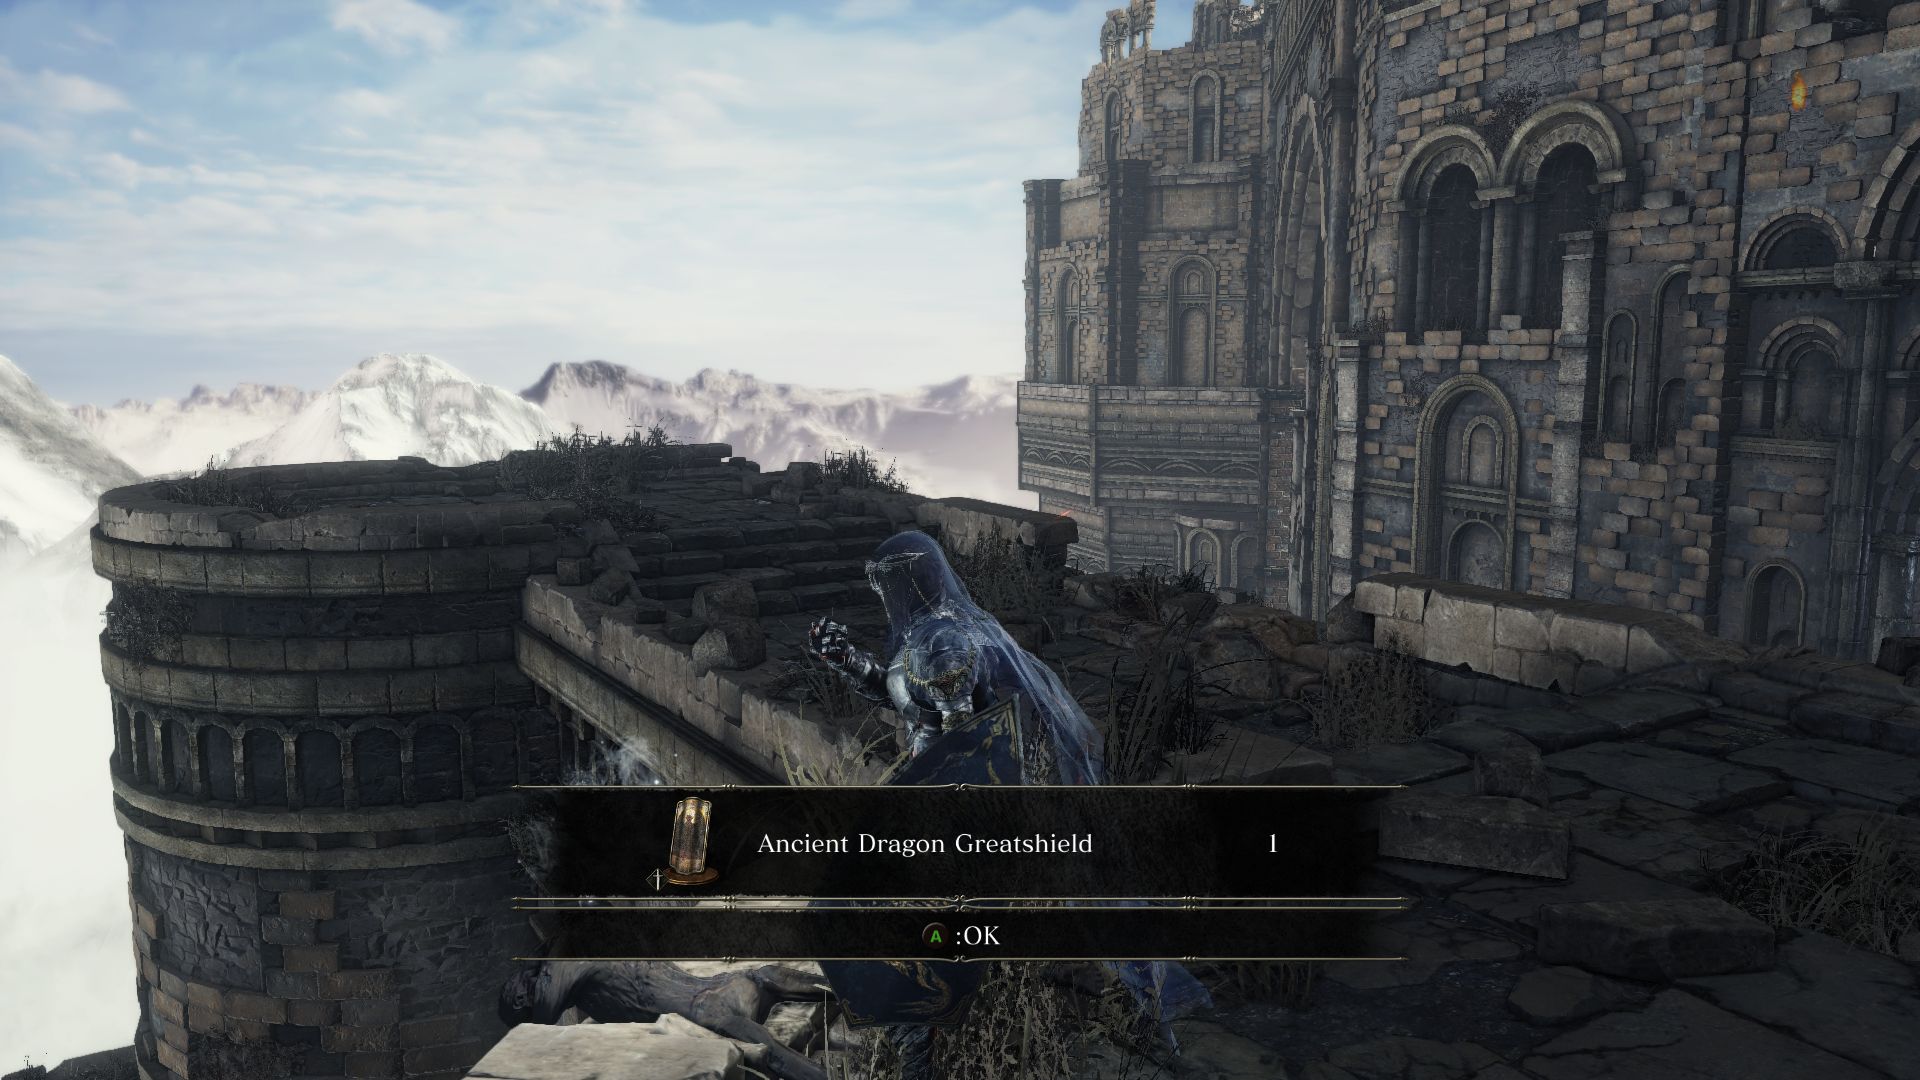
A serpent-man waits on the top along with another larger one wielding an axe. The axe-wielder is fast and attacks ferociously, but you can lock on to him and get behind him to take him out. Kill these 2 enemies and search for a corpse on the arch here for an Ancient Dragon Greatshield. There’s another corpse below that holds a Titanite Chunk.
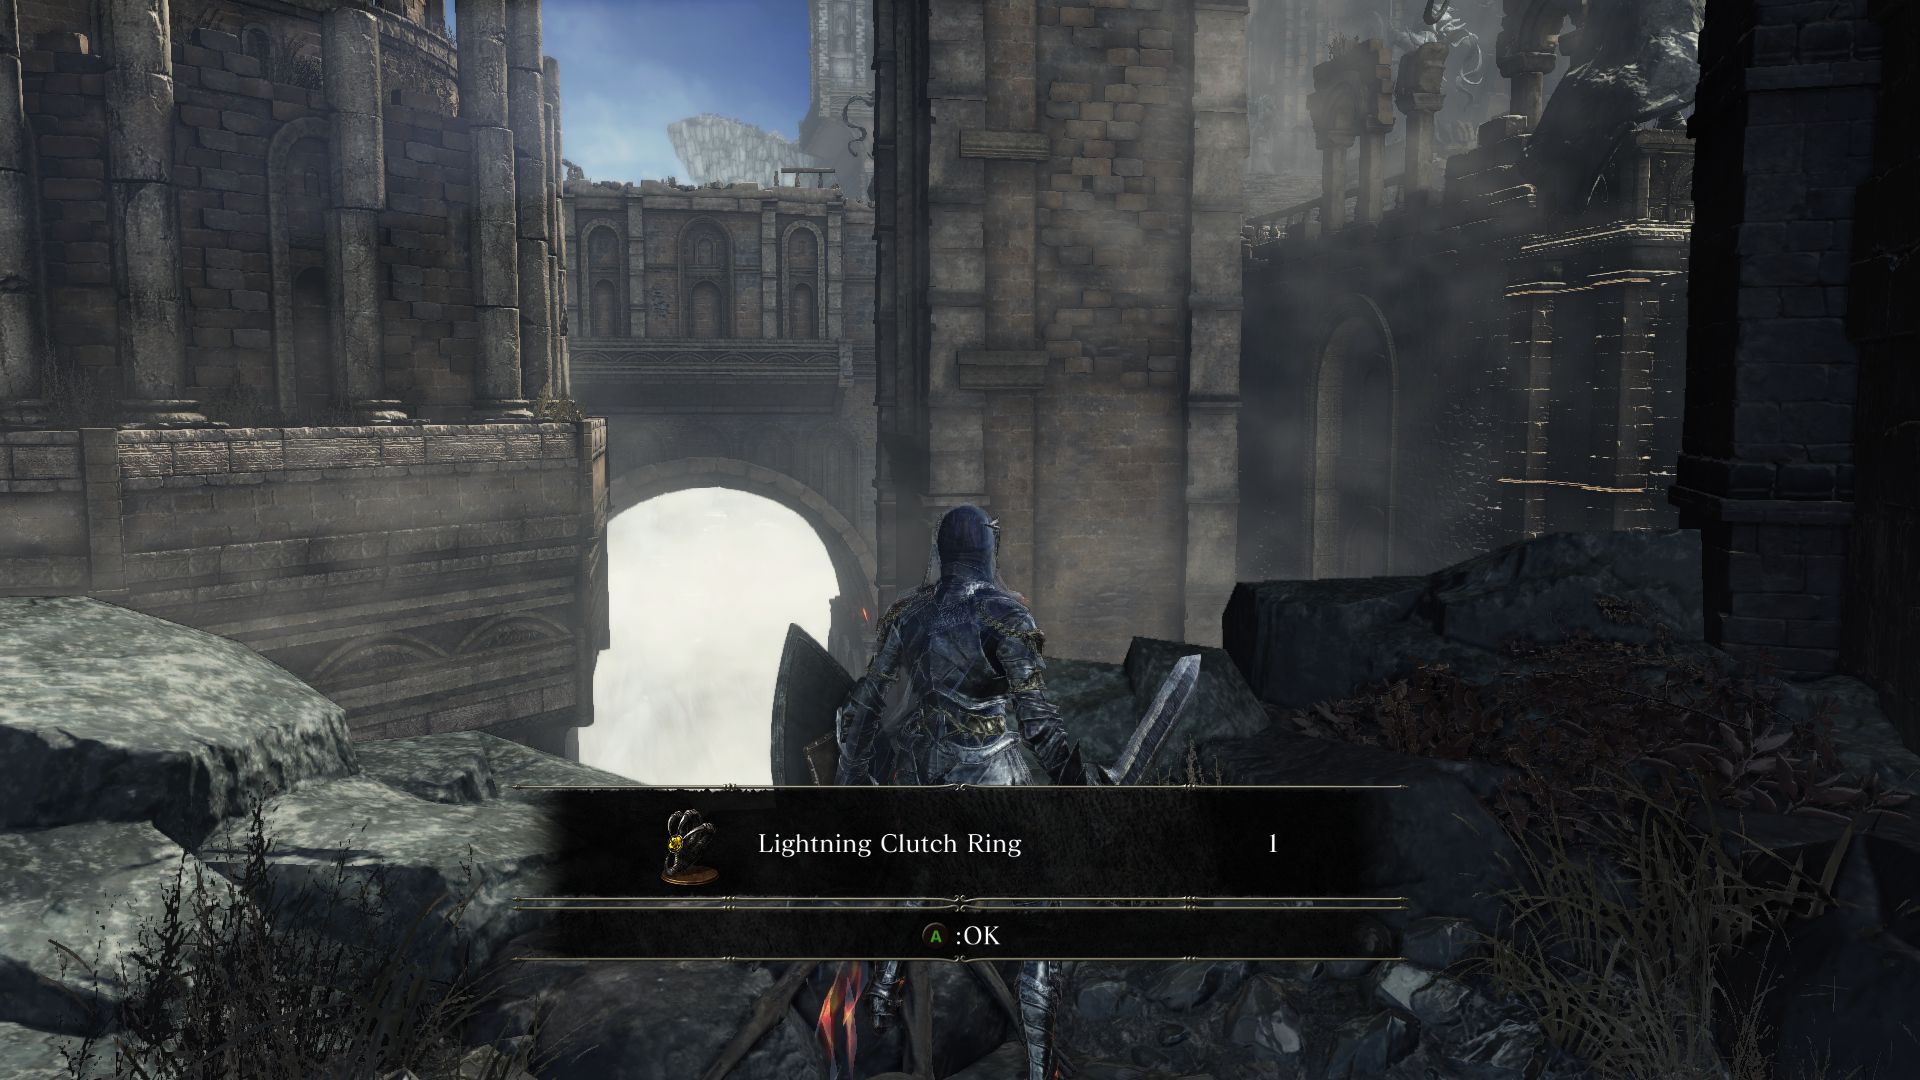
Pull the lever for the main gate but don’t enter yet. Check left to find a path leading to a Lightning Clutch Ring that is being guarded by a serpent-man. Now, once you head through the main door, you will come face to face with the Ancient Wyvern!
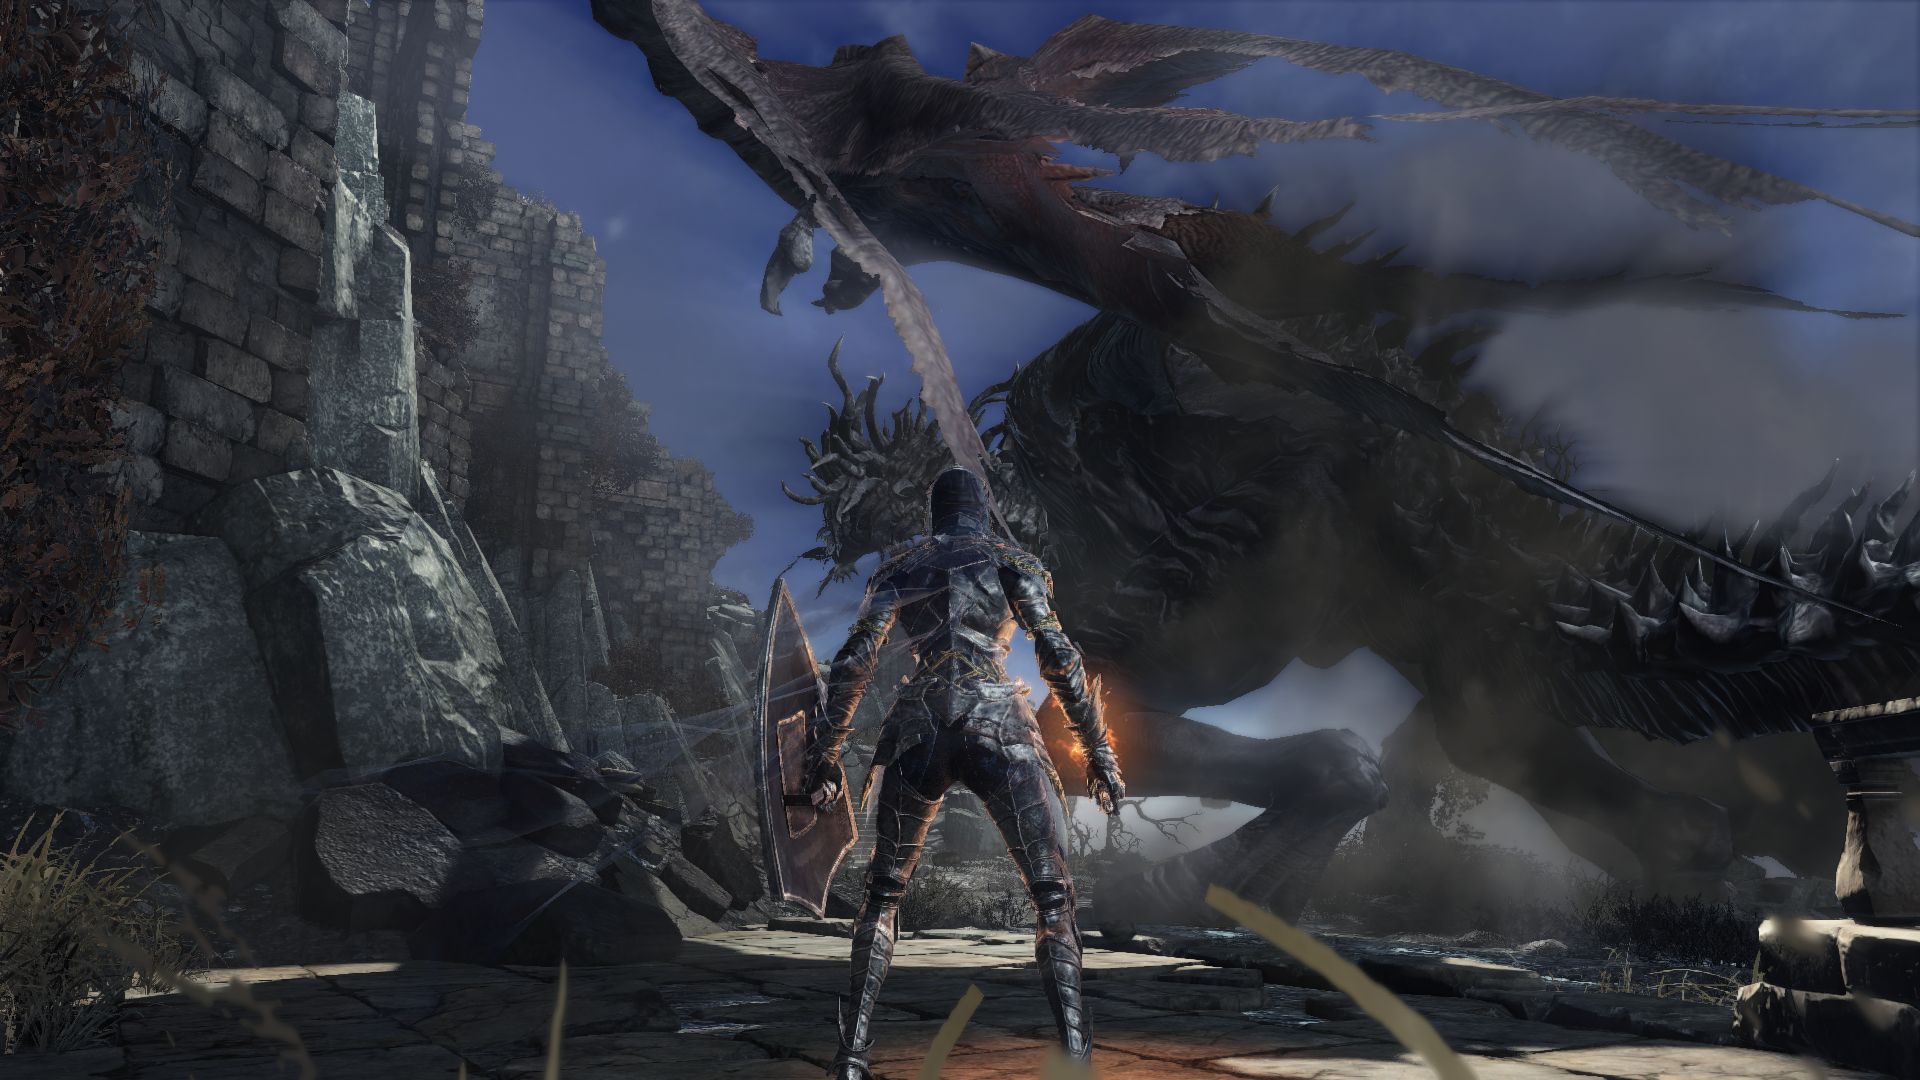
BOSS FIGHT – ANCIENT WYVERN
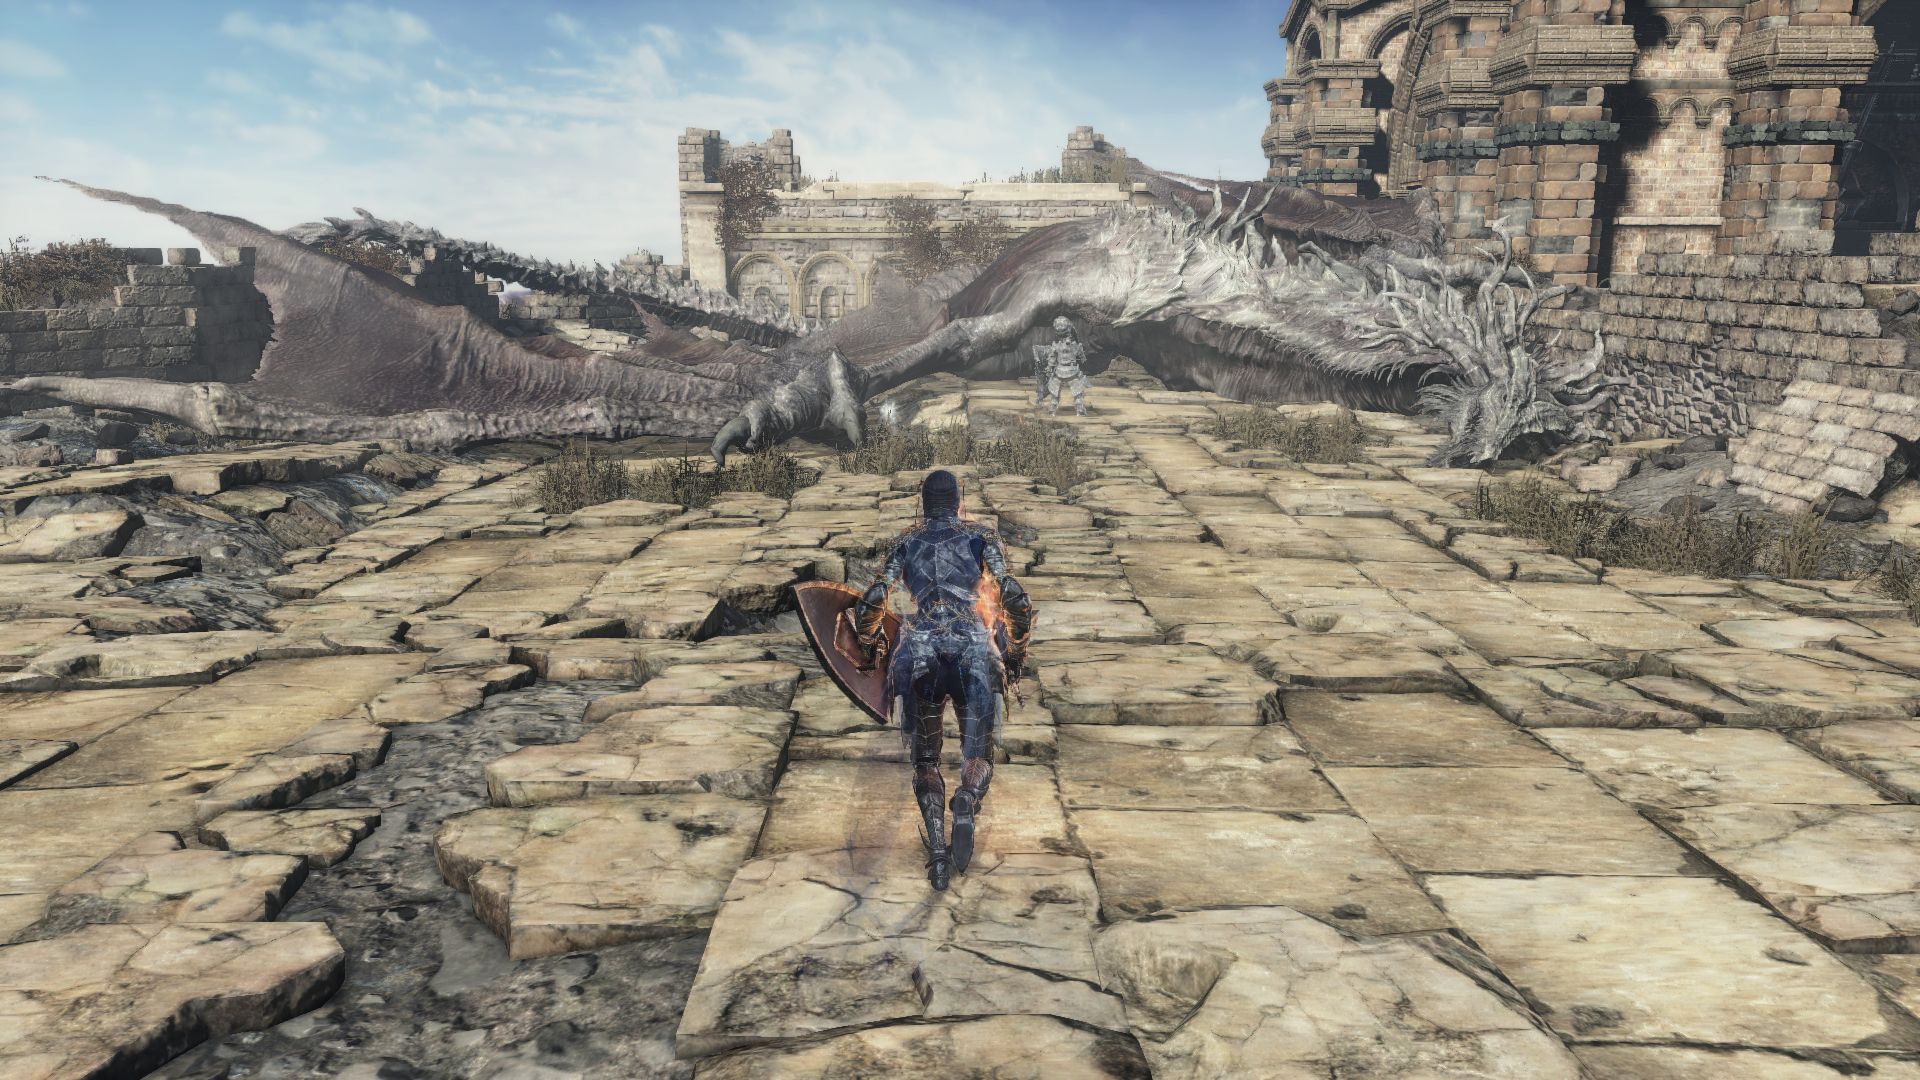
A giant dragon will swoop down in front of you as you enter the ruins and try to burn you to death or bite you into pieces. If you rush ahead and read the message under him, it says “Plunging Attack,” which is a clue as to how to defeat this dragon. So instead of chipping away at his HP with very little damage, we need to find a vantage point from where we can perform a plunging attack on the dragon.
Sprint ahead and you’ll come at an intersection. Don’t worry about the items on the floor, we’ll come back for them later. Head left while avoiding the fire breaths of the dragon. A serpent-man will charge at you. It’s better if you avoid the serpent-man and roll past him into the building ahead, where two more of these enemies await. Again, if you want, you could defeat these enemies, or simply sprint past them outside.
You’ll see signs on the floor on the way that has the same message, indicating that you are on the right track. A fire-breathing serpent-man is on your left, but take the stairs on the right while watching for the two serpent-men waiting to ambush you. At the top of the steps you will find another serpent-man with a shield and one waiting by the doorway to lunge at you. Take them out if they block you way, or sprint past them while rolling away from their attacks.
You’ll find yourself a narrow bridge ahead where things may get a bit difficult. There’s a large serpent man here with an axe and a chain. If you linger here for too long to fight these enemies, the dragon will soar into the air to shoot fire at you, so sprinting past the enemies is recommended. Charge across the bridge and onto the other side where there is a fire breathing serpent-man. Better not give the dragon time to breathe fire here, so keep running past him and you’ll see a fog gate up ahead and a ladder to your left, which is guarded by a snake-man with a shield. If you have to, take out the snake-man, but if you’ve been running past everything, better dash to the ladder and climb it.
Up on the platform you can jump onto a lower platform and you’ll see the familiar message asking you to perform a plunging attack. As you approach the ledge be careful of the dragon blasting fire at you. When the dragon has lowered its head, drop off the ledge and perform a plunging attack which ends the fight!
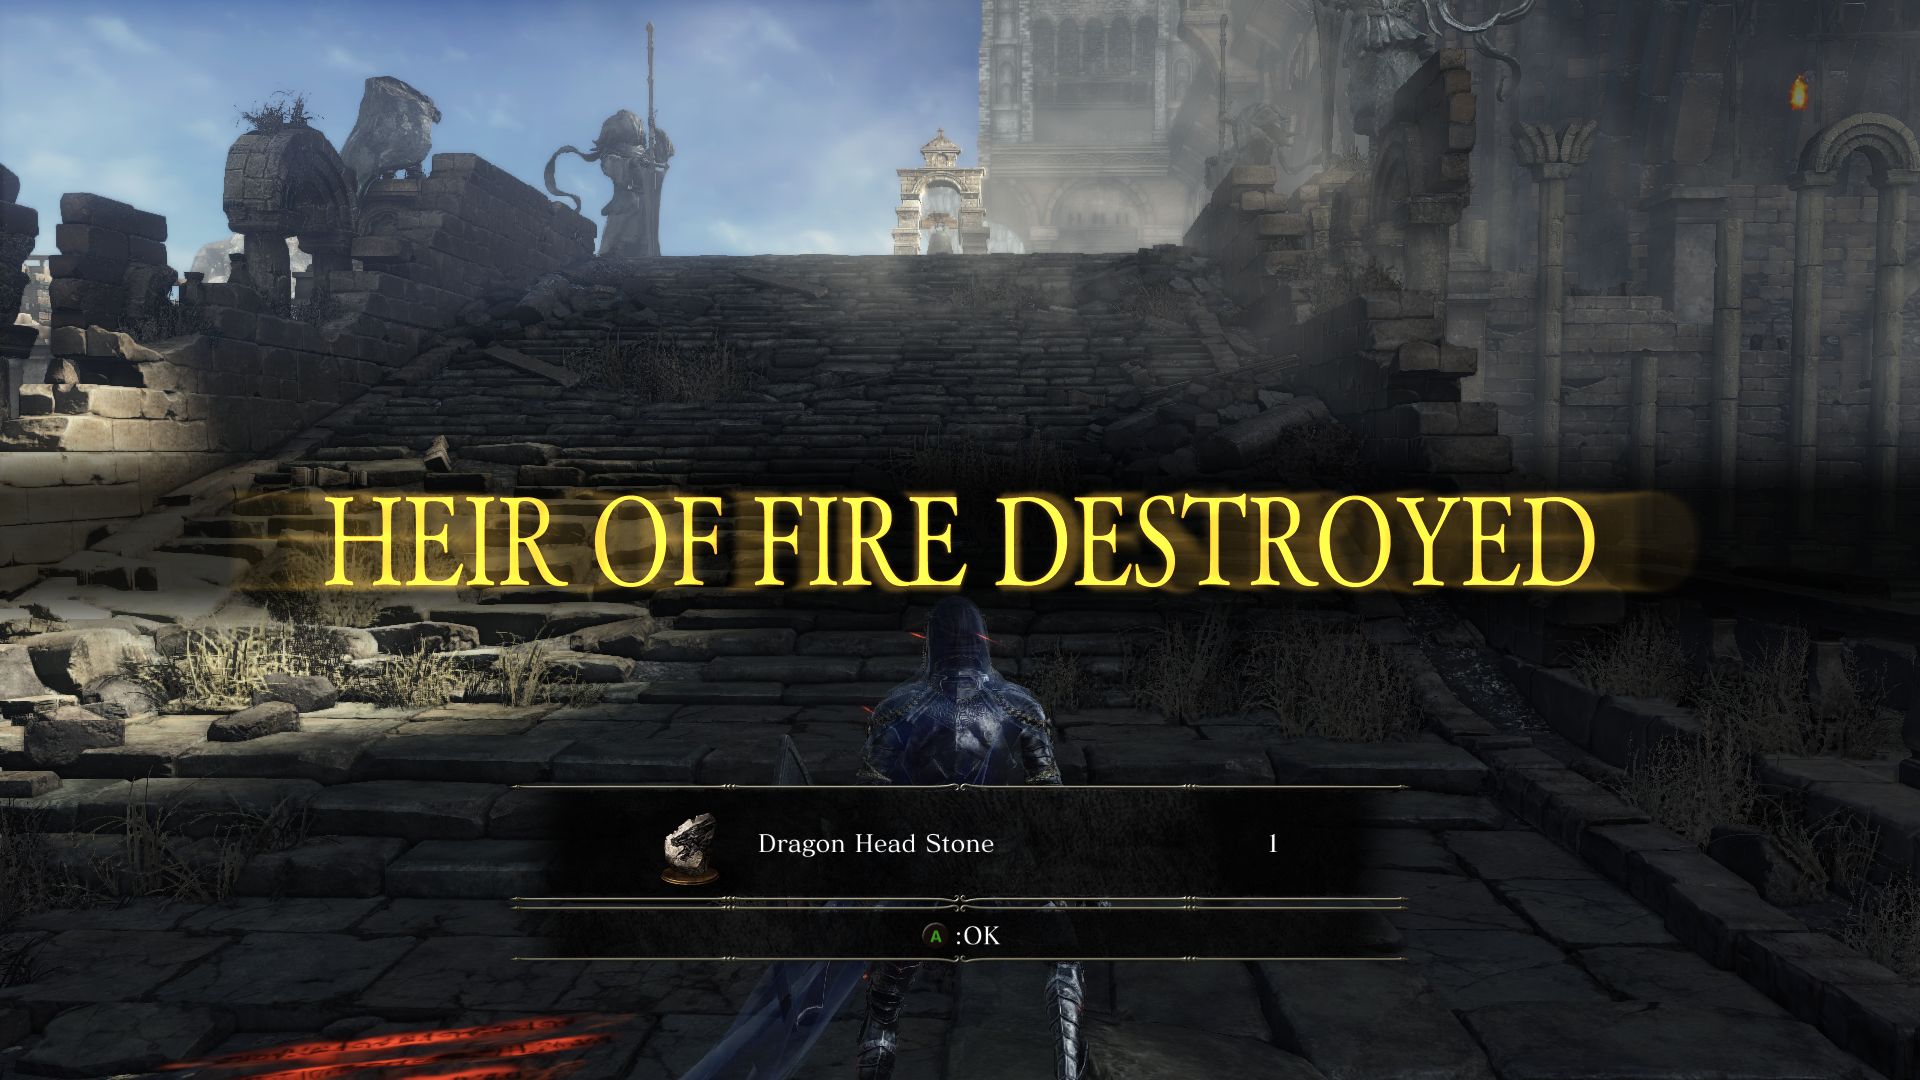
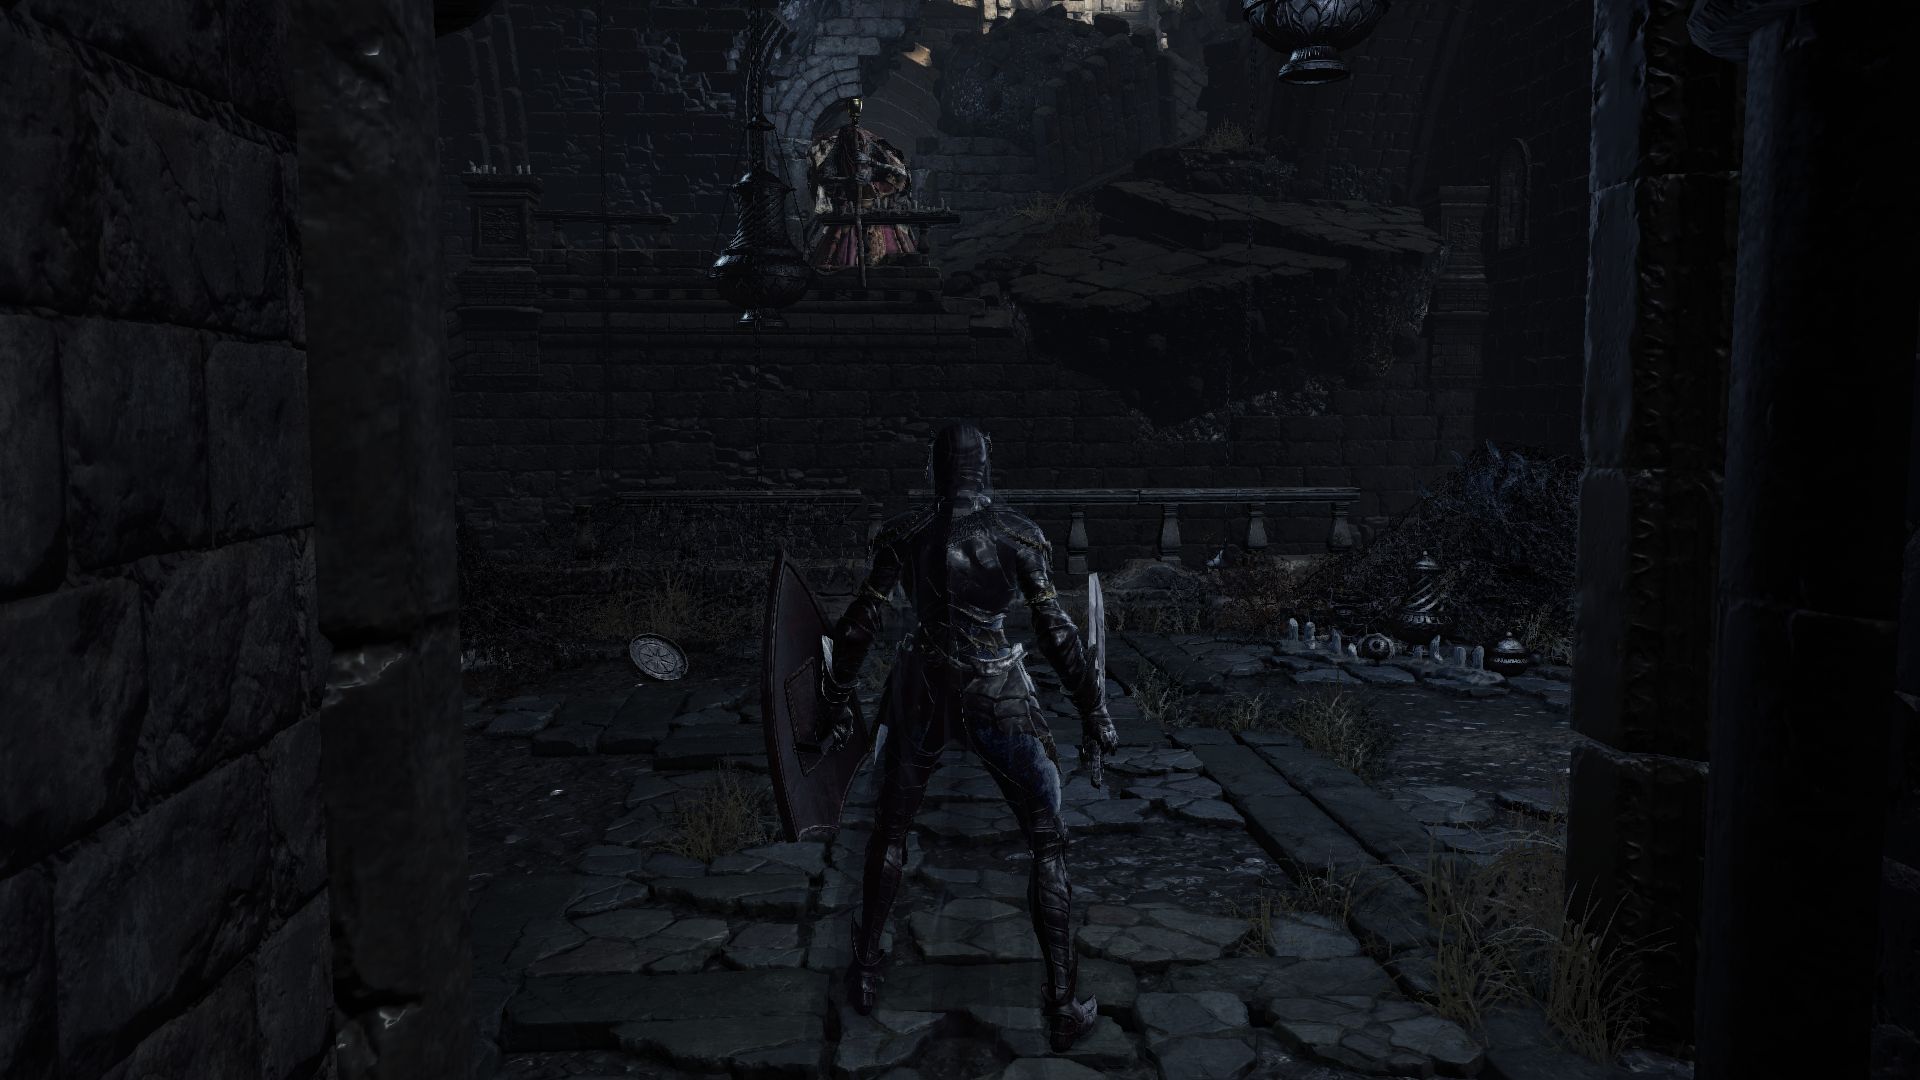
Defeating the Ancient Wyvern will earn you the Dragon Head Stone and you’ll find yourself teleported to another area in Archdragon Peak. Light the bonfire and head inside the mausoleum.
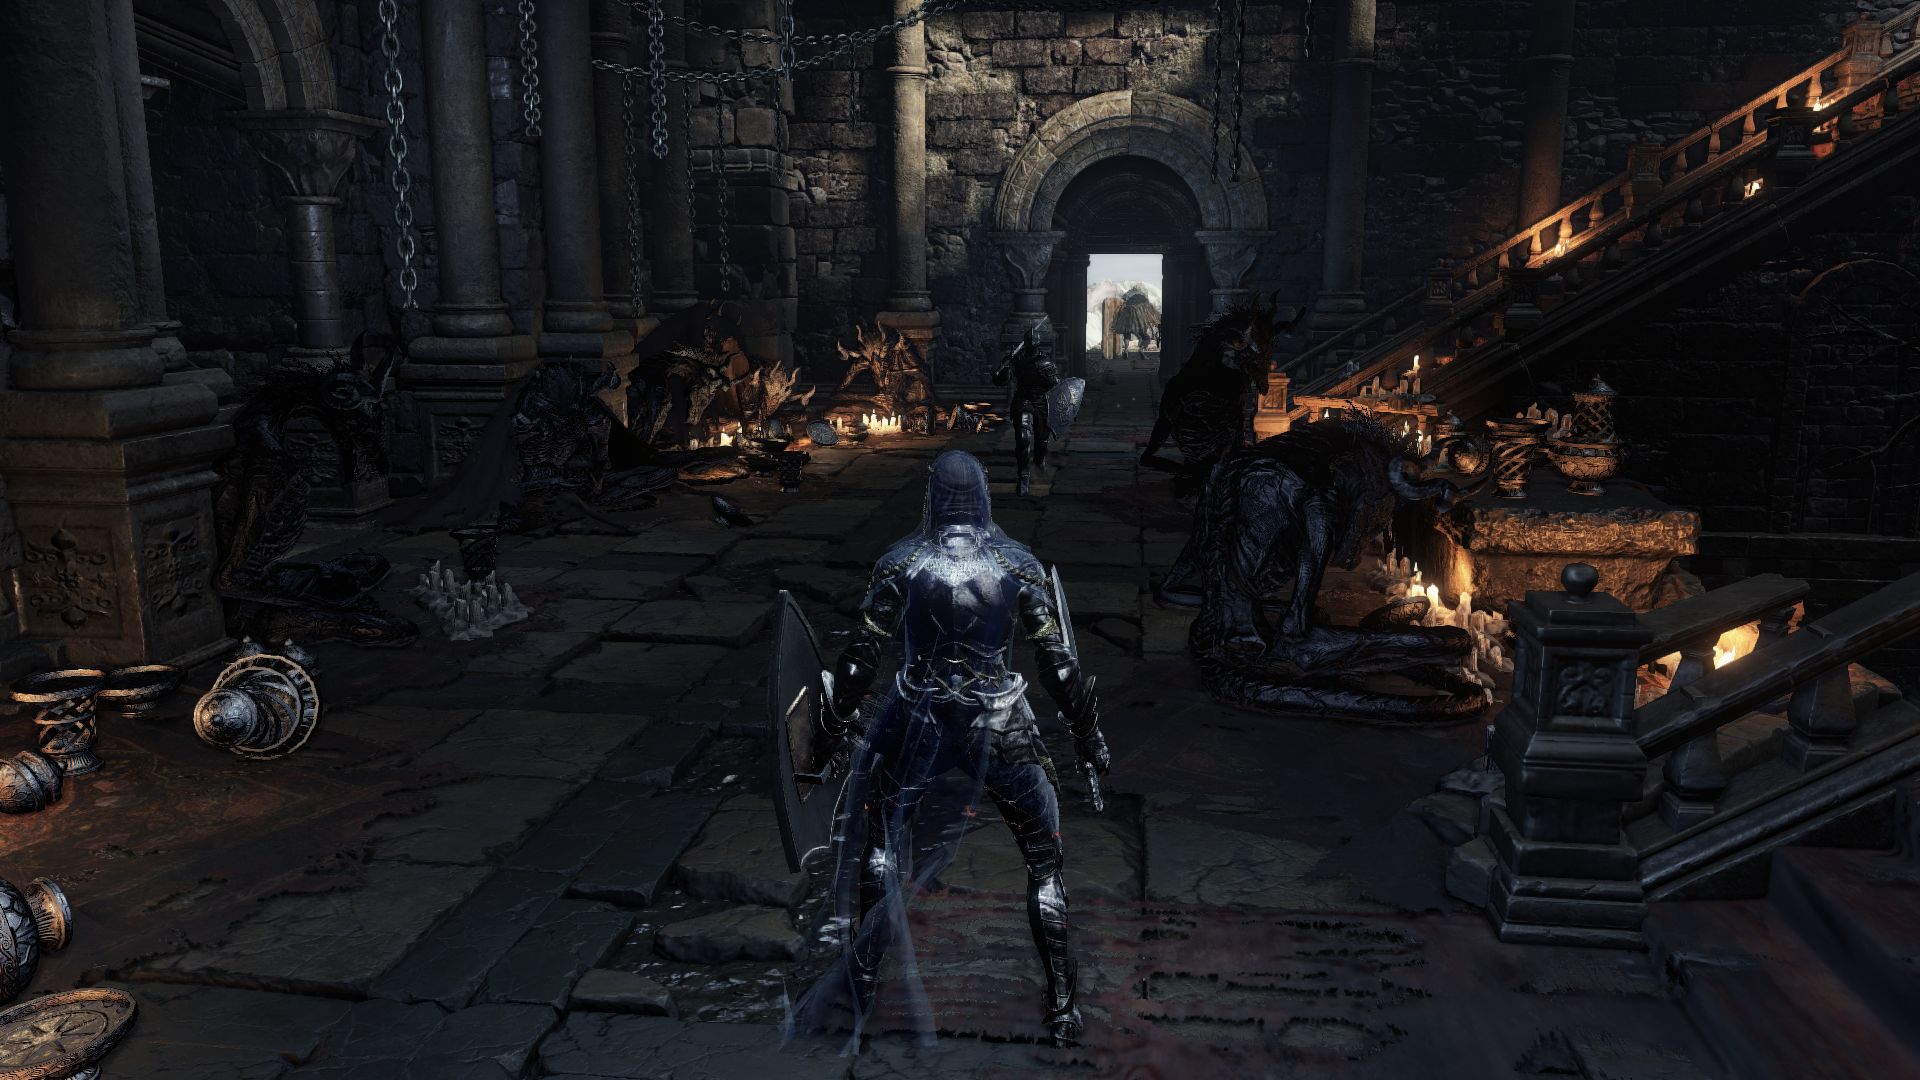
Inside, you will find a room filled with skeletons of the dragon-kin. A Drakeblood Knight will emerge in front who you can defeat using the same tactics as any other Knight fight. The catch is that unless you kill his summoner up the stairs, the Knight will be summoned over and over. This also makes it an interesting spot to farm souls as you can backstab this knight over and over as he is summoned on the same spot every time. Head up the stairs to find the serpent-man sorcerer and take him out to stop him from summoning the Knight. Up close the sorcerer is very weak, but watch for your magic from a distance.
On a side note, after you’ve defeated this Drakeblood Knight, you could always go back to the tomb behind Oceiros in the Consumed King’s Garden to find the full Drakeblood Armor Set where you had found the Path of the Dragon Emote.
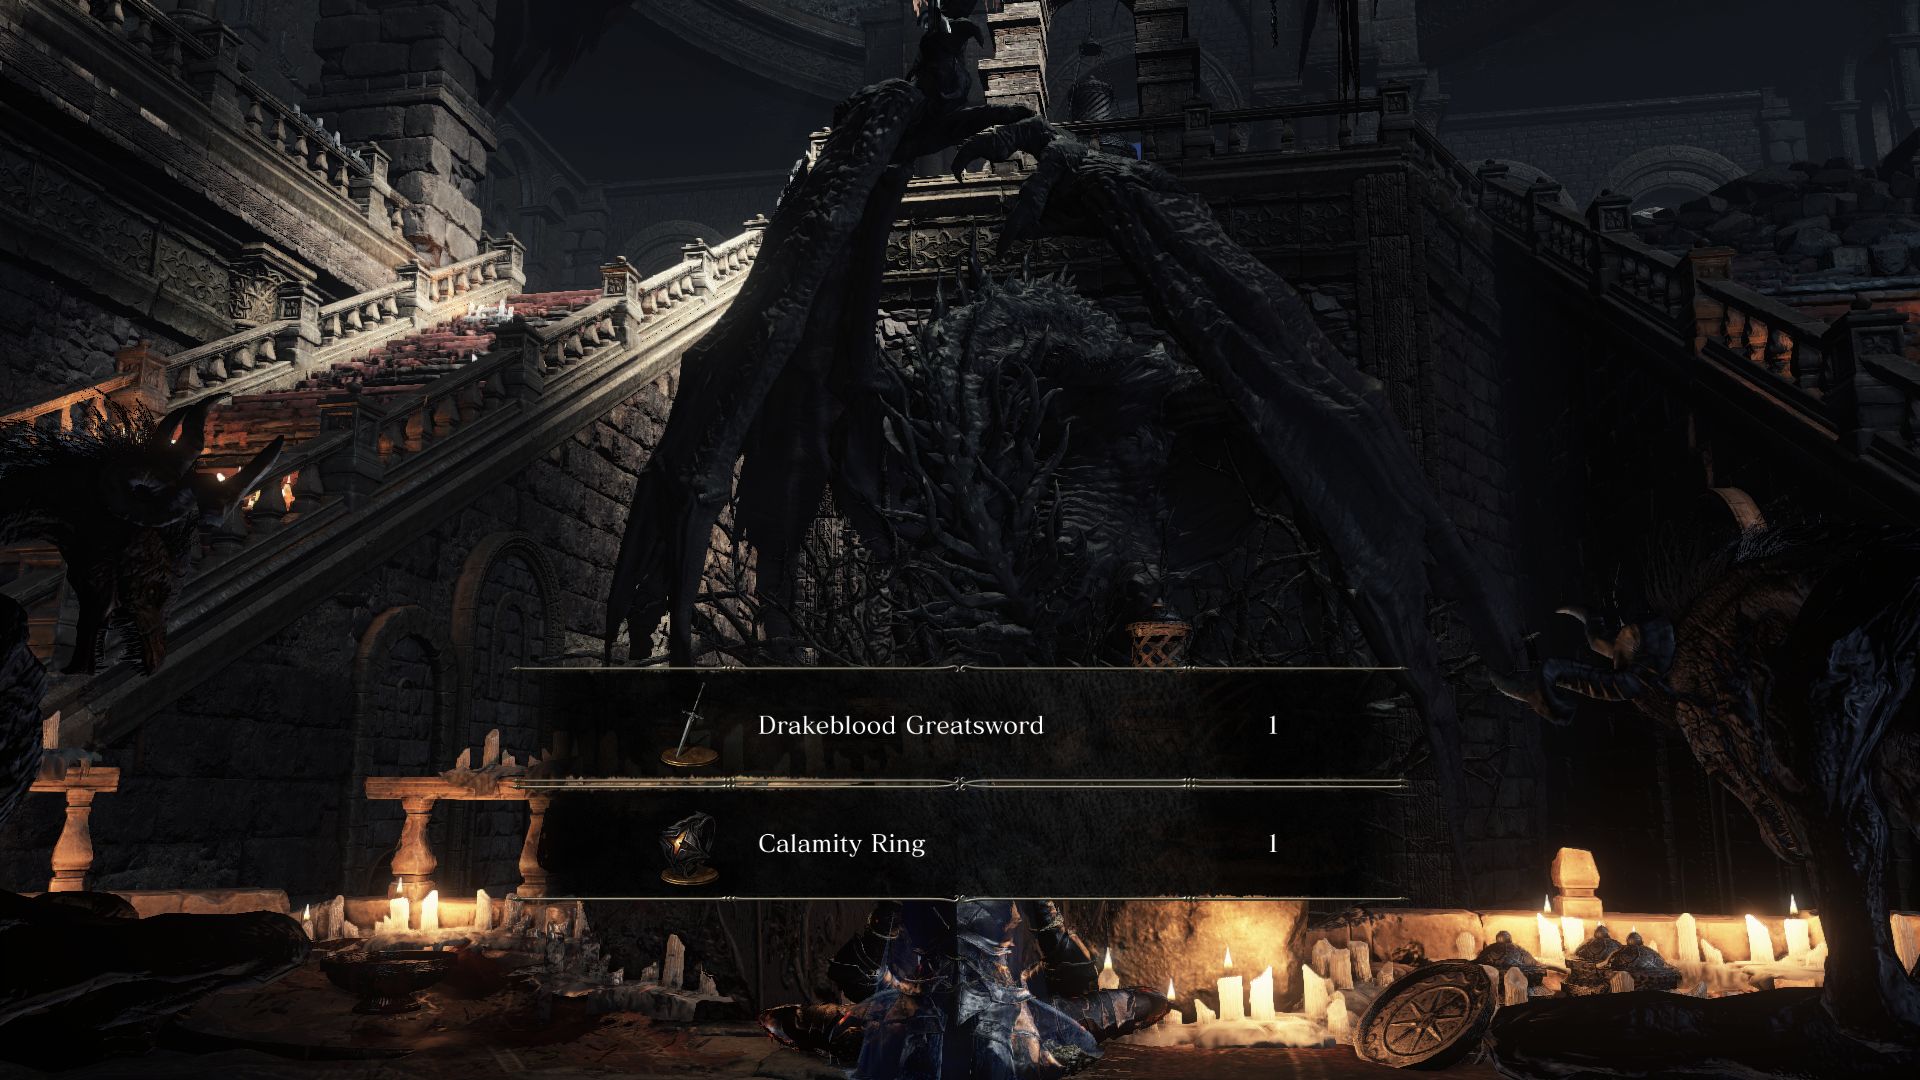
Back in the mausoleum, notice the dragon statue in the middle of the room. Use the Path of the Dragon Emote in between the two worshipping corpses in front of the altar on the first floor, and you will find the Calamity Ring.
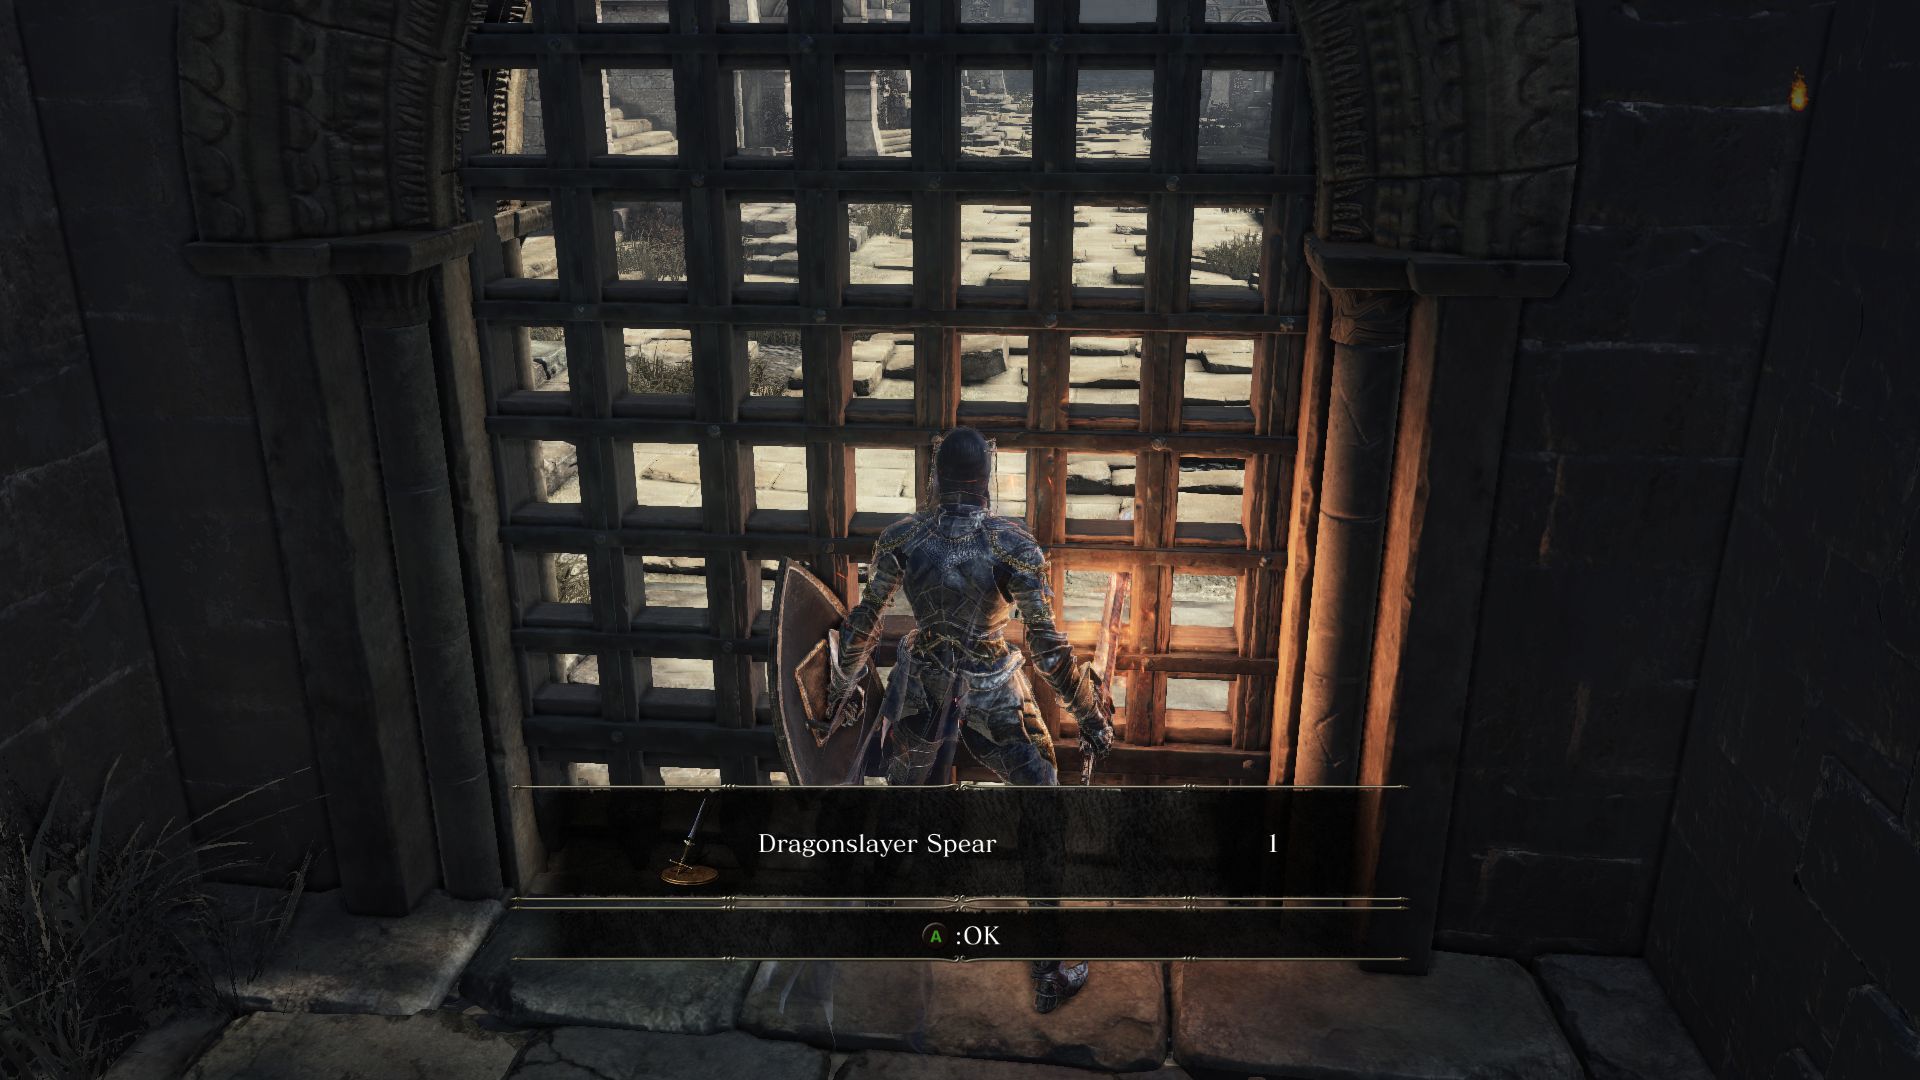
Go up the stairs to find a Soul of a Crestfallen Knight to the left and a locked gate to the right. Loot the item behind the locked gate to obtain a Dragonslayer Spear. To the right of the locked gate are some stairs leading down to a door which we will explore later.
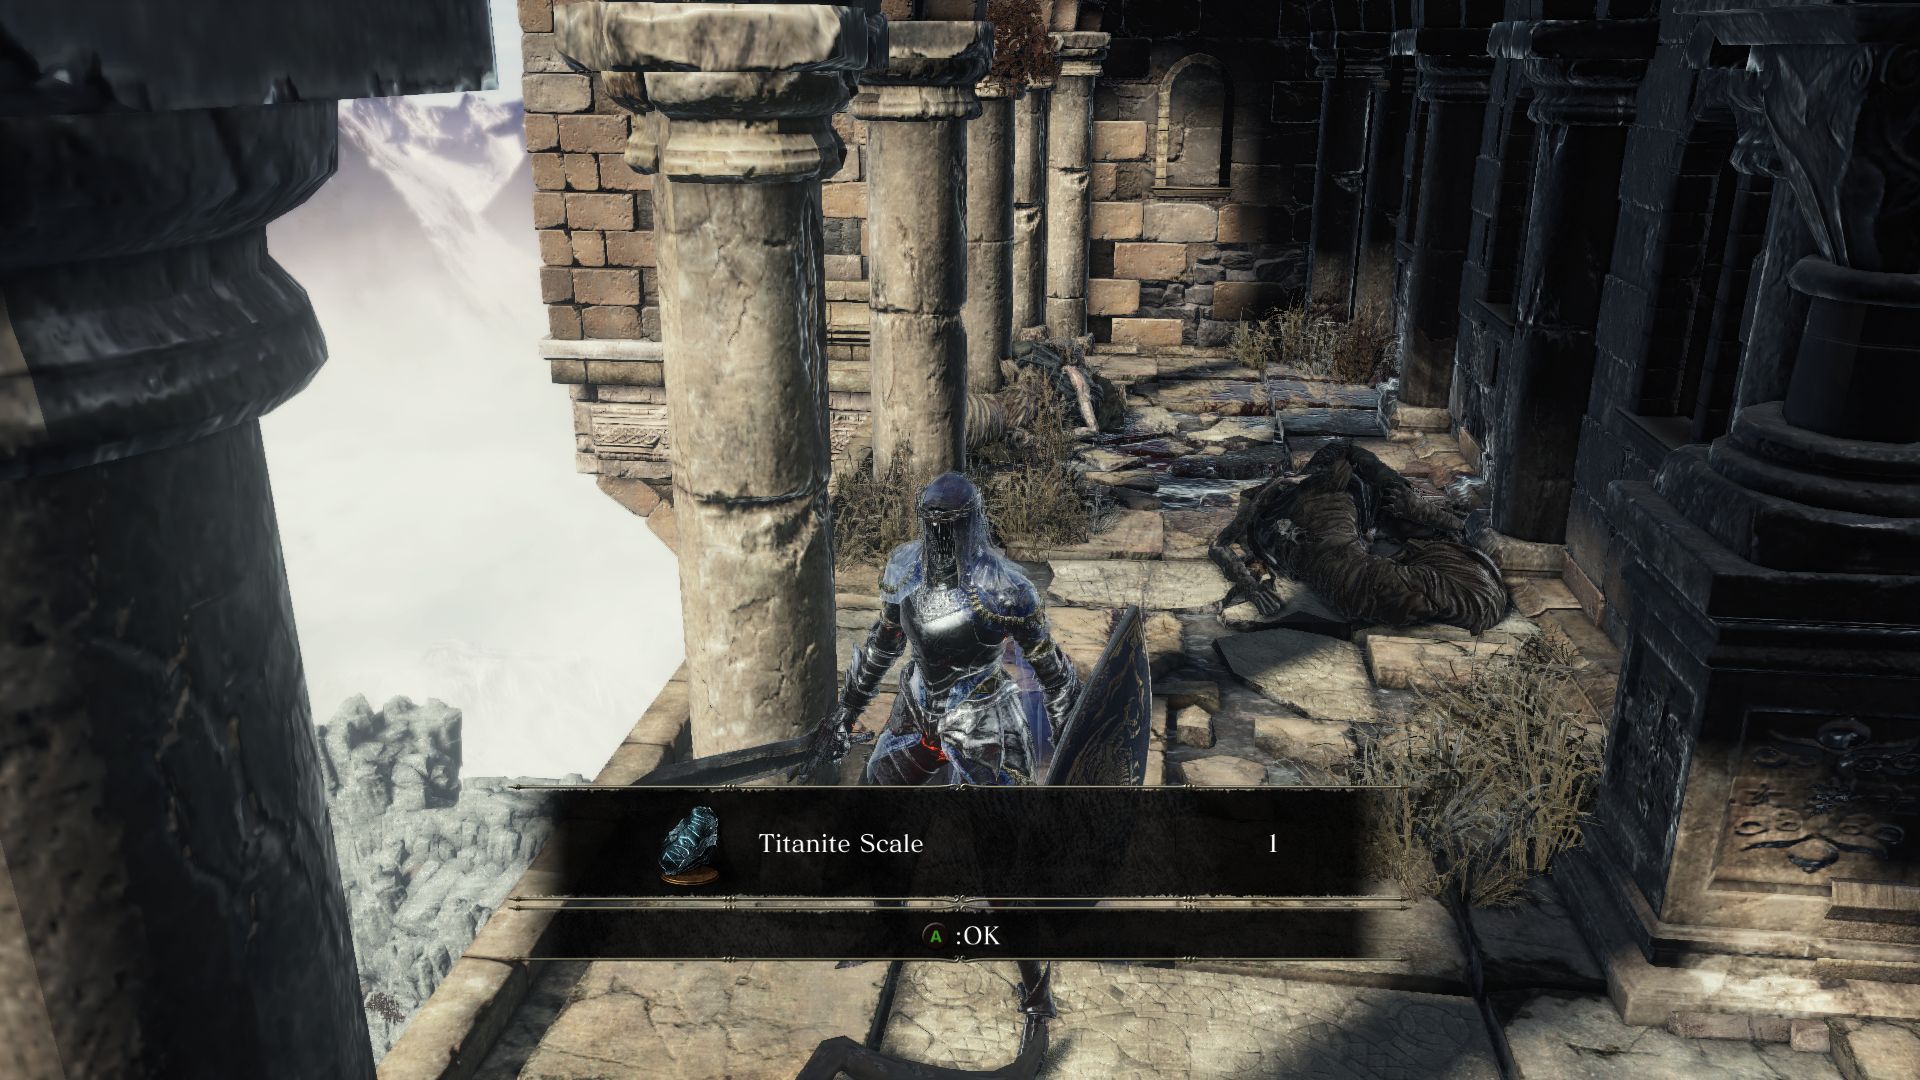
Look for the balcony near where the sorcerer was where you will find a body with a Titanite Scale being guarded by Serpent-men assassins. To the left of the sorcerer you will find the lift that had leads to the entrance of the ruins. To the right side of the room is another balcony that overlooks the wooden platforms you had climbed earlier to fight the dragon. On this balcony you will find a Titanite Scale. Take the stairs down from here to find a Stone Lizard lurking around the corner. Defeat the lizard and loot the Titanite Scale before heading back inside. The remaining gate is the one you had seen fogged earlier during the boss fight before you climbed the ladder.
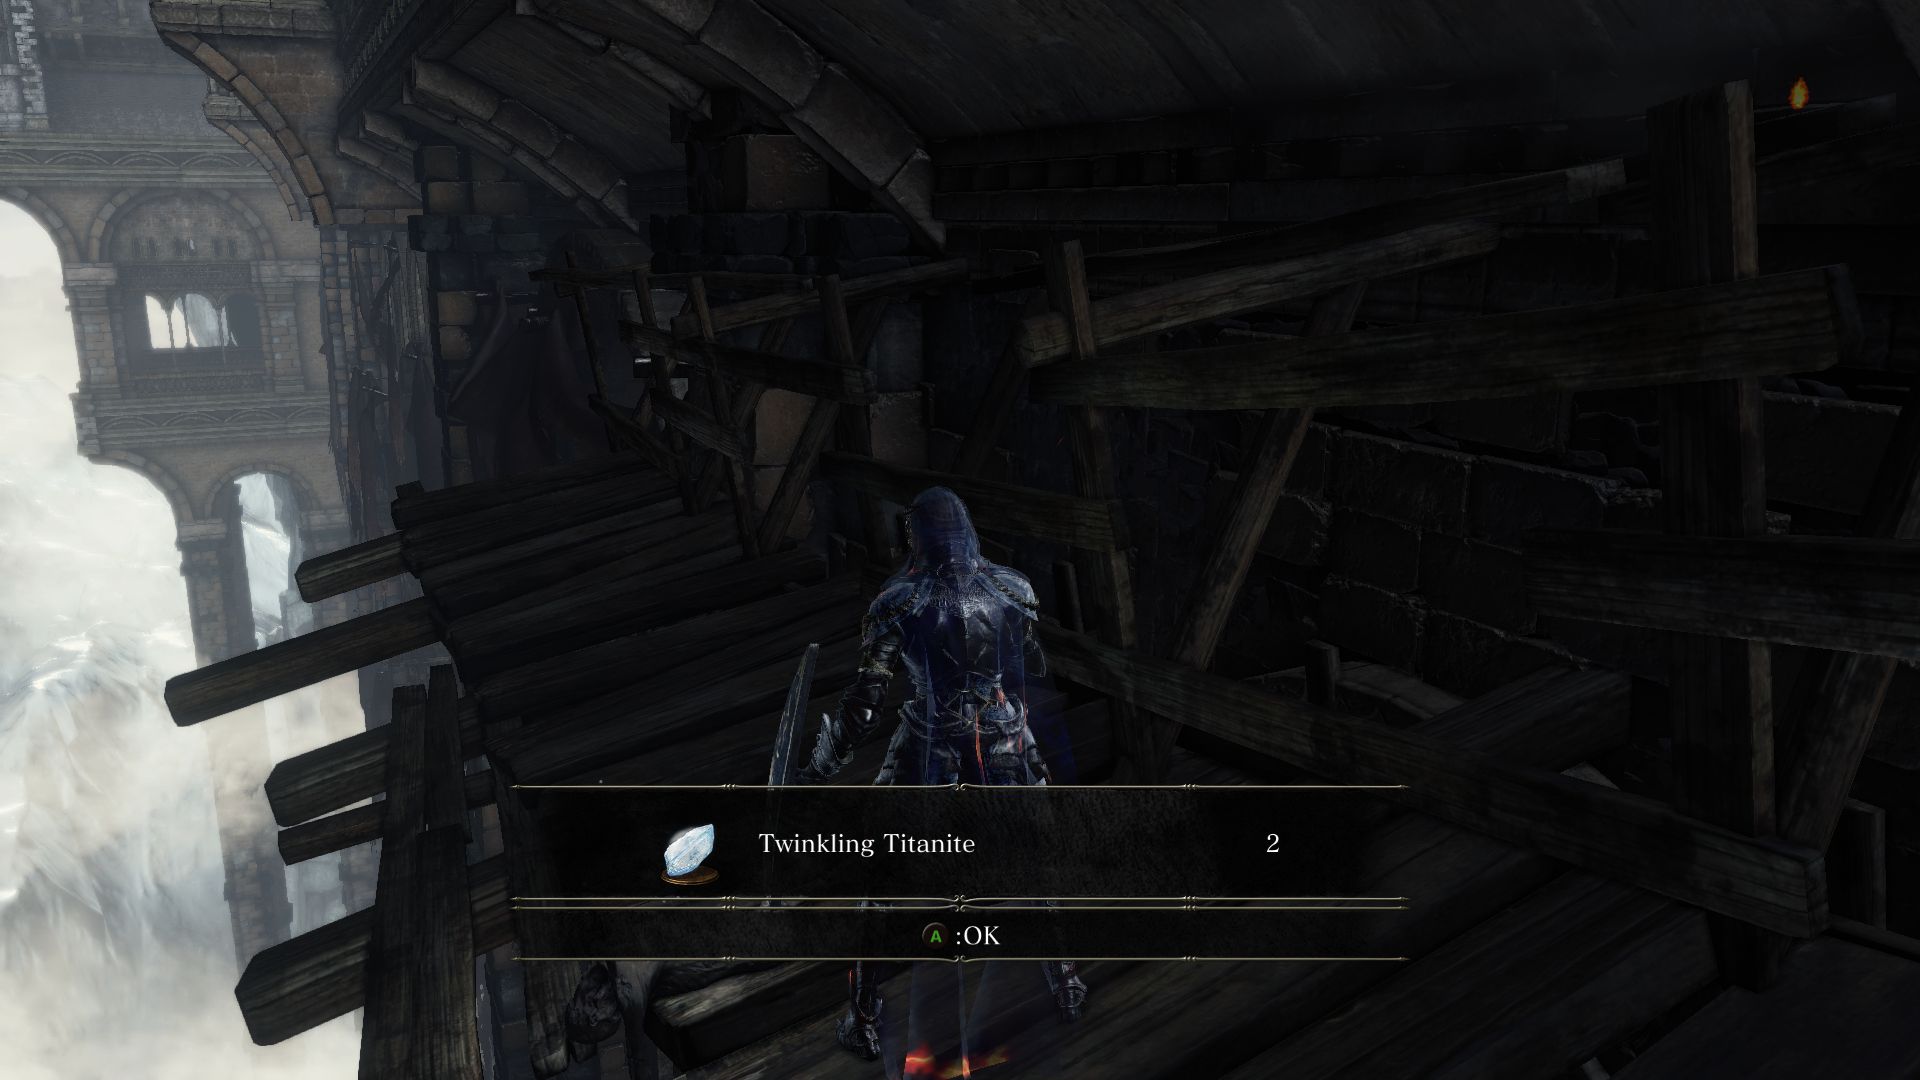
We need to go back and collect the loot we had run past during the Ancient Wyvern fight, so go back up onto the wooden platforms from the mausoleum. Drop down and take the ladder opposite to you for some more platforms that lead to 2 Twinkling Titanite. If you had rested at the bonfire or if you had sprinted past all the enemies, keep in mind that the serpent-man are still going to be around.
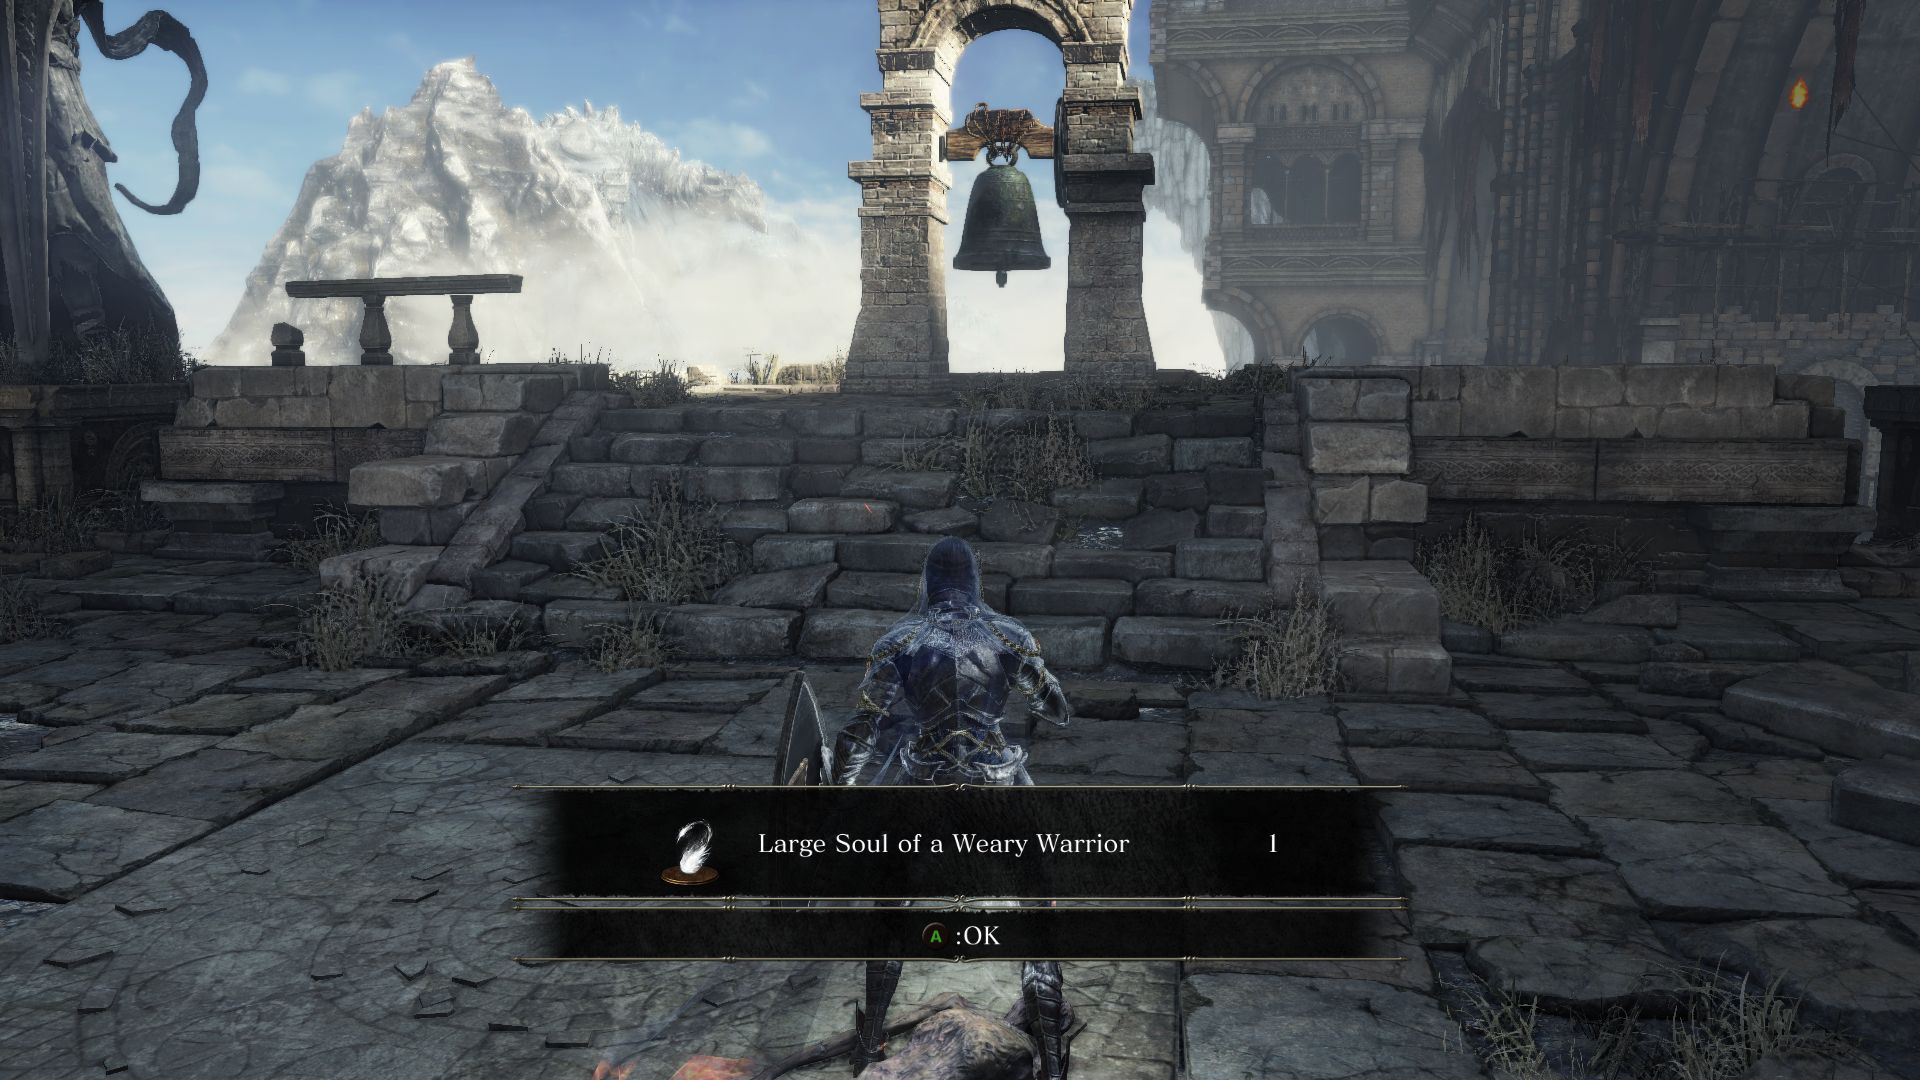
Next, drop onto the platform you had performed the plunging attack from and look to the left for some more scaffolding you can drop off to that will take you below safely. Now make your way to the center of the plaza where you will find a bell and a corpse holding a Large Soul of a Weary Warrior. Here at the intersection go right and you’ll find 2 Ember and 6 Stalk Dunk Pie.
There’s another item hidden here. Carefully walk onto the ledge and walk around the corner to move along the pillars for a corpse at the end holding a Ring of Steel Protection.
Head past the bell to the left side of the intersection and look for a Soul of a Nameless Soldier to the right side of the building. There are some stairs to the left side where you will find 4 Lightning Urn. Enter the dome room and look for the Titanite Chunk on the ledge. There’s also a ladder past an open window that leads down to 2 Twinkling Titanite.
Go up to the roof where the ambushing serpent-man was and go up the stairs to find two serpent-men and a larger serpment-man with a greataxe. Defeat the enemies and search the balcony for 12 Lightning Bolt and 2 Titanite Chunk. If you keep going from here you’ll find yourself in the Mausoleum again, from where we can proceed forward.

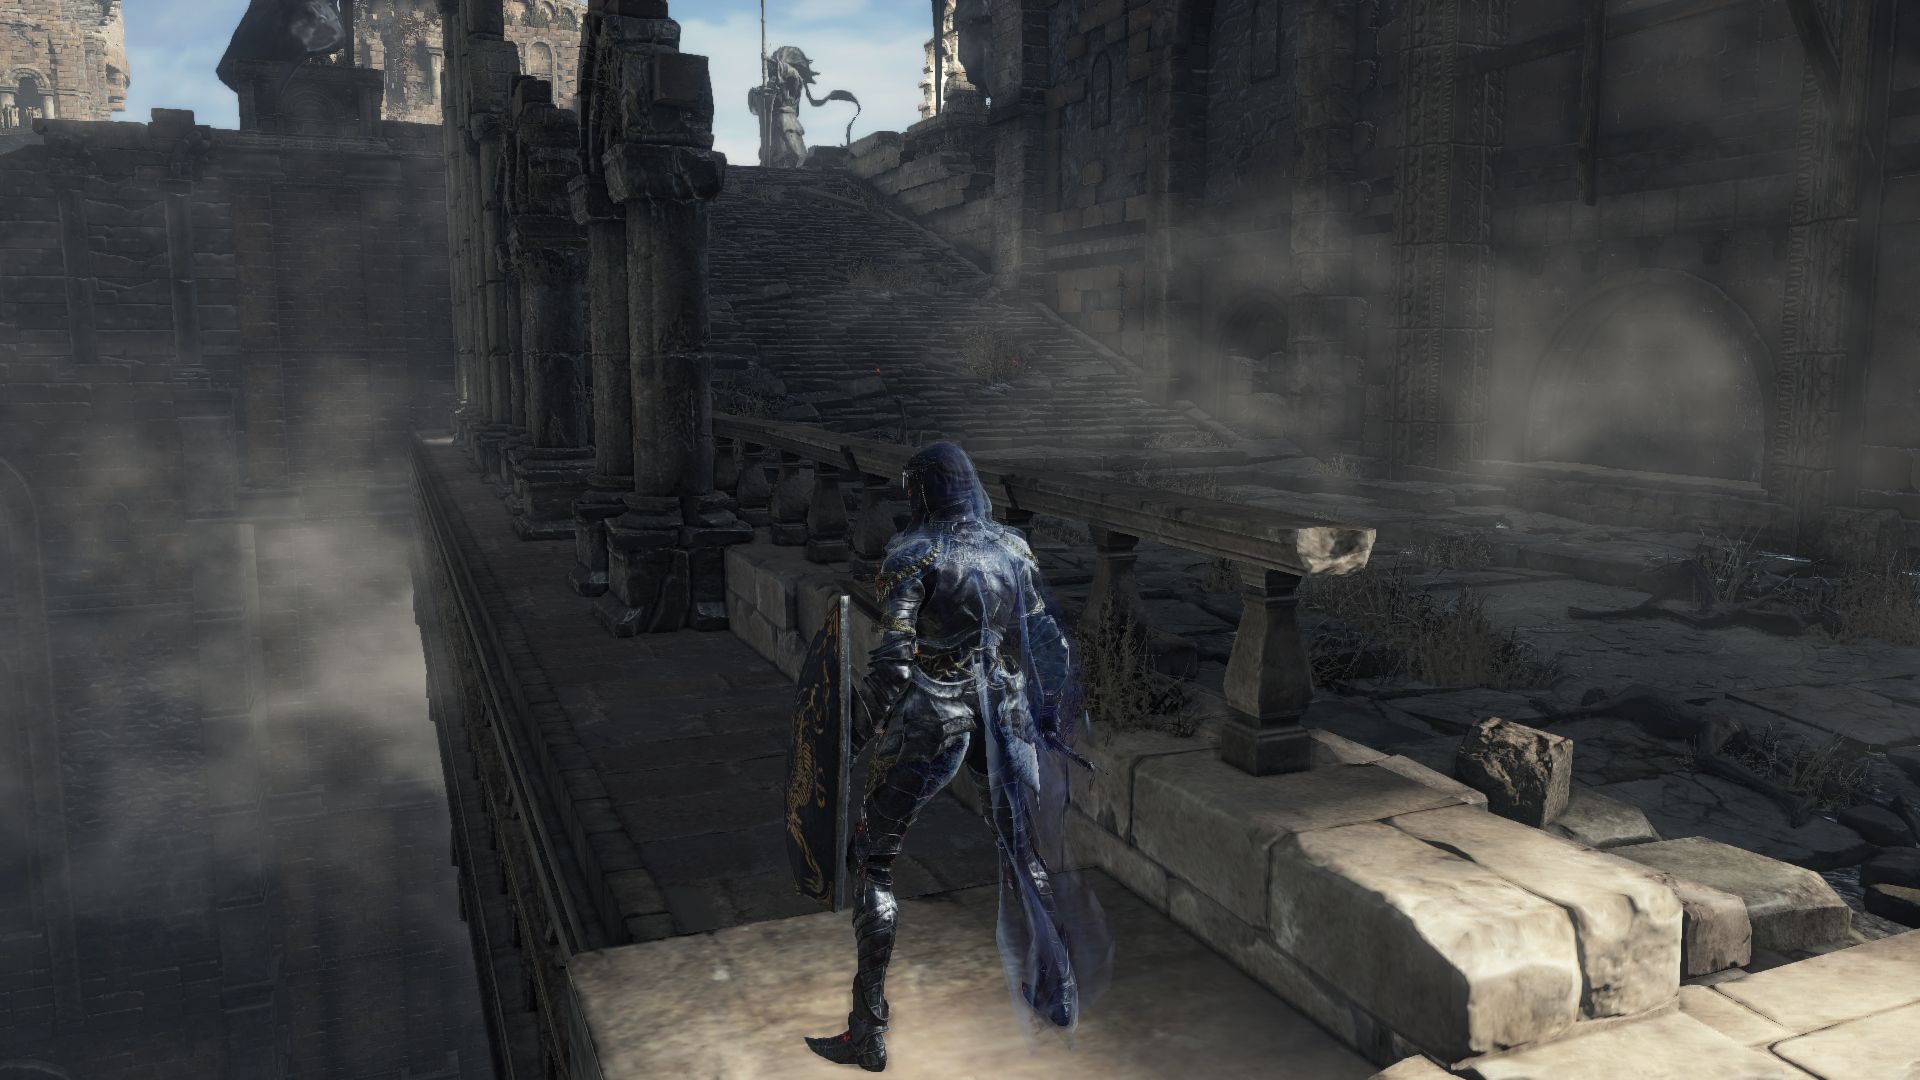
Head upstairs where the locked gate is and go through the door to the right onto a walkway. A few patrolling serpent-men await along with one lurking behind an alcove ready to ambush you. It’s easy to get overwhelmed so try to keep your distance and take them on carefully.
The walkway ends in a room with 2 more assassins. Try to lure them one by one to make things easy. Look to the right of the entrance and you’ll see another serpent man waiting to ambush you from the scaffolding below. You can drop down and ambush him instead!
Exit the room to face a large serpent-man with an axe charging from the left. If you want, you can also climb the ladder from the scaffolding to get the jump on him.
Head to the balcony and climb the ladder onto the walkway above where you fill find a Thunder Stoneplate Ring. Move along the scaffolding below to enter a room where a Crystal Lizard is scurrying away. It will drop 3 Twinkling Titanite. The inner balcony here has a chest holding 3 Titanite Scale.
Go back outside where 2 Stone Lizards await. They can be annoying enemies that shoot small blasts of flame and use their body to roll at you and push you back. But you could continuously strike them to push them back and make them fall off the cliff.
Loot the Soul of a Weary Warrior to your left before moving forward. If you notice, there’s a Dragon perched above, and he will swoop down to block your path and pepper the area with his flame. It’s tedious and challenging to kill this dragon as you will have to constantly roll past its attack, and try to strike him by sprinting past his head when he is breathing fire. Or you could use a ranged weapon or spell and slowly wear his hp down. If you do have the patience to take this dragon out, he’ll drop 6 Titanite Chunks, 4 Titanite Scale, and 2 Twinkling Titanite. Whether you decide to sprint past it or try to tackle the dragon, you’ll need to dodge or take on 4 Stone Lizards up the path who will roll down and try to push you off the cliff.
Past the dragon and the stone lizards, you’ll enter another mausoleum with a serpent-man sorcerer on the other side who will summon a fighter to attack you. This time, instead of a Knight, you will face a semi-naked man with rapier. When you engage this fighter, be careful of his weapon arts skill when he changes stance which is a long combo. Wait for his combo to end and put the pressure back on him. Since he is lacking in defense, he is easy to take out. Defeat him and earn the Ricard’s Rapier. Make sure to kill the sorcerer to avoid having to fight him a second time.
Moving on, you’ll notice a ruined wall to your right that you can hop over, but let’s ignore that for now. Proceed straight and onto the walkway to find some ominous messages that ask you not to ring the bell. Let’s heed the messages and move forward to the bonfire.
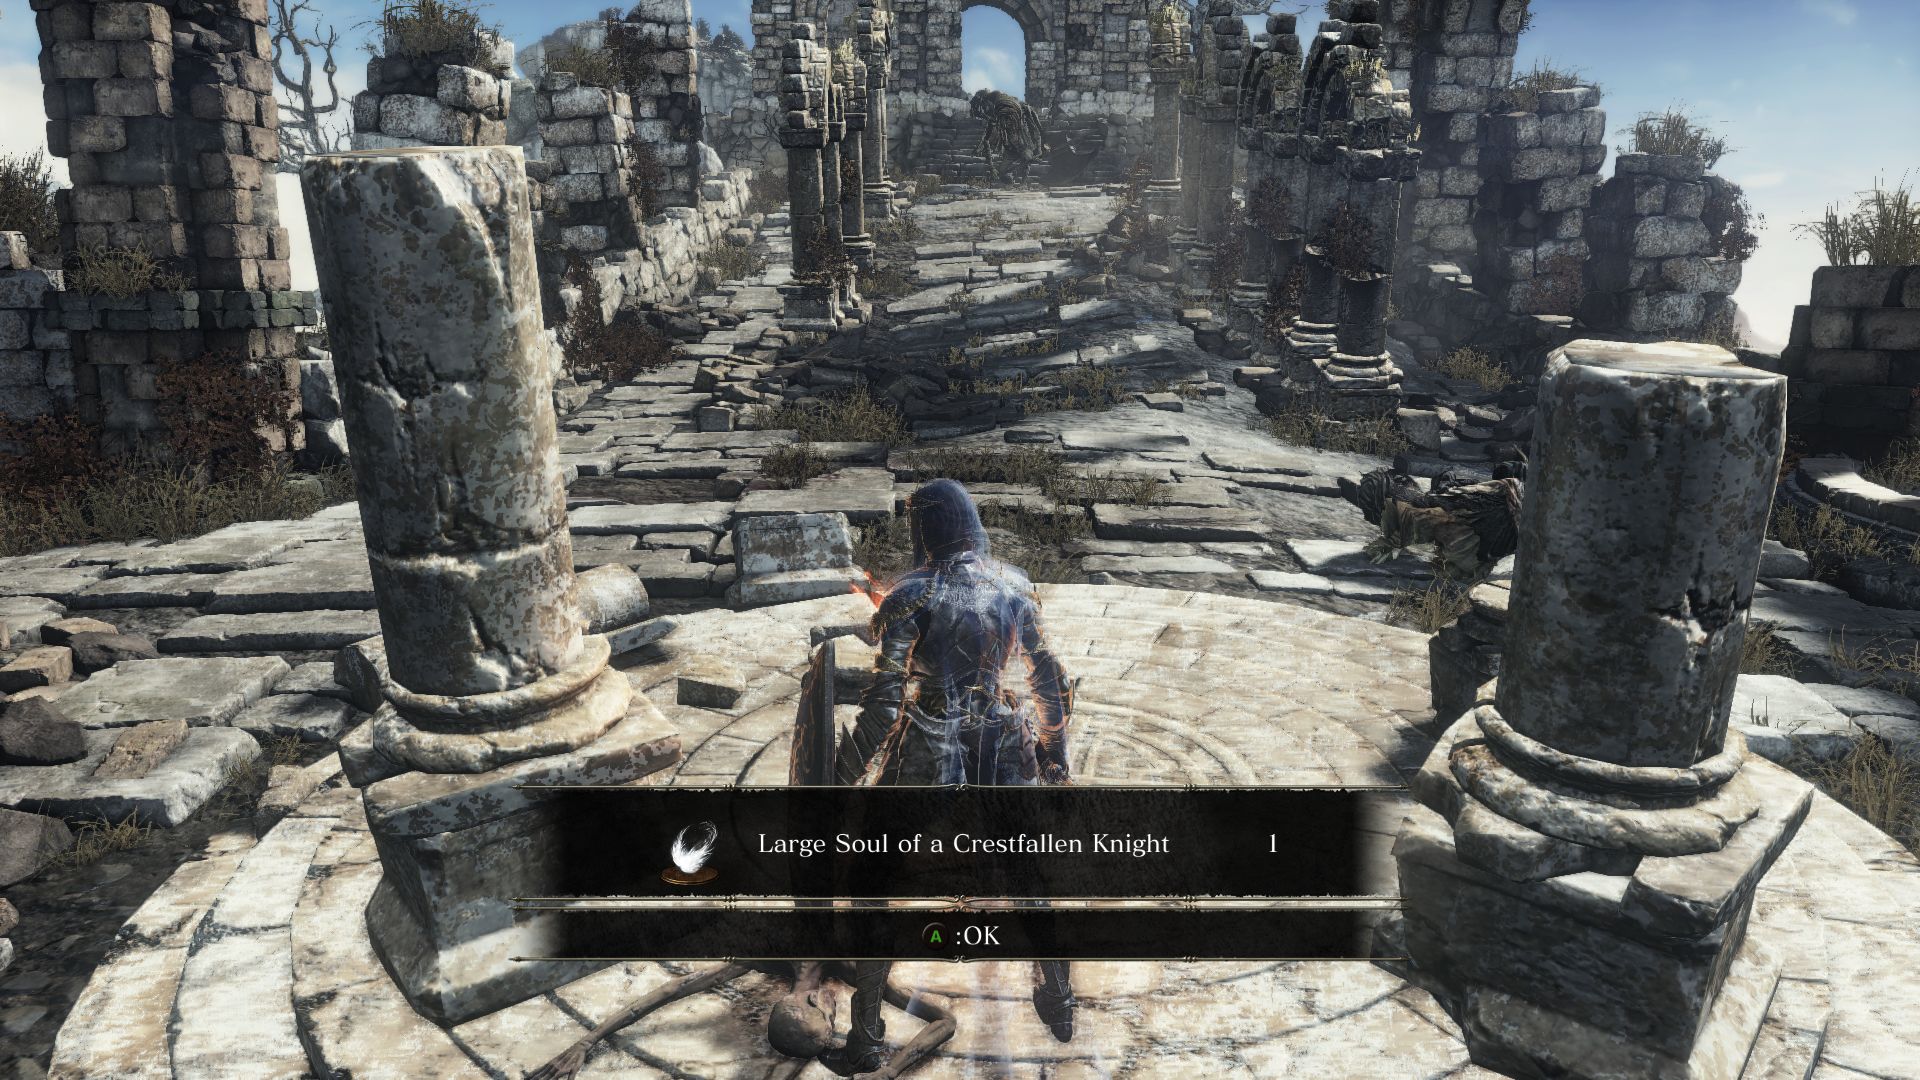
Head down the stairs to find yourself in a courtyard with a few patrolling serpent-men, with another a bit farther back shooting fireballs at you. Take them out and grab the Large Soul of a Crestfallen Knight in the middle. On the other side are the stairs where you would have emerged from had you taken the other path. There you will find a small balcony with a Stone Lizard. A chest here contains 3 Twinkling Titanite and a ladder that takes you up.
Climb the ladder to find yourself in front of the corpse of a dragon with a hostile NPC Havel standing by. He has a lot of armor so he will absorb a lot of damage. He will also use Dragon’s Tooth to buff himself up and deal a lot of damage. He’ll also use a skill to protect himself even more with a stone armor at which point he will absorb even more damage. So wait it out before you go back on the offensive. Defeat him to obtain Havel’s Greatshield and Dragon Tooth. There should also be a corpse near the dragon that will give you another Titanite Slab!
From here you can also jump off onto a balcony, but you may take a bit of fall damage, so only do it if you have enough HP and the Silvercat Ring. You will reach a raised path here where a Stone Lizard guards a corpse holding the Great Magic Barrier miracle.
On a side note, you could go back to Farron Keep and check the bridge above where you had faced the Stray Demon. There will be a corpse there with the full Havel’s Armor Set!
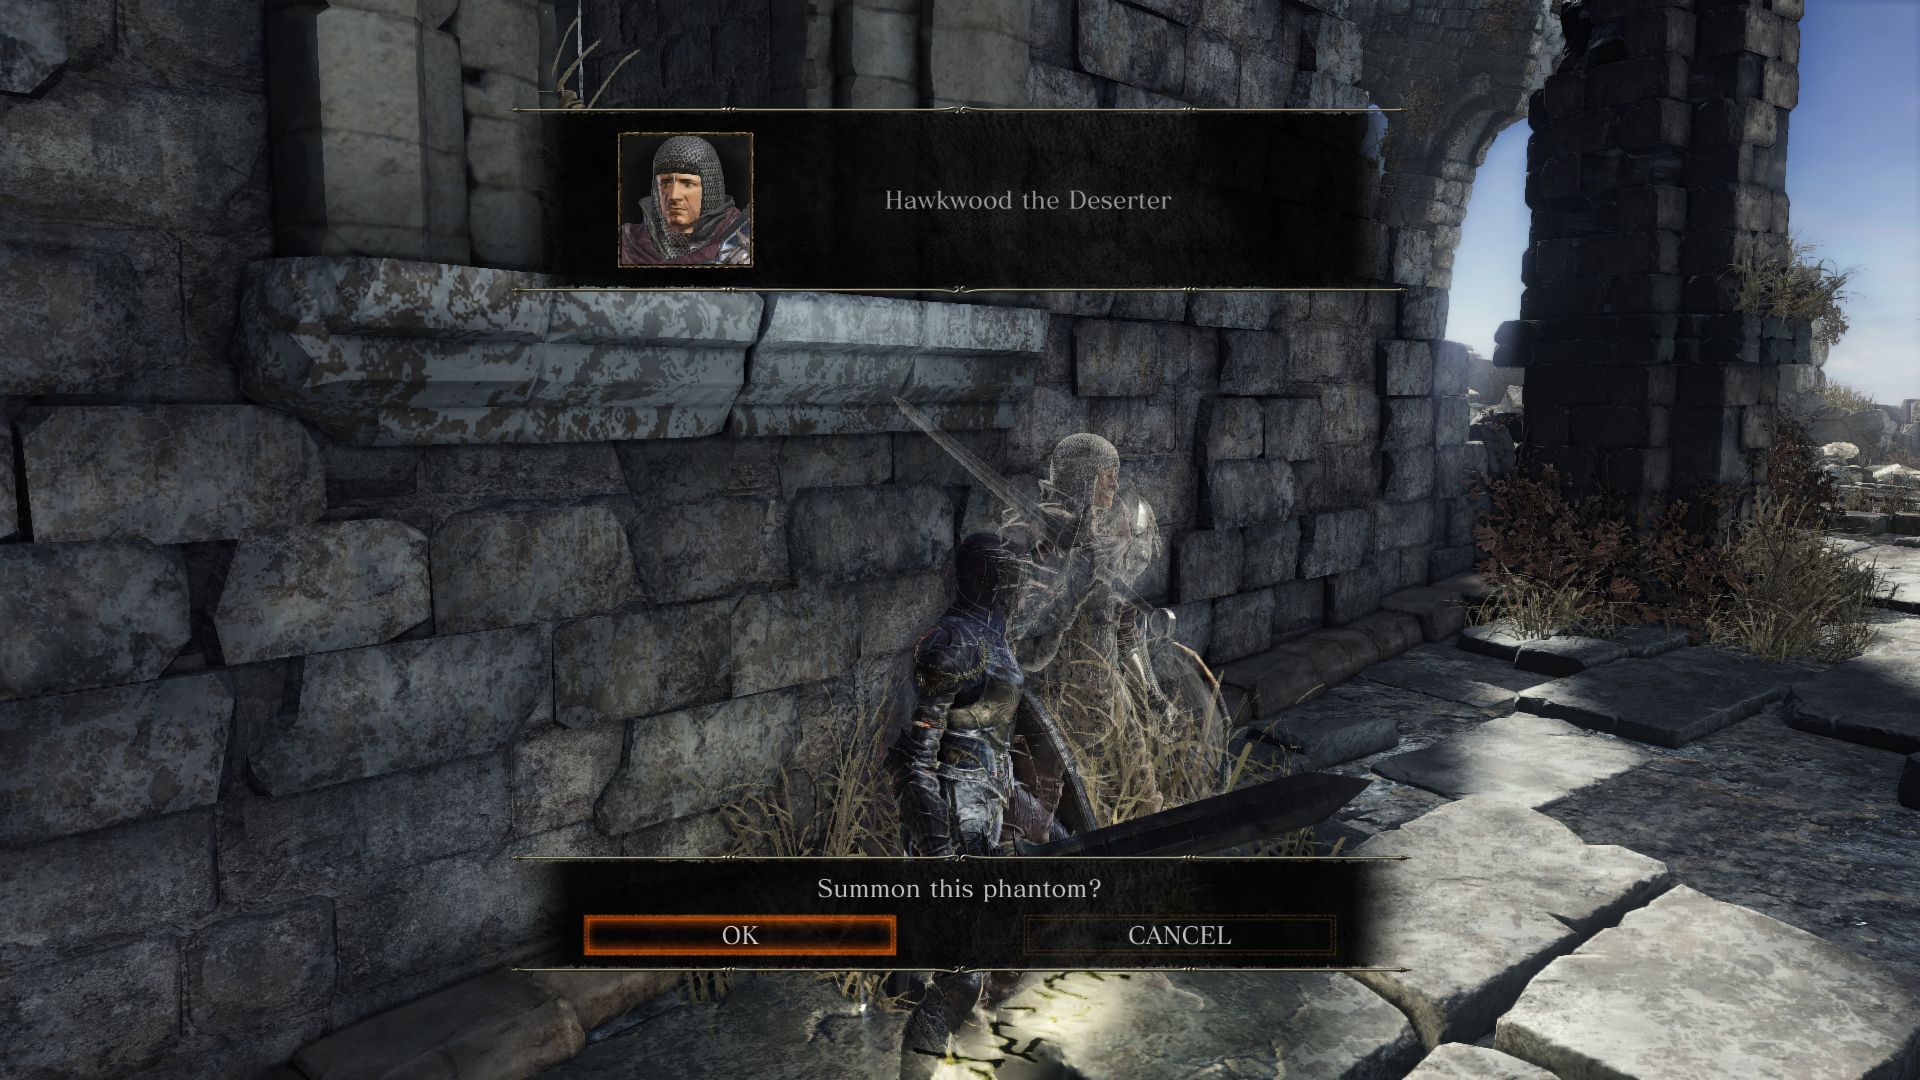
Now let’s head back to the courtyard where the gate is locked. Before ringing the bell, you may want to head to the peak from here to explore the last part of this area. But the road ahead is teeming with Serpent-men so it may be very difficult to traverse this on your own. Lucky for you, there should be an Ember close by that you can use, which will allow you to summon Hawkwood just down the stairs from the bonfire room!
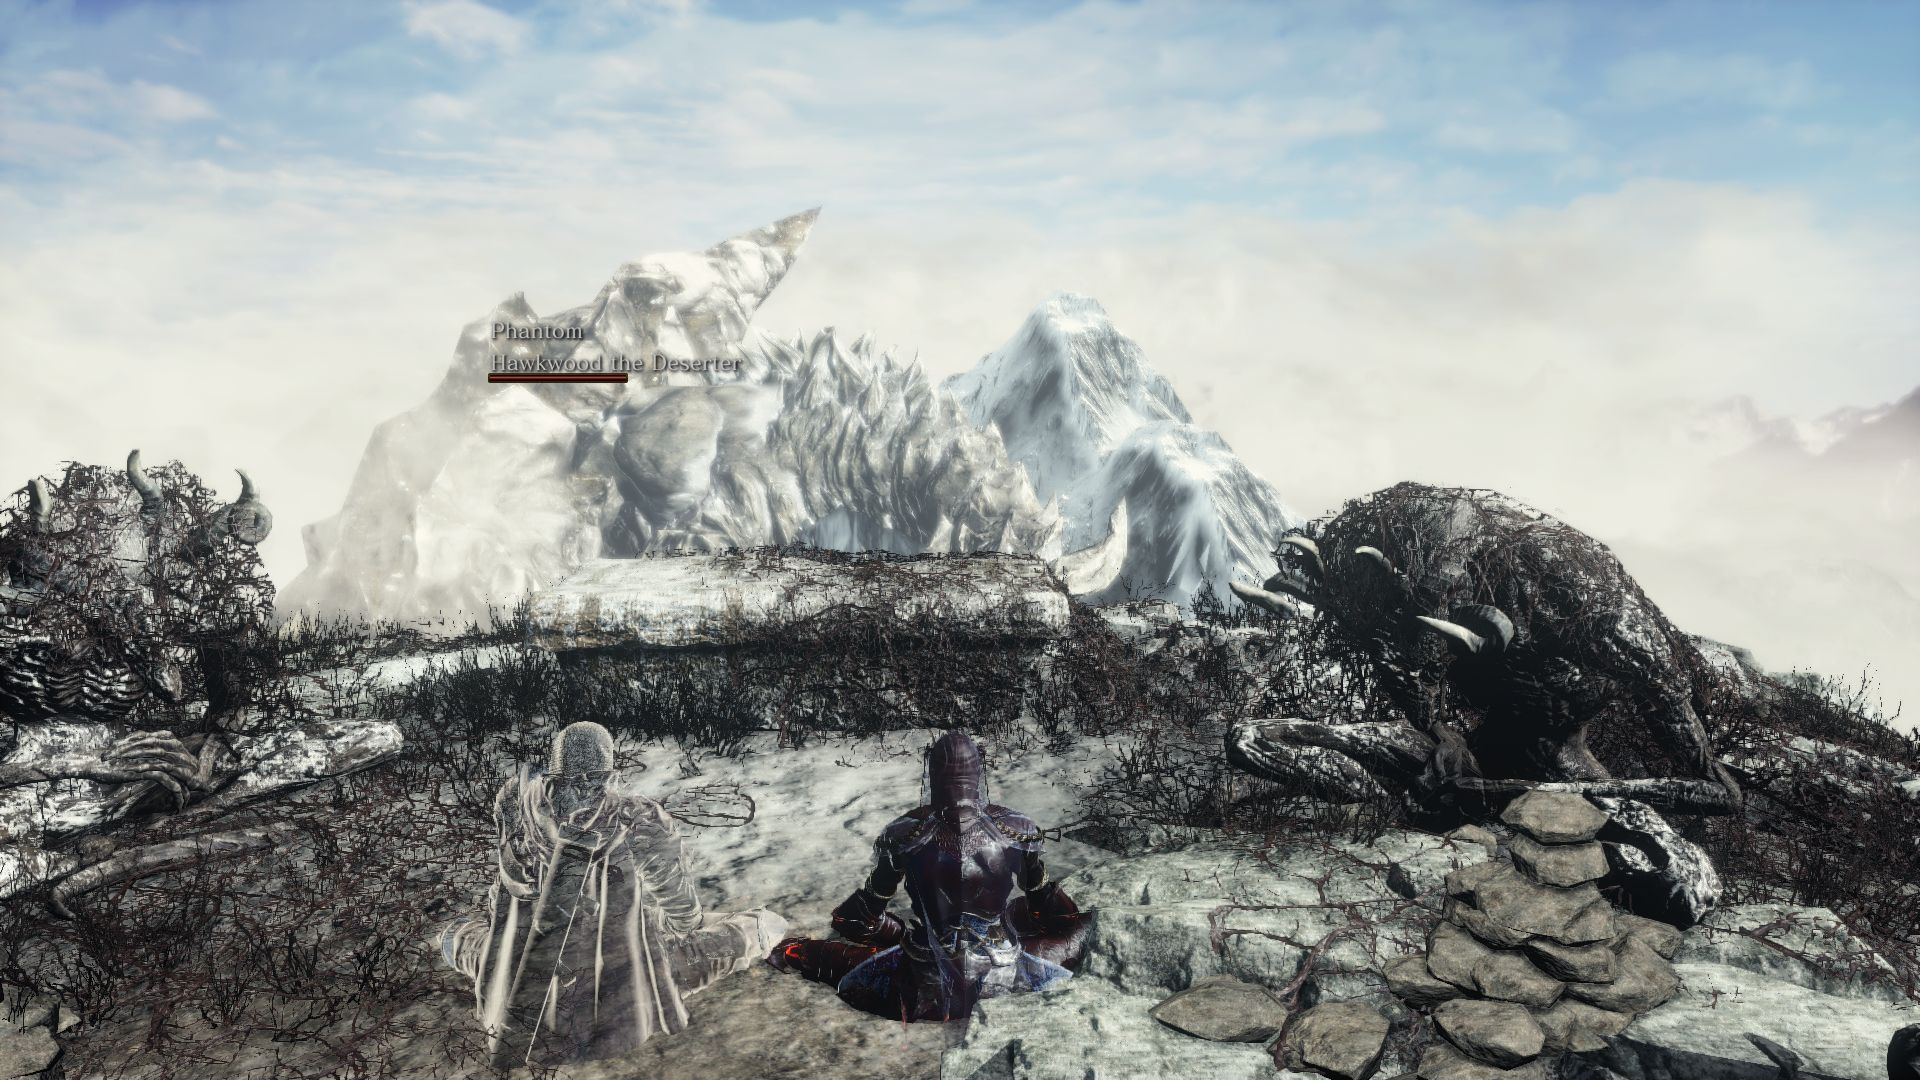
Hawkwood will make a beeline for the peak as soon as you summon him, so join him and together take down the army of serpent-men. Carefully make your way up to the peak where you will find more skeletons like the one you had seen back in Irithyll Dungeon. Hawkwood will sit down with the Path of the Dragon Emote. Follow suit and do the same beside him, and you’ll earn the Twinkling Dragon Torso Stone.
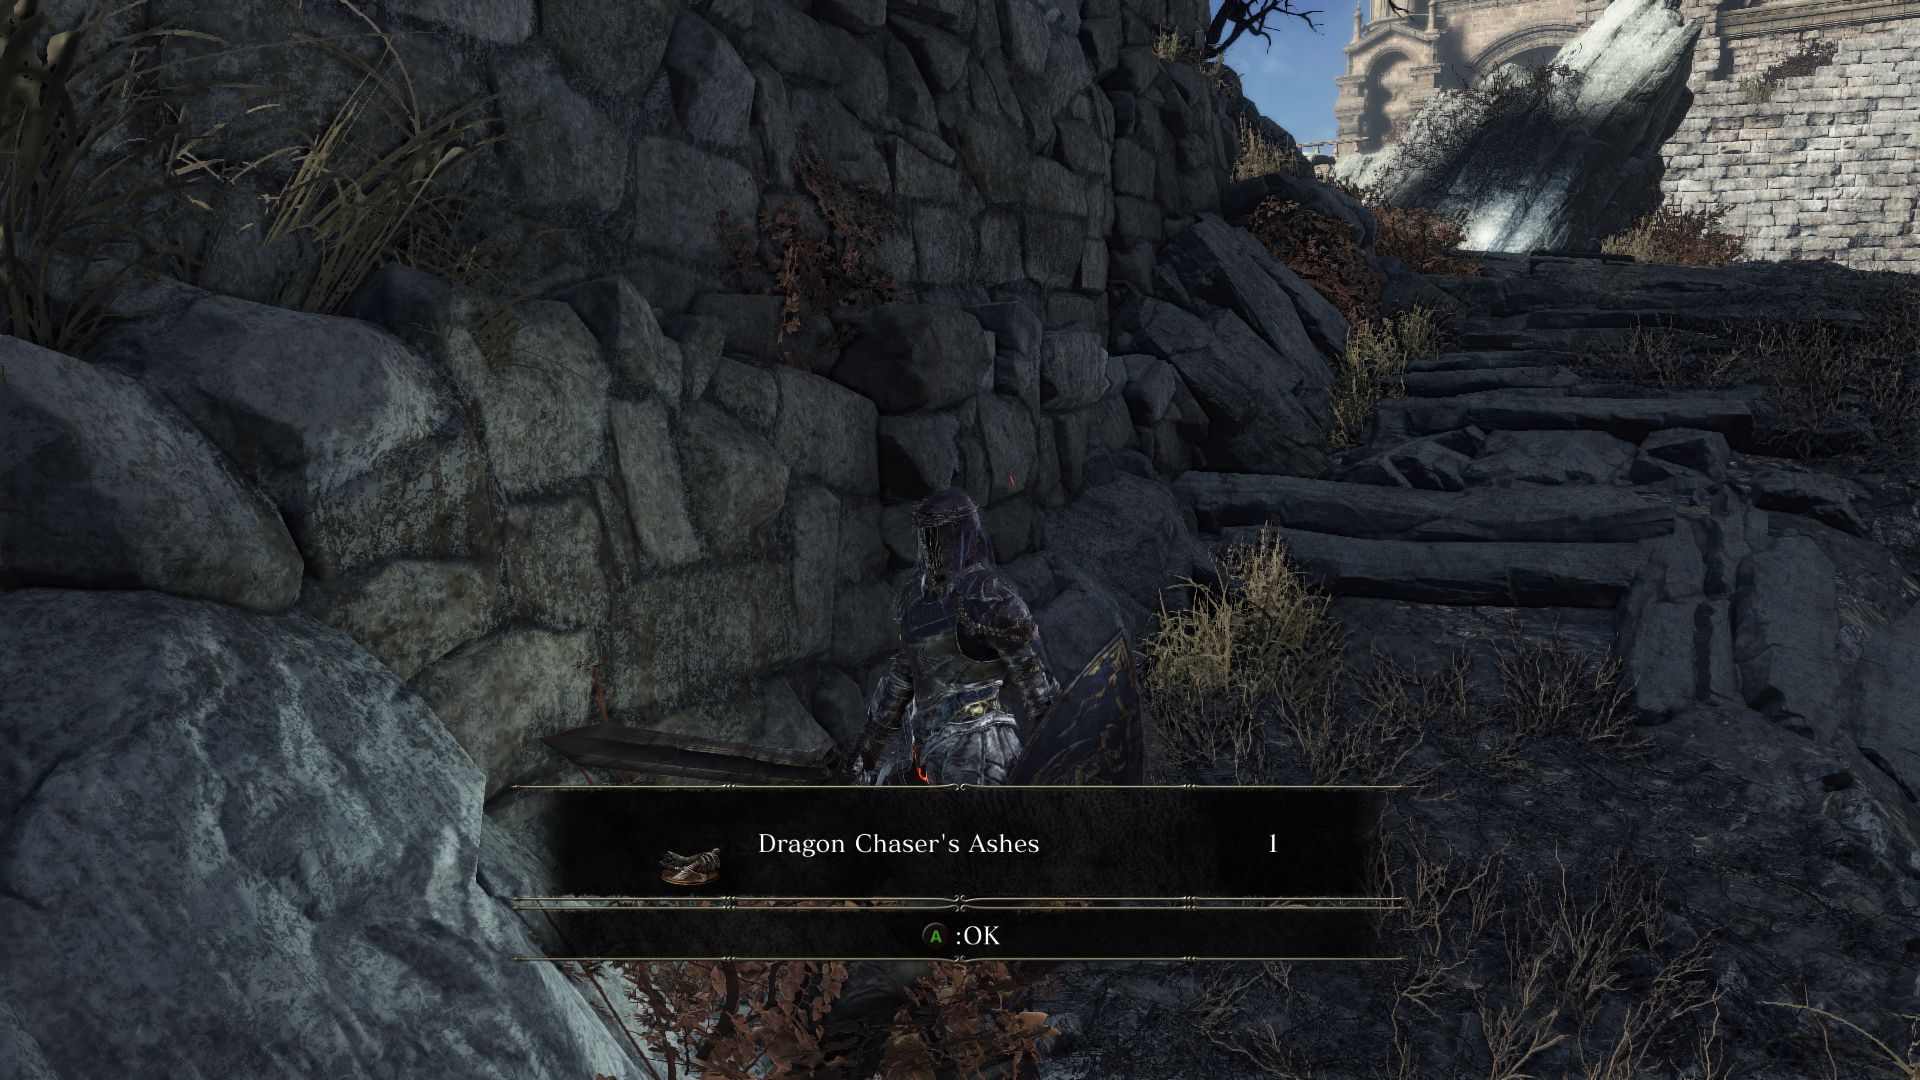
Return down the path and look for a small path to your right where a Stone Lizard is guarding a corpse that will give you Dragon Chaser’s Ashes.
As a side note, after this event, when you return to Firelink Shrine and talk to Andre, he’ll inform you that Hawkwod has a message from Hawkdwood’s Swordgrass. He wants to duel you in the same area where you had fought the Abyss Watchers boss. Defeating him there will earn you the Twinkling Dragon Head Stone.
Back at Archdragon Peak, it’s time to ring the bell and go for the boss fight. After you ring the bell, storm clouds will surround the area ahead and above the sealed gate. You can walk on the paths and onto the fog gate to face one of the most difficult bosses in the game, the Nameless King.

BOSS FIGHT – NAMELESS KING
The fight with the Nameless King takes place on the clouds in a large open arena. For Phase 1 of the fight, the Nameless King will be mounted on his dragon, the King of Storms. Only after you kill the dragon, can you fight the Nameless King himself during Phase 2.
The Namesless King is resistant to lightning, and his attacks are lightning based, so if you can, stock up on lightning resistance, such the Thunder Stoneplate Ring, Spirit Tree Crest Shield, Silver Knight Armor set, etc. In both phases 1 and 2, the Nameless King will shoot lightning at you in a variety of ways, so if you’re taking damage, having lightning resistance will help.
During phase 1, the King of Storms will often take flight and circle around you before he charges for an attack. When the King of Storms is soaring in a counterclockwise direction, lock on to him and strafe to your right. If you see the Nameless King raise his arm and summon lightning around his hand, he’s about to blast a thunderbolt at you that you should dodge to your right. If you see him raise his spear, prepare to roll out of the way as the wyvern swoops down and the boss swings his weapon. The King of Storms will sometimes rear its head back a bit as it prepares to shoot a flaming breath at you from left to right. Either raise your shield or roll to the other direction. When you learn this attack pattern, you can also stop locking on to sprint by the wyvern’s head to avoid the blast and get in some good damage.
Phase 1, your goal is to attack the head of the wyvern, and as such having a good control of the camera may be difficult. While it is rather easy for magic users and ranged weapon users, as a melee, you may struggle a lot to get some good hits on the wyvern’s head. As always, keep an eye on the Nameless King too. If he raises his weapon, he’s probably about to attack you himself from his mount. Always keep some stamina reserved to dodge out of the way when the boss attacks. When the boss summons lightning around his spear, it means he is coming down for a lunge attack that discharges lighting around him. Roll towards him and try to get a few hits on the wyvern if you can before backing away.
Bait the boss’s attacks and roll out of the way so that you can get a few hits in on the wyvern. The mount will sometimes get staggered, so try to get a critical hit on it when it does. Follow up with some more hits before it raises its head again. After you take out the mount, it will be time to face the Nameless King up close.
This boss moves insanely fast, but his attacks have long wind ups which make it somewhat manageable to predict. He will often jump in the air and lunge forward with his spear. You can roll forward as he does this and then strike him a few times before moving away to safety. This is one of the easier attacks to retaliate, but don’t get greedy, as he will turn and wing his spear at you very soon.
His general attacks come in 2-3 hit combos that alternate between sweeps and overhead strikes. You need to be mobile until he’s done with the combo. He’ll also zoom away to a side before charging in with a swiping attack or a stab. So whichever direction he goes, keep an eye on him and roll out of the way. You need to learn the timing of his attacks and roll away patiently.
When you see him raise his spear and charge it, don’t try to block the incoming lunging stab as you will get skewered and suffer quite a bit of damage. If you’re constantly close to him, he’ll also stomp the ground for aoe damage. So when you see him raise his foot, back out. From a distance he’ll also send shockwaves at you which you can dodge by sprinting and rolling to the sides
His deadlier attacks are lightning spells. He’ll charge his spear before he attacks so you can tell when it’s coming. When he holds his spear up with both of his hands he’ll slam it on the ground that will send out shockwaves in several directions. You can block this shockwave or try to dodge it. He’ll also charge his spear for longer than usual which summons a lightning bolt on the spot you’re standing on. You can either block it, or wait for the flash on the screen to dodge the bolt. This attack will require some good timing as it is easy to mistime the roll and get hit.
The Nameless King moves fast and hits hard, but after you learn its attack patterns and the timing of his attacks, you will be able to defeat him with patience. Some of the attacks may be difficult to dodge, so you should block them with a resistant shield. When you are up close to attack him in between his combos or after his lunges, don’t get greedy and assume a safe position after a hit or two.
Defeating the boss rewards you with the Soul of the Nameless King. With the gate opened, you can now find more loot in the area. Look for a Titanite Slab and head to the other side of this courtyard to find the full Dragonslayer Set.

If you have defeated Lothric already, it is time for the final confrontation. So return to the Firelink Shrine.