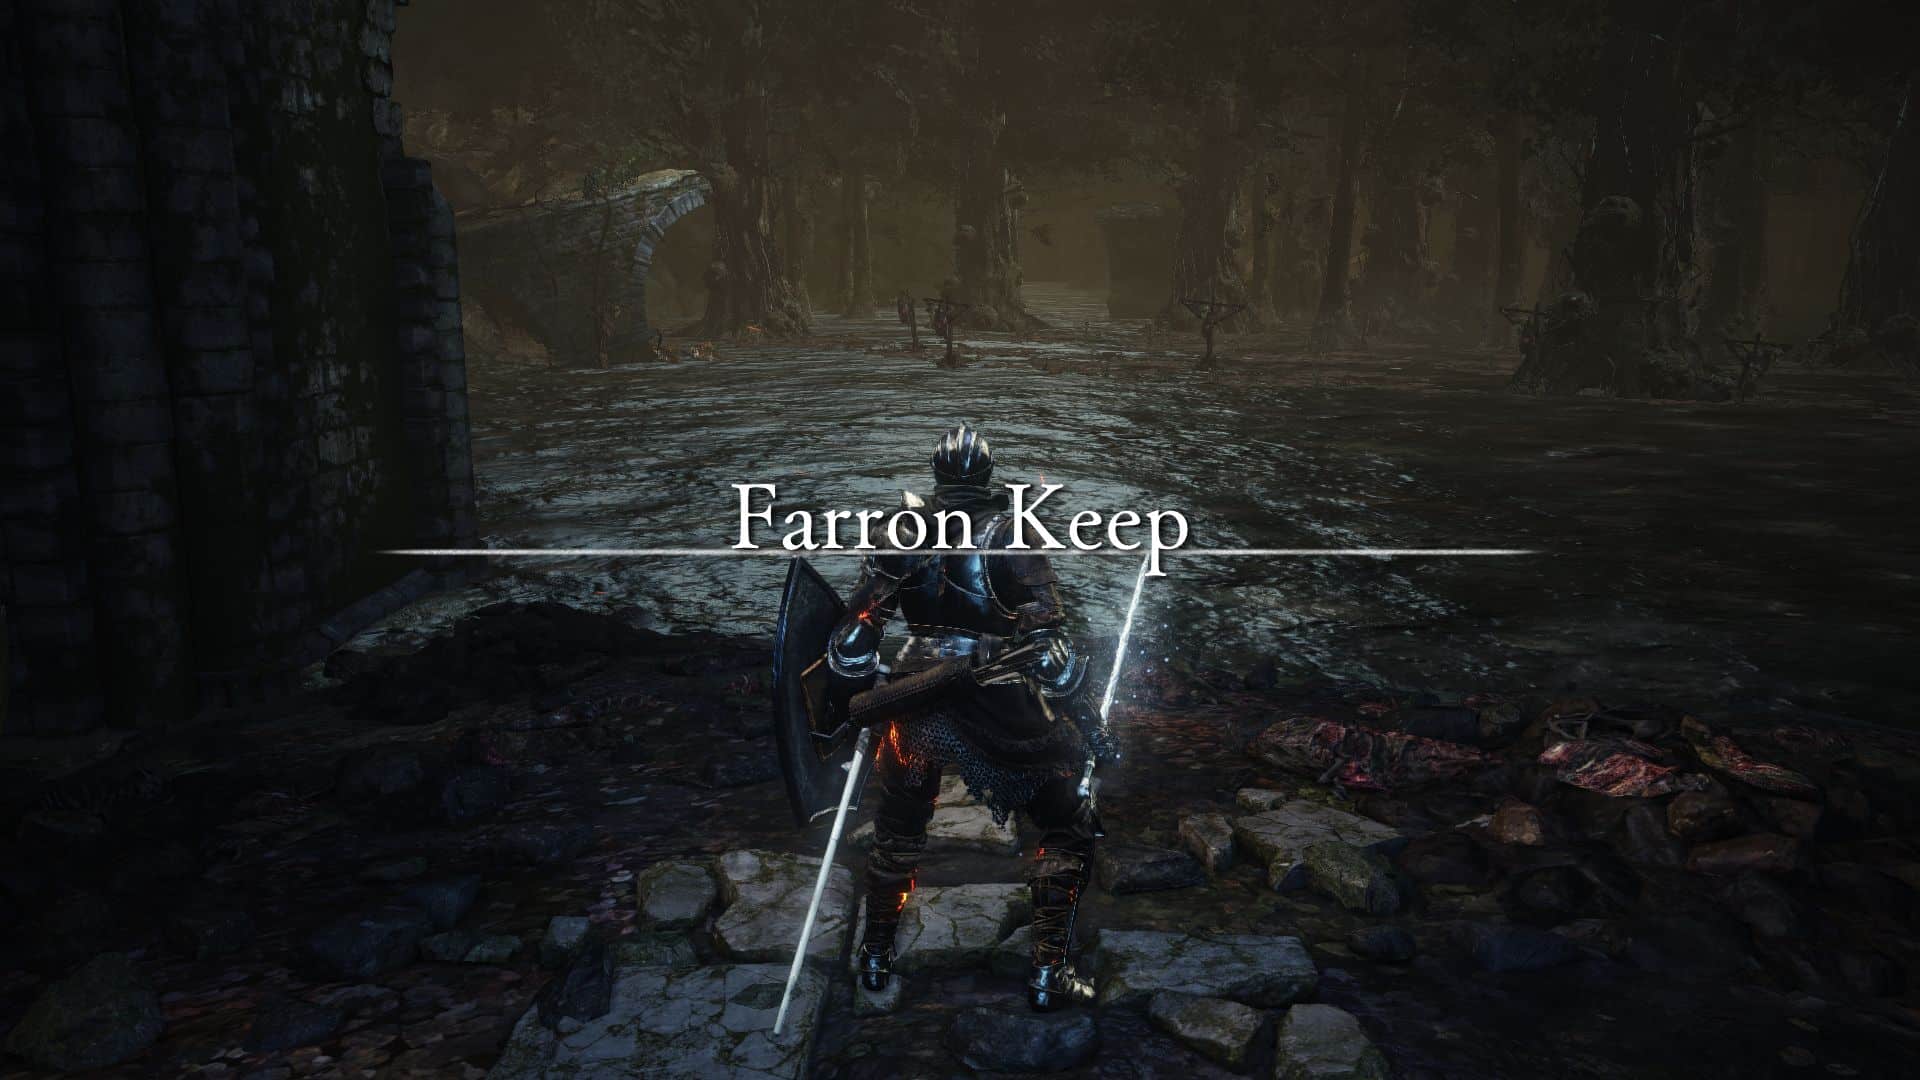

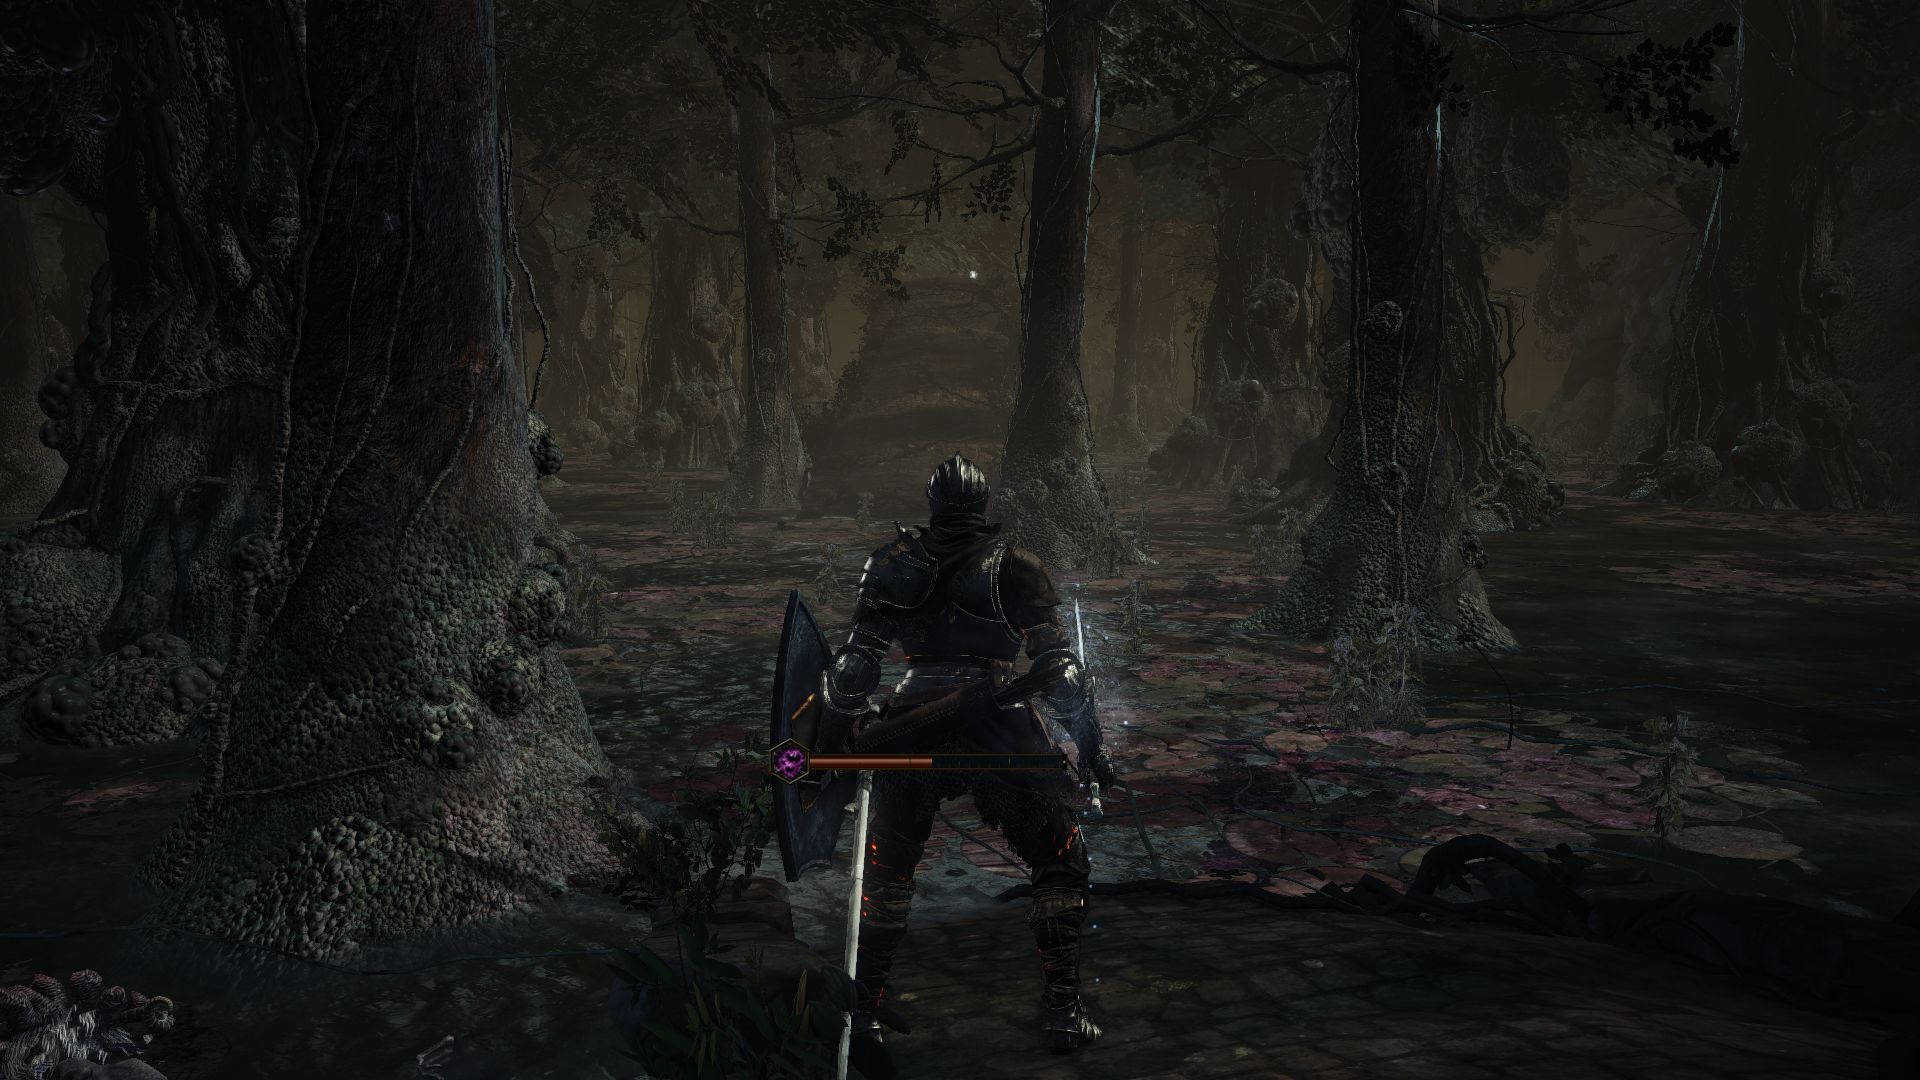
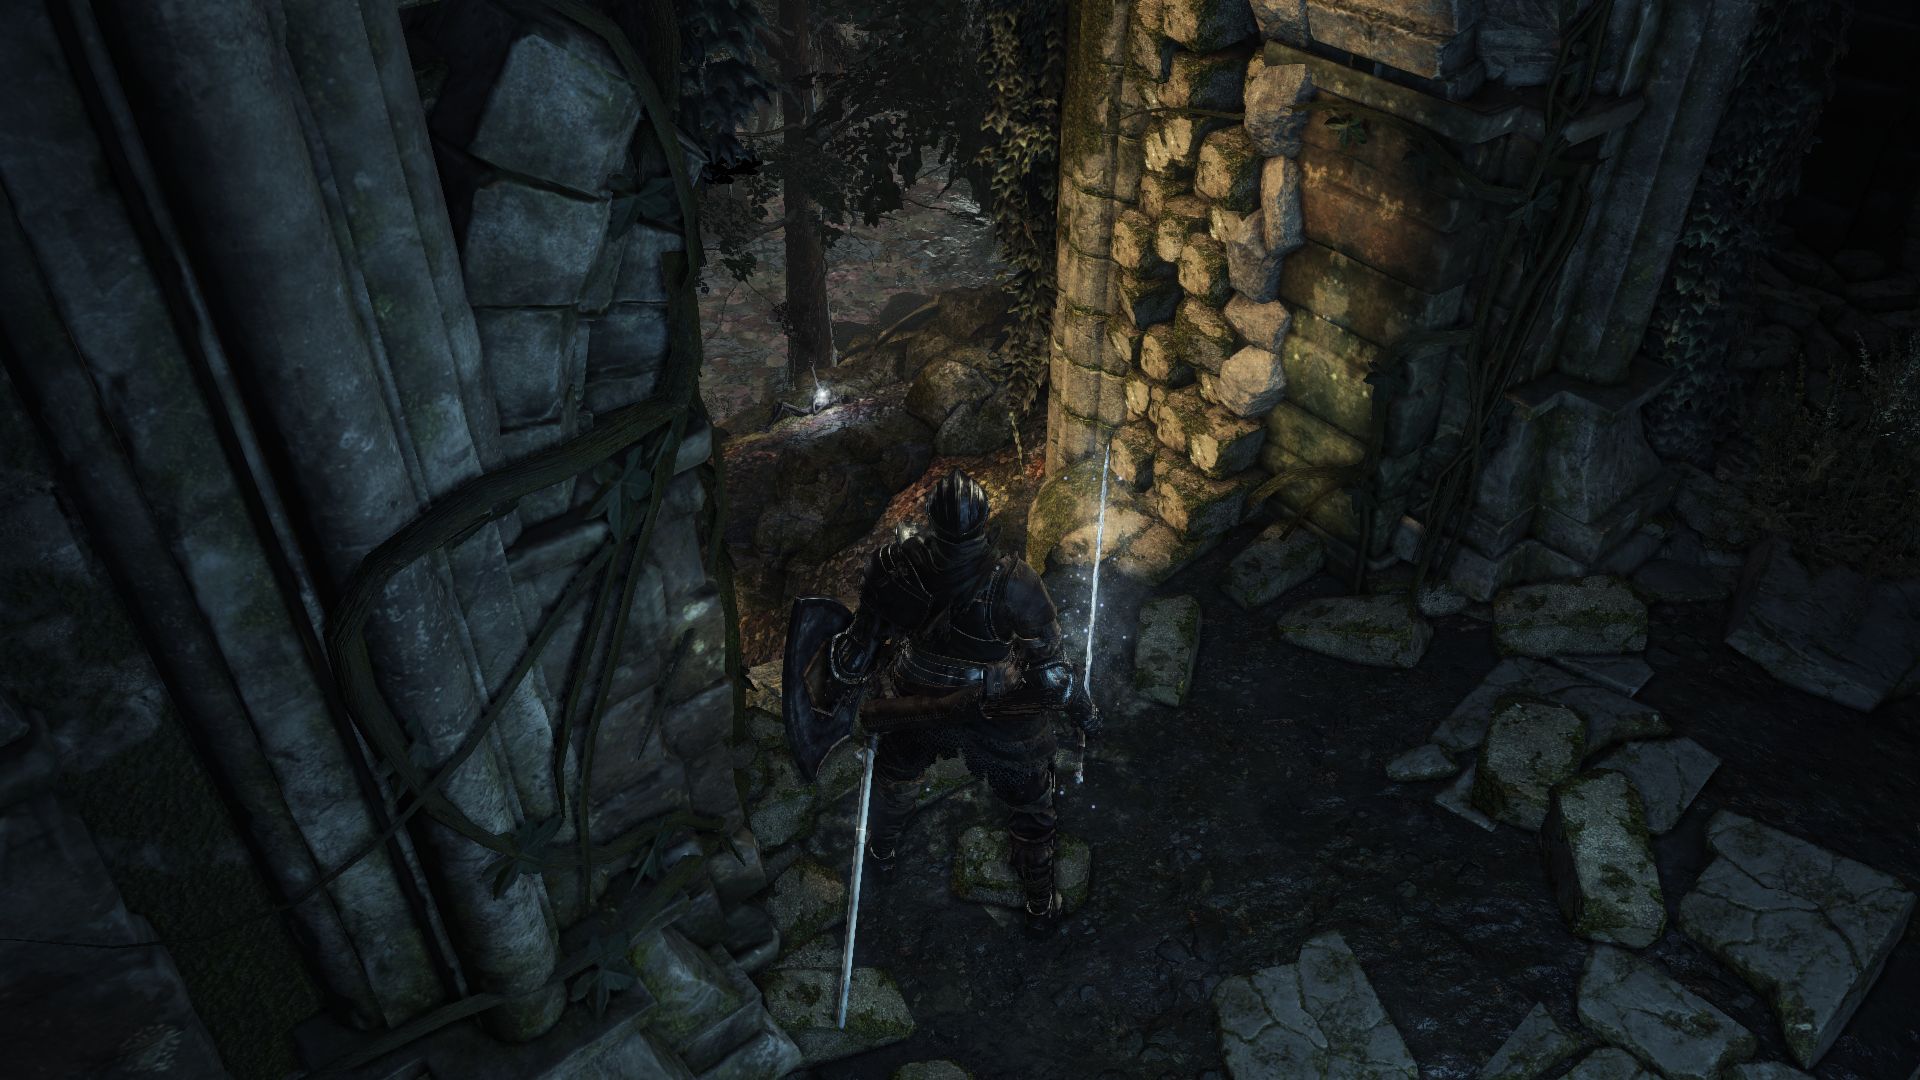
To get to Farron Keep, travel back to the Crucifixion Woods Bonfire. If you’ve been following this walkthrough, you’ll remember that from this bonfire, heading to the left led to the Crystal Sage and Cathedral of the Deep. Heading right led to a dead end for now with a Black Knight, and we had warned you about heading straight to the center island in the swamp between these two paths. That’s the path to Farron Keep.
As you approach this path, be wary of 2 Exiled Watchdogs standing in your way. This can be a tough fight but don’t worry about saving your flasks, because you’ll find a bonfire soon after this encounter. The Watchdog with the club will sometimes use a warcry to boost their damage, so try to avoid getting hit when he’s glowing red. He’ll also use miracle spells which leave him open to attacks. The other Watchdog will do fast attacks and spinning weapon arts skills, so you should try to separate them when you fight. They’ll drop the Great Club and the Exile Greatsword. Before heading into the entrance, look left for a corpse that holds a Large Soul of an Unknown Traveler.
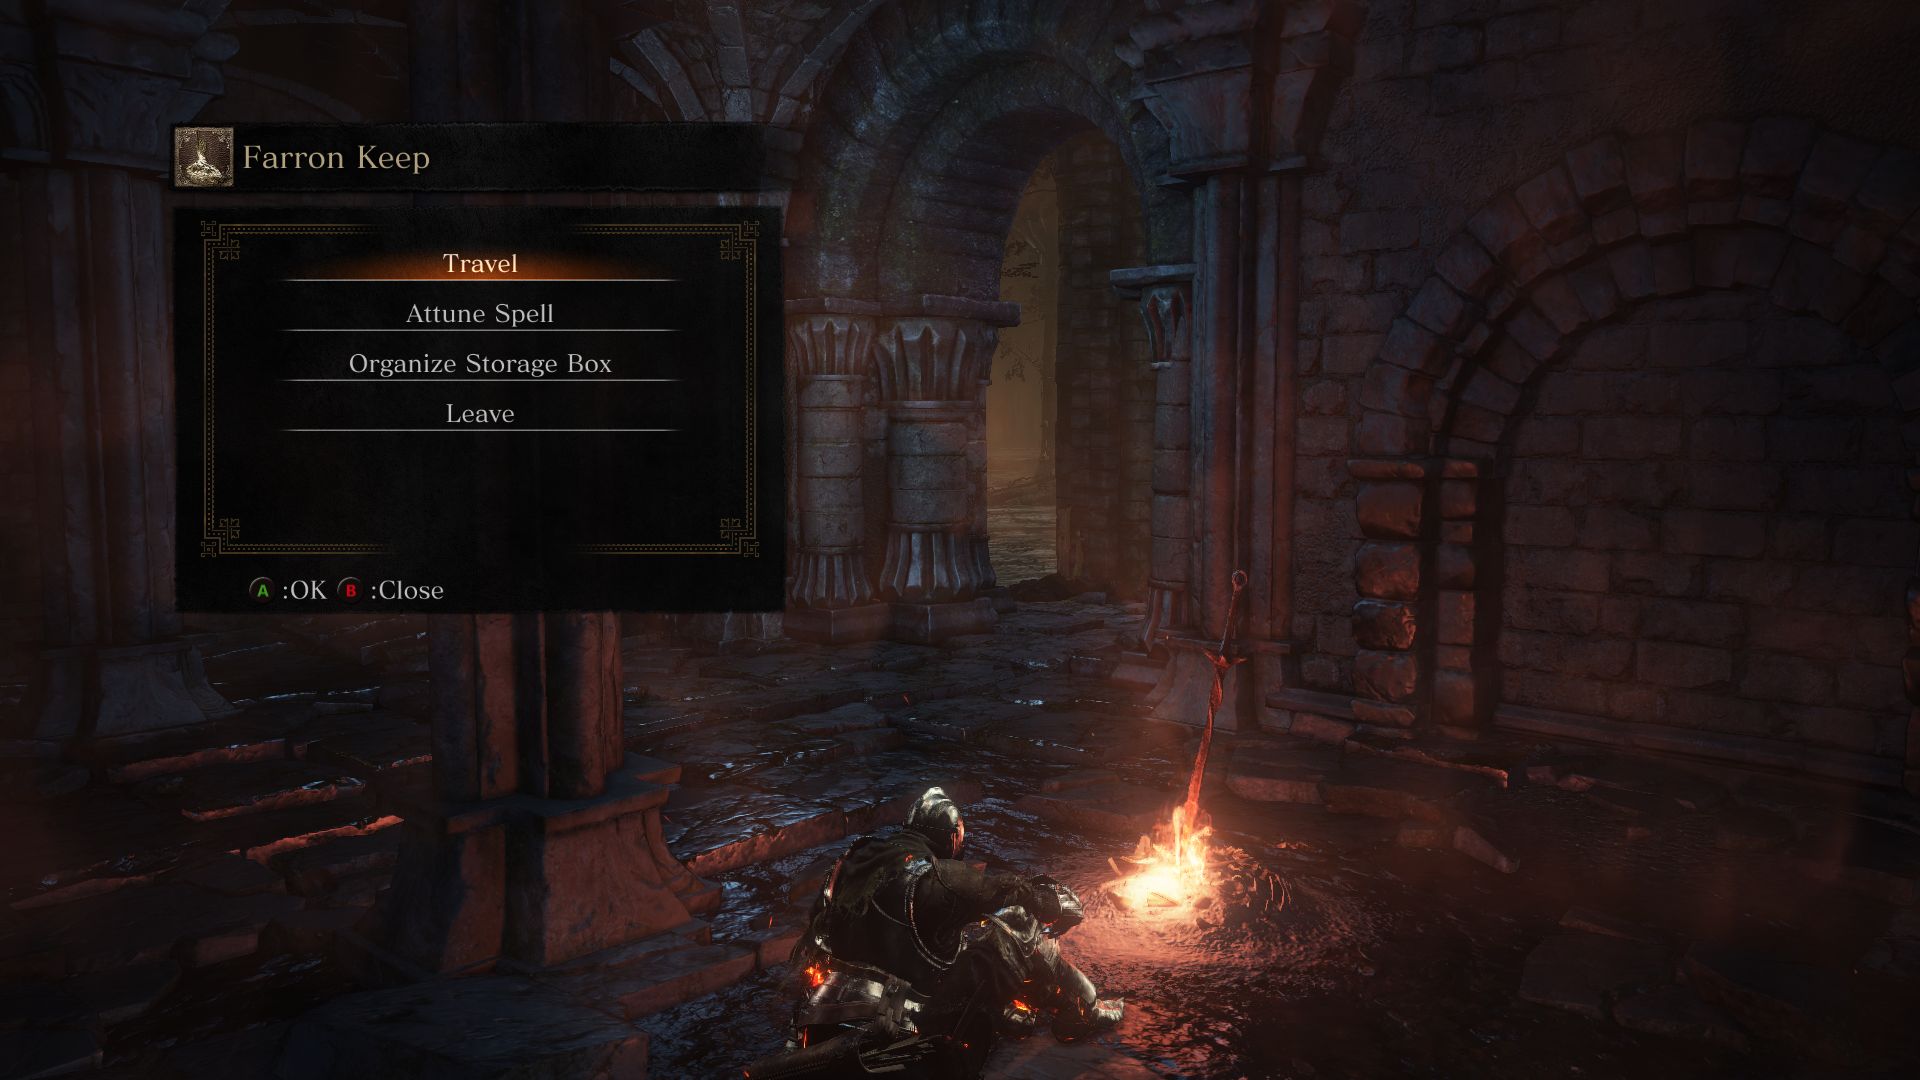
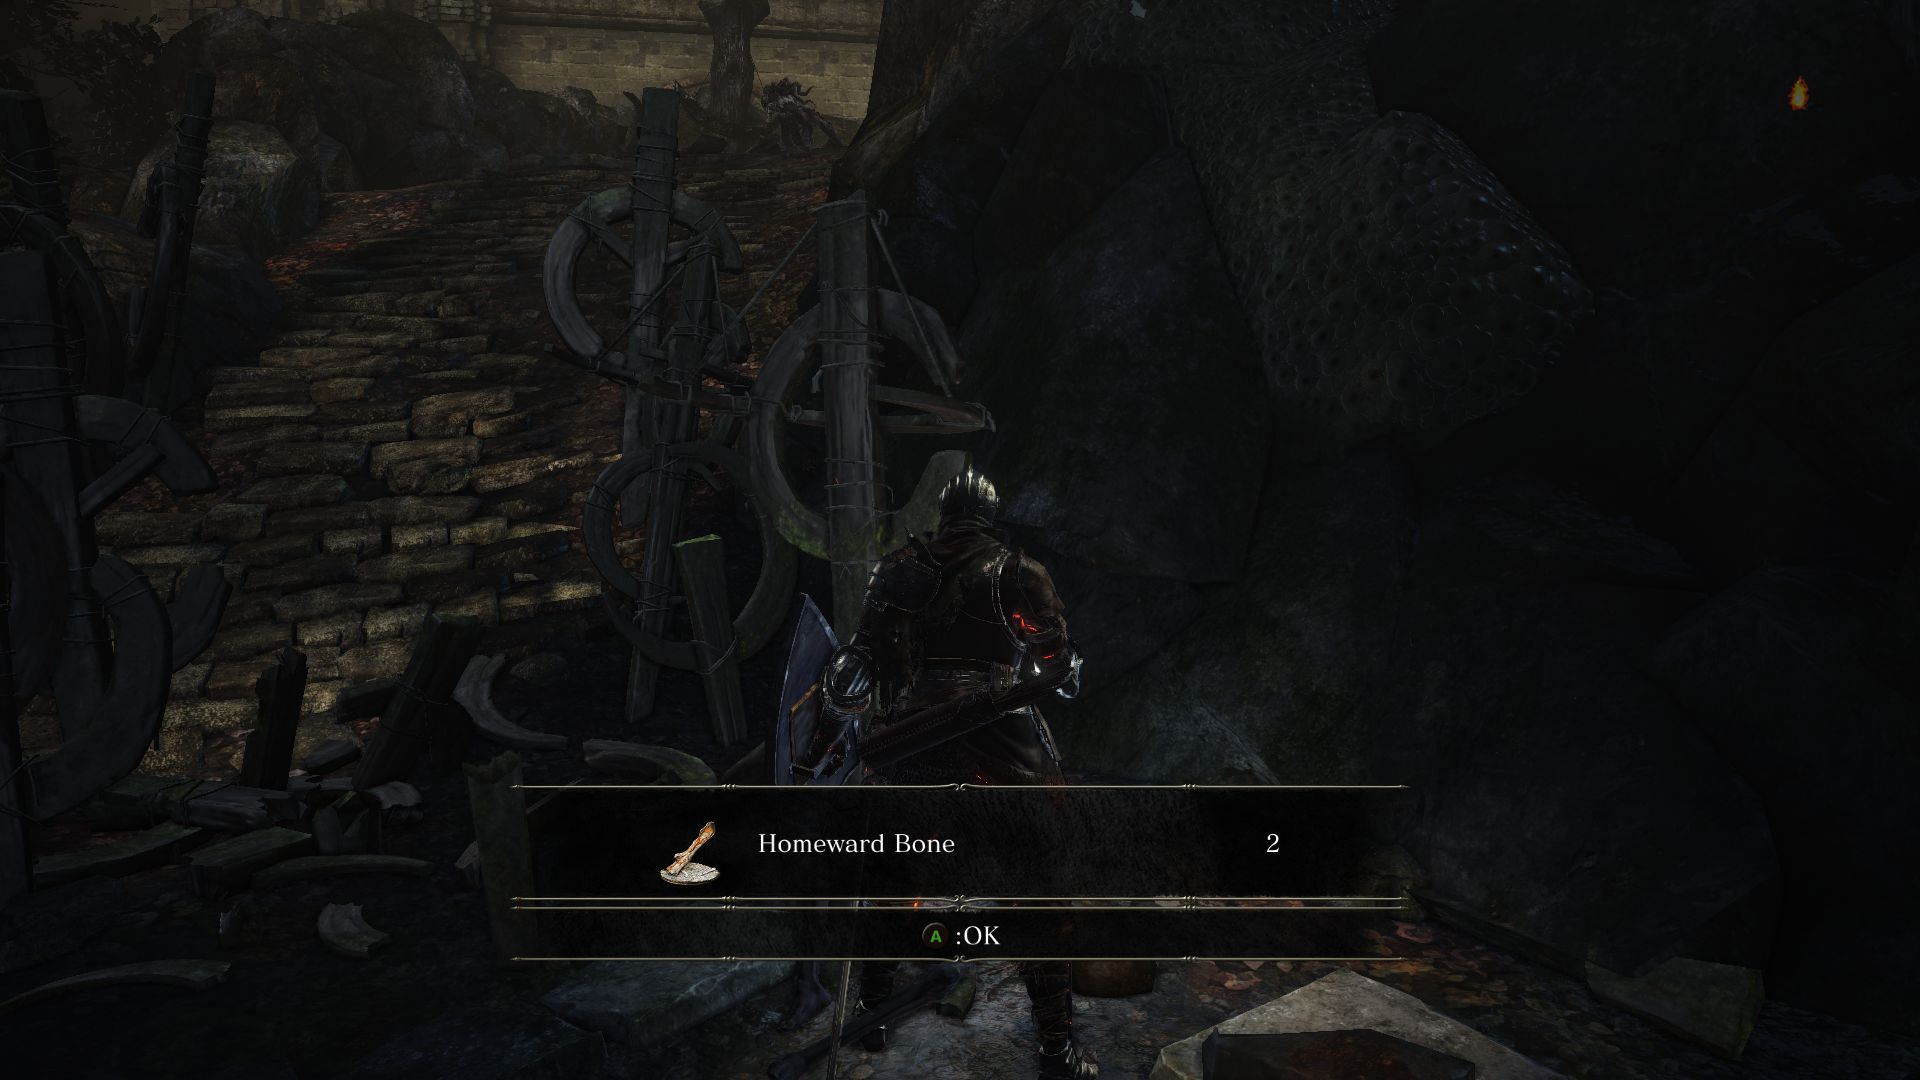
Past the watchdogs, you’ll come to a balcony where you can grab 2 Homeward Bone. Climb down the ladder and light the Farron Keep Bonfire. Up ahead lies a swamp that’s worse than the one you had just left behind. As you wade through the muck and face the enemies in the area, it’s crucial to stack on poison resistance through armor, rings, spells, usable items, etc. If you stay too long in the muck, you’ll get poisoned. So when you want to fight an enemy, you’ll want to lure it on to high ground, and when you’re trying to loot an item, you’ll want to sprint to it and back so as not to get poisoned. Farron Keep will require lots of patience.
As you exit the bonfire and approach the start of the swamp, you’ll notice 2 slugs to your left. They die really fast. If you’re a spell caster class, then good for you since you can take out these enemies without having to run into the muck. If you’re melee, try not to stay in the muck too long (the poison meter is an indication of when you have to run back). Getting hit by these slugs increase the poison meter.
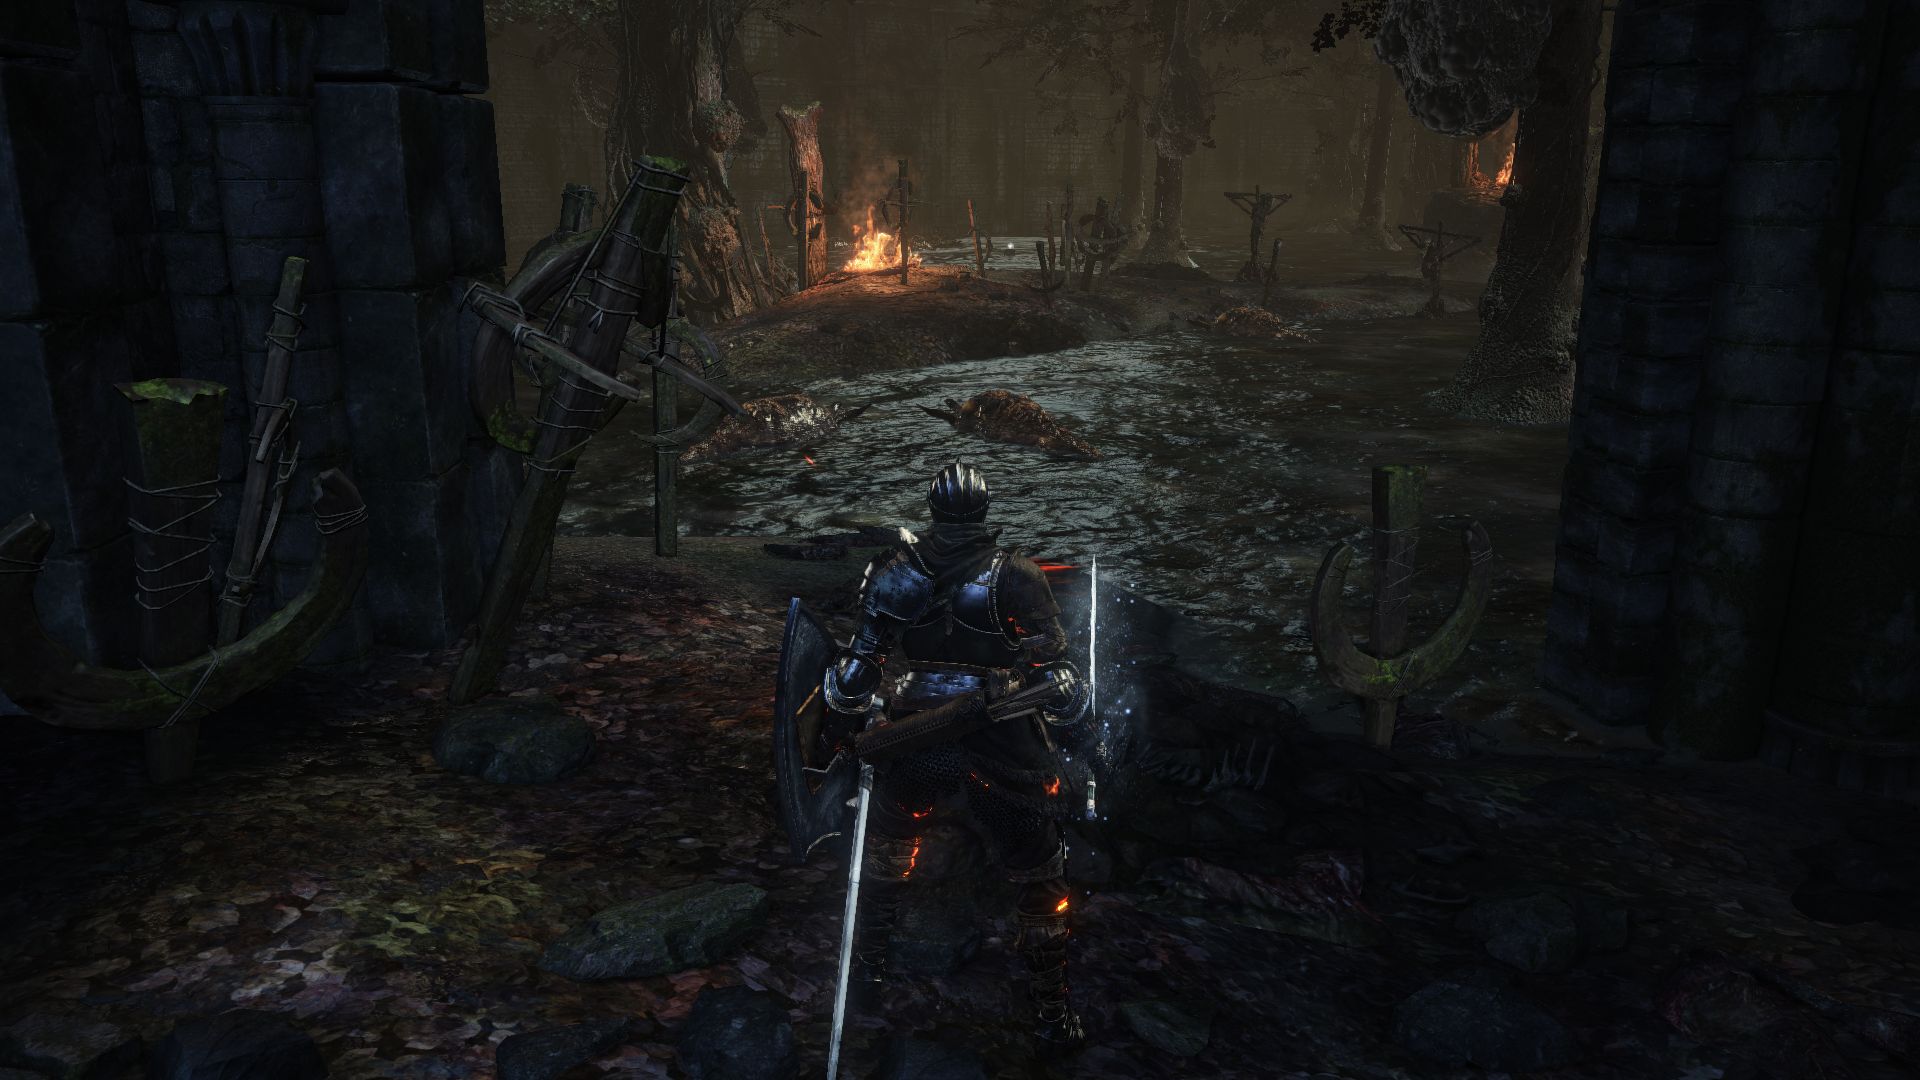
Read the note on the ground: “Extinguish three flames, and open the door to Wolf’s Blood.” Sadly, the flame you see in front of you isn’t one of them. You’ll have to snuff out the flames from three towering beacons, and to guide you to these beacons are generally these flaming pyres on the small islands in the swamp.
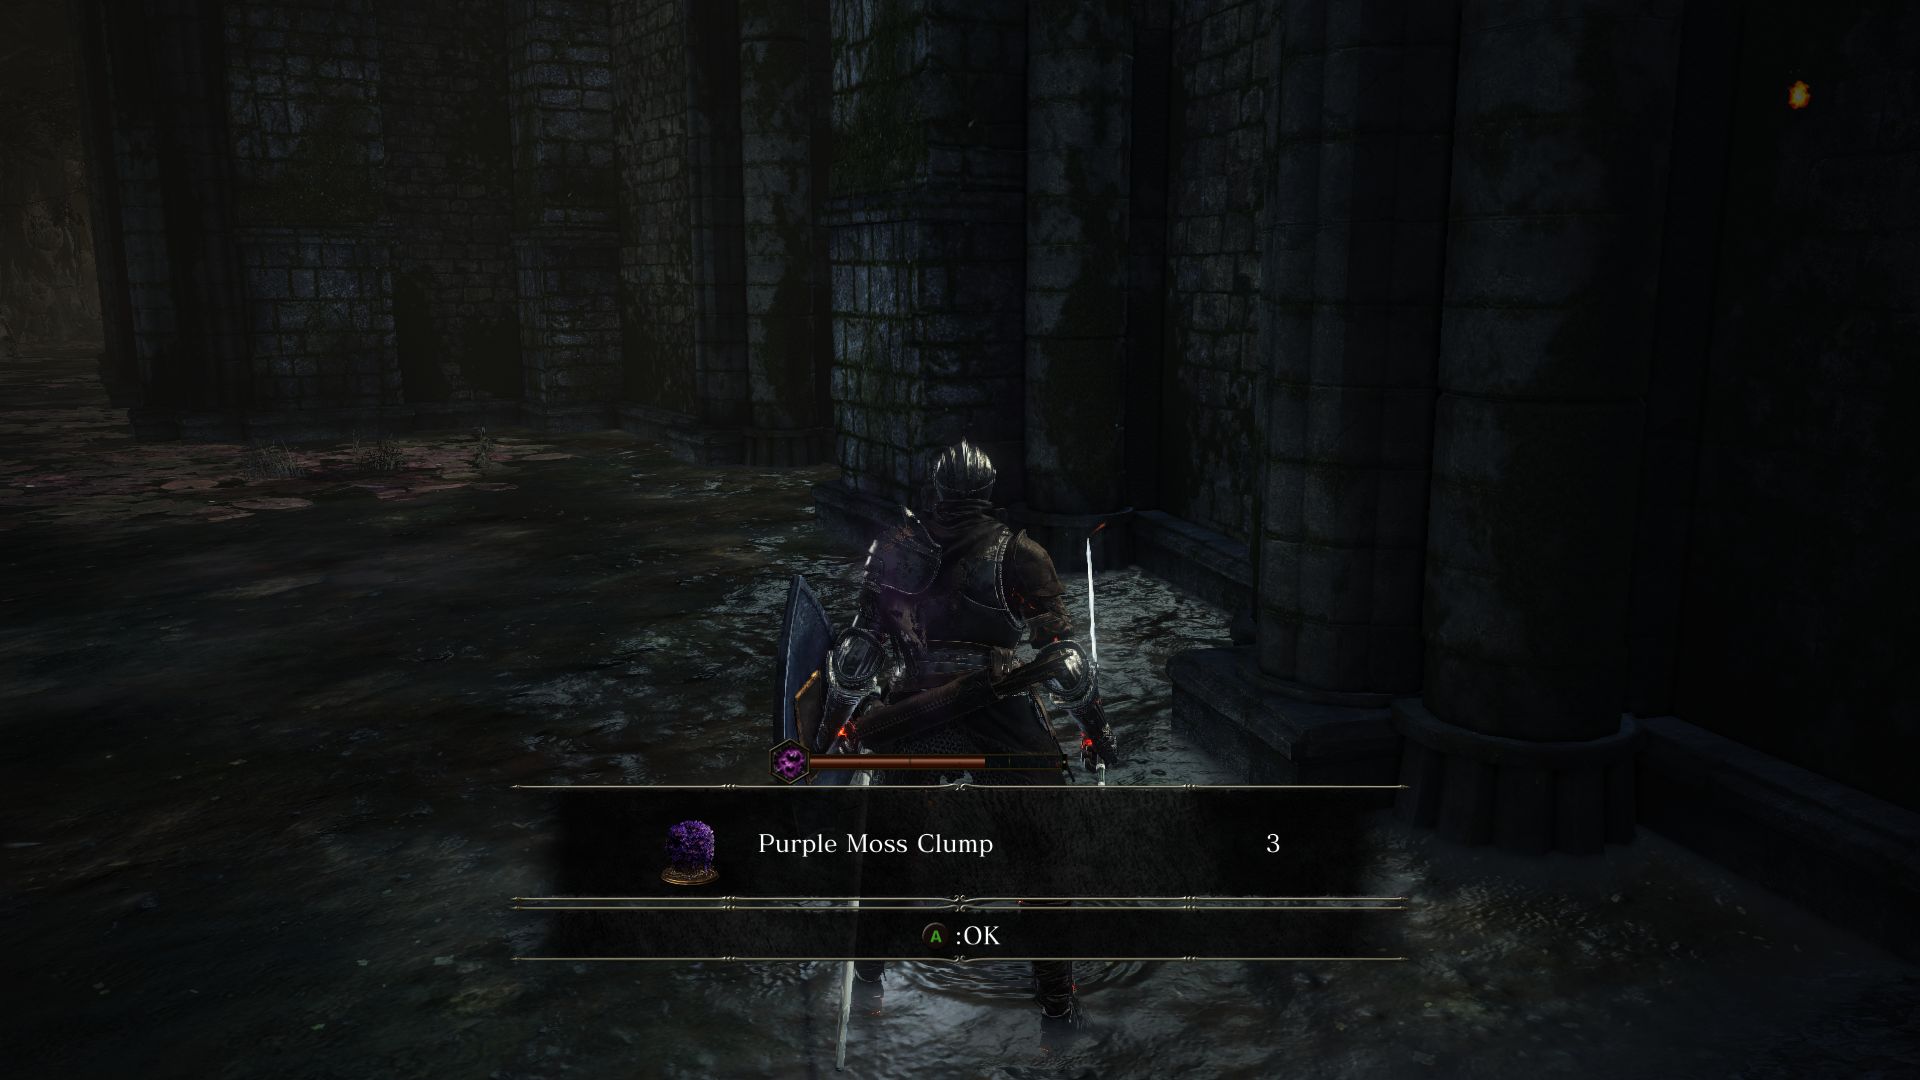
Before we delve deeper, go right around the corner to find 3 Purple Moss Clumps, which are super helpful here. If you look out into the swamp between the trees, you’ll see a corpse. If you’re a Pyromancer and want the Iron Flesh spell, make a sprint for it and run back.
Now, from the starting point, head left. At the corner you’ll see a bunch of slugs around a corpse. Kill the slugs and loot the corpse for a Ragged Mask (good for poison resistance, almost as if placed there conveniently). You’ll find another corpse nearby which holds a Titanite Shard. 3 slugs will guard these corpse, so if you’re busy fighting them, you may not have time to get back to the island before the poison meter fills up.
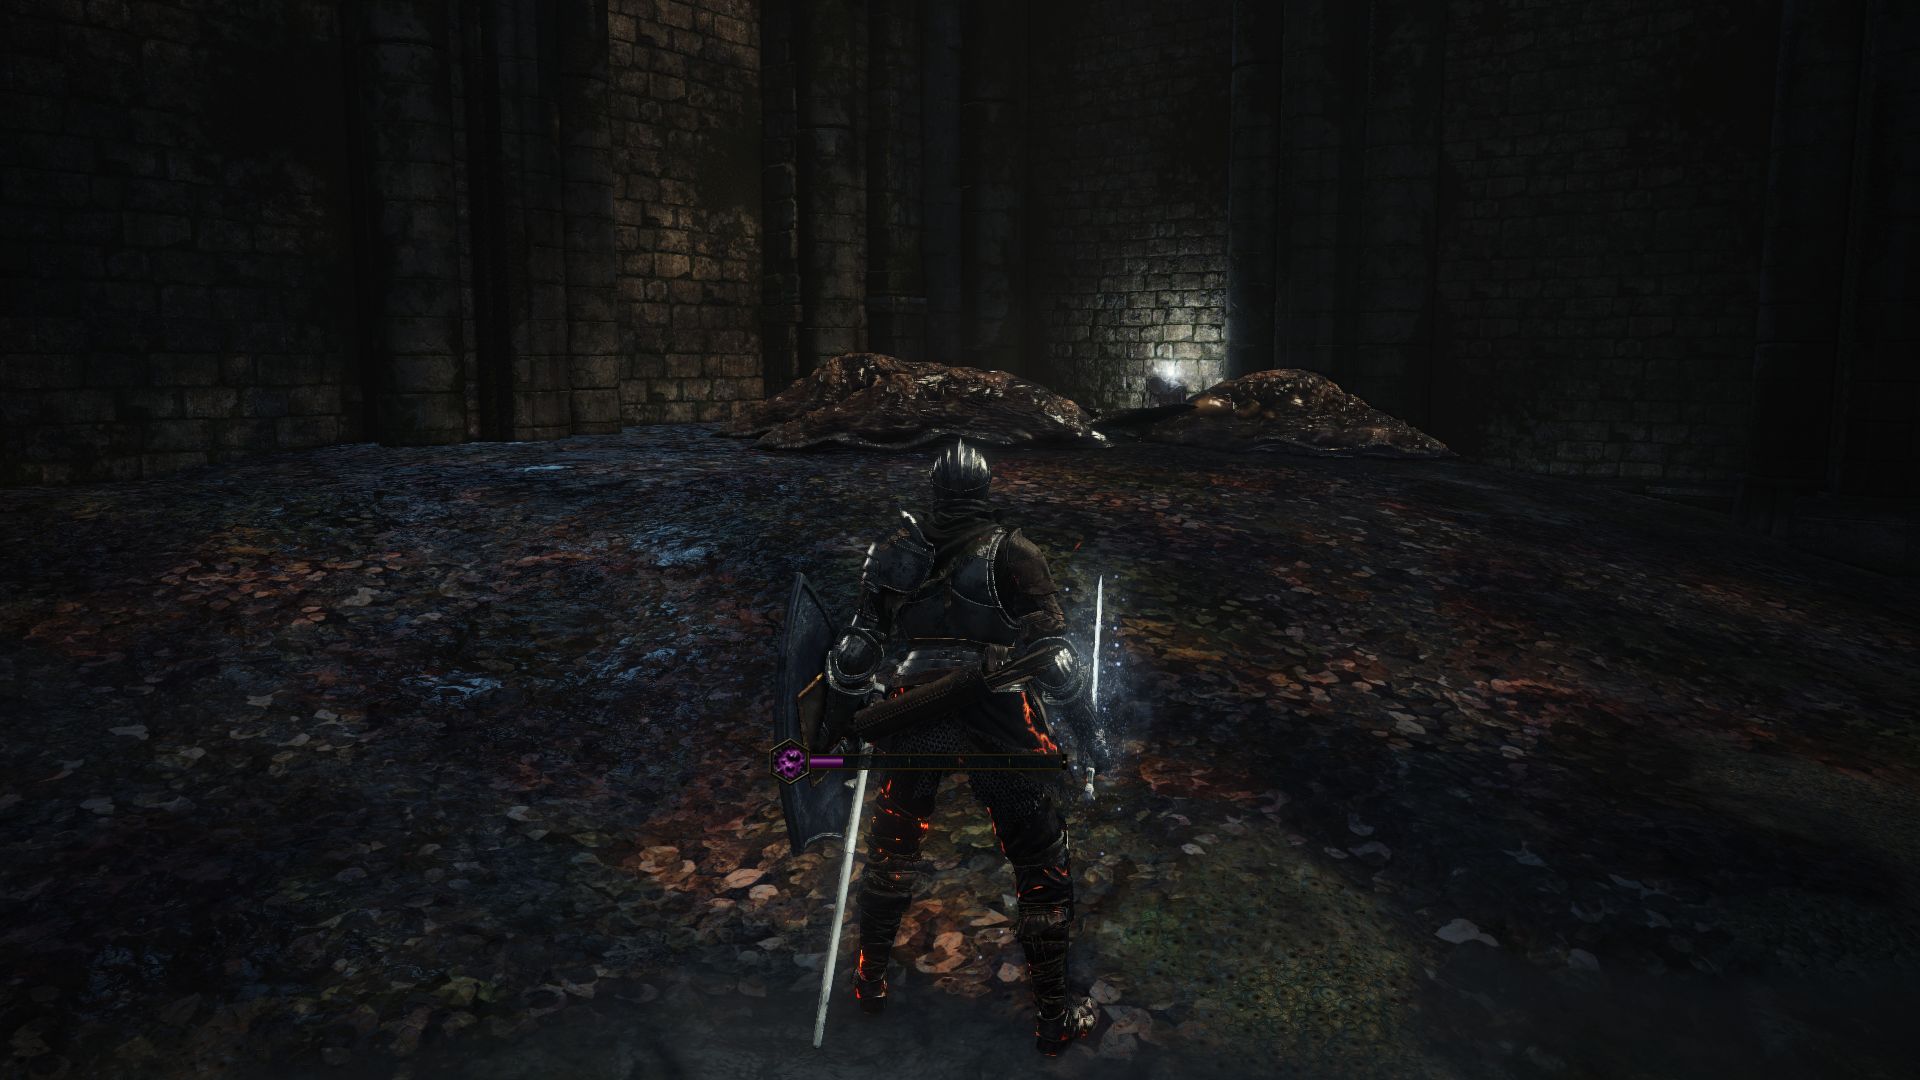
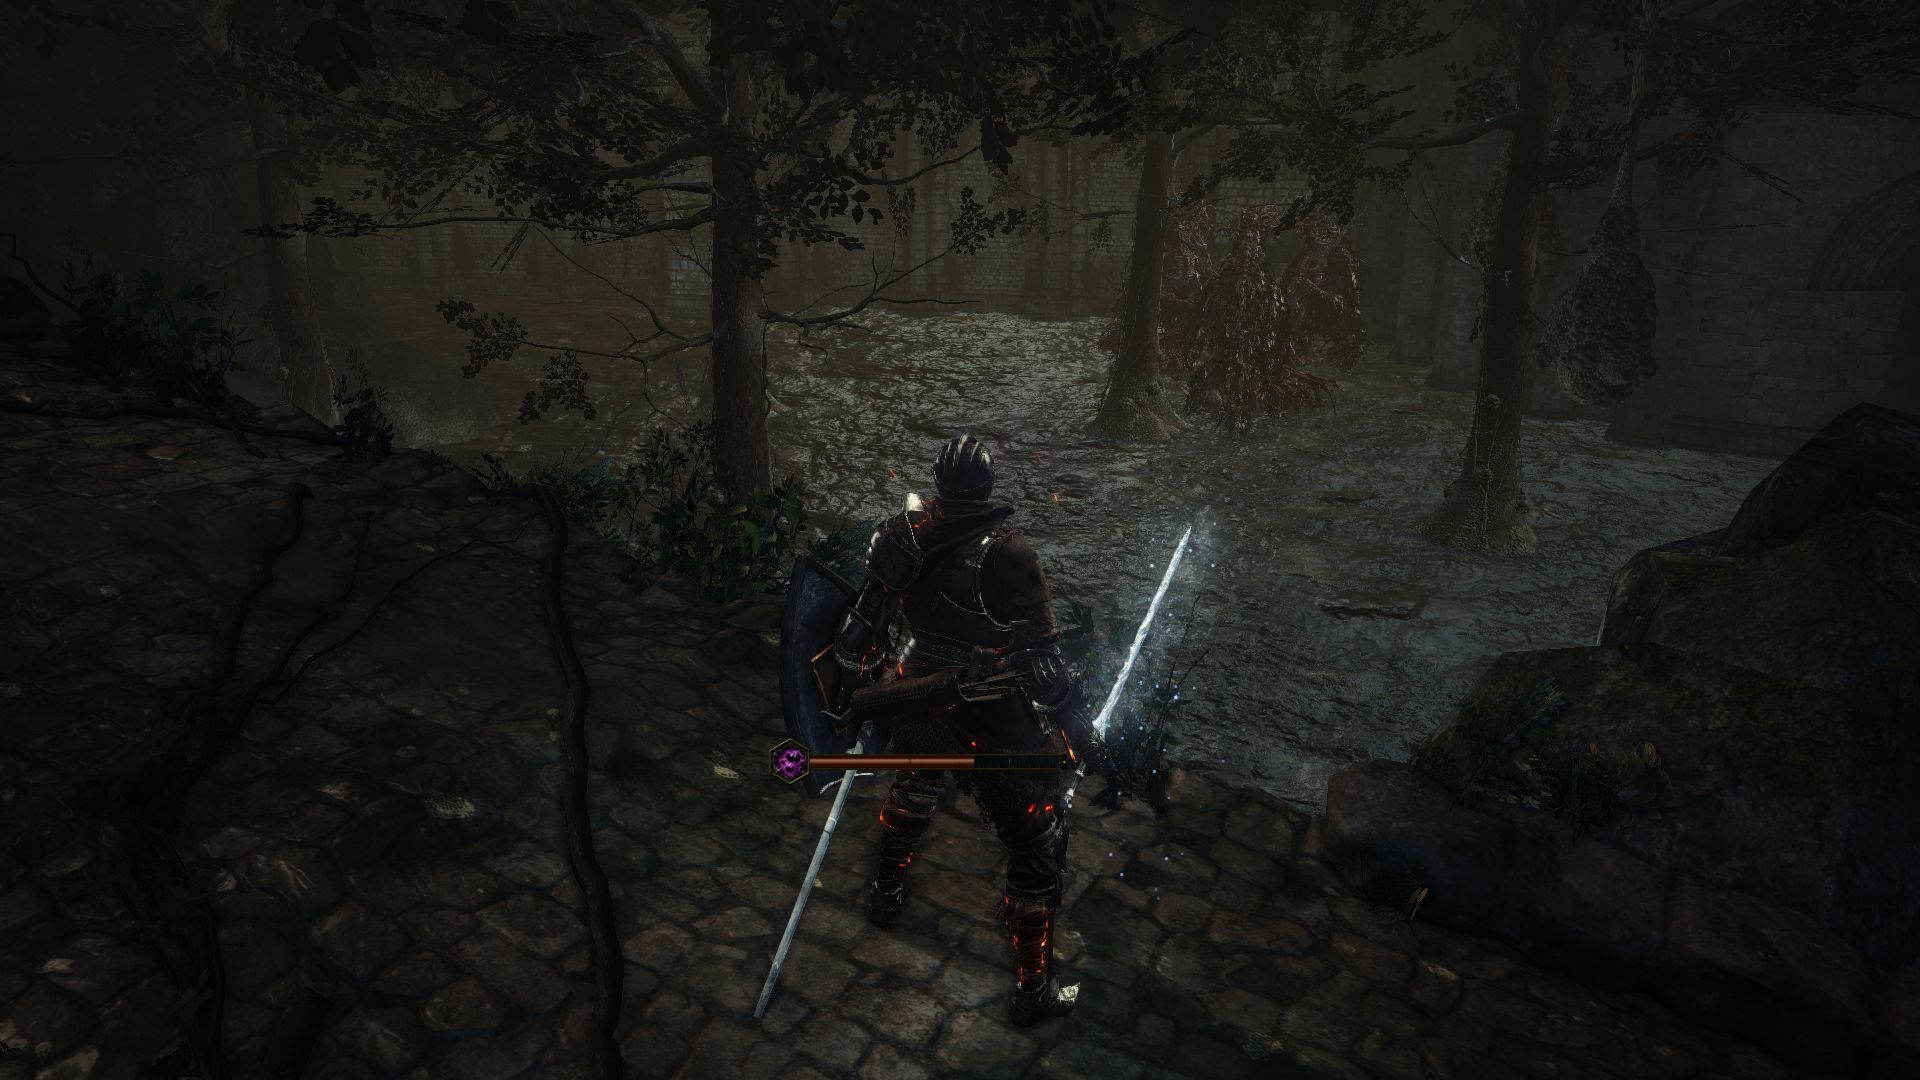
From here, look towards the swamp and you’ll see that the path isn’t exactly linear. To your right is a sloping half sunk bridge. To the left of the bridge is a fallen tower and then beside that is another small island with a pyre which has an item guarded by some slugs. The first fire is close by if you look up.
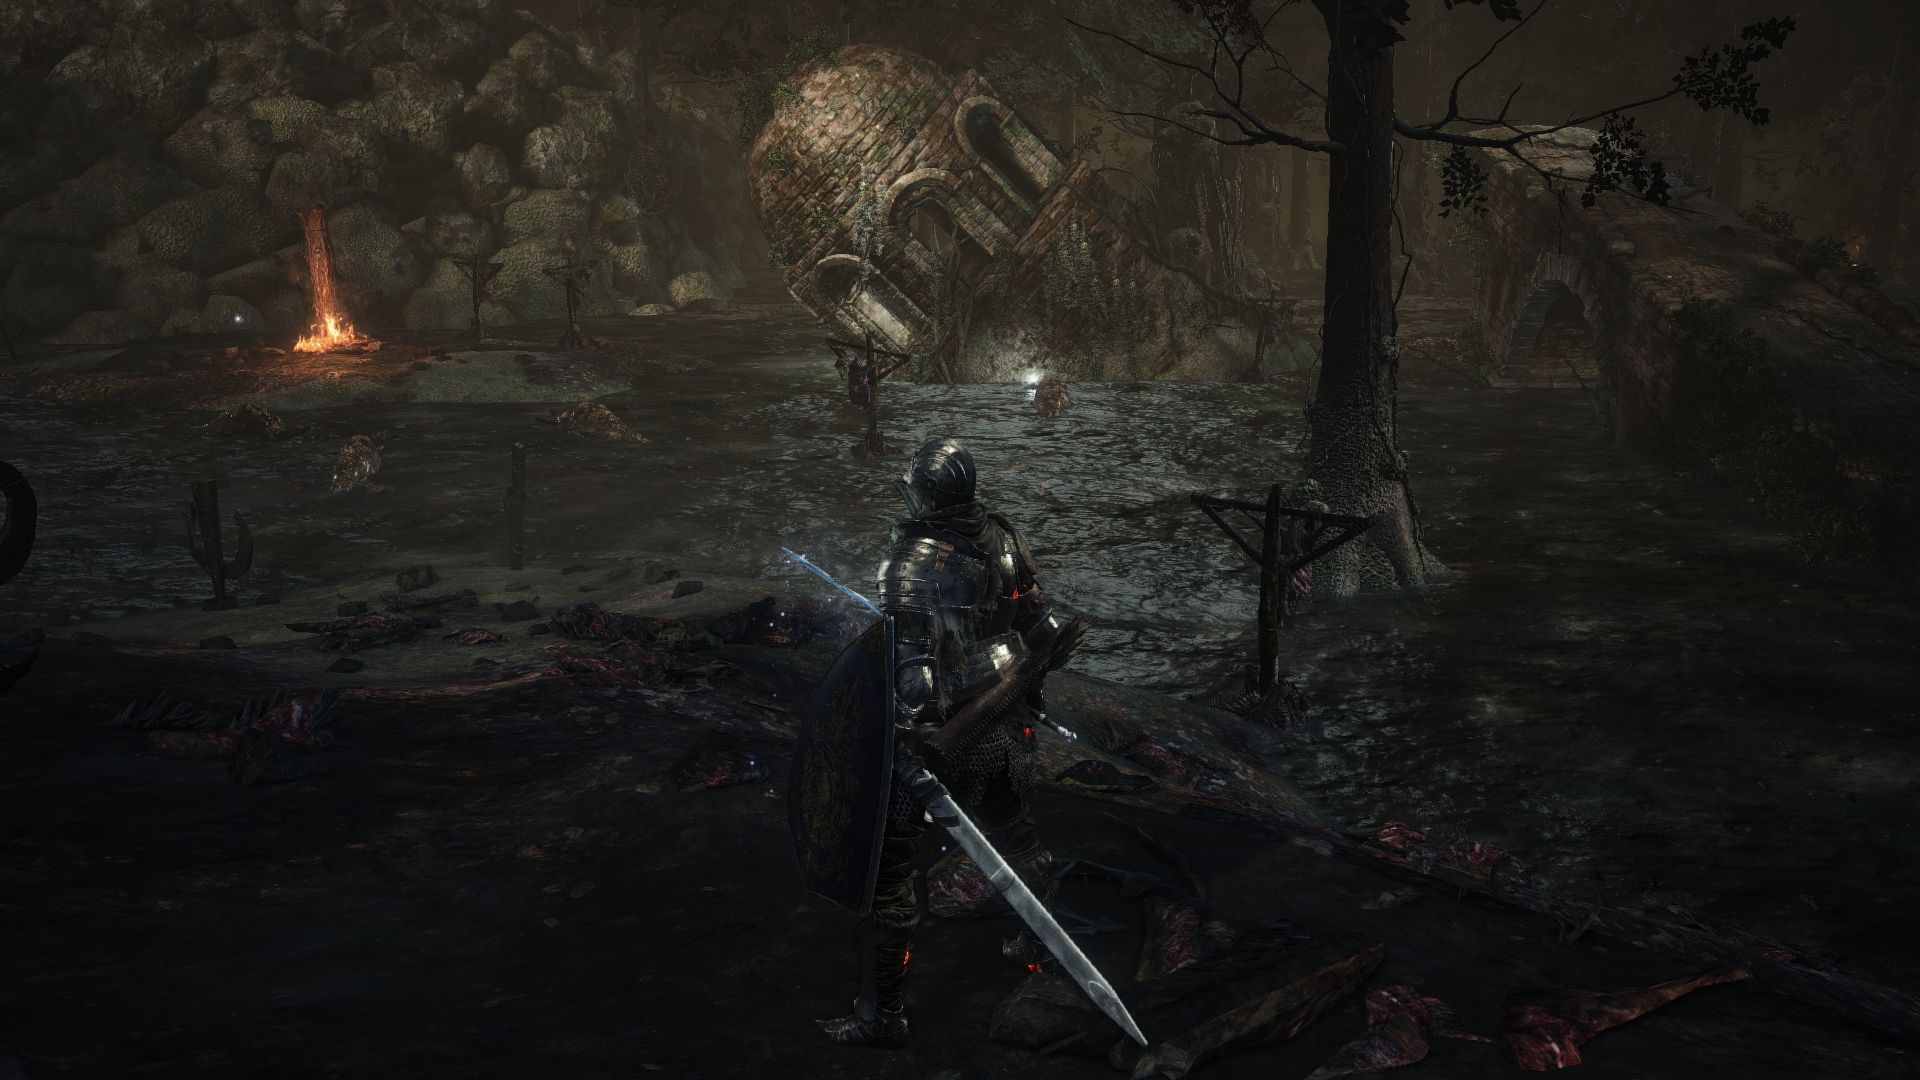
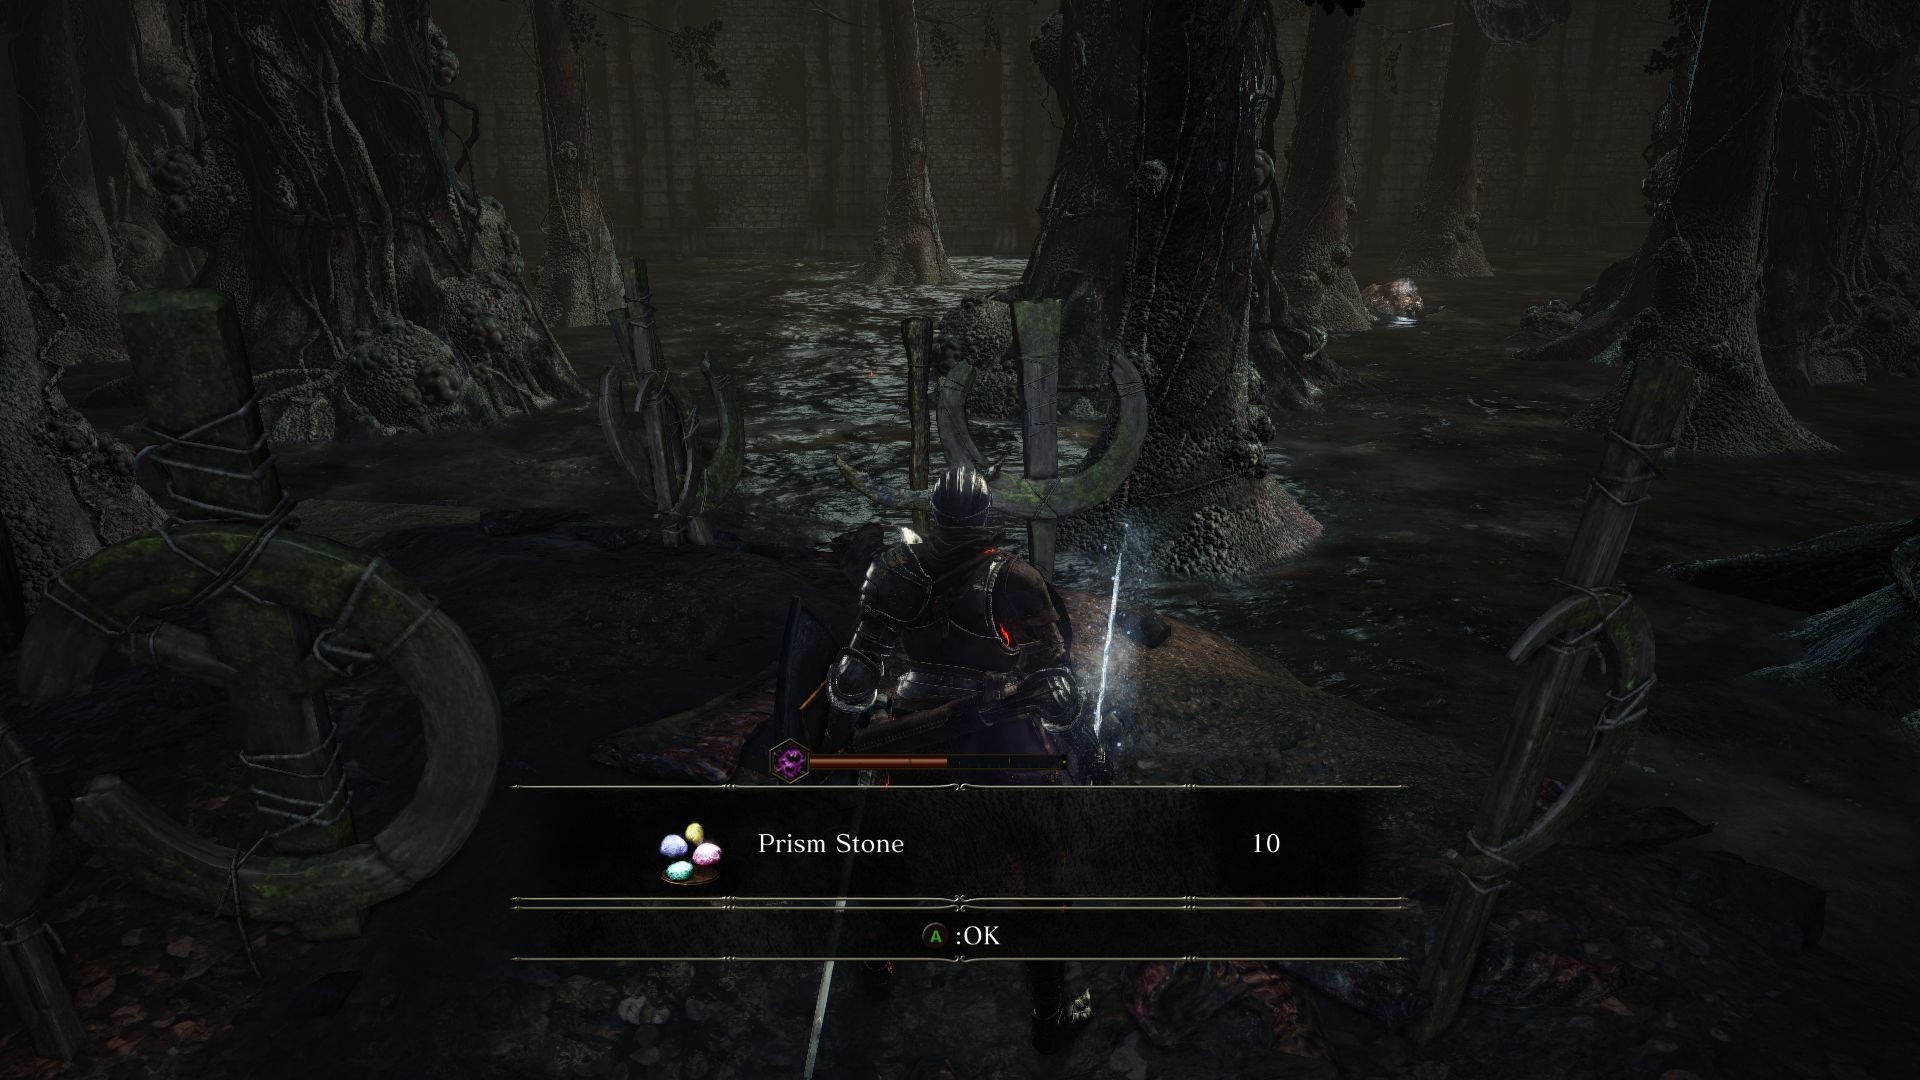
Make a run for the fallen tower to loot the corpse to obtain an Estus Shard (Give it to Andre back in Firelink Shrine), and move to the small island left to it to fight off the slugs and loot a Titanite Shard. Close by there’s another small island with a glowing orb which yield 10 Prism Stone.
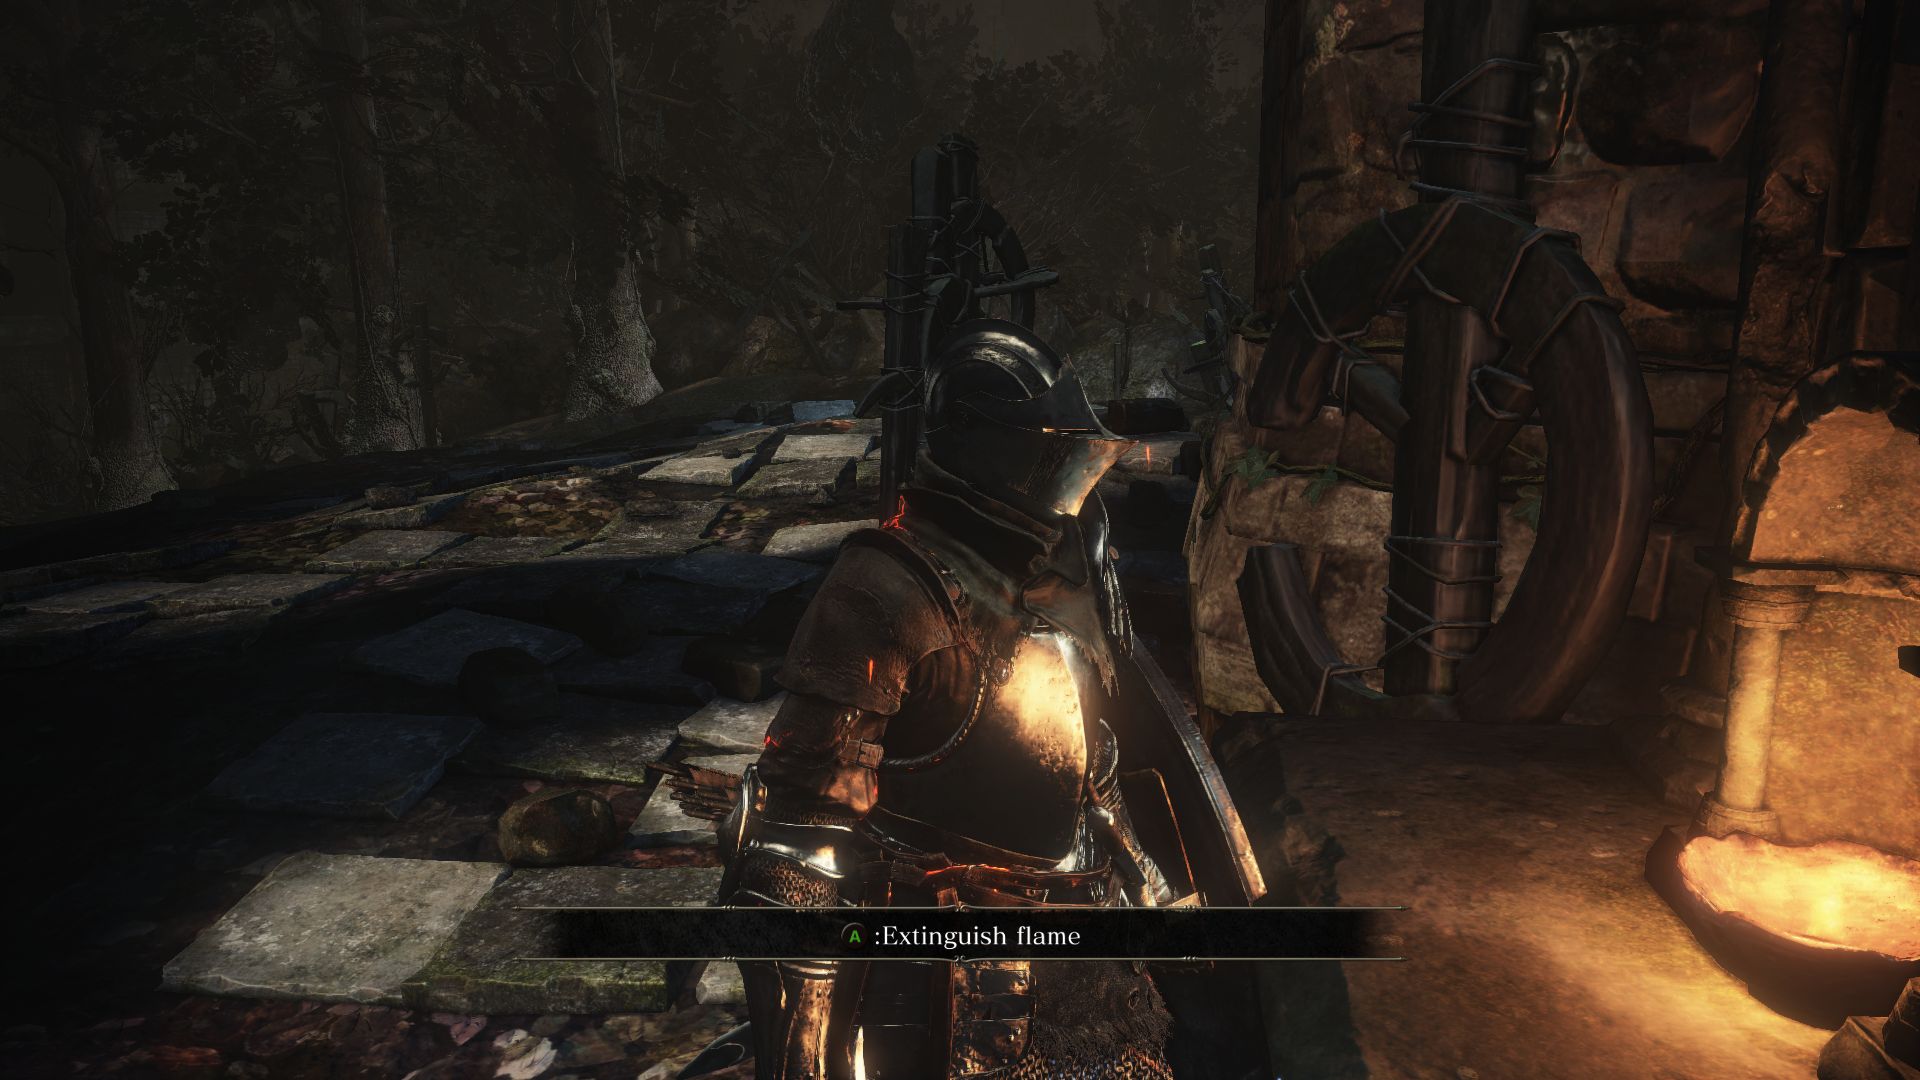
Head up the stairs for the first flame. But new enemies await: the Ghru. As you approach the flame you’ll be facing two. Their attacks are not very difficult to dodge, so take them out and then snuff out the first flame. You’ll see a cutscene that shows a brazier light up in front of a gate, with two more braziers to be lit.
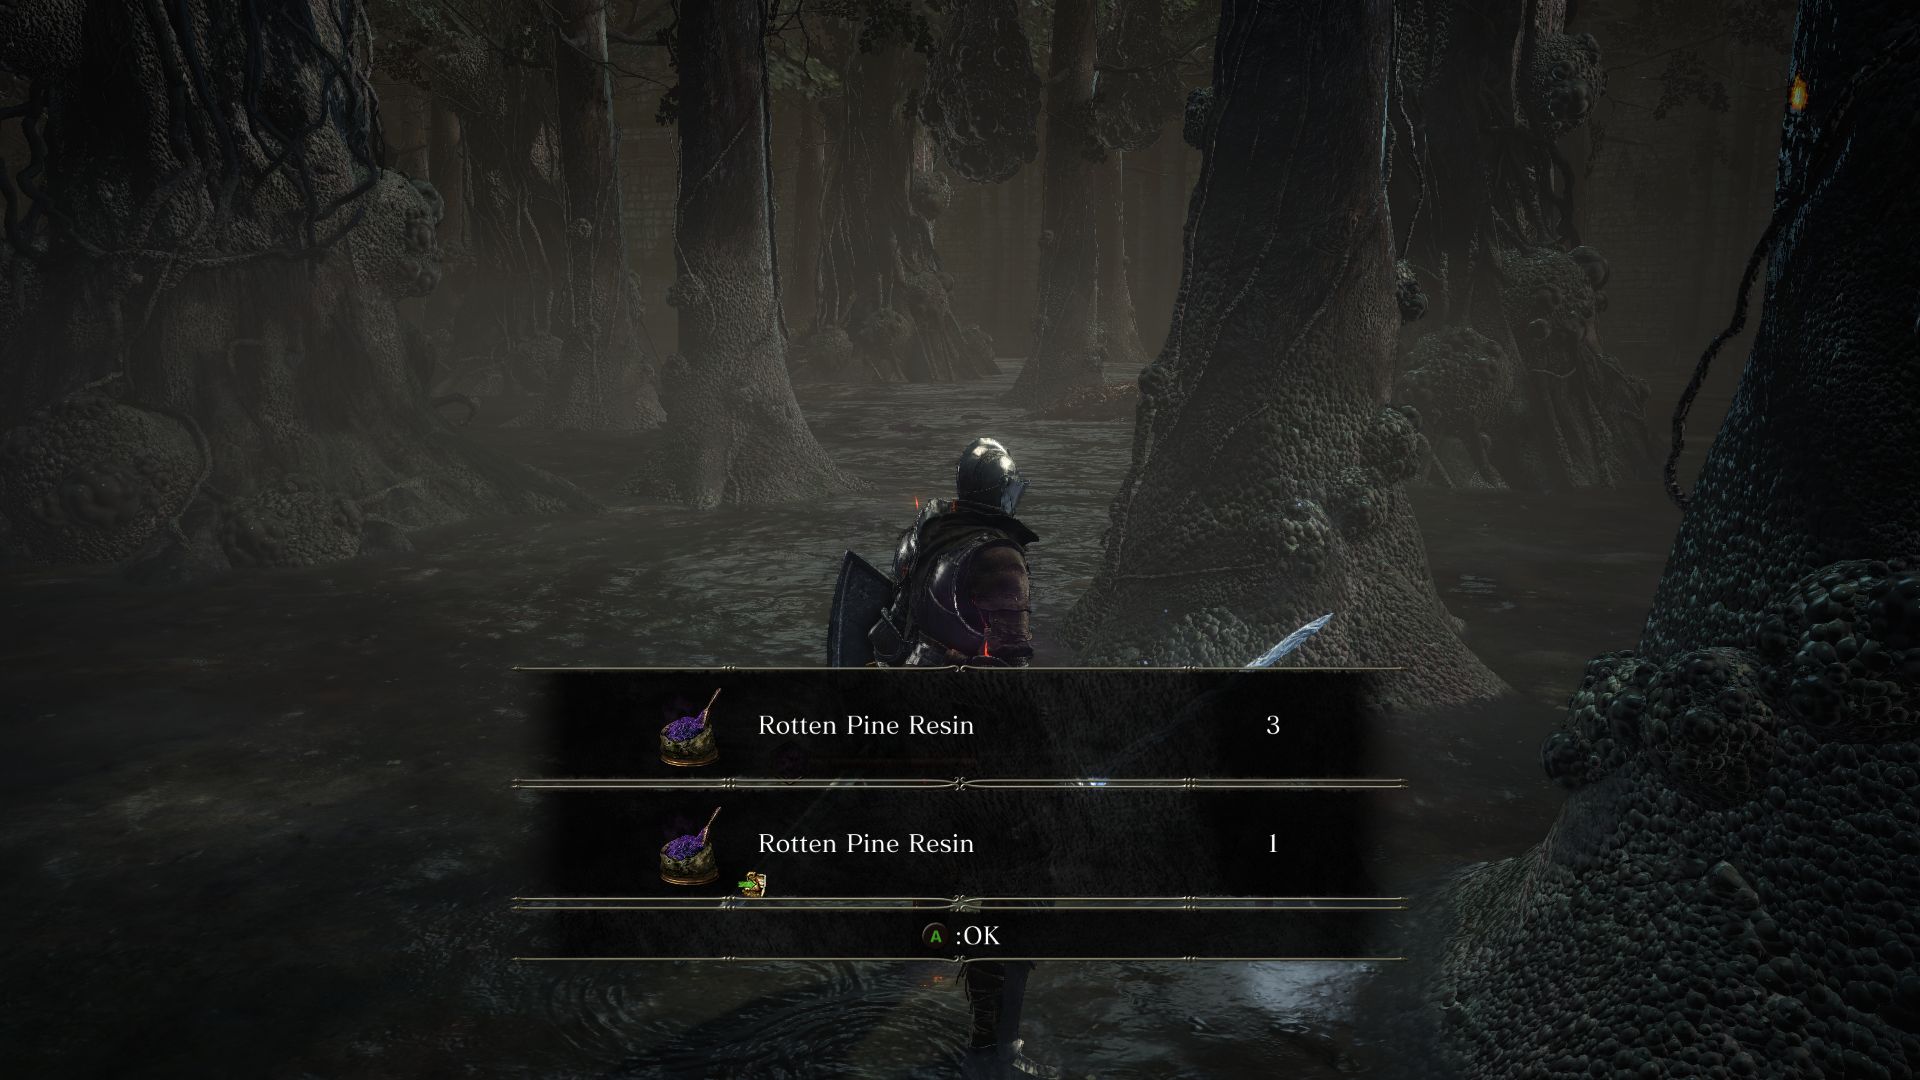
Go to the back area here where you’ll find another Ghru. Defeat it and loot the corpse here for 2 Rotten Pine Resin. You’ll notice that you can exit this island from this back side, but we have some more items to loot, so let’s go back from where we entered.
As you descend the stairs, go right to go through the trees, hugging the island. You will find a corpse on a small island guarded by a slug. Kill the slug and pillage the corpse for a Stone Parma. Just to your right should be 3 Rotten Pine Resin, but get ready to sprint as your poison meter will be building here.
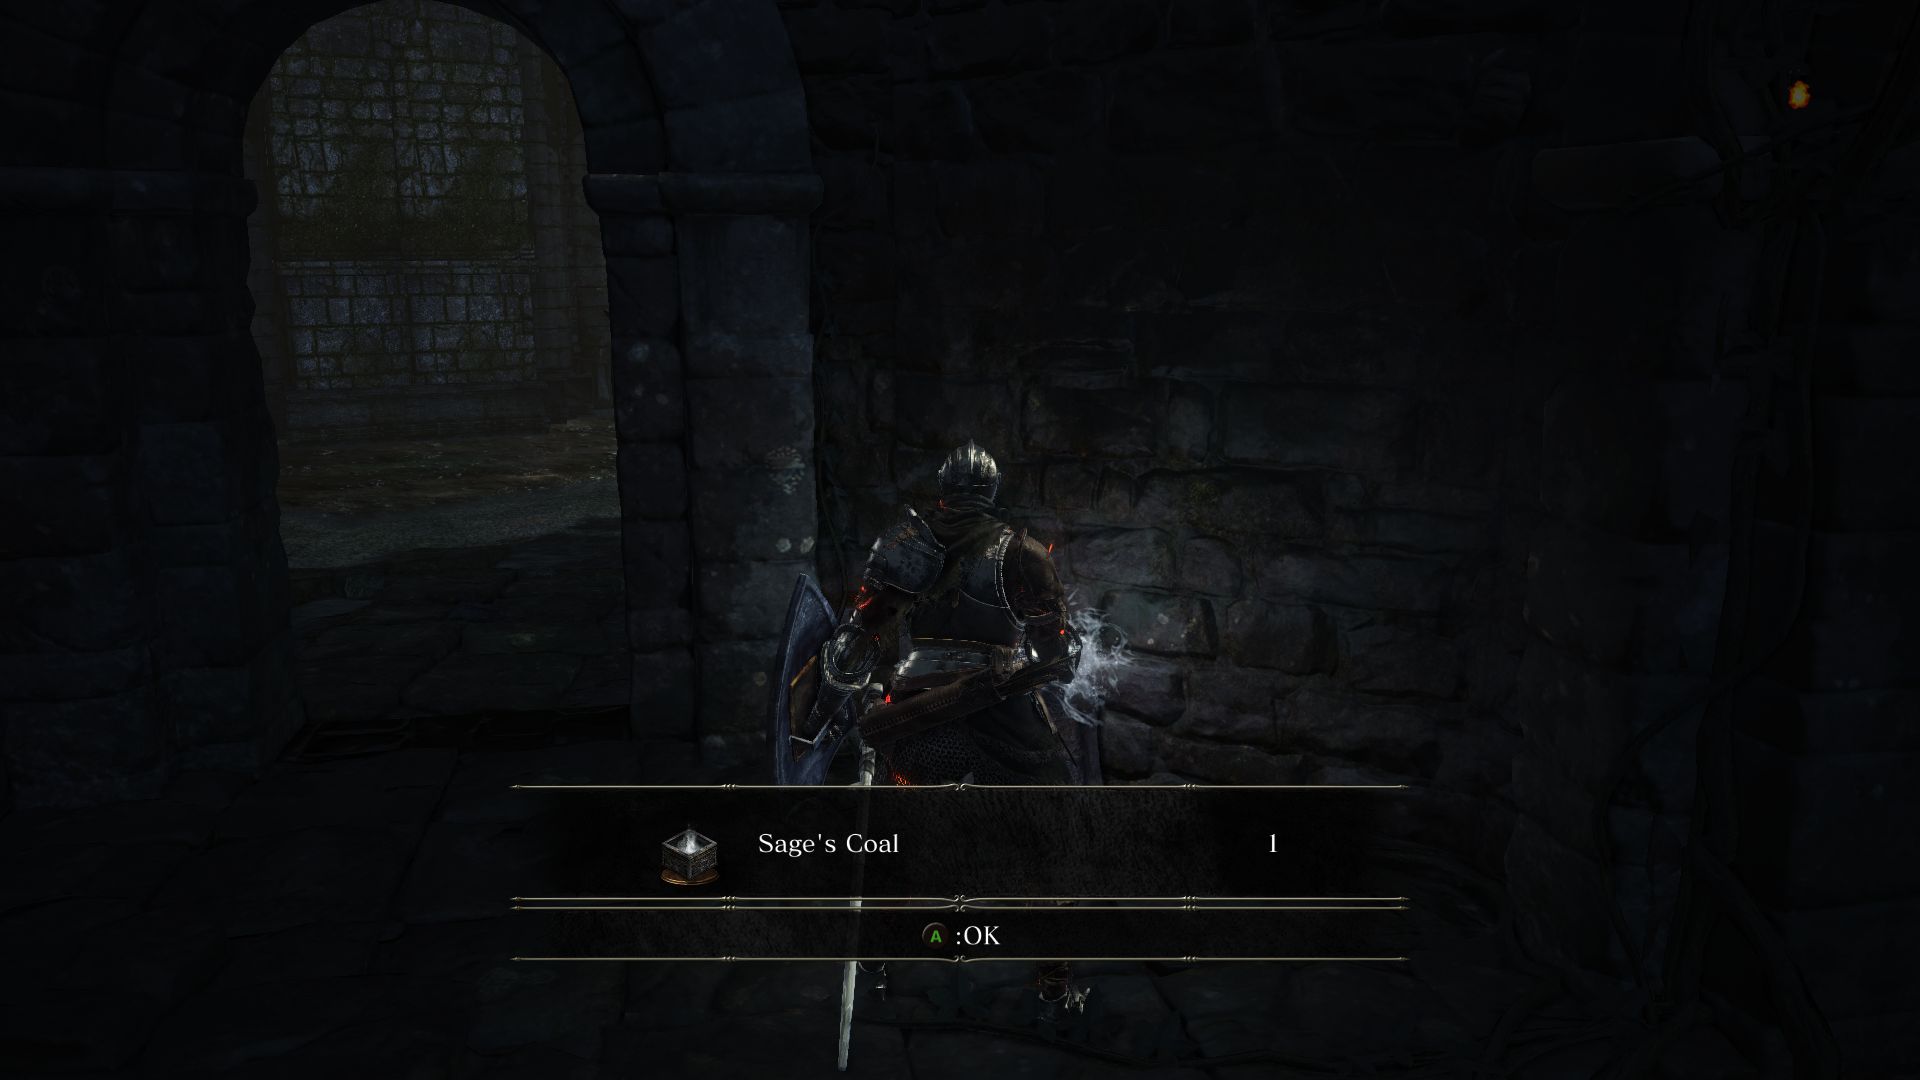
If you’re making a dash for the other side of the woods where there seems to be a ruined tower, you will face an imposing enemy, a Darkwraith. Watch out for their strikes that deal a lot of damage and their red magical shield. When their left hand glows, they are about to swing their hand and grab your face. Dodge this at all costs. Take out the Darkwraith and loot the corpse inside the ruined tower for a Sage’s Coal.
Exit the tower and sprint to the next island which is leading to the back side of the first flame’s island. You’ll face another Ghru here that will try to grab you and lunge high up in the air for its attacks. Kill the Ghru and loot the corpse by the pillar nearby for a Titanite Shard. From here look for another broken/sunken bridge to your right. Sprint for the bridge if you want to loot a Greatsword at the top but be prepared to take out the Ghru waiting at the bottom.
Look at the other side of the bridge where it slopes up again from the swamp. There’s another corpse there you can loot. Dash there to find 4 Purple Moss Clumps.
Now head back to the island with that lone Ghru. The second flame is ahead of you, so climb the stairs while keeping up your guard. As you reach the top of the stairs a Ghru will attack you from the right. Take it out and snuff out the second flame for another cut scene.
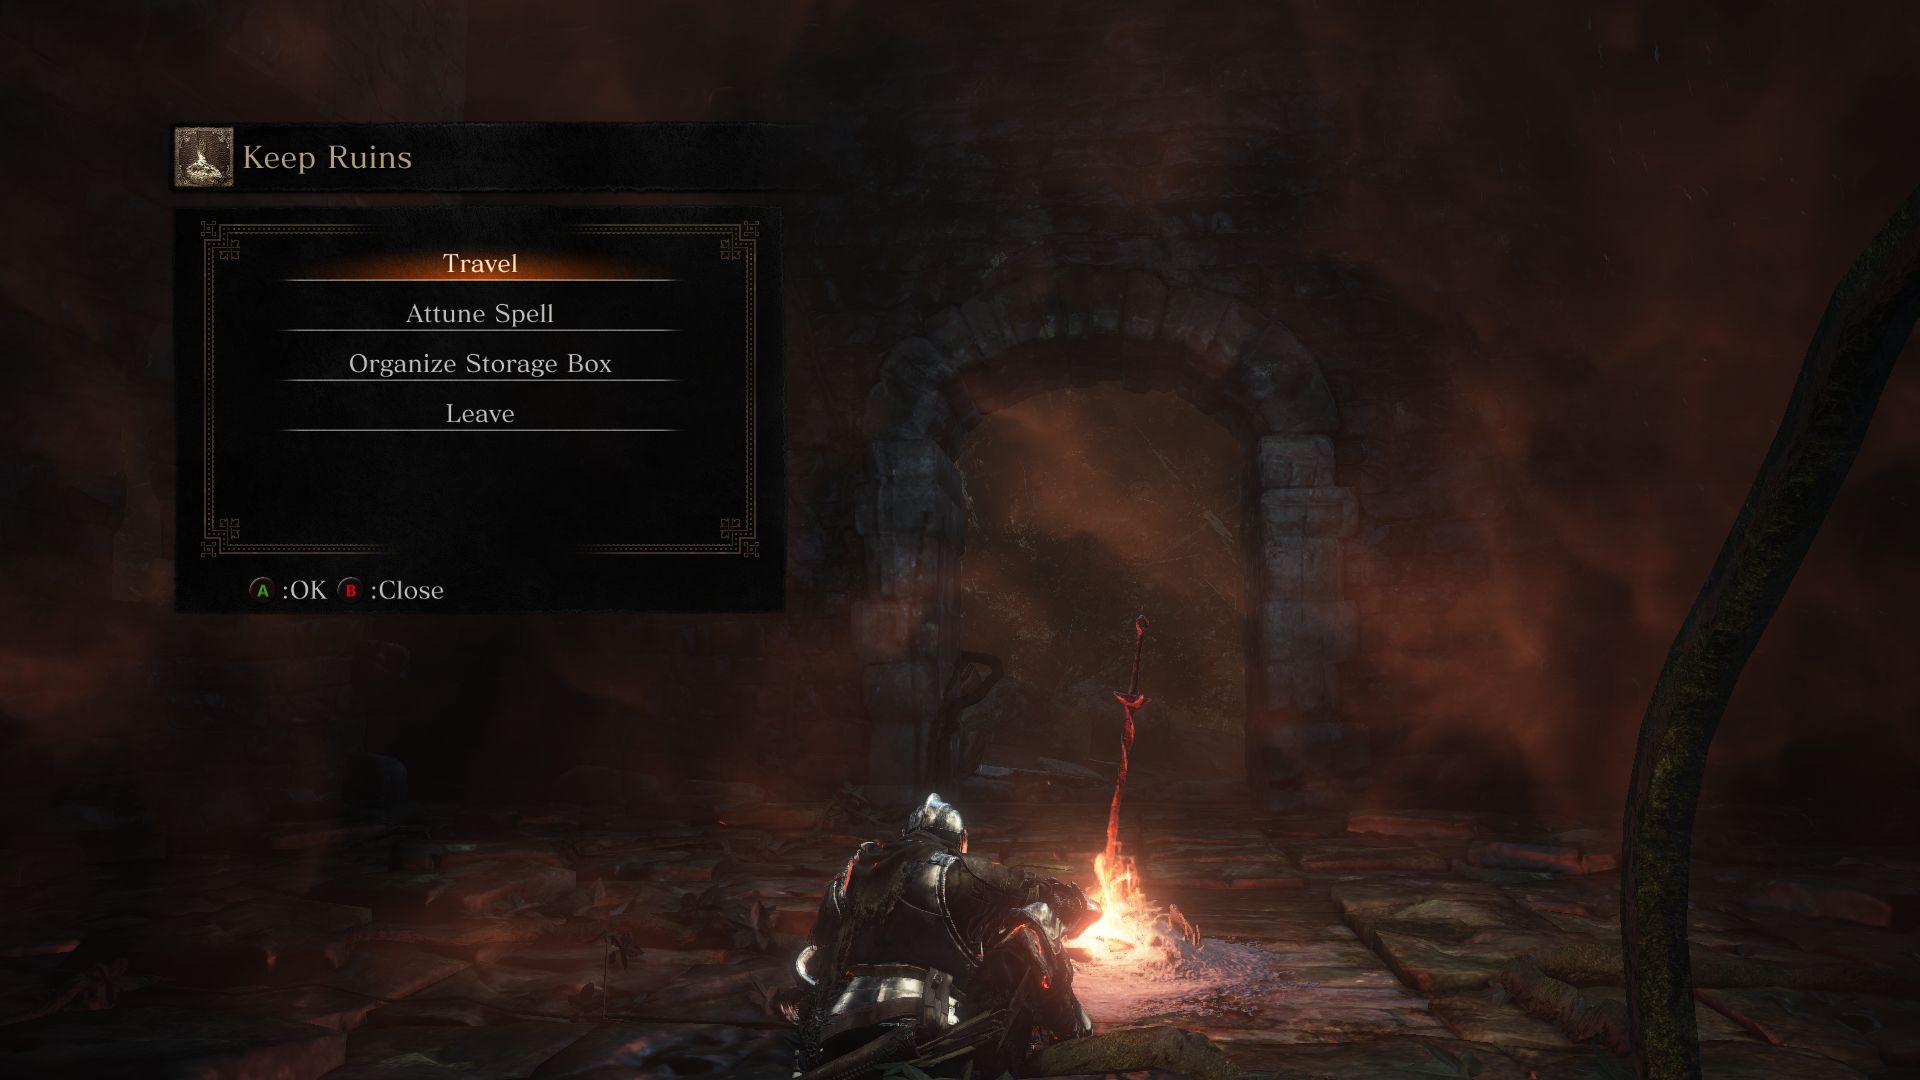
From here you’ll see a narrow bridge leading up ahead to the next bonfire, but the bridge is guarded by 3 Ghru. You can pull one at a time to the island and take them out. No need to engage them all at once, specially because of these is a Shaman who will spray a poison mist at you. Take all 3 Ghru out and light the Keep Ruins Bonfire.
To the left of the bridge you may notice 3 Giant Ghru surrounding a corpse. The corpse contains a Poison Gem. The Giants themselves will drop a Black Bow of Pharis and a Pharis’s Hat, but this fight is extremely difficult unless you’re packing a lot of poison resistance and can kill the Giants fast. So try at your own risk.
Exit the bonfire and go down the ramp. Look left under the bridge to find a Titanite Shard. The end of the ramp brings you to the door with 2 braziers lit. One more to go.
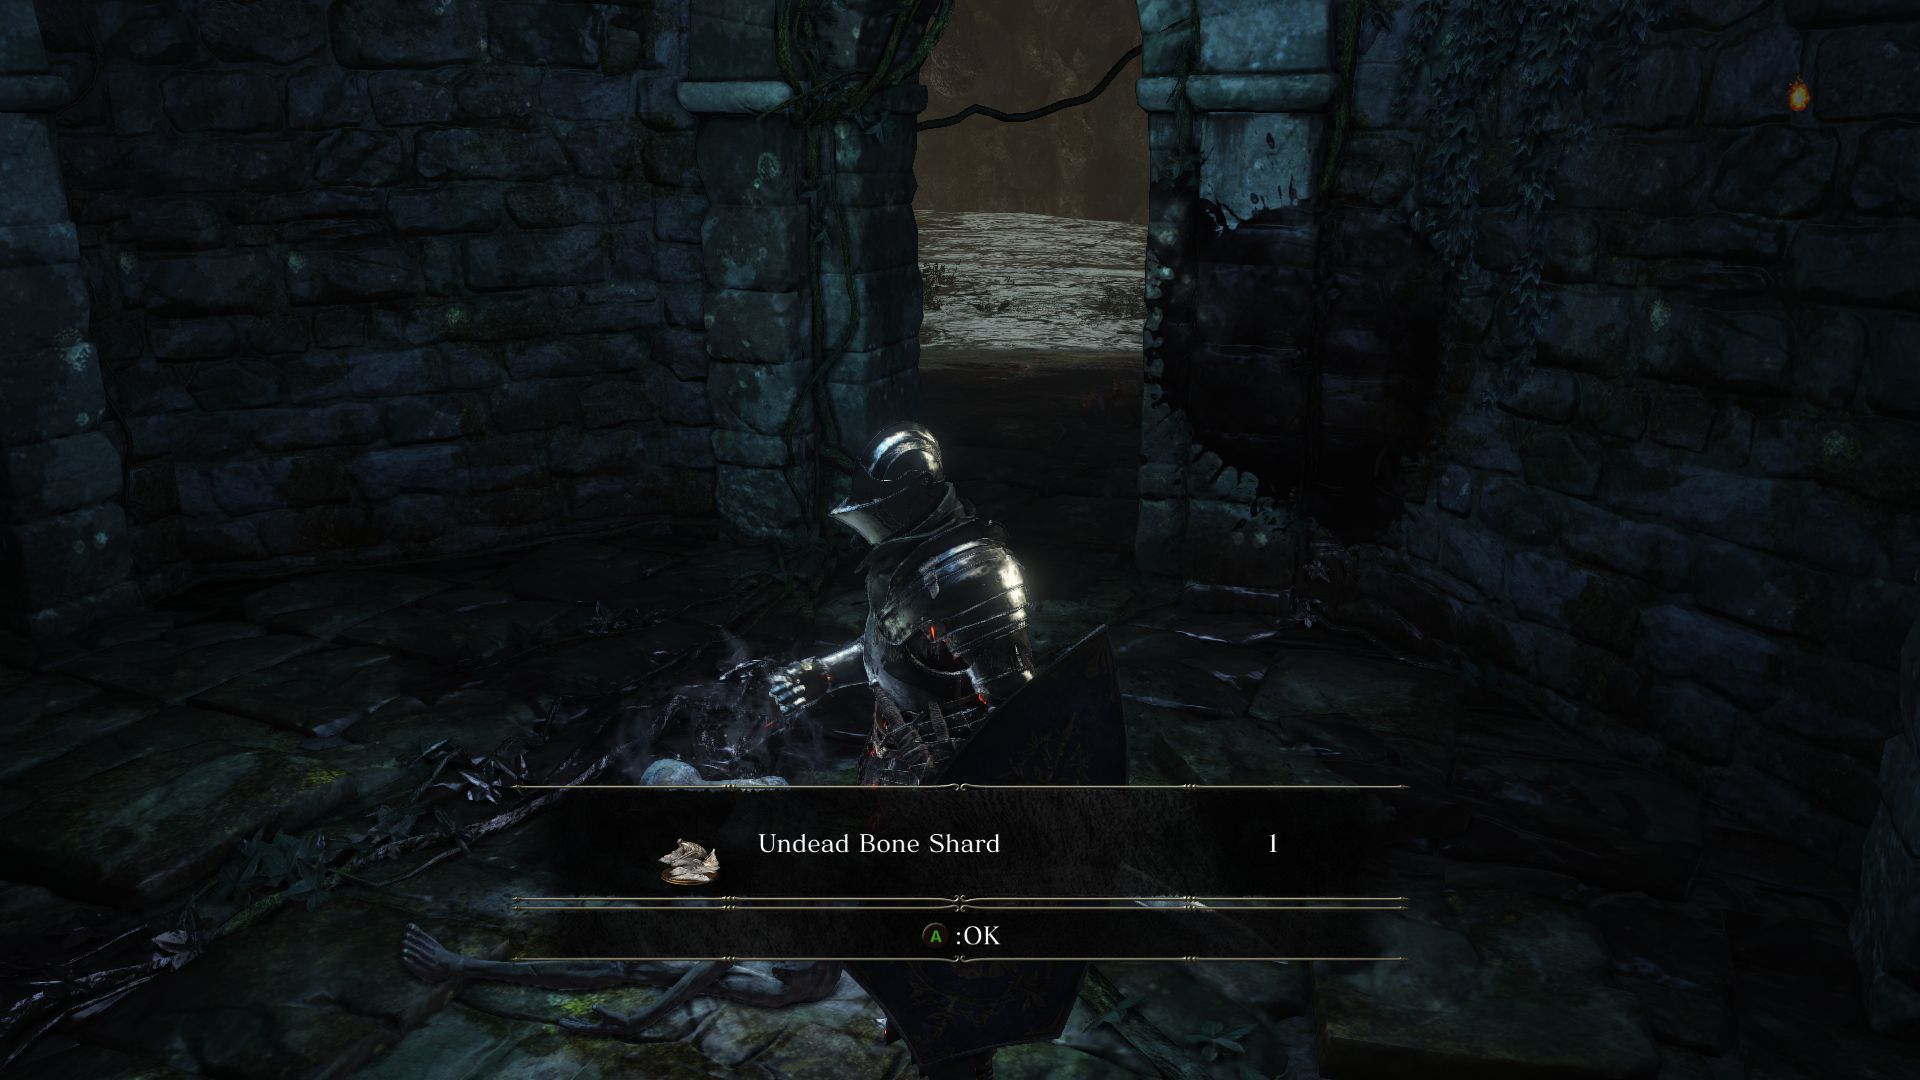
Close by is an island with a tower. Inside are a bunch of sluges swarming around an Undead Bone Shard. Take out the slugs with a sweeping weapon or spells to loot the item. Remember to upgrade the Firelink Shrine Bonfire with the Undead Bone Shard when you can.
From here, look left among the trees for some Ghrus. They are guarding a body that holds a Sage’s Scroll. If you had recruited Orbeck earlier, you may want to give this to him. Because after this boss fight, if you haven’t been giving anything to him, he’ll leave the Firelink Shrine.
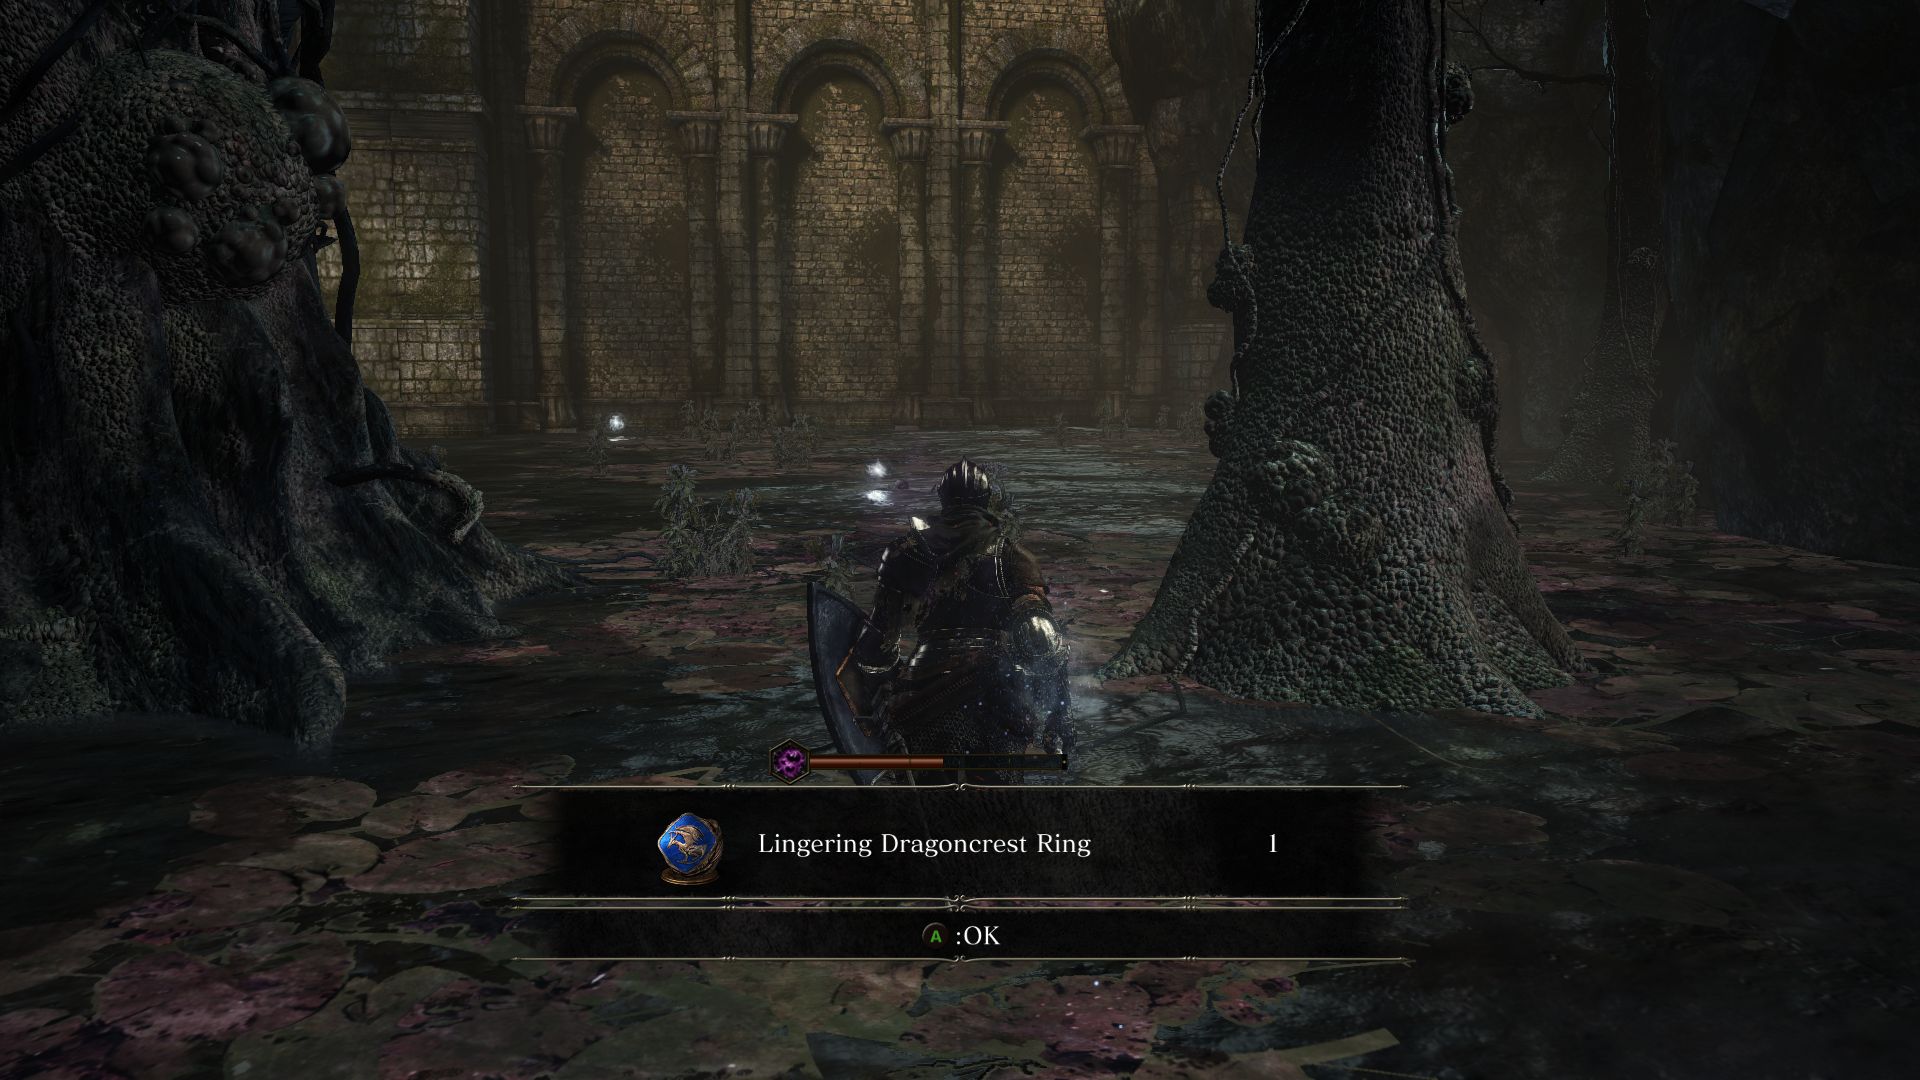
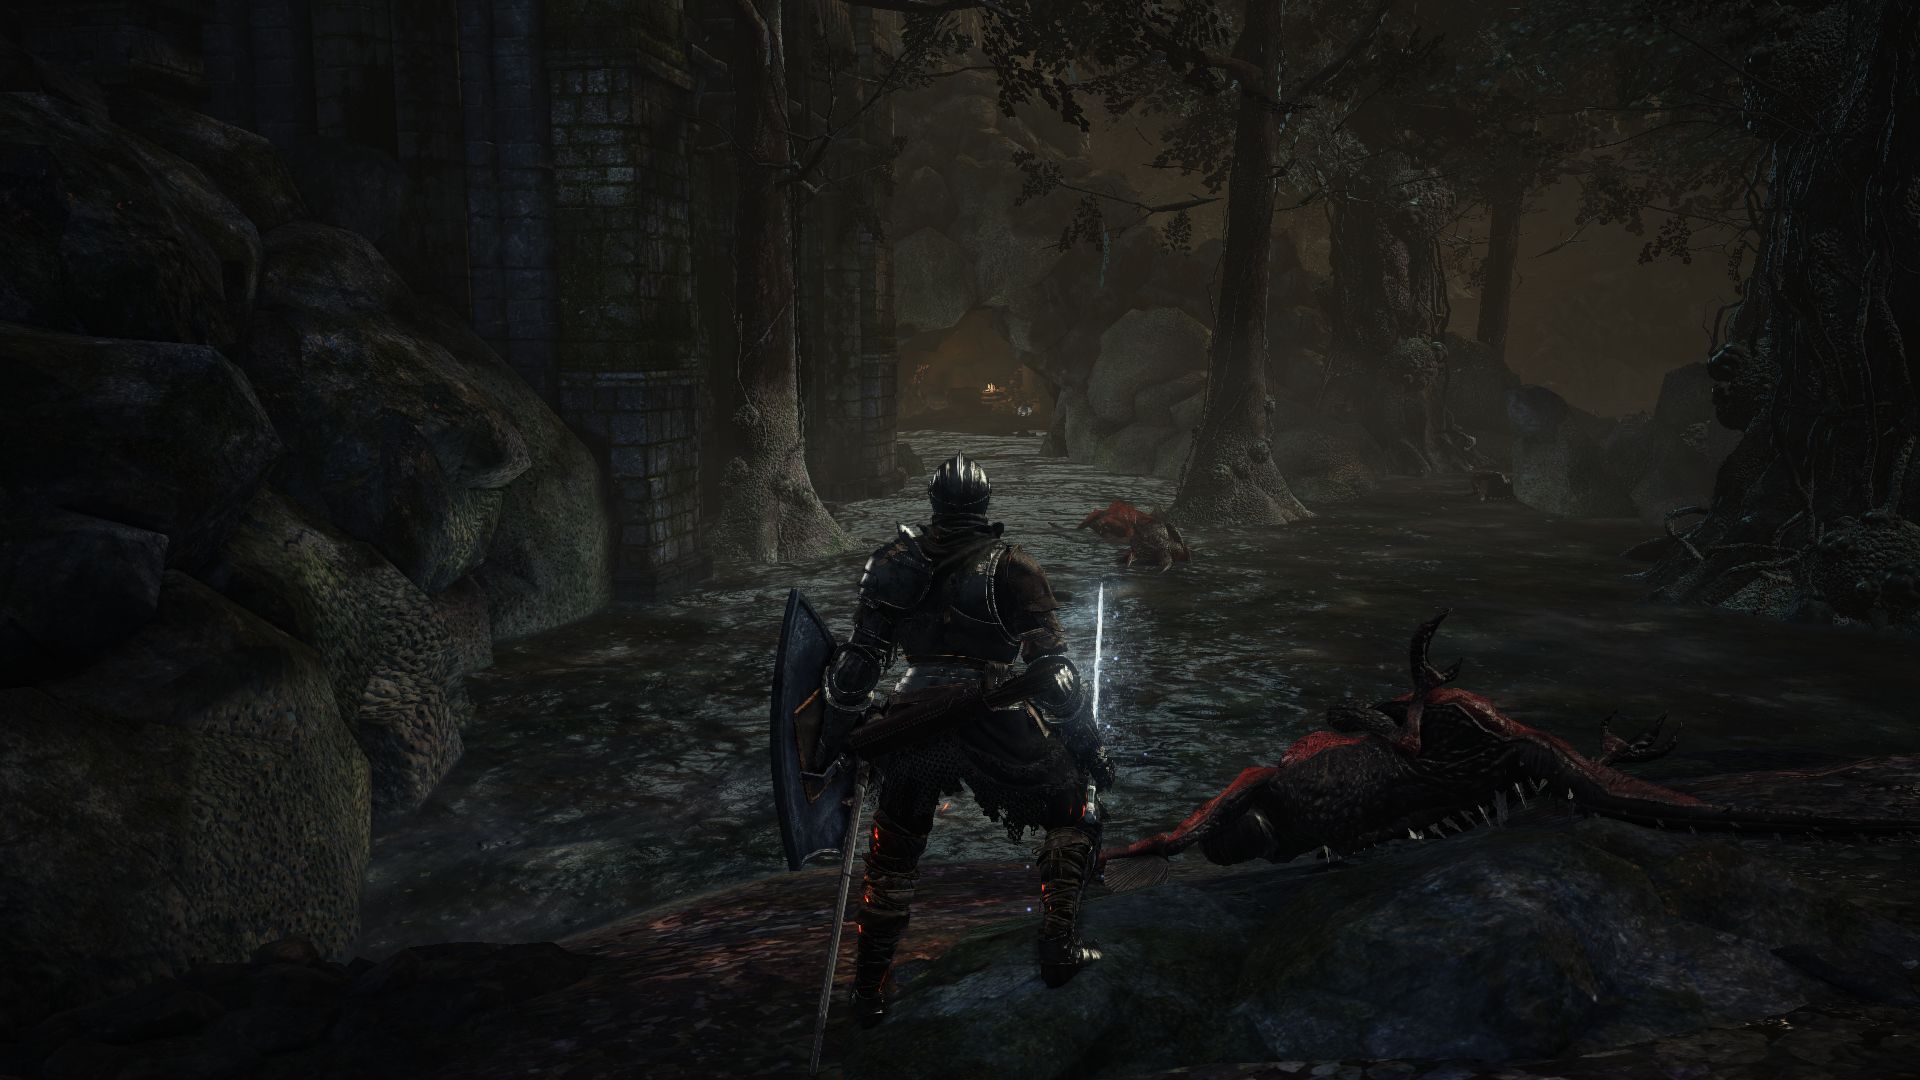
Keep going to the further down and you’ll notice a familiar enemy, a Giant Crab. Whatever you do, do not fight him in the shallow muck, as you will be slowed there. Try to draw it back, or get it stuck between trees. Killing it will reward you with a Lingering Dragoncrest Ring. There’s a bunch of other orbs to loot in the area that he was guarding: 6 Gold Pine Bundle, 2 Young White Branch, a Crown of Dusk, Ember, a Soul of a Nameless Soldier, and a Large Soul of an Unknown Traveler.
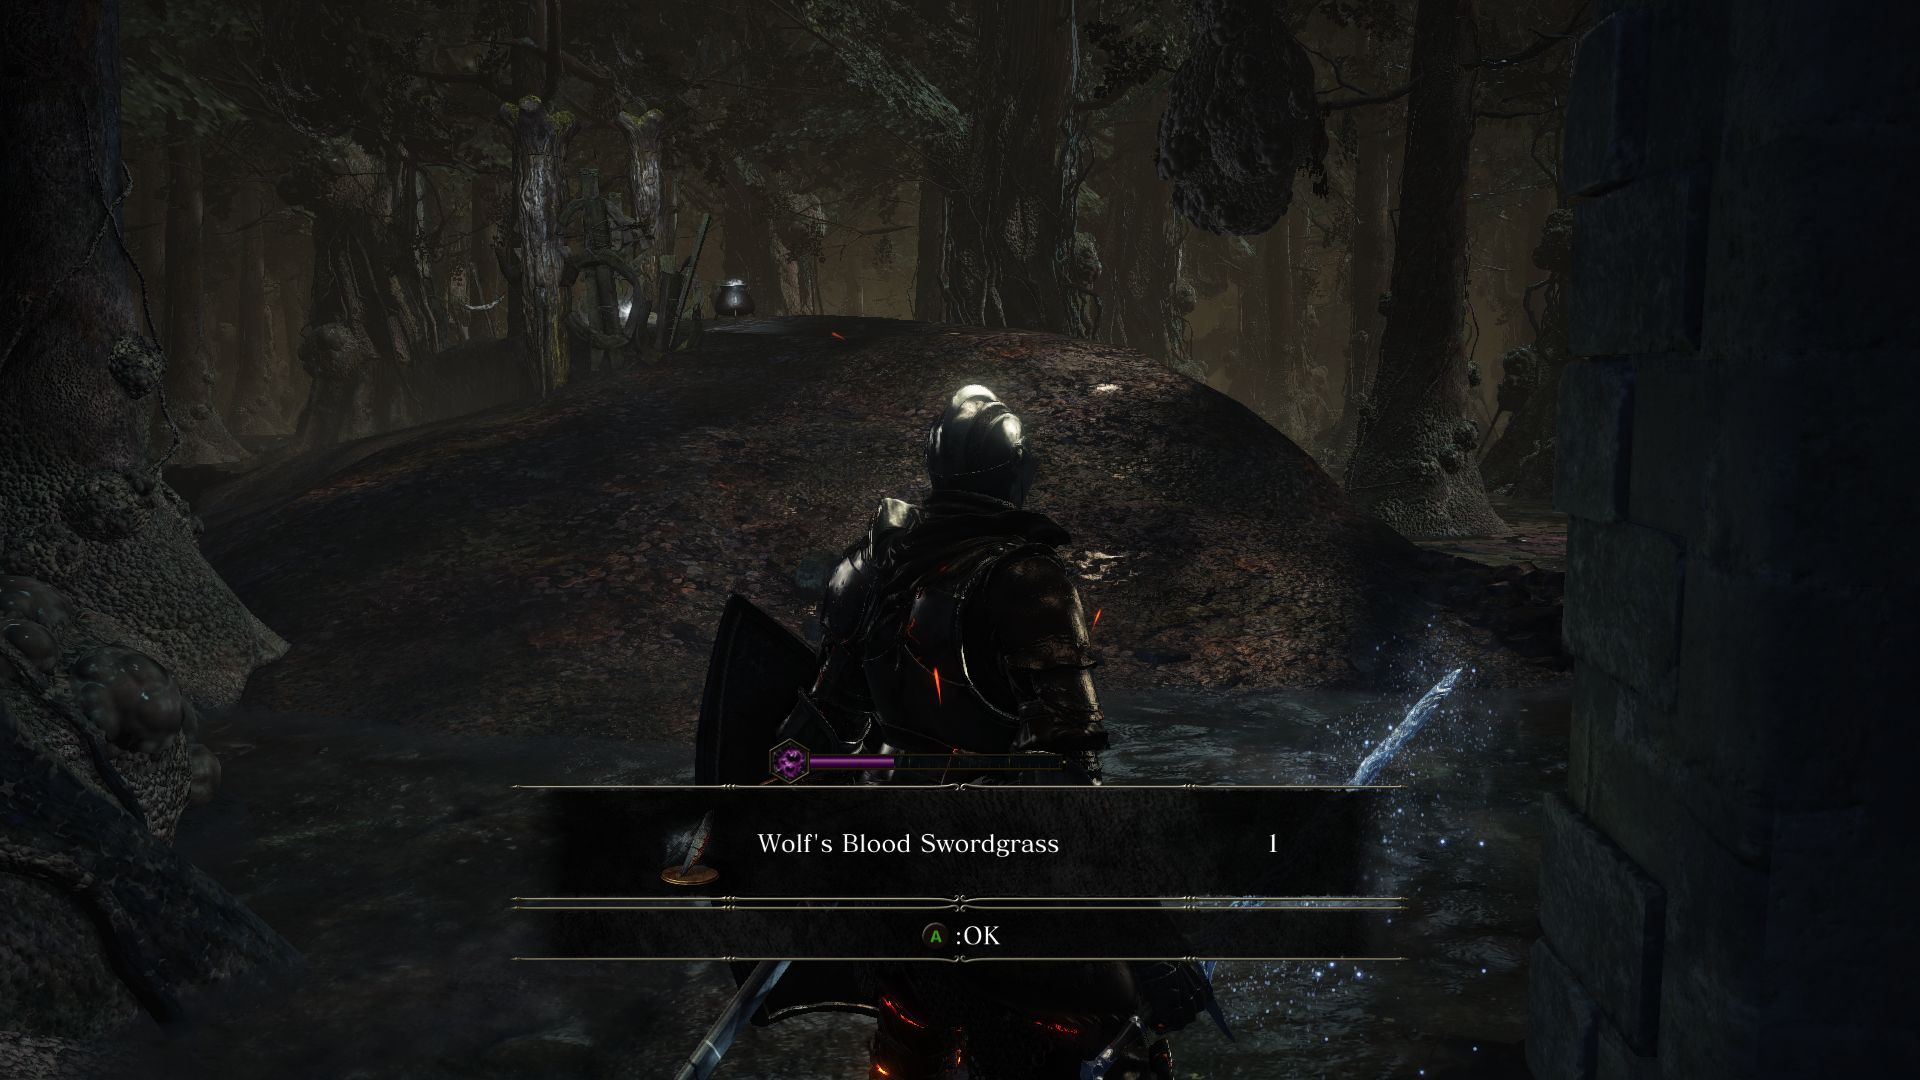
Now go back to the column with a ladder guarded by 3 slugs. We’ll climb the ladder in a bit, but let’s snuff out the 3rd flame first. Just around the corner of this column you will find a Wolfblade Swordgrass (covenant item). Up ahead in the next island is a Sunlight Talisman and a very useful Pot of Estus Soup that you can use to replenish yourself.
Follow the pyres to guide yourself to the last flame. On the way you’ll find a Titanite Shard but always keep an eye out for slugs emerging from the muck to attack you. Upahead you’ll come across a Giant Ghru. This can be a difficult fight. When he slams his tree weapon on the ground, stay mobile and dodge the red orbs he summons to strike the ground in front of it. Get away from it when the Giant Ghru sticks the tree into the ground, an AOE attack follows. If possible try to lock on and stick to its back while looking out for its shoulder swing to dodge. Take out the Giant Ghru and loot 2 Titanite Shard close by. There should be another corpse near that will reward you with the full Nameless Knight Armor Set.
If you are embered you may get the message that you’re being invaded by Yellowfinger Heysel, someone who had invaded you earlier in the Road of Sacrifices swamp. Don’t worry if you don’t see Heysel yet. He’s probably using a hide spell at the moment.
Following the pyres you’ll approach the island with the last flame but not before you encounter yet another Giant Ghru. Don’t fight it in the swamp. Sprint up the stairs and fight it on high ground where you have room to maneuver. Take out this Giant and snuff out the last flame for another cut scene.
Behind the flame that you just snuffed out you should find 2 Homeward Bone. This is also where Yellowfinger Heysel will attack you if he hasn’t attacked you already. Better not fight him in the swamp where your poison meter builds up. Get close to Heysel and take him out.
Move down the ramp on the other side of the island to find a corpse holding a Large Soul of a Nameless Soldier. But this is where you’ll face new enemies, the basilisks. They will spray deadly fumes that if you inhale too long you will die (it’s a different meter than the poison meter). So do not linger around in their mist for too long. Stay mobile and take them out. You will find 2 basilisks nearby the other side of the ramp.
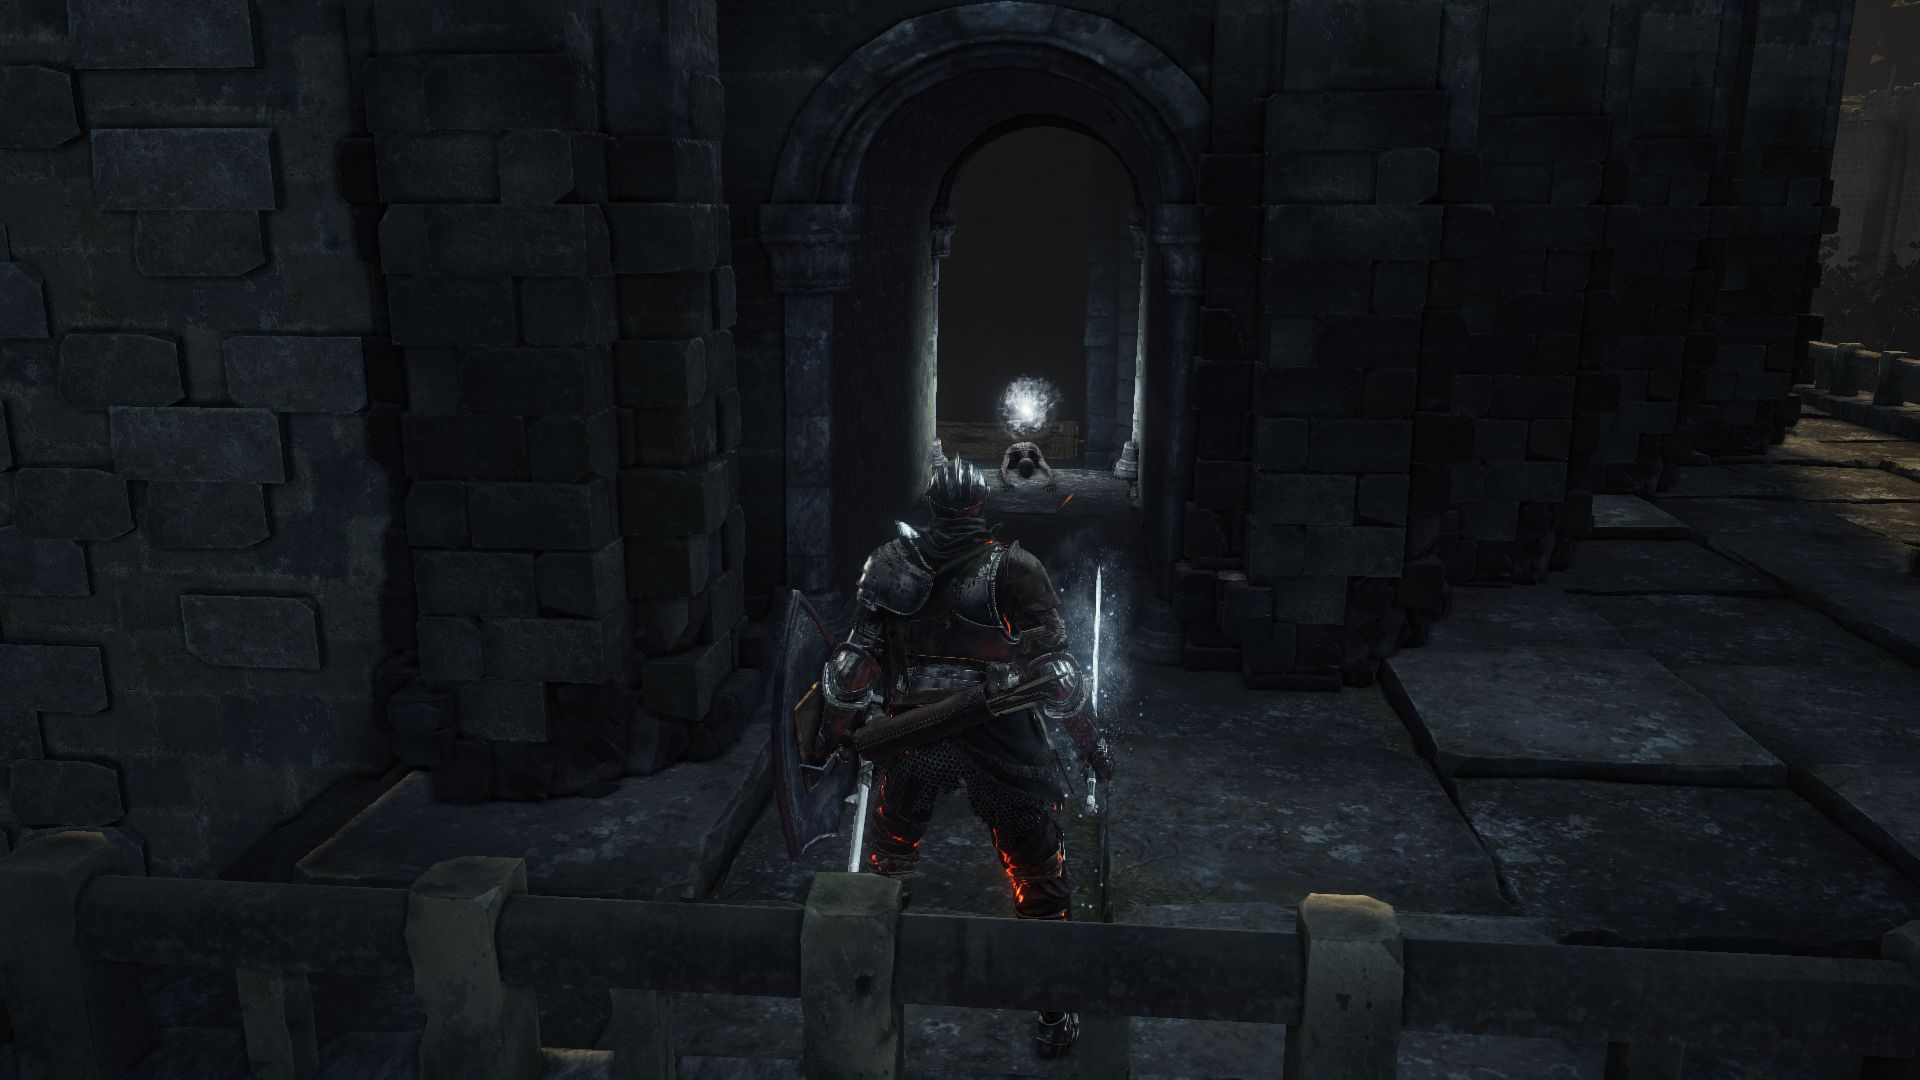
Keeping going across the islands until you come to an alcove with a Basilisk guarding 4 Repair Powders. Be careful here. As you approach the item, more Basilisks will emerge. You don’t want to get caught in a mist of deadly fumes. So try to draw them back one by one. From where you looted the Repair Powders, if you look back, you’ll see a small cave. Sprint to the cave and loot the corpse there to find a Golden Scroll and a chest containing the full Antiquated Armor Set.
COVENANT WATCHDOGS OF FARRON: Now let’s go back to that column with the ladder and 3 slugs guarding it. Kill the slugs and climb the ladder to the top. Take the stairs on either side to find a small crystal lizard. Take it out for a Twinkling Titanite. There’s an illusion wall here near the right side of the stairs, so hit the wall until you find it. The wall will disappear and lead to a corpse holding Dreamchaser’s Ashes (give it to the Handmaid). Drop down and you’ll find yourself in a room with a bonfire and the Old Wolf of Farron. Talking to the wolf will earn you the Legion Etiquette Emote, and if you join the covenant, you will obtain the Watchdogs of Farron insignia. You can offer Wolfblade Swordgrass to raise your standing.
Also note that if you return to the Firelink Shrine to return the Dreamchaser’s Ashes and talk to Sirris of the Sunless Realms, she will suggest a possible team up and give you the Darkmoon Loyalty Emote.
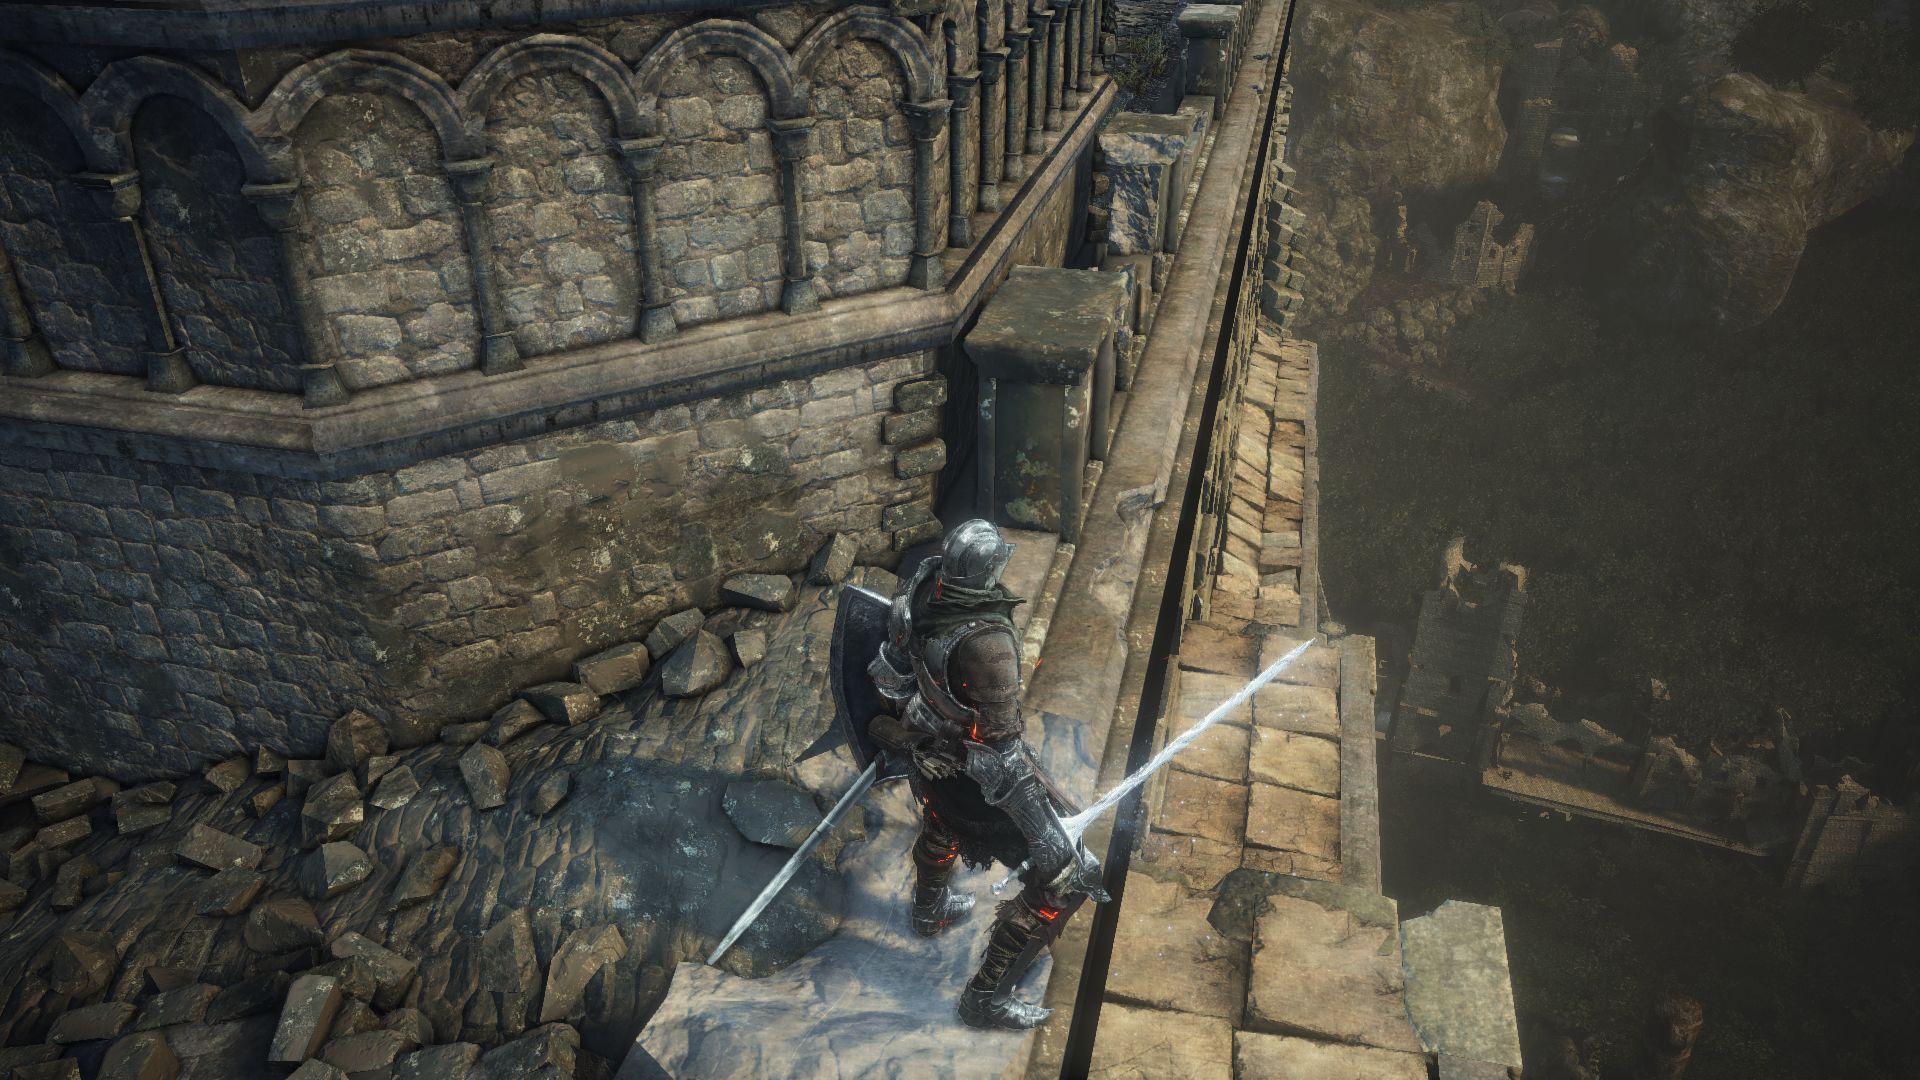
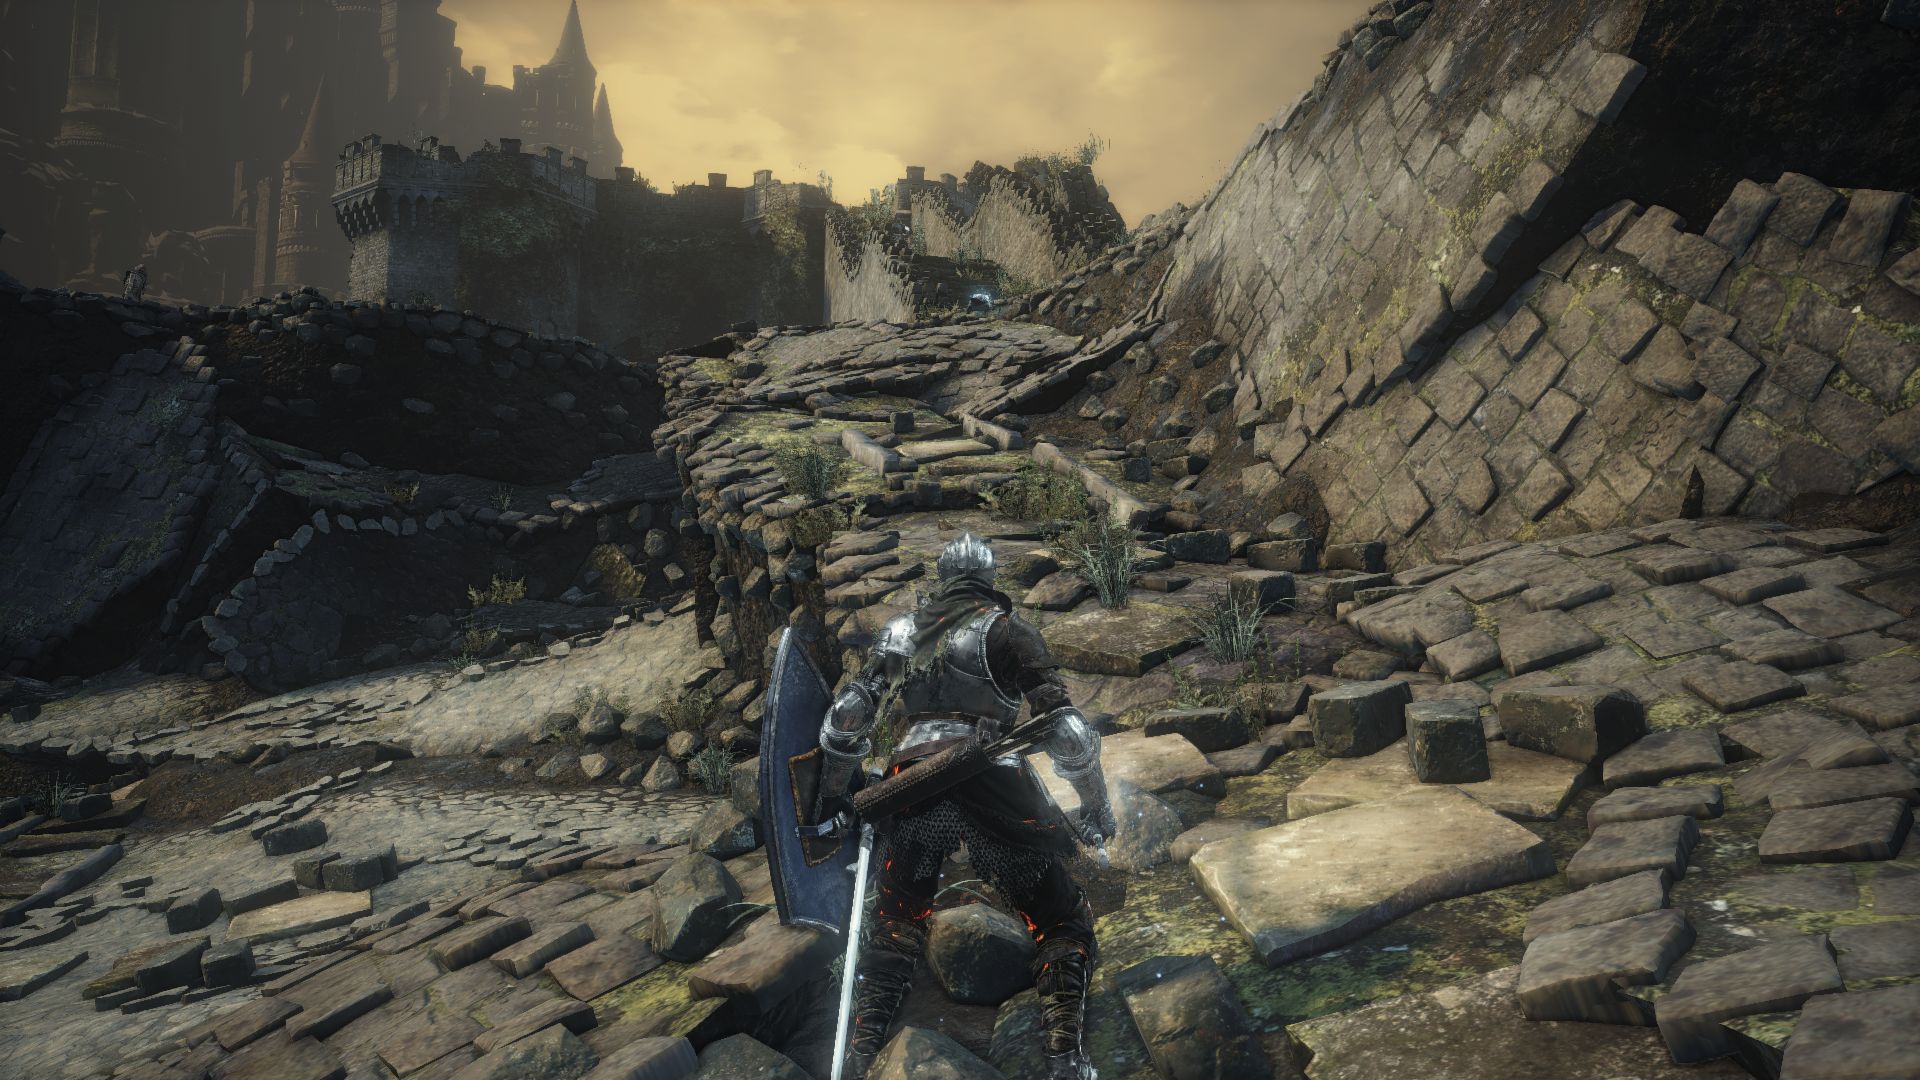
From the Old Wolf of Farron Bonfire, you can head up the elevator for some more items and a mini boss that may be extremely tough. Take the elevator to the top of the bridge to find yourself in refreshing sunlight. As you take the stairs to the top, you’ll notice a hulking figure on the left. Before facing him, look right by the sealed gate. At the corner, you’ll find a lower platform you can jump on to. Take this path until you come to the other side of the gate where you will find a dragon corpse. There are two small crystal lizards here that will drop a Large Titanite Shard each so be fast on your feet and kill them before they disappear. Loot the two corpses in the area for a Lightning Spear and a Dragon Crest Shield.
Time to head back to the other side. Go up the ramp but be prepared to fight many Hollows on the way. You’ll also notice a Crystal Lizard here, so if you’re feeling brave, go for the crystal lizard first to earn a Heavy Gem before taking out the Hollows. At the top of the ramp, you can drop off on the other side. Keep in mind a bonfire is just below the bridge, so you should go rest and spend your souls before you fight this boss.
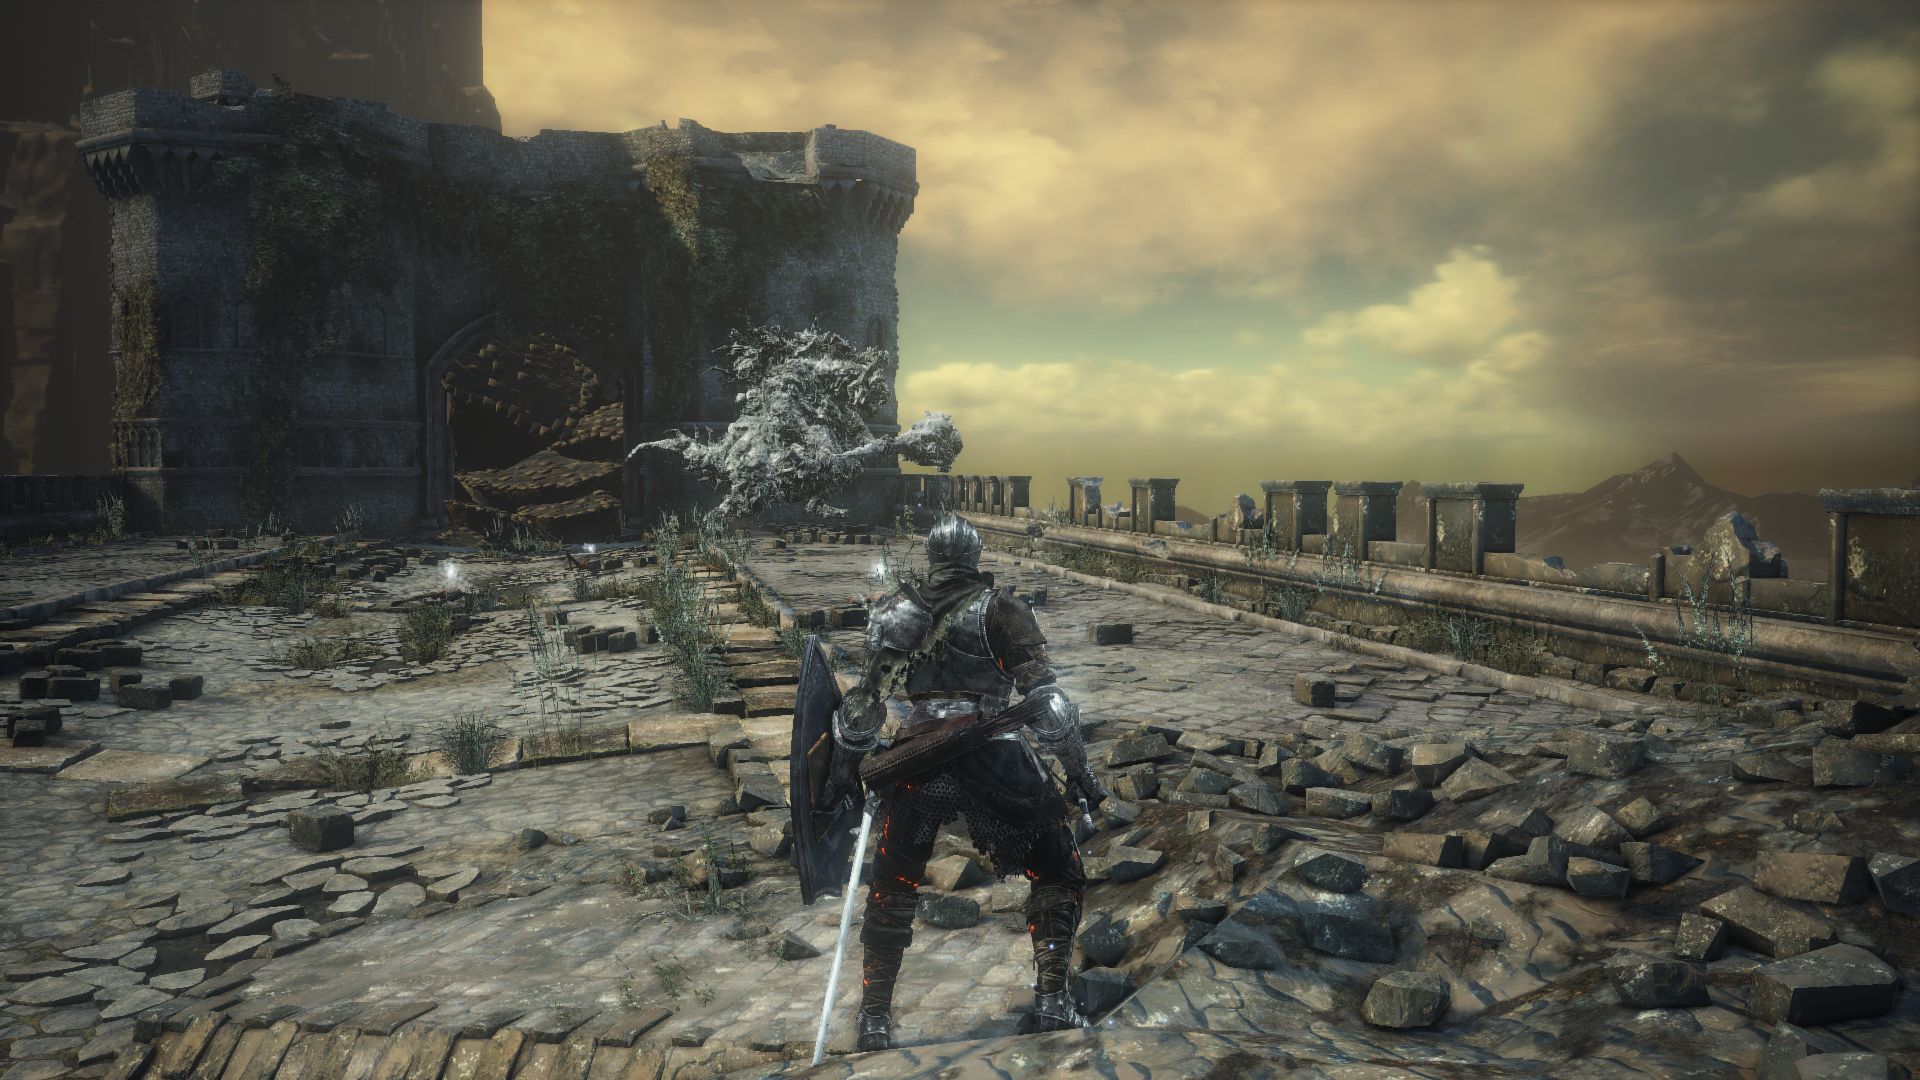
MINIBOSS FIGHT – STRAY DEMON
This boss hits hard, really hard. If you want to block its attack, you need a greatshield. So it’s better to focus on dodging instead. It is not too difficult to predict the demon’s attacks since it’s a bit slow. You will know it’s about to attack when it raises its mace for a swipe or a slam. Wait for him to finish his attacks to land a few strong hits and prepare to dodge again. If you stay behind him for too long, he will swat you with his tail. If he jumps in the air, get away to avoid the AoE damage on the ground. From a distance he’ll hurl boulders at you which you will need to strafe to dodge. If you’re too close, he’ll grab you and slam you into the ground, and if you’re close to the edge of the bridge, he may just throw you off to instant death. Try to aim for his legs when you can to force him to lose his mobility. Keep chipping away as you dodge his attacks and when he falls you will be rewarded with the Soul of a Stray Demon. There are a few more corpses to loot here as well, a Greataxe and 2 Embers.
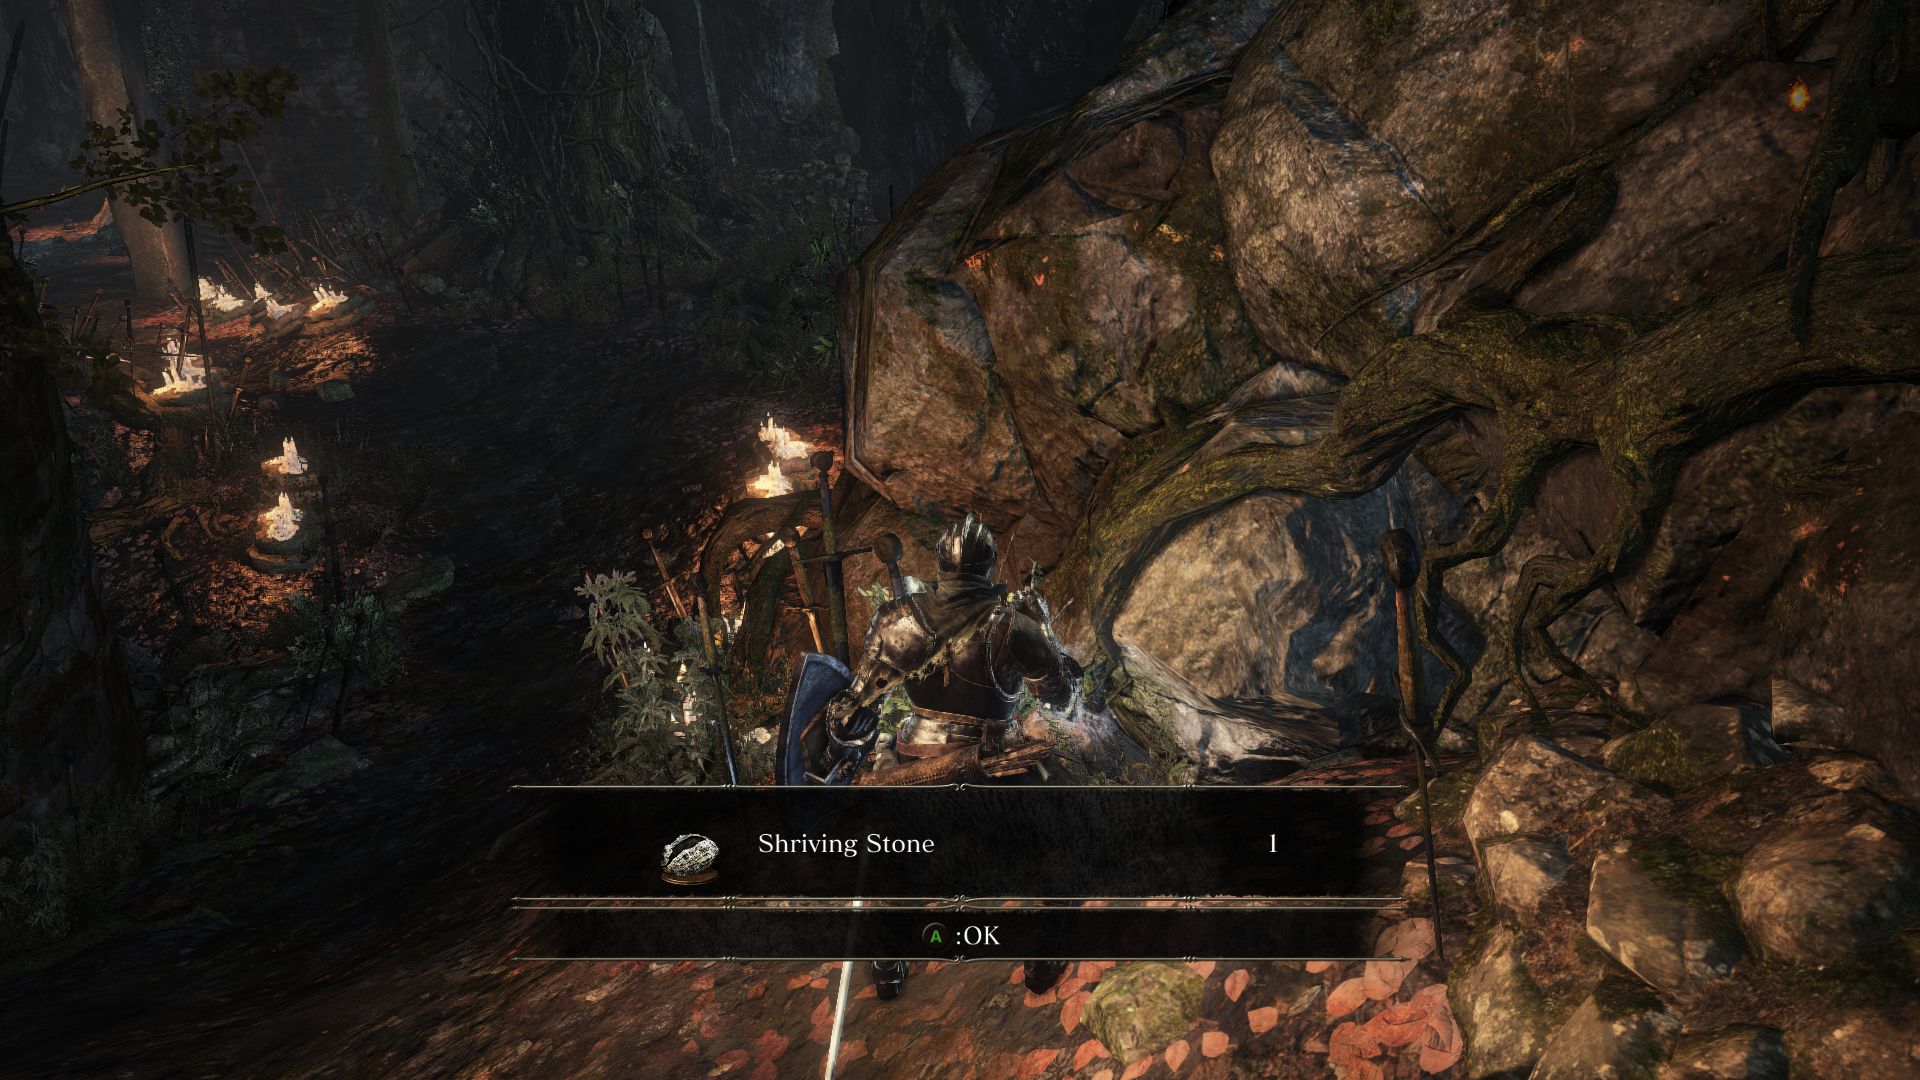
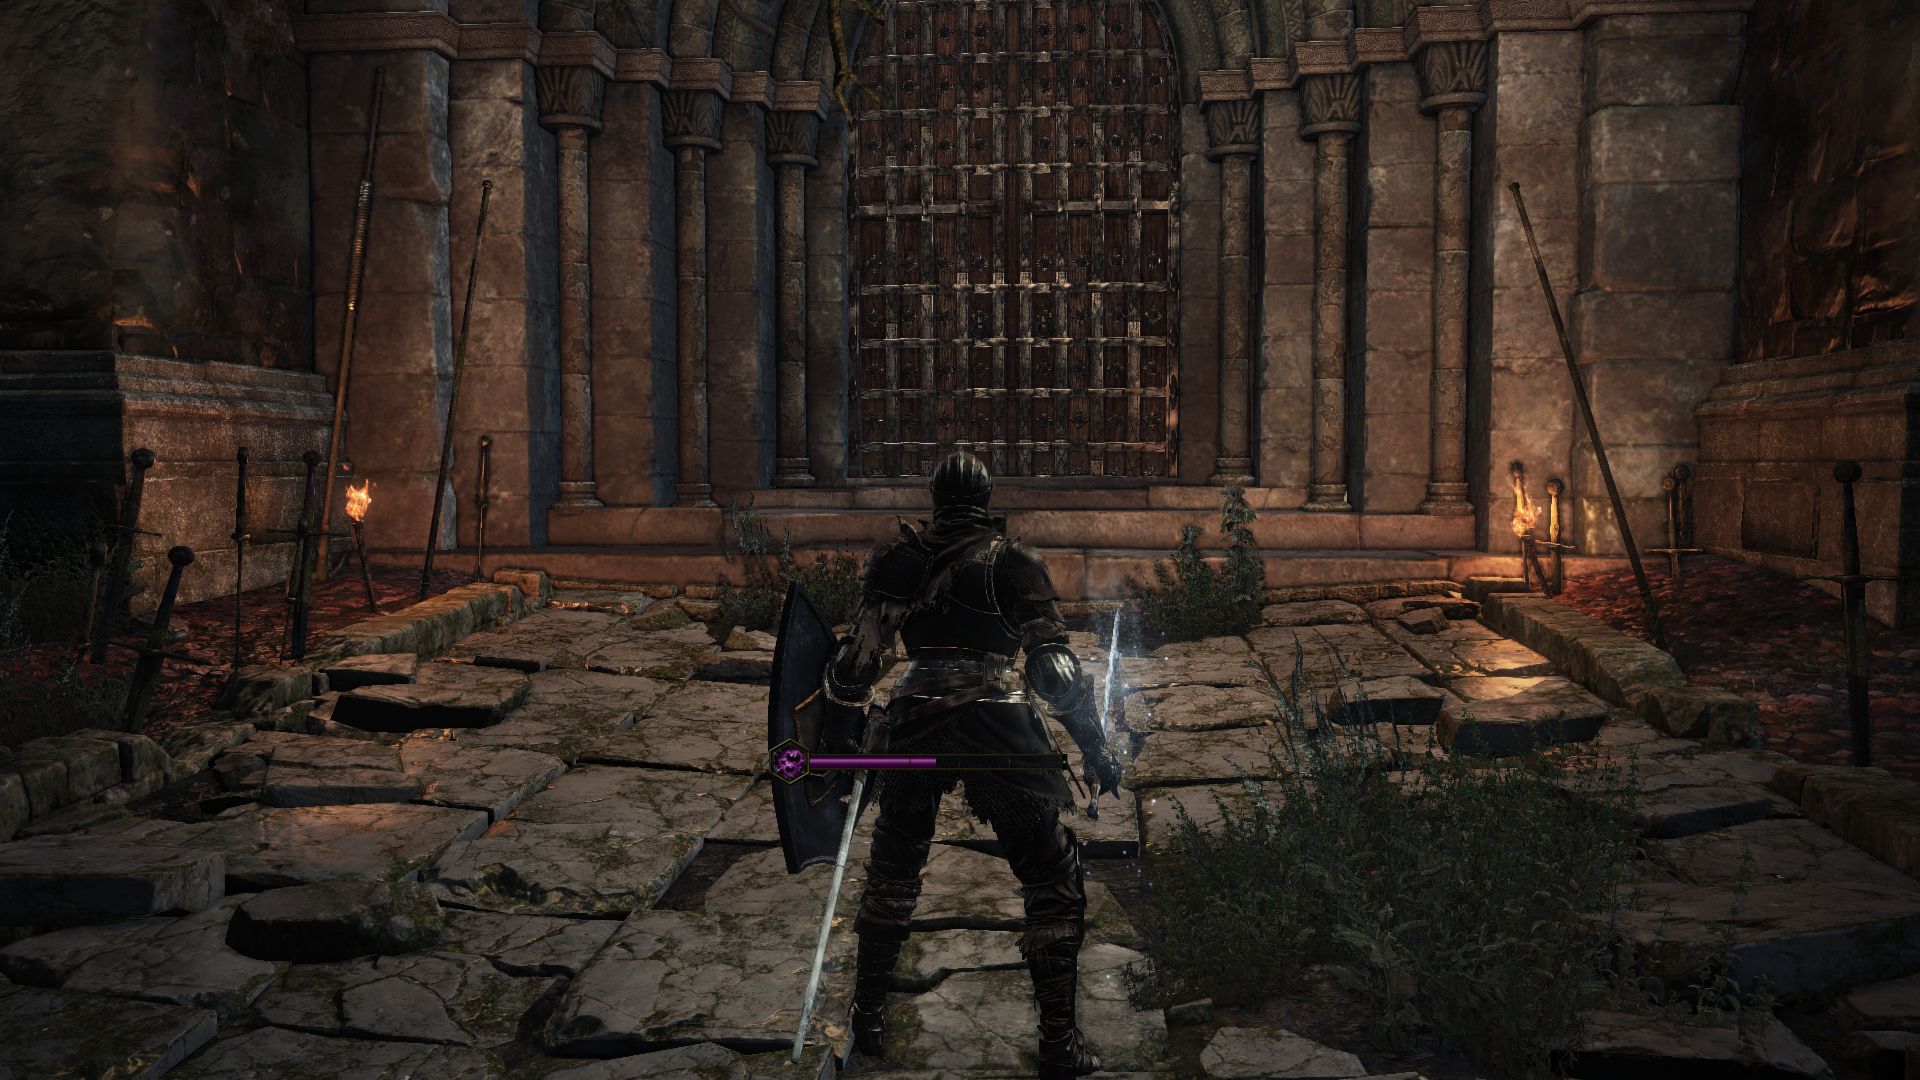
Now let’s back to the gate we had opened by snuffing out the three flames. Past the gate you’ll see that you can go left up a slope or right. They both converge just up, but the path on the left has a Corvian Shaman. So you may want to take him out first so he doesn’t rouse the Corvinas below. The right path has a Shriving Stone.
As you enter the next area you’ll see an interesting fight, or rather a slaughter, as 2 Darkwraiths are killing some Ghru. You can either try to attack the Darkwraiths while they are busy fighting the Ghru, or wait until the Ghru’s are dead and the two Darkwraiths start patrolling. Don’t get too close, and wait until they are separate before you lure them one by one. Killing them will reward you with the Dark Armor pieces.

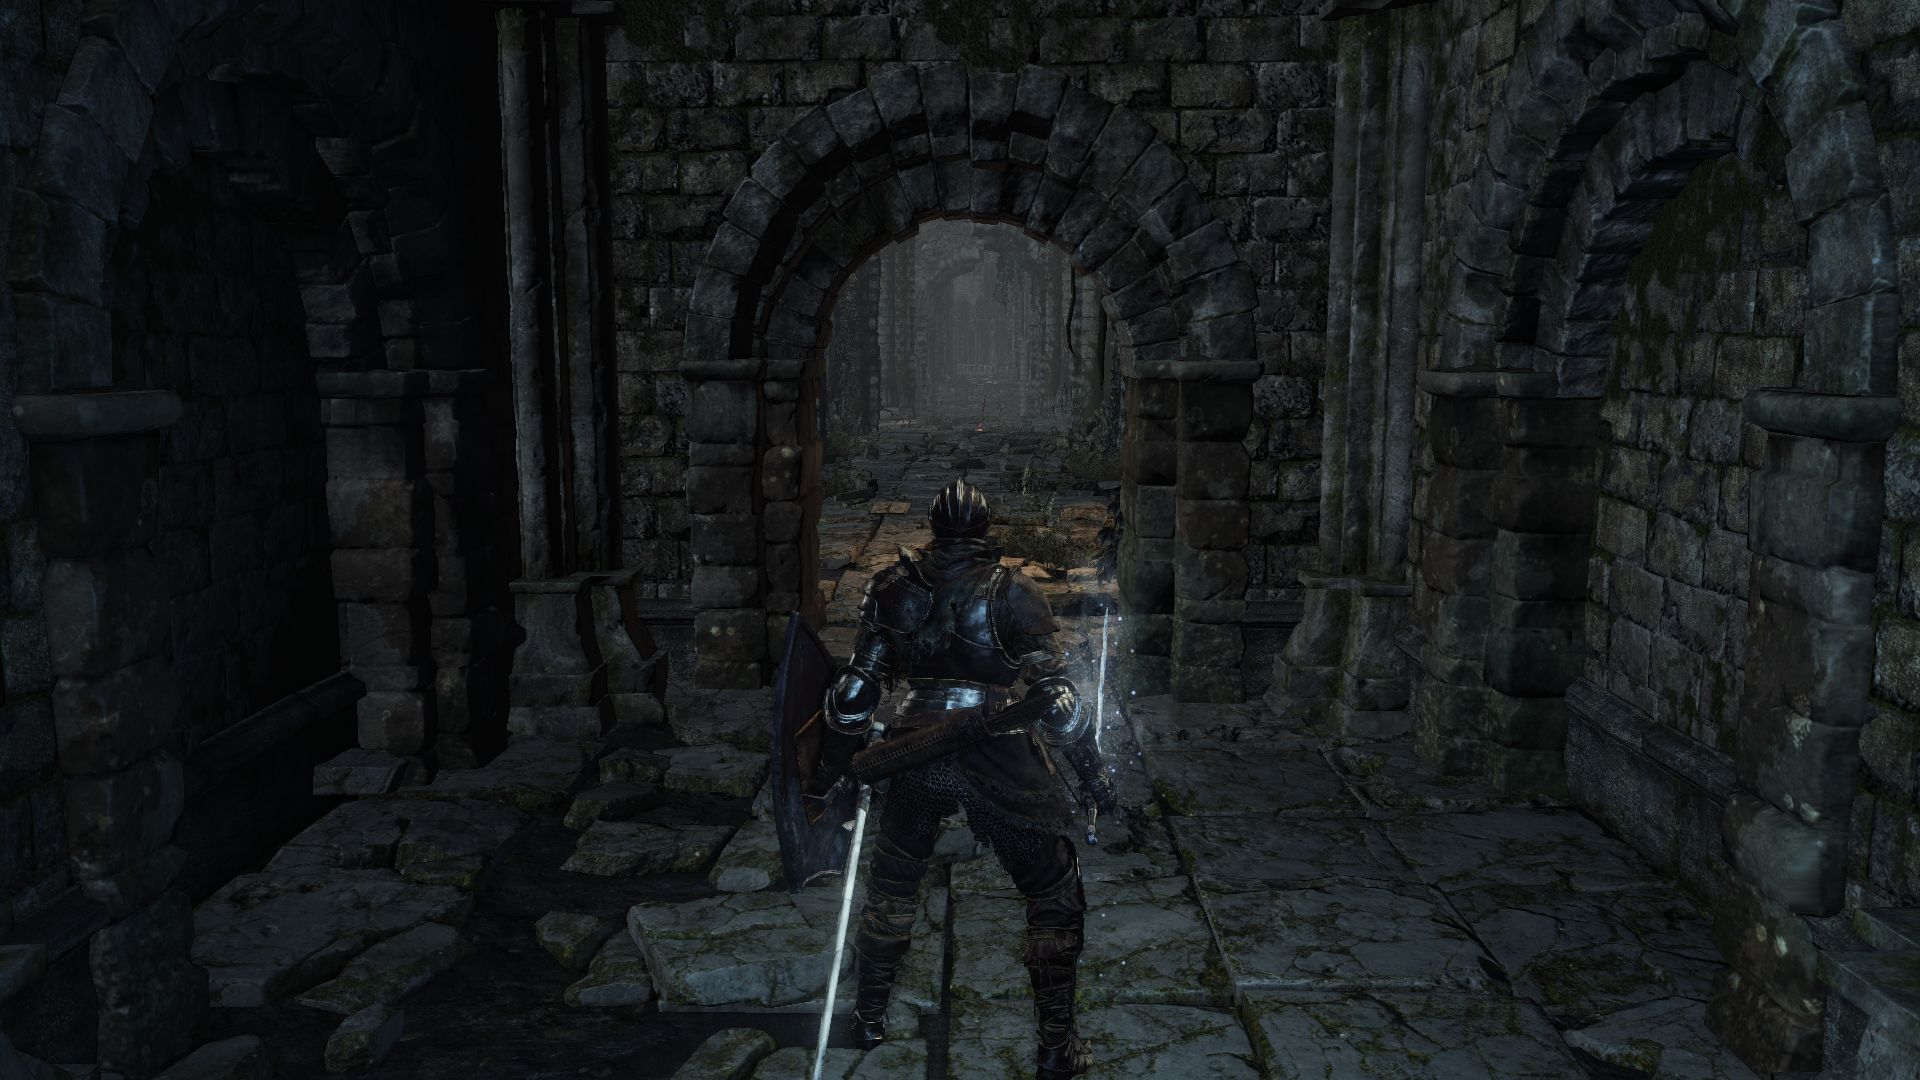
You don’t have to fight them however, you can go simply go right into the ruins for a new bonfire and the checkpoint you’ll be using to get to the boss. You will see a summon sign near the bonfire that allows you to summon Londor Pale Shade ally for the boss fight, assuming you have been “drawing out your true strength” through Yoel. Londor will give you the Duel Bow Emote.
Past the bonfire you’ll find 3 Ghru and a passage back into the swamp through some platforms you couldn’t reach earlier. You’ll find an Atonement Curse and a Hollow Gem.
Beyond the 3 Ghru is a slumbering Giant Crystal Lizard. This enemy is blocking the gate that leads to the hallway with the Black Knight in Road of Sacrifices and the other side of the swamp. Take out the Crystal Lizard, but be a bit wary since you don’t have much room to maneuver here. Killing the Crystal Lizard rewards you with 2 Titanite Scales. There is a corpse nearby that holds 3 Great Magic Weapon. Open the door to establish a shortcut and head back.
If you had rested at the bonfire, the Dark Wraiths and the Ghrus would have spawned again, so be careful. To get to the boss fight itself, you can simply hug the wall to the right and reach the door while taking out a couple of Ghrus from behind and not drawing the attention of any other enemies. But before you do so, there is an Ember up on the hill and 3 Black Bug Pellets that you may want to loot. Open the door and get ready for the boss fight of this area.
Before you enter, you should know that this boss fight will determine the fate of some NPCs at the Firelink Shrine. If you haven’t given any spells to Orbeck yet, he’ll leave. Yoel will die after this boss fight. So if you haven’t already drawn out your true strength five times in order to have Yuria replace Yoel, Yuria will not be available and you’ll effectively be shutting out the Lord of Hollows quest.
Also, in case you had sided with Rosaria, Yellowfinger Heysel will be summonable for the fight as well, and reward you with the Proper Bow Emote after the boss is dead.
BOSS FIGHT – ABYSS WATCHERS
After you enter through the door you will see a cut scene with two Abyss Watchers already fighting. The cut scene ends with one of them falling and the victor turning towards you. Before we get into details, it’s good to know that more Watchers will spawn during phase 1. The second watcher will have much lower health than the boss itself, but will dish out similar amount of damage. So when the boss and the second watcher are coming from you, it’s best to not engage them head on. But rather, wait it out until the third watcher spawns whose eyes will glow red and attack the first two. This is your chance to even the odds. However, if you attack this third watcher, it will turn to you as well, so you may want to be careful and maintain space.
The Watchers are fast and close distance rapidly with a dash that ends in an aoe attack. You want to avoid this. Watch for its string of combo and try to position yourself behind the boss to land backstabs if you can. Watch out for the combos that end in stabs or uppercuts that leave them open momentarily. They also dodge your attacks efficiently if you try to hit them head on, which they will retaliate with knife jabs.
For phase 1, try to fight the main Watcher until the second one spawns. Use the knowledge of its moveset to find openings. When the second one spawns, run. Don’t let them overwhelm you. Better wait for the third one. When the third watcher is engaged in battle with one of the first two, take on the one closest to you until the fight becomes one on one again. Being aware of your surrounding is key in the battle. If the “ally” Watcher wins its fight, let your ally take on the boss for a bit. If you hit this other Watcher, he will turn to you and it will be a two on one all over again. When the boss is almost dead, make sure you’re near the entrance. Phase 1 may seem easy, and you after you kill the boss you may think you’re done.
You’re wrong. Phase 2 is when the Abyss Watcher becomes really dangerous with flaming swords. If you can, use a Red Bug Pellet to soak some of the damage you may receive here. The boss will have the same moves as Phase 1, and no additional Watcher will spawn. The reason for staying near the entrance is because Phase 2 boss starts other side of the room. If you were close to him, the boss would get a few cheap hard hits on you even before you can react after the cut scene. If you’re a caster class, this fight will prove to be very difficult, because the boss will frequently close the distance with his dashes. Keep running around and hitting him when you can. Be careful while using Estus Flasks as he will dash at you and start his combo. Instead, wait for him to start a combo to chug some. After you have defeated the first Lord of Cinder, you’ll be rewarded with a Cinders of a Lord and the Soul of the Blood of the Wolf.
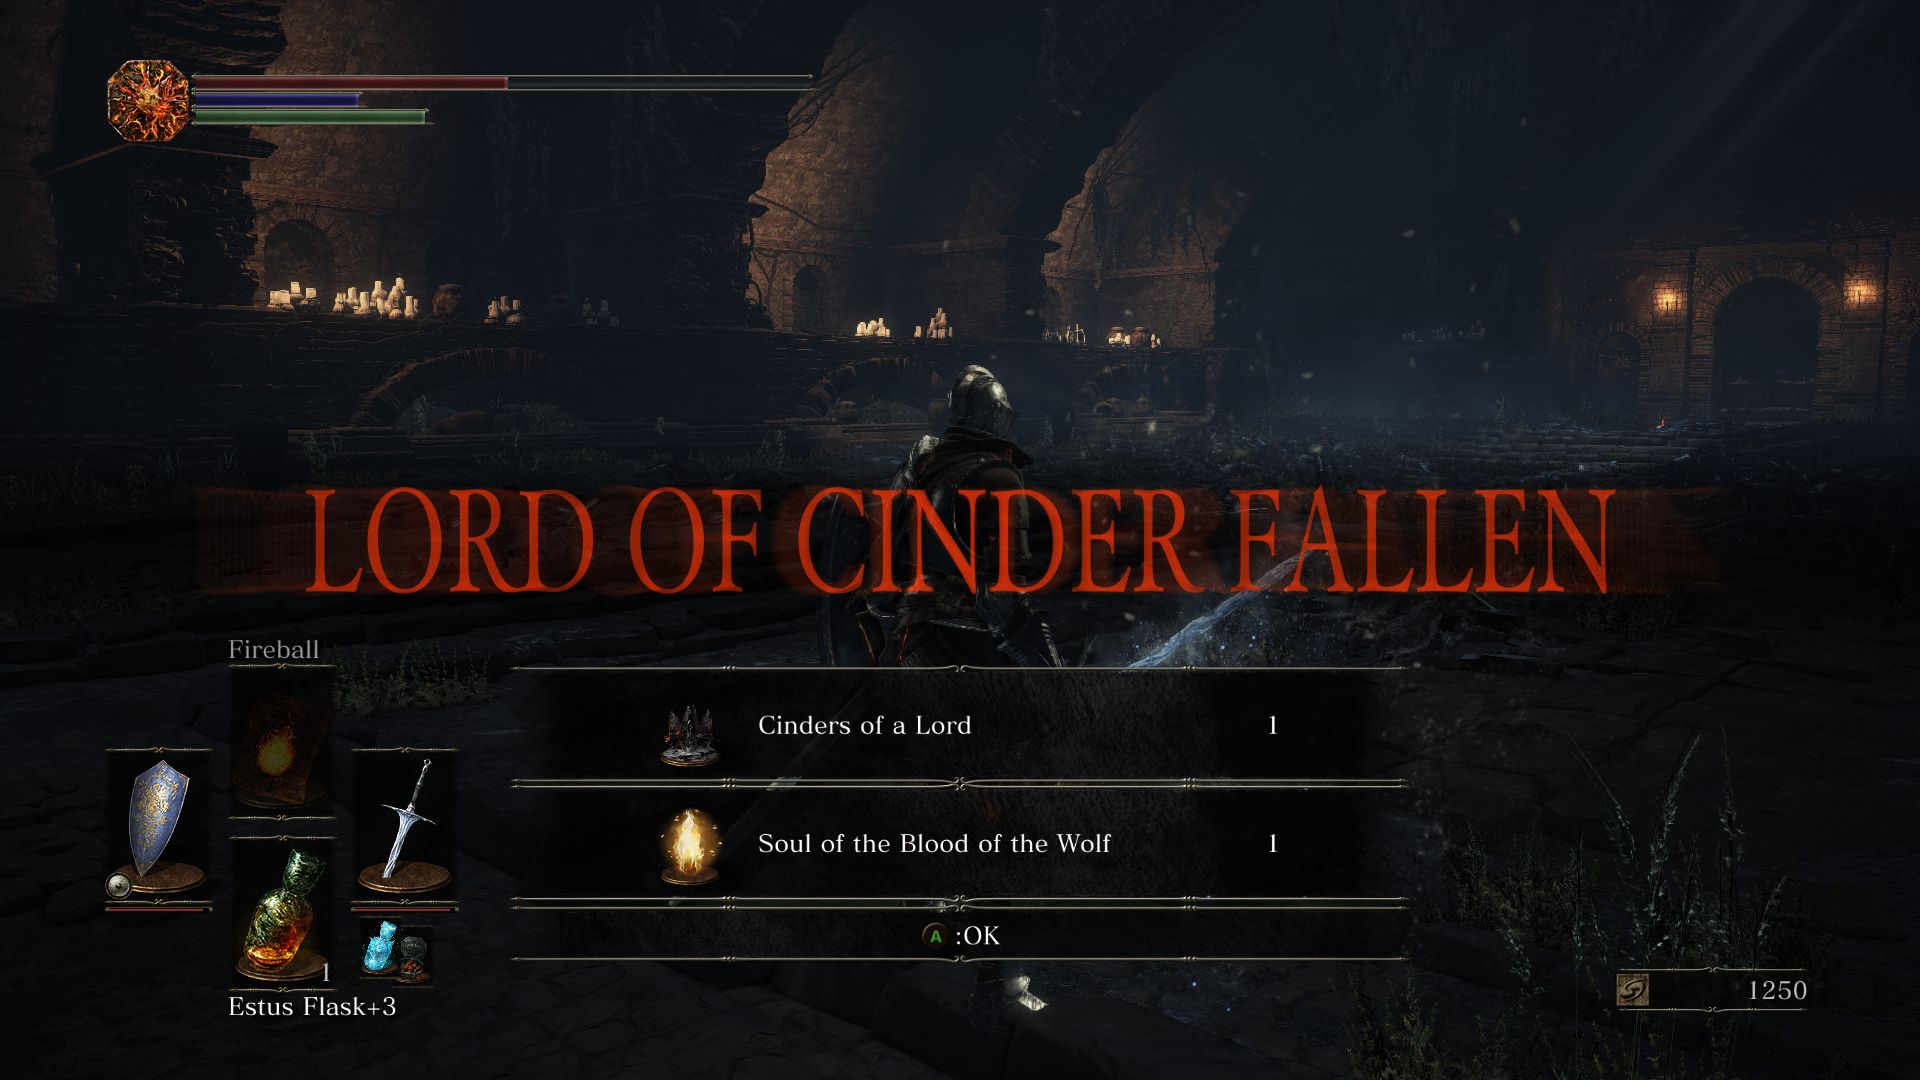
Light the Abyss Watchers Bonfire and prepare yourself for Catacombs of Carthus.
