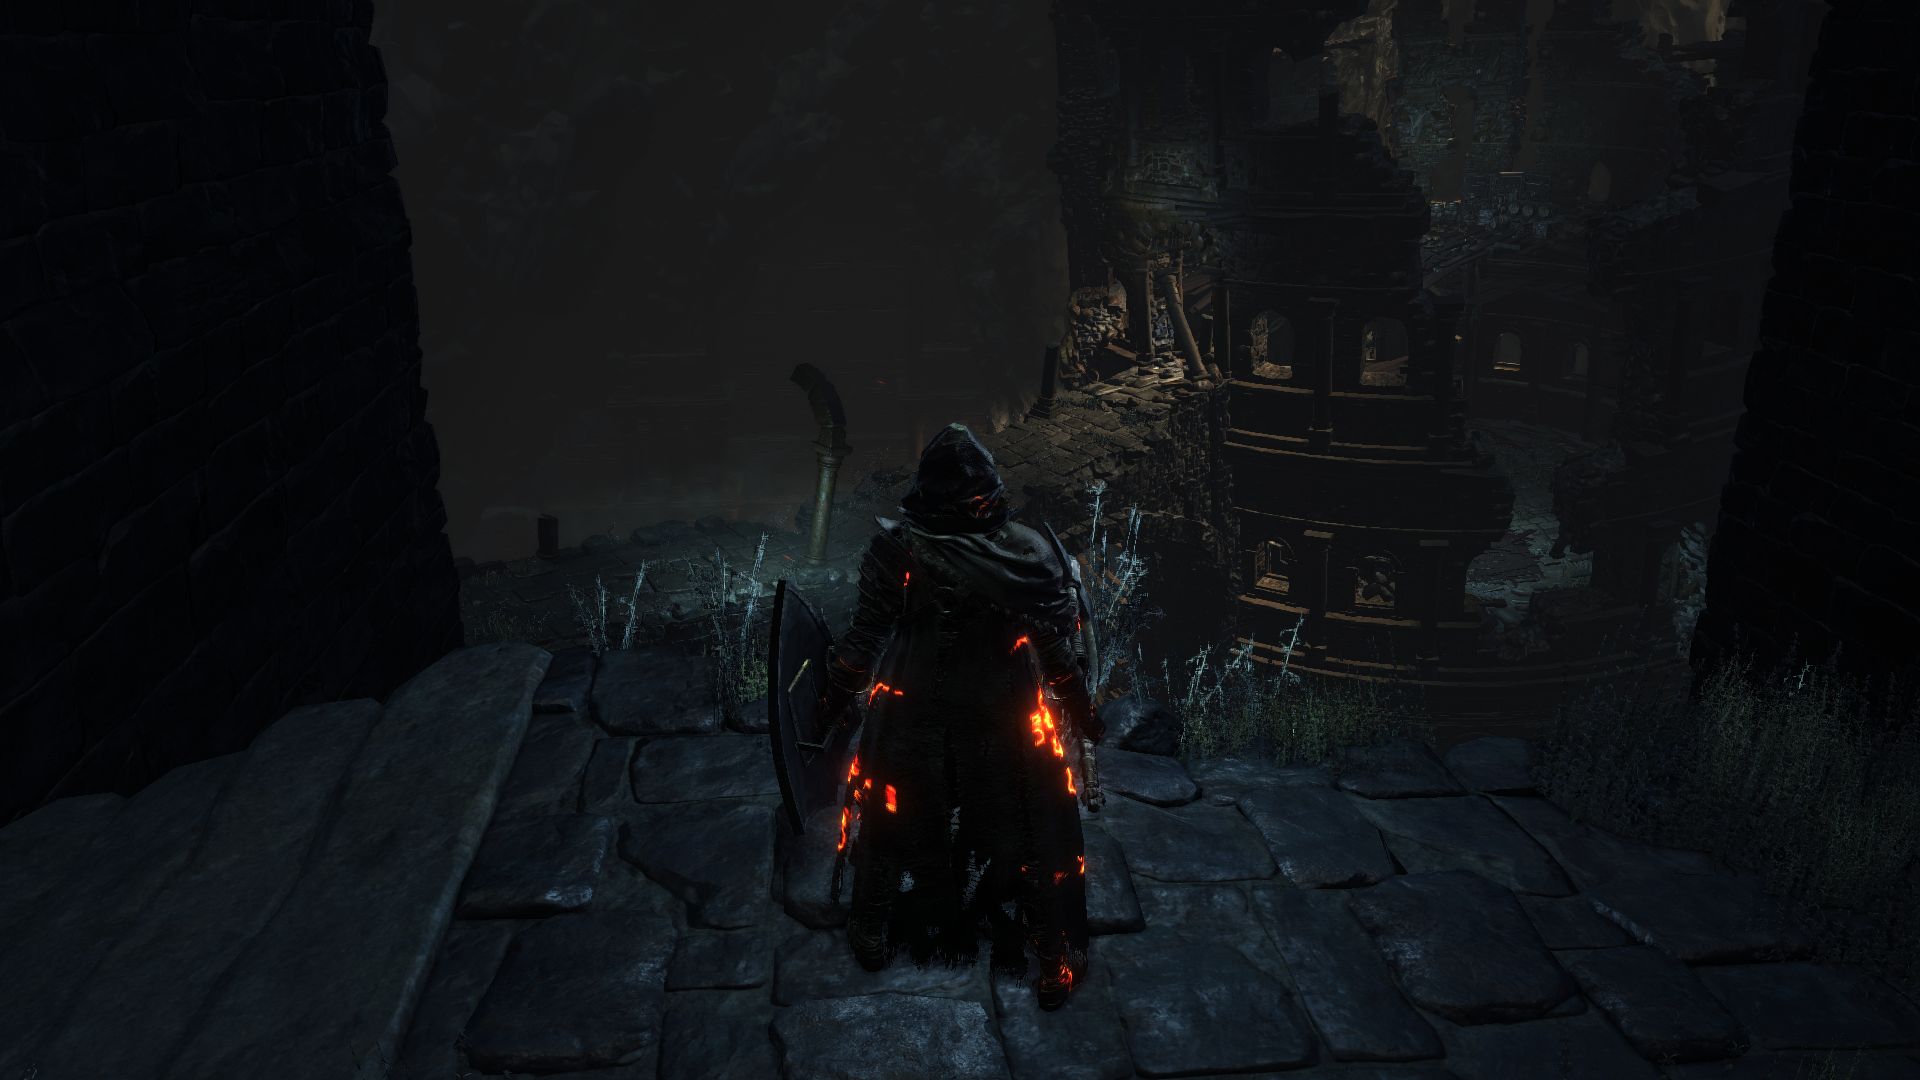
To enter Irithyll Dungeon, travel to the Distant Manor Bonfire. From here, proceed into the next area and head down the stairs. You will notice 2 Irithyll Slaves running away from you. If you chase them, you may be ambushed by the Pontiff Knight around the corner. Draw the Pontiff Knight back and defeat him. By now, the slaves have probably returned with a Fire Witch, so use the same tactics as you did back in Irithyll.
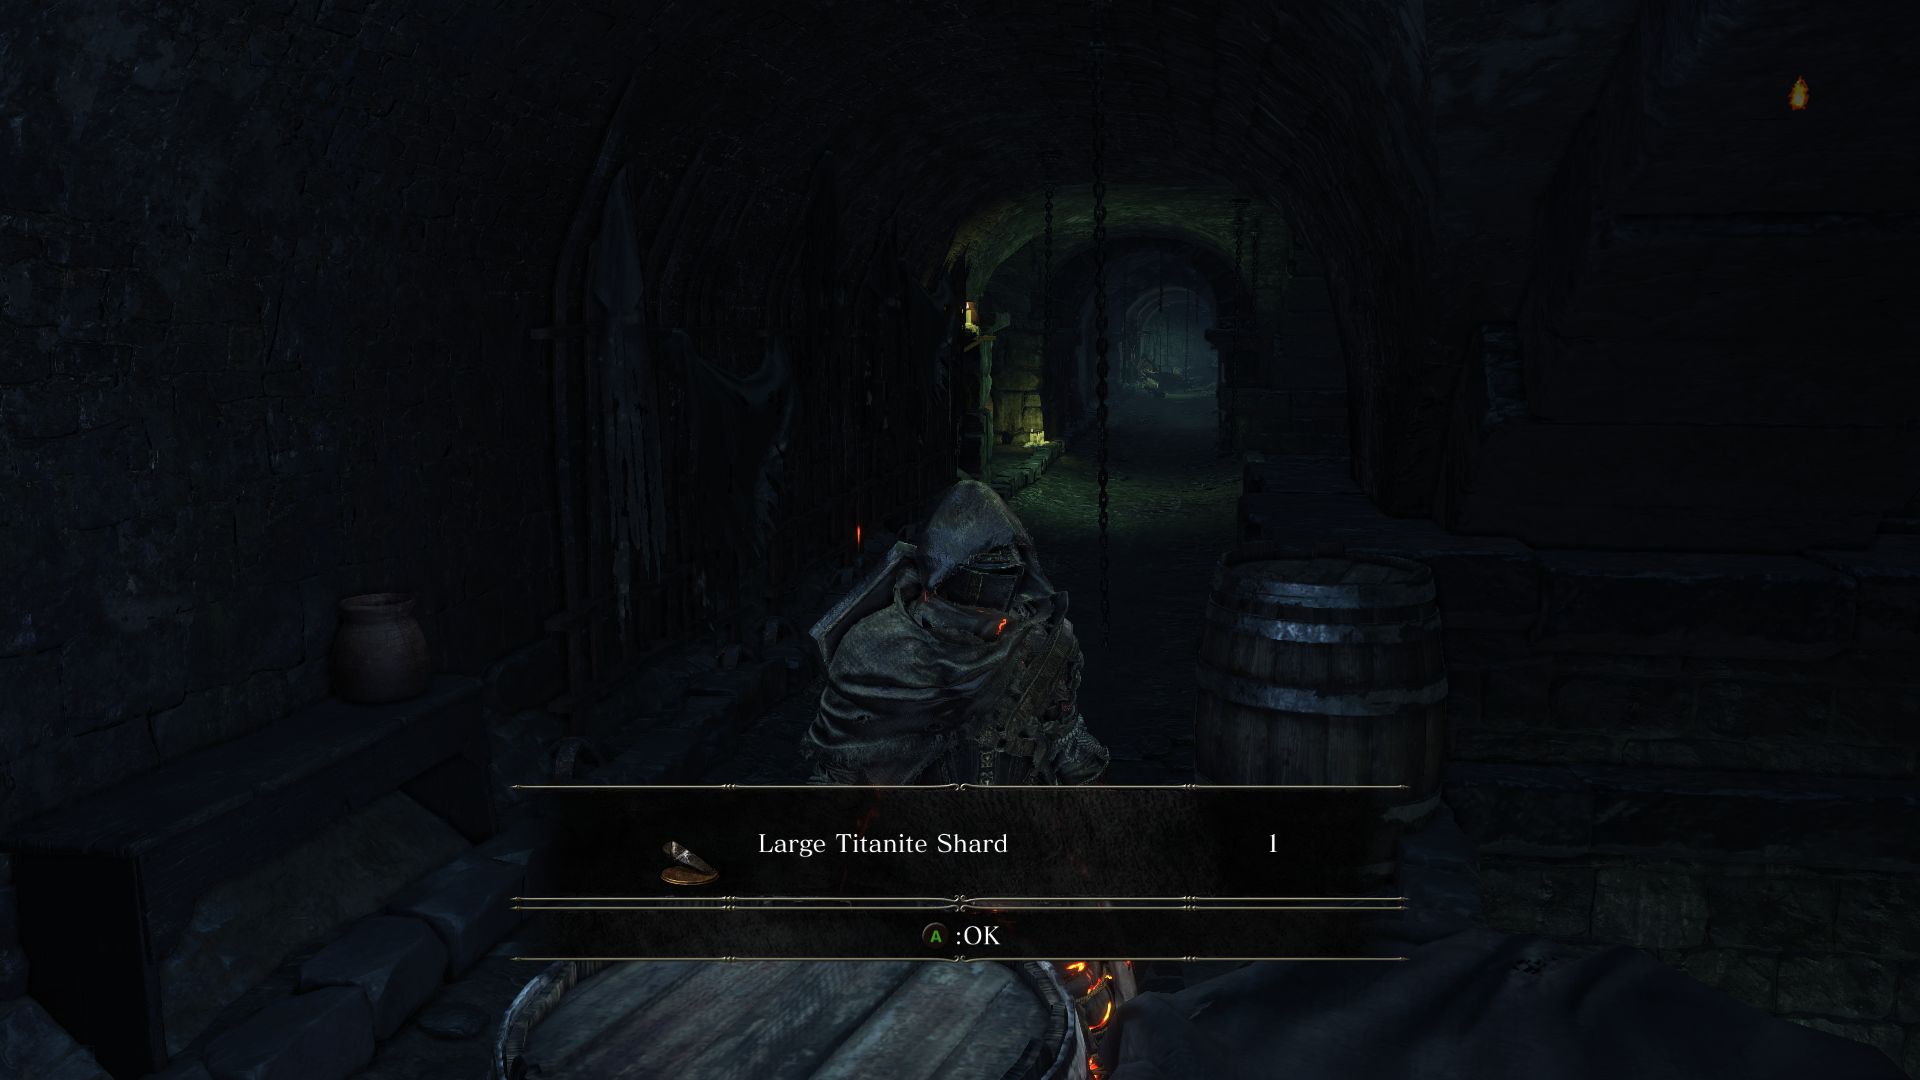
Clear these enemies then head to the bottom of the stairs and search right for a couple more slaves. Kill them and loot the Large Titanite Shard. Before moving forward, go back up the stairs and jump down onto the platform to the side to loot a Rusted Gold Coin.
As you make your way across the bridge, you may be invaded by Alva, Seeker of the Spurned, who wields a large curved sword. Be careful when he changes stance as he is about to unleash his spinning weapon arts skill. You will obtain the Murakumo after you defeat him.
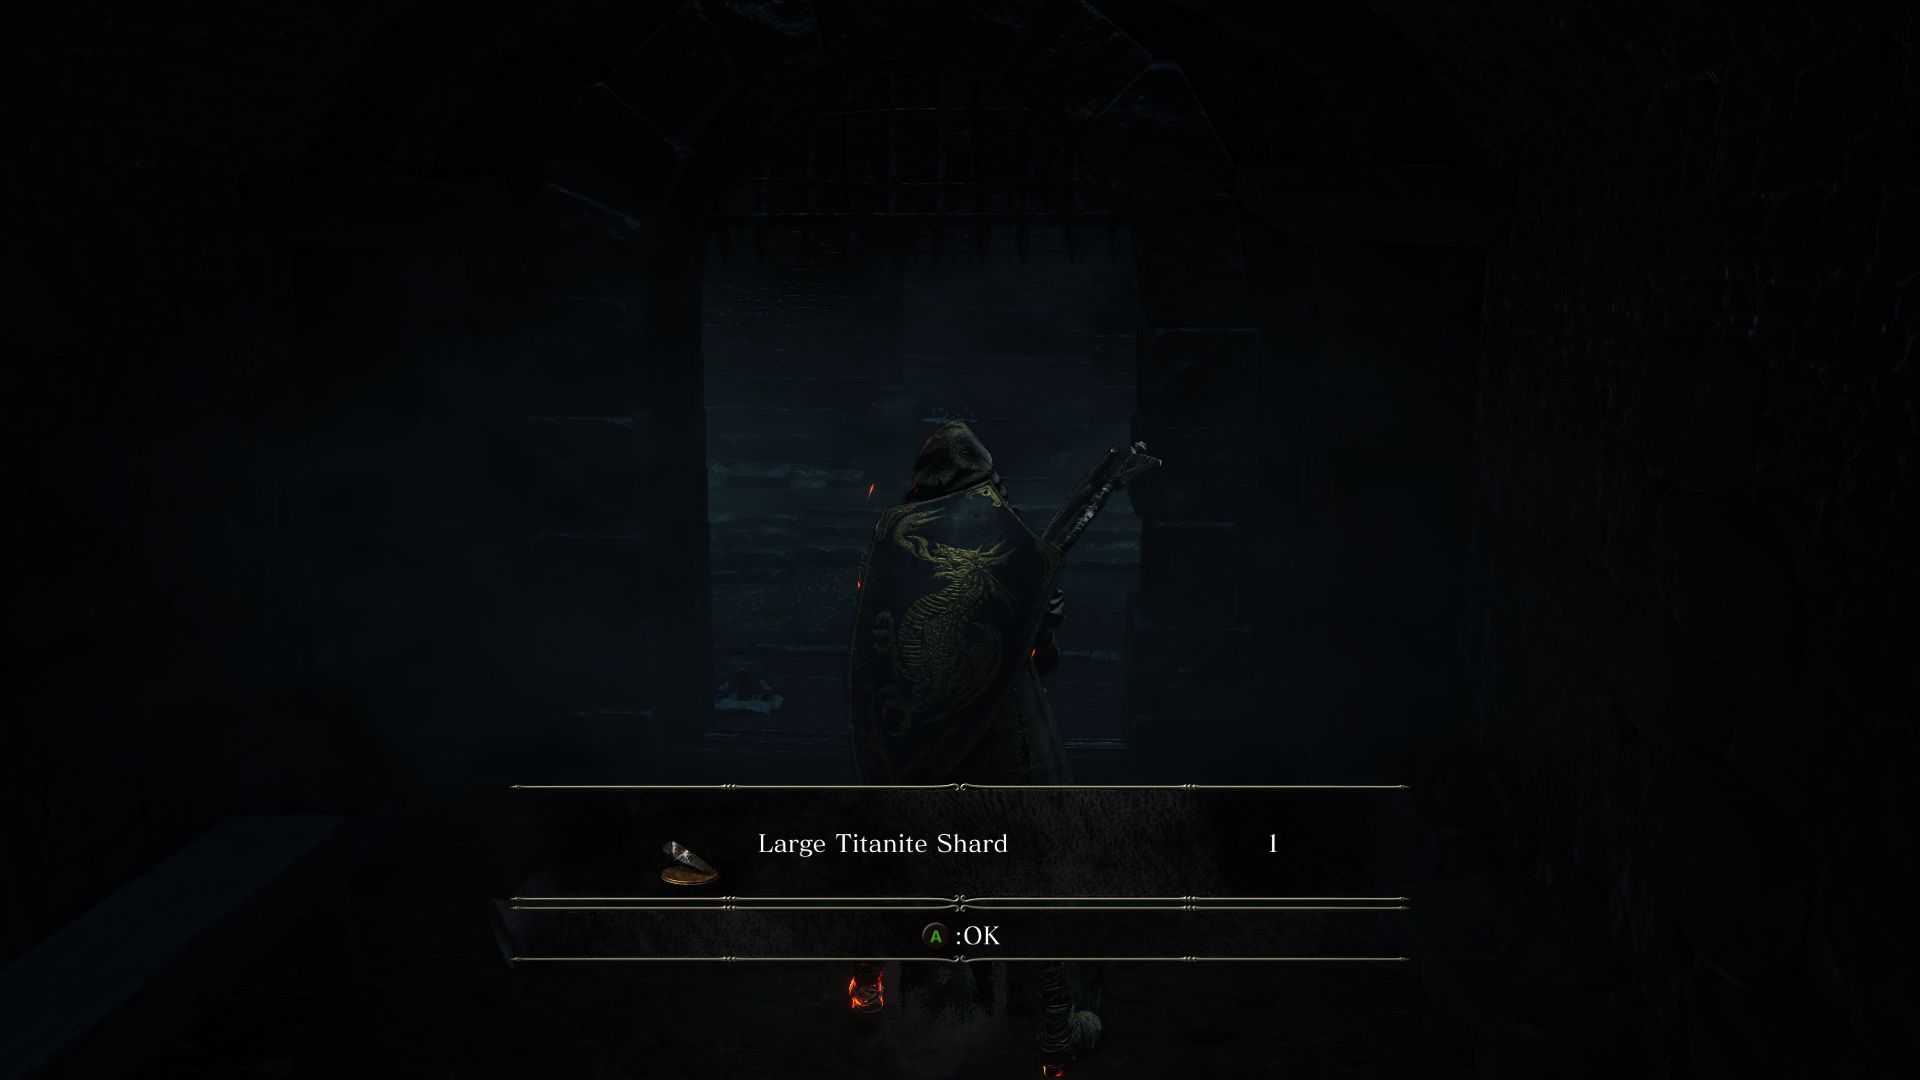
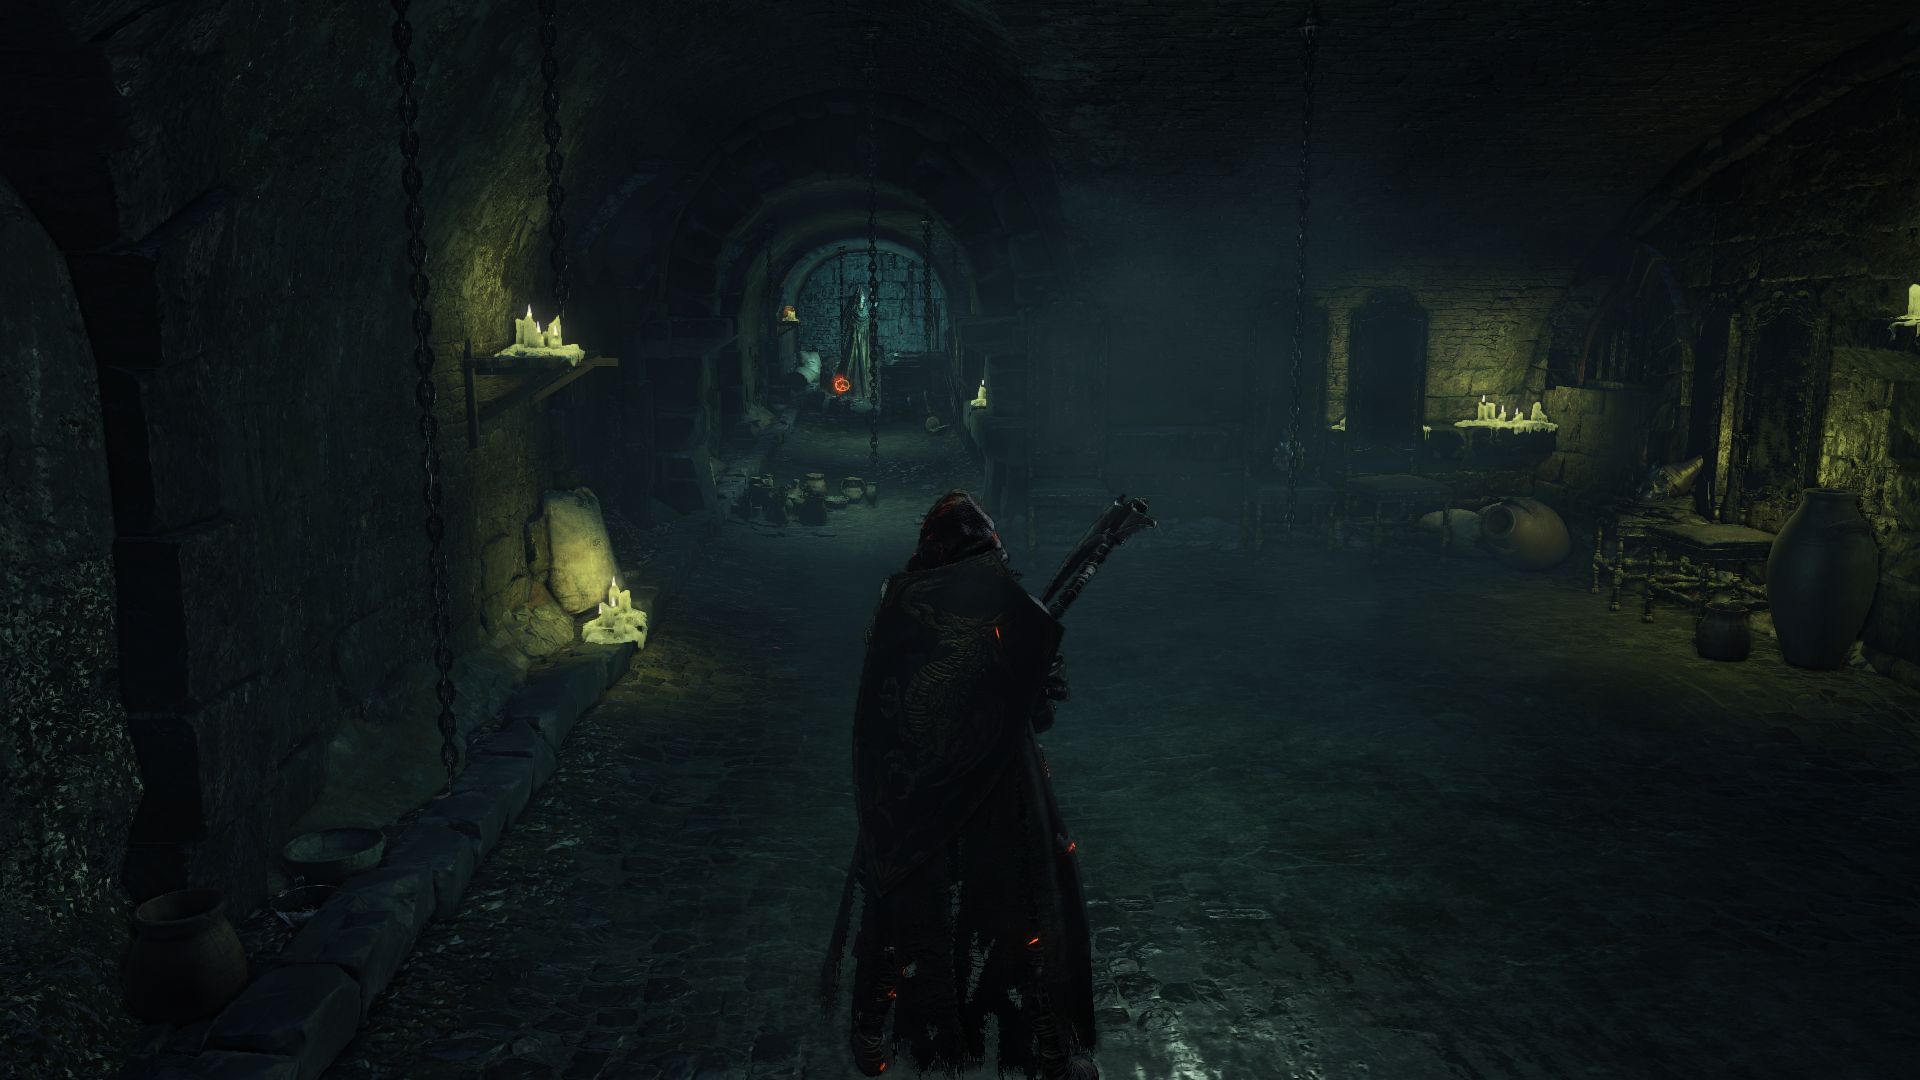
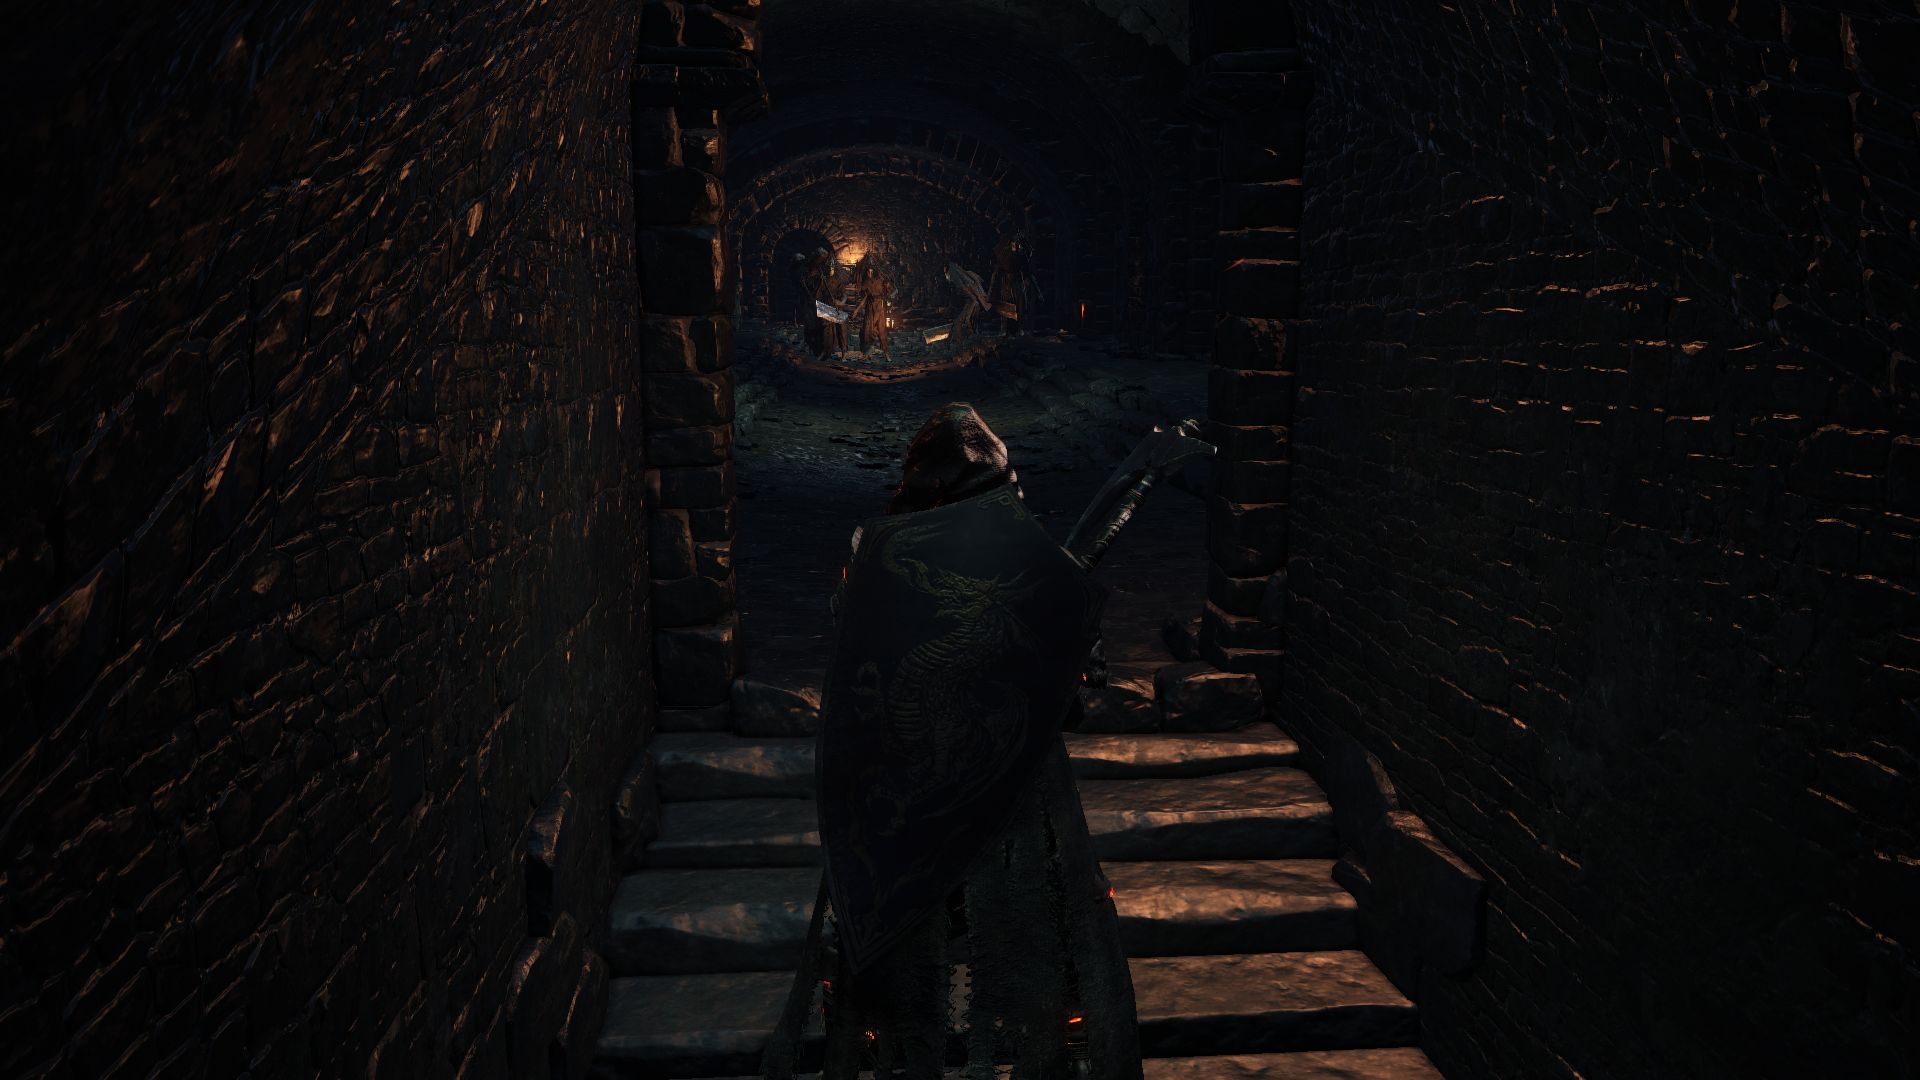
You will find a bonfire as you enter the dungeon. This room has a locked door on the right, but you will find the key to it eventually. Proceed down the corridor to find cells on either side. Search the cell on the left for a Rusted Coin, but as you do so, enemies will be roused and attack you. You can open another cell here to obtain a Large Titanite Shard. Watch for the Hollow zombie in the cell on the right.
Just beyond the door you may notice a new enemy, the Torturer. These enemies will make your life miserable with their unique way to damage you. When they hit you with their burning weapons they will lower your maximum HP temporarily, which makes it extremely annoying to deal with. You have to wait it out or kill them to get your actual HP back. So try to kill them as soon as possible up close while dodging their attempts to brand you.
Kill the torturer and head right from the door. Before you think about looting the Fading Soul up ahead, watch for the zombie ambushing you from a cell to your right. If you’re unlucky, he may have pushed you to the lower floor. Kill this Zombie, loot the Fading Soul and look ahead.

Notice the torturer up ahead on a small bridge. Don’t charge at it yet, as there is another torturer around the corner. Wait for it to be out of range then attack it to take it out by itself. 3 more zombies will ambush you so be ready to fend them off.
You can take several paths from here. Either kill the torturer on the other side and explore that part of the dungeon, or stay on the right side of the dungeon. If you keep moving straight from here you will come to a dead end with a window and a Large Titanite Shard. The window can be opened with a Jailbreaker’s Key, which you don’t have yet.
From the window, head right down the stairs where you will find another torturer and some greater corpse piles. Be wary of walking past these corpse piles as they will try to attack you. Try to them out with a weapon with good range so that you don’t have to get up close to them. Or you can carefully hit and lunge back until you kill them.
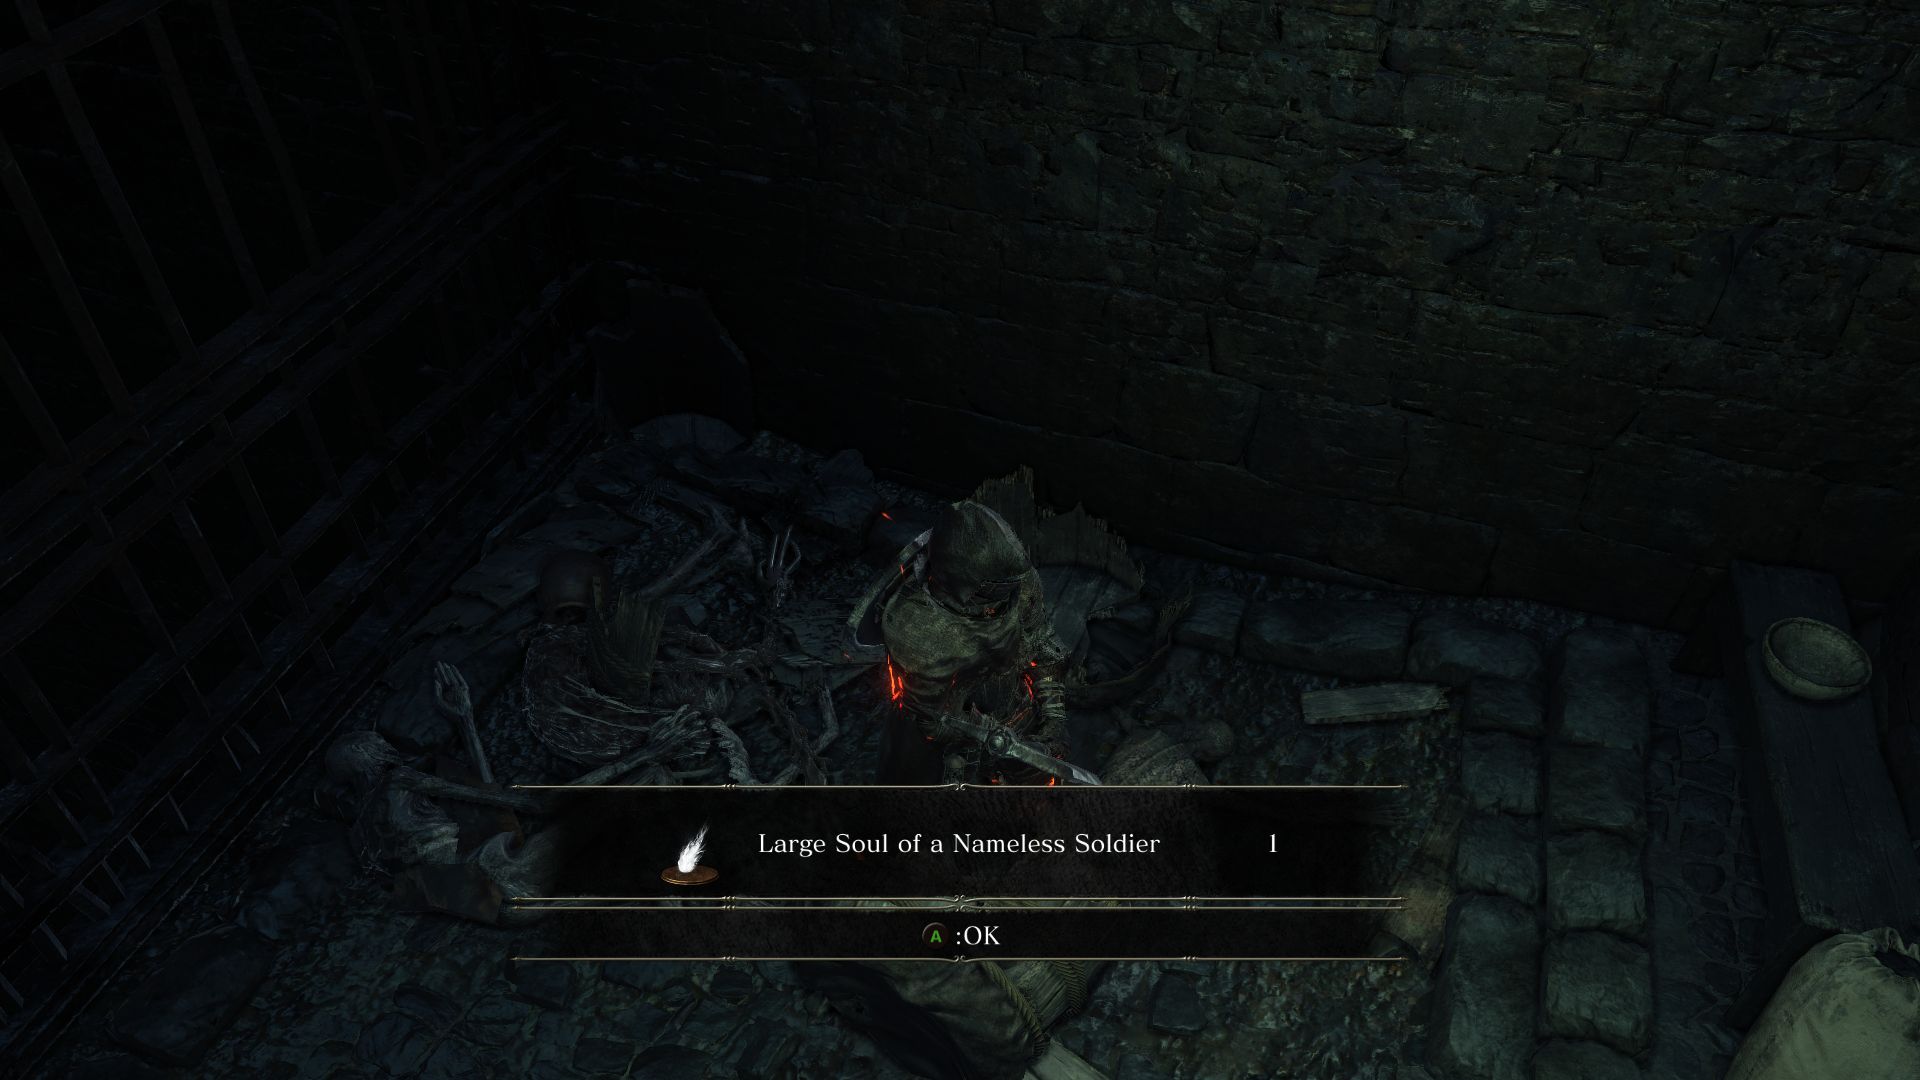
You’ll find another locked cell with an item inside. Head out and make a right to find a corpse holding a Large Soul of a Nameless Soldier. Kill the zombie guarding the corpse but beware as it will spew maggots at you.
The corridor leads to a cell teeming with the maggot zombies. If you have firebombs or a fire infused weapon, use them here. Kill the zombies and pillage the corpse for a full Old Sorcerer Set. The cell at the far end here holds a large Maggot Beast. Open the cell to kill it and loot the Great Magic Shield spell inside.

After clearing this area and obtaining your loot, it’s time to head back to the small bridge upstairs. Head to the other side and you’ll be met with a locked door to your left. Look to your right to find a torturer at the end of the hall, but proceed with caution as zombies will ambush you from the cells. Loot the Large Titanite Shard and search one of the cells for a broken down wall that will let you proceed forward.
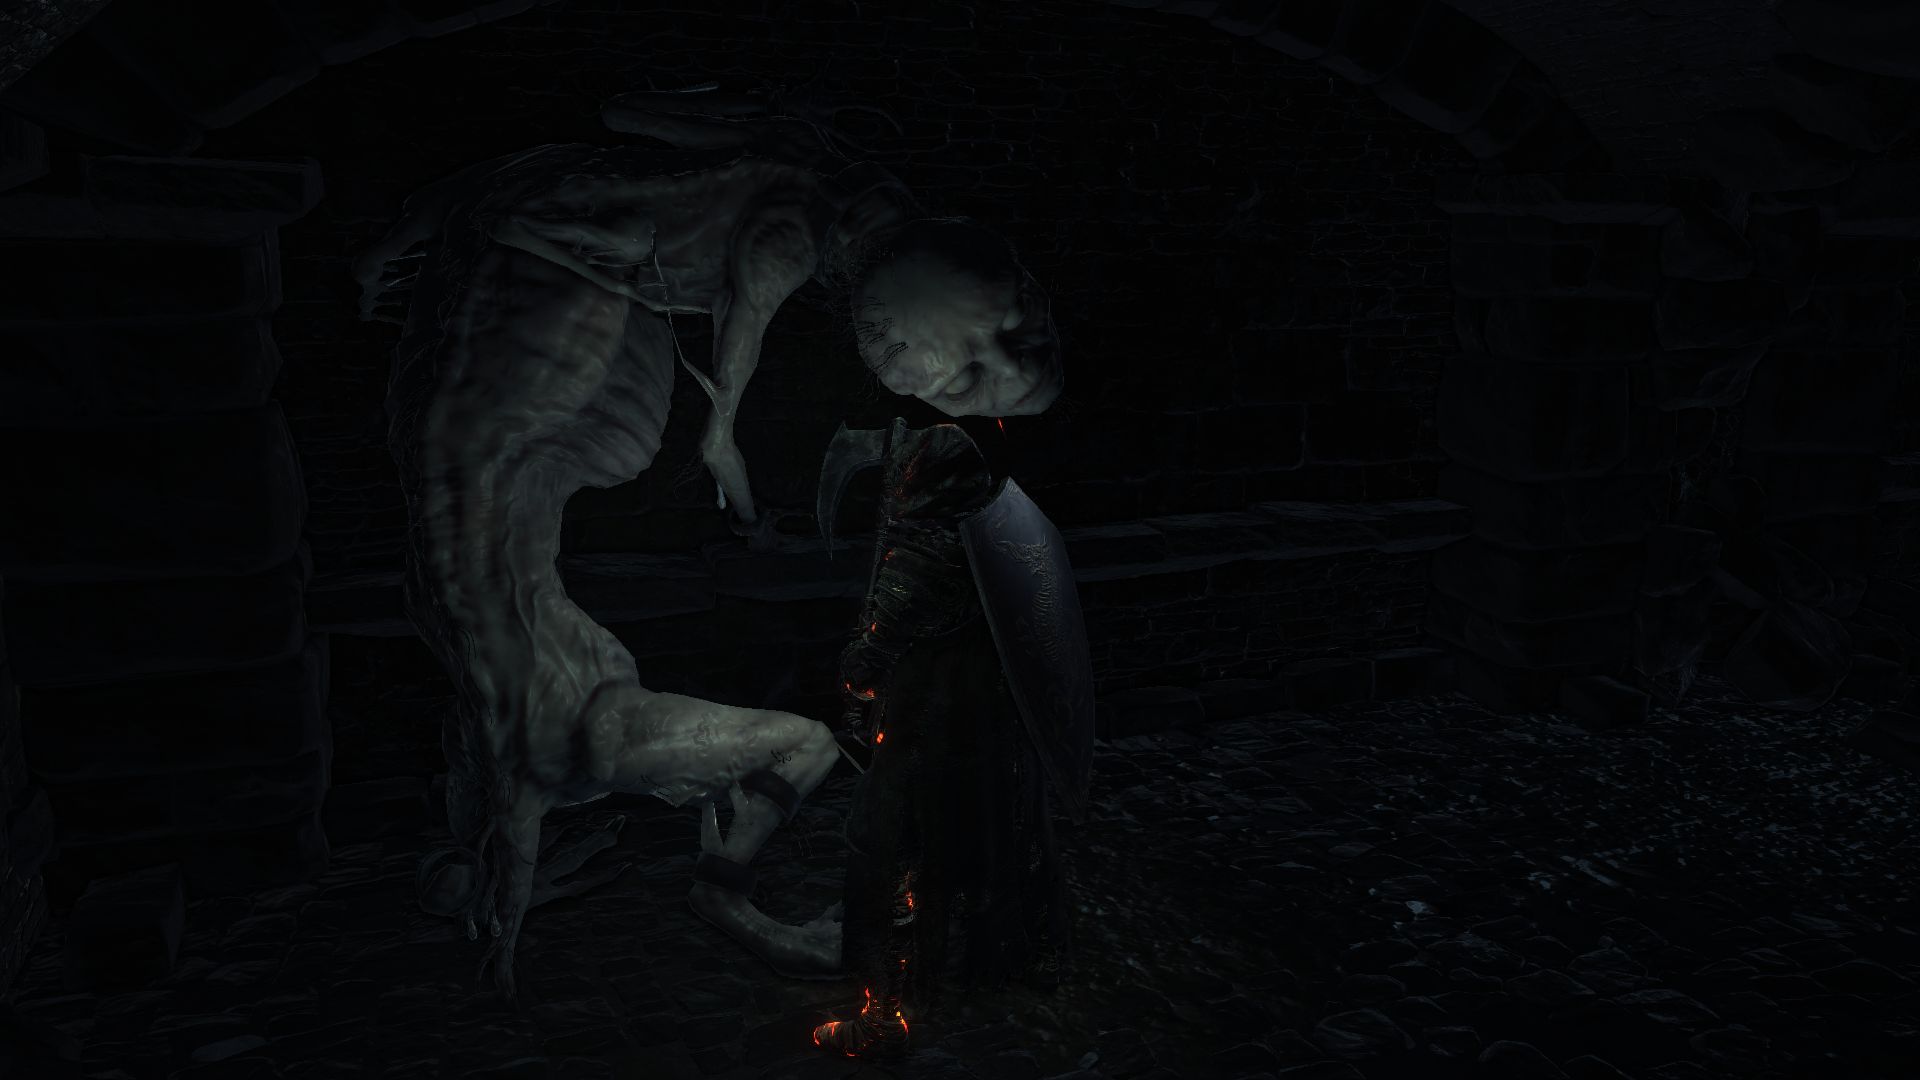
This section leads to a Pale Pine Resin and you will notice a rather grotesque enemy here who won’t be immediately hostile. You’ll find another door here that will let you go around the locked door you saw earlier.
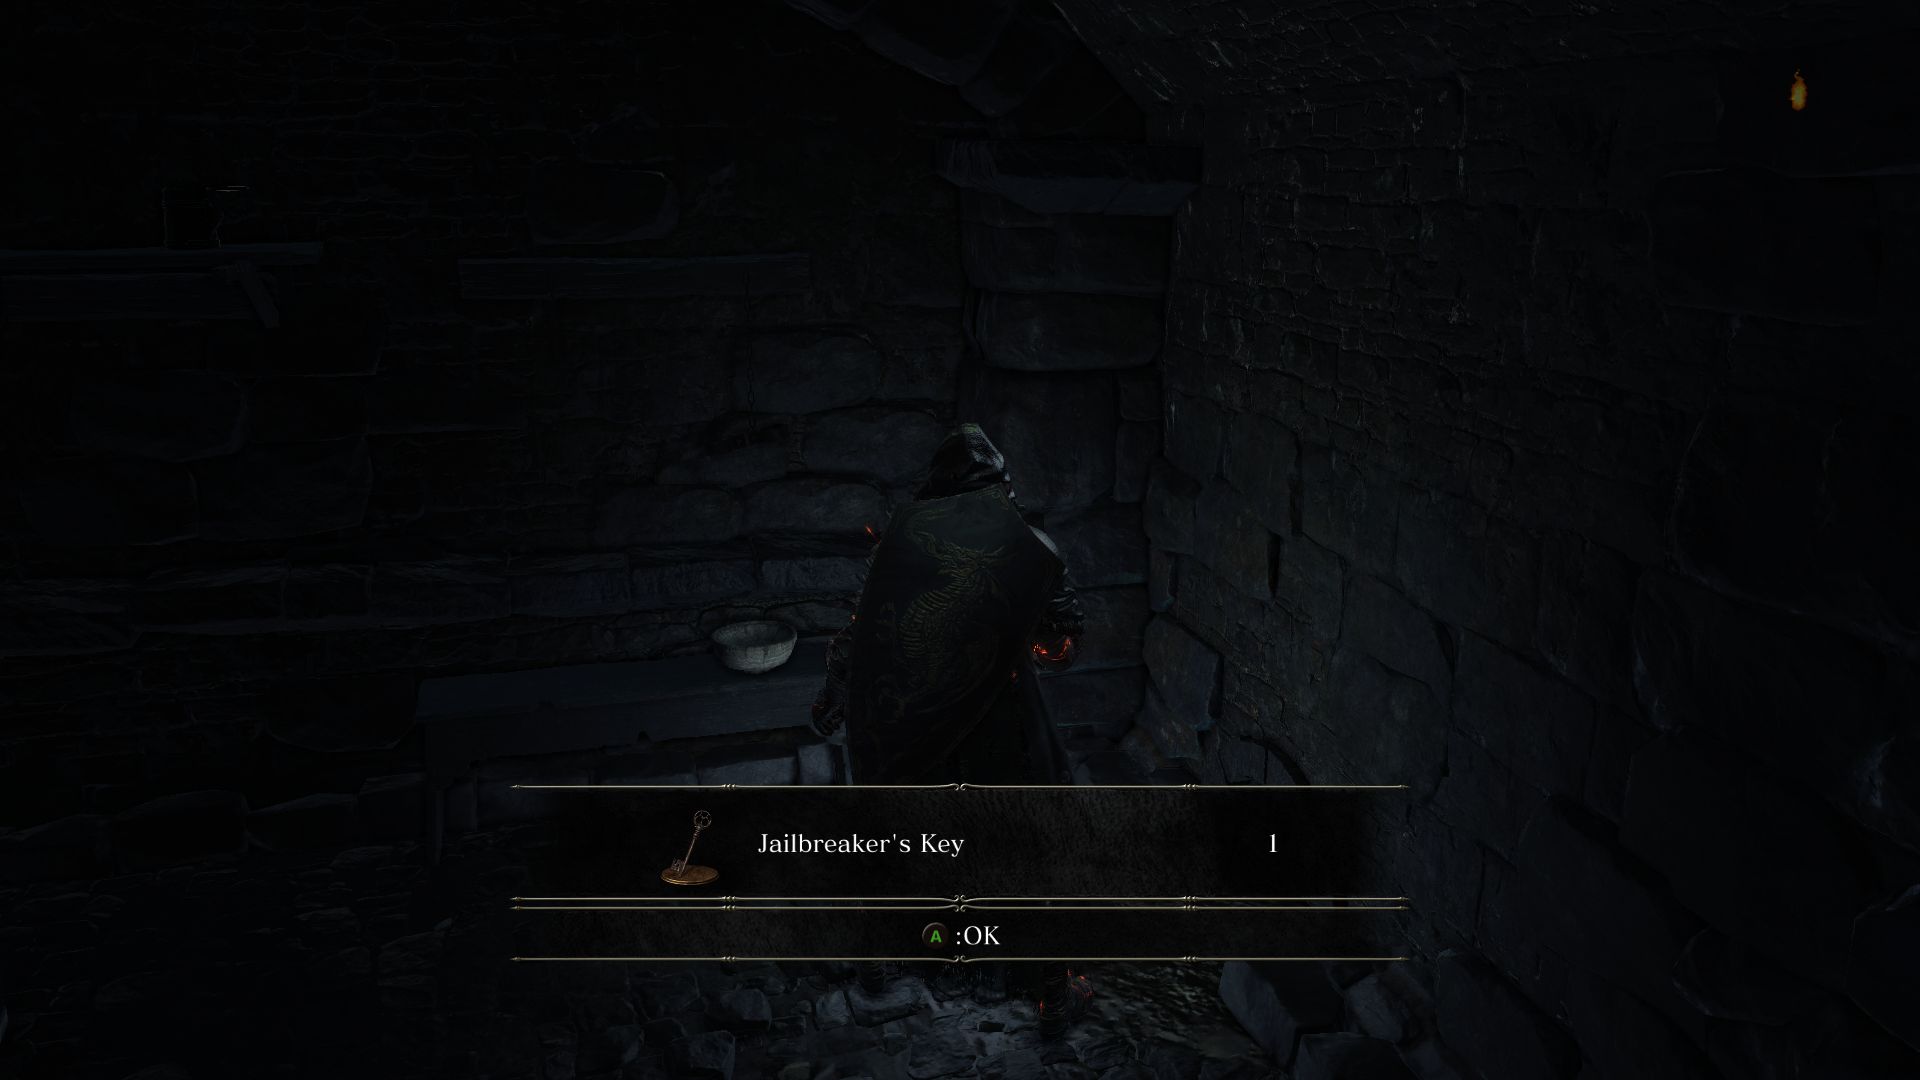
Head to the end of the corridor here to find a cell containing the Jailbreaker’s Key! This side of the dungeon will also have a path leading down to a room with three torturers. The first one you can kill quickly by doing a plunging attack from above. Then take out the others quickly before you get overwhelmed with draining HP.
You’ll find another of those grotesque and malformed zombie in an open cell. Its attacks are slow, so dodge them carefully and take it out. Loot the Simple Gem and head to the corridor. The door on the right is locked and if you look left you’ll see a crystal lizard. By now you know that chasing a crystal lizard usually leads to an ambush. It’s not any different here.
As you chase down to kill the lizard and obtain a Titanite Scale, another grotesque zombie will ambush you from a cell. Kill it and its buddy before moving forward.
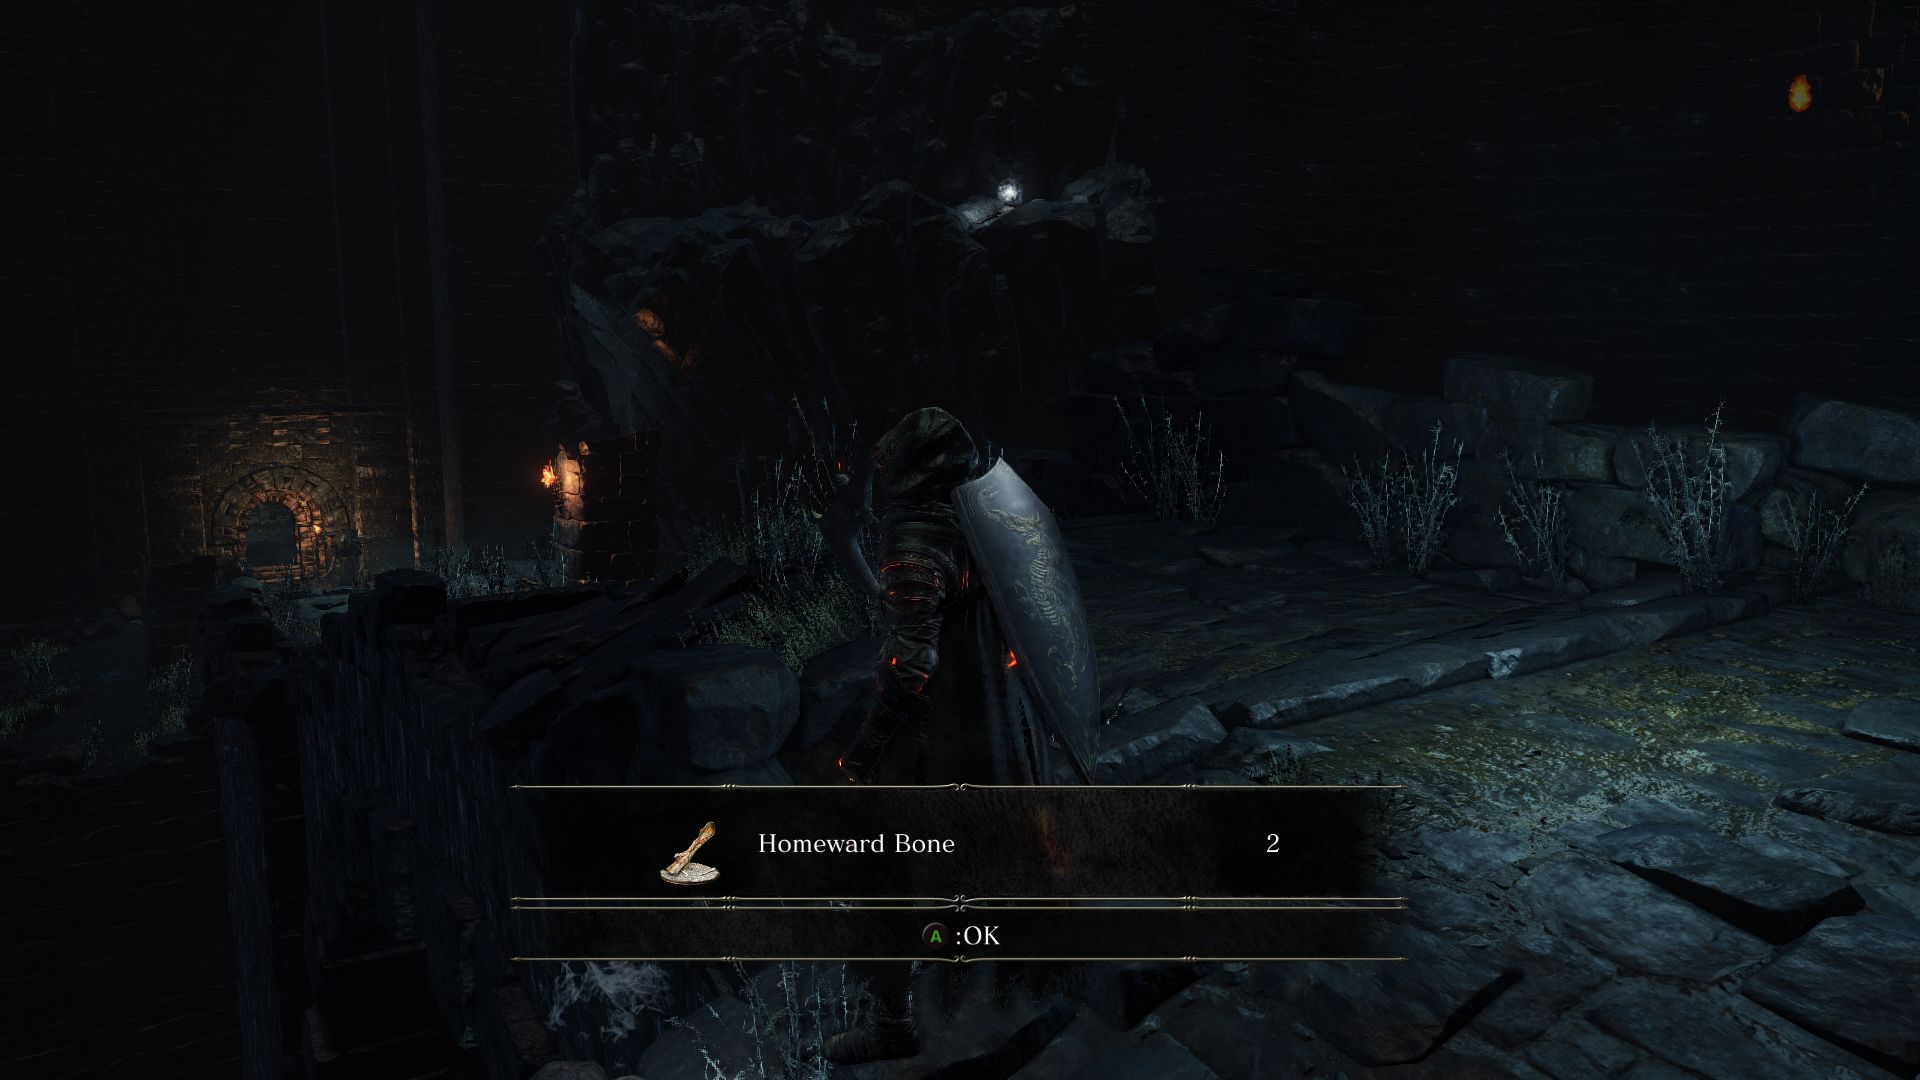
The door ahead is the exit from the prison. You’ll find 2 Homeward Bone on a ledge ahead. Tilt your camera up to look to the right side and you’ll find the closed window you had seen at the start of this area. That window can be opened with the Jailbreaker’s Key which you now have (also, as you drop down from there onto lower platforms, you can loot a Bellowing Dragoncrest Ring).
Down the walkway you will find several Jail workers. Enter the room ahead to find a chest holding an Estus Shard – except, this is a Mimic. Kill the Mimic and obtain your Estus Shard before moving on.
The next area can get tricky, as it contains many Jail Workers who may overwhelm you if you’re not careful. Some of them are wielding cleavers, a couple have hammers, and a few archers at the back. Carefully pull the Workers at the front to kill them out of the range of the archers. As you head forward, you will find another archer to the right and a corpse holding a Soul of a Weary Warrior. Be careful not to enter the open cells and fall into the pit below – a giant awaits you in one of these pits.
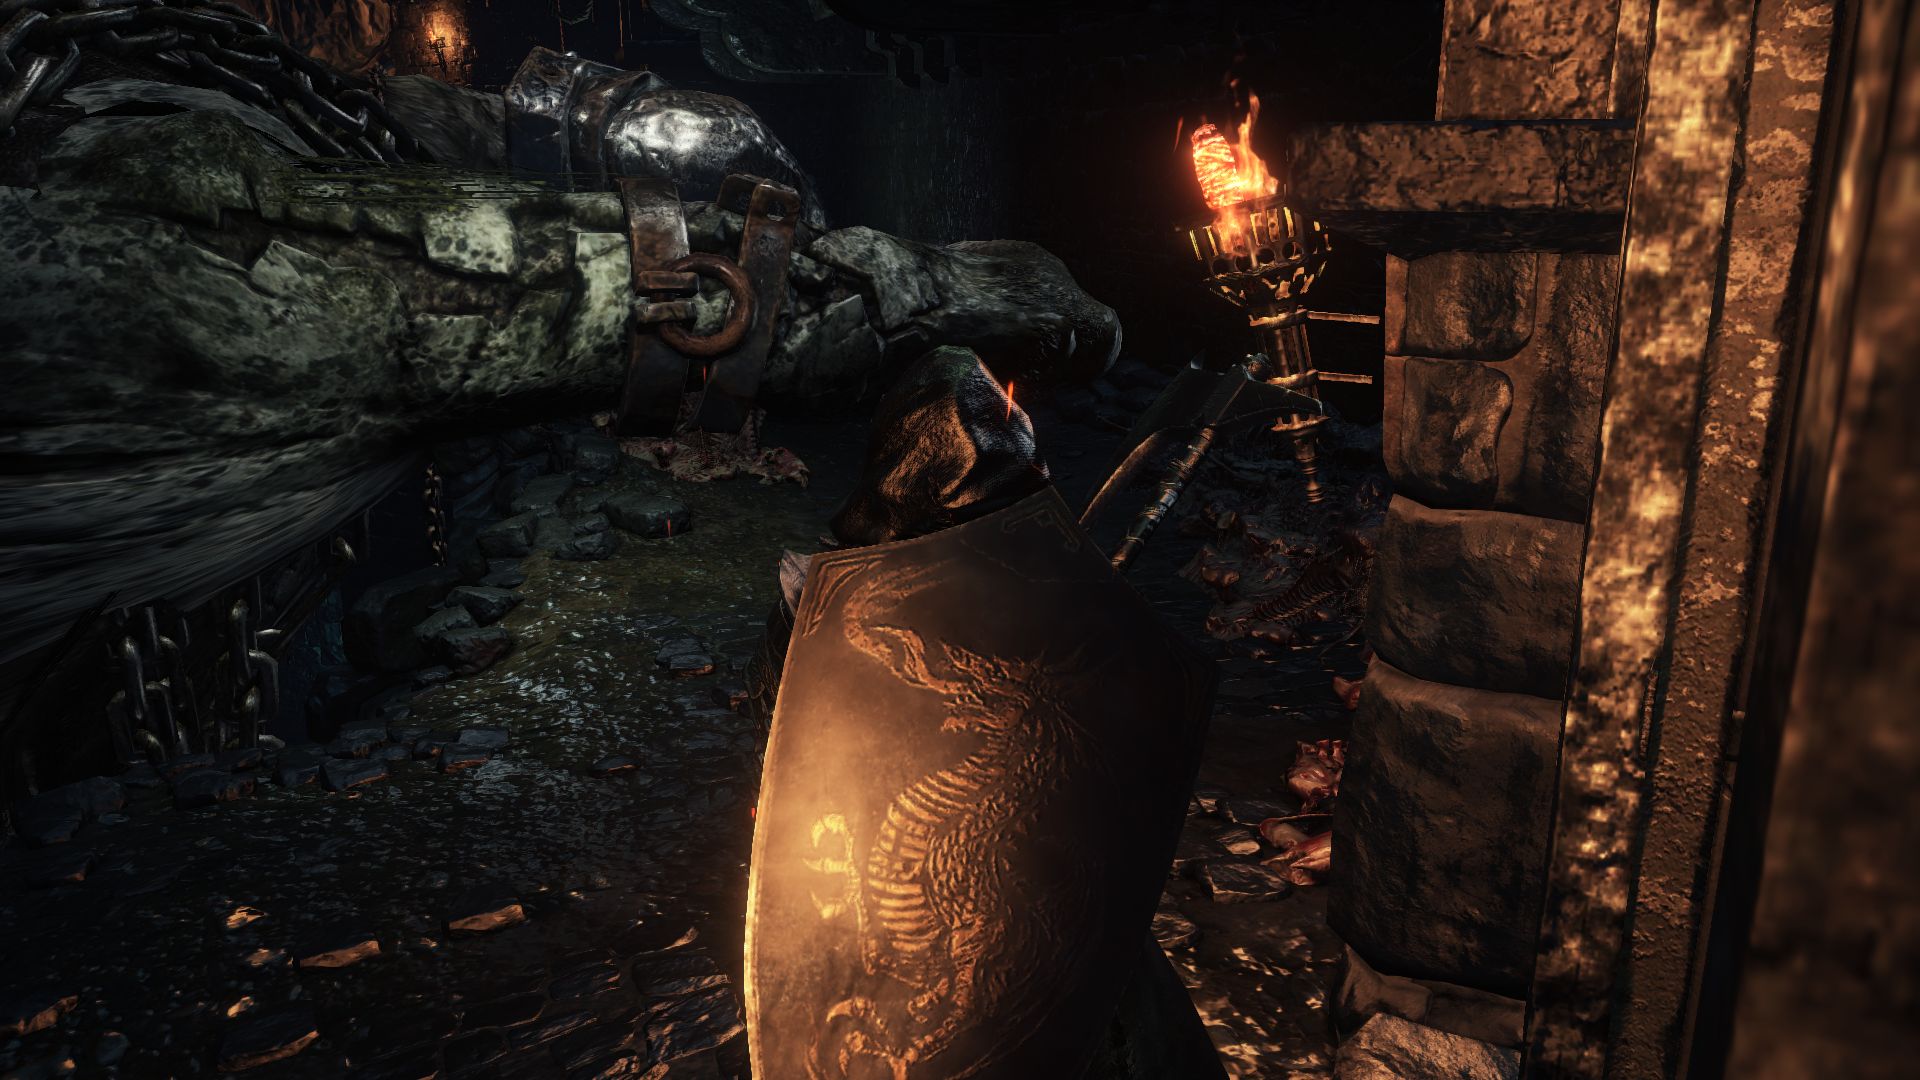
You’ll find a ladder that leads to the Giant’s prison. It’s not a wise idea to attack this slumber giant from this platform however. Even though his body is blocking the platform beyond him where you can spot some loots, we’ll get there eventually.
To go around, to the next area, you have to go back up the ladder. Remember those pits you saw earlier? There should be one where you had looted the Soul of a Weary Warrior. Drop down that pit. Proceed forward to find a corpse holding a Pickaxe. Let’s not go right towards the Giant’s face yet. Head left into the sewers where you will find many rats.
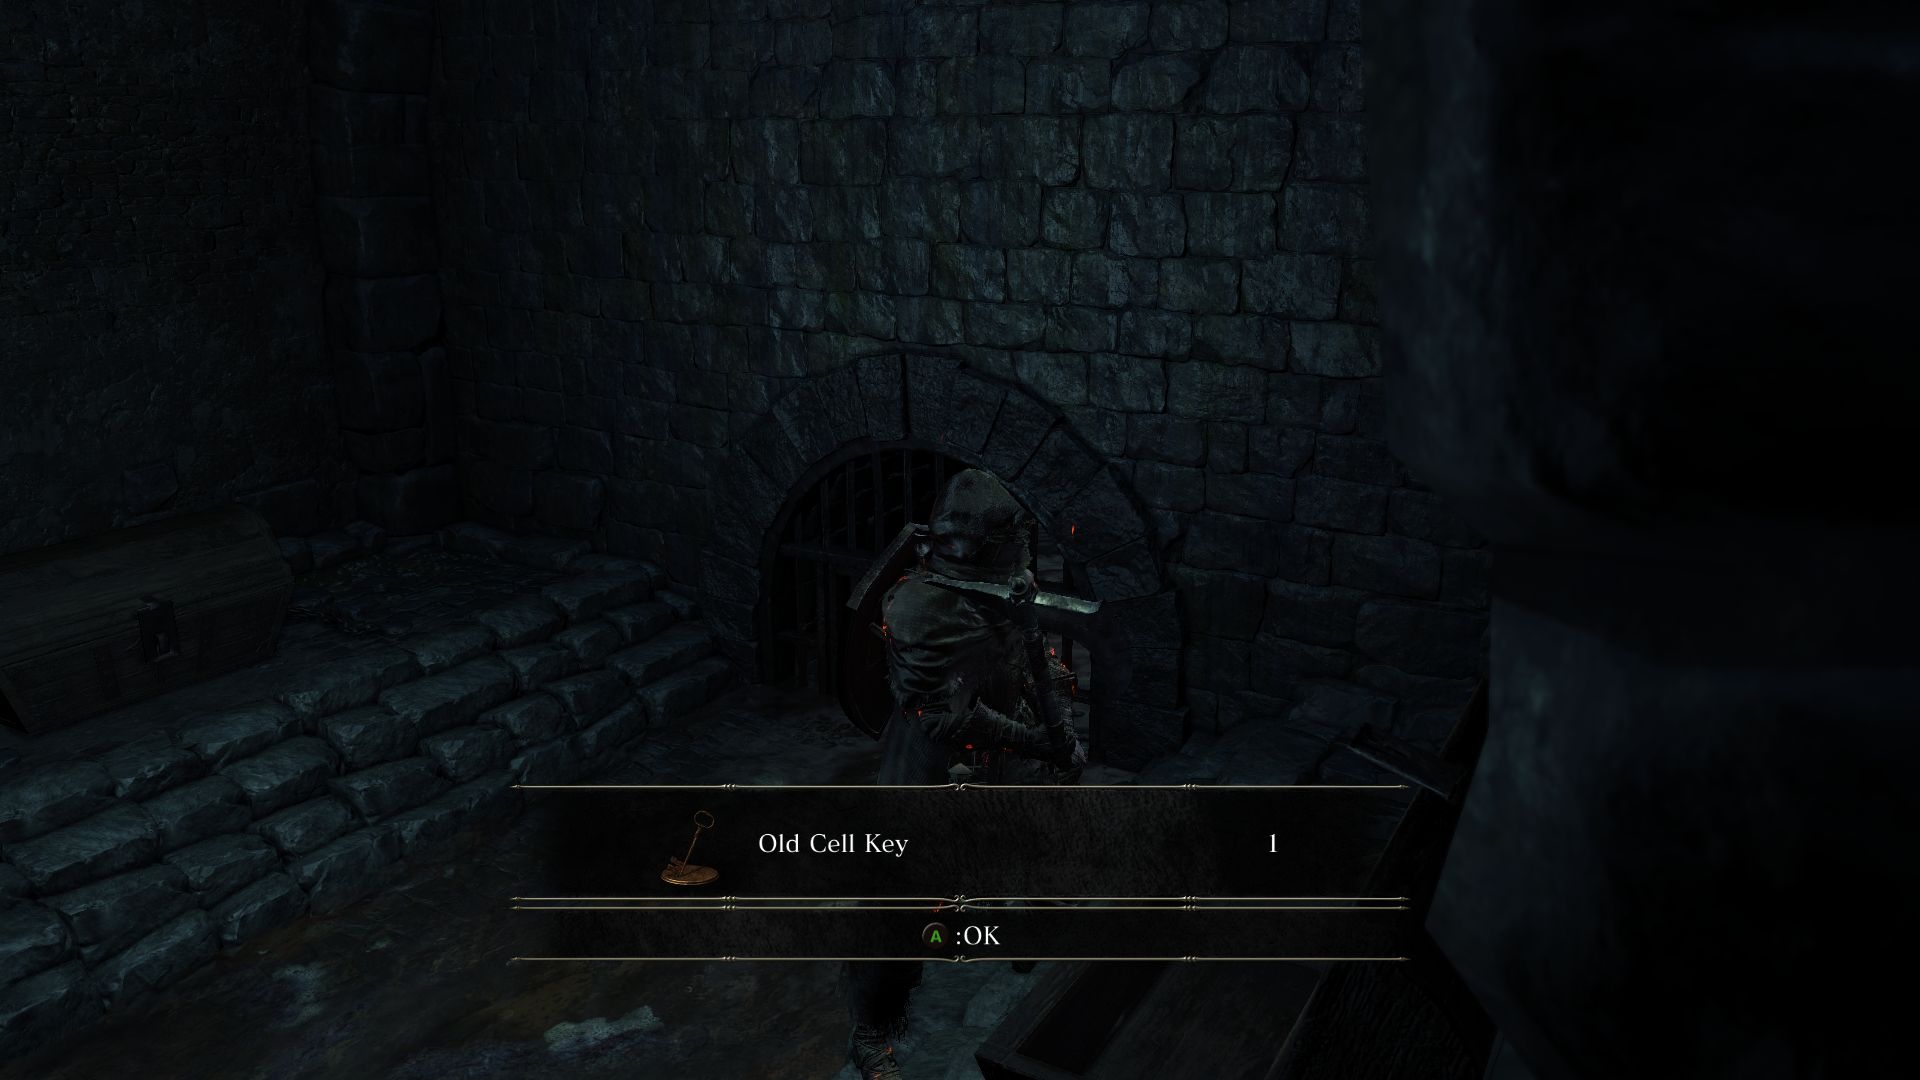
Make your way through the sewers and notice the hold in the wall on your right where more rats will emerge from. Don’t go in there yet, as there’s some more loot up ahead, namely a Soul of a Weary Warrior along the way. Two more chests wait at the end of the path here but one of them is a Mimic! The Mimic will drop the Dark Clutch Ring and the other chest holds an Old Cell Key.
But things aren’t that easy. 4 Basilisks will drop from above, and in the narrow confines here it’s very easy to fill up the curse meter and die. So try to outrun them after you get your loot, or if you’re feeling brave, take them on carefully, killing them one by one while avoiding the curse clouds.
After you’re done with the chests and the Basilisks, it’s time to explore the opening where the rats were coming out from. You’ll enter a small area with two Giant Rats. If you have to, lure them back in the sewers. Kill them and loot the 4 Dung Pie in that chamber.
Open the gate to find yourself at the bottom of the prison that is filled with patrolling Jailers. This area has the potential to be one of the most annoying encounters if you aren’t careful. The Jailers here patrol in groups of 2 or 3. You don’t have to fight them at all if you want, and simply sneak about.
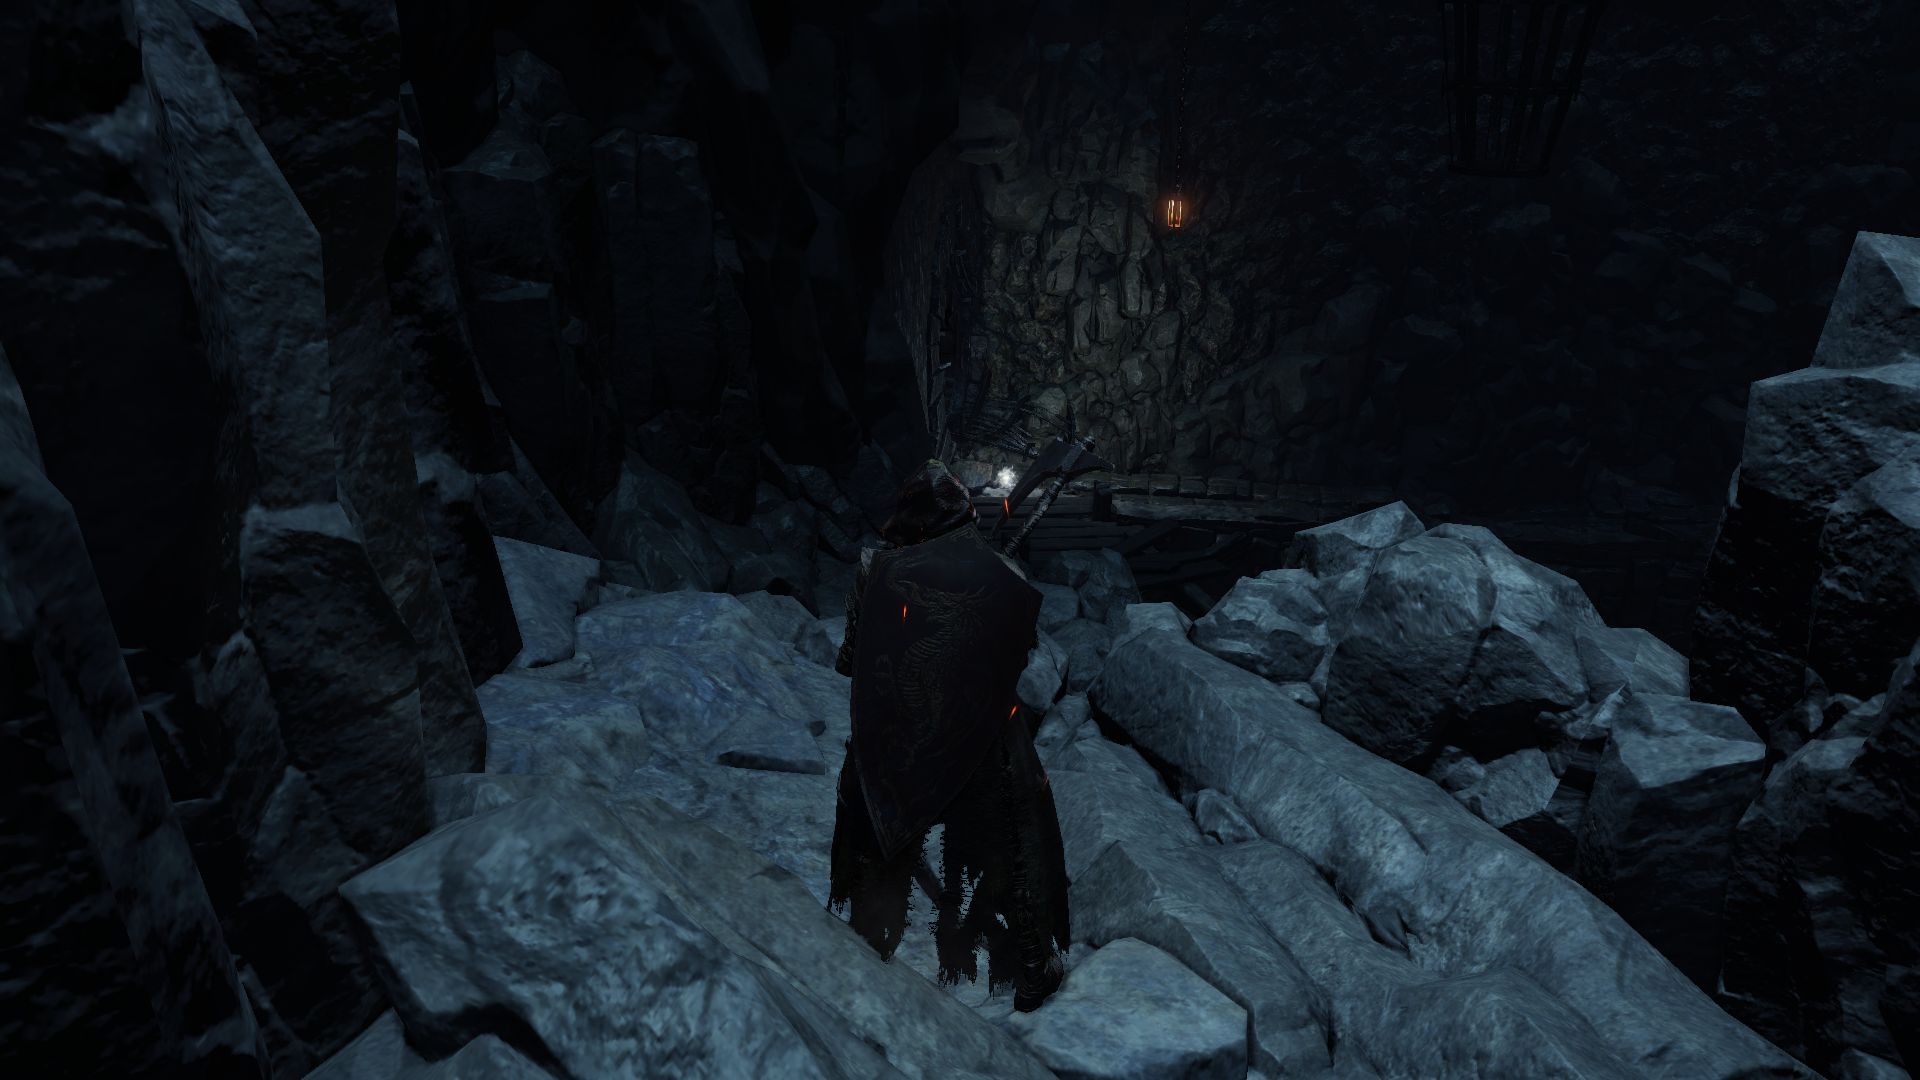
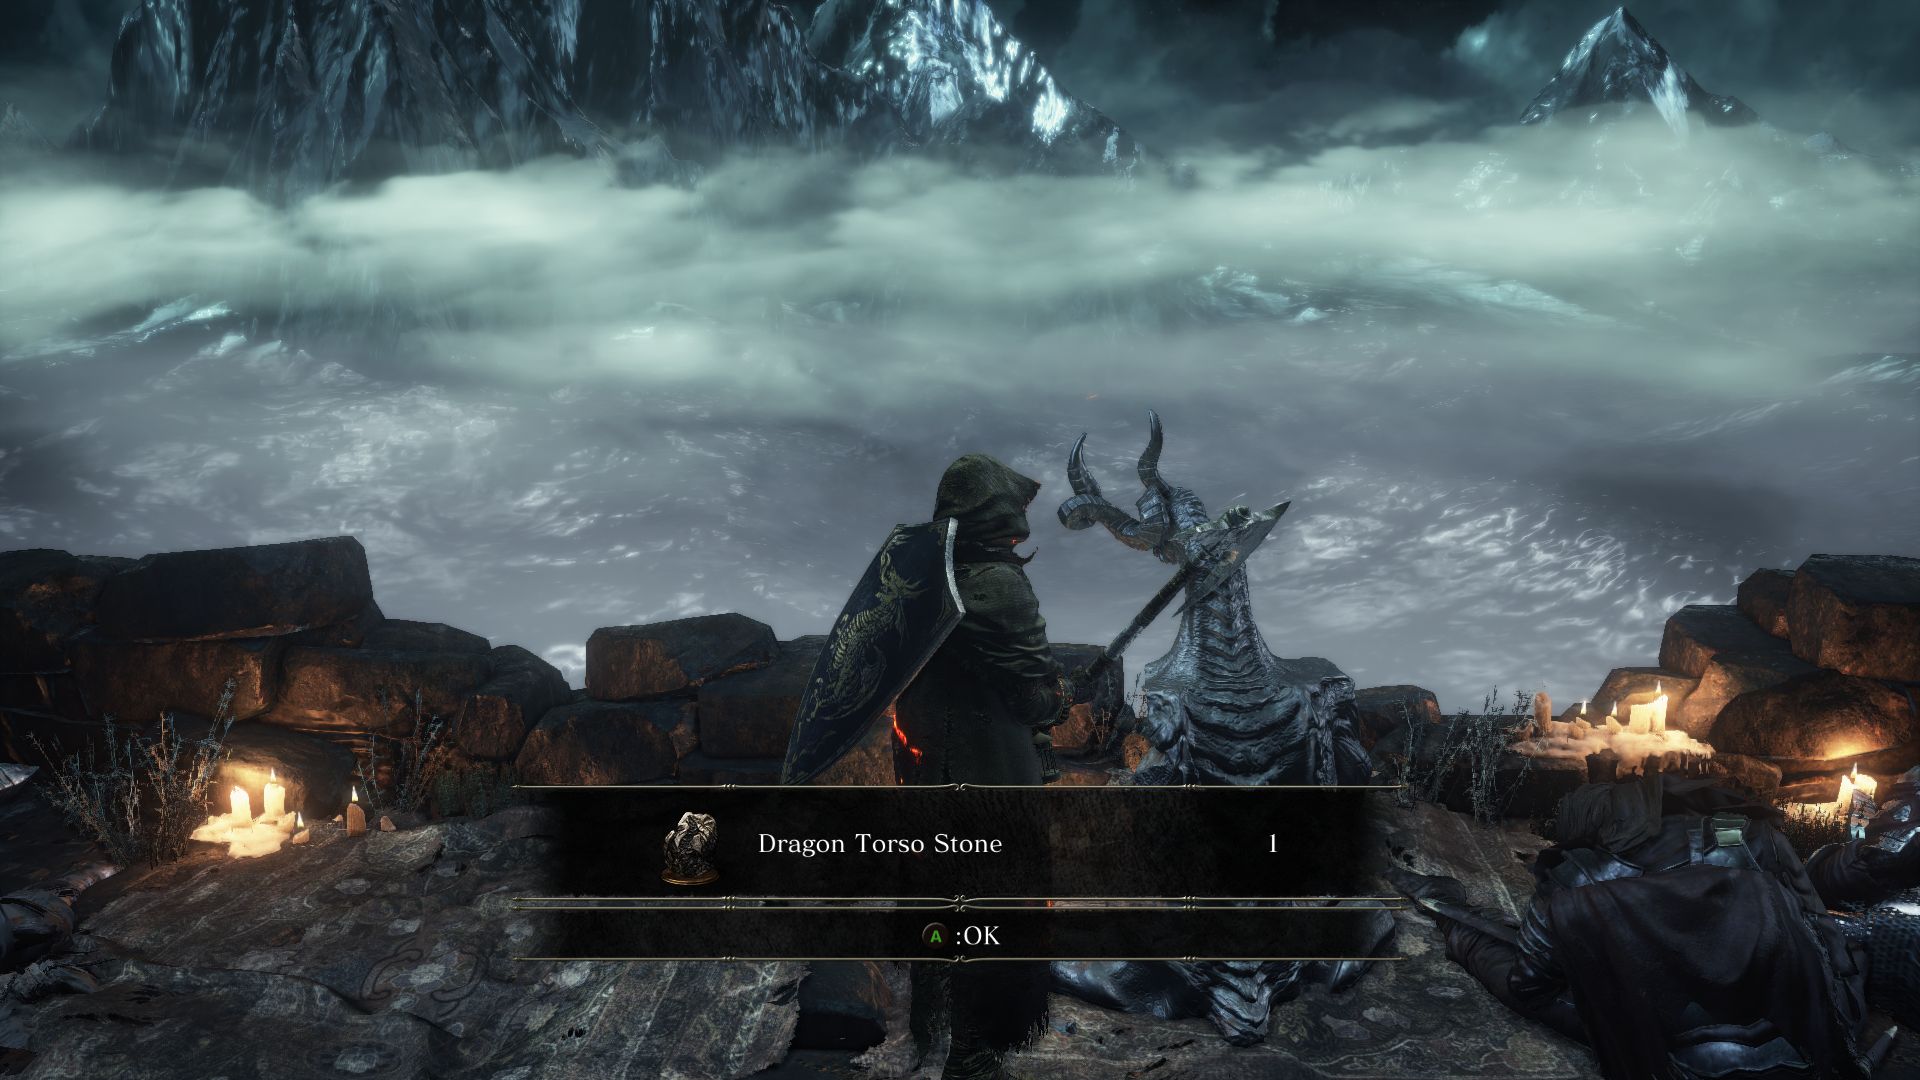
But before you do that, let’s head to the left side of this area and up some stairs to come onto a plateau. You’ll find some corpses here and an interesting skeleton amidst them. Loot the Dragon Torso Stone and remember this area. You will have to return here later in the game to access Archdragon Peak! The path here leads to an elevator. Jump off the elevator as it is ascending to reach the body dangling over a window to obtain a Lightning Blade miracle.
At the top, you will find a Large Soul of a Nameless Soldier. Open the door that leads to the upper part of the dungeon. This creates a shortcut to head to the annoying area down below with the plethora of Jailers.
Back in the room with the Jailers, if you want to sneak past them, look for the darkened room to the left side of this area. There are some prisoners waiting in the dark, however, but they are much easier to deal with.
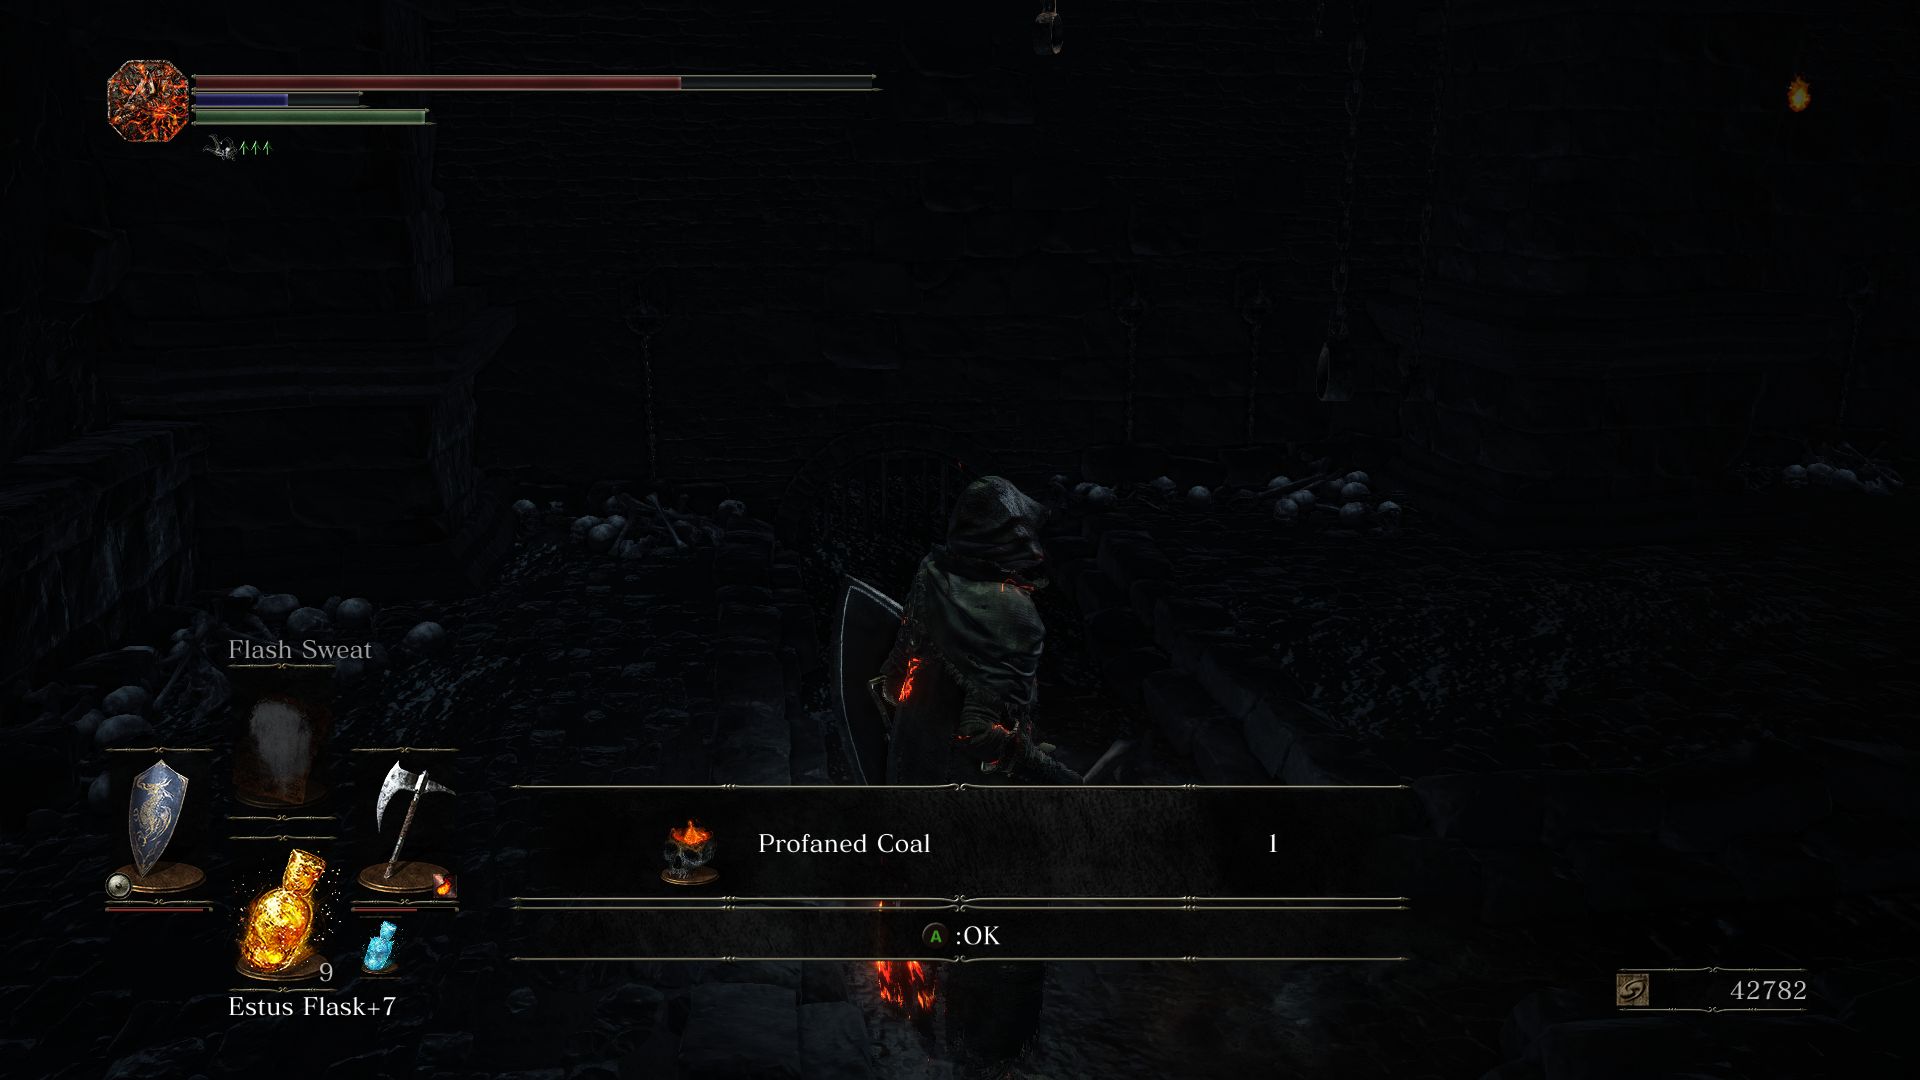
Loot the Profaned Coal before opening the gate leading back to the large room again. Sneak into the corridor to the left to find another Mimic holding 2 Titanite Scale. If you do decide to engage the Jailers here, don’t pull too many at once, and feel free to pull them into the empty rooms to take on them safely.
There are some loots scattered about after you clear the area – Large Titanite Shard near the entrance, a full Alva Armor Set (if you had defeated Alva), an Ember in the middle, and another Ember by a corridor with a lone Jailer. The empty cell to the left of the Mimic contains Xanthous Ashes and a Dusk Crown Ring. The cell opposite to this one has a red-eyed Crucified Ghoul. You’ll also find a locked cell by the raised corridor with an NPC inside, but we can’t open this door yet.
After you’re done exploring this rather troublesome area, head outside the dungeon to enter the Profaned Capital, where Yhorm the Giant awaits.