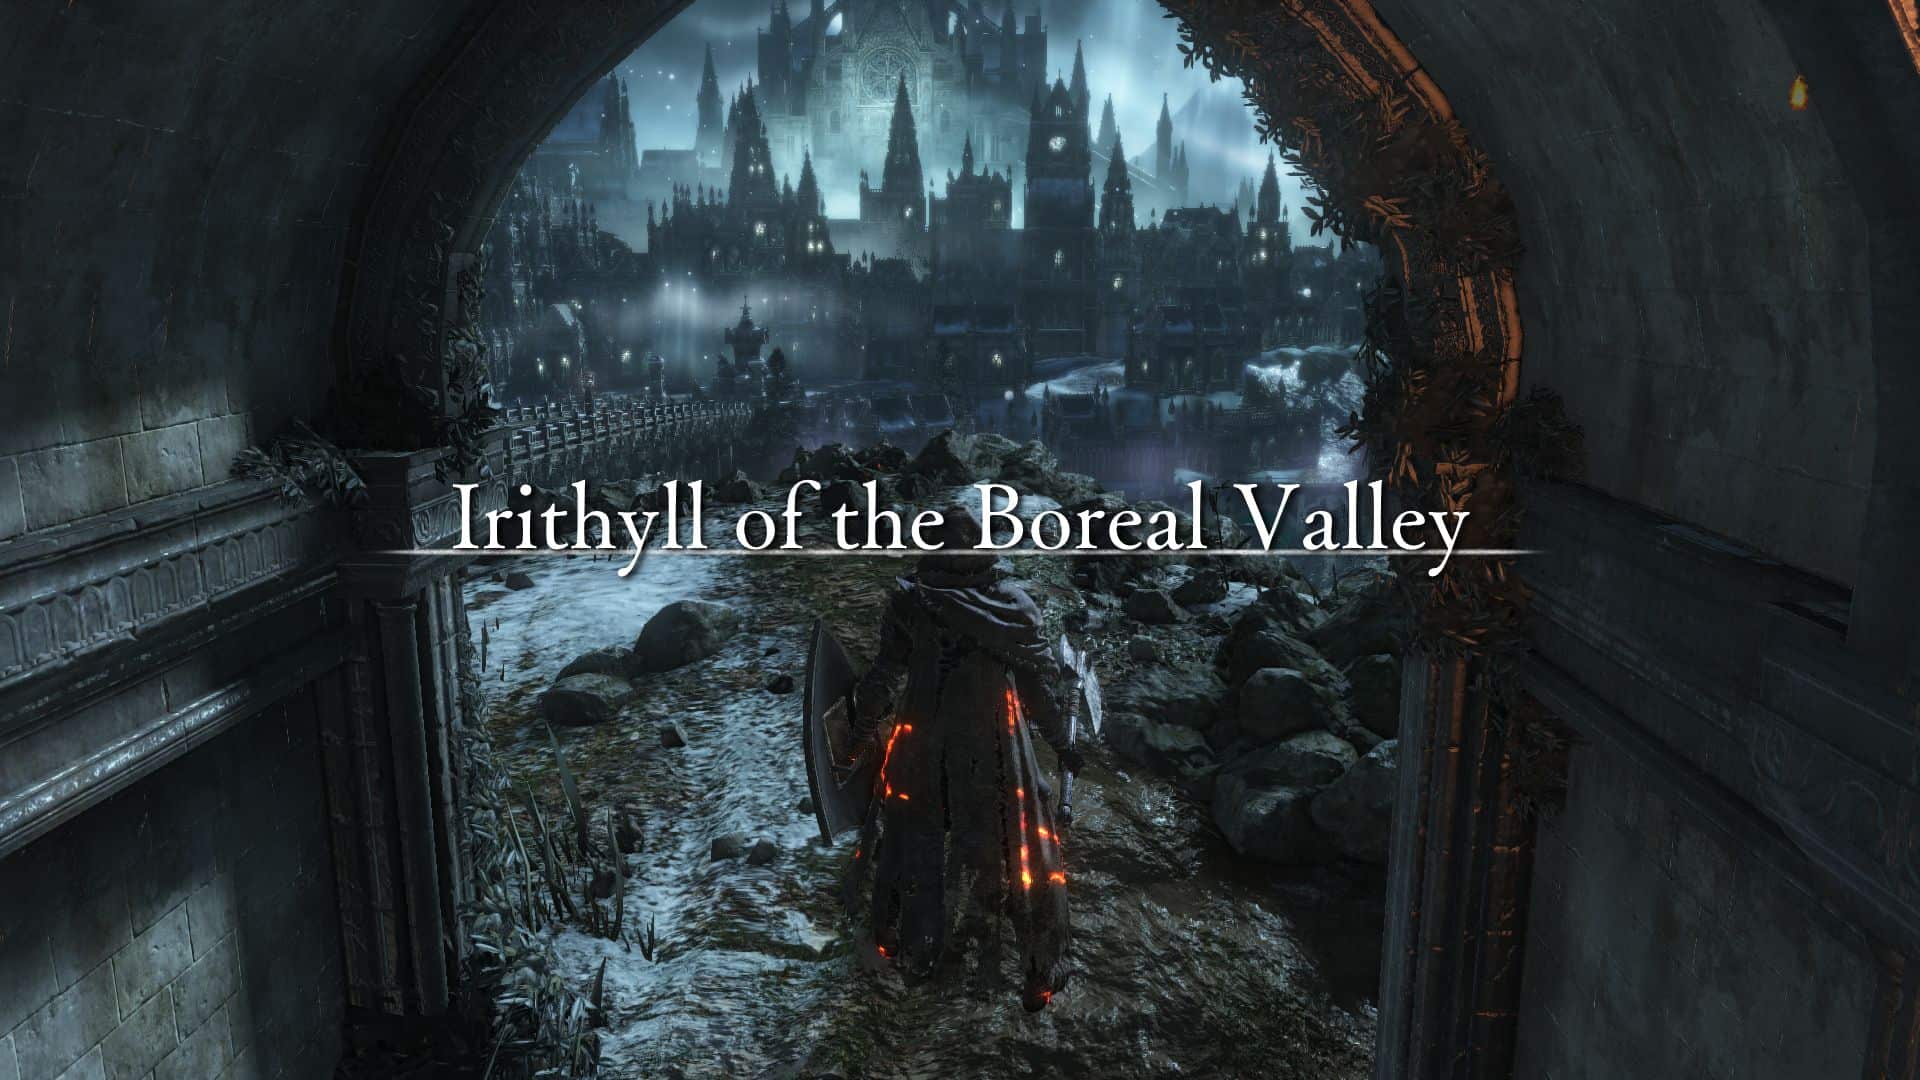

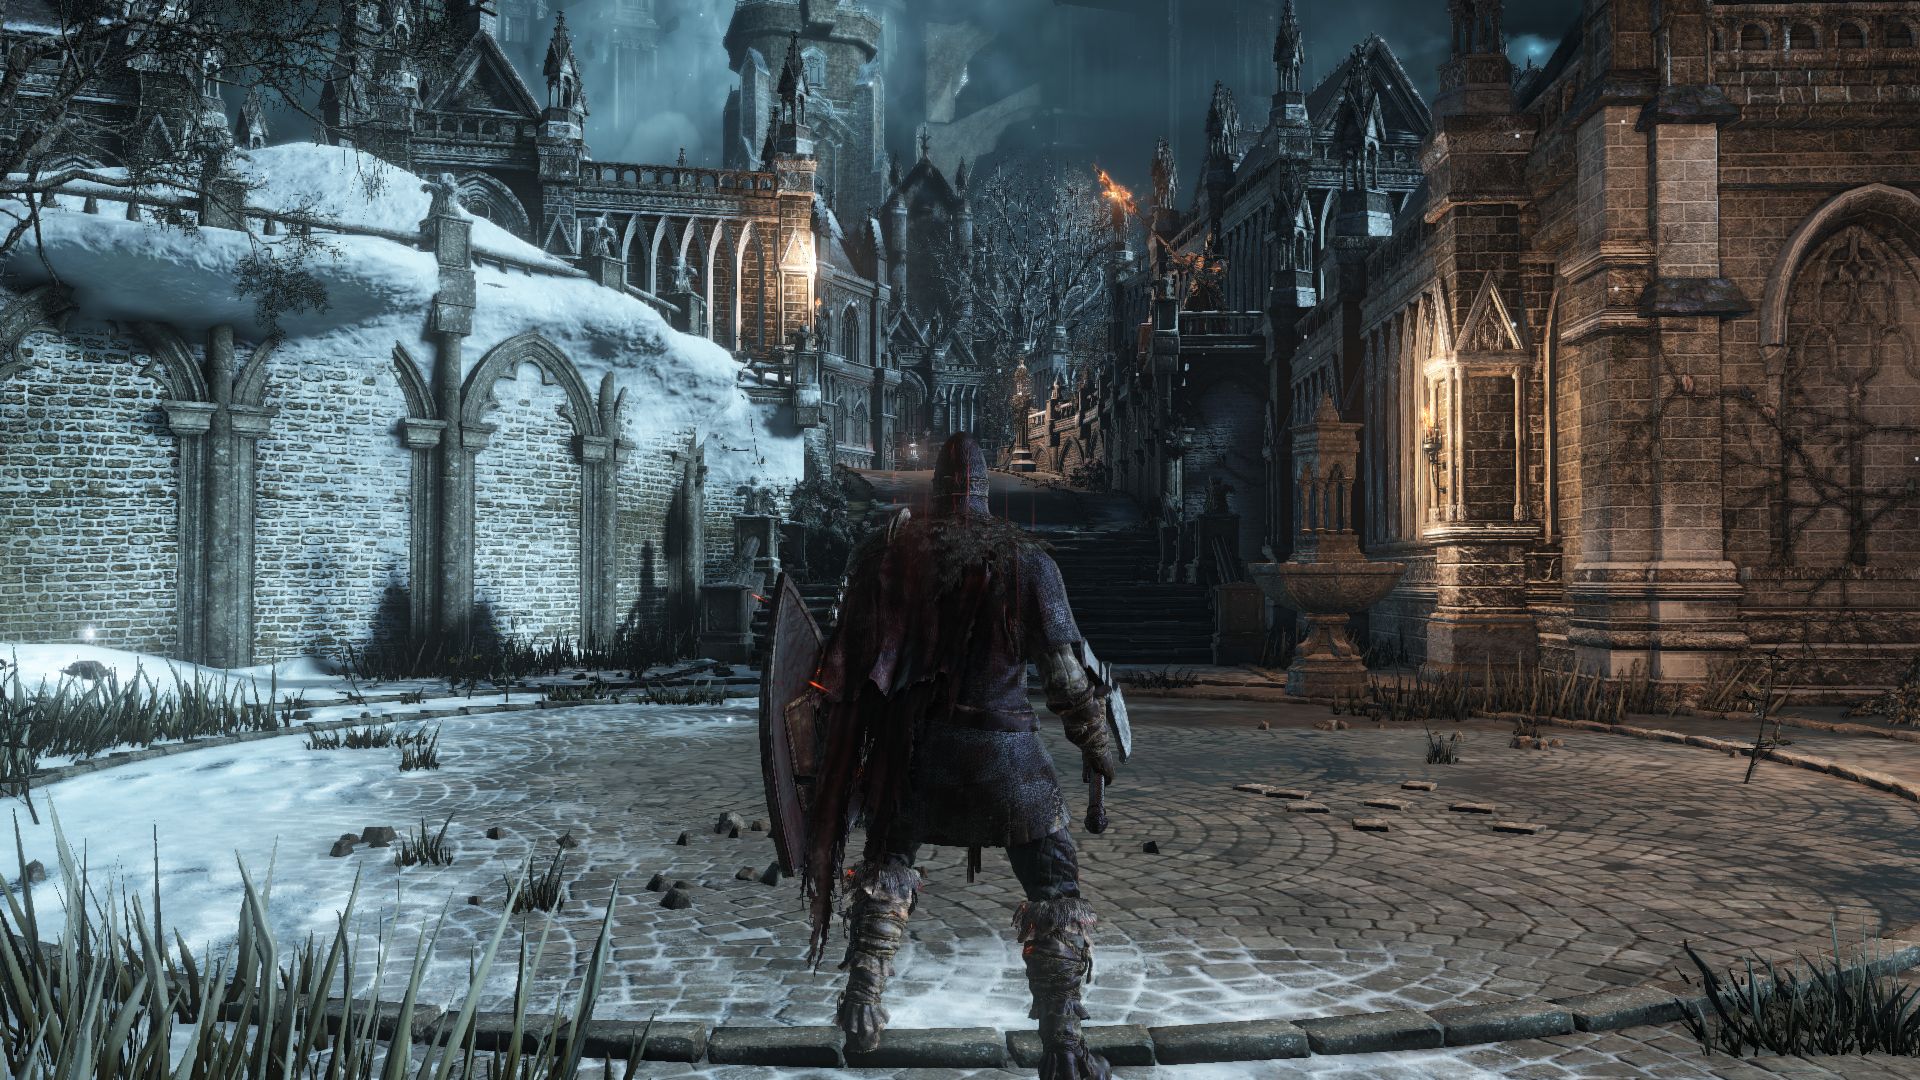
You’ll see a bridge as you enter the cold snowy city of Irithyll (you can’t cross the bridge unless you had defeated the Deacons of the Deep). Halfway through the bridge you’ll find a huge Outrider Beast behind you. Prepare for a rather difficult fight. Avoid its fast biting attacks to try to strike it a few times. If you try to strafe behind him, watch out for its fast turn and biting attack. If you see it draw back a bit to prepare for a lounge, get ready to roll to the side to avoid the incoming damage. When you see it using lightning attacks, stay at a safe distance. Usually you’ll find an opening to attack after its second bite attack. It’s highly recommended you try to kill the beast here and now, or it will come back to haunt you later on. But if you want, you could make a dash for the other side to find a bonfire.

Killing the Outrider Beast rewards you with Pontiff’s Right Eye. As you make your way to the bonfire loot the corpse on the bridge for a Homeward Bone. Search the bonfire area for a Rime-blue Moss Clump, a Large Soul of a Nameless Soldier, and a Soul of a Weary Warrior.
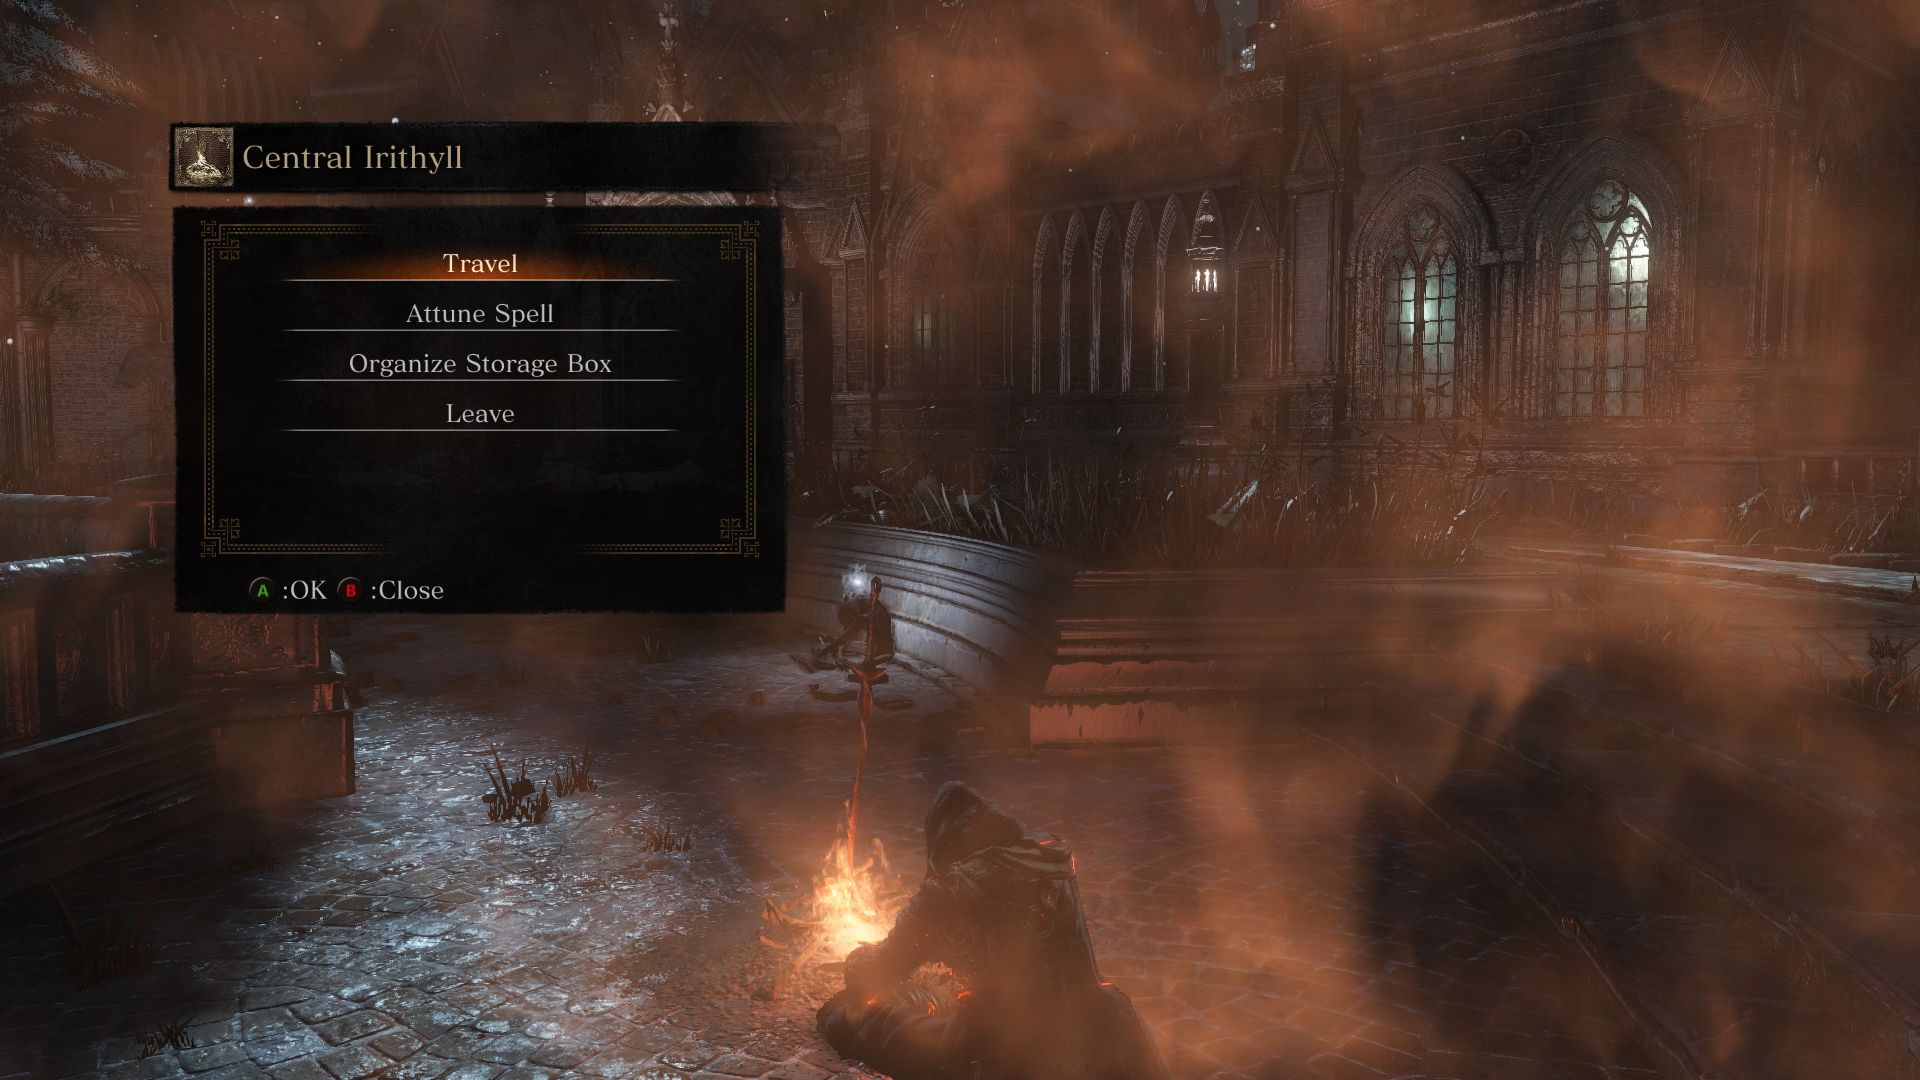
After you light this bonfire, if you want you could go back to Firelink Shrine to talk to Greirat. He will ask if he should go on a mission to pillage Irithyll. Based on certain conditions, he may or may not return from this mission. If you had saved Siegward from the well earlier, then he will save Greirat. Otherwise, you could talk to Patches after Greirat leaves and tell him where he went off to. If you haven’t bought Siegward’s Armor from him, Patches may save Greirat from his dire fate.
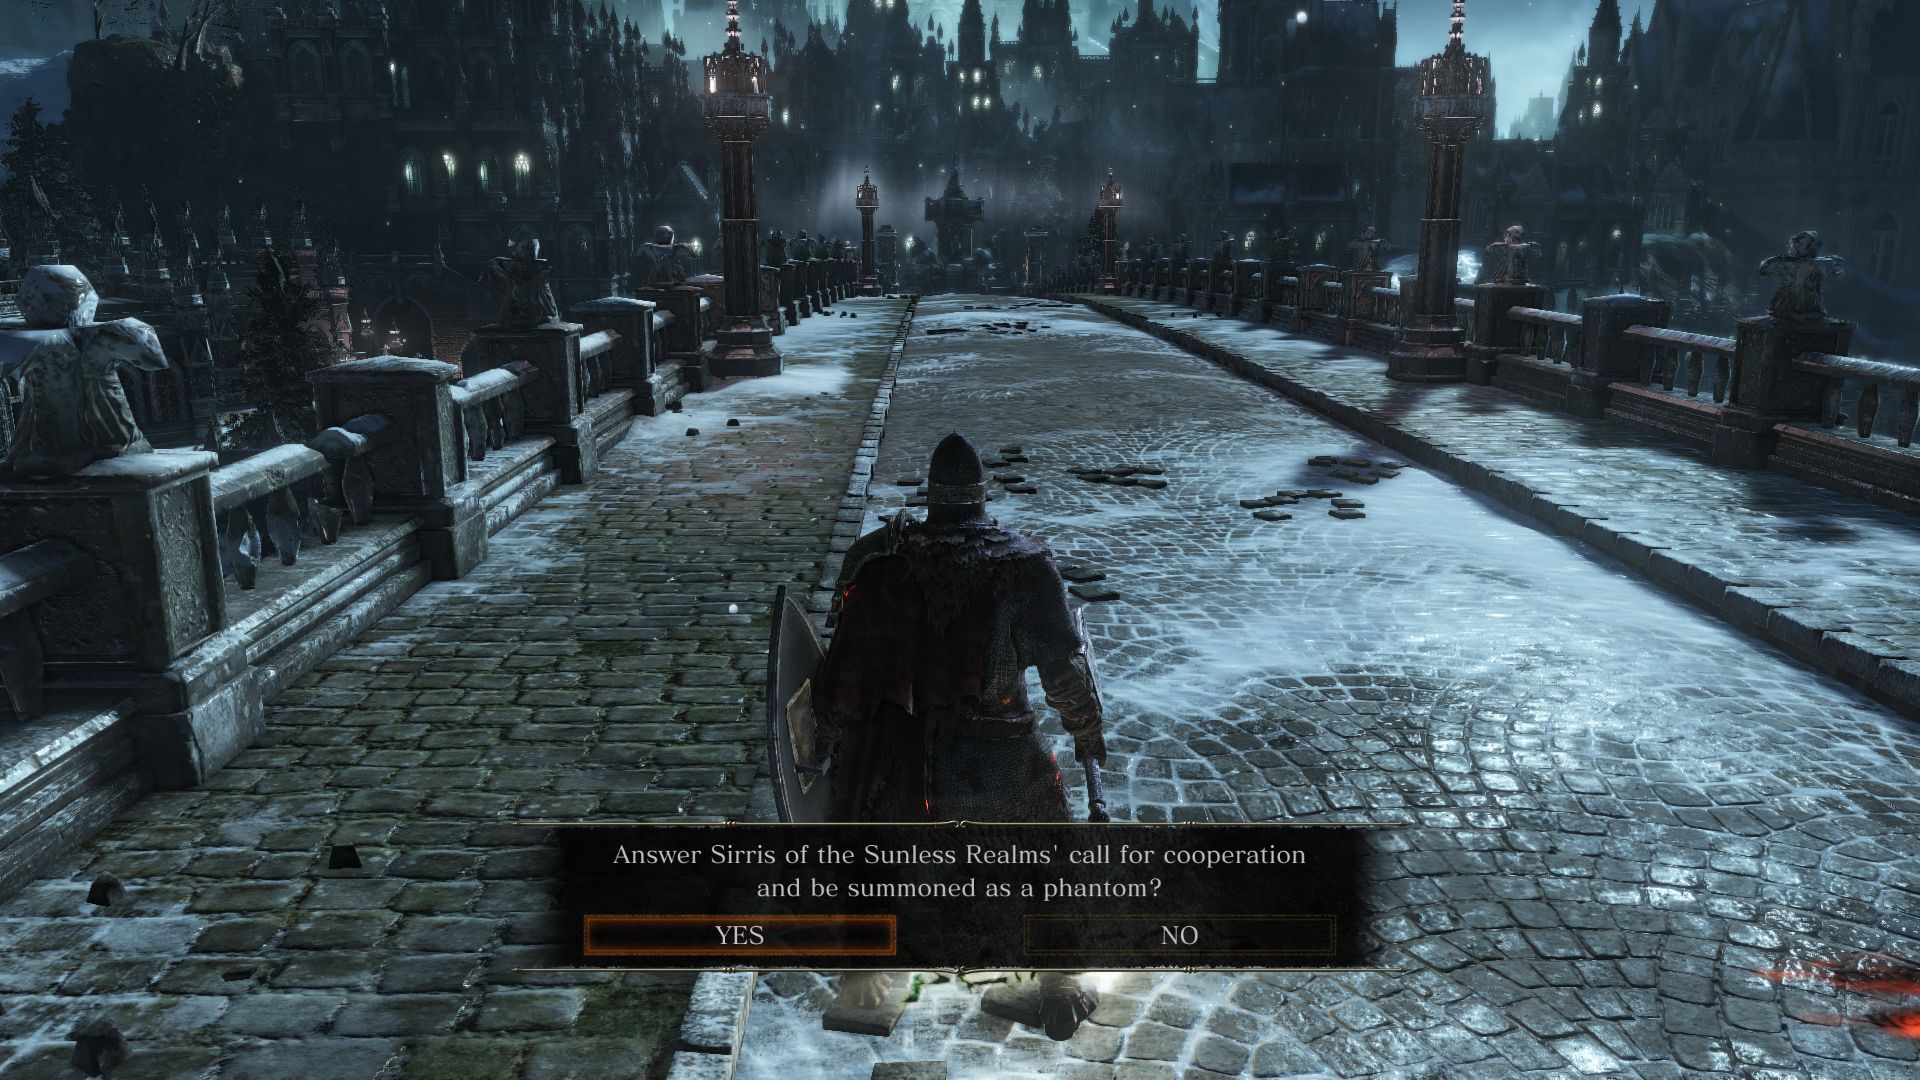
Back in Irithyll, before you proceed, there’s another optional quest for you, assuming you haven’t joined Rosaria’s Fingers yet. Go back to the bridge and you’ll find a summon sign for none other than Sirris of the Sunless Realms. She will request your aid to fight an invader on the bridge. If you choose to help her, you’ll be summoned to her realm to fight Creighton the Wanderer. After you help her defeat Creighton, you can go back to talk to her at the Firelink Shrine and she’ll give you a Silvercat Ring and Blessed Mail Breaker.
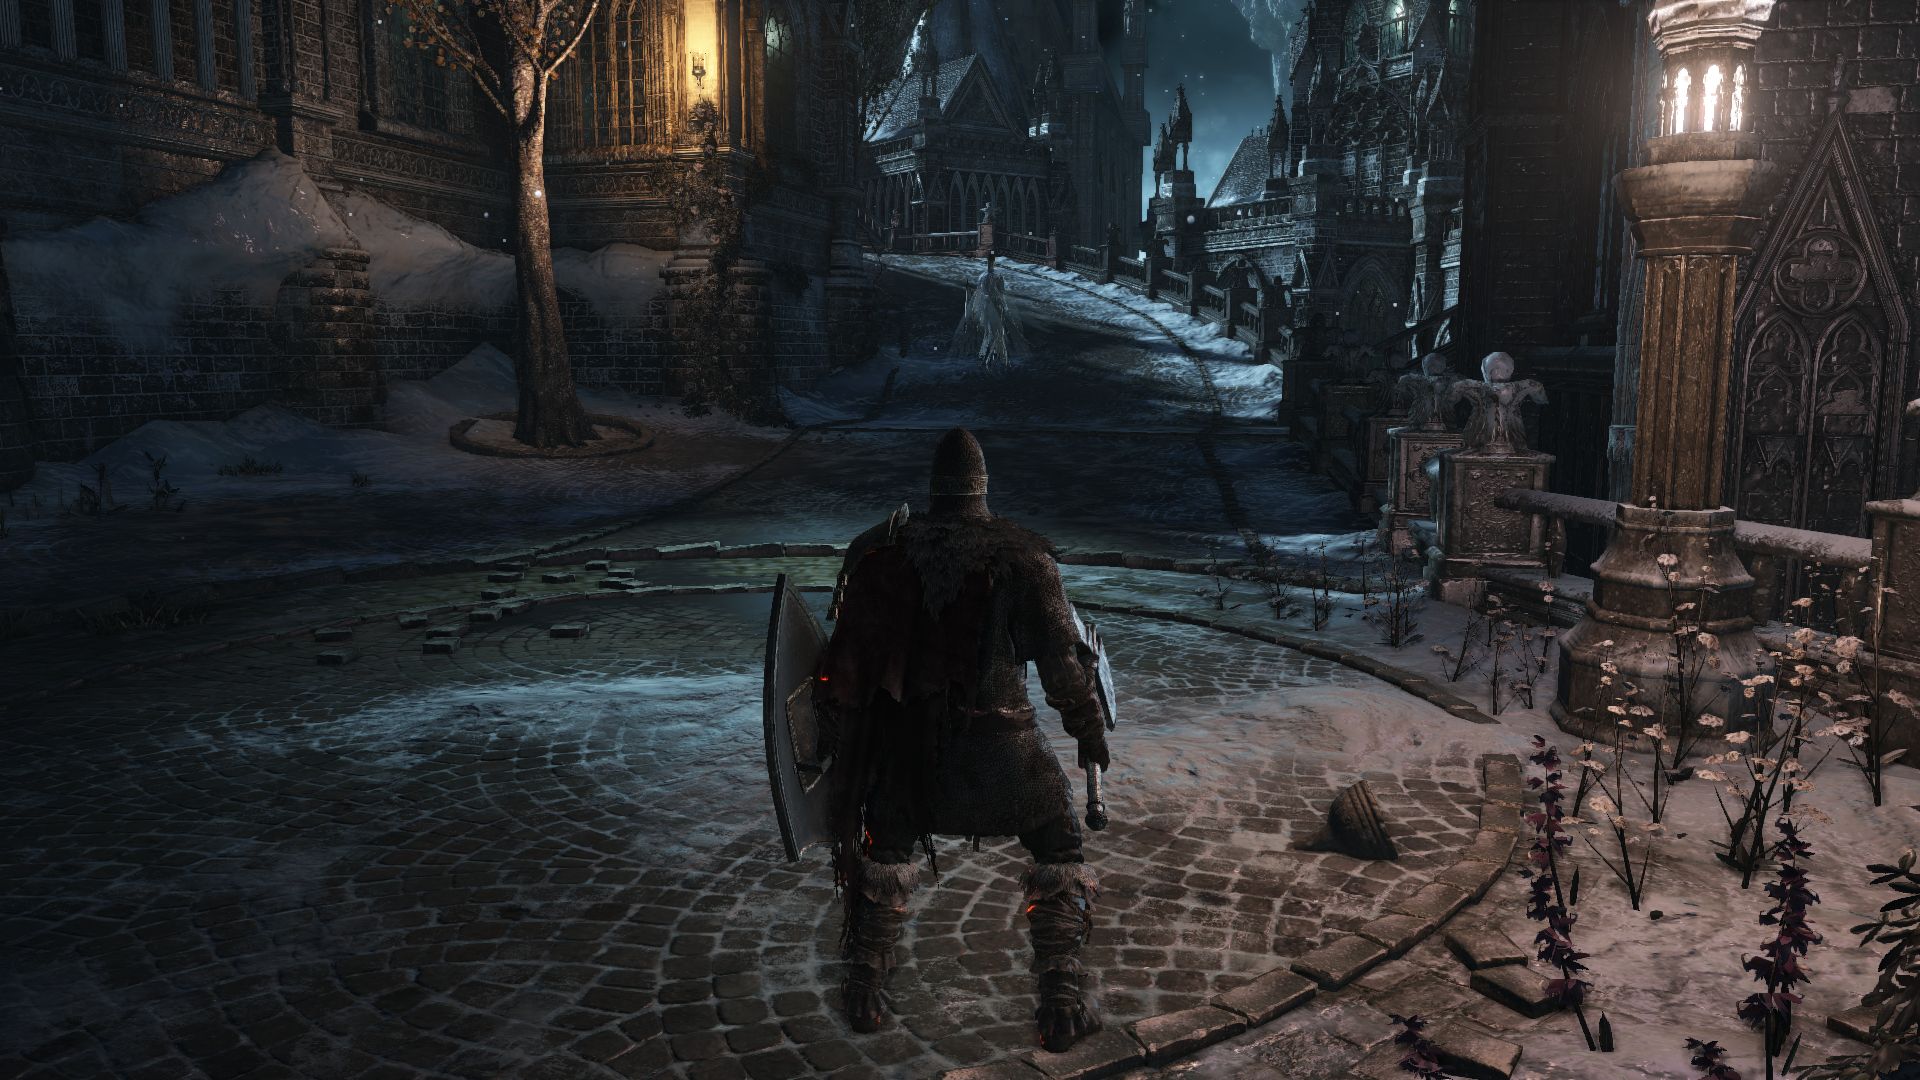
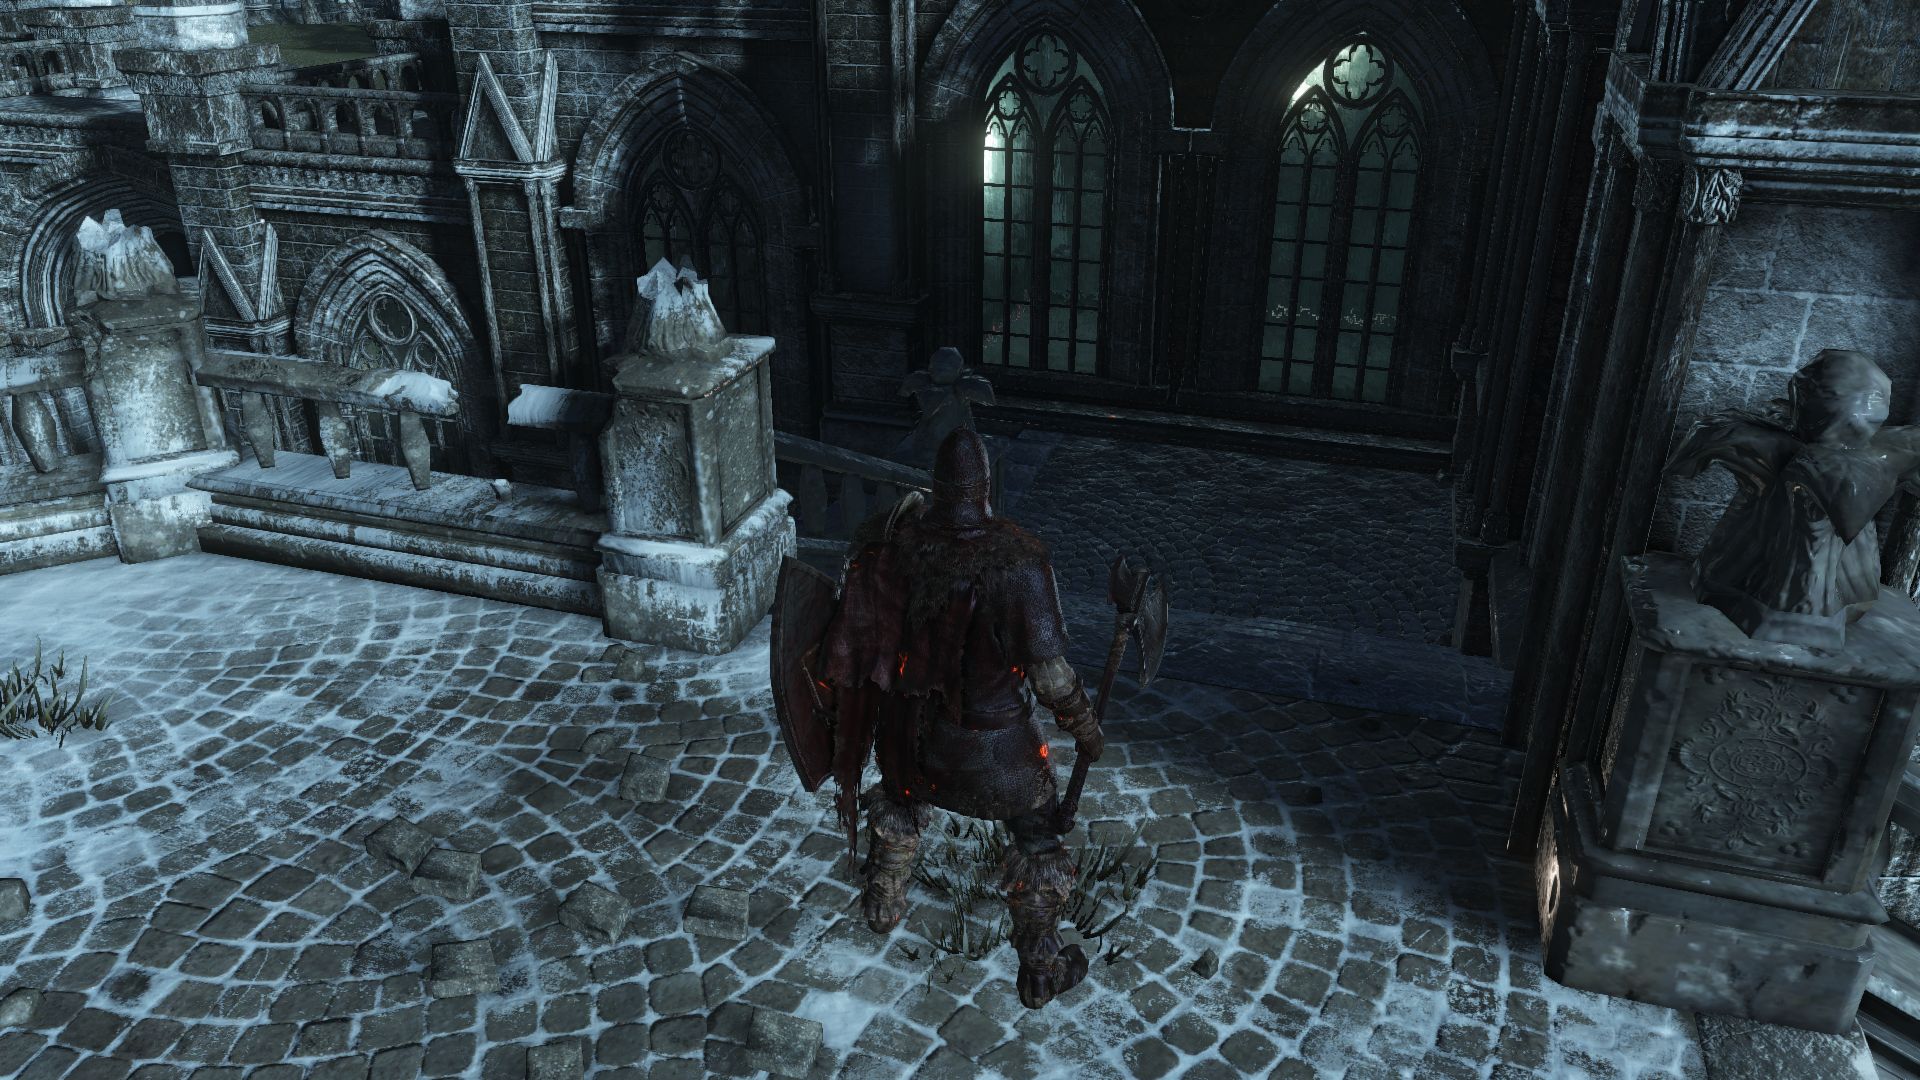
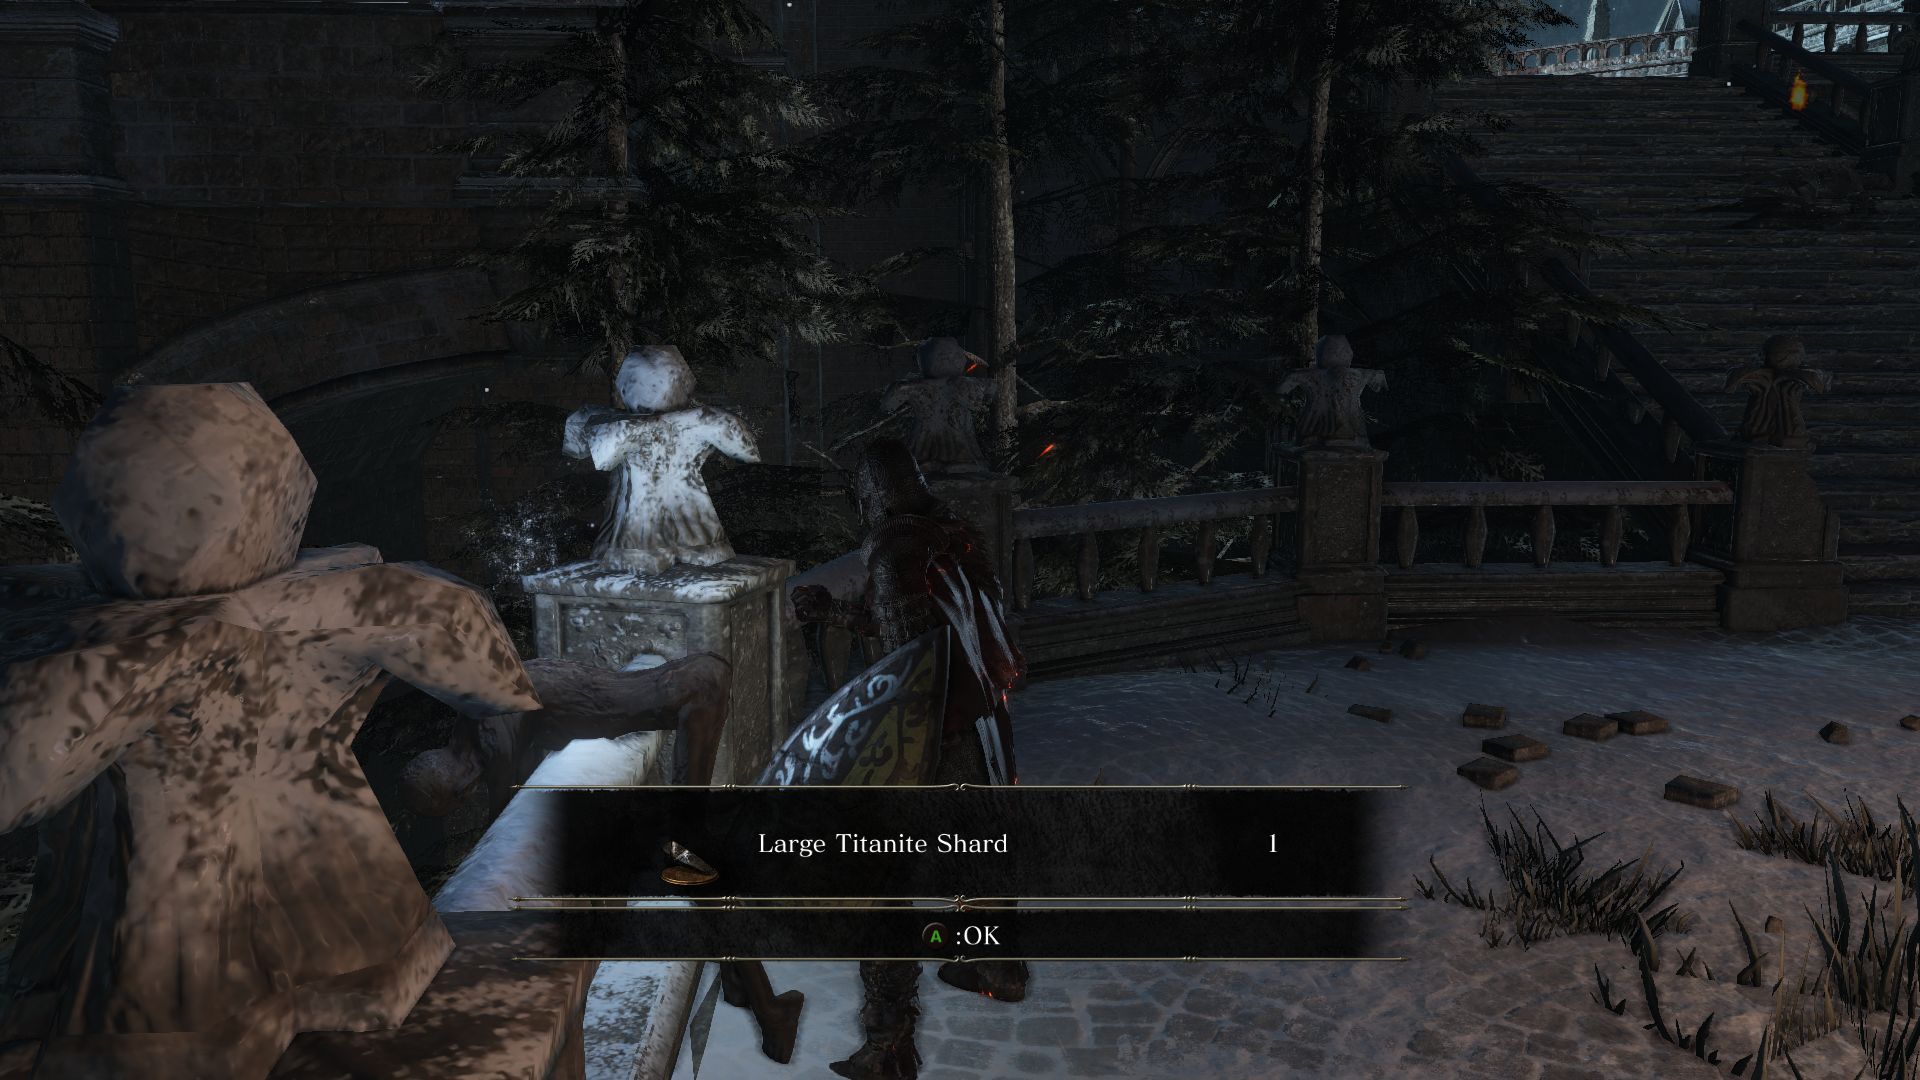
From the bonfire, go up the stairs to see a transparent figure of an Outrider Knight walking down the steps. To your left you will notice an alley with a locked door and someone behind it whimpering. Up ahead are 2 Pontiff Knights patrolling the road. These Knights wield curved swords and are very fluid in their motions. They will use spinning attacks, charges, uppercuts, and 3 hit combos. Like other Knight fights, learn their attack patterns and timing, and strafe/roll around them when they are doing their combos to position yourself behind and strike them. They will also jump back to retaliate, so watch out for that. If you run too far away from them, they will attack you with dark magic from a distance. After you kill the Pontiff Knights, look behind you to loot a Soul of a Weary Warrior. Another Pontiff Knight will attack you up ahead. After you defeat him, loot the Large Titanite Shard he was guarding.
As you make your way across the road you’ll come to another fountain where you will face some Irithyll Slaves. These enemies are easy to take down since they only wield a Claymore and are slow on the attack, but try not to get surrounded. Carefully take them out before proceeding forward.
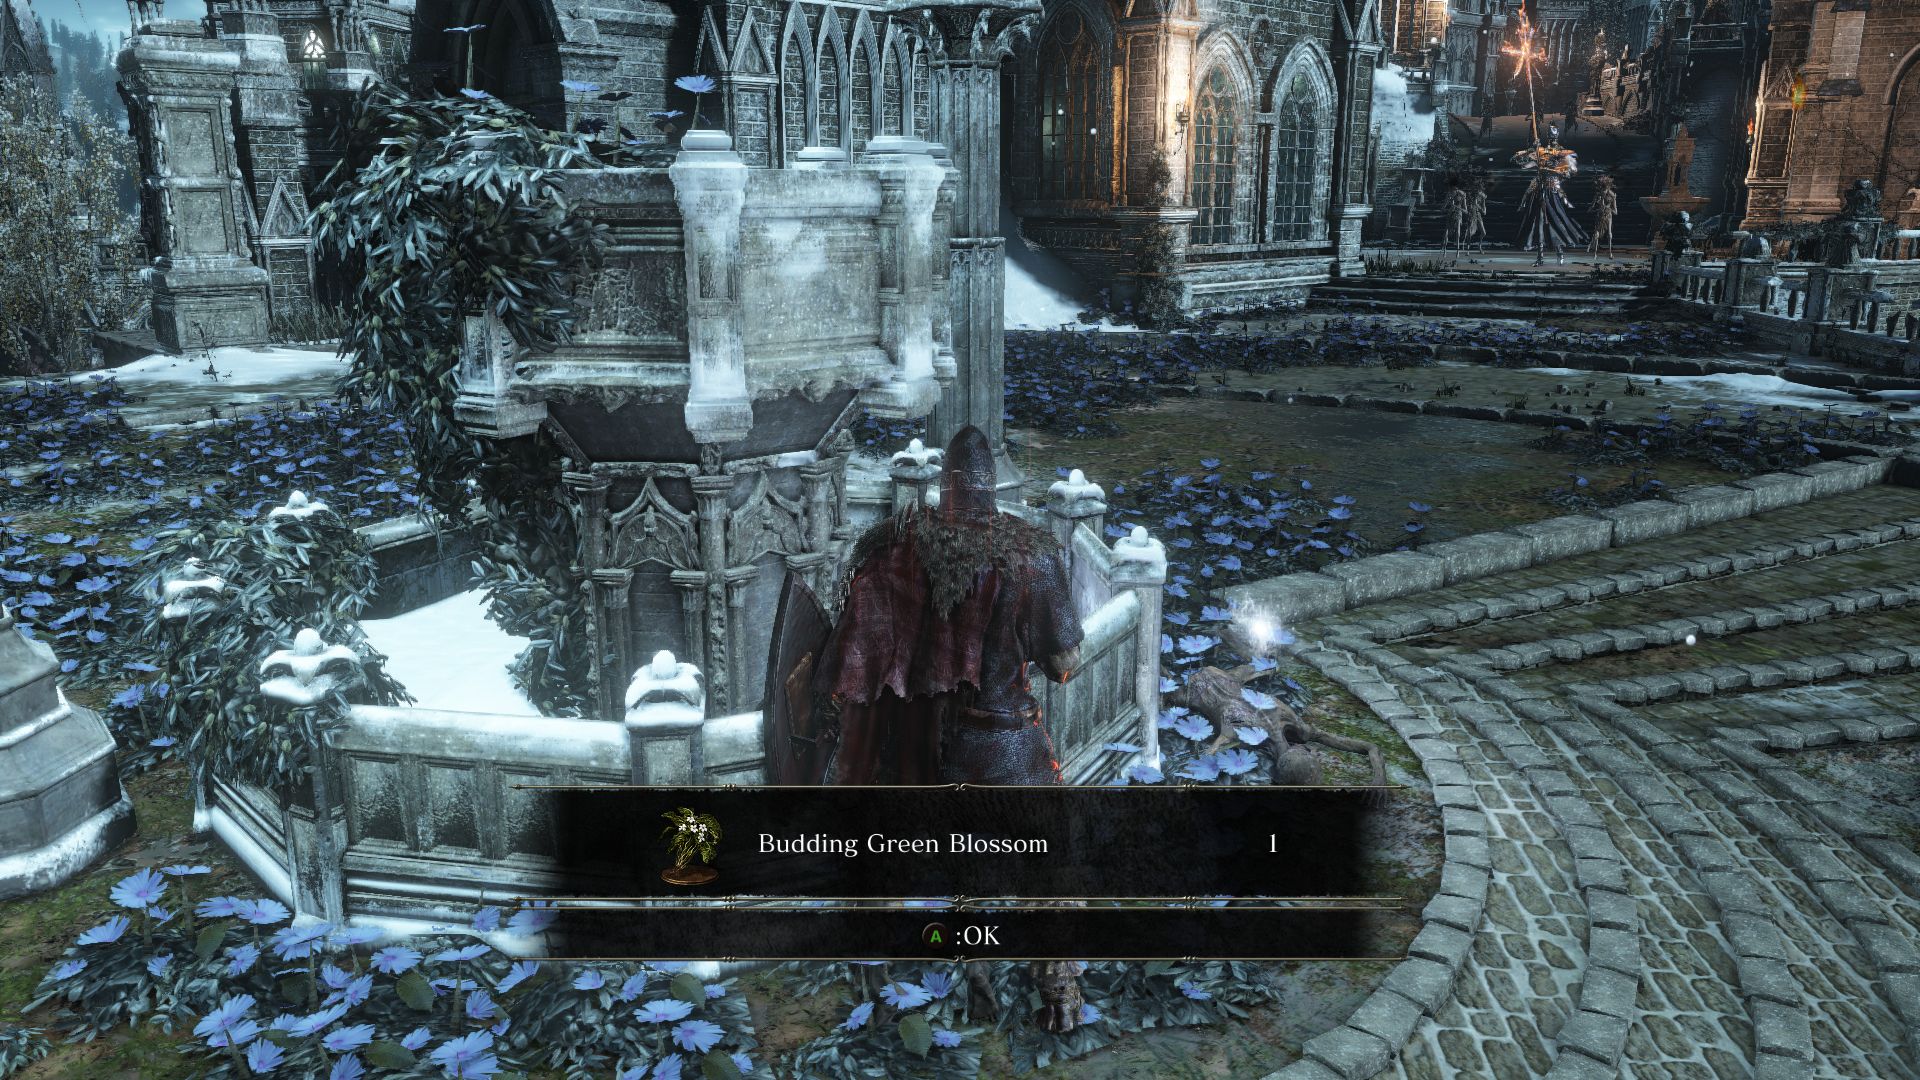
Beyond the fountain you find some more Irithyll Slaves and a new enemy, a Fire Witch. The Fire Witch wields a long flaming spear which he will strike the ground with to send out flaming bursts where you are standing or a trail of fire aimed at you. You have to be mobile when you are taking on Fire Witches so as not to get hit by his ranged attacks. To take minimum damage, lure the Slaves back down the road and kill them before taking on the Fire Witch. When you get up close to a Fire Witch, it’s easy to take them down while dodging their attacks. They also do not have a lot of poise, so they stagger easily allowing you to finish them off at close range. After you clear the area, look for the corpses by the fountain for a Budding Green Blossom and a Large Soul of a Nameless Soldier.
Proceed forward and make note of the Fire Witch on a balcony up ahead. To reach this Fire Witch you have to run ahead and double back up a set of stairs. Be careful not to draw the attention of 2 Pontiff Knights patrolling the area up ahead. After you kill the Fire Witch loot the Large Titanite Shard nearby on then take on the Pontiff Knights one by one. After you kill these enemies, search the left side of the road leading to the Fire Witch for 2 Rime-blue Moss Clump.
Before move down the curving road to the right, go up the small steps to the left where you will find a crystal lizard holding a Twinkling Titanite. You will see an enemy below but no clear way to get there. Hit the railing to your right to reveal an illusory “wall” which is basically invisible stairs leading down. Defeat the Pontiff Knight below and loot the Large Titanite Shard nearby.
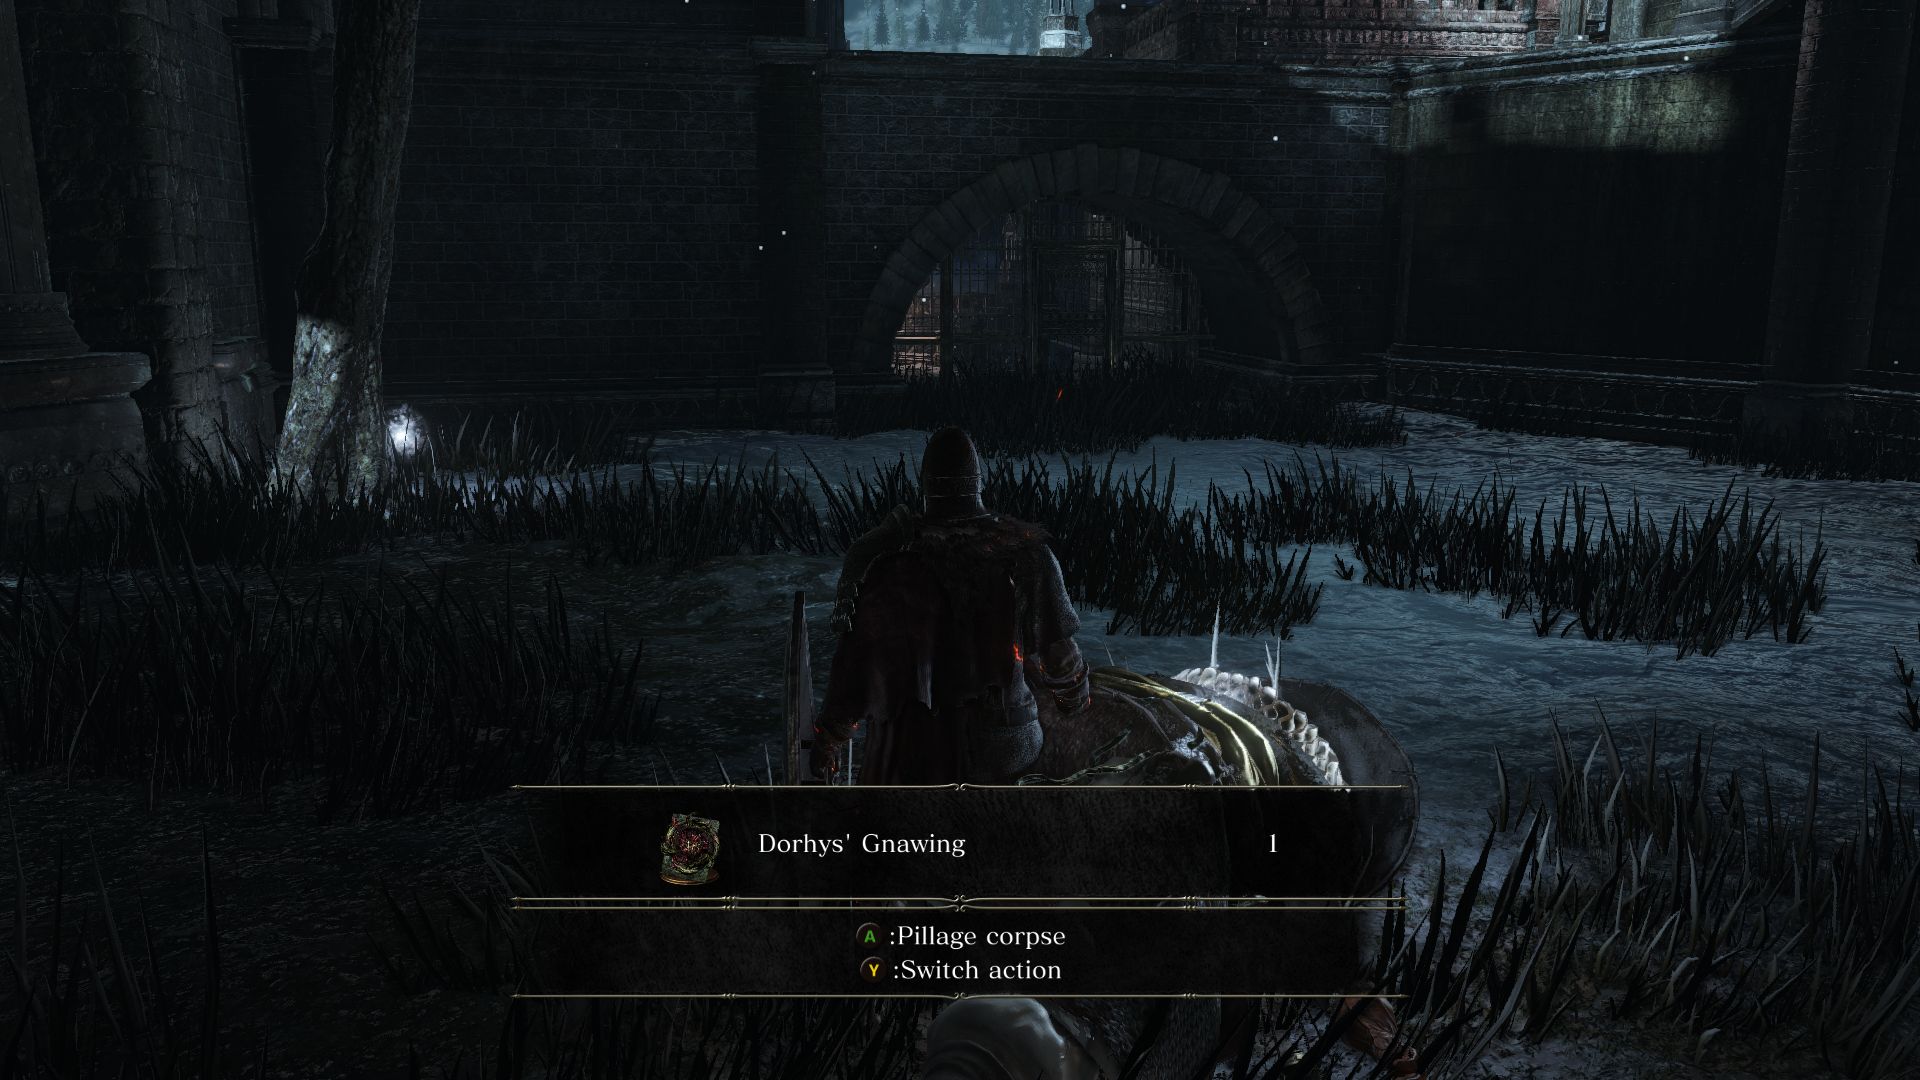
As you proceed down this secret area you will find the source of the noise behind the locked gate you found earlier. In the clearing below is an Evangelist who is stronger than the other Evangelists you had faced before. Don’t stay at a distance, because her Gnaw spell is deadlier. Try to stick to her while locked on and strafe around her mace attacks. Just be sure not to get caught by her deadly hug. Defeat her to obtain Dorhy’s Gnawing. You’ll also find a Witchtree Branch nearby. You can open the door and get back on the main path from here.
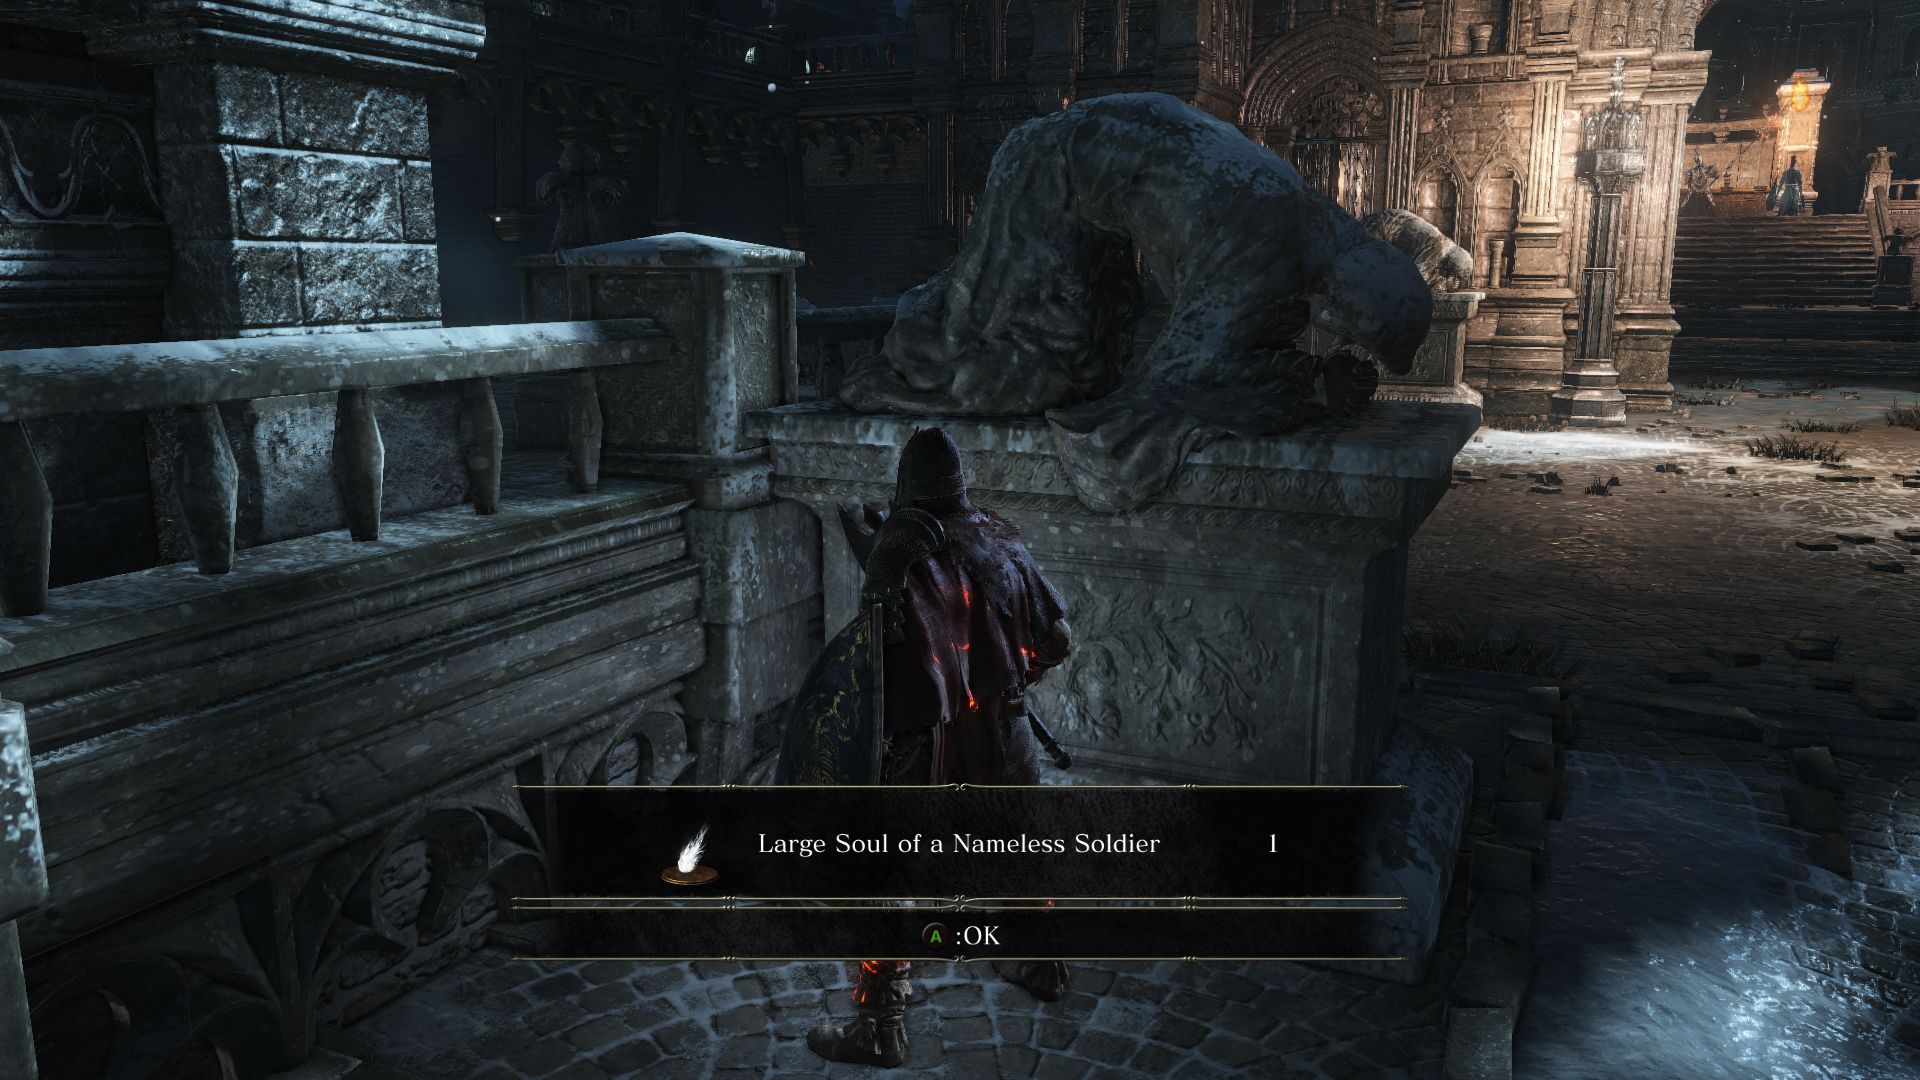
Head down the curved path and you’ll come to an archway in front of a cathedral. Beyond the archway is a Fire Witch with two Pontiff Knights standing on either side. Don’t engage them yet. Loot the Large Soul of a Nameless Soldier by a statue and a Large Titanite Shard on a balcony to the right.
As you approach the three enemies beyond the archway you will notice that the Pontiff Knights will begin patrolling. And to the left, hiding behind the wall is another Fire Witch, so you don’t want to charge into all the enemies at once. When the Knights are out of range, you can try to lure the Fire Witch with throwing knives, an arrow, or a spell. Defeat the Fire Witch before engaging the Pontiff Knights. Once you carefully defeat these 3 enemies enter the plaza and face the Fire Witch that was lurking behind the wall.
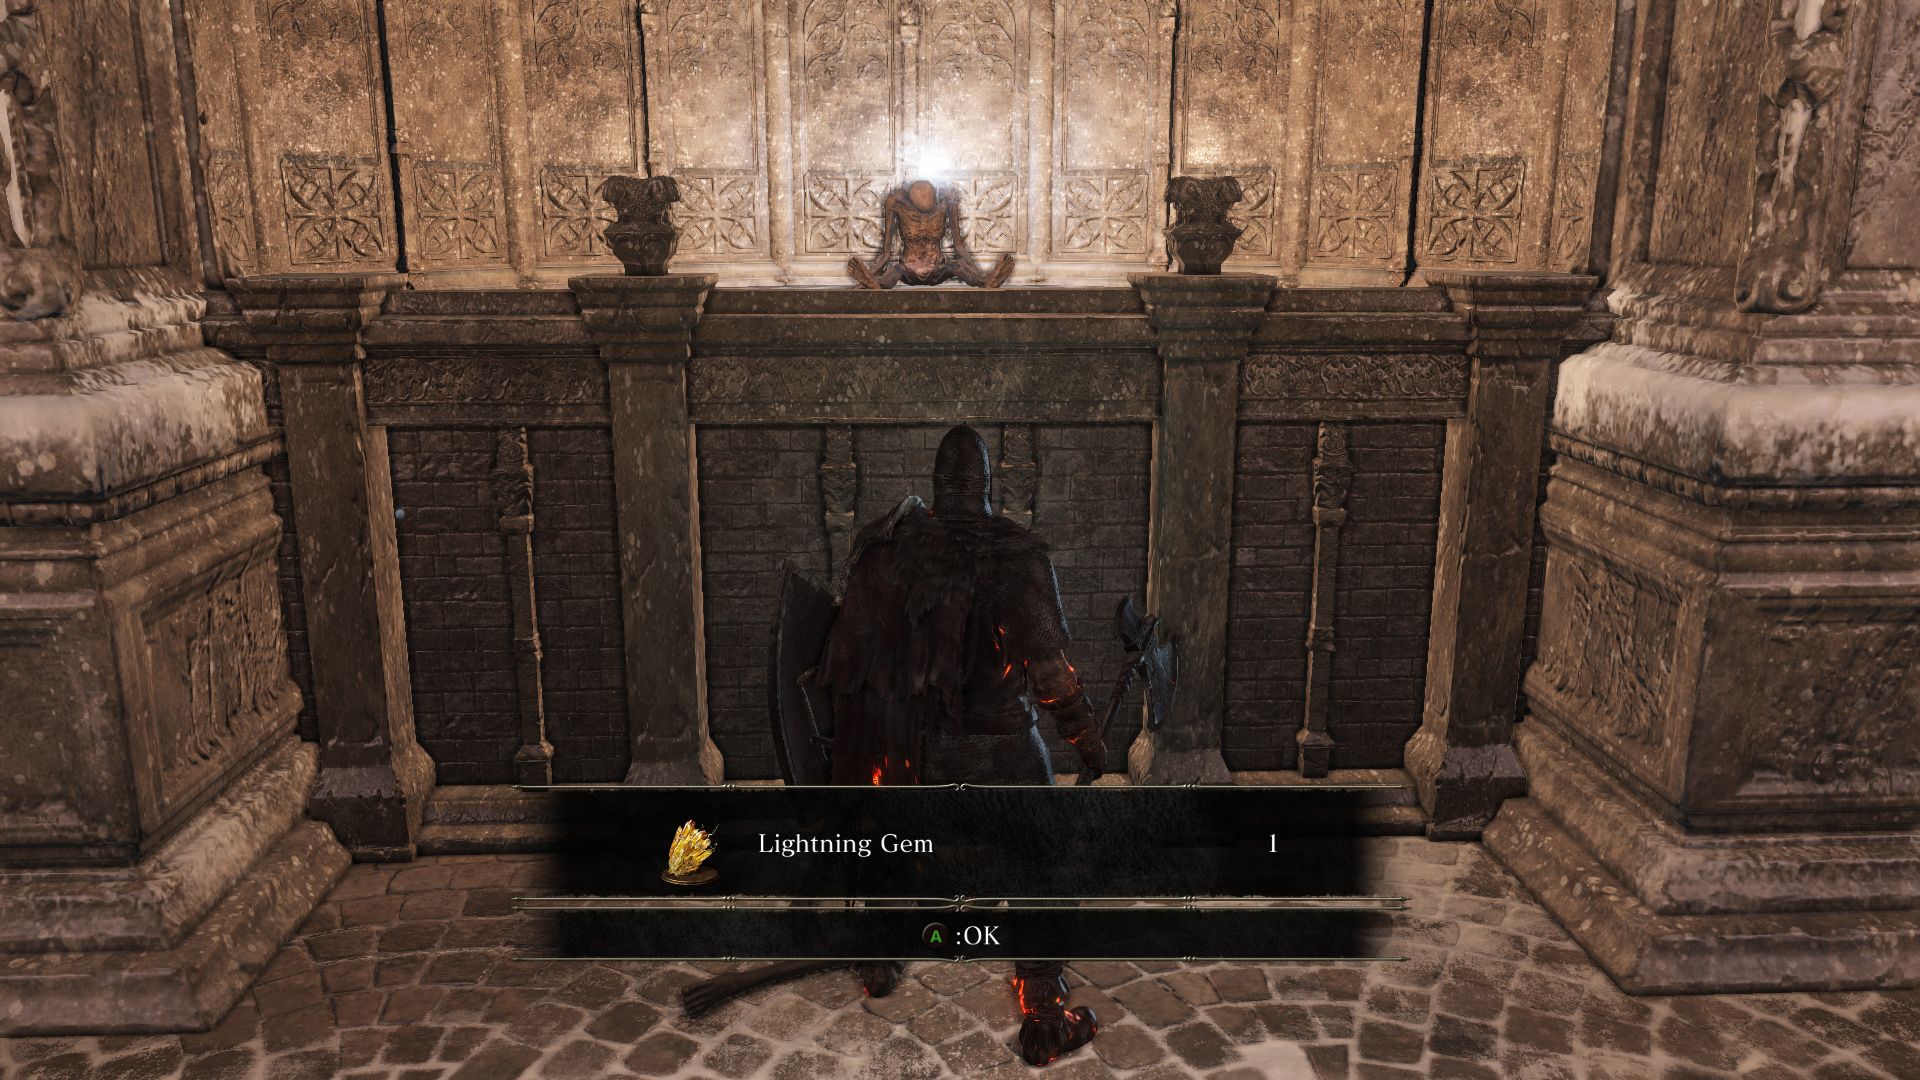
Loot the Soul of a Weary Warrior and notice another corpse on the altar which you can’t reach just yet. Speaking of, there’s another Pontiff Knight behind the altar, so defeat that one too to be able to loot the Lightning Gem.
There’s another Illusory Wall to reveal here. Look at the wall on the right side of the arch that looks a bit off. Strike it to reveal a secret area where you can loot a body holding a Magic Clutch Ring.
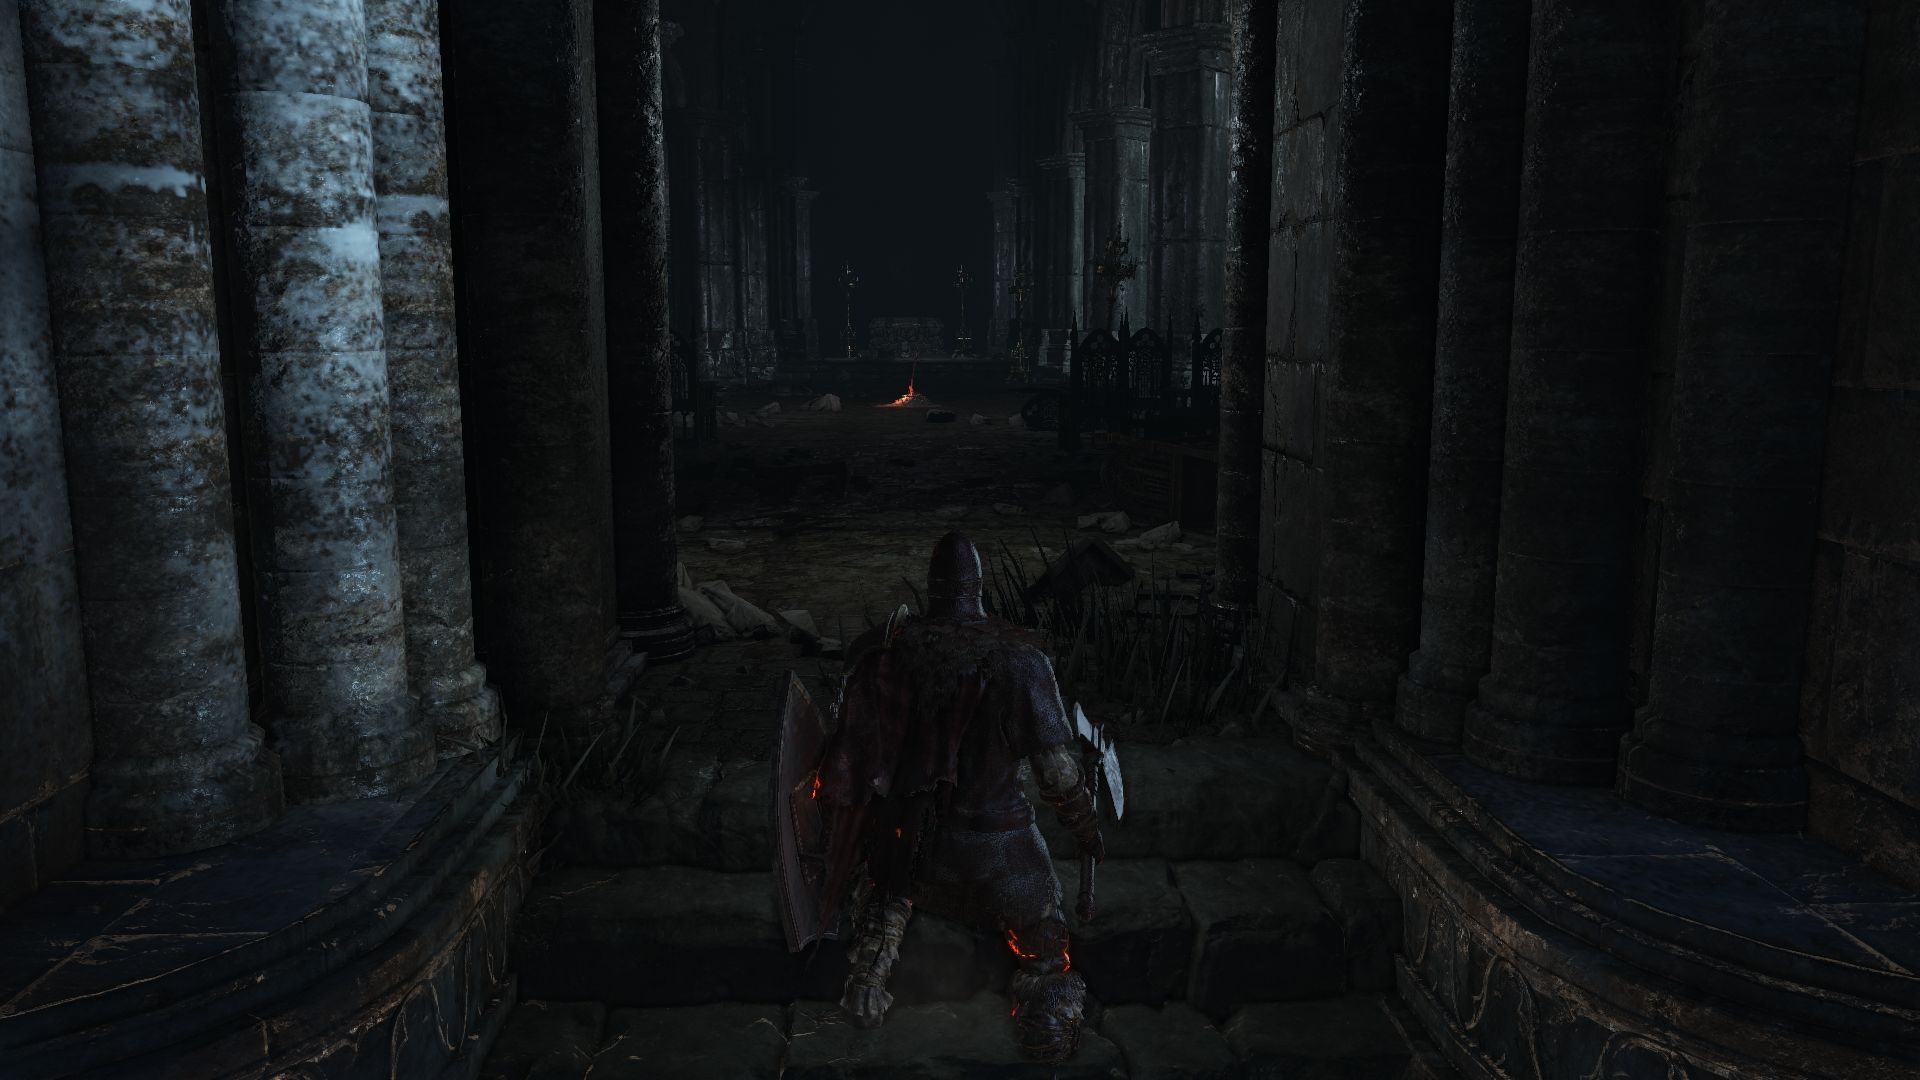
Near the altar you will find a gate that’s locked. Instead head back out of the archway and take the path to the right that leads to some stairs. Pillage the corpse by a tree to find a Large Titanite Shard. Once you enter the church you will find your next bonfire! Loot the corpse nearby after you light the bonfire to find a Proof of a Concord Kept.
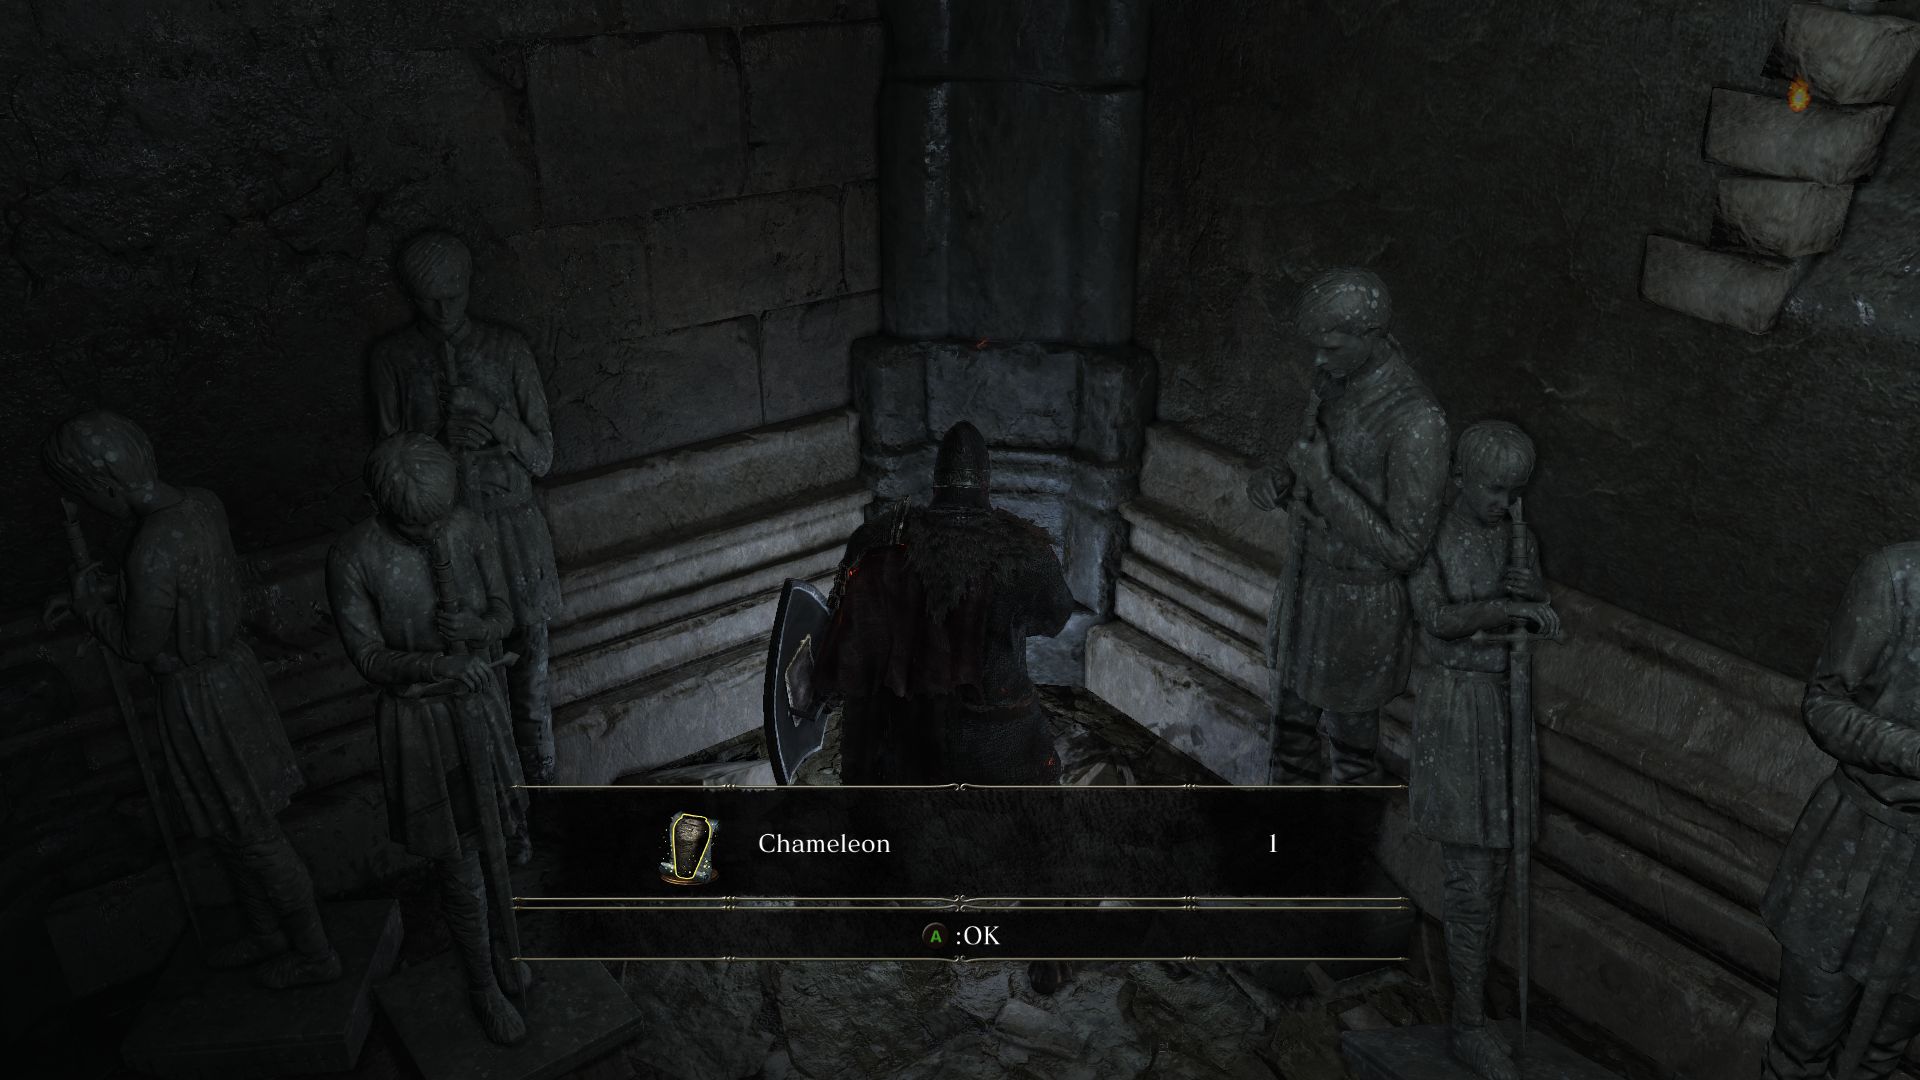
In the bonfire room, you’ll also find Anri, who hasn’t found Horace yet. Talk to her to receive the Ring of the Evil Eye. Talk to her again to receive the Quiet Resolve Emote. Now, depending on which ending you want, you may want to make a choice here. If you’re following the Lord of Hollows path by aligning yourself with Yuria, you can proceed out of the church. However, if you aren’t following that path, and want to save Anri, strike the statute at the corner of the room to reveal a Londor assassin. Had you left the area before killing this assassin, you would have left Anri to her doom. But killing the Assassin will reward you with the Chameleon Sorcery, and Anri will request your aid later on to defeat a Lord of Cinder.
Exit the church and into the graveyard. Look around the corner before you do so to find a Roster of Knights. As you make your way towards the cliff, notice the smoky glowing orb by a grave. It’s an invisible Irithyll Slave that will only reveal itself when you are near. Be on the lookout for a lot more invisible enemies like this from here on. Notice the corpse nearby with an item containing a Fading Soul. Another invisible slave is waiting by it.

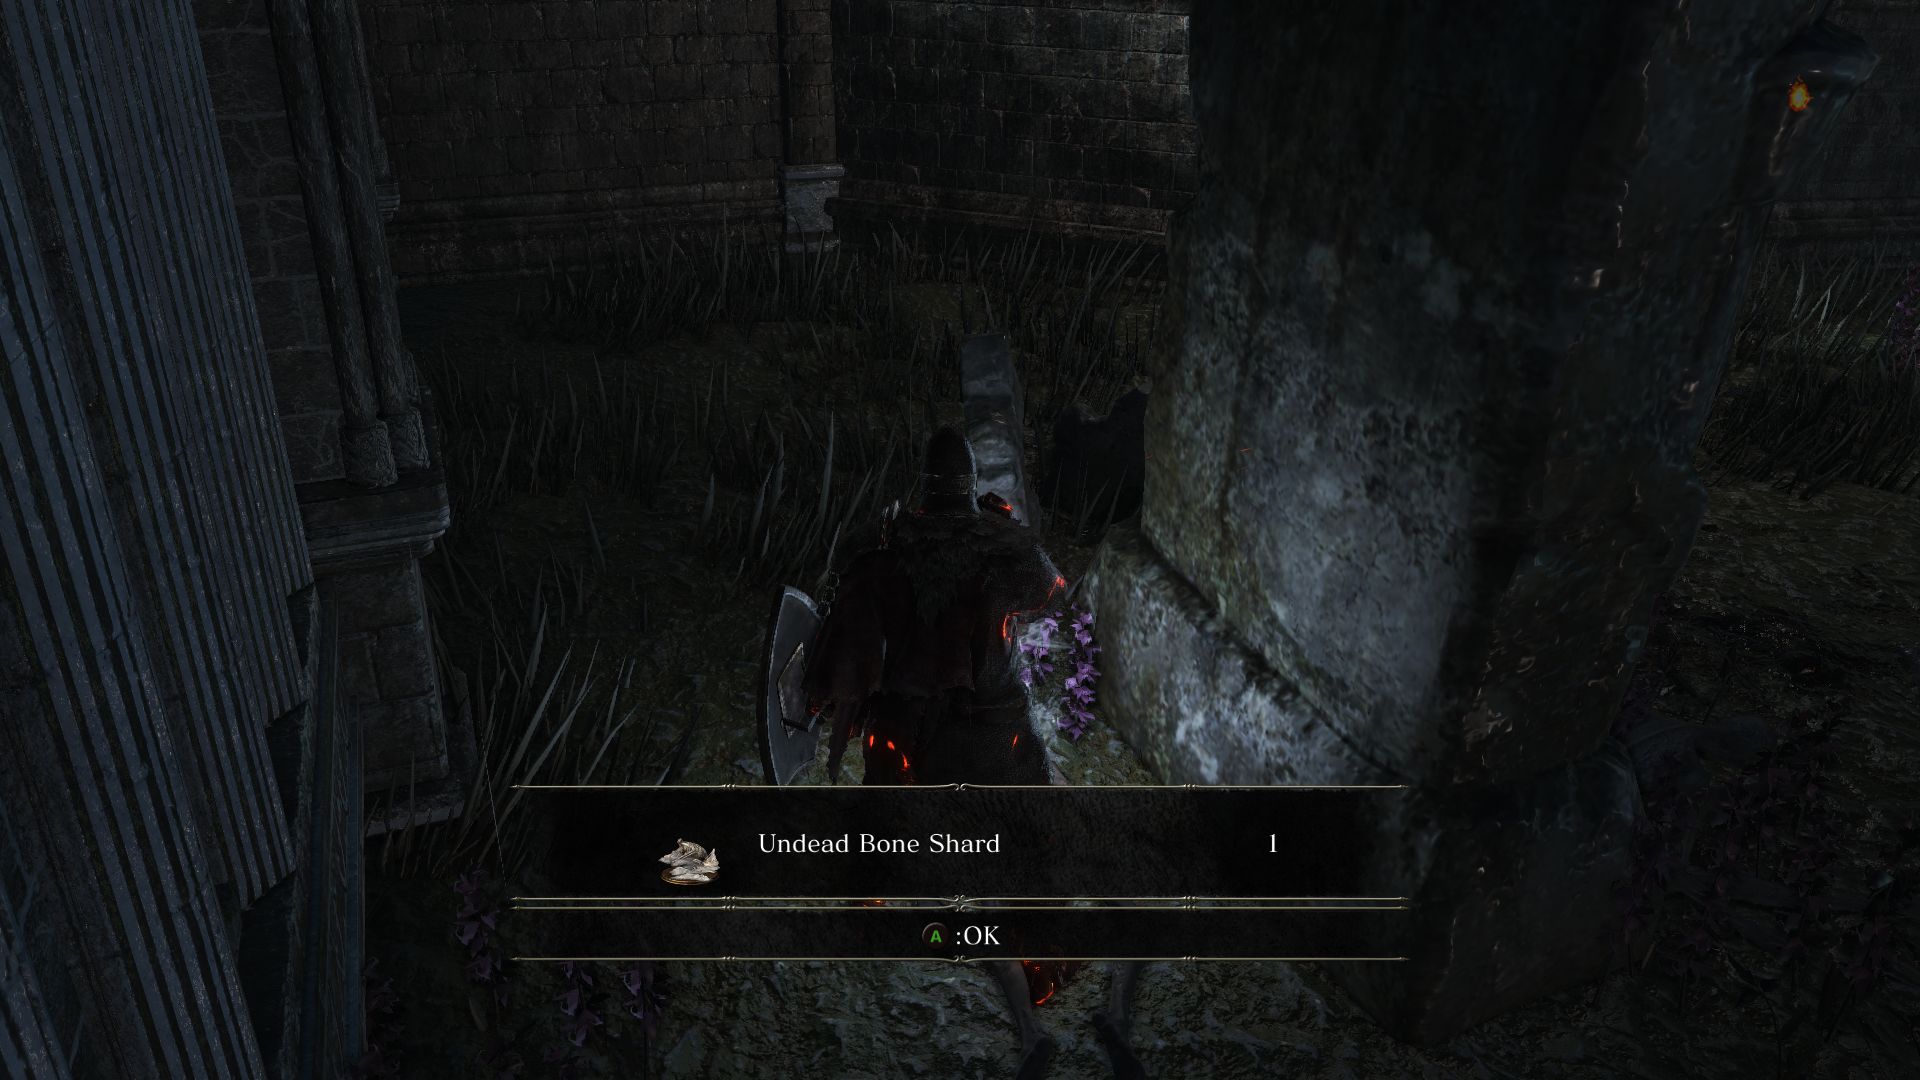
Go right around the corner to find another Fading Soul, guarded by a red-eyed Corvian. Take it out before it can transform. Loot the 3 Homeward Bone by the headstone and the Undead Bone Shard just behind it.
Now, if you had helped Sirris earlier, you may be invaded by Creighton the Wanderer here by the tombstone. Try to avoid his attacks when he uses his War Cry and roll around his lightning-infused axe swings. When you kill him, you will obtain the Dragonslayer’s Axe. Also, if you return to the bridge now where you had defeated him initially you will find the full Mirrah Chain Set.
As you’re heading back into the church, notice a path leading below to your right into an alley. This path splits into two. Kill the hiding Irithyll Slave before heading left where you will find three hounds with human skulls for faces. Don’t get overwhelmed by all 3. Carefully defeat them with lots of rolling and blocking if needed then loot the 8 Kukri and a Rusted Gold Coin they were guarding. Now head back to the other paththat leads into a dark cellar.
You’ll notice a lot of glowing eyes in this dark room that is teeming with hiding Irithyll Slaves. A sweeping weapon is preferred here as these enemies may be reluctant to reveal themselves and dodge around you to attack you. You’ll find one to your left as you enter the cellar and 3 more up ahead as you descend the stairs. Notice that their eyes are at a much lower level because they are crawling, so aim your attacks accordingly. There should be one by the left corner, 3 crawling up ahead with one standing, and two more on the right (one below one above). Move slowly and carefully and watch for their eyes in the dark to guide your attacks. There are also some lurking on the rafters above, so you’d be wise to keep an eye above you for any that may decide to jump down and ambush you.
After clearing these enemies, search the alcove to the left for 2 Blue Bug Pellets and the right side of the room for a ladder leading to the rafters. In case the wraiths hadn’t jumped down on you from above, you may find a few here on the beams. One of these wraiths will also attack you with Soul Darts, so have you shield up. After defeating the enemies on the rafters, loot the corpse dangling by an edge for a Shriving Stone.
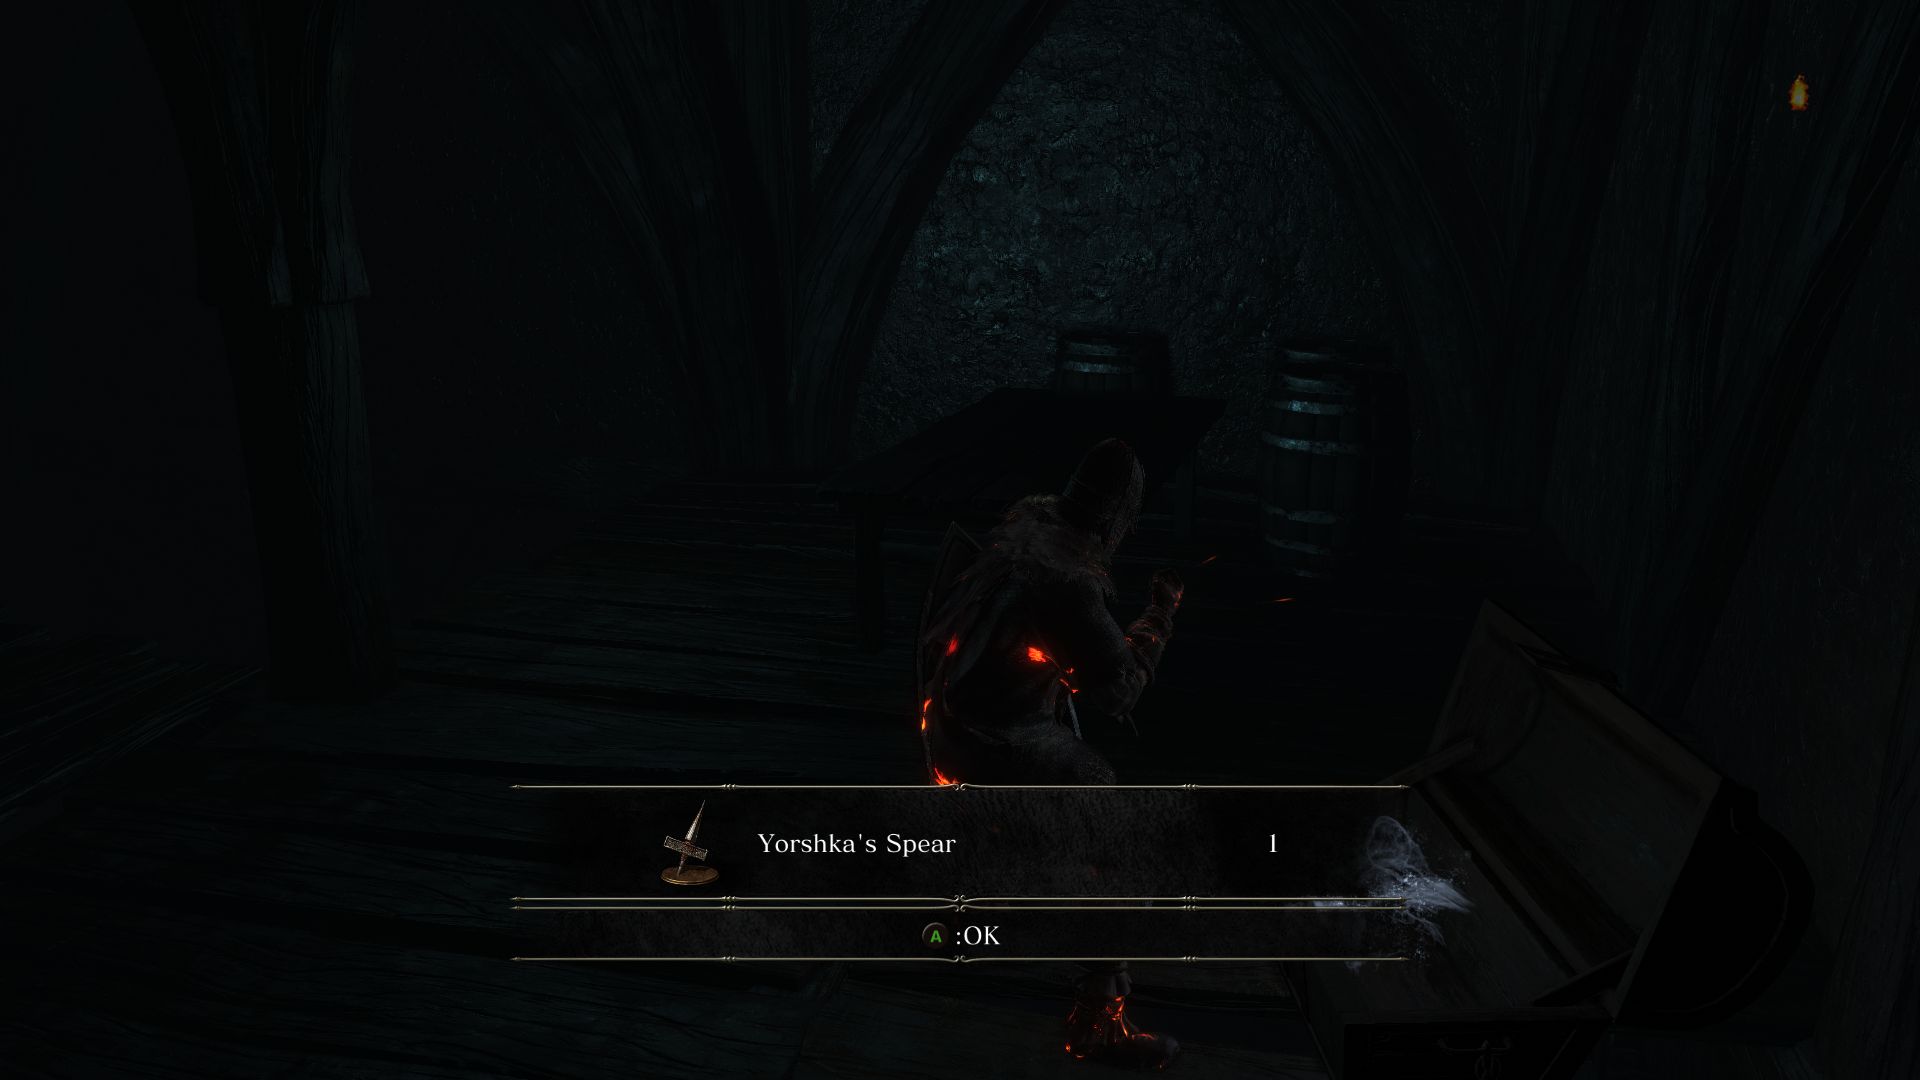
Don’t go for the doorway yet. Instead head to the far side where you can find a raised platform you can jump on to. Loot the chest on this platform for a Yorshka’s Spear. You can exit from here or below; either will lead outside.
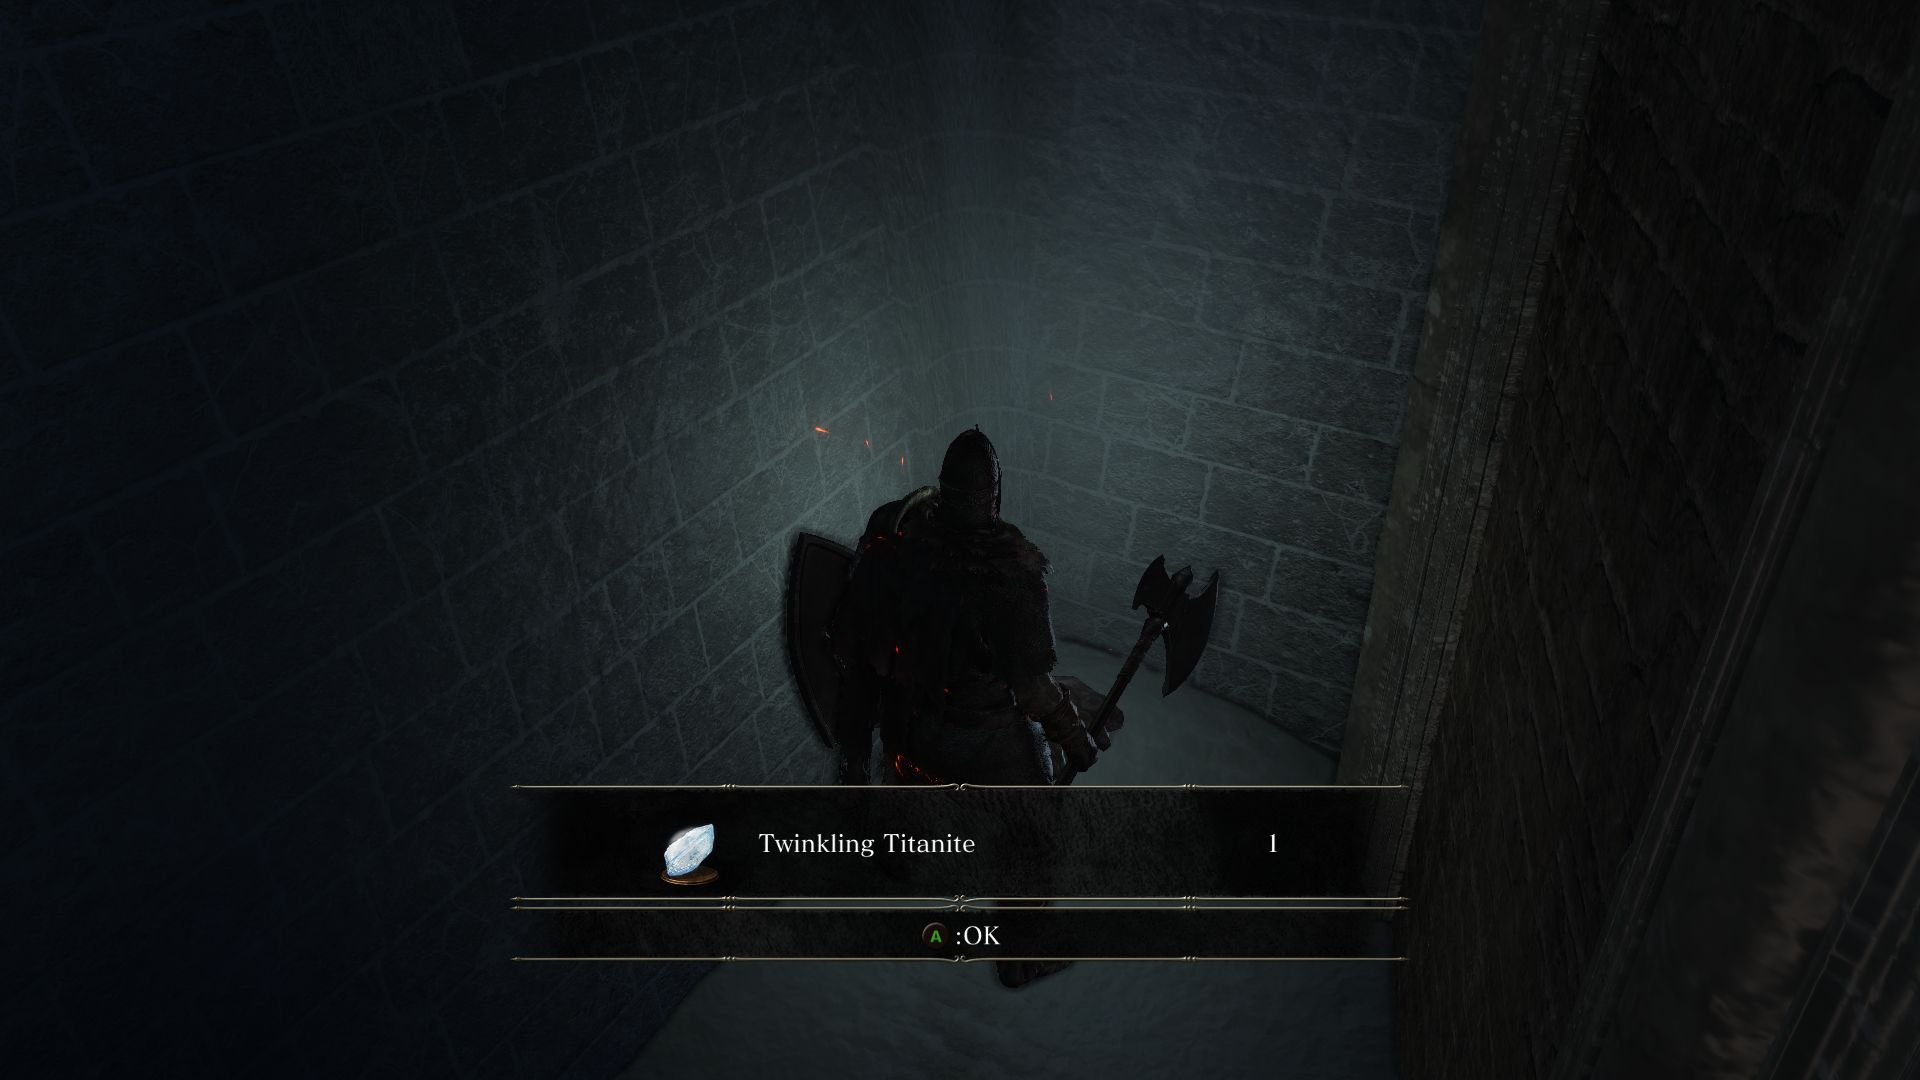
More invisible enemies await so be on your guard. Prepare to fend off several wraiths ambushing you out of the alcoves as you head down. After you defeat them, strike at the wall of the first alcove to reveal a secret area behind an illusory wall. Kill the crystal lizard behind the wall to obtain Twinkling Titanite.
Notice the big tree beyond the alcoves? Head there and kill the slave mage and his invisible buddy hiding to the right so you can loot the Blood Gem by the tree. Now it’s time to enter the river area.

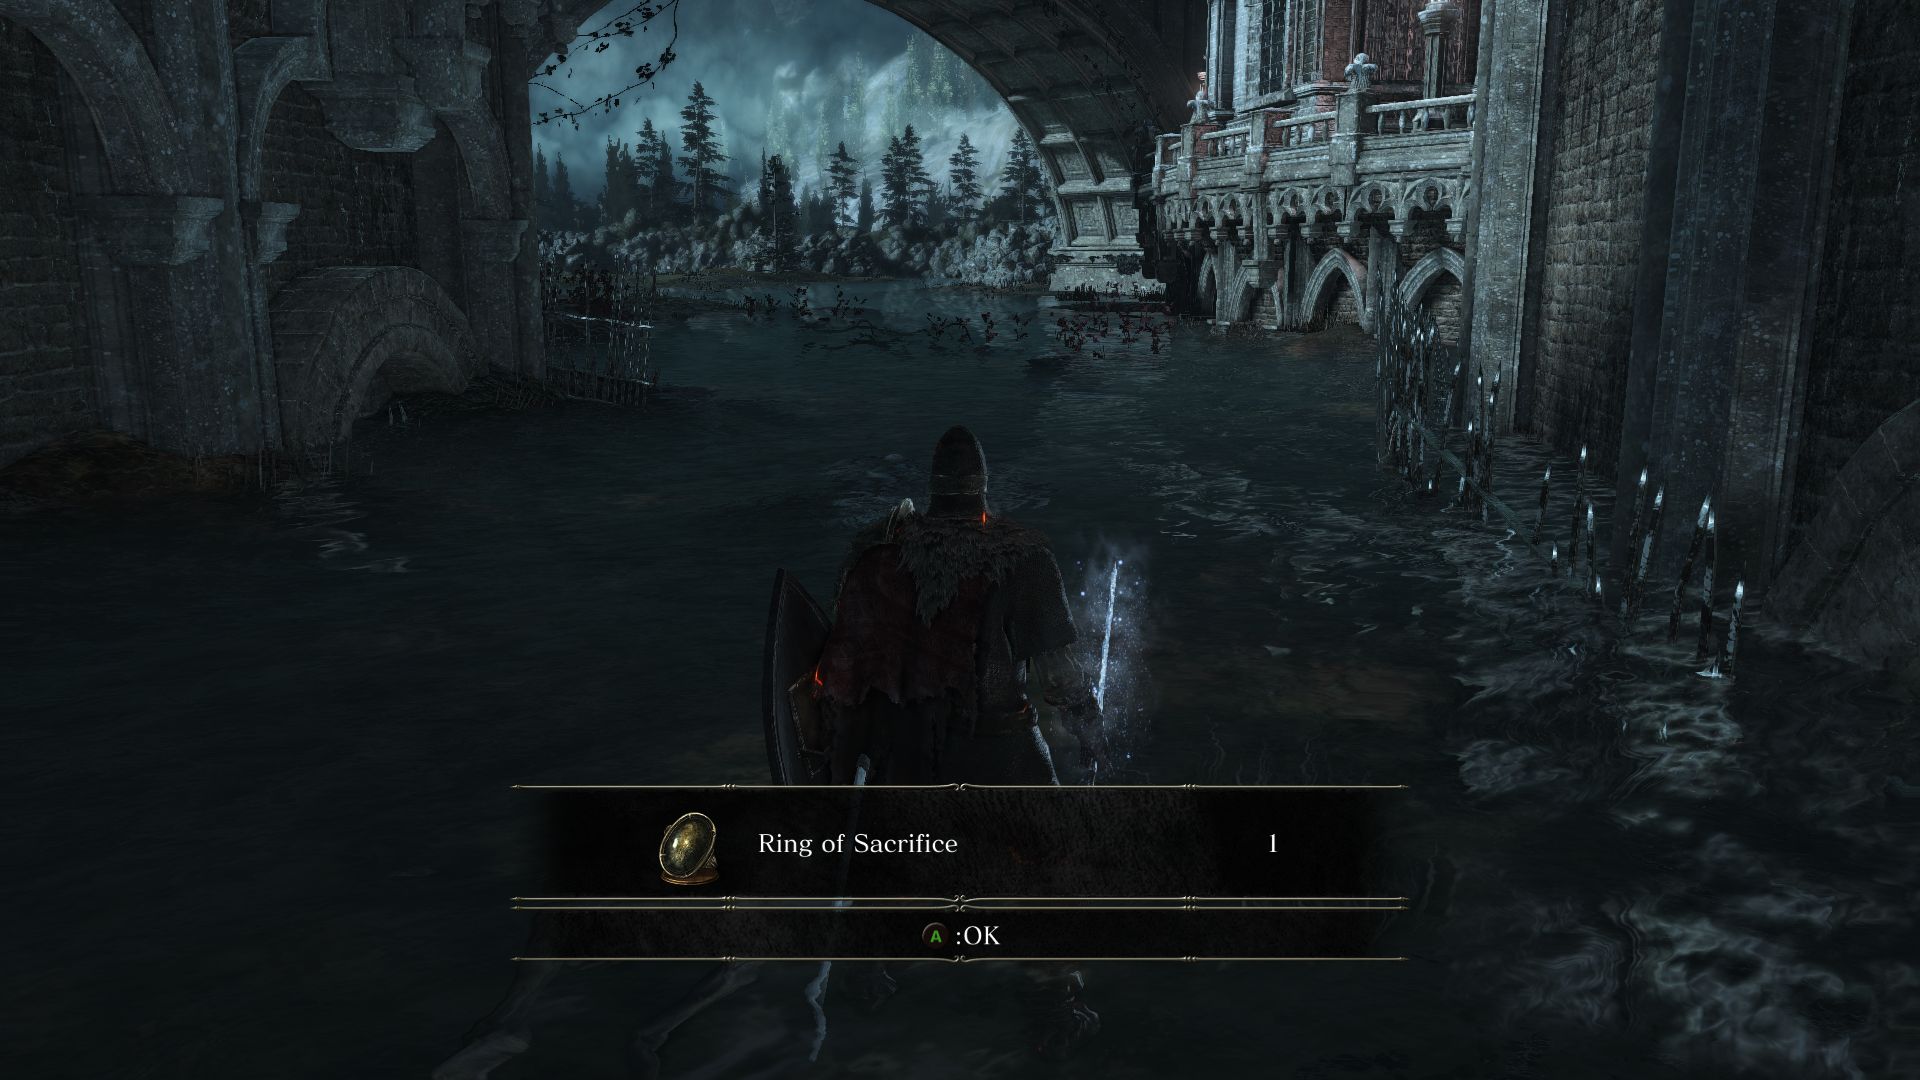
The river is fairly harmless and your goal is to head to the other side to enter a manor. There are a few skeletal spider-like creatures lurking in the water, however, that will apply toxicity with their attacks. As you enter the river, you will find one of these enemies to your right by a Ring of Sacrifice. Roll around their attacks to strike them and take them down. Loot the 3 Green Blossom as you make your way under the bridge. In case you hadn’t defeated the Outrider Beast on the bridge, it will jump down to attack you now! The other side of the river has an entrance to a building where you can find the next bonfire.
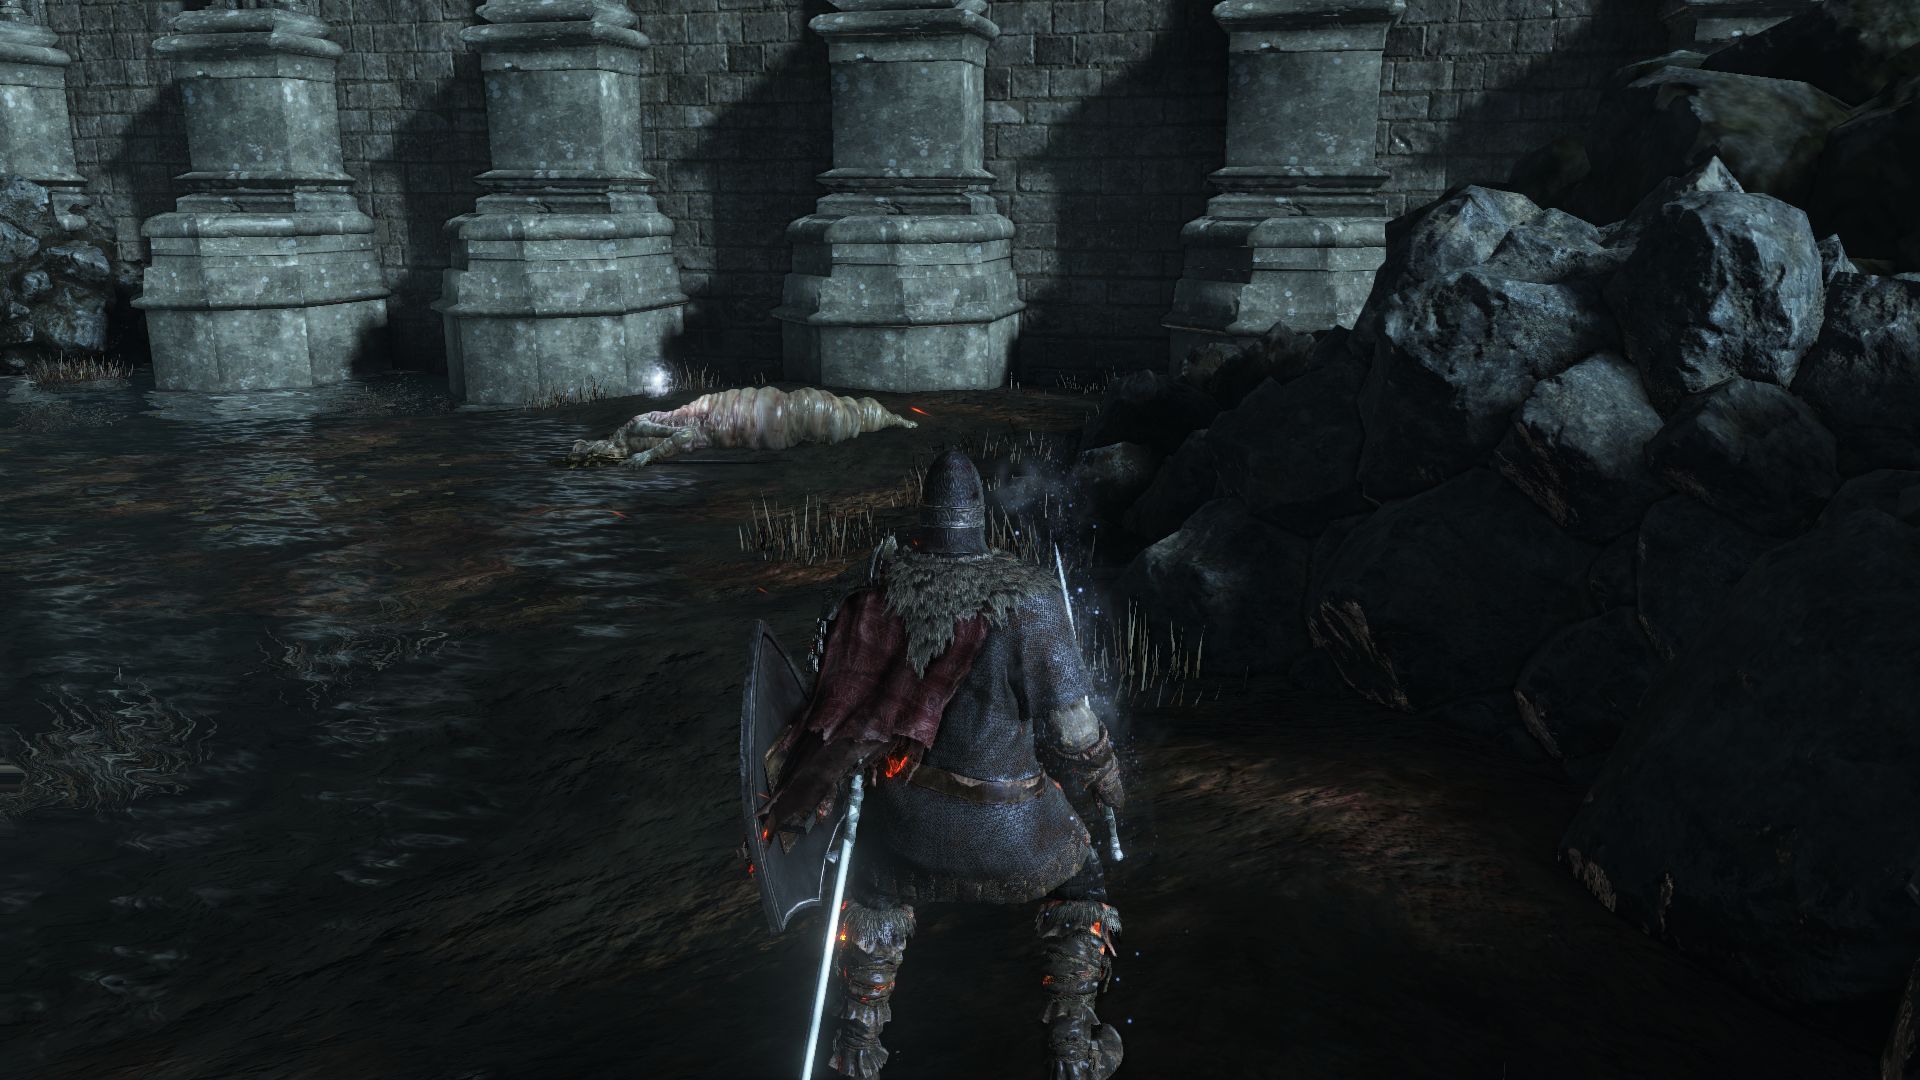
There are a few more things you can do in the river, however. Look at the right side of the river as you make your way across it to find a small island where you can find a Large Soul of a Nameless Soldier. You will also spot a few more of those creatures to the right near some items. Kill these 2 creatures and loot the Maggot Priest corpse to find a Great Heal miracle.
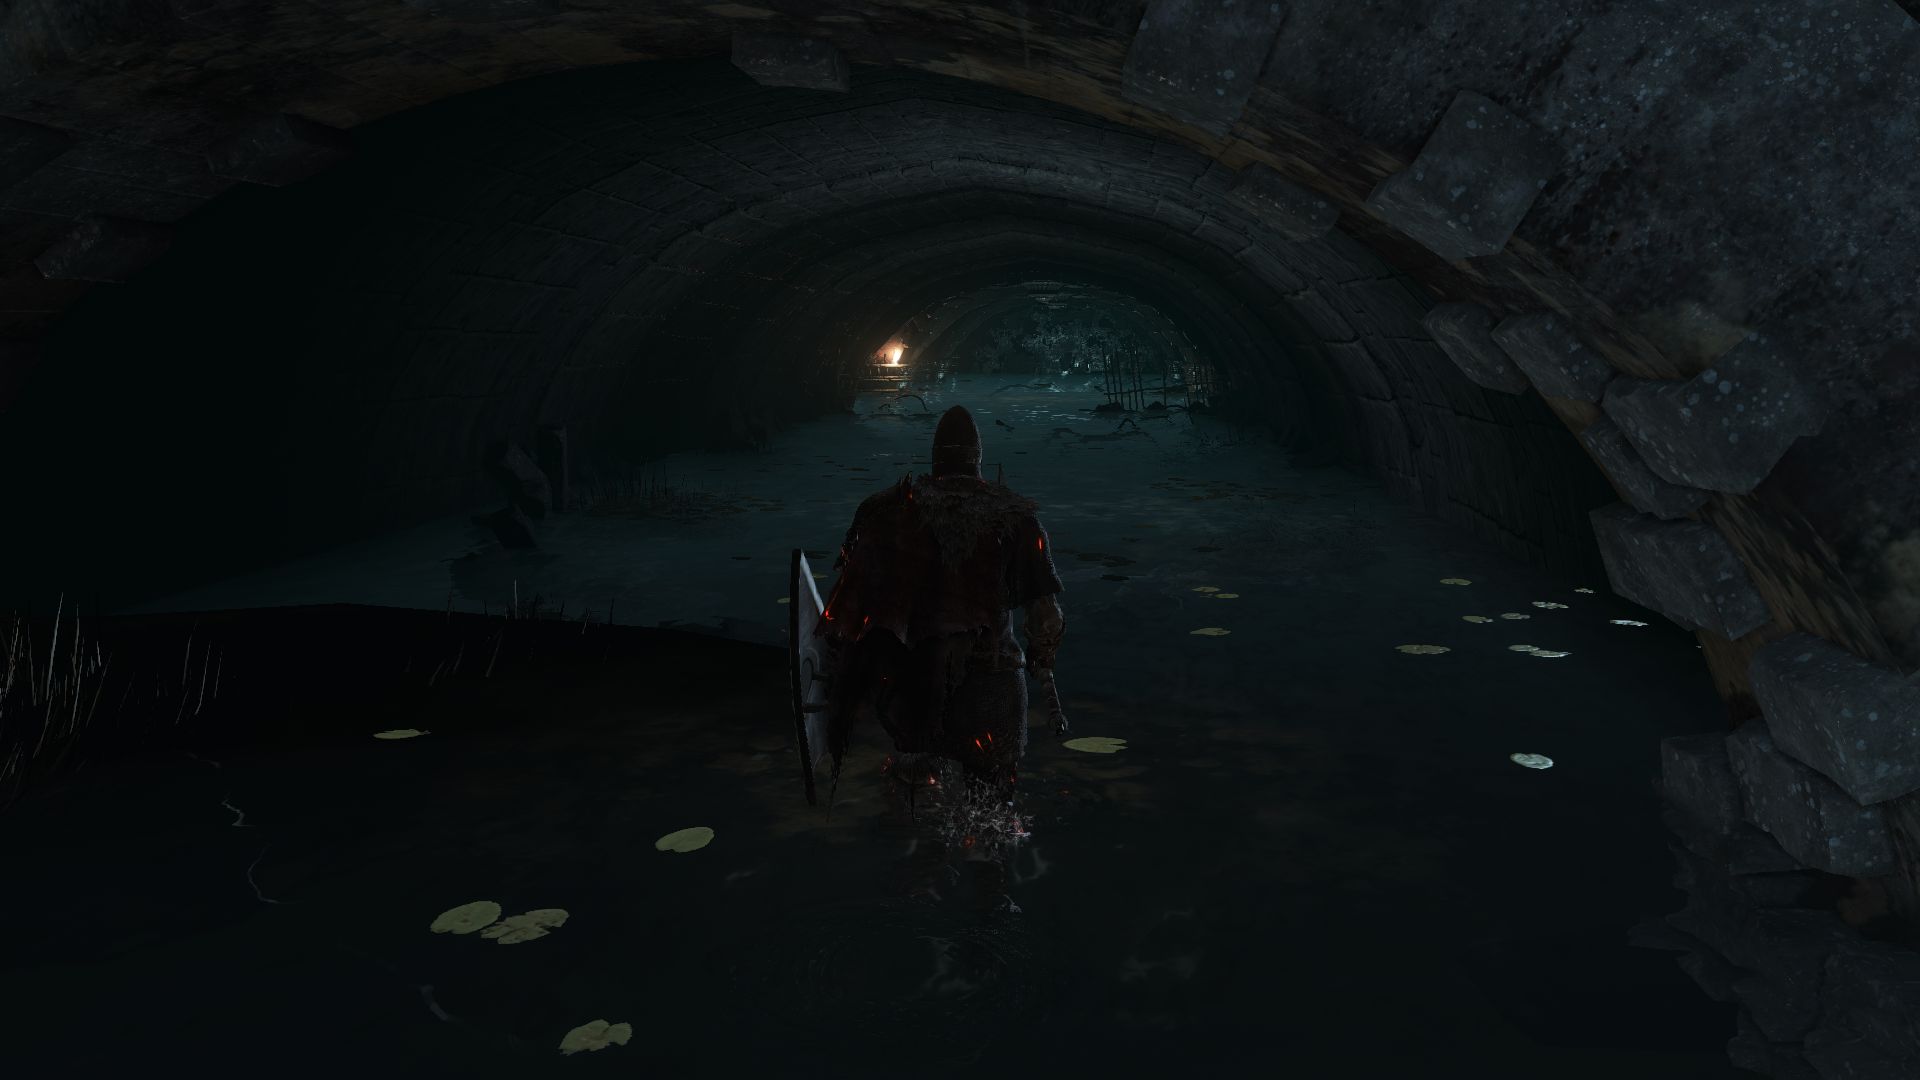
On the left edge of the river you will notice an entrance into the sewers. Before you head into the sewers, it may be wise to go light the bonfire at the other side of the river. From the bonfire, if you proceed deeper into the building, you will actually enter a new area, the Irithyll Dungeon which eventually leads into the Profaned Capital. If you want, you can head there right now, or continue exploring this area and fight the boss here.
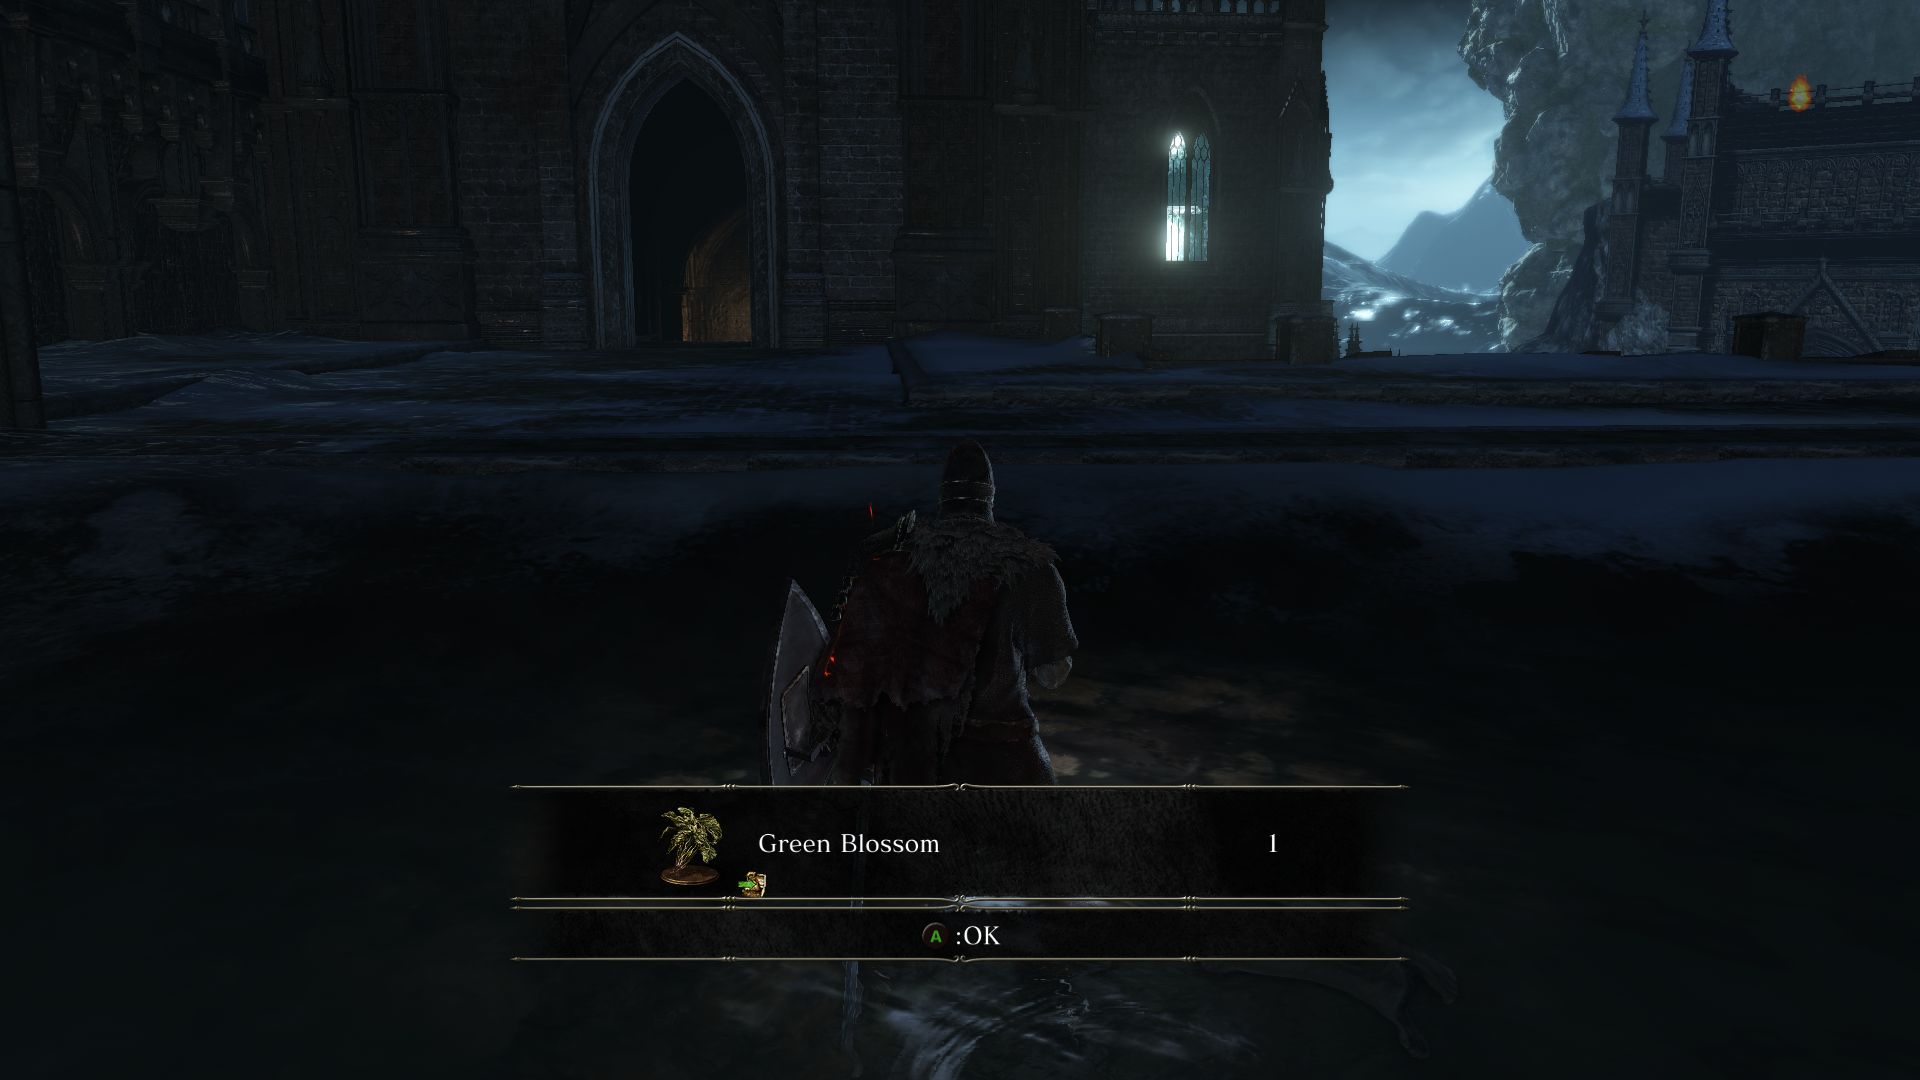
Going towards the sewer, loot the 4 Green Blossom near the entrance. Inside you will find more of those enemies you had faced in the river. Be careful and don’t take on too many at once. This area is also a great way to farm souls since these creatures drop a lot of souls and are really easy to take down. After you carefully clear the room, loot the items to find 6 Dung Pie.
The far corner should also have an interesting surprise. If you don’t find anything here, try coming back after defeating the boss of this area. Depending on your choices earlier, you could find Greirat’s Ashes here (assuming you had sent him to pillage Irithyll and neither Patches nor Siegward saved him). But if they had saved him, then you could talk to Greirat back at Firelink Shrine to hear how he had survived.
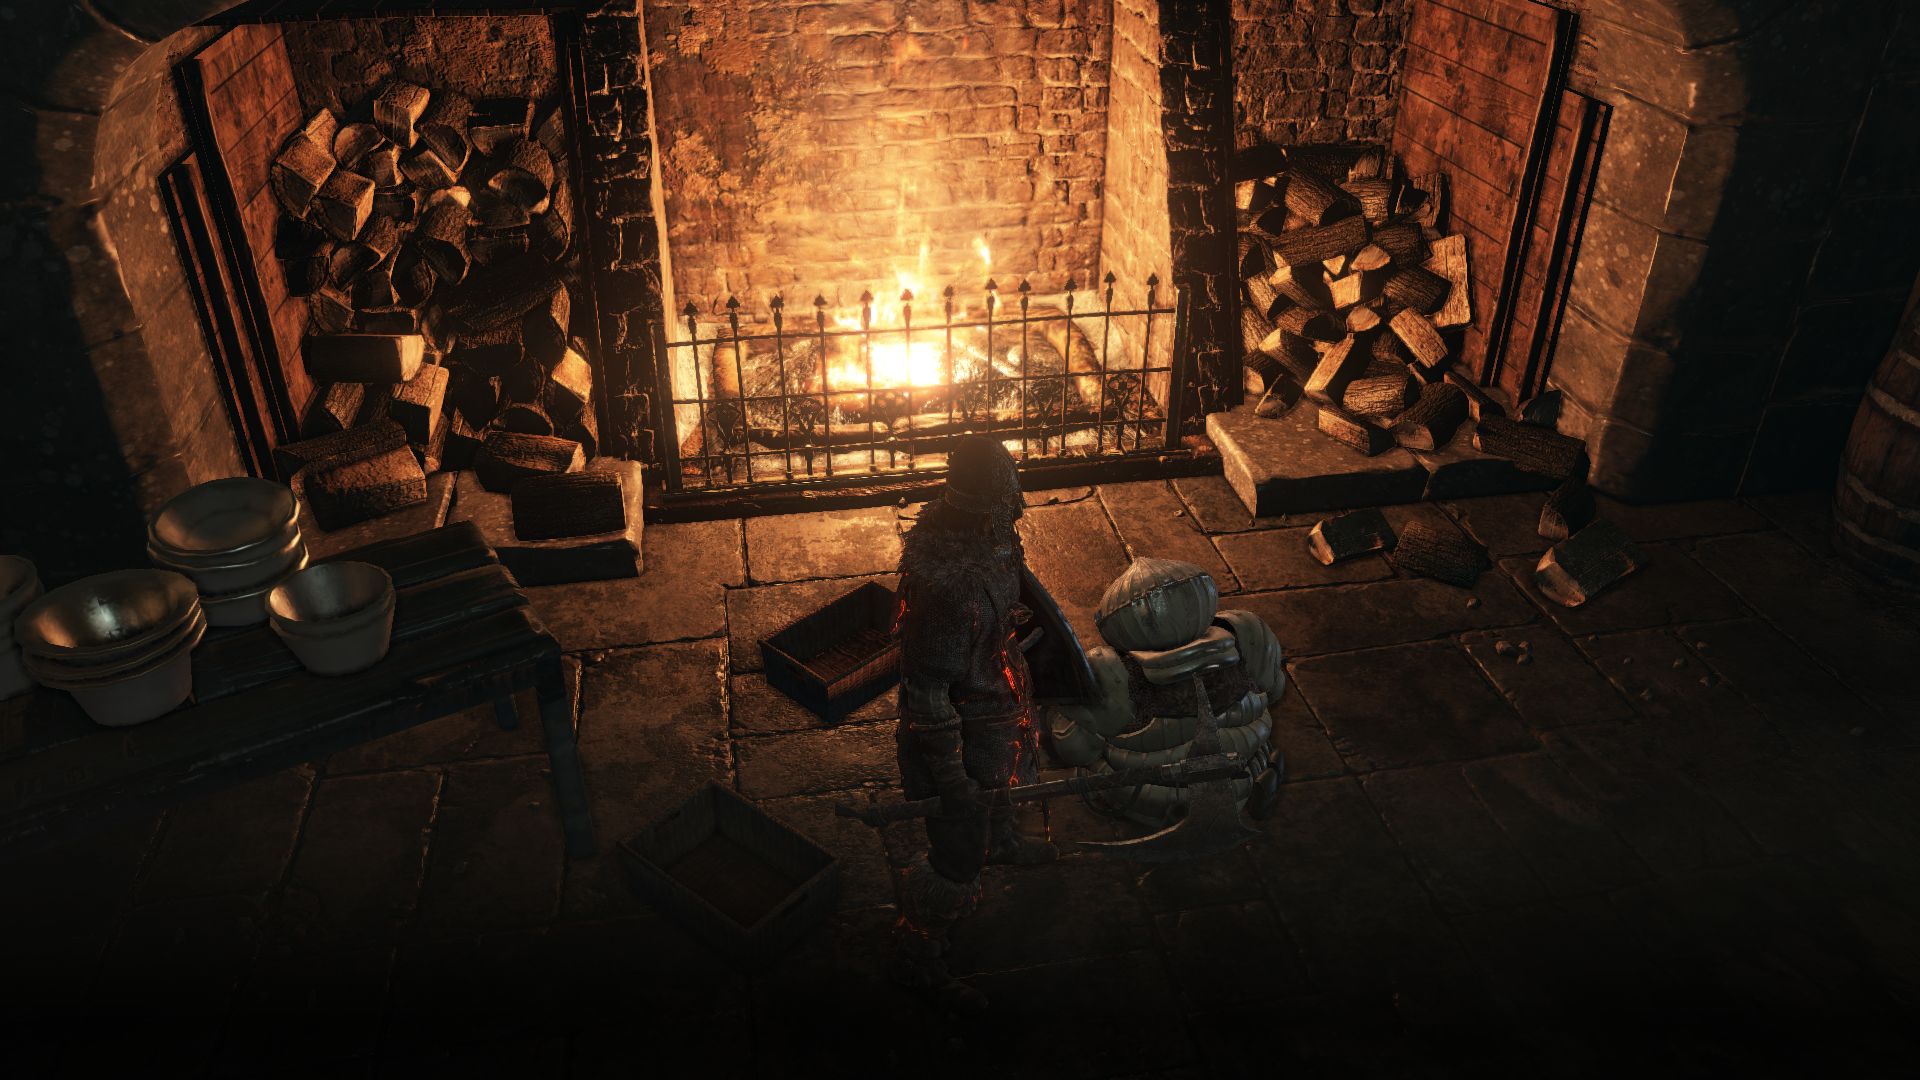
You’ll find stairs at the end of this room, but before you head up loot the Excrement-covered Ashes in an alcove opposite the stairs. You will find yourself in the Manor kitchen with a pot of Estus Soup. Now, if you had saved Siegward earlier from the well, you will find him here sitting by the fire. Talking to him will earn you the Emit Force miracle and a Siegbrau. And if you hadn’t gotten the Toast and Sleep Emotes earlier, you will get them now.
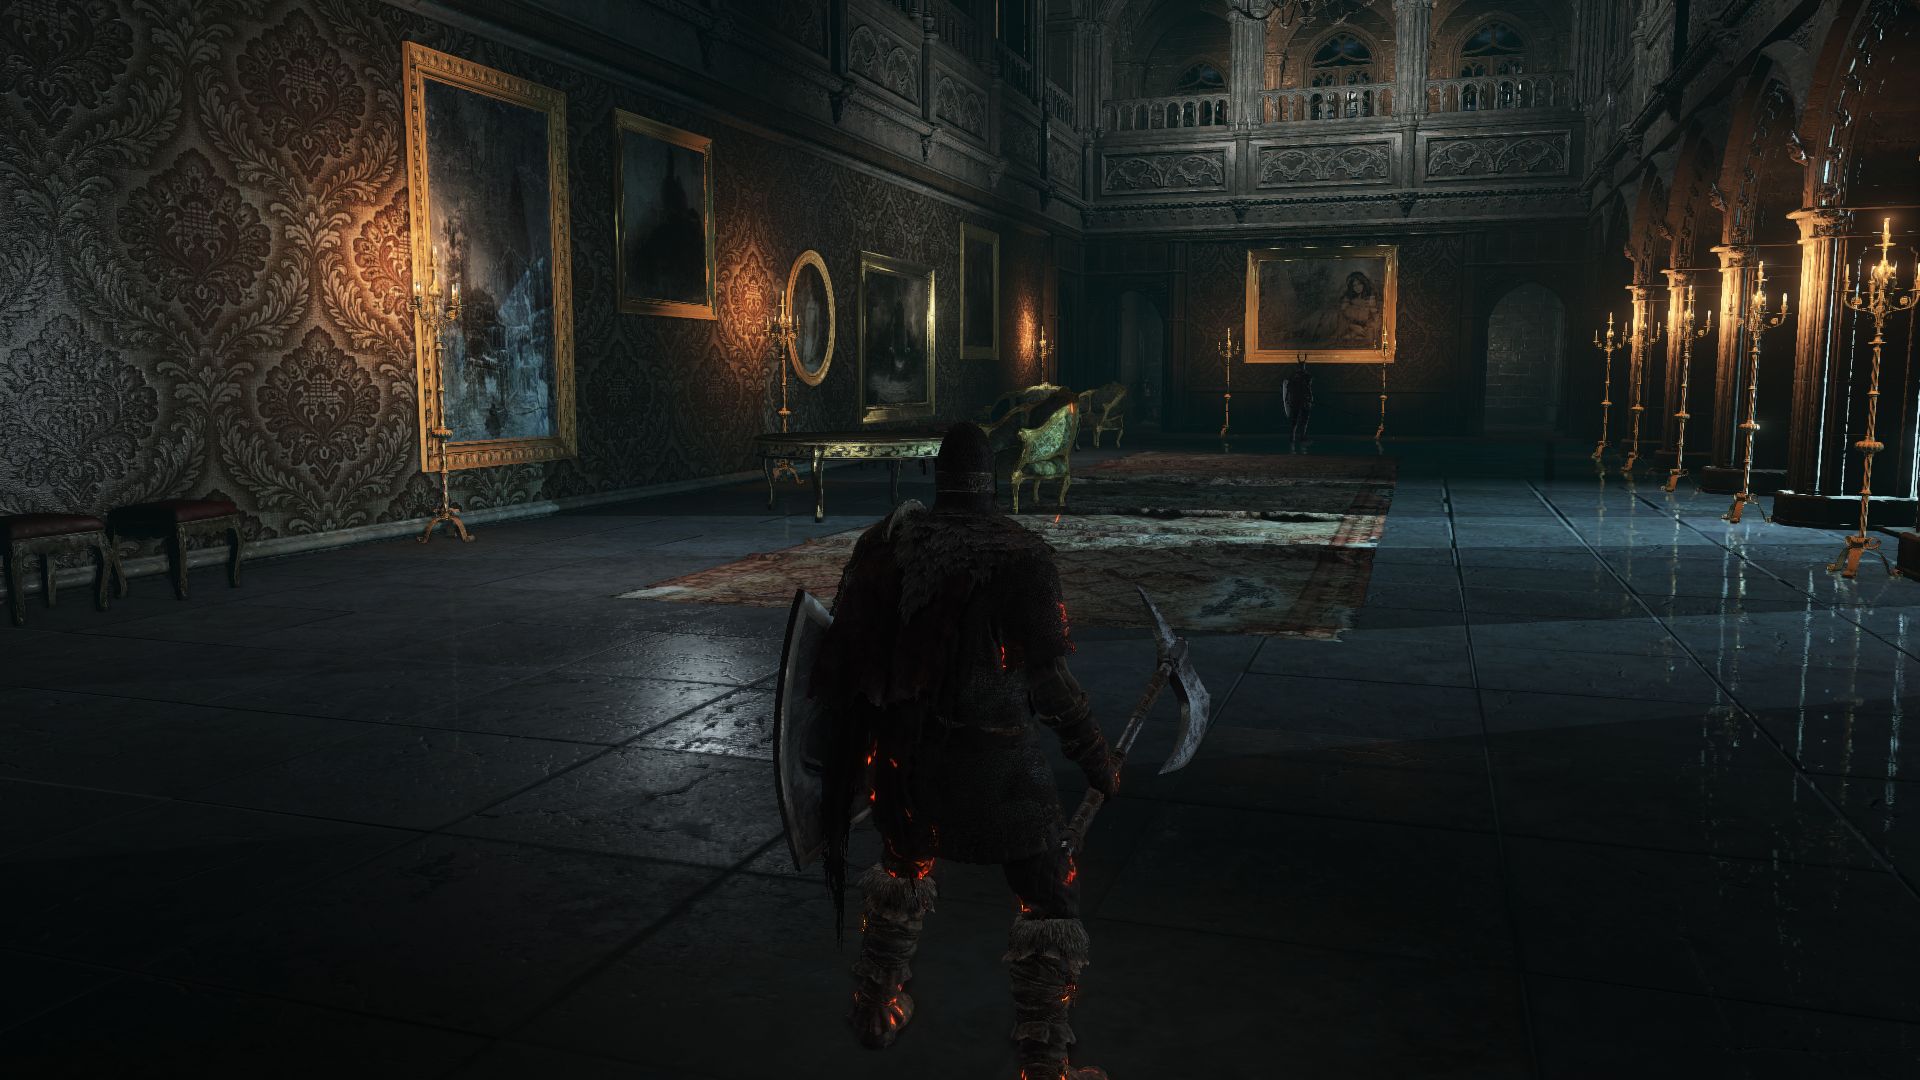
As you enter the hall, you will find a Silver Knight waiting at the other side of the room. Do not rush at him to fight him ahead. Another Silver Knight on the upper floor will be attacking you with his bow if you fight him on that side of the room. Instead, lure the lone Knight back with a ranged attack or simply by running up to him and back towards the entrance to avoid the sight of the one from above. These Knights do a lot of damage but are rather slow, so you can predict their moves to roll around and hit them from the back. After you defeat the Knight on this floor, head up the stairs.
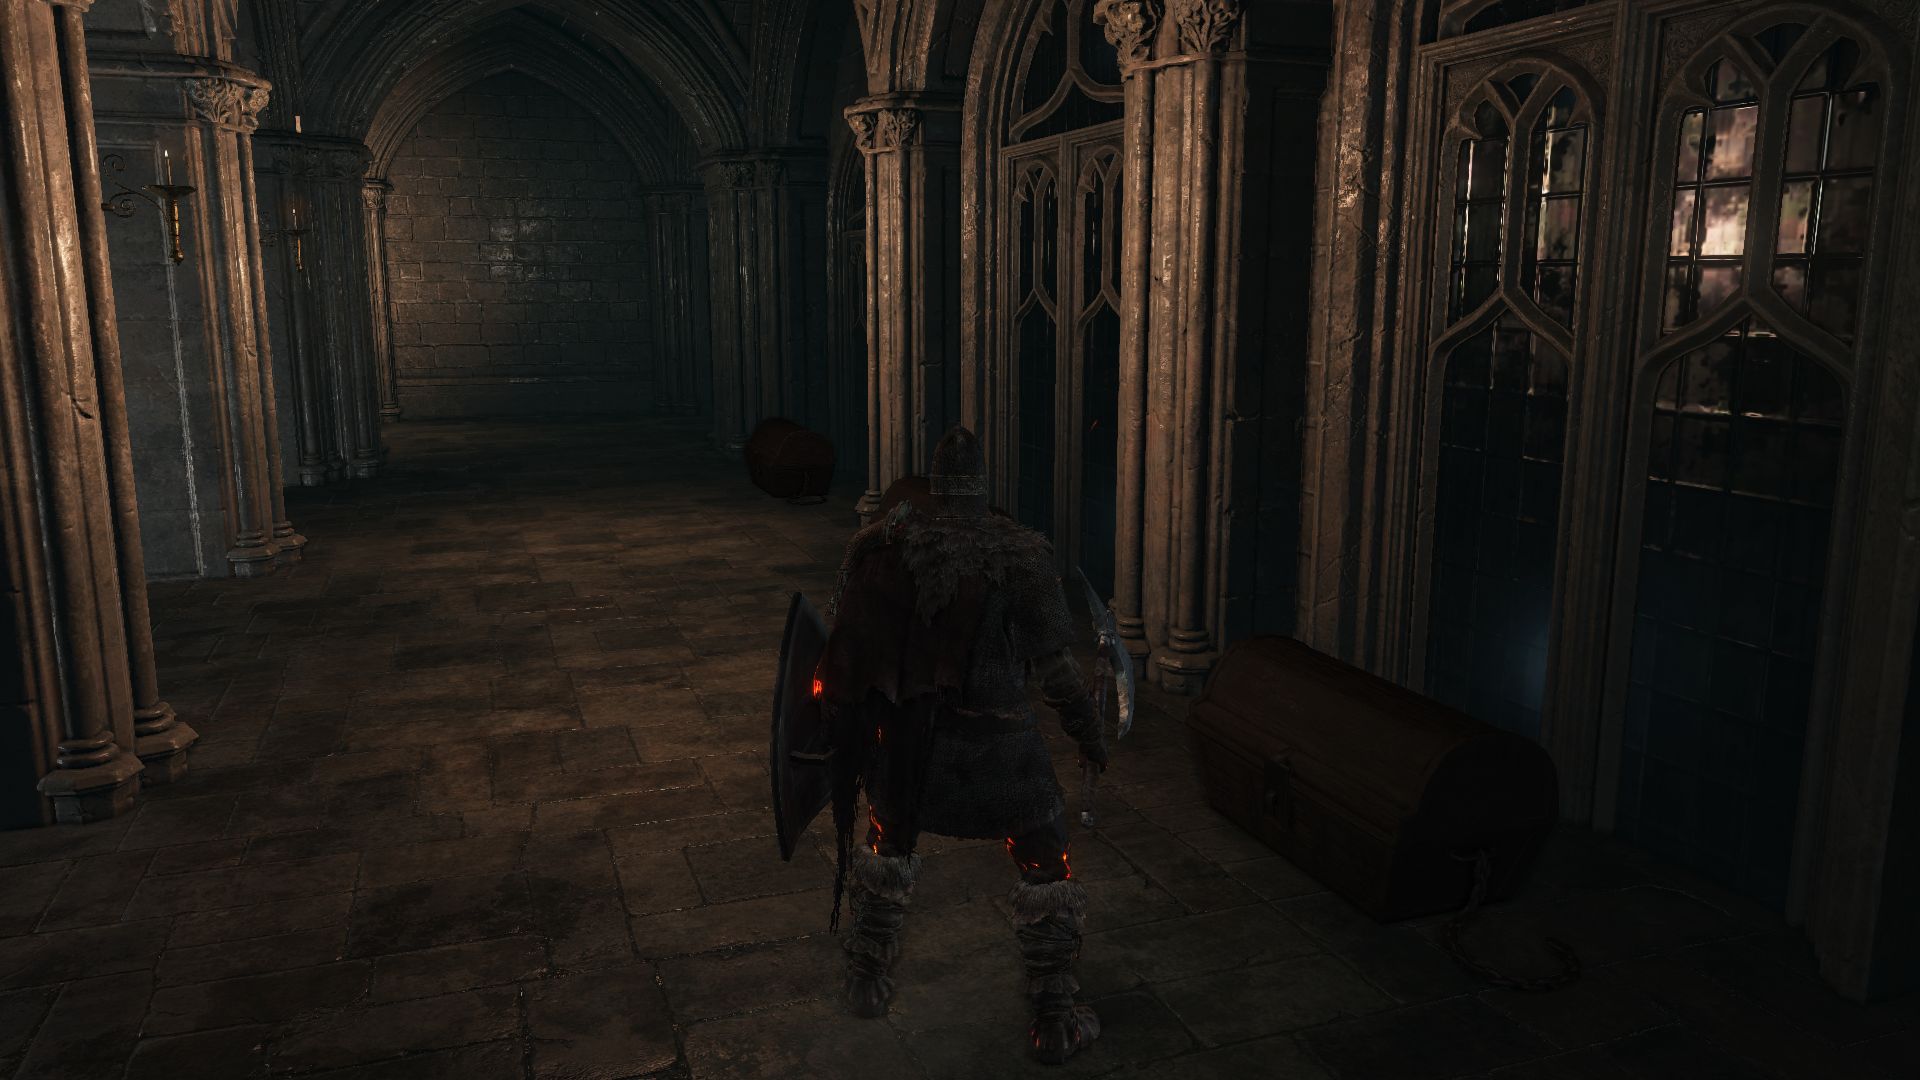
There you will find yet another Knight close to the archer. Take this one out first before you take on the archer. As you fight the Knights, make sure not to destroy the pots nearby which emit mists that will apply frostbite. After defeating the Knights on the upper floor, make your way to the end of the floor to loot 3 chests containing a Leo Ring, Divine Blessing, and Smough’s Great Hammer.
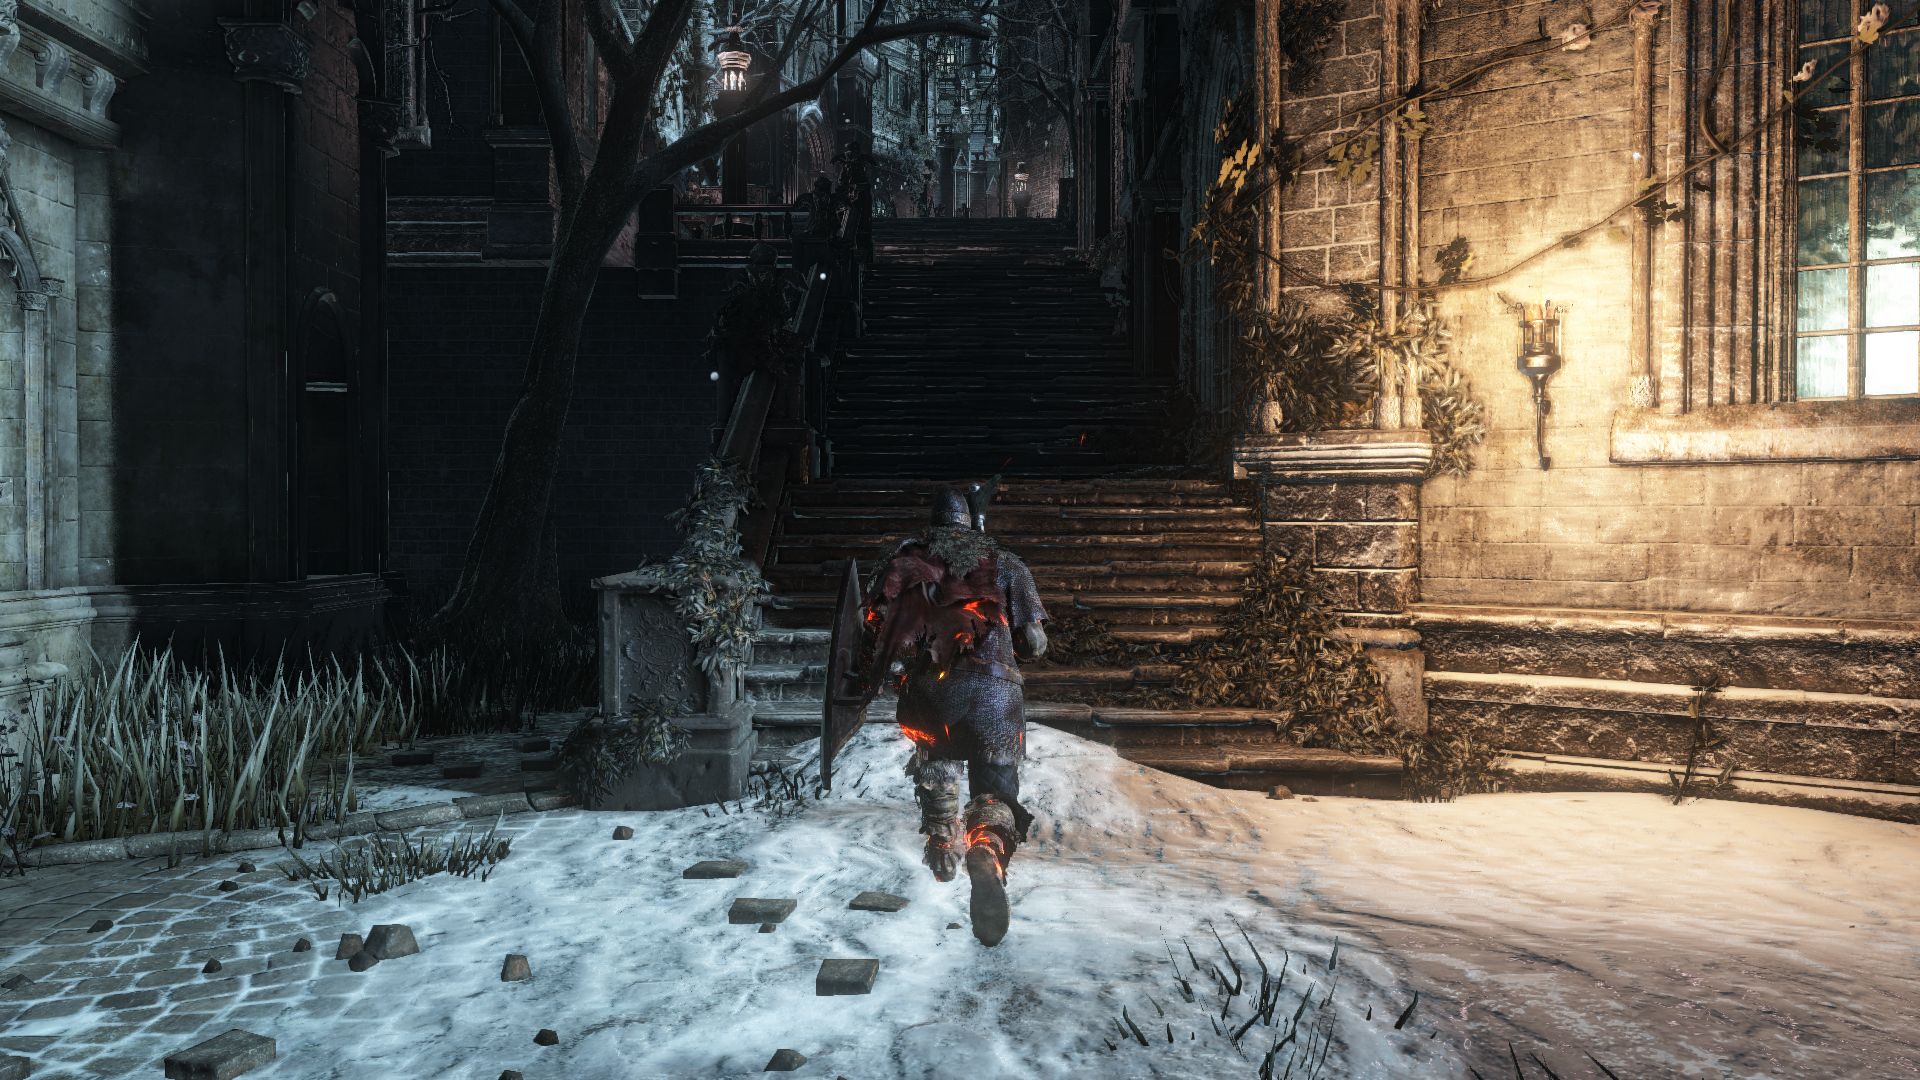
Head back down and exit the manor. You’ll find yourself in a courtyard with stairs heading up to your left. Go up the stairs to find 2 of those skull-faced dogs. You may also be invaded by a Londor Pale Shade, so take out the dogs fast before facing this enemy. The Shade attacks with dark orbs, throws poison knives, and strikes his dual manikin claws. Since he doesn’t have a shield, it’s fairly easy to press the attack on him since his poise is low. Defeating him will reward you with his Manikin Claws. Loot the corpse where he had appeared to obtain a Large Soul of a Nameless Soldier.
As you move up the stairs, be wary of the Irithyll Slave Mages shooting soul darts at you. Dodge the darts as you sprint at them to take them out at close range. As you approach the second mage, you may be attacked by two more dogs so take out the mage fast. If you have to, run back down the stairs to create distance between the dogs and the mage. There’s another dog hiding behind the stone altar which may ambush you as well.
After killing the dogs and the mages, loot the Large Titanite Shard from the corpse hanging over a balcony. You’ll notice a lift inside the building to your left. Take the lift to go up to the plaza with the archway and open the locked door. This creates a shortcut you can use if you need to return here.
Now go back and move up the large stairs to enter the next building. More slaves await here, including two mages on the upper floor. If you don’t want to fight all the slaves while having to deal with the mages as well, go left before the door to hop onto a lower platform where you will find a Large Titanite Shard. Climb the ladder here and you’ll be the one ambushing the spellcasters on the 2nd floor. Defeat the spellcasters and head downstairs to clear the room of the slaves. Watch out for the pots that release the frostbiting mists. Grab 2 Blue Bug Pellets in the room and go back upstairs.
Outside, you’ll find a Soul of a Weary Warrior to the left and the entrance to the boss fight right head. However, several more enemies await here, namely 2 Pontiff Knights. Roll past their combo attacks to backstab them. Don’t enter the boss room yet as we want to establish a shortcut.
Go to the opposite side from where you entered this area to find two slaves and an Ember by a tree. Open the gate which now establishes a shortcut from the church bonfire to the boss fight. Remember that altar in the plaza with an item on top of it? You can hop onto the altar from a ledge here to find a Ring of the Sun’s First Born.
It’s time for the boss fight, one of the more difficult ones in the game. If you need help, you can summon Black Hand Gotthard (who also gives you the By My Sword Emote), Anri of Astora, or Londor Pale Shade if you are aligned with Yuria. Their summon signs are near the fog door. When you’re ready, traverse the fog to fight Pontiff Sulyvahn.

BOSS FIGHT – PONTIFF SULYVAHN
Pontiff Sulyvahn is a fast boss with dual swords, one infused with flame and the other magic. As you approach him in the large hall, he’ll lunge at you with his swords. Roll to the side and strike him quickly before rolling away to avoid his follow up attacks. His combos are long and fast and leave you little room to retaliate. Consider stacking fire and magic resist if you’re taking a lot of hits from him. You can usually tell when he is about to attack by looking at his swords. If he pulls his blades just a little, he’s about to come at you with an attack. If he raises both his swords, he’s about to do a long combo that ends in a lunge. You will need to dodge a lot if you want to avoid taking damage. You do not want to block his lunge as he will catch you in his blades and do massive damage.
If you’re good at parrying and have the right timing down, this boss is actually prone to getting parried. When he is about to do his overhead attack, use a small shield to parry his attack and setup a riposte. If you’re brave enough, you could try parrying his combo attacks too, but watch for the delay on the second attack to time the parry properly. His single swipes are the easiest to parry so try to capitalize on those.
He will go into phase 2 at about 50% HP by surrounding himself in dark energy. Get away from his aura and hit him with ranged attacks if you can. During phase 2, he will add more attacks to his repertoire. Watch out when he jumps up above to dive at you with a deadly attacks. He will also shoot great soul arrows at you which you should try to roll away from. You will also want to roll out of the way when he crosses his blades to send out a horizontal blast. On top of all these attacks, the true difficulty comes from the fact that he summons a clone.
Any attacks the clone uses, Pontiff will follow up with the same attack. If you’re using the parrying strategy, you can try to roll away from the lunge the clone does and immediately follow up with a parry to try to parry Pontiff. The Phantom itself has less health, so if their flurry of attacks is causing you trouble, try taking out the phantom first. If you defeat a phantom but take too long to kill Pontiff, he may summon another phantom.
If you’re a Pyromancer class, this fight becomes very easy with the Great Chaos Fire Orb. Simply maintain your distance and dodge his lunging attacks to get in a spell or two. You can also attack him with spells while he is in the middle of his transformation. Your Great Chaos Fire Orb should also kill the clones easily. As a Sorcerer, you could try to utilize Affinity and Soul Spear to take him out from a distance.
After you kill Pontiff Sulyvahn you will obtain the Soul of Pontiff Sulyvahn. From here you could proceed forward onto the balcony that leads to Anor Londo and Aldrich the Devourer of Gods. Or you could head back to the other Distant Manor Bonfire to explore the Irithyll Dungeon.