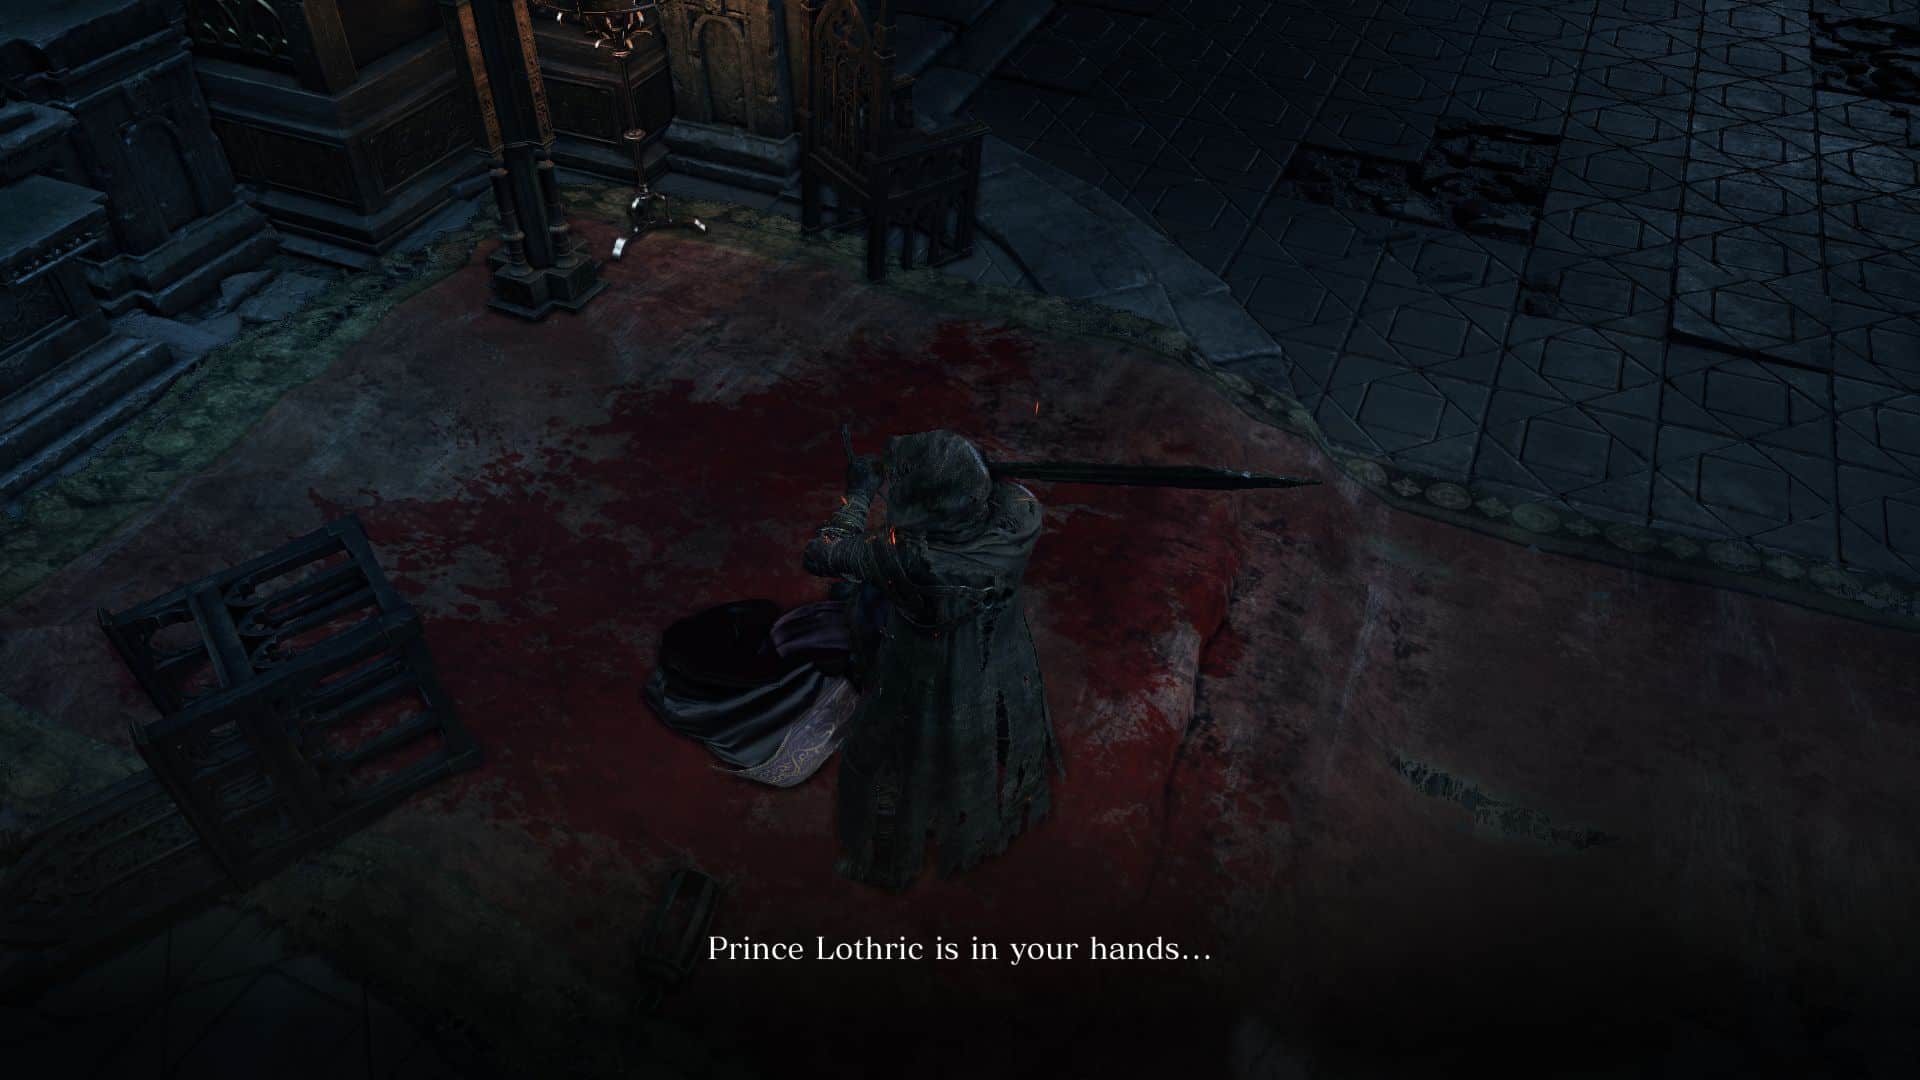
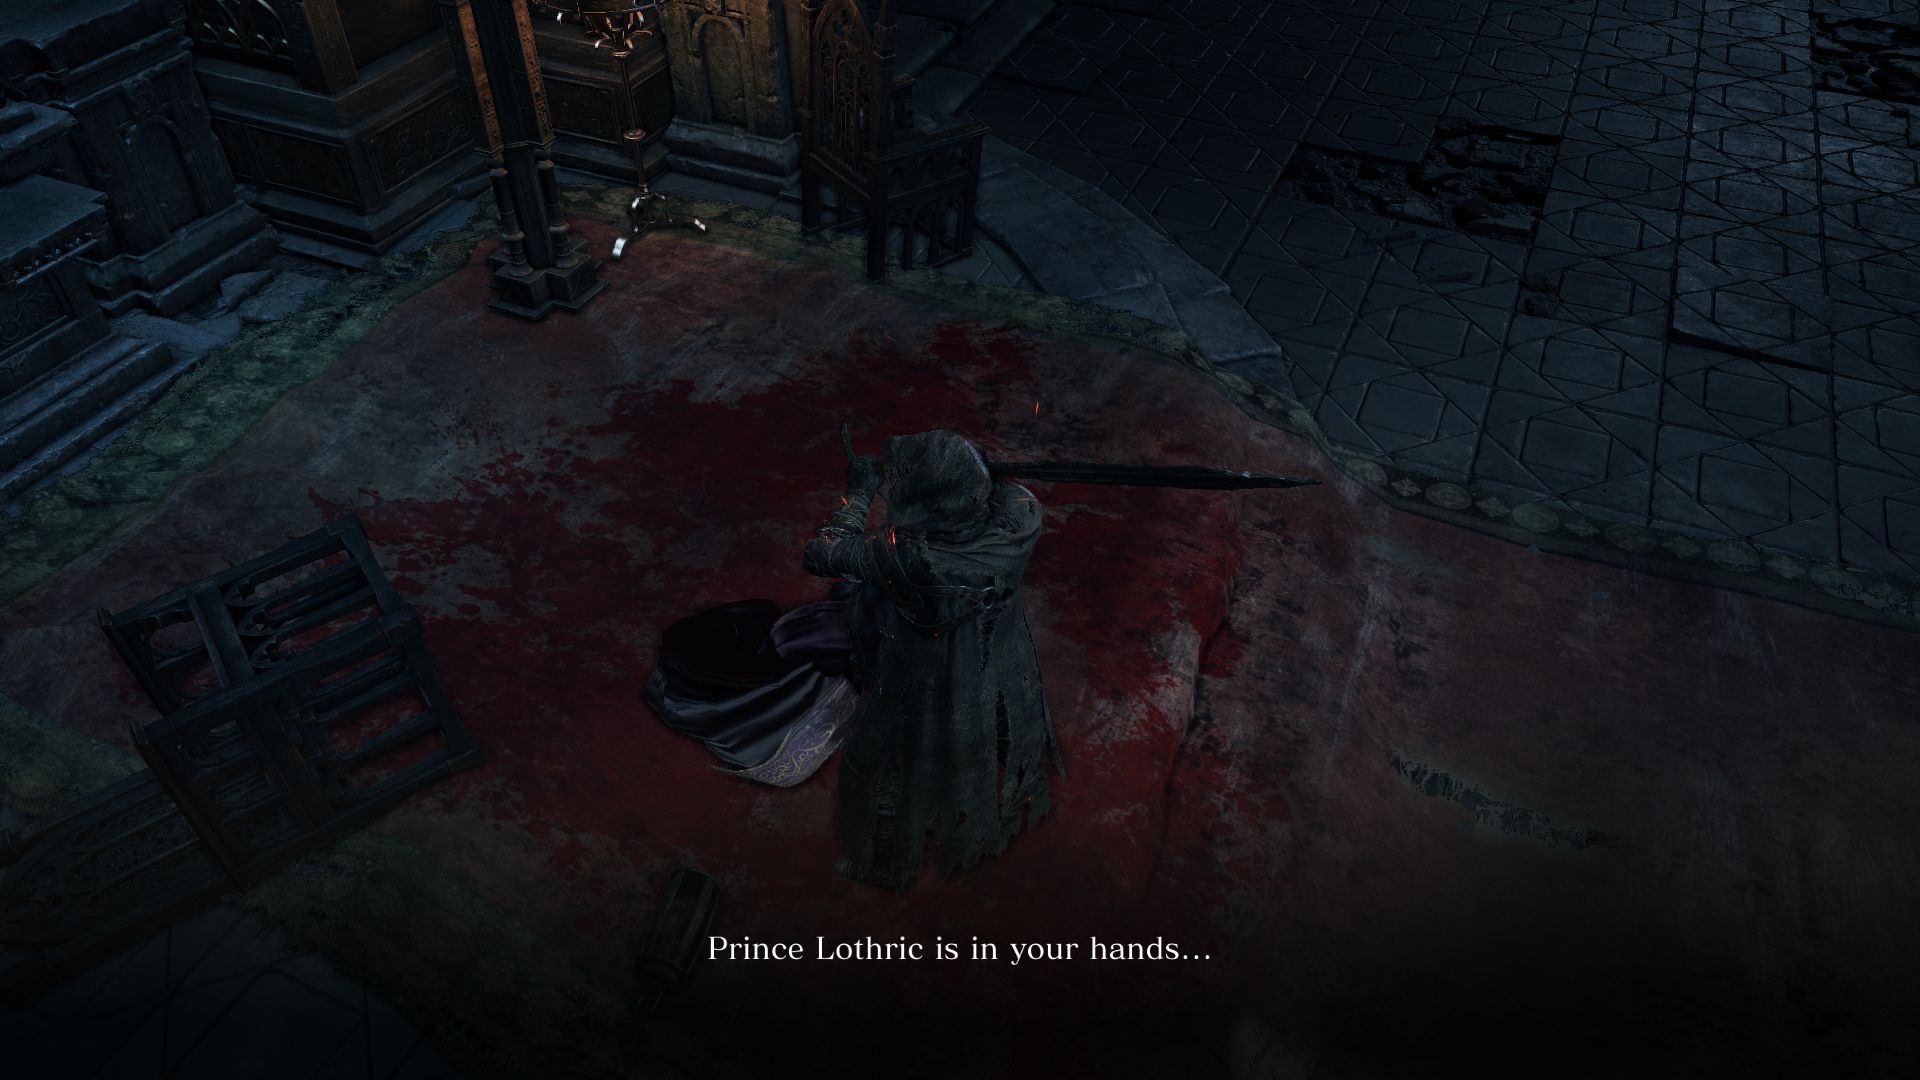
Upon defeating the first three Lords of Cinder, you will be teleported to meet with Emma, High Priestess of Lothric, who is in her dying moments and will request you to save Lothric. She will drop the Basin of Vows which you need to access the castle. Before you can proceed forward, however, it’s time to fight the Dancer of the Boreal Volley.
BOSS FIGHT – DANCER OF THE BOREAL VALLEY
This boss wields a curved flaming sword during phase 1 and a dark sword in her left hand as well during phase 2, which she will use to unleash an impressive array of attacks. Unlike other enemies, the Dancer’s movements can seem a bit difficult to read as she moves very fluidly and moves from one attack to next in swift smooth motions. If you want to be on the defensive side, use fire resistance to absorb some damage, and maybe some dark resistance for phase 2. She is weak to dark damage, lightning damage and bleed.
Unlike other bosses, she won’t aggressively charge at you, so this boss fight is fairly easy to sorcerers and pyromancers. As a melee, however, you need to watch out for her spinning and slashing attacks. You want to keep an eye out on the movement of her sword to roll out of the way in time, especially when she raises her sword above her head which indicates an incoming vertical smash dealing significant fire damage. If her frame leans forward while moving around, watch out for her wide sweeping attacks. She will also plant her sword on the ground before attacking her front and sides and leaving a flaming trail that erupts momentarily. This does leave her open for a few attacks from behind if you position quickly, but don’t be greedy and roll out of the way as she pivots to retaliate.
The skill you really want to avoid is her grab. She will lean forward before sweeping her right arm to grab you. Roll to your left to avoid this attack or take massive damage, or try not to linger in front of her too long. She will sometimes put her hand on her lips which indicates that she is about to blast flame from her mouth around her for AOE damage. Sprint back to safety before she can hit you with this aoe attack.
If you thought you had to be on the move a lot during 1, Phase 2 will leave even less openings. The Dancer will dual wield a dark sword along with her flaming sword and add more attacks to her arsenal. One of her new attacks is a lengthy spinning combo which seem to go on forever. You need to be swift on your feet and roll out of the way as she charges at you with her spinning slashes. She won’t use the grabbing attack anymore, which is one less thing to worry about, but she will still perform her aoe explosion, but depending on whether she plants her flaming or dark sword on the ground, the damage type will be different. Either way, you want to sprint out of harm’s way when she does this. If you are too far away from her, she will also lunge at you with a spinning combo.
She won’t give you many openings, so try to land a quick hit or two in between her long animation skills before taking a more defensive stance. Play patiently and be mobile. This fight becomes very easy for pyromancers who can use black fire orbs to great effect. Gnaw spell is also very effective against her.
Defeating the Dancer will reward you with the Soul of the Dancer and a bonfire. The path to Lothric Castle will also be open to you now.
COVENANT MOUND MAKERS: Before exploring Lothric Castle, there are a few more things you may want to do. Assuming you haven’t joined Rosaria’s Fingers yet and helped out Sirris at the bridge of Irithyll of the Boreal Valley, you can talk to Sirris for another task.
Go back to Undead Settlement and look for a summon sign in front of the entrance to the Curse-Rotted Gretwood boss area (which should now be a giant pit). Sirris will ask you to aid her in defeating Holy Knight Hodrick. If you accept her summons you will be teleported to the pit where you will fight Hodric yet again. After helping Sirris defeat Hodrick, you will obtain the Mound Makers insignia (in case you hadn’t received it earlier in the game). She will pledge loyalty to you and will help you at later boss fights. If you decline her request however, you will find her in the Pit of Hollows instead, where she will be hostile.
Afterwards, go back to the Pit of Hollows to find the full Sunset Armor Set. If you want to find the Sunset Shield as well, go back to Firelink Shrine and head out of the main entrance towards the Iudex Gundyr bonfire. On your left, remember that lone Hollow looking out over the cliff? The Sunset Shield should be by a tombstone near that Hollow.

Another thing you should know is that if you ask Greirat to pillage Lothric Castle, that will be the end of him. No Patches or Siegward can save him from this point on.