
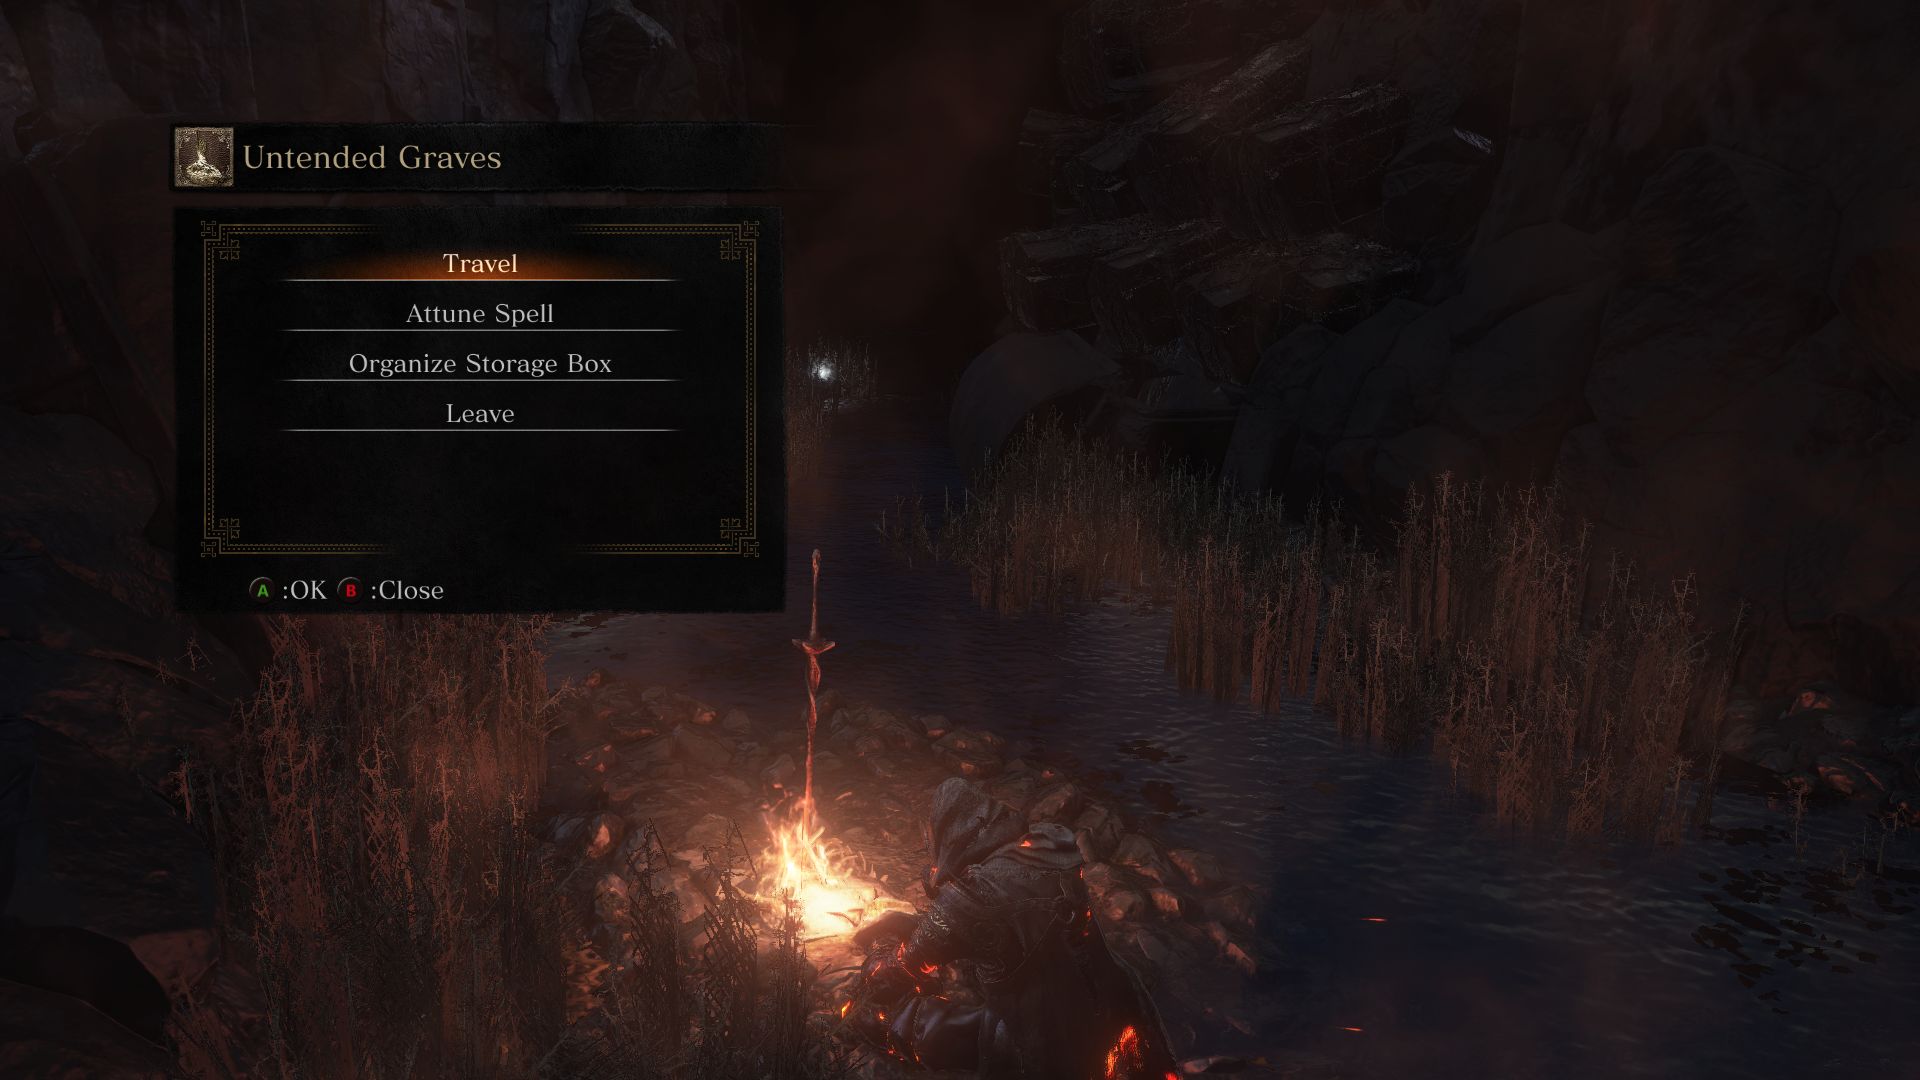
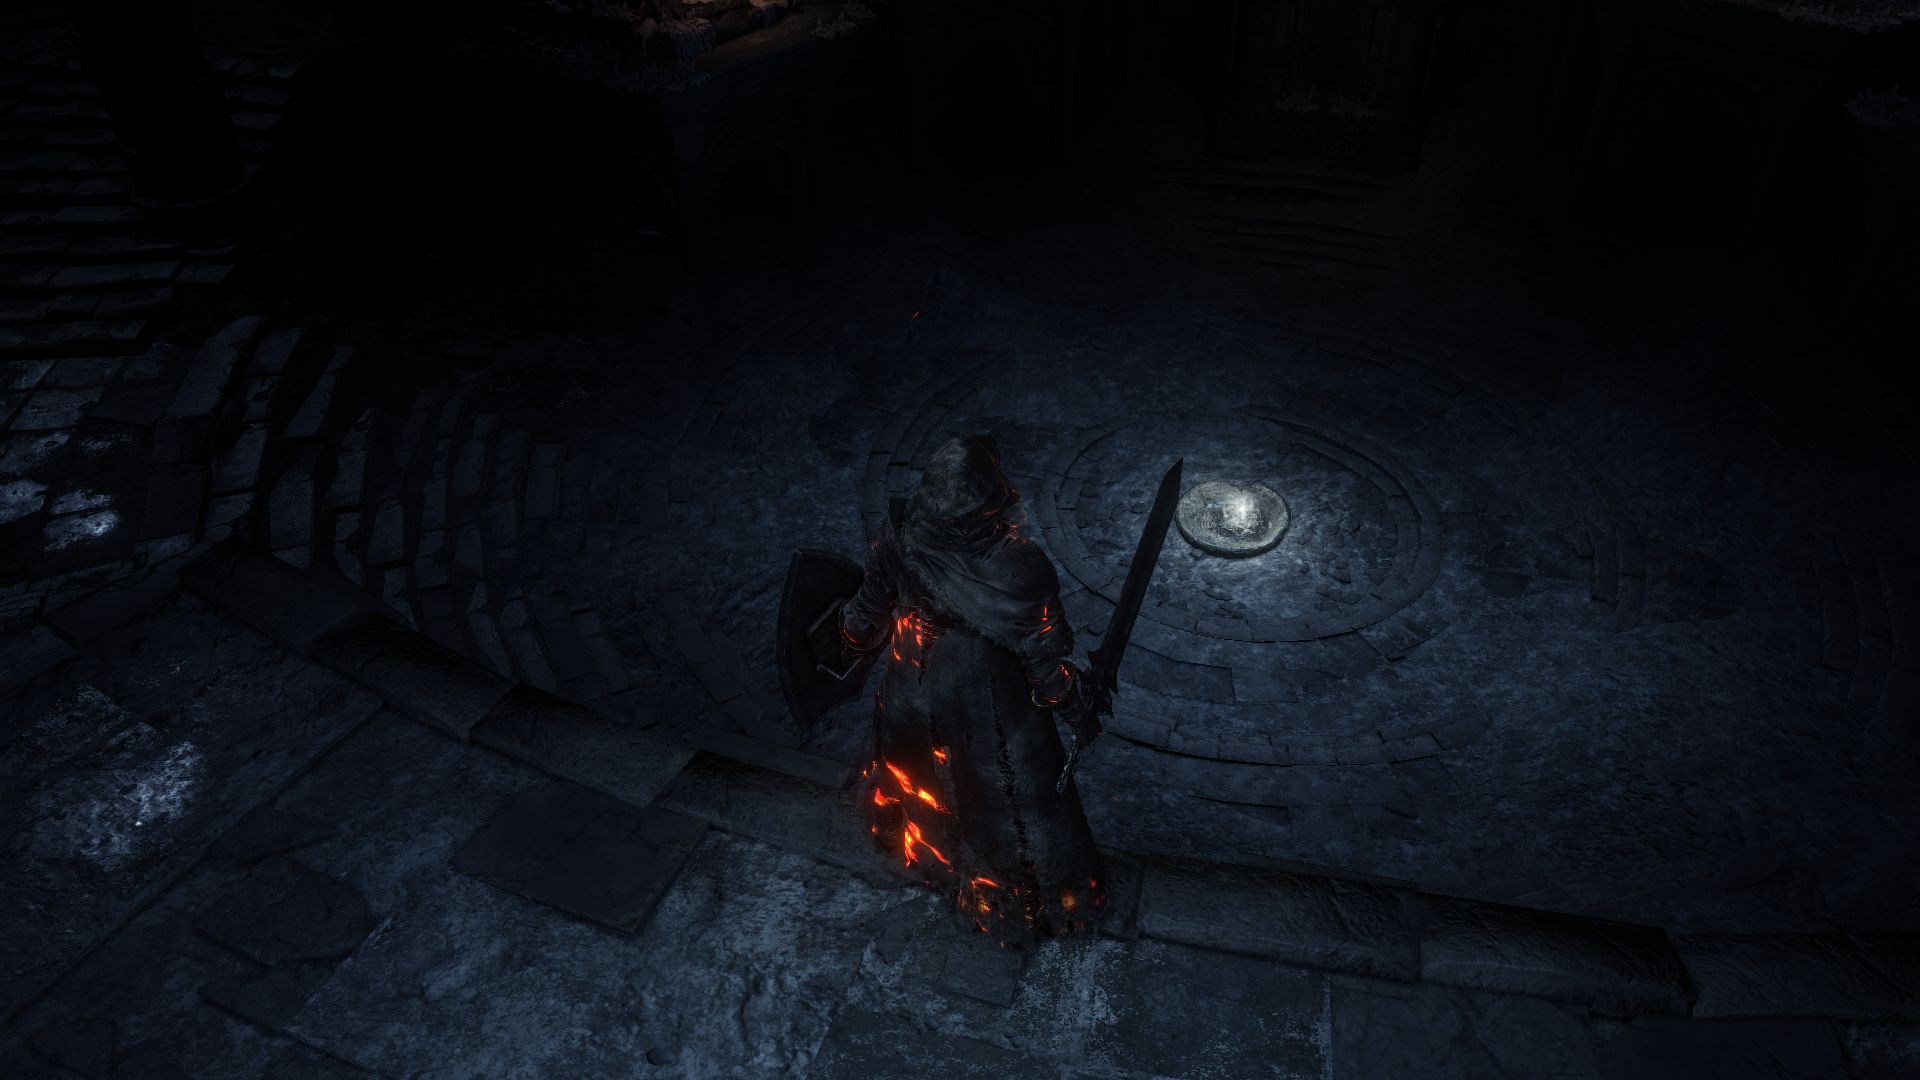
To get to Untended Graves, you must first defeat Oceiros in the Consumed King’s Garden. After defeating him, open the door behind the bonfire to enter a tomb where a lone serpent-man awaits at the end. Here, you will find a body holding the Path of the Dragon Emote, which you can use to access Archdragon Peak. Behind the dais, there is an illusory wall that you can hit to reveal the path to Untended Graves.
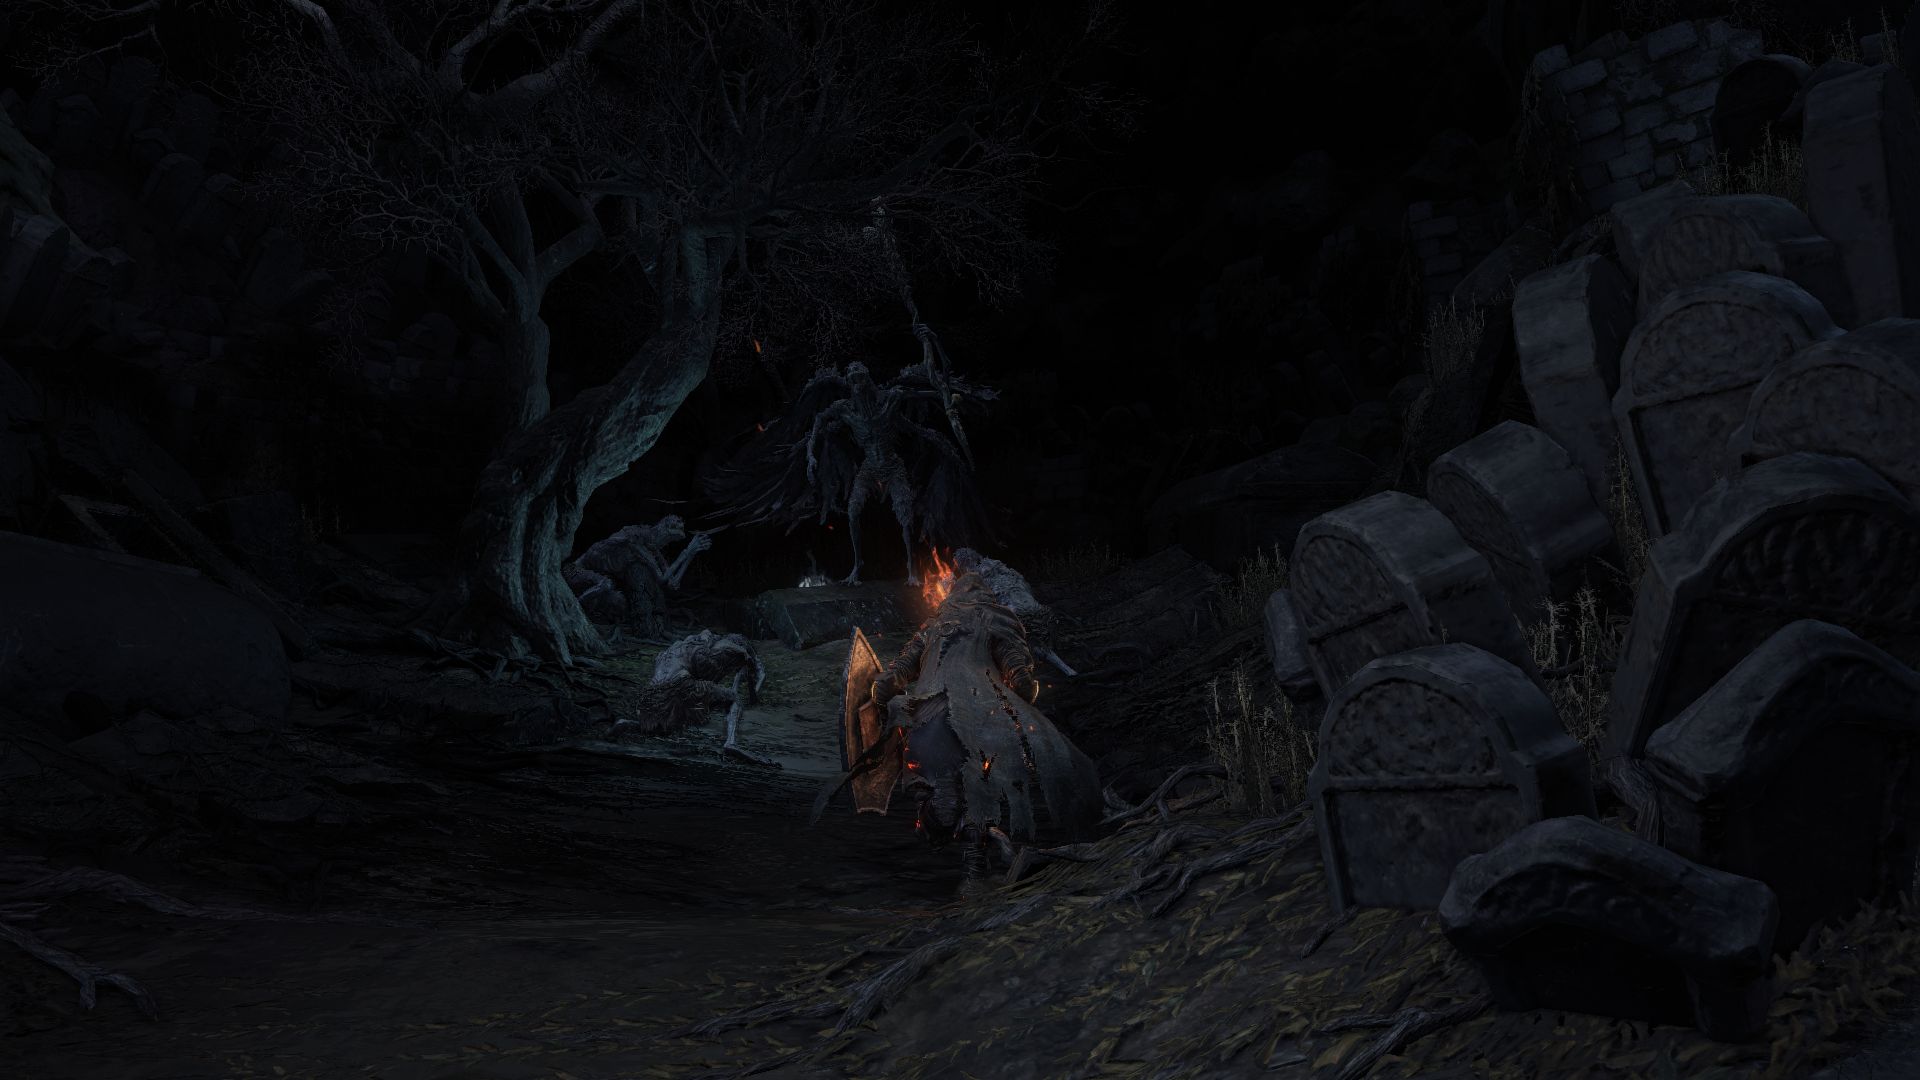
Jump down onto the pit and light the bonfire. Proceed forward and grab the Shriving Stone on the way. Does this area look familiar? It should, because this area is none other than a darker and slightly more dangerous version of Cemetery of Ashes. Go left and you will find yourself in the area where you had essentially started the game. Some Corvians await here with a Shaman in the middle. Be sure to rush the Shaman and then take out the others. Loot the coffin to find an Ashen Estus Ring.
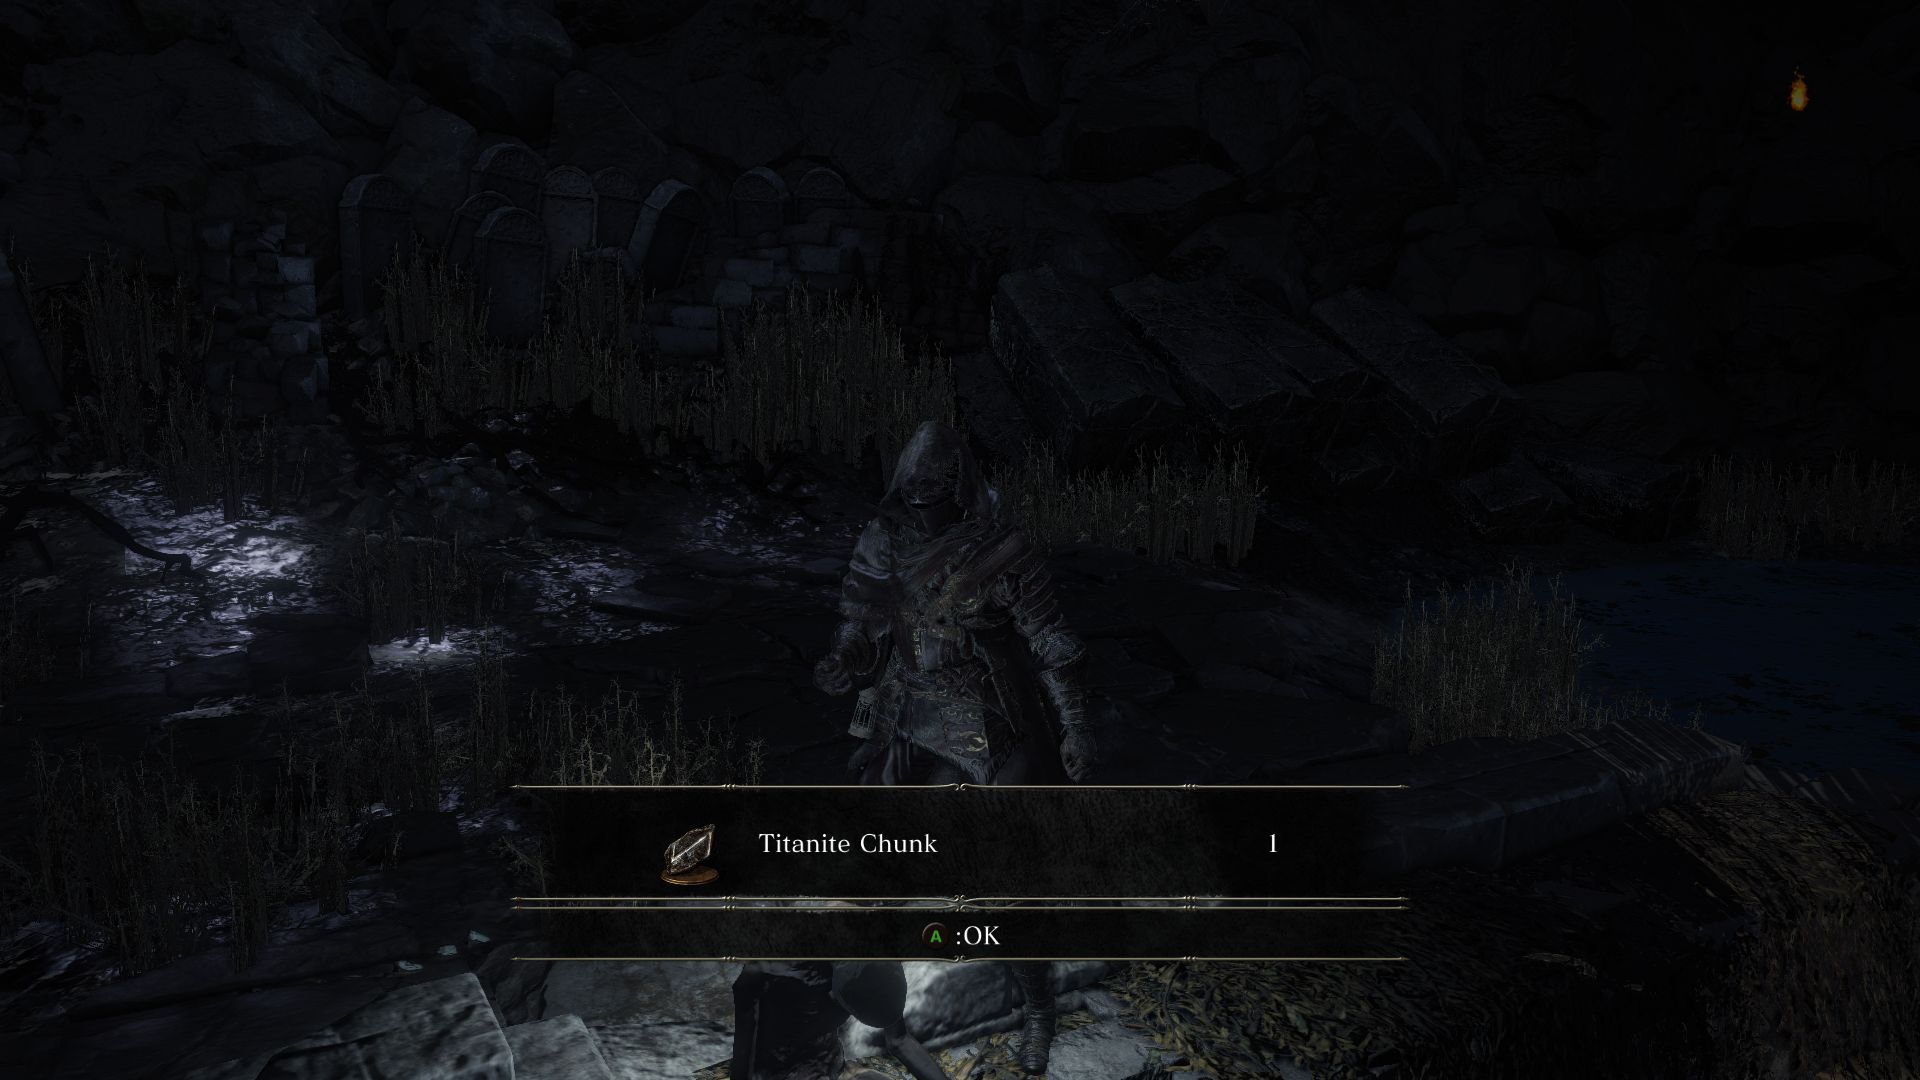
Now go up the path and loot the Soul of a Crestfallen Knight by the fountain. Instead of Hollows, you will find Grave Wardens in the path ahead, one to your left and one ahead. To the right, you will find 2 Bone Hounds, and 3 more just a bit ahead guarding a Titanite Chunk. Another Bone Hound hides in the alcove to the left guarding another Titanite Chunk.
The side path to the right now has to Giant Crystal Lizards instead of one, so be very careful when engaging them. Use a ranged weapon or spell to lure one of the Lizards back in the valley and use the same tactics as before to take them out. They will each drop a Titanite Scale.
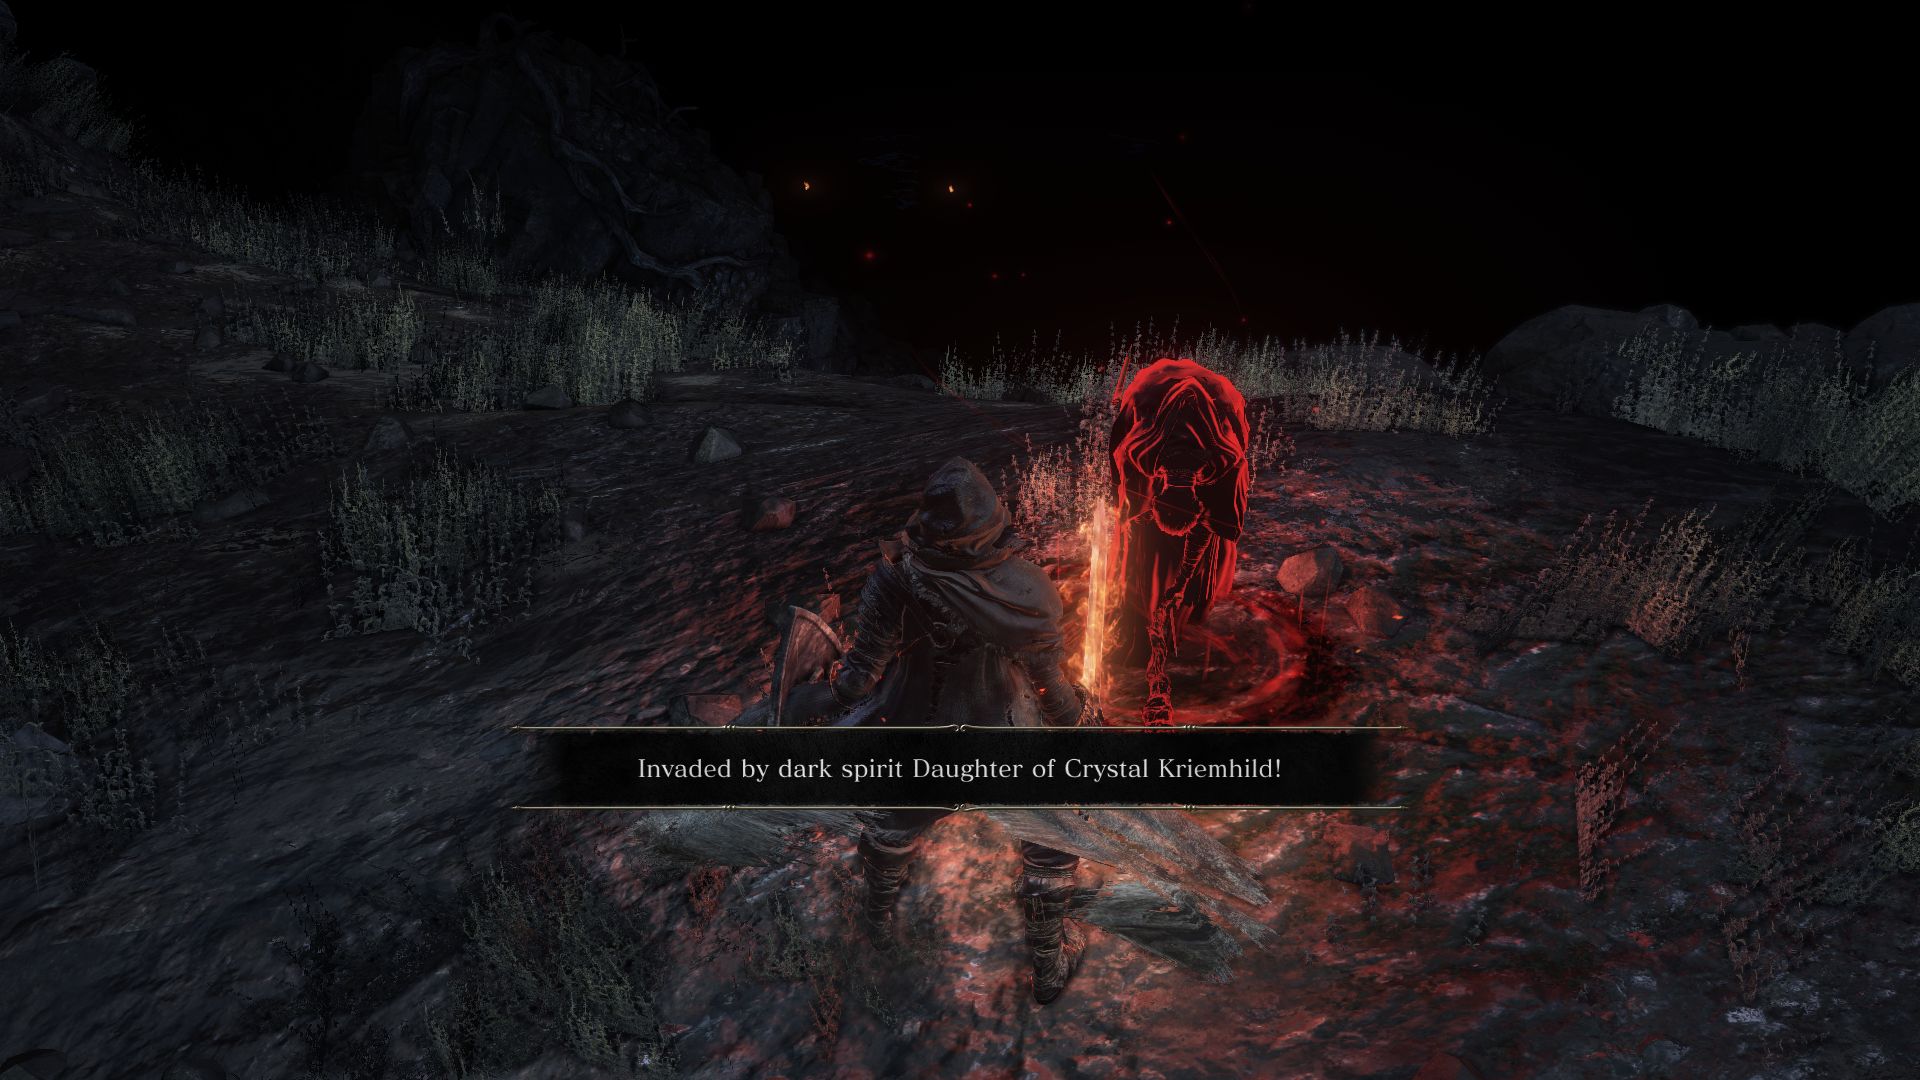
Moving forward, you will find yourself in the same area you had traversed earlier in the game, only now it’s pitch black. If you are embered, you will be invaded by the Daughter of Crystal Kriemhild as you ascend the cliff. A spellcaster, she will try to hit you with Crystal Hails, Crystal Soulmass, and Soul Spears, but try to get close to her and take her out as she is rather weak up close. But watch out for her rapier which she won’t hesitate to use if you’re too close.
You will notice that there’s no bonfire at the top of the slope, but the area ahead is filled with Hollows still. Straight ahead is an archer and a thief to the left waiting to take you off guard. As you curve right, you’ll find more Hollows and thieves, but they are fairly easy to kill so just proceed carefully so as not to get overwhelmed.
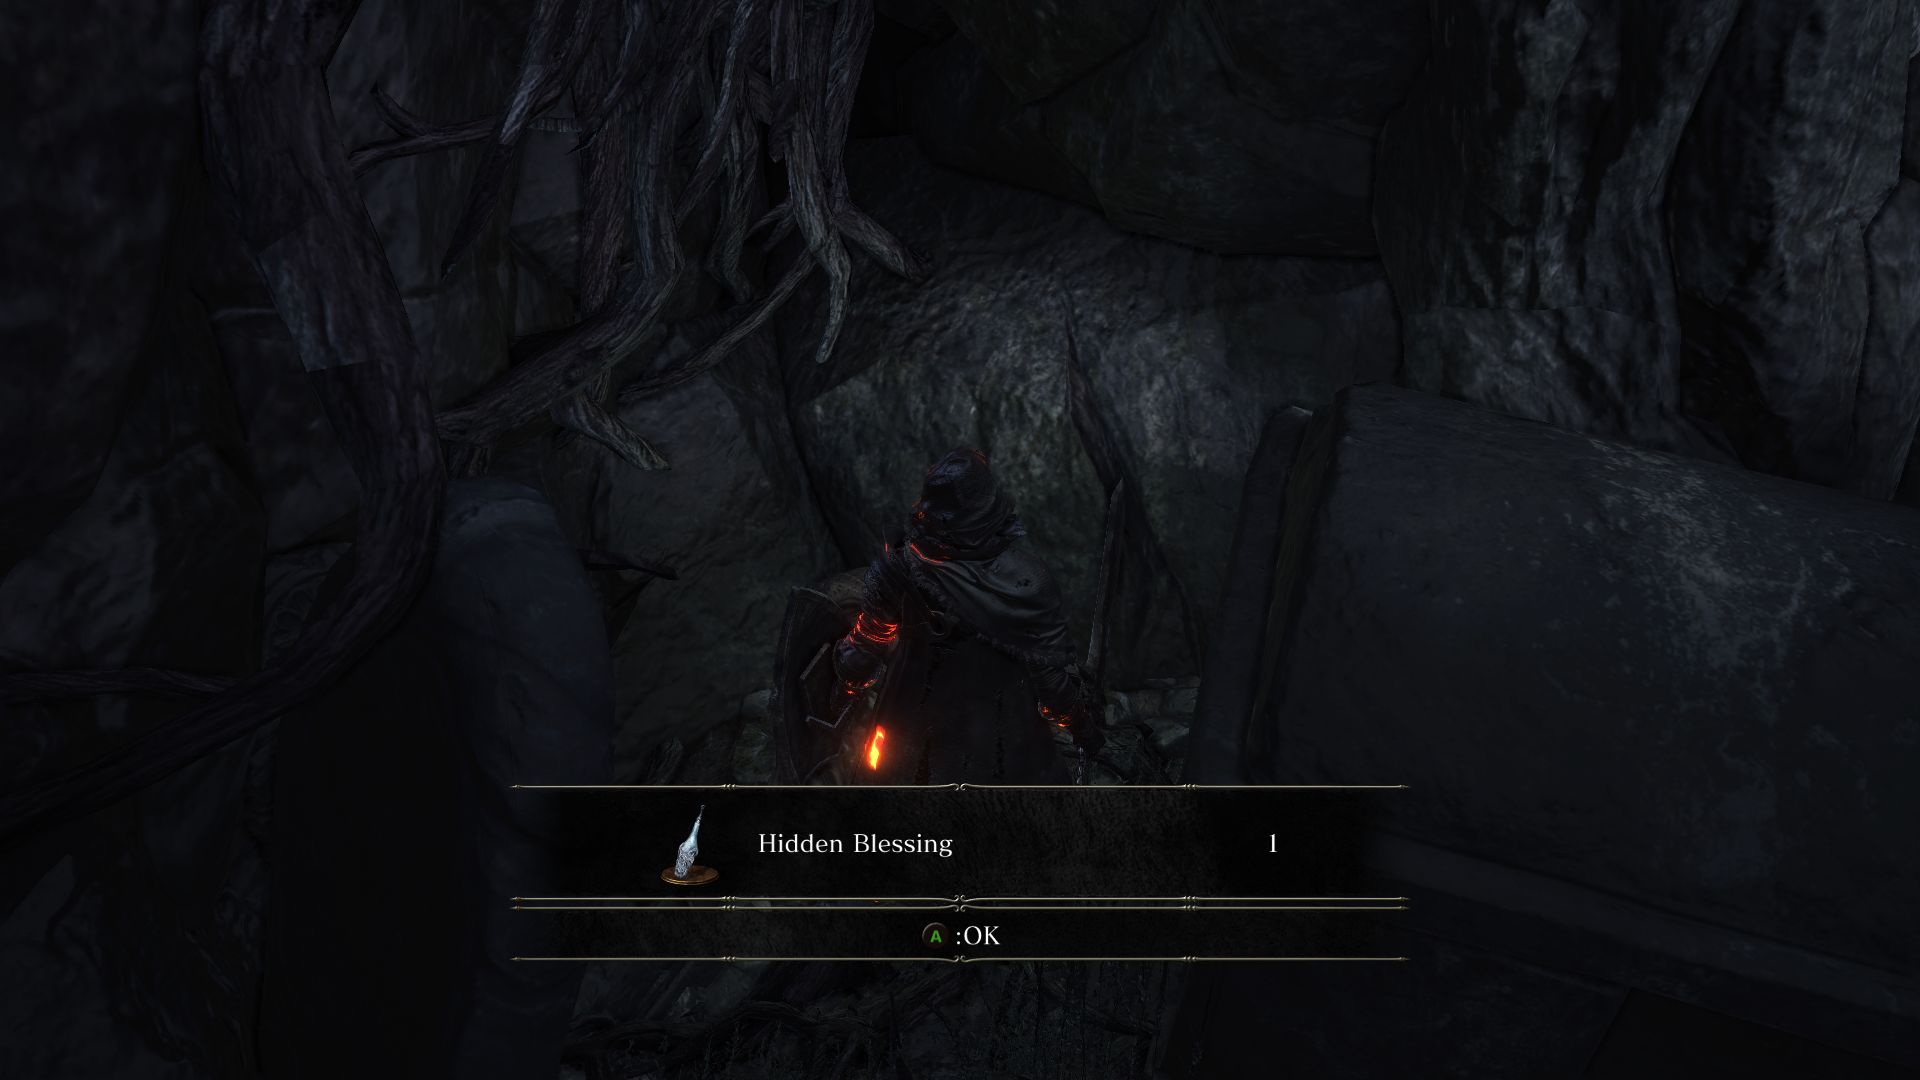
Down the path on the right you will find the spear wielder and archer, but they aren’t guarding any Firebombs in this area. And remember that jump onto the coffin? You don’t have to jump this time. Simply drop down and loot the item behind the coffin to find a Hidden Blessing, which is now guarded by a Hollow and Thief nearby.
As you approach the boss area, you will find some more Hollows. Take them out and approach the large door. If you need assistance, you can summon the Master Swordsman, the very one you had defeated outside Firelink Shrine. When you’re ready, go ahead to face a much stronger version of the first boss of the game.
BOSS FIGHT – CHAMPION GUNDYR
Unlike the first time, there is no coiled sword to pull out of his chest, but you can still get a few free hits in as he reaches for his spear. Phase 1 is pretty much the same as when you had fought him last time, the main difference being if you try to sneak behind him and stick there, he’ll launch a kick in your face to create distance. So try not to linger close behind him for too long and when you see his feet moving, roll away. His combos will generally be 2 hits, and he’ll still do his stabs and shoulder bashes, and he will move on to the next attack rather quickly, leaving very little opening. As always watch out for the grab which will do tremendous damage.
During Phase 2, you don’t have to worry about his mutation, but you do have to worry about his increased aggressiveness. His flurry of attacks will leave even fewer openings than before, so you will have to be constantly mobile. If you get caught in one of his, you’re probably dead or close to being, as he will continue attacking you. Don’t get greedy and only get in one hit before rolling away from his retaliation.
A few things to make the fight easier is to create enough distance to bait his lunge attack, just like you did the first time around. This allows you to roll behind him and get a few hits in before doing the same thing again. And if you’re good at parrying, this fight becomes rather easy. His jabs are the easiest to parry, so wait until he performs the jabs to parry it to create enough time to allow you to land a hit and a riposte.
The boss is weak to lightning, so if you’re a spellcaster you could spam Lightning spears. This is a rather difficult fight for spellcasters though, because Gundyr loves to charge at you and punish you constantly if you try to create too much distance. Rather, try to stay close and roll behind him to slow his momentum down to throw a few spells in.
Defeating Champion Gundyr rewards you with the Soul of Champion Gundyr and a bonfire. Make sure to loot the Black Knight Glaive to the right side of the door before moving on.

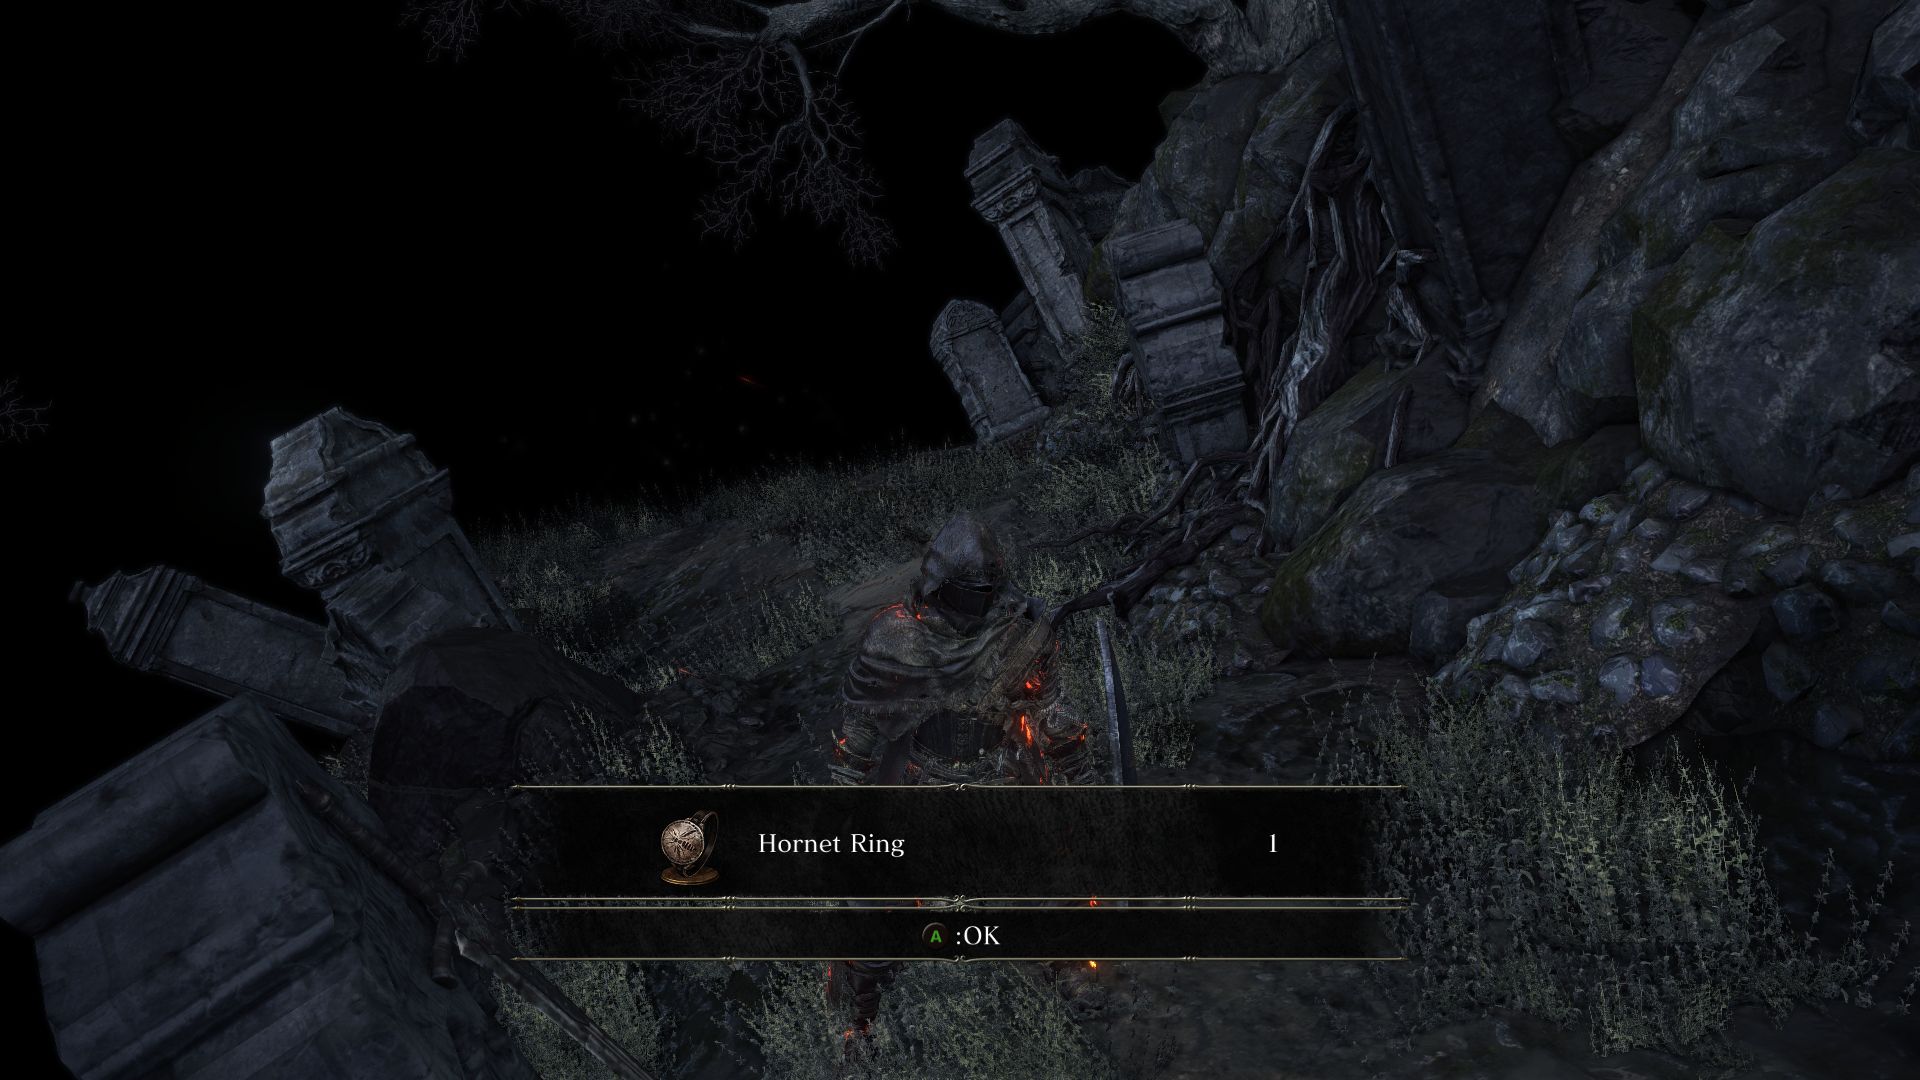
From here, you can make your way towards the familiar location of the Firelink Shrine, only in this area, you’ll find Black Knights in addition to Hollows. One Black Knight patrols the path ahead while another waits to the right side of the branching path. Kill them carefully then proceed right where the lone Bone Hound was at the start of the game. Here you will find another Black Knight and a Hornet Ring.
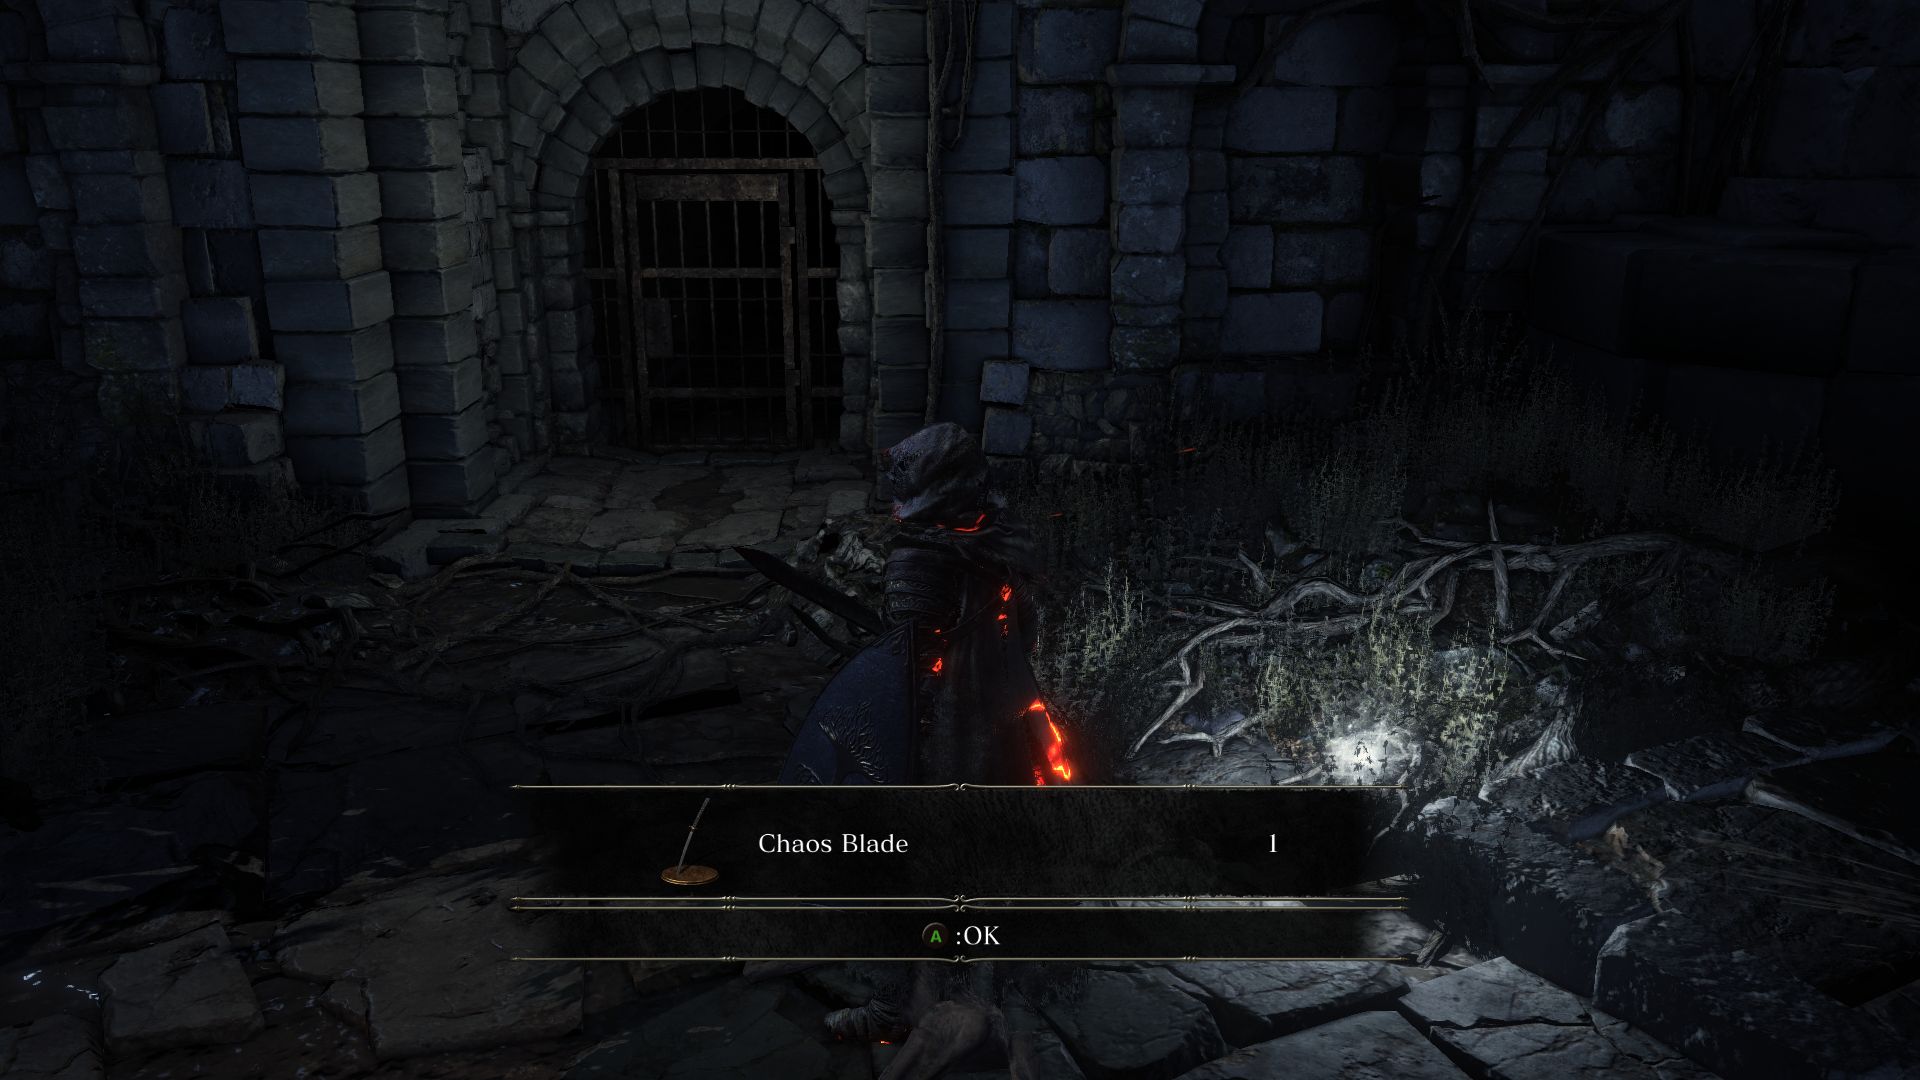
Now go left in front of the entrance to find yet another Black Knight at the top of the stairs. The Master Swordsman isn’t here anymore, but you’ll find a Chaos Blade instead. Kill the Black Knight and move to the top of the entrance to the Shrine to find a corpse holding a Soul of a Crestfallen Knight.
Drop down and enter the Firelink Shrine, except this Shrine doesn’t have a fire. Where the bonfire used to be, you’ll find a Coiled Sword Fragment. The only NPC you will find here is the Handmaid who will sell some interesting items.
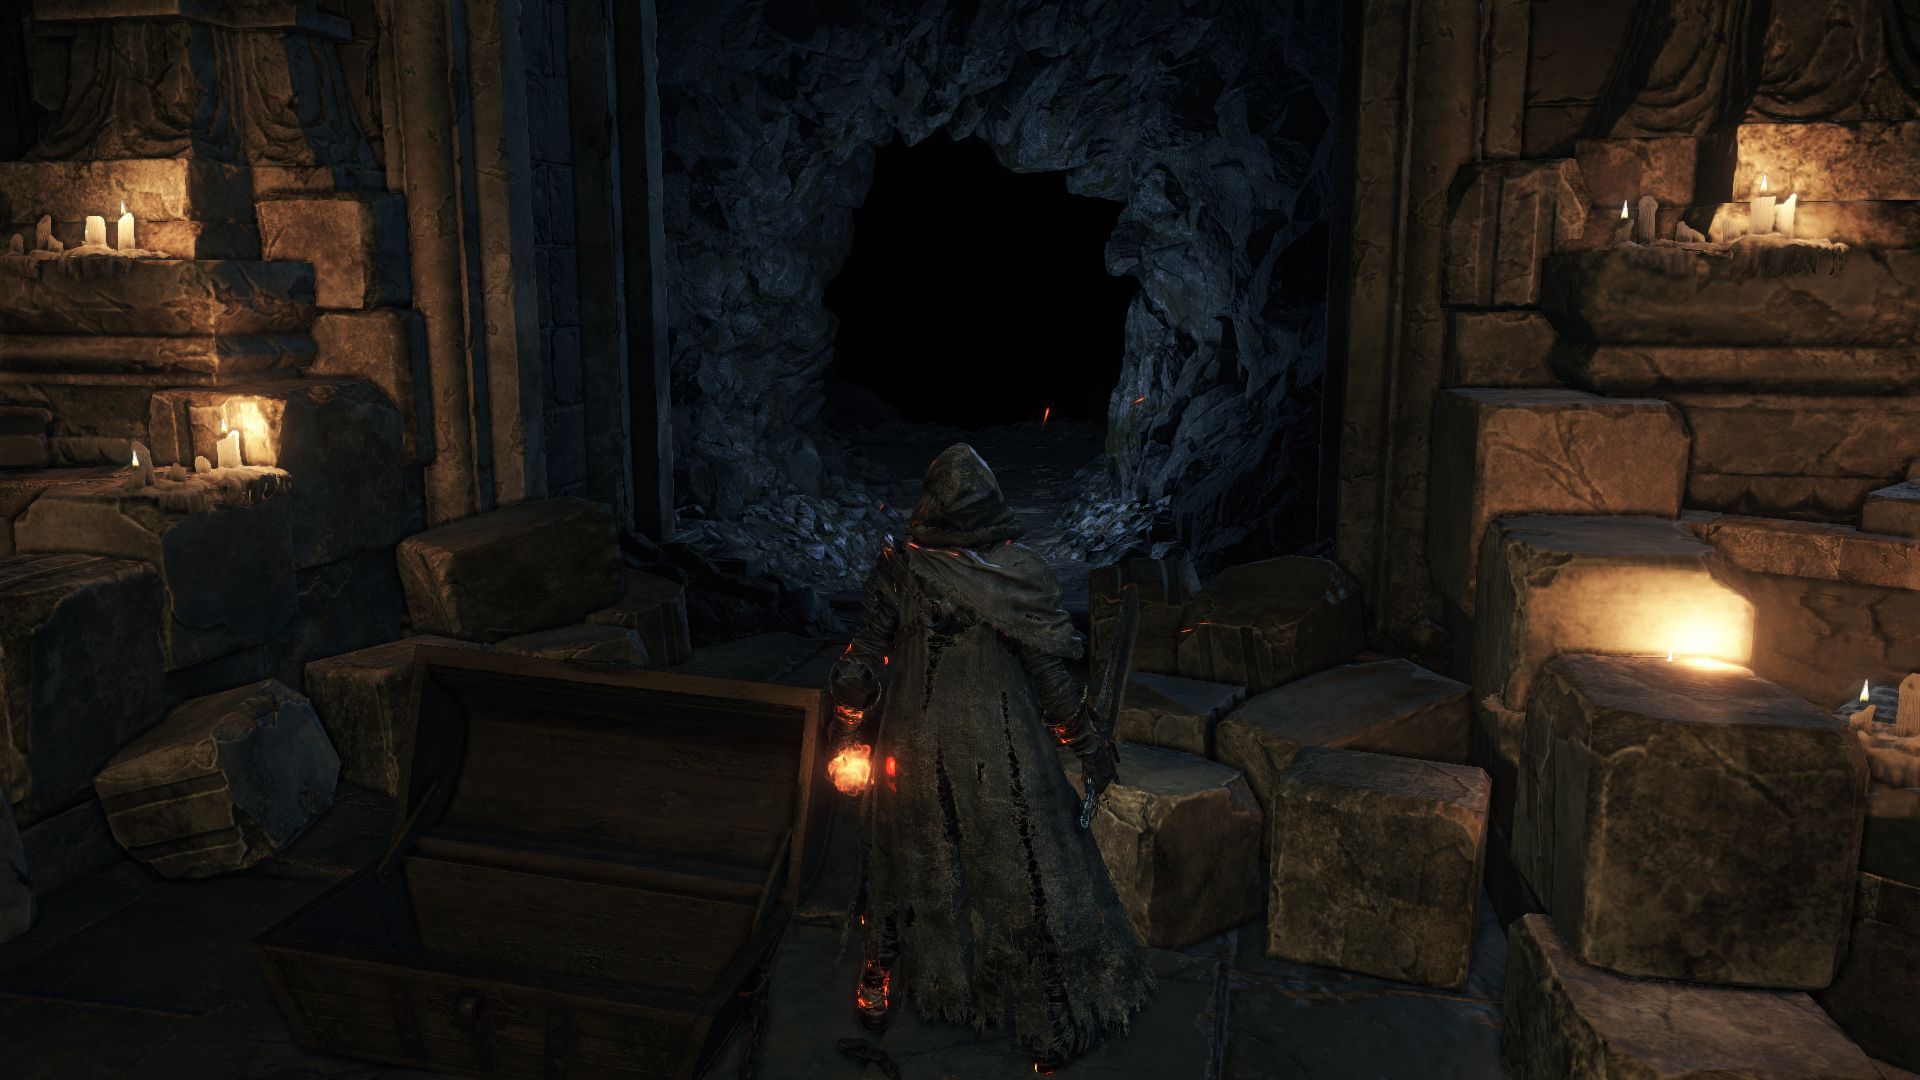
Go where Andre would normally be to find a Blacksmith Hammer. Where Yoel resides in the corner is now Hollow’s Ashes. Explore the path to where Irinia usually is. Strike the dead-end wall there to reveal an illusory wall hiding Eyes of a Fire Keeper.
These Eyes can be used to alter the ending. If you give them to the Fire Keeper, she’ll tell you the potential outcome. If you don’t prefer that outcome, you can kill her and she’ll respawn with no intention to move forward with that alternate ending.
That’s all there is to do here in this dark Firelink Shrine. Depending on what you haven’t explored yet, you could go back to Lothric Castle, or the secret area of Archdragon Peak.