Finding Cover
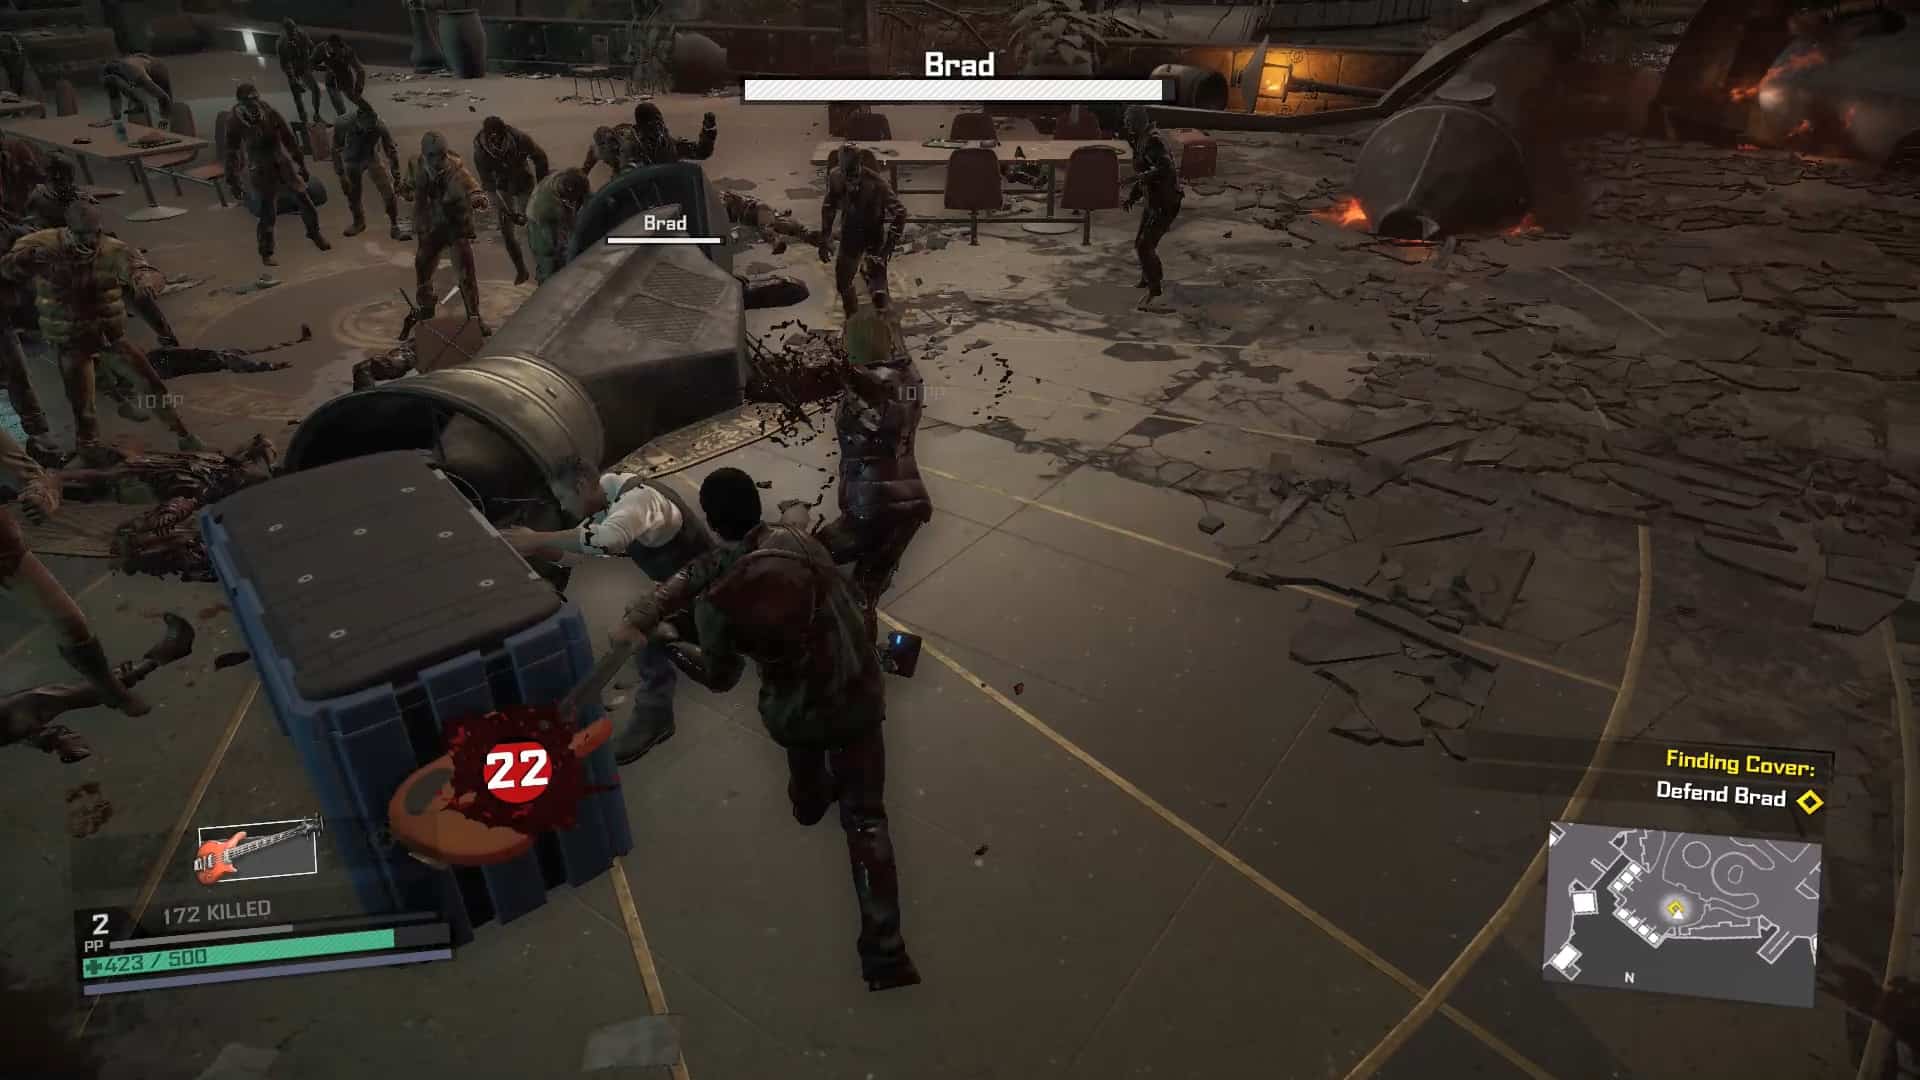
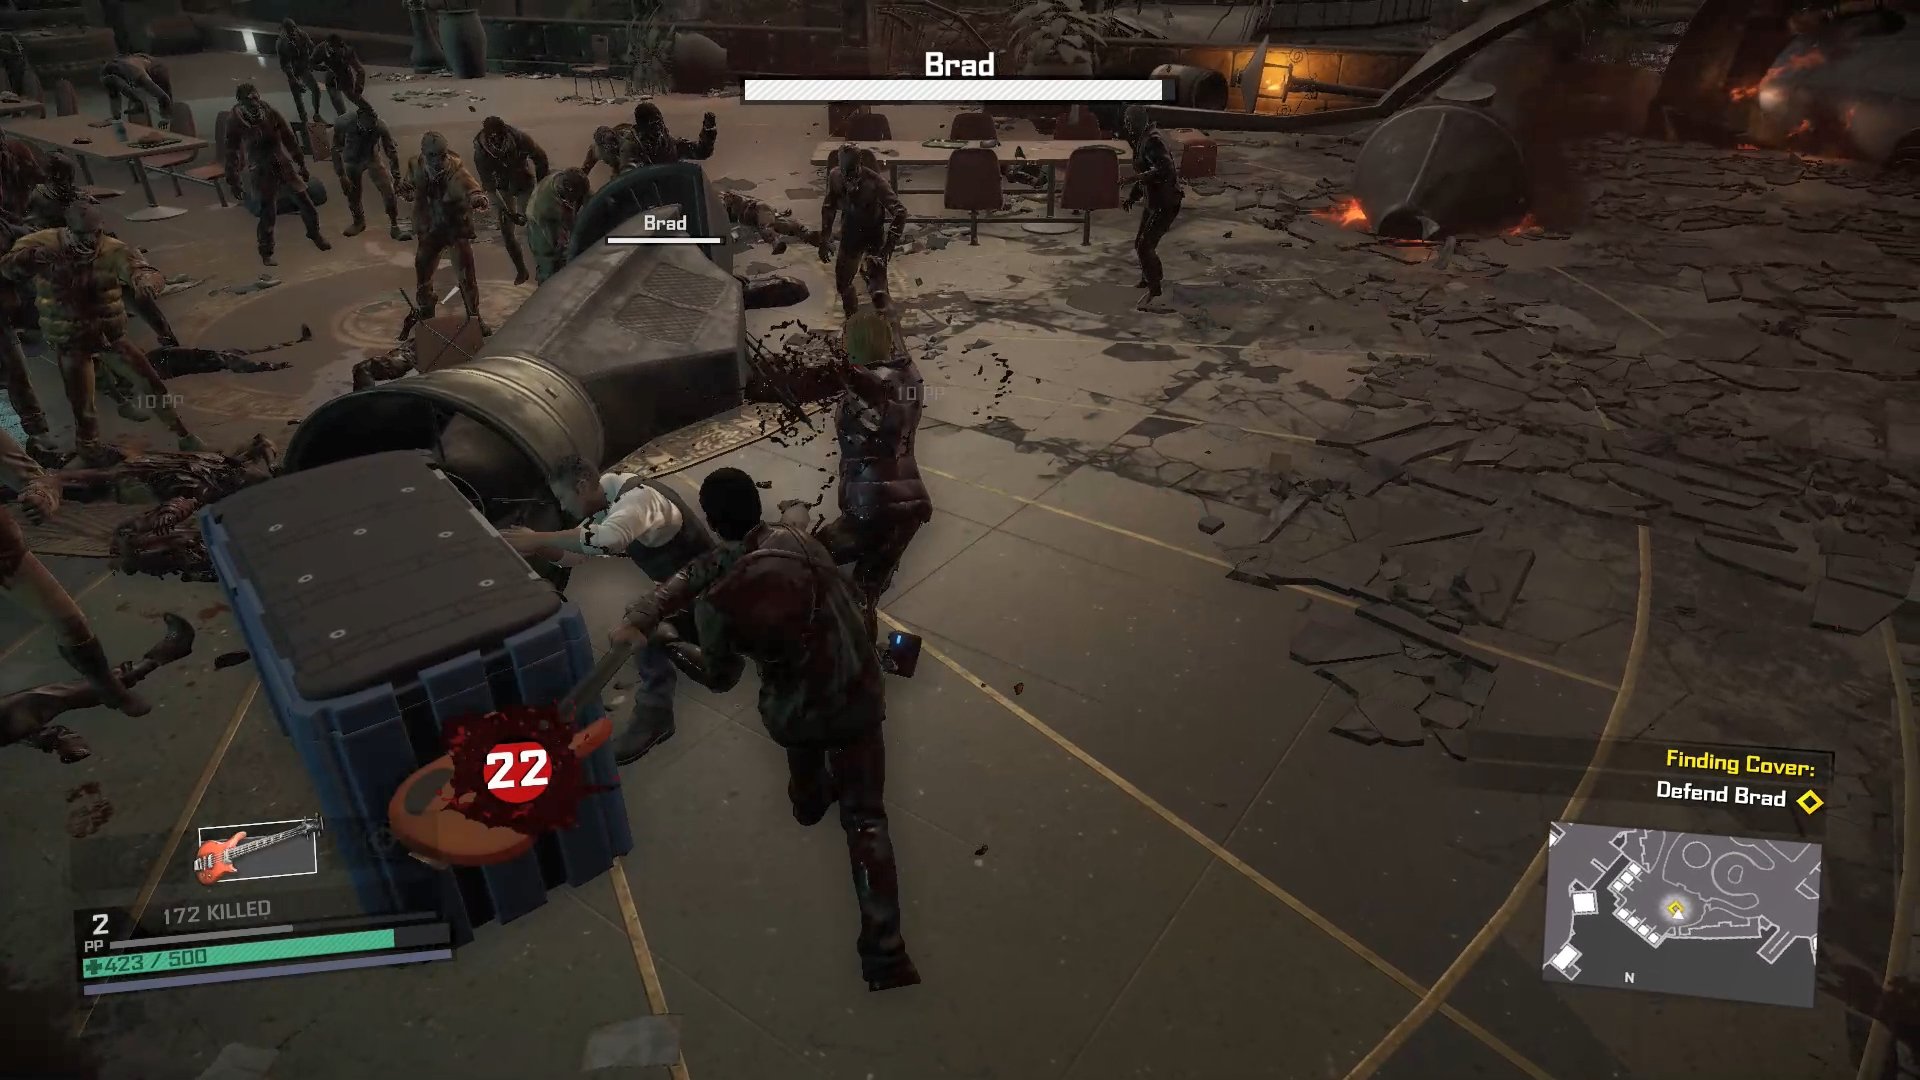
From one cold open to another, you’re once again dropped into the thick of things. Your first task is to defend Brad, which isn’t a too difficult task. There’s a bass guitar just in front and to the right of you that you can use to hold of the zeds until Brad unlocks a weapons crate and you can get access to some guns.
Once the zombies are cleared out and you’ve talked to Brad, you can either head straight for the hotel, or you can stop off to save the first of many trapped survivors. These people, if rescued will boost the stats of your shelter (when you unlock it) so it’s always a good idea to save them if you can.
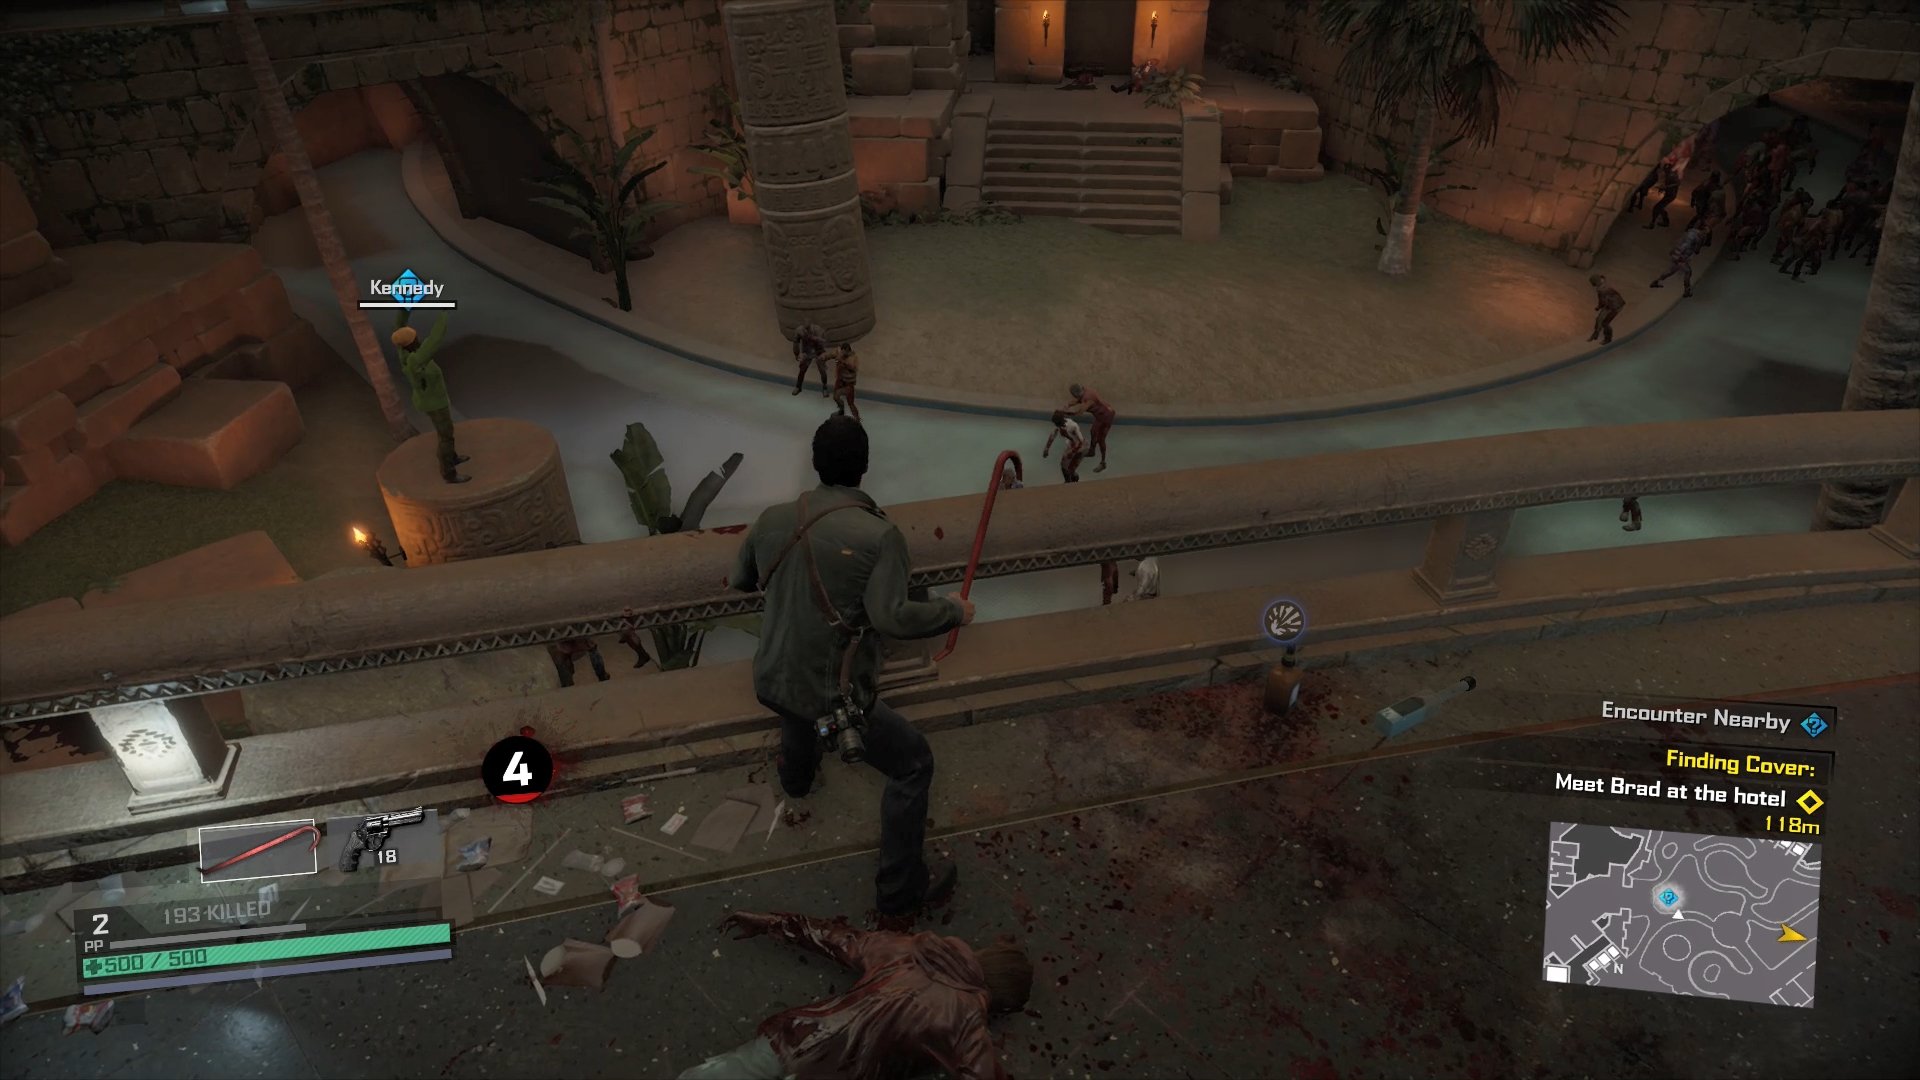
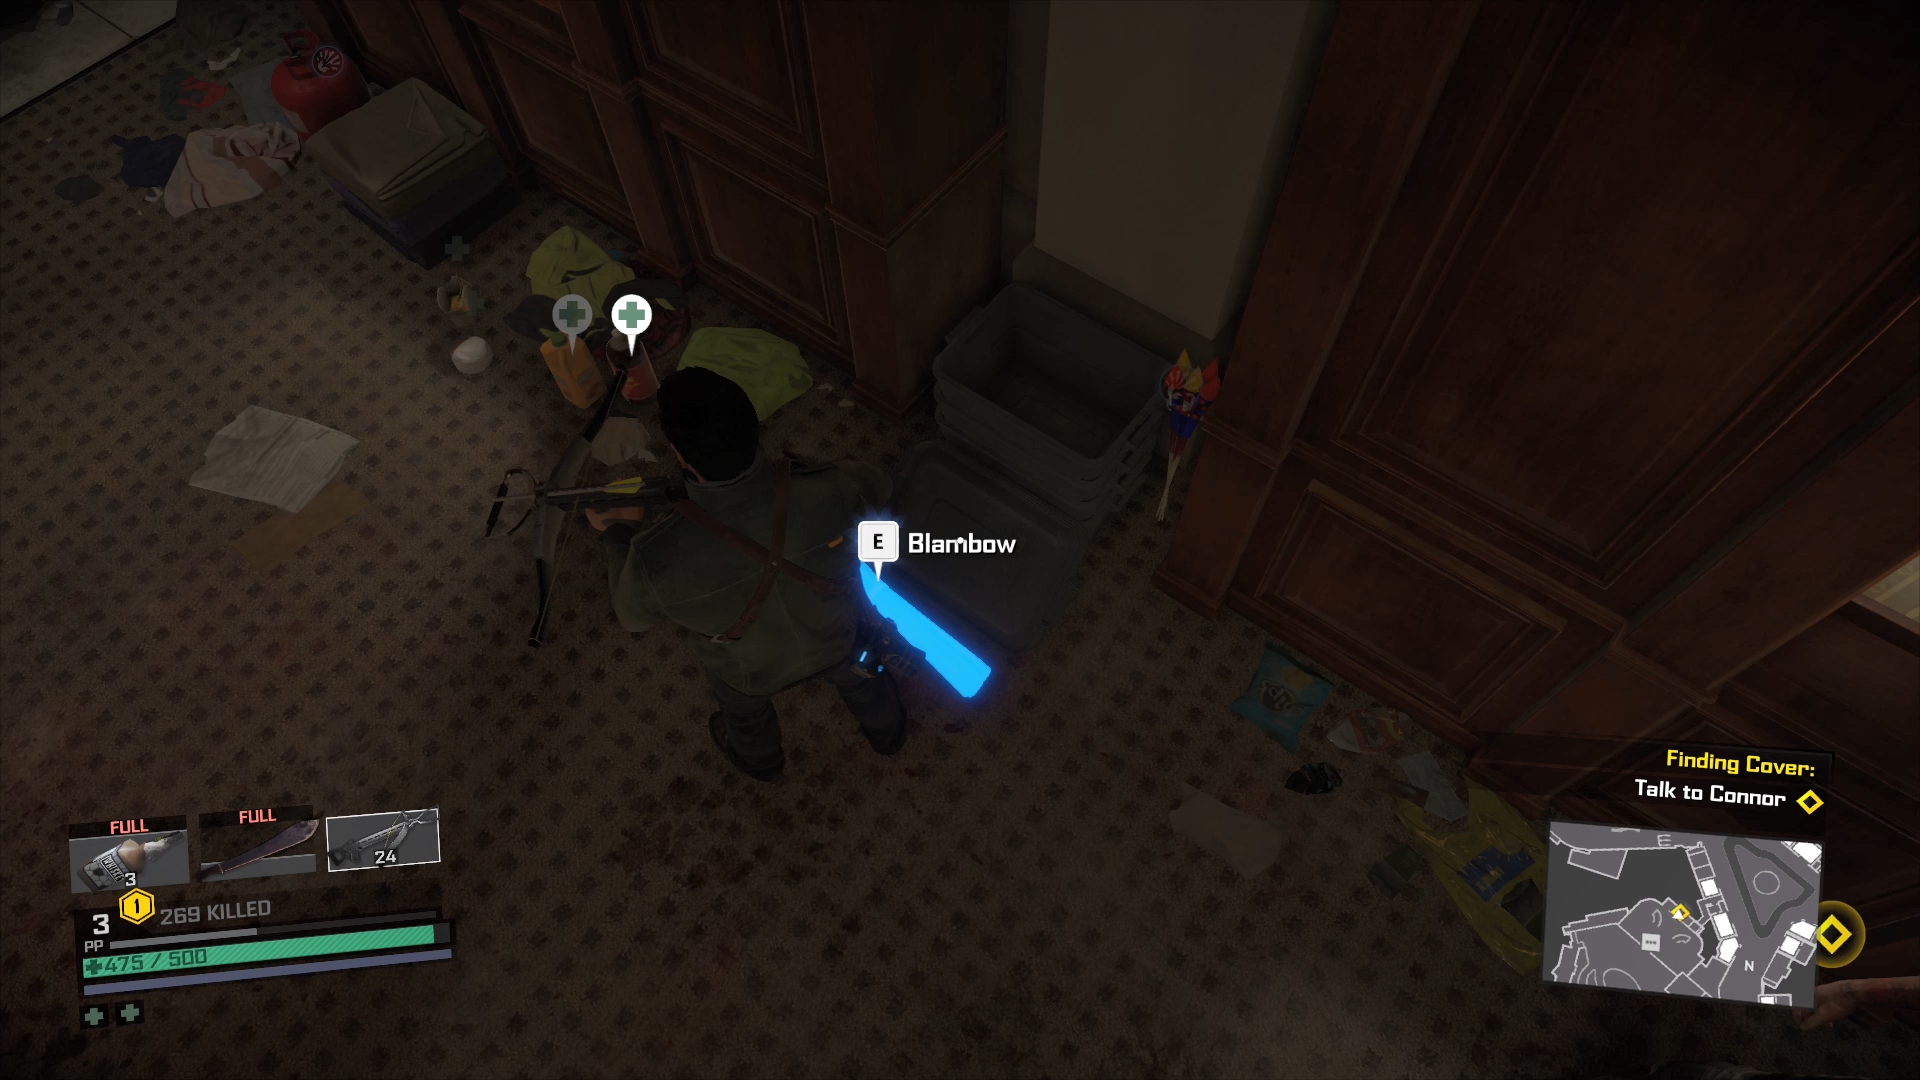
All it requires is to kill all the zombies around them, which isn’t particularly difficult. When you free them they’ll reward you with some Prestige Points and some form of special weapon. With that done, follow your marker to the hotel to meet Brad and Connor, the hotel receptionist. Behind the counter at the hotel will be a host of weapons, including a bunch of guns, grenades, a crossbow and a blueprint for the Blambow, which is essentially a small rocket launcher whose rockets stick to targets.
It’d stand you in good stead to make one now as you’re about to get into a fight. First some maniacs (raiders essentially) will come in. These guys are human, and armed with guns, so just running at them swinging isn’t going to do you many favours. Hang back and use the guns around you to pick them off. Next is a hoard of zombies. Use the grenades, molotovs and Blambow to get rid of the majority, then pick off any stragglers with melee.

Once they’re all dead, head through to the back room with Brad and Connor to find the dead manager and the El Mode Design locker key then follow the NPCs until you get your new objective.
Catching Up With Vick
First things first, there’s a blueprint for the Electric Wreath in the locker to your left.

There’s also a bunch of melee weapons, so refill your arsenal as required then head out into the mall. Follow the objective marker through the mall – something to note, you can get 500PP just for entering new shops, so it’s worth doing as you go. Along the way you’ll meet some more maniacs, take them out to get some guns and some nice melee weapons.
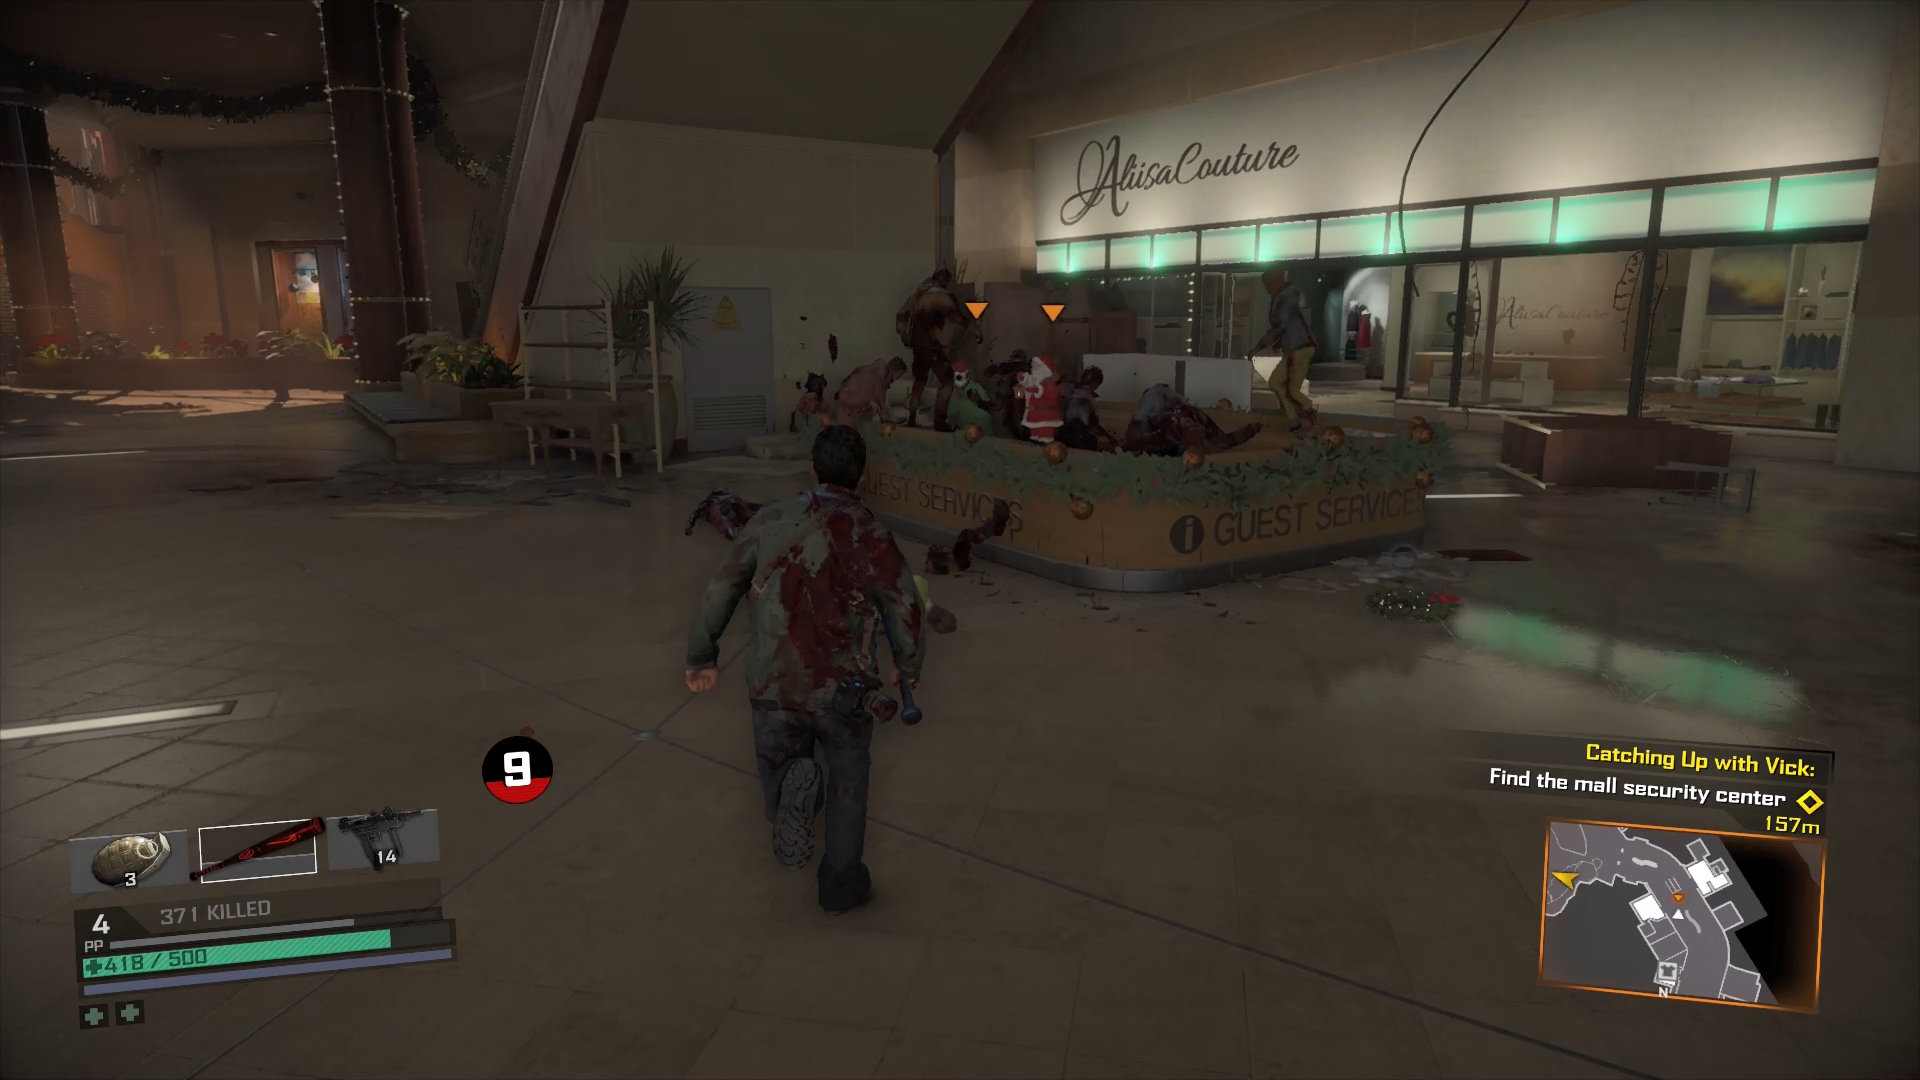
A short distance further up there will be some more who are in the middle of executing some survivors. You can try to save them, but it doesn’t seem to be possible. Kill the maniacs to get more guns and a shotgun. This will come in very handy soon so don’t use it for now.
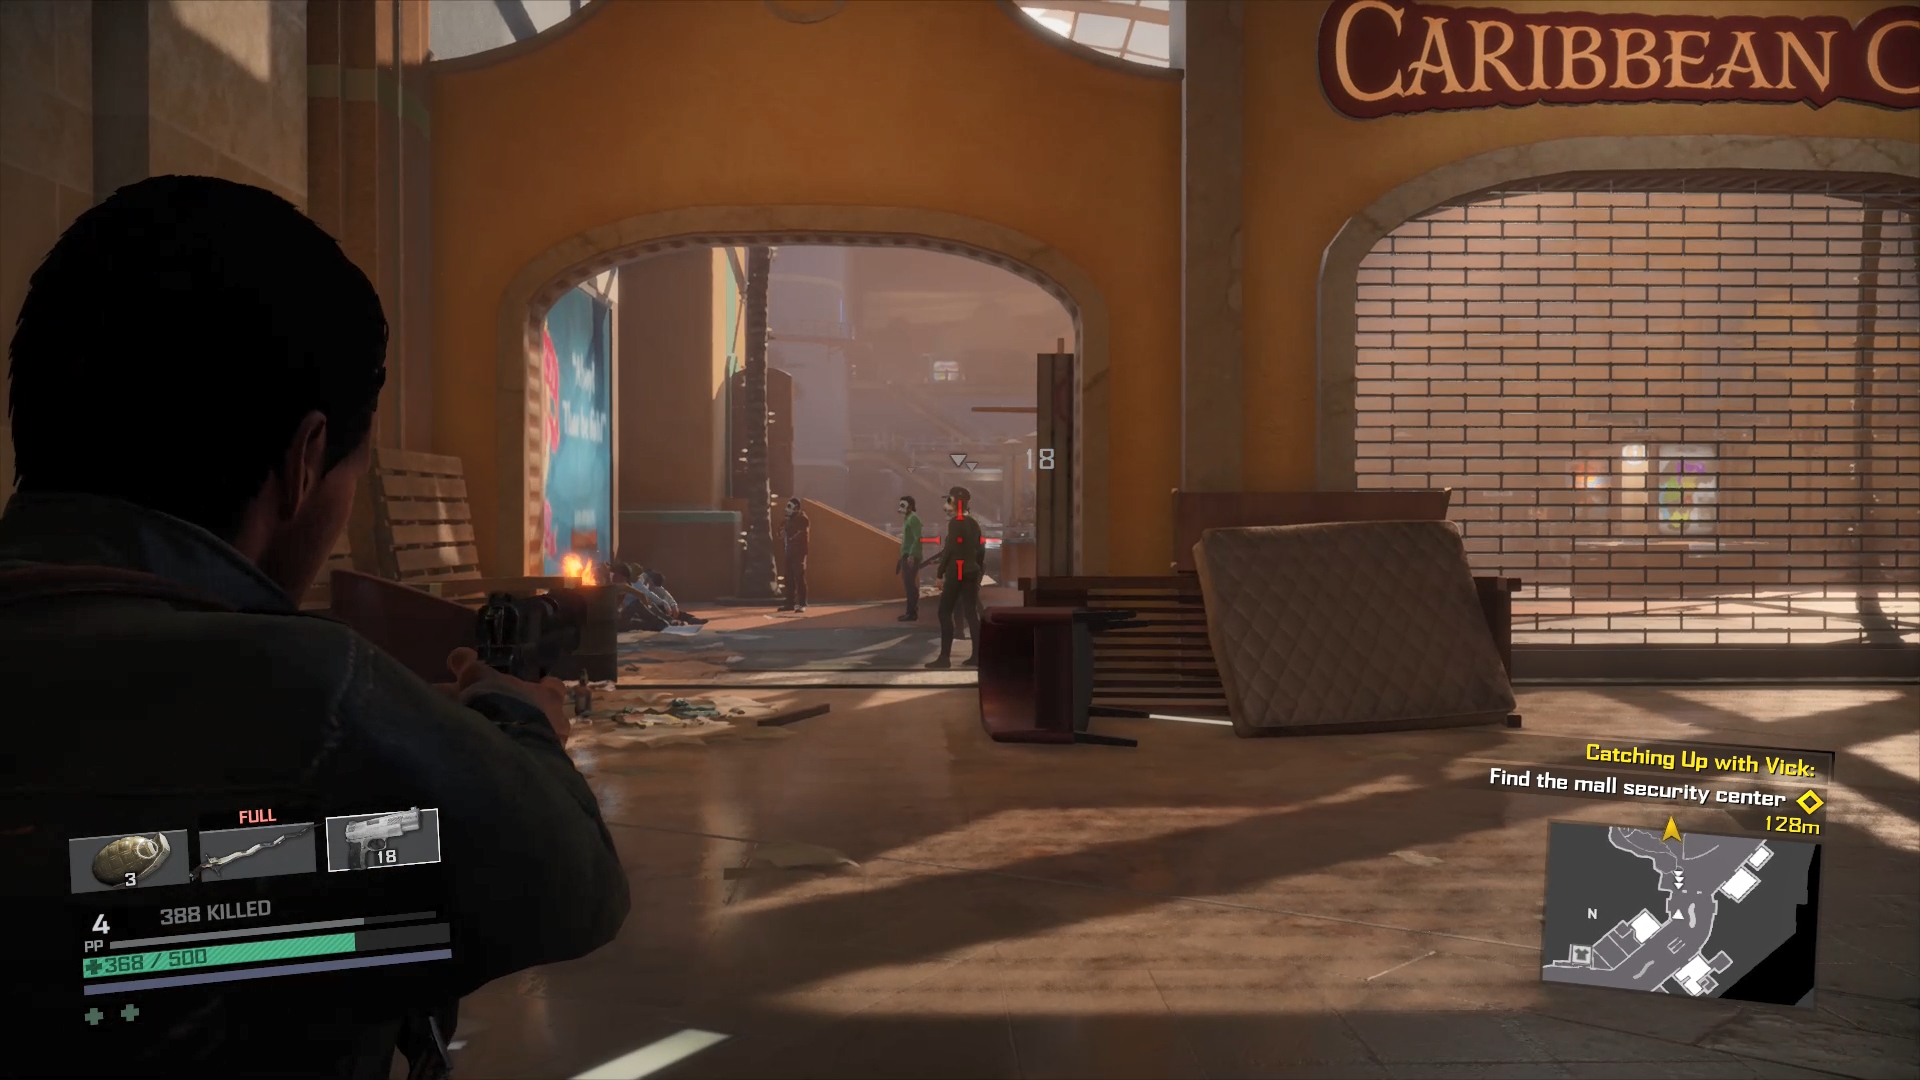
Keep following the objective marker until you get to the emergency shelter. Head inside and down the corridor to start the cutscene that introduces Fresh Zombies. These guys are a lot faster, harder hitting and a hell of a lot more aggressive than your usual zeds, and can prove quite difficult to deal with. Use the shotgun, or another firearm, to make quick work of them.
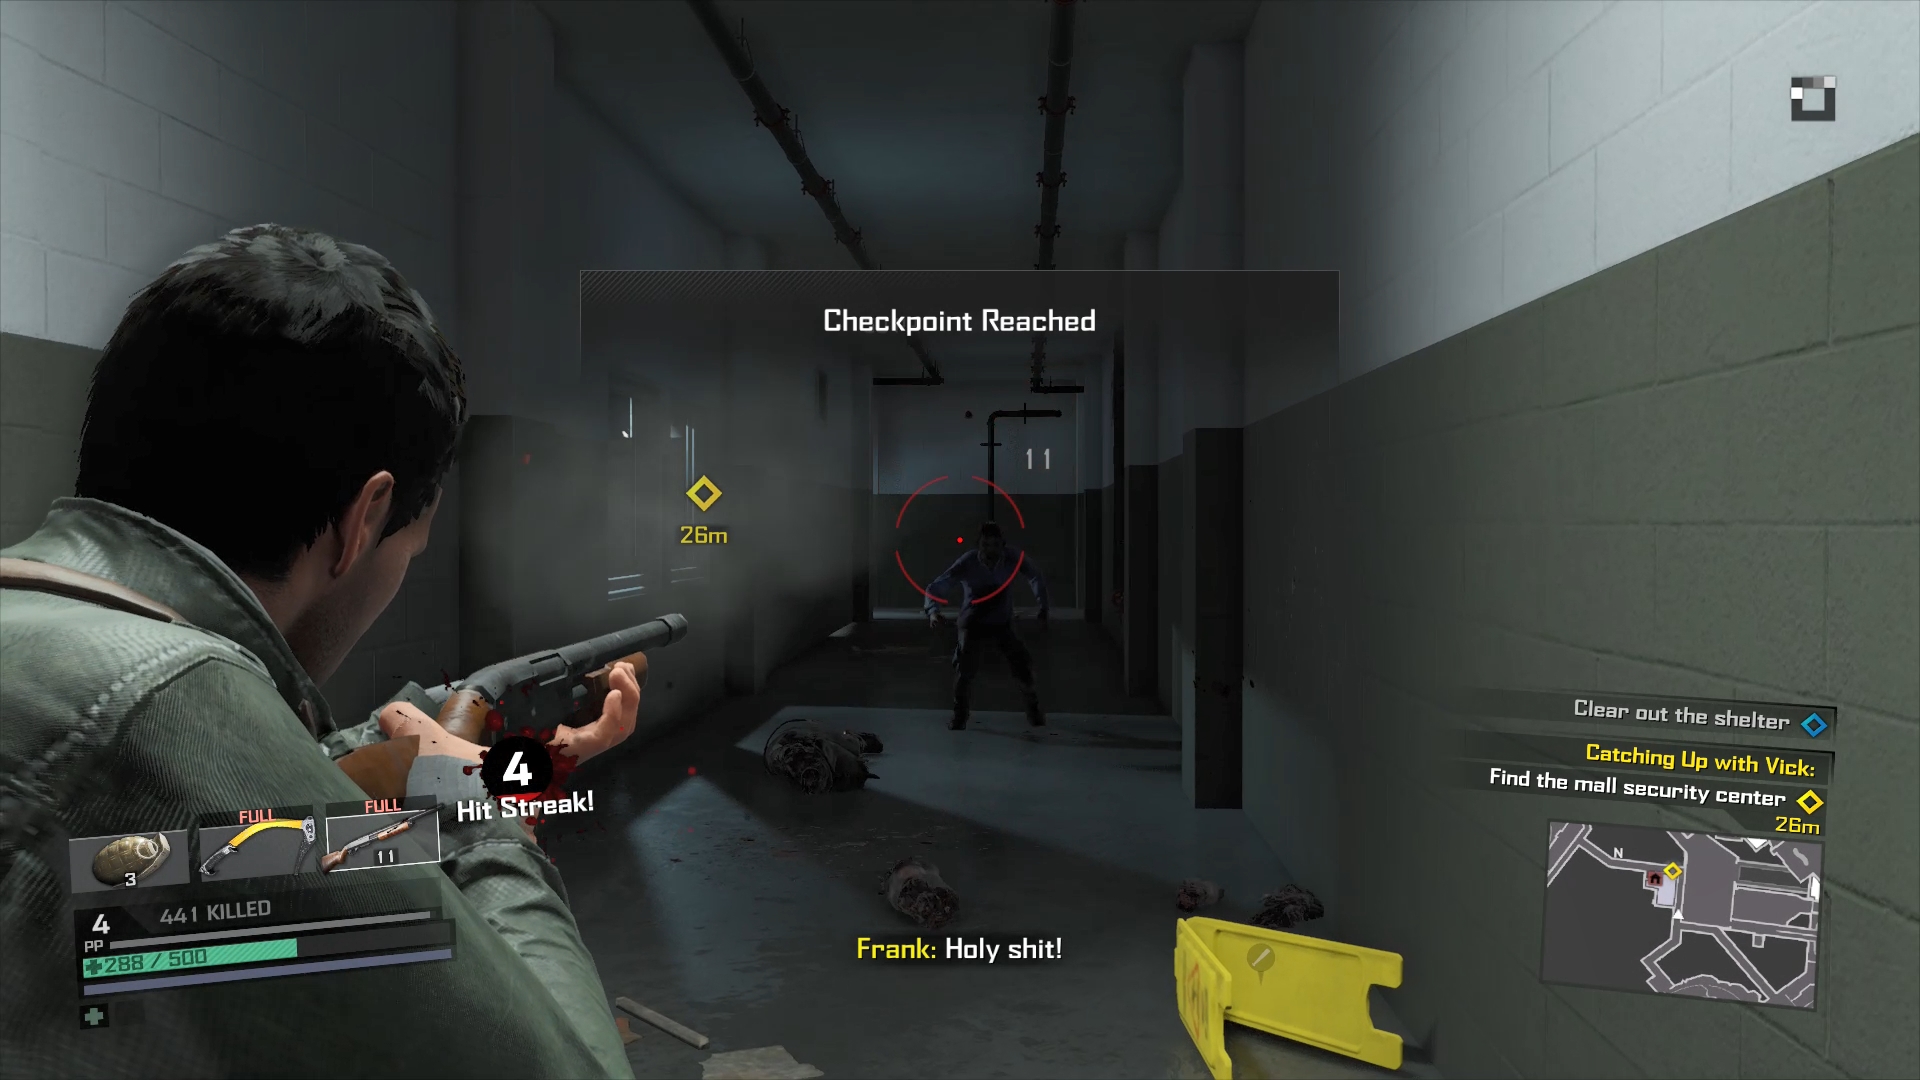
Head downstairs to find more Freshies. Again use the shotgun if you have it, it’s your friend and stay on the move. The Fresh Zombies tend to hang back then leap at you, so if you run away, turn and shoot them, then move again, they have trouble getting at you.
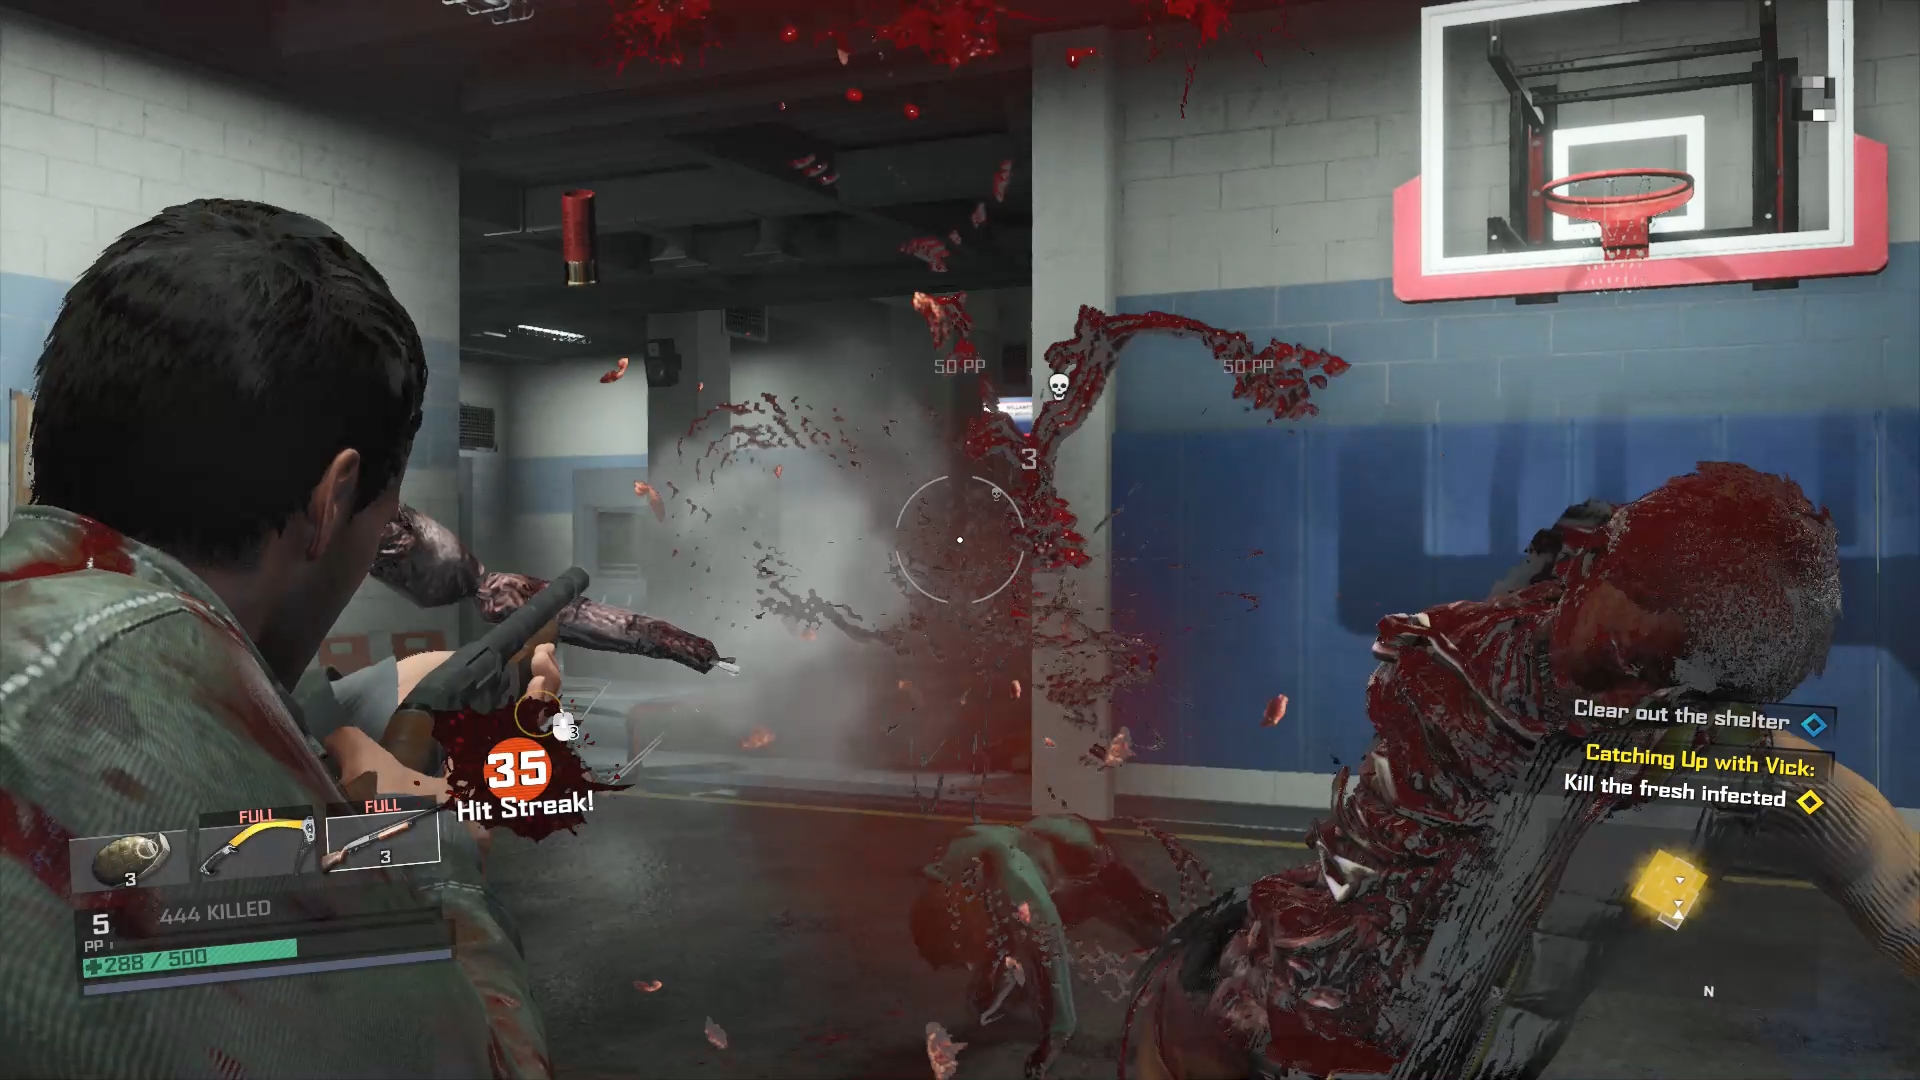
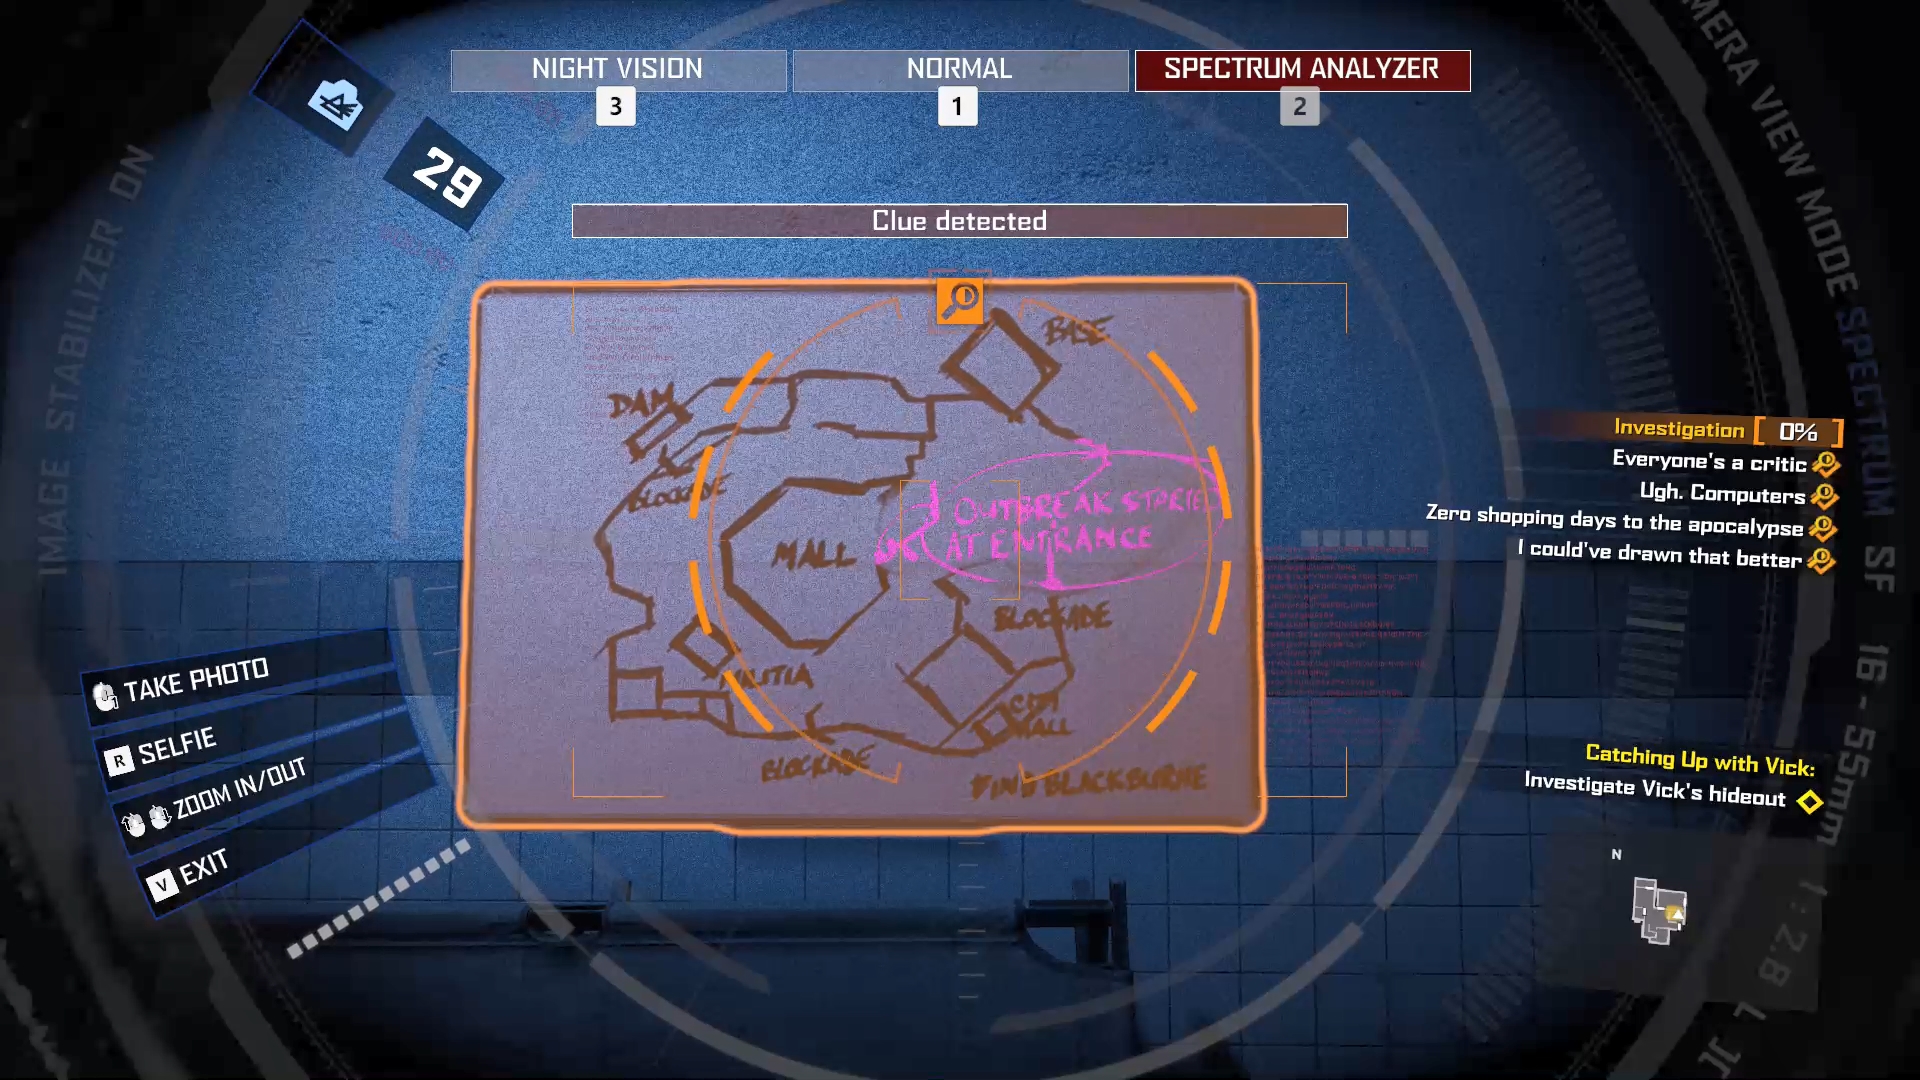
When you’ve cleared the shelter, head into the First Aid Station and talk to the Locations Vendor to start an investigation.
The required parts are:
Spectrum analysis of the whiteboard
Attempted access to the laptop
Spectrum Analysis of the yellow paper notepad to the right of the door to get the password
A picture of the Frank photo on the mannequin head
Use the password to access the computer
Picture of the calendar
Once that’s done, chat to the survivor and buy the blueprint map, then head into the parking garage to enter the next area.
Tracking the Outbreak
Go through the parking garage until you reach the broken shutter with more Fresh Zombies behind it. There’s 4, so get your gun out and start blasting. If you run out of ammo, the easiest way to deal with them is to use the kick to knock them down, then critical them when they’re stunned.
![]()
Head along to the next part of the garage where there’s another survivor in need of rescuing. Easiest way is to lob a grenade into the group of them and then mop up any that are left.
![]()
You’ll get the Equalizer bat for your troubles, which you’re about to be able to put to good use. Go through the double doors under the exit sign to be confronted with a corridor full of zeds. Again, simplest way to deal with them is to chuck any explosives you have then mop them up. Also, stay outside the doors as they’ll funnel the zeds, making it easier to take them out in small groups.
![]()
When they’re dead, head upstairs. At the top, there’s an ATM and vending machine that you can interact with that will net you some scrap and a collectible, so it’s well worth your time. As a bonus in the bathroom on the left just up from here, there are a pair of swords, which are utterly devastating when it comes to crowd control.
![]()
Keep heading for your marker and you’ll eventually come across a couple of soldiers, both of whom have heavy machine guns. Use the zeds as cover as you either shoot them, or get close and take them out. Their guns are powerful as hell, so it’s well worth keeping a hold of them as you’re going to want them for the upcoming boss. Keep heading through the mall and there’ll be another saveable survivor. Same drill as before, but it’s worth, as said, hanging onto the LMG ammo.
![]()
Free him then keep going. There will be a small group of maniacs you come across, kill them, grab any guns you need. Eventually you’ll get to the entrance to Medieval Village, where to get inside you literally need to annoy the guards inside until they open the doors to teach you a lesson.
![]()
These guys think they’re knights, and so only use melee weapons except for the crossbow, so you can just Indiana Jones them and shoot them. Their armour will make them a little hardier, but bullets are bullets at the end of the day. Once they’re dead, enter the village. There will be the Sword in the Stone that you can’t pull out (yet) but just to your left will be the museum, which holds a great variety of edged weapons, and even a suit of armour. Grab anything you want then keep going. A little further up, you’ll meet Sandra, your first official boss. She’s flanked by two cronies who are, again, melee only, and she herself uses a flaming sword. Her sword hits hard and she can do a leap attack that will cover a lot of ground. Best solution? Keep your distance as use those LMGs, or any ranged weapon really to make short work of these LARPiots.
![]()
If you’re lacking a ranged option, you’re going to have to be quick on your feet, but one thing you can do is lure them into a crowd of zeds. They’ll act as a distraction, and extra damage whilst you heal or hit the boss from behind. When she’s dead, grab her weapon and any healing items you need from the bakery behind you, then keep following the marker. As you travel there will be another saveable survivor to the right of your path, saving them will help upgrade the shelter you recently cleared, so it’s well worth the time.
Eventually you’ll reach a broken set of doors with a number of soldiers fighting with zeds outside the mall. Guns are the best way to go about dealing with them, but if you’re fast, and kick a lot, you can also go melee. As you fight them, a helicopter will go over and drop an Exo-soldier, who has a minigun and a bad attitude. The best thing to do is clear out the soldiers as fast as you can, pick up their guns then take cover.
![]()
The Exo-soldier will lay down constant fire on you, only pausing to throw grenades. Use those pauses to advance to closer cover, firing as you move. Stay in cover until he pauses, then move again until you get close enough to be able to empty your guns into him without missing most of the shots.
When he’s dead head for the keypad and use the spectrum analyser to open the door. Go through, pick up anything you need, go through to the next room and pick up the cell phone collectible, then go through the door that leads outside to start the investigation.
The required items are:
A picture of the impalement sculpture
Spectrum analysis of the keypad of the tent directly ahead of you
Picture of the documents out on the table to the left
Use the security card to enter the next tent
A picture of the body on the table
Head outside and talk to Darcy and that’s Case 1 complete.