Dead Rising 4 has gotten rid of 3’s co-op multiplayer campaign for an episodic approach that consists of participating in various challenges that, should you complete enough, will unlock the next episode. There are 4 episodes in total, and each one gets progressively harder, but the overall gist remains the same throughout. Whilst there’s not a heck of a lot of point in walking you through each challenge, as they’re usually as simple as “Go here and kill x number of zeds” there are a couple of tips we can give you per episode that should help you along.
A point of note, surviving an episode once isn’t enough to unlock the next one. You’ll have to repeat, and survive, an episode multiple times in order to unlock the next episode.
Loot Zombies – During your travels you’ll frequently come across these Fresh Zombies. They can be identified by the giant, colored sacks on their backs, and the colour will tell you what they have inside.
Red means weapons, often melee combo weapons.
Green is food and healing items
Blue is scrap
They’re tougher than your usual zed, and can be a problem if they gang up on you, but use your usual special zed tactics and you should be fine.
Gold Bars – The game won’t tell you what these are, or what to do with them, but they are actually crafting materials. Complete a certain number of challenges and you’ll unlock blueprints for gold versions of combo weapons. These are more durable and more damaging versions of their older selves, so they’re worth making if you have access to the chance.
Blueprints and Bosses – don’t really worry about either of them
The blueprints you’ll get for beating bosses, but there are combo weapons literally strewn around the place, so it becomes a bit of a moot point usually.
As for bosses, we wouldn’t honestly advise taking them on unless there’s at least 2 of you, and the more the merrier. They’re absurdly strong, although all follow the same pattern of running after one party member whilst ignoring the others, so you can use that to your advantage. Don’t bother trying to melee them if you’re the chosen target though, they’ll just shrug off the hits and perform some kind of scripted attack that’ll decimate your health. Keep your distance and use any and all ranged weapons you can and you should be able to wear them down. On your own it’s nearly impossible so, in all honesty, don’t bother.
Episode 1 – Welcome to Holiday Hell
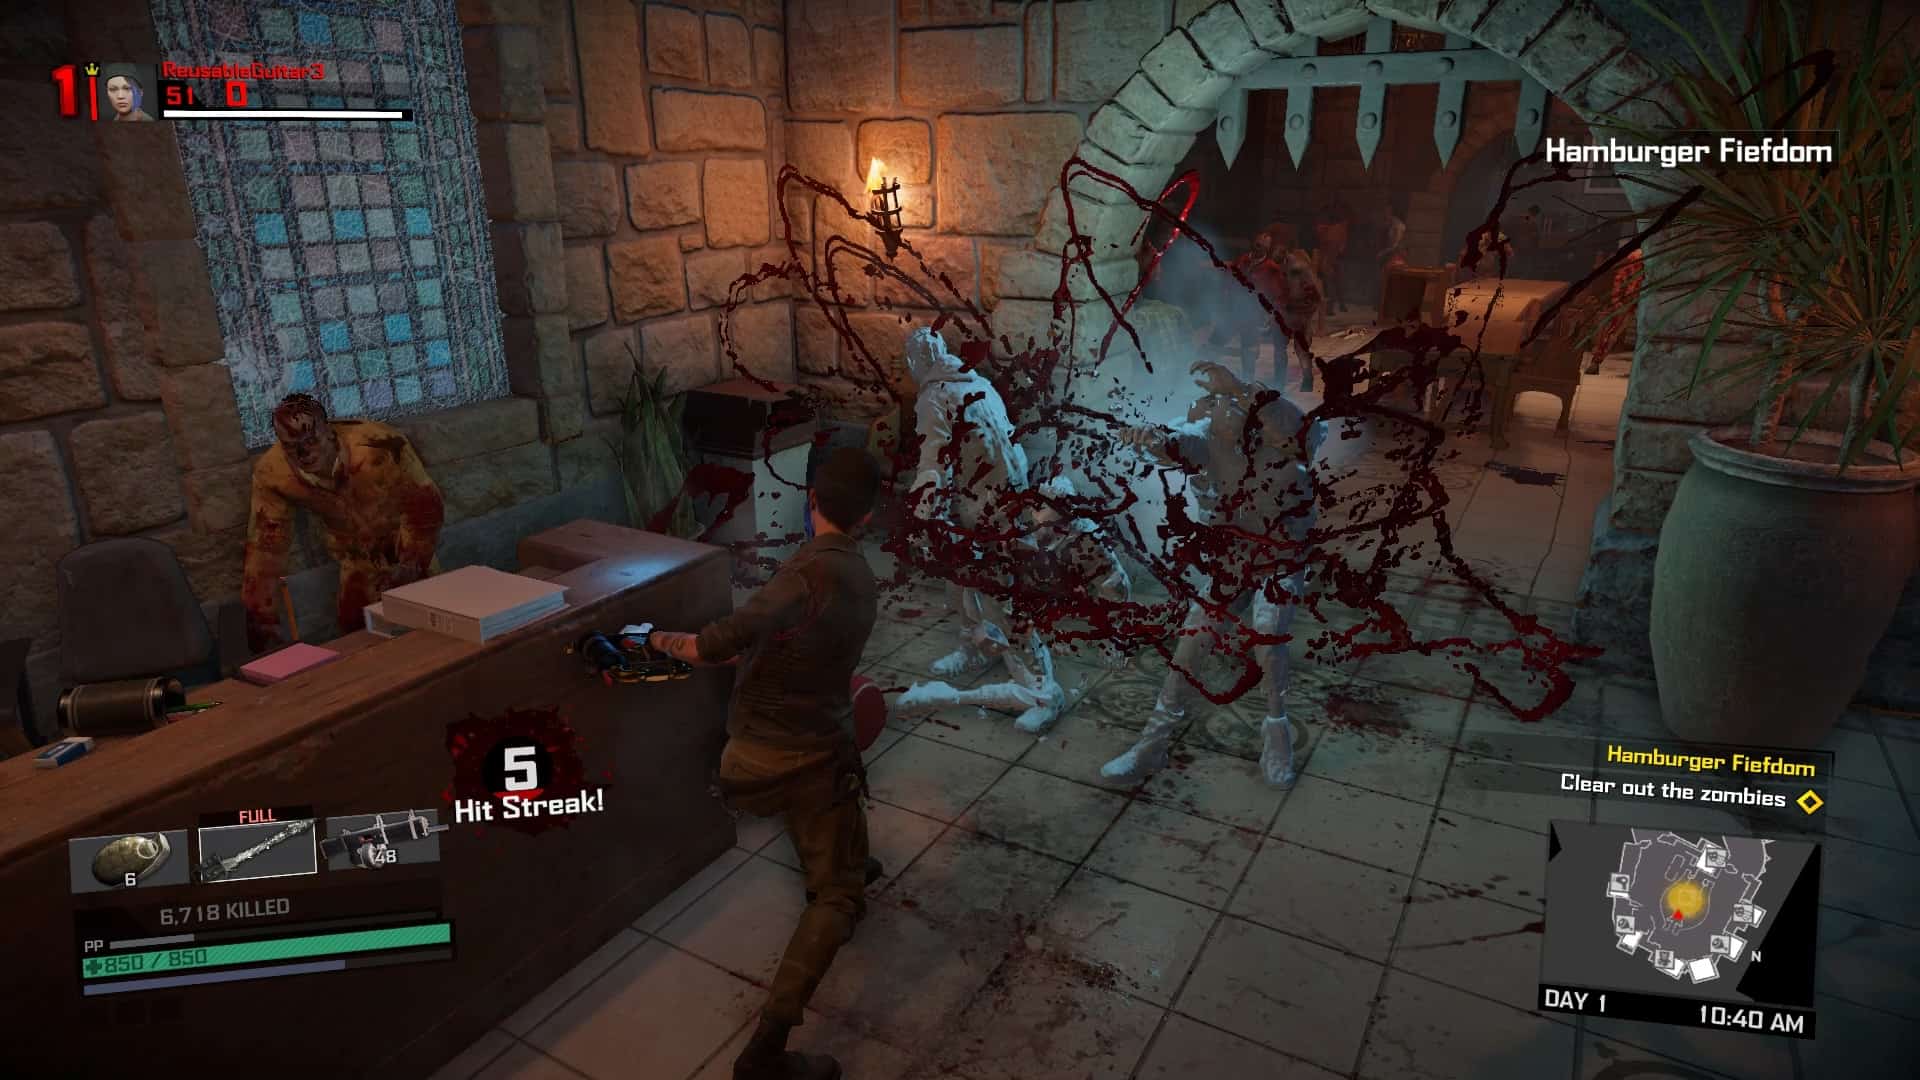
This episode takes place largely in the area of Medieval town, although you do technically have access to the entire mall. What it does mean is that you have ready access to a host of high damage melee weapons, which is great for a new player. The game will start you off easily, usually giving you a “clear this area of zombies” to start. On the second day it’ll maybe give you something of the same in a different place, or another “go here, kill this” type of quest.

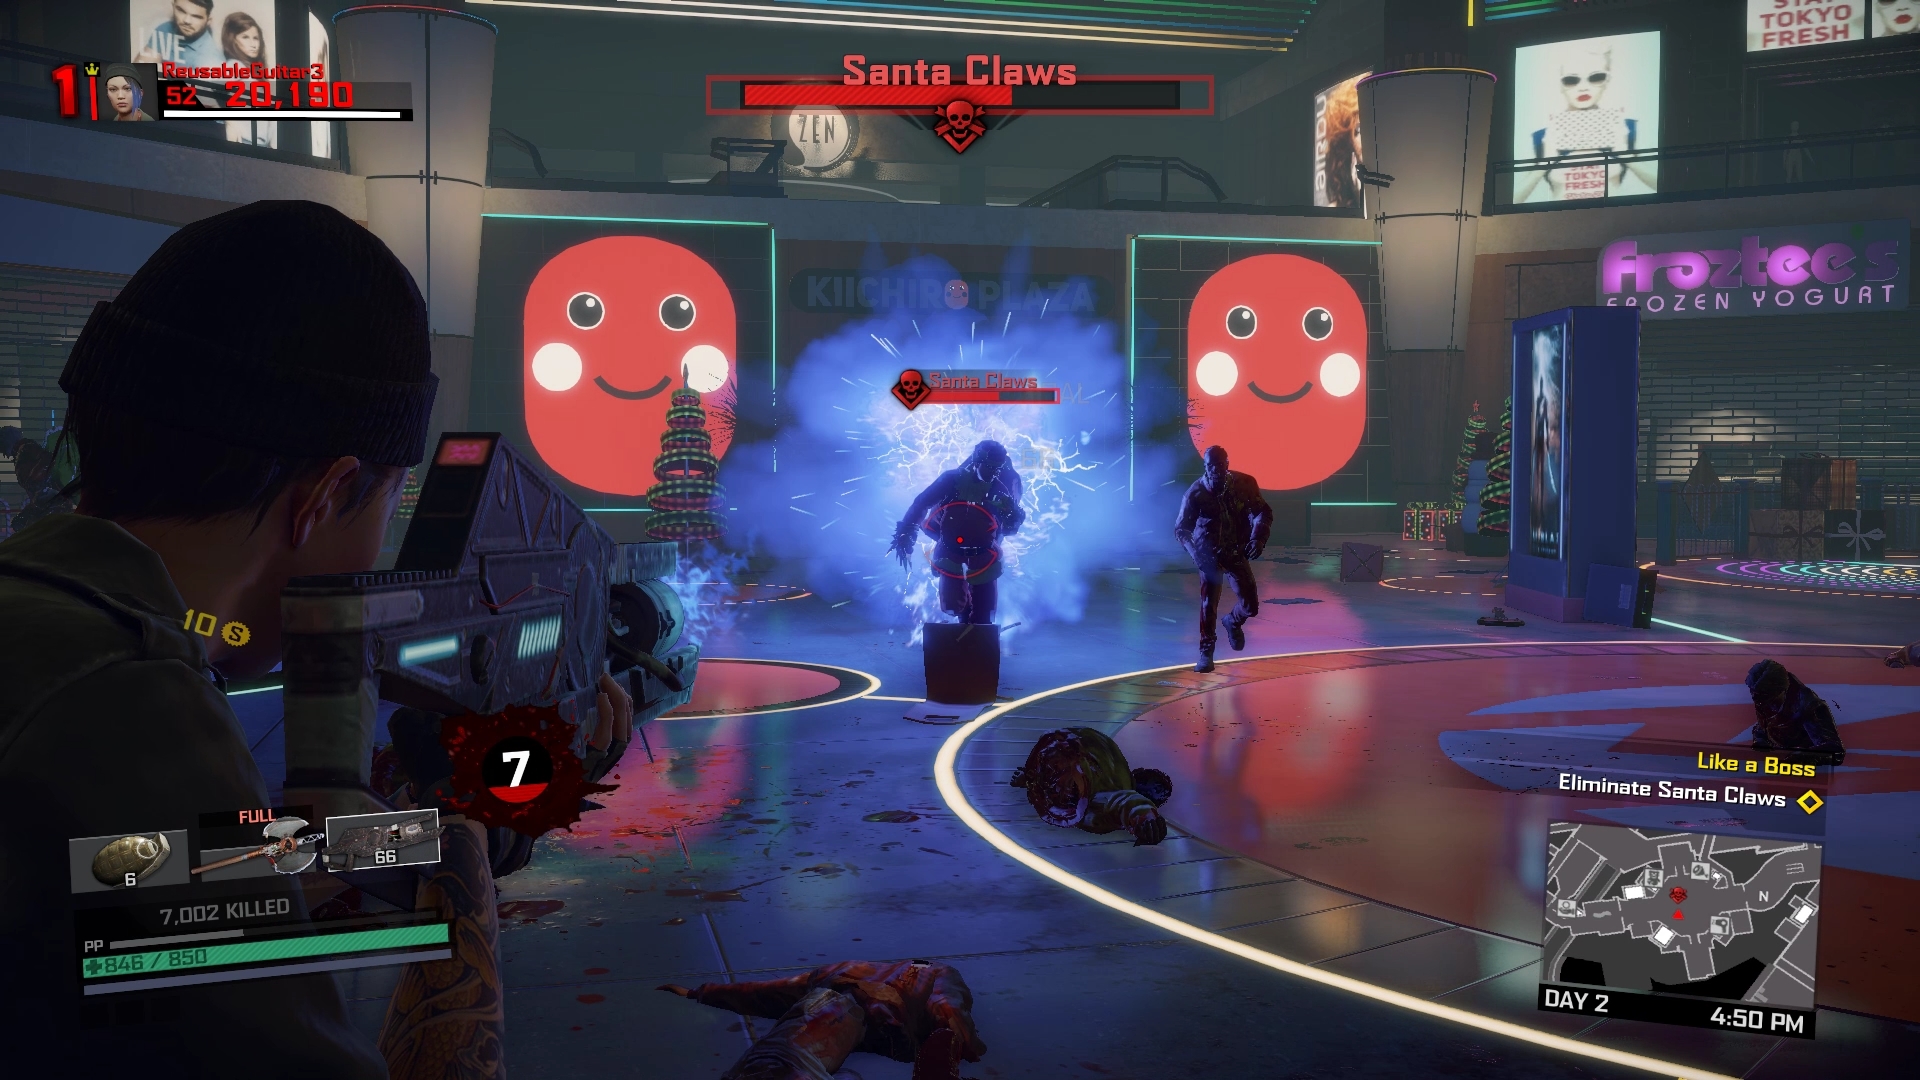
If you manage to complete all the challenges and ring the doom gong in Kiichiro Plaza, you’ll be fighting Santa Claws. He either will fight in melee with glass knuckles, or at range with explosives or a candy cane crossbow. He’s pretty tough, but just follow the tactics set out above and you should be fine. Make sure you kill him in time to get to the safehouse to complete the episode though.
Episode 2 – Plaza of Pain
A shift of location to Caribbean Cove now, and more tricky zombies. The two main tasks you’ll often be given to do are either to find explosives, which is usually a simple process, or you’ll be told to kill a certain number of zeds with the cannons on the pirate ship. If you’re with another player, the best tactic is to get them to run around in the pool area to draw a crowd, and for another player to fire the cannons. If you’re on your own, it’s a bit trickier. Use the radios scattered around to bunch the zeds up and hope they don’t move before you get to the guns.

The boss of this episode is Monorova, who will use a combination of a Flame Sword for melee attacks, and a Snowball gun when ranged. She’s not a hugely difficult boss, just again, melee when she’s ranged, and go ranged when she’s melee, and you should be fine.

Episode 3 – Brutal Boardwalk
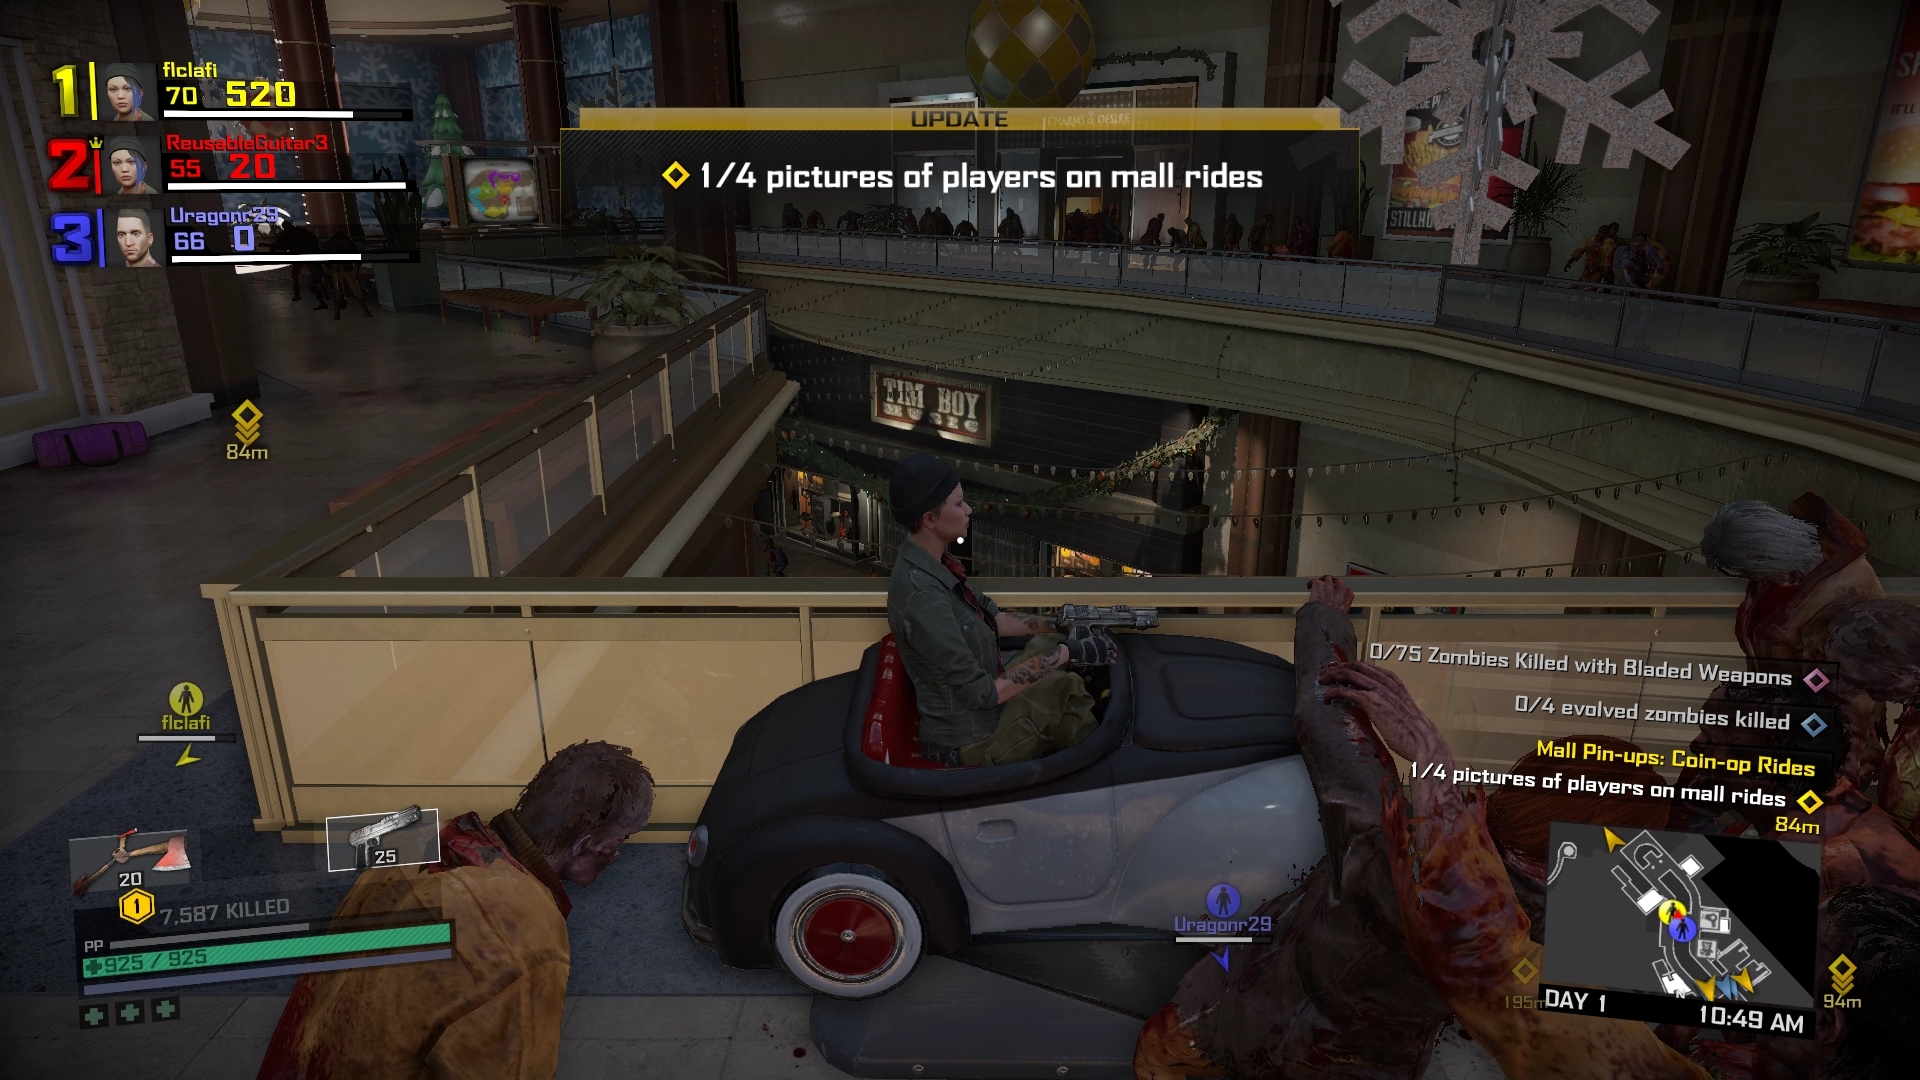
This time you’re centred around Miami Boardwalk. If you’ve got lucky enough to be playing with other people, you’ll almost always be given a task that involves one of you riding in the little kiddie cars and the other taking a picture. If not, you’ll probably either be taking out an obscuris barrier, which is essentially fight some obscuris and then hit a barrier until it decides to give way, or another explosives related mission. At this point you’ll be getting given 3 tasks a day to complete, but none of them are usually particularly tricky, even on your own.
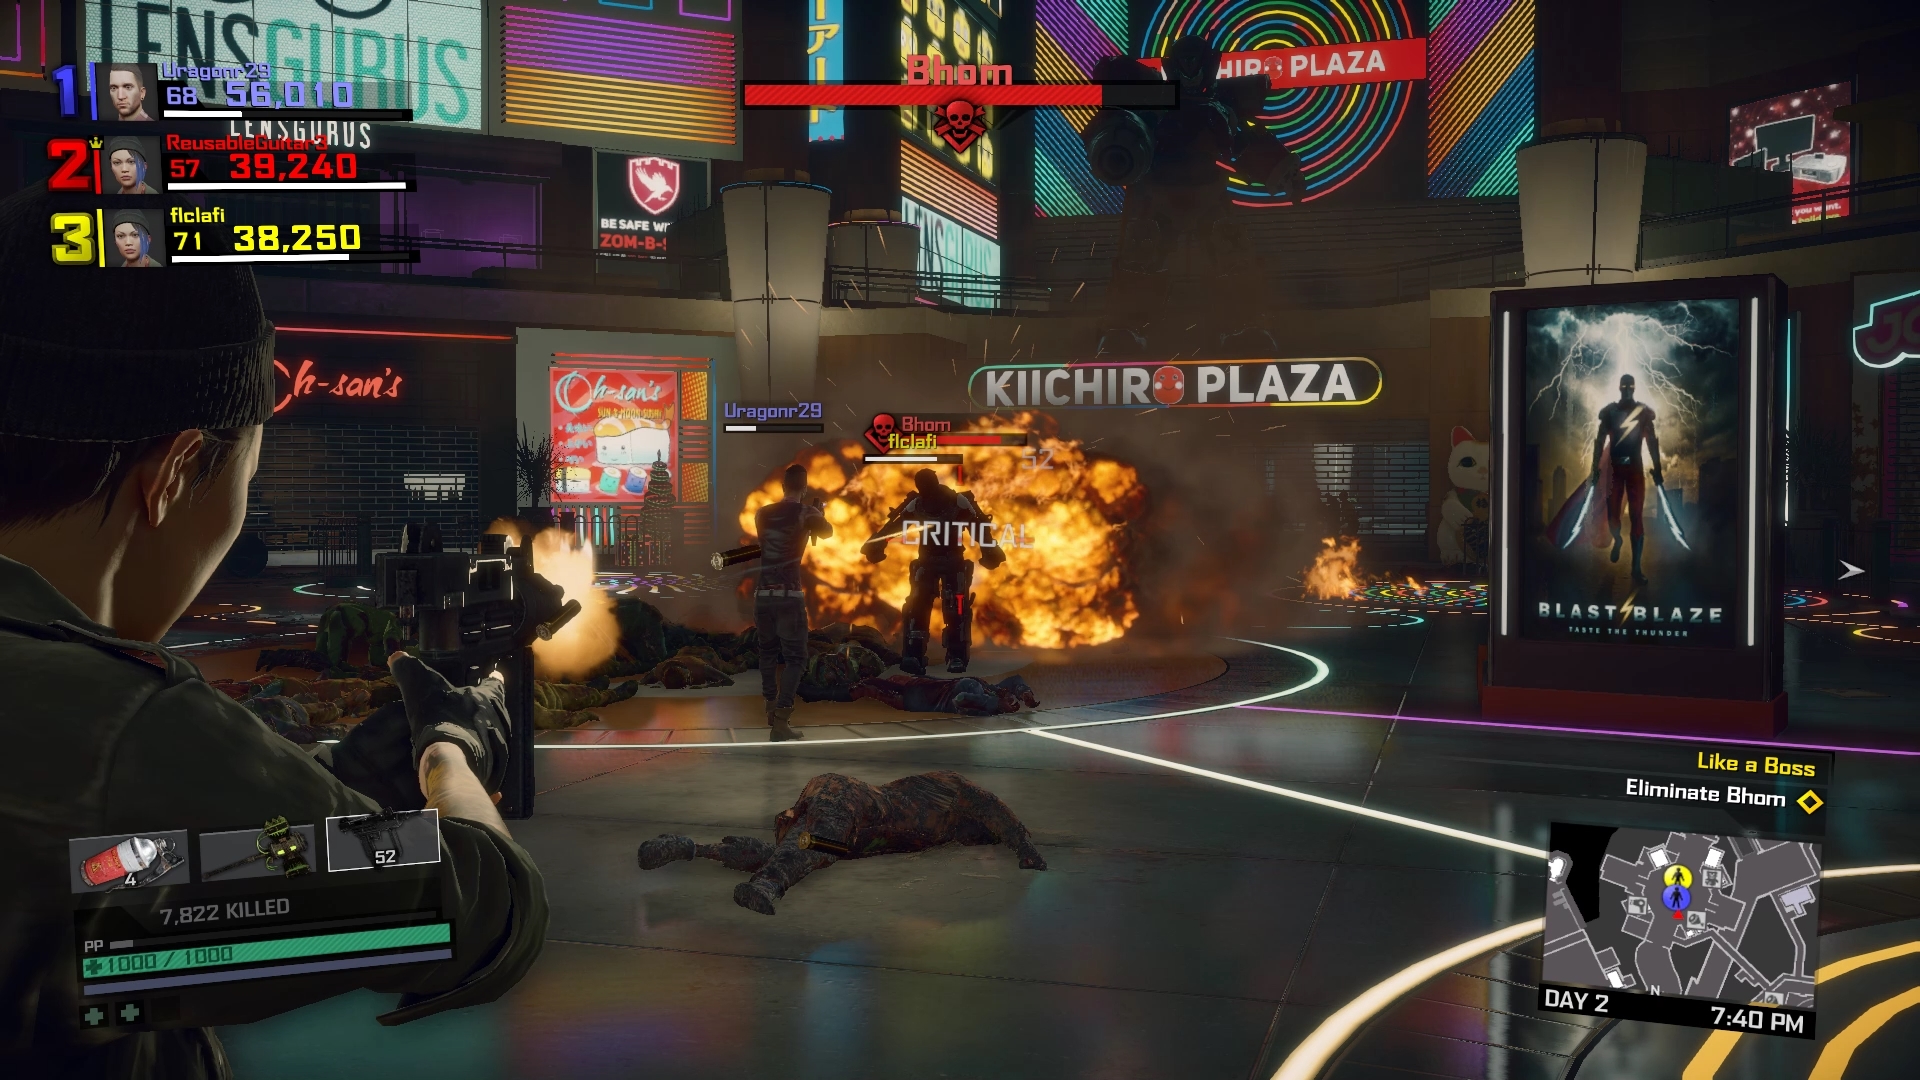
The boss for this episode is Bhom, and he’s irritatingly OP. This is an obscuris exo-suit soldier who will alternate between throwing elemental grenades at you and chasing you down to attempt to break your back. He’s absurdly resistant to damage, and if you’re the chosen target, you have almost no choice to just stay on the move as his melee grab move will easily half your health in one hit. The best thing to do is to get your teammates to gang up on him and hope it’s enough.
Episode 4 – Amazon Agony
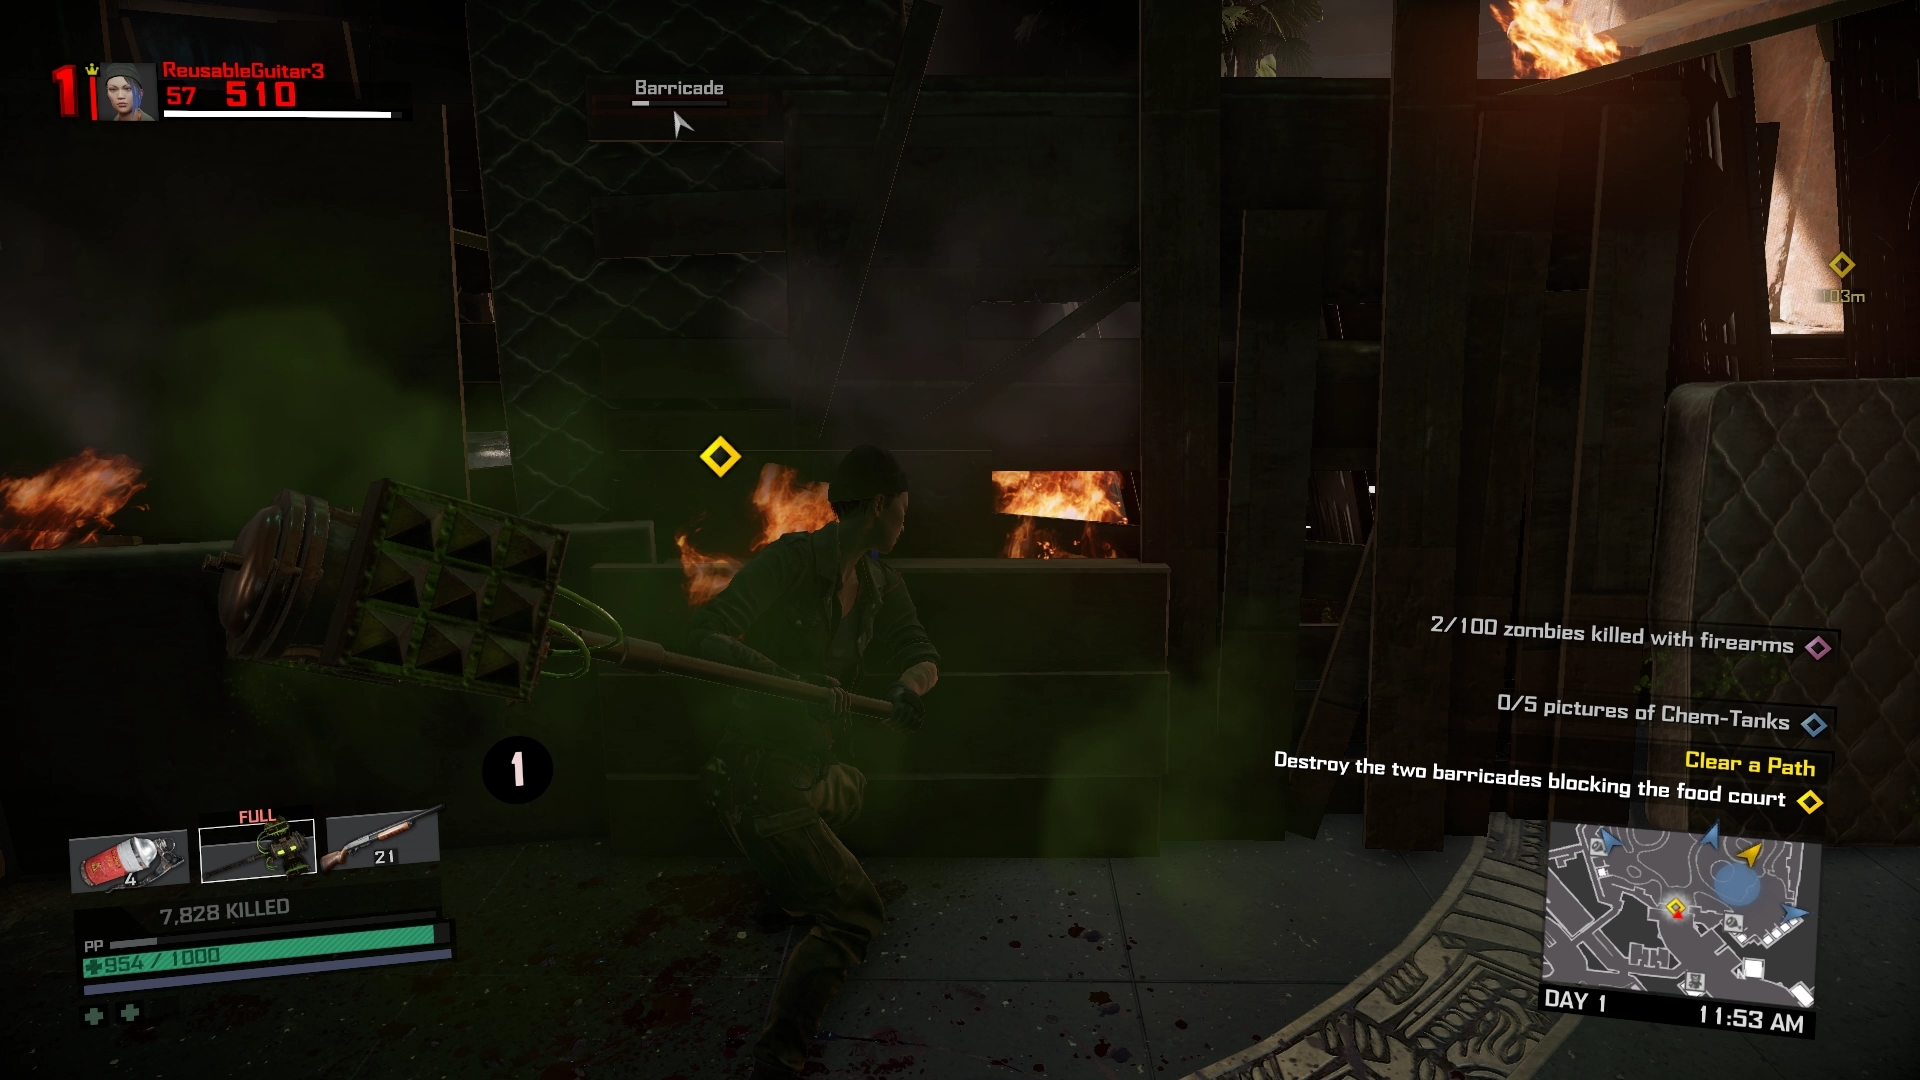
As you might expect, this final episode is situated in and around the Amazon Food Court. By this point you should be pretty familiar with the challenges that you’ll be set. They usually consist of either wiping out huge groups of zeds, taking out Obscuris or clearing barricades. Occasionally you’ll be set a task to take out Evolved or Fresh zombies, but they’re exactly the same as the main game and so are not particularly challenging so long as you don’t get overwhelmed with numbers.
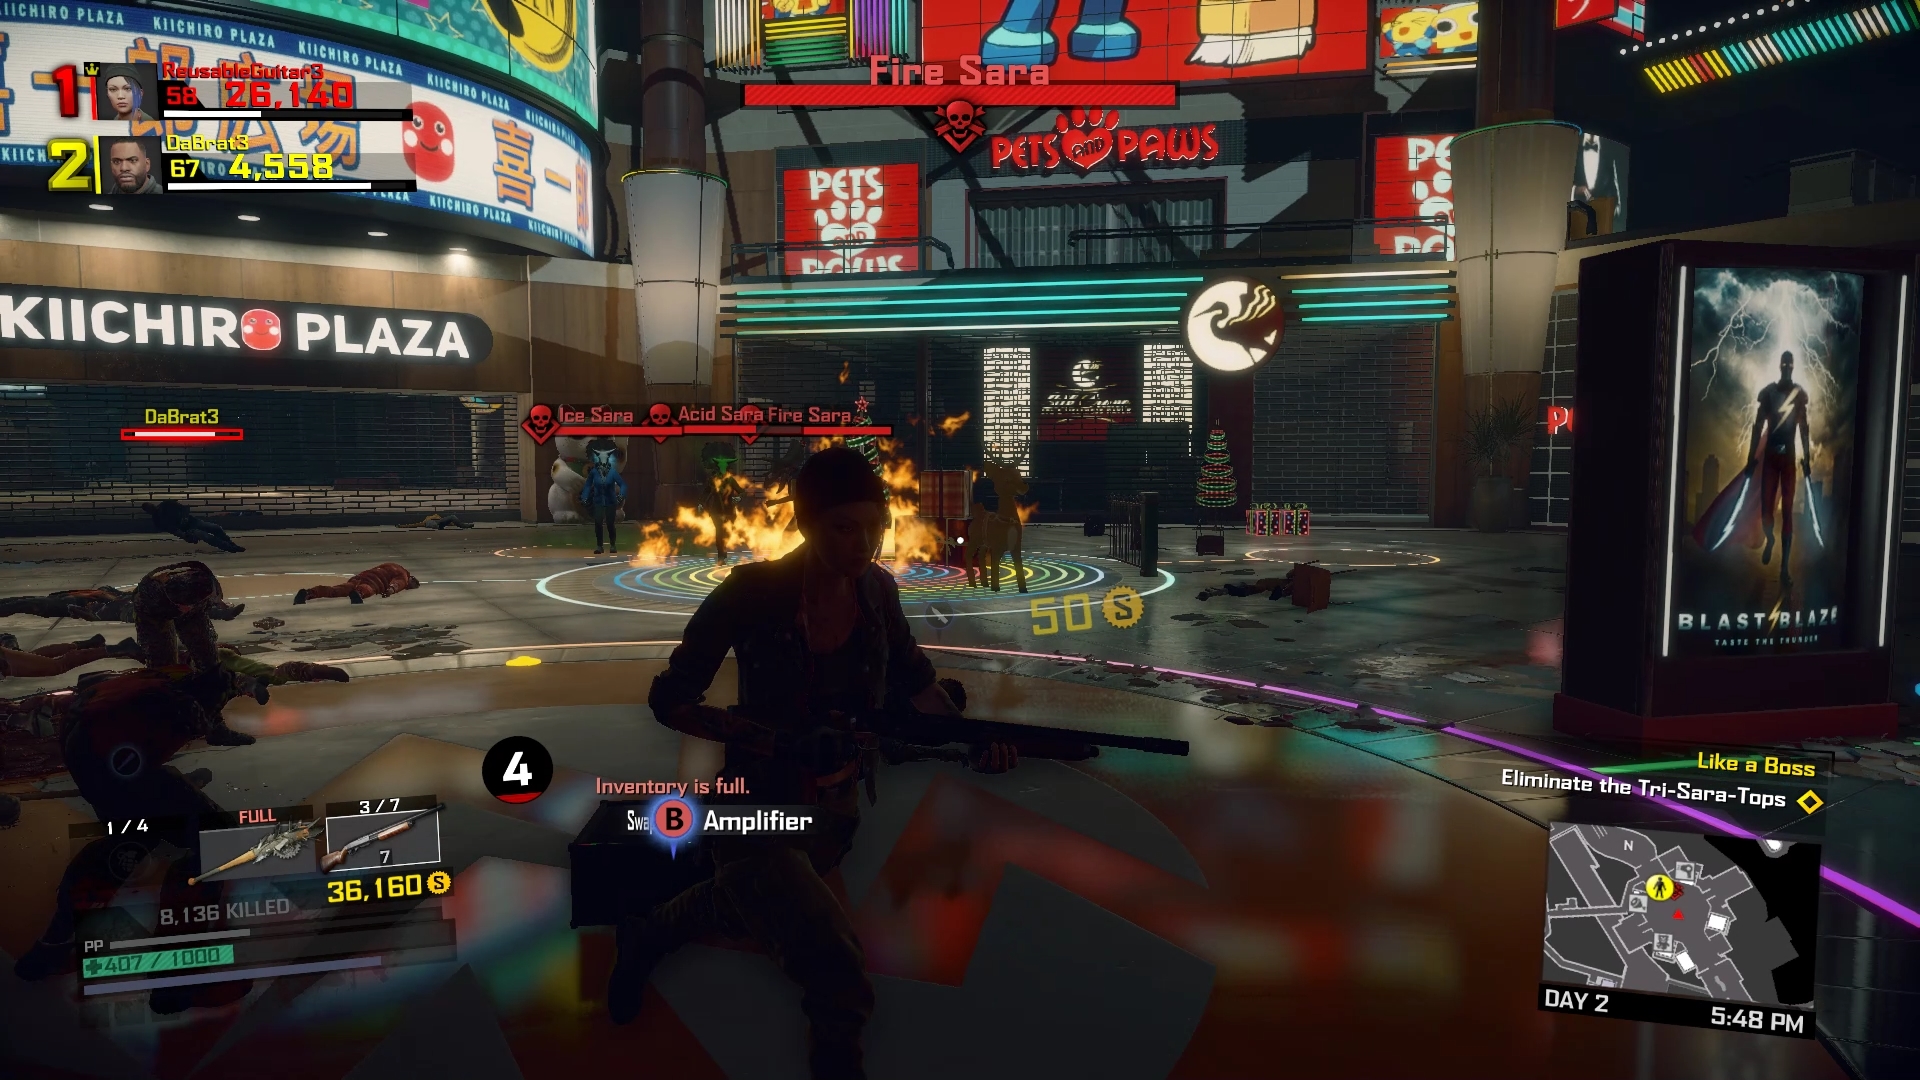
The final boss for multiplayer is actually a group of people all called Sara. They are all wearing Triceratops masks that have different elemental effects, and at first can seem quite daunting, but are actually pretty simple. It’s best to concentrate on one at a time, and the Acid one is the best place to start. Keep your distance and hit them with ranged weapons, just stay alert for the Ice Sara’s leap attack. Once Acid is down, move to Ice, and just hammer them with melee whenever they’re not telegraphing their attacks (which they do, a lot). Finally, Fire Sara might always be surrounded by flame, but it actually doesn’t do a heck of a lot of damage. Equip your most damaging melee weapon and give them the boot until they go down.
And that’s kind of it for the Dead Rising 4 multiplayer, hopefully this has at least been helpful to get you through it all.