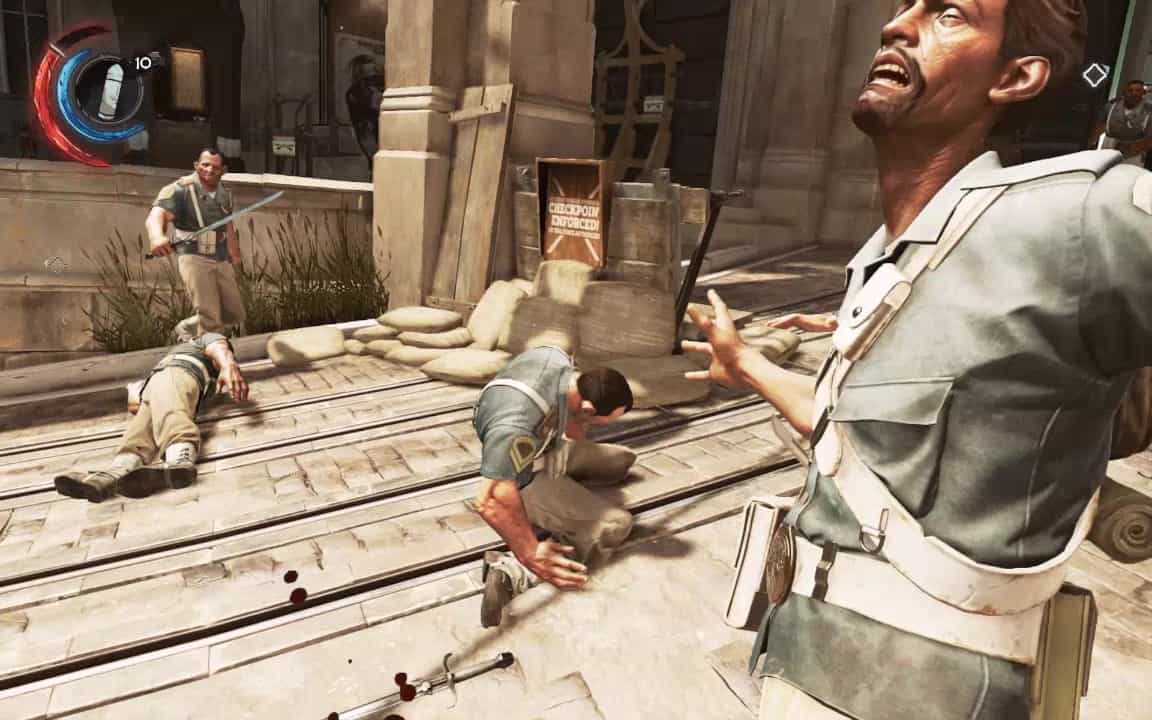
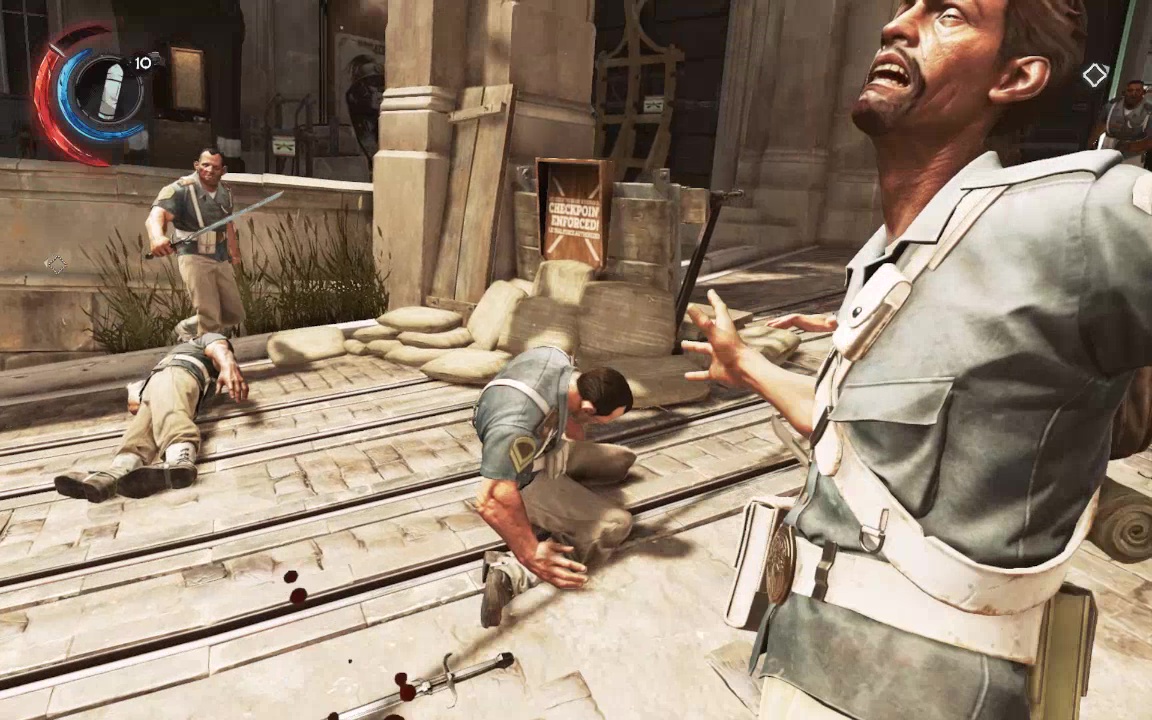
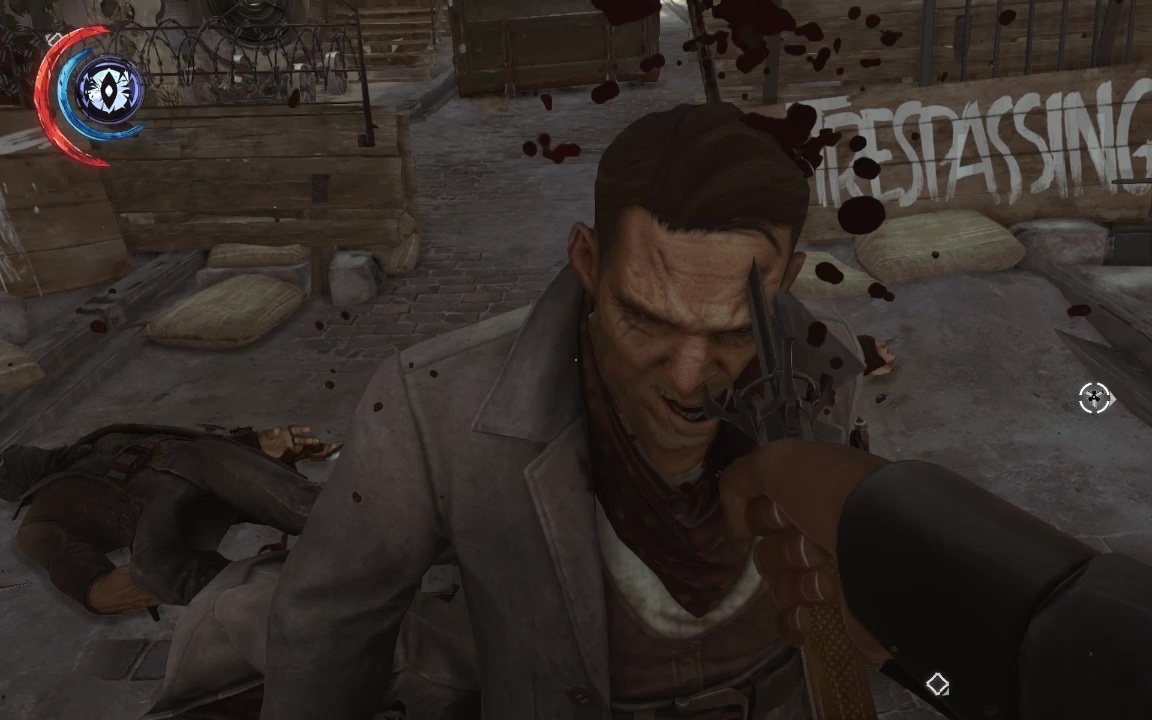
Blueshirts– Your basic goon. While unarmored and unskilled as fencers, don't take them too lightly. They like to attack en masse, and any sword that gets past your defense is going to hurt, no matter how clumsily it's swung. If you do find yourself facing a horde, the key is to keep moving, and pick them off one by one to avoid getting mobbed by the others.
Redshirts– The elite goons. The main difference is headshot-deflecting helmets and pistols. They're also more nimble in trying to flank you during combat, so be careful about rushing them when there's more than one about.
Overseers– Iron masks deflect headshots, and these enemies are not only dancier than the redshirts, but they work well in groups. If you find yourself pressed, use the pistol to distract them (a gutshot at point-blank range has a way of grabbing one's attention) and finish with the blade. Overseers are skilled swordsmen, and specialize in single, high-damage hits. Watch when they draw back their arms for an attack- they might be going for a simple swing, but more likely they're planning to spin under your guard and then attack from the side. Also good to keep an eye out for distant marksmen- Overseers and balconies seem to pair up a lot.
Howlers – Decent fencers, specializing in flurries and leaps, but their main strength is a willingness to block and wait for a vulnerable moment for attacking you. However, they prefer to attack one by one, which makes them easier to take down. They wield wrist darts rather than bullets, but your sword deflects both with equal ease. Dance too long with one and they'll hit you with Howler dust, which is distracting, but has little other effect.
Hounds – Can't be choked, can be blocked, can track you by scent even if you're out of sight. Good candidates for sleep bolts or just regular bolts (you monster).
Gravehounds– Regular bolts are just fine for these. Dormant Gravehounds appear as glittering skulls in the distance- these can also be bolted to prevent the gravehound from manifesting. Killing them with a sword leaves a skull that will remanifest in a few seconds, so destroy it or chuck it away.
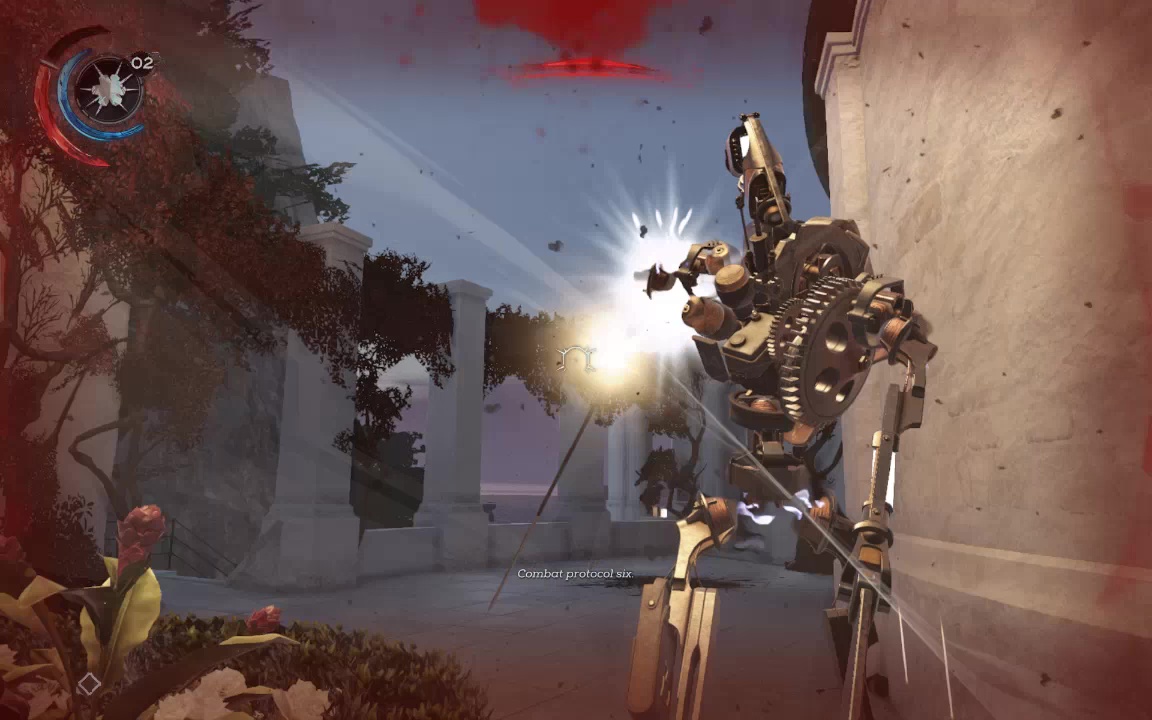
Clockwork Soldiers – The physically toughest enemy in the game. They can be fenced with using a late game upgrade, but you're better off using tricks and traps against them. Upgraded Stun Mines work well, as do repeated explosions (a nearby whale oil dispenser can be just the ticket- only be sure to fill a few tanks beforehand for quick access when the fighting starts). Rewiring them is also relatively easy, doesn't require any upgrades, and can be used to take down other enemies at the same time. If you're more hands-on, you can can also take them out with a series of drop-attacks. Do remember that they have a ranged attack as well, though, so try not to get spotted before you leap.
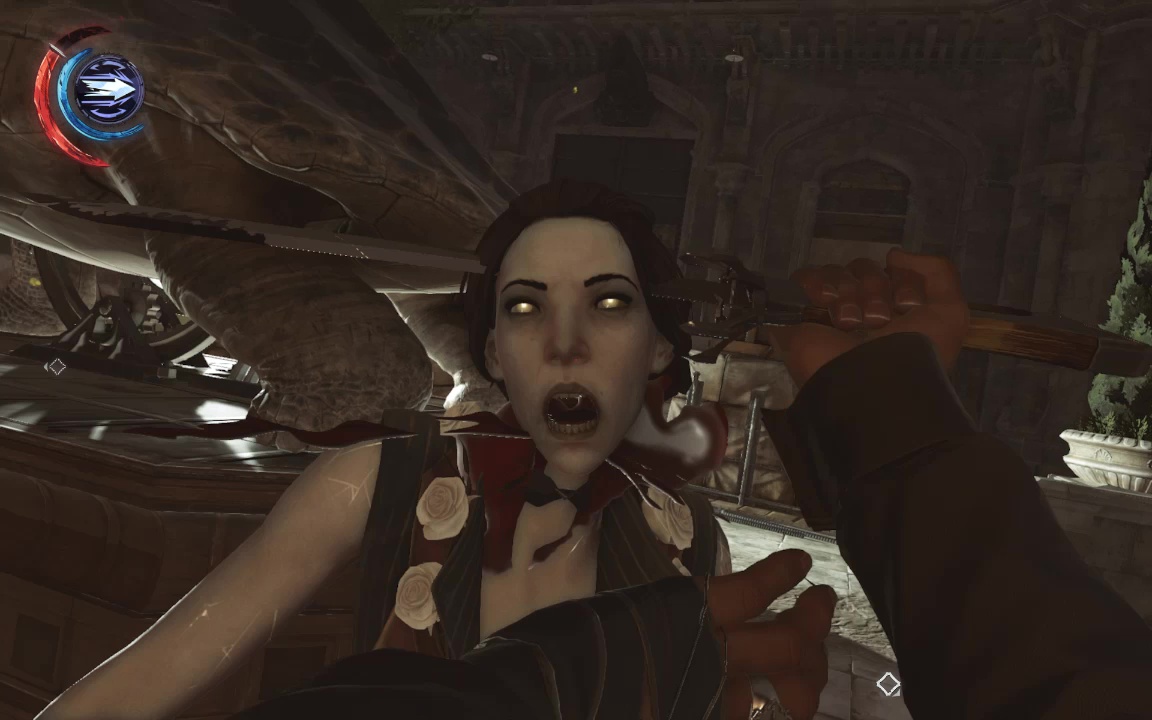
Witches– The most powerful human (or ex-human) opponents- they're adequate fencers, but their quick-firing thornblasts are vicious, and their teleportation helps them evade killing blows while flanking for strikes of their own. Also, alerting one witch pretty much means alerting all of them. Unlike most humans foes, having a lot of space to maneuver works against you here- a better bet is to wedge yourself into a corner or between some bookcases, then quickly dispatch them as they enter your field of fire. There are also charms and weapon upgrades that are specific to dealing with witches, if you're still having trouble.
Nestkeepers – Some are chokeable, some are not, and there doesn't seem be a reliable way to tell which is which until your arms are around their throat. Sleep darts are the safest and easiest way to go- even lethal players may want to use them to avoid the chaos that deadlier attacks can bring. Nestkeepers can take a high amount of damage in combat, continuing on even after losing limbs, and they release their own swarms of hostile bloodflies, both during combat and when stabbed to death.
Bloodflies – While a thrown bottle of high-proof liquor is the best way to dispose of a bloodfly hive, you can go a long way with just your sword and wits, particularly if you have a charm or power that grants some measure of healing. Just approach the hive slowly, finding the line that switches the bloodflies from 'buzz angrily mode' to 'attack mode.' Move to and fro over this line while constantly slashing. Once you've accounted for the flies, move forward and smash the hive itself with your sword. The biggest trap to avoid here is getting caught out by hidden nearby hives, particularly on the ceiling. Be sure to check out the area thoroughly before going full matador.