BROTHERHOOD OF STEEL QUEST 13 – Spoils Of War
Triggered by completing Brotherhood of Steel quest 12 – Tactical Thinking
Note: You can switch to this quest by informing the Brotherhood of Steel about the Institute's plans during The Institute quest 04 – Mass Fusion.
Note: During this quest, if you side with the Brotherhood you will be fighting large amounts of Institute synths as well as multiple bot enemies. Equip yourself with gear accordingly (power armour and energy weapons).
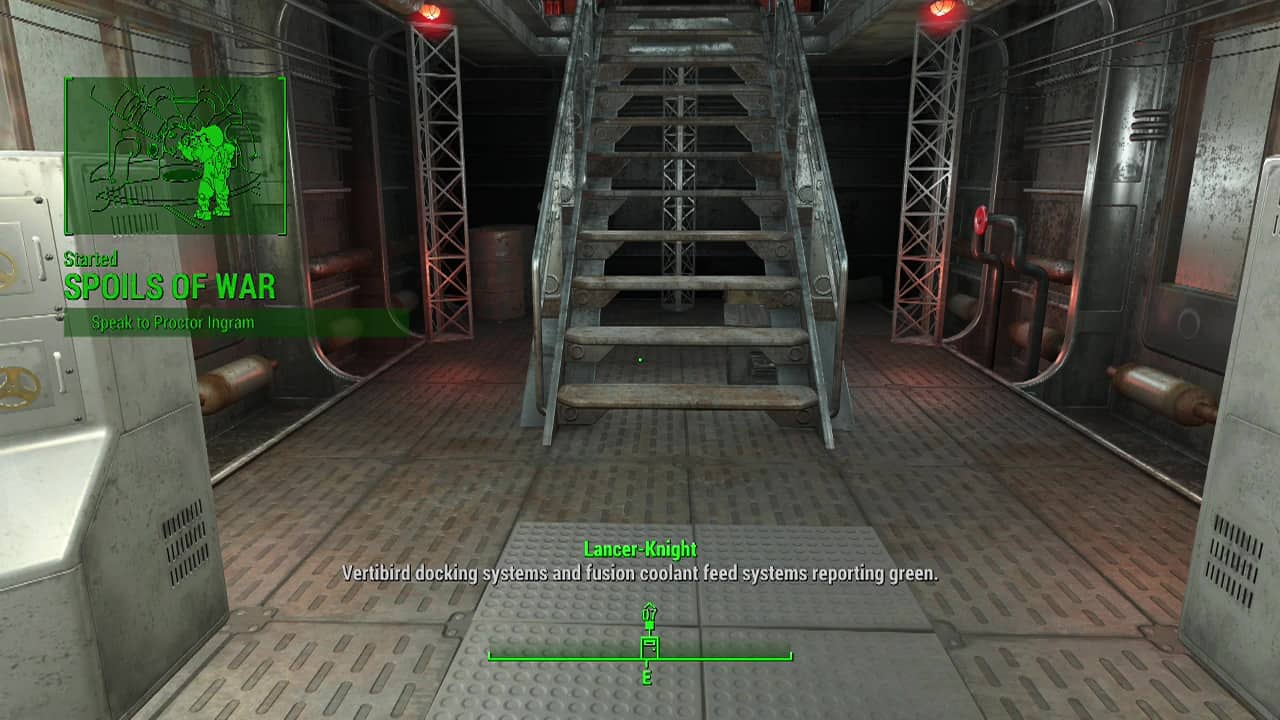
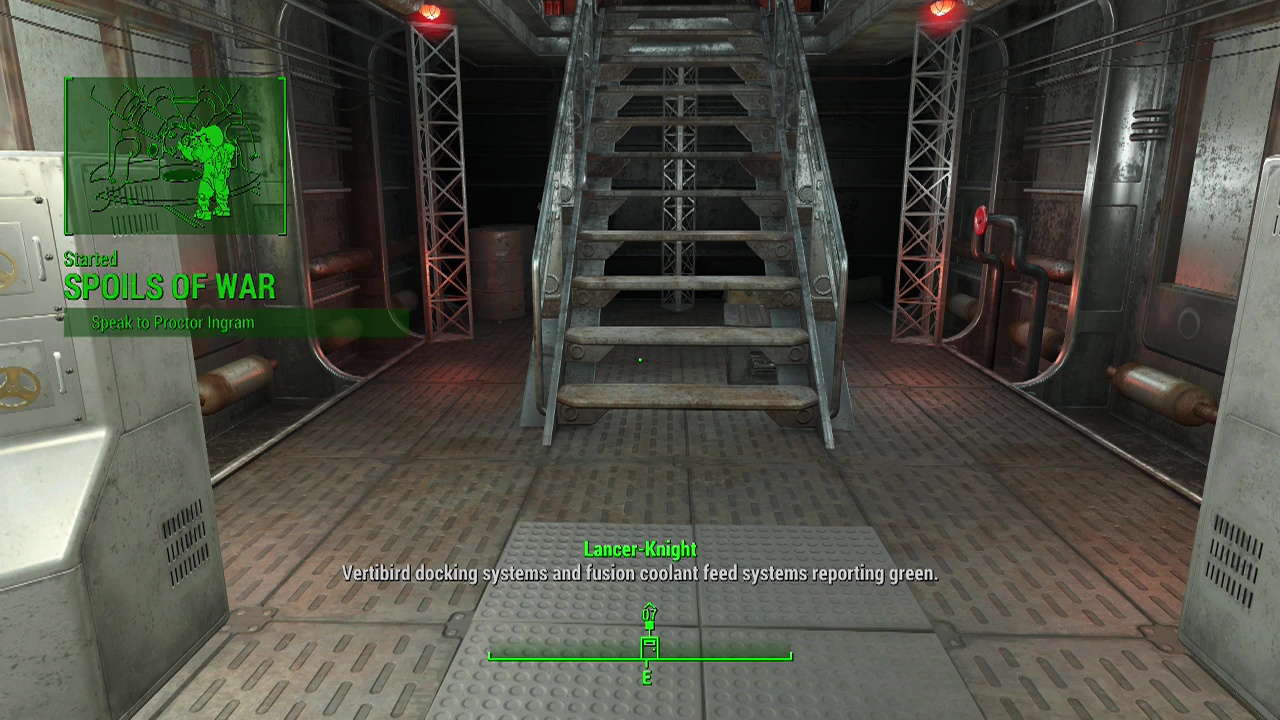
Objective: Speak to Proctor Ingram
This quest is all about retrieving a new power source for Liberty Prime. Ingram has tracked one down and it's located in the Mass Fusion building on the East side of Boston. A vertibird on the flight deck is prepped and ready to take you there.

(Choice) Objective: Fly to Mass Fusion
Hop in the vertibird on the flight deck to go on your merry way.
(Choice) Objective: Inform the Institute
Here you can choose to change sides to join The Institute by informing them of the Brotherhood of Steel's plans to take the agitator. This will switch you to The Institute quest 04 – Mass Fusion and place make you an enemy of the Brotherhood.
Objective: Locate the beryllium agitator
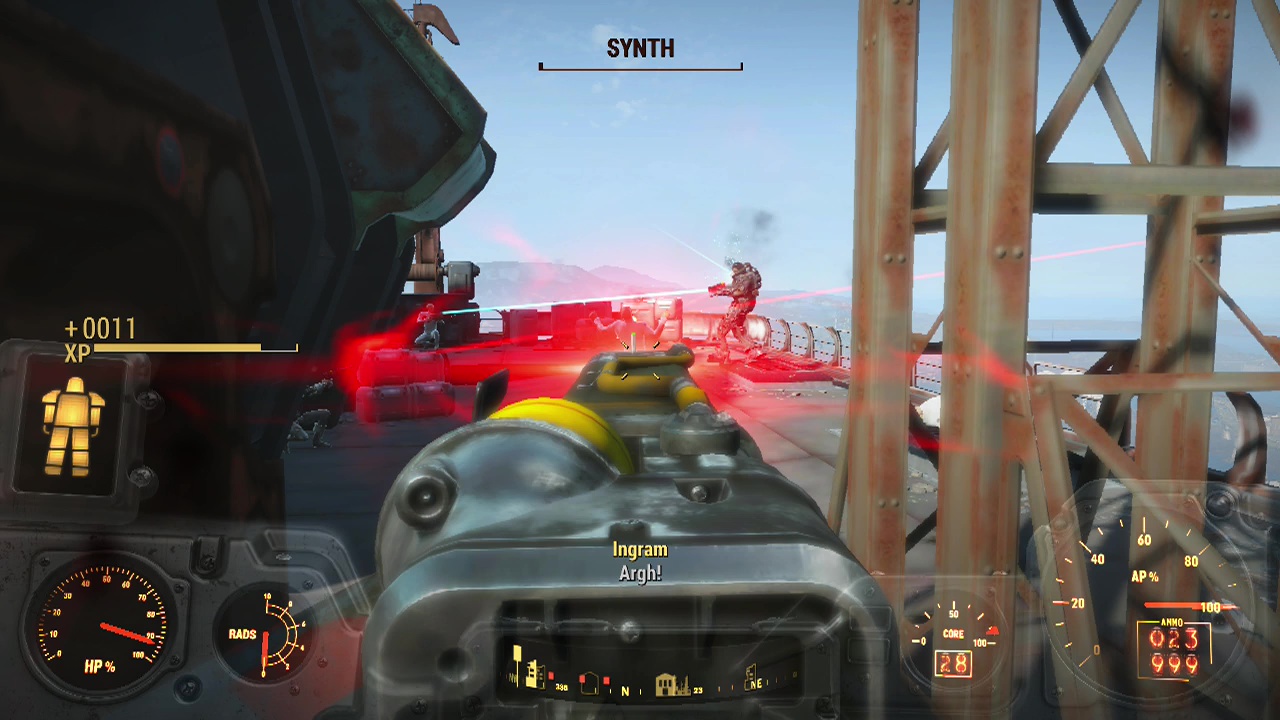
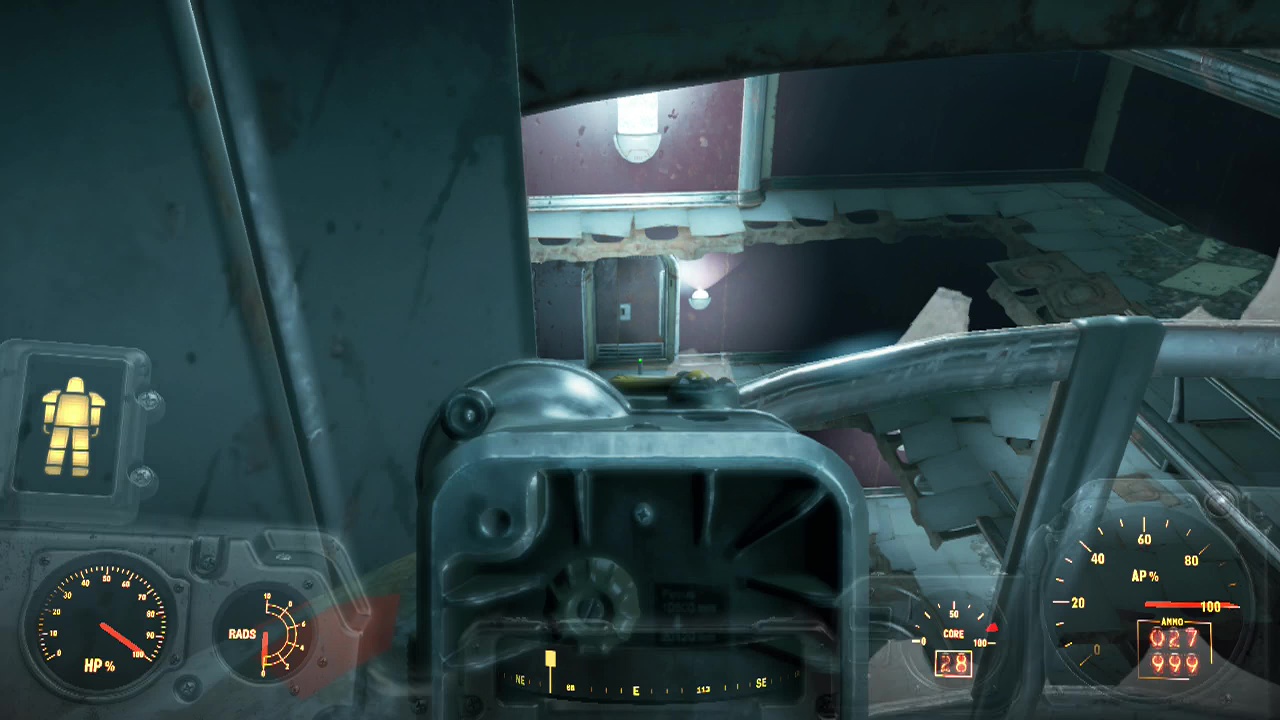
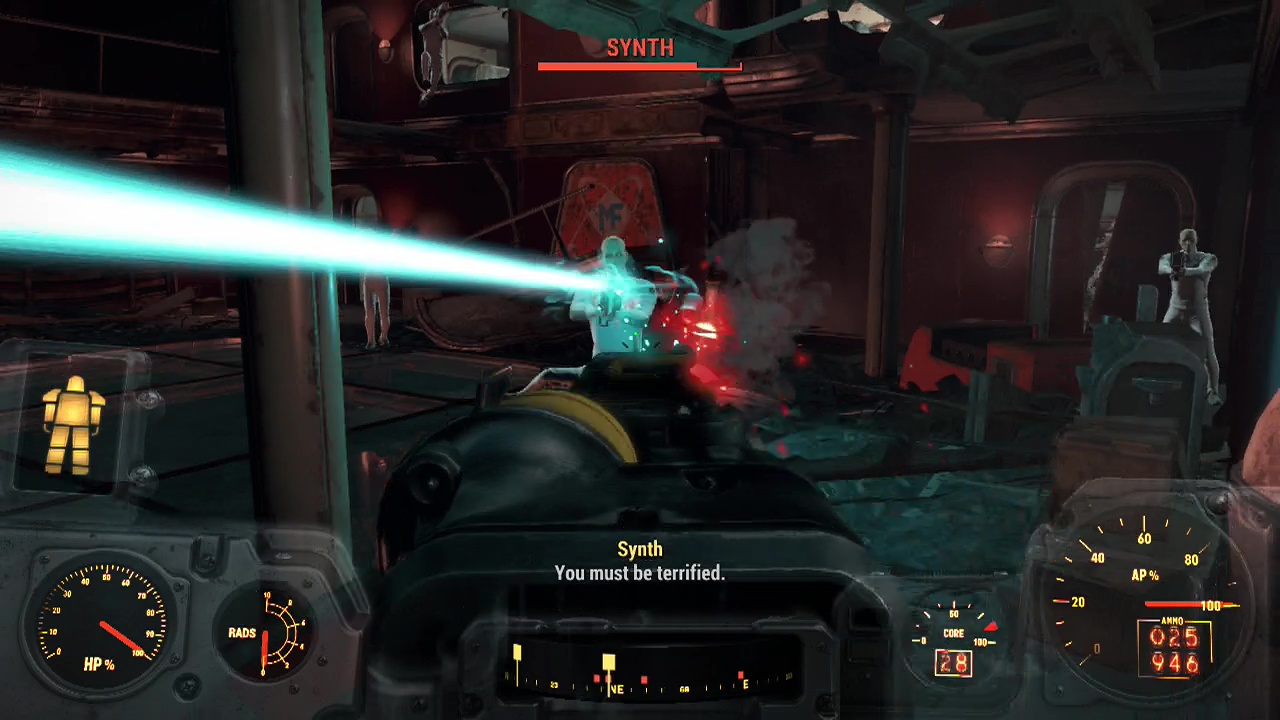
After a couple of minutes on the vertibird, you'll be on the rooftop of the Mass Fusion building. There are around eight to ten Institute synths scattered around the roof, all armed with laser weapony. So use the vertibird's mini-gun to start tearing them apart as it circles the building a couple of times before landing. As soon as you can, disentangle yourself from the vertibird and take cover to engage the remaining synths roaming the outer area of the rooftop.
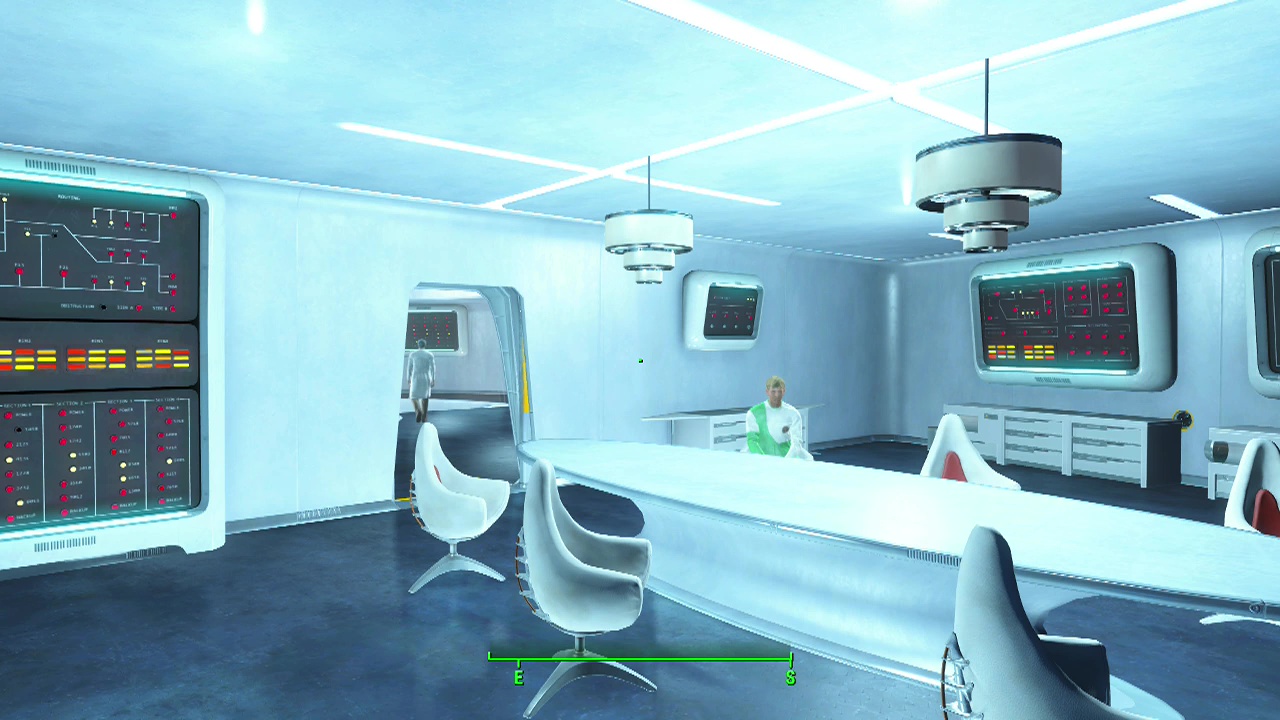
Advance into the building to finish off the few remaining synths inside and you'll find a cylindrical elevator in the middle of the room with a key card reader inside. Take the stairs to the second level and enter the workshop on the other side of the room. In the corner is a terminal you can interact with to gain access to some internal messages that point out the location of the agitator (the lowest level of the complex obviously). You'll also pick up the location of the key card used in the elevator. If you can't access the terminal, you can find the password in a desk just outside the door of this workshop, along with the keycard.
Objective: Retrieve the executive keycard
Note: When you descend in the elevator, you will want good energy resistant armour on or power armour as you are about to be ambushed and there is no cover.
Grab the keycard from the wooden desk on the upper floor and then return to the elevator below to run it through the reader.
Objective: Proceed to the reactor level
As the elevator slowly descends down the structure, more Institute synths will run out of doors on most floors and fire at you. On higher difficulties, you'll need to be quick on the trigger or use some stimpaks to keep healthy or else the chip damage can be dangerous. The slow ride will continue for a good minute or so until you finally come to a halt.
Depending on your HP situation, as soon as the elevator stops you may want to sprint for the doorway to the right to get into cover. This is because synths from multiple directions will be firing at you when you step out of the elevator. Once you are in cover, you can sort out your health and start fighting back properly. Work your way through the rooms, cleaning them out one by one
(Optional) Restore power to the elevator
To restore power, you'll need to find a ramp leading up to the level above and then cross to the other side of this upper floor to find the marked circuit breaker. There's also an expert lock safe in the same room you can plunder for items as well. Reactivating the power allows you to take the elevator down to the lobby below. There's an expert difficulty locked door on the lower level as well that allows you to simply fall down holes in the floor instead, working your way down floor by floor.
You can find a key for this on a desk beside the development manager's terminal in a side room of the lower level if you can't lockpick the door. This slow descent is a safer approach on higher difficulties as you have control over cover and dealing with enemies but the choice is yours. Either way, descend all the way down and deal with any enemies you encounter.
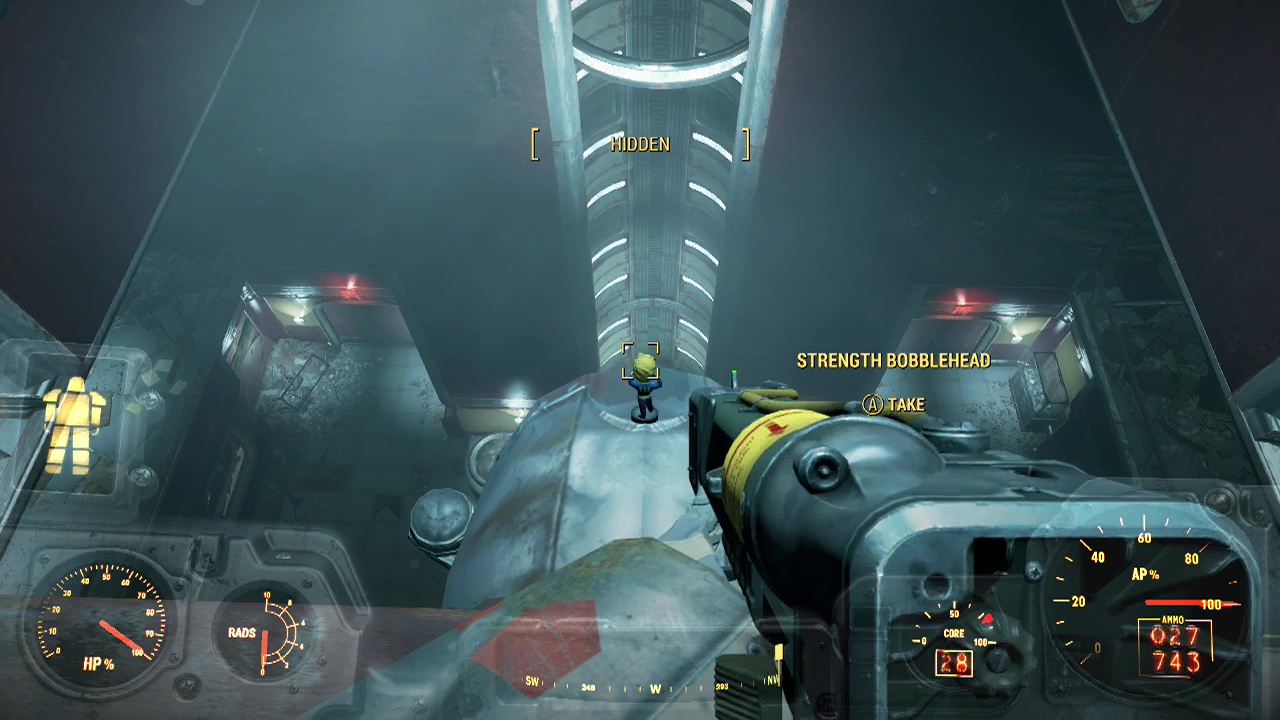
Note: The slow descent method will also allow you to find the strength bobblehead on level 5 by looking down onto a railing that overlooks the lobby below.
When you finally get to the lowest level, use the marker to find a nearby elevator that will take you further down into the depths of the building to the reactor level.
Objective: Retrieve the beryllium agitator
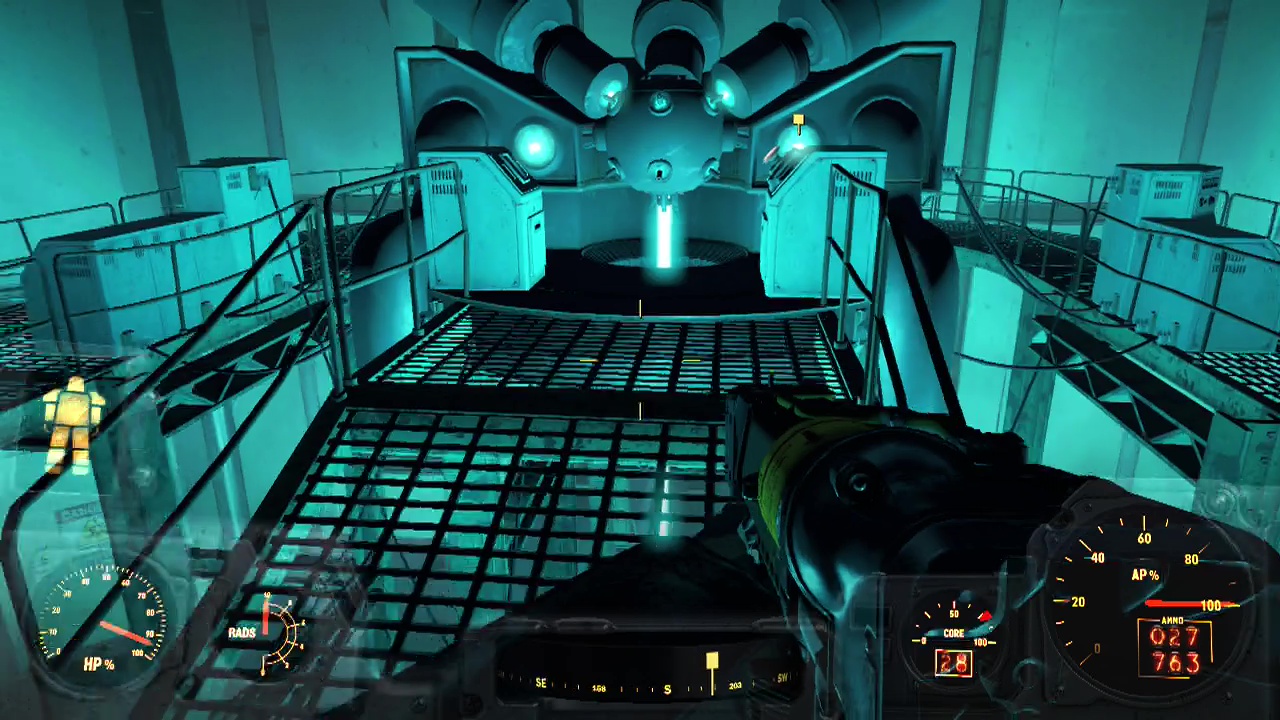
Work your way down until you can see into the reactor chamber through the large windows. On the upper ledge to the left when you are looking towards the reactor through the window is a red loot chest for you to empty. Make sure you check the side room here for a hazmat suit, as the reactor has extremely high levels of radiation (you'll take about 90+ radiation damage a second without power armour or a hazmat suit) so make sure you are prepared. You can also loot the master lock safe the suit is sitting on if you have the required skill.
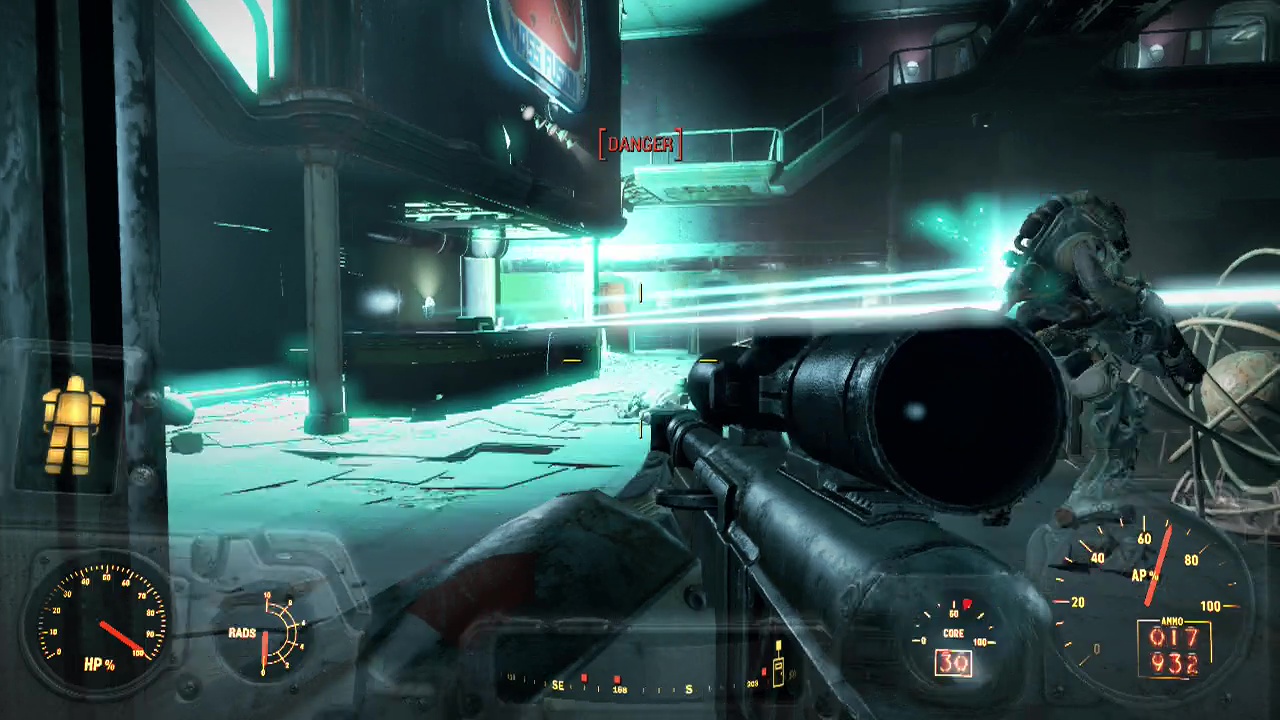
Entering the side passage to the left will place you in a decontamination chamber. Activate it by pressing the button and wait for all your rads to vanish (this is handy if you have taken a bit of radiation damage). When the reactor doors open, you'll enter a large chamber with the reactor in the center. Use V.A.T.S to locate a pair of laser turrets on the ceiling behind the reactor. When you take the agitator, these will trigger and fire on you. You can't damage them yet, but be ready to deal with them immediately when you get the item.
Objective: Take the beryllium agitator
Wind your way up the catwalks and interact with the reactor to retrieve the agitator from the reactor.
Objective: Eliminate reactor level security
As soon as you take the agitator, start firing on the laser turrets above. If you're wearing power armour they should pose little threat but the hazmat suit provides little protection against energy weapons. When they are scrap, backtrack down the catwalks and enter the decontamination chamber once again. Make sure to re-equip your best armour here as several security robots will assault you as you leave the decontamination chamber.
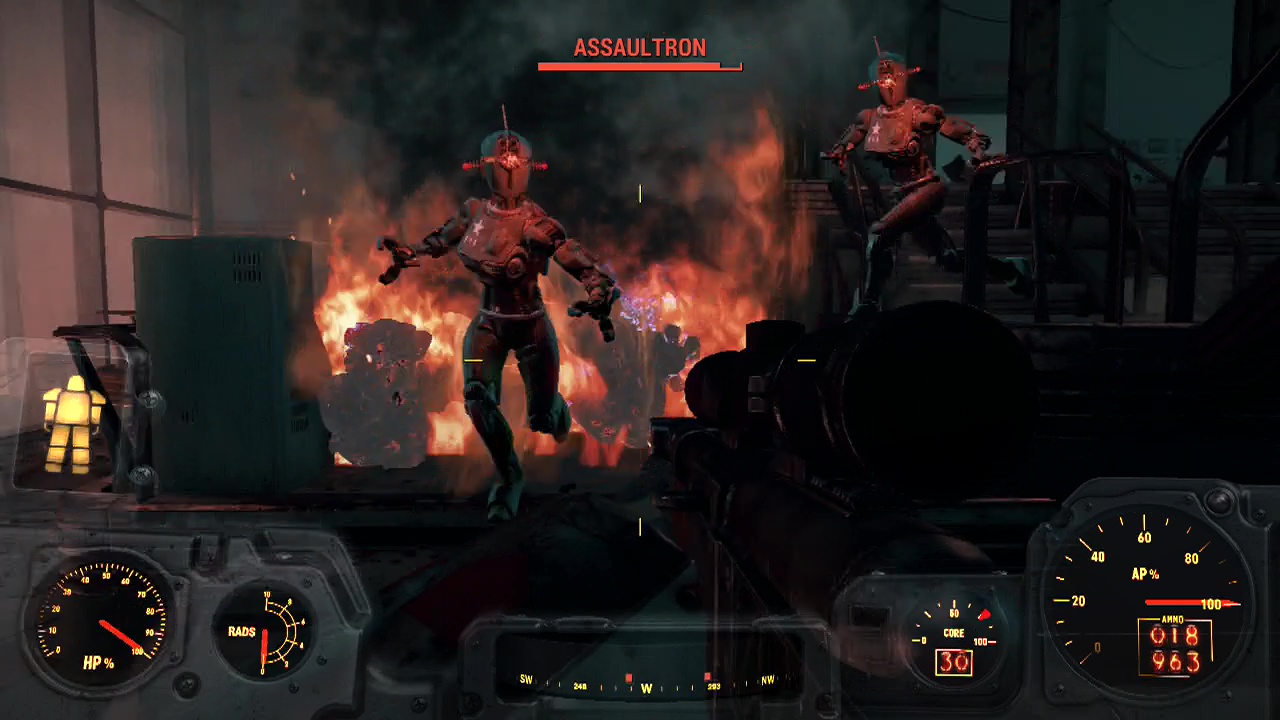
A laser turret will start firing down from the ceiling, then a sentry bot and protectron will arrive from the side rooms making life extremely difficult for you. Remember that you can retreat into the decontamination chamber if you need to and seal the door to gain time to recover. After the initial bots fall, a pair of assaultrons will run in from the far end of the room. These move extremely quickly and deal large amounts of damage on higher difficulties making them very deadly. Use your best weapons to bring them down fast before they can do the same to you. A final laser turret and protectron will be waiting to attack you as you work your way back up out of the reactor level.
Objective: Exit Mass Fusion
(Optional) Objective: Assist Brotherhood forces in the lobby
Ride the elevator back up to the lobby level and enter the door to your left to find Brotherhood forces duking it out with the final push from the Institute. You can sit in the doorway if you wish, taking potshots or join in the fun in earnest. Or you can simply sprint past the combatants and through the marked doorway on the right to exit the building. Your call.
Objective: Return to Boston Airport
Fast travel back to Boston Airport when you arrive outside the Mass Fusion building.
Objective: Speak to Proctor Ingram
When you arrive and talk to Ingram, the quest will end and the preparations for reactivating Liberty Prime will finally be complete.