COLLECTIBLES – Magazines
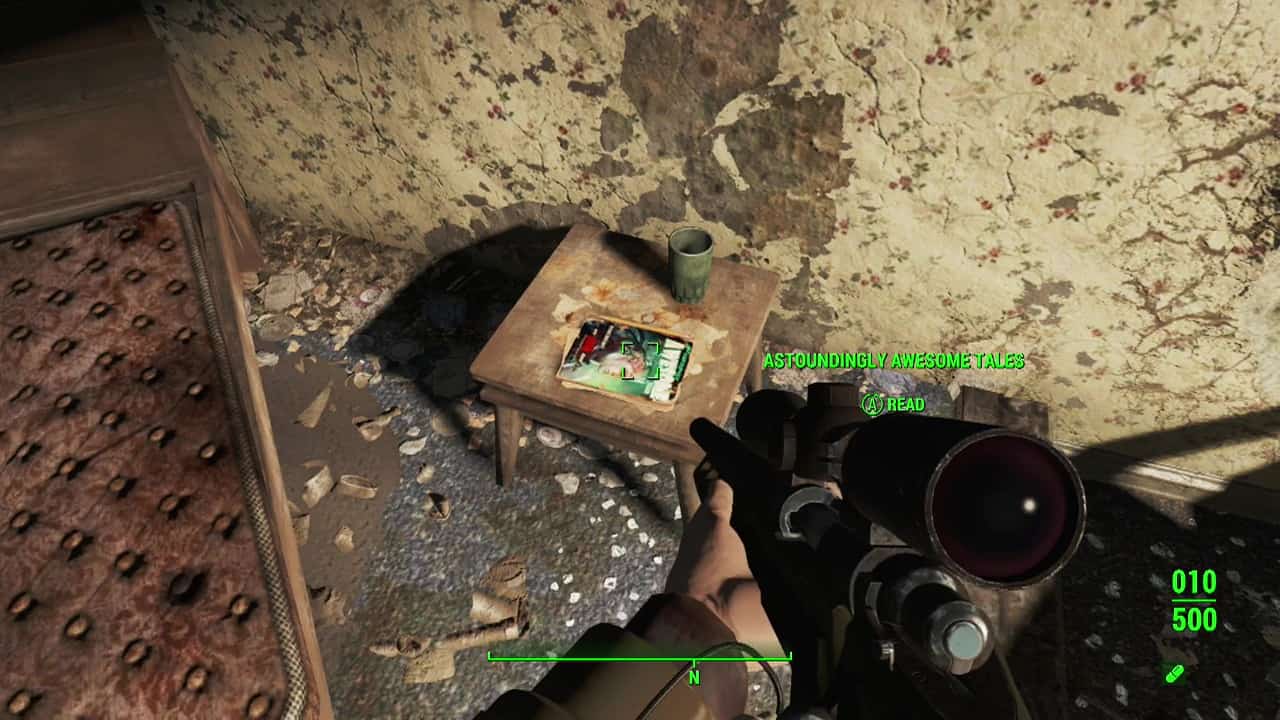
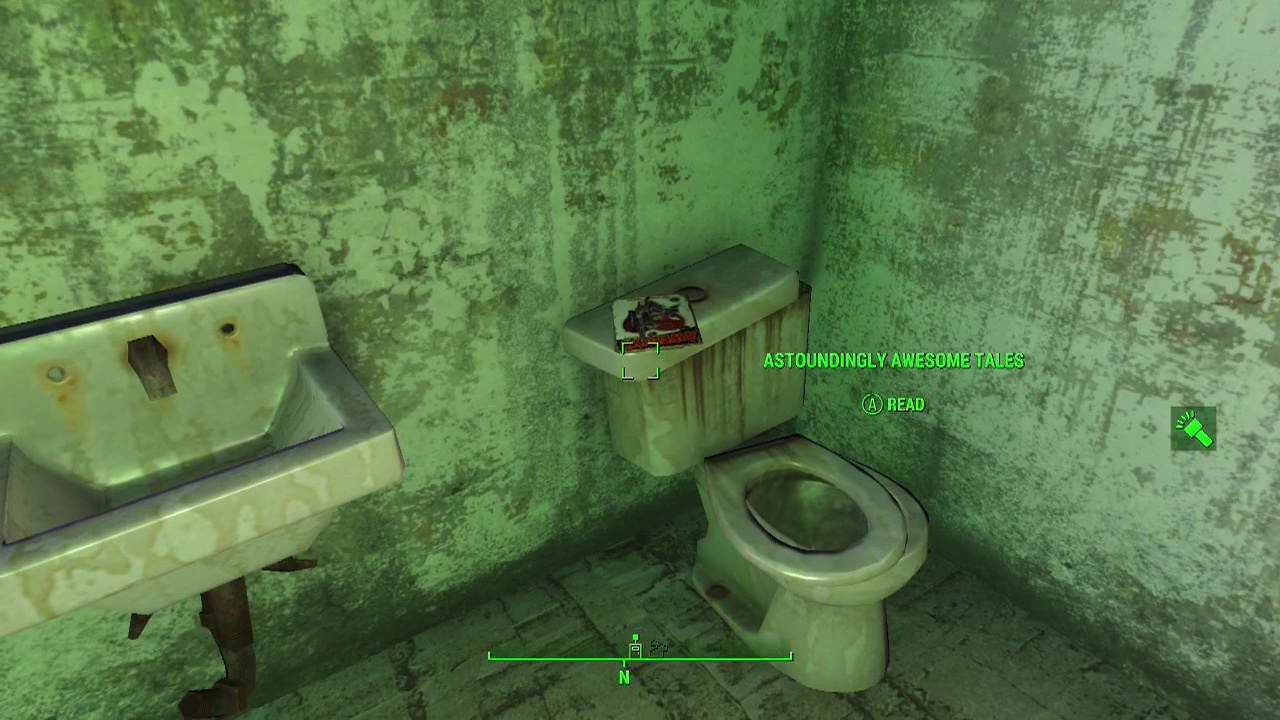
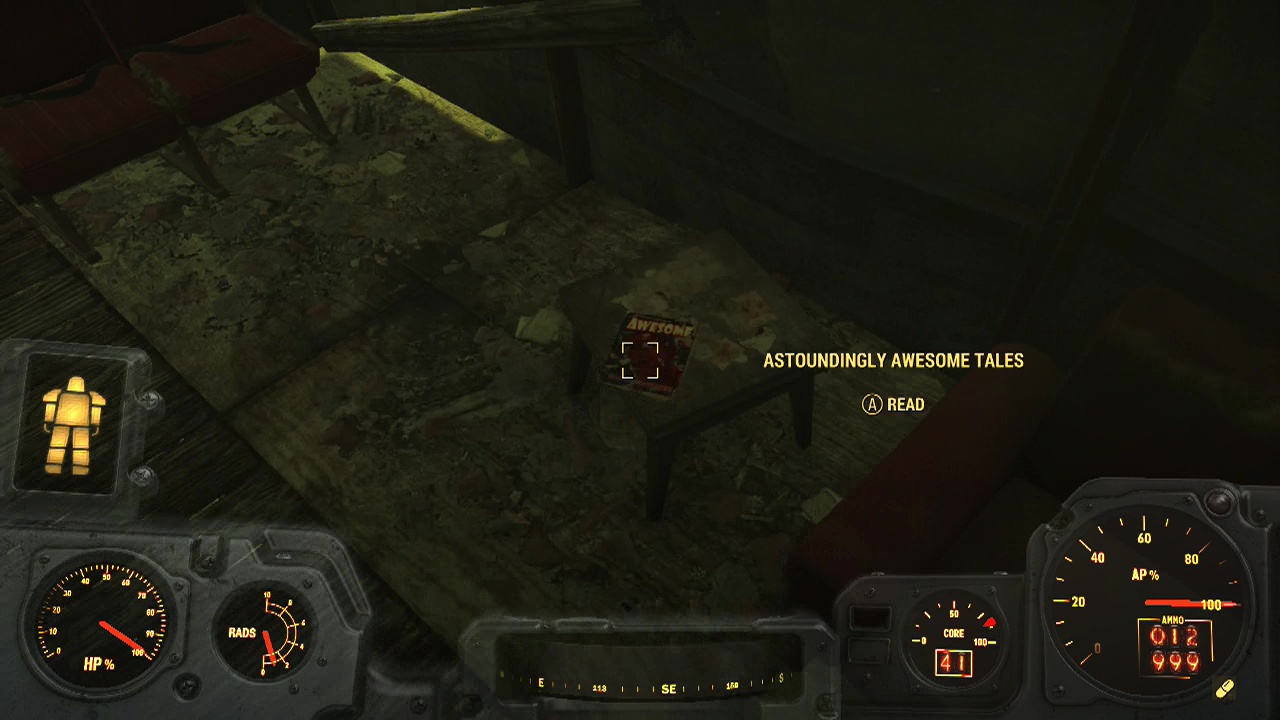
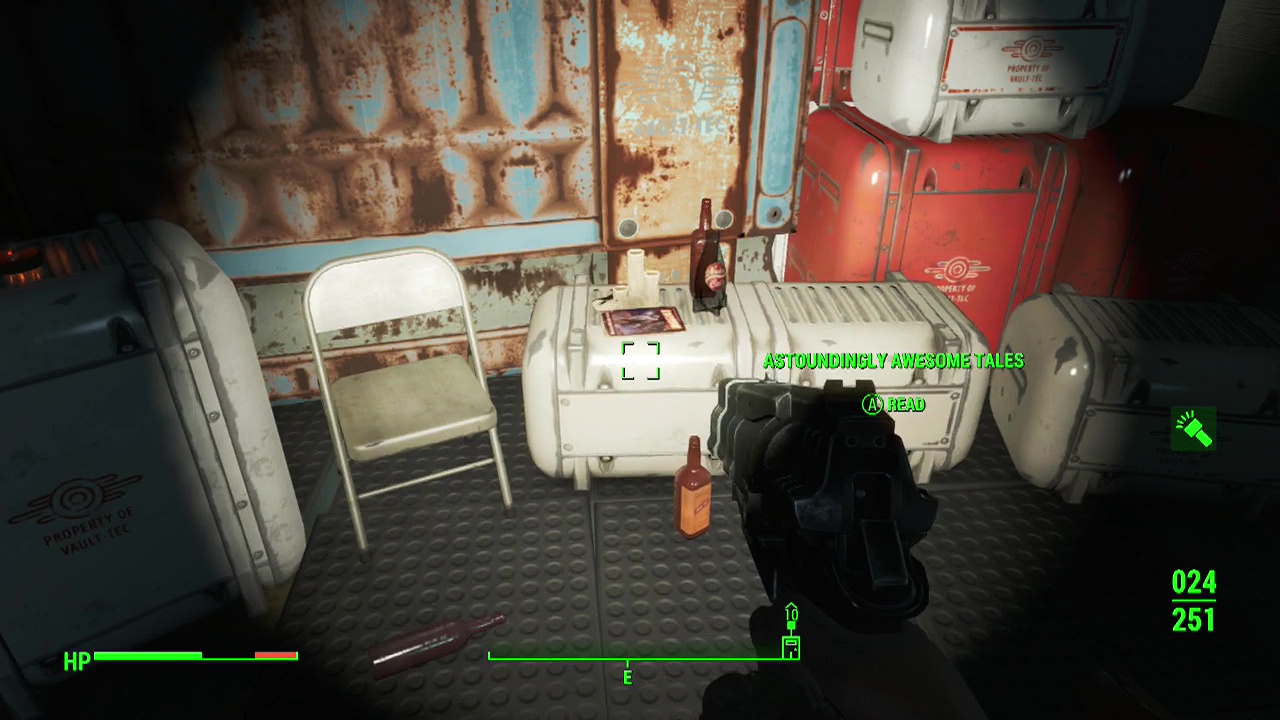
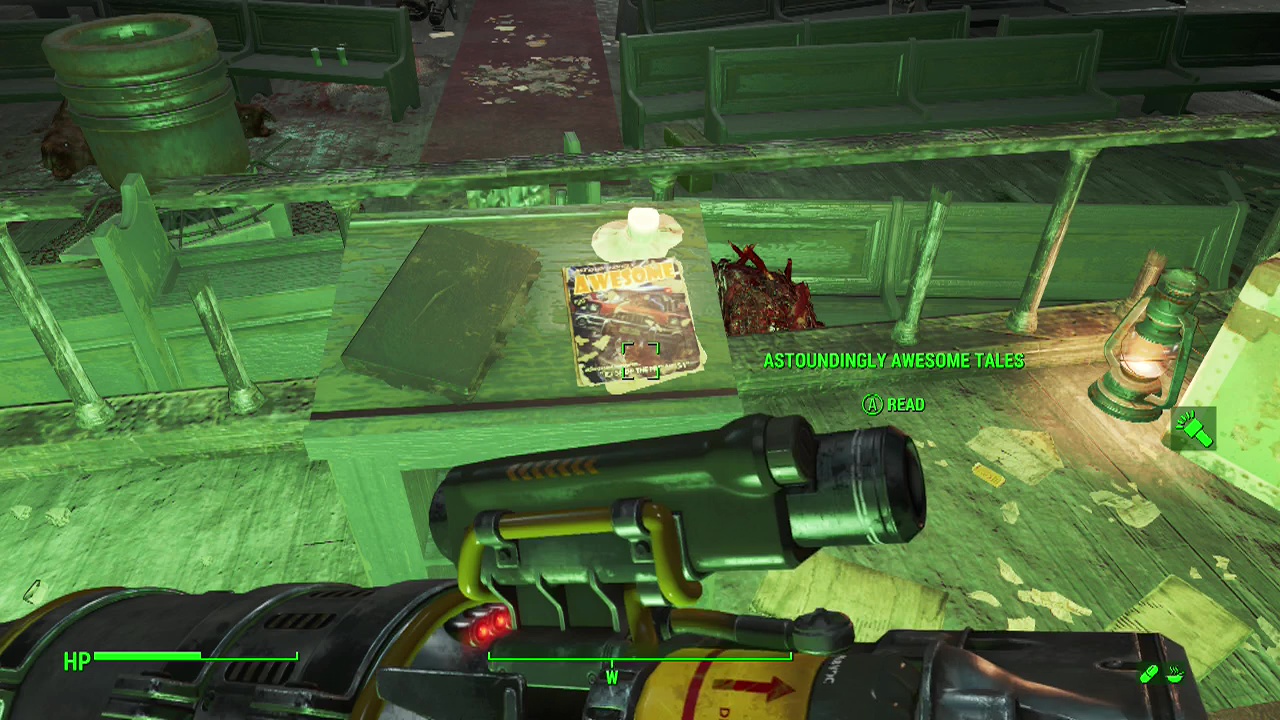
Astoundingly Awesome Tales
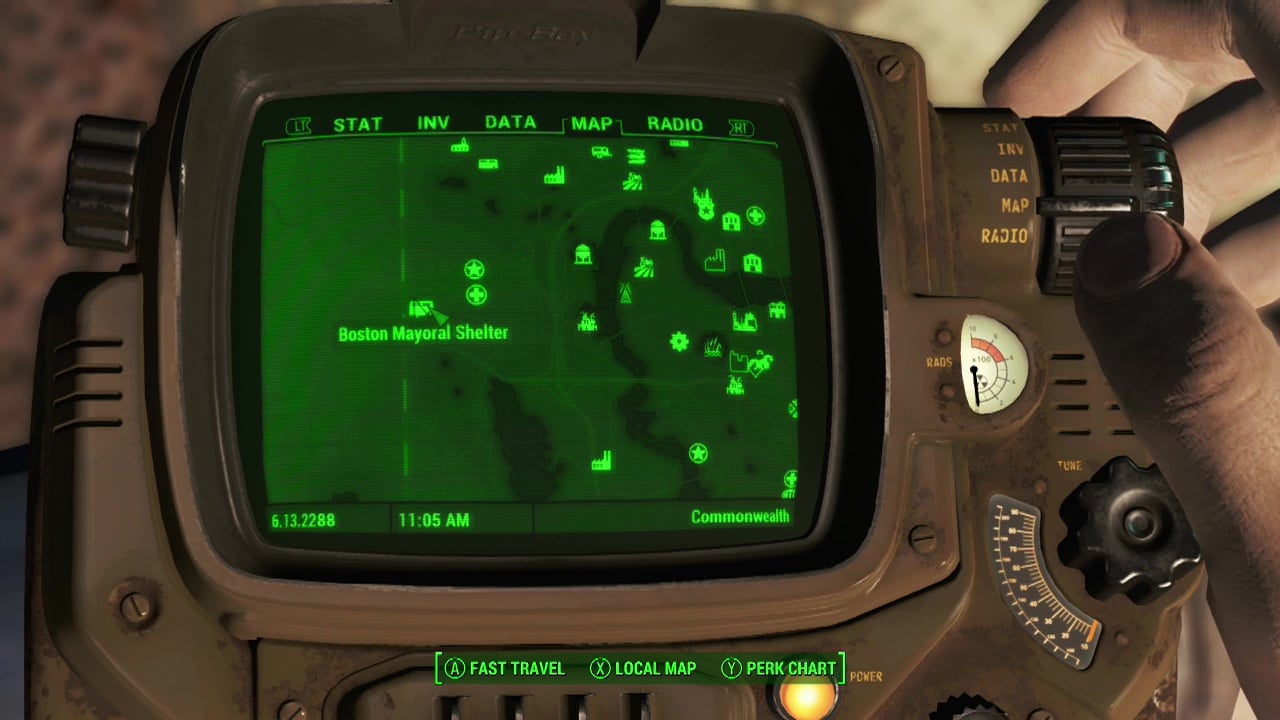
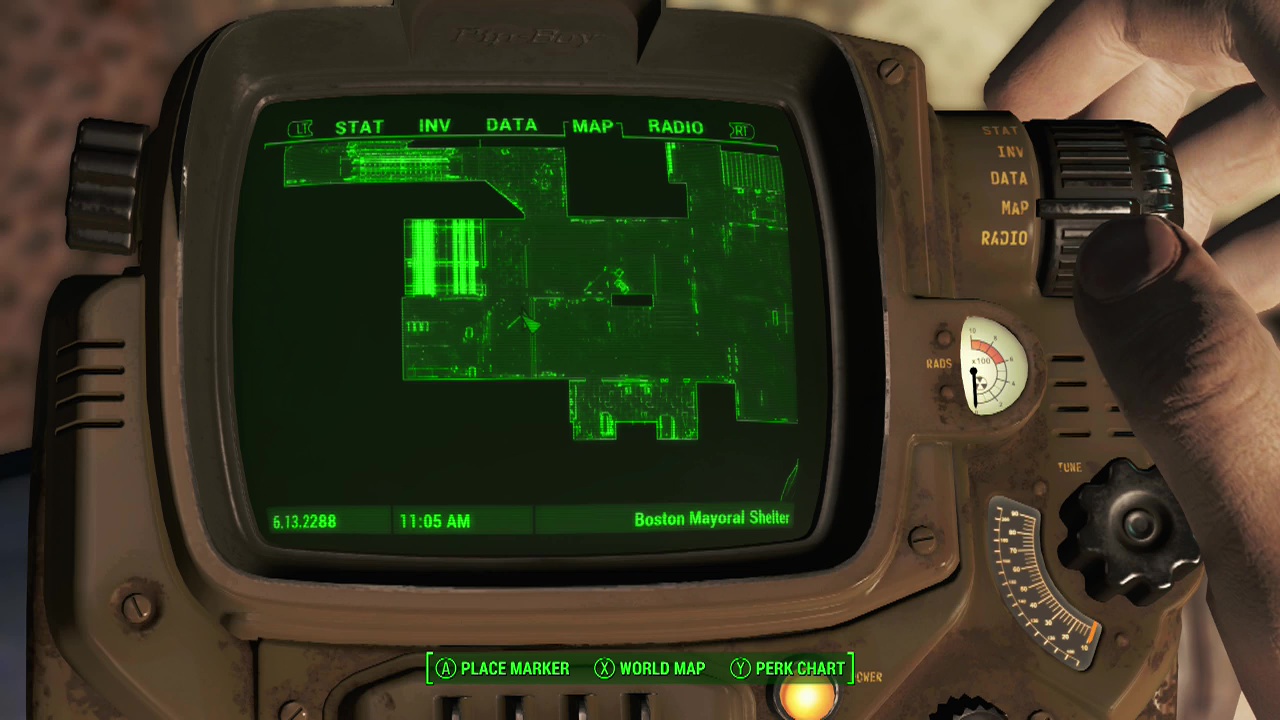
Boston Mayoral Shelter – Use the terminal in the small hut to the right of the entrance to open it up. At the far end of the linear path, open the security gate and take the elevator down. The magazine can be found in a bedroom in the South-West corner of the lower level on the bedside table.

Coast Guard Pier – In a cell with a novice lock on the lower level of the main building.
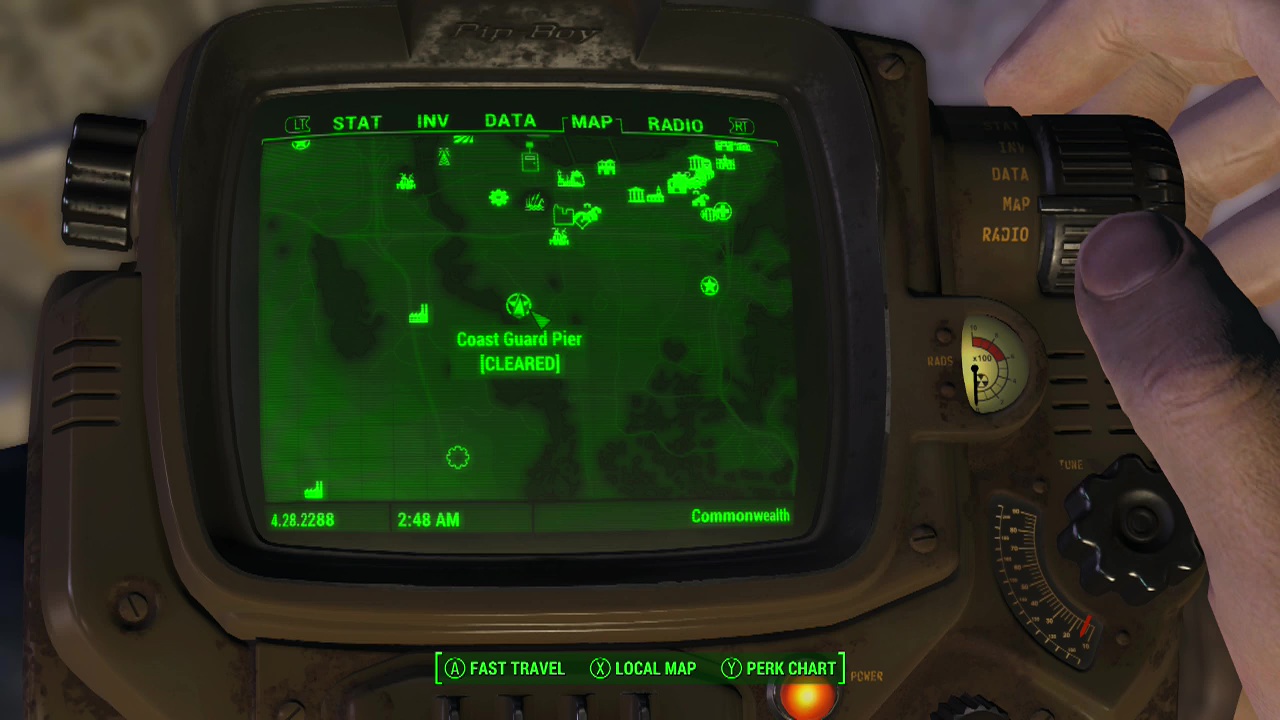
No local map in location
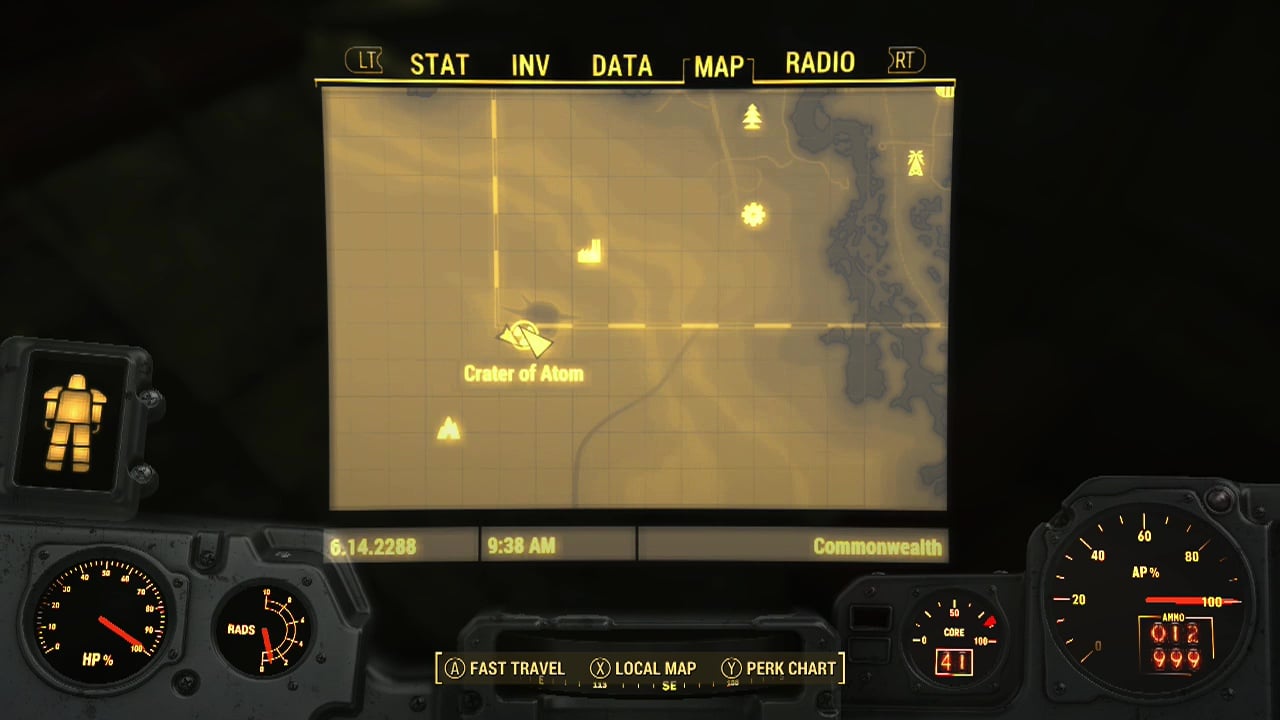
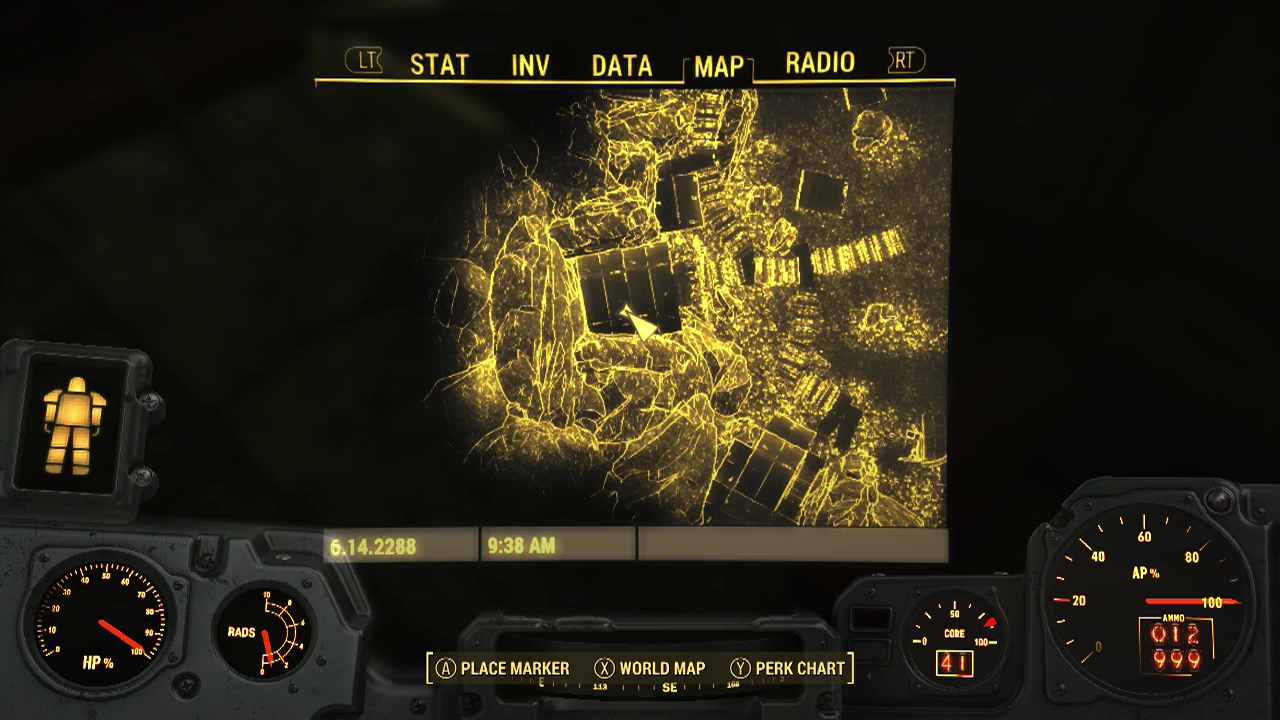
Crater Of Atom – On a wooden table on the upper floor in the middle timber/ metal shack against the rock wall.
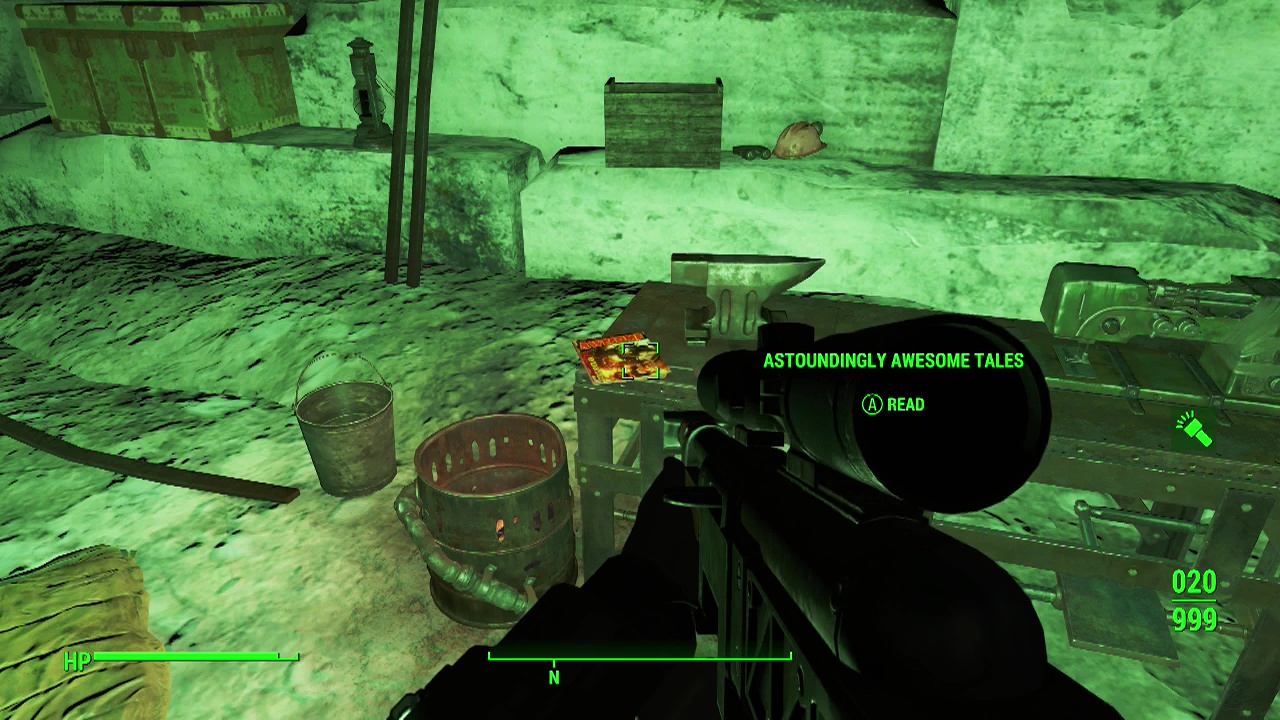
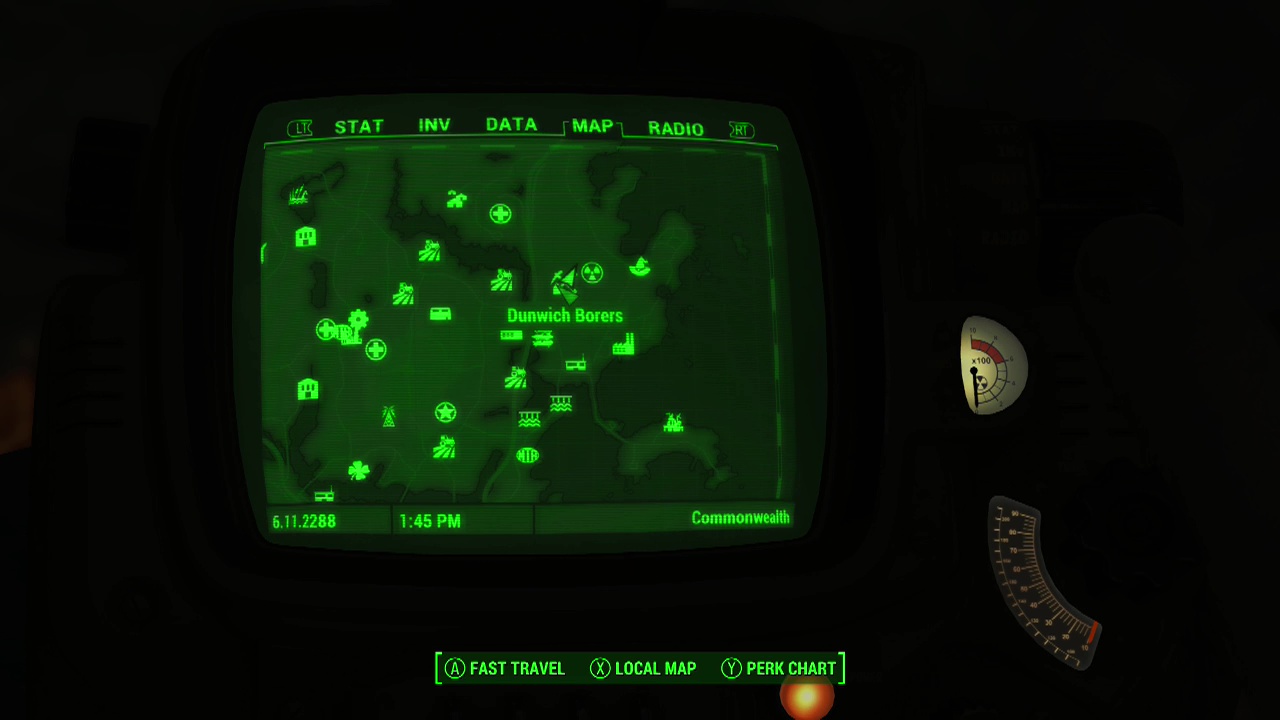
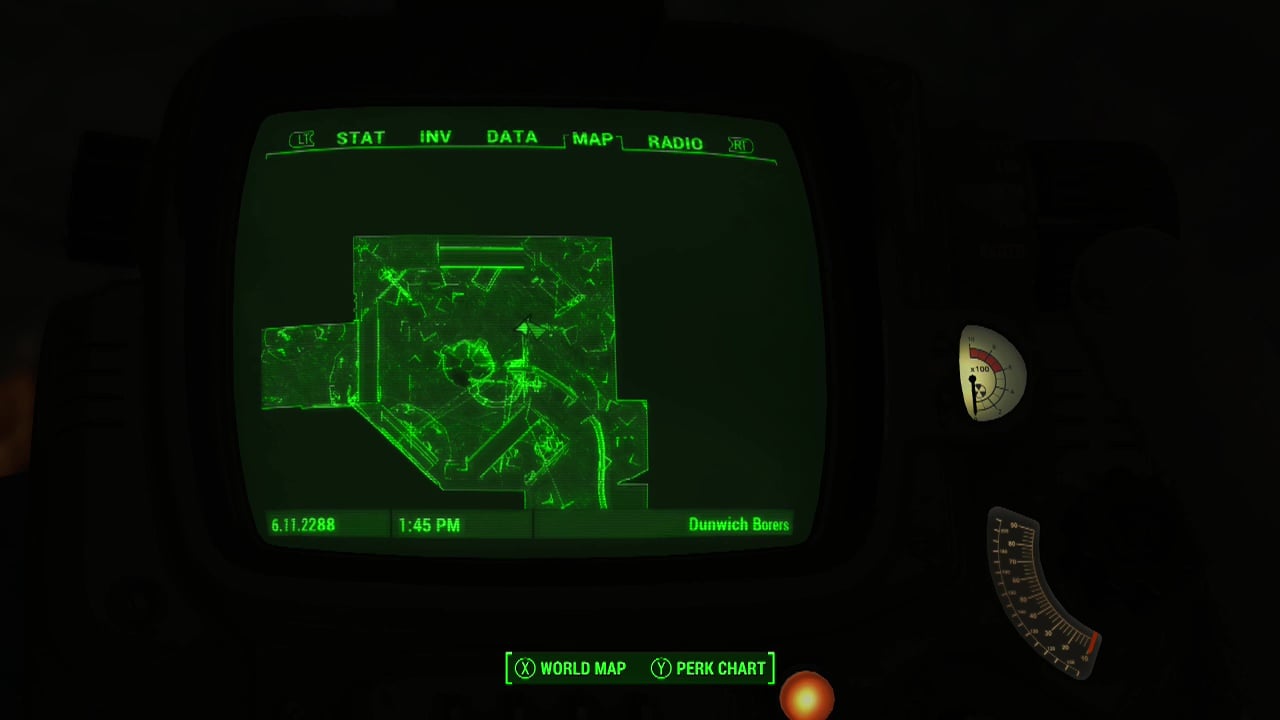
Dunwich Borers – Enter the mines at the bottom of the pit. Work your way through the tunnels until you arrive at the station 3 terminal next to the long stairs down. At the bottom of the stairs, look for an armour workbench. The magazine should be sitting on it.
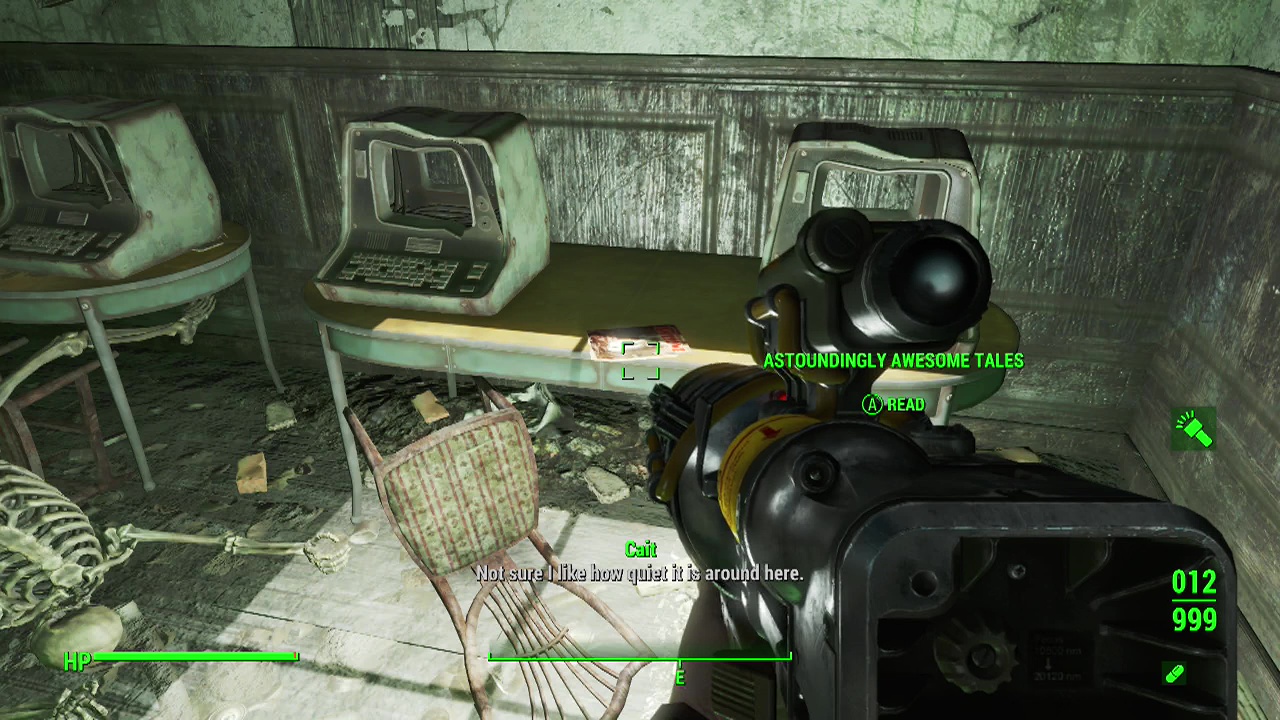
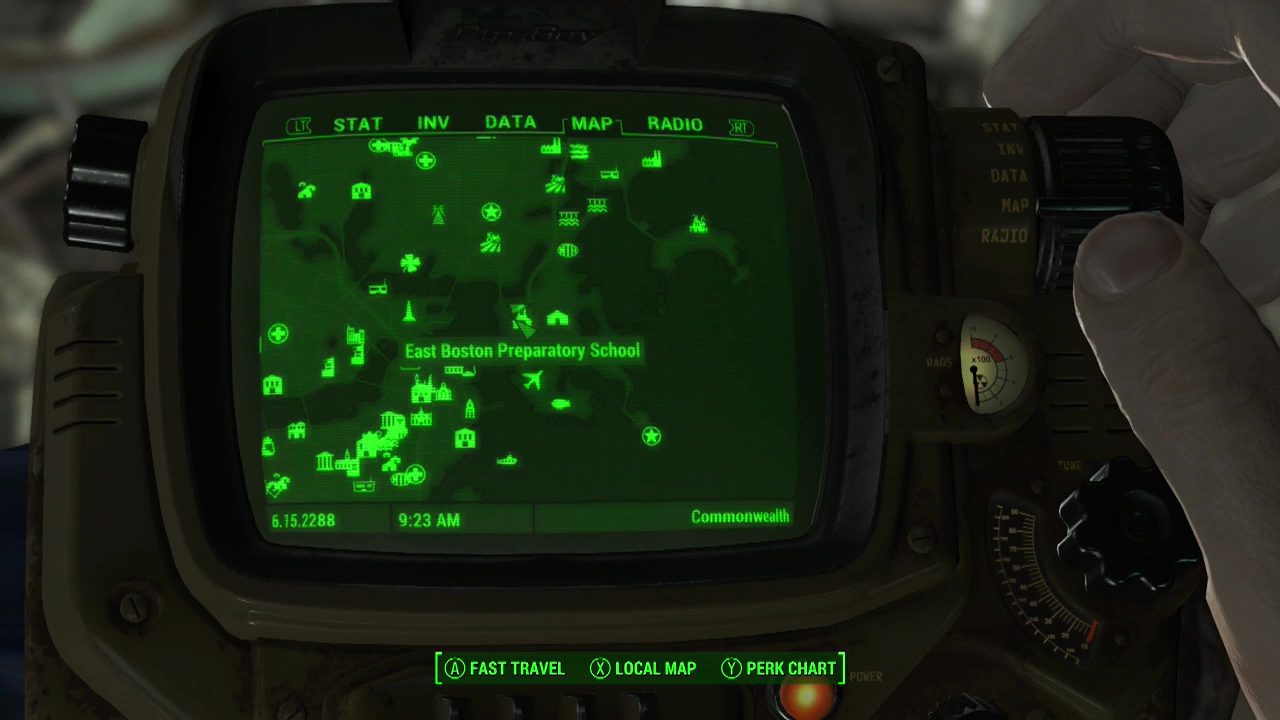
East Boston Prepatory School – The magazine is in the computer lab on the top floor in the South-East corner.
No local map in location
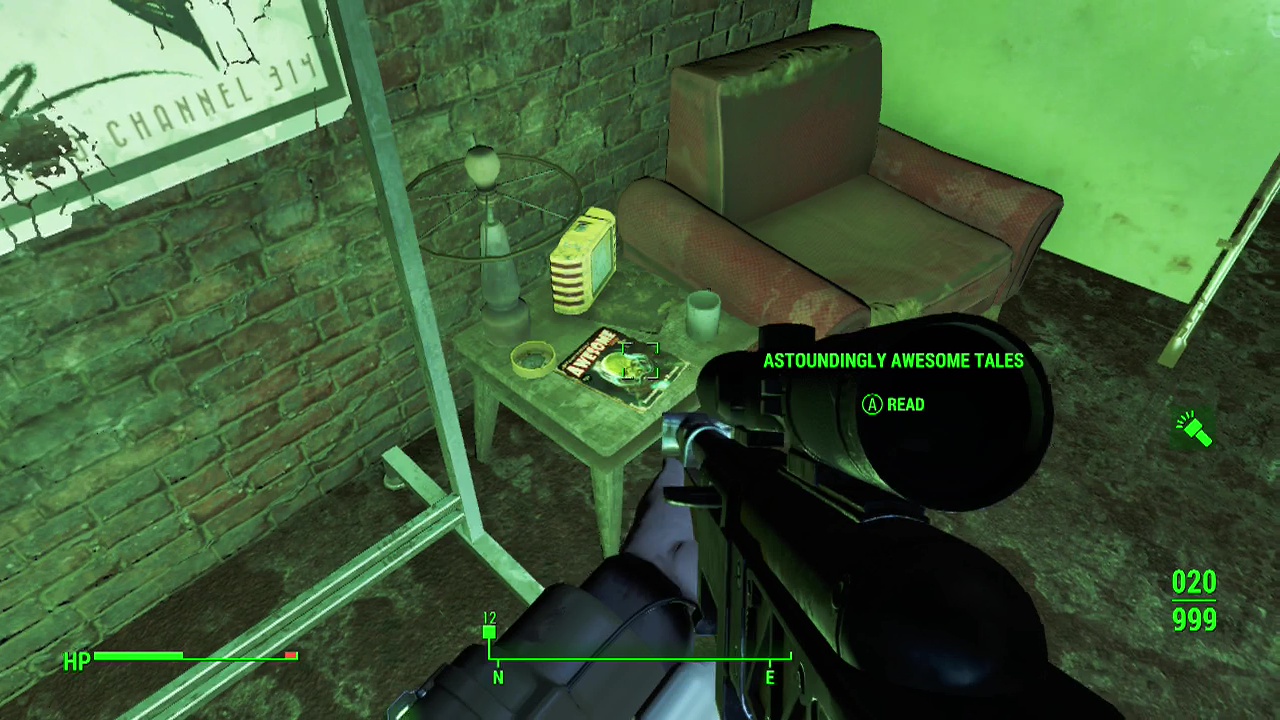
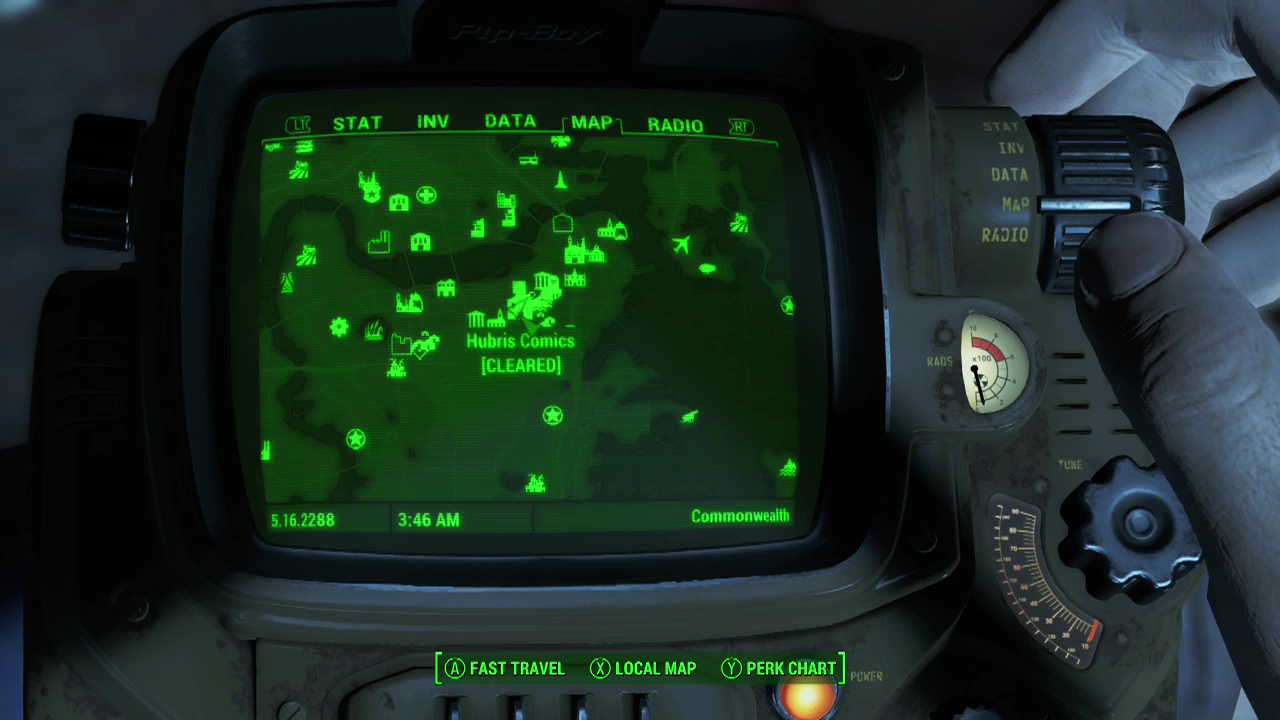
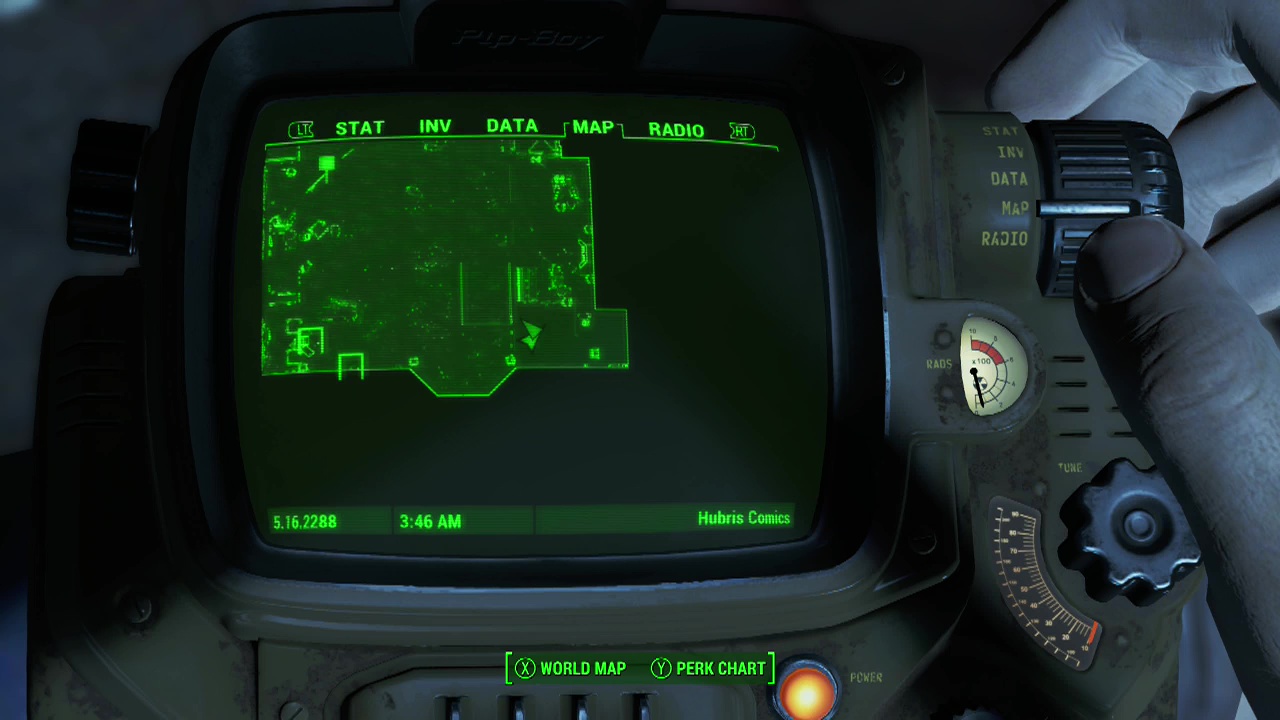
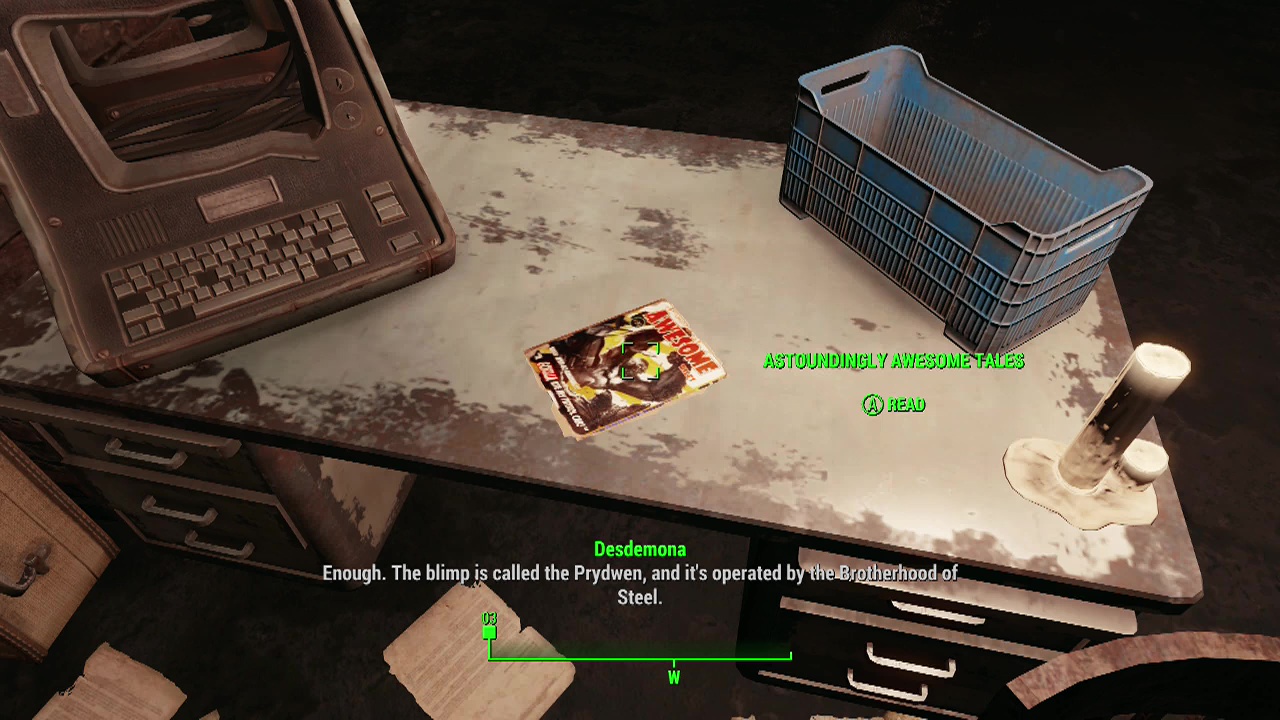
Hubris Comics – On the top floor of the building inside the restroom with a star on the door. On the table inside, sitting under the radaway.
Old North Church (Railroad HQ) – On a metal desk in the main area of the Headquarters.
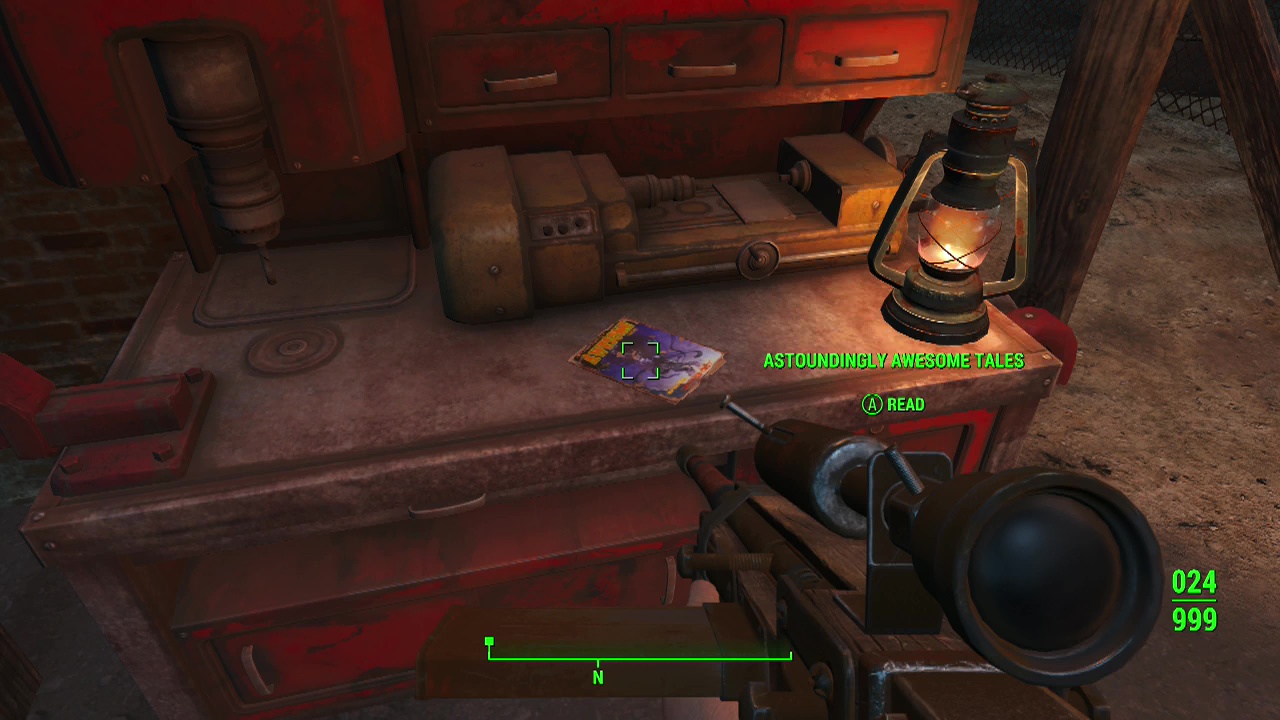
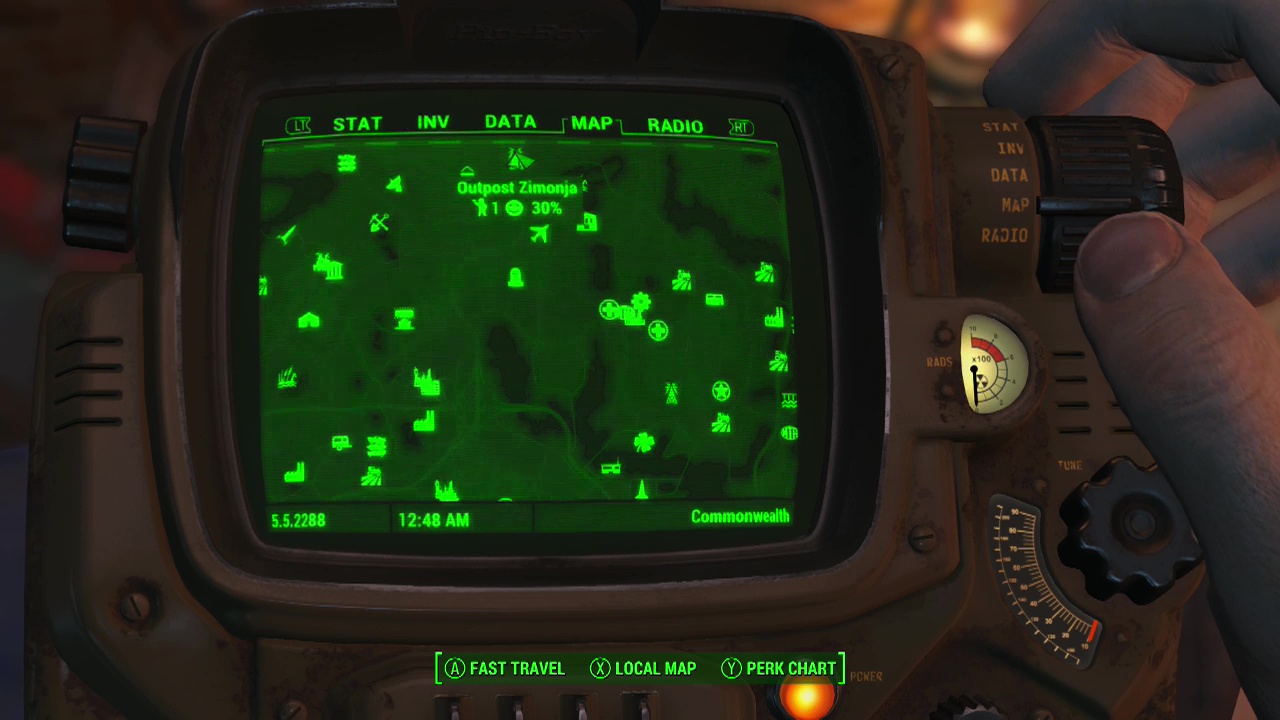
Outpost Zimonja – On top of the workbench.
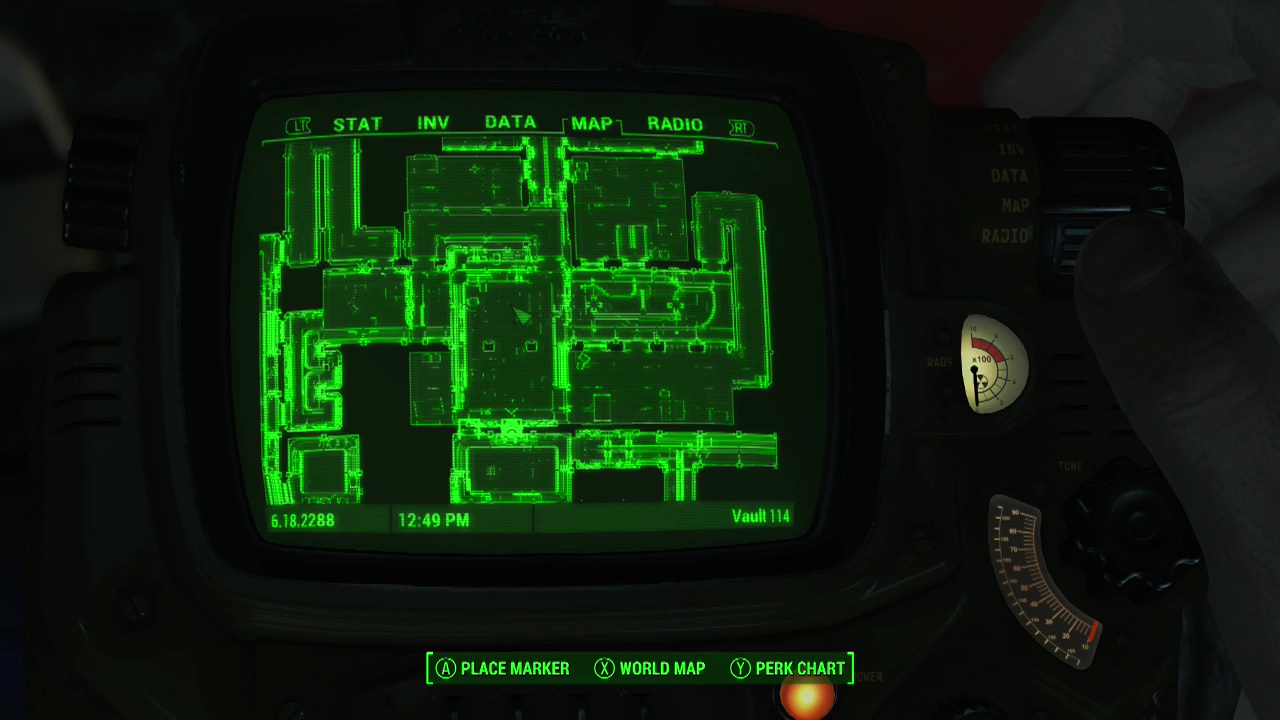
Park Street Station (Vault 114) – You'll need to work your way down through the station until you arrive at the Vault entrance. From there descend the stairs and follow the corridor, taking the last door on the left and going down more stairs. At the wall of crates blocking your path, take the door on your right and then in the hall beyond where you have two doors in front of you, take the left one to get back to the corridor where you will find the magazine on a crate on the other side of the crate wall.

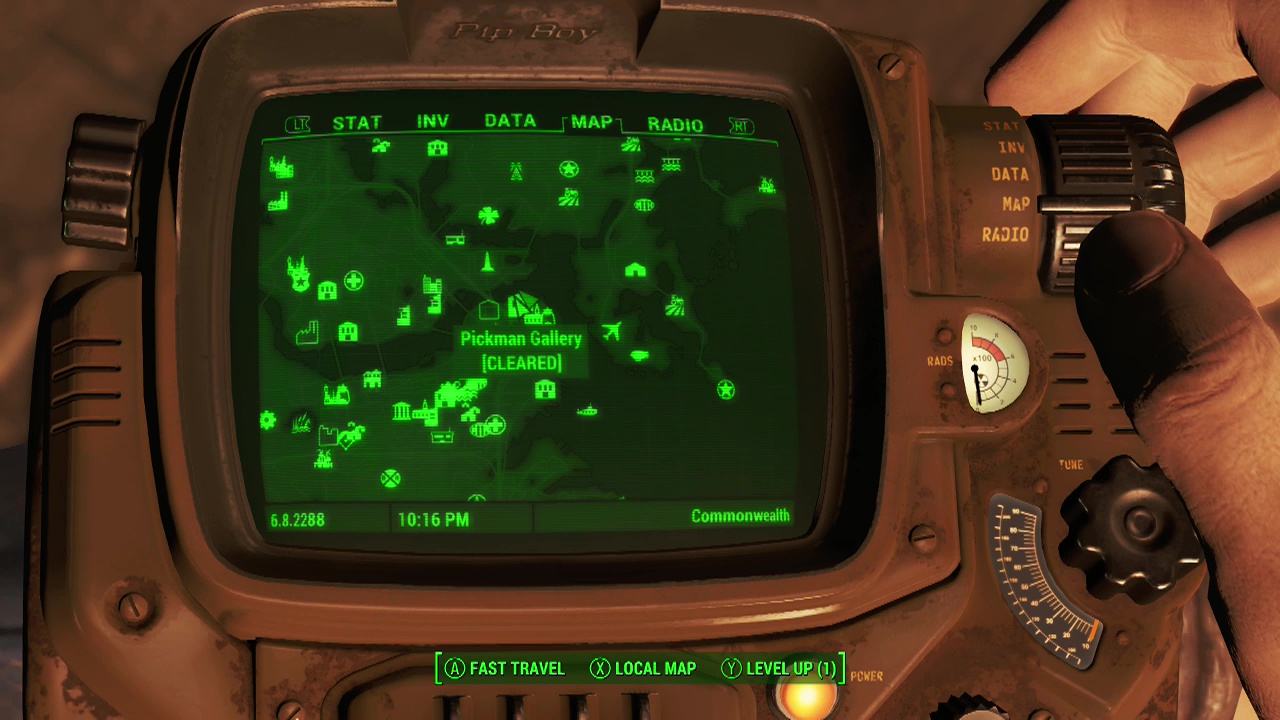
Pickman Gallery – To find it, you'll need to follow after the raiders chasing Pickman into the maze of tunnels beneath the building. When you eventually reach the room where Slab (raider leader) confronts Pickman, you can find the magazine on the ground near the wall at the back of the room.

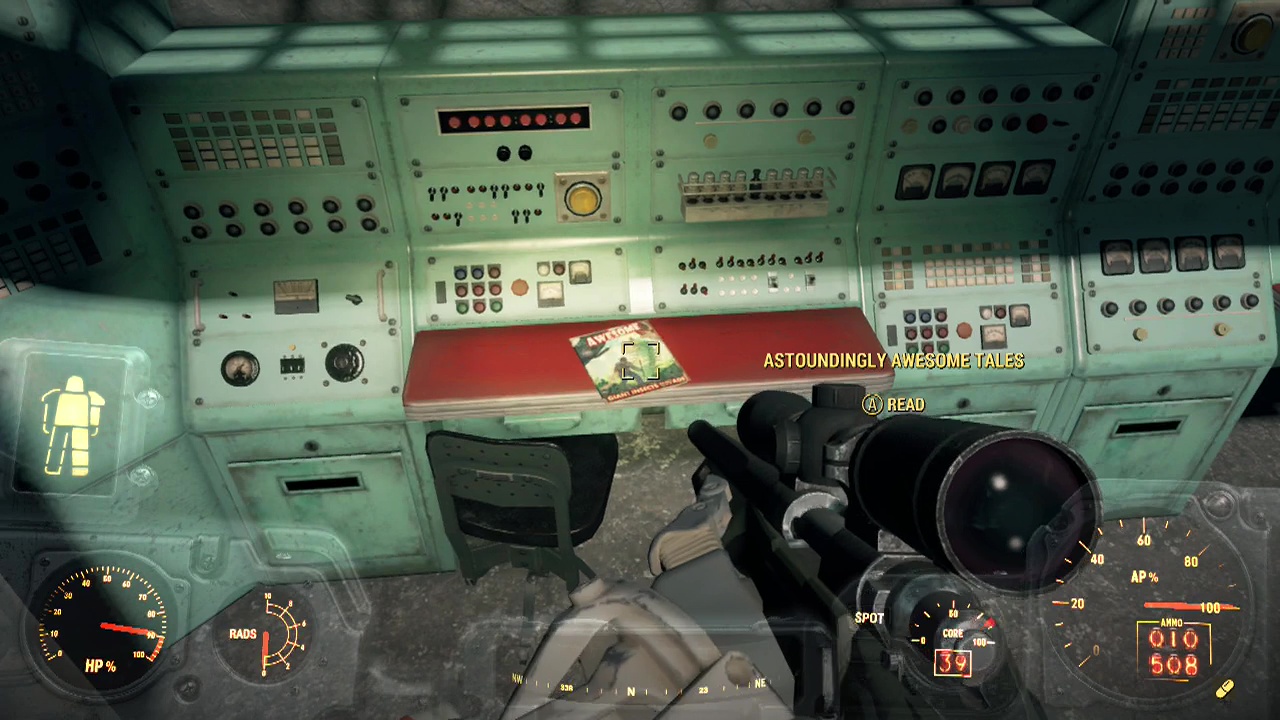
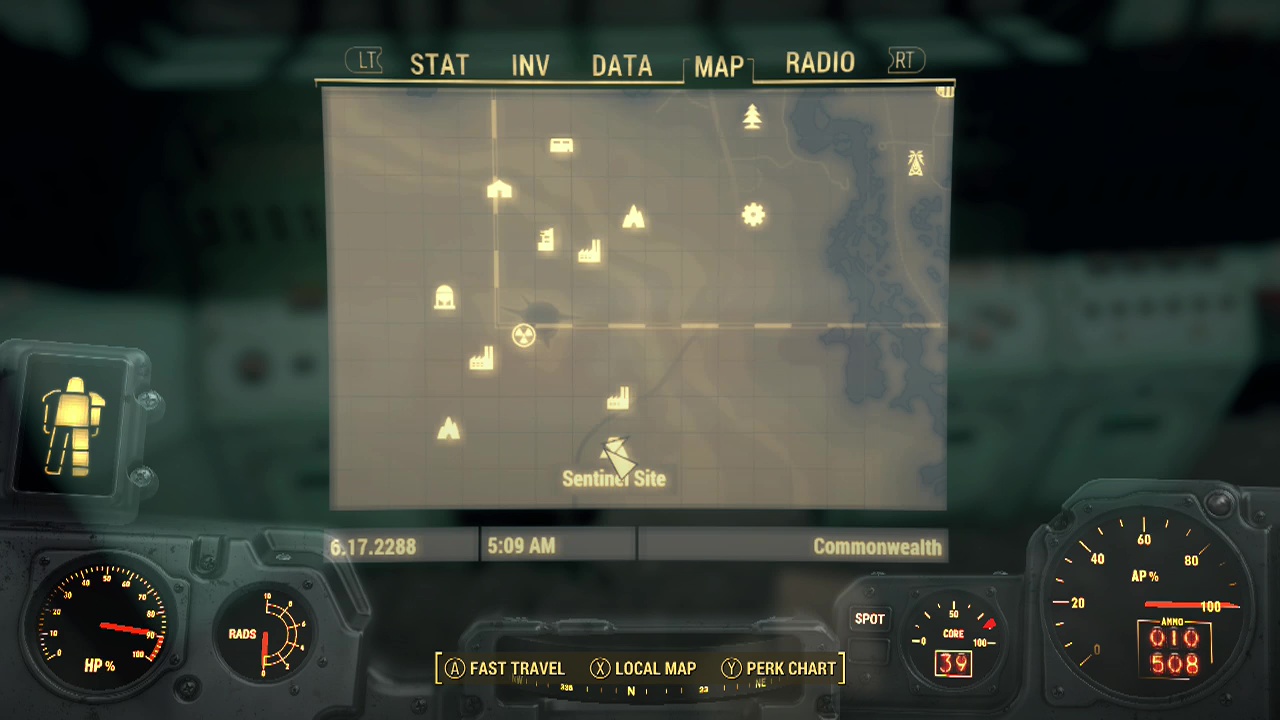
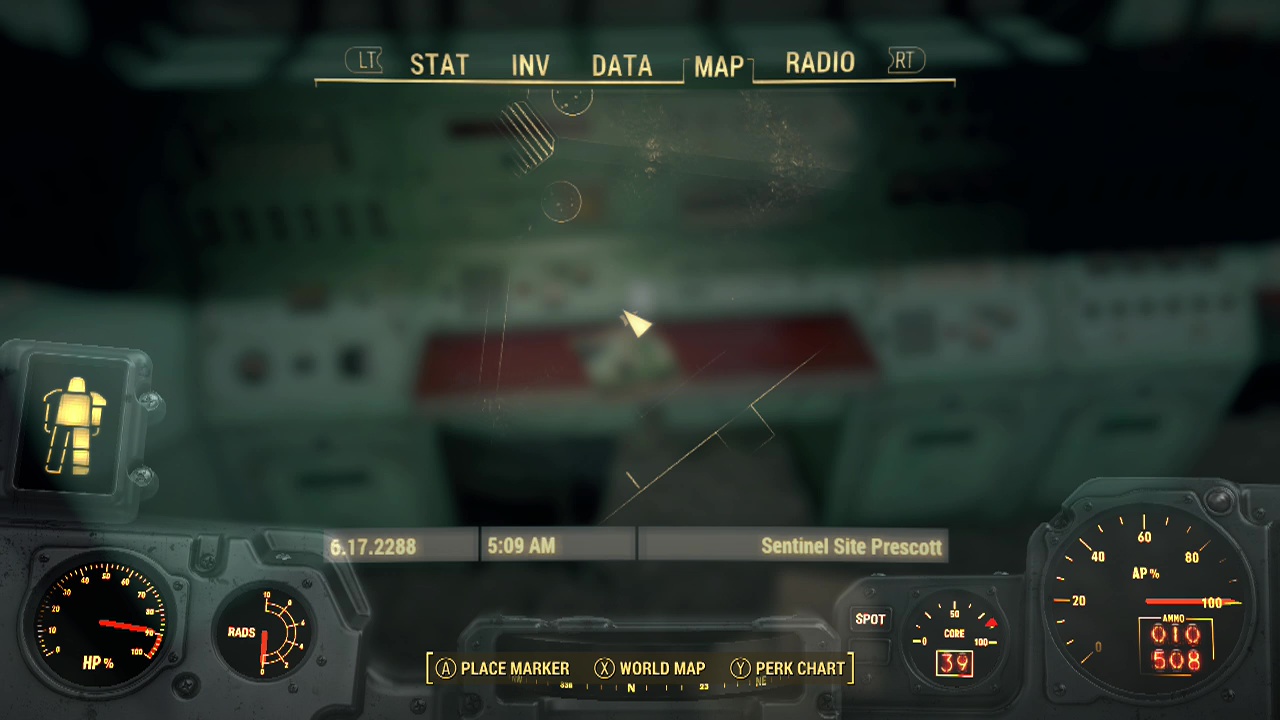
Sentinel Site – Take the stairs down to the first room and check on the computer console for the magazine.
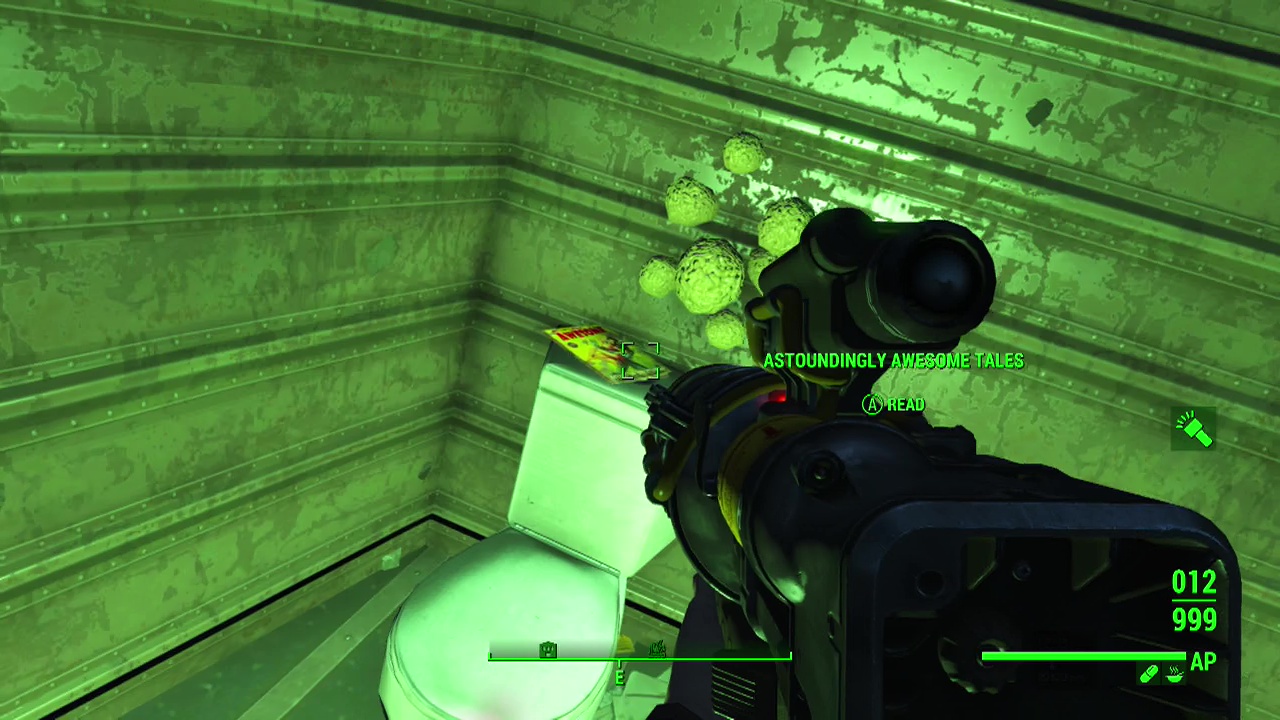
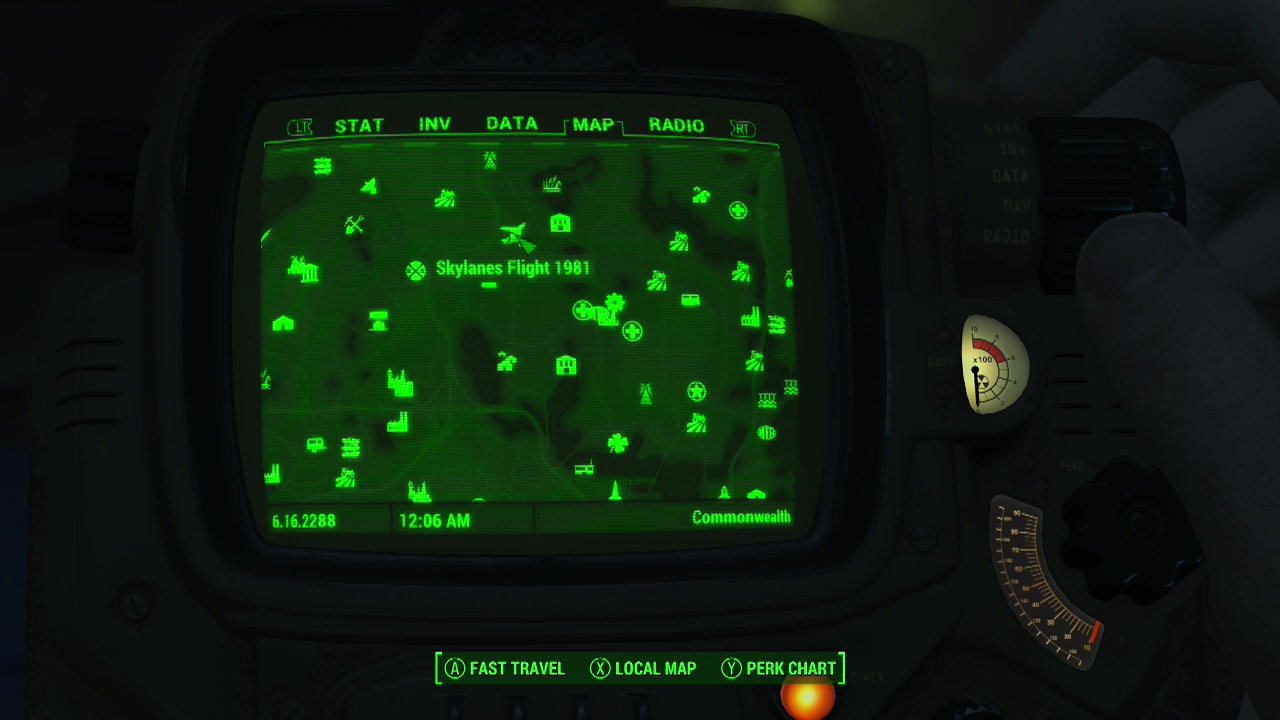
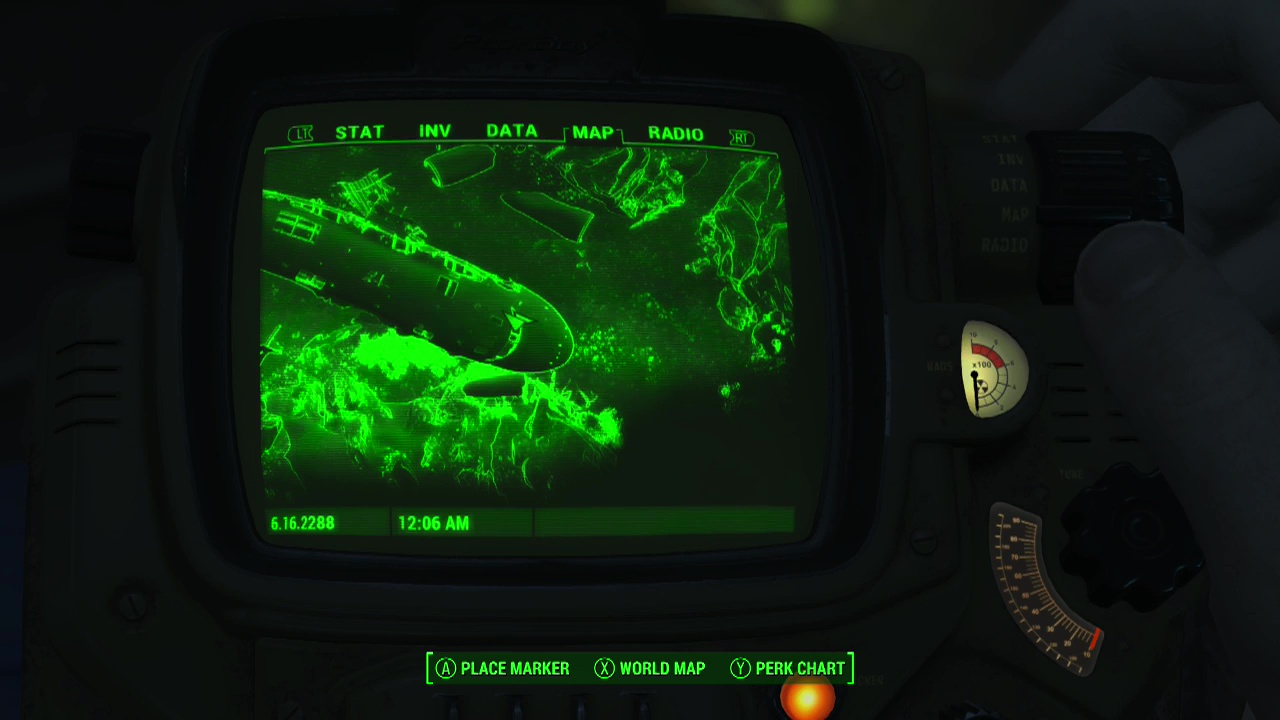
Skylanes Flight 1981 – In the toilets near the cockpit of the plane.
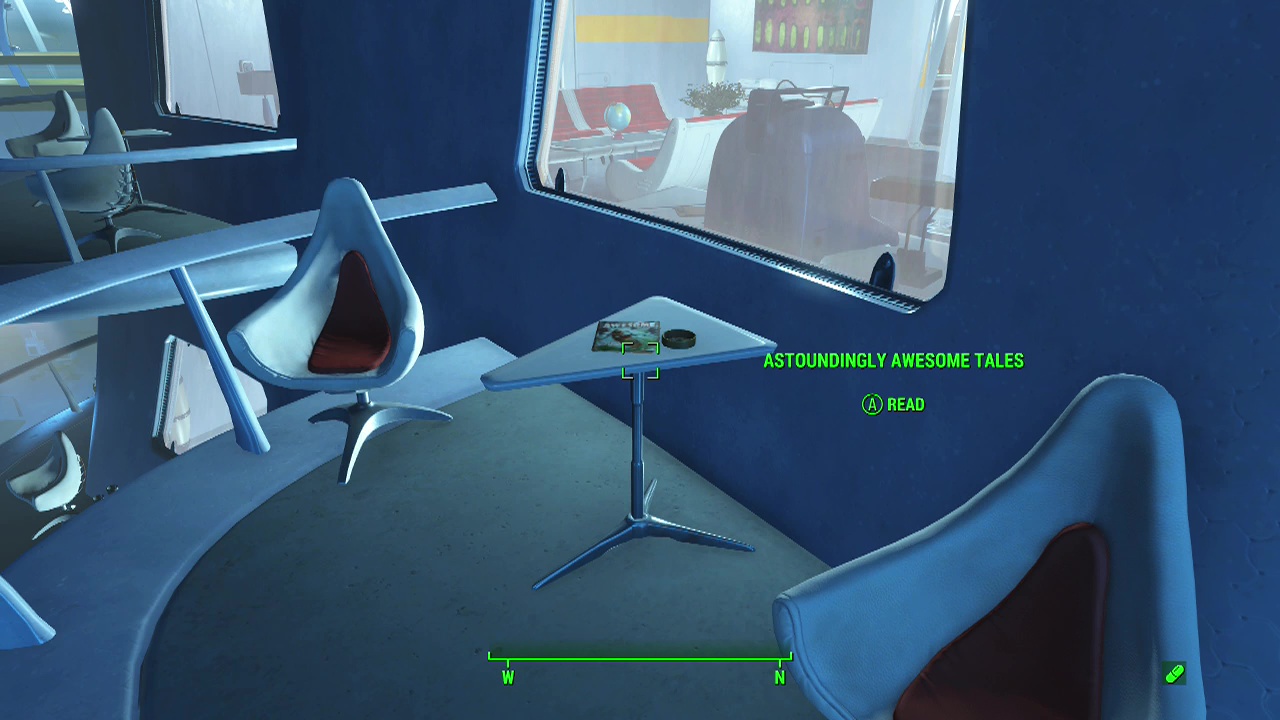
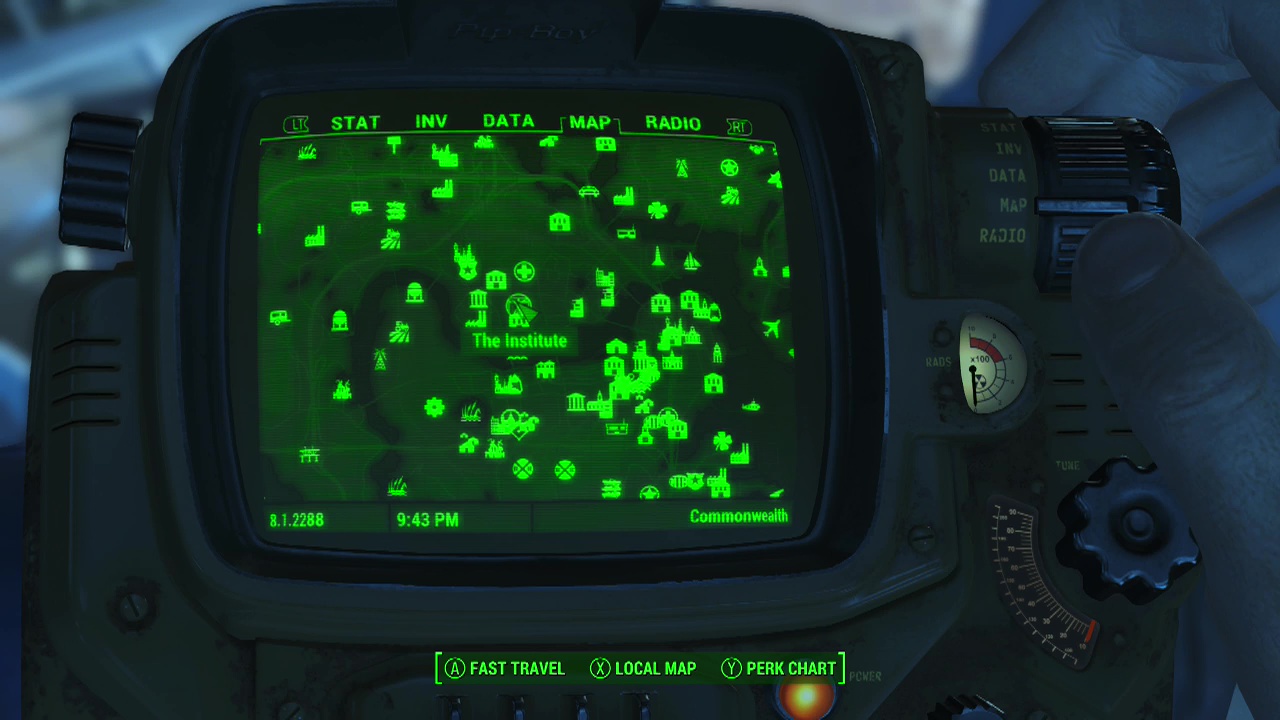
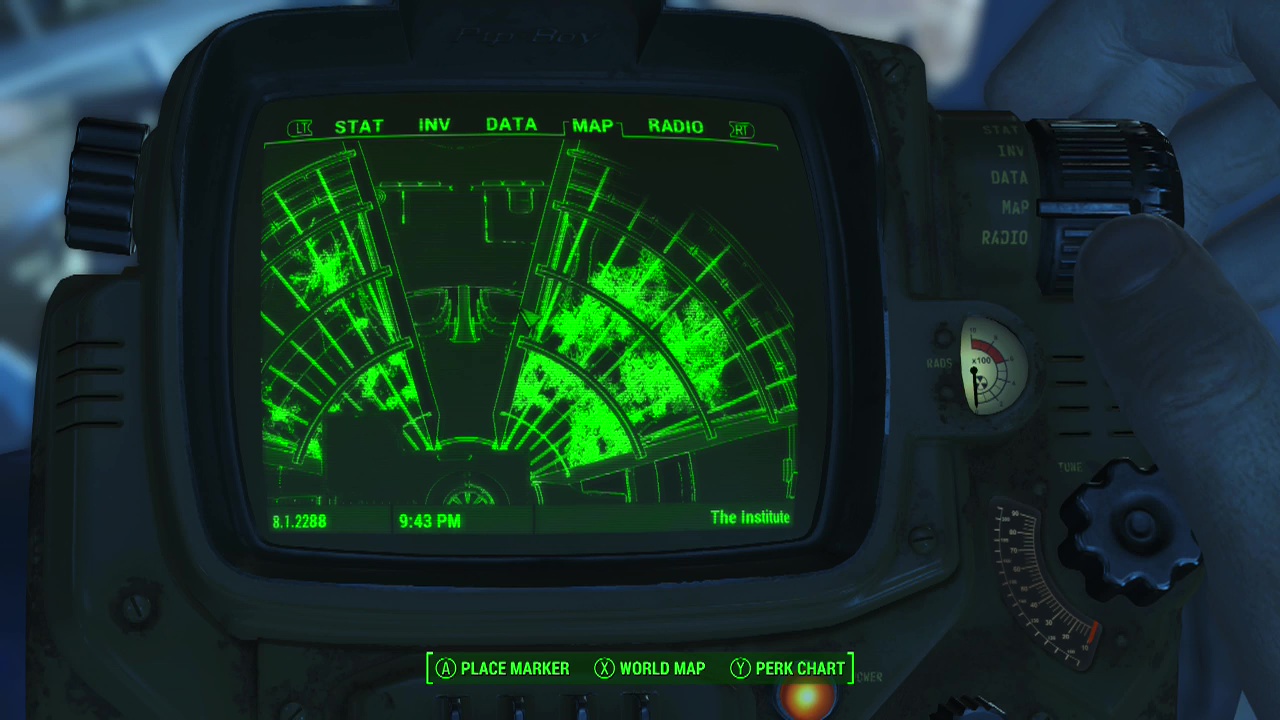
The Institute – At the top level of the North tower coming off the Atrium (large central circular area). Enter the living quarters here and head onto the balcony to find the magazine on a triangular table.
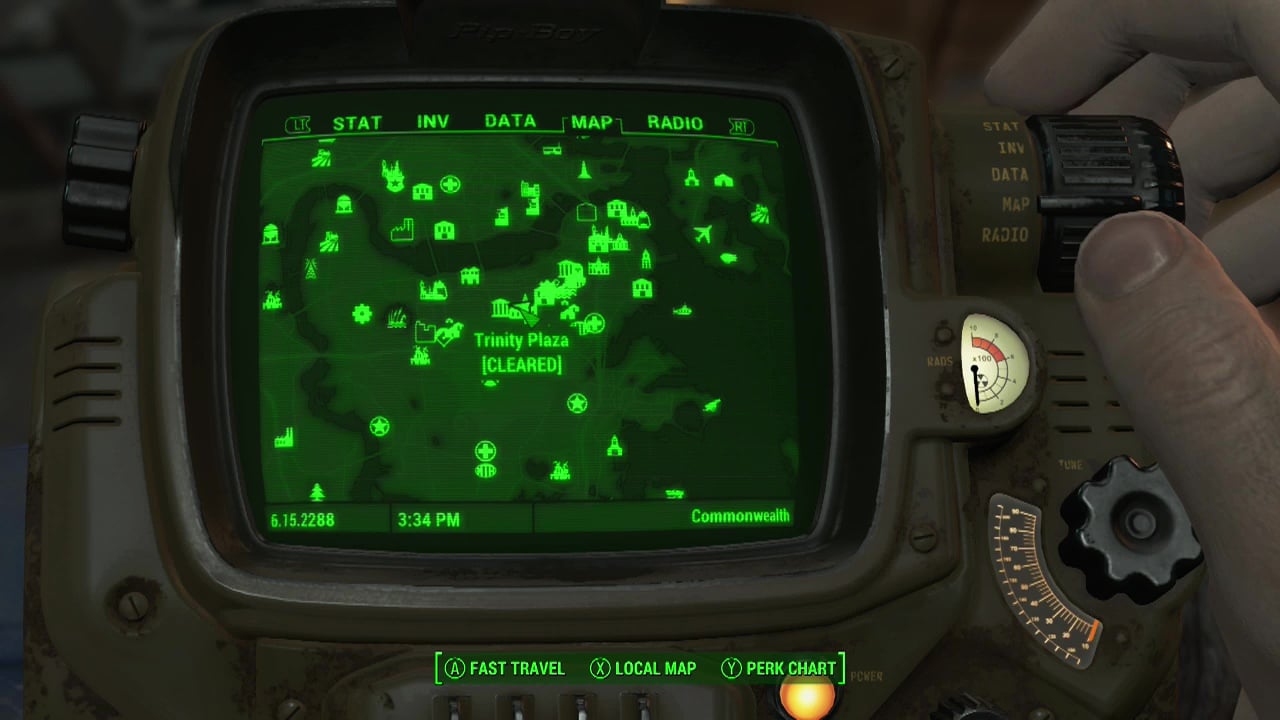
Trinity Plaza – Enter the church and check the lectern at the front for the magazine.
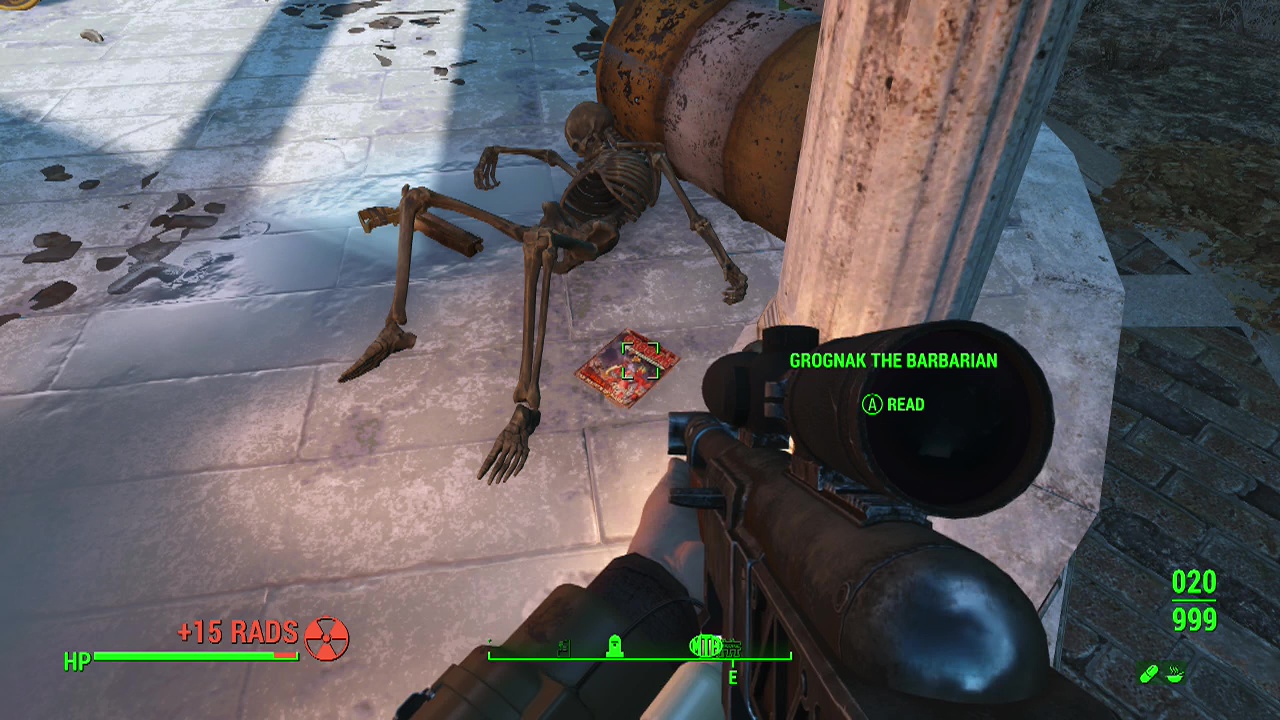
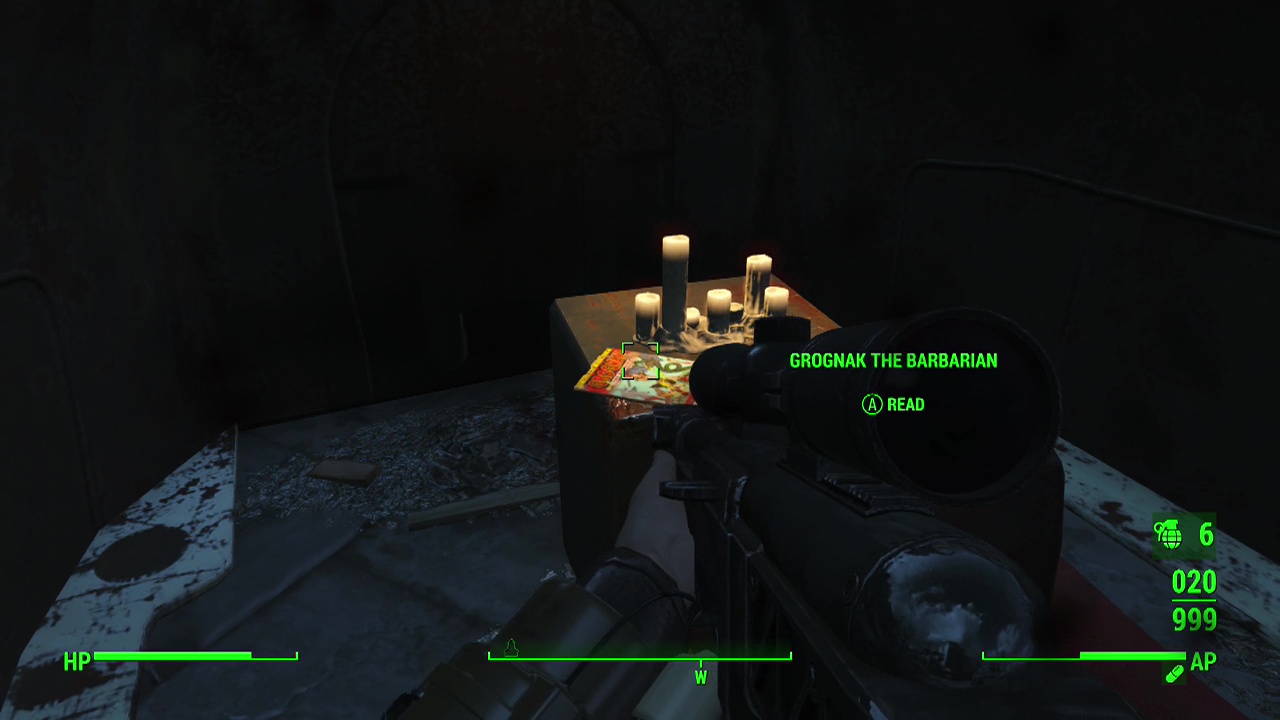
Grognak the Barbarian
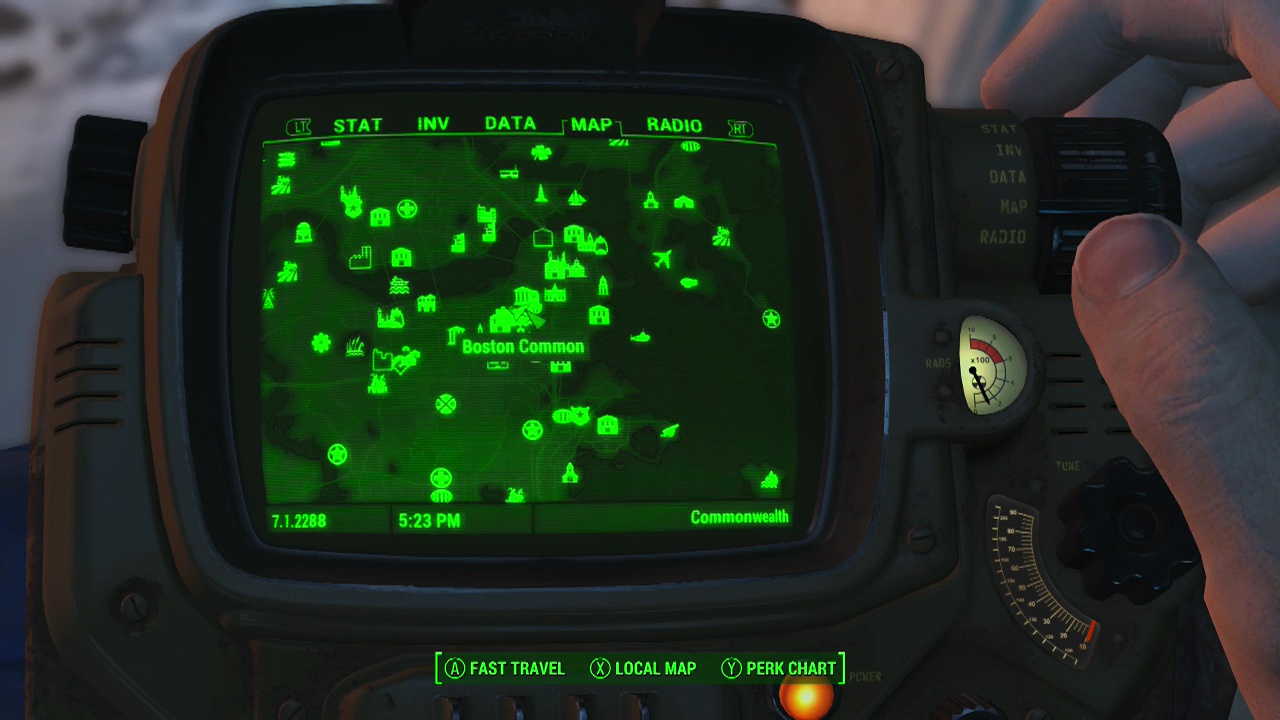
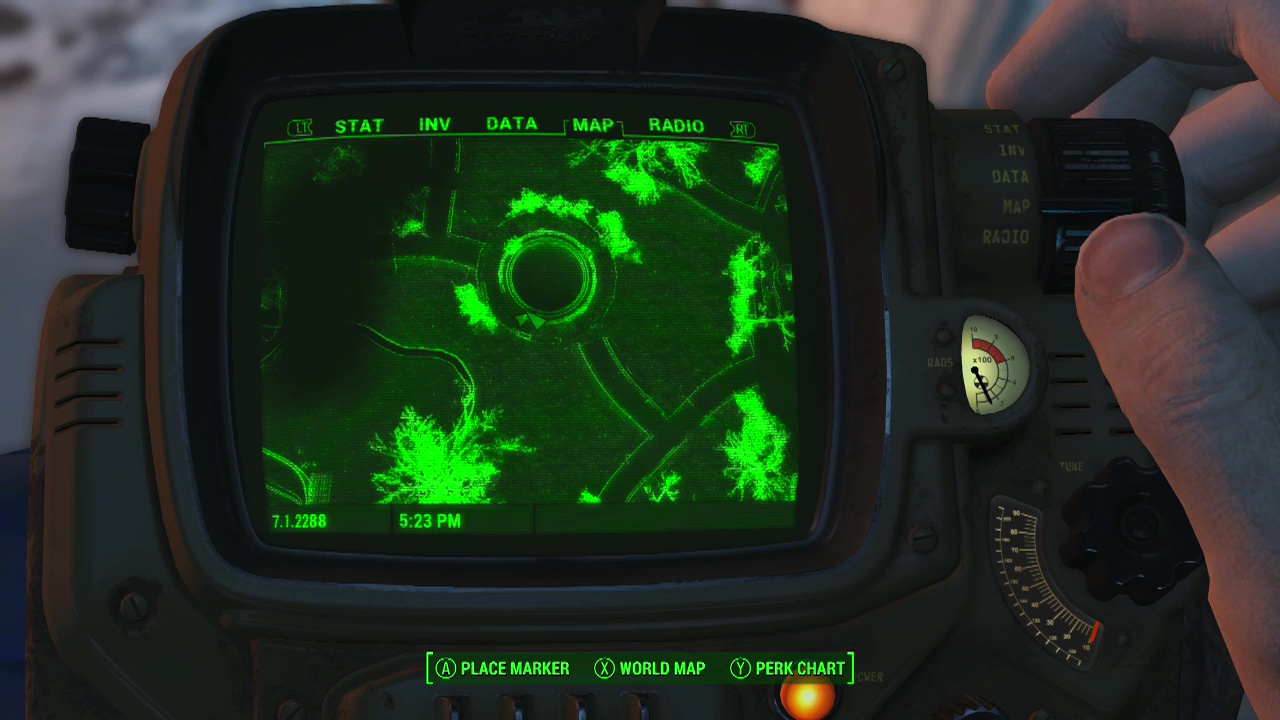
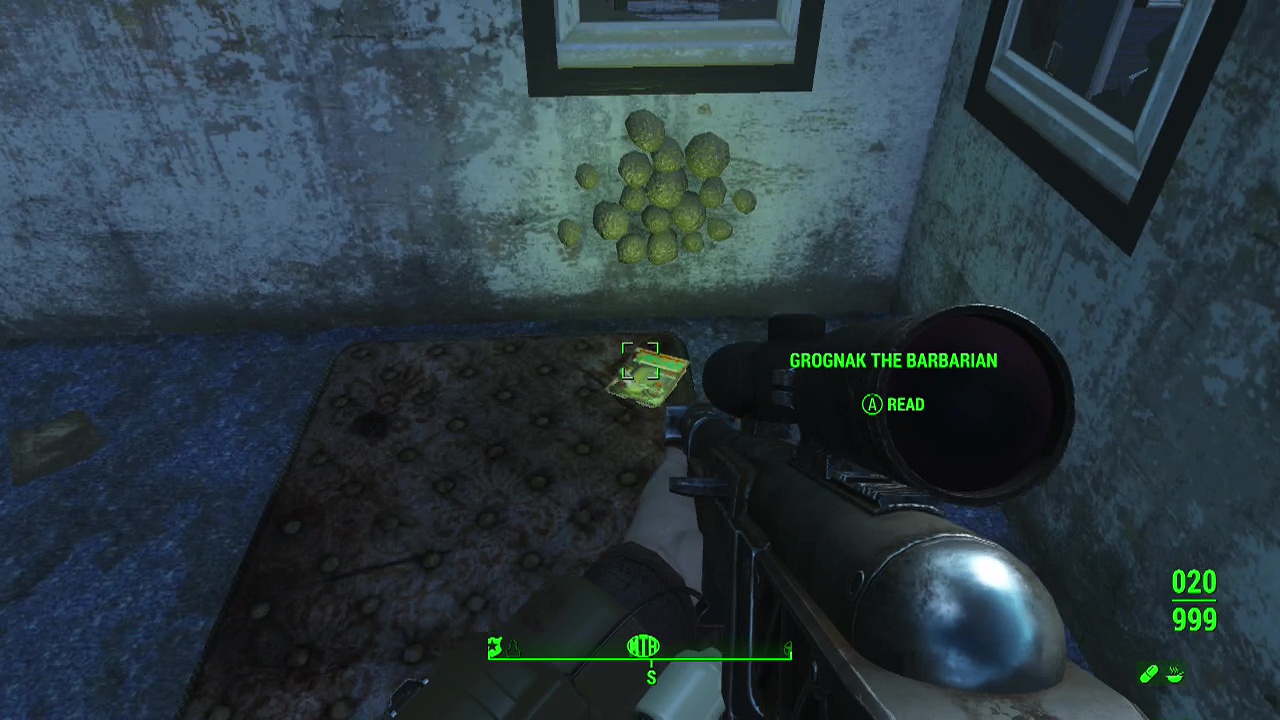
Boston Common – From the entrance to Park Street Station, turn to face West and look for the circular bandstand/ building nearby. Next to a skeleton here (and a large number of radioactive drums) you'll find the magazine.
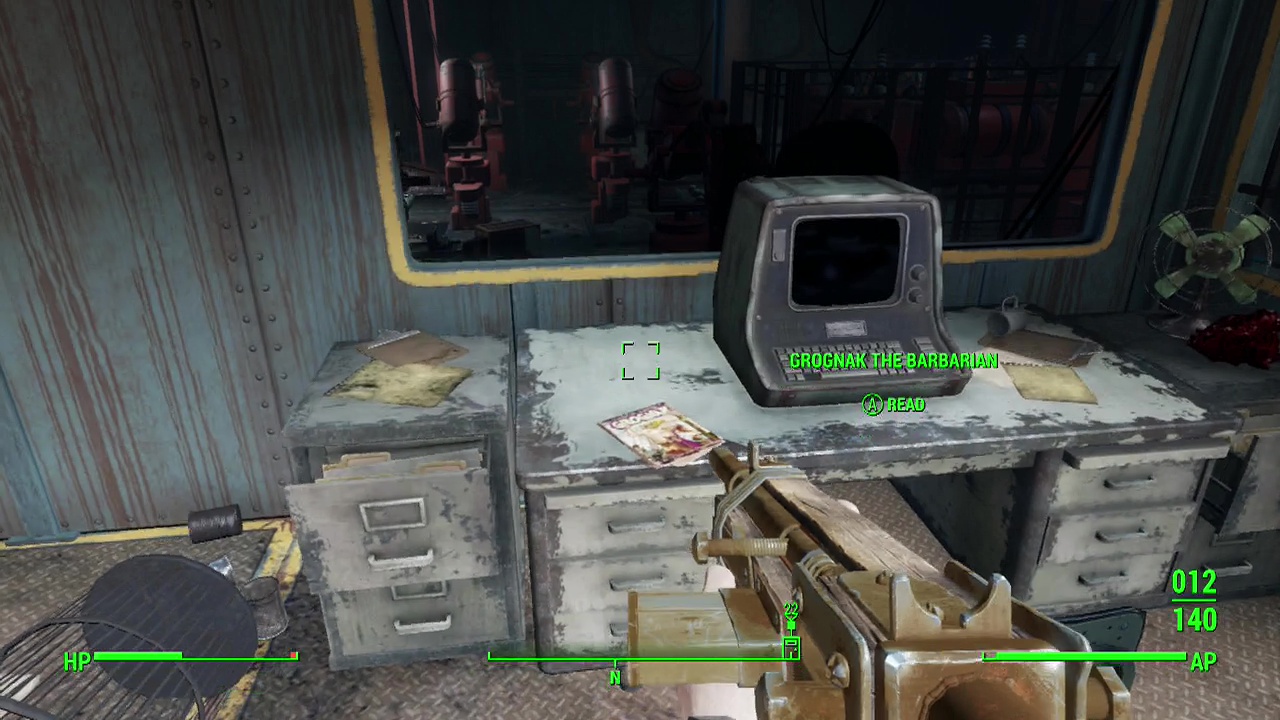
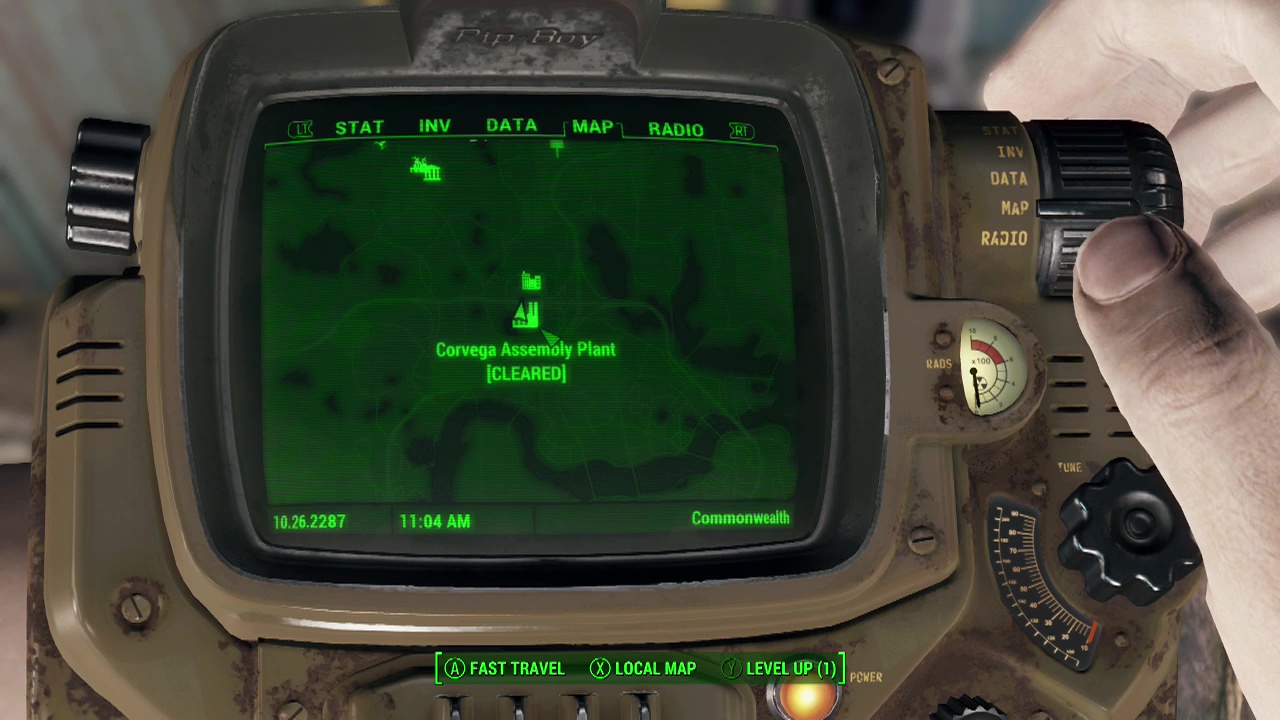
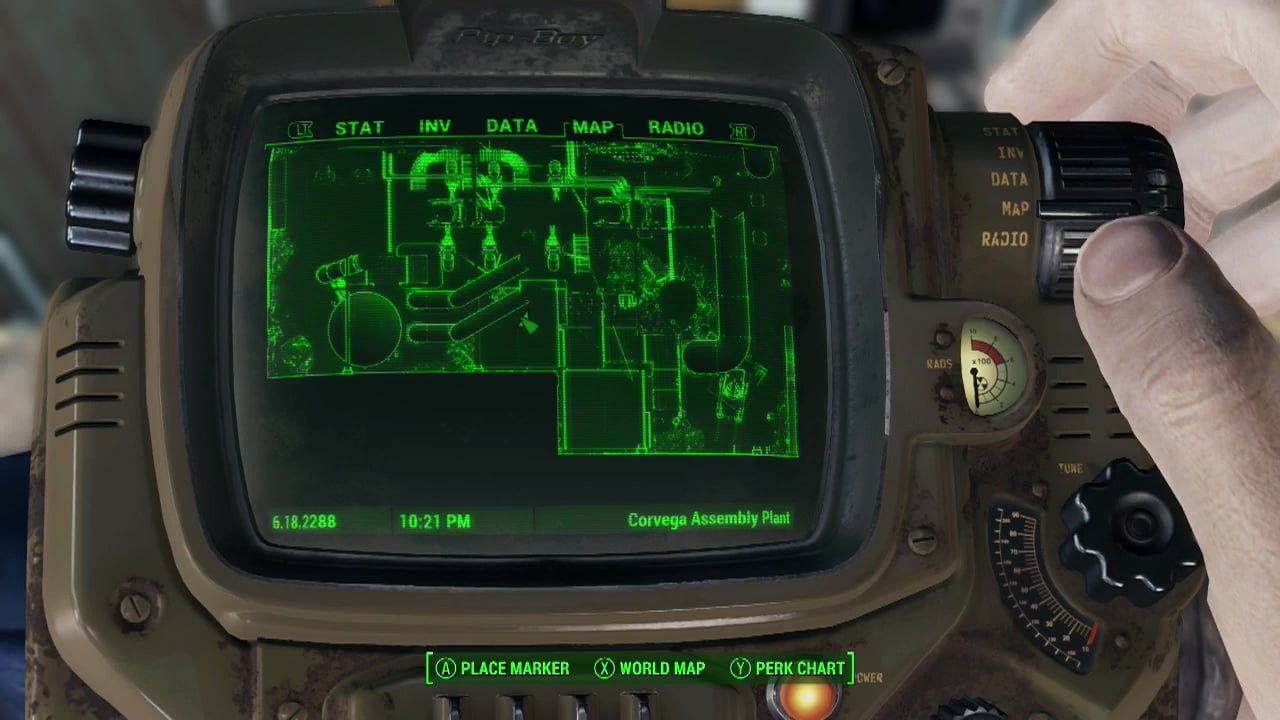
Corvega Assembly Plant – Found on a desk in the control area of the Corvega Assembly Plant. The desk is next to the raider leader during Minutemen Sidequest – The First Step.
House North of Andrew Station – From the Northernmost wall of the Raider Camp on top of Andrew Station, you will need to travel directly North to the second row of houses and look for one with a crashed bus sitting on top of it (third floor). A protectron and roaming Mr. Gutsy will likely be inside or out front as well. The magazine is sitting on a matress on the third floor.
Hyde Park – On a table behind a red leather chair next to the green loot crate on the rooftops where Scutter (gang leader) is holed up.

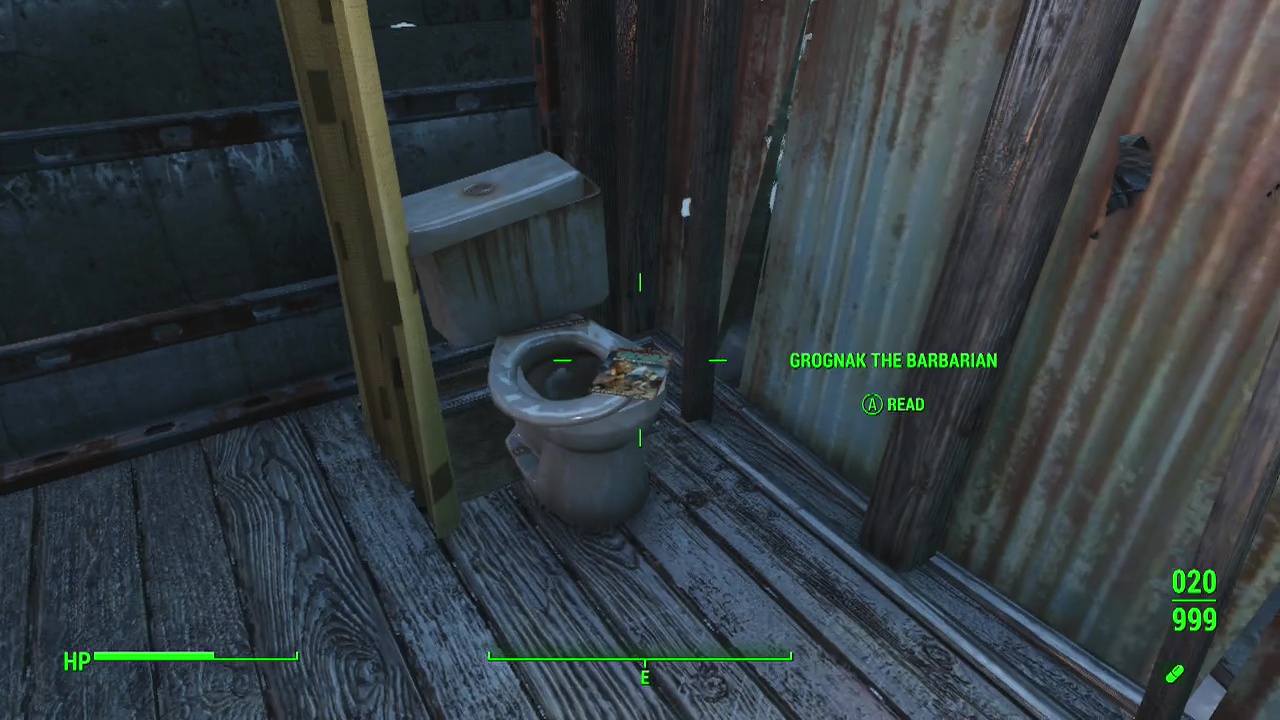
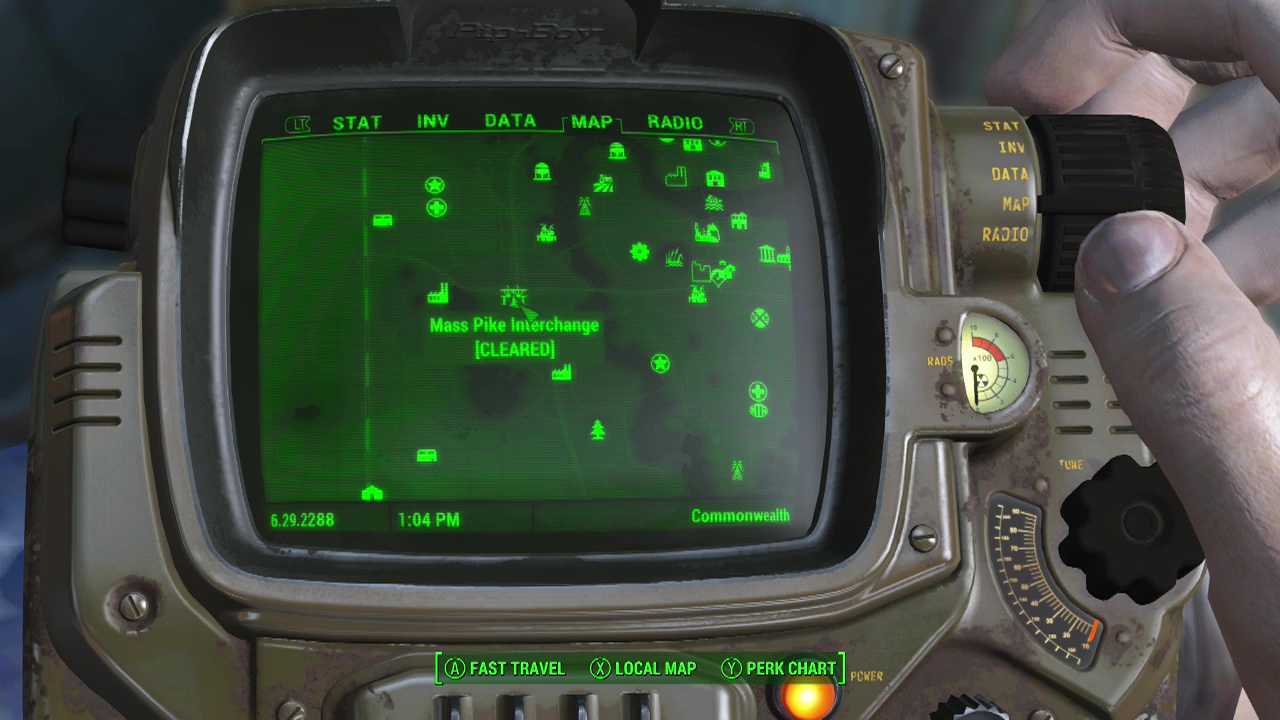
Mass Pike Interchange – You'll need to use the elevator on top of one of the shacks in the gunner camp below the Interchange to get up onto it. From here, head along it to the South until you reach a shack with a power armour station in front of it. Inside is the magazine on a toilet.

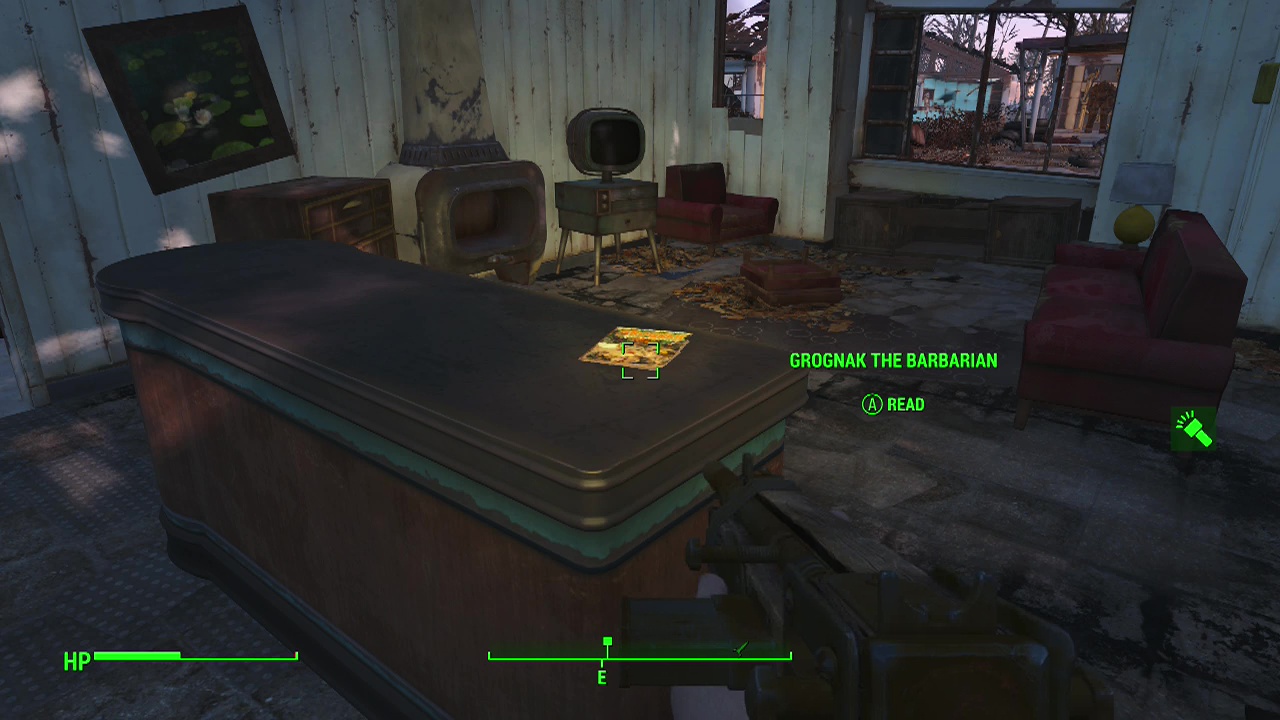
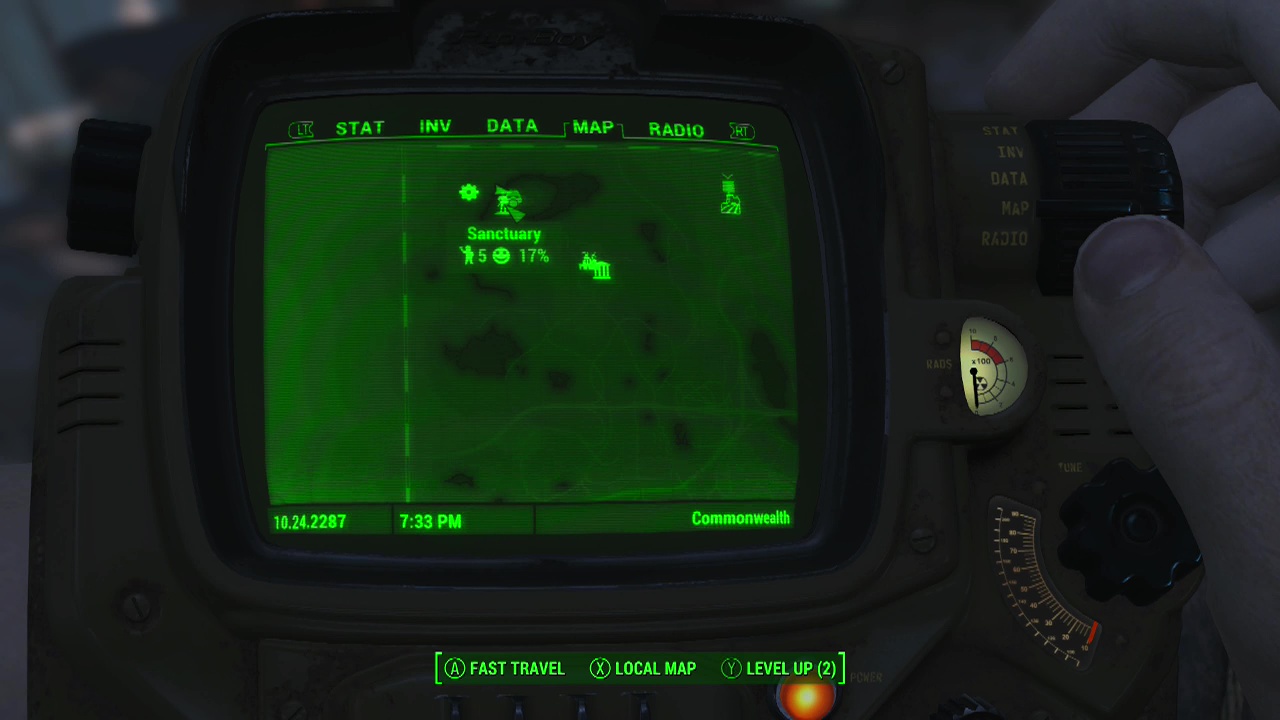
Sanctuary (Hills) – Found on the counter in your home (located in Sanctuary) after you emerge from vault 111 during Story Quest 02 – Out of Time.
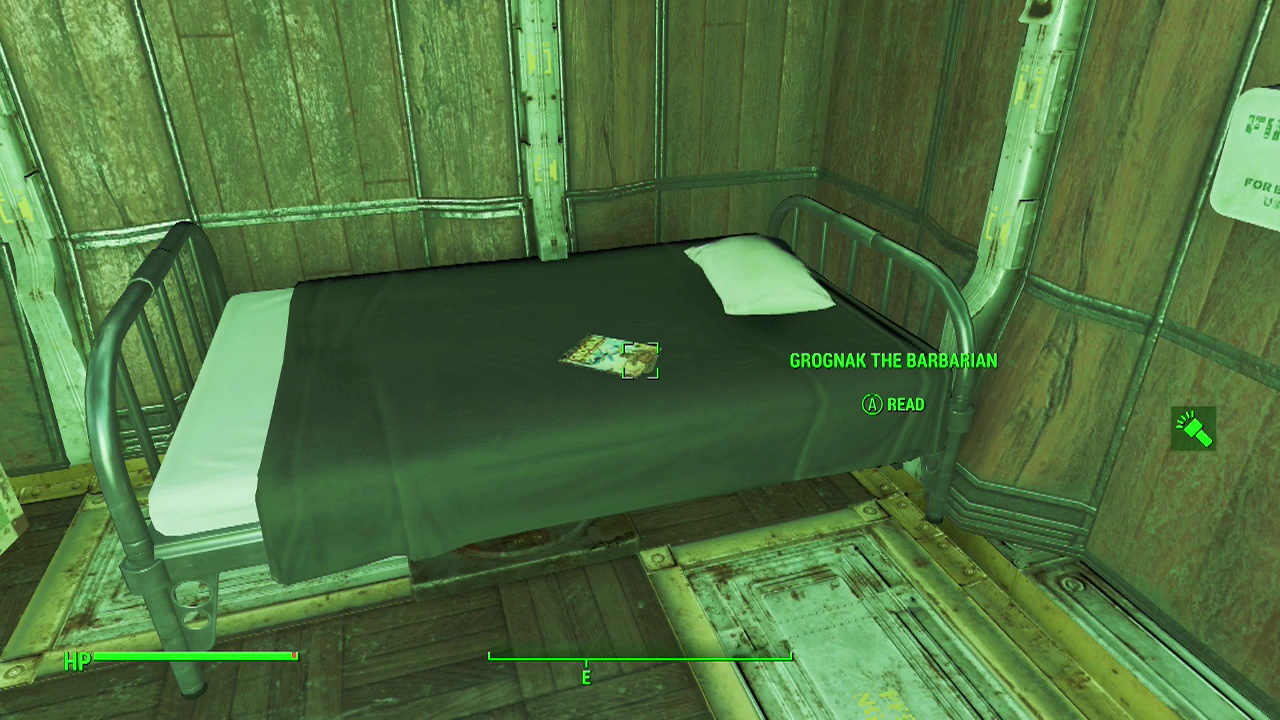
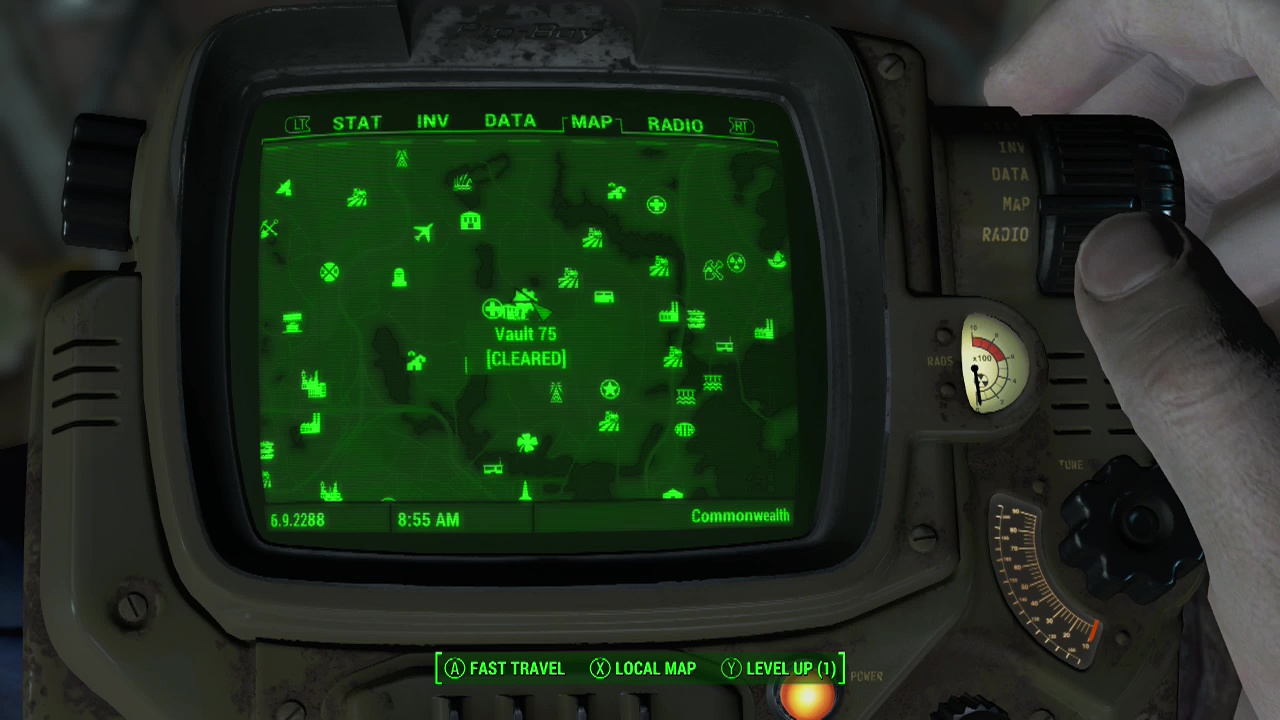
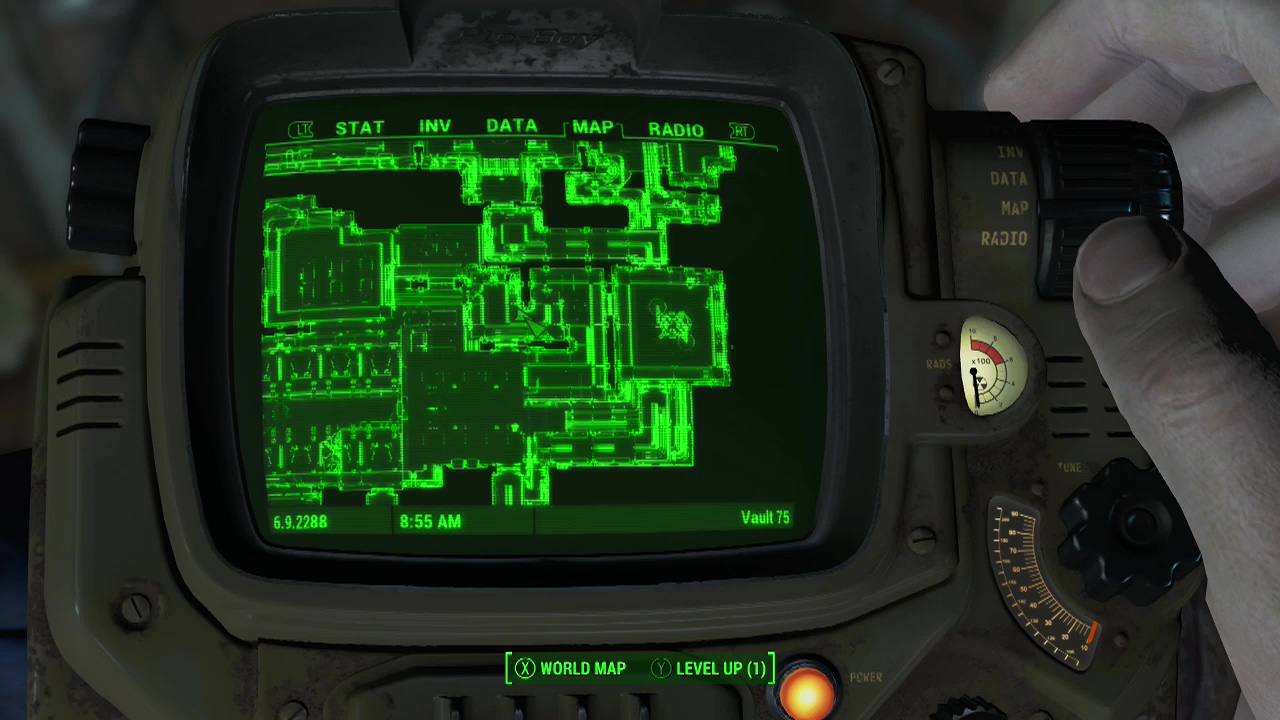
Vault 75 – On the bed in the Overseer's quarters
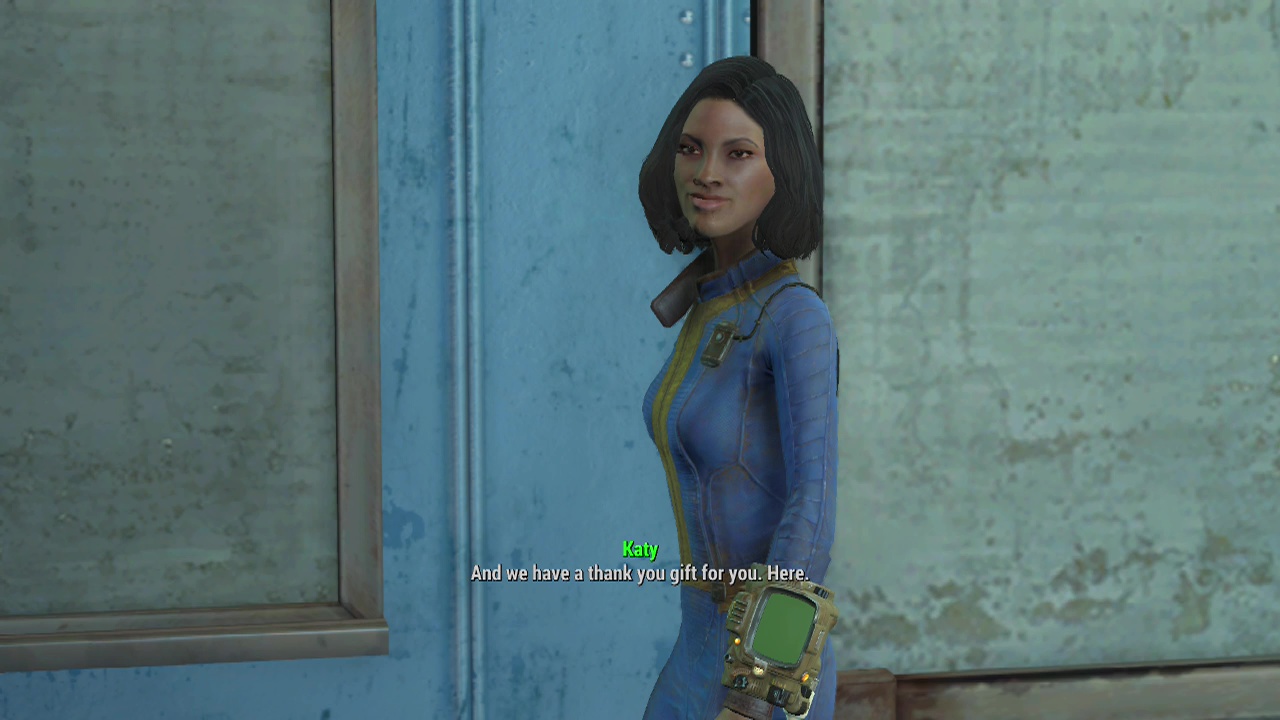
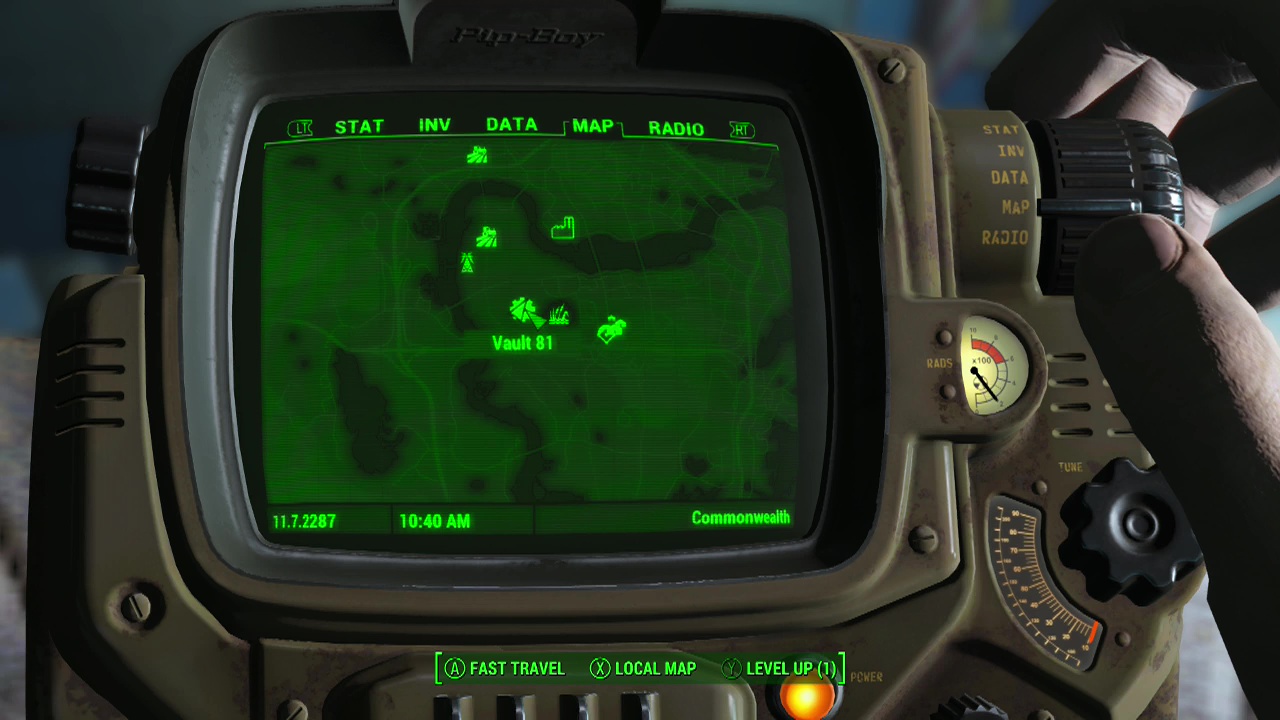
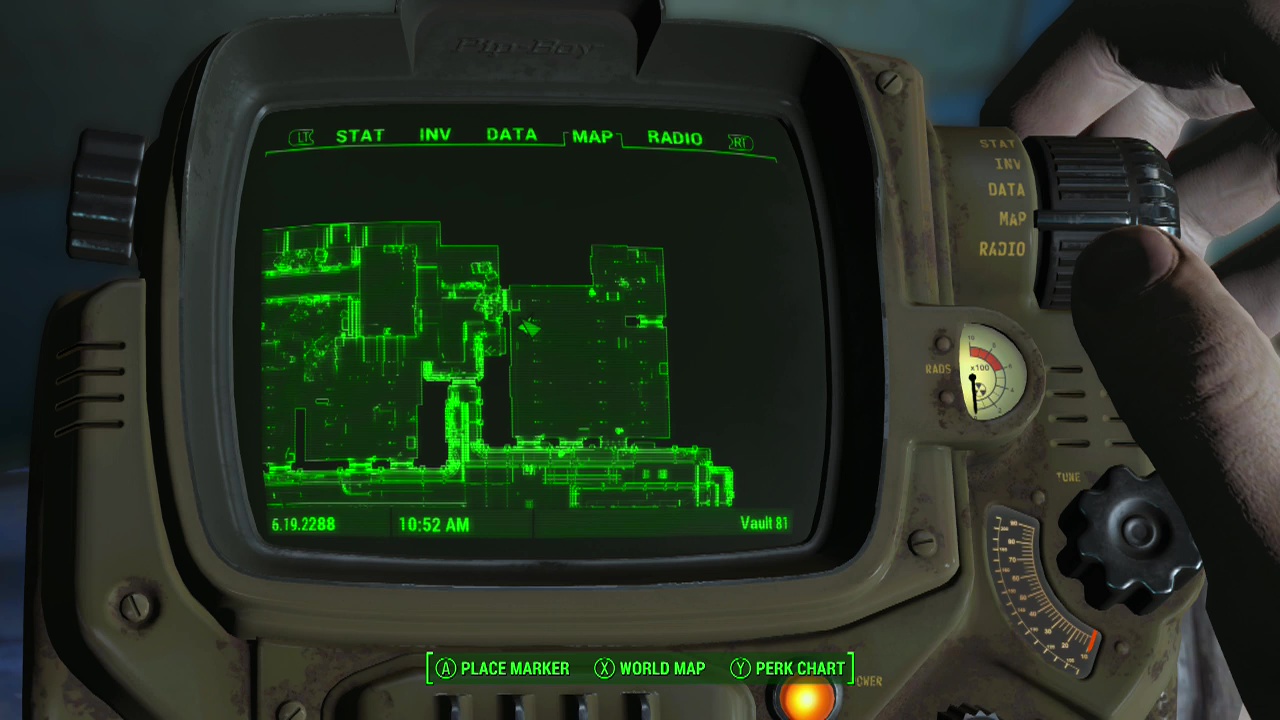
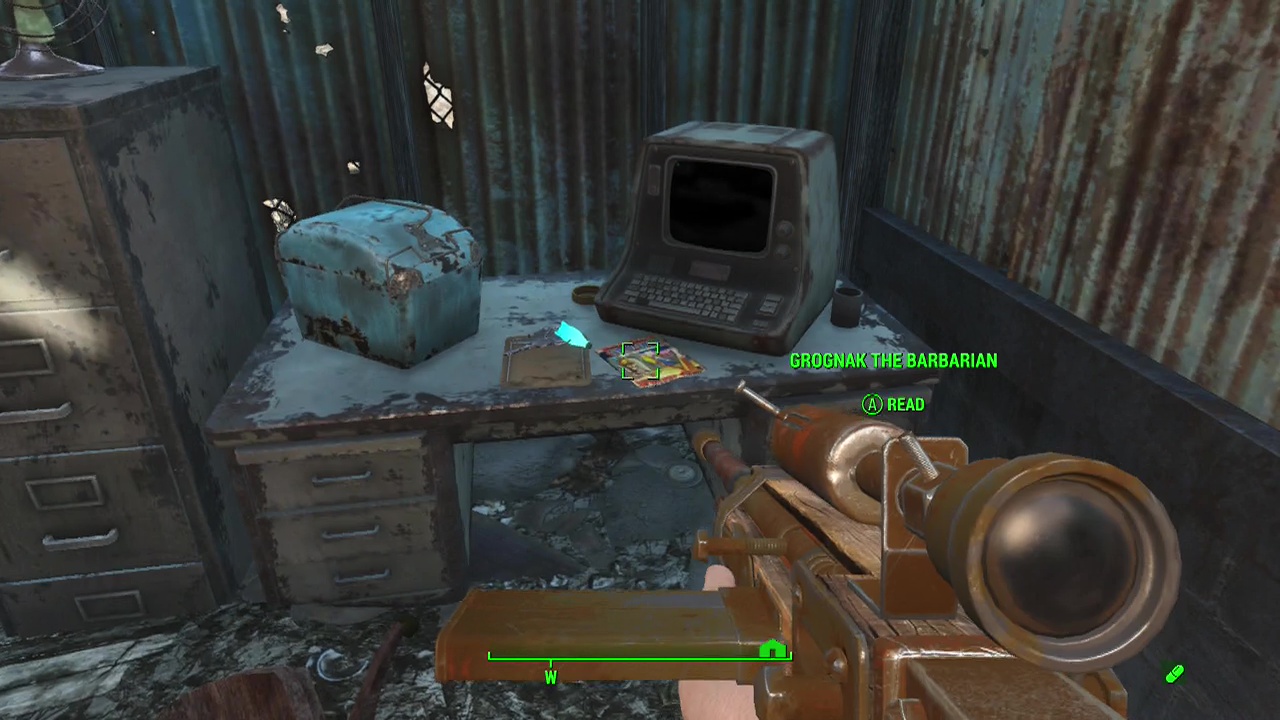
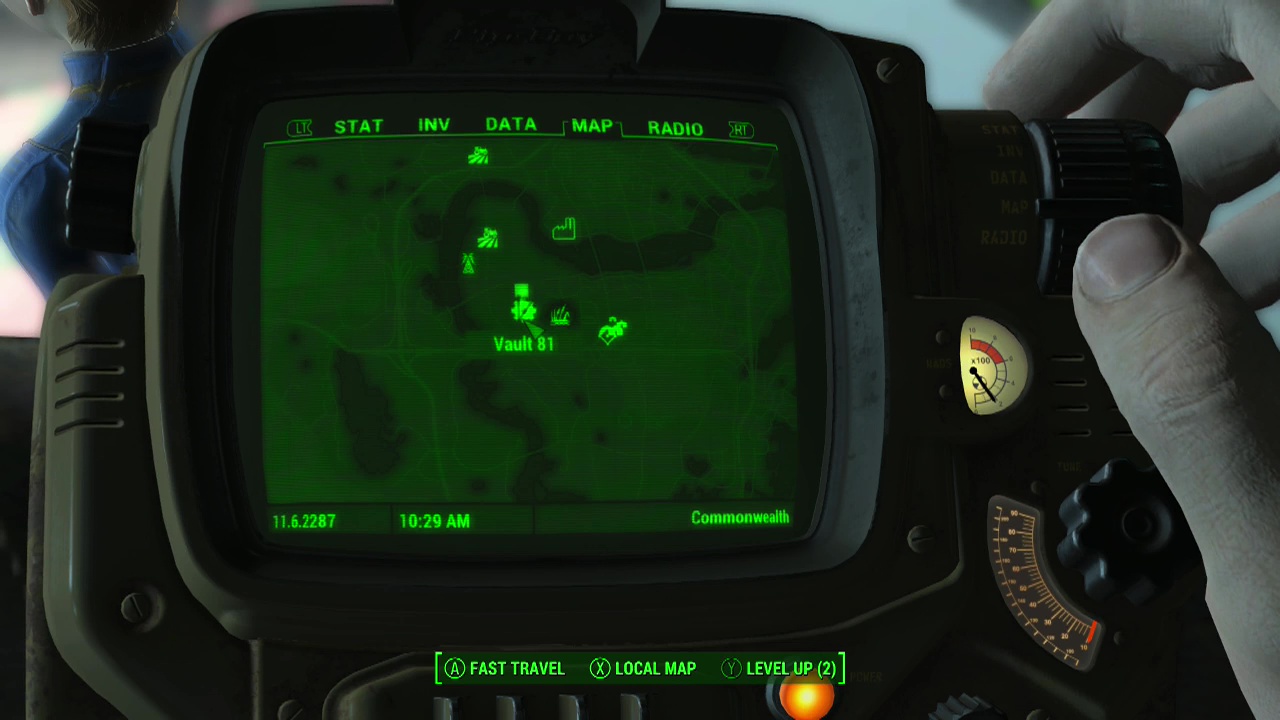
Vault 81 – Obtained from Katy during the sidequest Short Stories
Wicked Shipping Fleet Lockup – On the Southern side of the Northernmost building is a small office with the magazine next to the wicked shipping terminal and te wicked shipping trailer key.
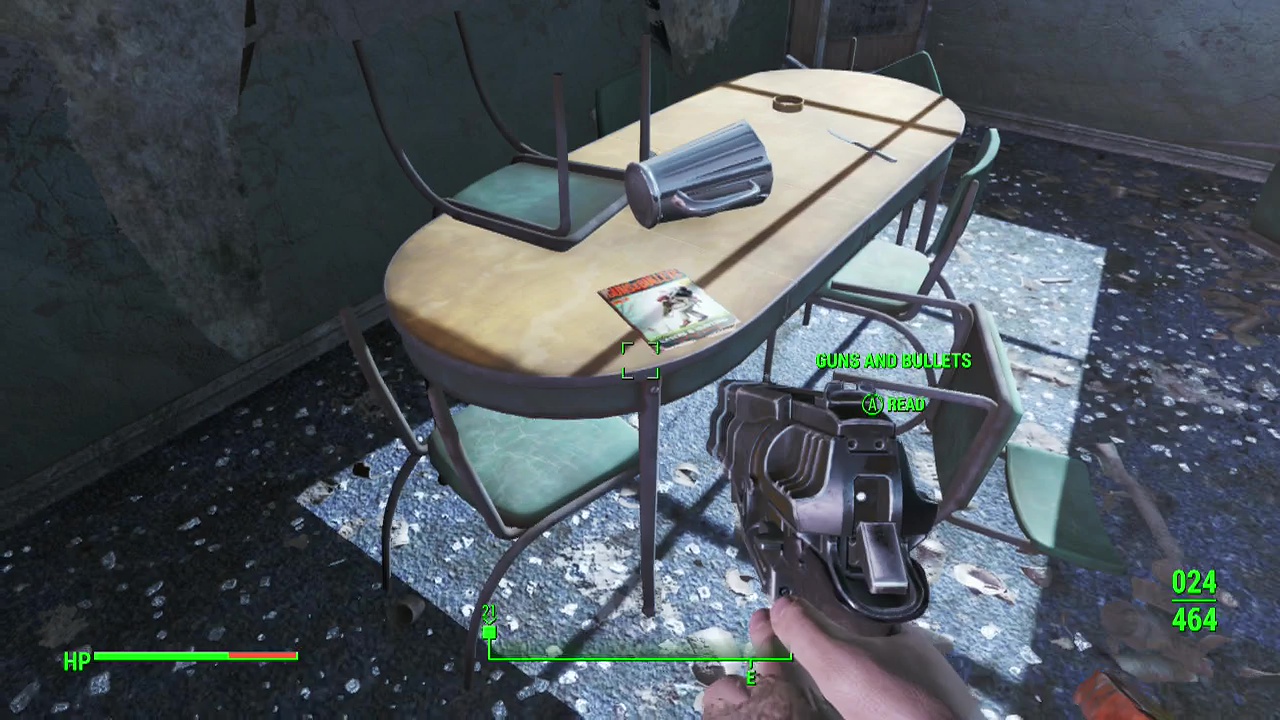
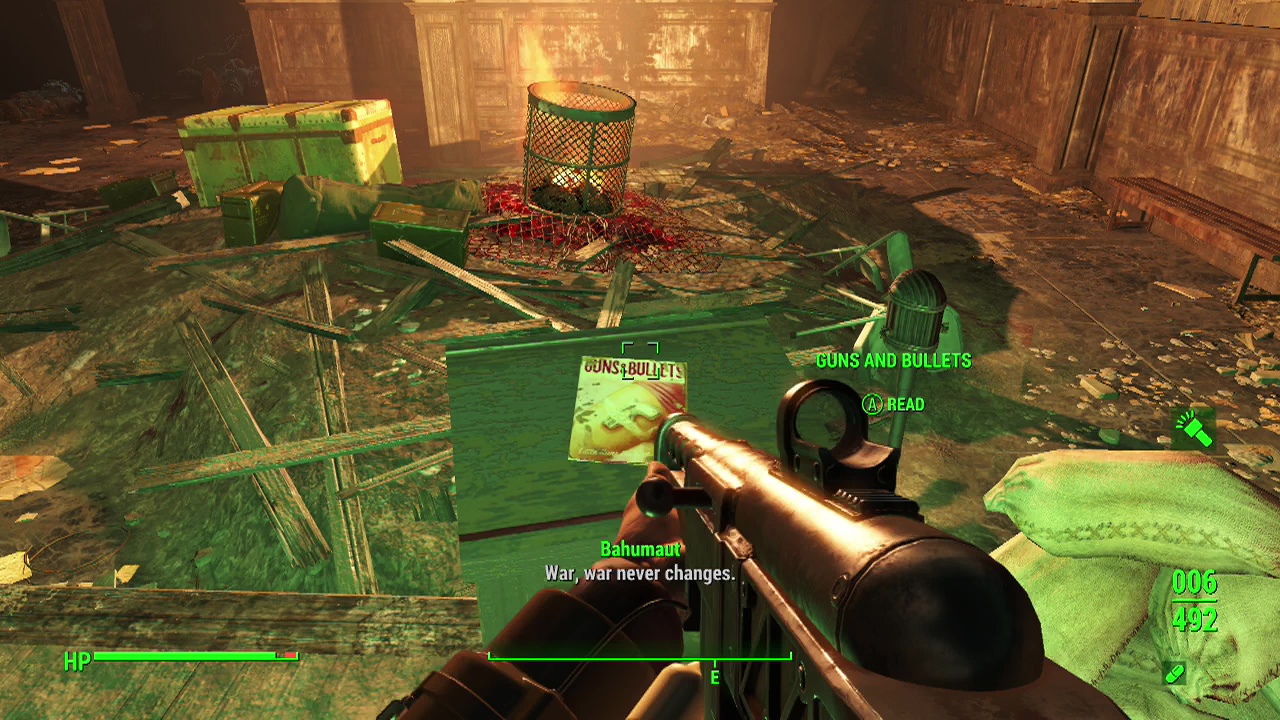
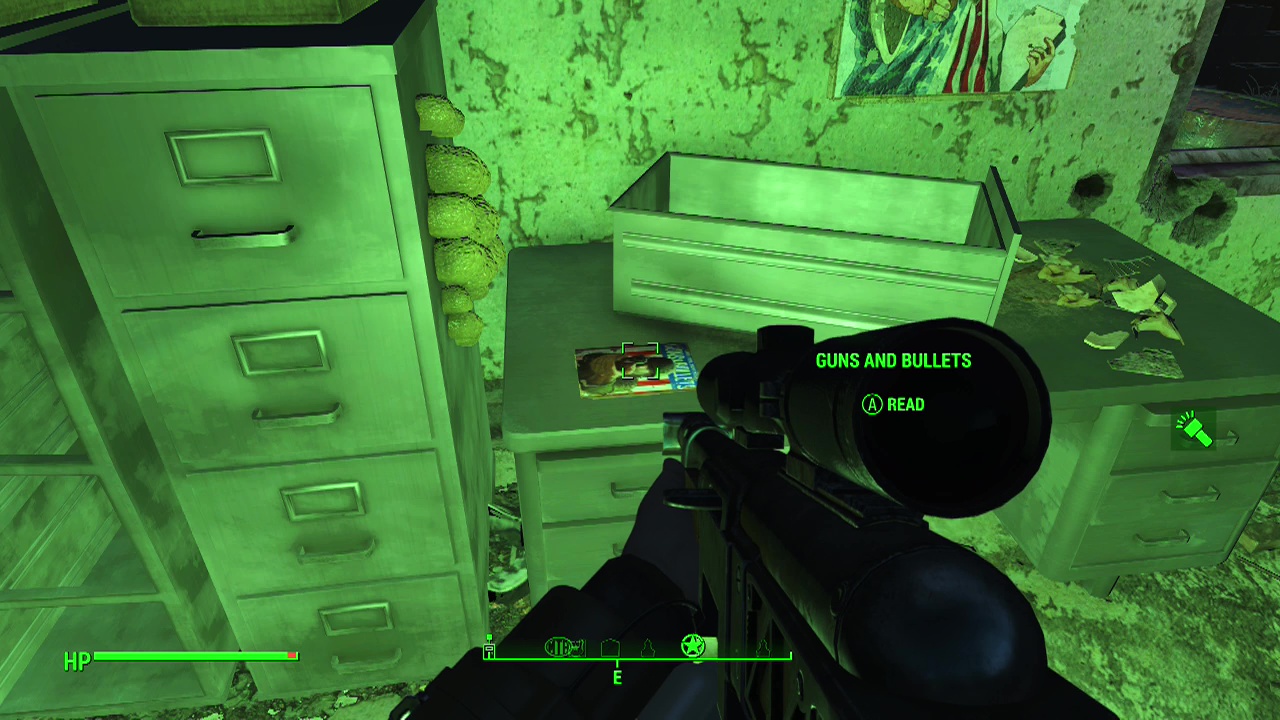
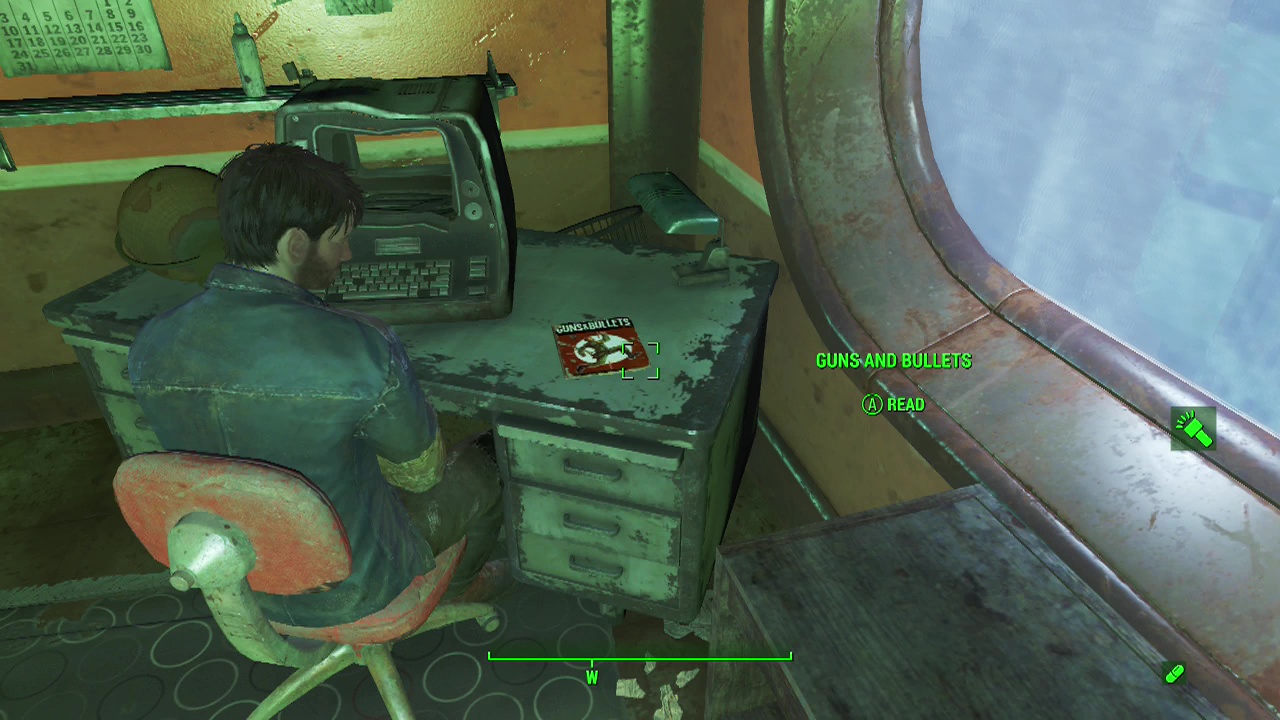
Guns and Bullets
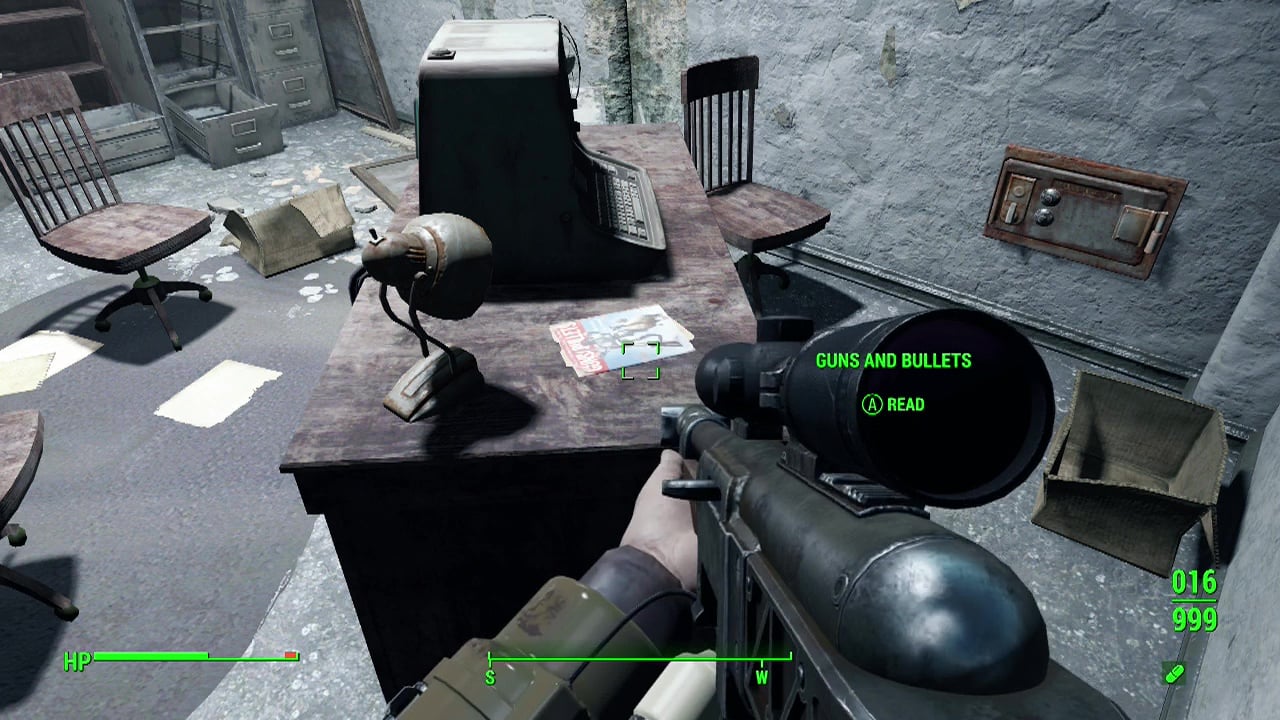
BADTFL Regional Office – Found in the chief's office sitting on his desk.
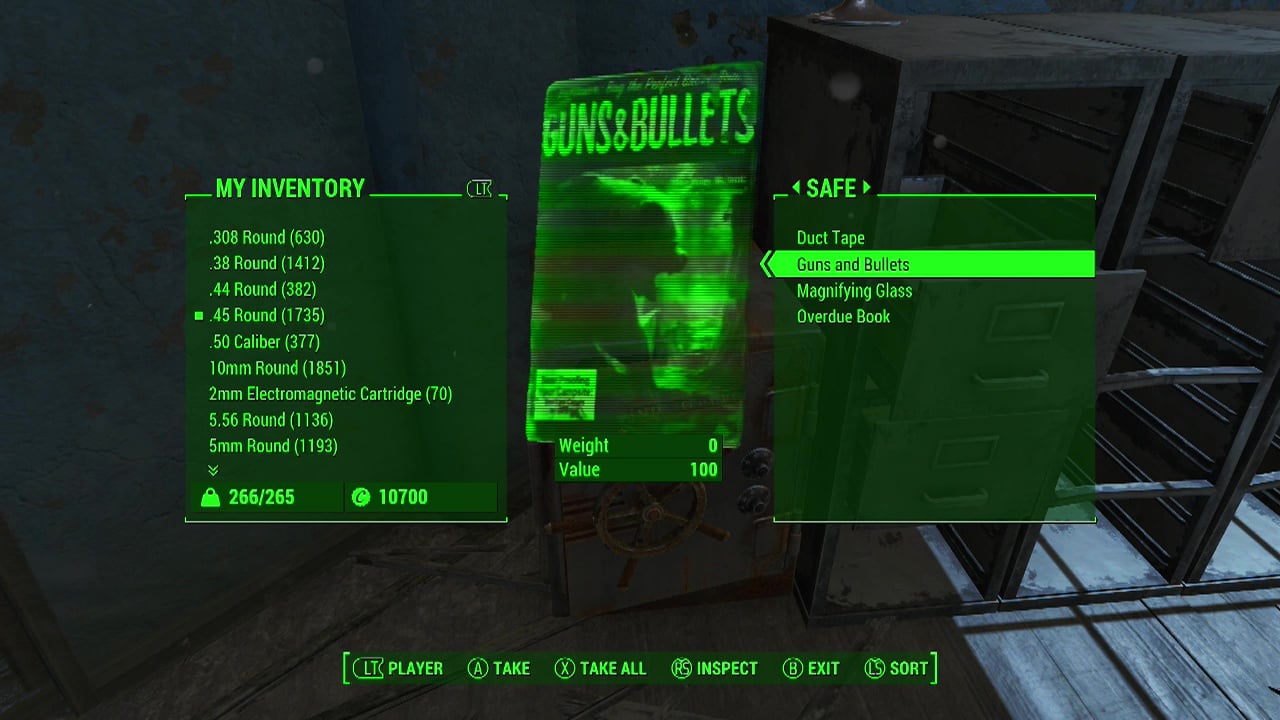
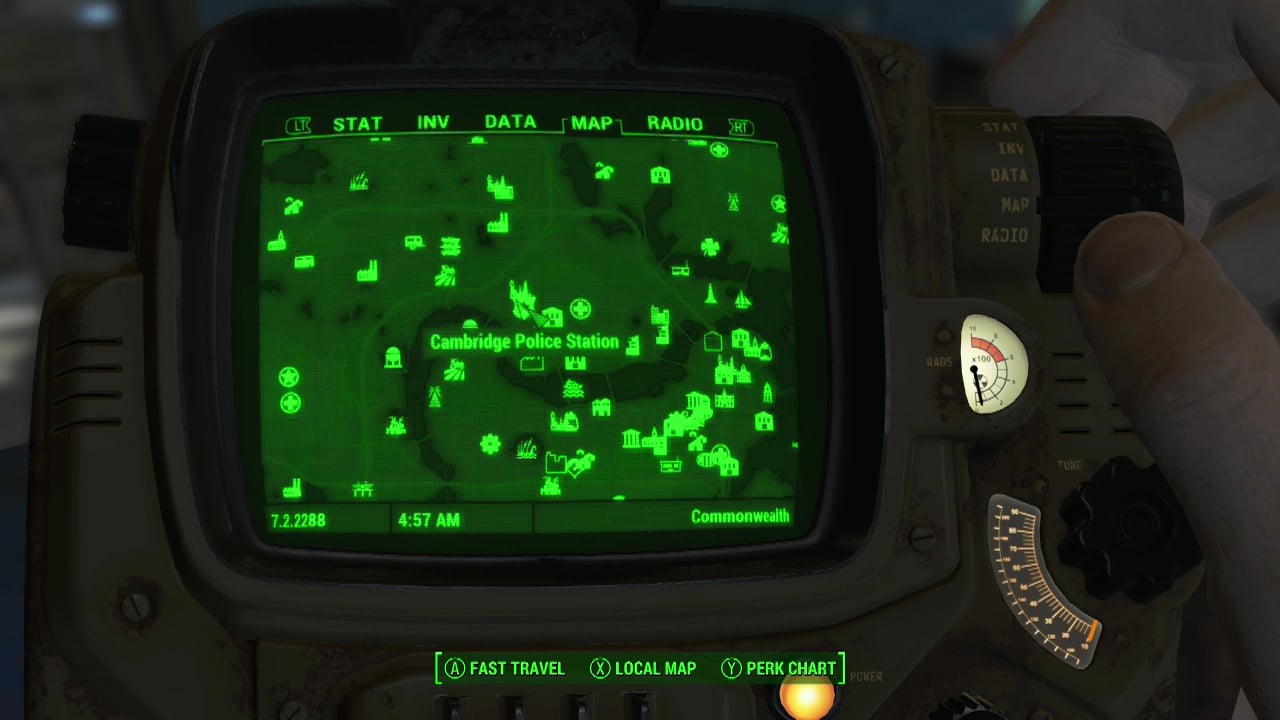
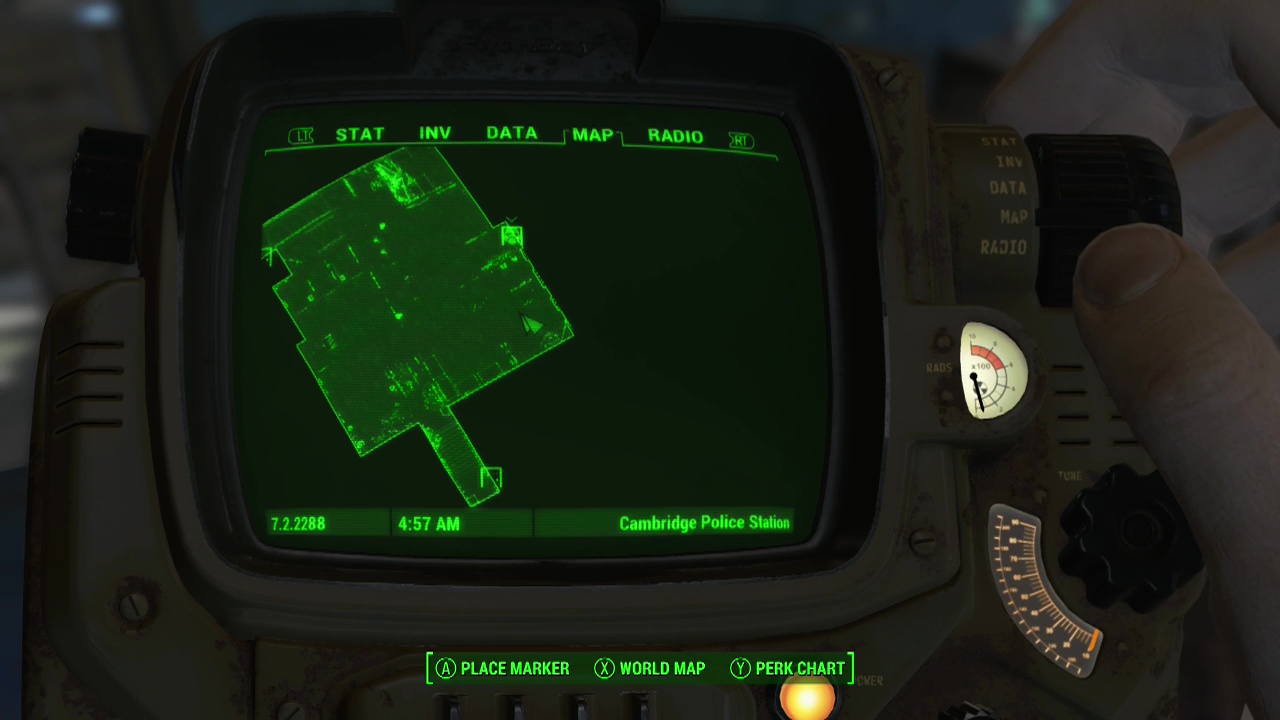
Cambridge Police Station – After completing the events in the Brotherhood of Steel questline to reinforce the police station, go to the chief's office and open the expert safe against the wall to find it inside (you can also use the terminal nearby to unlock it). If you looted the safe before the police station was reinforced, it will be refilled with the guns and bullet magazine added.
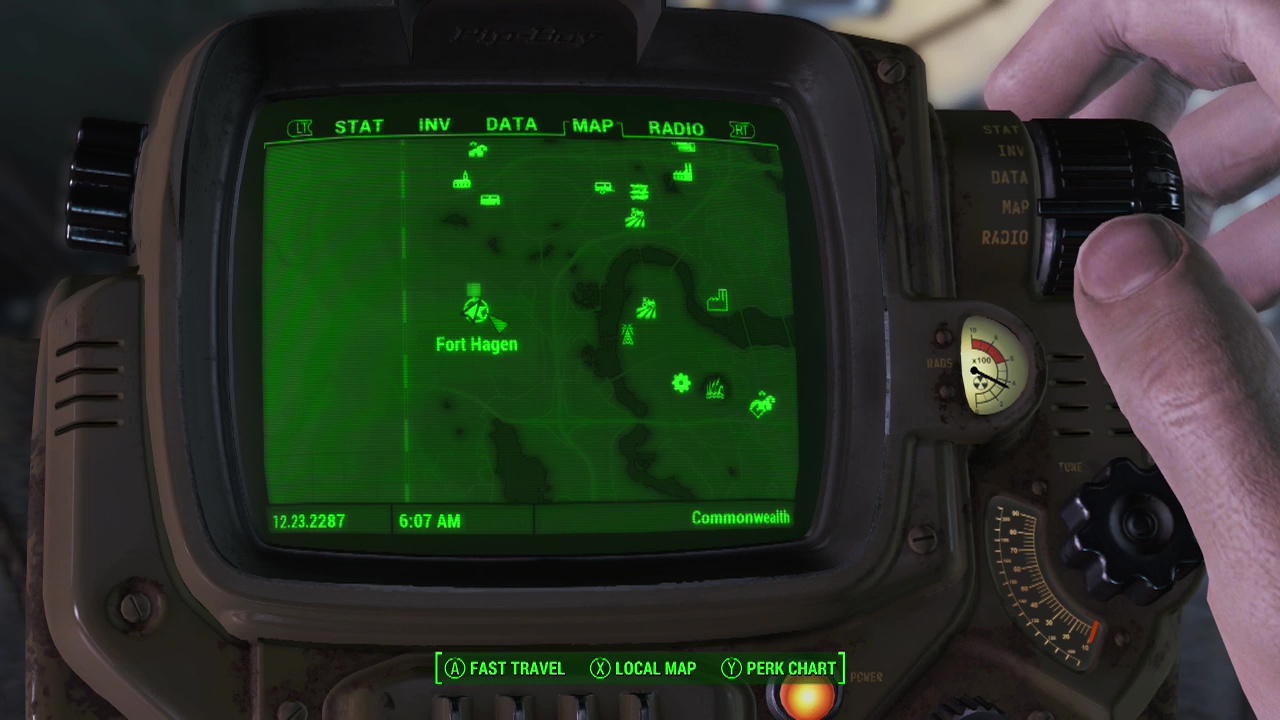
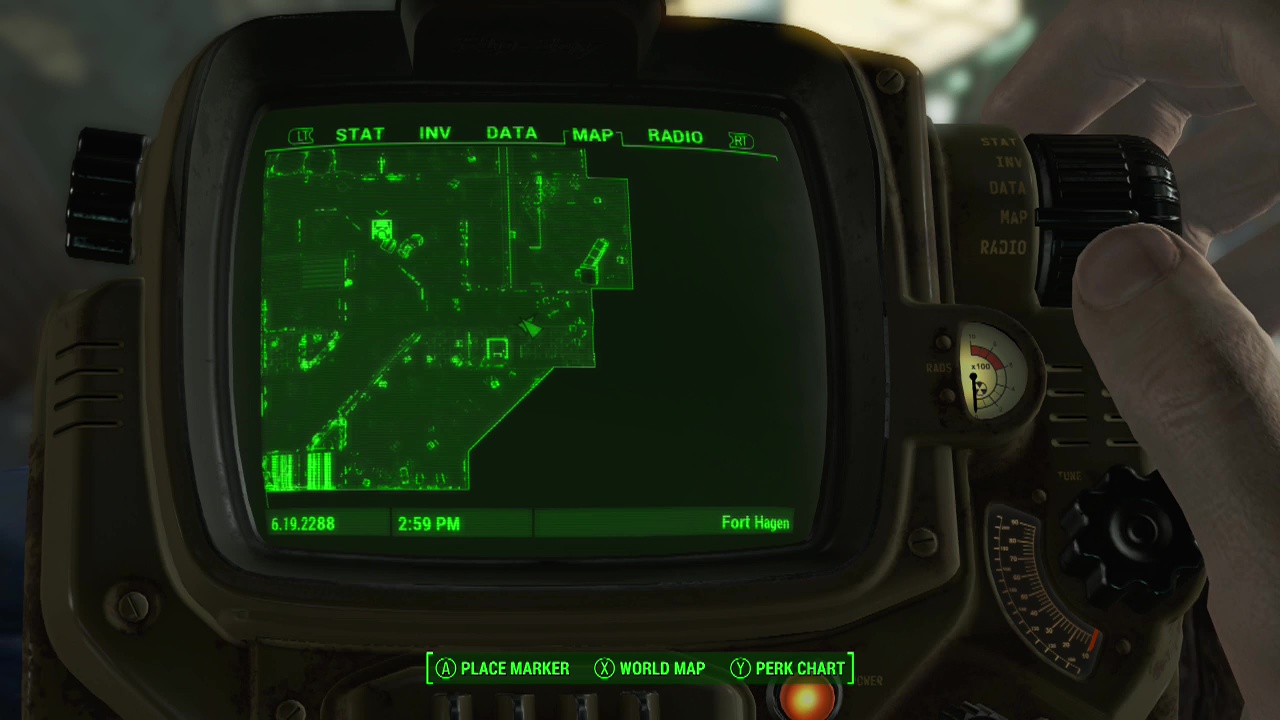
Fort Hagen – On a table in the cafeteria/ food area on the top floor (not in the command center, the initial area you visit).
Fraternal Post 115 – In the central room on the lectern where Dead Eye (supermutant) is guarding the green loot chest. Be careful of the five super mutant ambush that triggers when you attack.
Gunners Plaza – Enter through the main doors on the front of the building, fighting your way through the gunners. Find your way to the stairs leading up to the second floor in the South-West corner. Take the lone hallway at the top of the stairs until you reach a large balcony. The door to the south leads to a room with three lounges and the magazine on a coffee table.

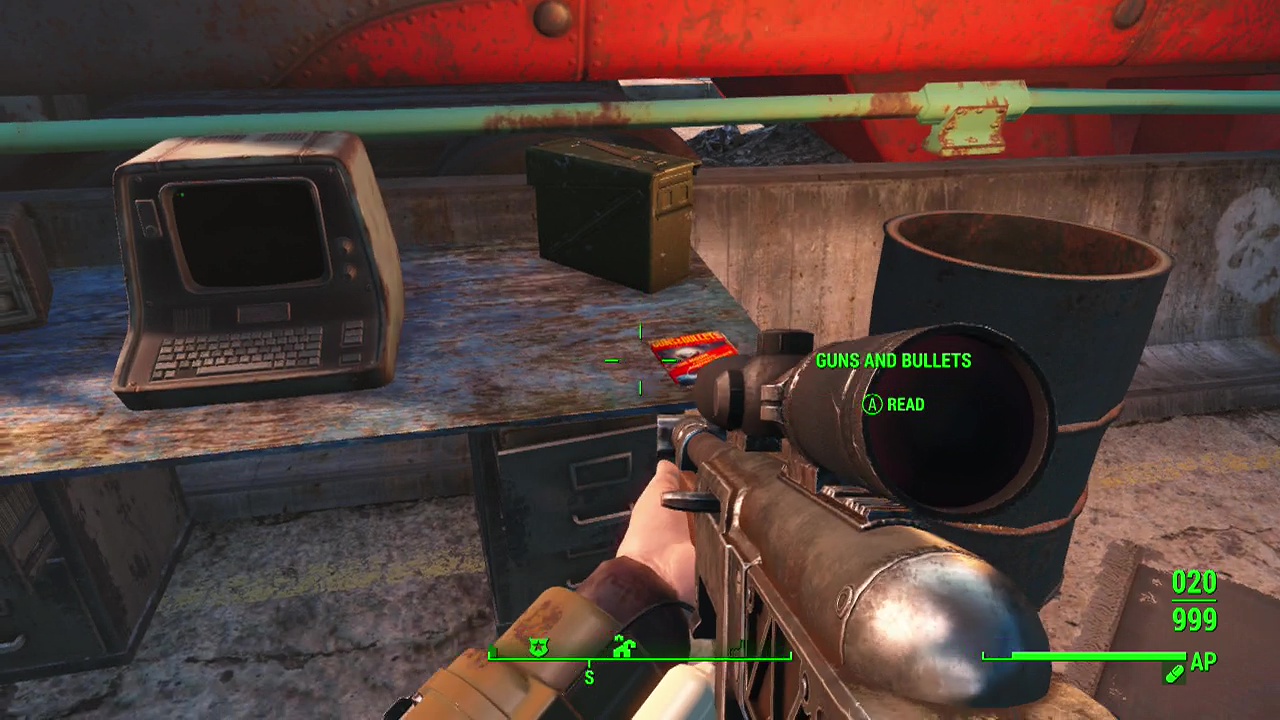
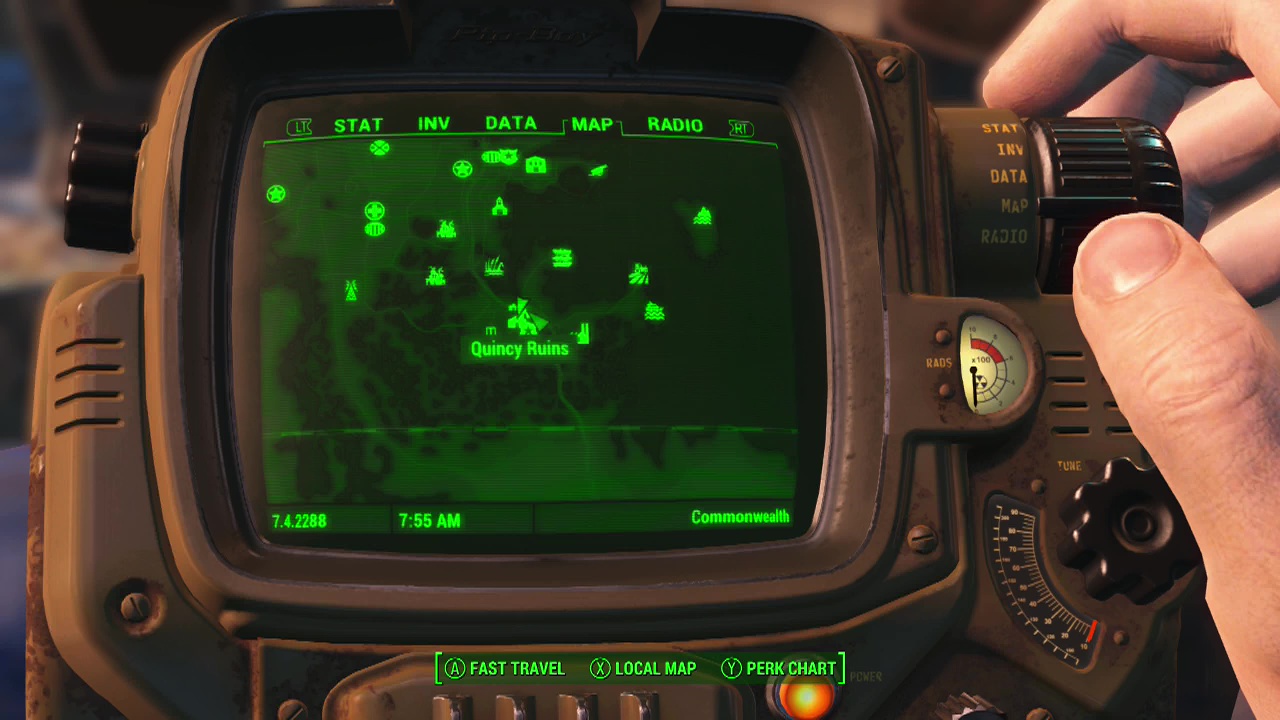
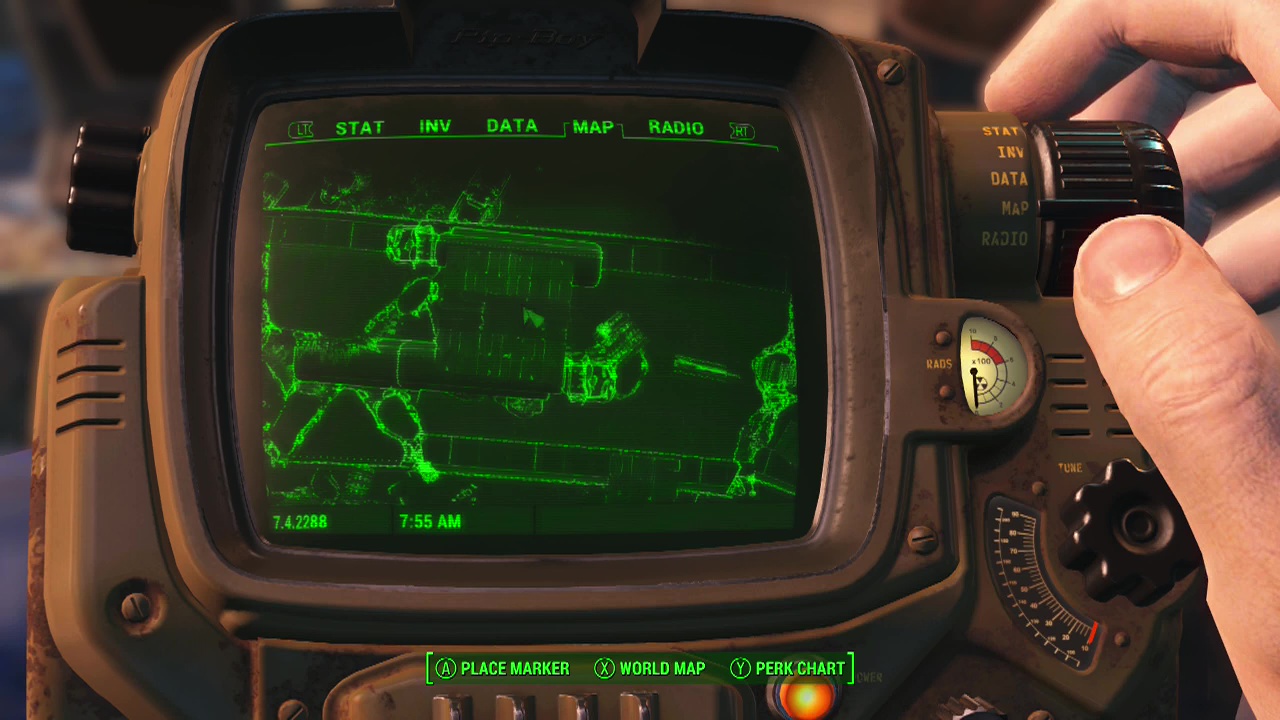
Quincy Ruins – On the raised freeway where the gunners have made their camp. You'll need to use the ramps leading up from the roof of the church (or other rooftops) to reach the freeway and then climb up to the highest area where two trucks are side by side. Here you'll find a terminal on a desk with the magazine beside it. Be extremely careful as you deal with the high level enemies in this area as they use (depending on your level) missile launchers and power armour (and even cloaking assaultrons).
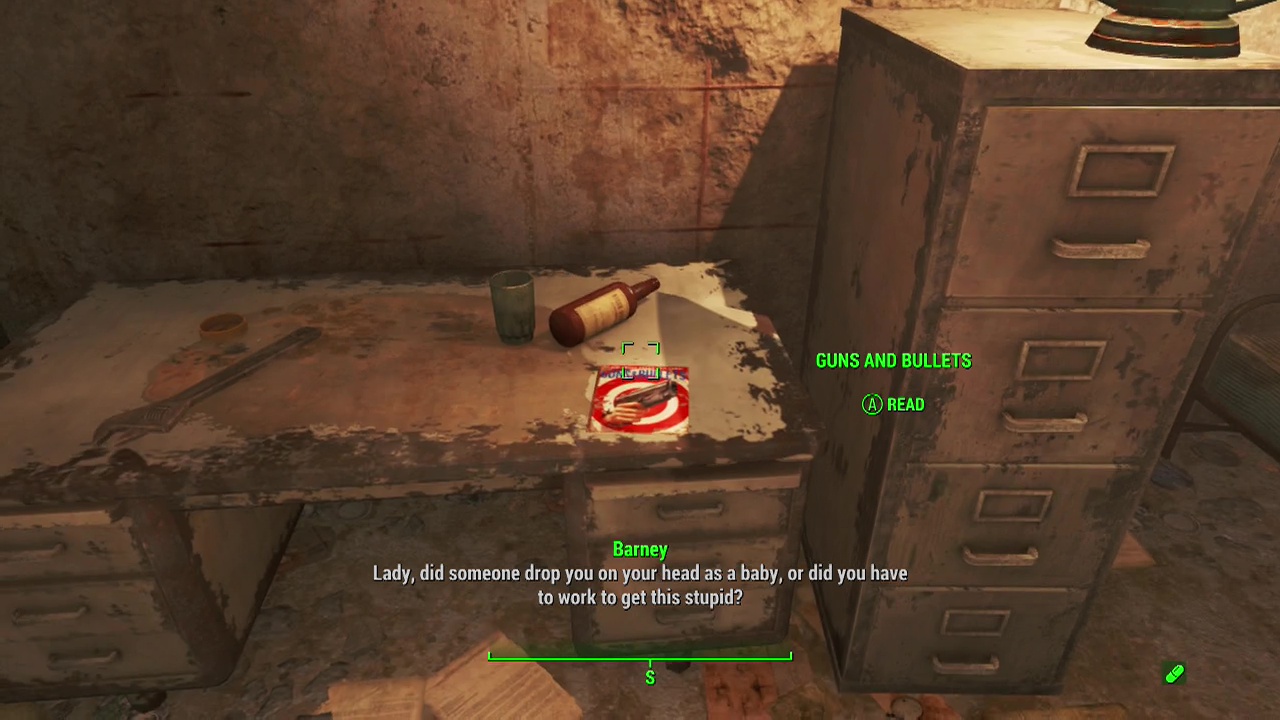
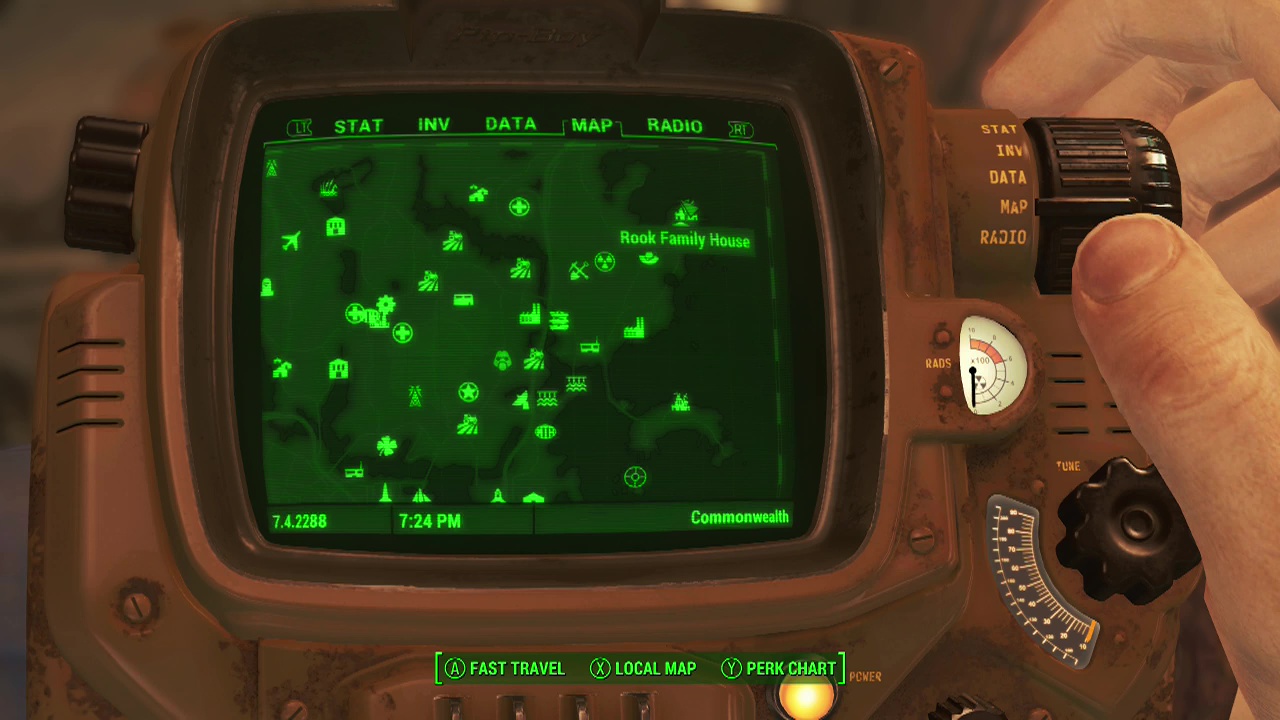
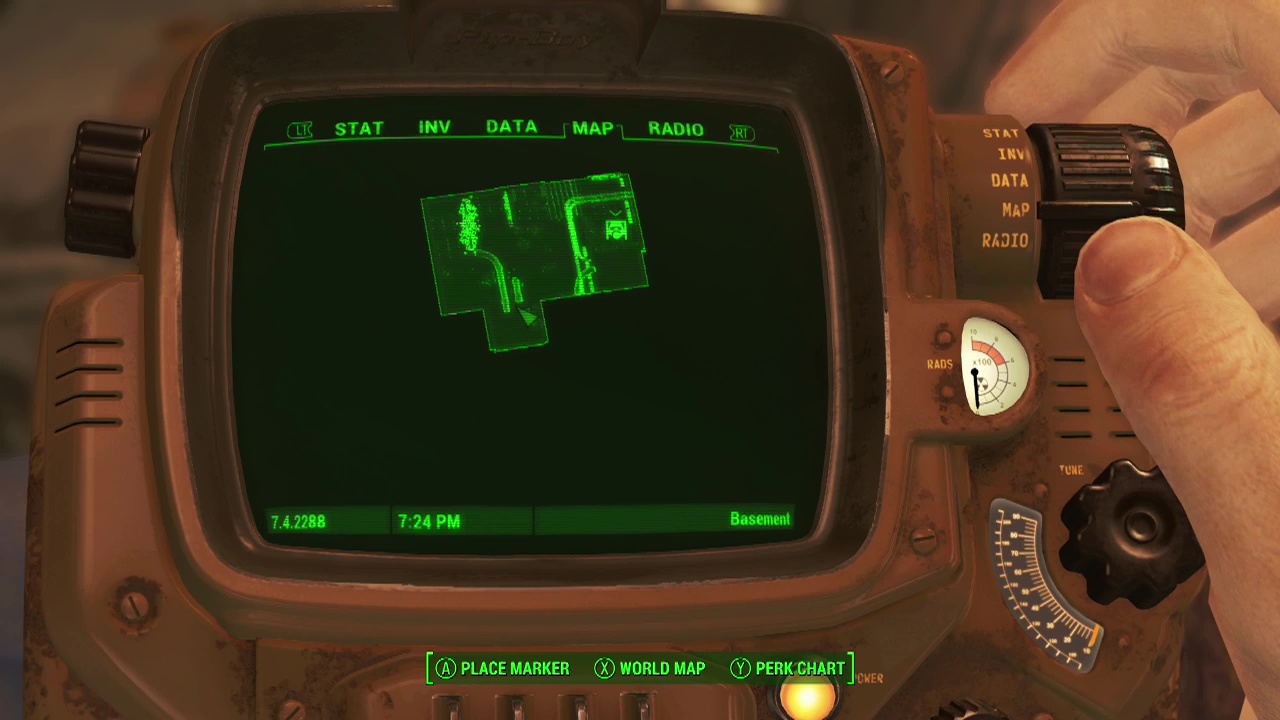
Rook Family House – When you arrive, you'll find the house inaccessible. A miscellaneous quest will trigger, requiring you to kill three nearby mirelurks. When Barney (on the roof of the house) sees you finish them off, he'll invite you inside and open the gate for you. Once you are in, follow him down into the basement and you'll find the magazine on a counter inside.
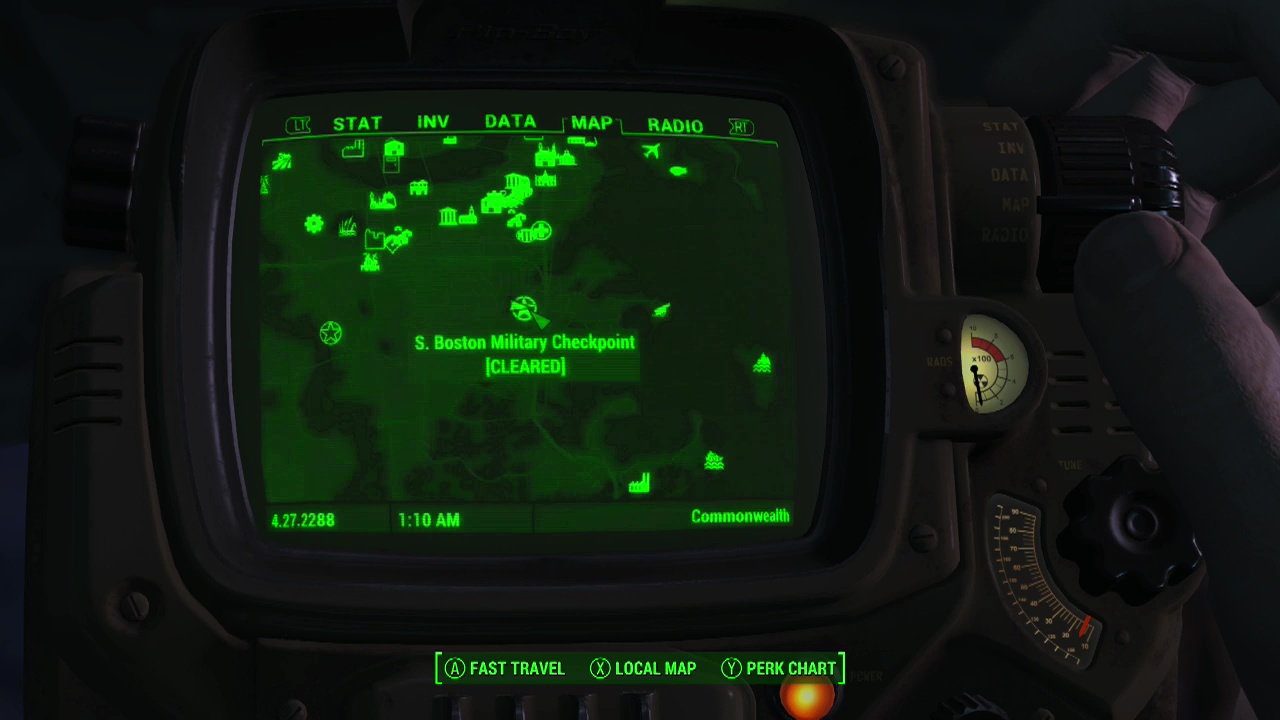
South Boston Military Checkpoint – Walk in and pick it up off the desk against the wall.
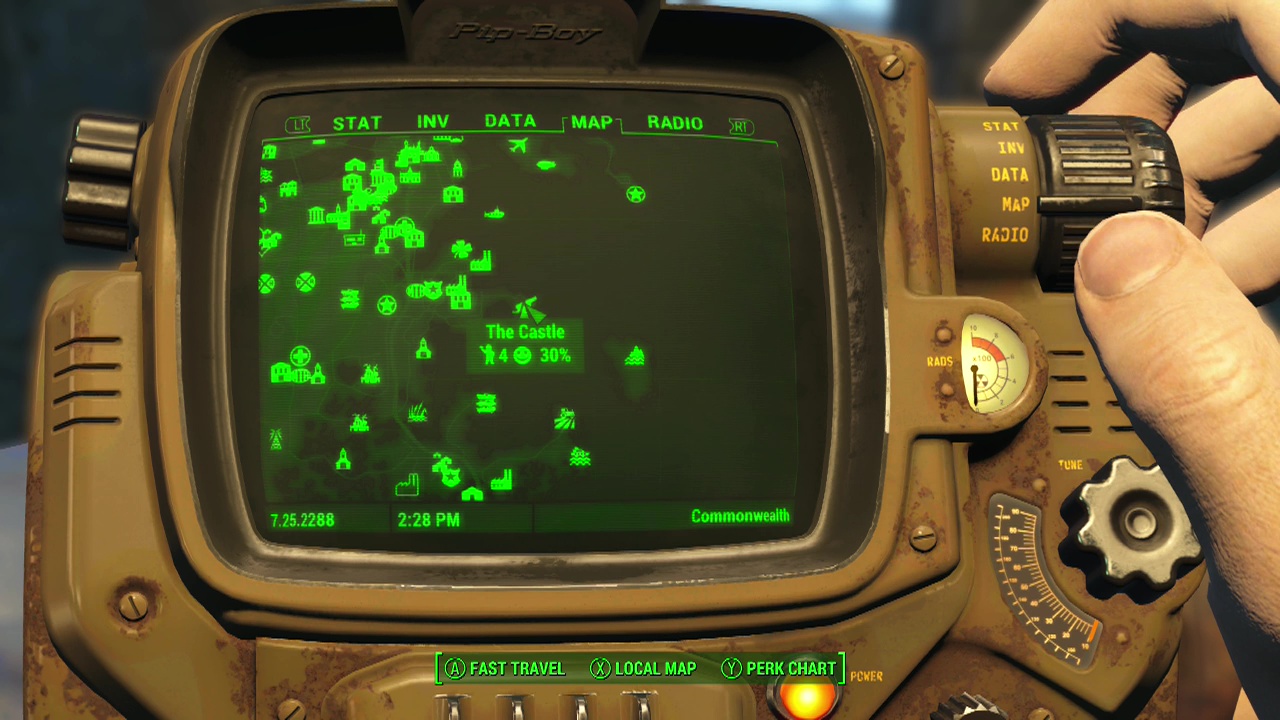
The Castle – On a table beside the radio antennae in the center of the courtyard

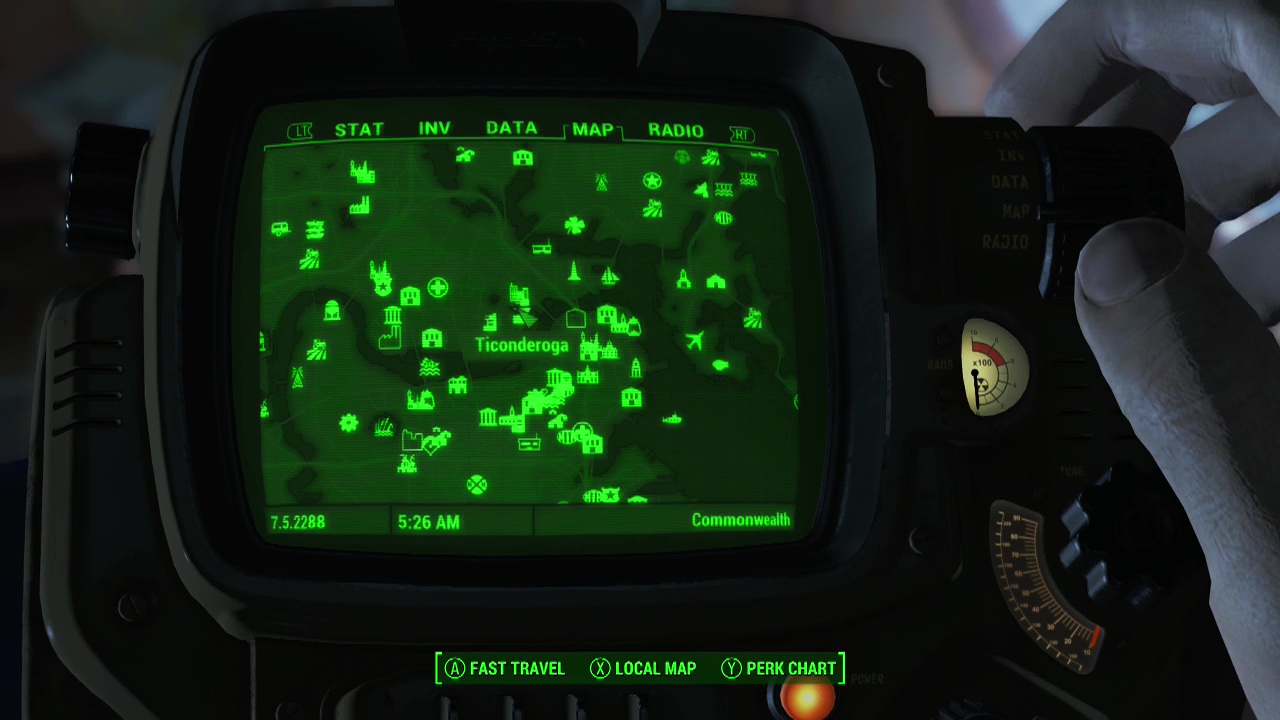
Ticonderoga – This area is split into the safehouse section at the top of the building (two renovated levels used by the railroad and acessed by an elevator on the ground floor) and several underground levels. Depending on your relationship with The Railroad, you may already have met High Rise and have access to the upper levels. If not, you'll need to descend to the lowest level of the building and use the terminal to open it up. When the way up is available, take the elevator and climb up the stairs. You'll find the magazine on a desk on the topmost floor.

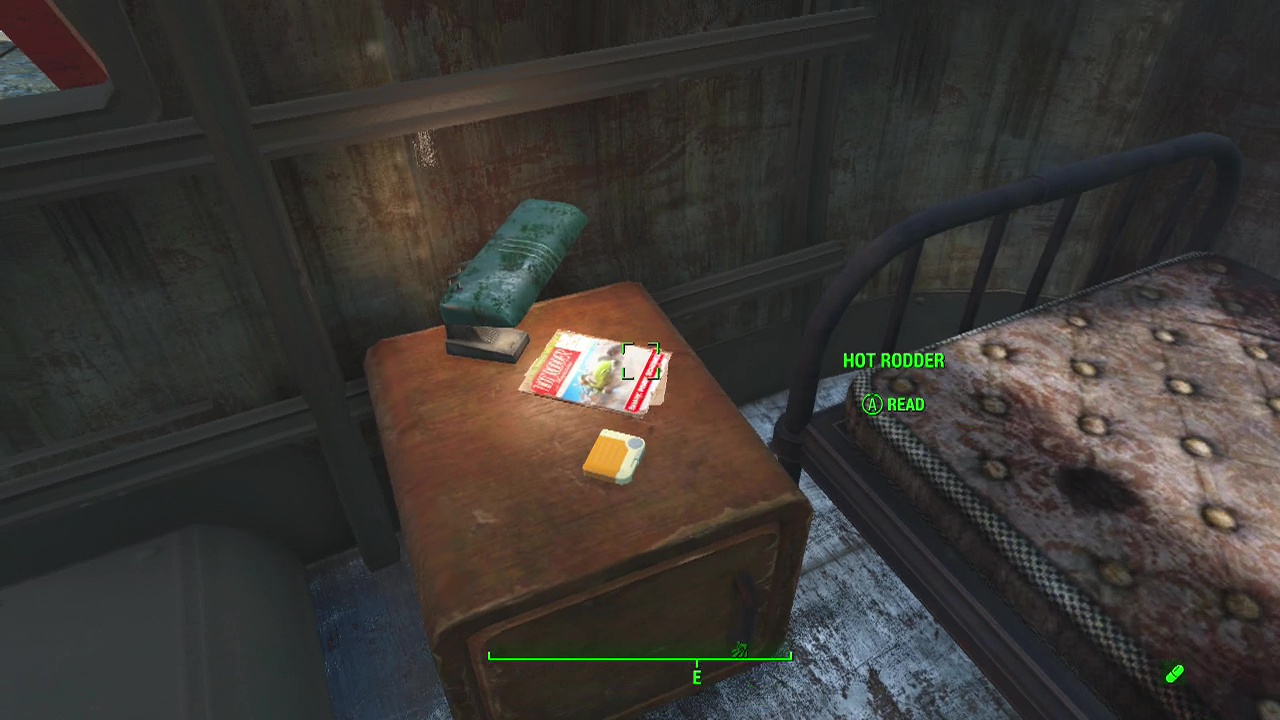
Hot Rodder
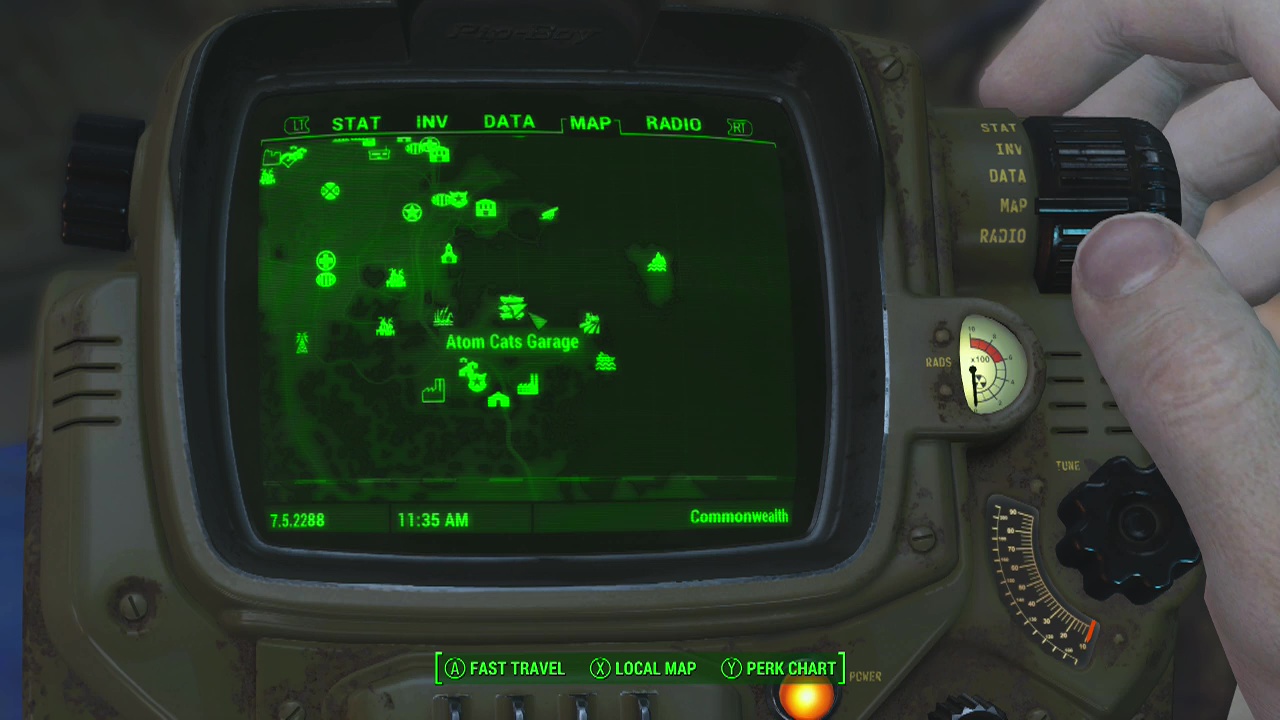
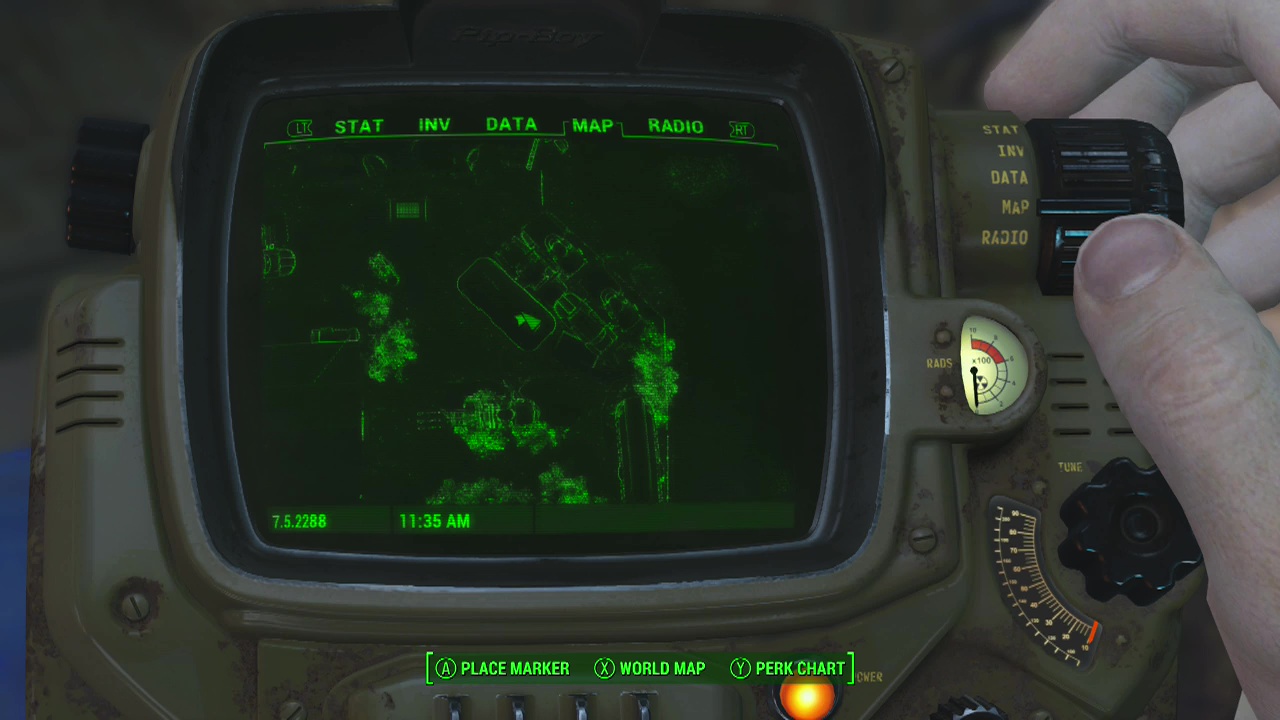
Atom Cats Garage – Found in Zeke's trailer at the North-East edge of the area. Look inside and you'll see the magazine on his bedside table.
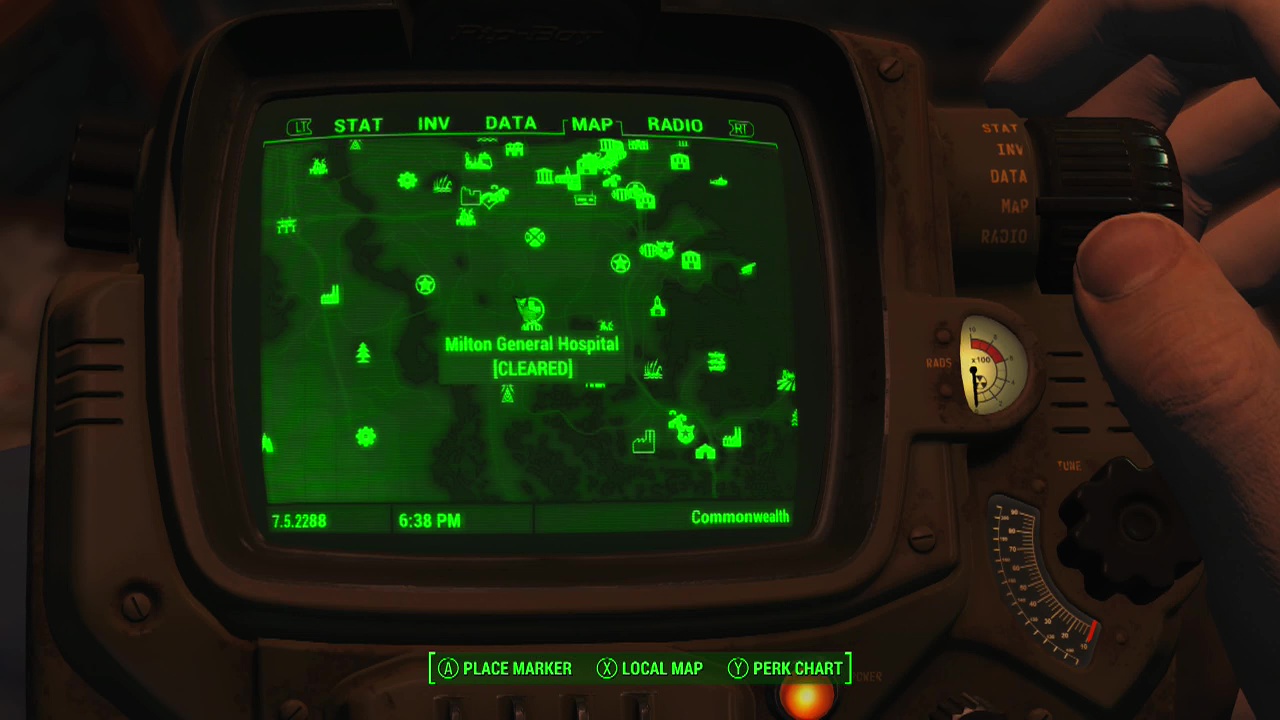
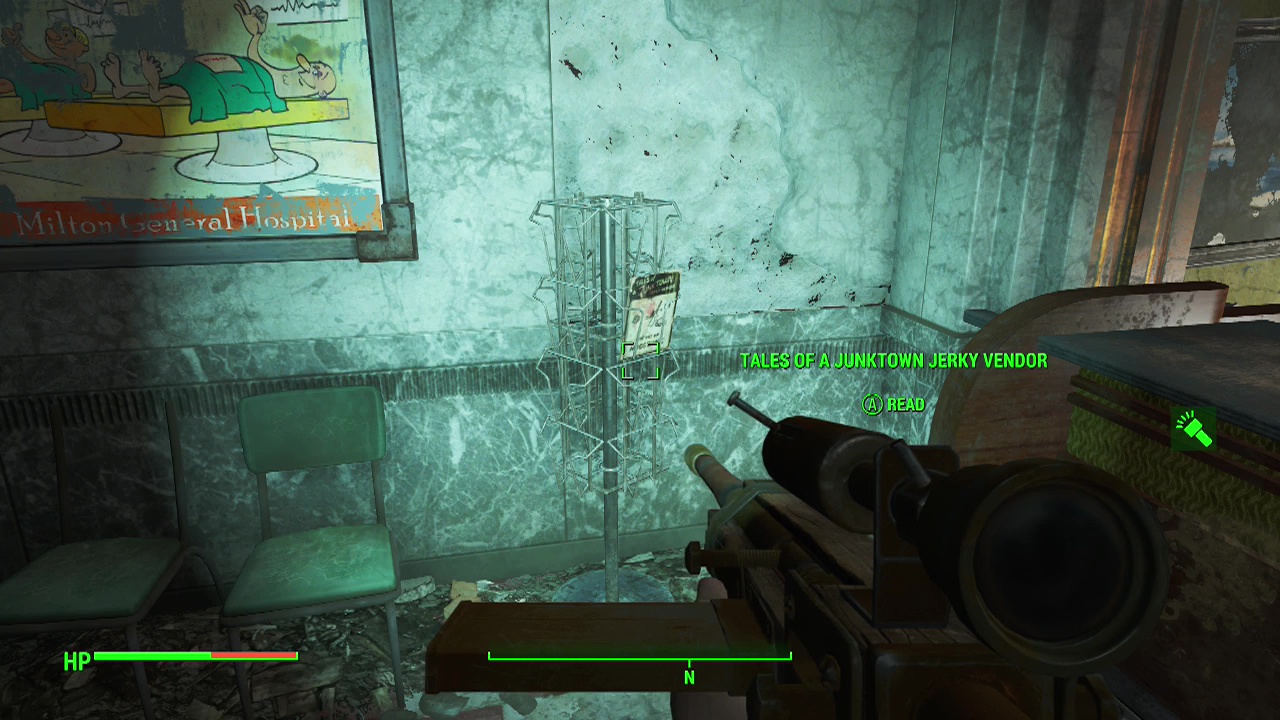
Milton Parking Garage – You'll find this place about fifty meters or so to the West of Milton General Hospital (the garage isn't actually marked on the map). Getting this magazine can be particularly difficult as you have to pass through a Saw-like maze of booby traps and scares. When you reach the top floor with the prize cells, look around the same floor for a sleeping area and you'll find the magazine beside one of the beds.
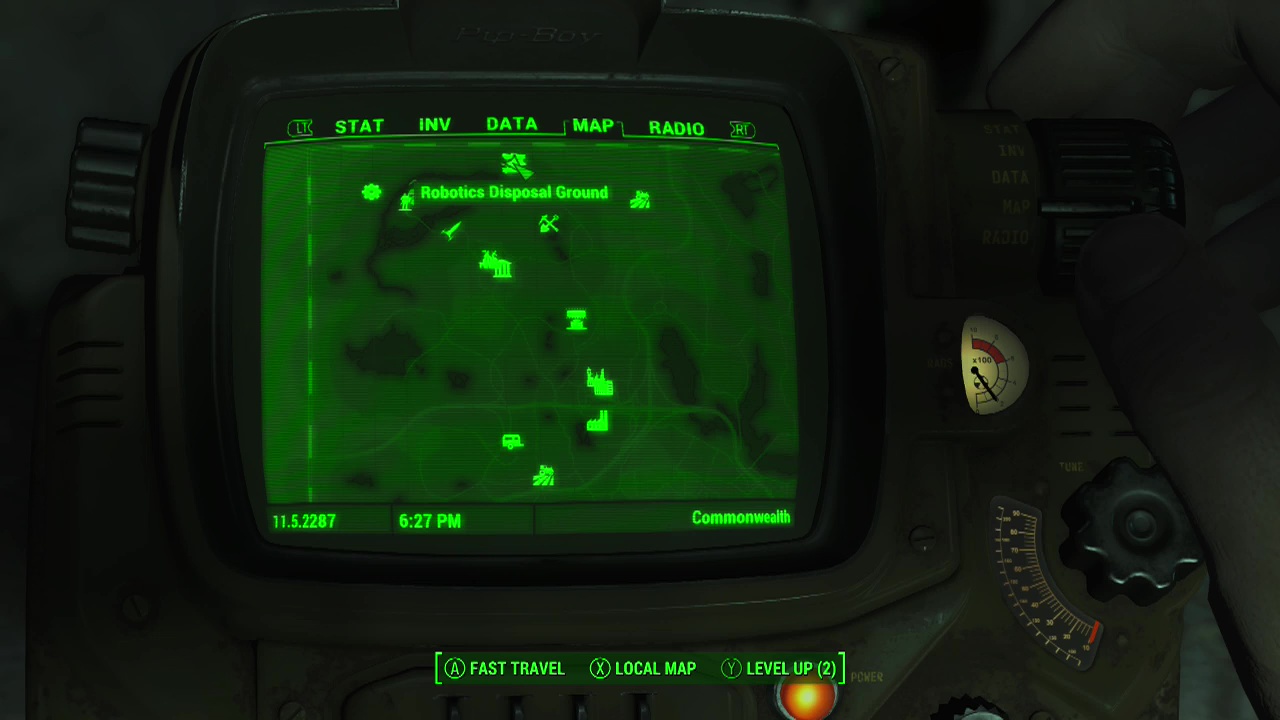
Robotics Disposal Ground – Found in the Robotics disposal ground directly North-East of the Red Rocket Truck Stop, You can get a fusion core from the chest beside the deactivated sentry bot and find the magazine in the small building along the fence line. You can activate the sentry bot by using the holo tape in the terminal if you wish.
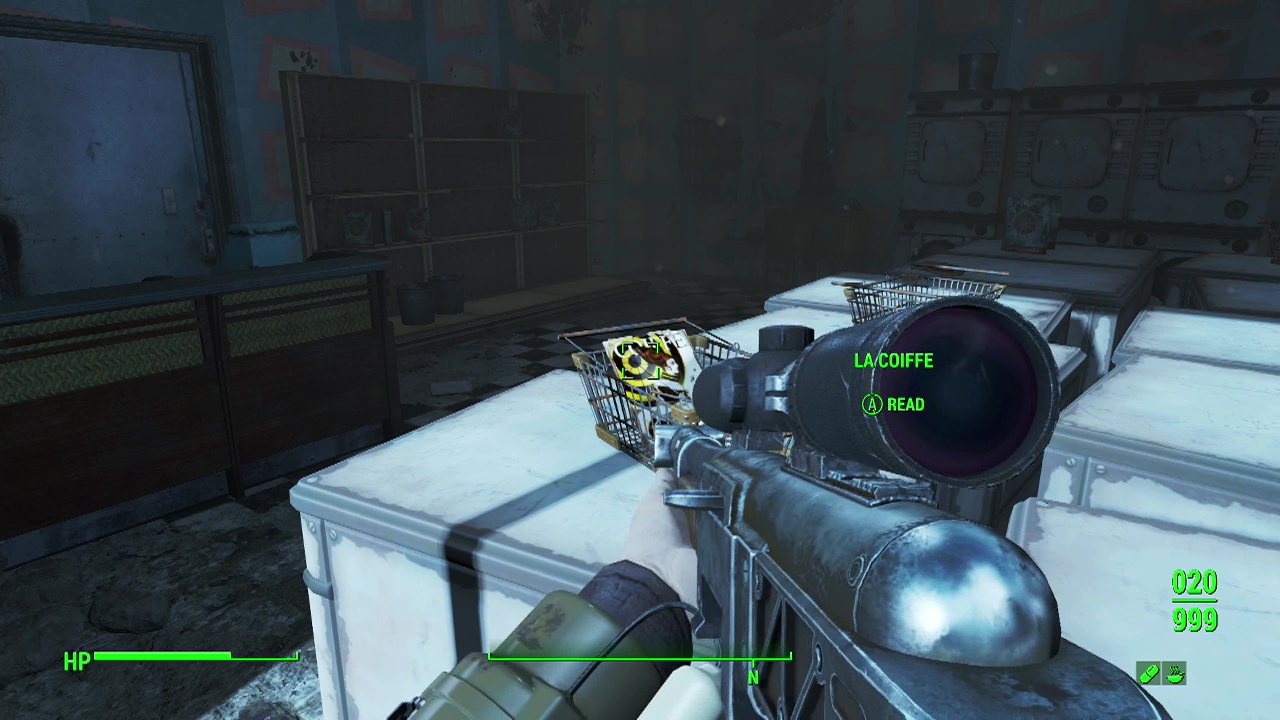
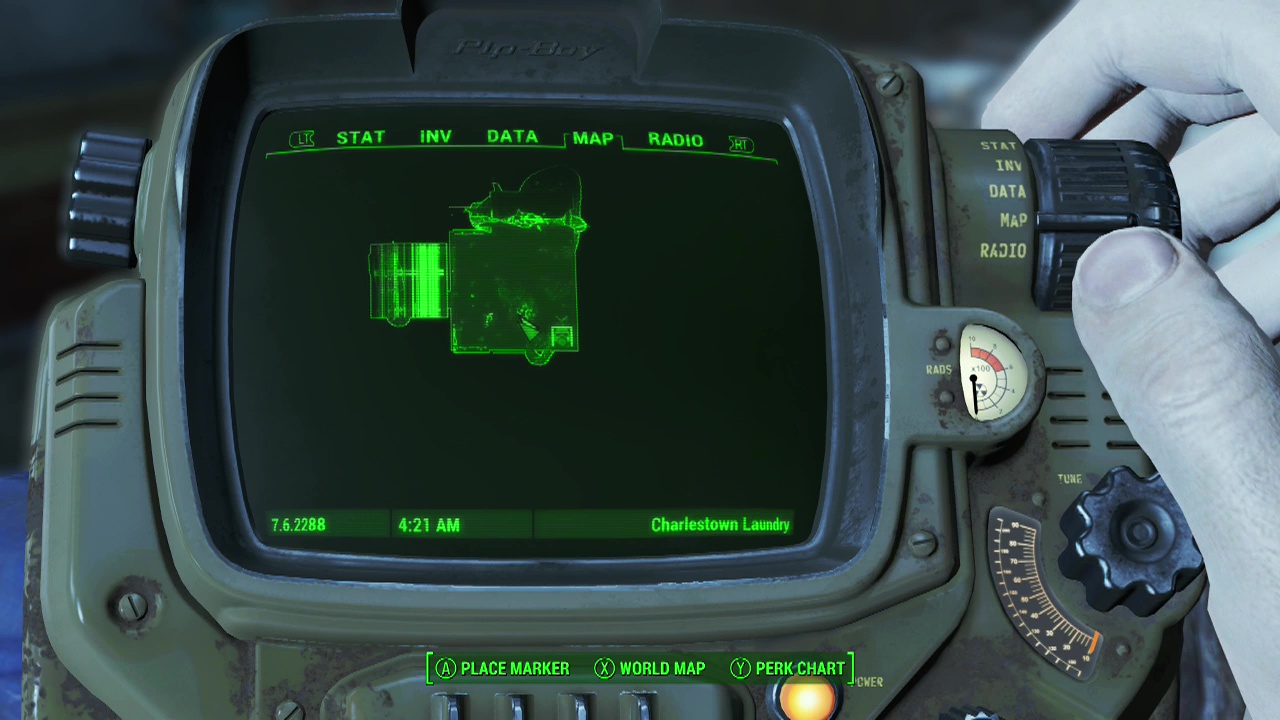
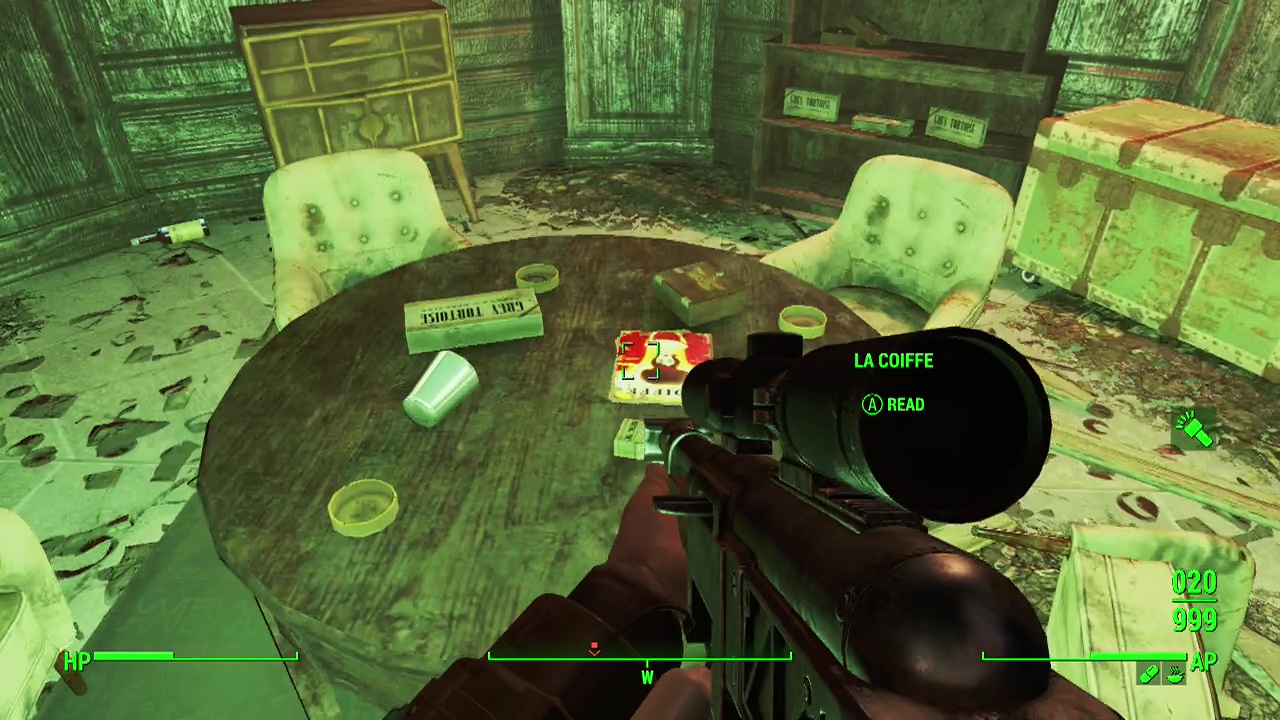
La Coiffe
Charlestown Laundry – A little way to the South-East of Bunker hill, look for a building along the waterfront road with a Joe's Spuckies billboard on it's roof. As soon as you walk through the door, it is right in front of you inside a wire basket on one of the washing machines.
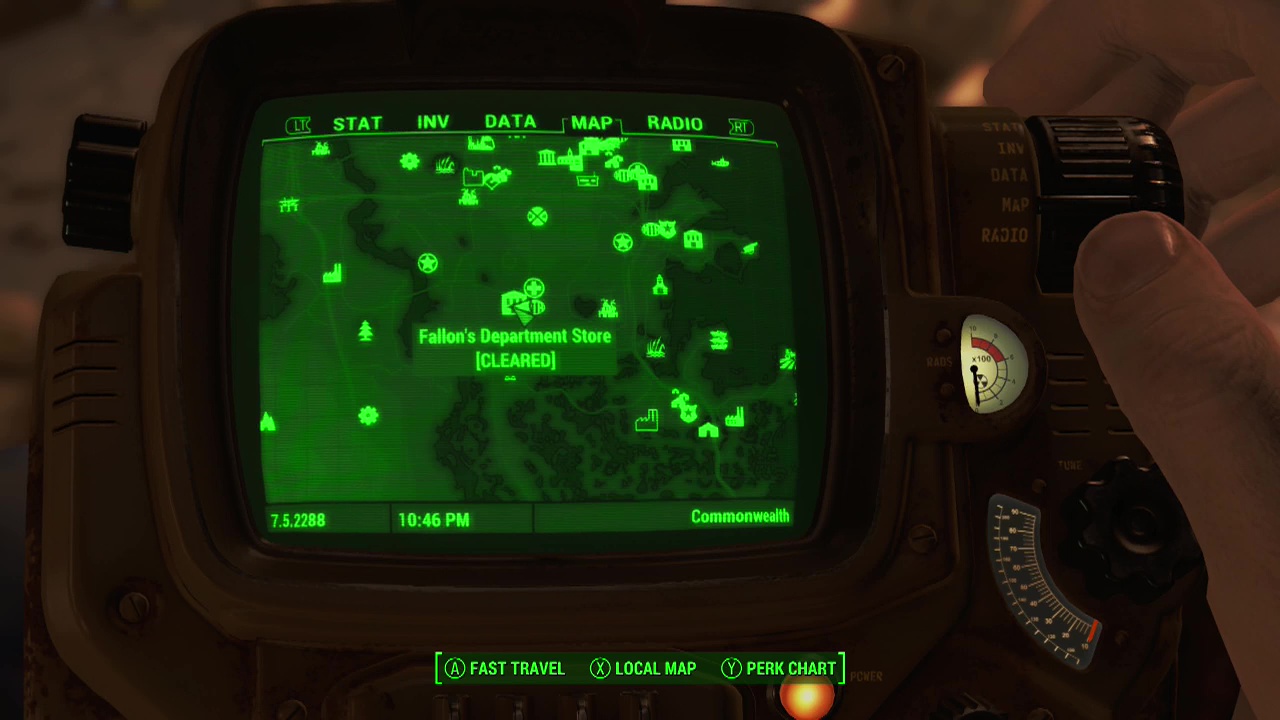
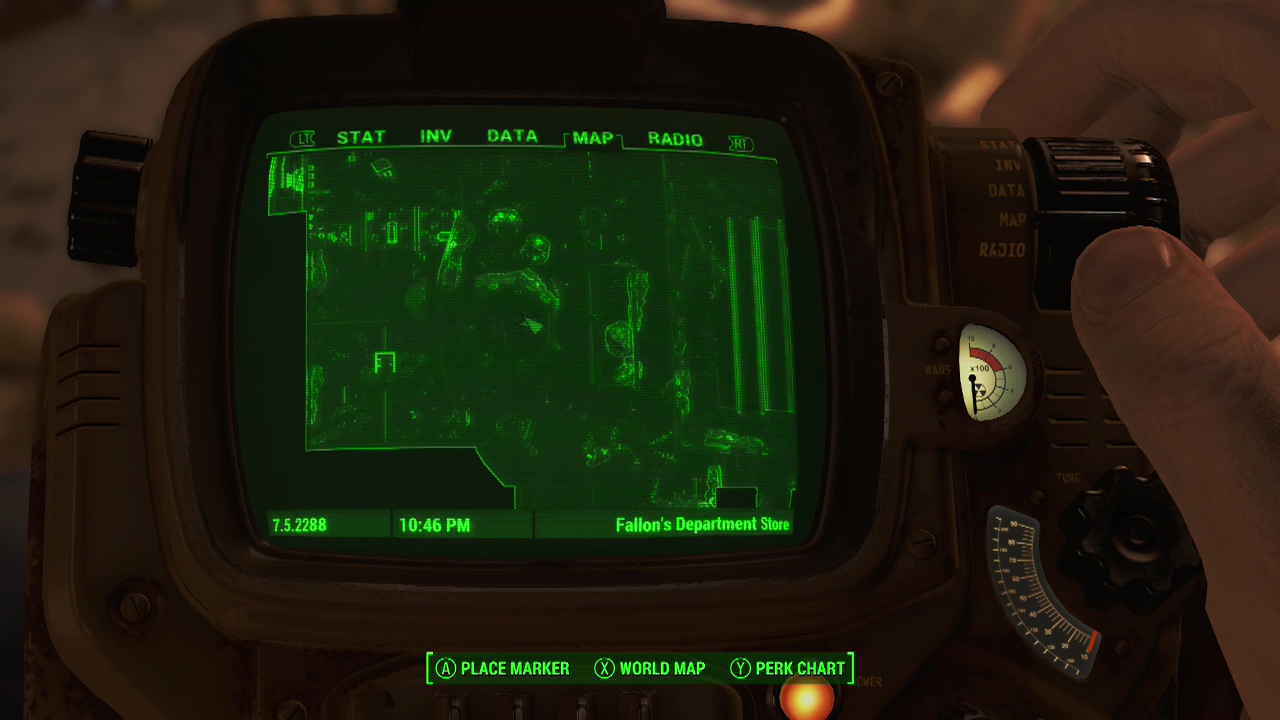
Fallon's Department Store – The magazine is on a table inside a seven walled (septagonal) room on the top floor with a green loot chest inside. You'll have to fight your way past a large number of super mutants and mutant hounds to reach it though.
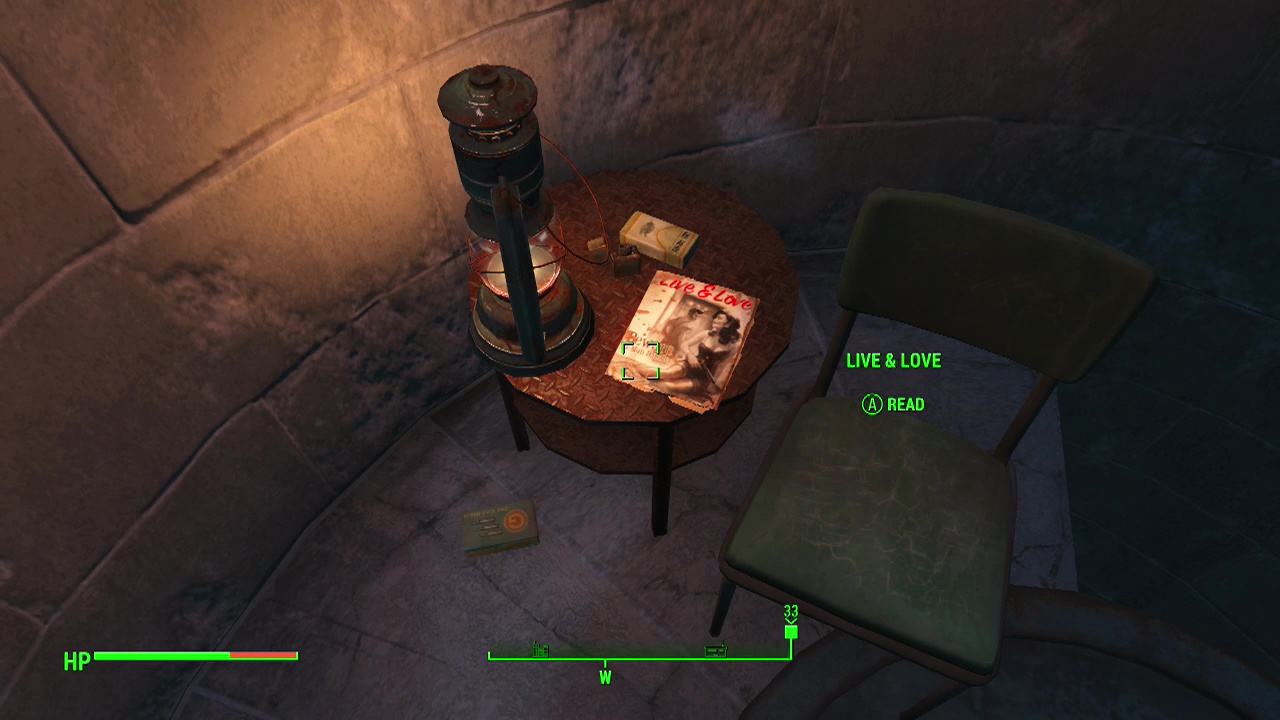
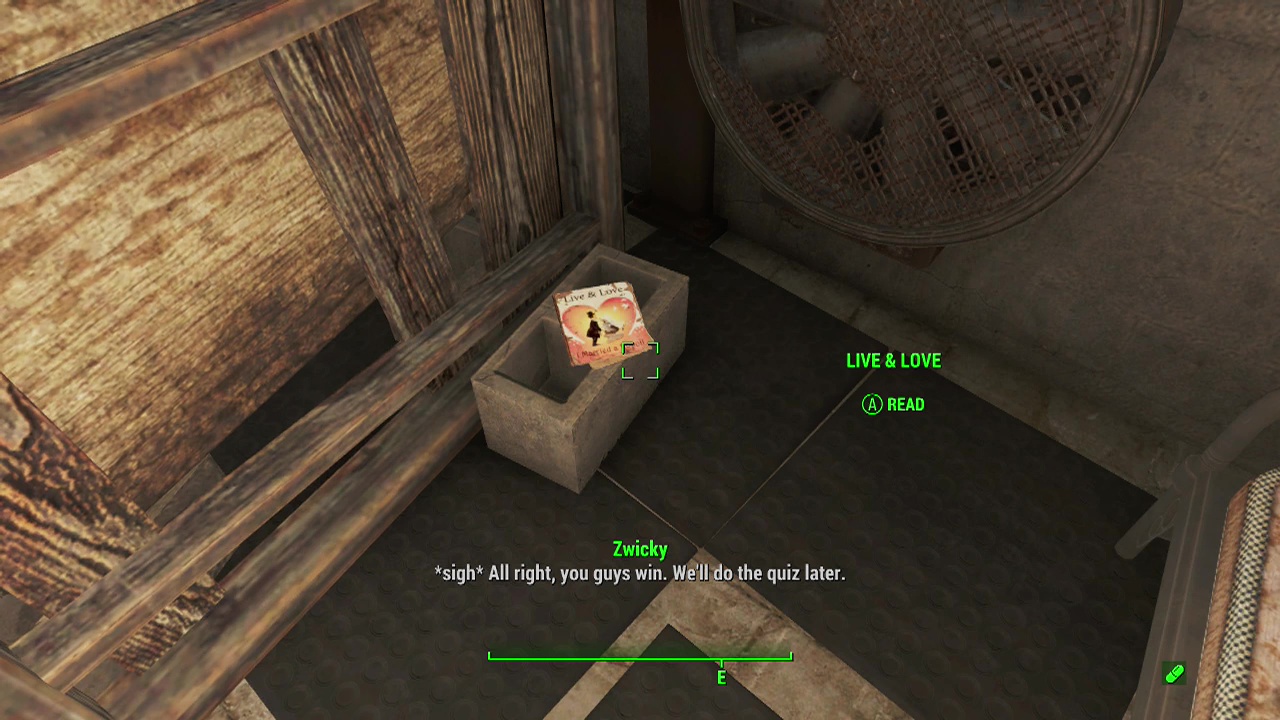
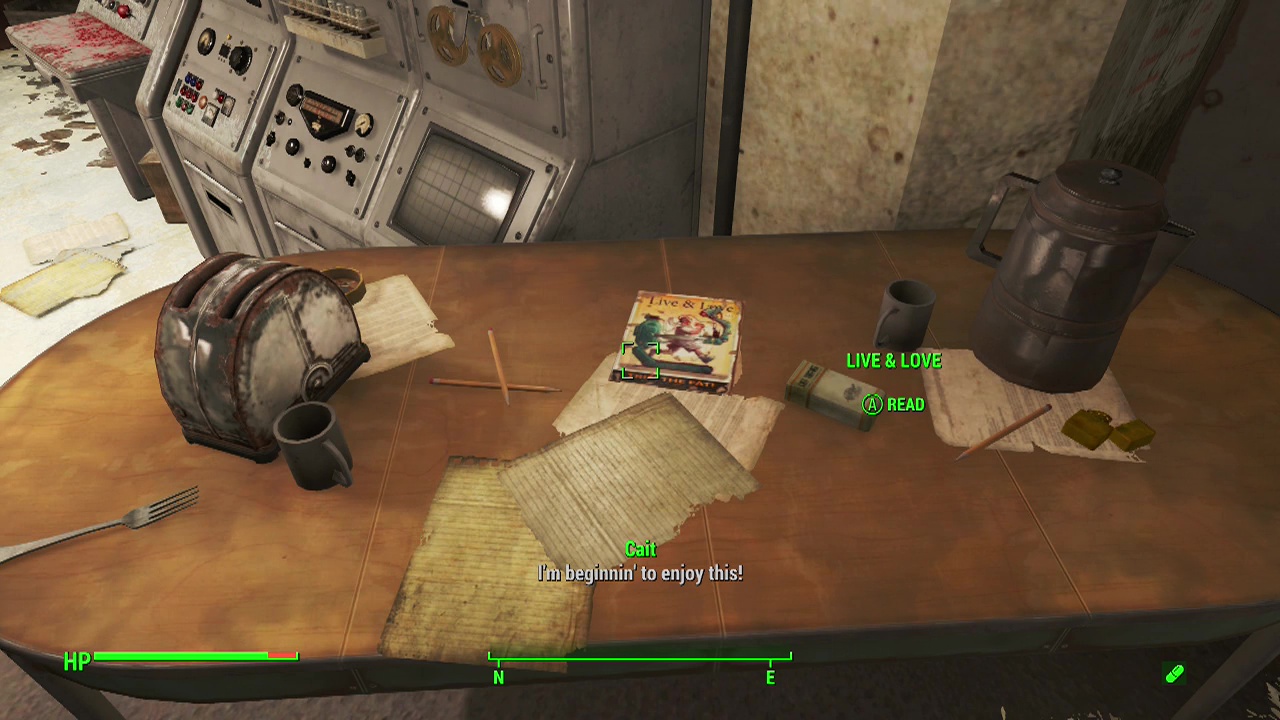
Live And Love
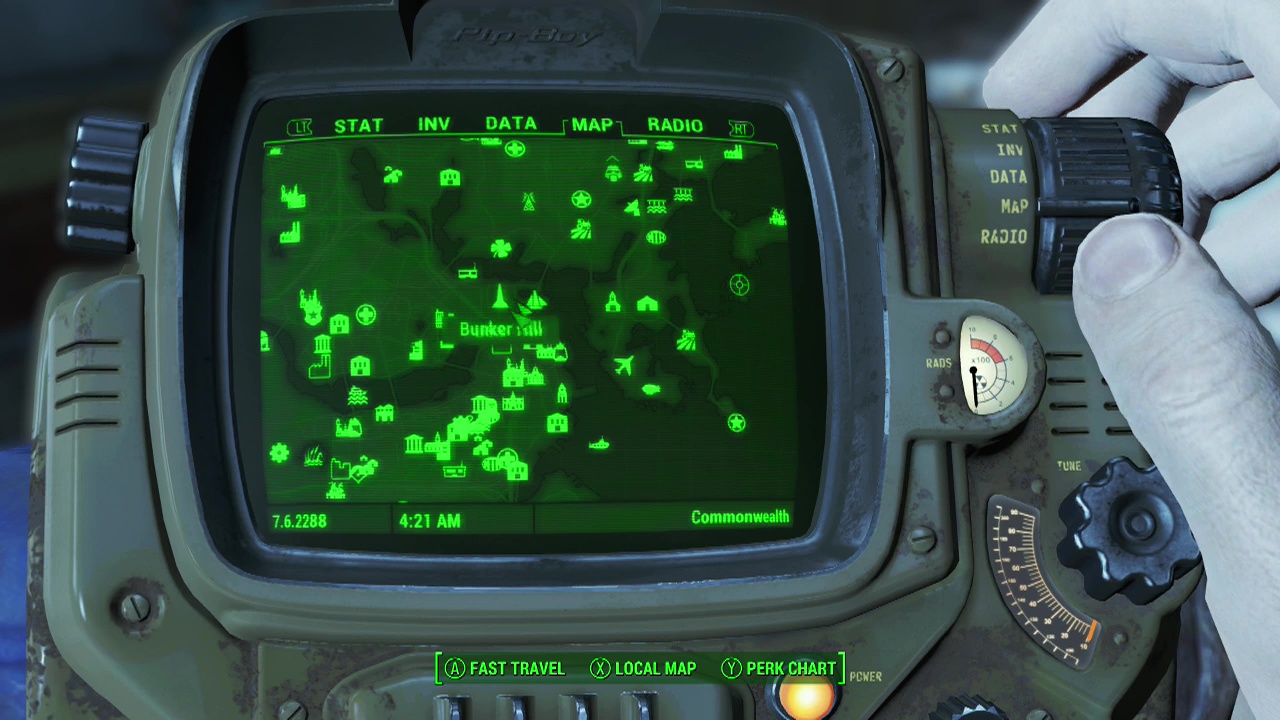
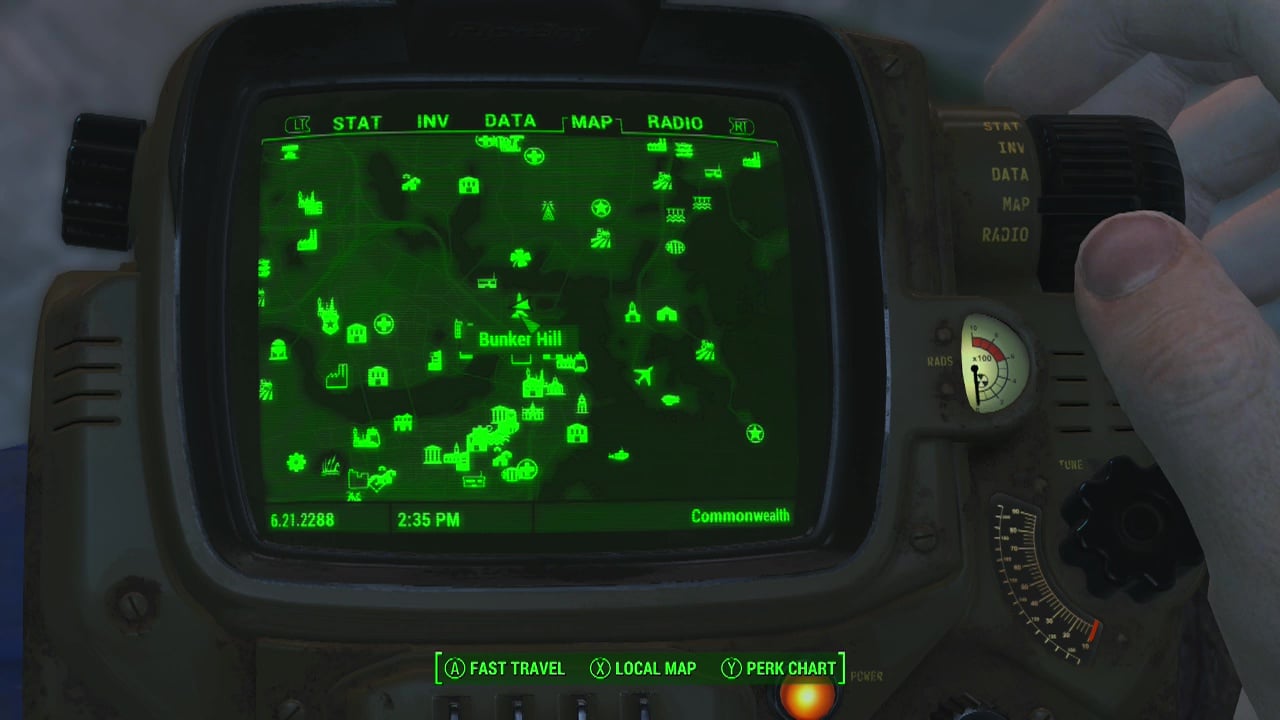
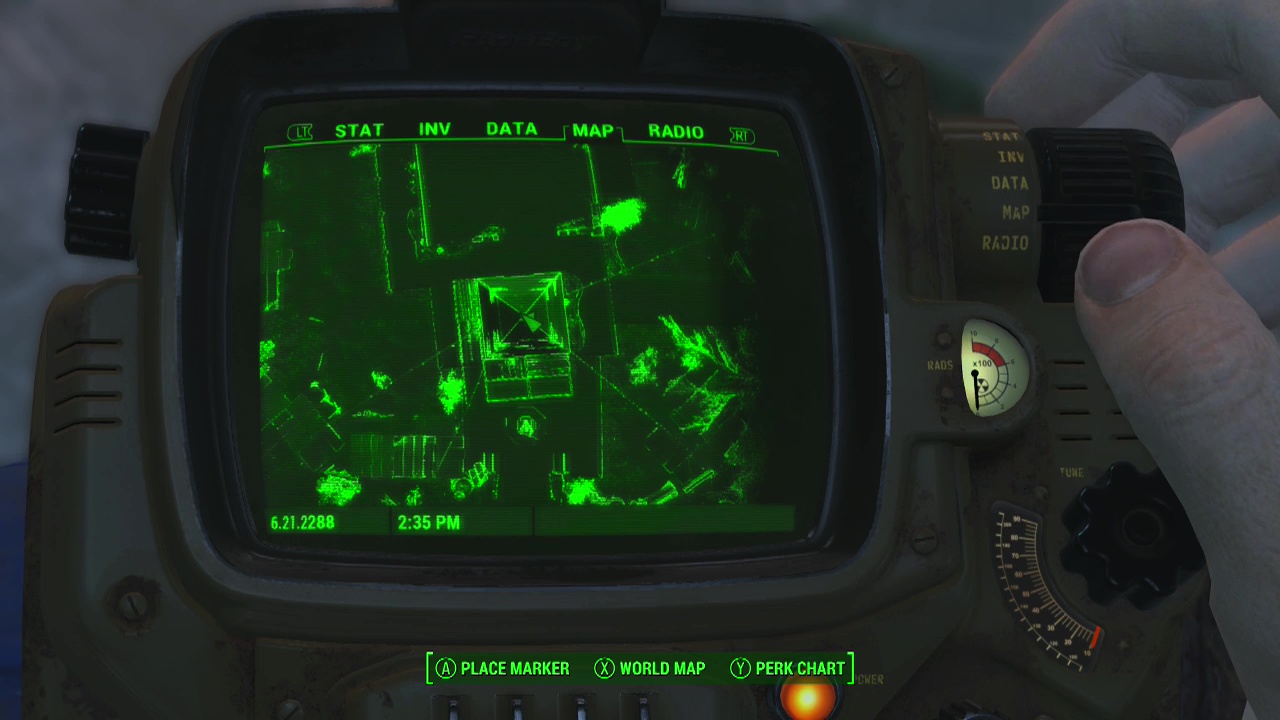
Bunker Hill – At the top of the monument in the center of the settlement.
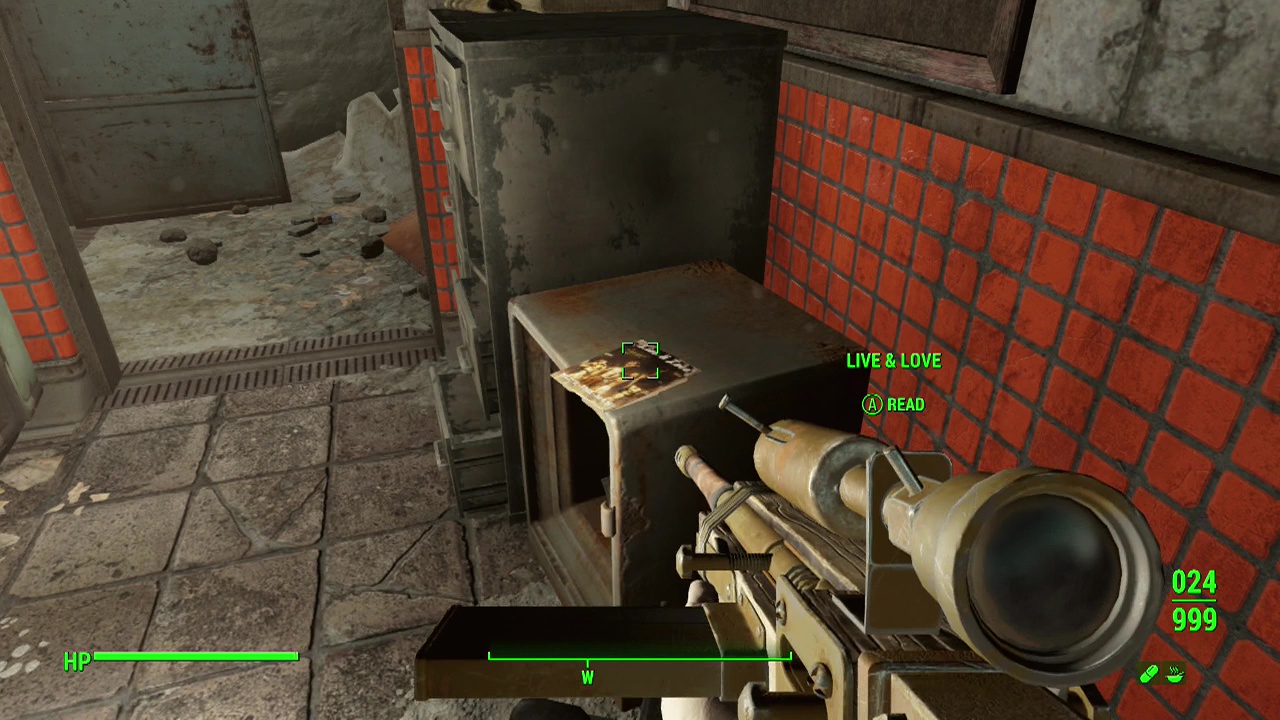
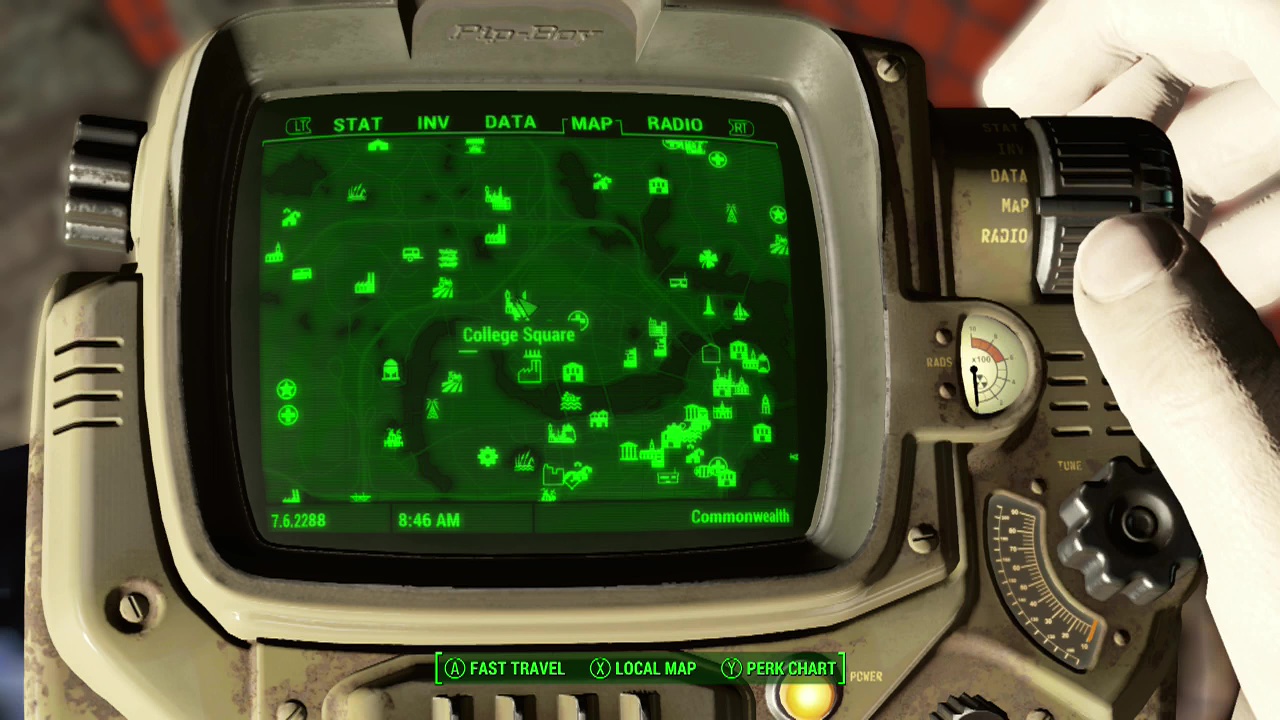
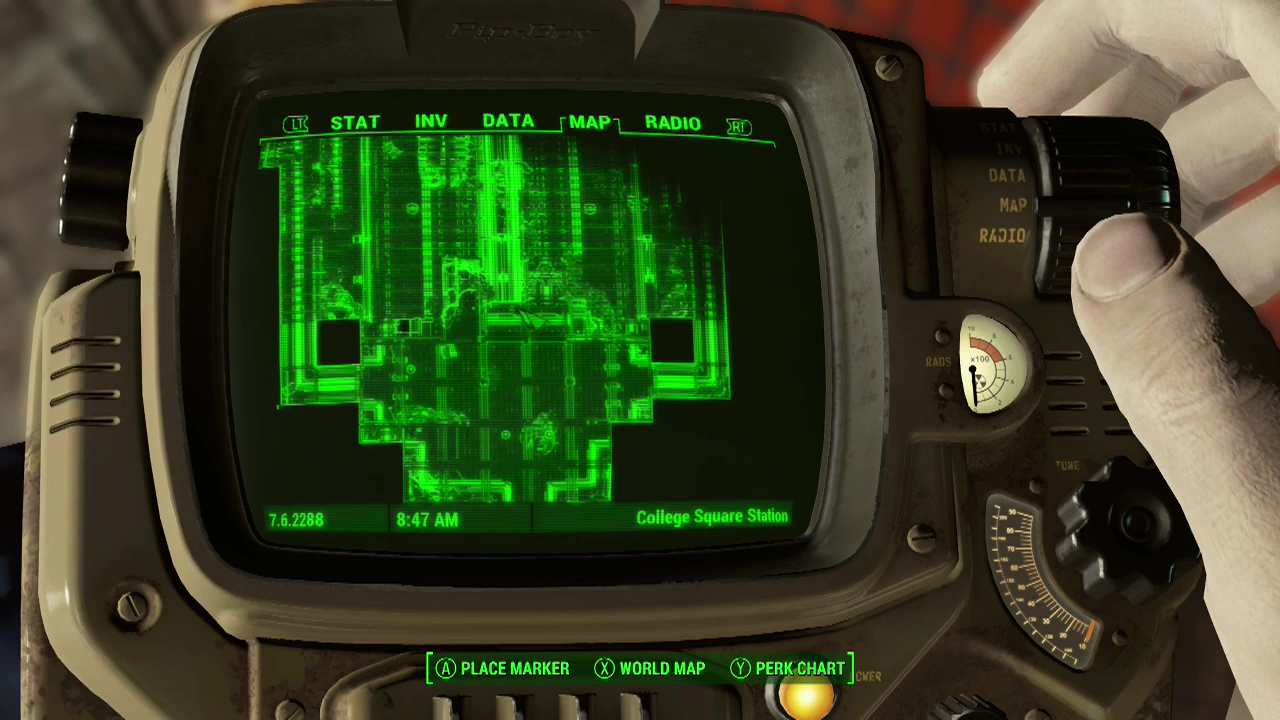
College Square Station – Descend down the first staircase and you should start encountering ghouls. Nearby you should see several counters with cash tills on them. One of these counters will have a wire fence above it with an expert locked door beside it. Unlock the door and grab the magazine off the top of the open safe behind the counter.
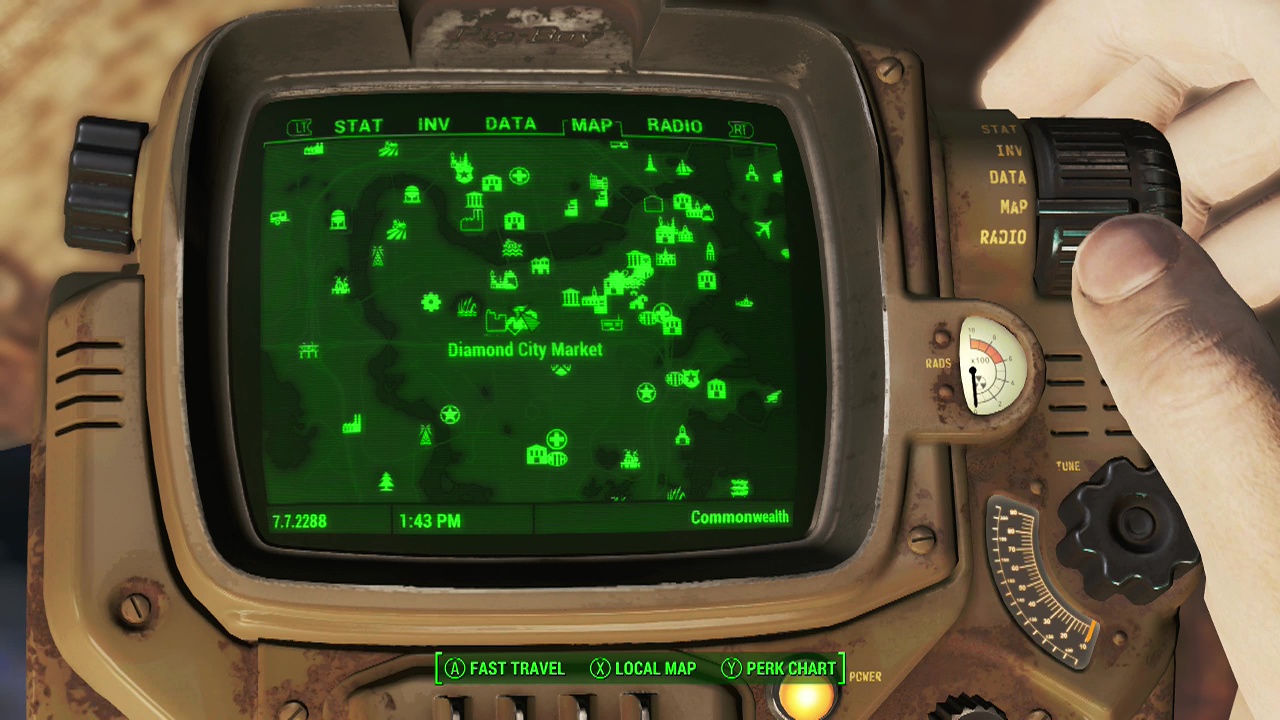
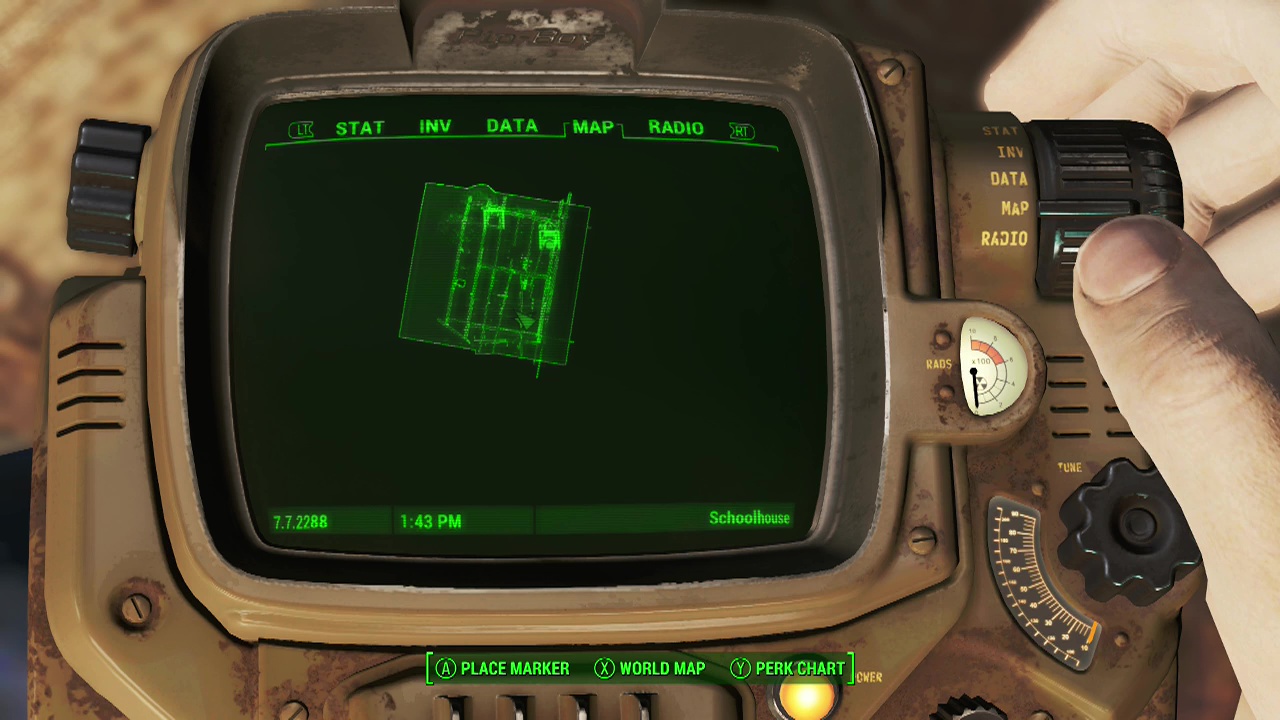
Diamond City Schoolhouse (Diamond City Markets) – Track down the schoolhouse in the Markets and enter. After passing through the door, turn right and circle around the screens so you are under the stairs. Here on a block you'll find the magazine.
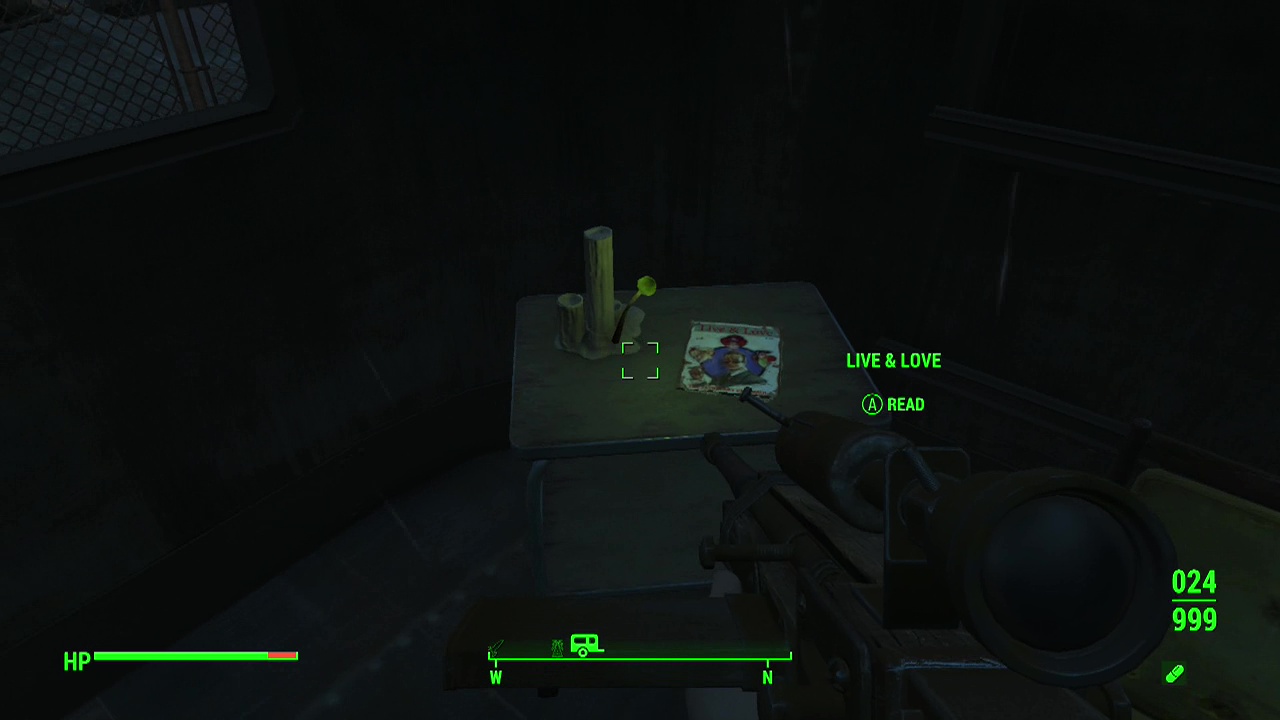
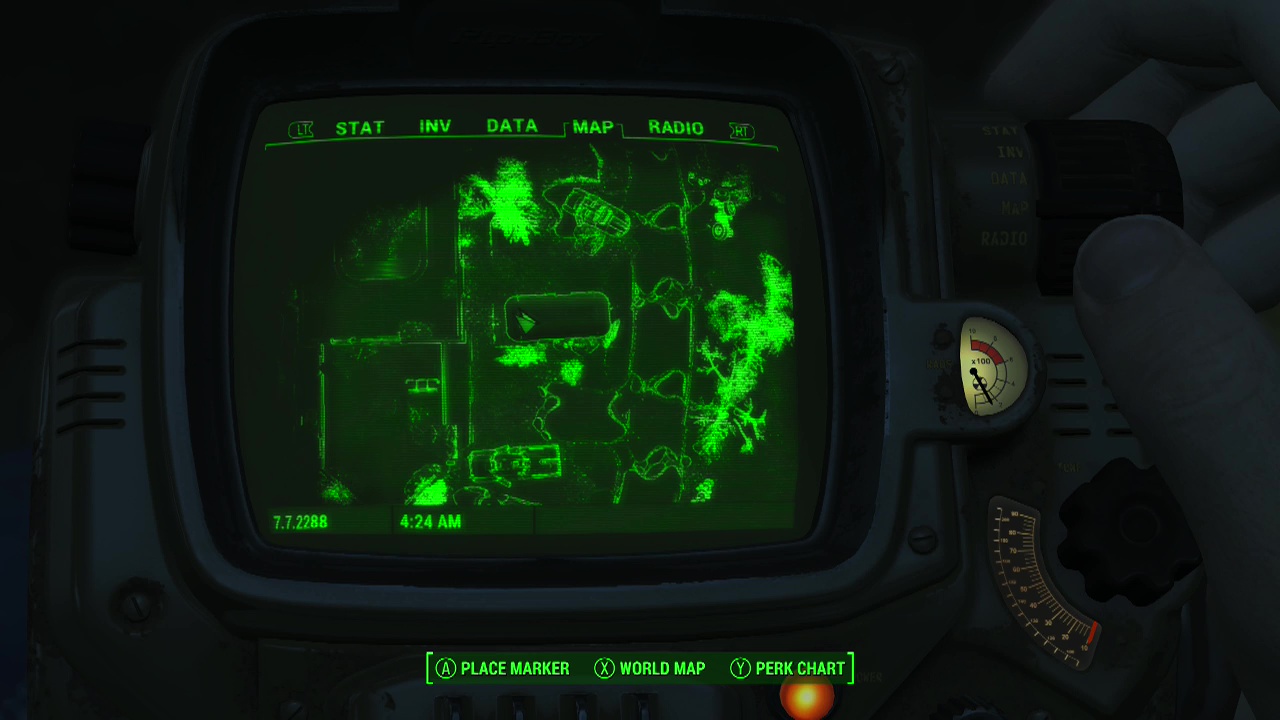
Fiddler's Green Trailer Estates – In one of the trailers to the South-East of the area on a table.

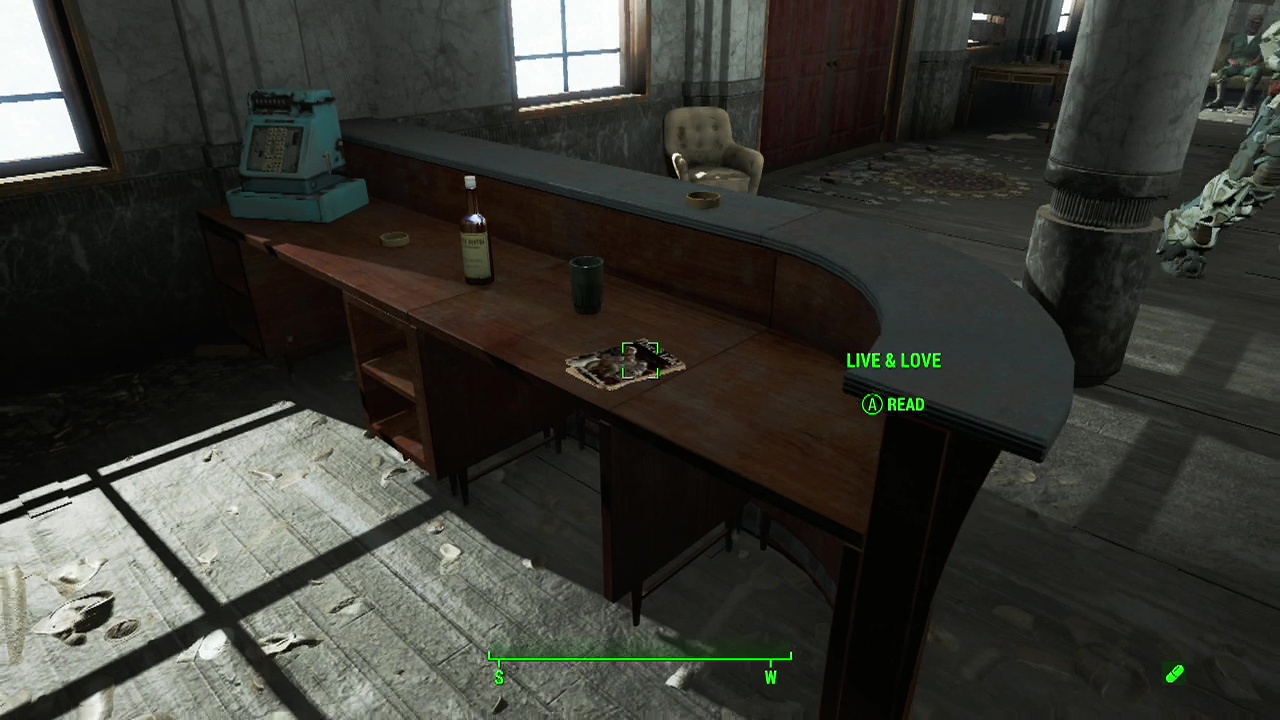
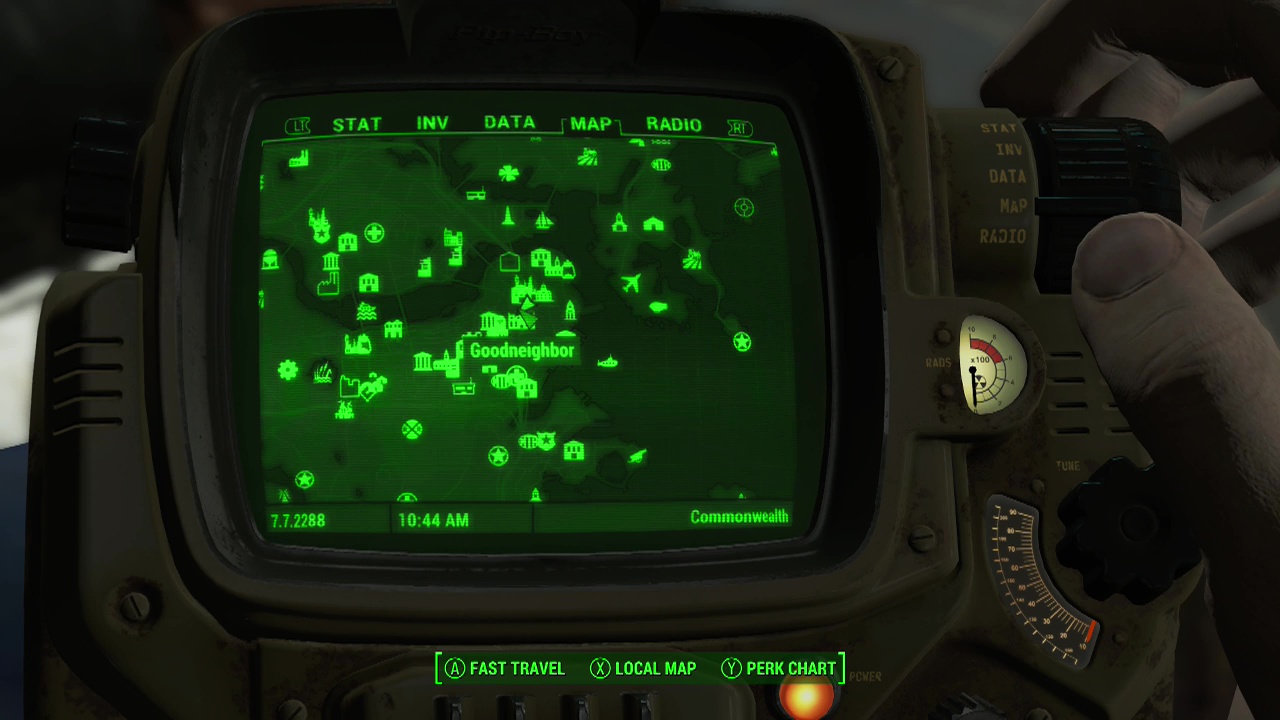
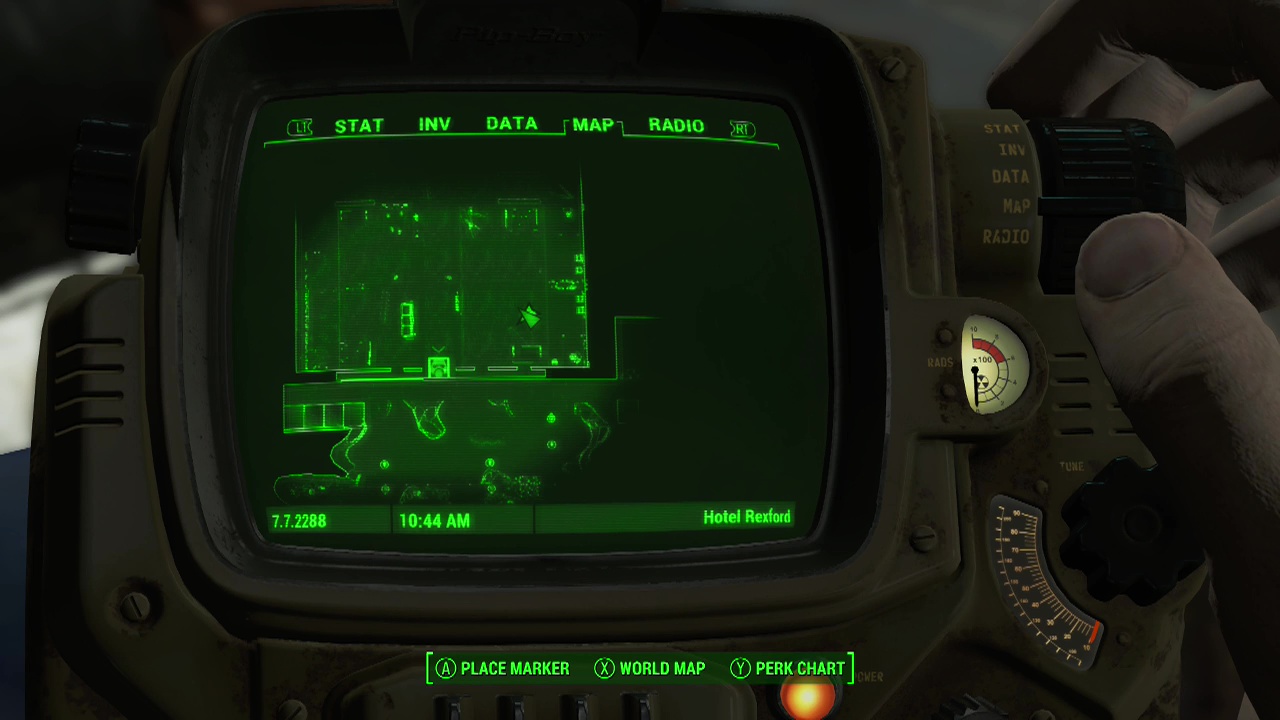
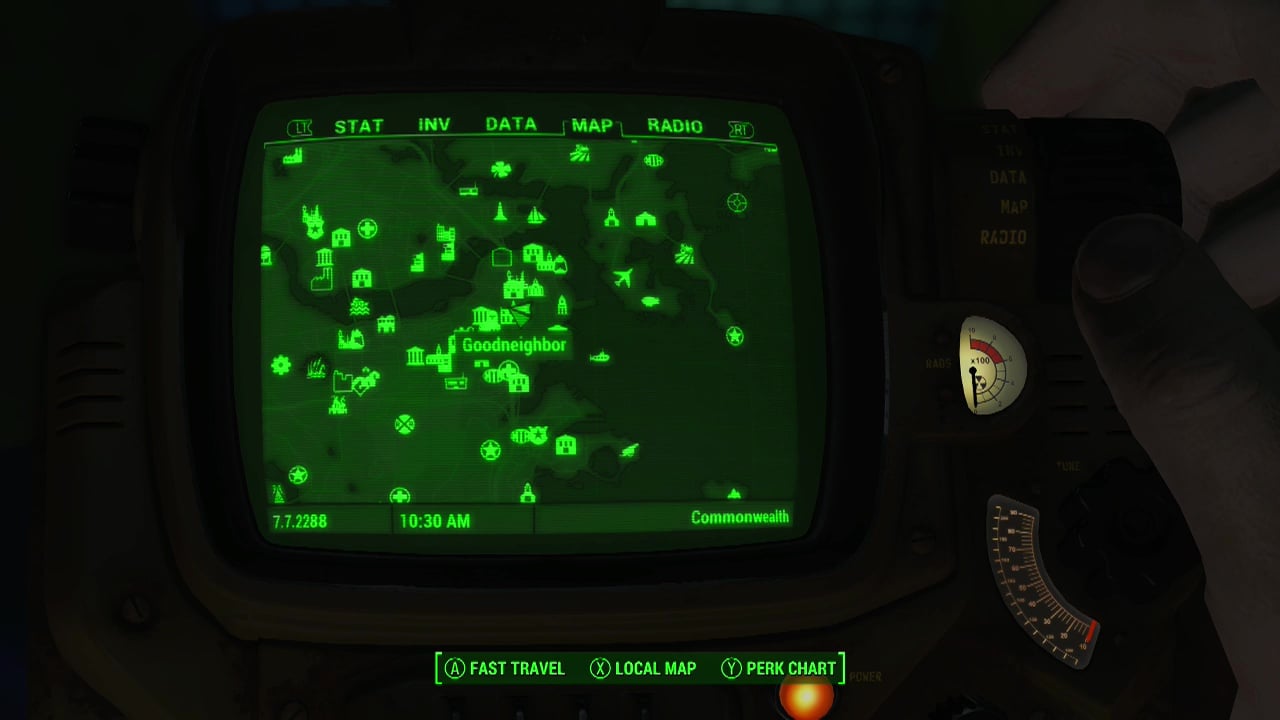
Hotel Rexford (Goodneighbour) – Enter the hotel under the flashing neon sign, then turn right inside to find the magazine lying on the bar.
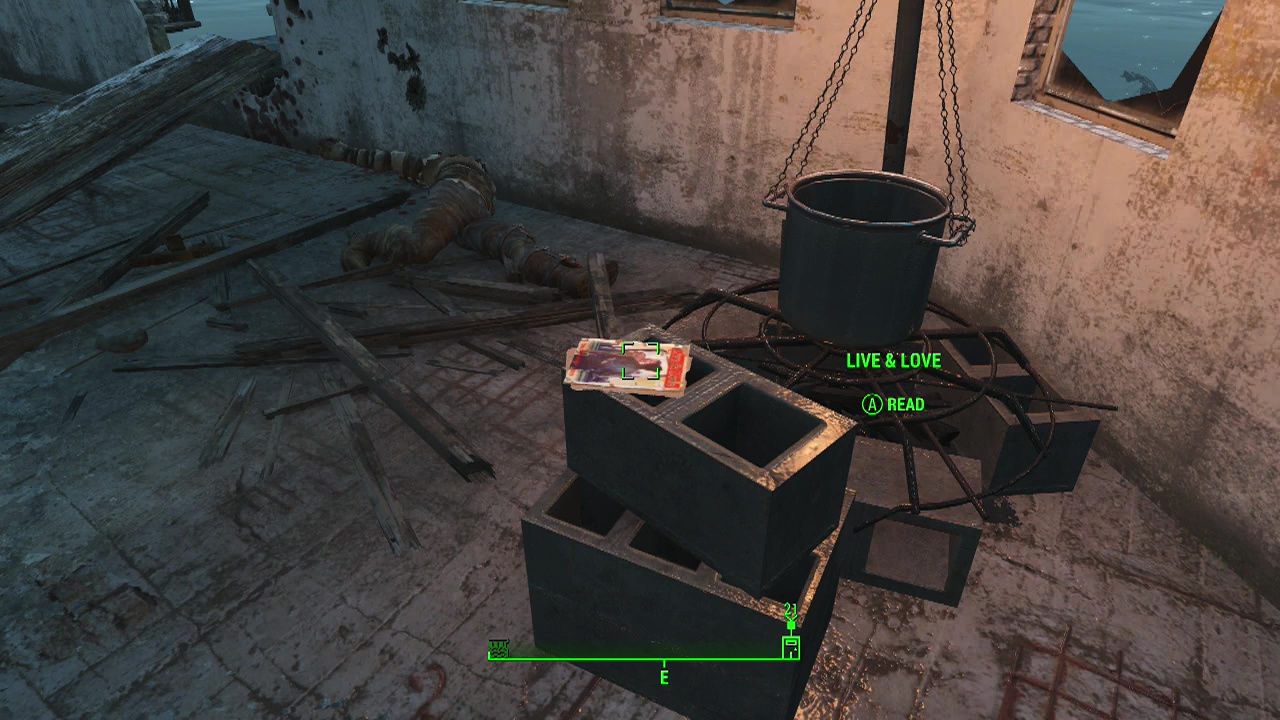
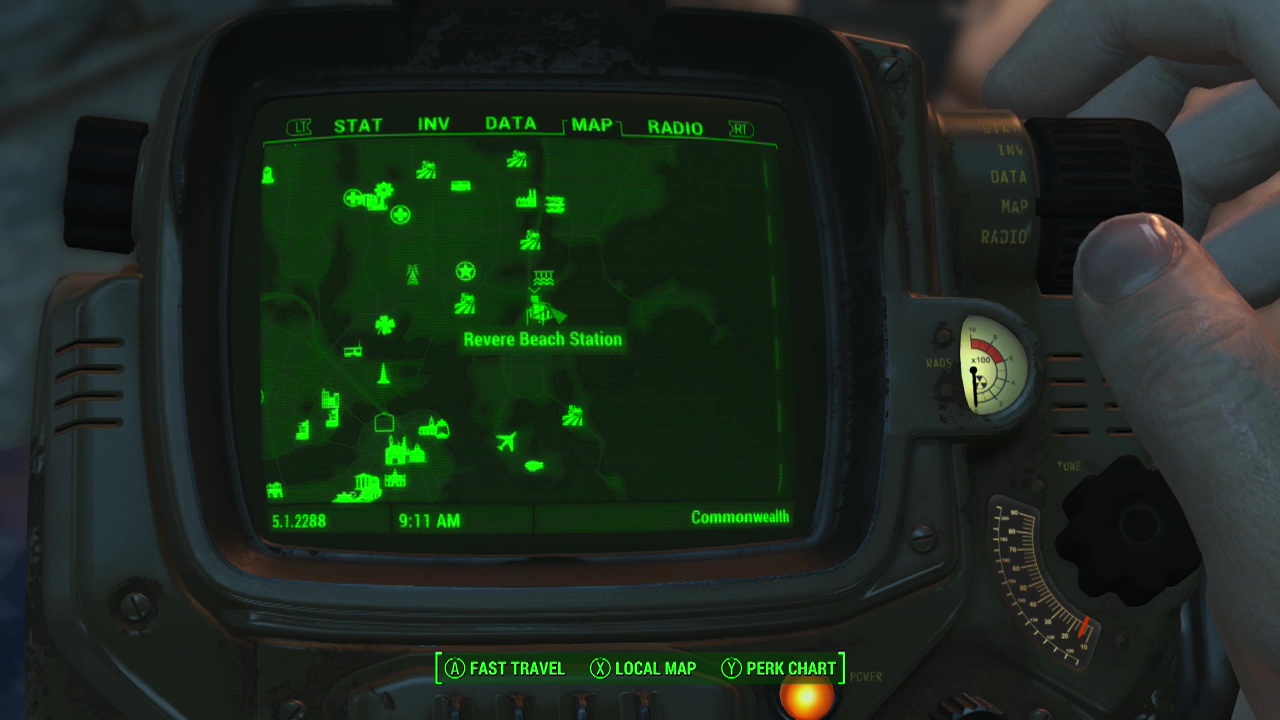
Revere Beach Station – This one isn't actually in the station itself. Instead it is on the third floor of the raider infested building to the North next to the cooking station.
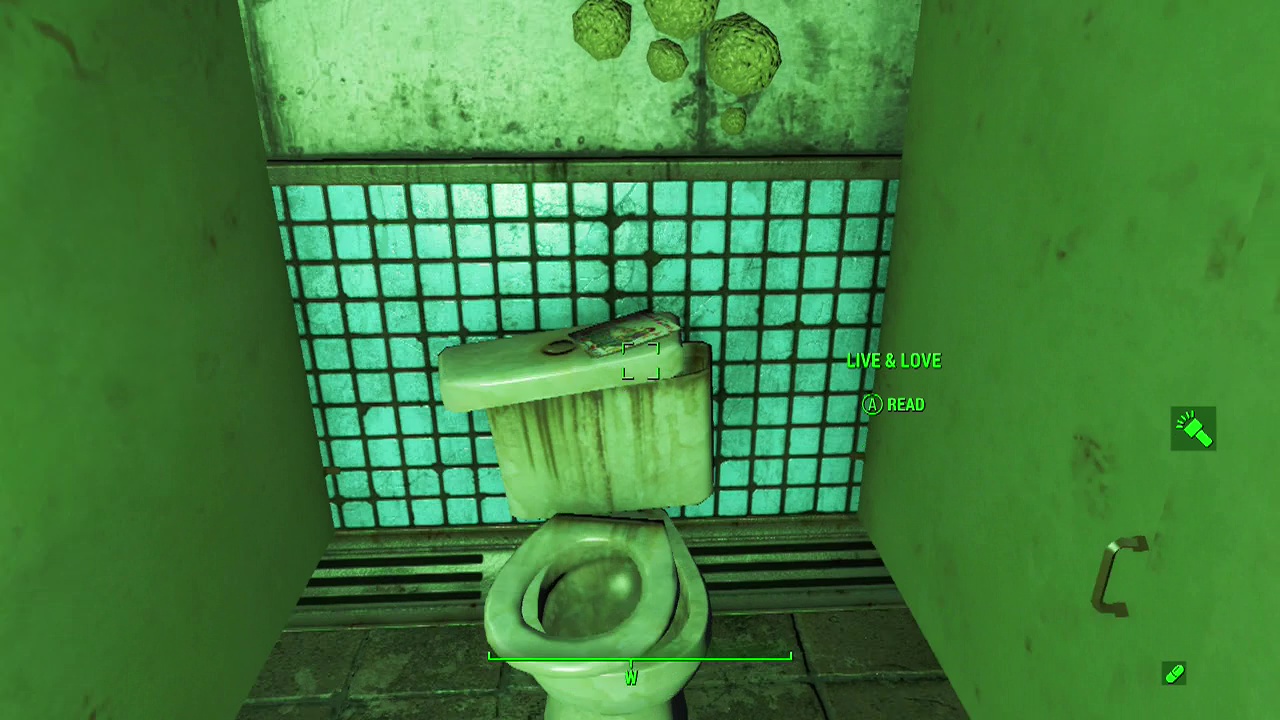
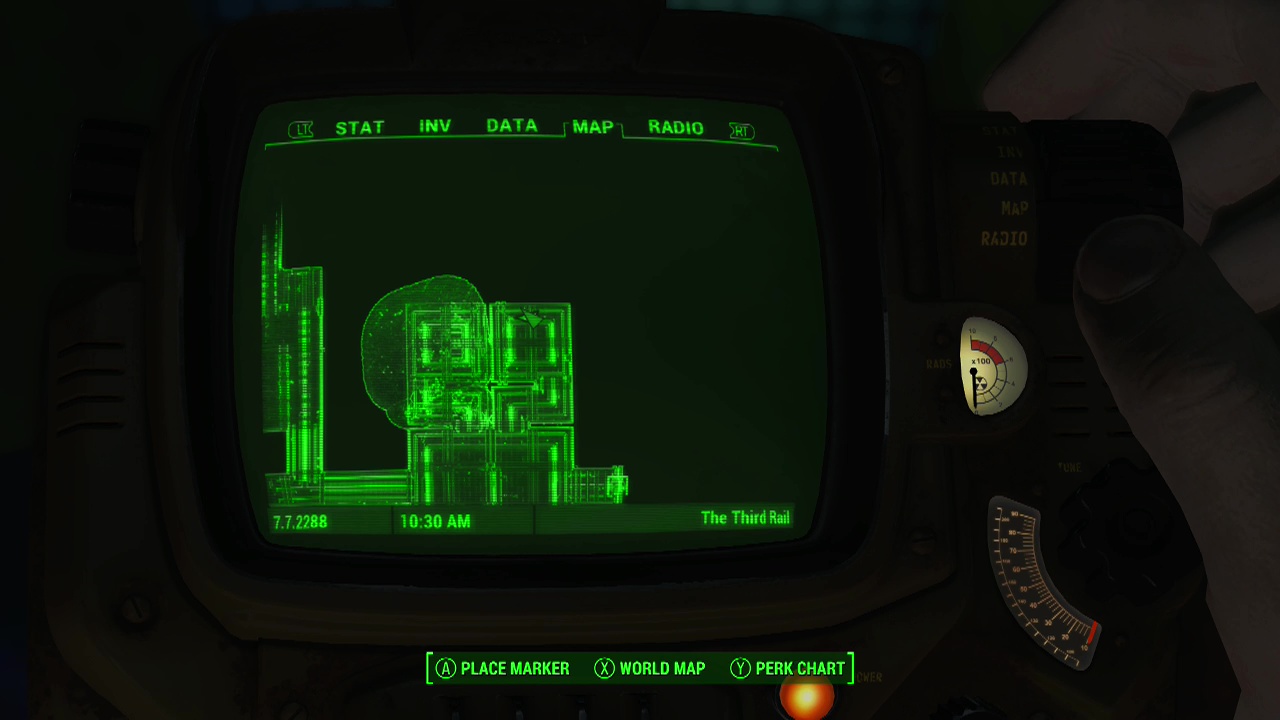
The Third Rail (Goodneighbour) – Look for the bar The Third Rail in Goodneighbour then head inside. On your right as you enter are the restrooms. In the furtherest stall on top of the toilet is the magazine.
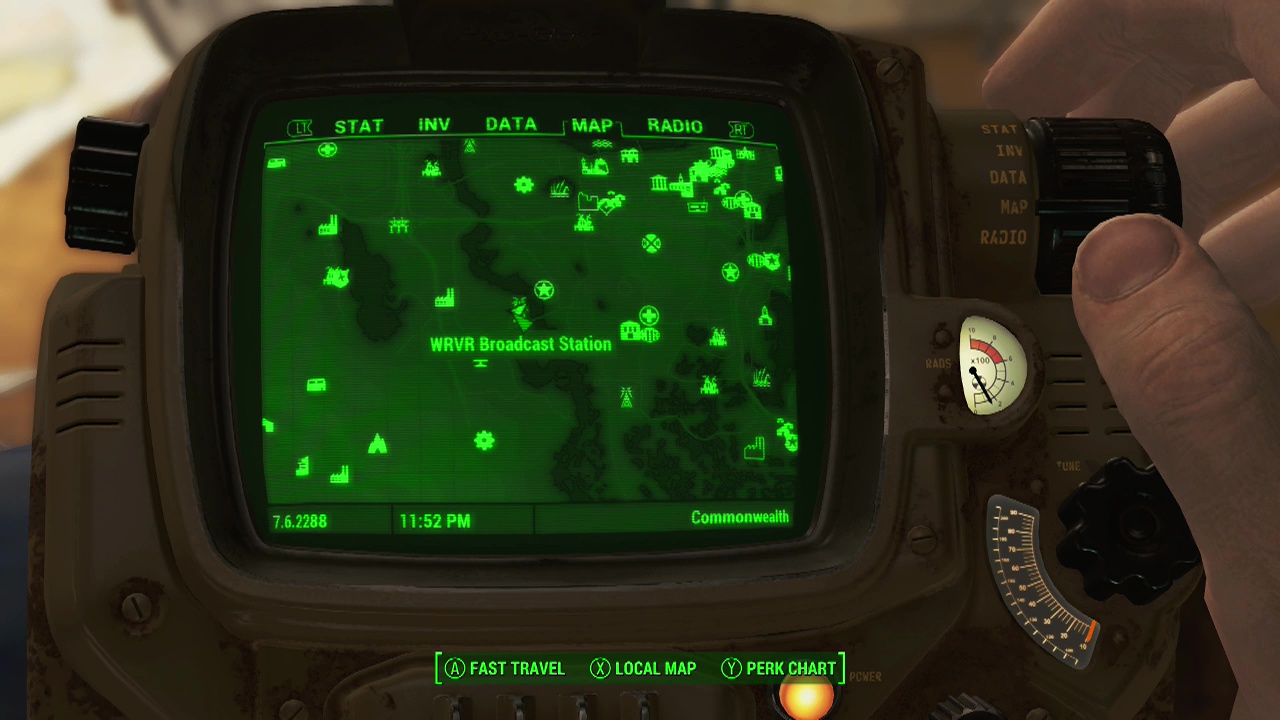
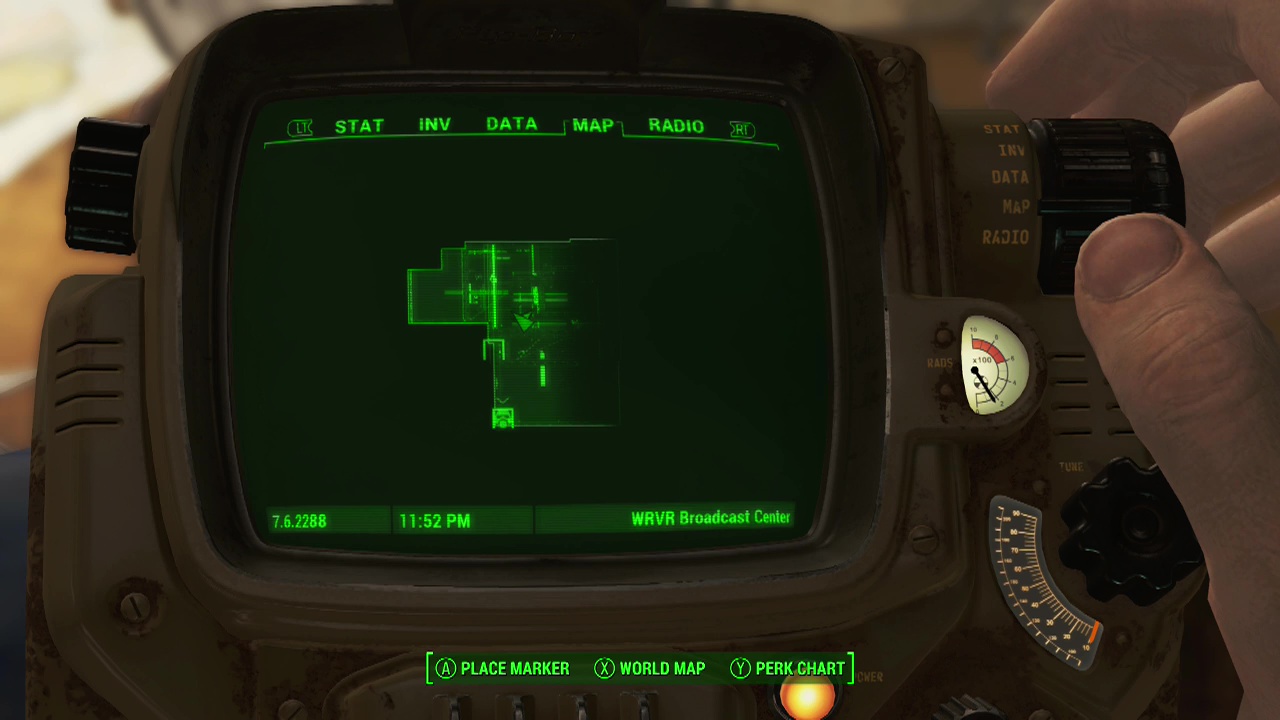
WVRV Broadcast Station – A nice easy one, this. Simply walk into the place and pick it up off the table in the middle of the main area.
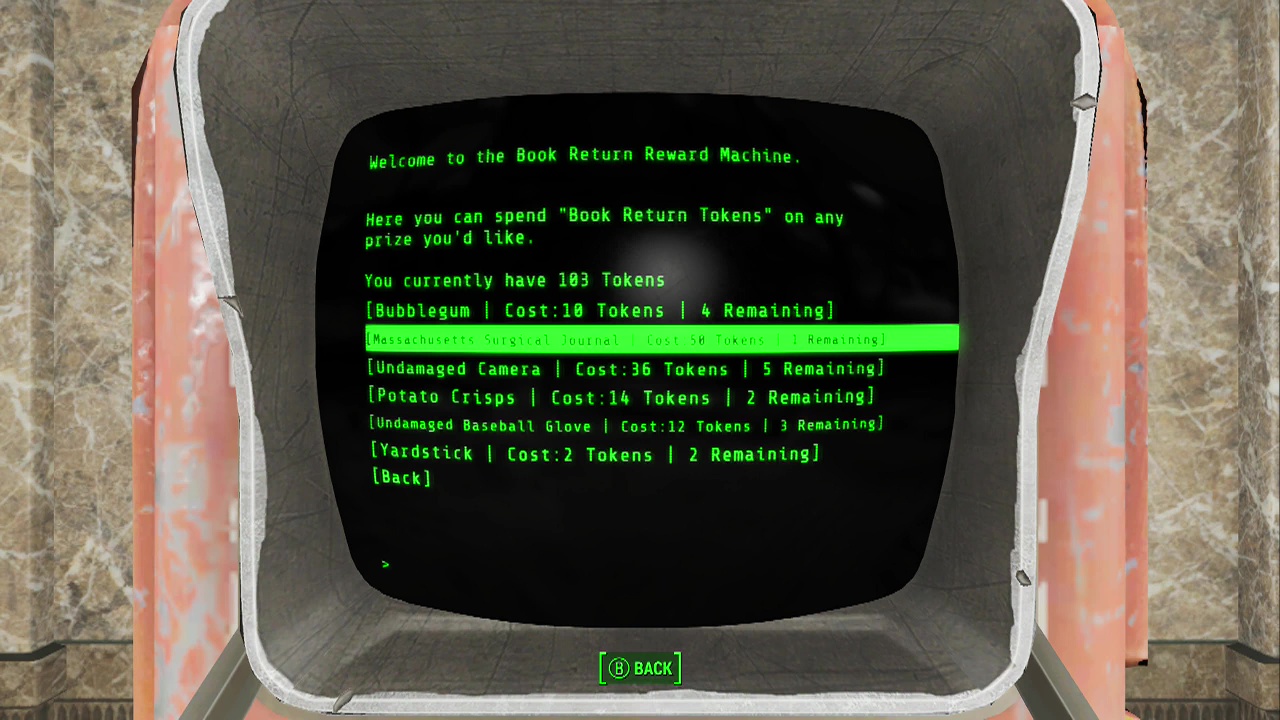
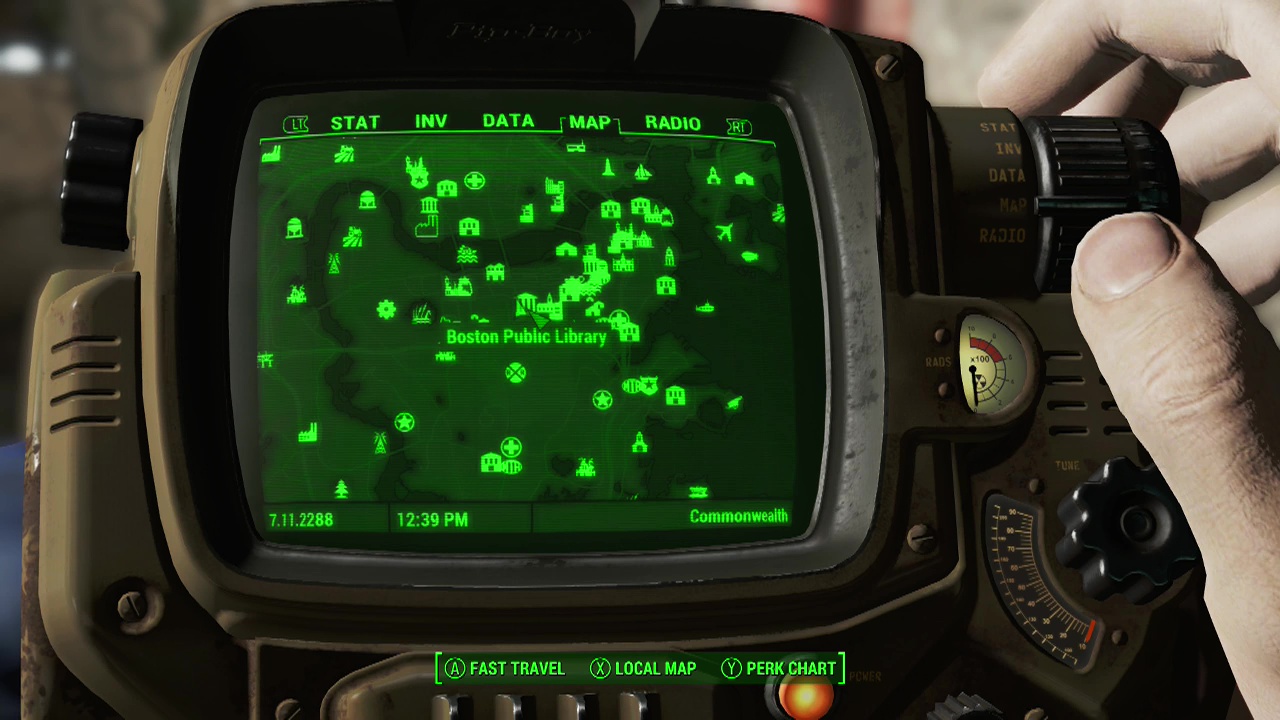
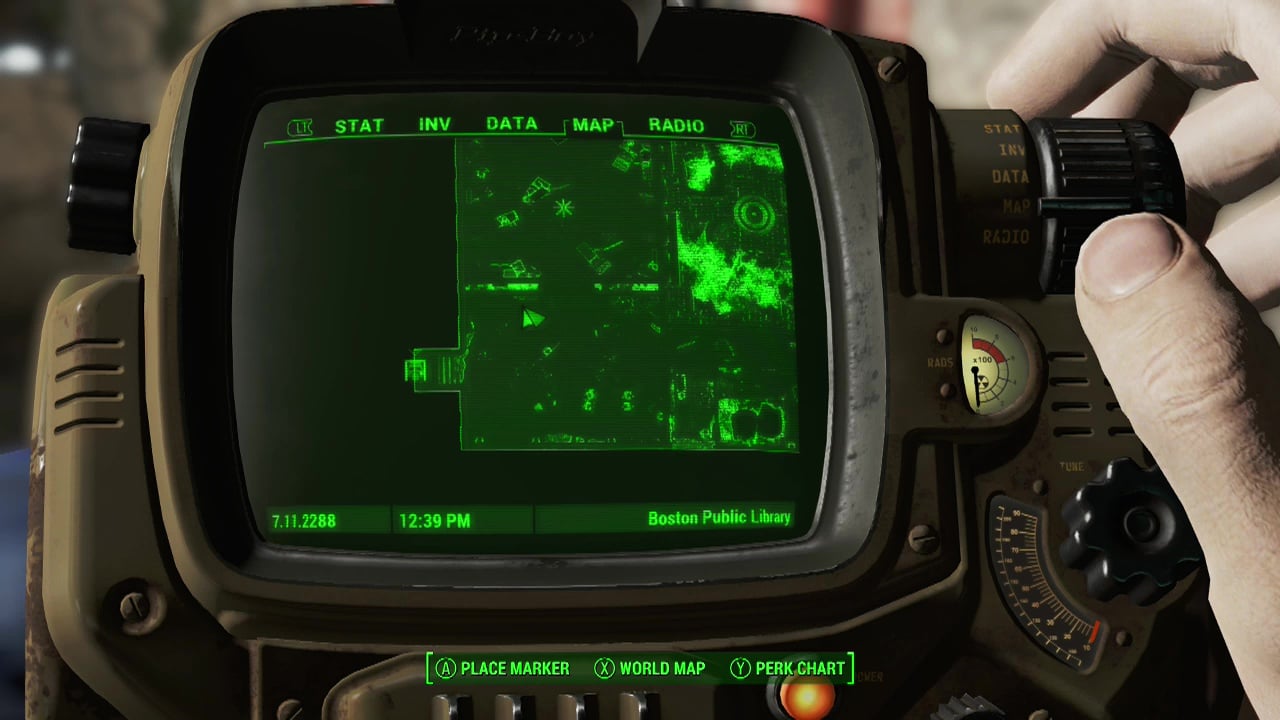
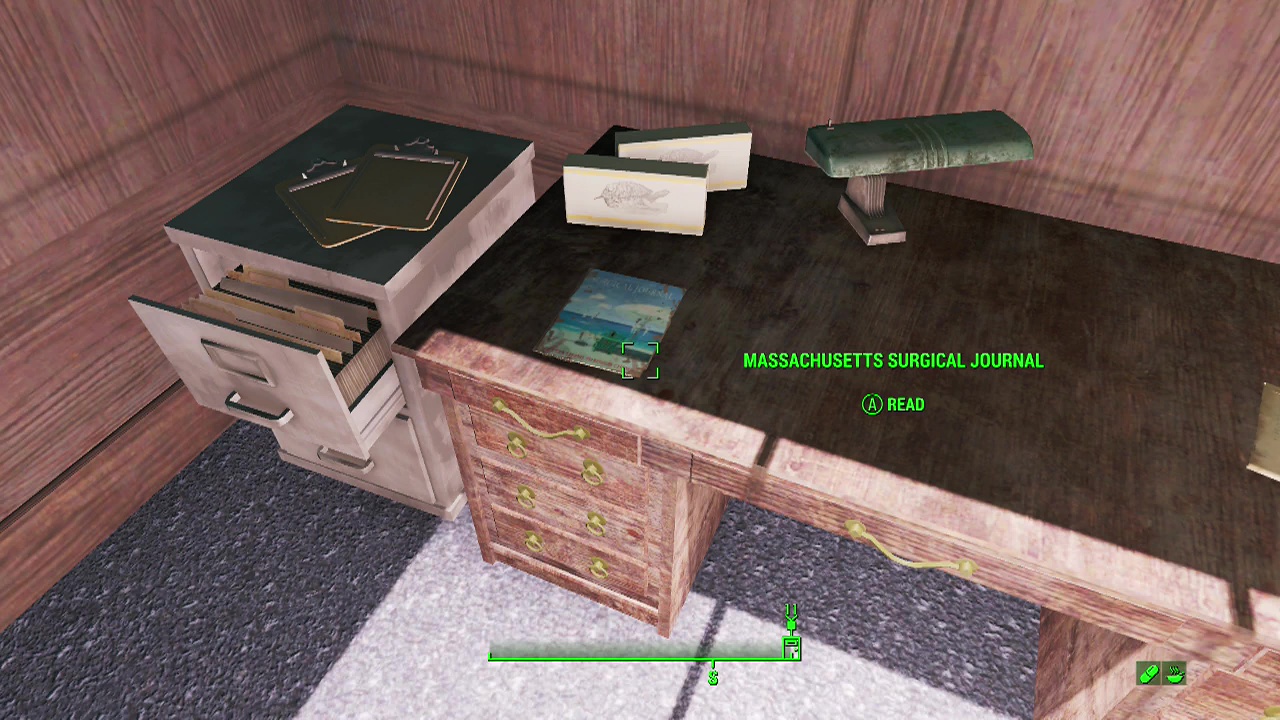
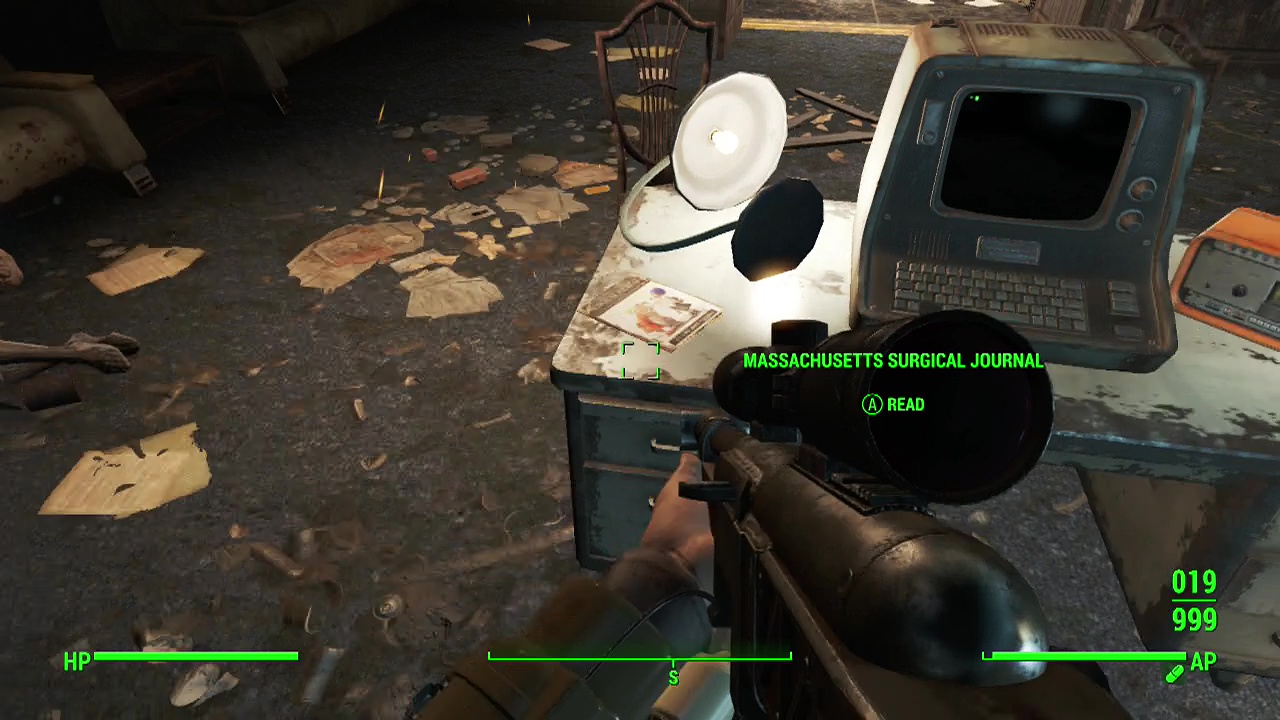
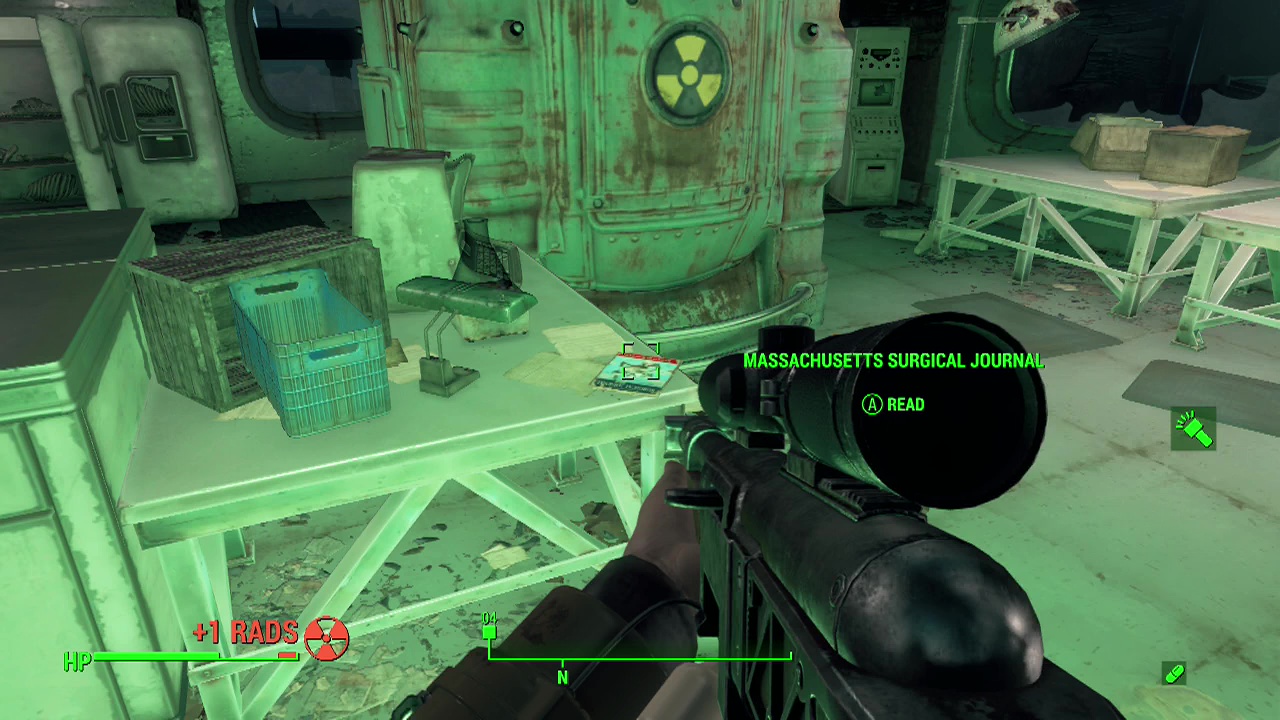
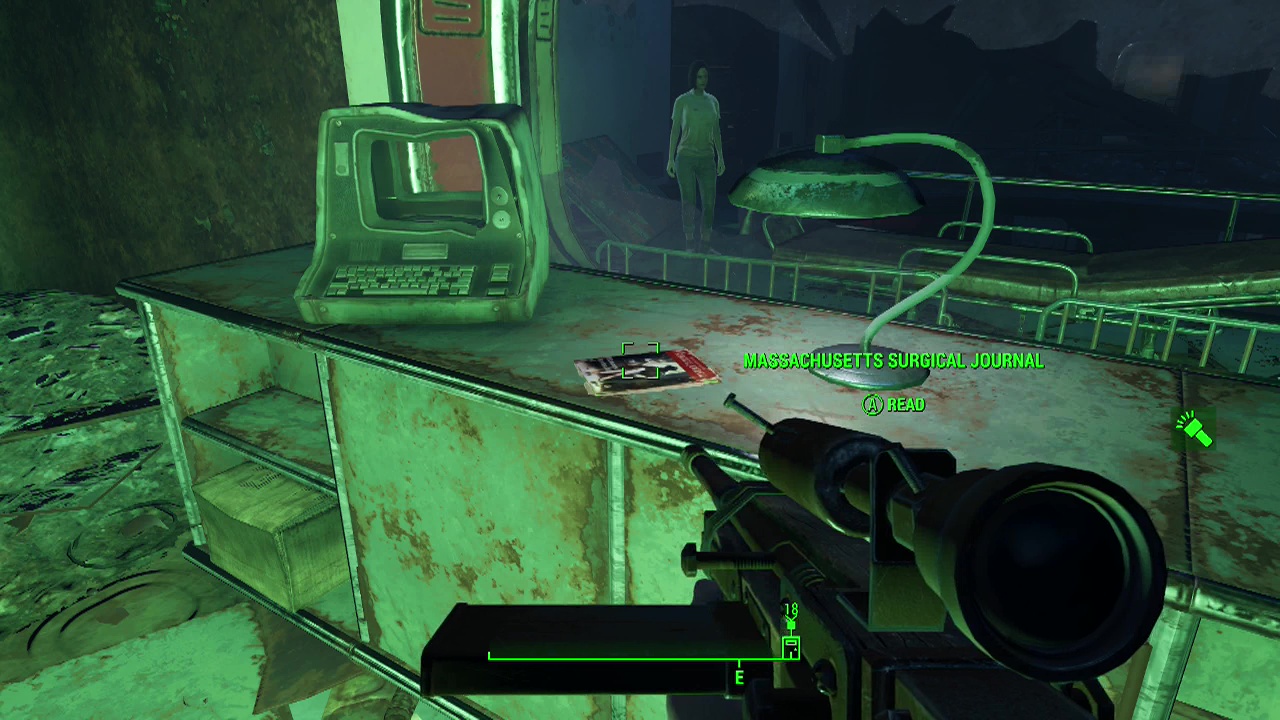
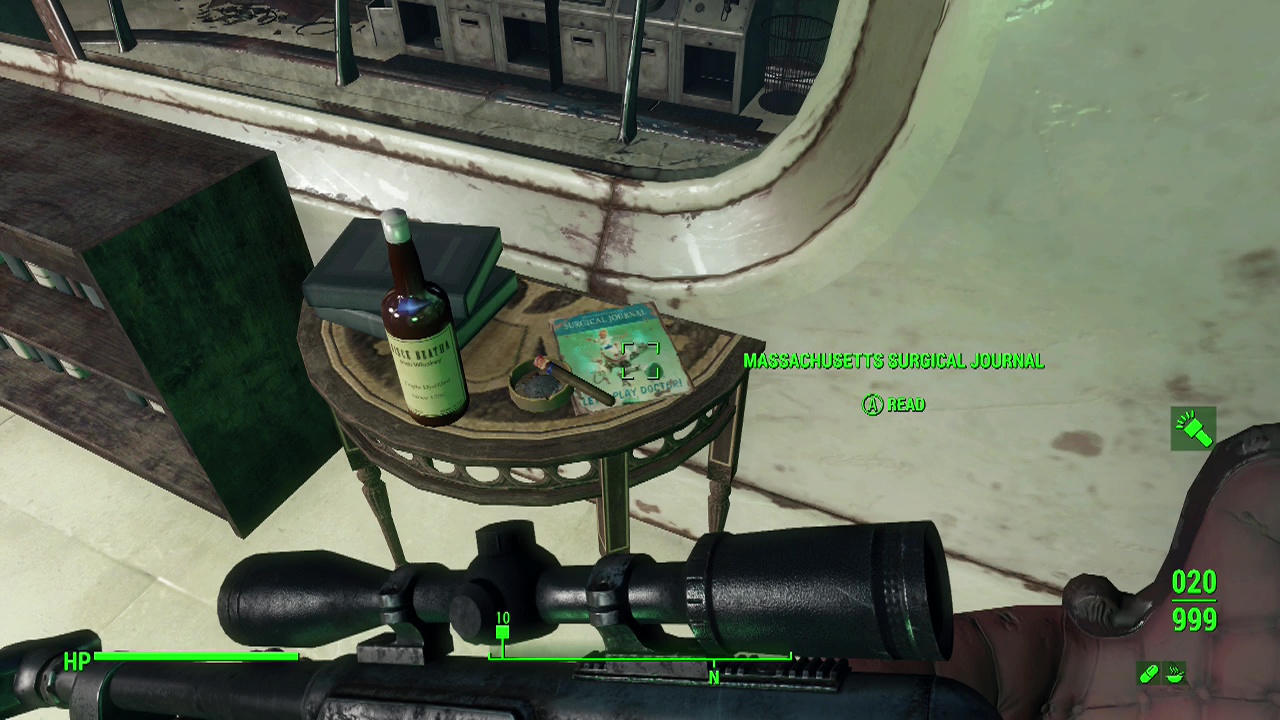
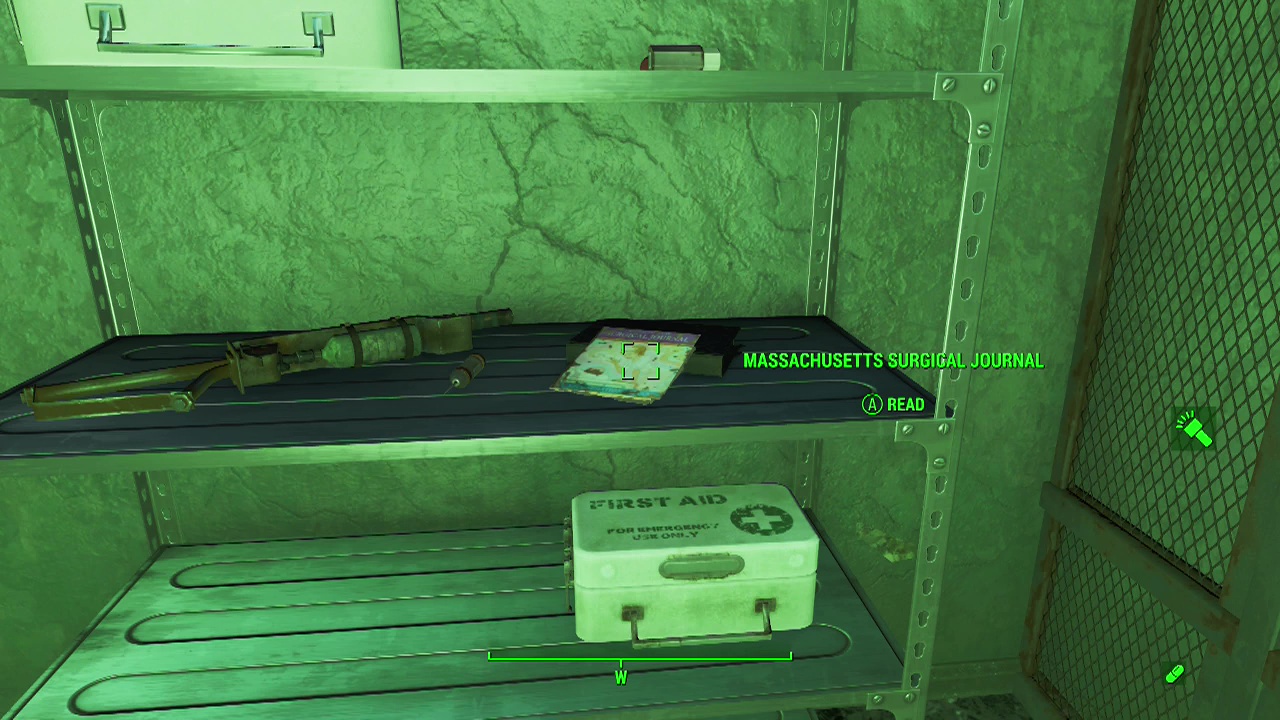
Massachusetts Surgical Journal
Boston Public Library – Obtained from the book machine in the South-West Corner for 50 book tokens (by returning 10 overdue books).
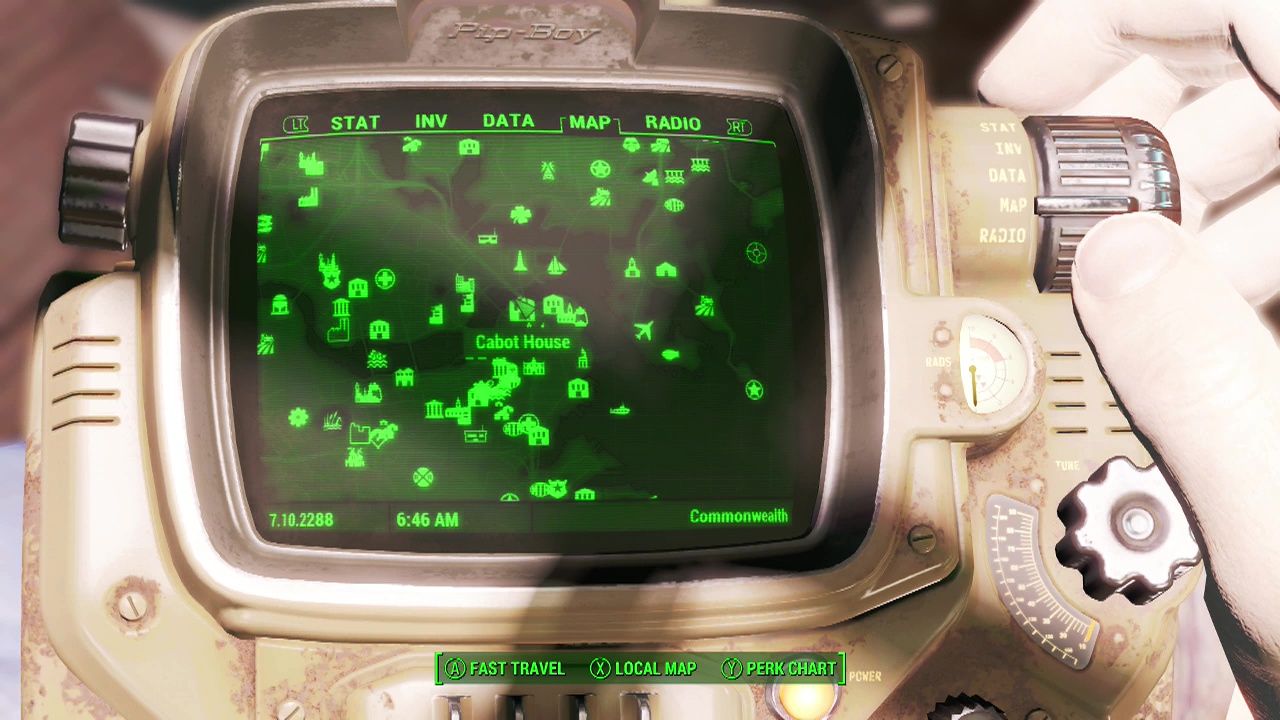
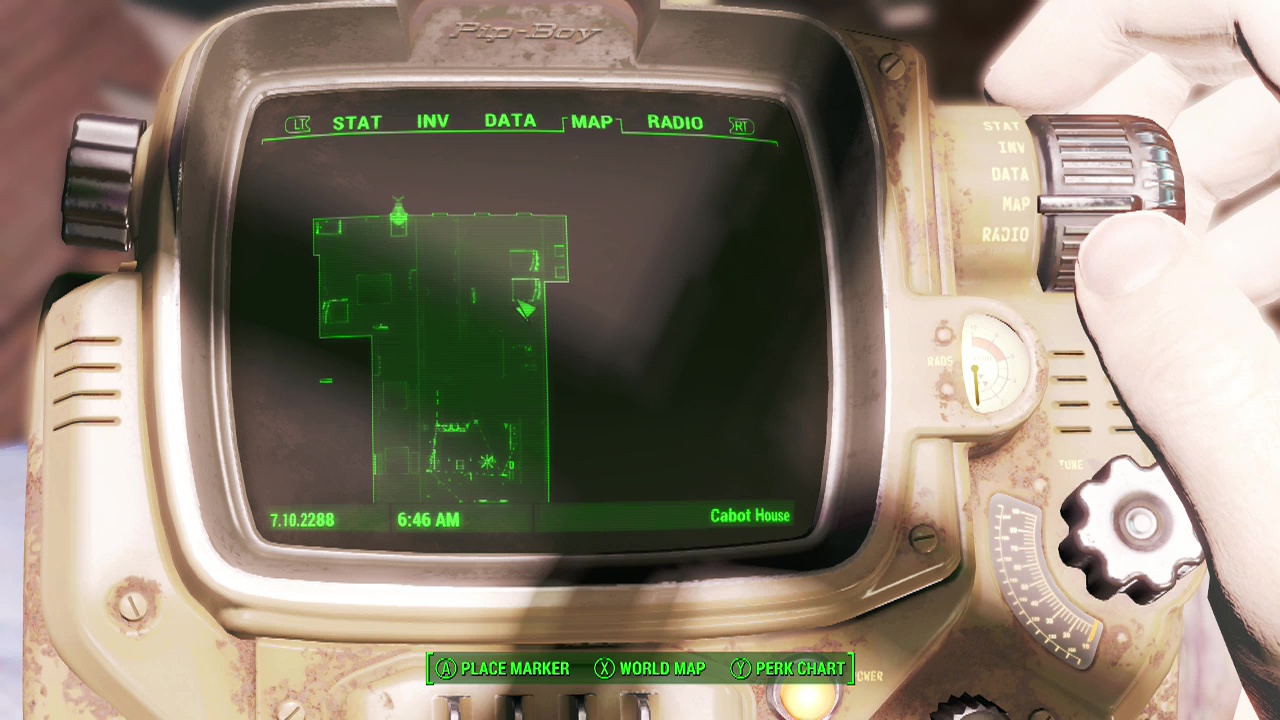
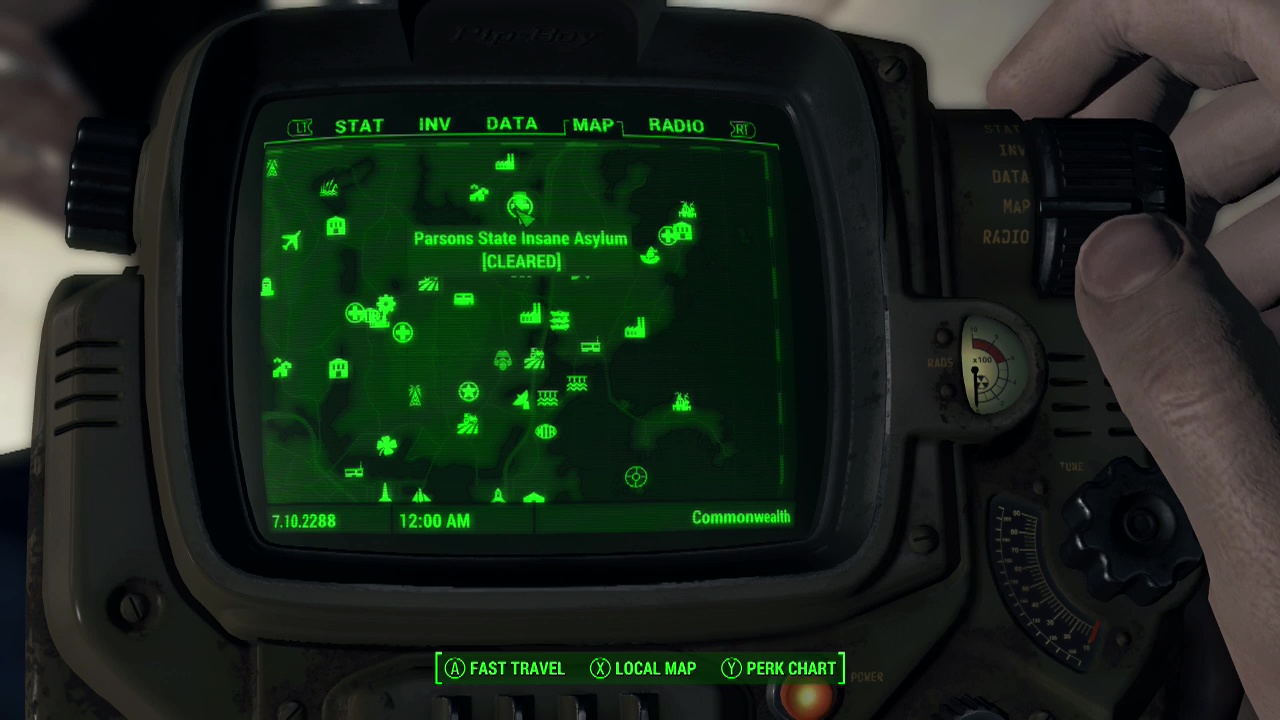
Cabot House – On the third floor in one of the bedrooms. To access Cabot House, you will need to begin the Special Delivery House sidequest by reaching level 10 and approaching Parsons State Asylum (you don't need to kill the guards, just discover the location). When passing through the Third Rail, Colonial Taphous, Dugout Inn or the market in Bunker Hill you may be approached by a ghoul named Edward who asks you to go to Cabot House. You can also bypass Edward and just visit Cabot House and use the intercom by the door. You then need to complete the Emogene Takes a Lover sidequest for Jack Cabot and then when the final sidequest is triggered (The Secret of Cabot House) the bedrooms will be open.
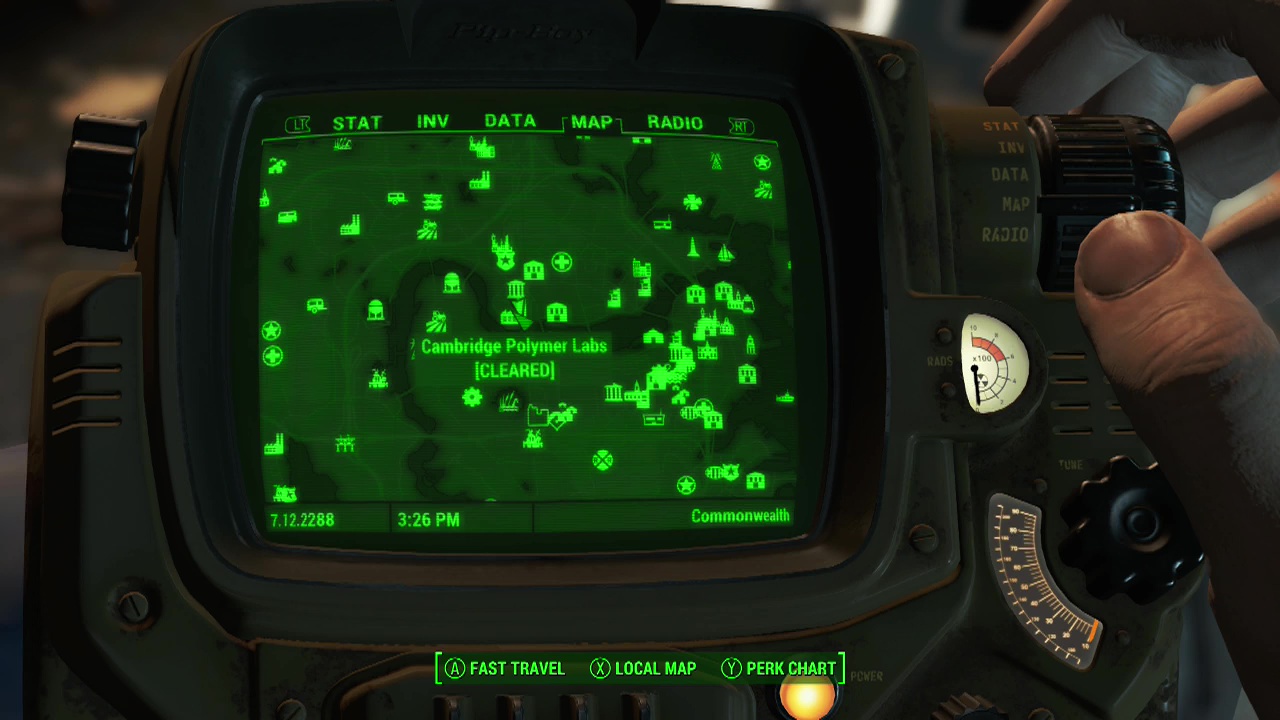
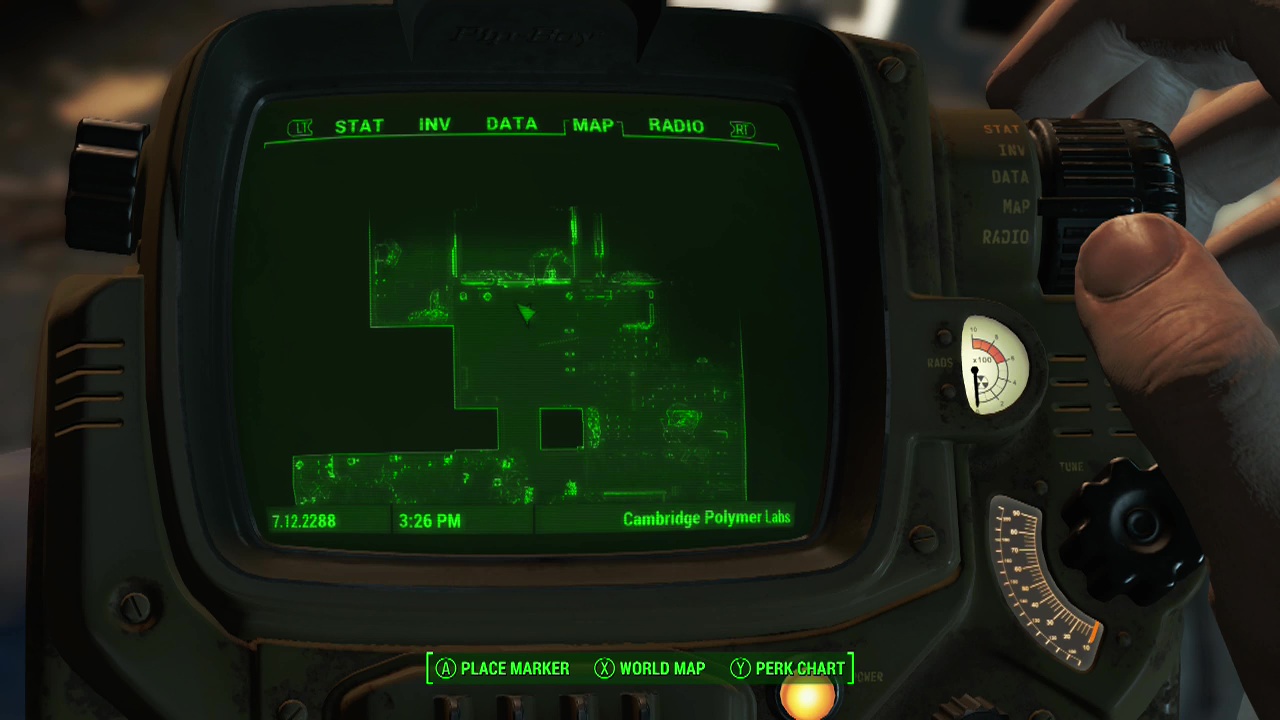
Cambridge Polymer Labs – As you enter the building you will be approached by Molly the robot. If you do not have Master level lockpick abilities, you will either need to steal the key to the director's office from her or complete the Cambridge Polymer Labs sidequest by agreeing to join the organization and then following the sidequest to completion (taking the key off Molly's corpse at the end). Whichever path you choose, climb up the stairs to the right near the entrance and you will find the Director's office. Open the doors and on the desk inside is the magazine.
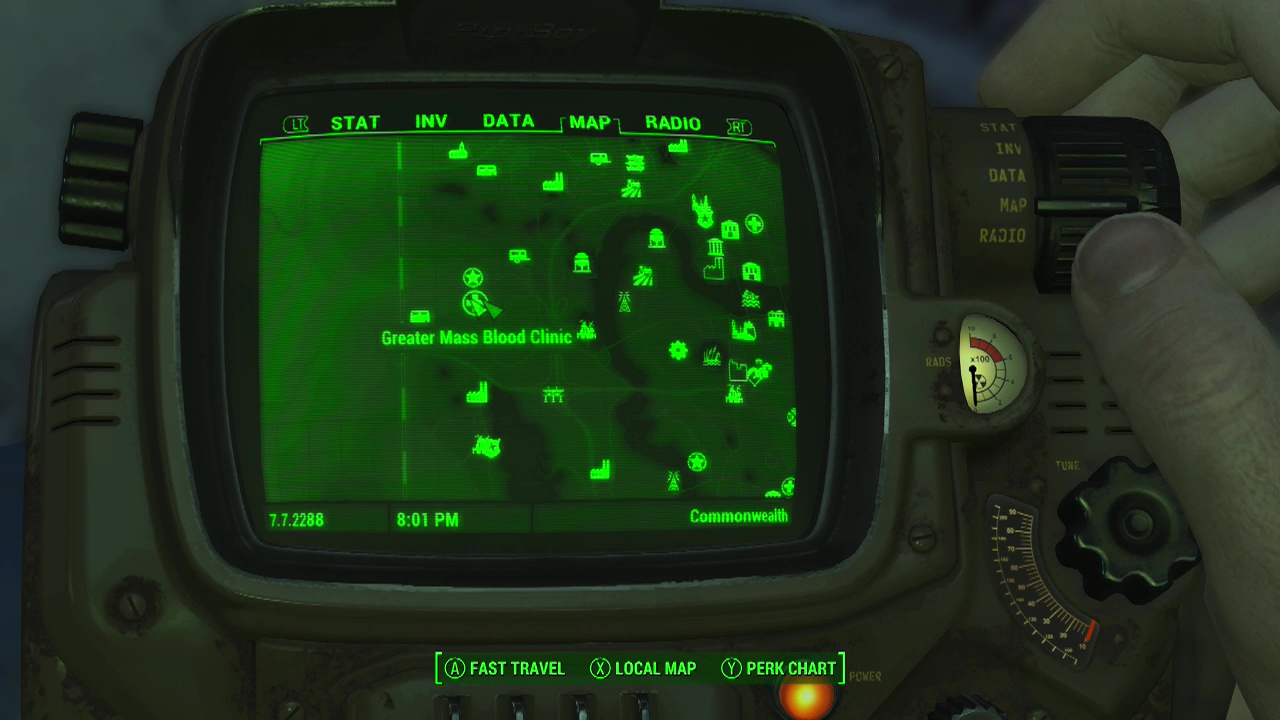
Greater Mass Blood Clinic – Found on the second floor of this bug infested place. Take the ramp to the right of the welcome area up to the next floor and use the advanced terminal in the wall to open the analyst's office. On the table inside is the magazine.
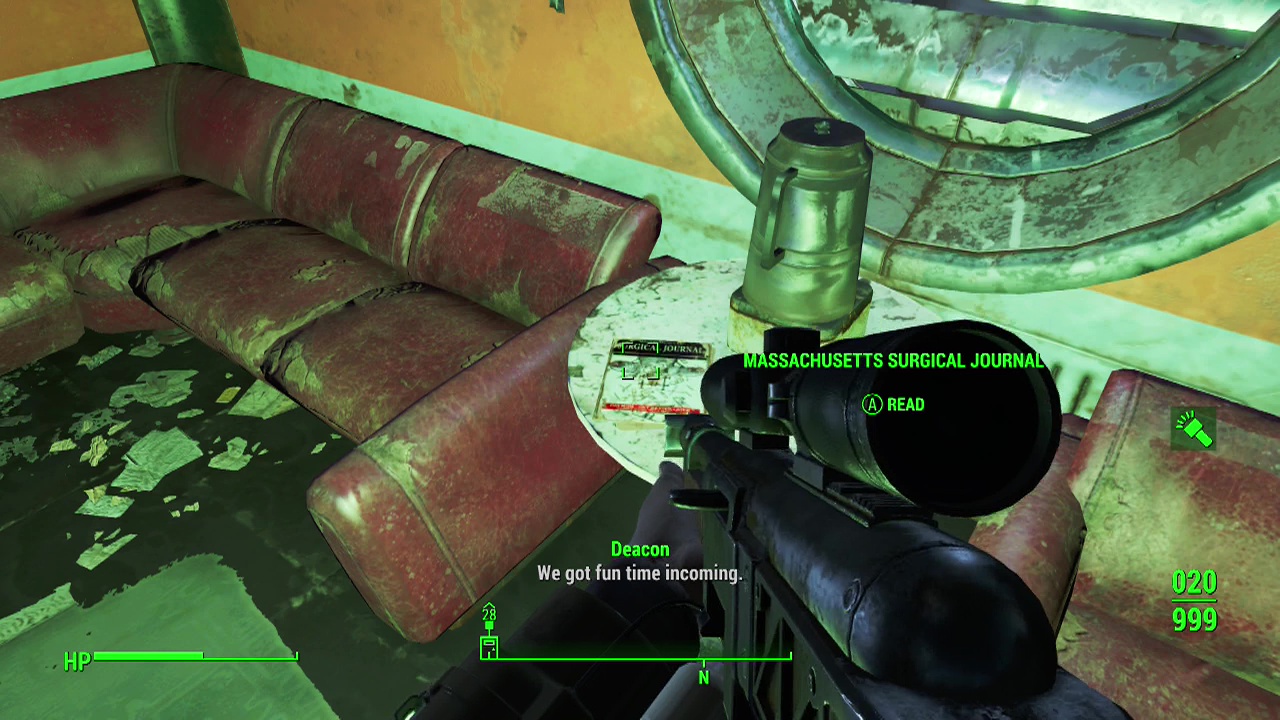
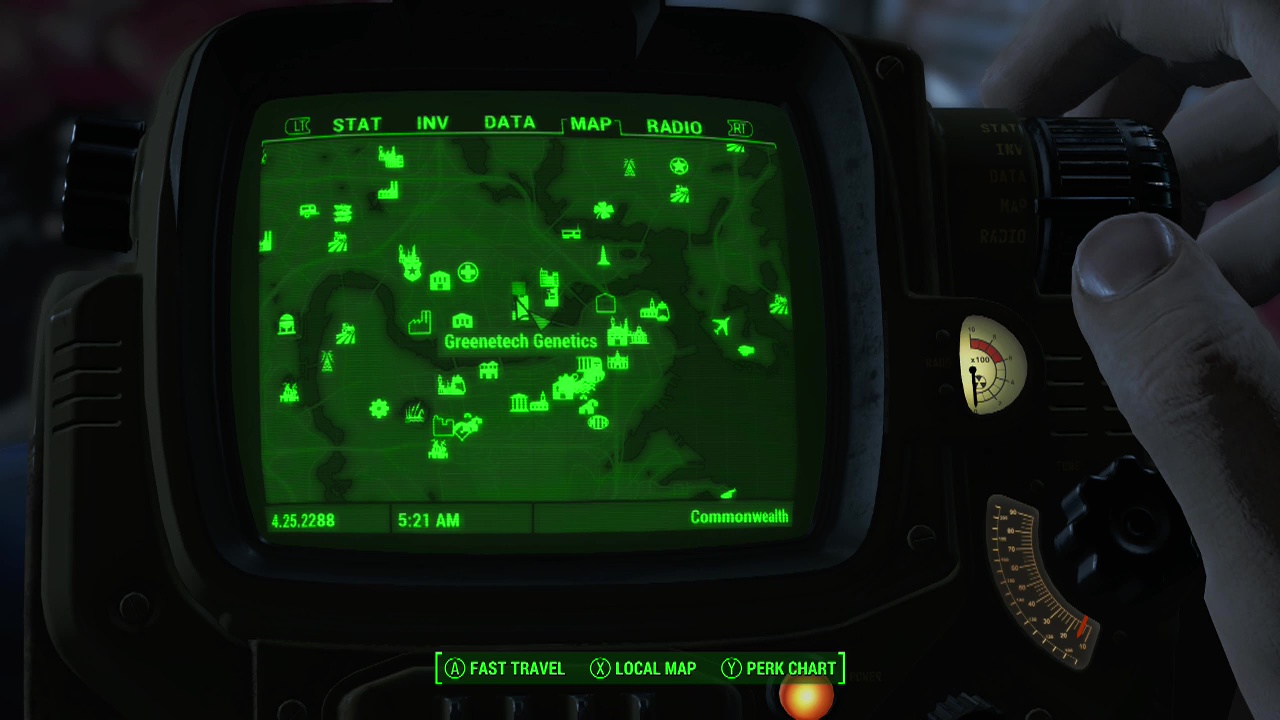
Greentech Genetics – After heading inside, take the stairs off to your right up to the second floor then cross the balconies, turning right and following the hall to another set of stairs at the end. When you reach the third floor take the door to your left and inside you'll see some red leather couches with the magazine on a coffee table beside them.

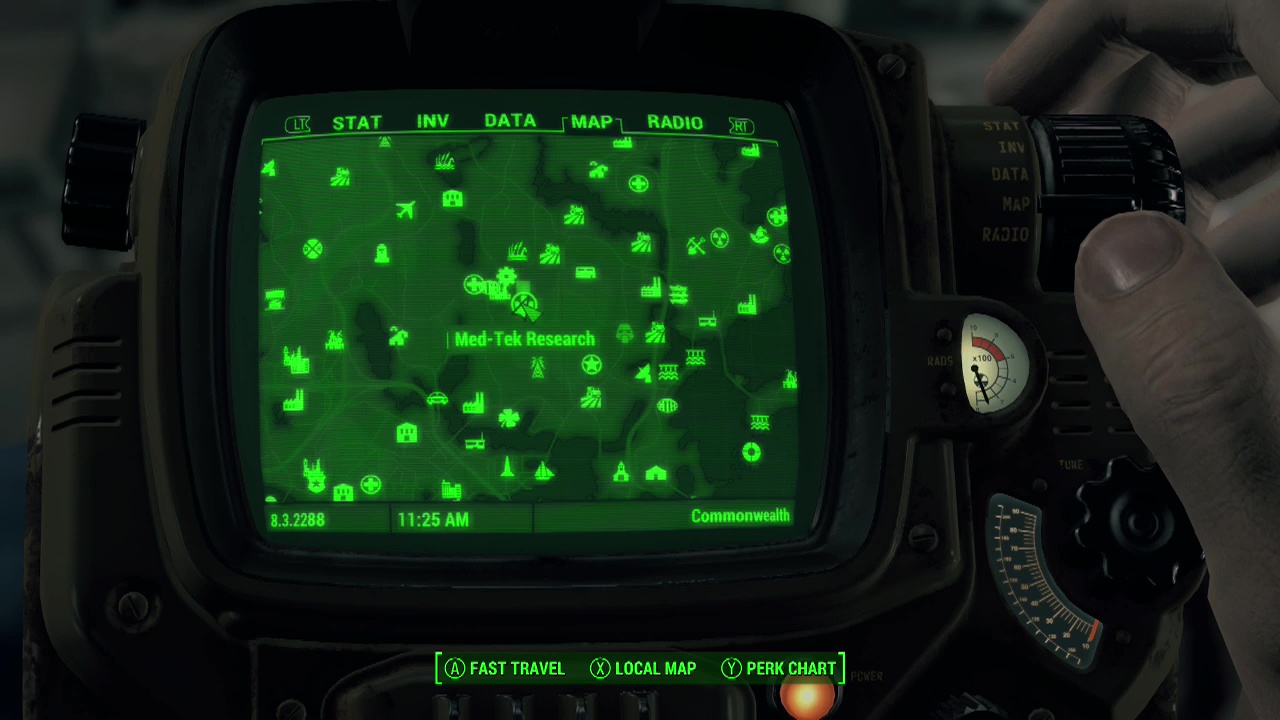
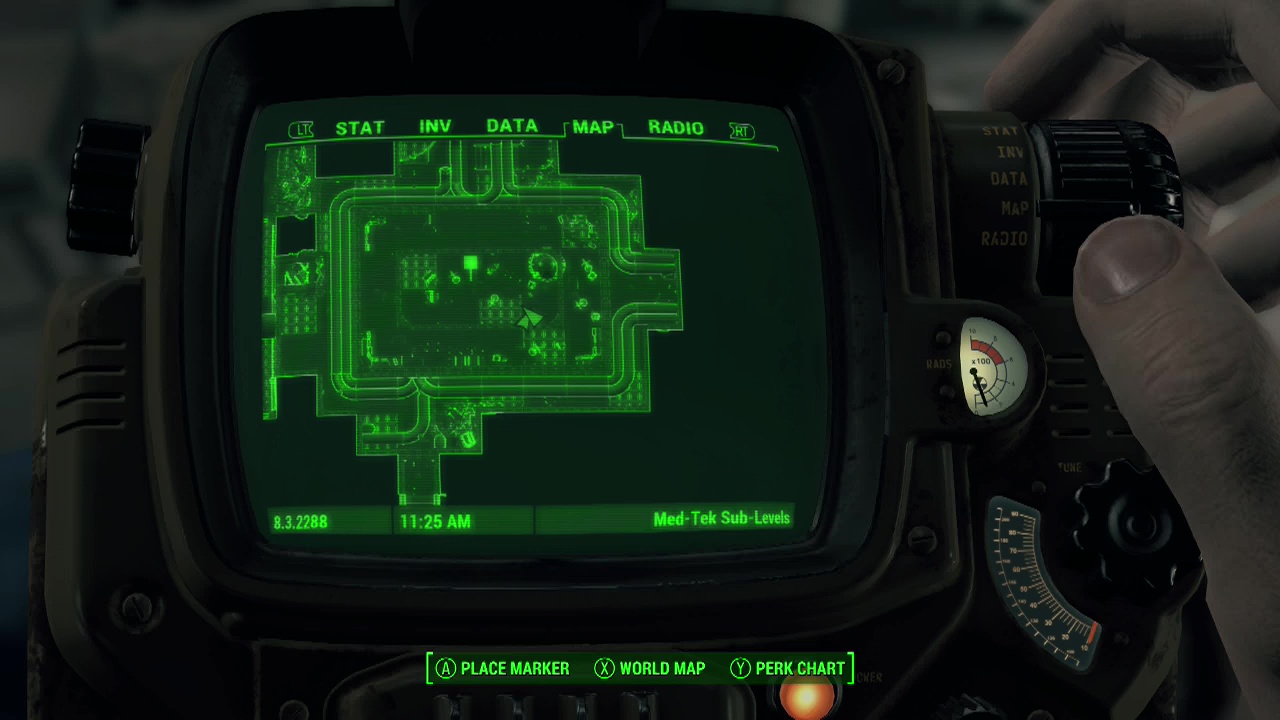
Med-Tech Research – Note that you can only reach the sub-levels if you have recruited McReady as a companion and you are in the latter stages of his quest Long Road Ahead (allows you to turn off the alert at Med-Tech and access the airlock). Keep descending deeper into the facility until you arrive at the final location of the quest (operating theatre with skeleton lying in the center). The magazine is on a table nearby.
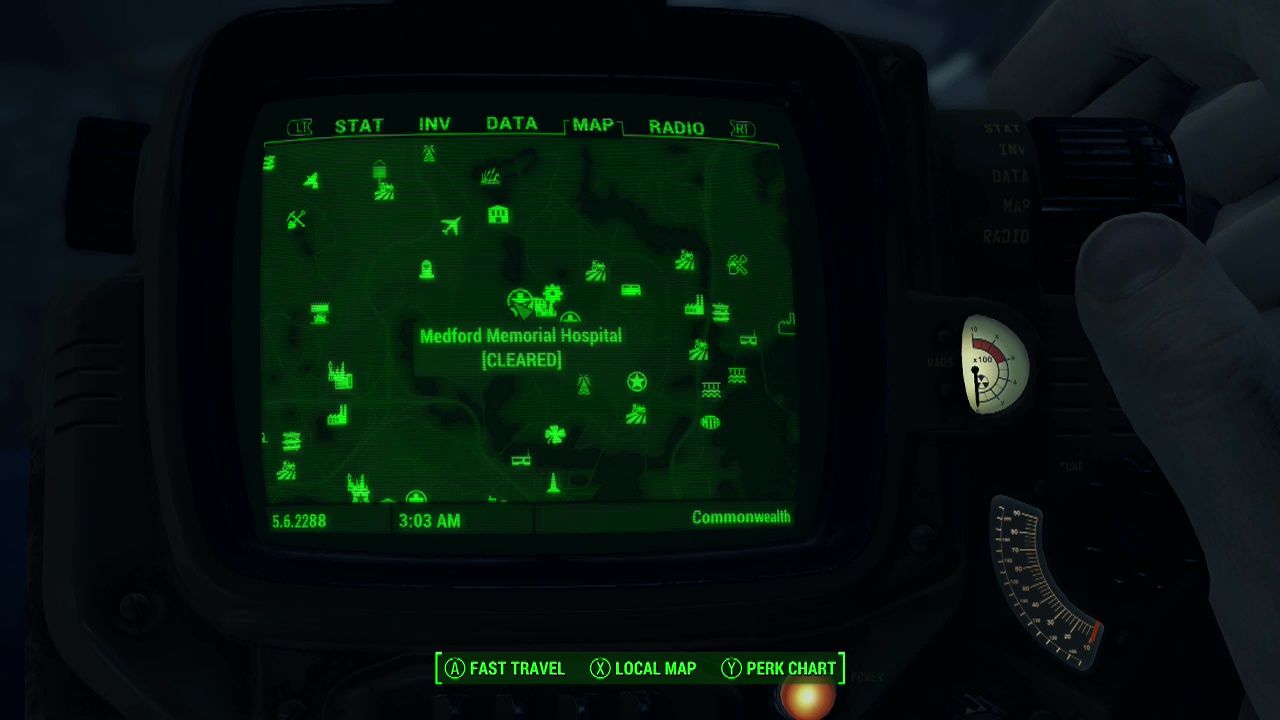
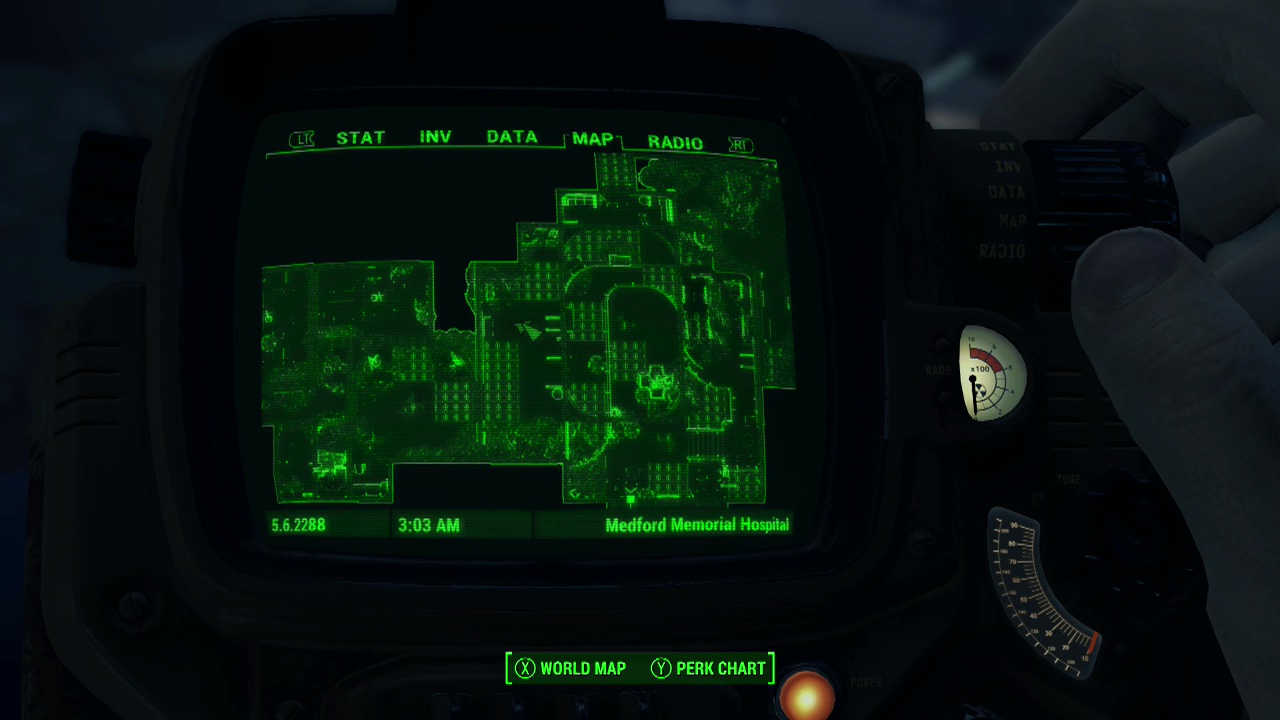
Medford Memorial Hospital – Behind an advanced locked door on the balcony above and to your left as you enter (second floor).
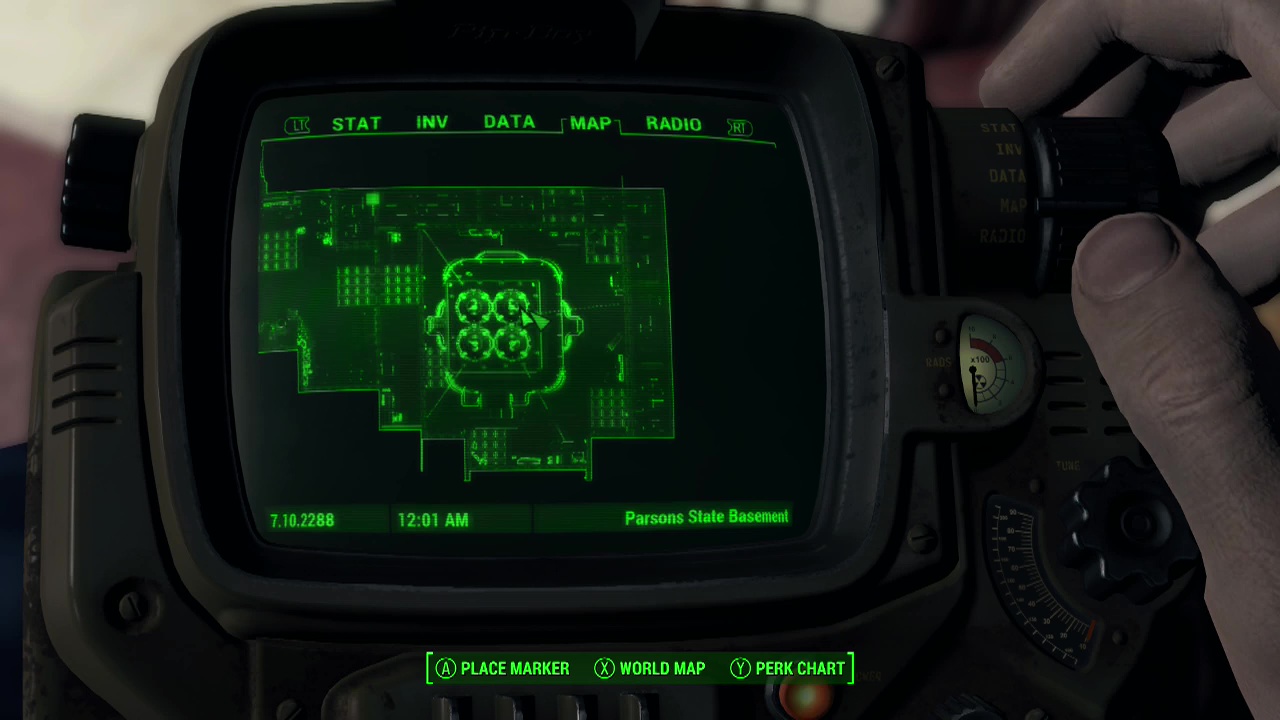
Parsons State Asylum Basement – To access Parsons State Asylum, you will need to begin the Special Delivery House sidequest by reaching level 10 and approaching Parsons State Asylum (you don't need to kill the guards, just discover the location). When passing through the Third Rail, Colonial Taphous, Dugout Inn or the market in Bunker Hill you may be approached by a ghoul named Edward who asks you to go to Cabot House. You can also bypass Edward and just visit Cabot House and use the intercom by the door. You then need to complete the Emogene Takes a Lover sidequest for Jack Cabot and then when the final sidequest is triggered (The Secret of Cabot House) meet Jack Cabot at the Asylum and follow him to the entrance so he can open the door. Then trail after him, dealing with the raiders until he reaches his office and you encounter Edward. Continue deeper into the facility until you have to make the choice regarding Jack's father. Once it is over you can enter the cell and pick up the magazine on a table inside.
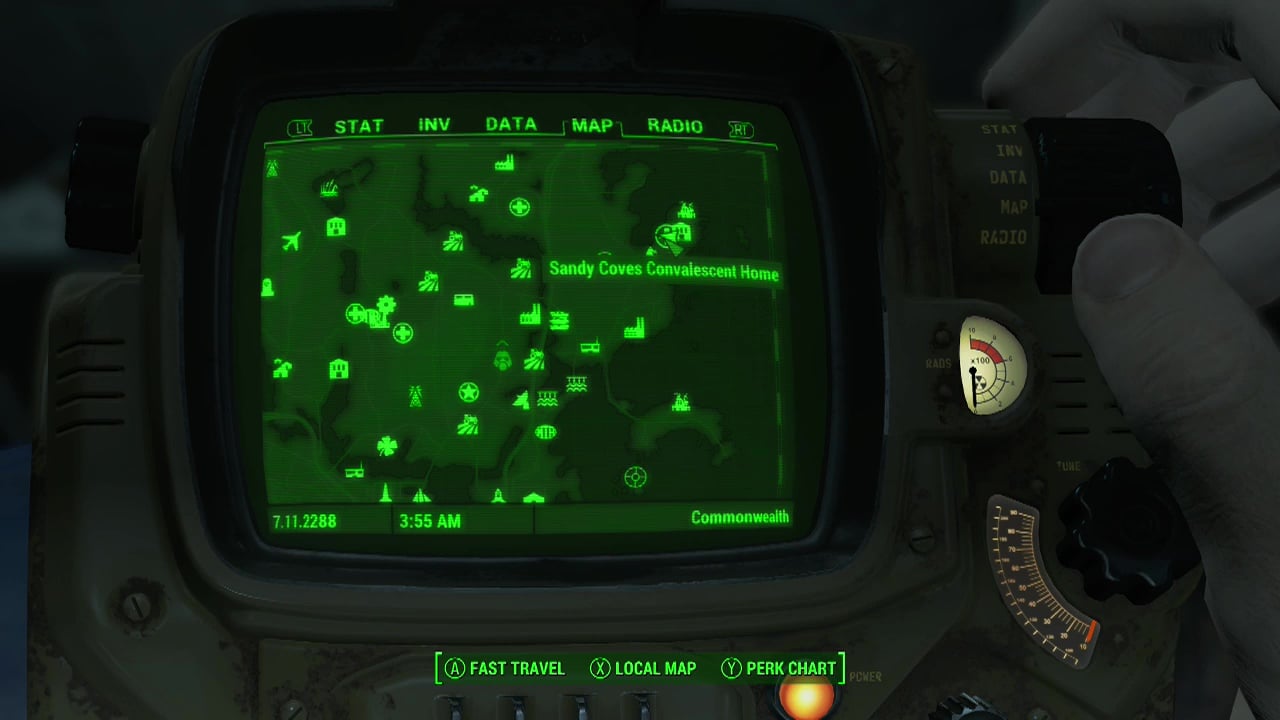
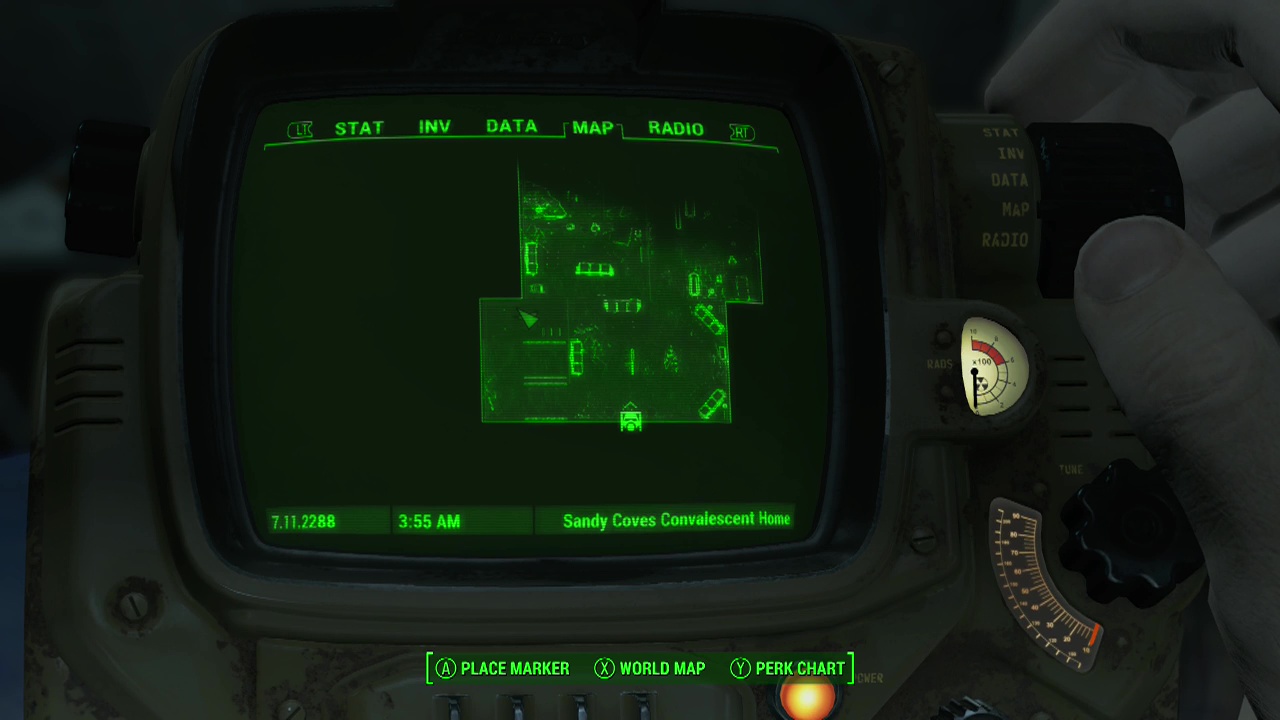
Sandy Coves Convalescent Home – Walk behind the reception counter and use the novice terminal to unlock the security door to your right (next to the wall of safes), inside is the magazine.
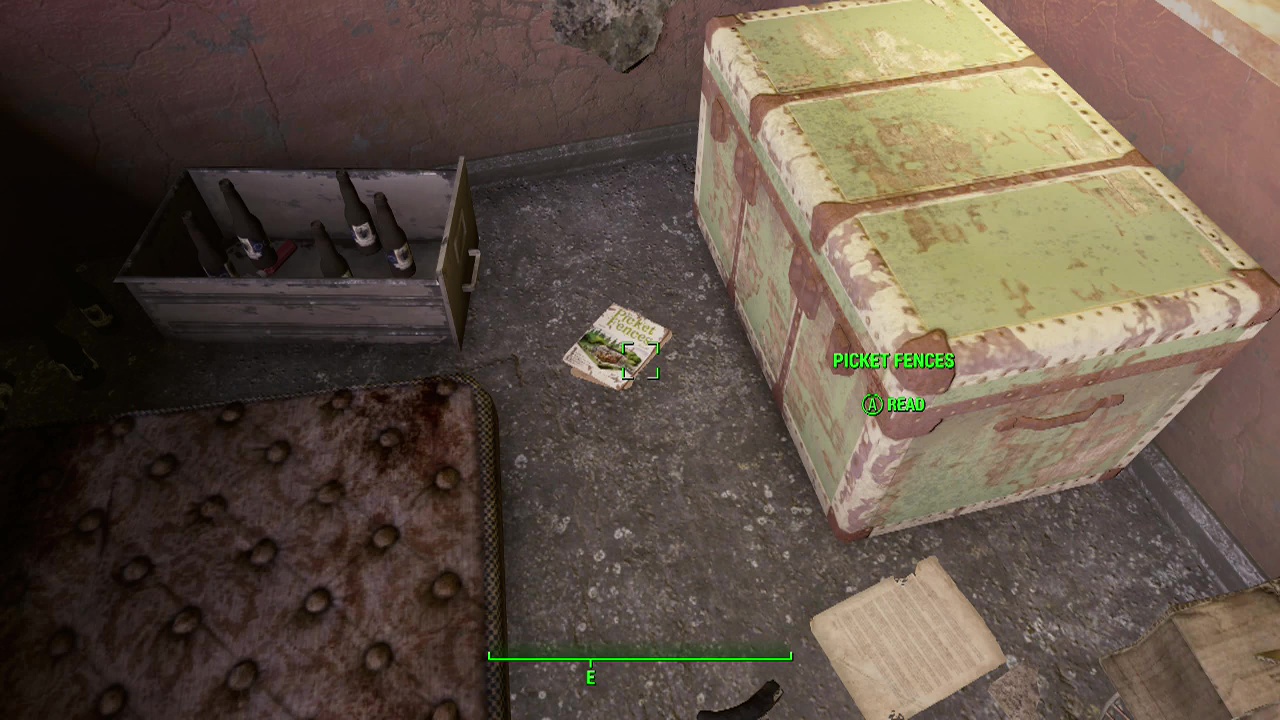
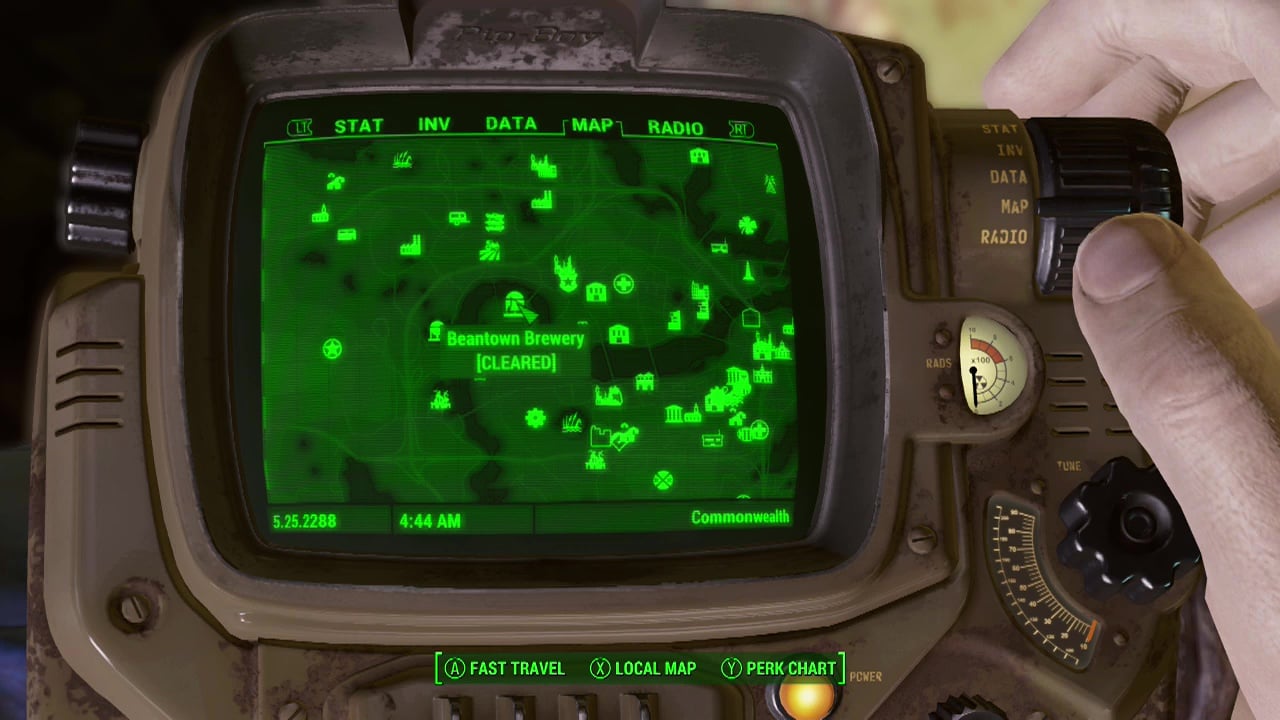
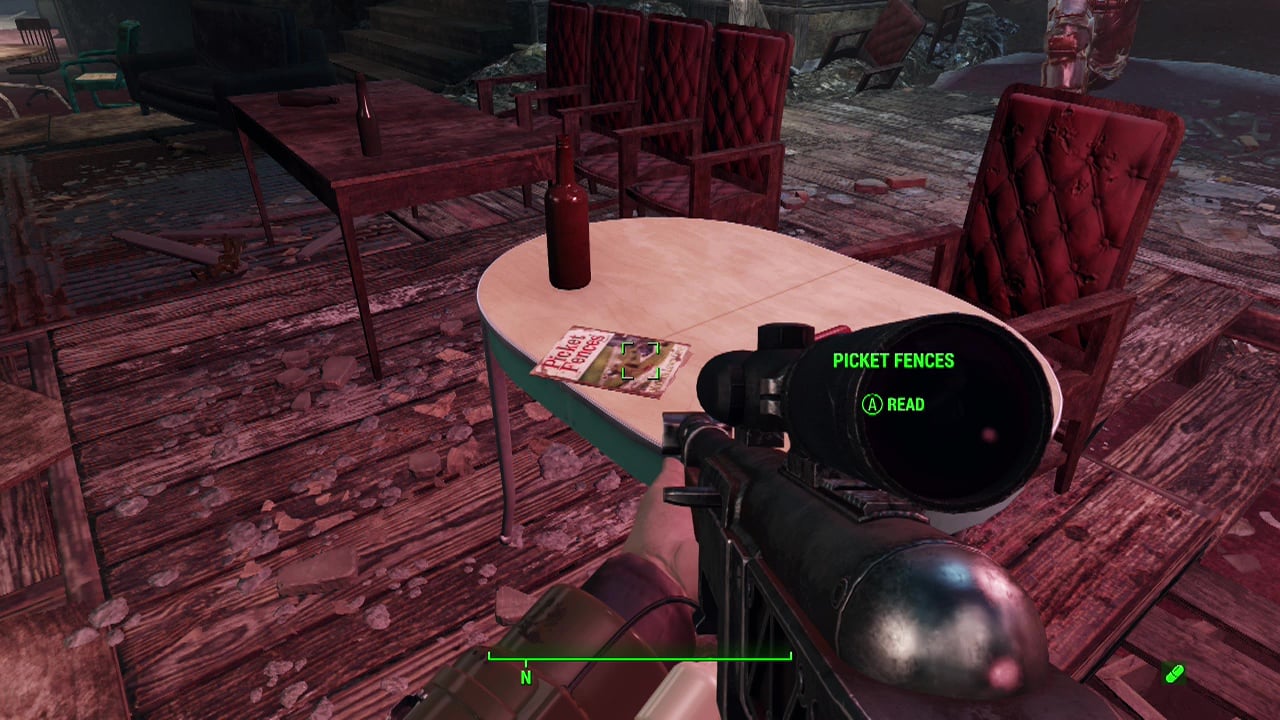
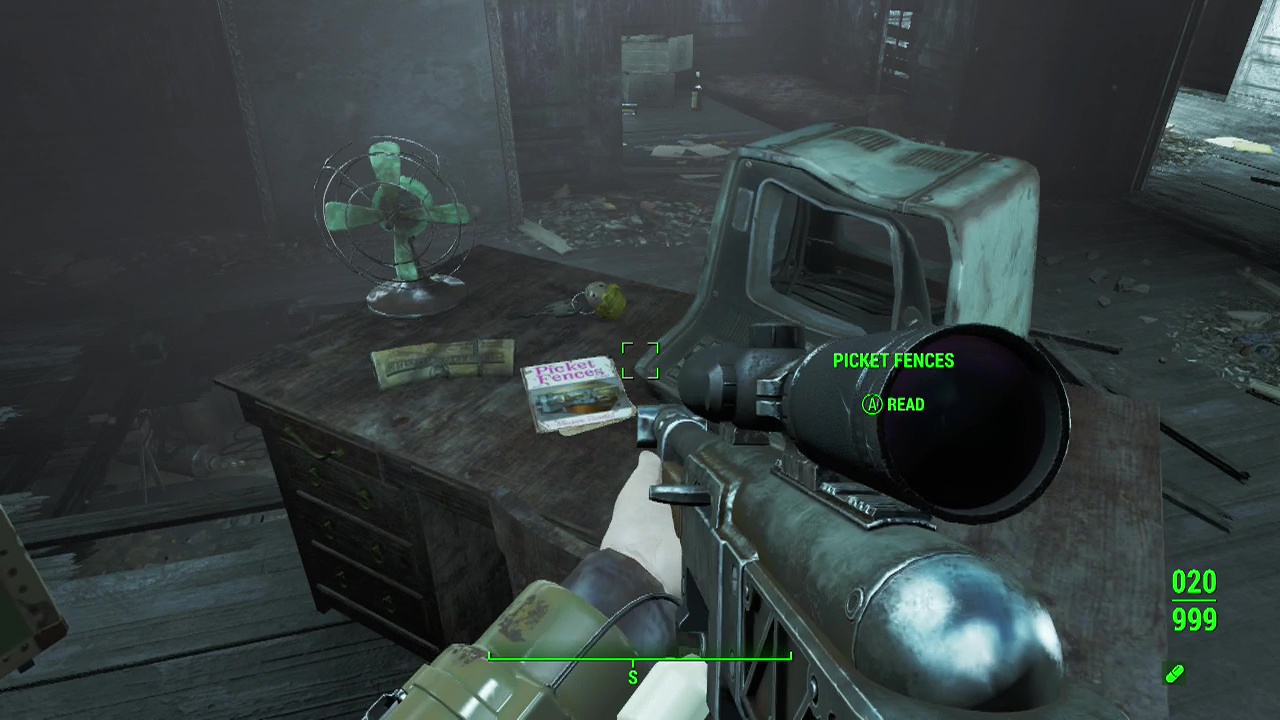
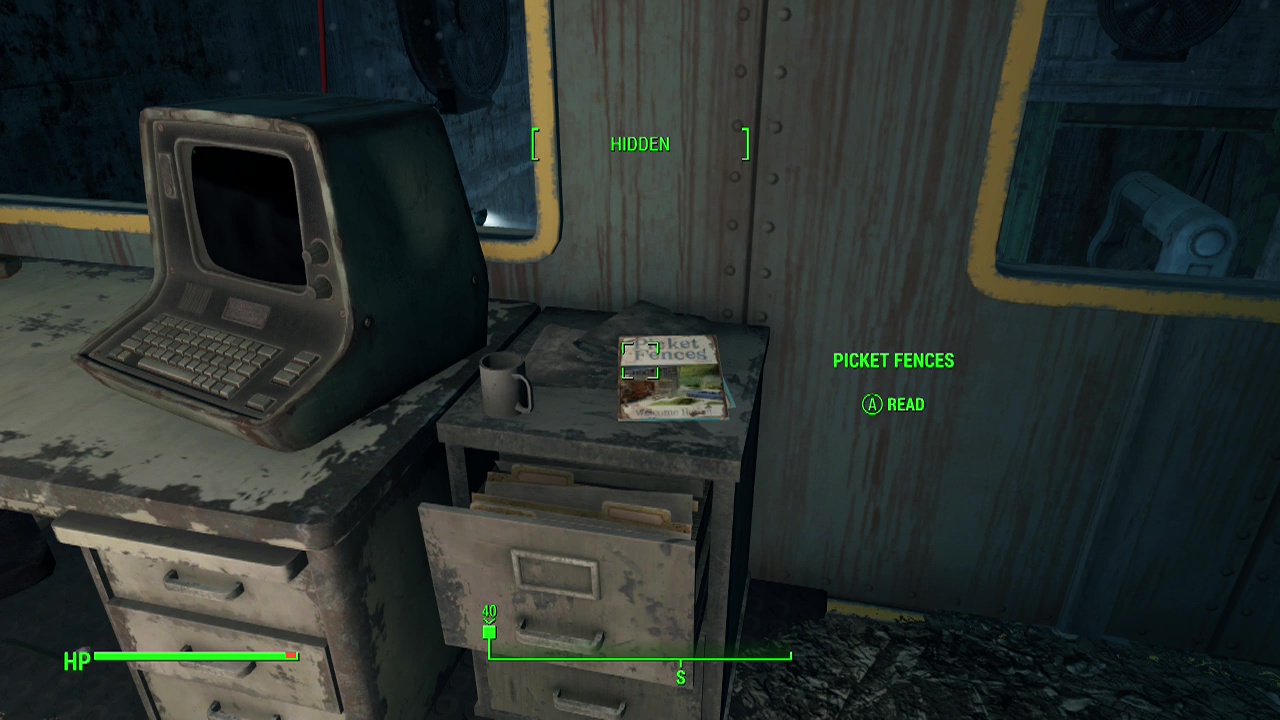
Picket Fences
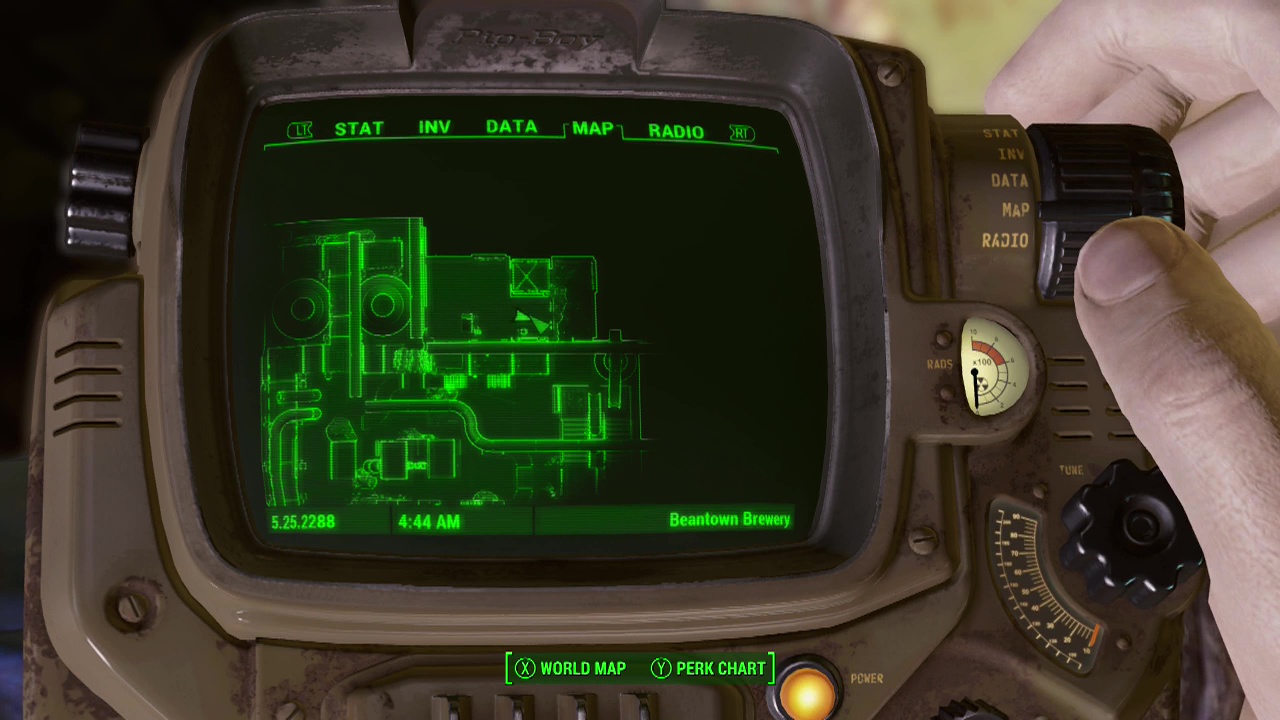
Beantown Brewery – Inside head to the North-East corner of the plant and find a set of stairs leading up and across to a metal room (where the gang leader Tower Tom is located). Next to a green loot chest inside is the magazine.
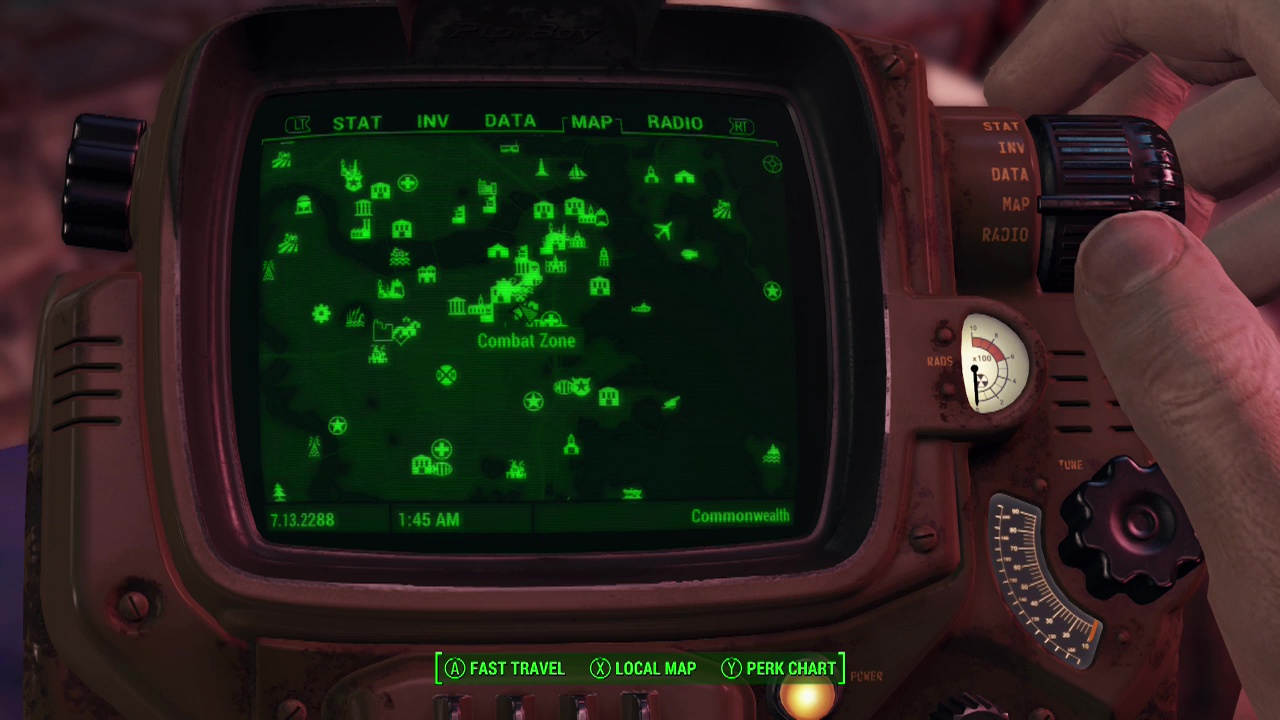
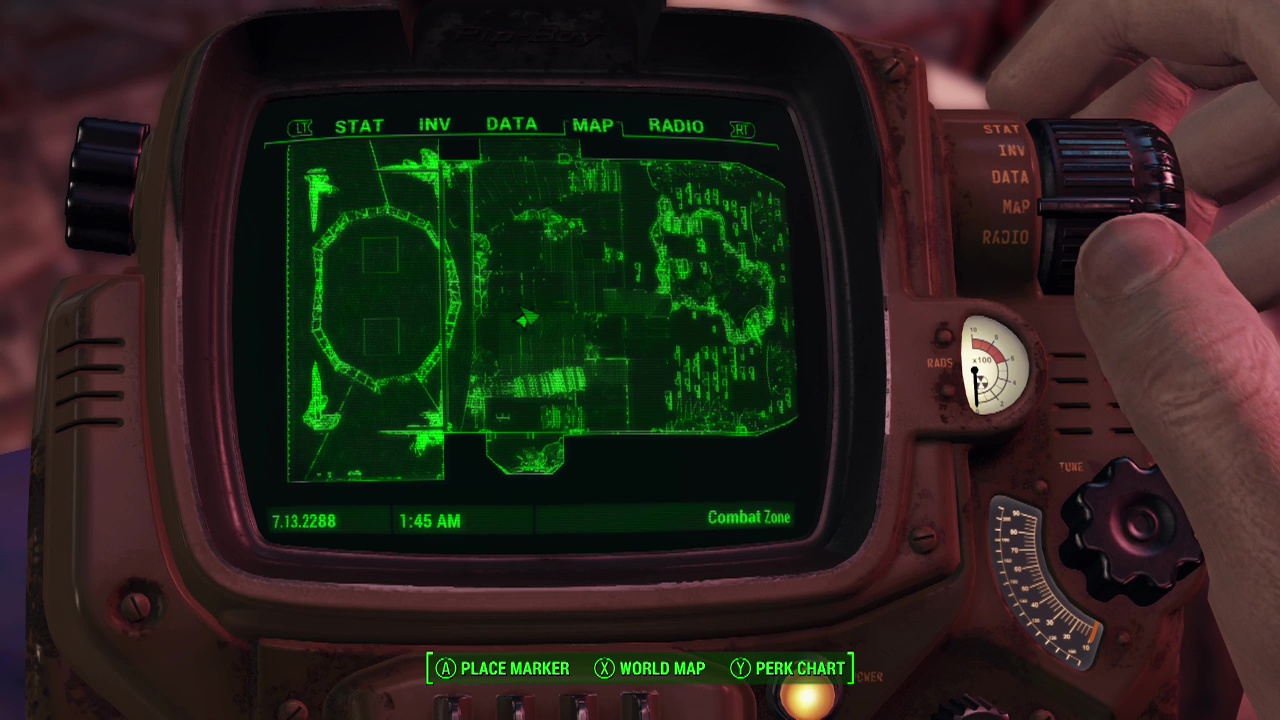
Combat Zone – On one of the tables very close to the fighting cage.
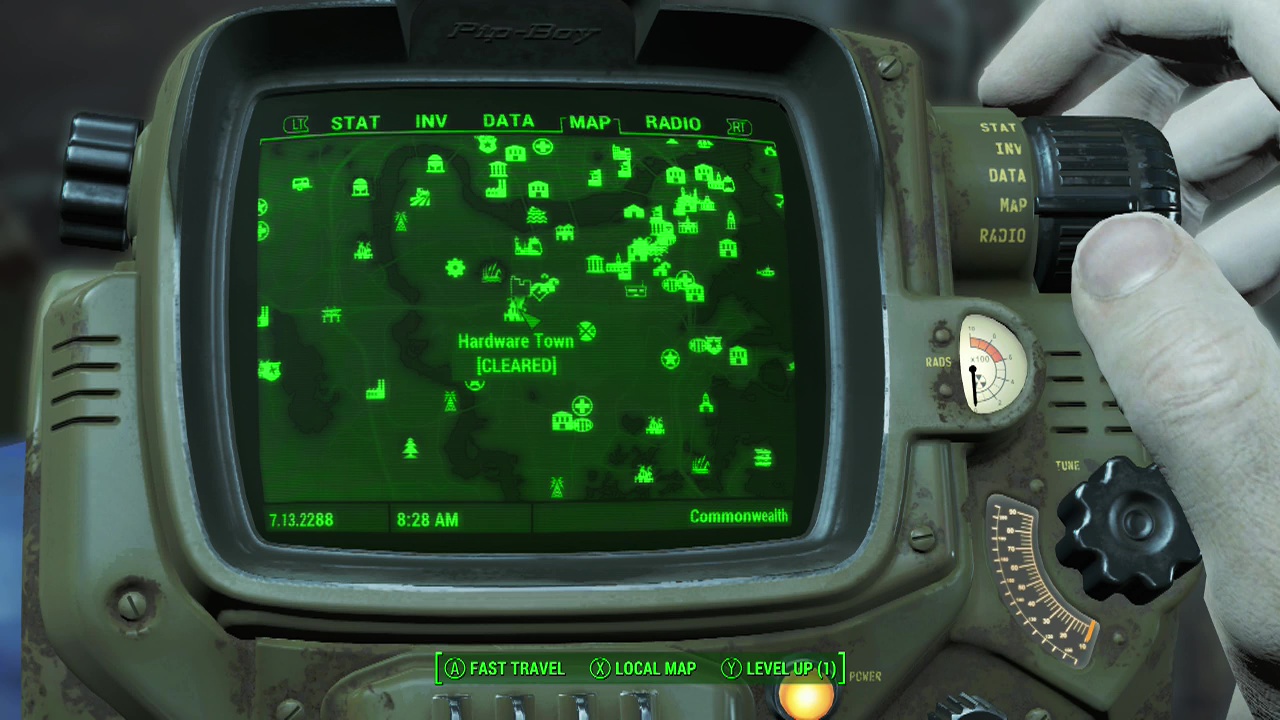
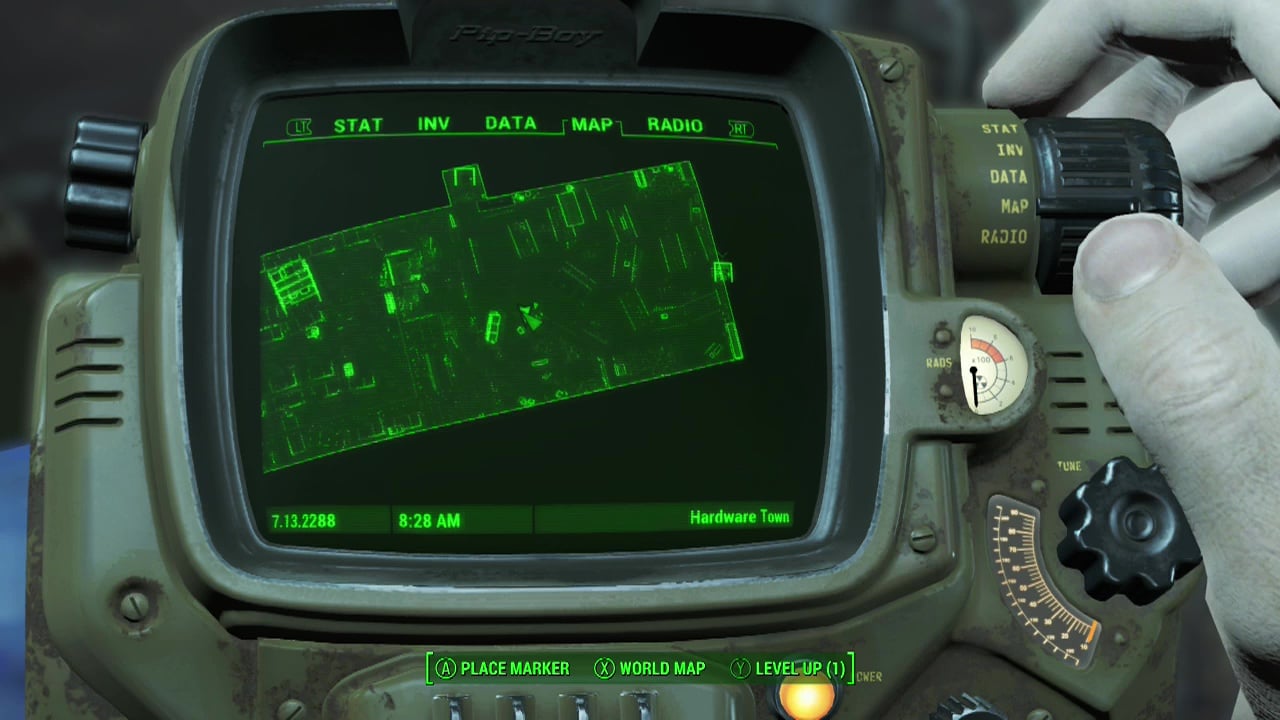
Hardware Town – Pass through the maze of wooden shelves into the large warehouse area. Take the stairs up to the office level above and you'll find it on a desk in one of them next to a key for the safe.
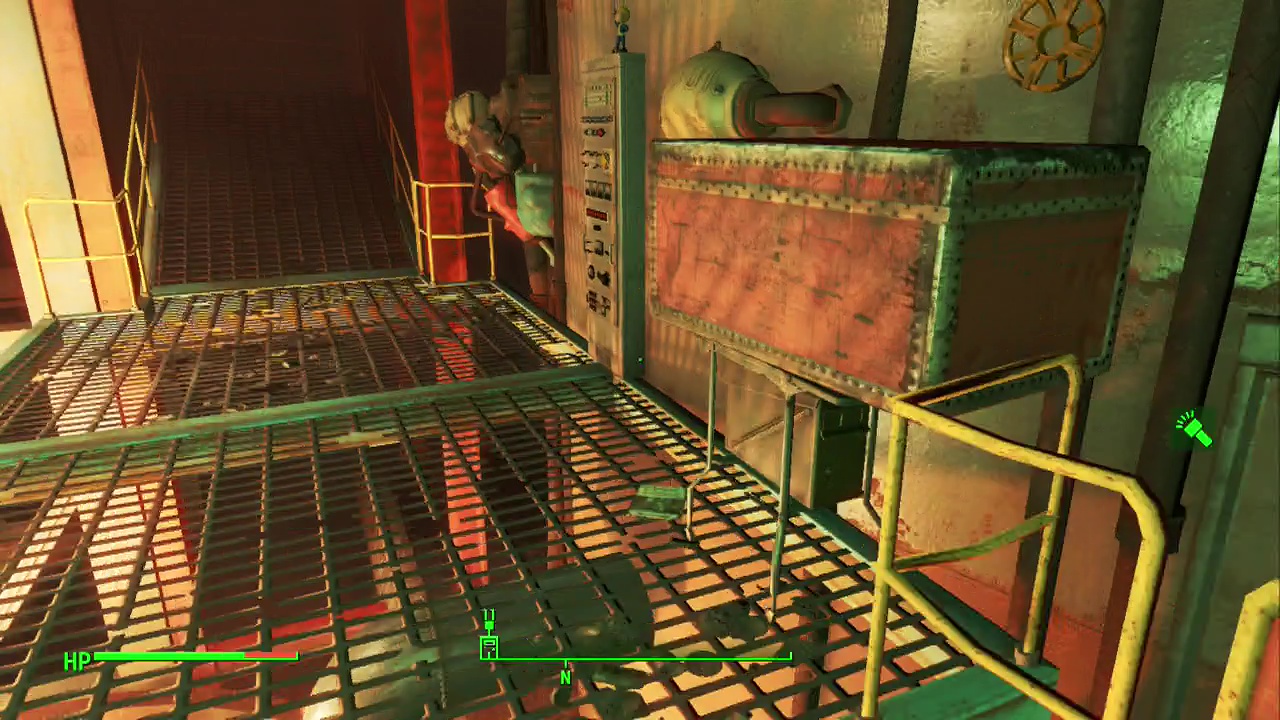
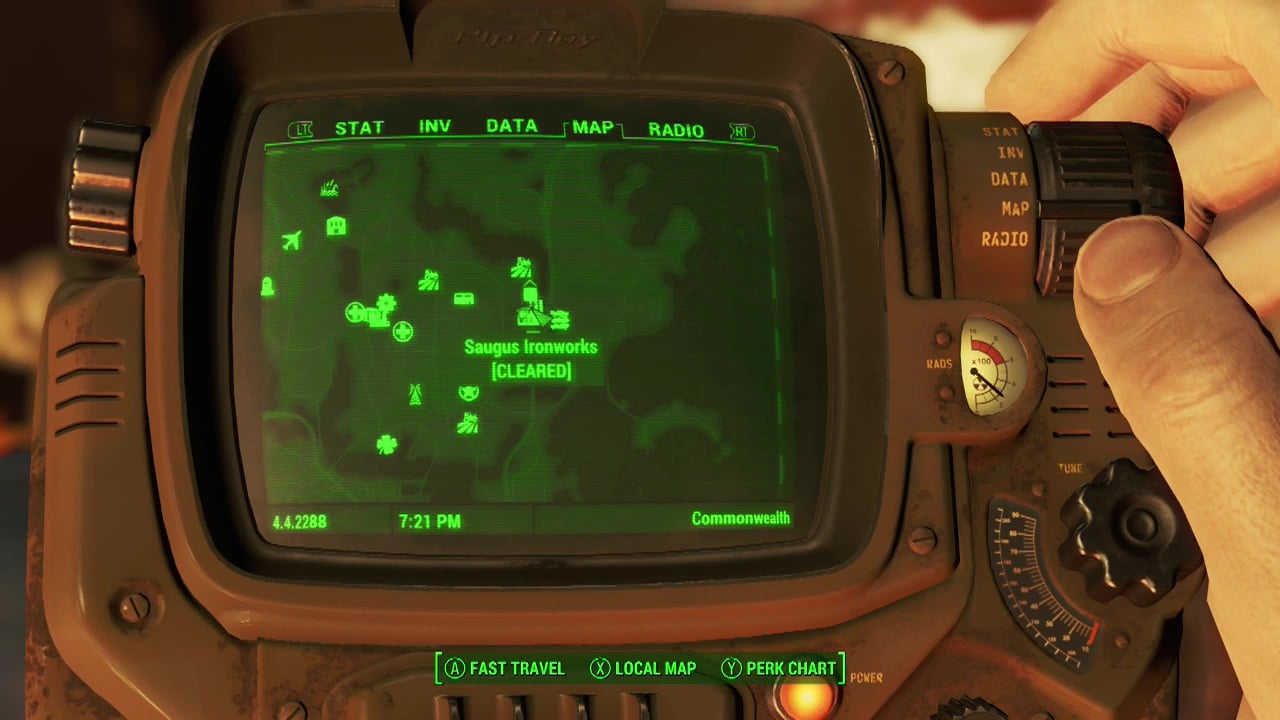
Sagus Ironworks – In the Blast Furnace area (with the forged leader) on the metal catwalk next to the red loot chest.
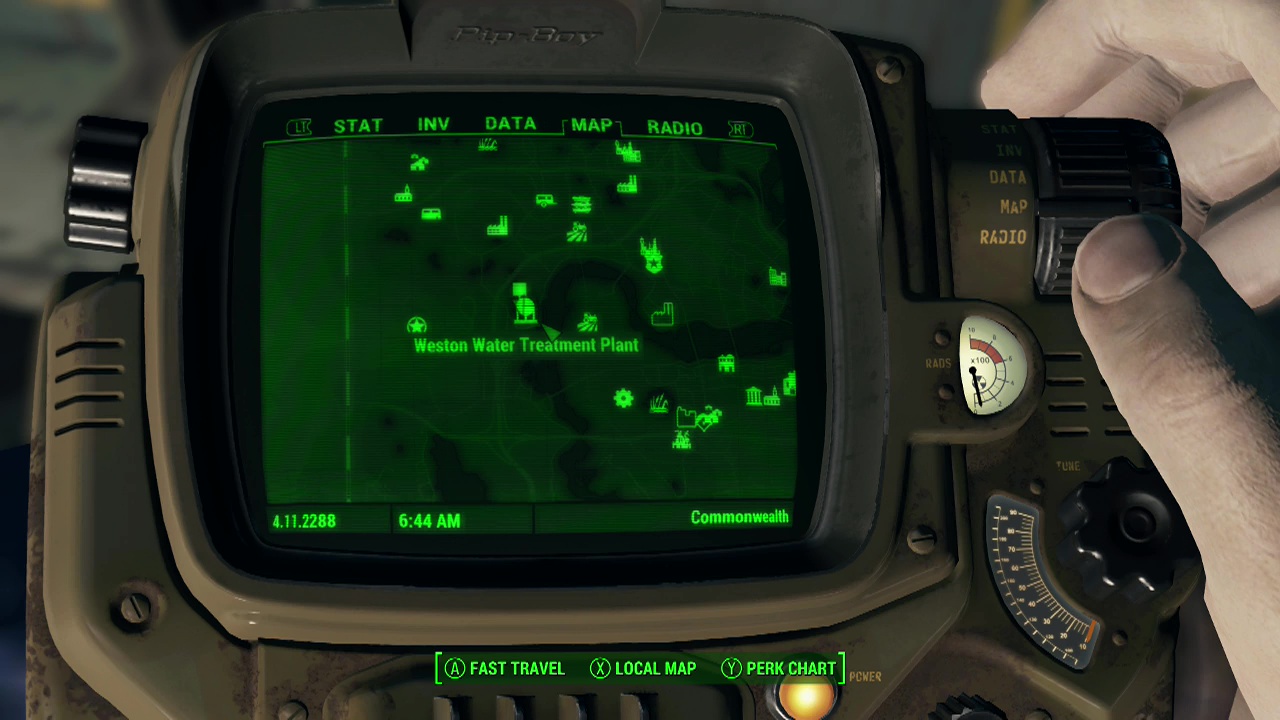
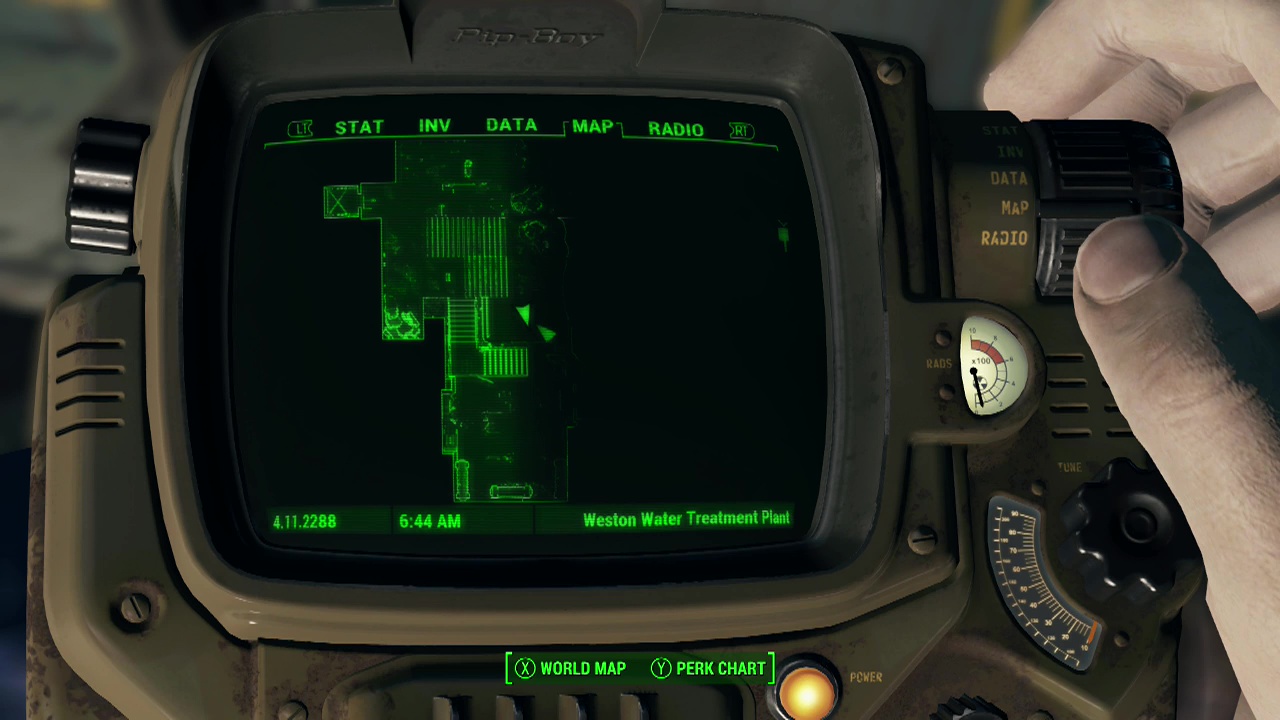
Weston Water Treatment Plant – Take the elevator down to the main area of the plant and follow the corridor until you reach the metal room overlooking the stairs that lead down to the lower area. On a table here you'll find the magazine.
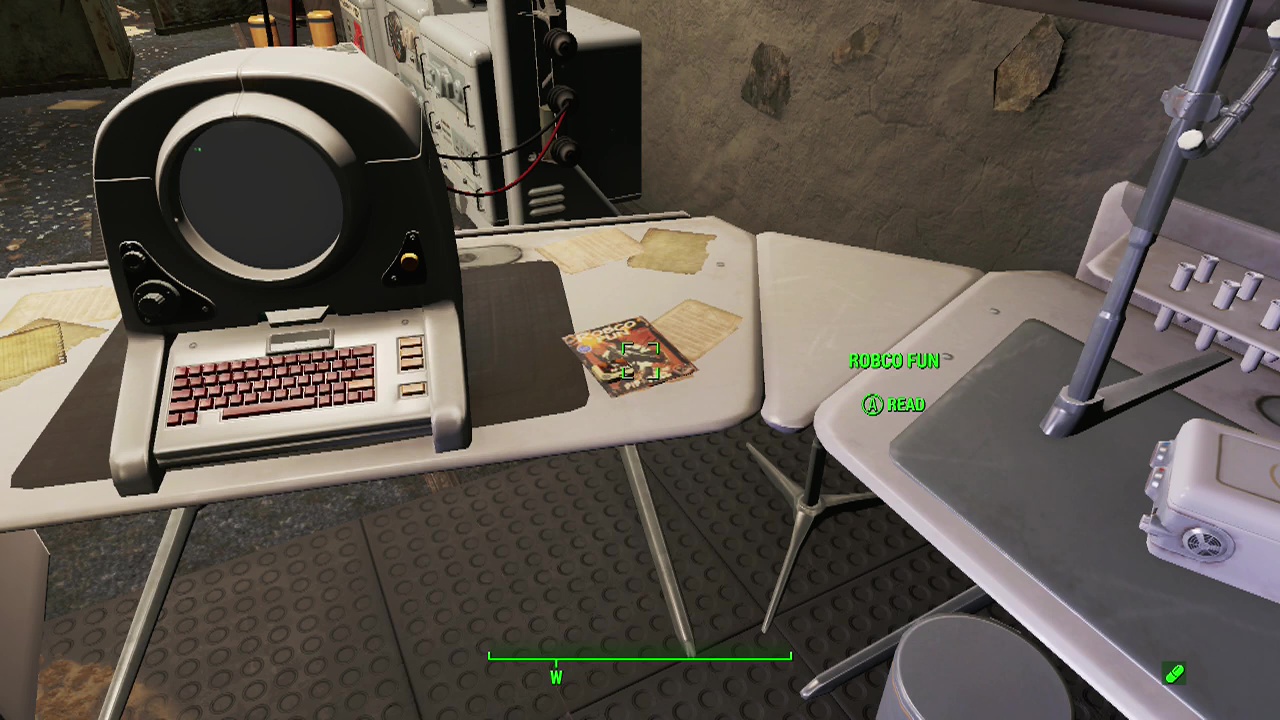
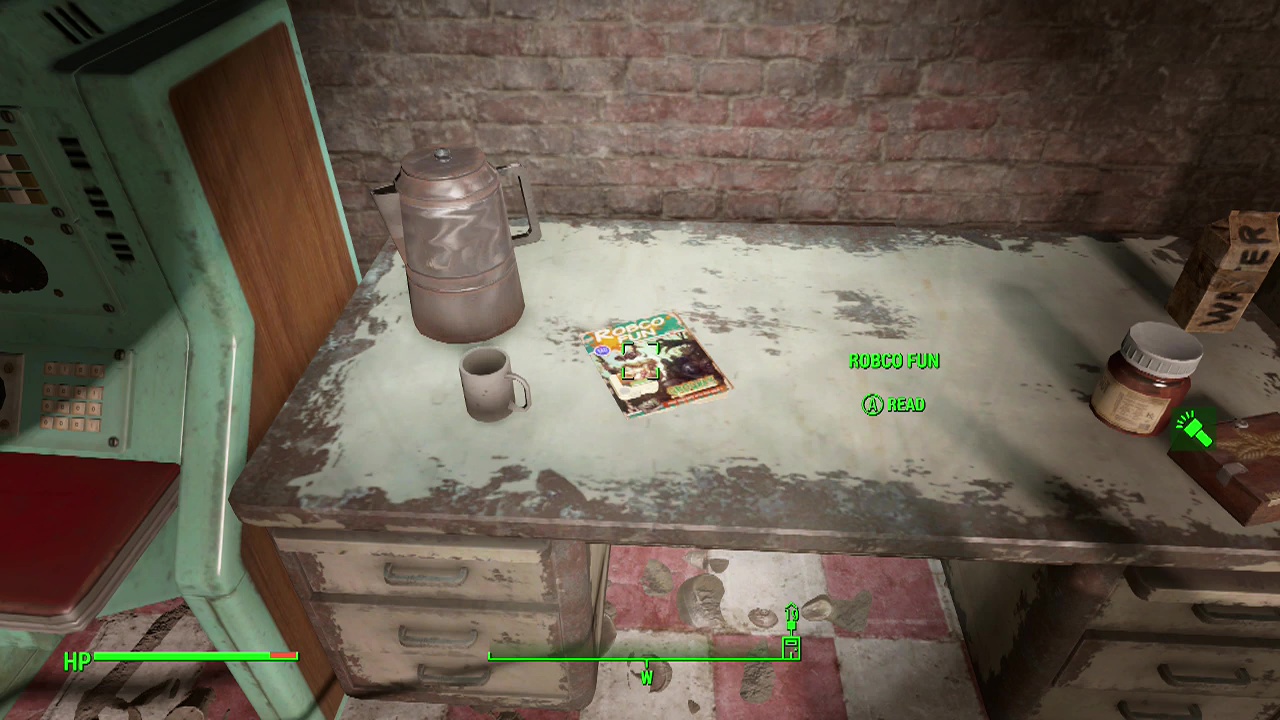
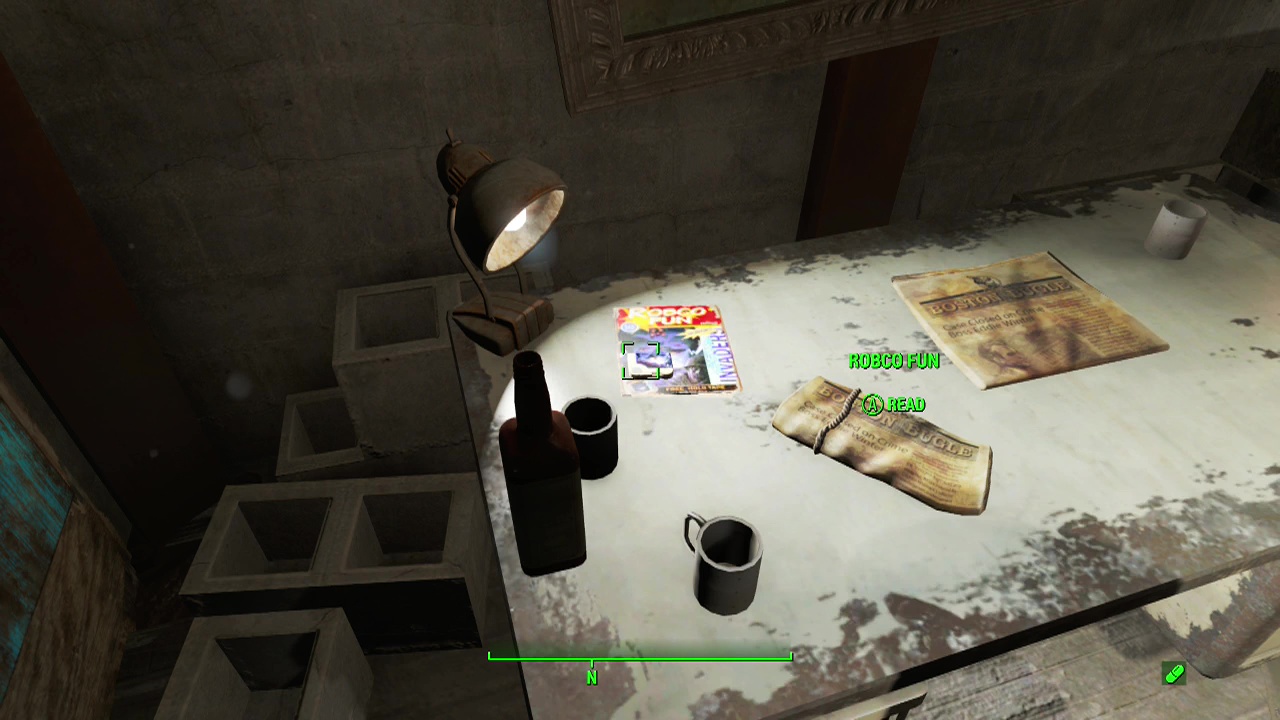
Robco Fun
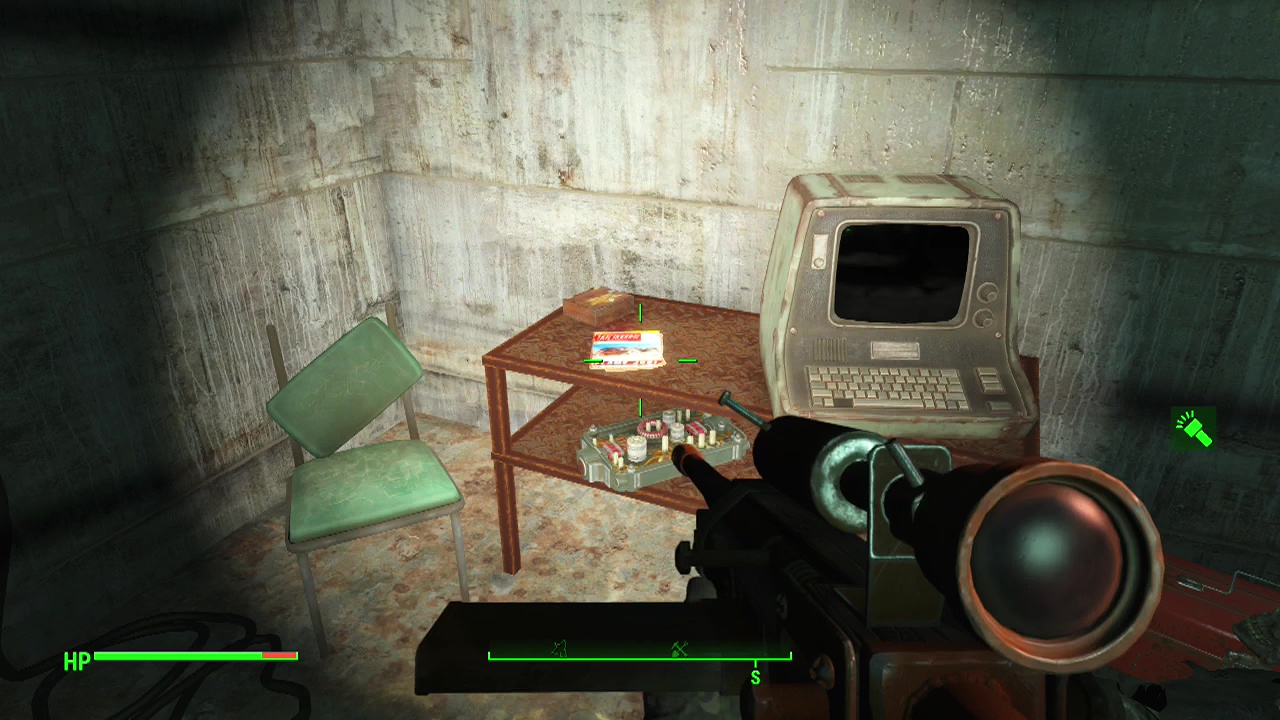
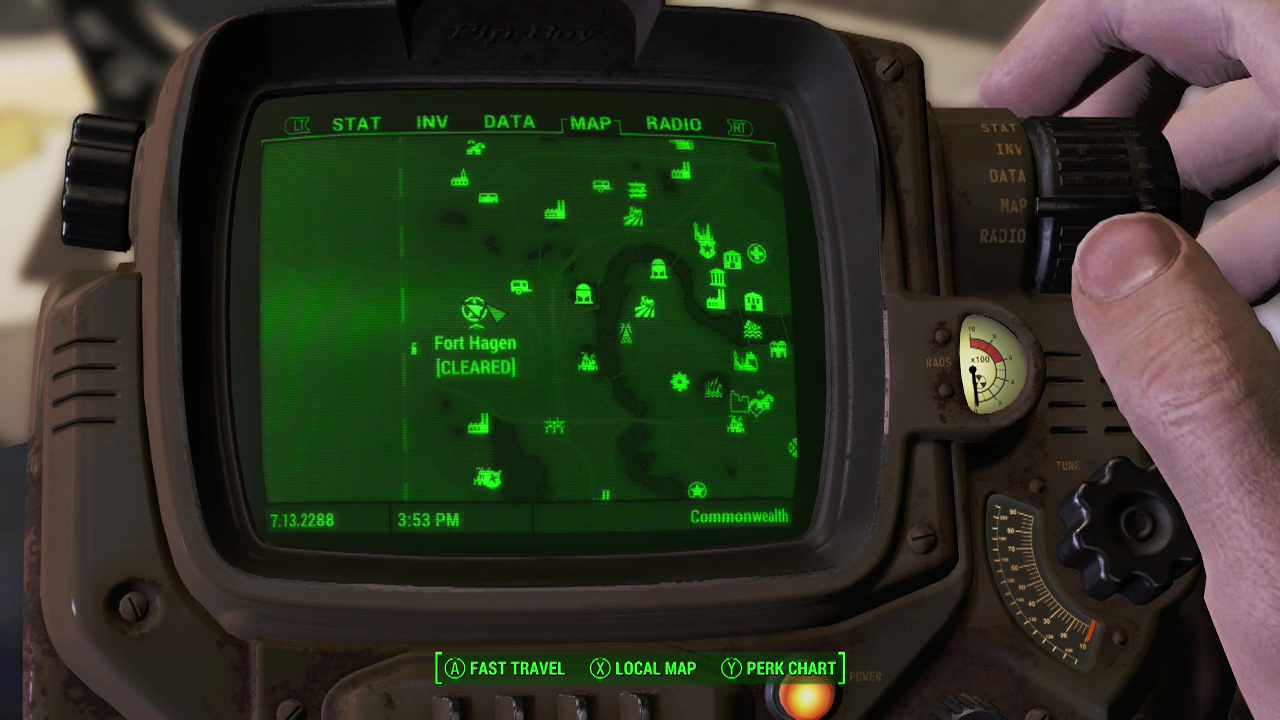
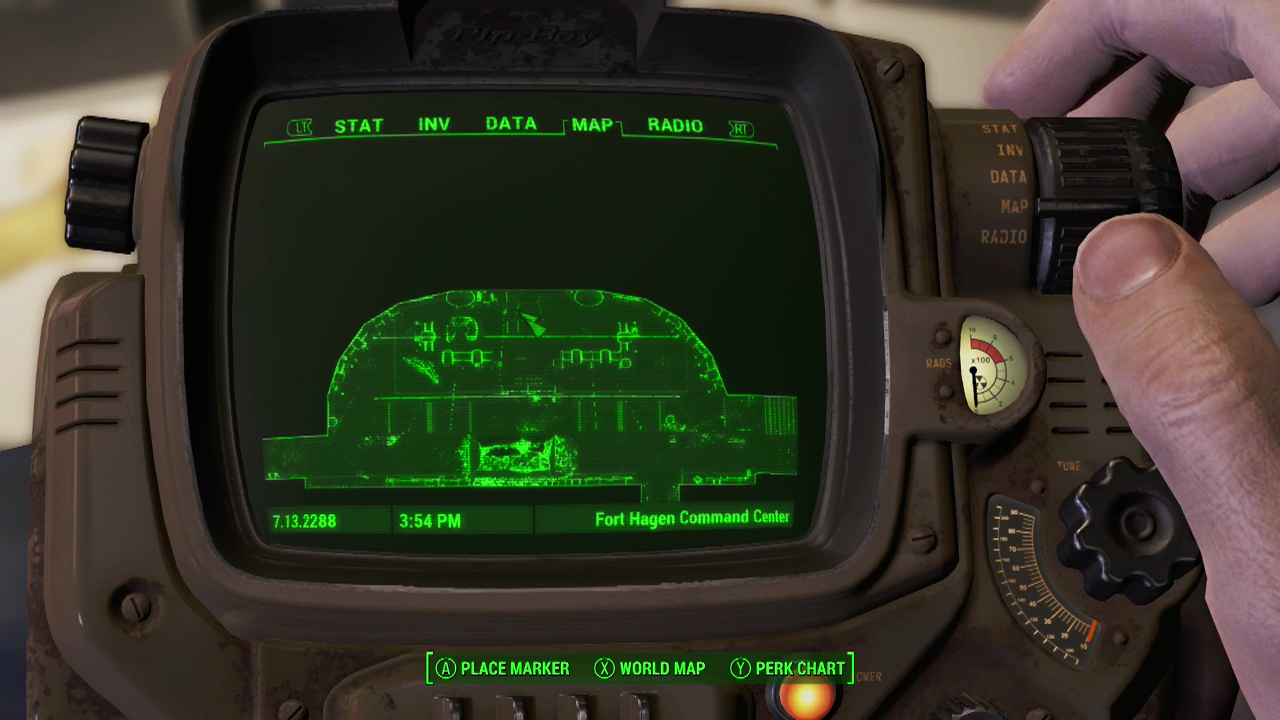
Fort Hagen Command Center – Right next to Kellog's terminal in the same room you confront Kellog during Story 06 – Reunions.
Goodneighbour – In the same room as Doctor Amani in the lower level area on a desk.
No local map in location
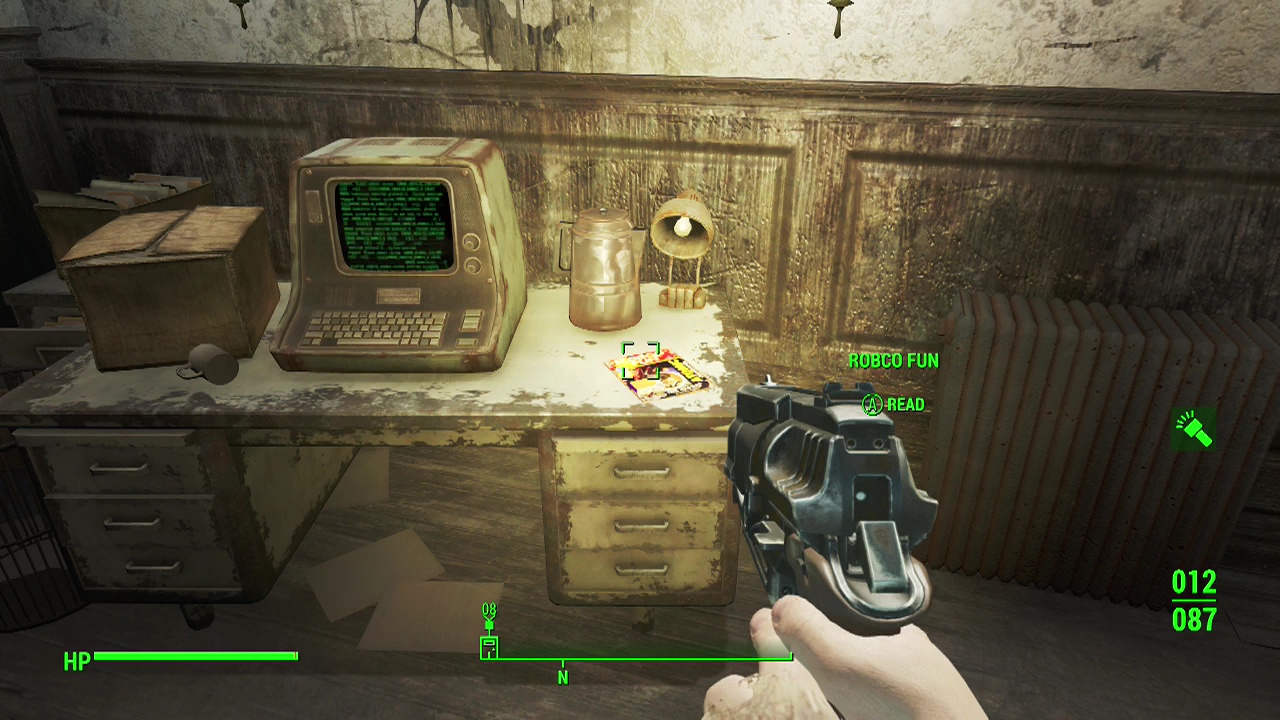
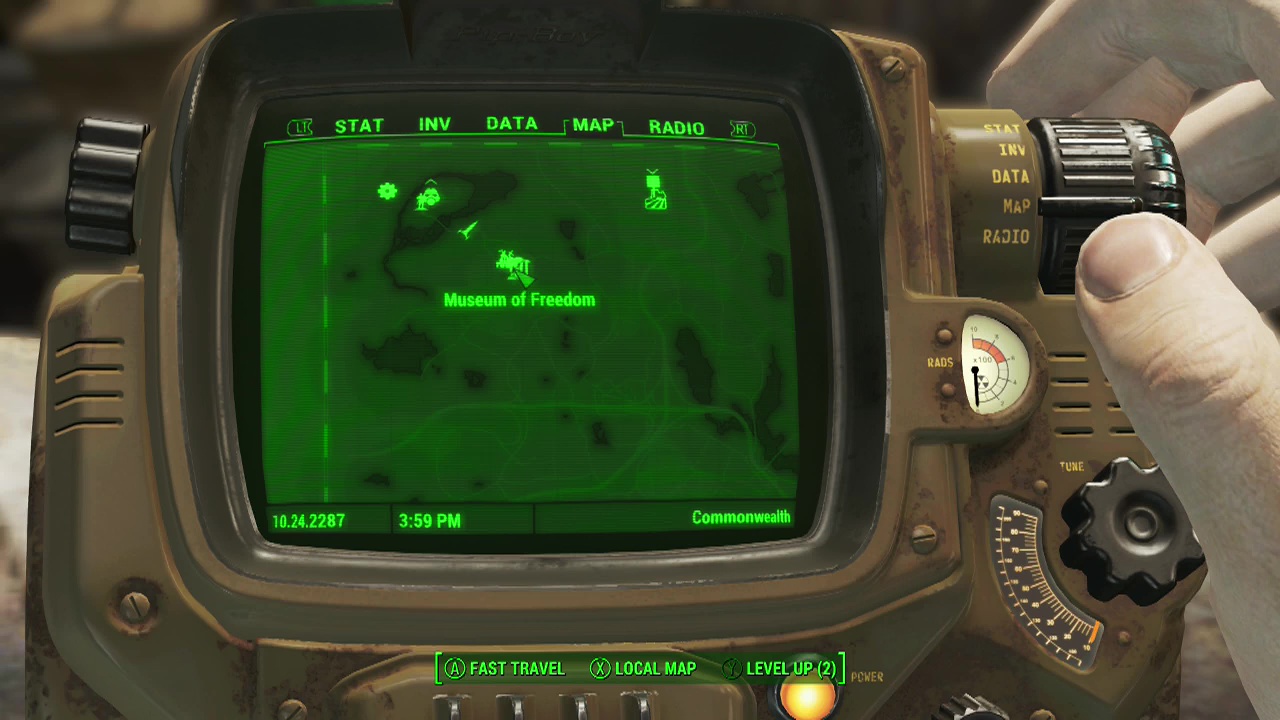
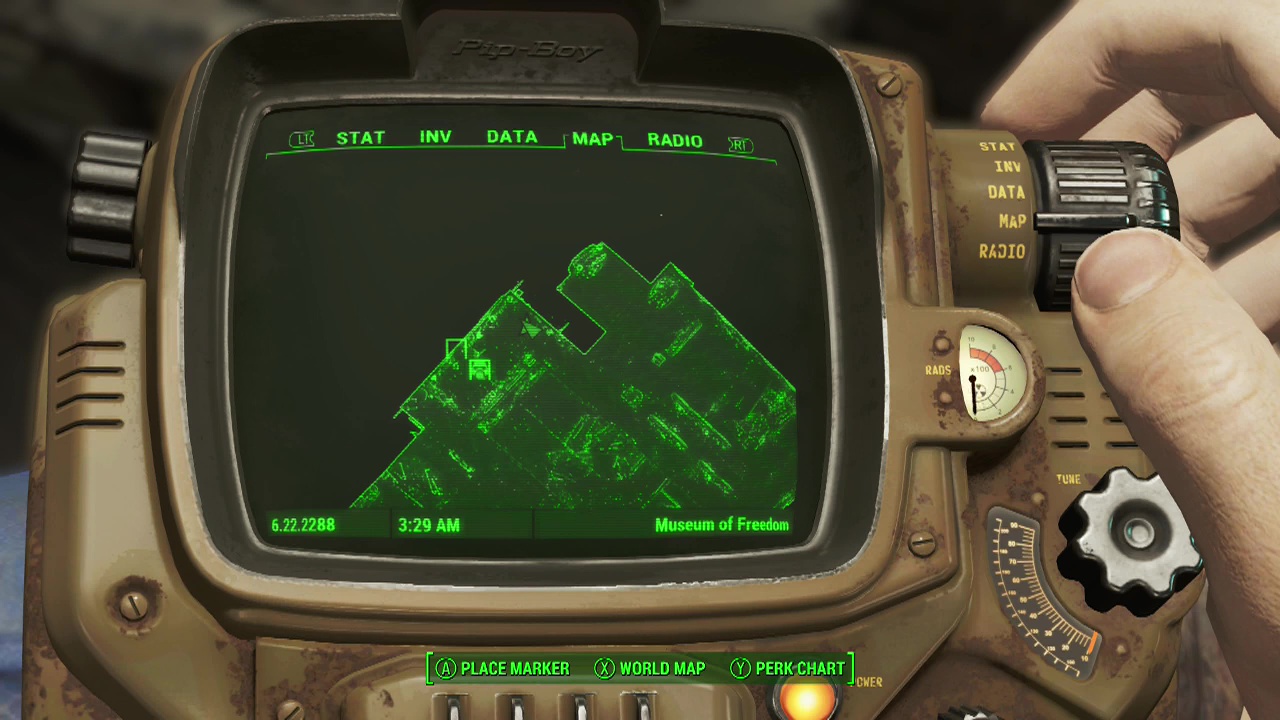
Museum Of Freedom – On a desk beside a terminal in the same room as the survivors on the top floor.
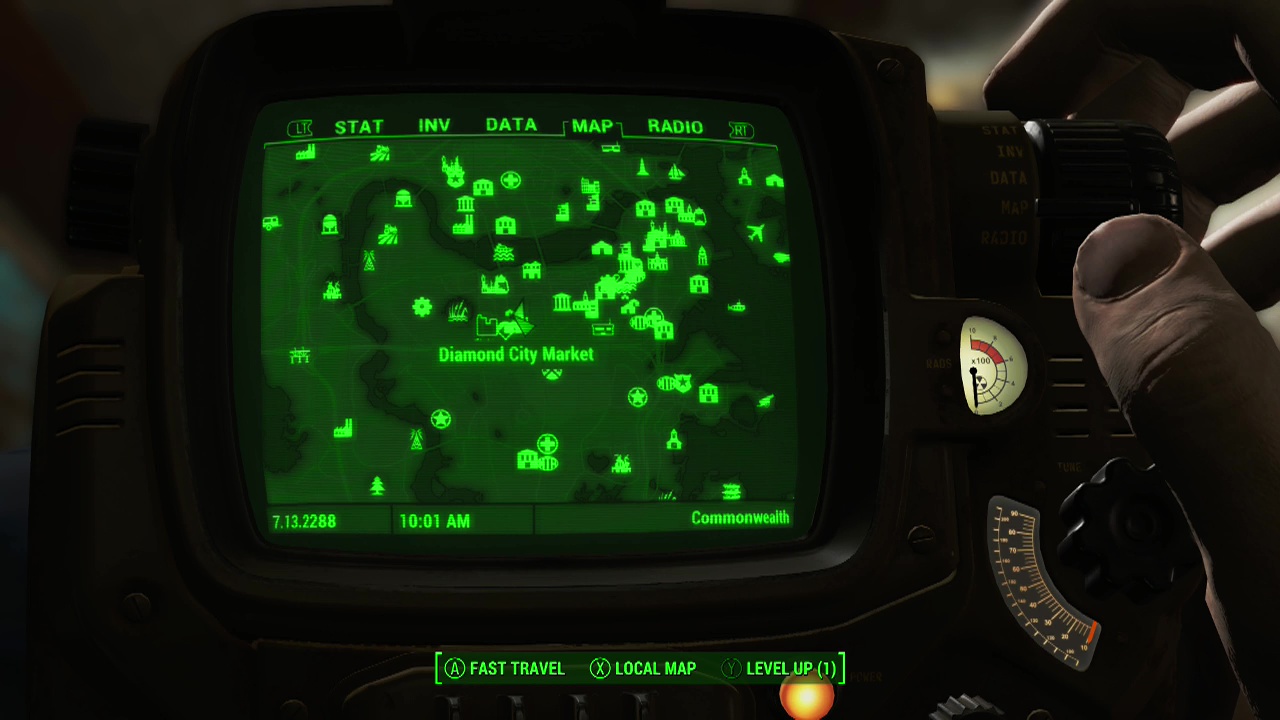
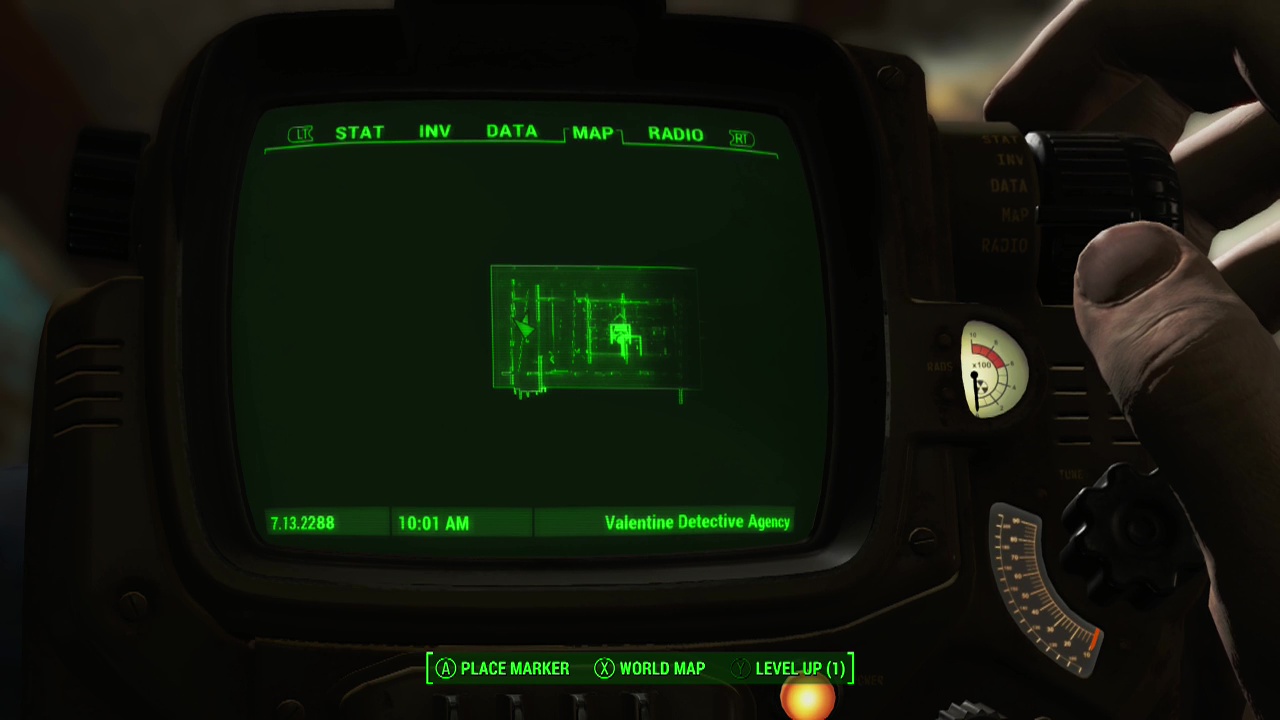
Valentine's Detective Agency (Diamond City) – On Nick's Desk.
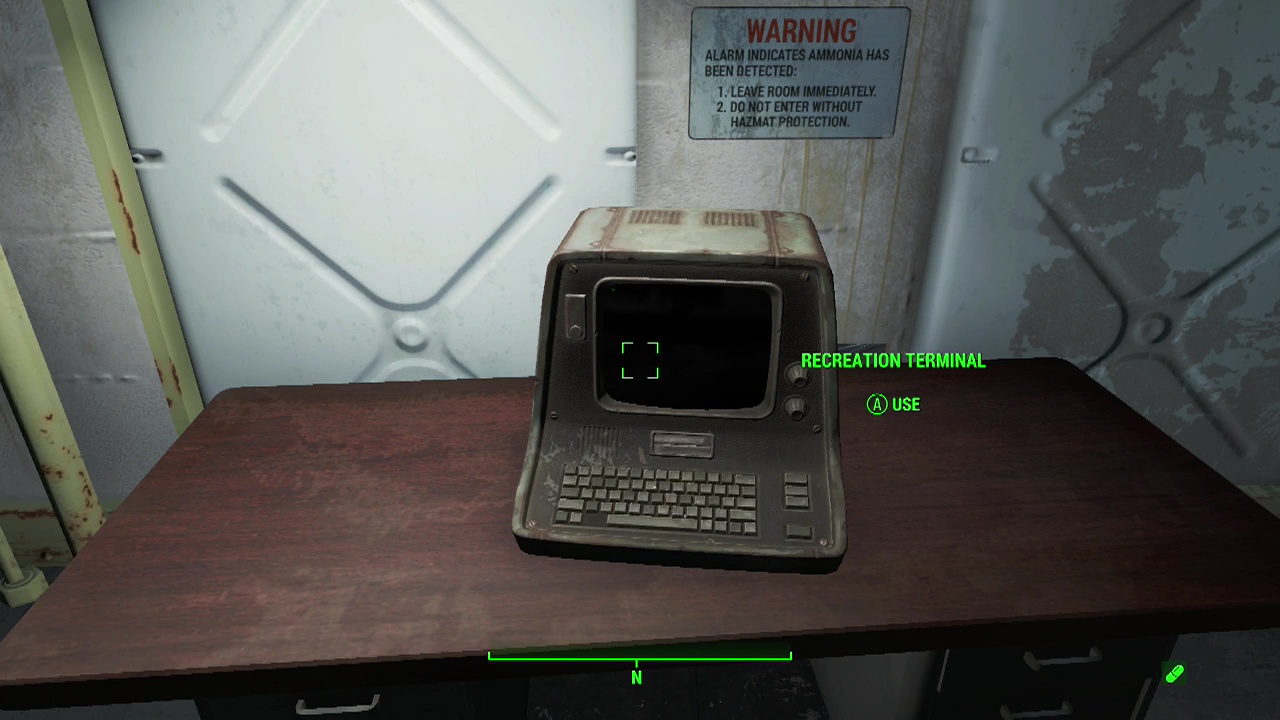
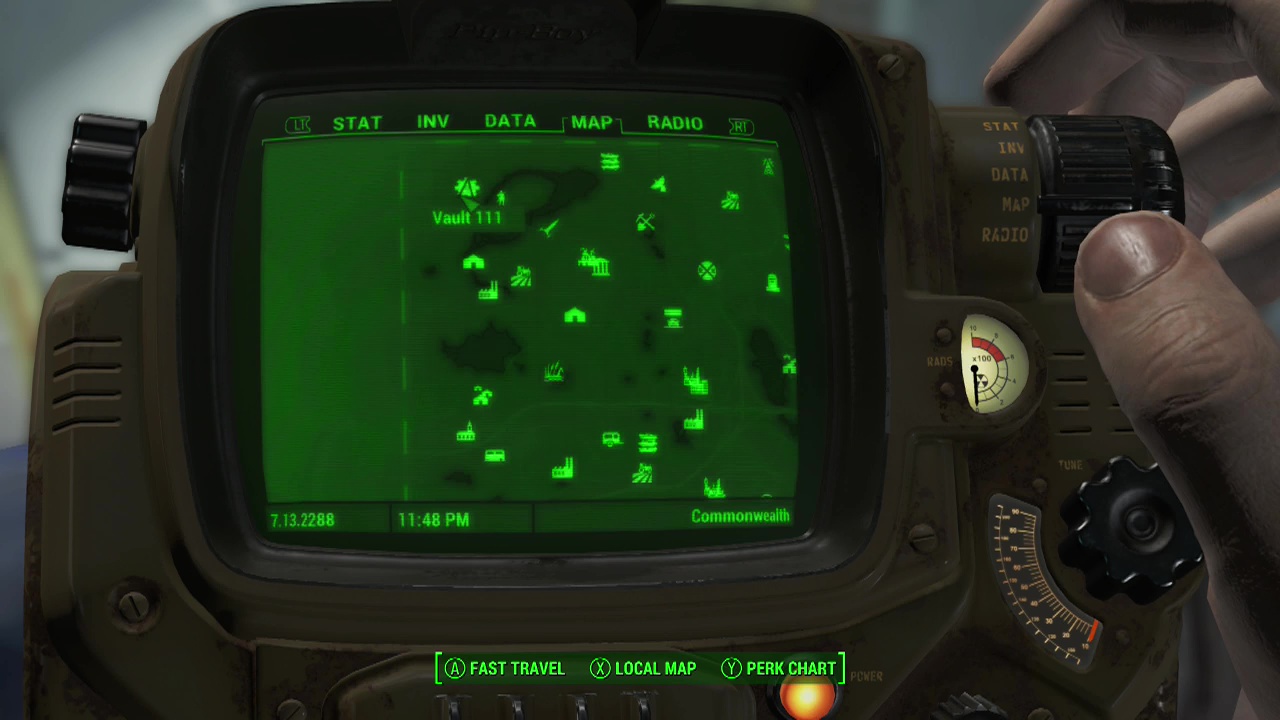
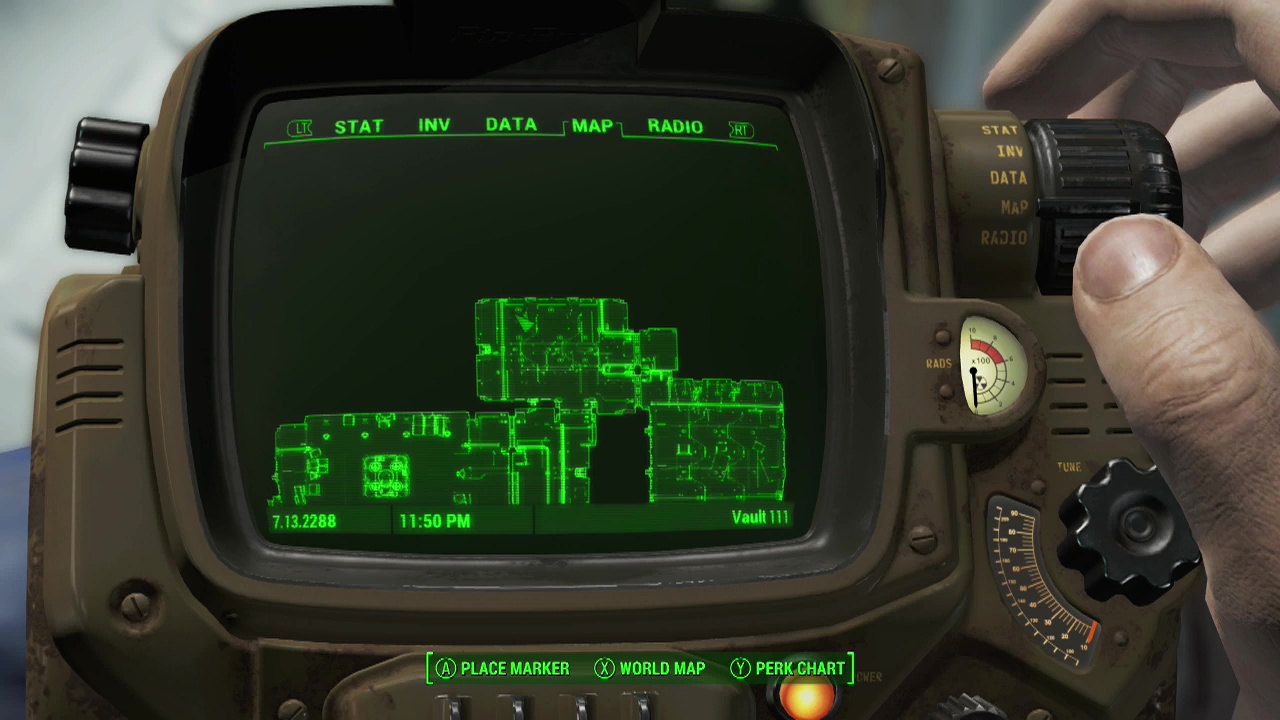
Vault 111 – Inside the cafeteria terminal, select remove holotape from the terminal to obtain it (only the tape can be obtained).
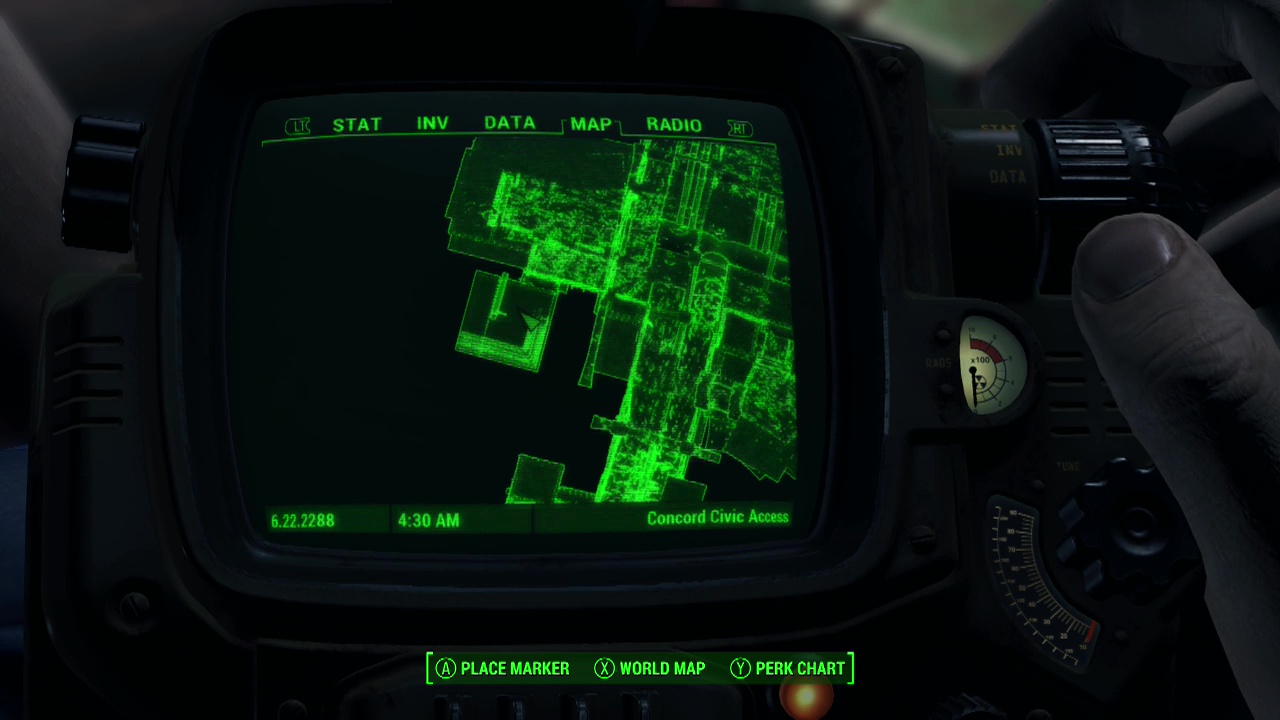
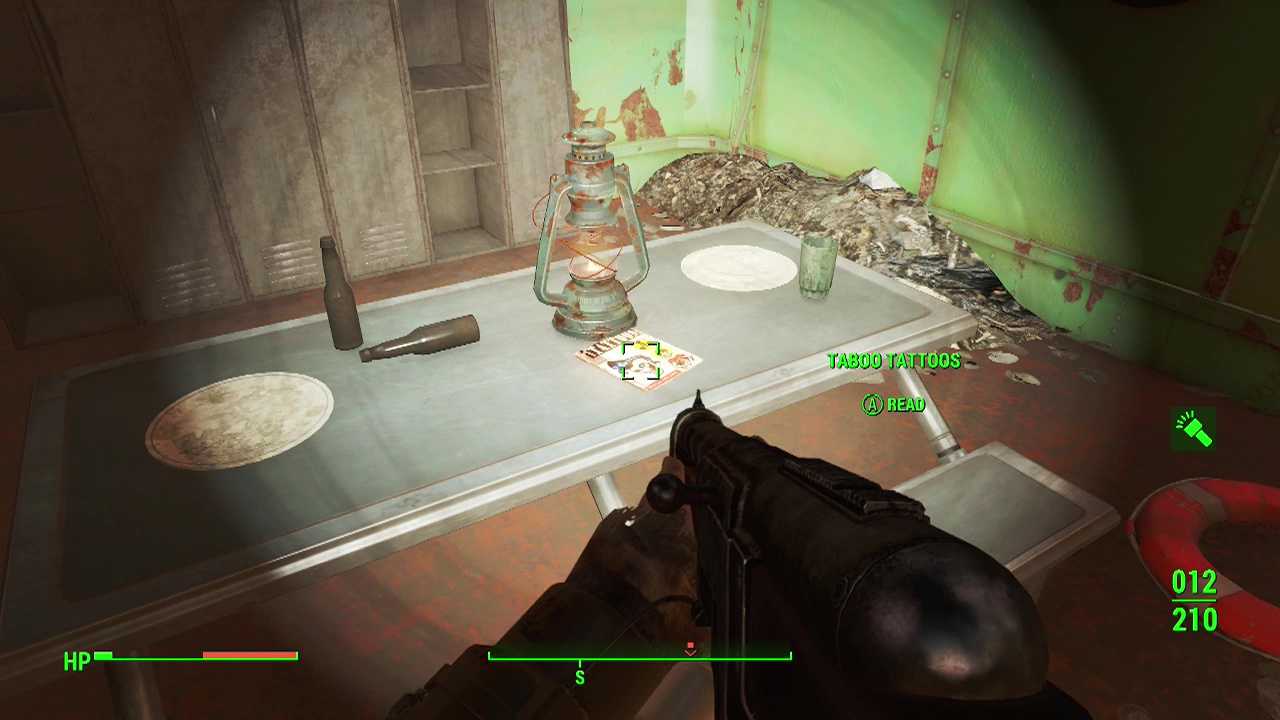
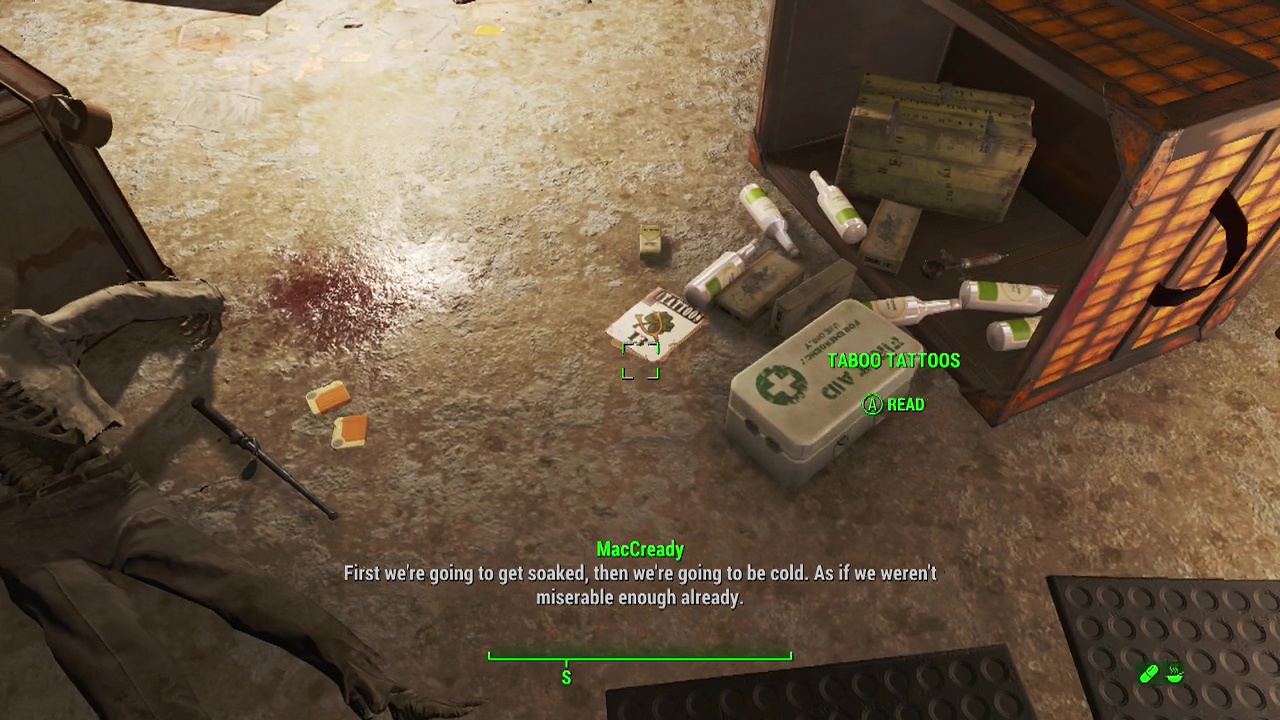
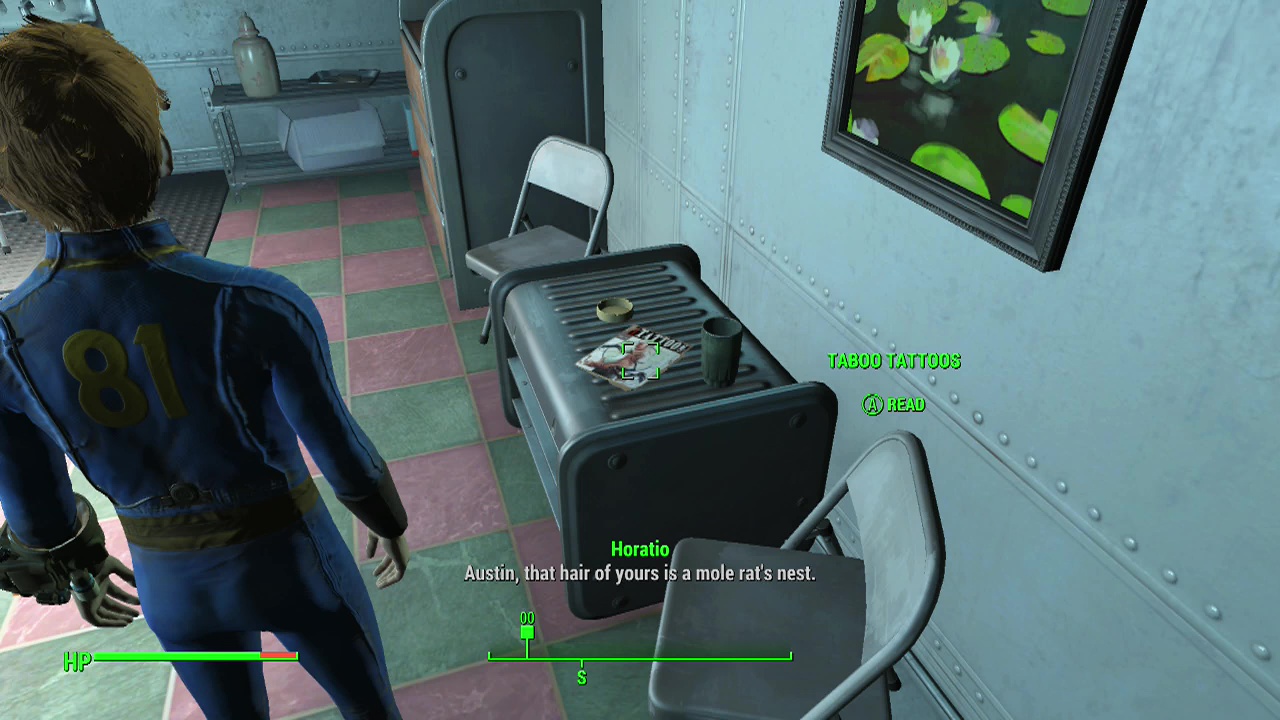
Taboo Tattoos
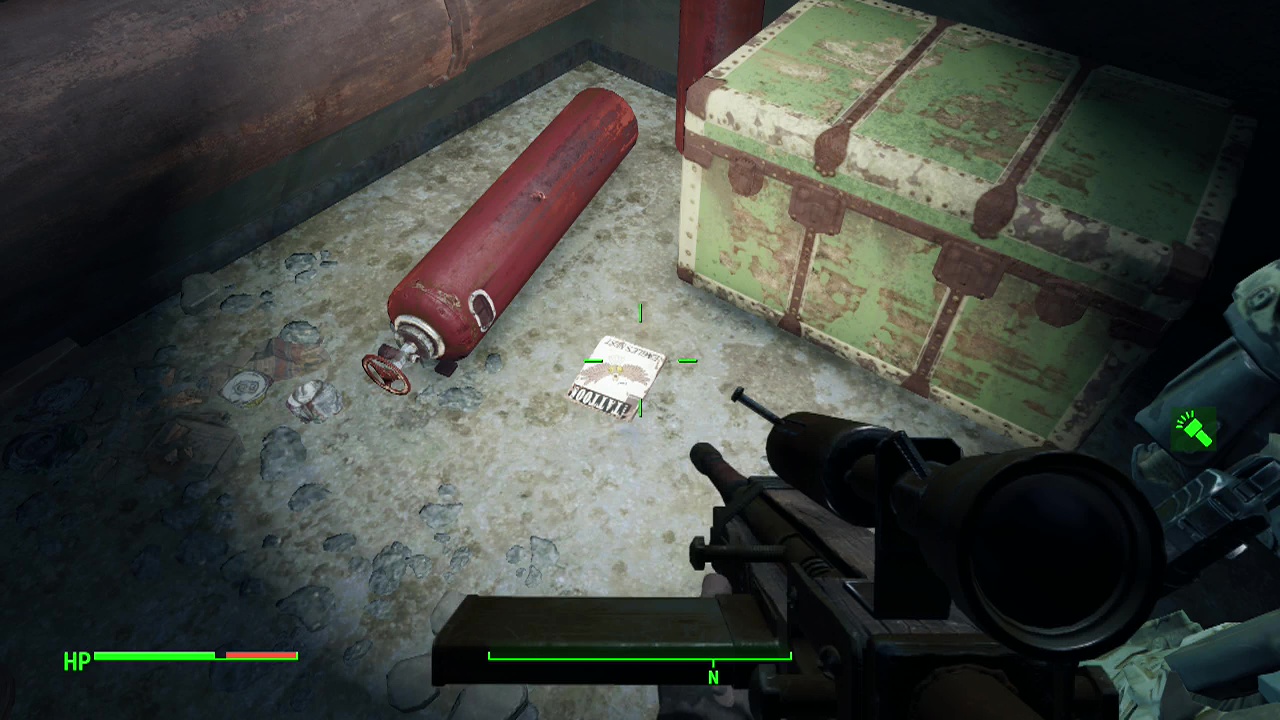
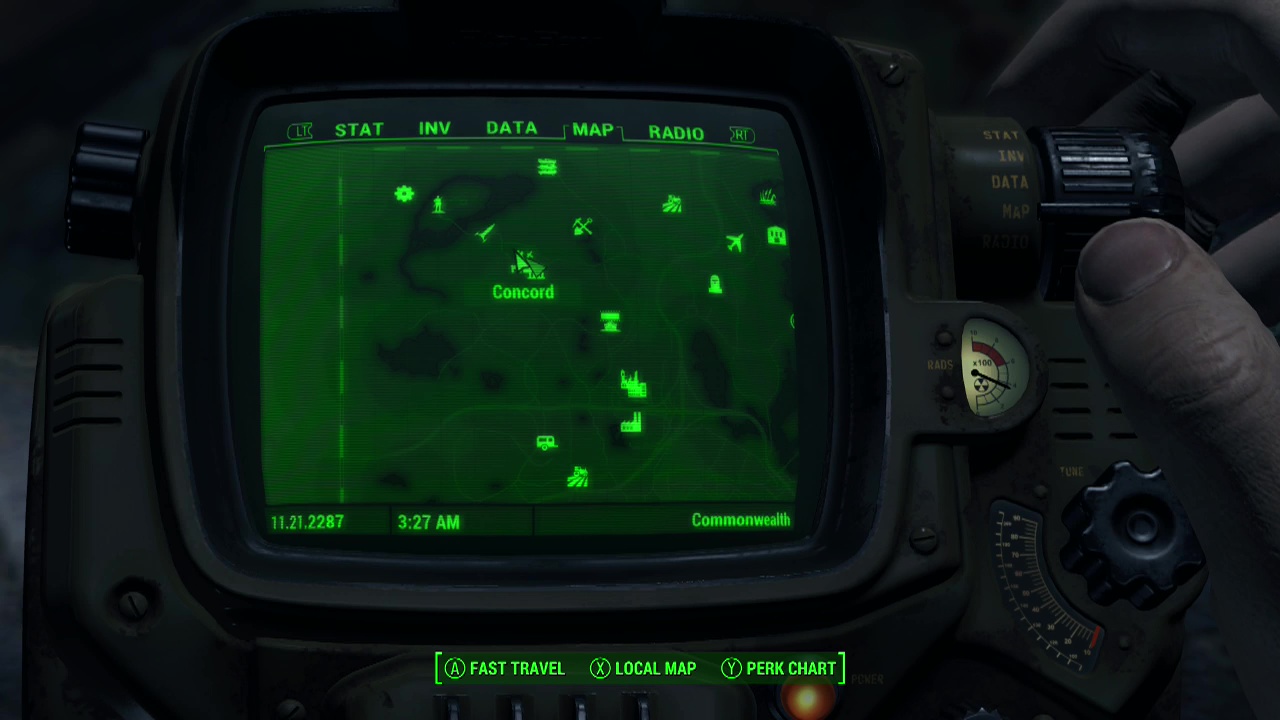
Concord (Civic Access) – You can access this area from the street in Concord (where the Deathclaw emeged during Minutemen quest 01 – When Freedom Calls). Look for a ramp leading down into the sewers below the street. Follow the tunnel down to the first room and then go through the hole in the wall on the right, dropping down into the waterway beyond. Follow it along to the end and search for a door to your left. Inside is a green loot chest and the magazine on the floor.
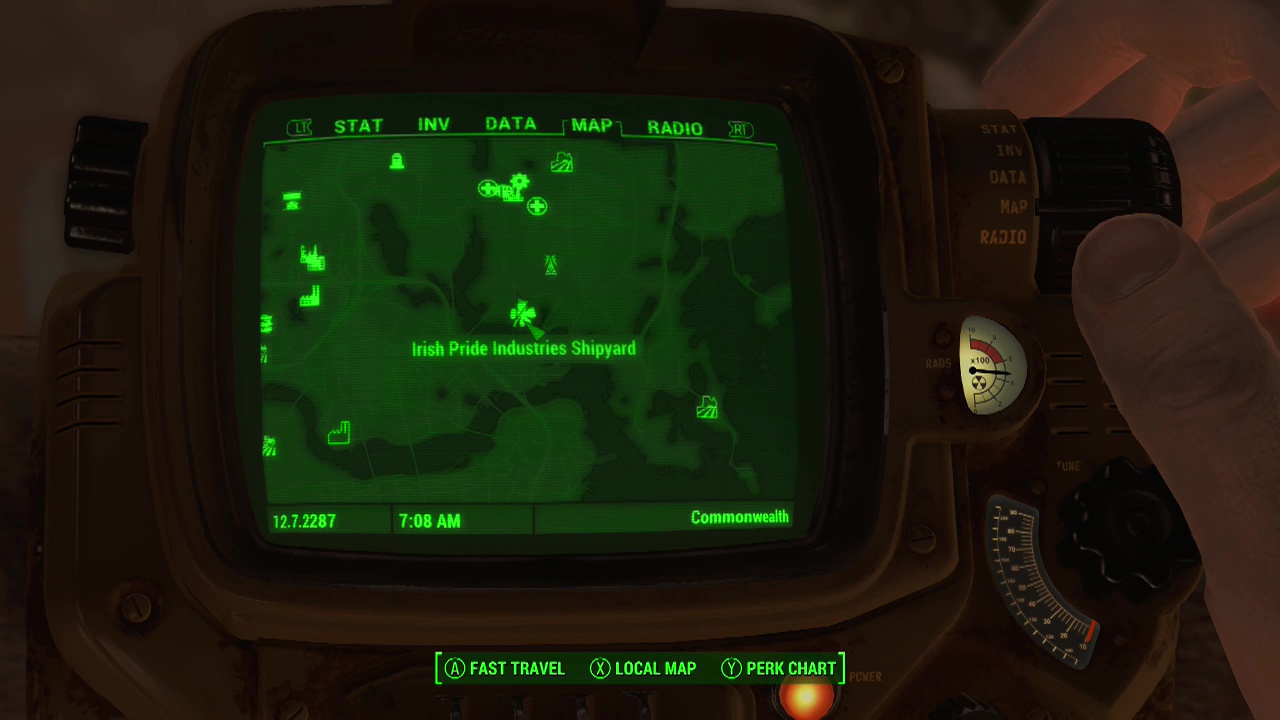
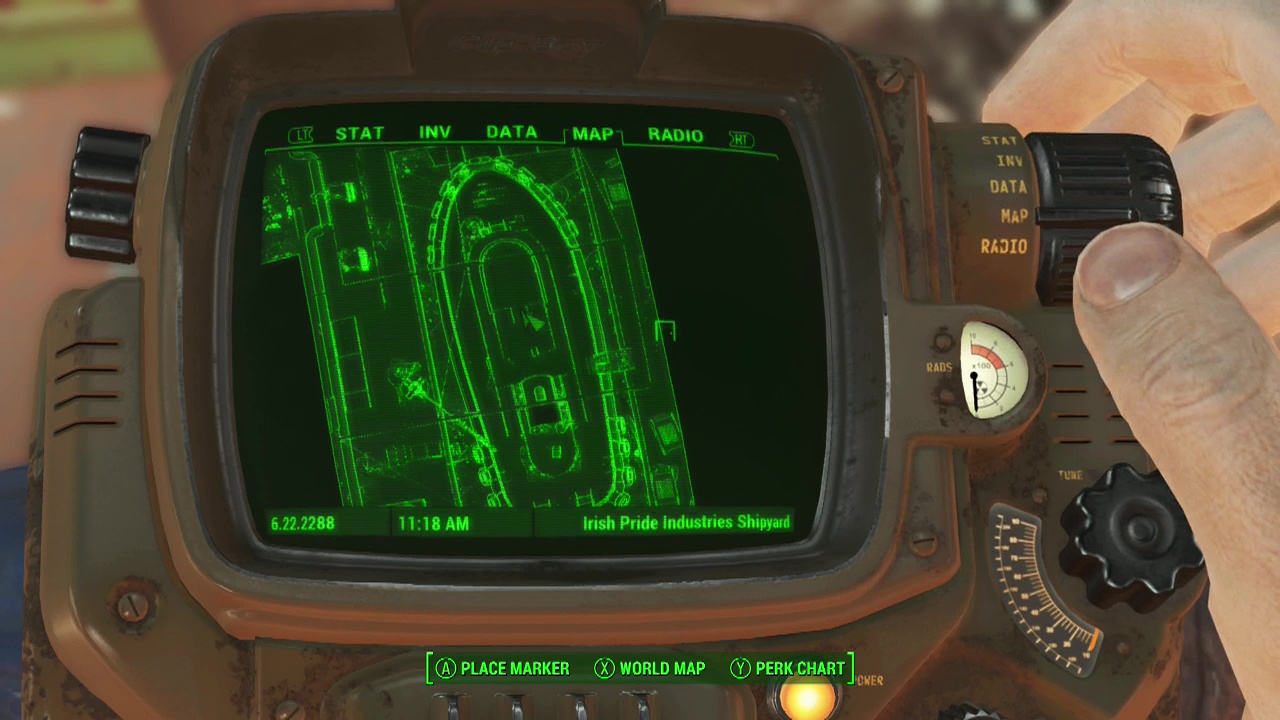
Irish Pride Industries Shipyard – On the ship in the middle of the factory sitting on a table.
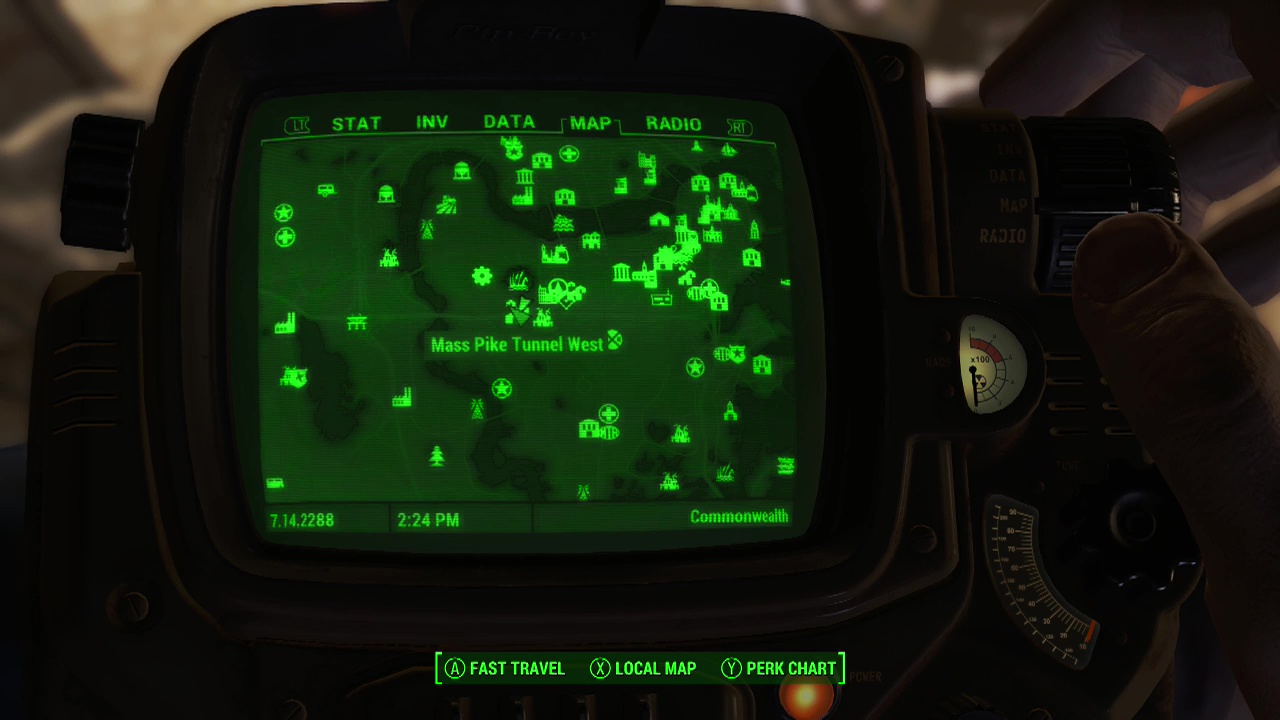
Mass Pike Tunnel (you can use East or West entrance) – When passing through the tunnel, look for a hallway heading off to the South. At the end you'll find an advanced terminal you can hack to find the magazine on the floor next to a skeleton and pile of alcohol.

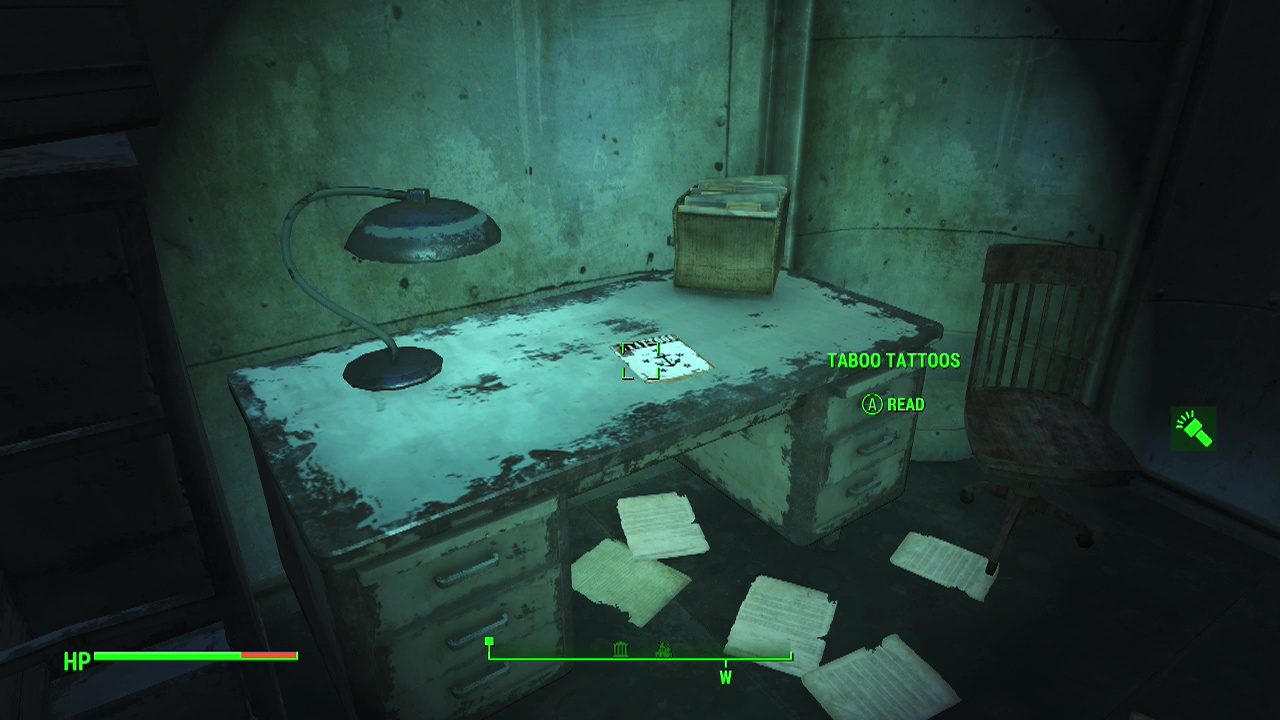
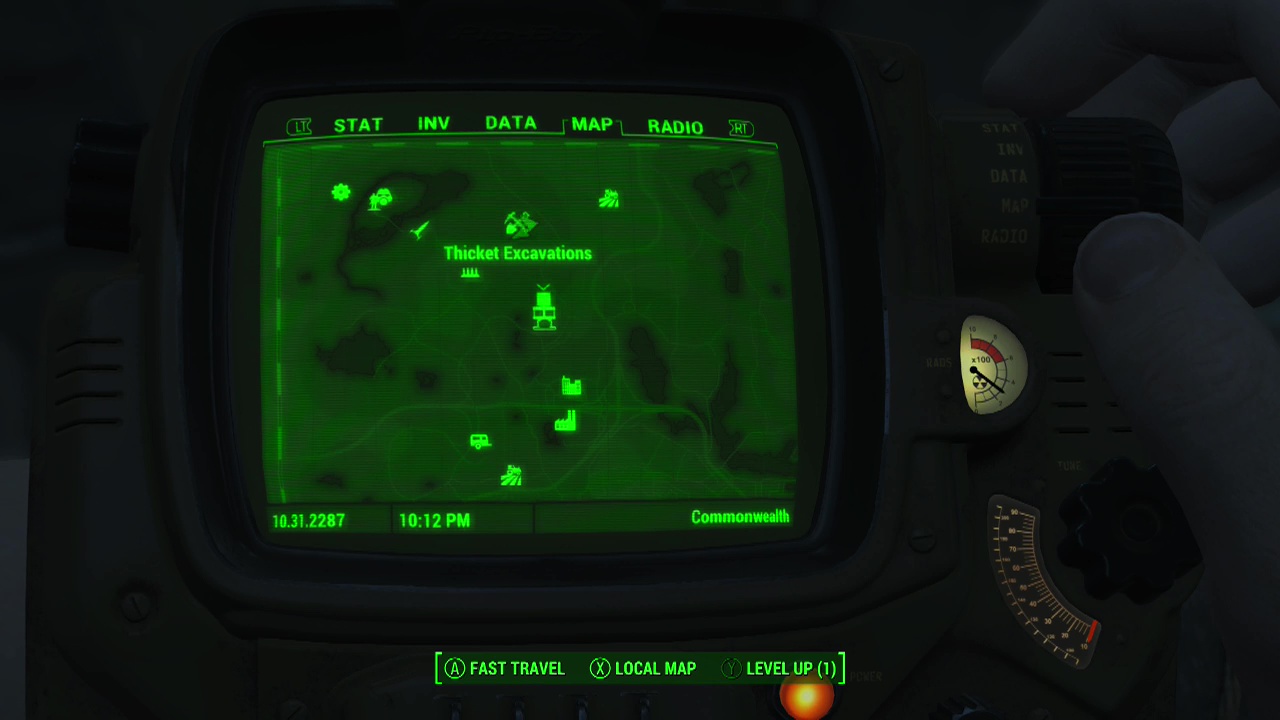
Thicket Excavations – Inside the West trailer on a desk.
Vault 81 – Inside Horatio's barber shop on a table against the right wall.

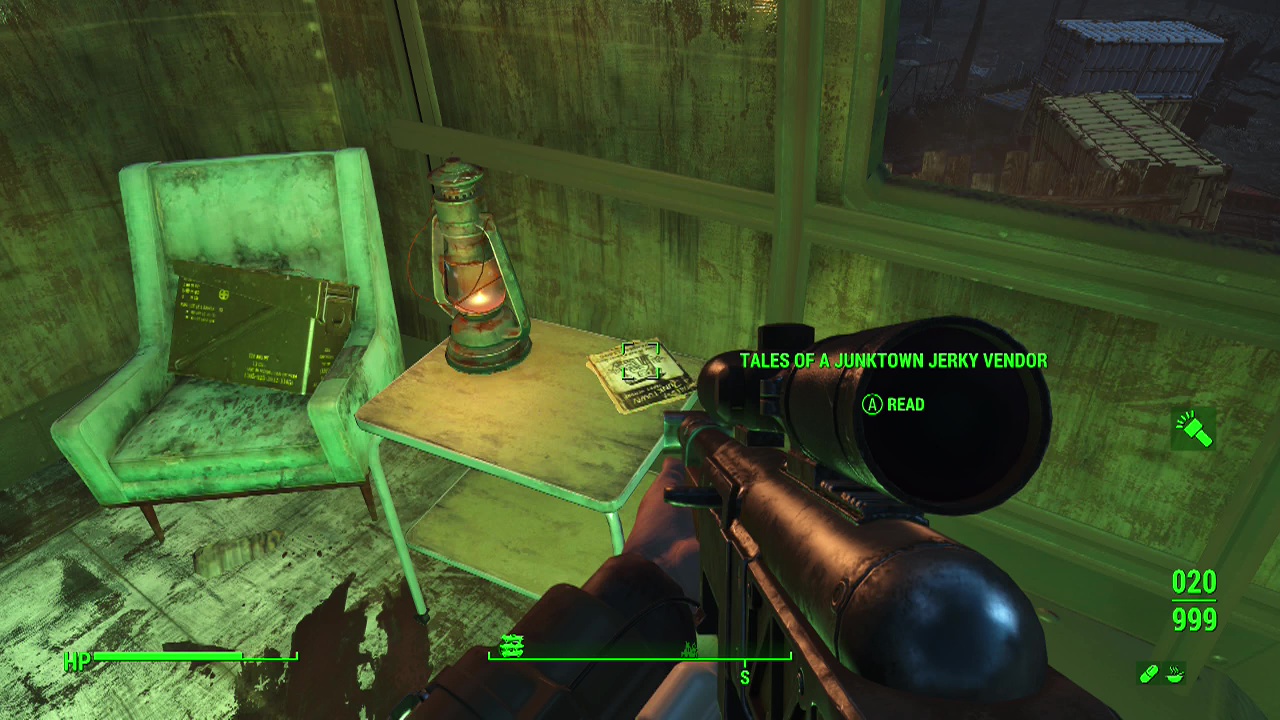
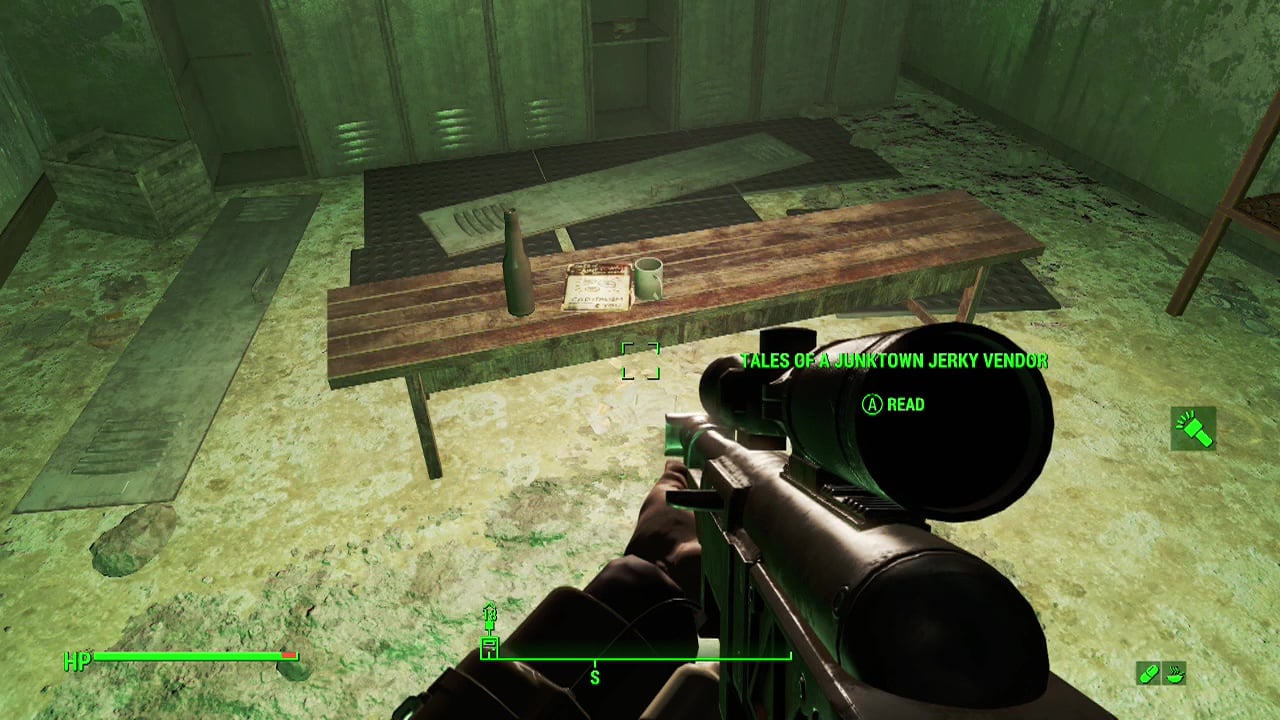
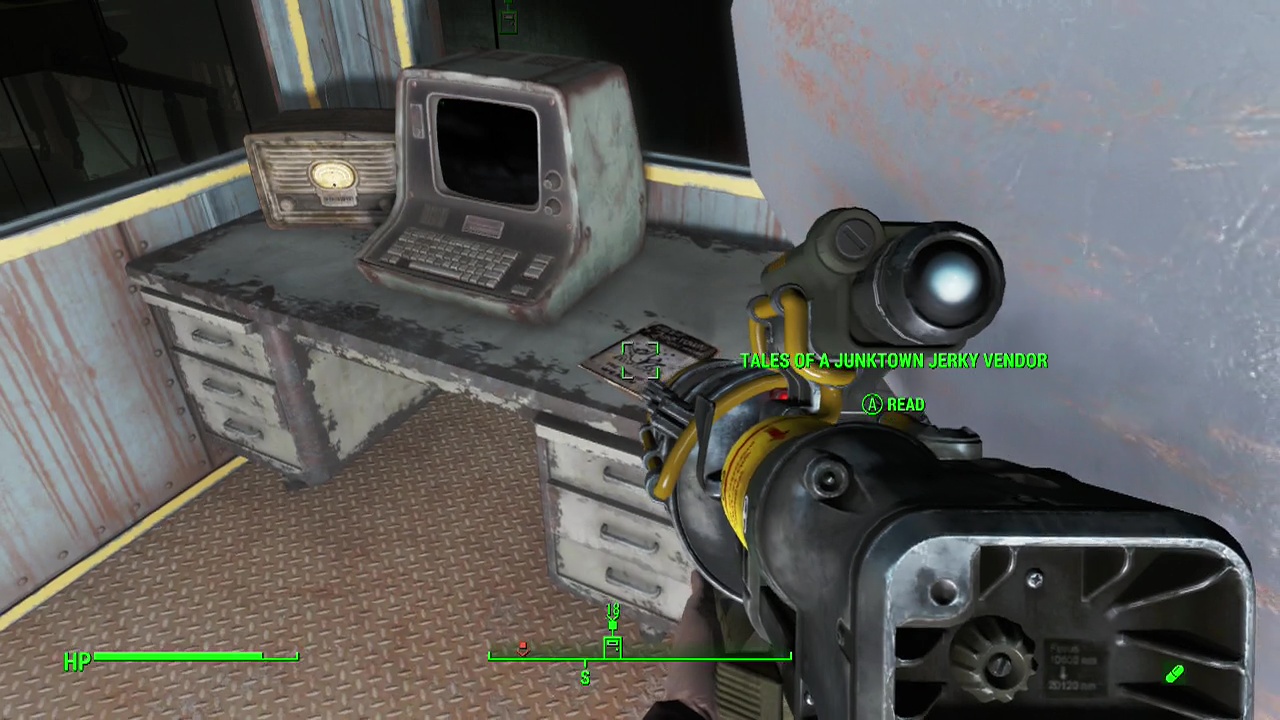
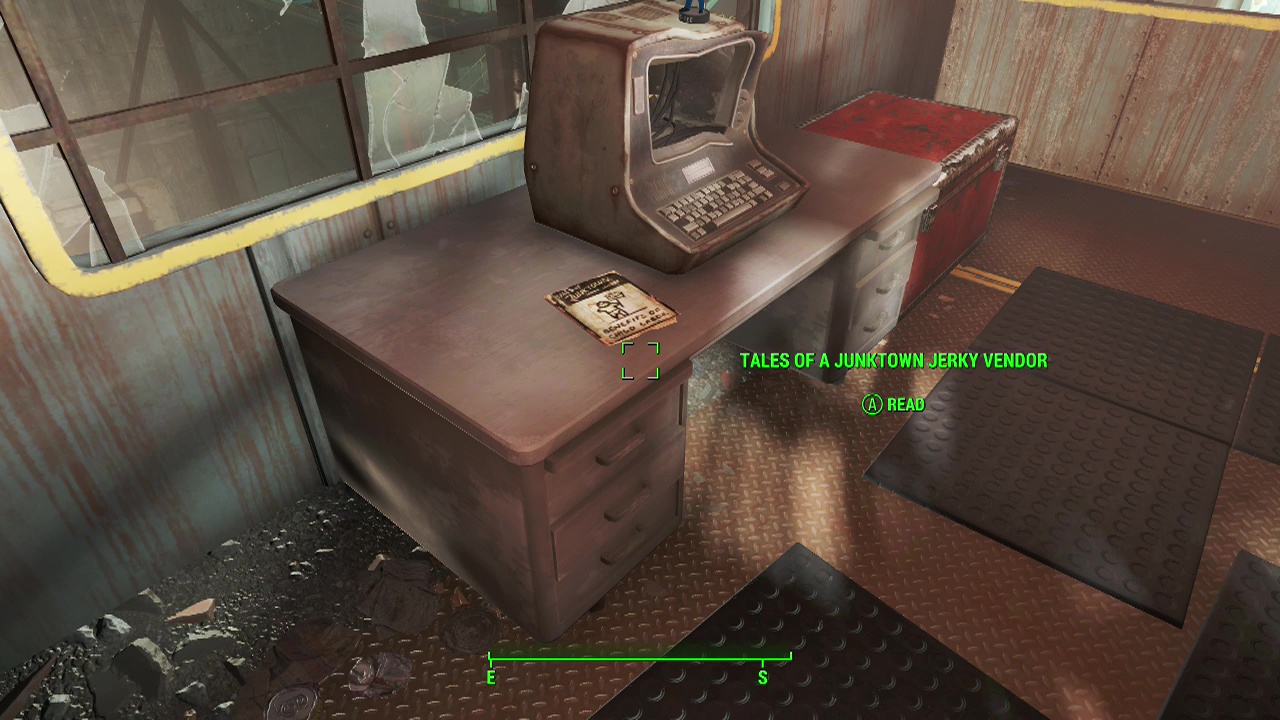
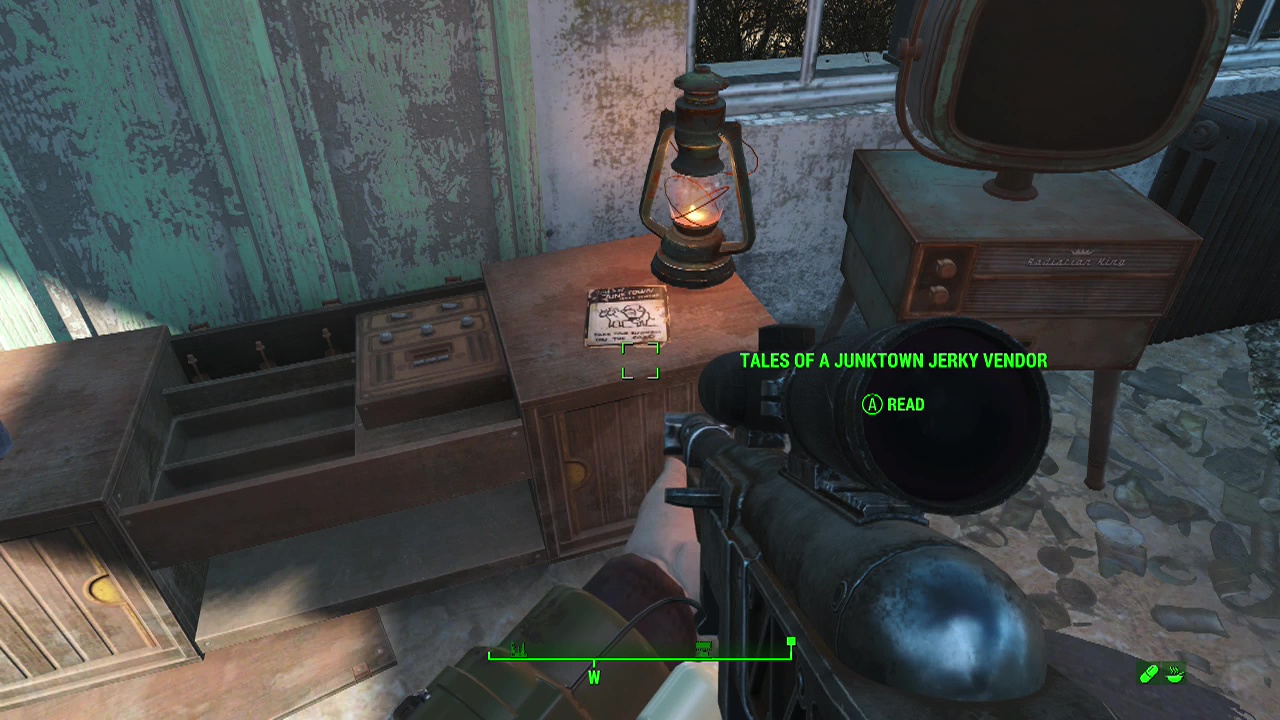
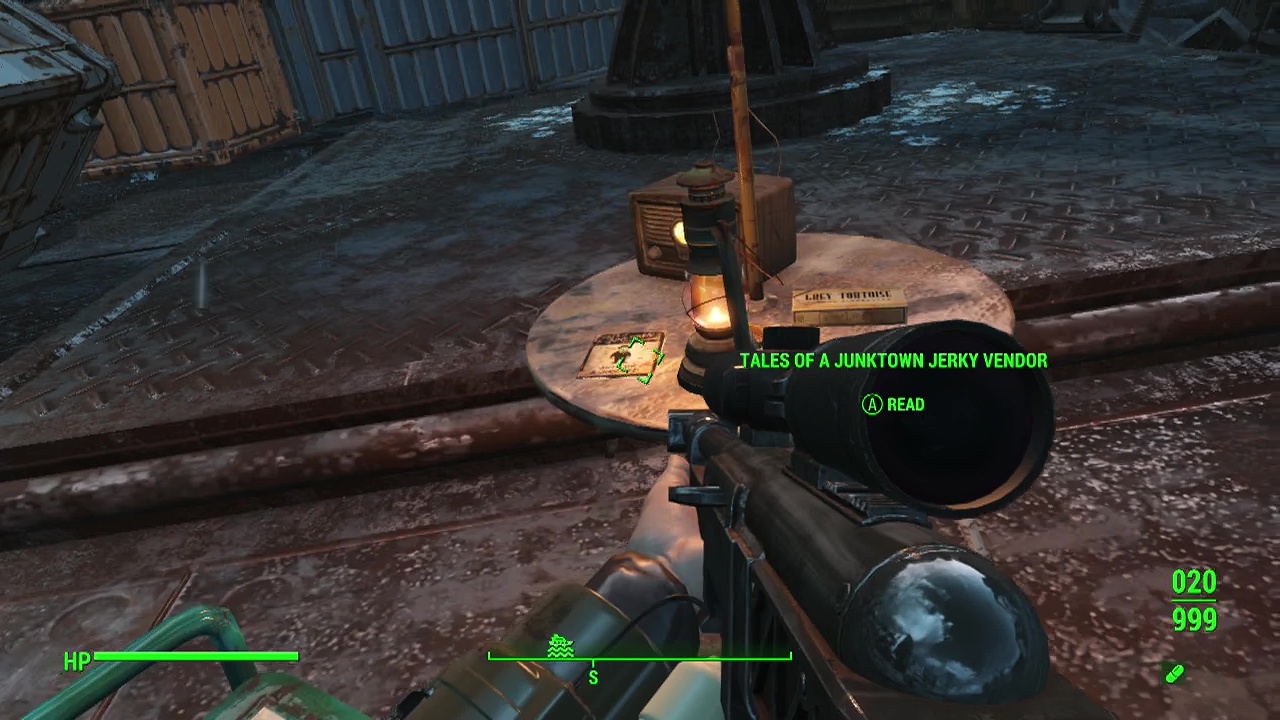
Tales of a Junktown Jerky Vendor
Big John's Salvage – This area is swarming with super mutants so make sure you pack some decent weaponry before coming here. Your destination is the caravan on top of multiple shipping containers in the middle of the area (really obvious landmark). Climb the walkway leading up to it and you'll find the magazine next to a green loot crate inside the caravan.
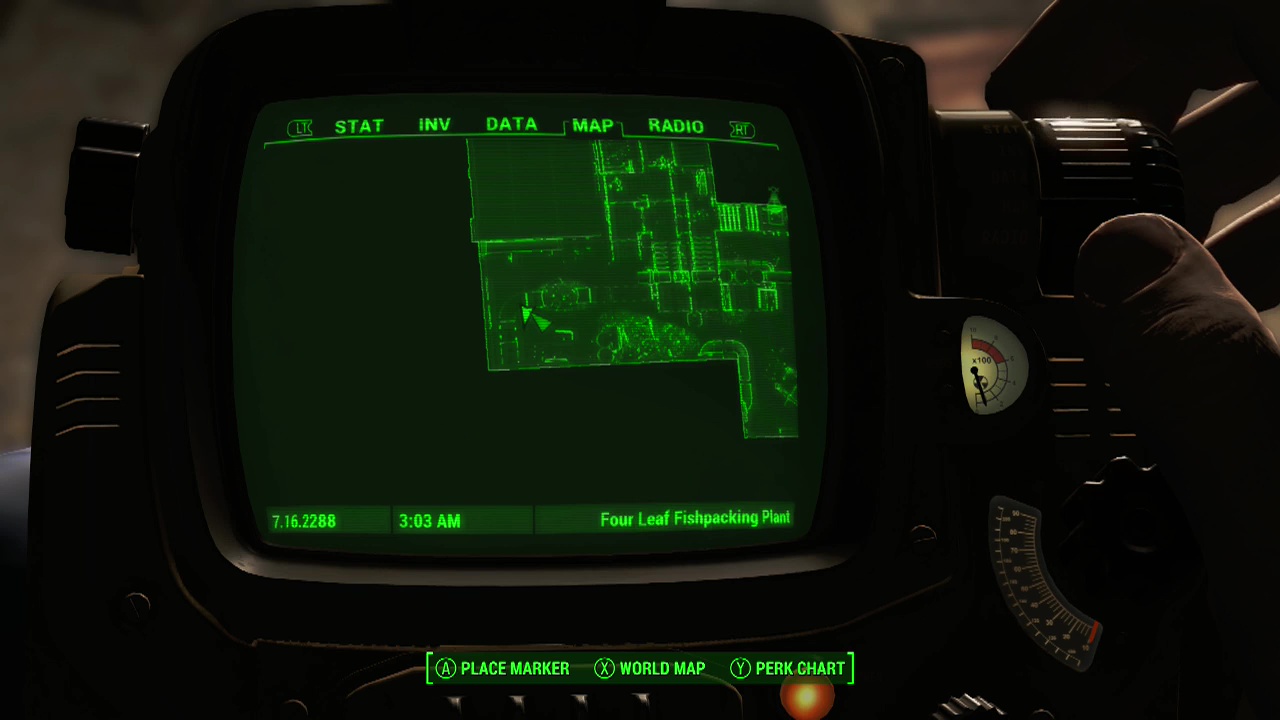
Four Leaf Fishpacking Plant – Explore the ghoul infested basement until you find the locker room next to the toilets. On a bench here is the magazine.
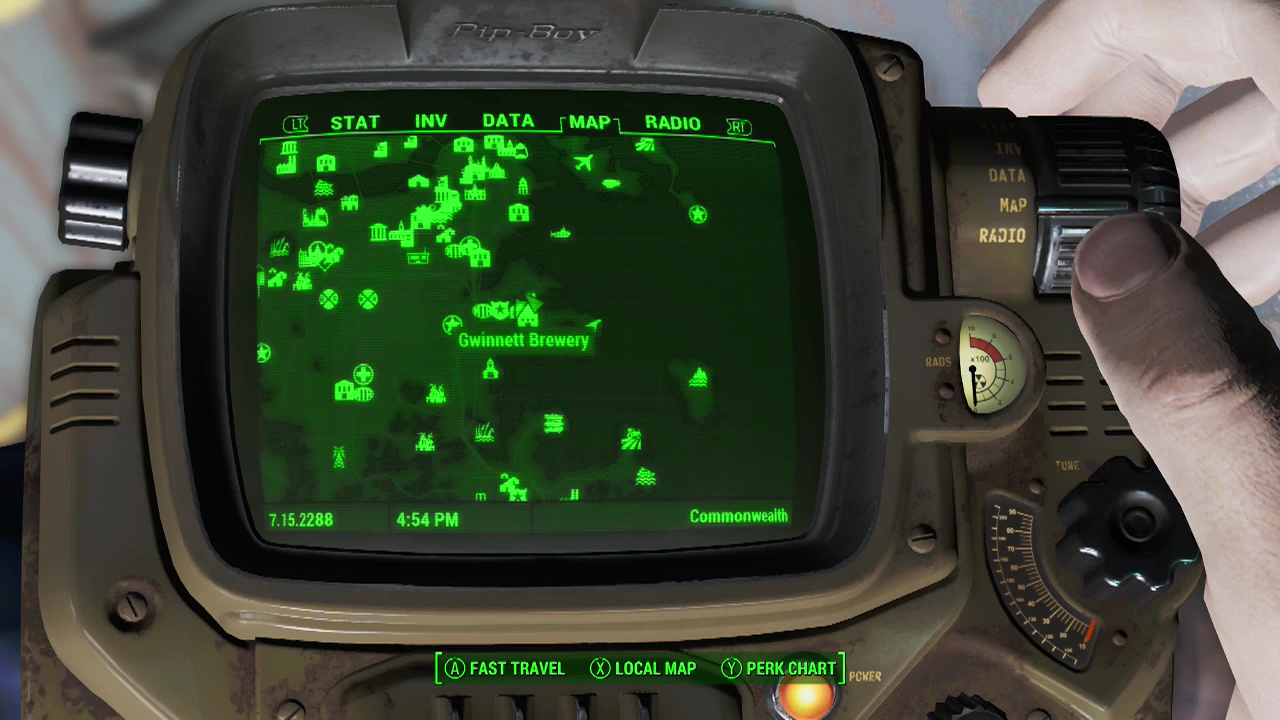
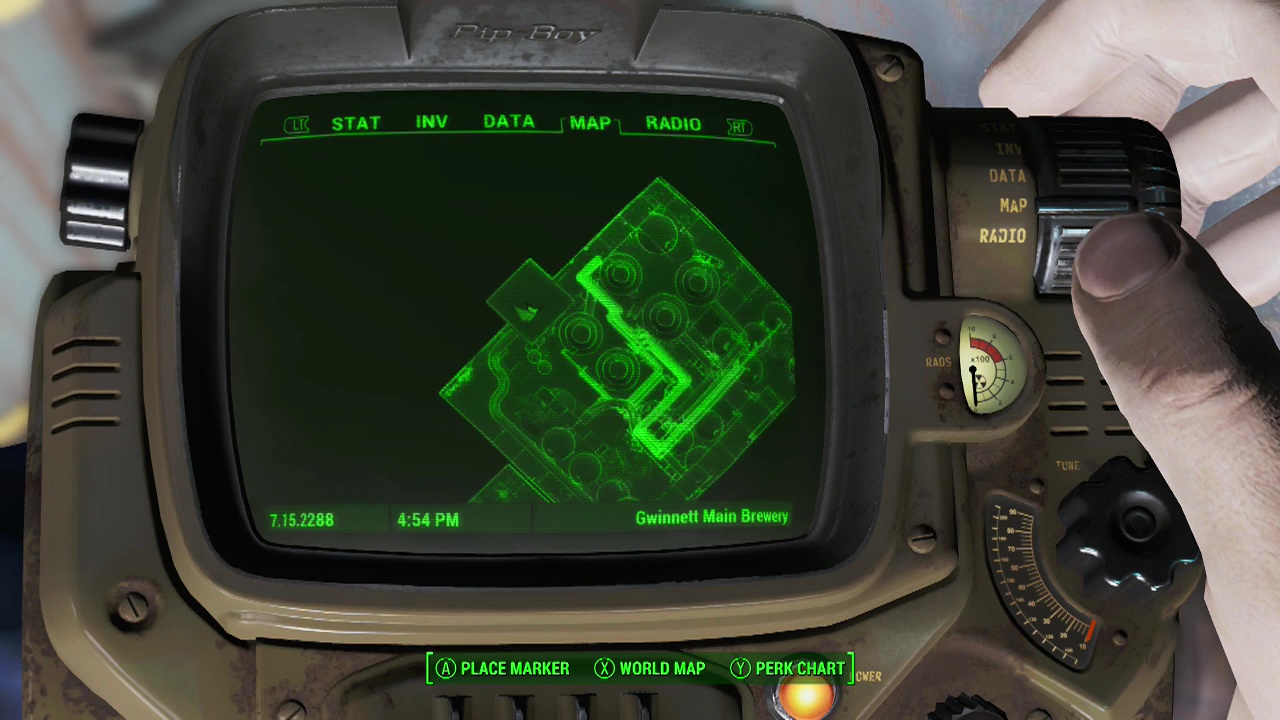
Gwinnett Brewery – This one can be a bit tricky as it requires some platforming. You'll need to use the pipes to work your way up to a metal office on the upper floor to find the magazine on a table next to a terminal. Be careful of the mirelurks on the lower levels if you fall.
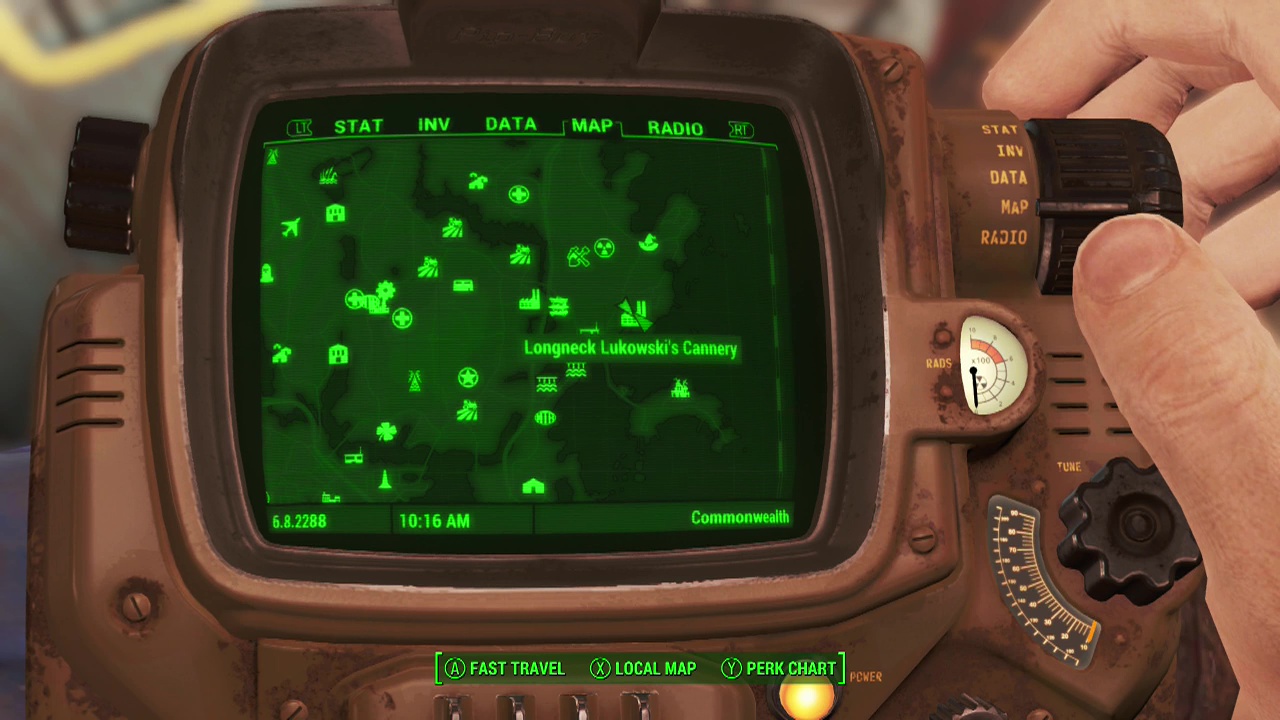
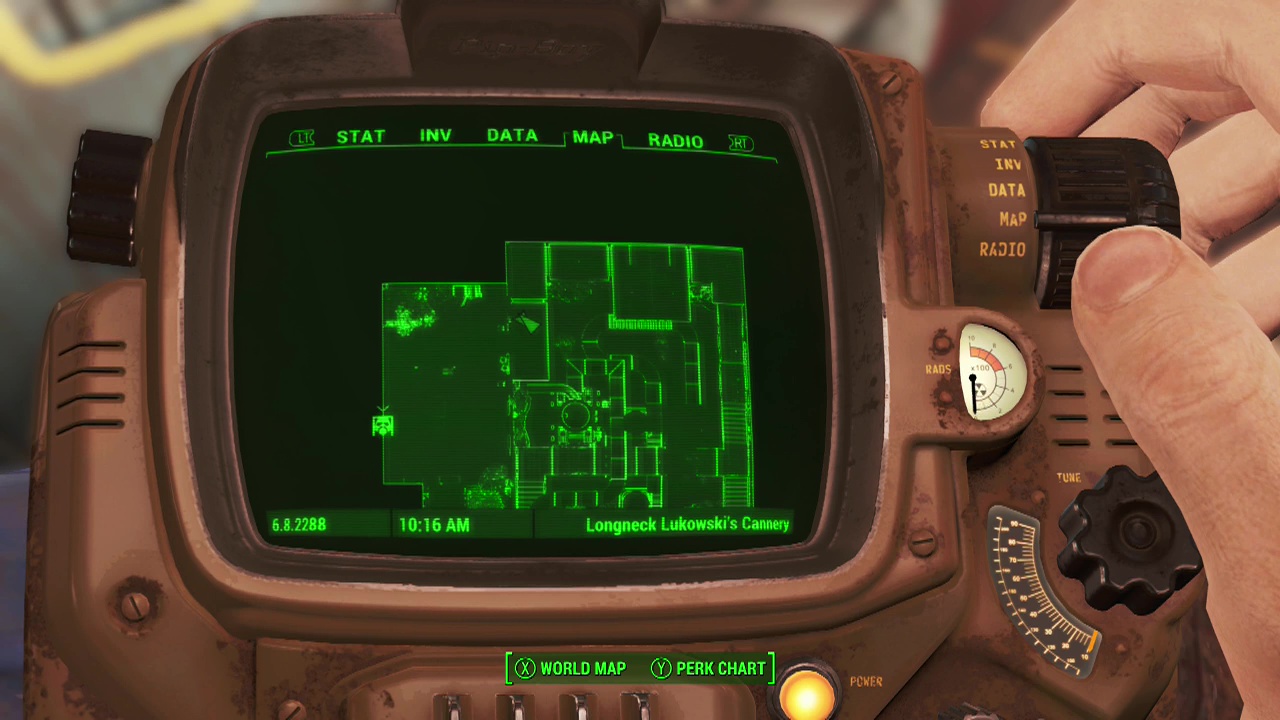
Longneck Lukowski's Cannery – In the metal office overlooking the main cannery area, use the catwalks to reach it.
Mystic Pines – Simply open the front door of the place and turn left to spot it on a table to the left of the TV (North-West corner).
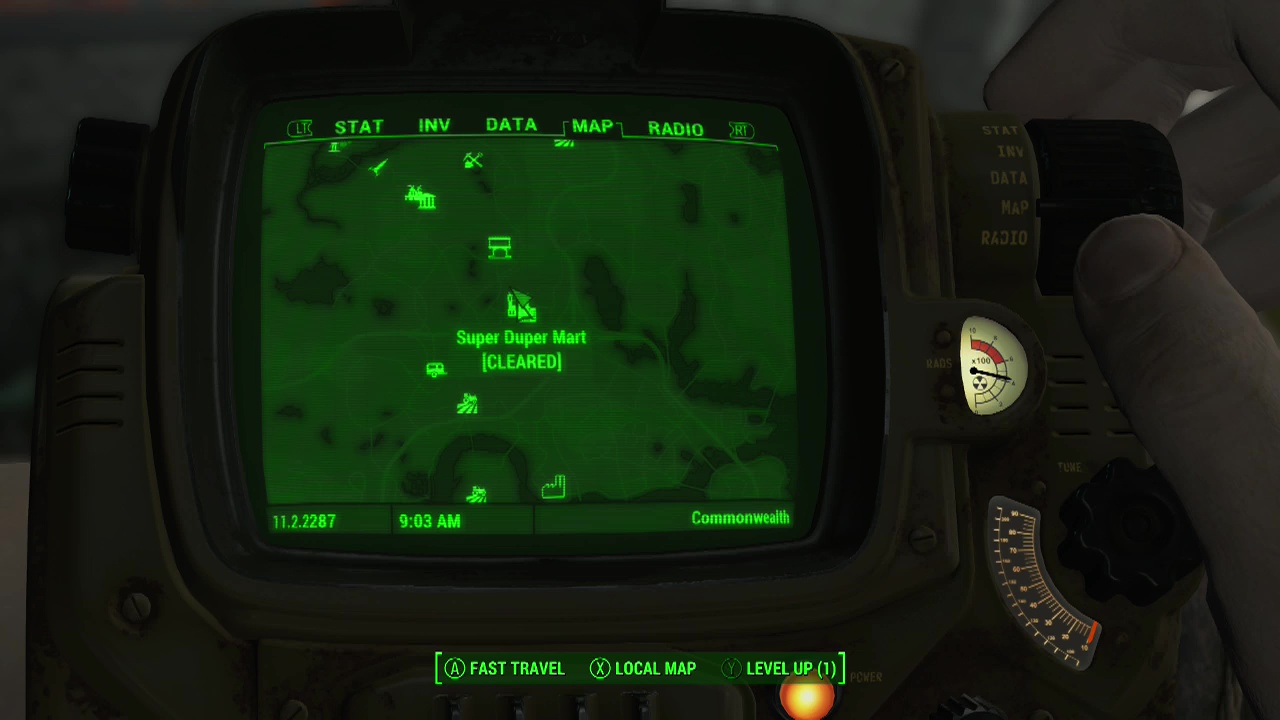
Super Duper Mart – In a magazine rack along the North wall of the building.
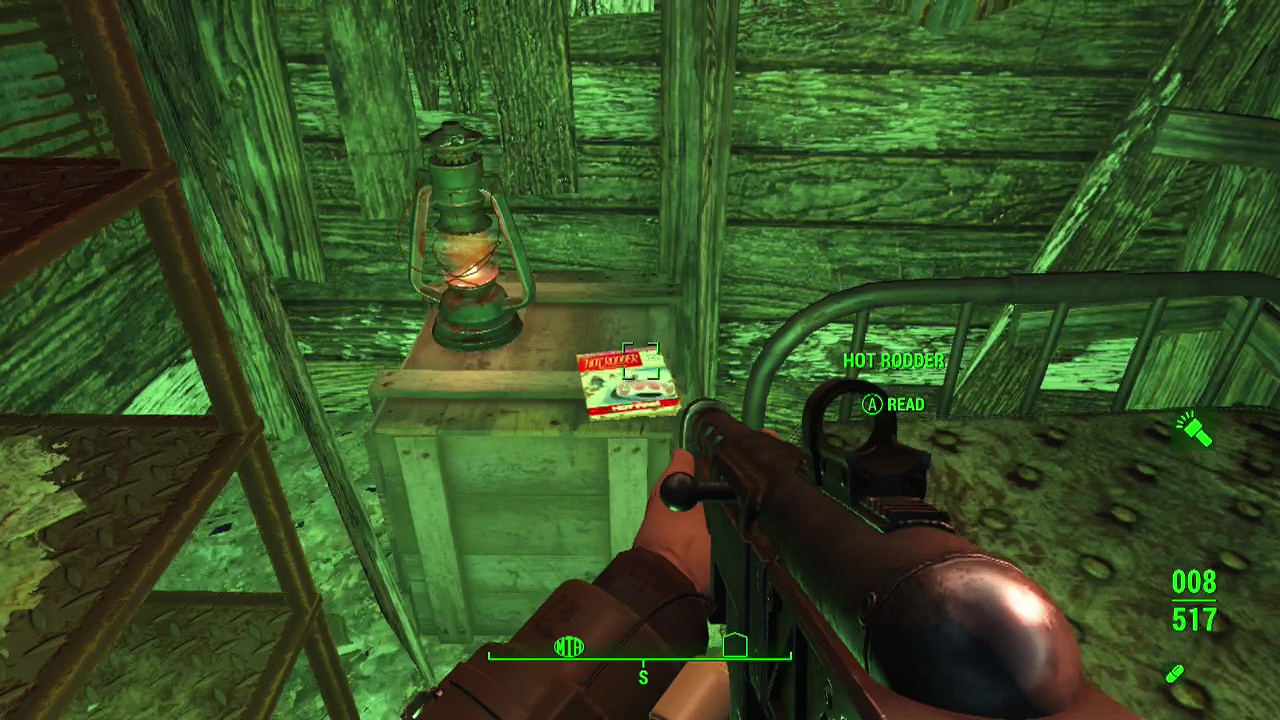
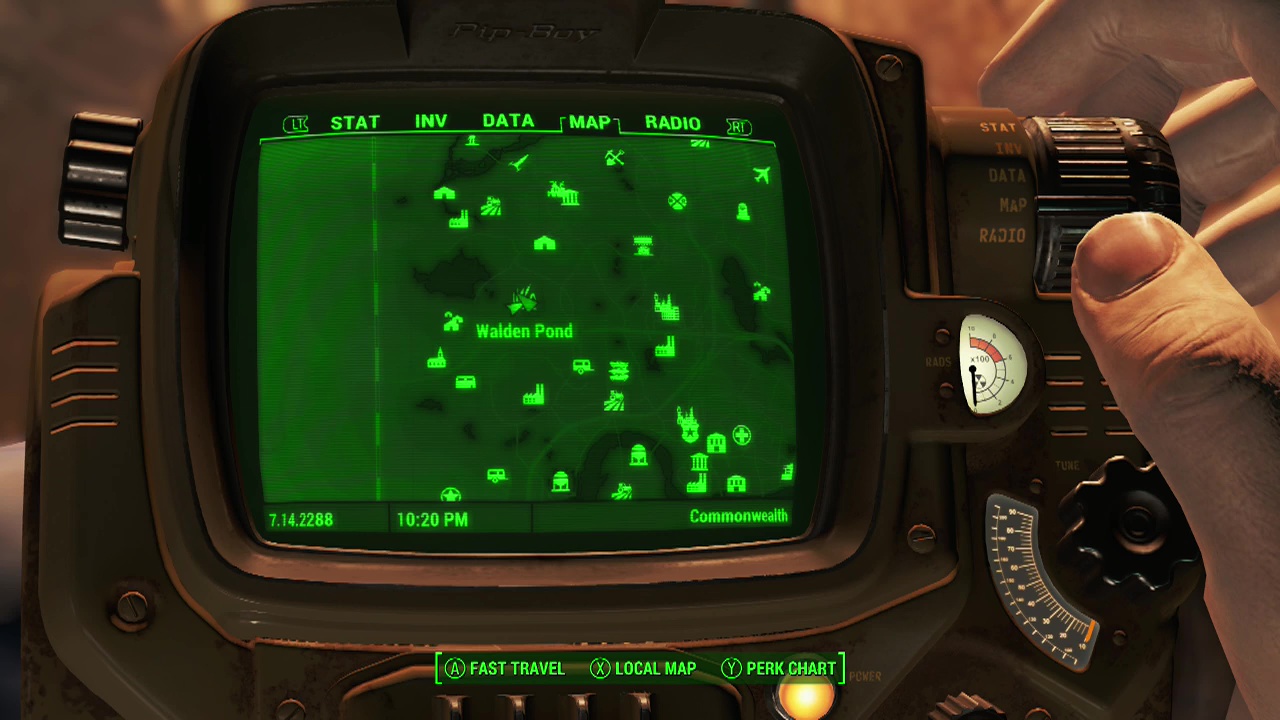
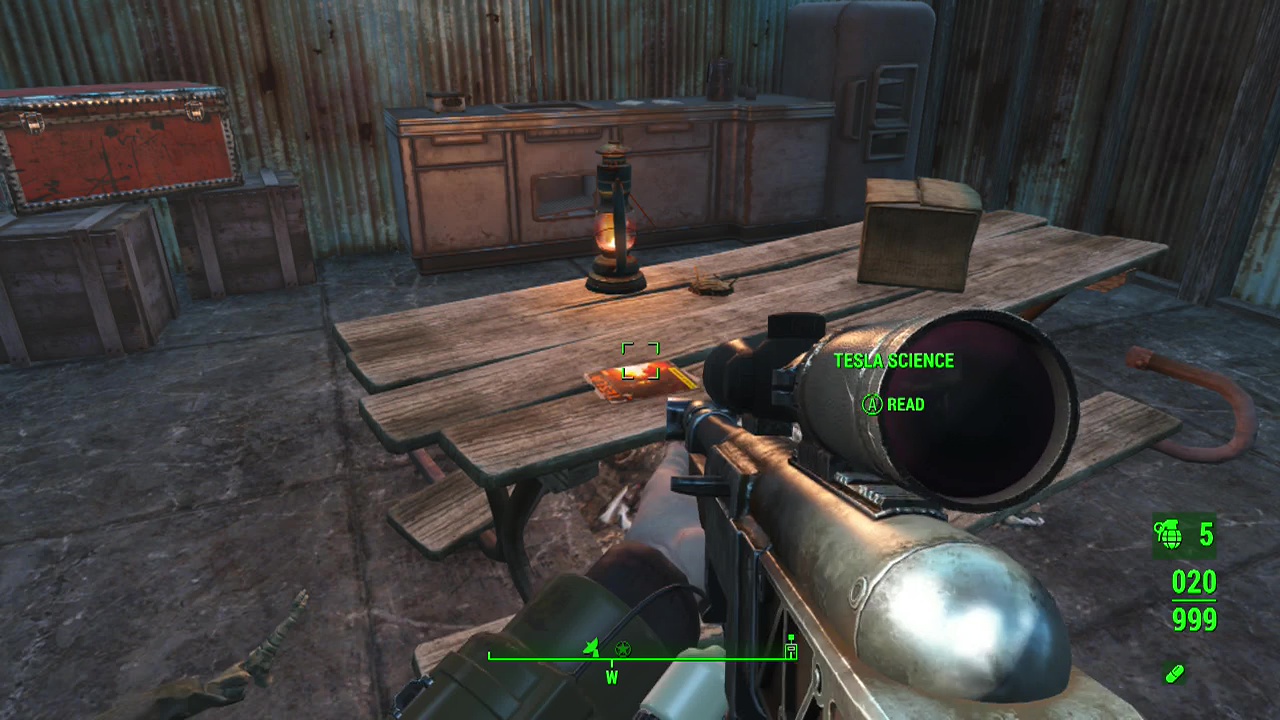
Walden Pond – Look at the edge of the pond to find a sewer pipe entrance. Take this and then turn right at the first fork inside the pipe. At the end you'll find two named raiders to take out and the magazine on top of a barrel next to a lantern.

Wreck of the FMS Northern Star – Work your way up to the main deck (dealing with the mirelurks on the lower level) until you start encountering the raiders and turrets. Halfway along the deck on a table with a parasol (North side) is the magazine.
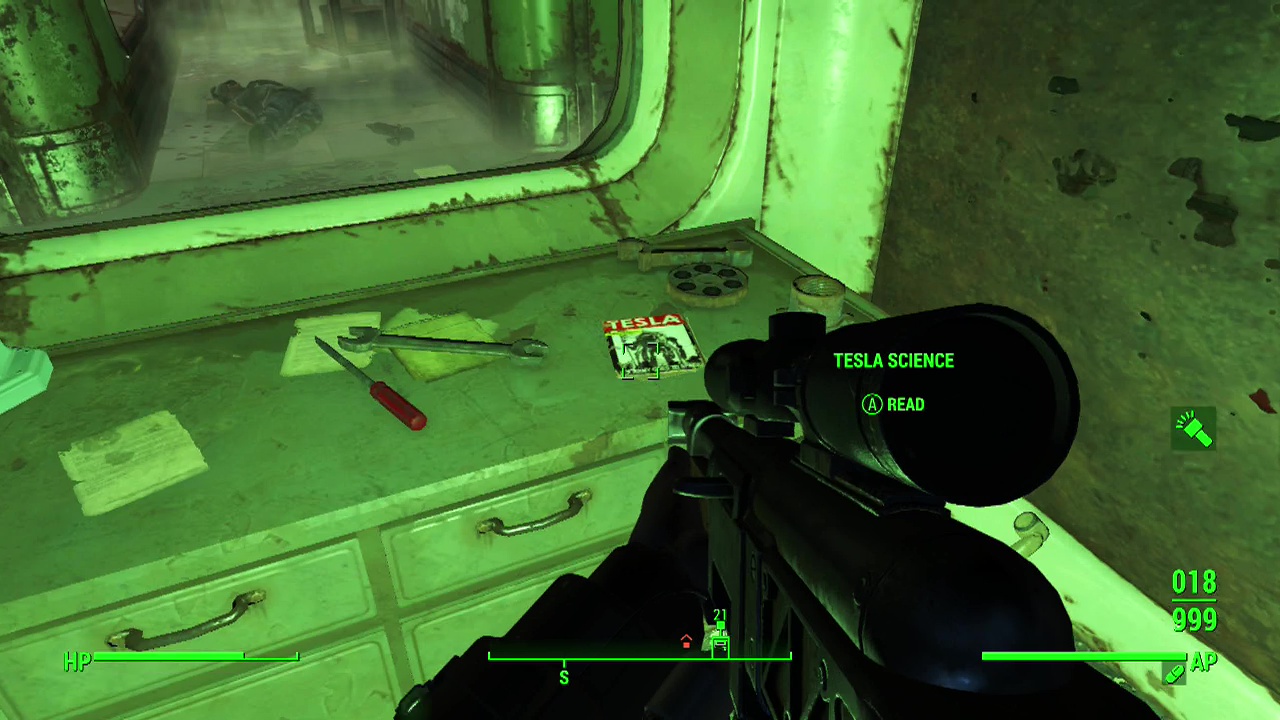
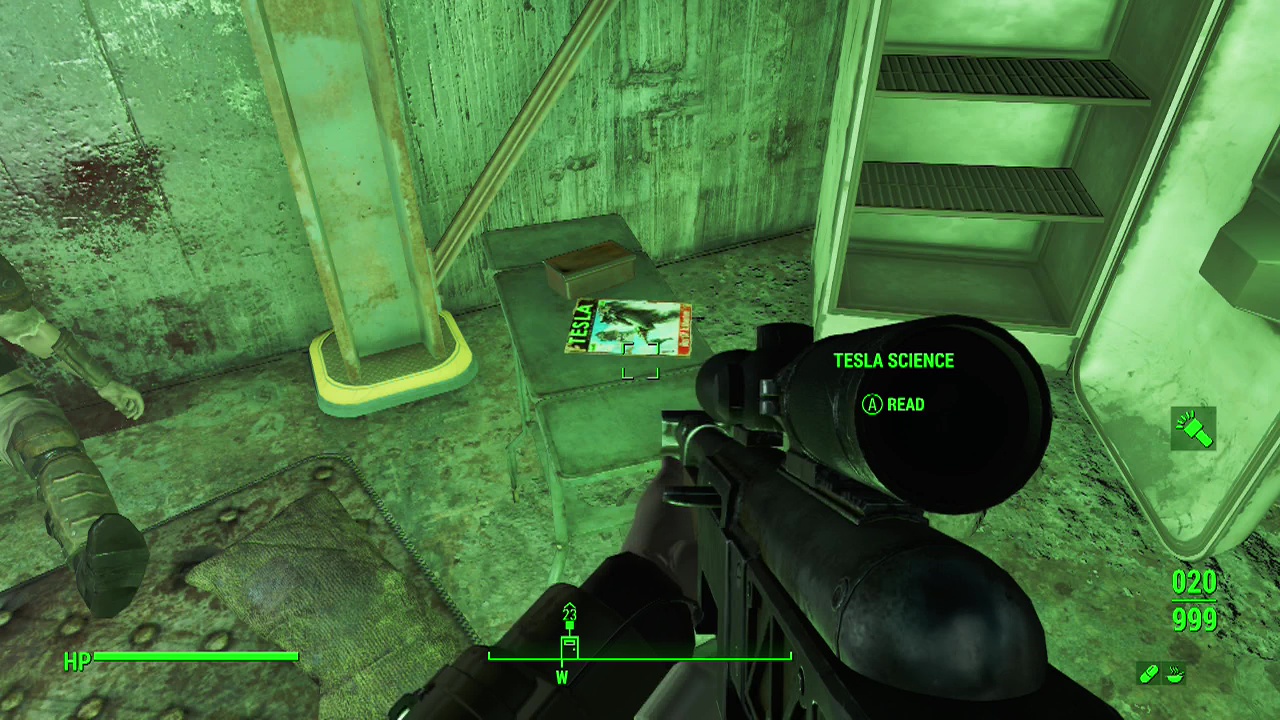
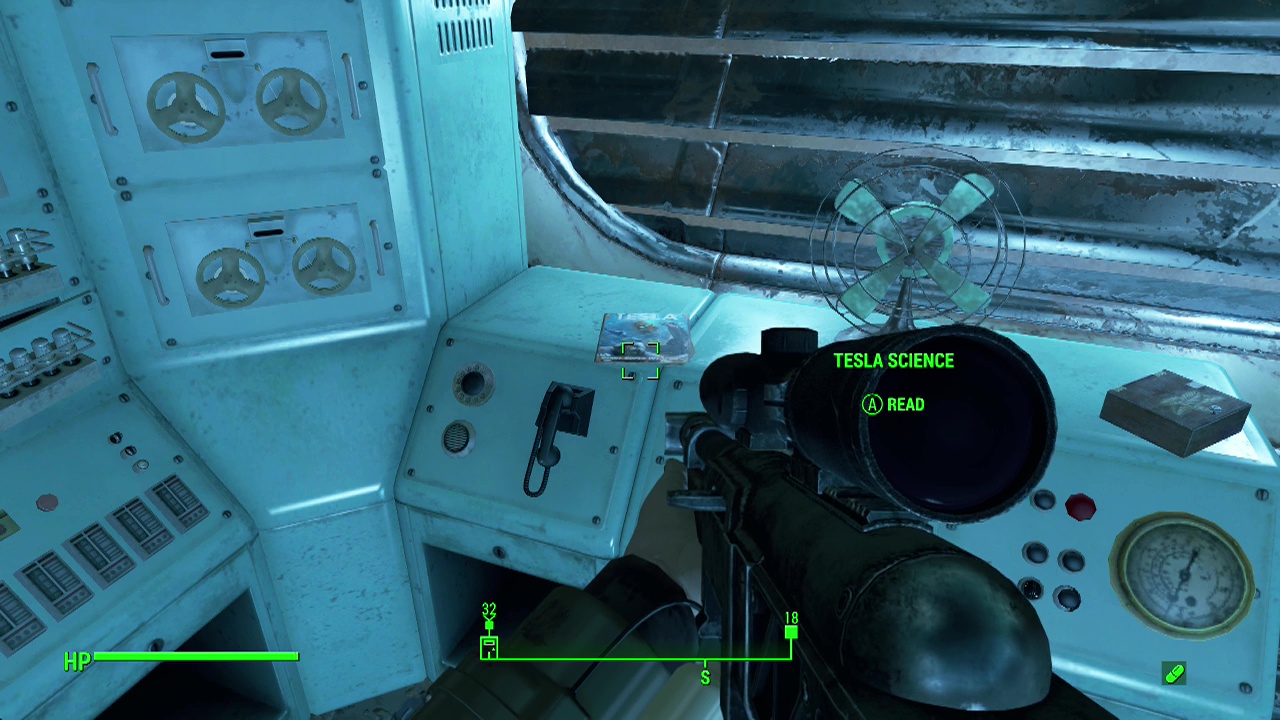
Tesla Science
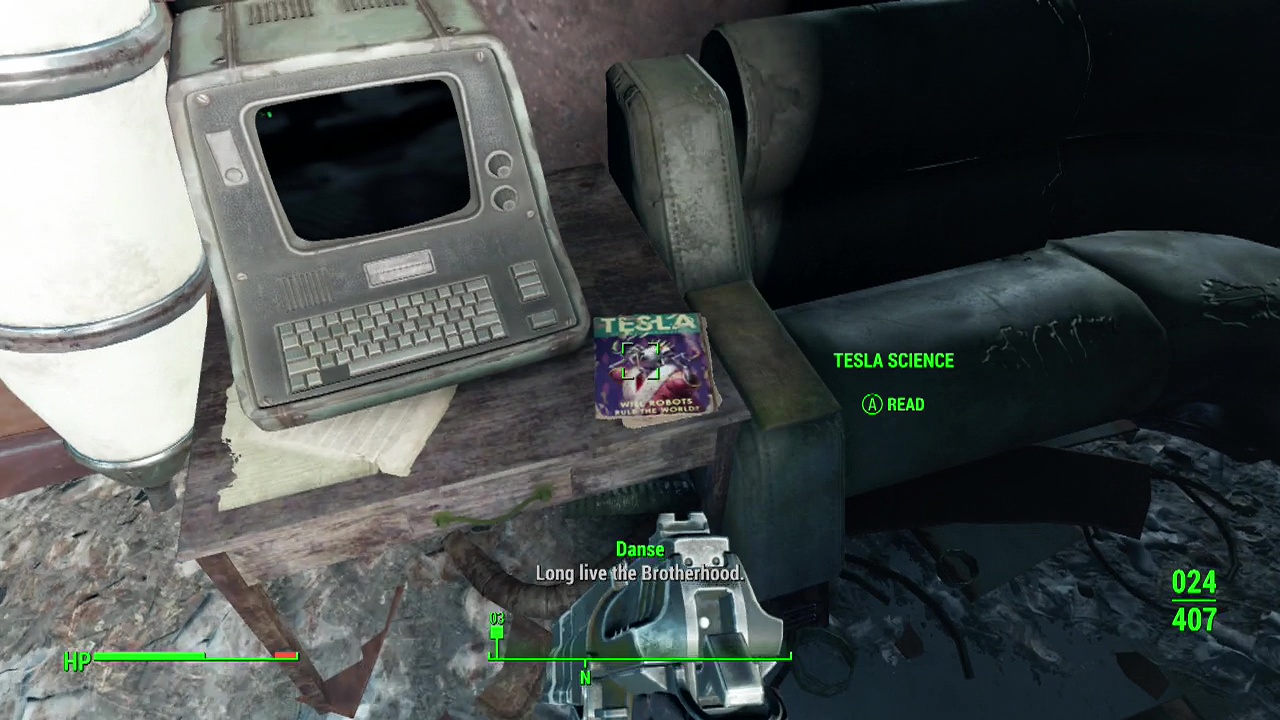
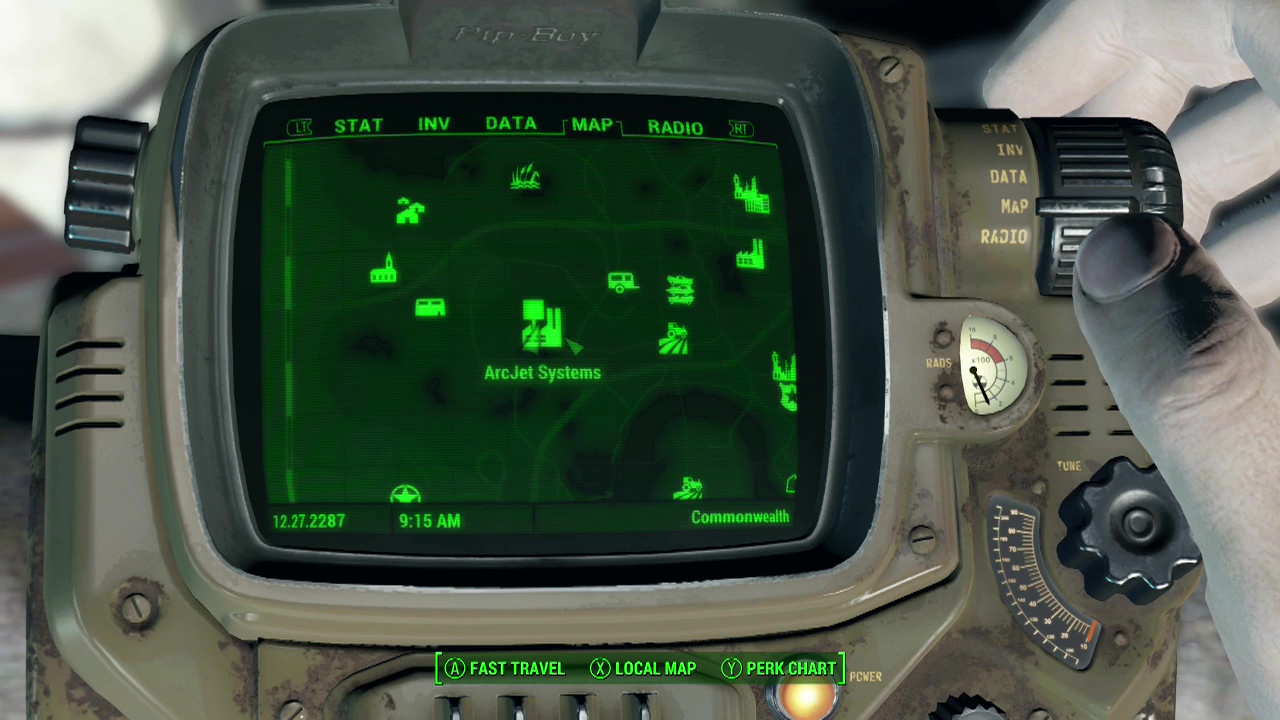
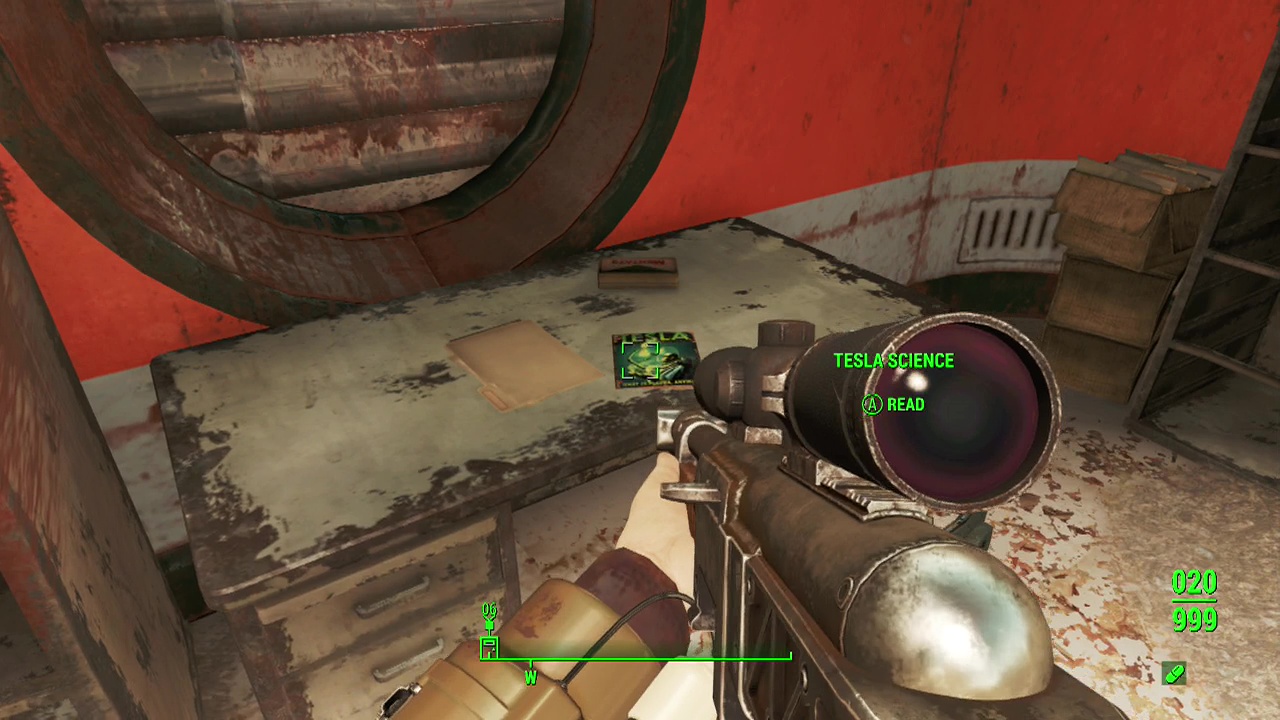
Arcjet Systems – Found on a desk next to the C.E.O's terminal. Easily picked up during your visit with Danse if you undertake Brotherhood of Steel quest 03 – Call To Arms.
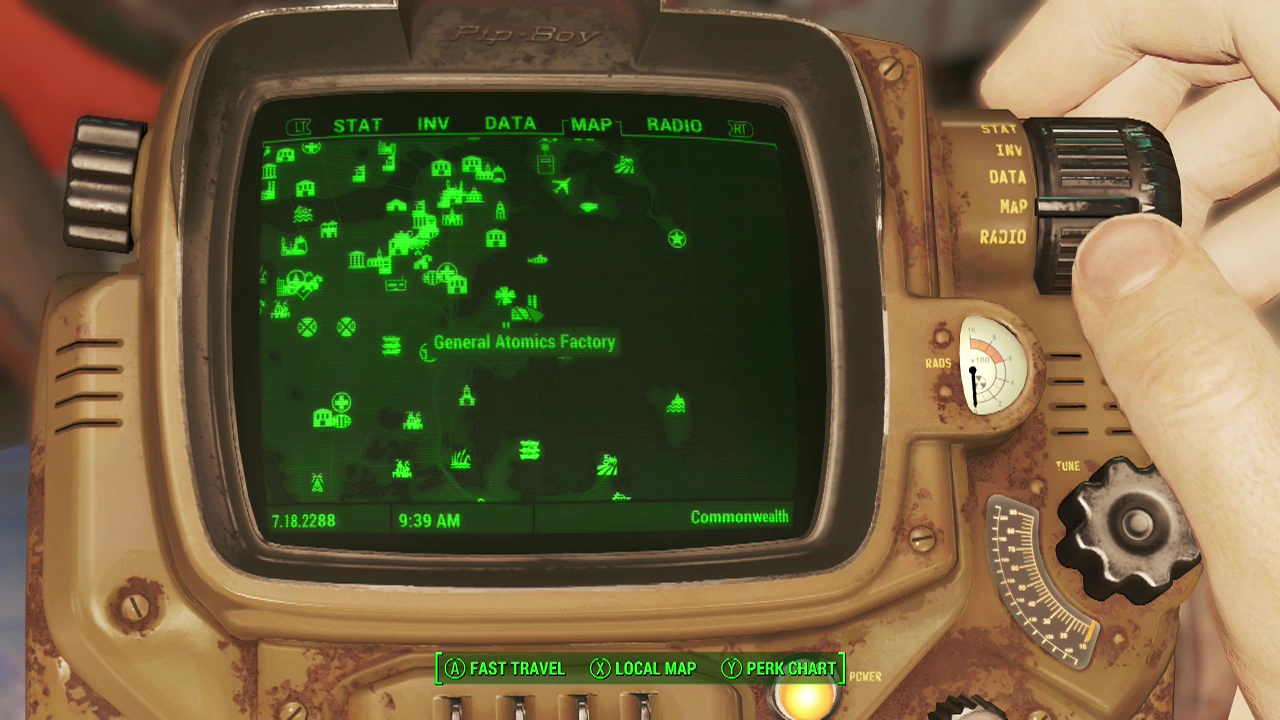
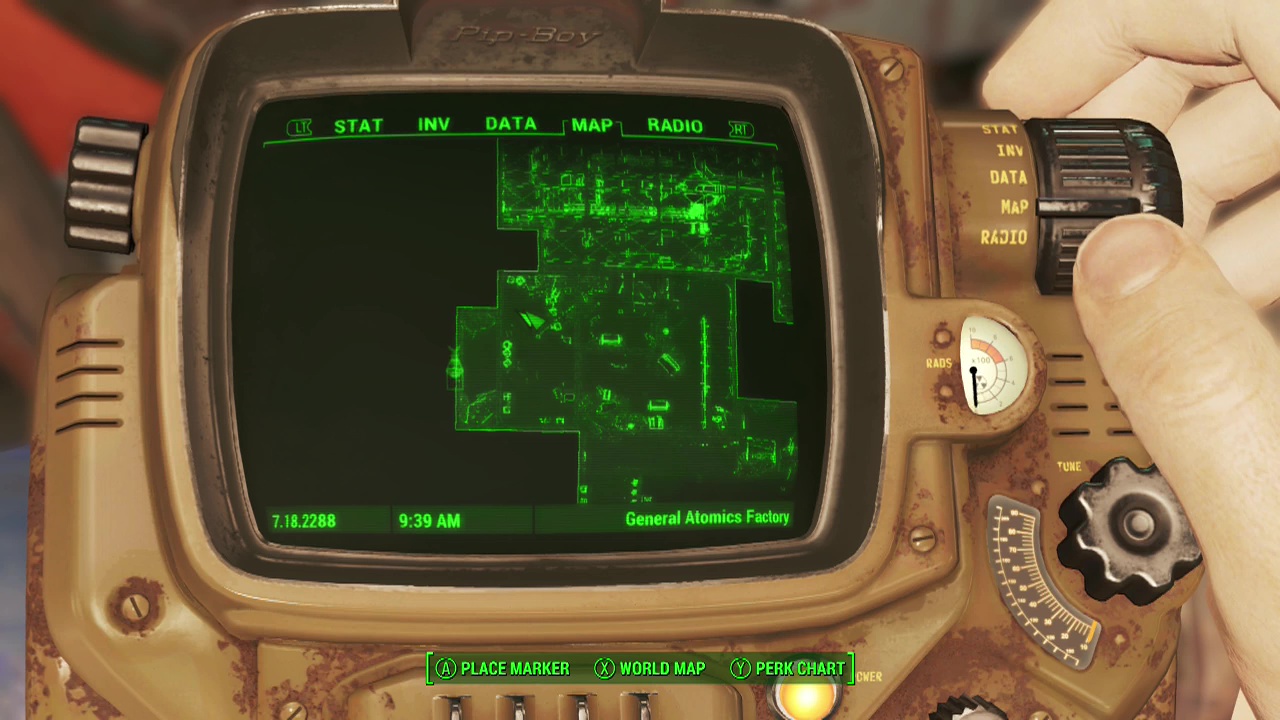
General Atomics Factory – Climb the stairs after entering the building to encounter a pair of Mr Handy robots. Once they are dealt with, explore the office to the West to find the magazine on a desk.
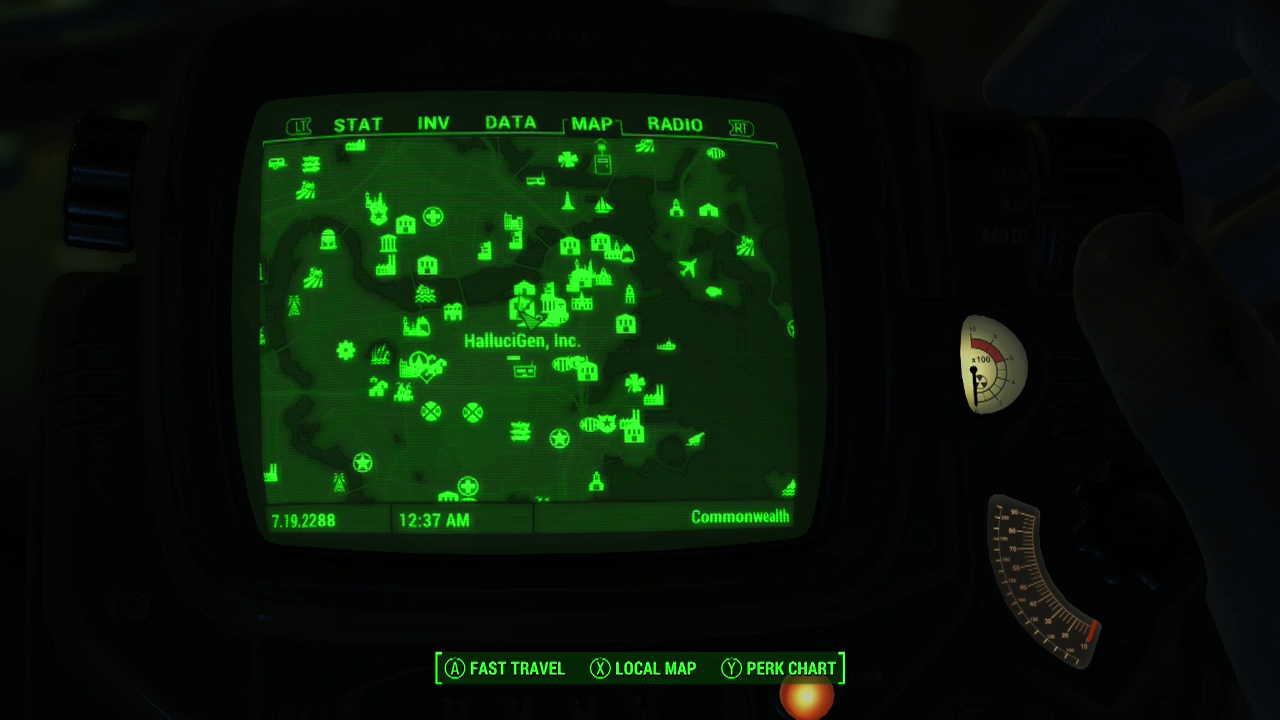
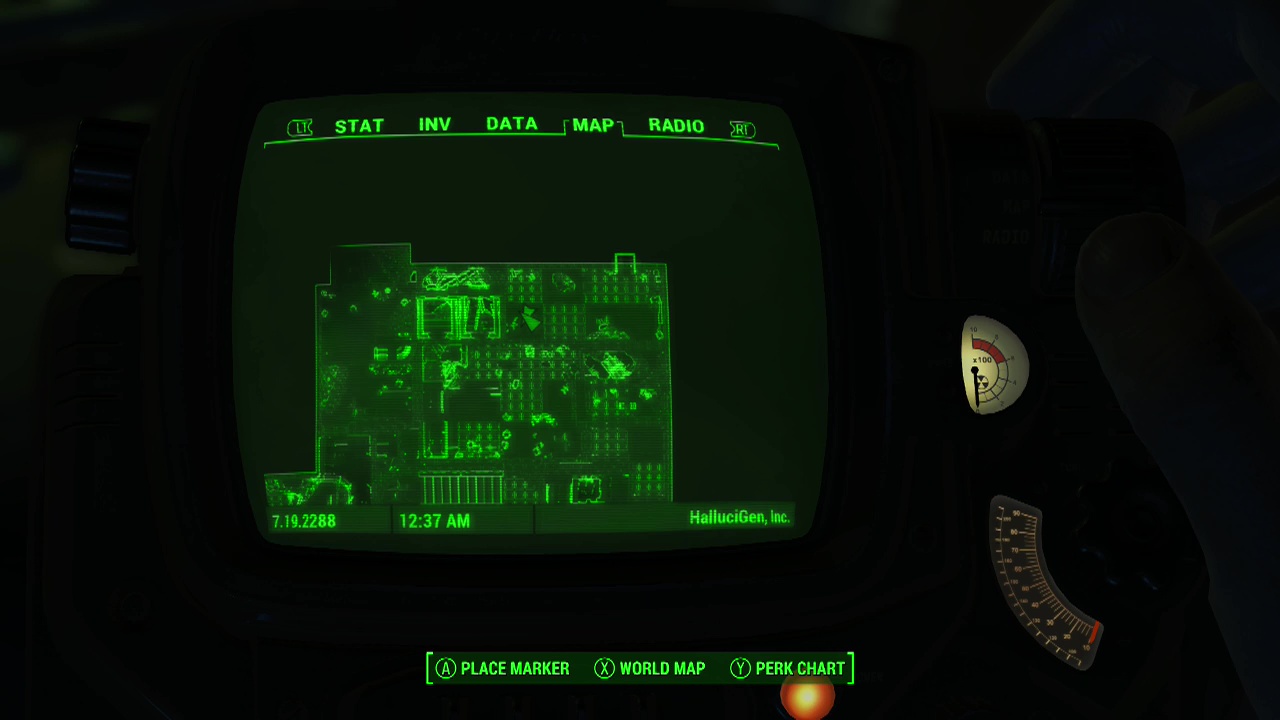
HalluciGen Inc. – When you enter, you'll be under fire from gunners on several levels of the building. Take cover and move down the lone hallway (ramp leading down). Follow the linear path through the toilets and up the ramp to the other side of the ground floor. Turn left at the top of the ramp and you'll find the magazine on a workbench in the next proper room you come to.
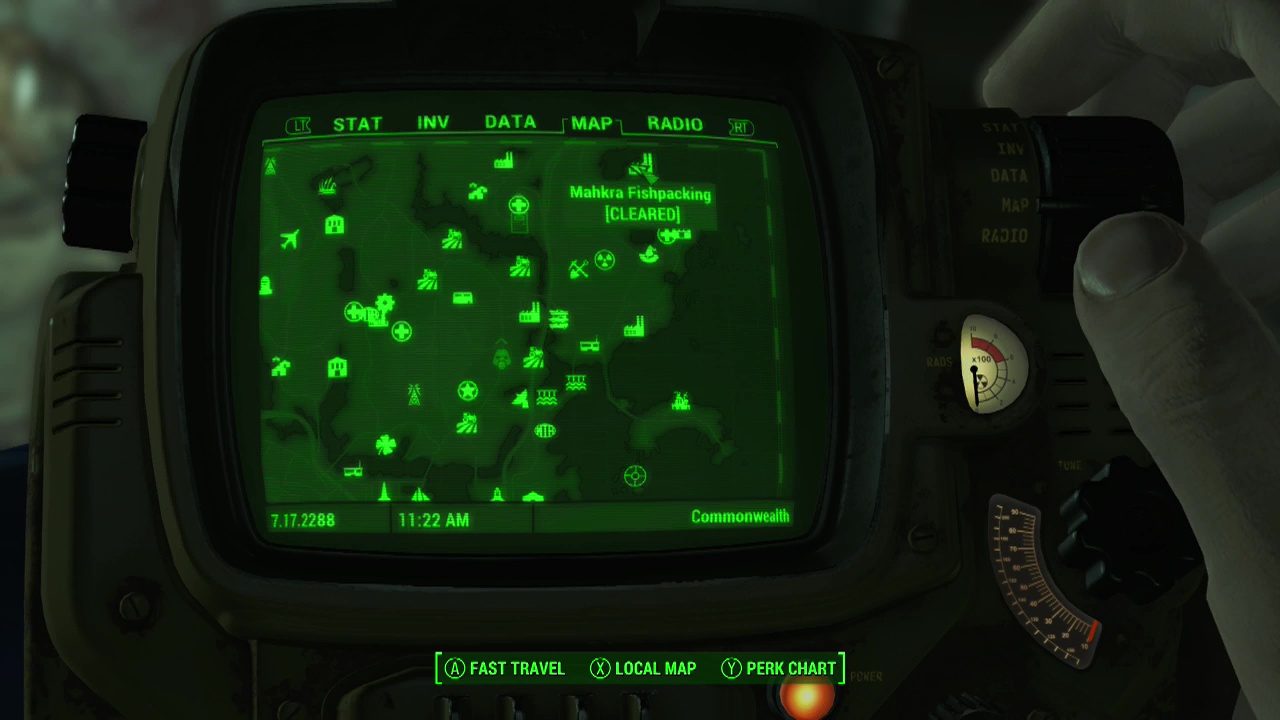
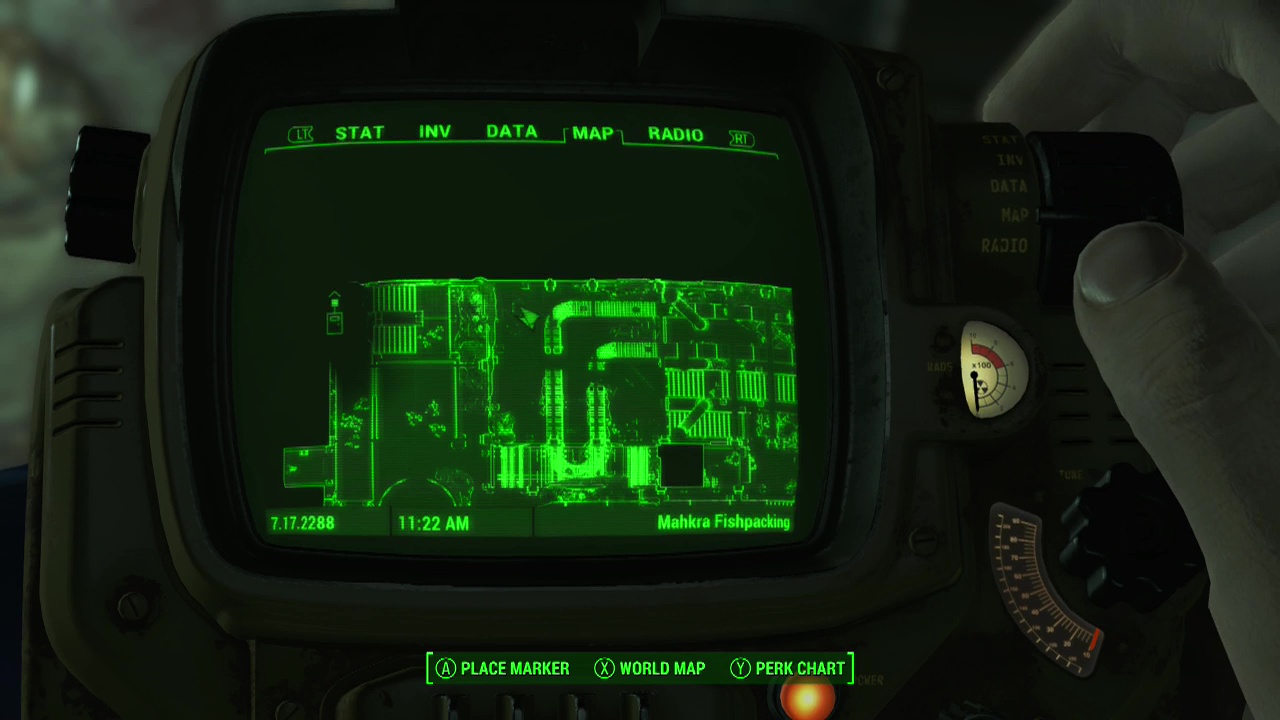
Mahkra Fishpacking – Be extremely cautious approaching the factory as a Mirelurk Queen is roaming about outside. When you get in, look for a large square hole in the floor and then press the button beside it to raise the lift down to the basement. Descend in the lift and then fight your way through the synths that appear as you explore. You are looking for a raider corpse next to an expert safe against the North wall of the factory. On a small table to the right of the raider is the magazine.
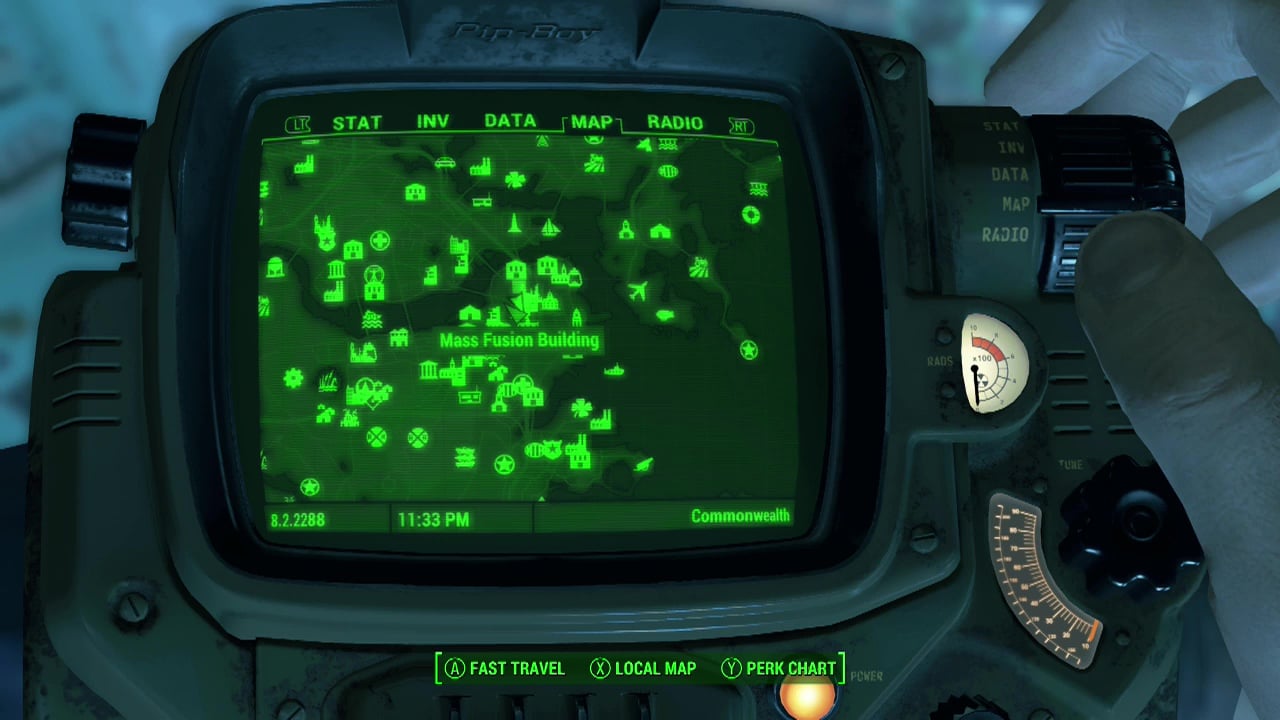
Mass Fusion – This can only be obtained if you side with the Brotherhood or the Institute and arrive with them to obtain the agitator. During their mission, you will be transported to the rooftop of the Mass Fusion building. After using the ID card on the top floor, ride the elevator down into the ambush and deal with the waiting enemies. Once the room with the glass floor is clear, head up to the floor above and investigate the computer lab's South-East corner to find the magazine on a console.
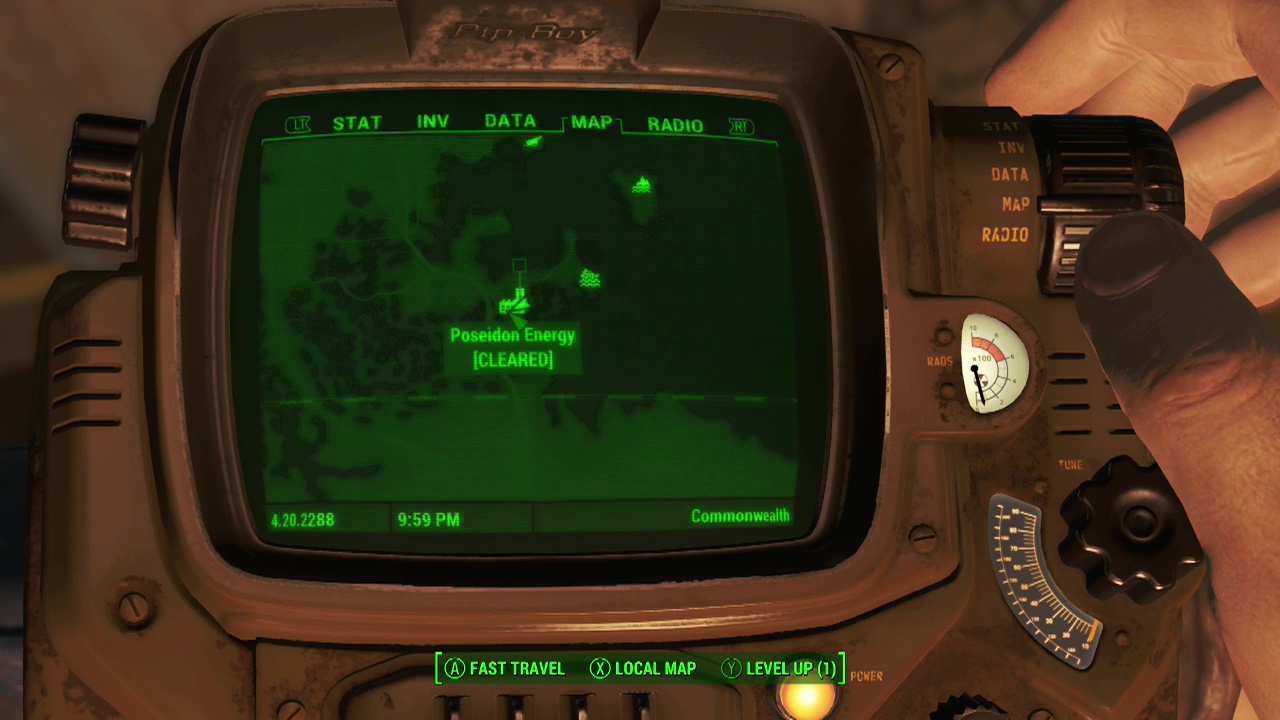
Poseidon Energy – When you visit for the first time, you'll need to access the facility via the water pipes on the side of the structure facing the sea. You'll then have to work your way up through the sublevels and to the upper areas of the power plant. When you reach the catwalks overhead, the raiders will be bunched up in a large room filled with desks and multiple matresses. On a desk against the wall up here is the magazine.

Reeb Marina – On a table in the break room with a red loot chest. Just be careful of the super mutants in the Satellite Array next door.
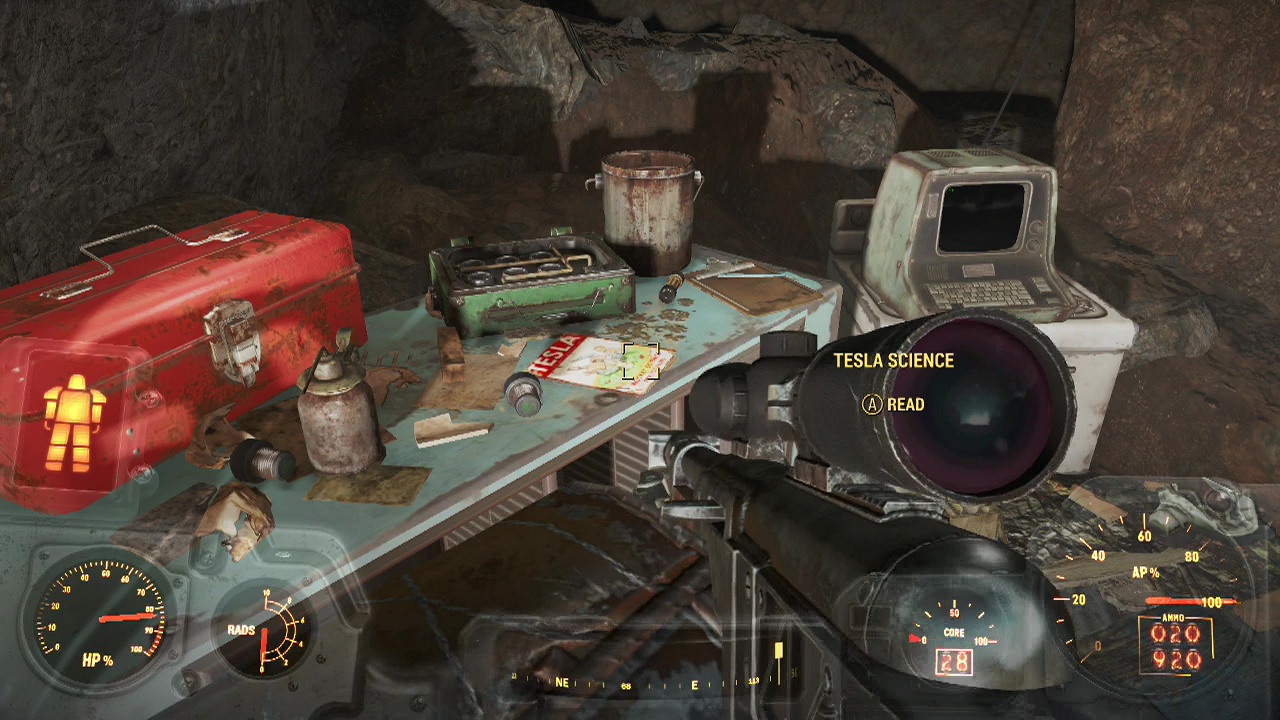
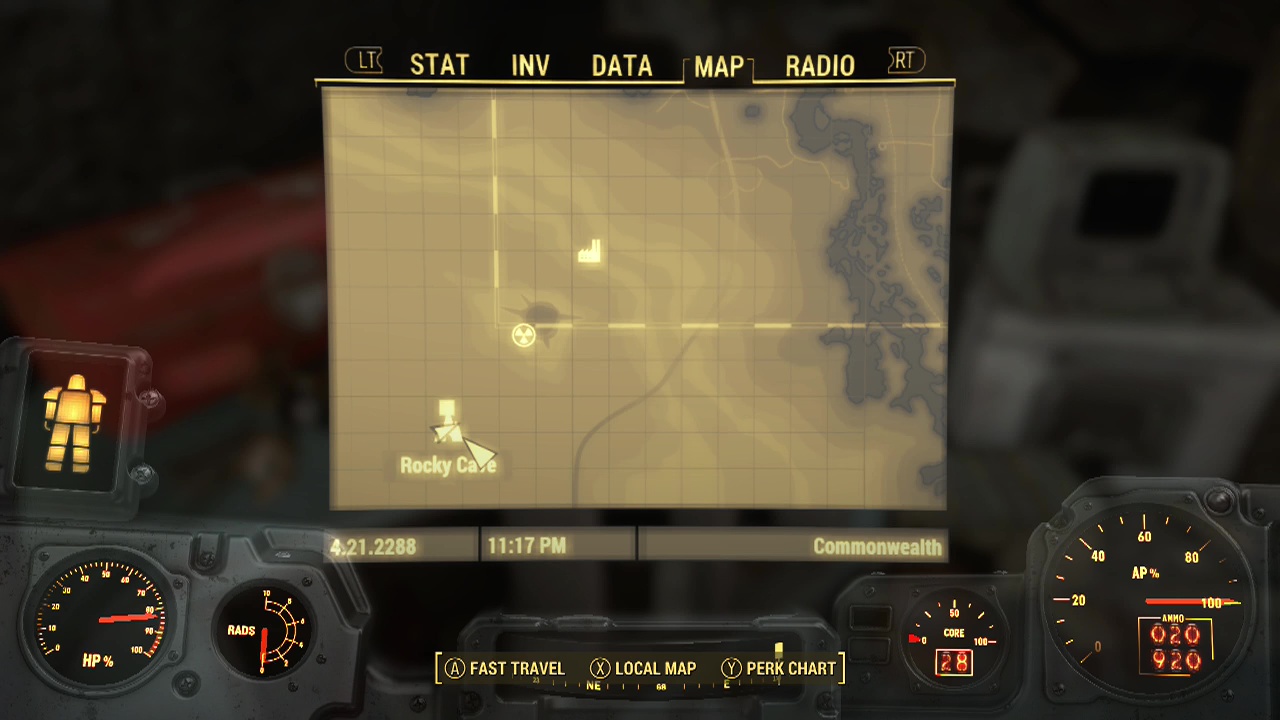
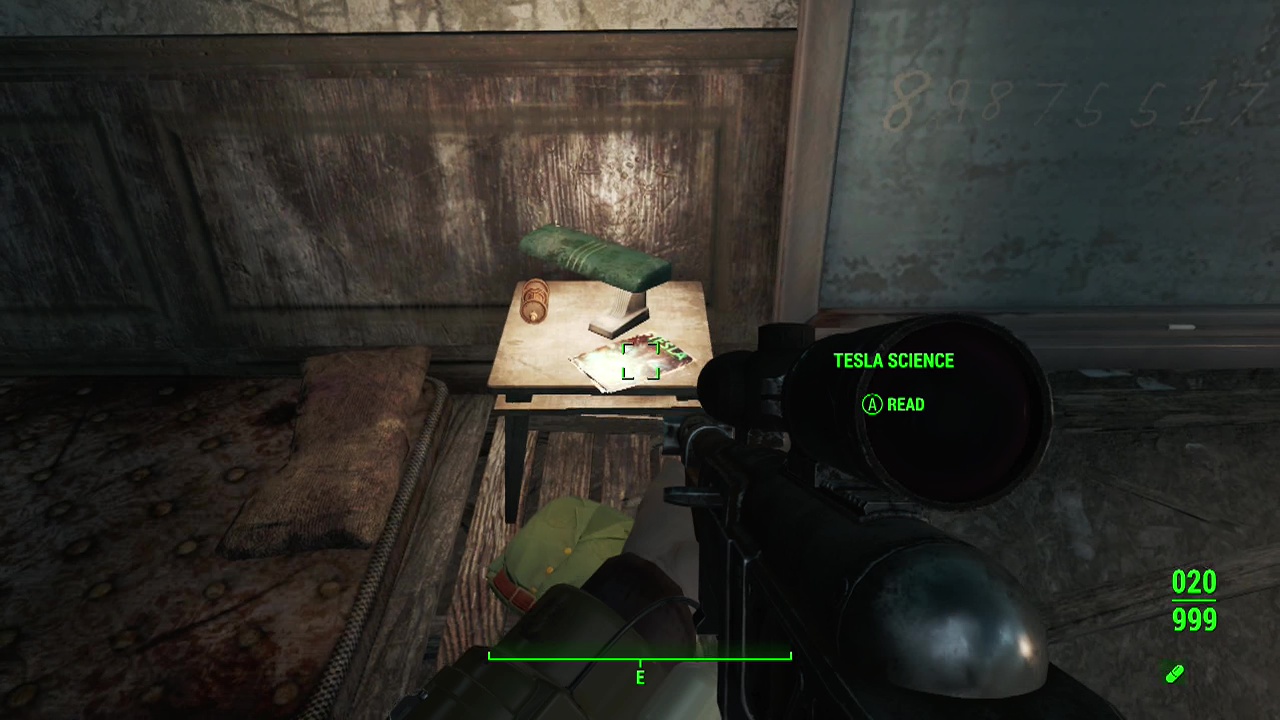
Rocky Cave/ Virgil's Laboratory – On the table just inside the cave is the magazine.
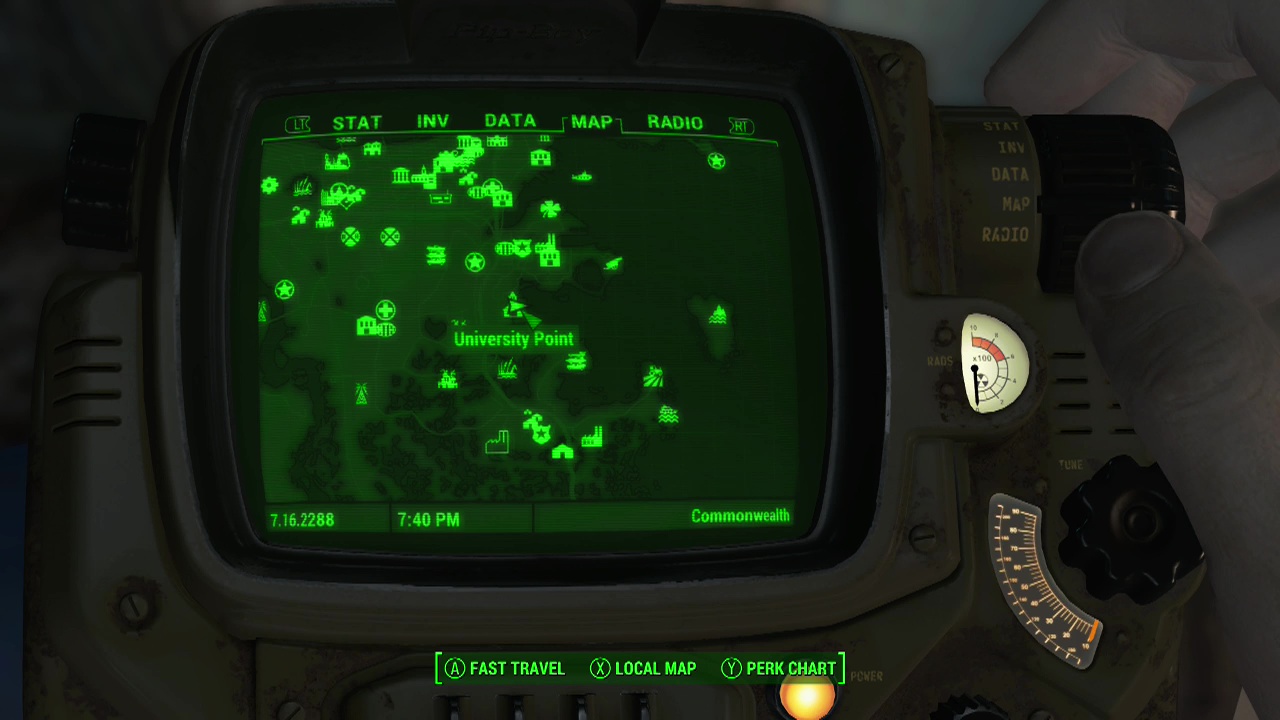
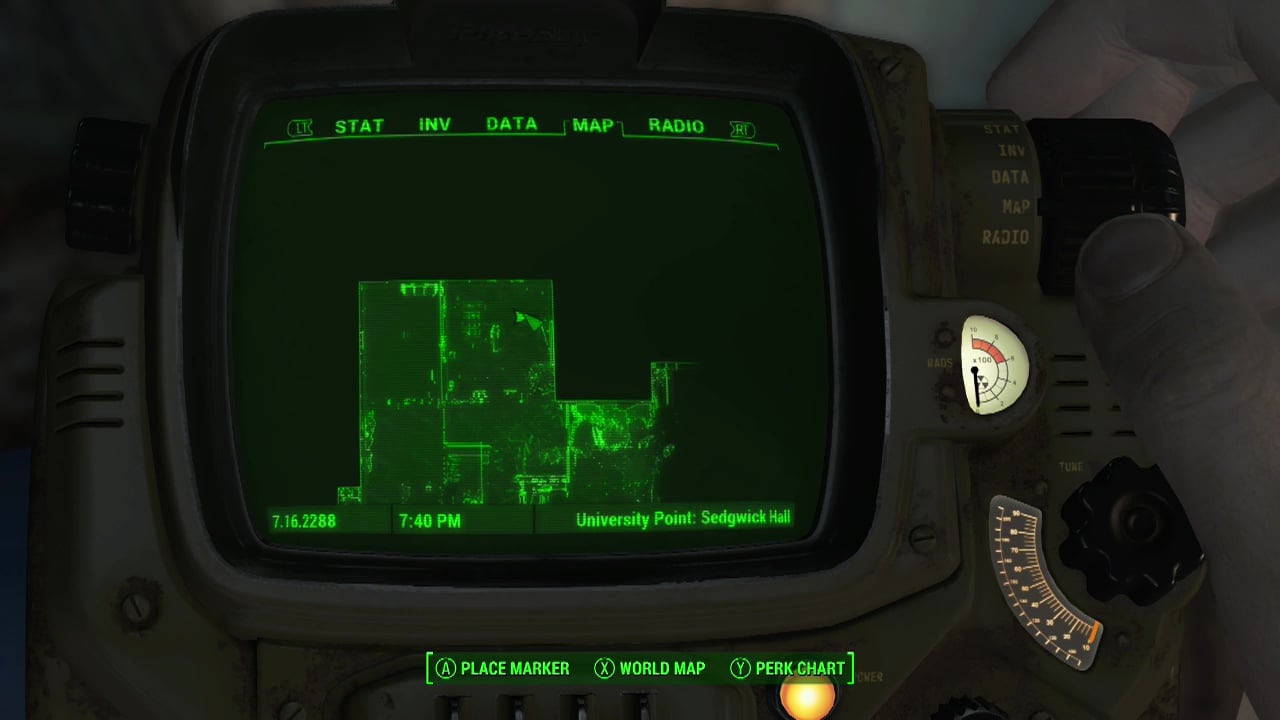
University Point: Sedgwick Hall (University Point) – Found on the top floor inside the demolished computer lab on a small table (North side).
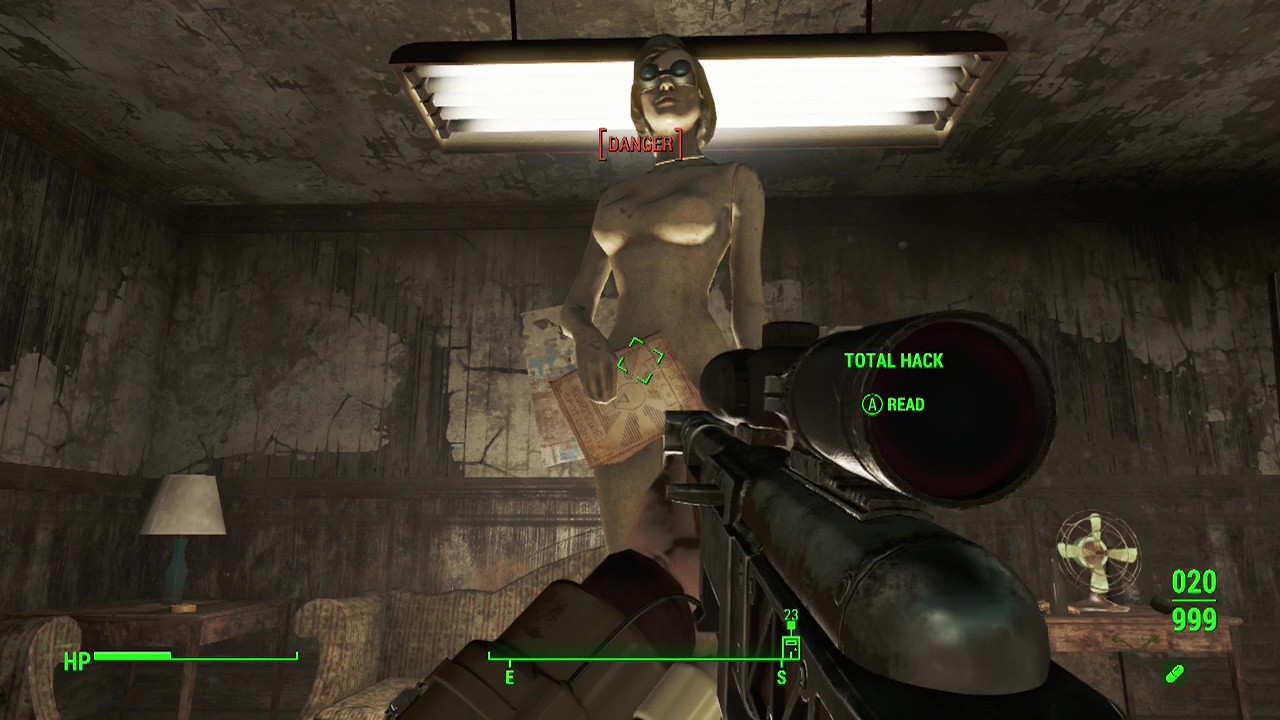
Total Hack
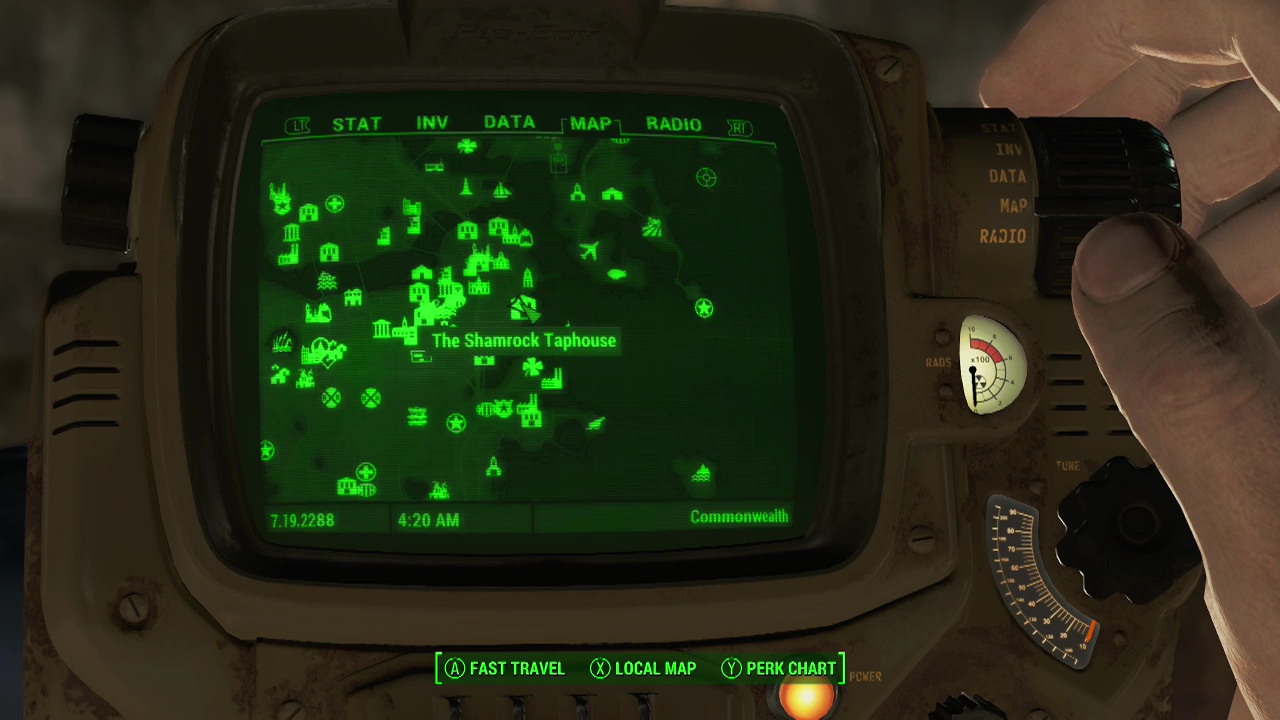
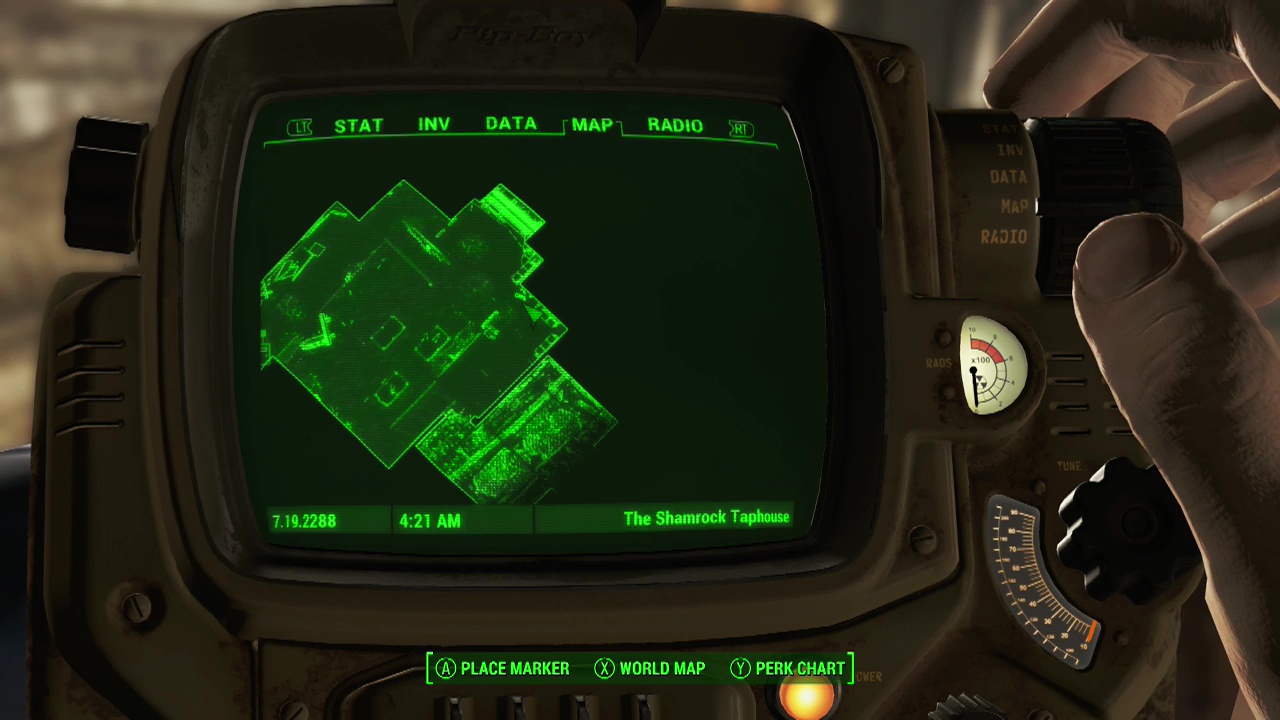
The Shamrock Taphouse – You'll need to fight your way through raiders until you reach a room with two mannequins and a large set of stairs leading upwards. The magazine is held in the hand of the female mannequin.
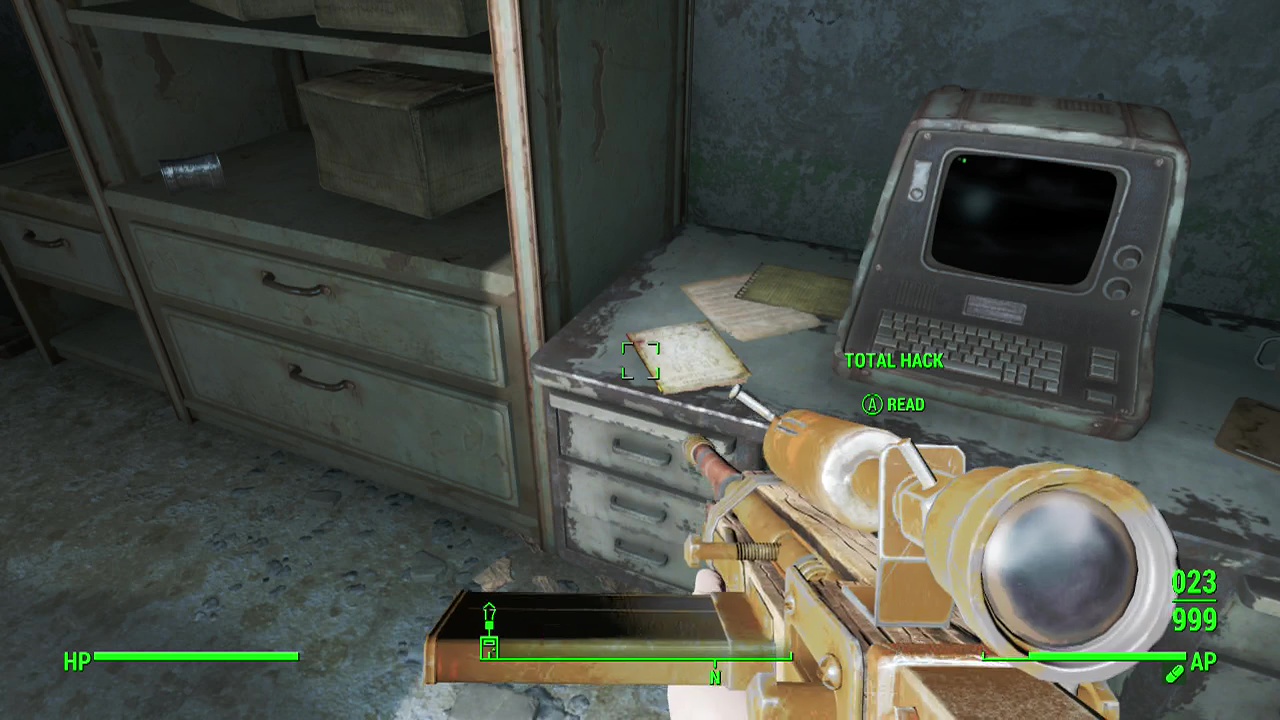
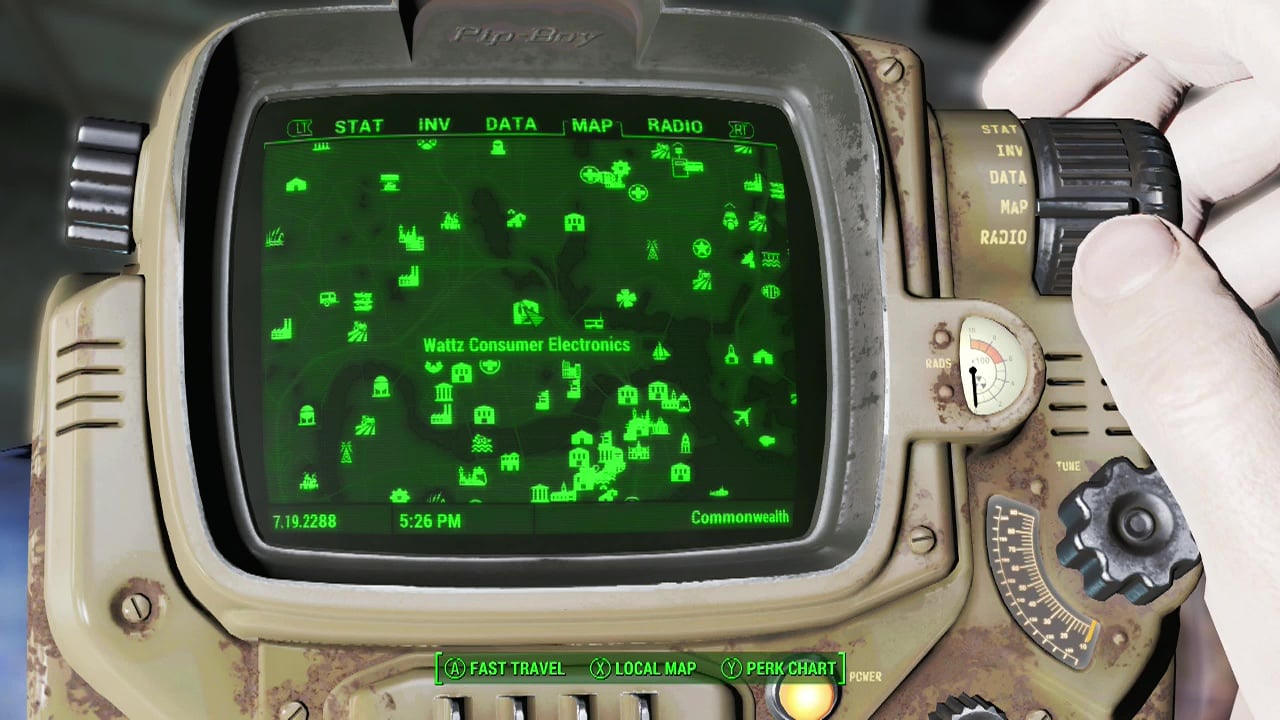
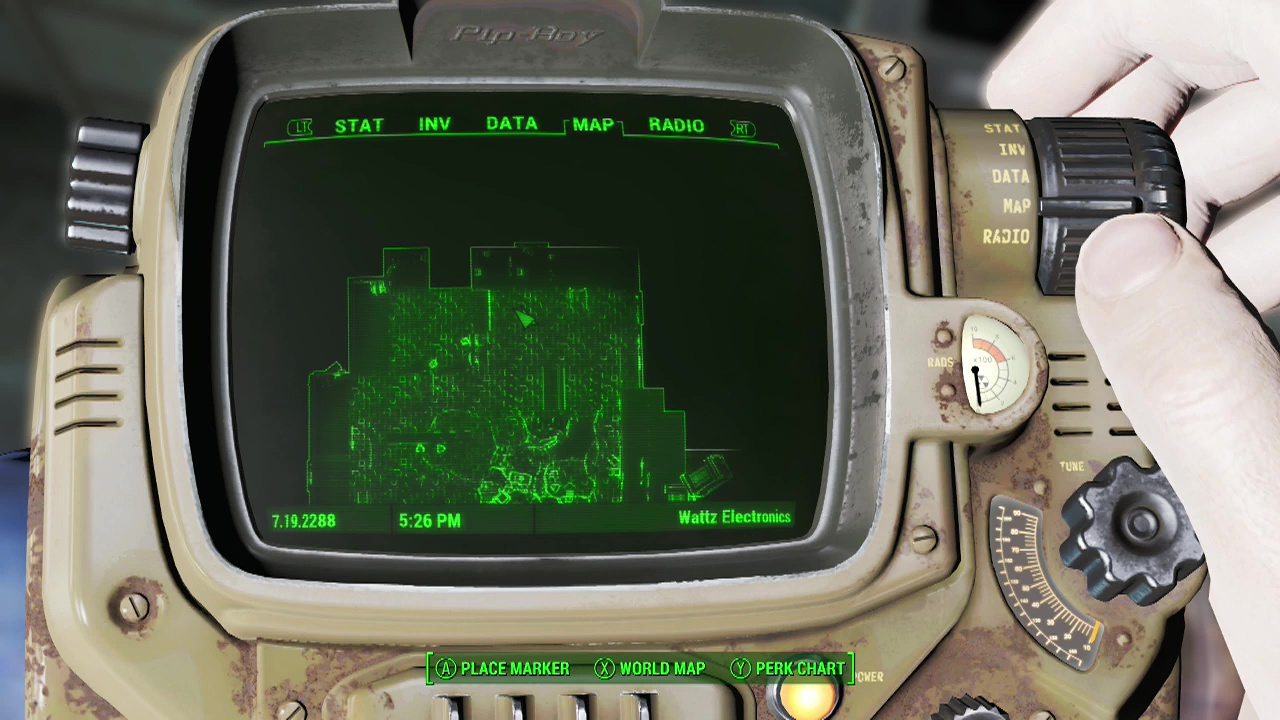
Wattz Consumer Electronics – Take the ramp down as you enter and head into the small room on the left with the terminal on the wall. Open the doors with it and on the desk inside is the magazine.
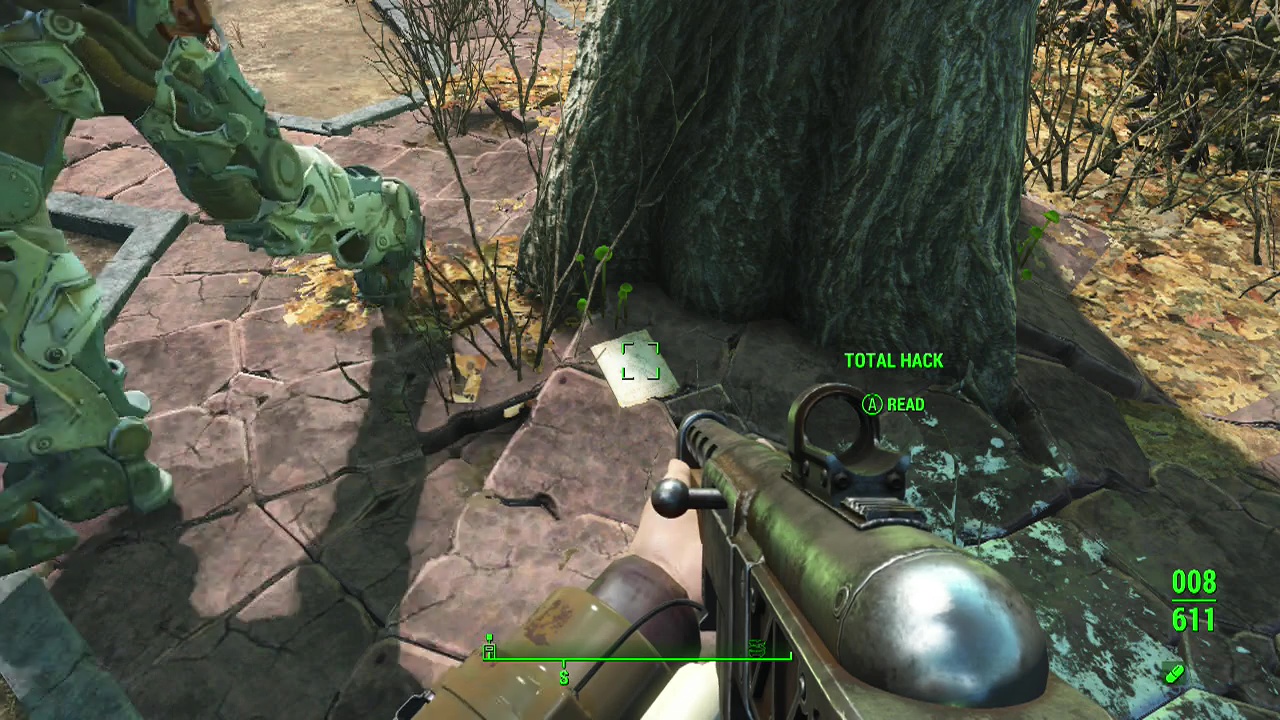
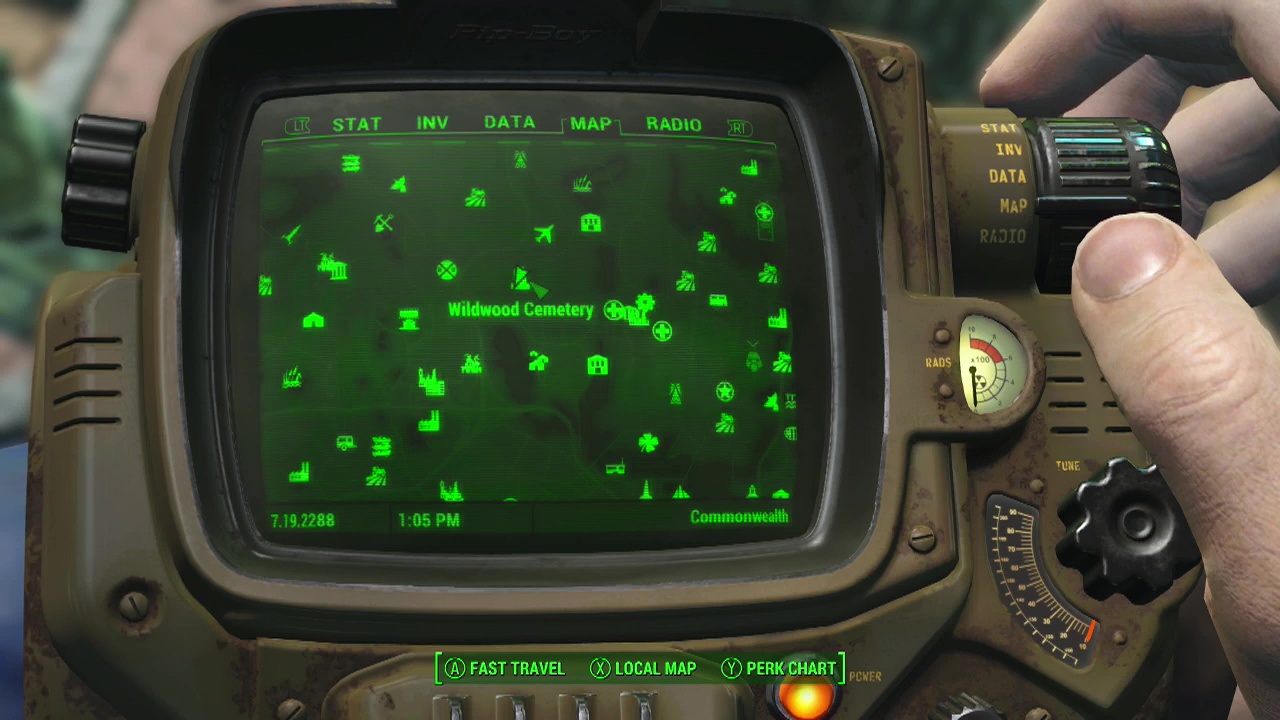
Wildwood Cemetary – Underneath the tree in the center of the graveyard.
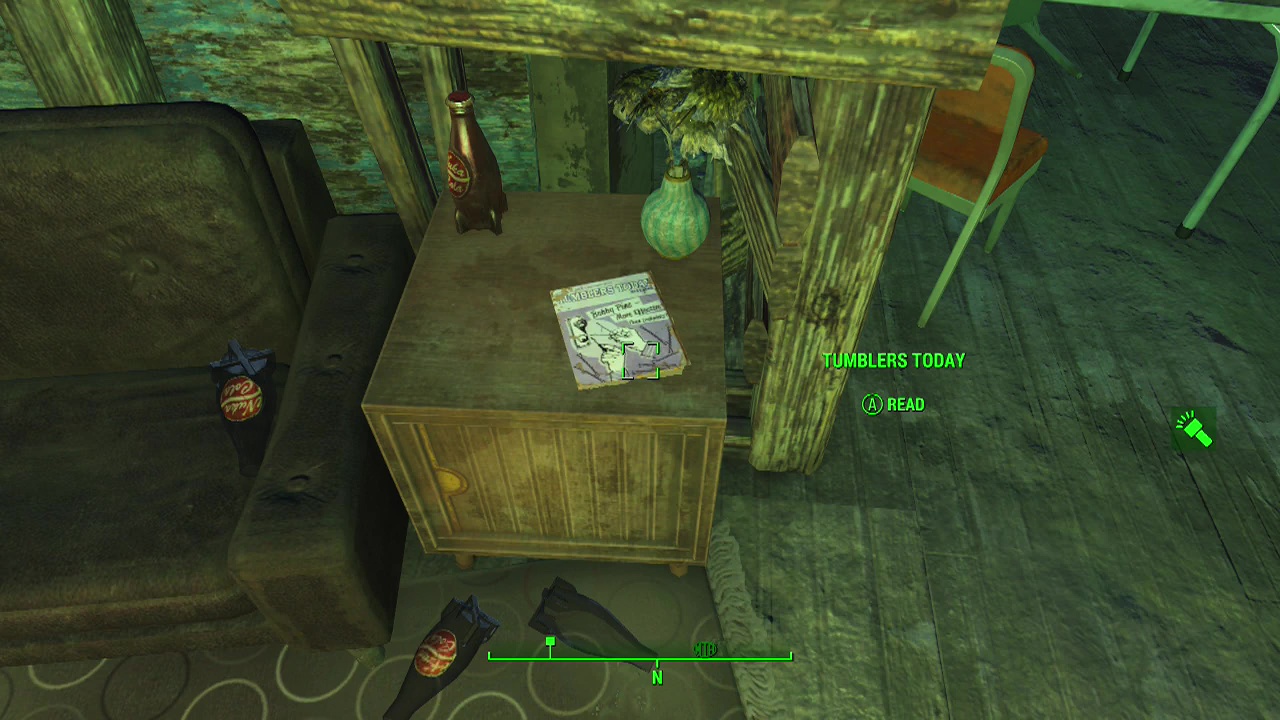
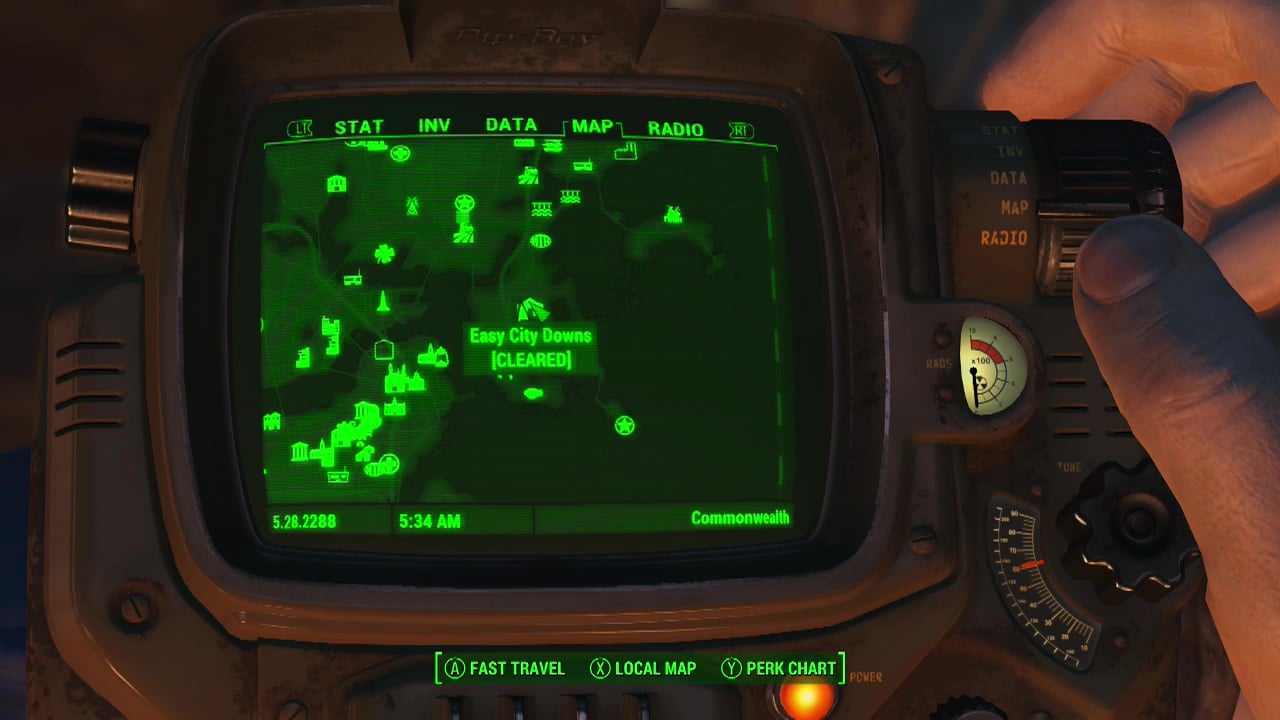
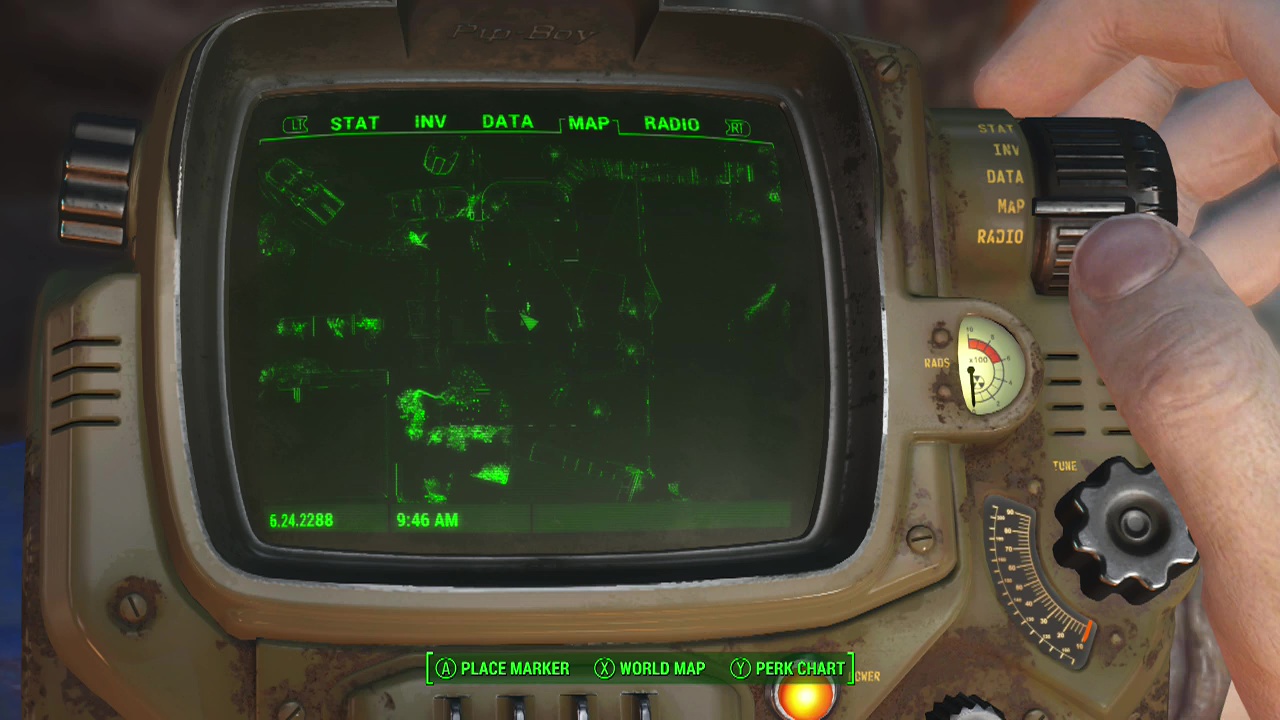
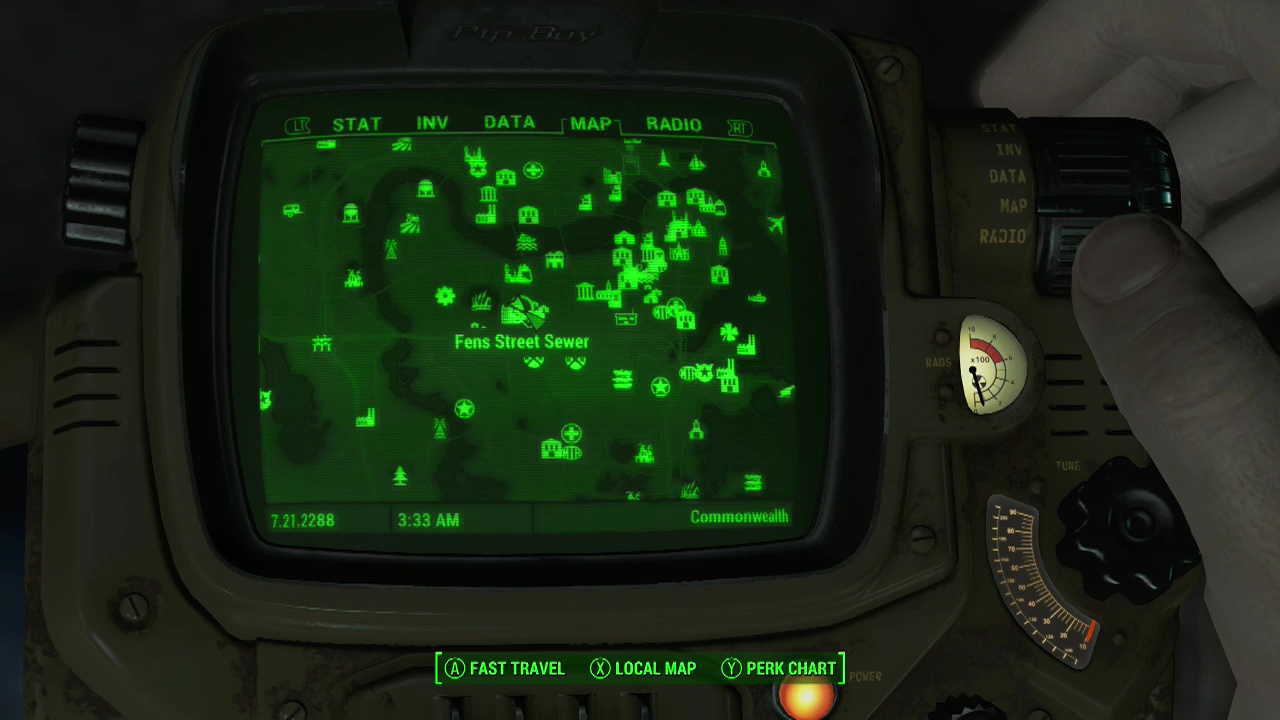
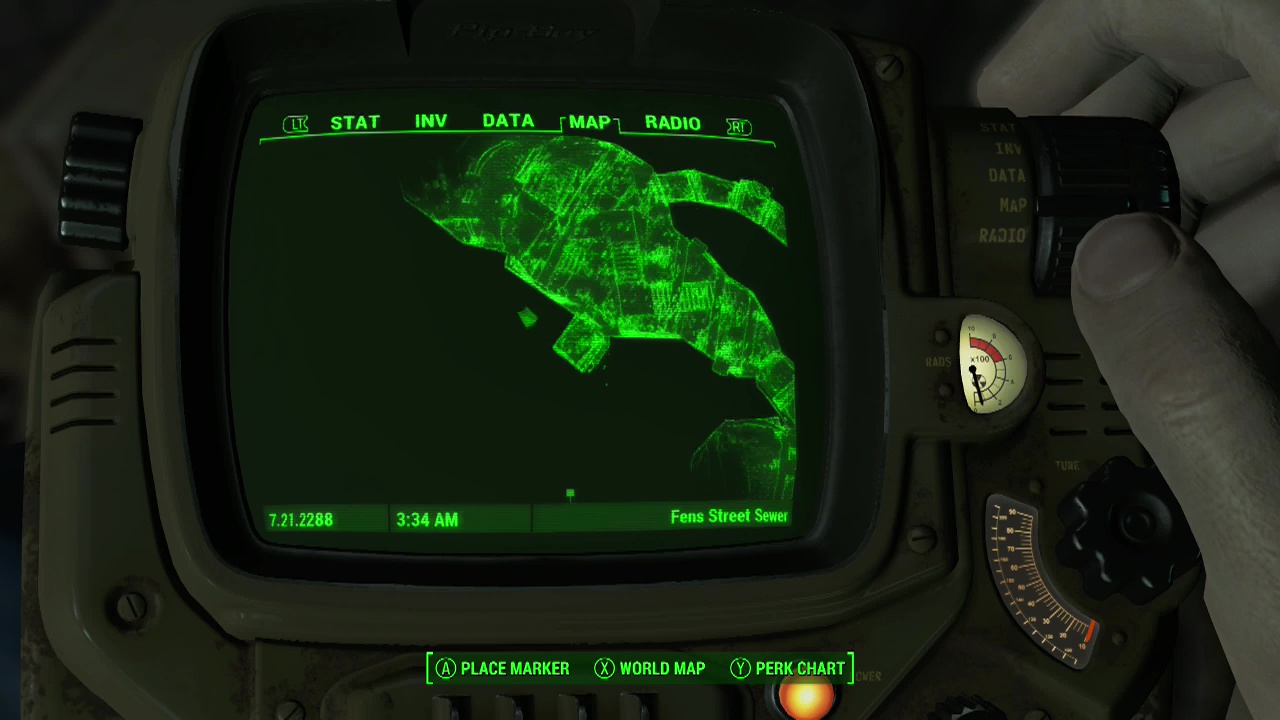
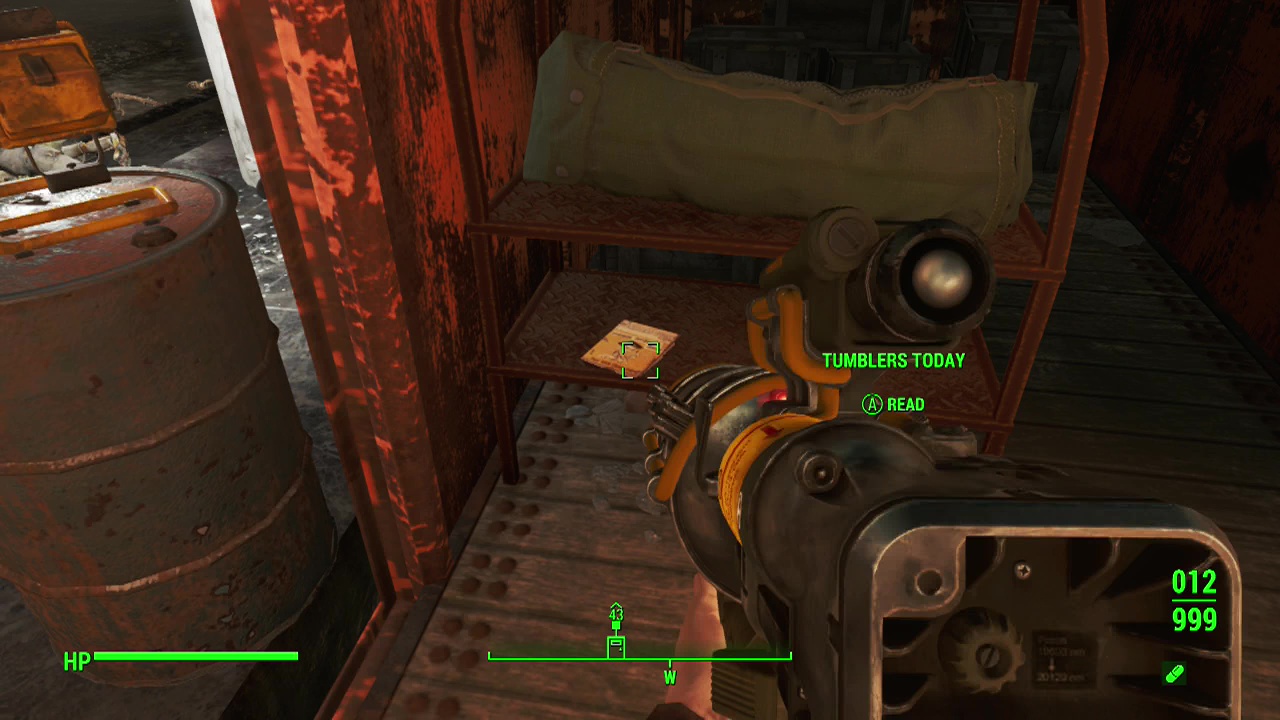
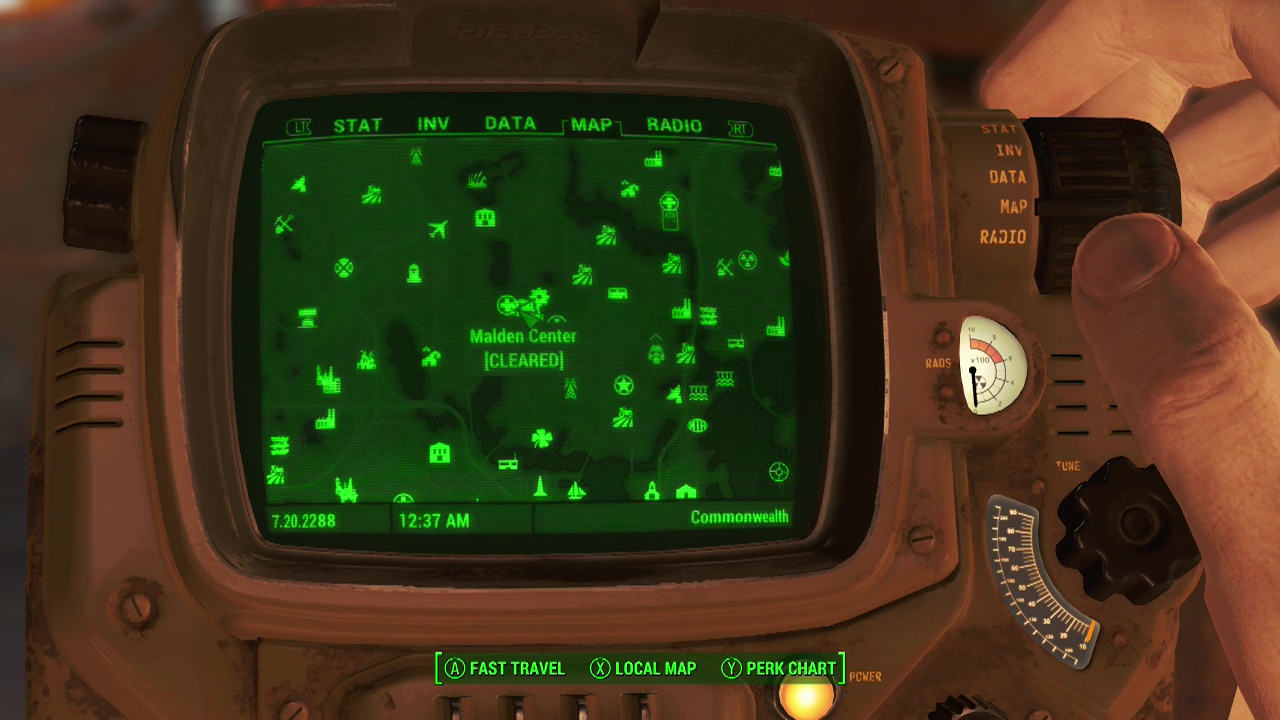
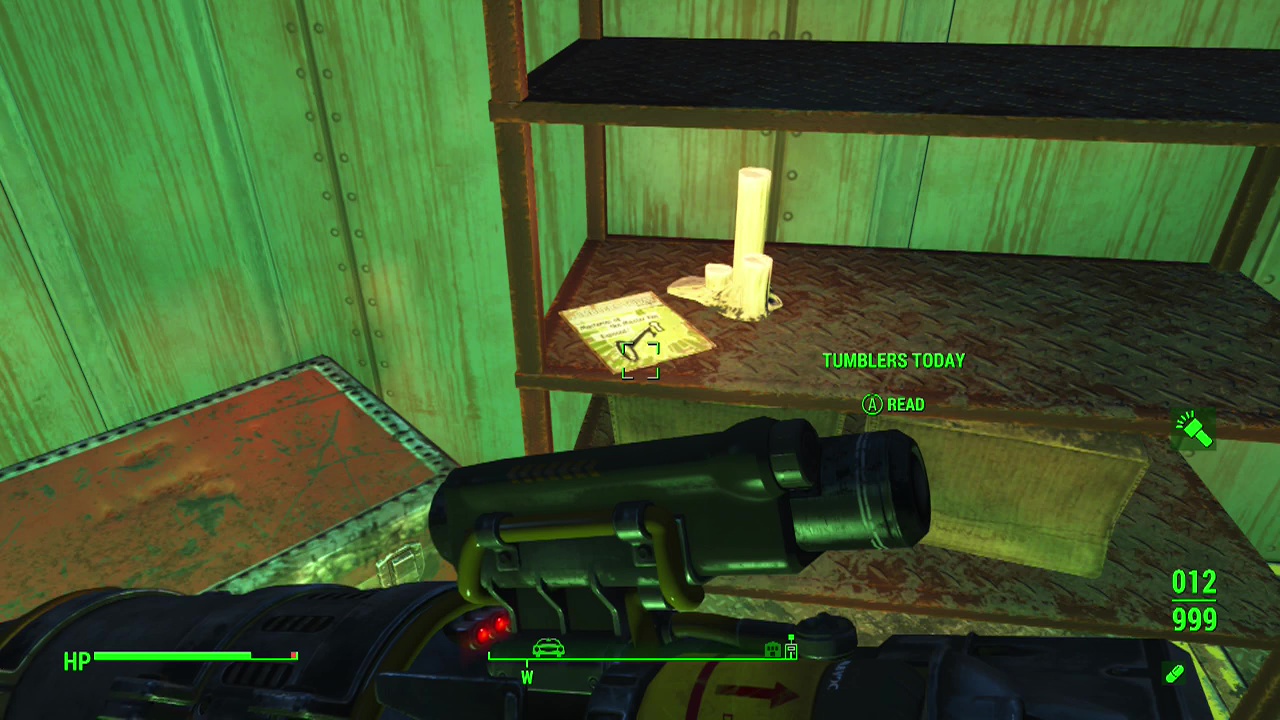
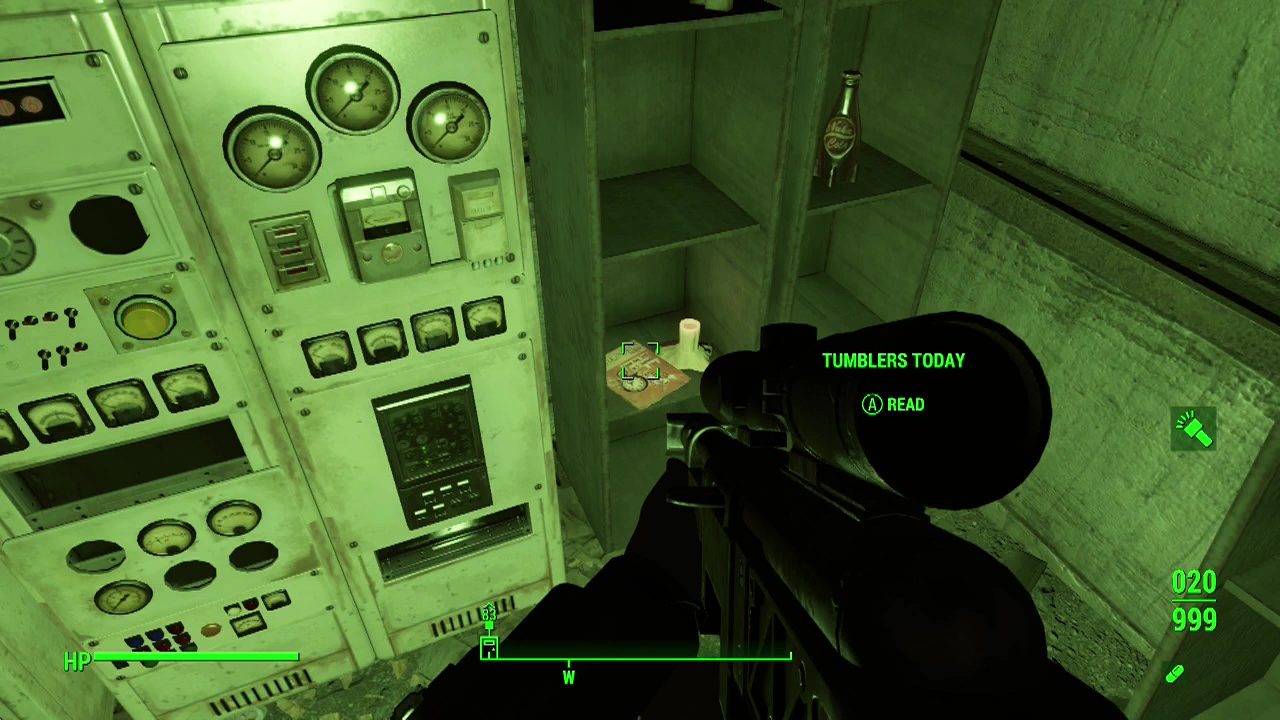
Tumblers Today
Easy City Downs – On the second floor of the building where the announcements are coming from. You'll need to use the timber walkways to reach the building to find the magainze on a table beside a couch.
Fen Street Sewer – This is an extremely linear area with plenty of ghouls. When you reach the rear area with the cells and a red loot chest, look in the small side room here to find the magazine next to the final audiotape to the detective.

Malden Center – Fight your way through the synths and work your way deeper into the area until you find the elevator that will take you down to the lowest level. Keep blasting away until you reach the area where the synths and raiders are locked in combat. Once the area is clear, check the red train cars to find the magazine on a shelf under a duffle bag.
Poseiden Energy Turbine #18-F – You'll be taking out bloatflies and radroaches as you descend to the waterlogged level below, In a small metal room down here is the magazine next to a red loot chest. Be wary leaving as two mirelurk hunters will appear at the exit.
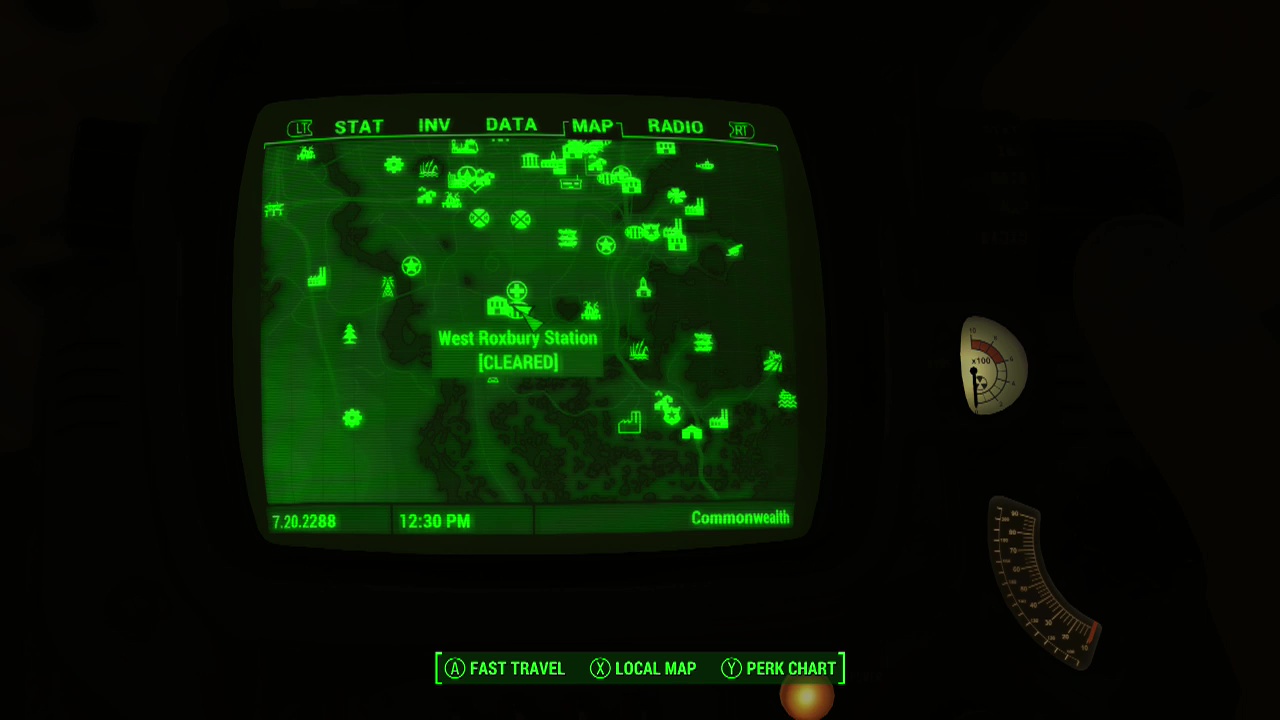
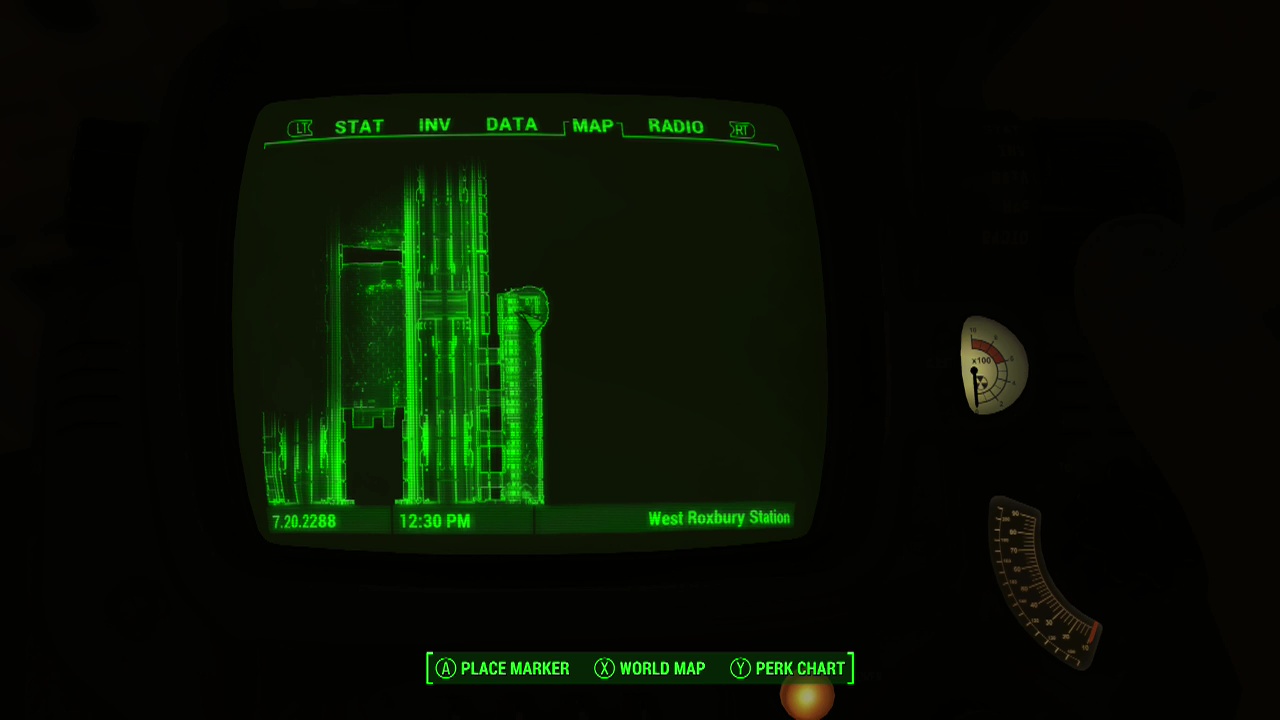
West Roxbury Station – Be careful when you fast travel to this destination as there are multiple super mutant suiciders in the area. Enter the station and descend to the area with the trains, taking out super mutants as you go. When you reach the area the magazine is in, you'll see a security door room with a hole in the wall and a glowing button inside. Press the glowing button to move the closest train. Pass through the gap in the train to reach the middle platform and press the button to your left on the other side. This will allow you to reach the far platform through the gap in the second train. When you pass through the second train, turn left and walk all the way to the end to find the magazine in a locker.
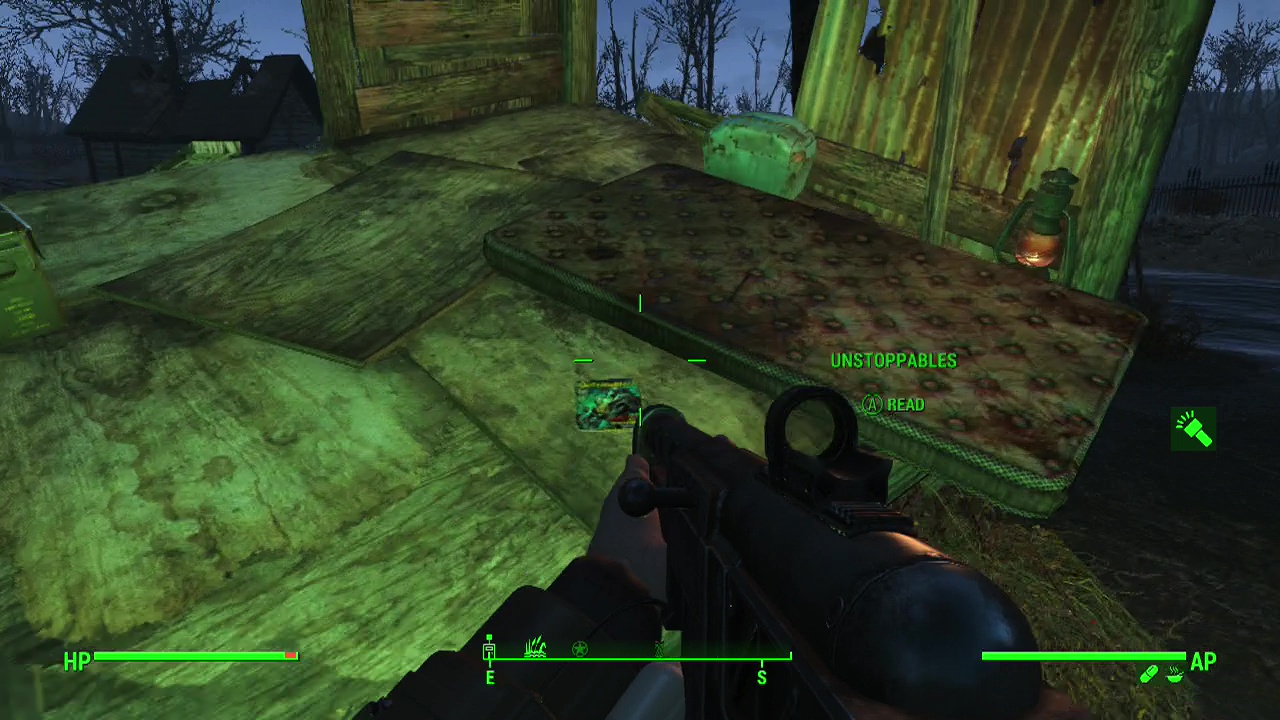
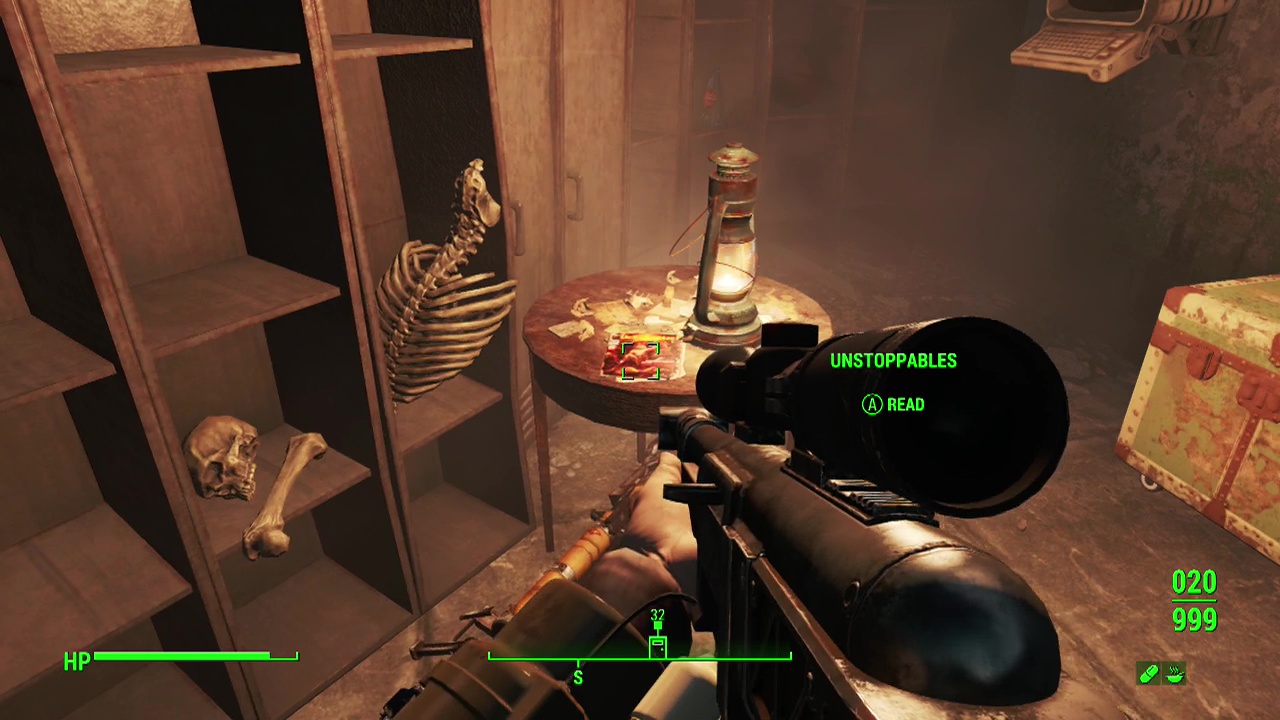
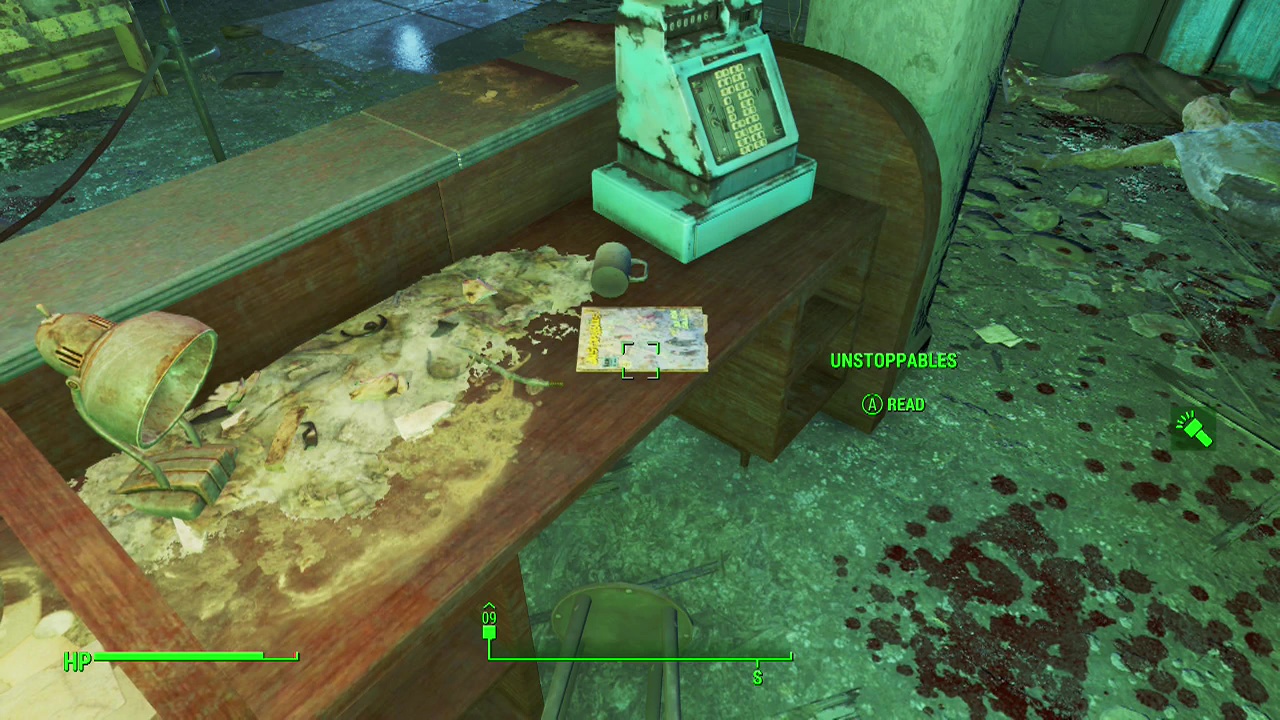
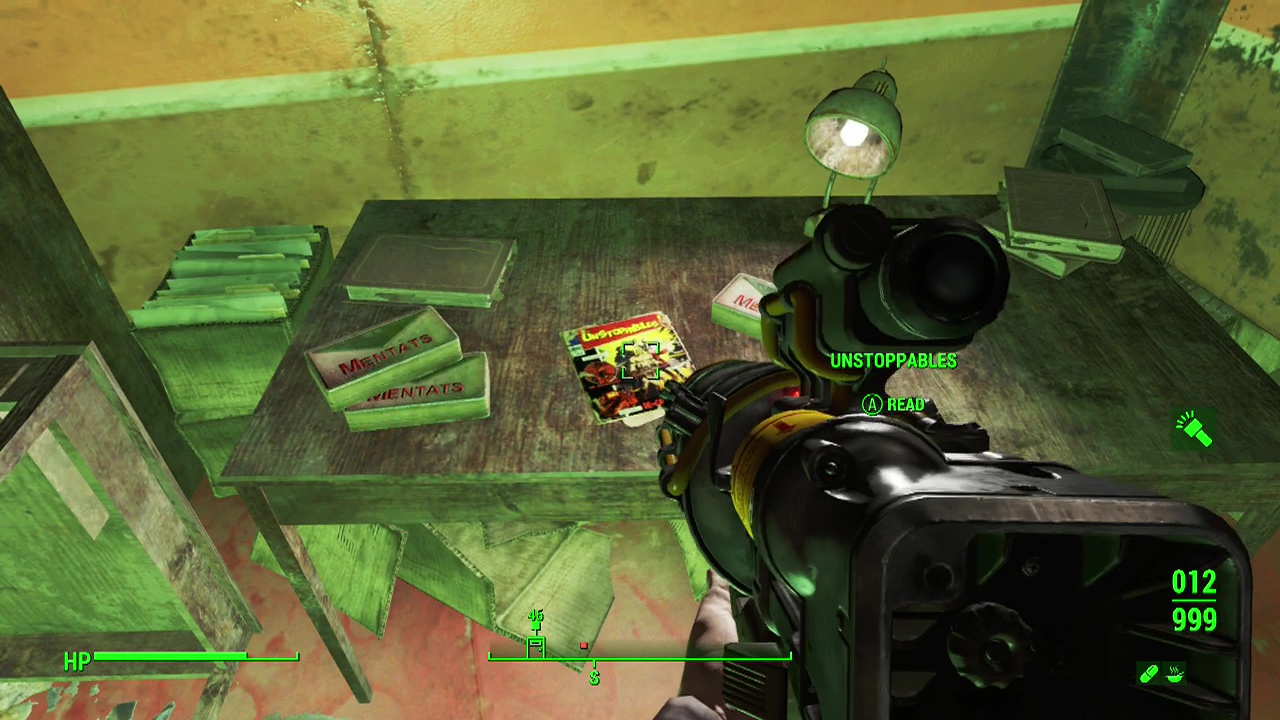
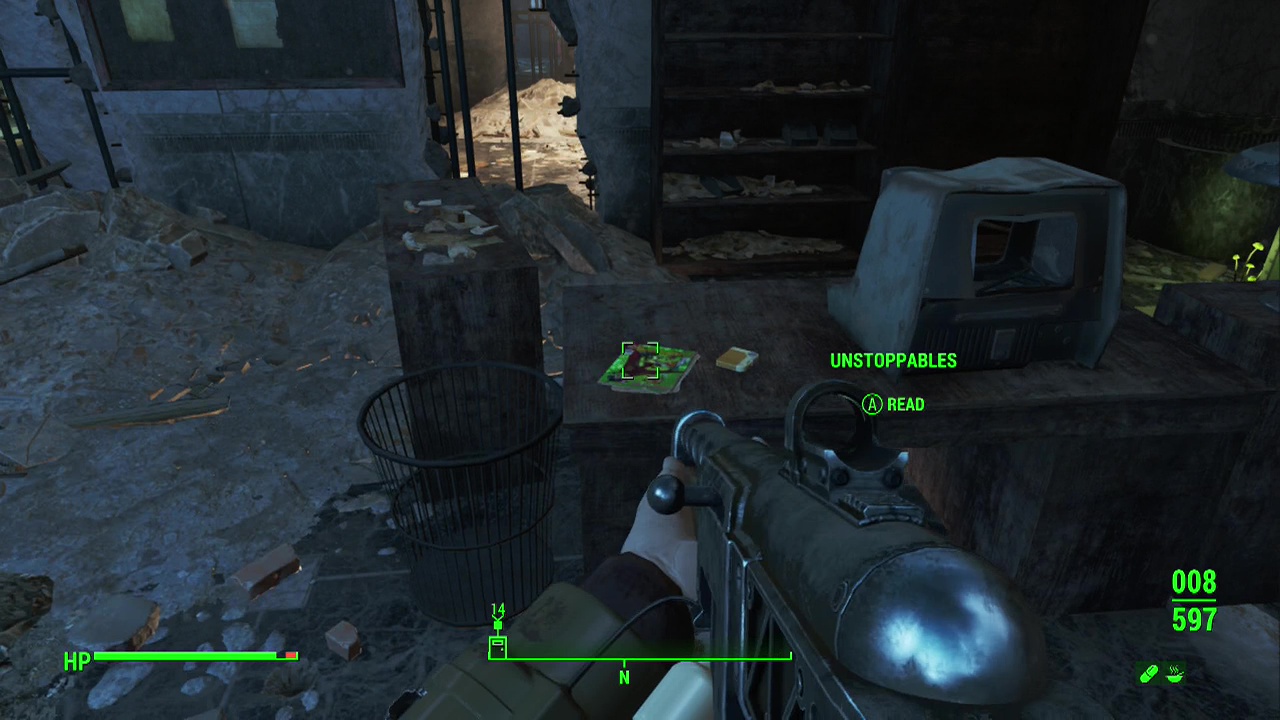
Unstoppables
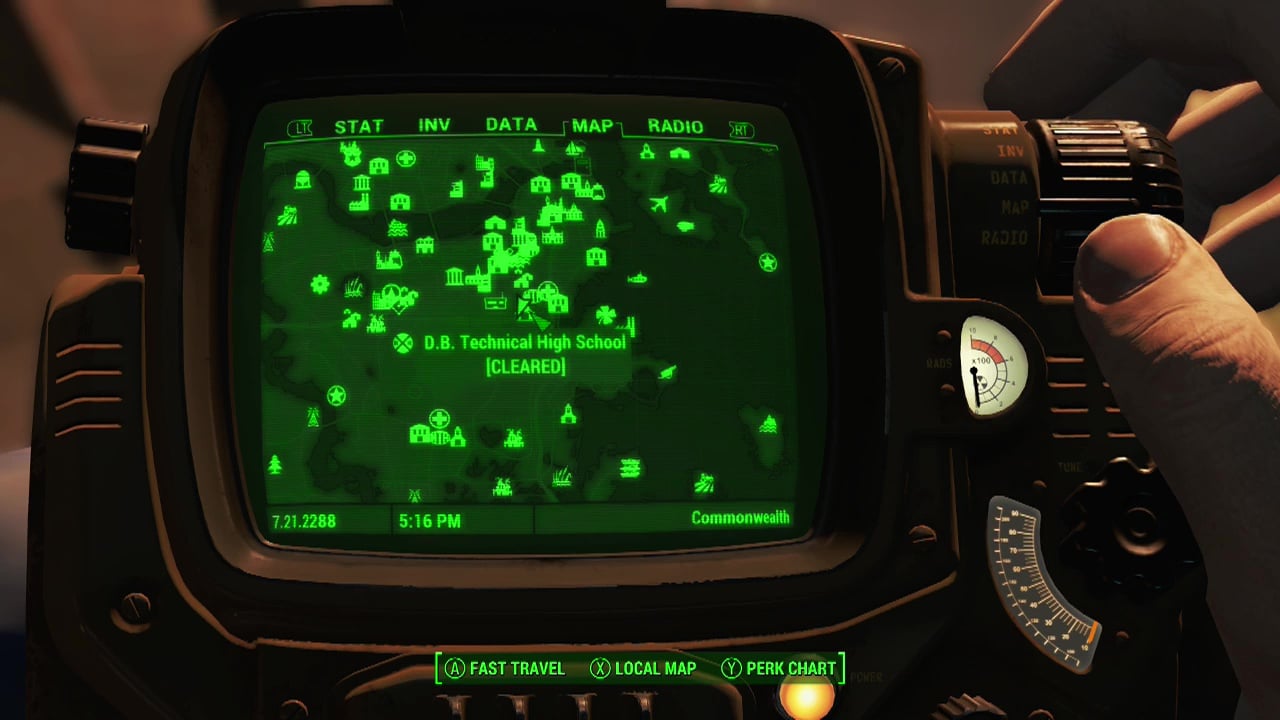
D.B Technical High School – The magazine is located on a table next to a swimming pool where you can find the raider boss for this area. Look at the table next to the red loot chest if you're having difficulty spotting it.
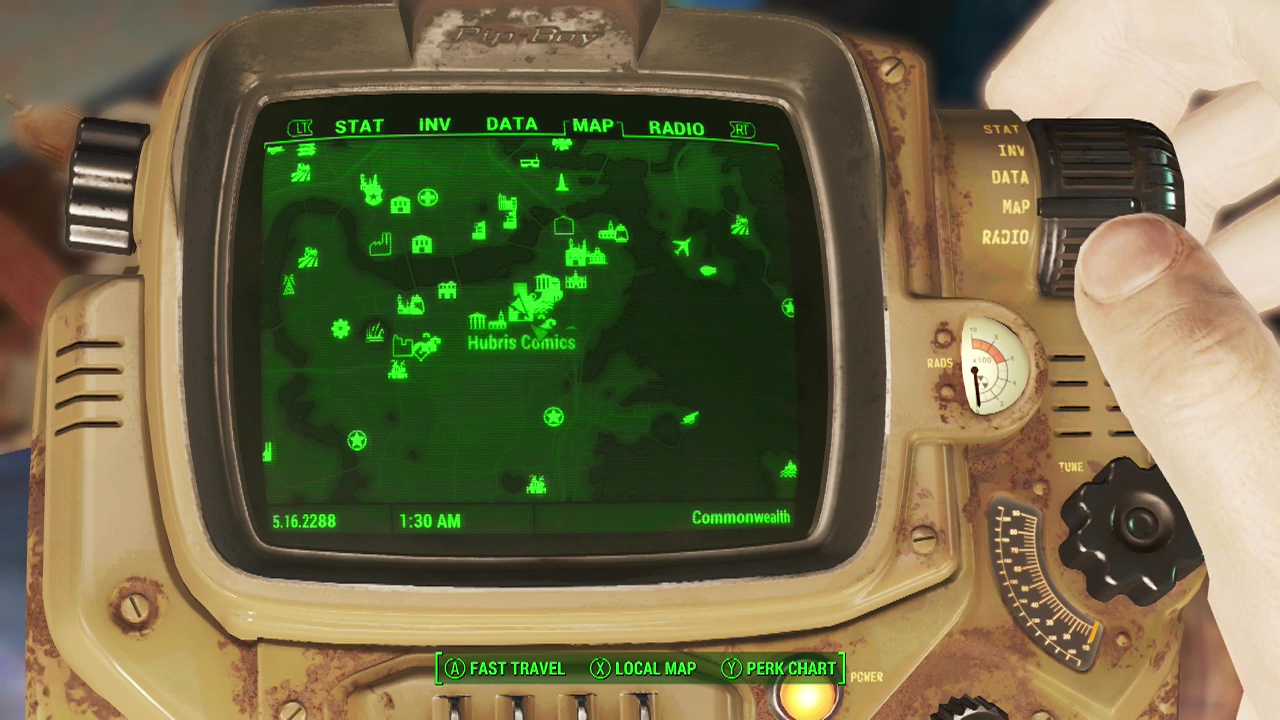
Hubris Comics – On the reception desk in front of you as you walk in the door. Grognak's Axe is also in the glass case behind it.

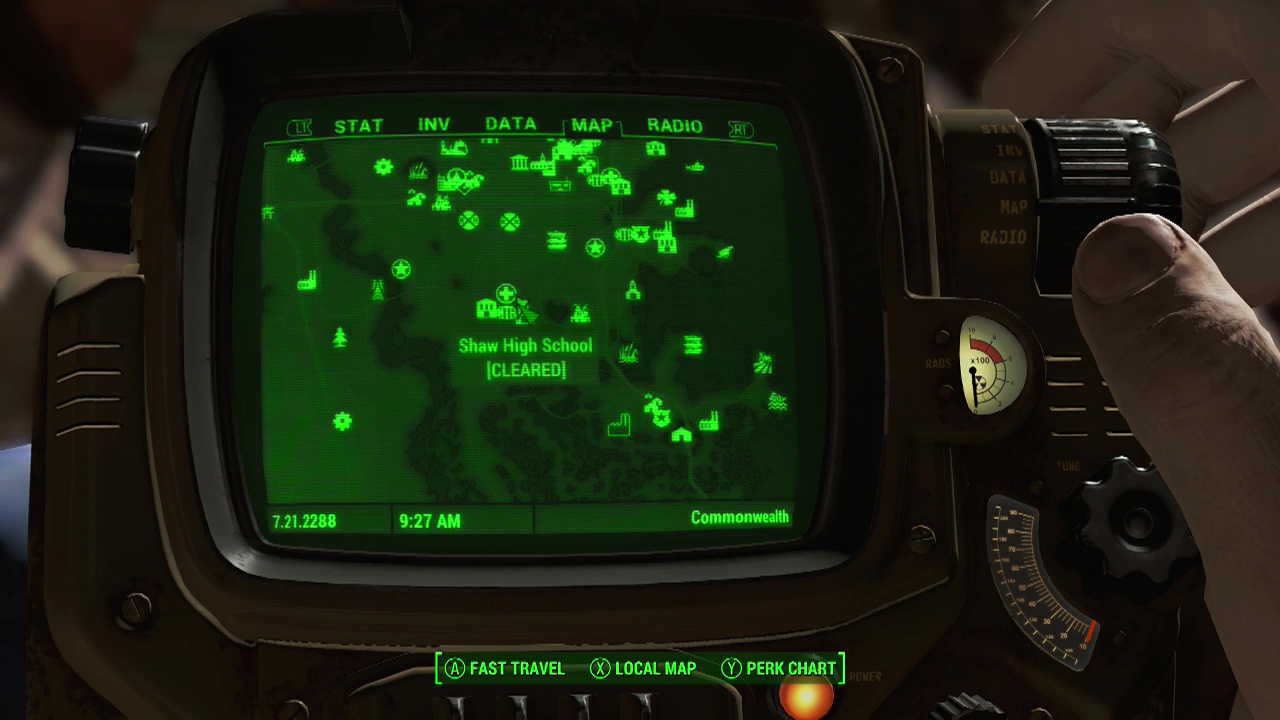
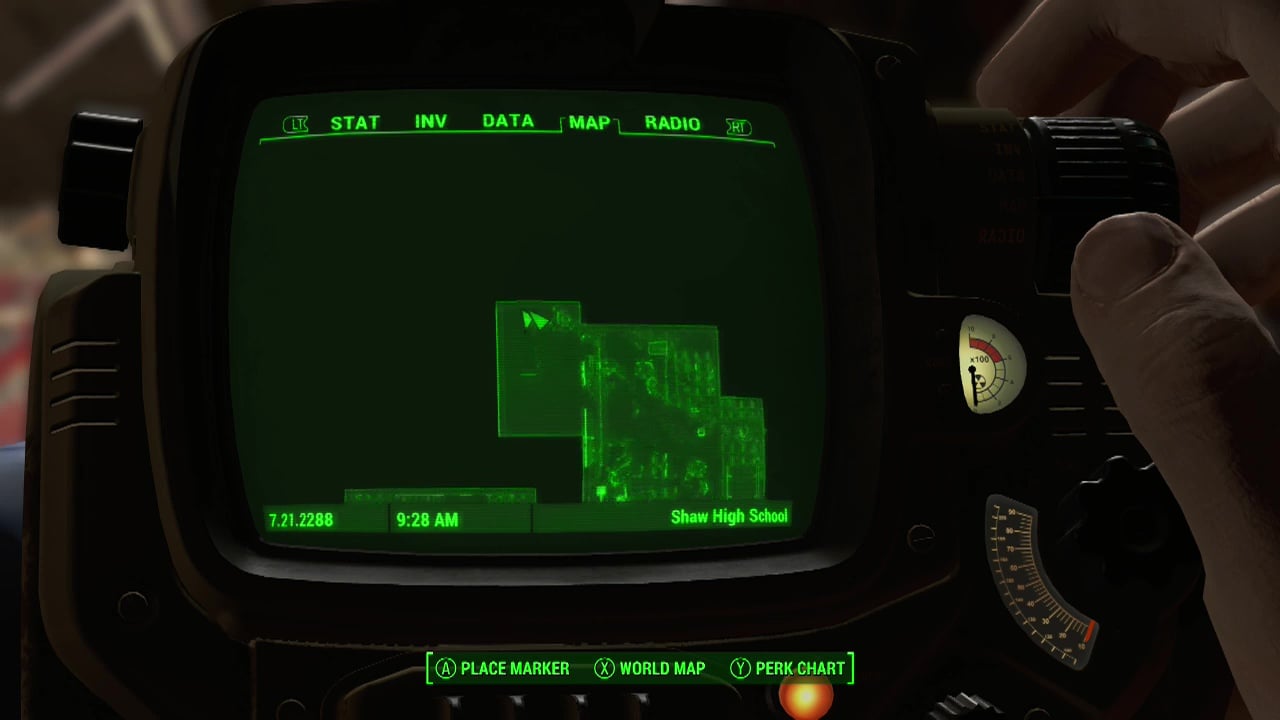
Shaw High School – You will need at least expert lockpicking abilities to get through this area to the magazine. When you enter, if you only have expert lockpick, you'll need to turn left and use the door behind the receptionist's desk to enter the principal's office. Loot the novice desk to find the key to the library. If you have the key or master lockpick skills, you can head for the library at the far North of the building. Kill all the mutants in your way until you reach the library and then look in the office in the North-West corner on a table for the magazine.
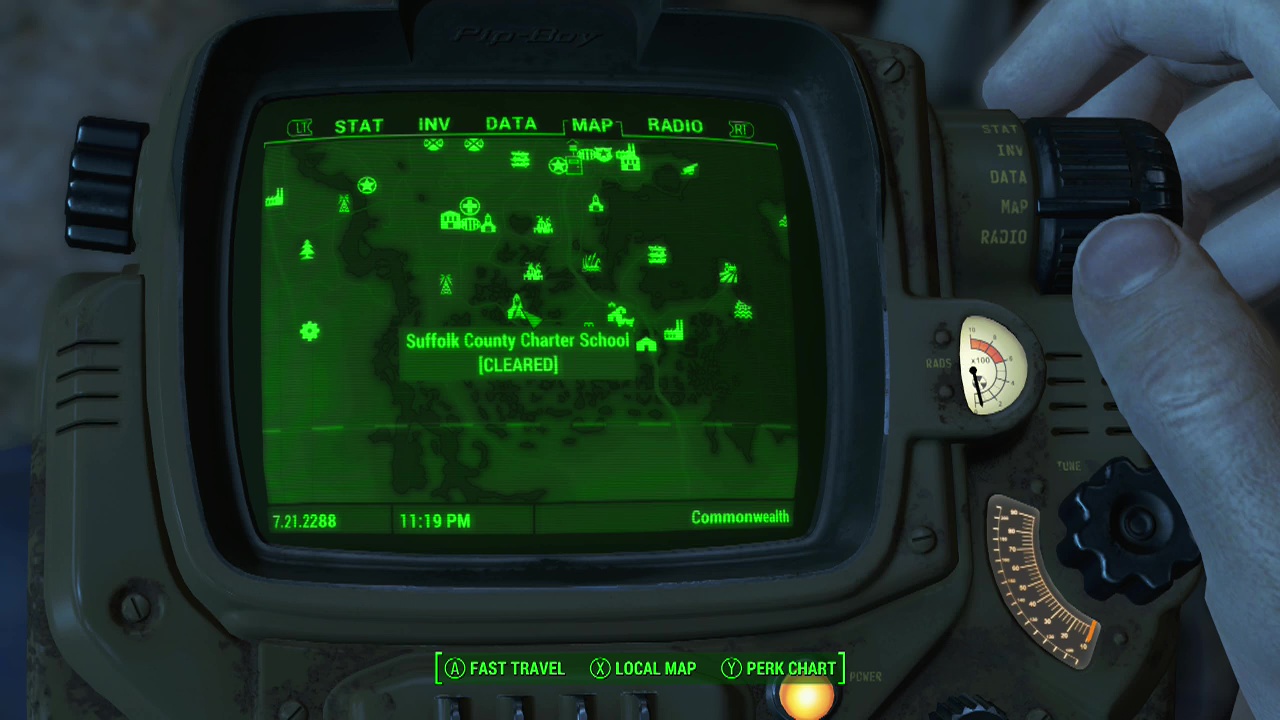
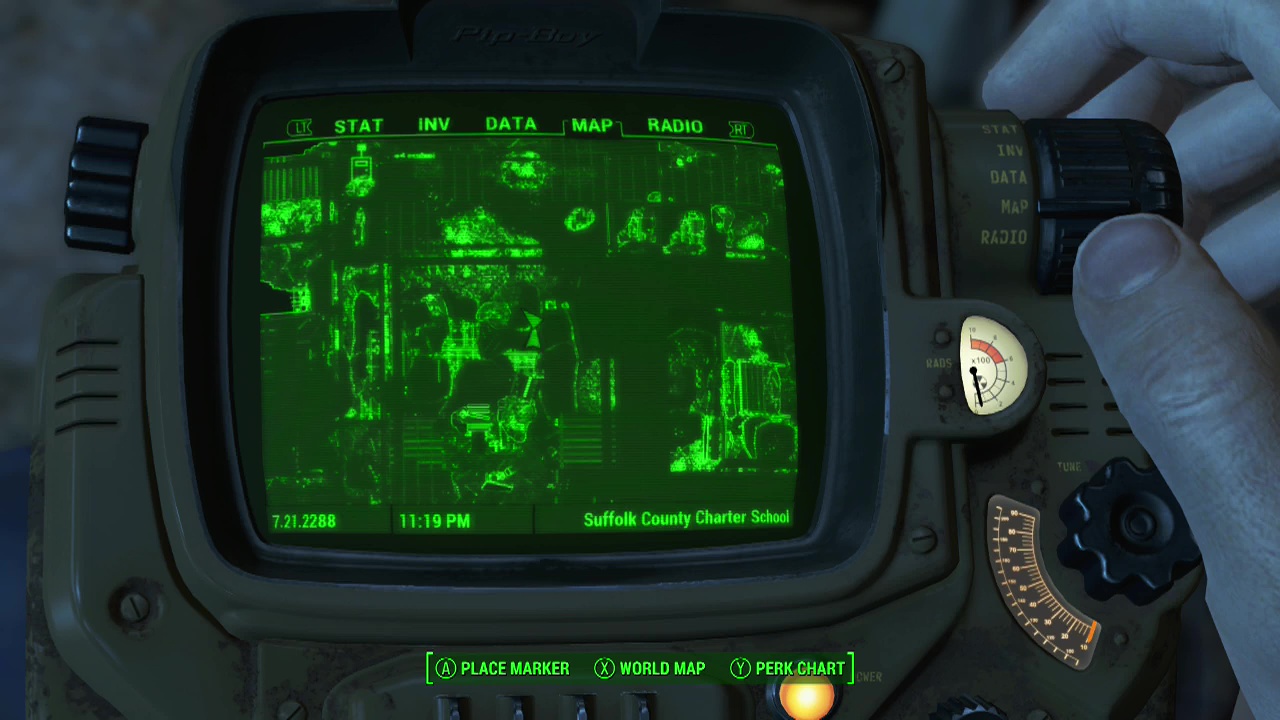
Suffolk County Charter School – The magazine is located on a desk in the library on the second floor (guarded by several ghouls and a glowing one). To reach it you will need to head into the basement, killing ghouls until you find an elevator that will take you up to the second floor.
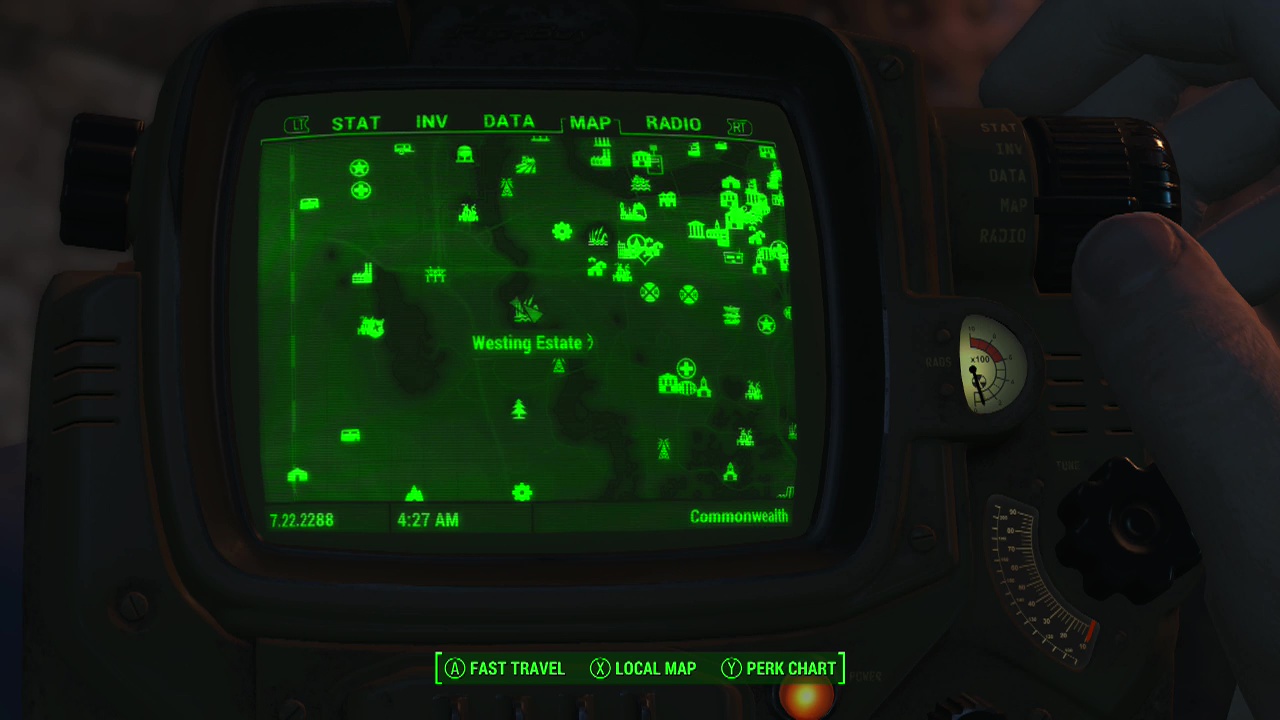
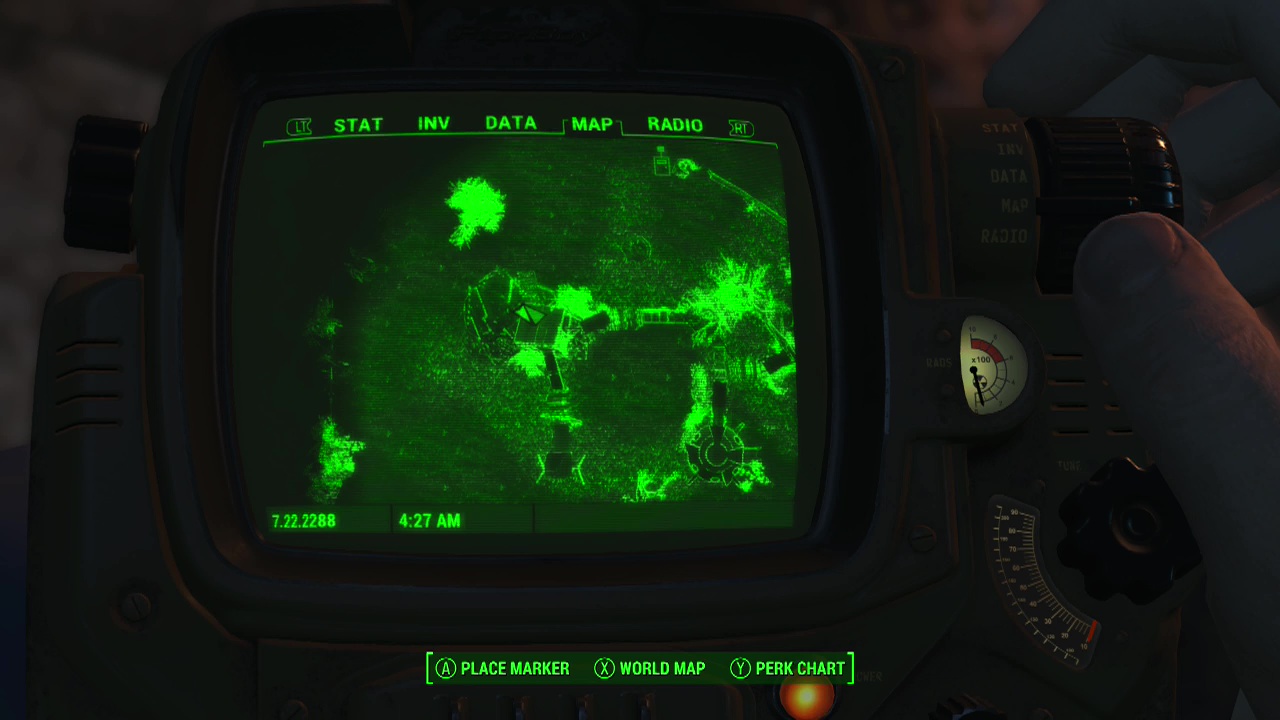
Westing Estate – On the raised walkway over the mirelurk infested waters. The magazine is beside a matress on the central platform of the walkway.