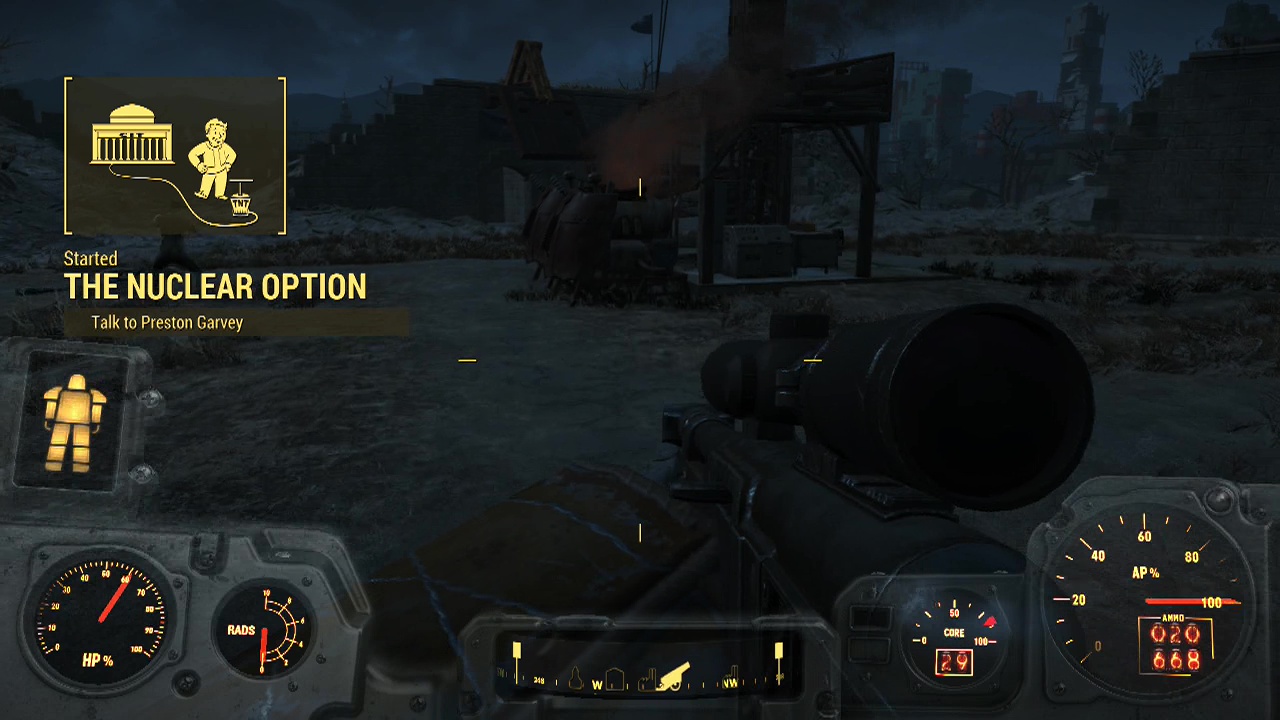
MINUTEMEN QUEST 08 – The Nuclear Option
Triggered after completing Minutemen Quest 07 – Defend The Castle
Note: This is a combat heavy mission, so make sure to pack some power armour to protect against the Institute's laser weapons.
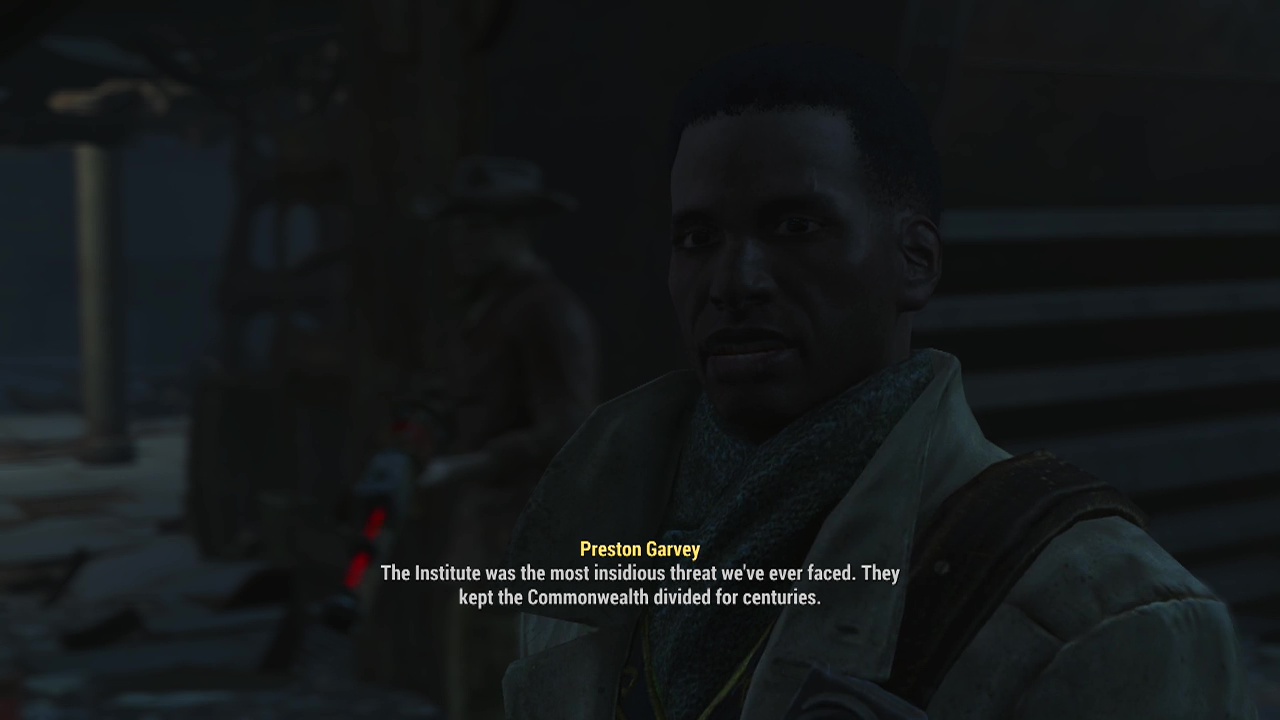
Objective: Talk to Preston Garvey
After the dust settles from the dustup with the Institute forces from the previous quest, you'll be able to chat with Preston. Preston will finally have some good news. You'll need to see Sturges in Sanctuary for more details though.
Objective: Talk to Sturges
Sturges will tell you of a pipe leading into the Institute (apparently flooded with radiation of course). Since you have some power armour and/ or a hazmat suit that shouldn't pose much of an issue. The path in is dangerous for multiple people, so you'll have to initially undertake the infiltration alone (apparently your companion doesn't count as a person, so they can come along too).
Objective: Gain access to the Institute
You should be able to fast travel to the C.I.T ruins or at least nearby to begin your trek to the cooling pipe. The pipe is located coming in from the side of a river so you'll need to jump into the water to access it once you've located it. You may need to deal with a few raiders along the way, but in power armour they shouldn't be anything but a nuisance. Even on higher difficulties.
When you enter the pipe, you'll come out inside a maintenance facility with an office to the left and a keypad you can activate on the wall in front of you. The office holds a red loot box if you can hack the terminal to get inside. After activating the keypad, a pipe grating against the left wall underneath the office will open, allowing you through.
Follow the pipes and water down until you emerge from the liquid to find a tunnel with two laser turrets in the ceiling ahead. Take cover behind one of the nearby walls and bring both of the turrets crashing down. Another pipe will be just beyond leading off to the left. Following this one will seemingly lead to a dead end, until you notice the hatch on the left wall of the pipe that can be interacted with to open up. Take the stairs in the next room and circle around the catwalk until you are once more walking along a waterlogged tunnel.
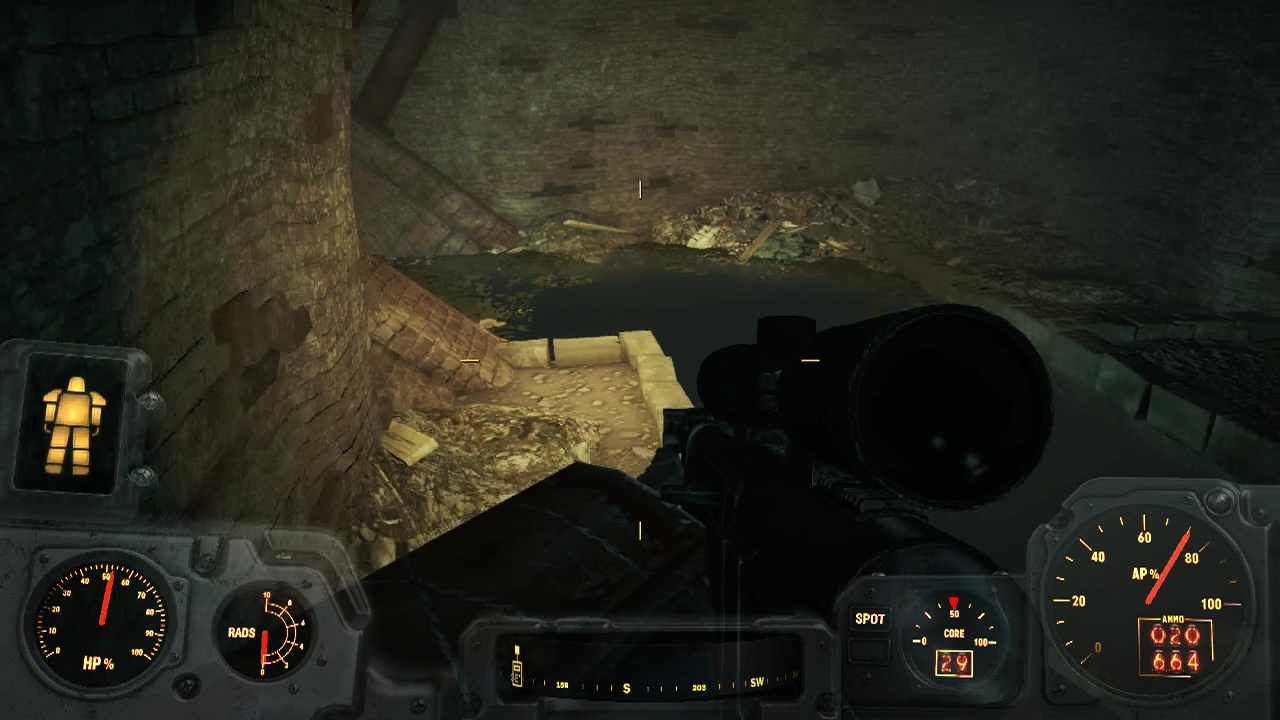
Just around the corner is a (slightly out of place) molerat brood mother that will attack as soon as it spots you. Turn right after that at the stream of water falling from above and follow the corridor, keeping an eye out for ghouls. There are a decent number inside the tunnels ahead (including a glowing one), so make sure to keep your eyes peeled. You'll likely be swarmed whatever you do, but you may be able to thin their numbers a bit first.
After the ghouls along the twisting pathways is another laser turret, before you reach a work area. You'll see a couple of synths through the hole in the wall working away at something. There is an expert terminal on the wall beside the door that you can hack to get inside with sufficient skill. If you don't have the required perk, you can continue along the tunnel to find another way inside. You'll wind through several empty rooms to reach another pipe you need to pass down to finally reach the Institute proper.
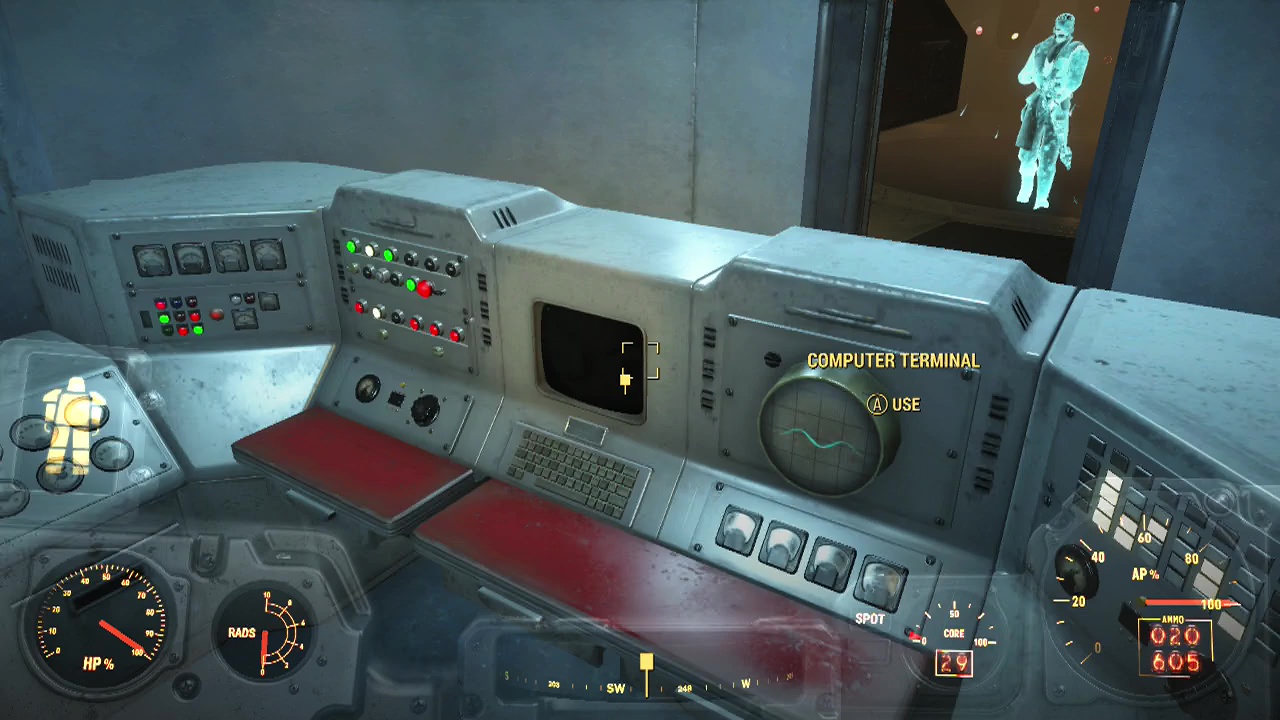
Objective: Activate Institute relay
Open the hatch and you'll be inside the Relay Control room. Walk over to the marked terminal and load the 'institute relay targeting sequence' holotape to fire off the relay and call in your Minutemen allies.
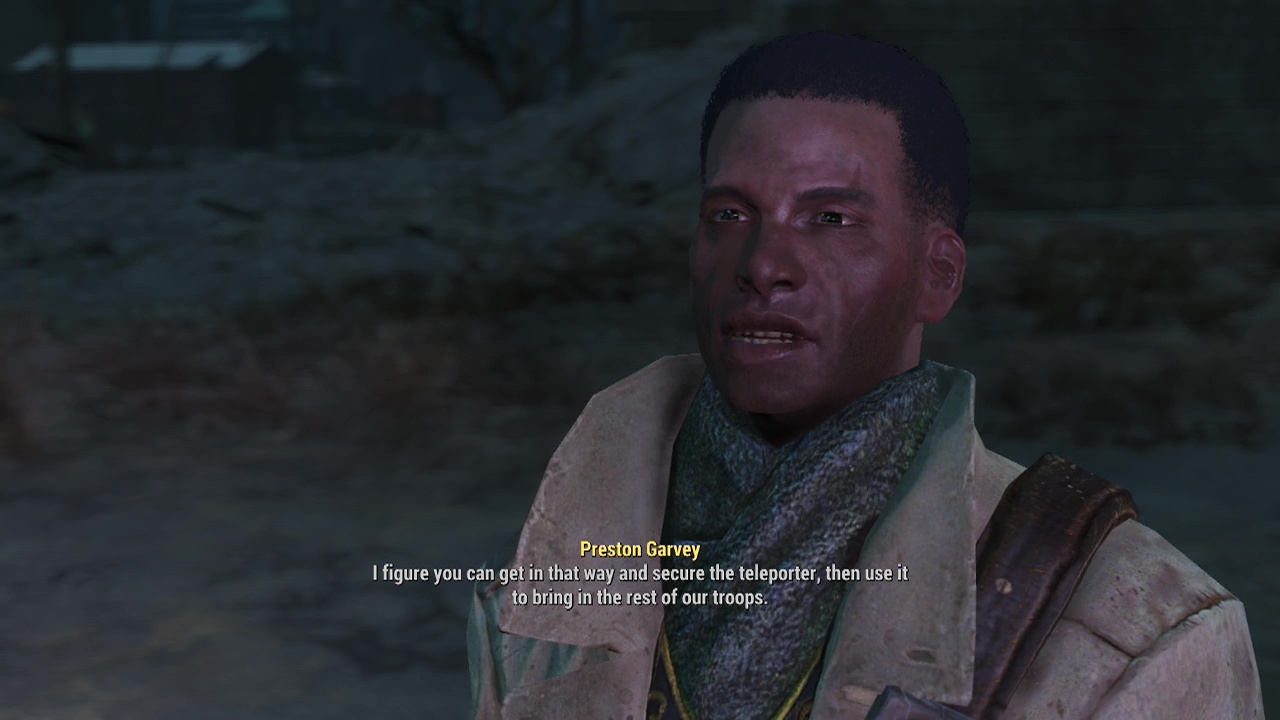
Objective: Talk to Preston Garvey
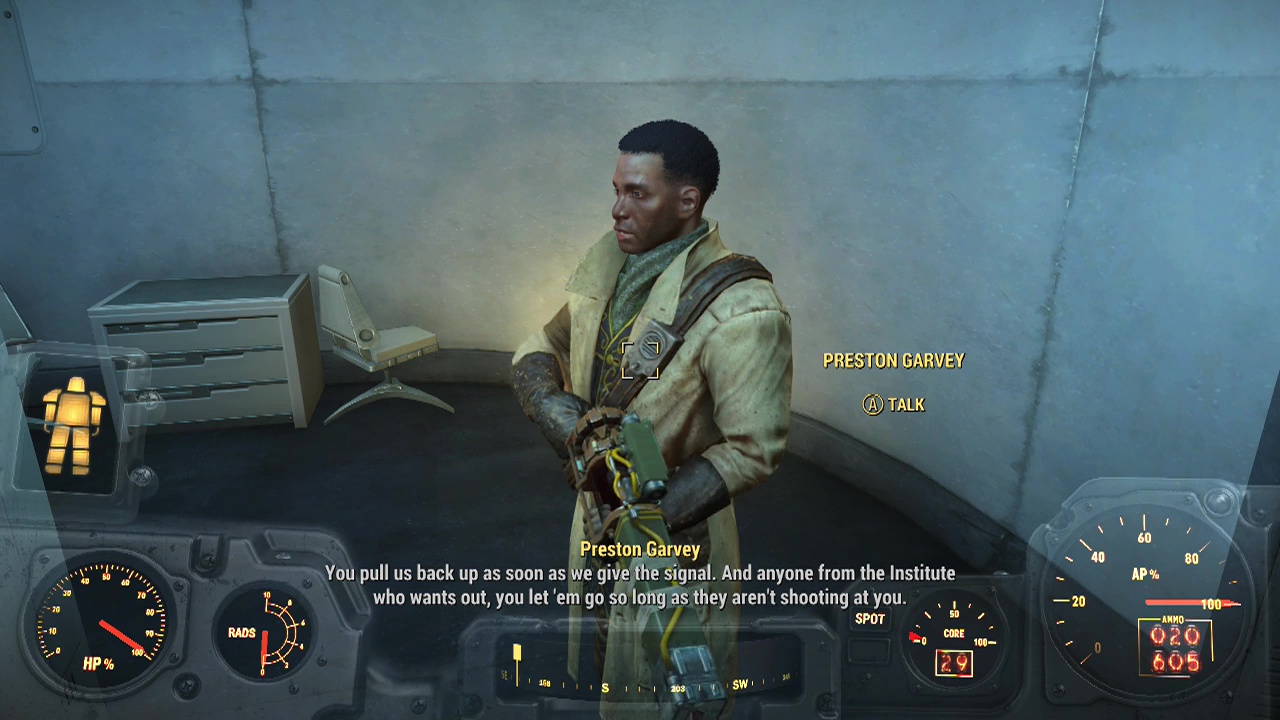
Preston will hand over a fusion pulse charge for you to use on the nuclear generator. You'll need to find your way through the main area of the Institute to the Advanced Systems area, entering the reactor section to plant it.
Objective: Reach the reactor
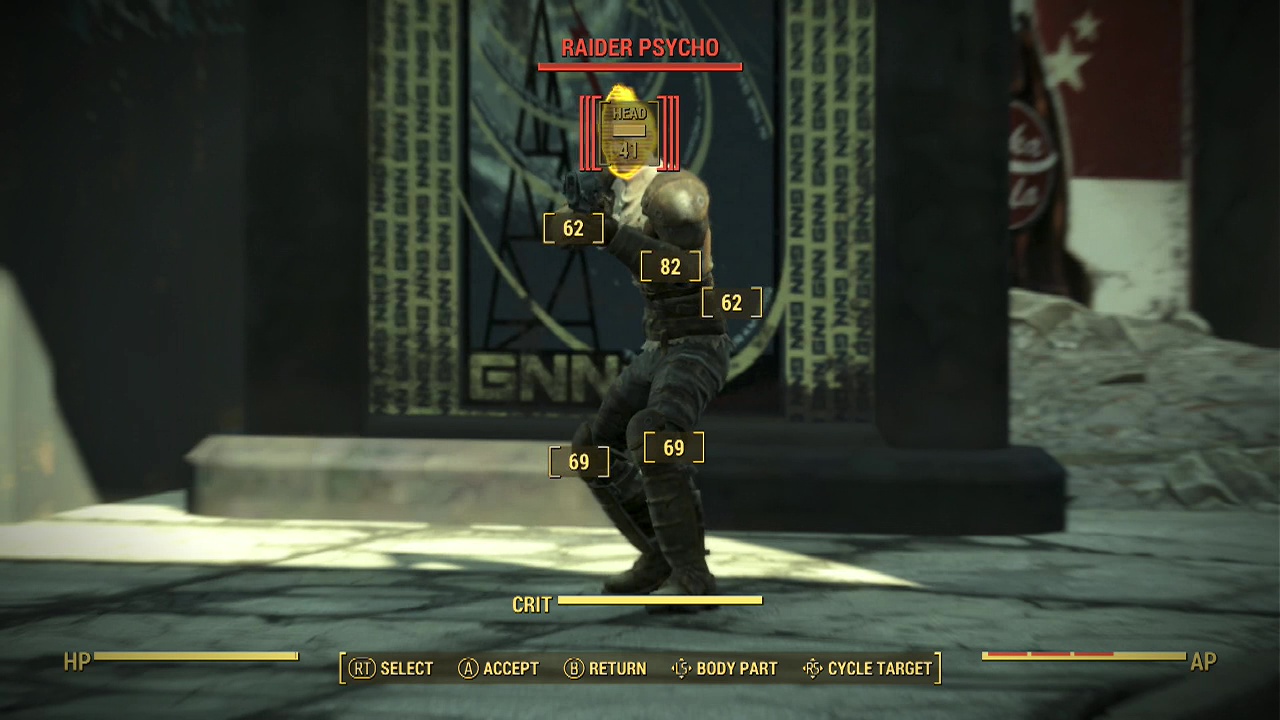
To begin your reactor-bound journey you'll need to enter the nearby door leading to the old robotics area. After passing through the first door, you'll round a corner to see a pair of laser turrets and a synth strider and two patrollers firing at your forces. More enemy synths will fire at you out of windows on the far wall as you descend the stairs and ramps to where the first enemy group was.
Use the distance to your advantage, using rifles and other long range weapons to bring them down quickly with headshots. Be careful of destroying synth arms as they will then race to you and engage in melee. While not overly dangerous, an unexpected synth to the face can be a bloody big distraction when you are in the middle of a firefight.
After the windows are clear, take the stairs down to the level below, staying alert for a melee synth and a ranged synth halfway down. At the bottom of the stairs, is a terminal that controls the prototypes in the room beyond (including the sentry bot). Synths will swarm in from the far end of the room as you enter so be ready to backpedal to cover.
This is a long distance confrontation once again, so pull out a rifle or other ranged weapon to pick off the synths before they get too close. Your allies will help weaken them as the fight progresses. On the far side of the room down a side hall, you'll find a hatchway leading down. Drop through it and grab a fusion core from the machine to your left. A short linear corridor will take you to a doorway which leads to the Bioscience area of the institute.
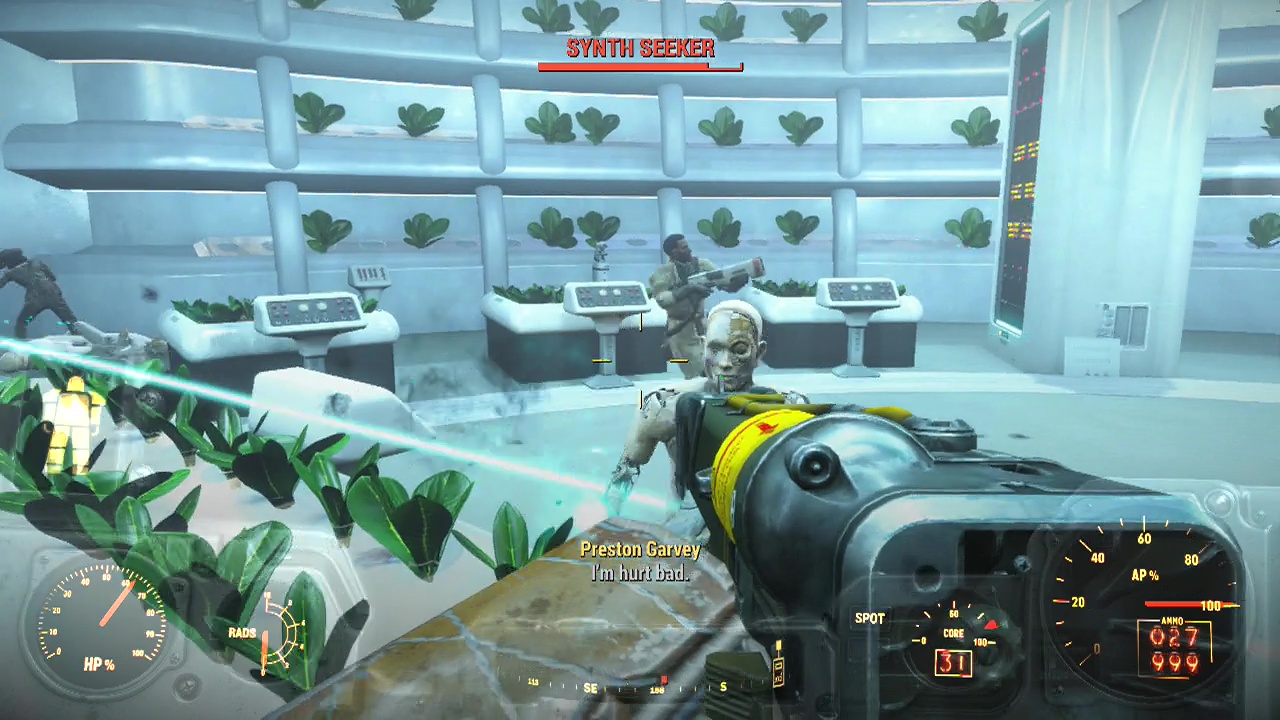
Descend the stairs and pass through a door to find yourself at the console you may have encountered earlier (during the Institute sidequest – A House Divided) when you were dealing with the rebels. As you enter the main Bioscience area, scientists will flee only to be replaced by incoming synths from the far side of the room. Use the central wall as cover while you slowly clear the enemy synths one by one. Watch out for the laser turrets on the wall above the opposite doorway as well.
You'll then pass into the large central area of the Institute to be met by a multiple groups of synths with a few coursers amongst them. You'll have to fight your way across the area with your group of Minutemen to reach the door of the Advanced Systems area. Which unfortunately for us has been locked tight.
Objective: Use terminal to override Institute lockdown
(Optional) Objective: Issue evacuation order
The terminal can be found in Father's living quarters. Follow the markers through the hallways and up an elevator to reach them. When you arrive you'll find him waiting for you there. You can either convince him to give you the password or hack his terminal. Take the time to talk to him either way. When you gain access to the terminal, you can also choose the option to 'engage evacuation protocol BD-2' which will ensure more people escape the upcoming blast, making Preston happy later when you tell him. When you are ready to open the Advanced Systems doors, select 'master security lockdown override.'
Objective: Reach the reactor (cont)
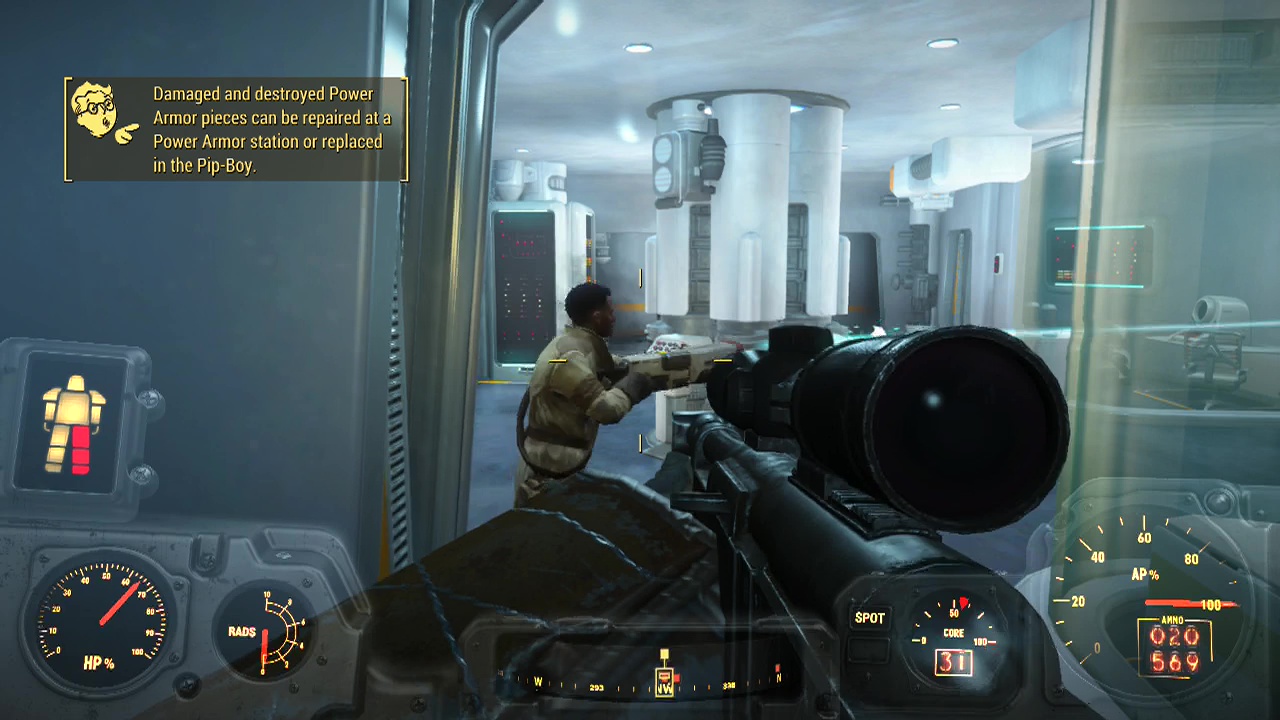
You won't be able to return the way you came, instead take the side door and descend the spiral walkway back down to the central area of the Institute, taking on more synths as you approach the now open door to Advanced Systems. You can just rush past this wave of synths and access the door if you like instead of fighting your way through. When you are inside, several scientists and synths will engage you as you enter the lab area. By now you should be well practiced at bringing these foes down, so take them to the cleaners.
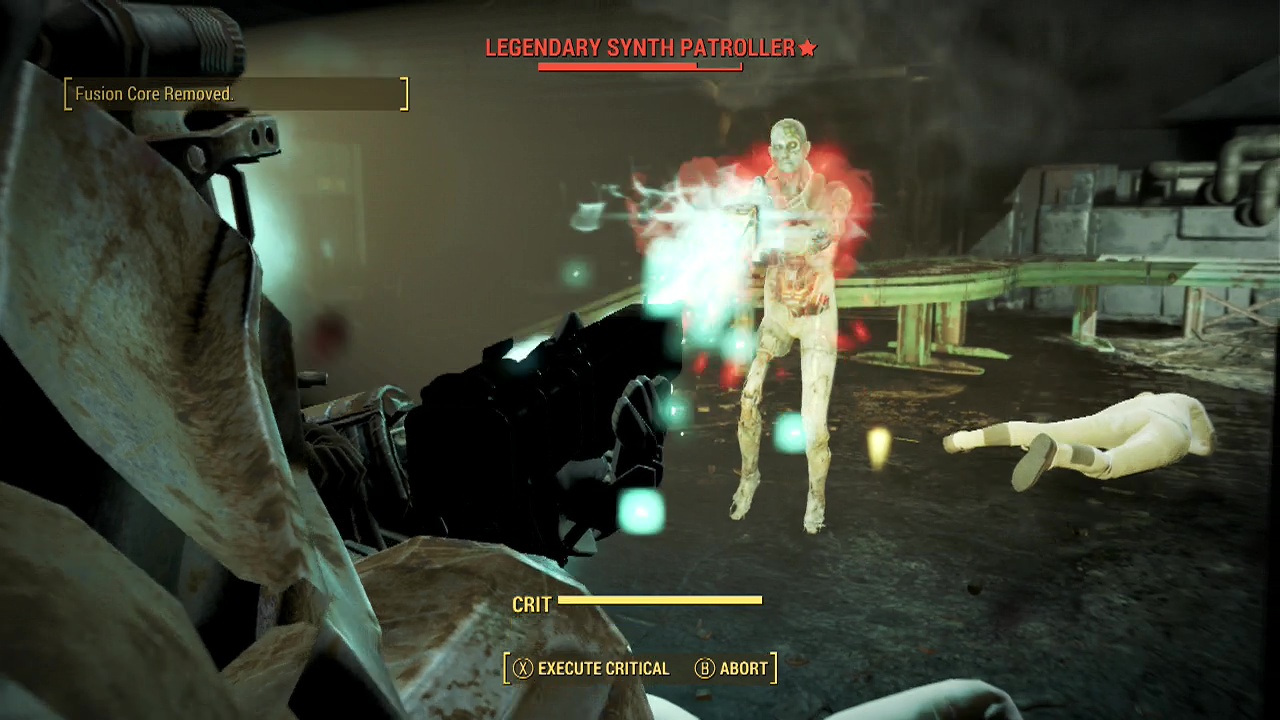
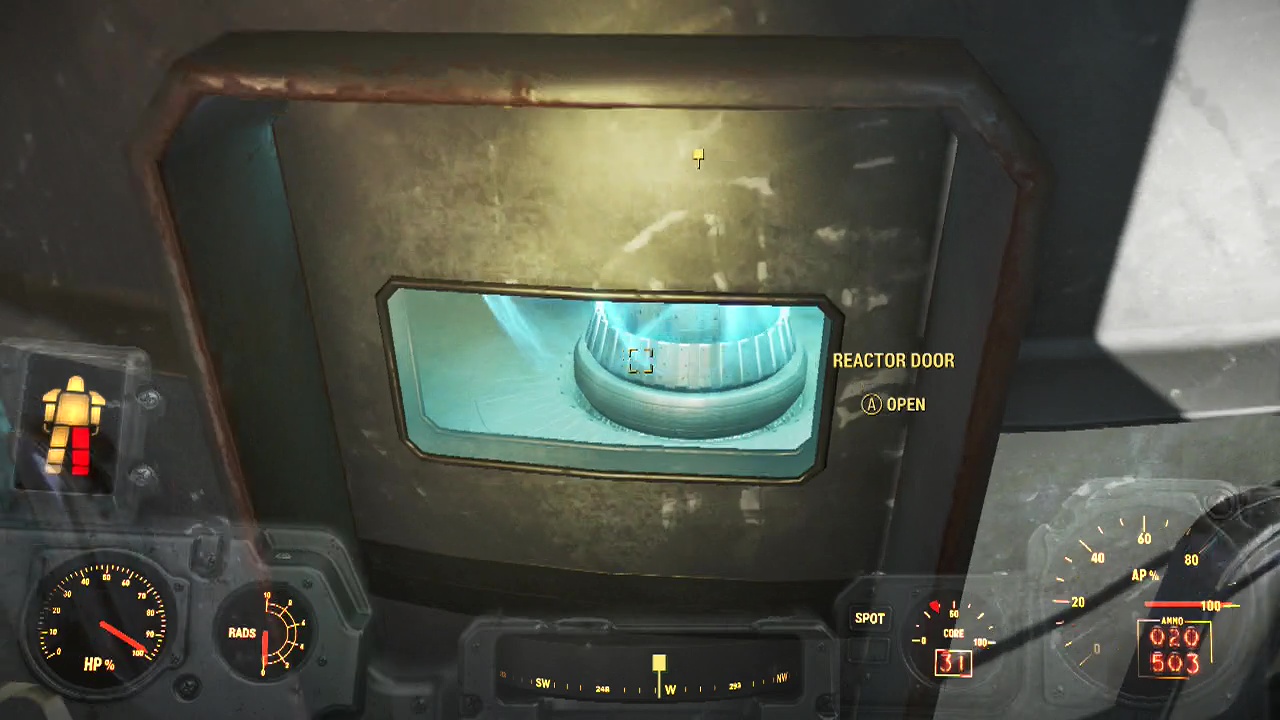
You'll pass through the old concrete and rusted metal of the corridors leading to the reactor room. Be extremely careful as you approach the doors leading to the room itself as there are large numbers of synths and scientists inside (including some with plasma and regular grenades). There are also multiple catwalks in the reactor room, meaning synths will often be shooting down at you from above making cover less effective. Take your time, avoid the grenades and use up a few stimpaks if you like because this is the final fight of this questline. You'll need to loot the body of one of the synths (A-2018) to obtain the reactor terminal password. When you can, work your way up to the reactor and interact with the terminal beside it's door.
Objective: Plant fusion pulse charge inside reactor
You'll want to shut down the reactor first to remove the massive amounts of radiation from inside. Once that's done you can open the door to the reactor and place the pulse charge on the pillar (housing) inside. A few seconds later, you will be teleported by Sturges back to the relay control room.
Objective: Talk to Preston Garvey
This should automatically complete as you arrive.
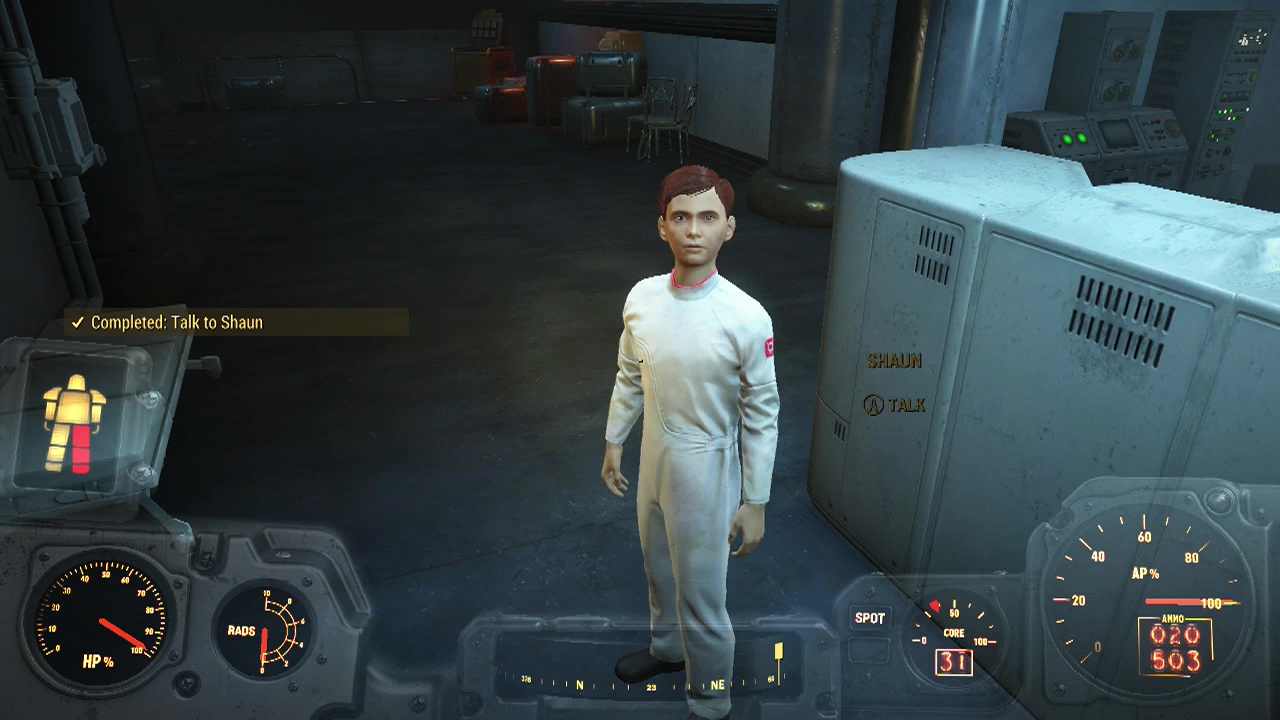
Objective: Speak to Shaun
Objective: Speak to Sturges
Talk to the young Shaun and you can choose to save him or leave him behind. Quickly inform Sturges about your choice and he'll fill you in on the escape plan.
Objective: Step into the relay
Step back into the relay where the Institute journey began to leave it for the final time. You'll appear on top of the Mass Fusion building with the detonator on a barrel beside you.
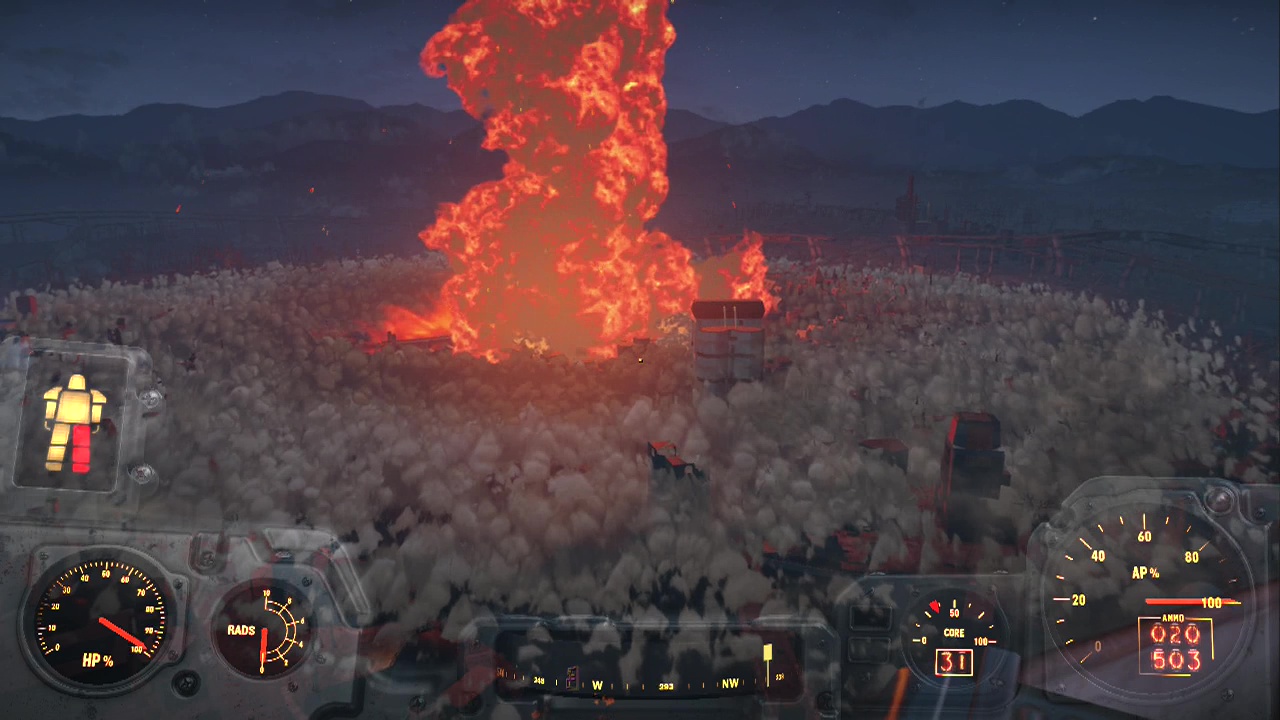
Objective: Use the detonator
And here comes the BOOM! Interact with the detonator beside you twice to blow the Institute sky high. That's a hell of a screenshot right there. After the ending scenes play out, several Minutemen and some institute personnel will be standing behind you on the rooftop.
Objective: Talk to Preston Garvey
Have a final chat with Preston to wrap things up and finish off the Minutemen questline. Congratulations, you've finished the Minutemen path of Fallout 4. There is still an optional quest in this questline if you want to complete it though, but that's up to you.