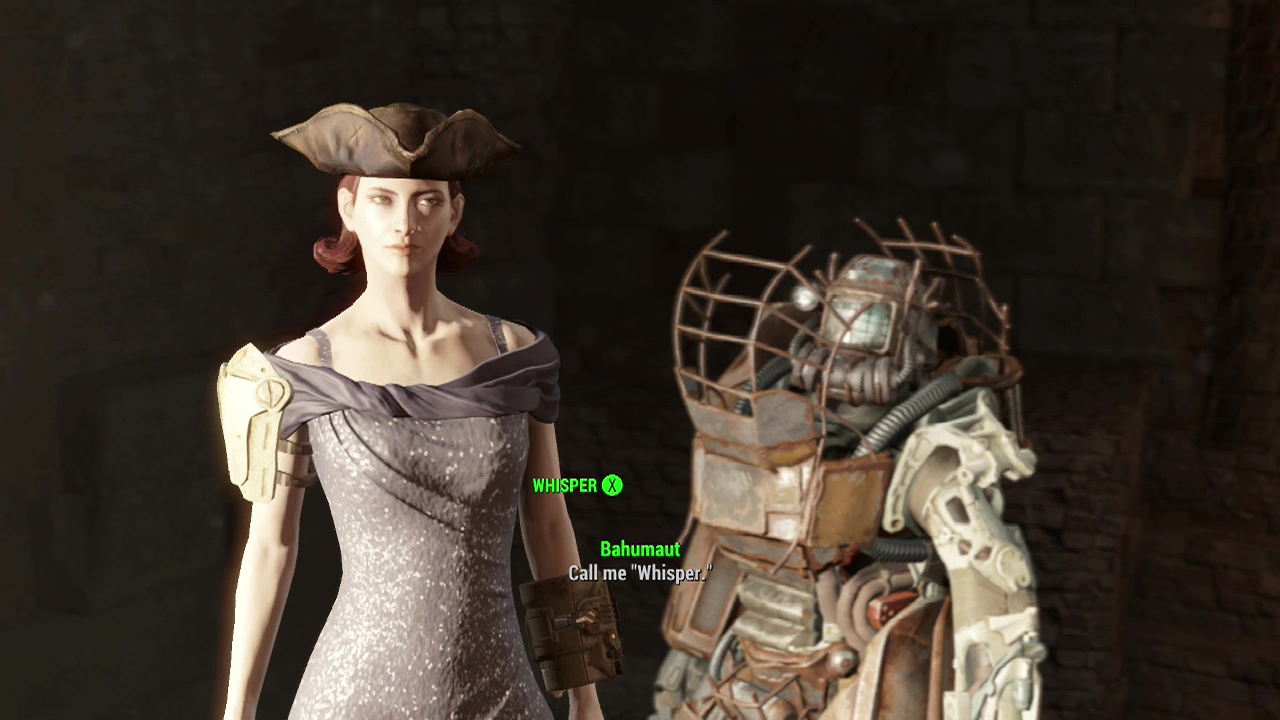

THE RAILROAD QUEST 02 – Tradecraft
Note: You will be facing mostly sythns during this quest, so you may want to wear energy resistant armour and use energy weapons to deal increased damage.
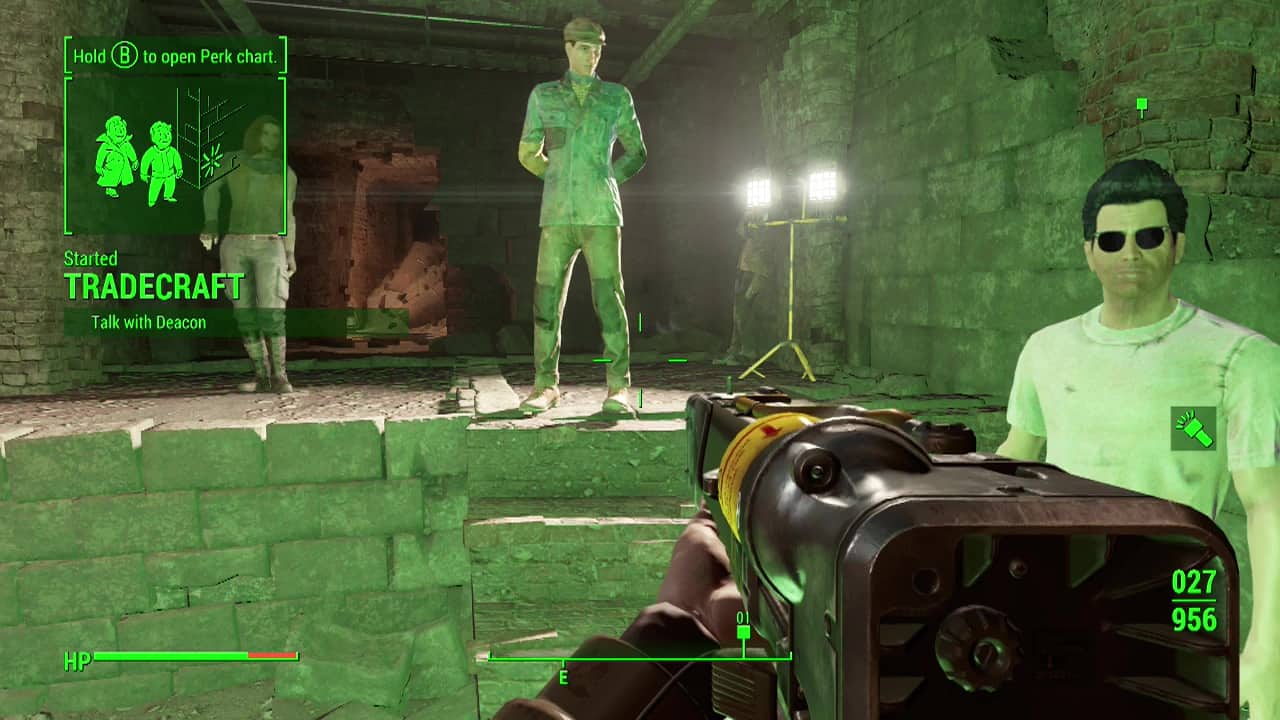
Objective: Talk with Deacon
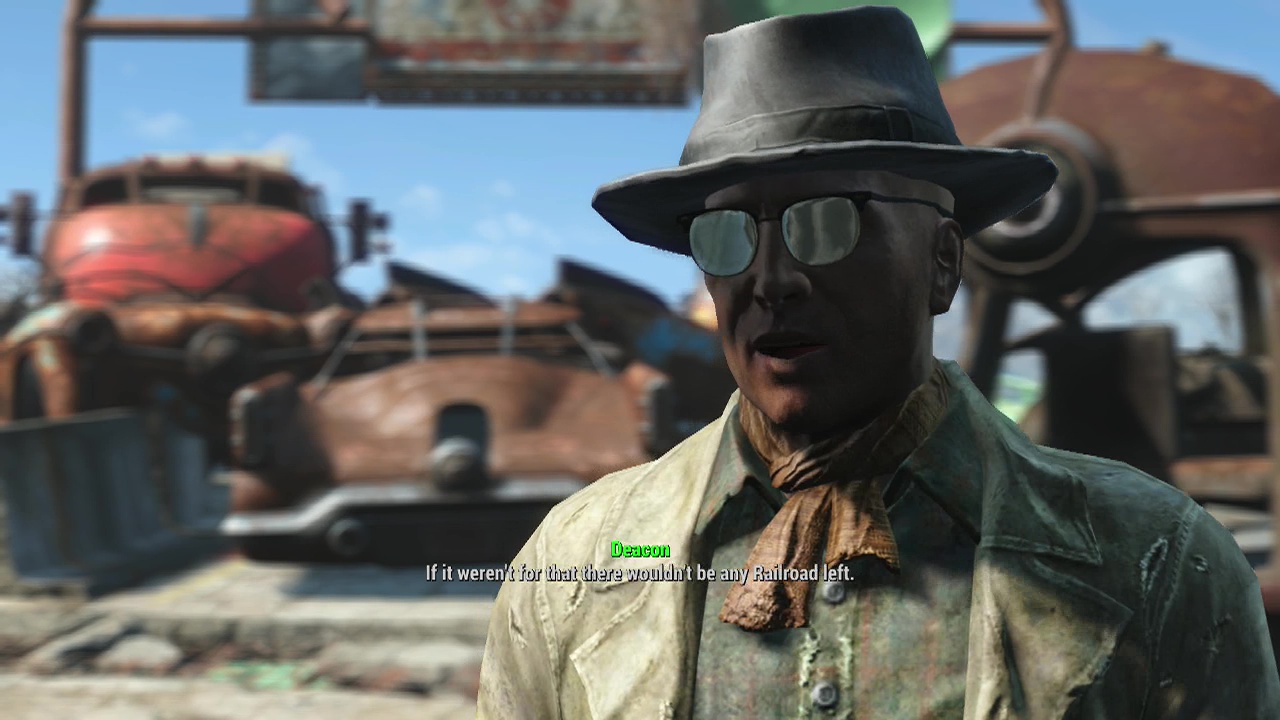
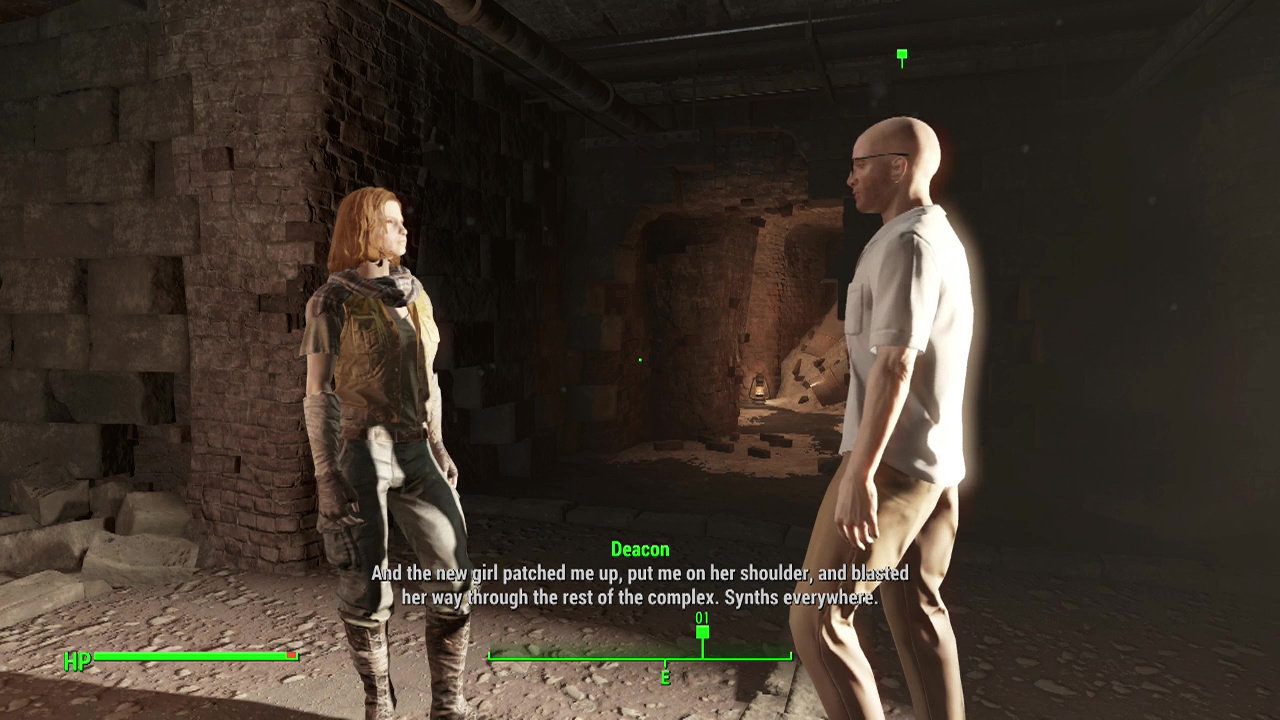
After you've encountered the members of The Railroad, turn to Deacon and have a chat. He'll tell you about his plan to get you full membership into the organization. All you have to do is find out what happened to an old Railroad safehouse. Sounds simple right? Yeah, not so much.
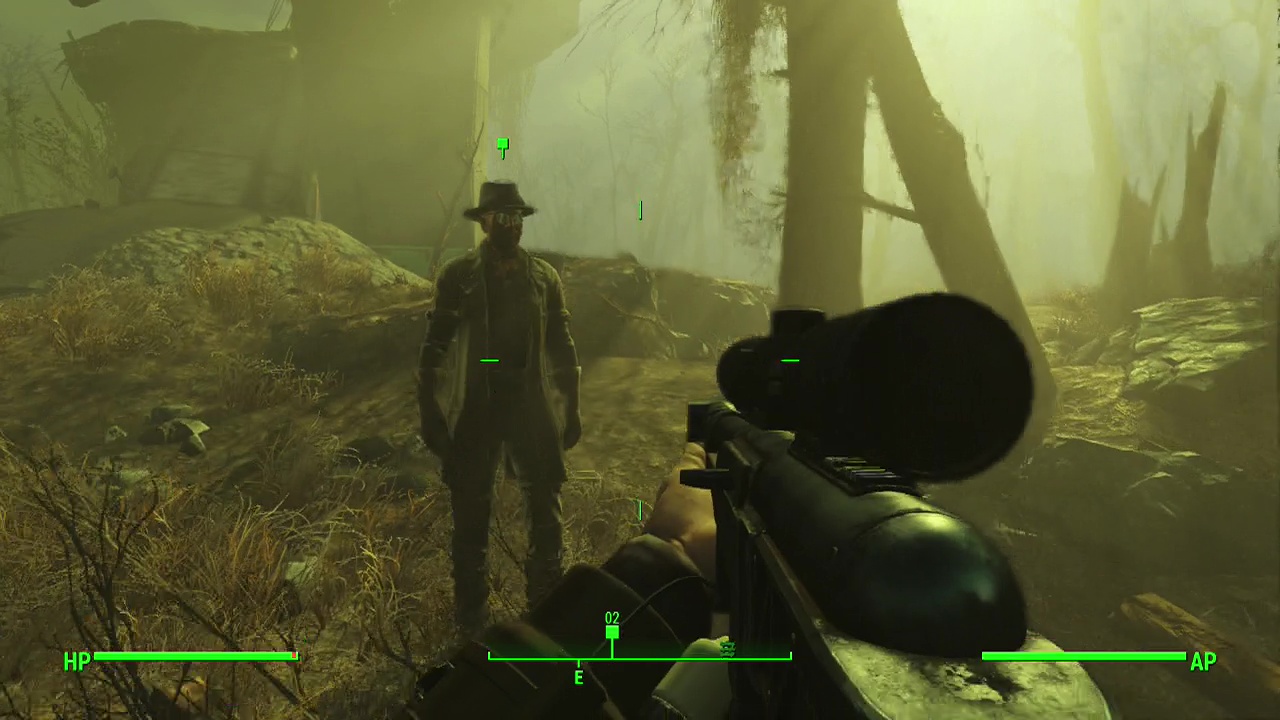
Objective: Meet Deacon at the old highway
Fast travel to the nearest destination you have (as there's no location for the meeting point) and start trundling through the shrubbery. When you get there you'll see Deacon with his brilliant (sarcasm) disguise standing underneath the highway. Talk to him and he'll give you a quick rundown before taking the lead.
Objective: Follow Deacon and find the "tourist"
Deacon will lead you up a ramp of broken concrete onto the highway above. Awww, no secret handshake? What kind of secret organization are you? This will also begin your official introduction to railsign. A series of symbols The Railroad uses to communicate. Pay attention as Deacon points them out during this quest as they may come in handy during your travels through the Commonwealth.
Keep moving along the road until you come across the remains of a campfire and some ghoul bodies in a makeshift tent. Just beyond this is a pile of rubble and tires with a ghoul waiting to attack behind it. More ghouls will rise up from the bus just ahead as well so use the openess of the area to take them down before they get close. Once the ghouls are done, you can keep moving forward. A little way beyond the bus you'll meet the tourist.
As you approach, Deacon will stay back and let you talk to the man. When he asks you about the geiger counter, give him the password and then listen to the details about what you're about to walk into.
Objective: Talk to Deacon
Sounds like a great time, right? Well, thankfully Deacon has a plan. Yep, tunnel gets my vote as opposed to the minefield.
Objective: Get inside the escape tunnel
Backtrack down the highway the way you came and descend back to ground level (unless you're wearing power armour, then you can just jump over the side). The entrance is close by so you'll have a short walk ahead. You may encounter a wild mongrel or two along the way but nothing particularly dangerous. Follow the marker to find the drainage pipe covered by a tangle of vines. Pass through the curtain of plants to find a steel door leading into the tunnels.
You'll almost immediately be faced with a security door with a master difficulty terminal to the left of it. If you don't have the required skill level, let Deacon take over and he will open the door for you. Carefully sneak forward into the room beyond the security door to see two synths down a ramp to the right with a radroach in the tunnel beside them. Get into position for a sneak attack and take them down before they begin retaliating.
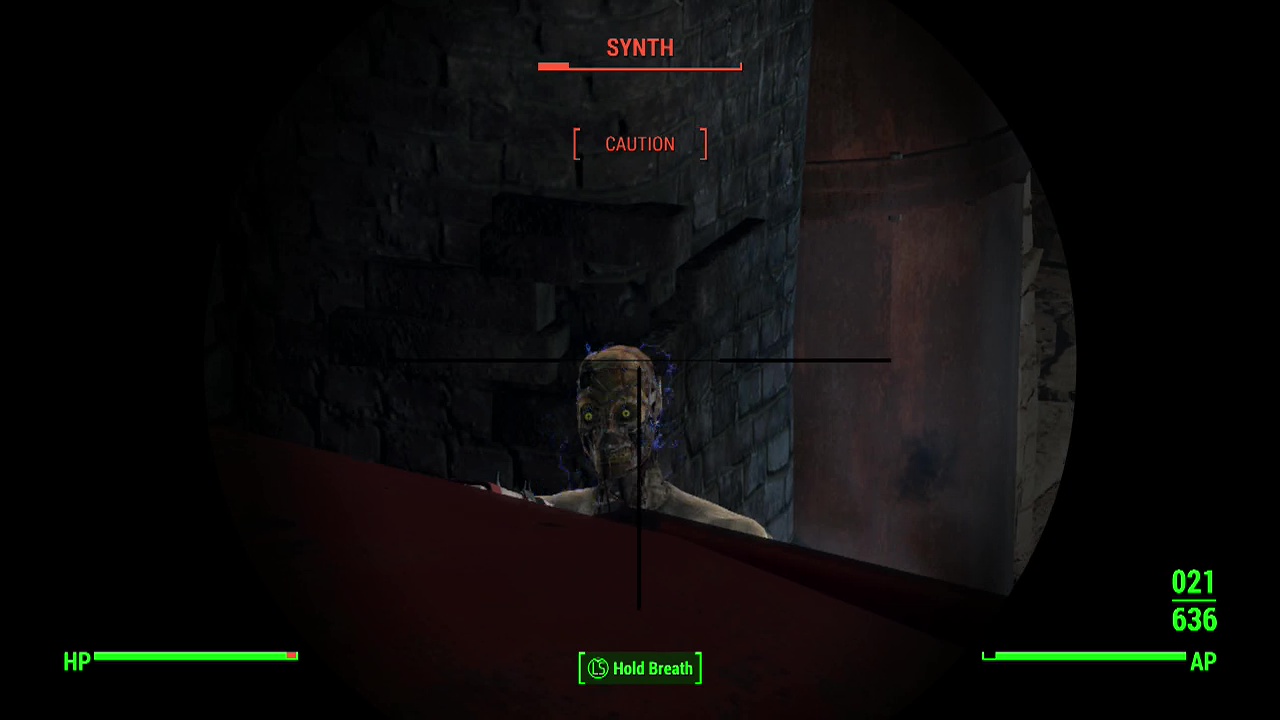
Splash down into the pool and enter the tunnel they were guarding. Deacon will point out another railsign here denoting a cache of loot. Circle around to the back of the pipe behind the box with the railsign to find some ammo and other goodies. Keep following the red-lit tunnel to find a catwalk and a slope leading down to more water. The terminal here isn't much use except for turning off the spotlight (as the turrets are already down). So scrounge from the bodies and then get ready to take on about four synths in the watery area below.
When the syths are destroyed, head down into the water and turn left to keep following the tunnel network. You'll reach a set of stairs with a terminal halfway down them. Deacon will point out that you can use this terminal to activate any remaining defenses to attack the four synths ahead. Depending on your playstyle feel free to do this or sneak attack the synths around the corner. When the room is clear, descend the stairs and enter the pipe to arrive at the main area of the safehouse.
As you exit the tube, you'll be on one side of a security wall with several synths on the other side. A novice termainal beside the security gate will gain you access to the other side. Be ready when the door opens however as the synths will all turn to attack as soon as someone opens fire. You'll want to move through the security door quickly and take cover beside the windows to the side of the double doors in front of you. While the individual laser shots don't do much, the damage quickly adds up if you take too many.
Deal with the close synths first (to stop them entering your small area) before picking off any on the walkways at the back of the room. When the place is safe, pass through the opening into the main room. A door to your left leads to a matress you can regenerate your health with and a device you can pull a fusion core out of. When you're done, head up the stairs at the back of the room. Up here you'll discover an expert terminal beside a set of blue double doors. This terminal controls the optical tripwires in the next room if you want to disable them automatically.
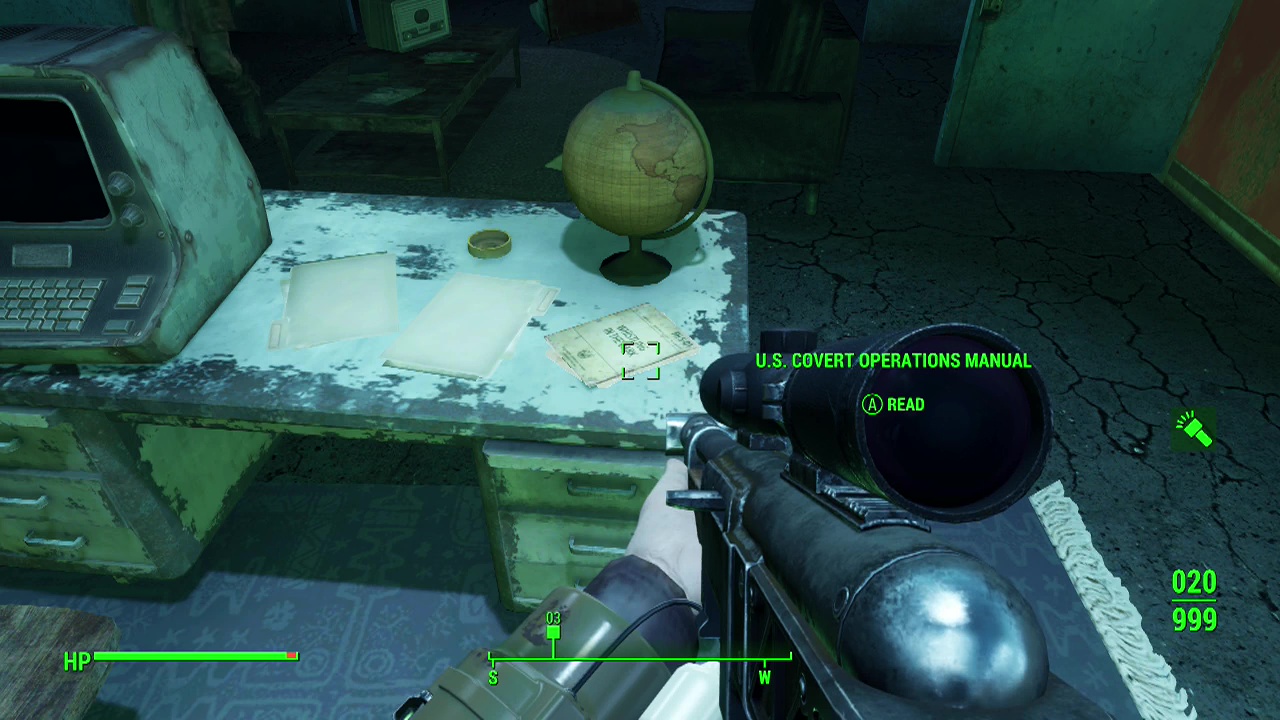
Note: On the desk straight behind you is a copy of U.S Covert Operations Manual (kind of makes sense for the railroad, really).
Objective: Talk to Deacon
You can talk to Deacon at this point to find out some more information about the prototype if you haven't already.
Objective: Get Carrington's prototype
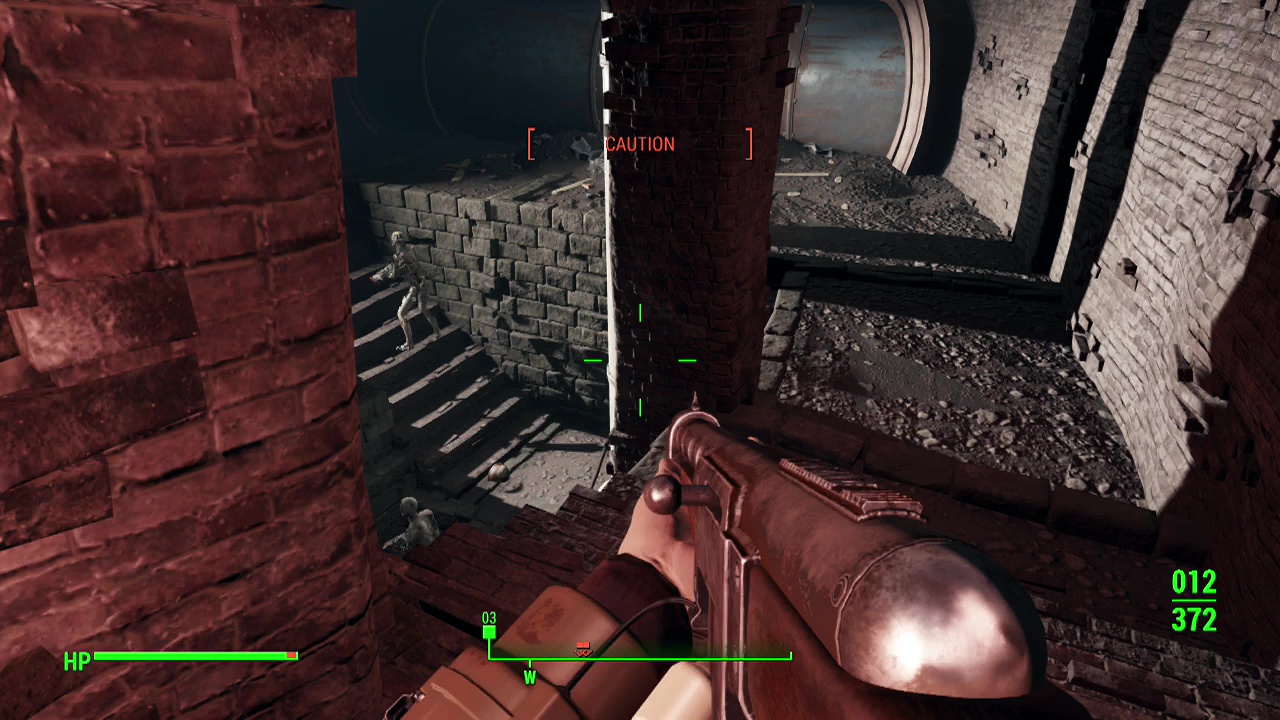
Pass through the blue double doors and disable the optical tripwires one by one if you didn't use the terminal (and a tesla trap above). More synths will be waiting in the room at the end, so be ready to backtrack quickly after the third one. Another three or four synths will need to be taken care of before you can advance. In the room the synths were in take another set of blue double doors and shoot the lone synth in the hallway. Be extremely careful here as the first left leads to a doorway that bursts open with three synths when you get close.

After the smoke clears, pass through the door that the synths just came through to find a red loot container and the strongroom holding the prototype. There are also a couple of hazmat suits and a bottlecap mine in a small side room here. After Deacon works his magic on the terminal, you'll be free to take everything within. Make sure to grab the mini-nuke and stealth boys as well as the prototype.
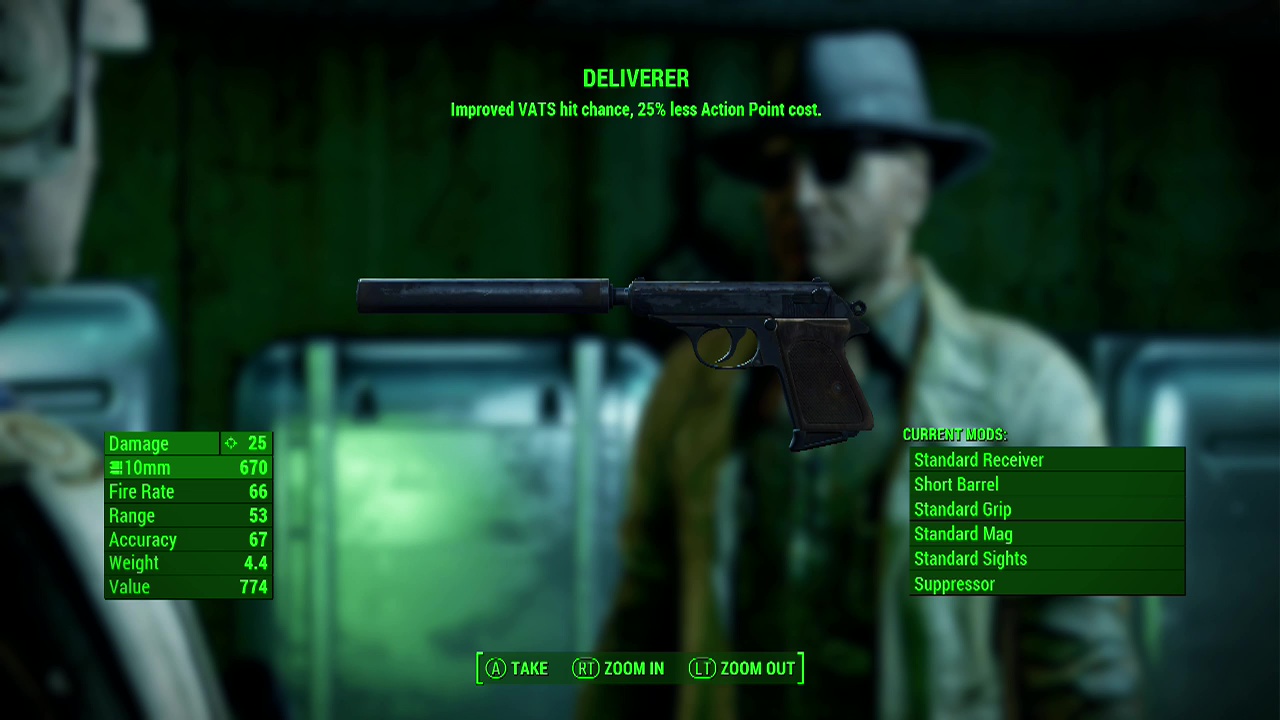
Note: Deacon will give you the deliverer 10mm pistol, a silenced pistol with reduced AP cost.
Objective: Leave the Switchboard
Now it's time to get out of here. Return to the hallway you were just in and take the other direction this time, staying alert for frag mines on the ground. Climb the stairs and another pair of synths will be in the next room. Blast them away and you'll find a terminal at the back of the room. Interact with it and power up the elevator beside you. This is your ticket back up to the surface. Keep in mind however that the place is guarded by more synths so be ready for a scrap when you emerge. Interact with the bookcase blocking the elevator to move it aside and take the door at the top of the stairs.
Objective: Meet Deacon at the Old North Church
You will be back on ground level once more. Synths will be swarming the area and a minefield of frag grenades are outside so don't just try to run for it. You'll need to take out the synths so you can teleport out of this place. By now you should be pretty damn good at dismantling these enemies so I'l leave you to it. When you're free to teleport it's off to the church once again.
Wind your way down to where you first met the railroad and help Deacon report your success to Desdemona. If you agree to join, after the conversation you will become an agent of The Railroad and gain full fast travel access to their headquarters. Deacon also becomes available as a companion from this point on.