SIDEQUESTS – Non Faction
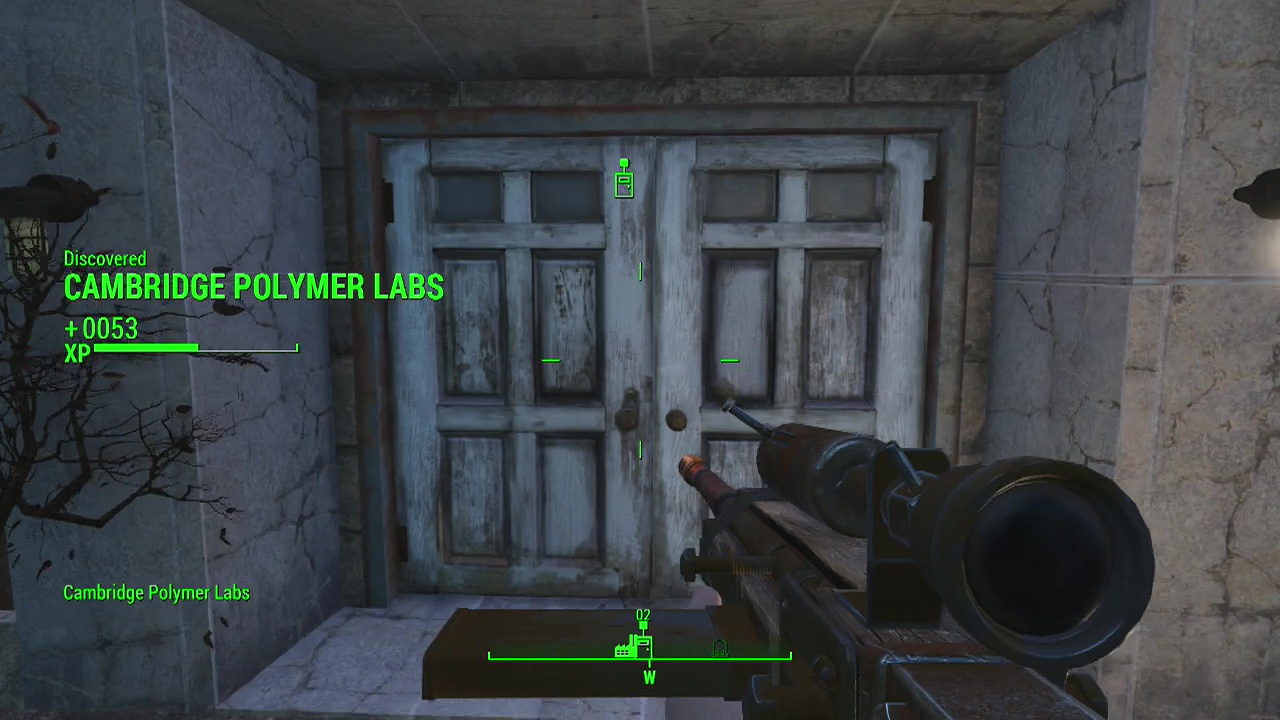
SIDEQUEST – Cambridge Polymer Labs
Triggered by entering Cambridge Polymer Labs (often visited during The Railroad Quest 03 – Underground Undercover)
Note: This sidequest involves passing through some high radiation areas, so you may want to bring power armour along.
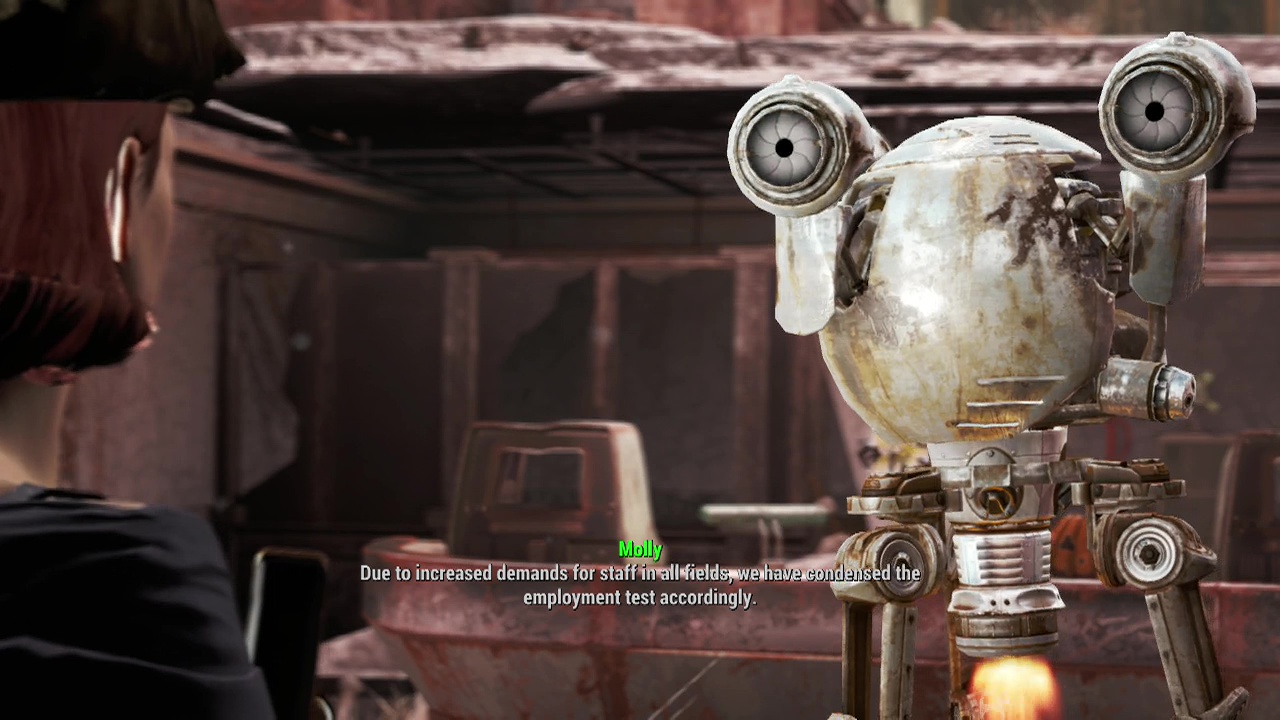
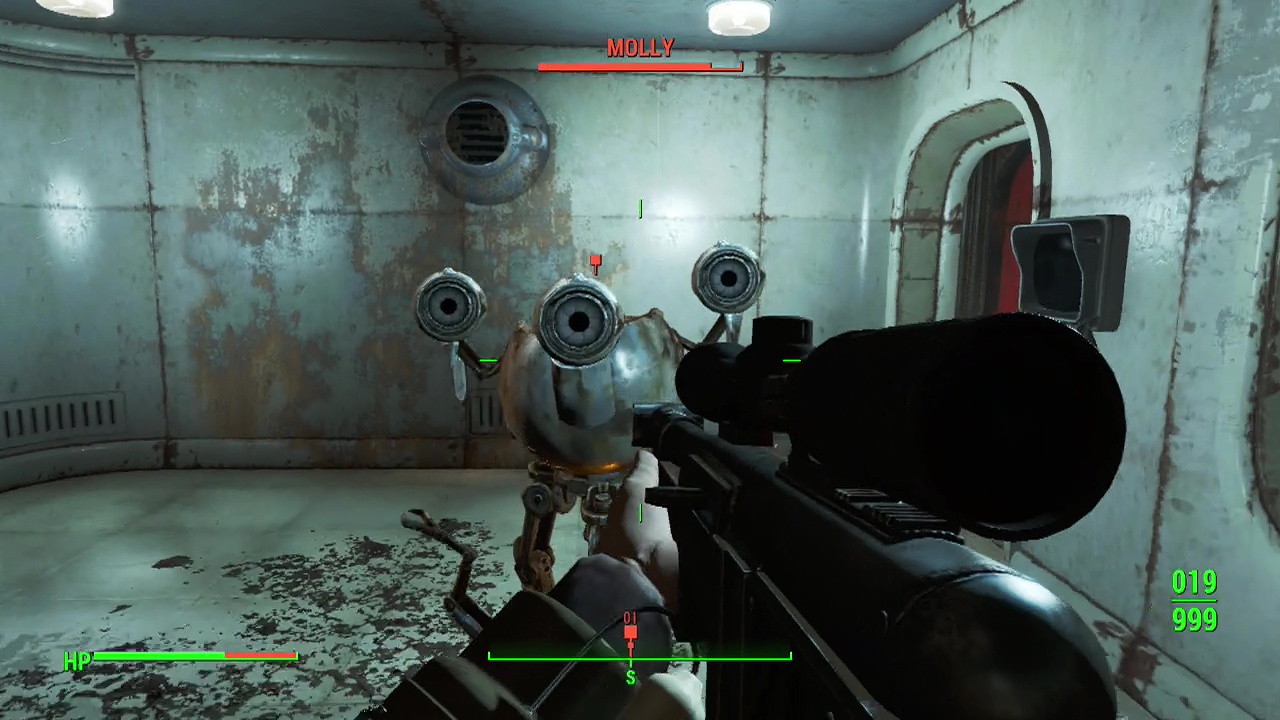
As you walk through the main doors, you will be greeted by a mister handy robot by the name of Molly. She'll ask if you'd like to apply for a position at the laboratory. Say 'sure' then answer the interview questions she asks. After getting hired, you'll be led around for a bit as Molly performs your orientation for your new role as sales coordinator. After a while you'll be taken into a clean room for decontamination, beginning the actual sidequest.
Objective: Complete the research project
As the clean room begins the decontamination process, you'll suddenly be bombarded with 30+ rads a second! Unless you have a hazmat suit or are in power armour, you need to get out of that chamber fast. Don't bother with the doors or terminals, instead look for a large hole in the wall at the back of the room and just walk out.
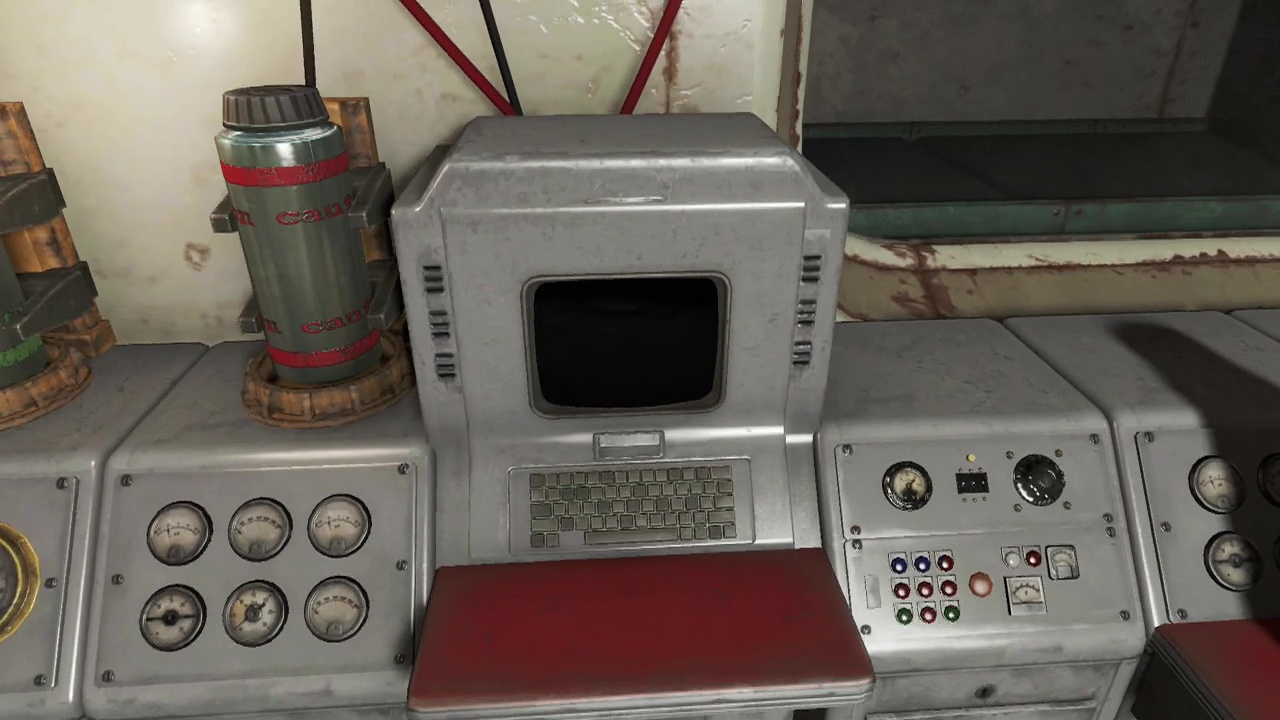
In the next room you'll find a large table in the middle of the room and a marked bank of consoles against the wall to the right. Activate the marked terminal and you'll be presented with three options. Look at the option to 'check current fabrication parameters' first. Apparently the scientists here were undertaking a research project, and required the following reagents: Lithium Hydride, Gold and Isotope U-238.
The 'scan loaded reagents' option can be used to identify unknown reagents that are scattered throughout the facility. You'll need to bring them back and check them to see if they are one of the items you need for the experiment. The final option on the terminal 'run loaded fabrication routine' triggers the experiment, which should only be done once you've inserted the correct reagents into the system.
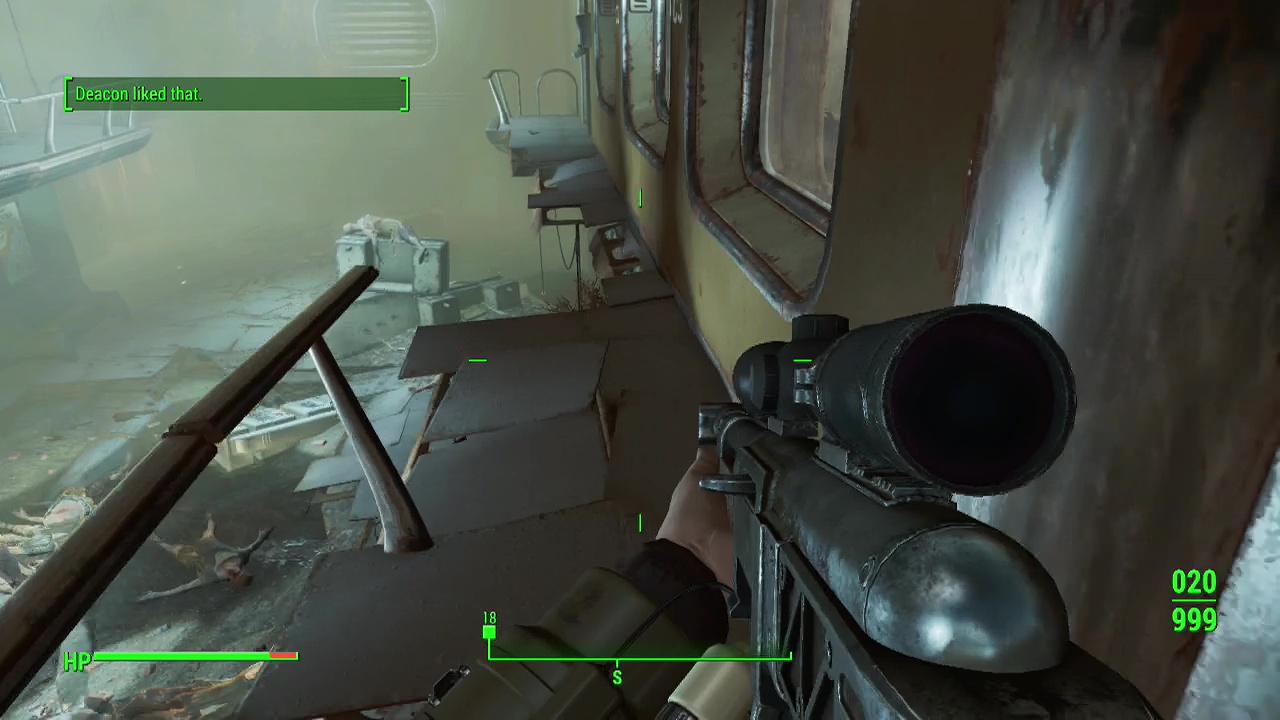
So first things first, we need to track down the required reagents. Pull out a weapon and prepare to engage seven or eight ghouls when you open the door in the opposite wall. You'll also see a couple of machine gun turrets in the wall overhead to take out. When the the immediate area around you has been sufficiently pacified, with your back to the staircase, look for a door at the far right corner and enter the room there.

On a shelf in the corner you'll see a green and grey cylinder (reagent) called unknown sample 3111 (lithium hydride) to pick up. as well as a hazmat suit. Return to the previous room and enter the next door along the same side of the room. Make sure you've got your gun out as you'll face another two ghouls in here.
Investigate the novice difficulty isotope containment terminal on the wall and hack it (you can also obtain the password from the office later in this section of the guide). You'll be able to use the options to open the doors to the containment area where the isotope component required for the experiment is located. Backtrack to the central room of the area where you killed all the ghouls and look for a door beside where you initially entered with a radiation sign beside it.
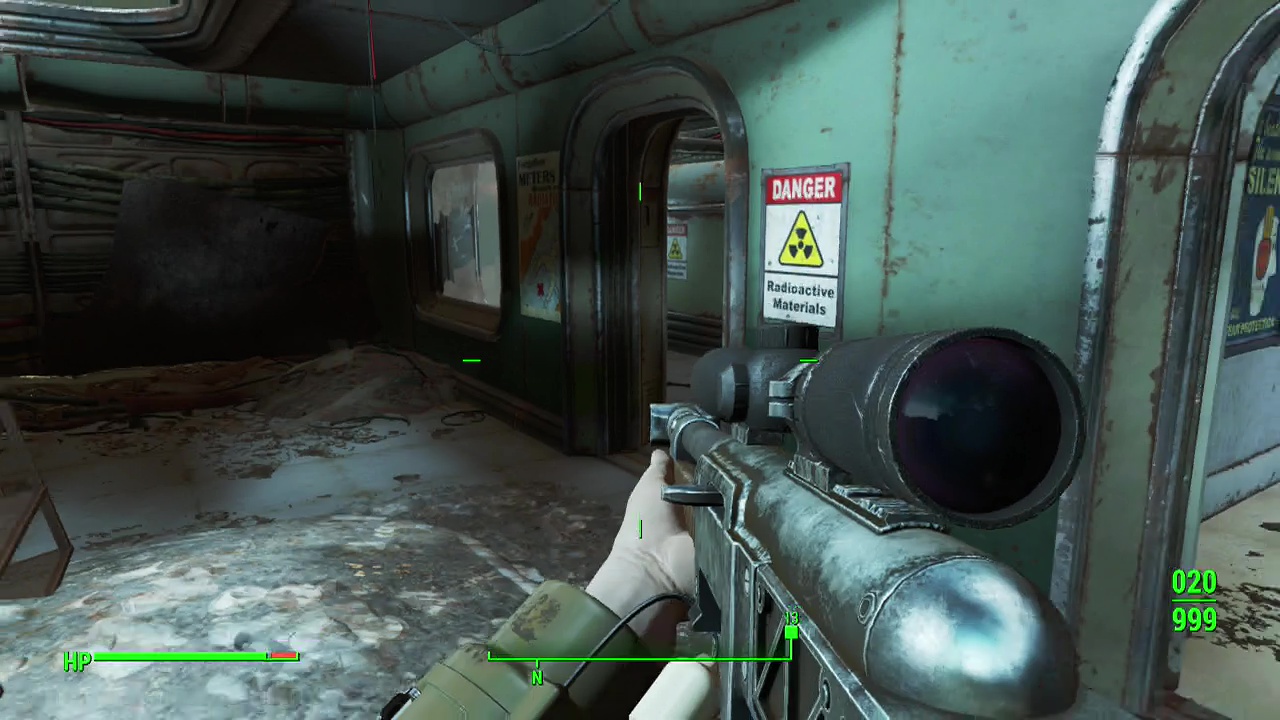
Take the hallway leading off from it and prepare some powerful weaponry as a glowing one is inside the area ahead. The whole area inside the containment section is bathed in radiation as well, so avoid the barrels of toxic waste as you look on the shelves across the small pool of water for a rack holding U-238, the isotope you need.
Now we just need the gold sample. Return to the central room and take the stairs to the upper level. There is an expert safe you can open in the corner of the area off to your left at the top of the stairs. At this point there is a path split depending on your character's skills. If you have the ability to hack expert terminals, you can simply move across the narrow strip of broken balcony if you hang a left at the top of the stairs and then turn left again. This will bring you to an expert level terminal you can use to open the door to the office. Be careful as you enter, as a tesla trap will be on the ceiling overhead.
The other path you can take involves entering the door to the right from the top of the stairs, working your way through several rooms with ghouls until you are in the air ventilation system in the ceiling. Follow it around until you reach a hole on the far side and you can drop down into the locked office.
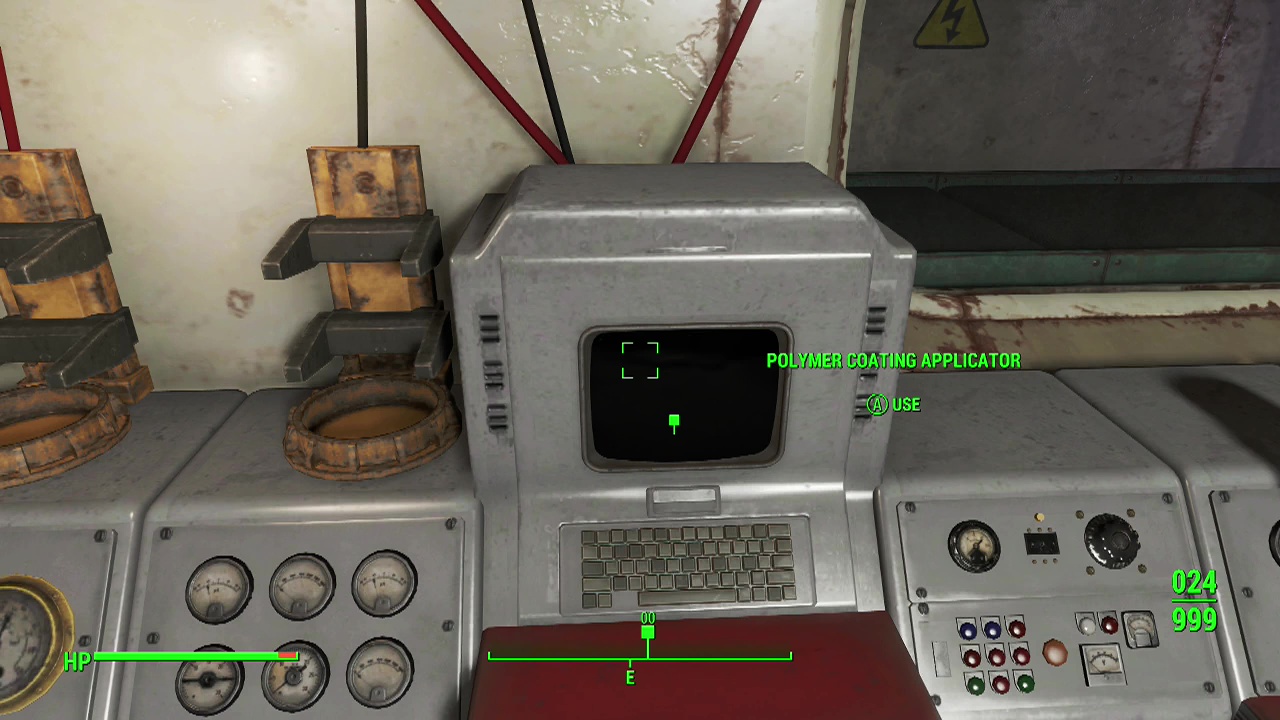
Either way, when you arrive in the office, you'll have to contend with a lone ghoul. On the table beside the terminal will be unidentified sample 611 (gold) for you to pick up. You can also find the password to the radioactive containment area on a counter here if you locked yourself out earlier. Return to the experiment room you first arrived in after exiting the clean room decontamination chamber. Place the U-238 isotope in the isotope container on the right on top of the bank of consoles, then the lithium hydride in the left and lastly the gold in the middle.
Interact with the terminal and select 'run loaded fabrication routine' to begin the experiment. You'll see a piece of power armour pass along a conveyor belt in the window in front of you. After a few seconds, it will drop out of a hole in the wall to your right. If you did everything correctly, you will obtain the legendary piezonucleic power armour chest. Well worth your time wasn't it? But we still have to get out of here.
(Optional) Objective: Find another way to escape the laboratory
To escape, you'll need to return to the office where you found the gold sample on the upper level. Bergman's terminal has plenty of options to select, but the one we are interested in is the 'facility defense systems.' Select this option and perform the emergency override to force the clean room door to open. Keep in mind, this will turn all automated defenses (including turrets and Molly) hostile toward you, so be ready for a fight as you leave. After defeating Molly, as you head toward the exit the sidequest will end.
SIDEQUEST – Emergent Behaviour
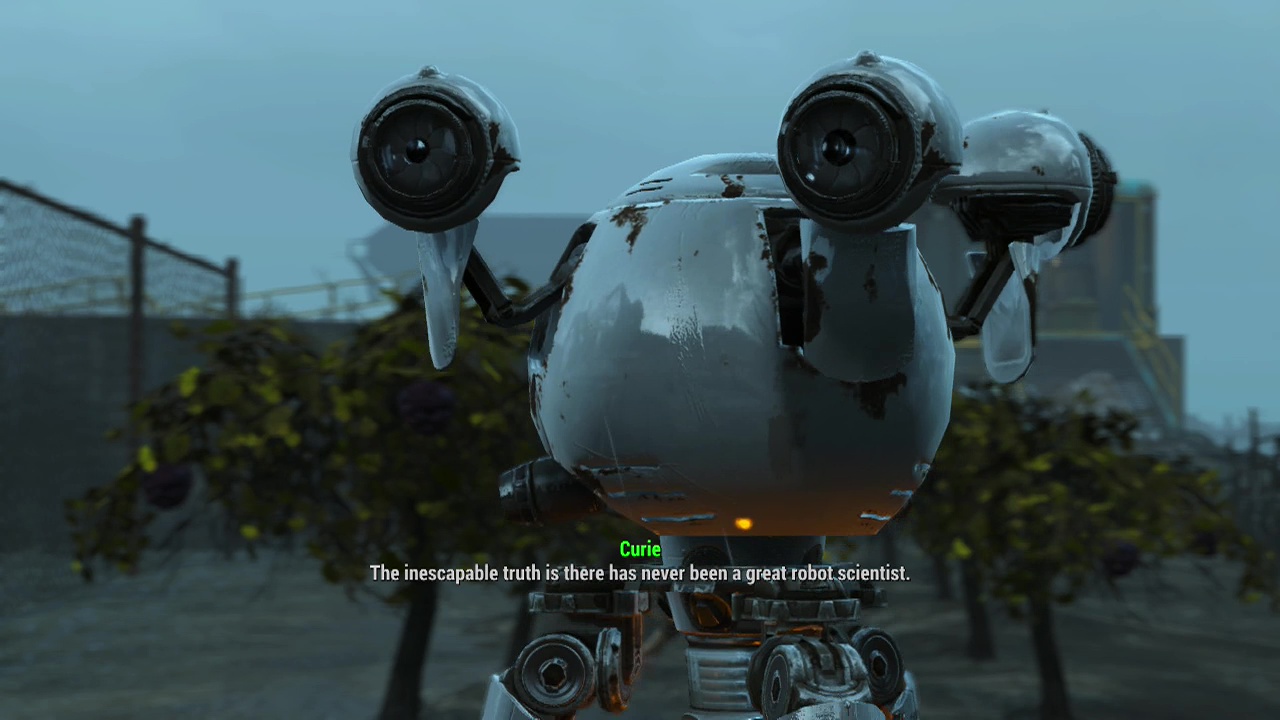
Triggered by recruiting Curie as a companion (by completing Vault 81 and Hole in the Wall sidequests) and raising her affinity, then talking to her about improving her research capabilities.
Note: If you have already met Doctor Amari (via Story Quest 07 – Dangerous Minds or just exploring) in the Memory Den at Goodneighbour, you'll mention this to Curie and can progress the quest.
If you haven't encountered Doctor Amari yet, you'll need to go see her in Goodneighbour to continue the quest.
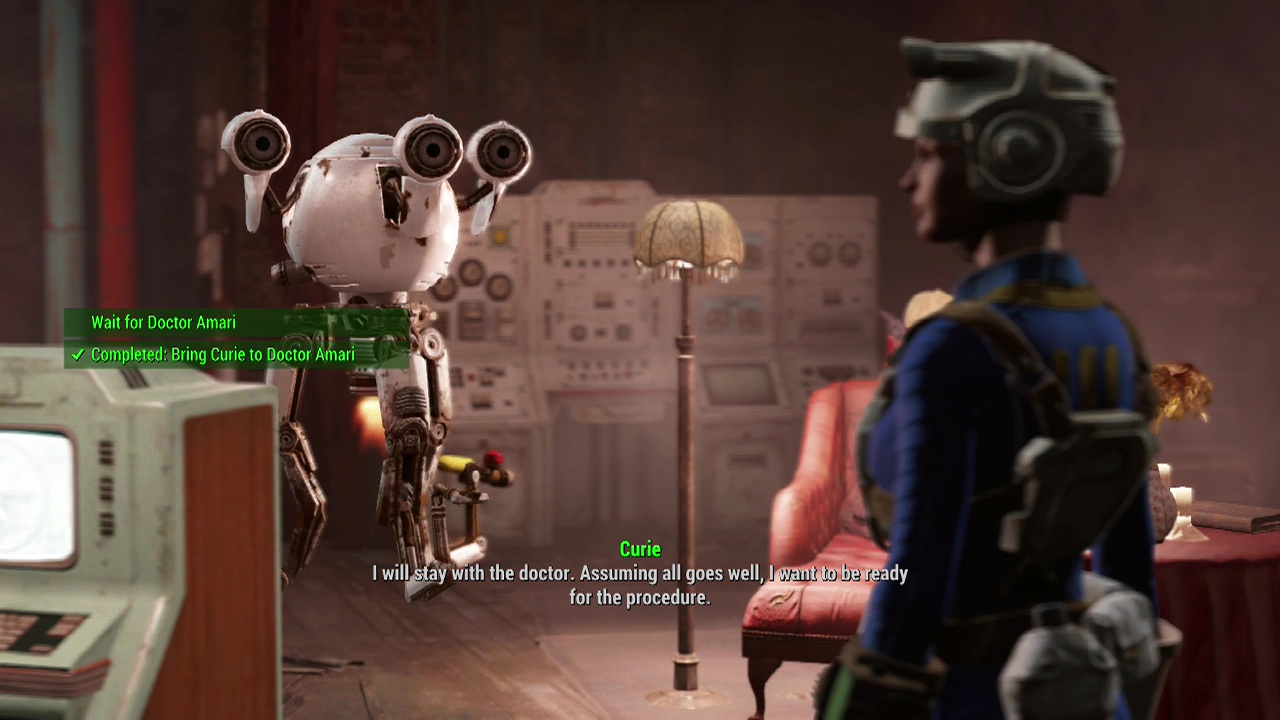
Objective: Bring Curie to Doctor Amari
Take Curie to see the good doctor and she'll mention she might have a contact in the Railroad who could help. She'll ask you to wait while she arranges a meeting.
Objective: Wait for Doctor Amari
Sit on a chair in the memory den and wait 24 hours and a railroad member (most likely Glory) will turn up with a synth body by the name of G5.
Objective: Talk to the caretaker
You can convince the caretaker to let Curie use the synth body (by passing a medium persuasion dialogue option) or just ask her to make a decision. When she agrees, it's time to begin.
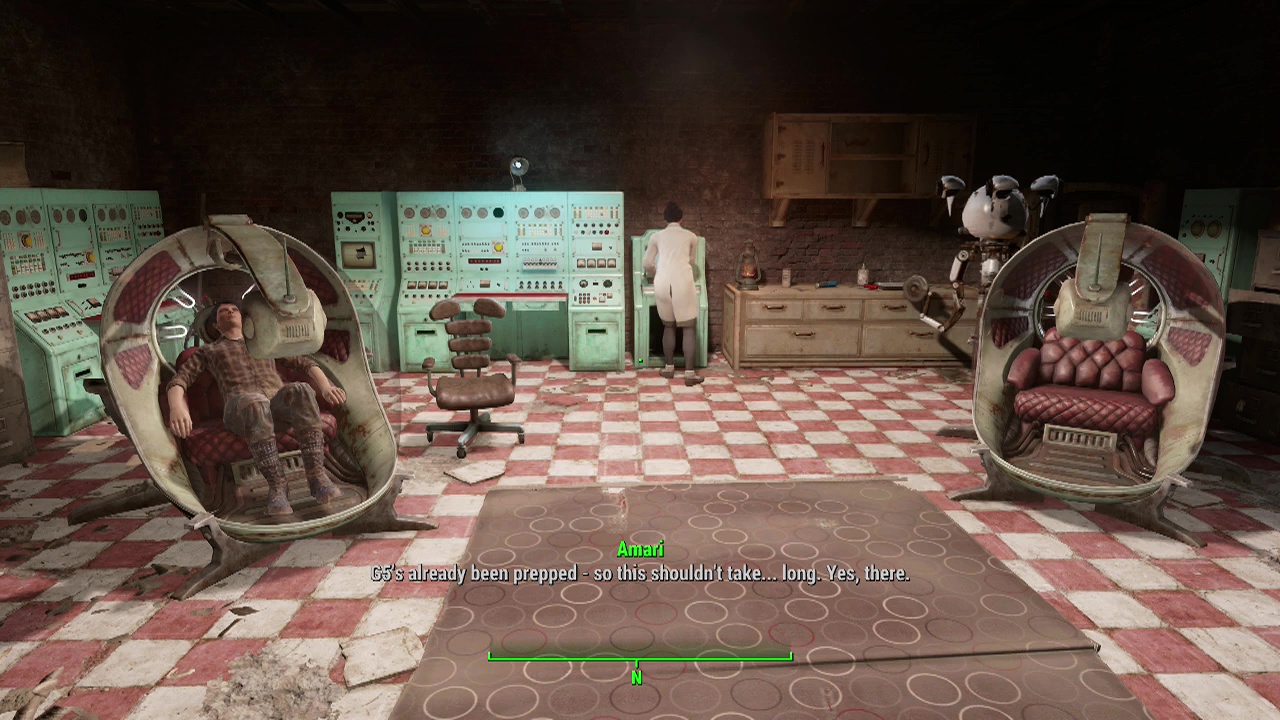
Objective: Watch the download procedure
Watch the memory lounger occupants as the operation takes place. Afterwards, a rather stunned Curie will emerge in control of G5's body. Doctor Amari will performs some simple tests and Curie will talk for a bit as she gets used to her new body. Afterwards, the quest is complete and your companion now has a new form.
SIDEQUEST – Here Kitty, Kitty
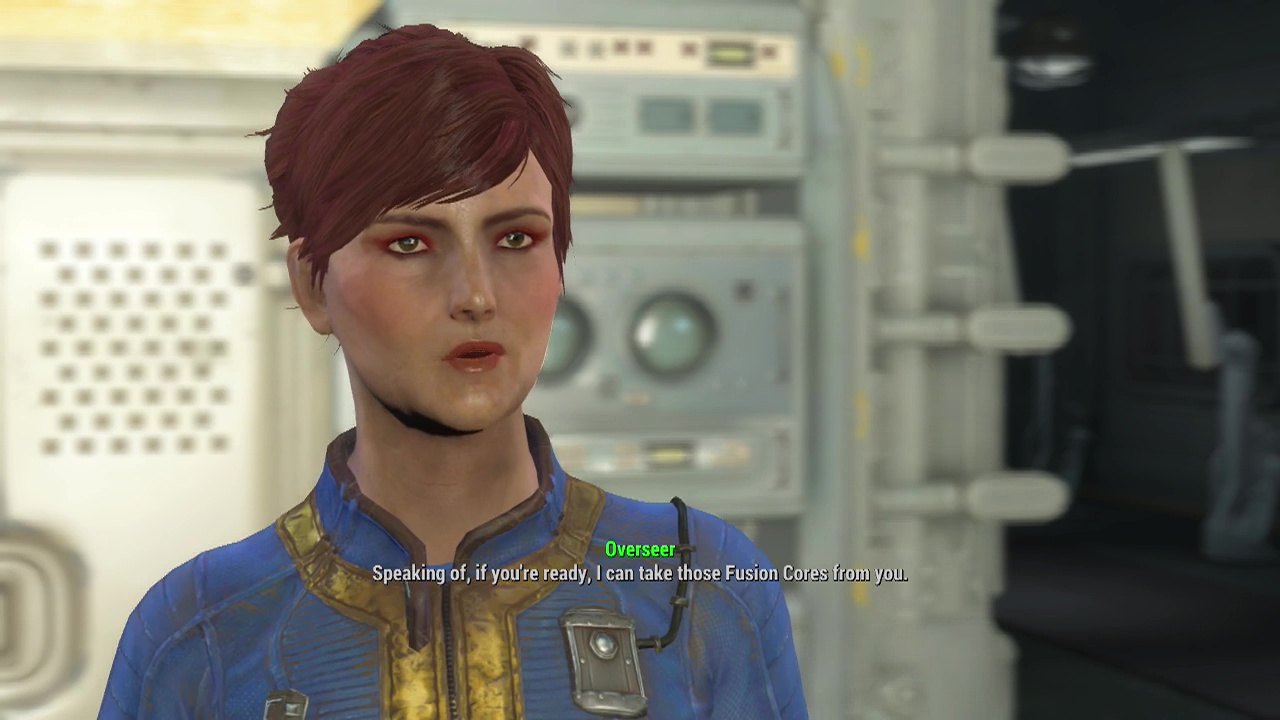
Triggered by gaining access to Vault 81 (by handing over three fusion cores or persuasion) then approaching the elevator leading deeper into the Vault for the first time.
As you get near the elevator you'll see a grey/black cat by the name of Ashes stretch in front of it and then run off towards the entrance of Vault 81. At the moment you won't have a clue where the owner (Erin) is, and the sidequest hasn't officially started yet so you won't have a quest marker either. For now, ignore the escaping cat and head down the elevator into the lower levels of the Vault.
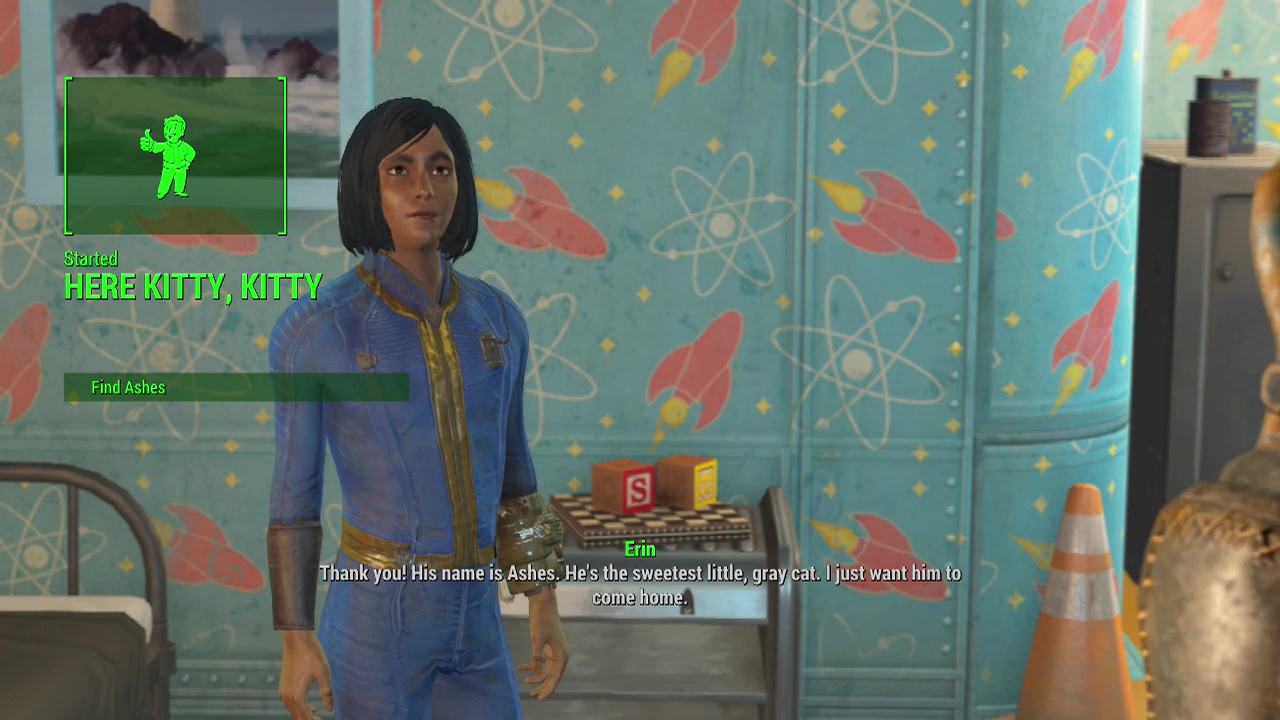
When you step out, you'll be greeted by an energetic redhead boy by the name of Austin, who offers to give you a tour of Vault 81. Agree and follow him around until he wants to show you to his friend. When you arrive at his friend's quarters you'll meet Erin, the owner of Ashes. Talk to her about the cat to start the sidequest officially.
Objective: Find Ashes
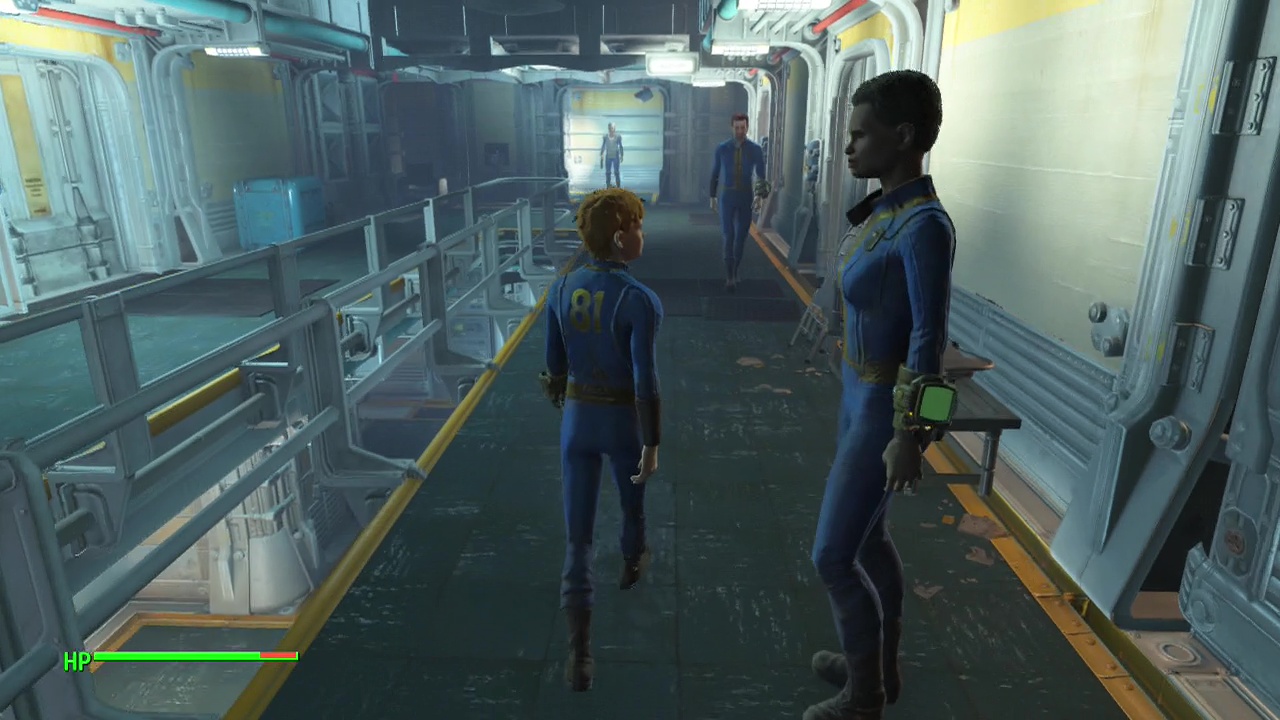
Now you can follow the cat's trail, exit Vault 81 and follow the objective marker towards the buildings around the edge of the nearby lake. You might have to deal with a couple of nearby scavengers before you find the cat, so keep your eyes open. When you find Ashes, interact with the feline to send it back home to Erin.
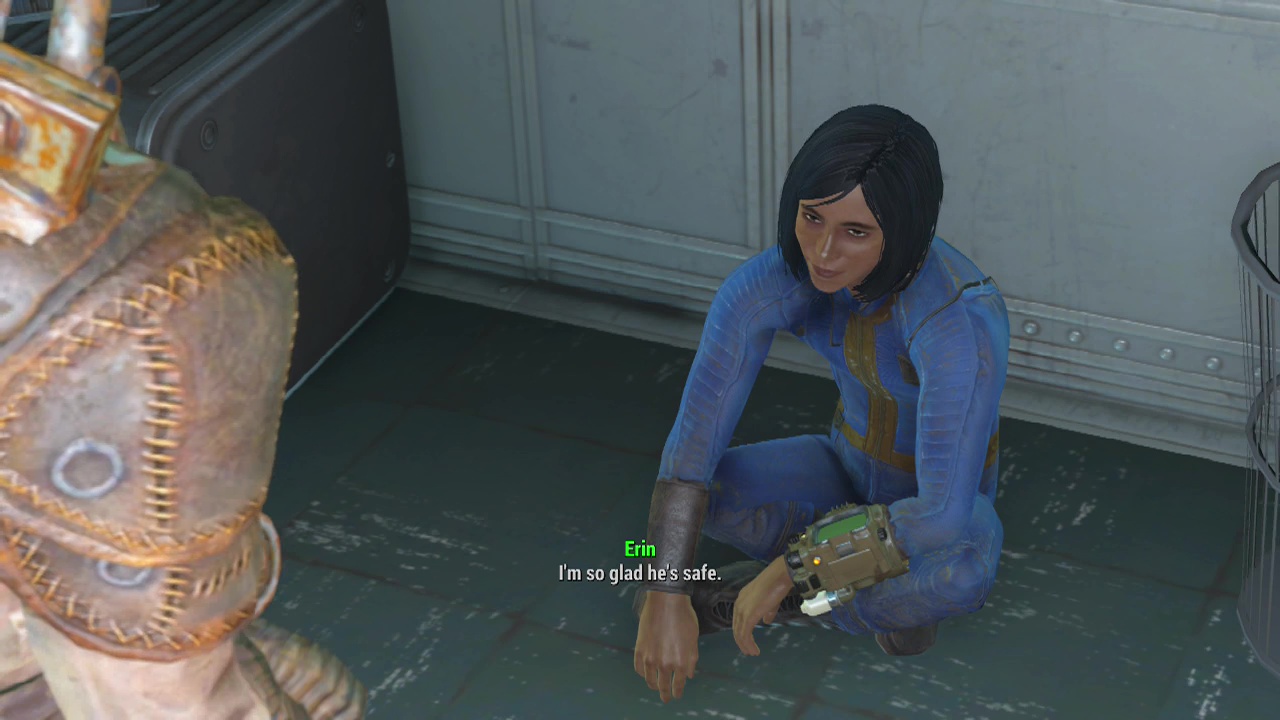
Objective: Talk to Erin
Now you need to backtrack to Vault 81 and Erin's quarters to have a chat with her and she'll hand over a fusion core for your efforts in rescuing her pet.
SIDEQUEST – Hole In The Wall
Triggered by gaining access to Vault 81 and completing the Vault 81 sidequest, then returning to Vault 81 and overhearing news about Austin being sick.
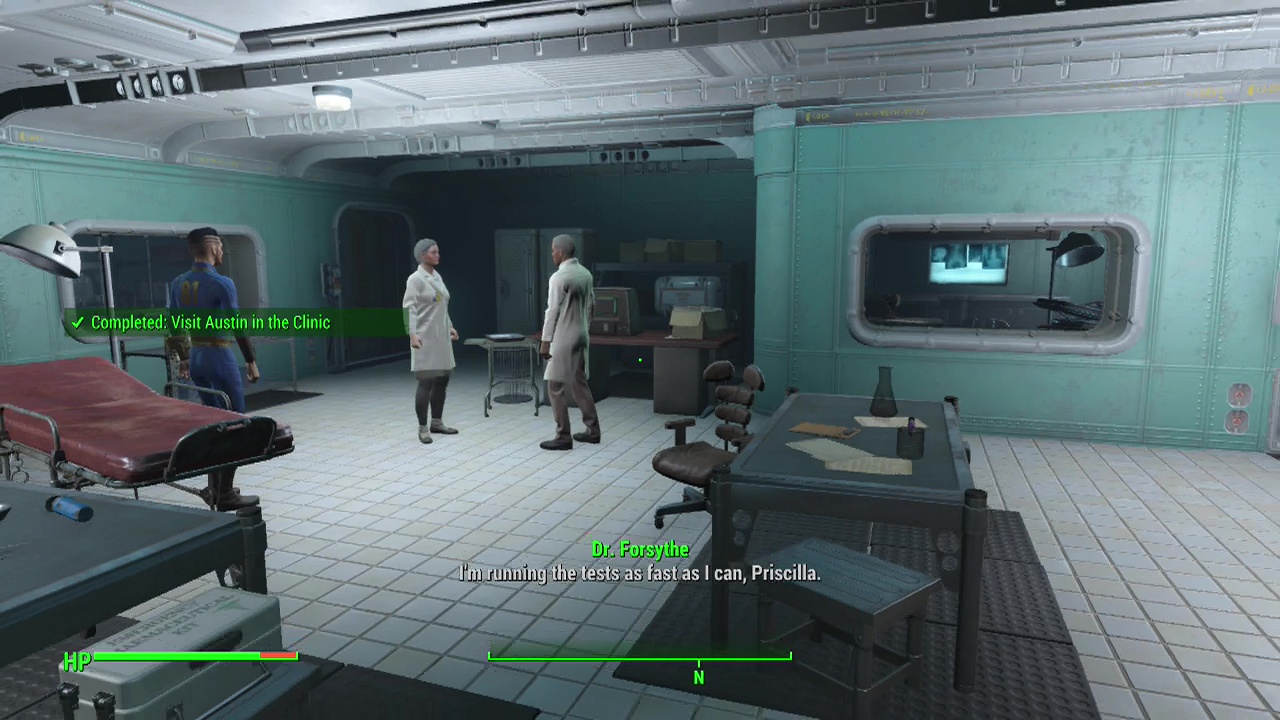
Objective: Visit Austin in the clinic
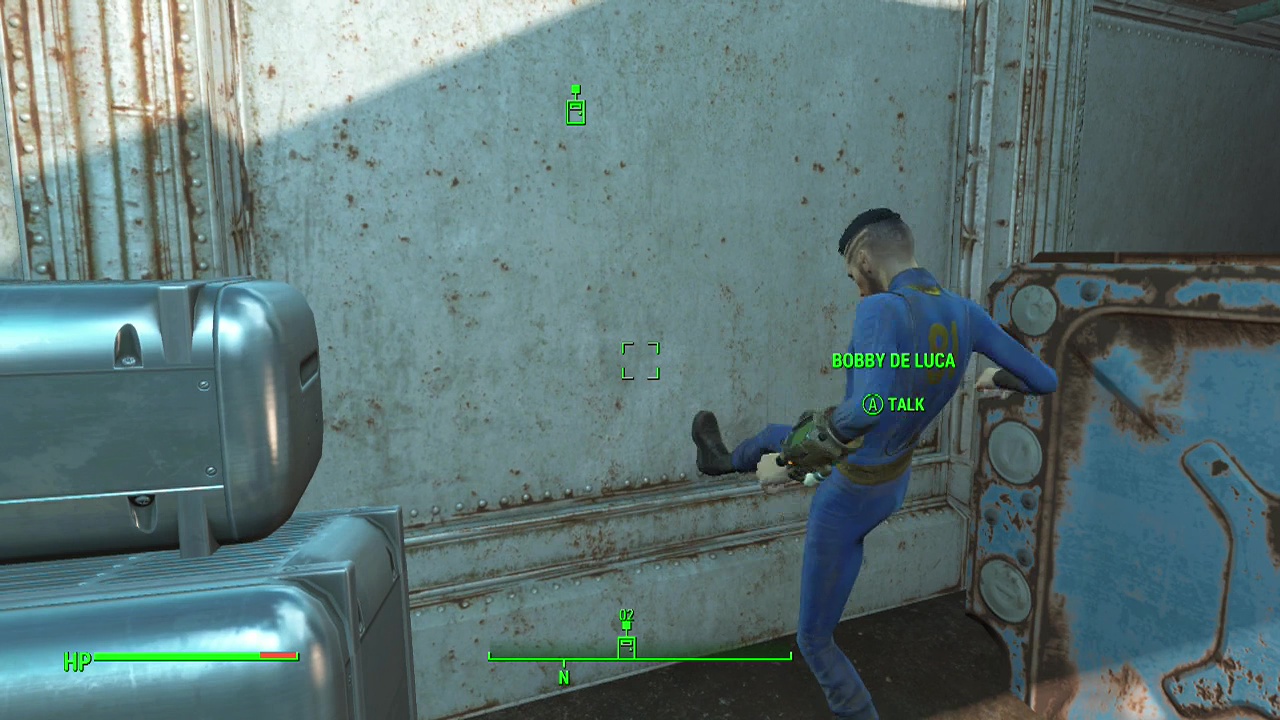
When you arrive in the clinic on the lower level of the Vault, you'll walk into the middle of an argument. Dr. Penske and Dr. Forsythe will be completely focused on each other, ignoring Bobby entirely. After a few seconds, Bobby will finally be able to get through and tell everyone about the door he found leading to a hidden part of Vault 81 and the notes about molerats infected with viruses.
Objective: Find the cure
Agree to help investigate the hidden area for a cure and Bobby will guide you to it. He'll eventually stop and stare at a wall, which will then slide up to reveal a secret door. Enter the doorway to stride into the mysterious zone. Keep in mind that this whole area is swarming with molerats who will dig through the ground and attack your feet so keep alert. Turn left and climb up the stairs to the level above and you'll encounter your first molerat. Blast it to bits and follow the walkway, passing through the hole ripped in the wall at the far end.
Note: You can investigate the terminals and other notes in this concealed vault to find out more about it's true purpose.
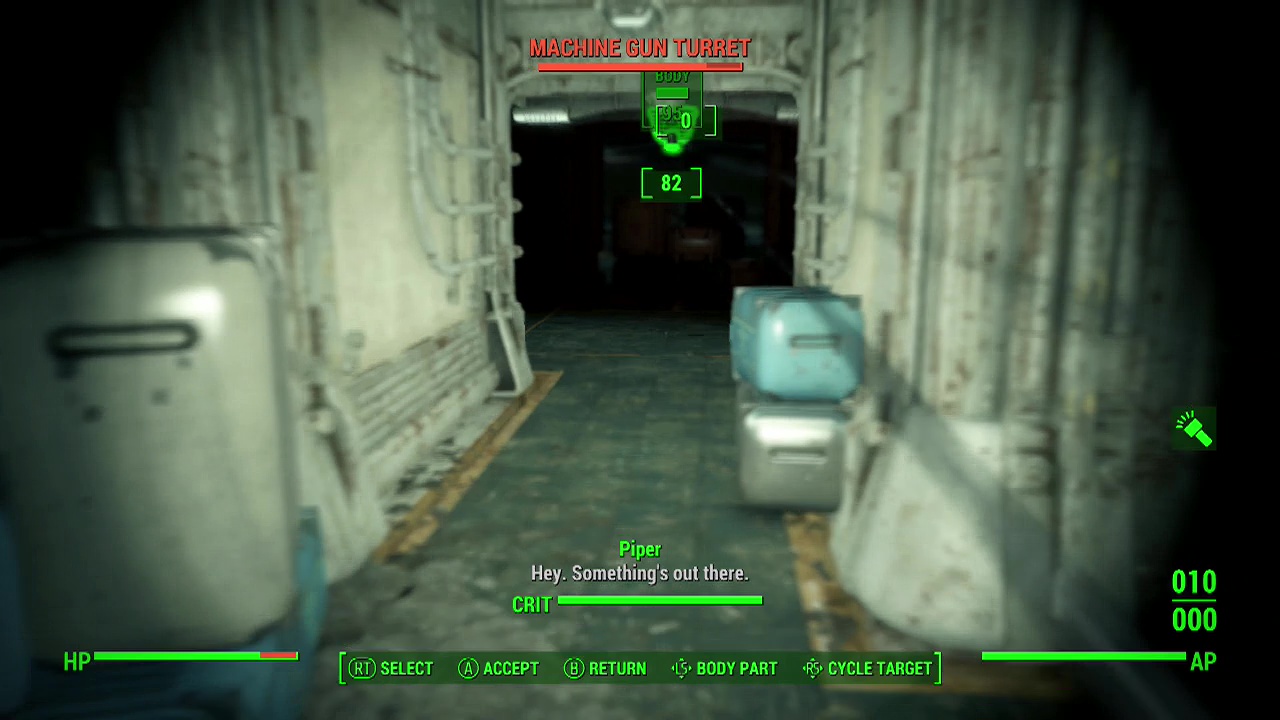
Stroll through the quarters into the next corridor to be confronted with a pair of machine gun turrets on the ceiling at the other end. A hostile protectron will also be wandering around further down the corridor, so take cover and engage them. Take the door on the left to walk through more living quarters to come out on the other side of the blockade. A set of stairs will lead you down to a cafeteria and another machine gun turret overhead. Take it to pieces and continue down the hallway it was guarding.
You'll pass through a few small rooms until you reach a sign over a door saying maintenence. Enter the room beyond, walking past the molerat corpse half embedded in the dirt. As you ascend the pair of ramps just beyond, you'll see five or six enemies appear on your radar. These are all molerats on the level above, so take your time here to pick them off one by one or else you may be overwhelmed by the swarm.
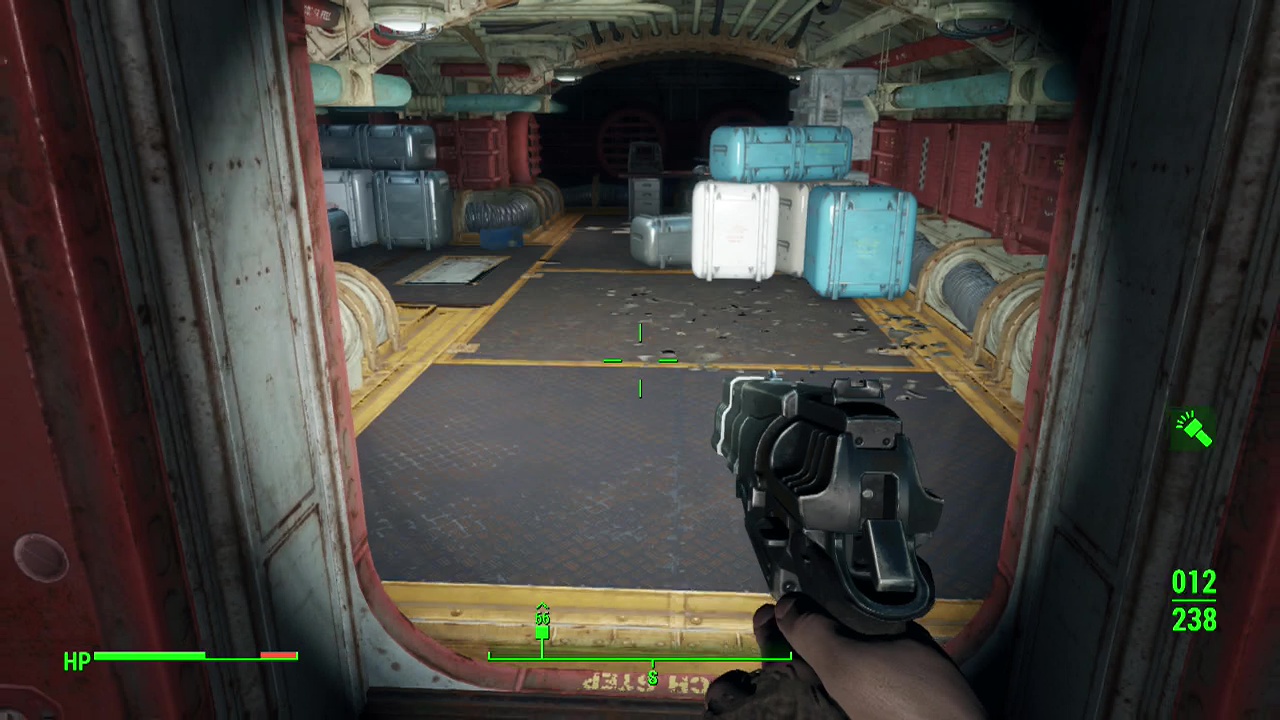
At the top once the molerats are dealt with you'll reach a security door leading to the research area. Open it up and when the hallway opens up you'll be attacked by another cluster of eight or nine molerats. When the room is finally free of vermin, open the security gate and descend the ramp on the other side. A sliding door on this lower level will take you to another hallway, that opens up into several small research rooms. These are of course infested with three more molerats.
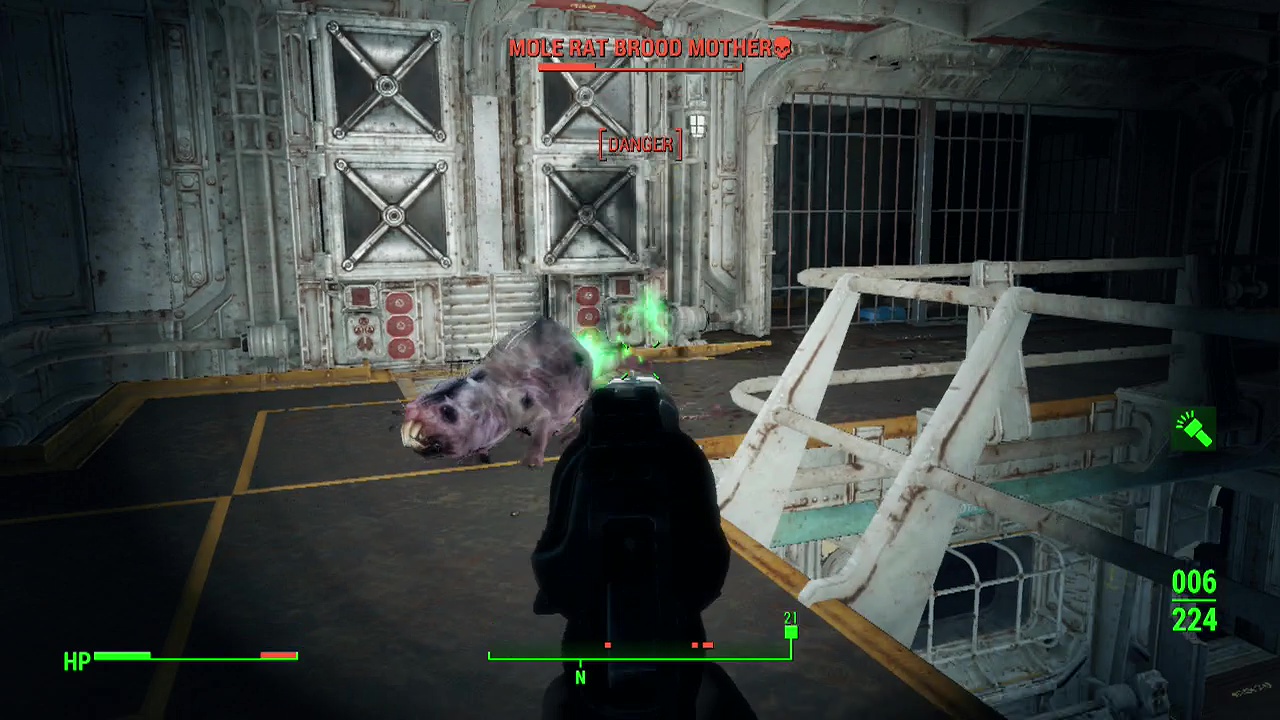
When you are done, take the opening at the end of the hall on the right and then climb up the stairs. You'll emerge on a walkway overlooking the room you just passed through. Prepare your weapons as you are about to encounter the molerat brood mother (who can be fairly dangerous when you are a low level) and three or four molerats. You can place down frag mines or prep grenades to make things easier for yourself before moving along the walkway and triggering the attack. Remember that molerats can emerge from any dirt pile, meaning inside the cages along the left wall to flank you.
After the 'boss' encounter is over, scour the room the brood mother came from for a mini-nuke and a blue reward chest. You can examine the medical bay next door for some healing items and the password to the expert terminal you passed just before at the top of the stairs before the fight. Return to the terminal and use it to open the door to your right to continue onwards up another set of stairs.
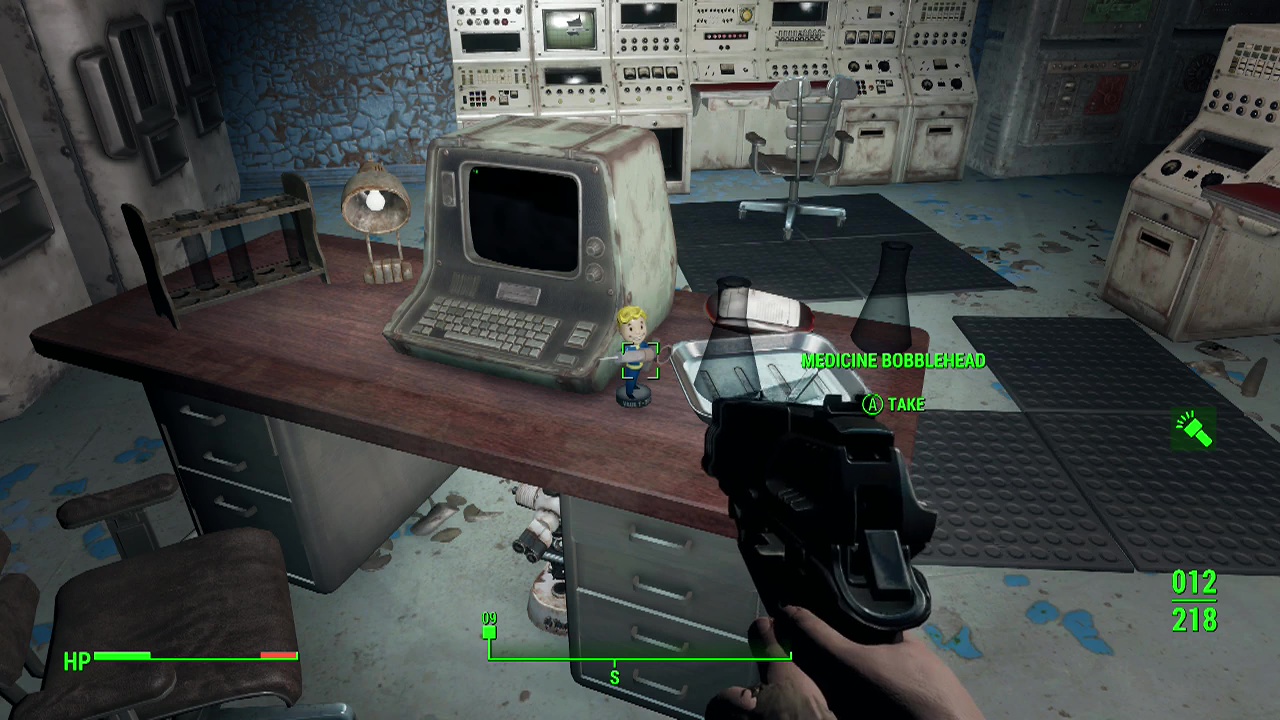
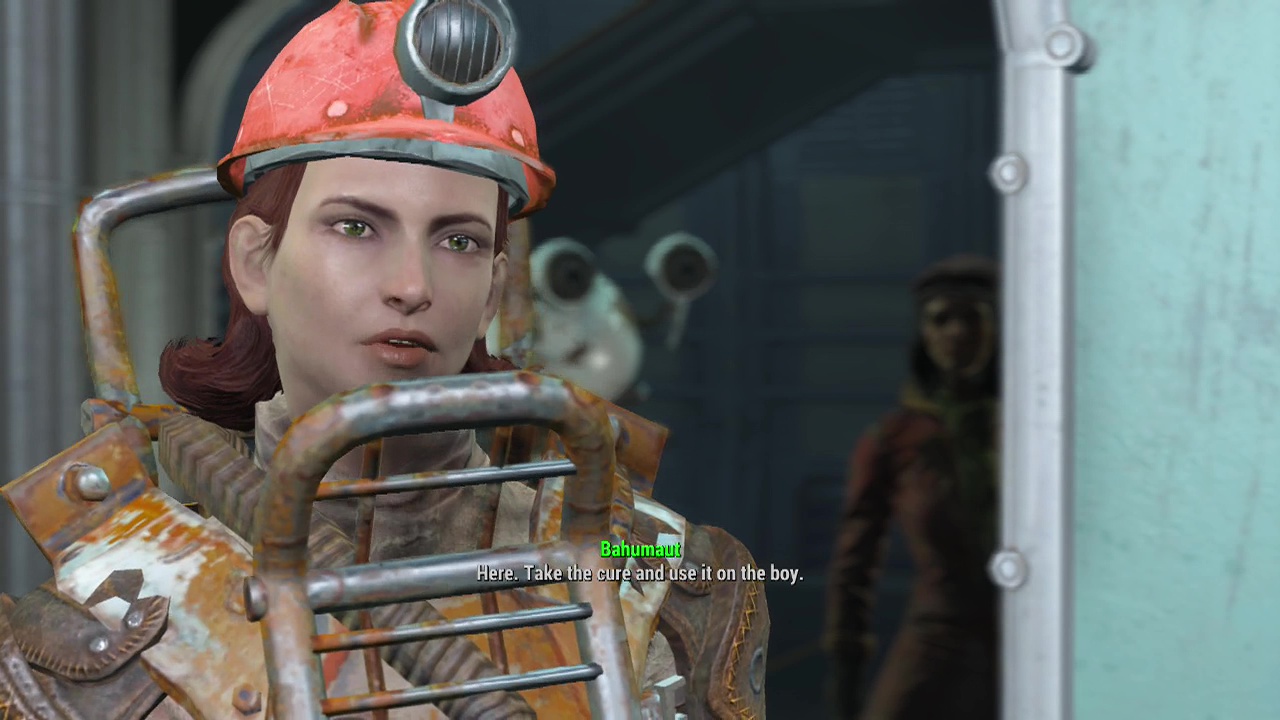
At the top you'll see three lockers with flowers placed in front of them. Leave them be and head for the marker in the nearby room to encounter curie, a robot designed for to aid researchers. Tell her that you're Vault Tec security and that she can open the door. You'll find out more about what is going on as well. When you enter, she'll hand over the fruits of her years of labour, the cure that Austin needs.
Note: Be sure to pick up the medicine bobblehead off the table in the room Curie is in.
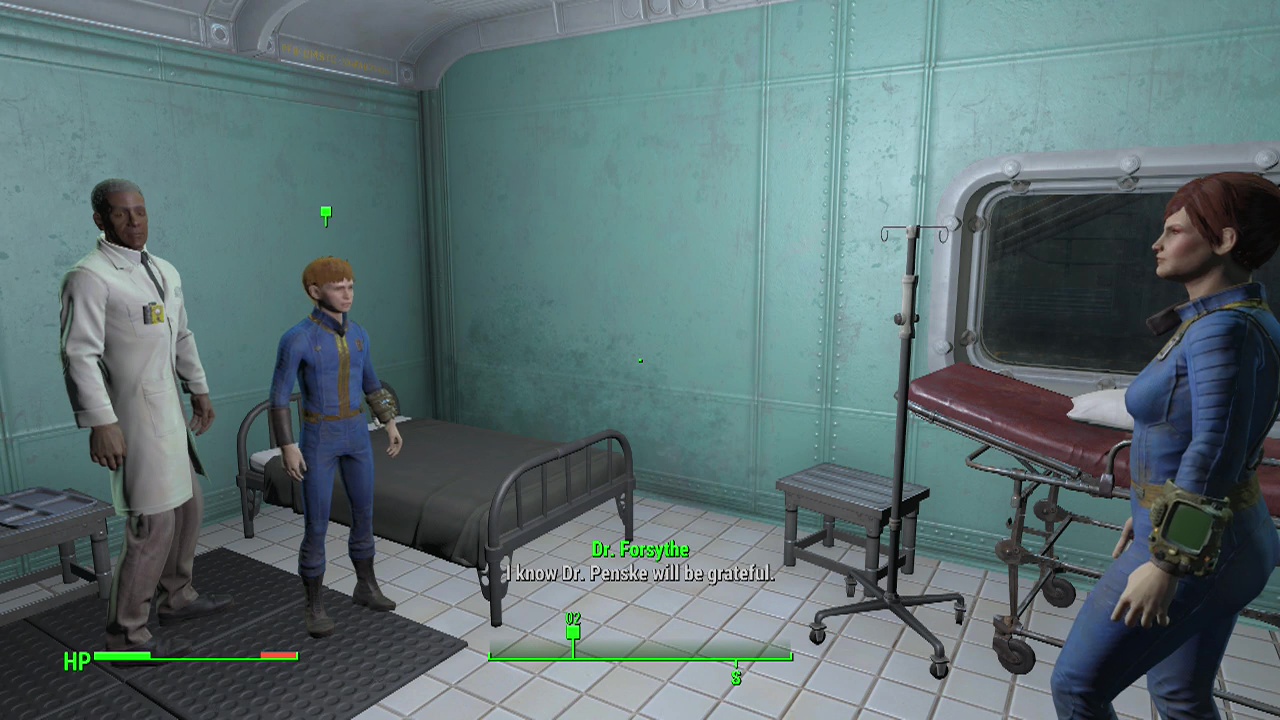
Objective: Give cure to Dr. Forsythe
Agree to let Curie accompany you, then take the blue door in the hallway outside which is an elevator that will take you up to the entrance of Vault 81, on the other side of an door that was inaccessible. Use the terminal to open it and then head back down into the main area of Vault 81 to go to the medbay.
IMPORTANT NOTE: During your visit to the secret area of Vault 81, the molerats infected you with a virus that reduces your HP permanently by 10. The only way to remove this virus is to either use the cure on yourself or get Dr. Forsythe to split the cure into two doses.
Objective: Watch Austin
Make your decision about the cure and if you gave the cure to Austin he will recover. Afterwards, the overseer will reward you with a permanent residence in Vault 81 (on your left after you emerge from the elevator in the main area).
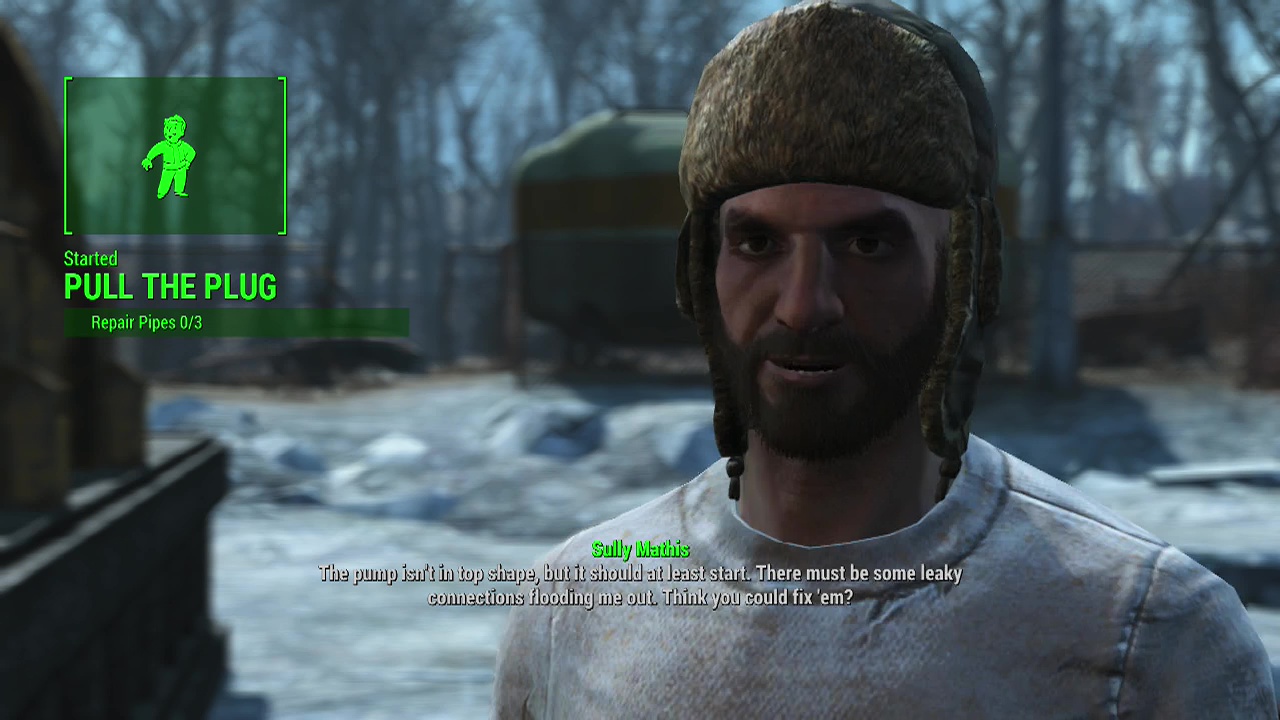
SIDEQUEST – Pull the Plug
Triggered by talking to Sully Mathis at the Thicket Excavations near the center of the Northern border of the map
Note: You'll need to swim in water during this quest, so you may want to have some radaway or the aquaboy/ girl perk to deal with the radiation.
When you talk to him, he'll offer you some caps to help him out with some plumbing (where's the Mario brothers when you need them?). You can persuade him to hand over more caps if you have enough charisma. Agree to help and you'll start the sidequest.
Objective: Repair pipes (3)
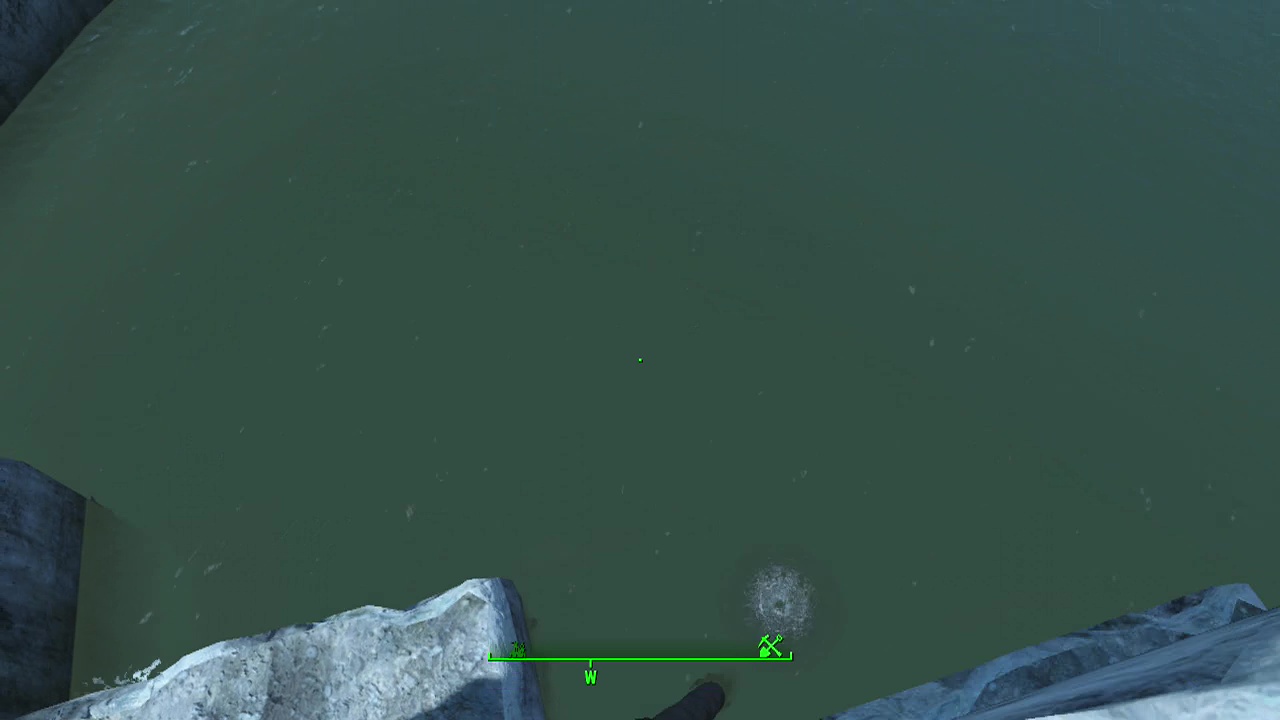
You'll see a big pit nearby filled with water. The pipes Sully mentioned are located in the water below, leading down into the depths of the murky lake. You'll need to turn three valves on specific pipes (this 'repairs' them apparently) spread around the lake to stop the leaks. To find them, look at the surface of the lake and you should spot bubbles rising up on top of the water. These show you where you need to dive. The valves should be directly beneath these bubbles, however the depths do vary. Locate and turn each valve to finish the repairs.
Objective: Talk to Sully Mathis
When the job is done, climb out of the lake and return to Sully. He'll let you start up the pump for your efforts.
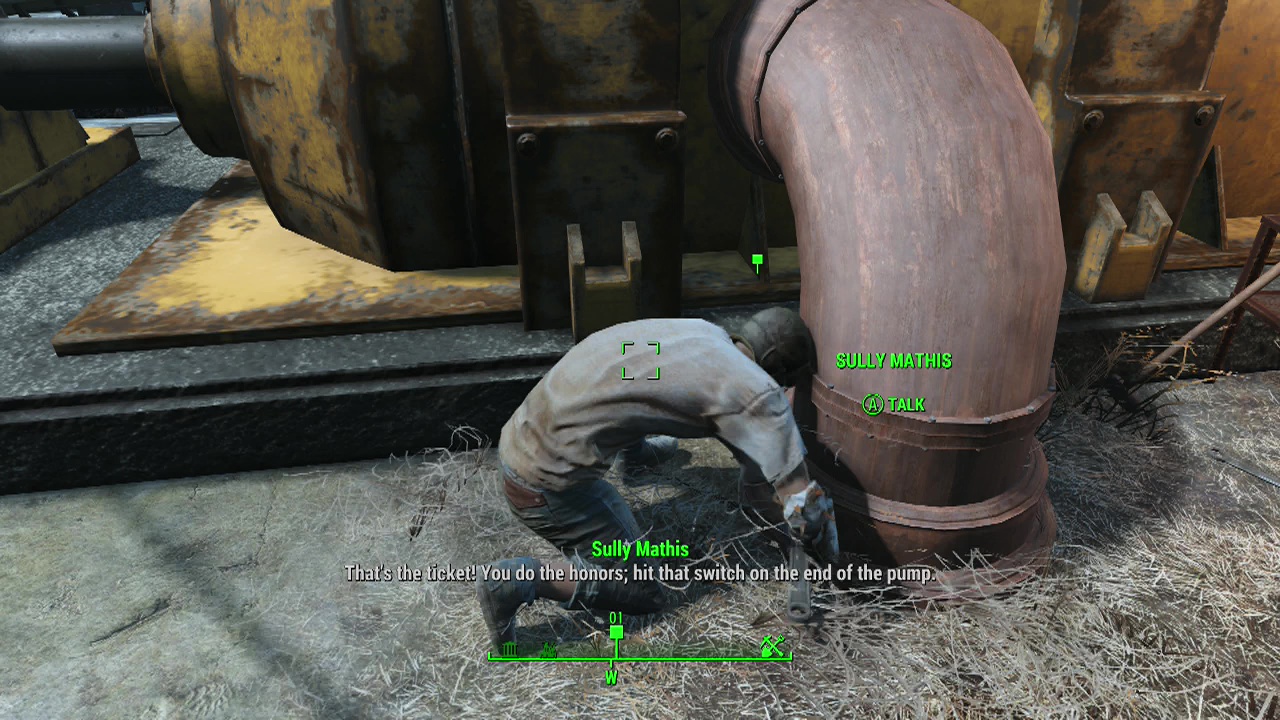
Objective: Start the pump
The large yellow bit of machinery near Sully is the pump, circle around to the marked control panel and start her up.
Objective: Talk to Sully Mathis
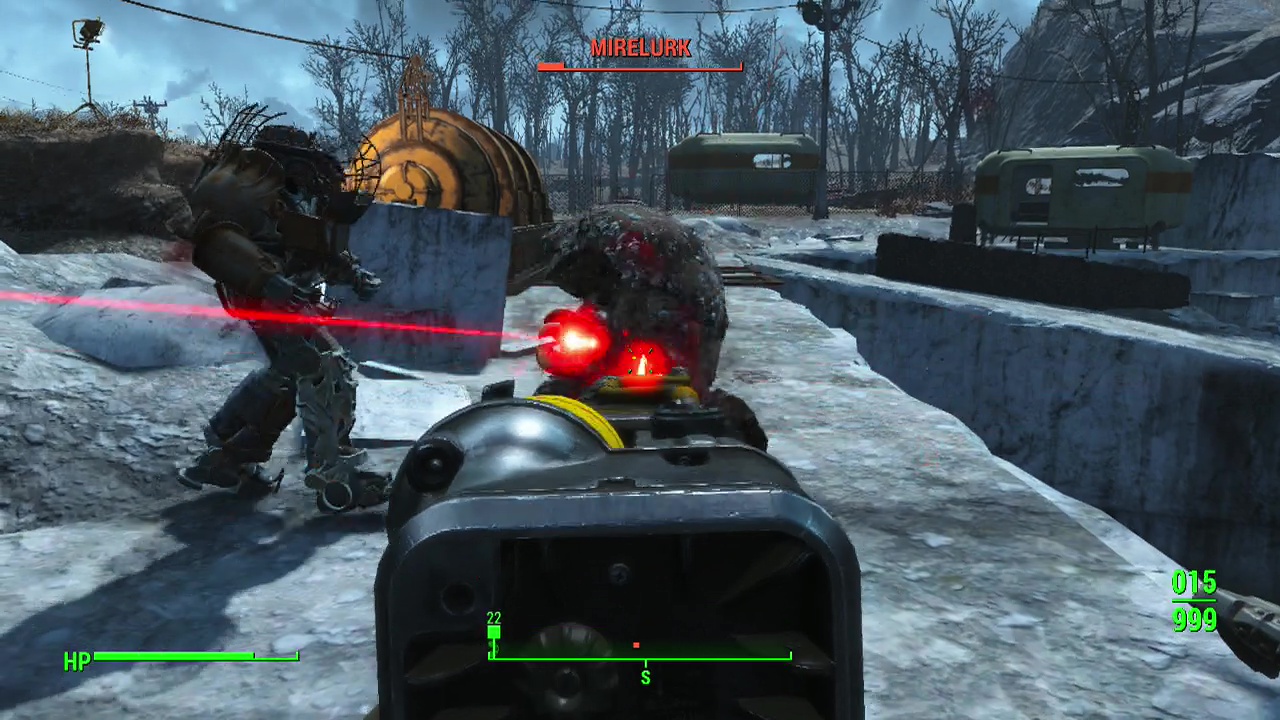
After starting the pump, Sully will call out and you'll be attacked by a pair of mirelurks. Aim for their crablike faces with a shotgun or energy weapon to bring them down fast. When both of them are crabsticks, return to Sully and you'll get your caps as the quest ends.
Note: After 24 hours, the lake will be drained, granting you access to the lower area
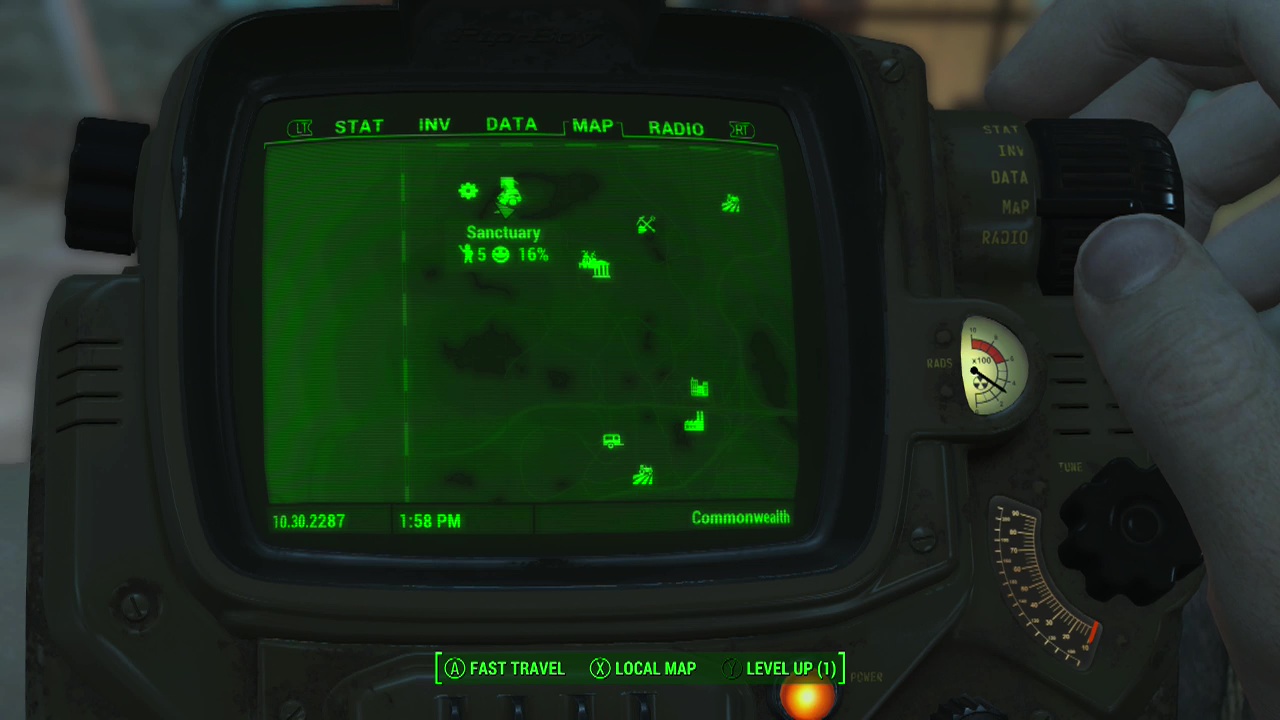
SIDEQUEST – Sanctuary
Triggered by completing Minutemen Quest 01 – When Freedom Calls then returning to Sanctuary and talking to the new arrivals
Objective: Talk to Sturges
Sturges will be your repeated port of call for this sidequest, as he wants you to help out with making the settlement of Sanctuary viable as a place to live. To do this he'll give you several tasks to perform that require you to use the workbench. If you need materials, make sure to clean out your starting vault and the Museum of Freedom.
Objective: Build sheltered beds for Sanctuary settlers (0-100%)
Time to build a butt-load of beds people. Various beds require different materials, but you'll generally need cloth and steel. Keep sticking more beds inside one of the less destroyed buildings until the percentage reaches one hundred.

Objective: Talk to Sturges
Objective: Provide clean water for Sanctuary Settlers (0-100%)
Depending on your haul of junk and other items, you may want to make multiple small water pumps (concrete, steel, gears) on the ground around the place or a couple of big ones (oil, ceramic, rubber, copper, steel, cloth) in the nearby lake. You may also need to build a generator or two if you make the larger water purifiers. Once again when the percentage reaches max, return to Sturges.
Objective: Talk to Sturges
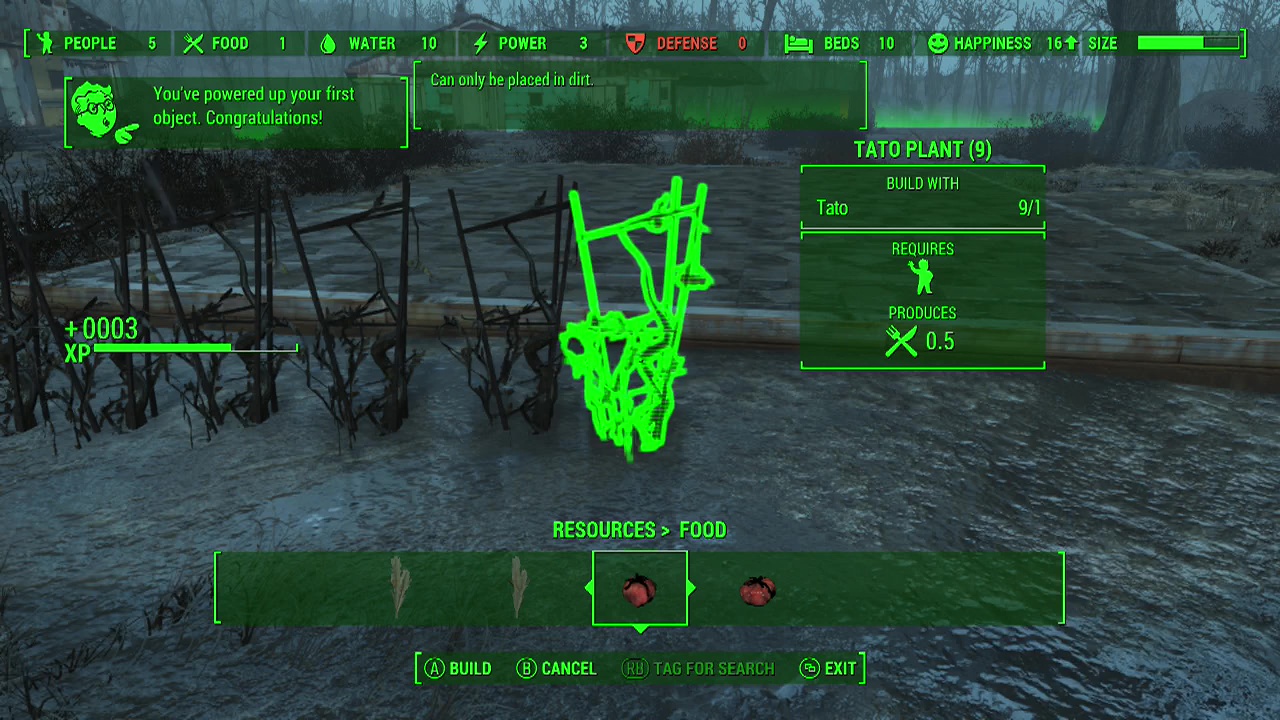
Objective: Provide food for Sanctuary settlers (0-100%)
This requires you to find crops such as melons or corn and then bring them back to Sanctuary and plant them using the workbench. You may have some melons growing around the houses in Sanctuary to begin with if you're lucky, if not you'll have to buy crops from traders or find them in your travels. When you've planted enough (sleep repeatedly for the crops to produce more for you to harvest and then plant) return to Sturges yet again.
Objective: Talk to Sturges
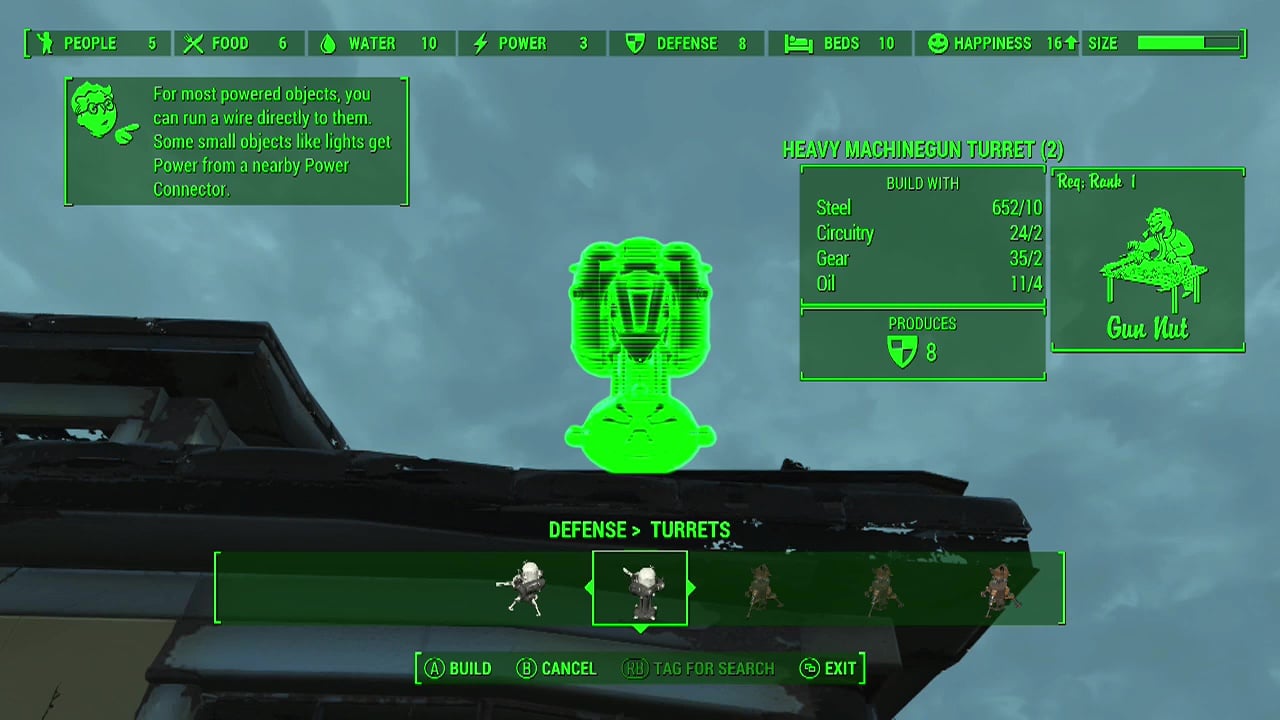
Objective: Build defenses for Sanctuary (0-100%)
Now that you've got the place producing resources, you don't want some bastards to just come in and loot the place (just like you do on a daily basis). So you'll need to create turrets and place them around the settlement (on rooftops is best generally) to kill any pesky interlopers. You should have enough junk to make a couple of machine gun turrets (steel, circuitry, gears, oil) to fulfil the requirements.
After all that, talk to Sturges one last time to finish things off and obtain your XP. Your first settlement should be a decent place to return to now after a long day's scavenging and killing raiders.
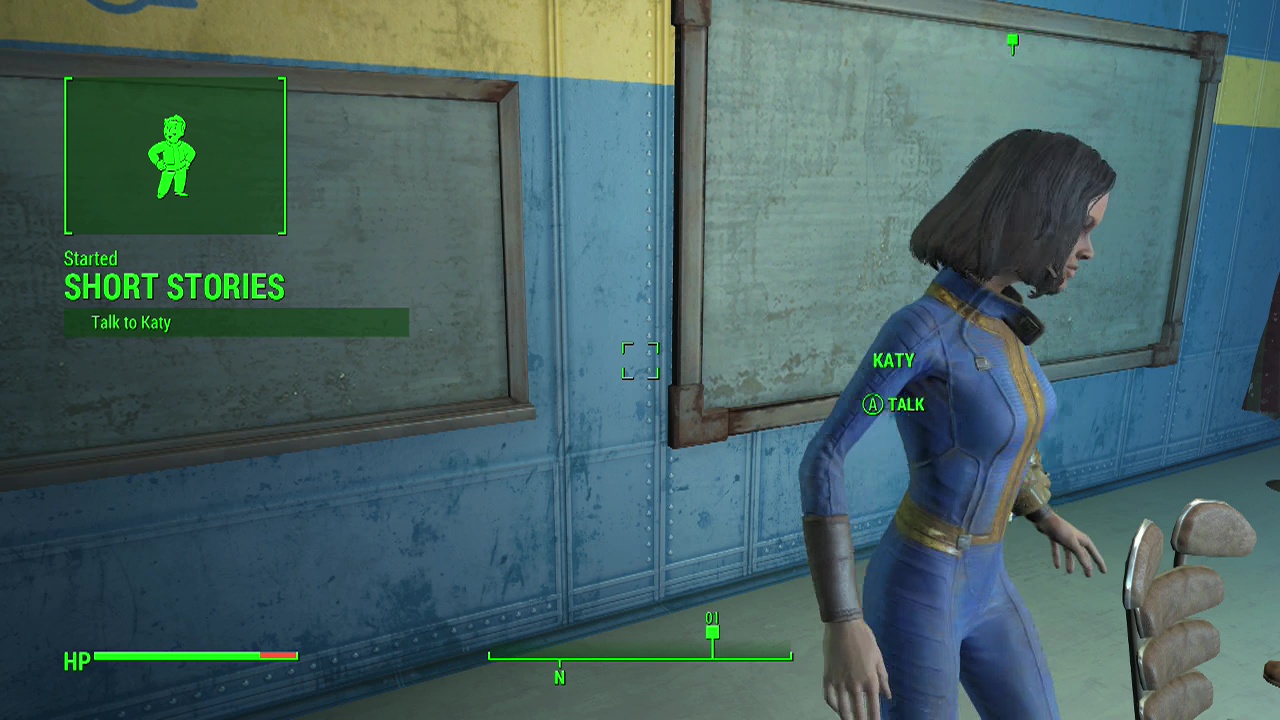
SIDEQUEST – Short Stories
Triggered by talking to Katy the classroom teacher in Vault 81 and volunteering to tell the class stories
Objective: Talk to Katy
Walk over and let Katy know you're ready to spin one of your tales to the children. Choose whatever dialogue options you wish and answer their questions. At the end of the class, you'll get your XP reward.
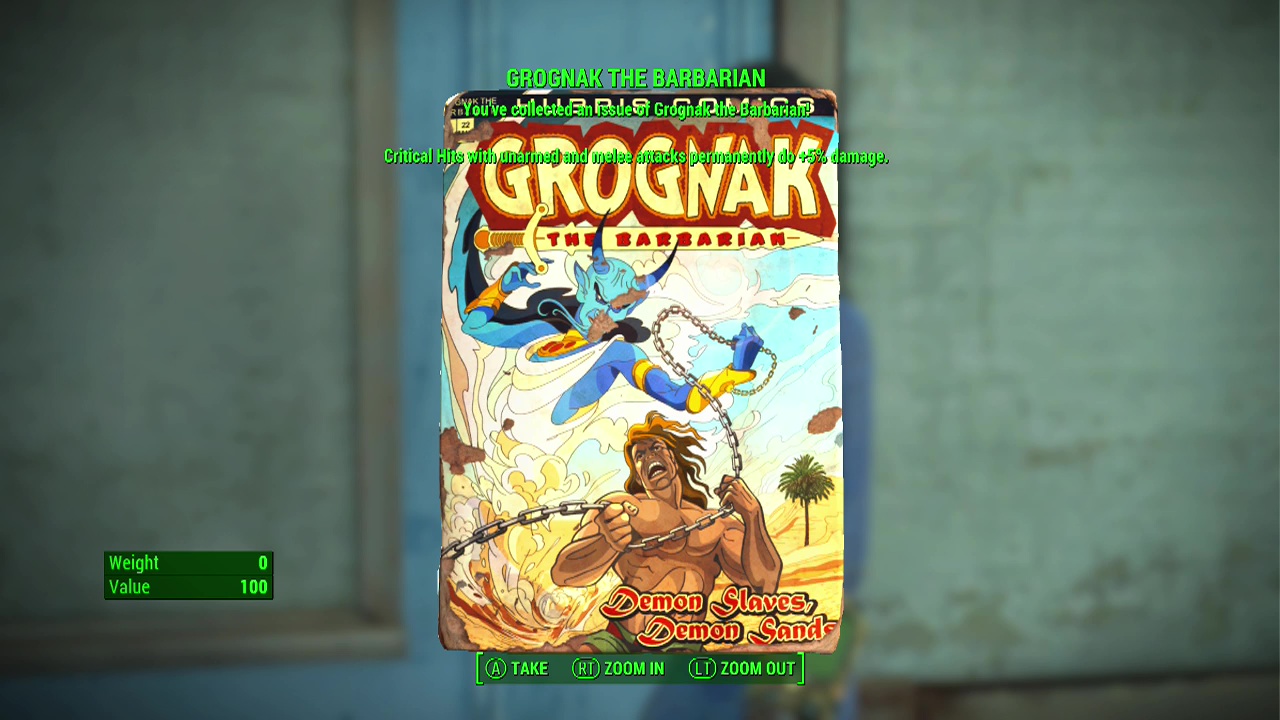
Note: You'll also get a copy of a Grognak the Barbarian comic as an additional reward
SIDEQUEST – Story of the Century
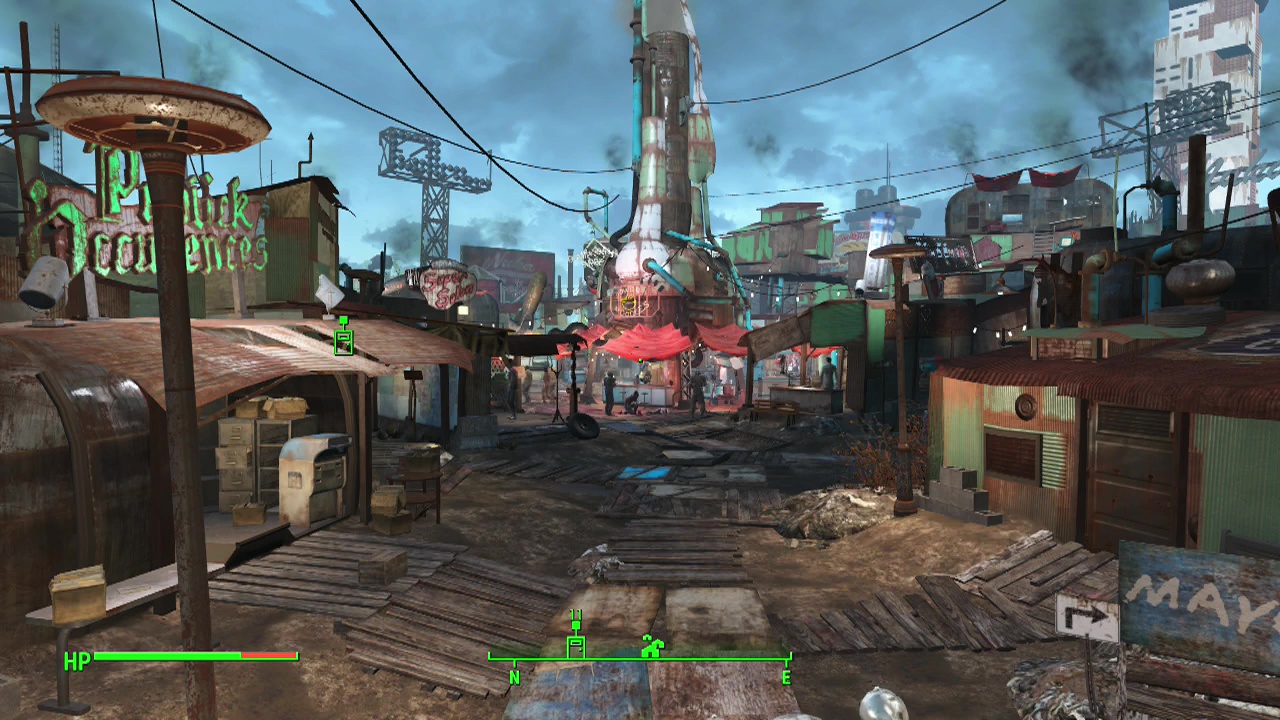
Triggered by encountering Piper at the entrance to Diamond City and then talking to her when you are both allowed inside (she'll ask to interview you).
Objective: Go to Piper's office
Piper's office is located inside the Publick Occurences building at the bottom of the ramp on the left as you walk down from the entrance inside Diamond City. Walk in and you'll find Piper waiting (if you haven't already progressed to the point of her becoming a companion, if you have, she will be wherever you told her to be).
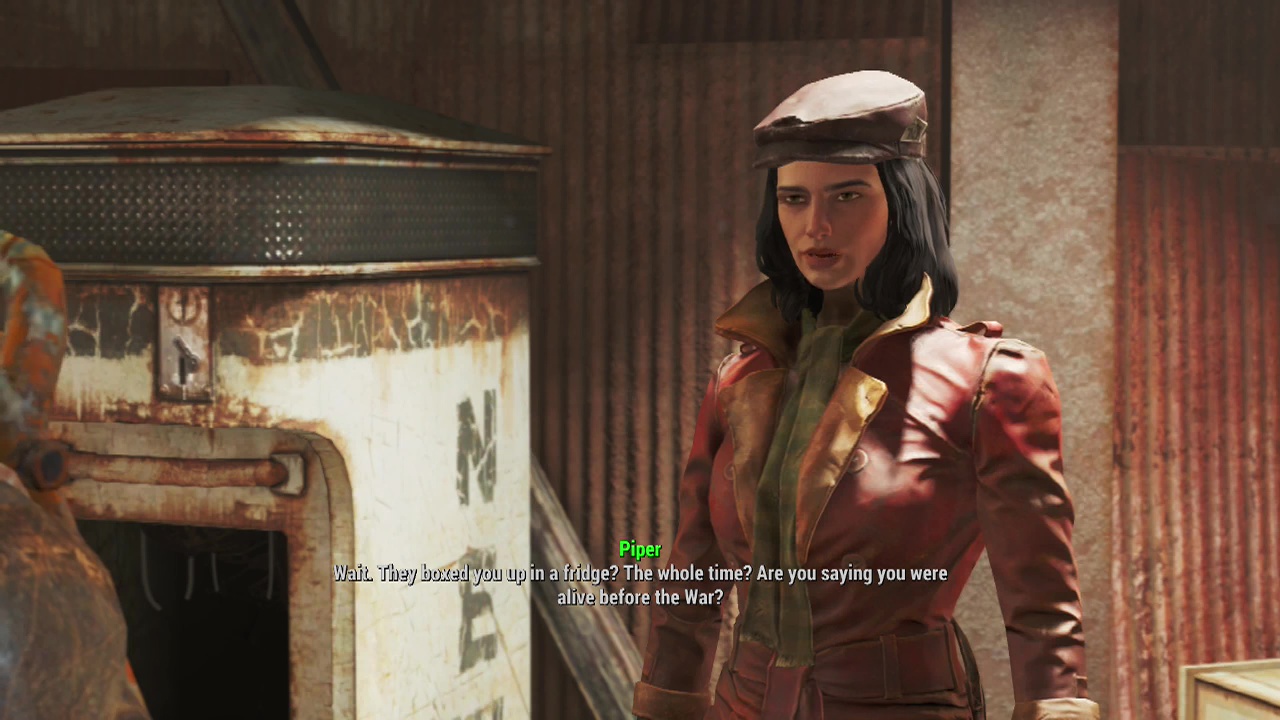
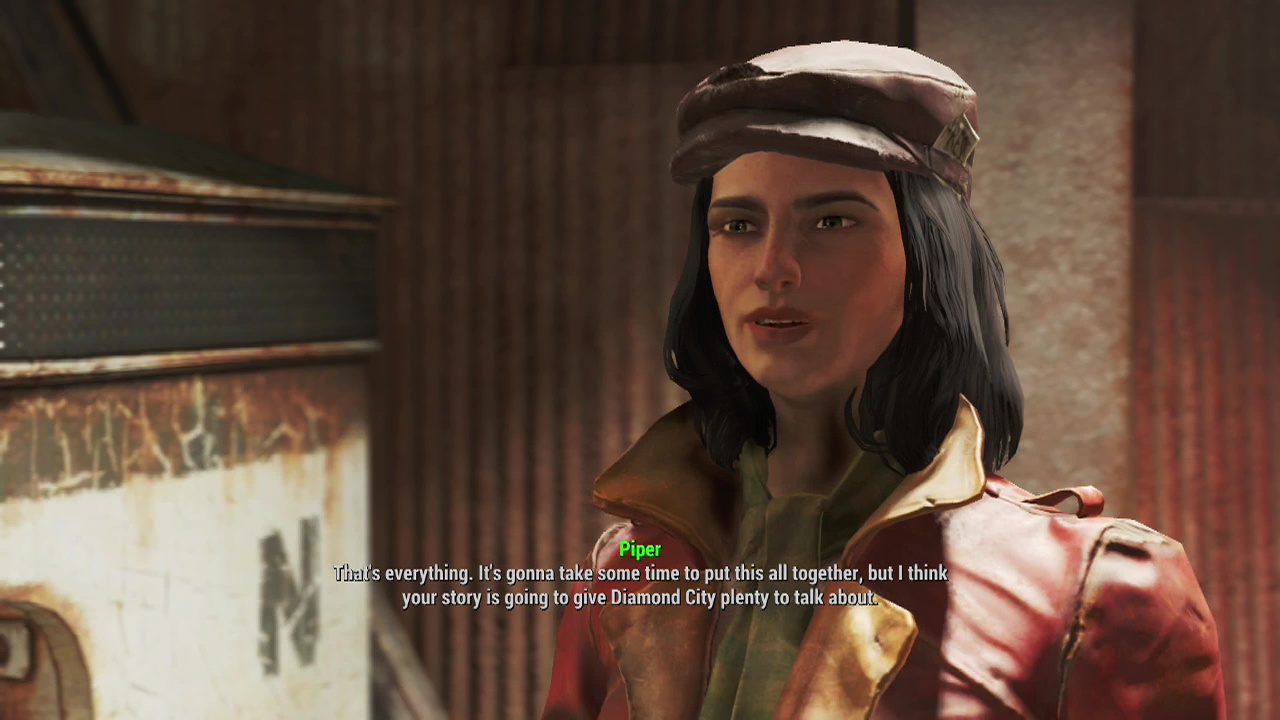
Objective: Talk to Piper
Have a quick chat and then agree to start the interview to begin telling Piper your story. She tends to like positive and action oriented responses to her questions, although the answers don't have any impact on the game. Finish up with her questions and she'll offer to join you as a companion. She will also do this in a later story quest if you don't recruit her with this sidequest.
SIDEQUEST – The Devil's Due
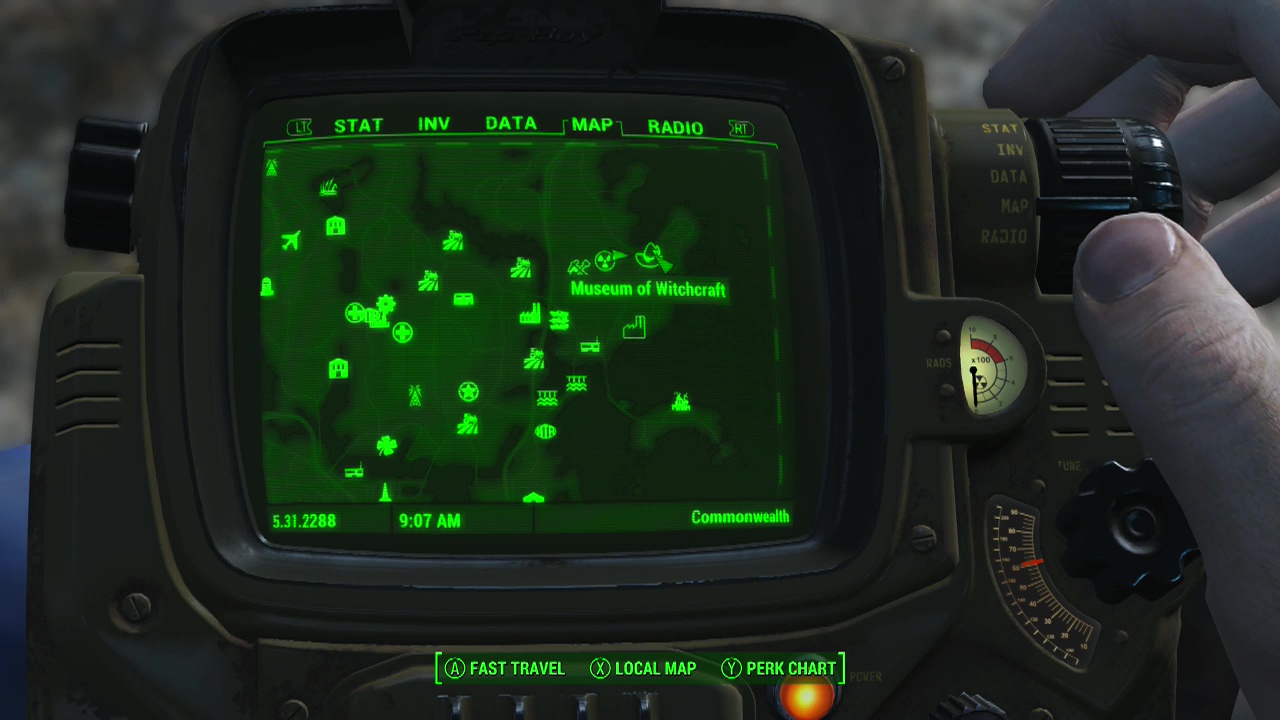
Triggered by finding the mangled body outside the Museum of Witchcraft or overhearing it
There is a majorly tough fight on higher difficulties inside the Museum as it scales in strength as you increase in level. Make sure you bring powerful weaponry and power armour.
Objective: Investigate the Museum of Witchcraft
Look for the body on the South side of the Museum and take the holotape from it.

Objective: Listen to Private Hart's holotape
Find the tape in your inventory and listen to the worrying contents.
Objective: Explore the Museum
A trapdoor will be marked to your left that you can use to enter the Museum. Make your way through the lower level, picking up loot and listening to the creepy sounds. At the end you'll find stairs leading up to the ground floor. Note the doorway at the top of the stairs as you may want to use it as a point to retreat to shortly.
Continue across the damaged floor until you discover the monster of the Museum. Back away quickly while firing while your companion attacks at the same time. Remember that you can retreat to the previous doorway (the monster can't pass through it) if you need time to recover. Keep the pressure on and your footwork swift and eventually you should bring the beast down. When the coast is clear, scour this floor to find a bathroom with a body on the floor. Loot Sergeant Lee's holotape off the body when you find it.
On a table on this floor you can find a copy of Grognak the Barbarian.
Objective: Listen to Sergeant Lee's holotape
Turns out the unlucky mercenaries were here on a job. This leaves you with two options: You can either complete their job and bring the pristine deathclaw egg on the floor to Diamond City. Or you can take the egg back to it's mother. Yeah, normally this wouldn't be a tough decision but each choice gives you a different reward (not just being eaten by a deathclaw for instance).

Objective: Take the egg
Grab it and leave the Museum
(Choice) Complete delivery of the egg
This is the easier path as all you need to do is fast travel to Diamond City and head up to the affluent area of town. Here you will find a Mr. Handy by the name of Wellingham who you need to deliver the egg to. You can also use your persuasion skills to extort more money from the flustered machine.
Reward: Bottlecaps (varies depending on persuasion skill – up to 500) + Deathclaw egg omelette recipe
(Choice) Return the egg to it's nest
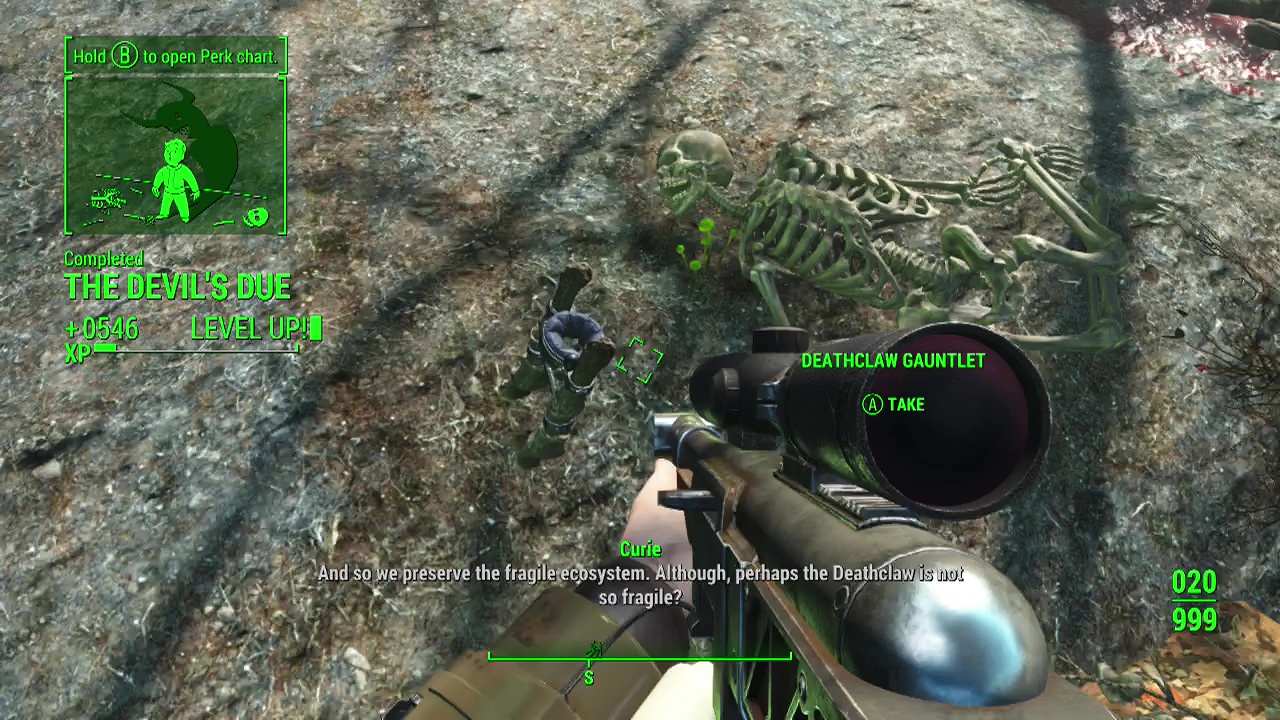
Keep in mind that there are quite strong enemies in this area so you will need to be well equipped to make it to the nest safely. Follow the marker, dealing with any attacking creatures until you find the marked nest. Place the egg inside and on the ground beside it you'll find a deathclaw gauntlet that is your reward for taking this path.
Note: Do not attack the deathclaw mother or try to take the egg after returning it otherwise she will become hostile.
Reward: Deathclaw gauntlet
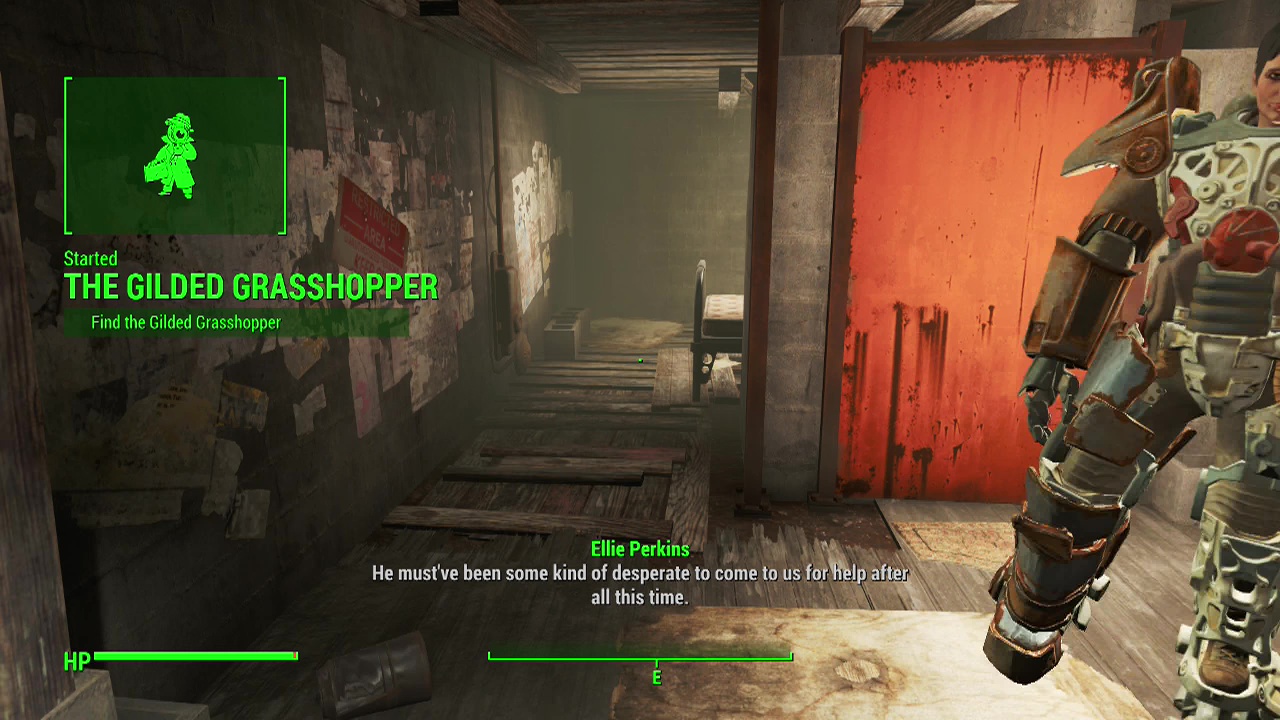
SIDEQUEST – The Gilded Grasshopper
Triggered by picking up Marty Bullfinch's case file in the Valentine Detective Agency in Diamond City
Objective: Find the Gilded Grasshopper
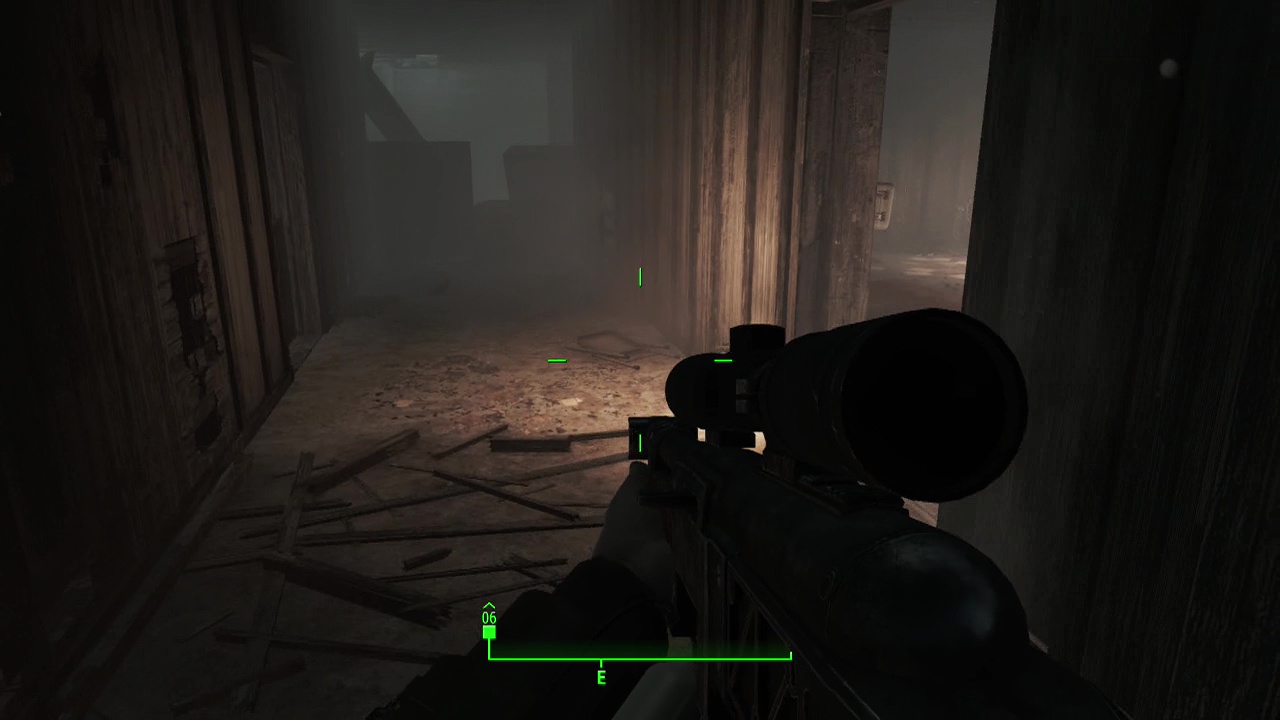
After listening to the holotape from the file, you'll be pointed to a location near the Old North Church (The Railroad HQ) as your starting point in the investigation. Be extremely careful as you get close to the place as there are super mutant suiciders in the area. Take them out safely from range or use your companion as a decoy to avoid the blasts.
Push your way towards the building, bringing down super mutants as you go. Keep your eyes up on each side of the building as there are scaffolds on each sides where the super mutants like shooting down from. When the area is pacified, check the scaffolds for some ammo before entering Faneuil Hall.
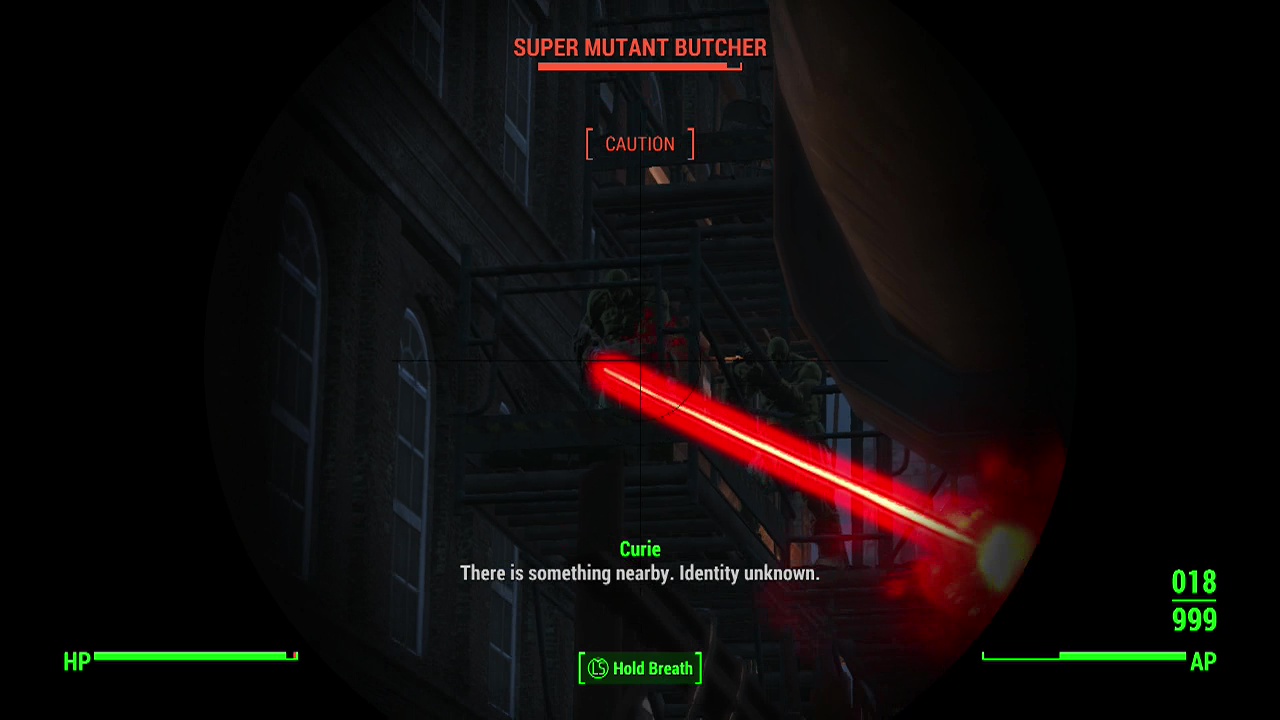
Disarm the can alarm at the bottom of the stairs before moving cautiously into room beyond. A large number of super mutants (four or five) will be patrolling in the area, converging once they hear you so make sure you are ready before opening fire. Your goal is on the roof of this building so you'll need to continually work your way upwards, blasting many super mutants out of your way.
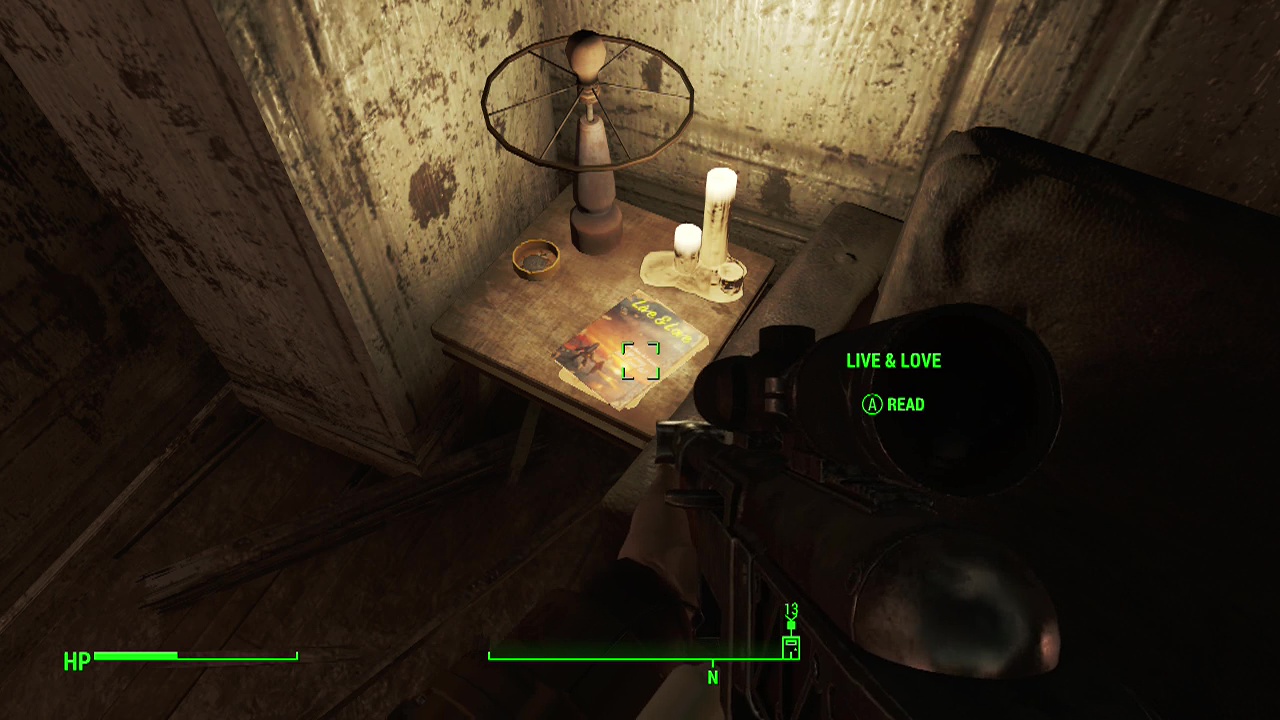
Note: On the top floor on a coffee table is a copy of live & love magazine.
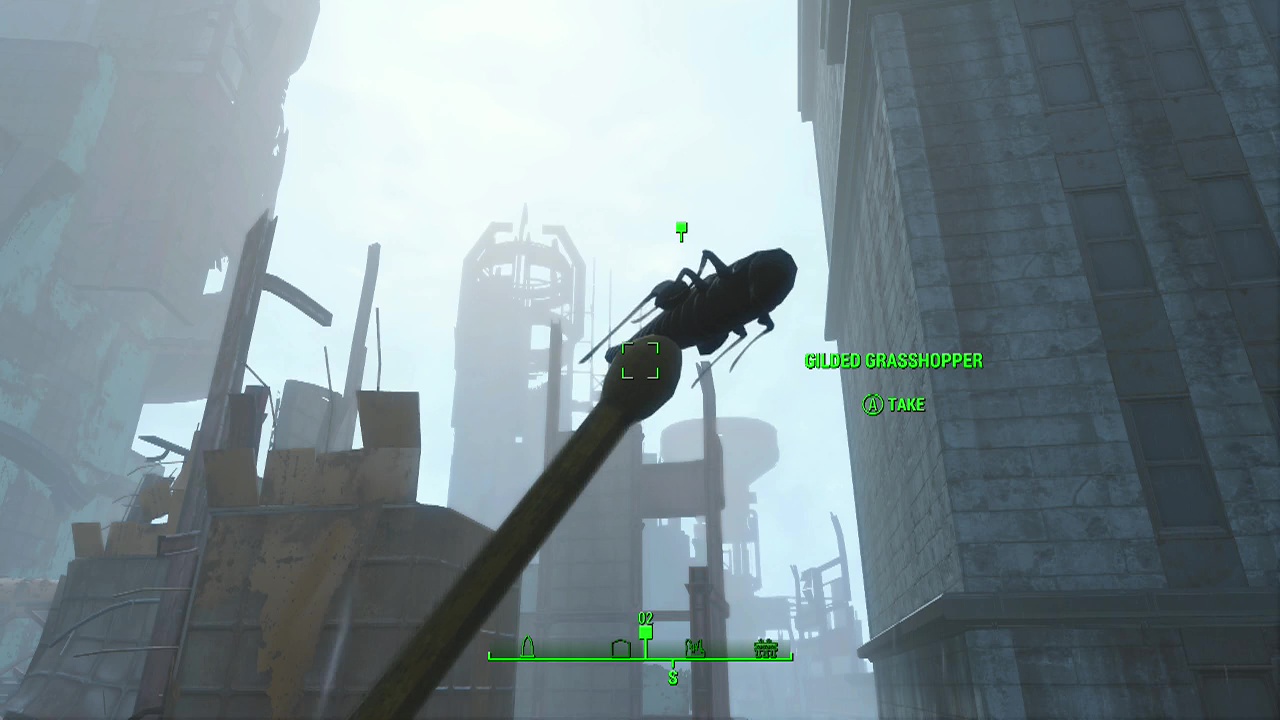
Empty the green loot chest on the top floor before climbing the ladder to the rooftop. Up here you'll see a marker pointing you to a rod nearby with a grasshopper on it. Approach and interact with it.
Objective: Read "Food for the grasshopper"
Find the message 'food for the grasshopper' that was added to your inventory and read through it.
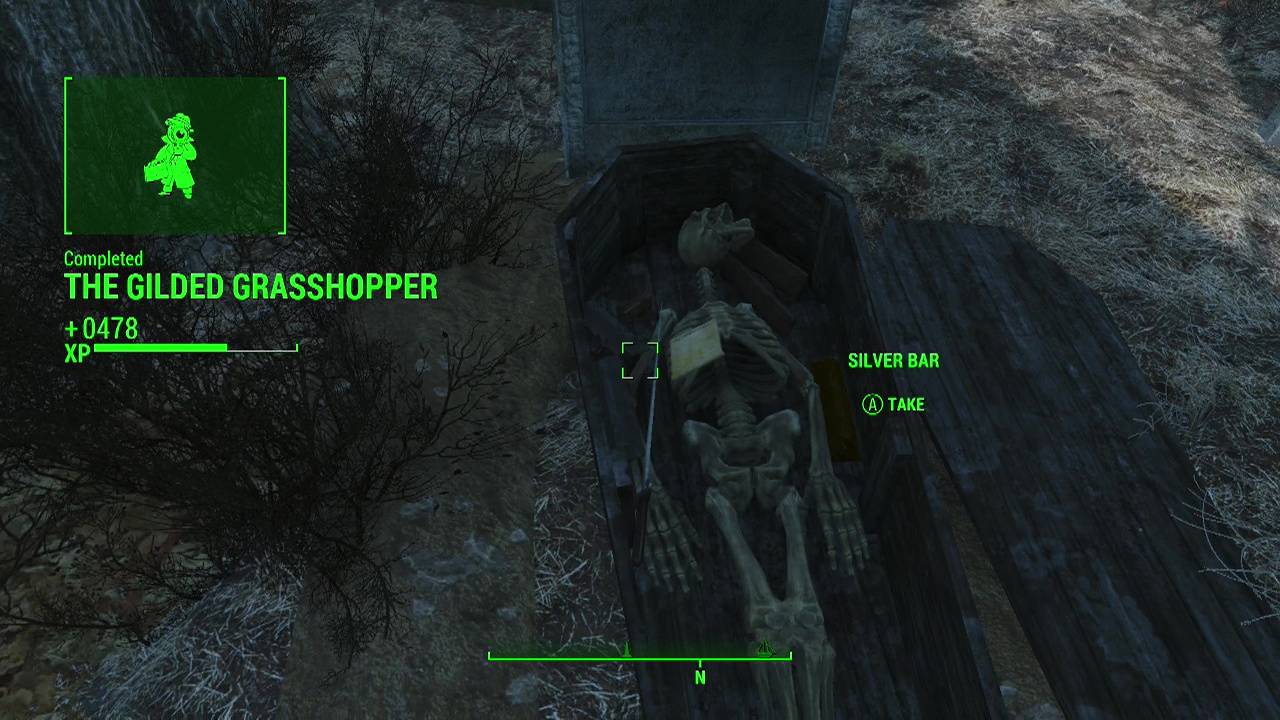
Objective: Find Shem Drowne's grave
The graveyard is located a hundred meters or so to the North-West, but you'll need to climb back down to street level (or fast travel) to reach it. When you arrive, dismember the inevitable wave of ghouls and follow the marker to the grave. After a quick dig, you'll be able to claim your reward.
SIDEQUEST – The Silver Shroud
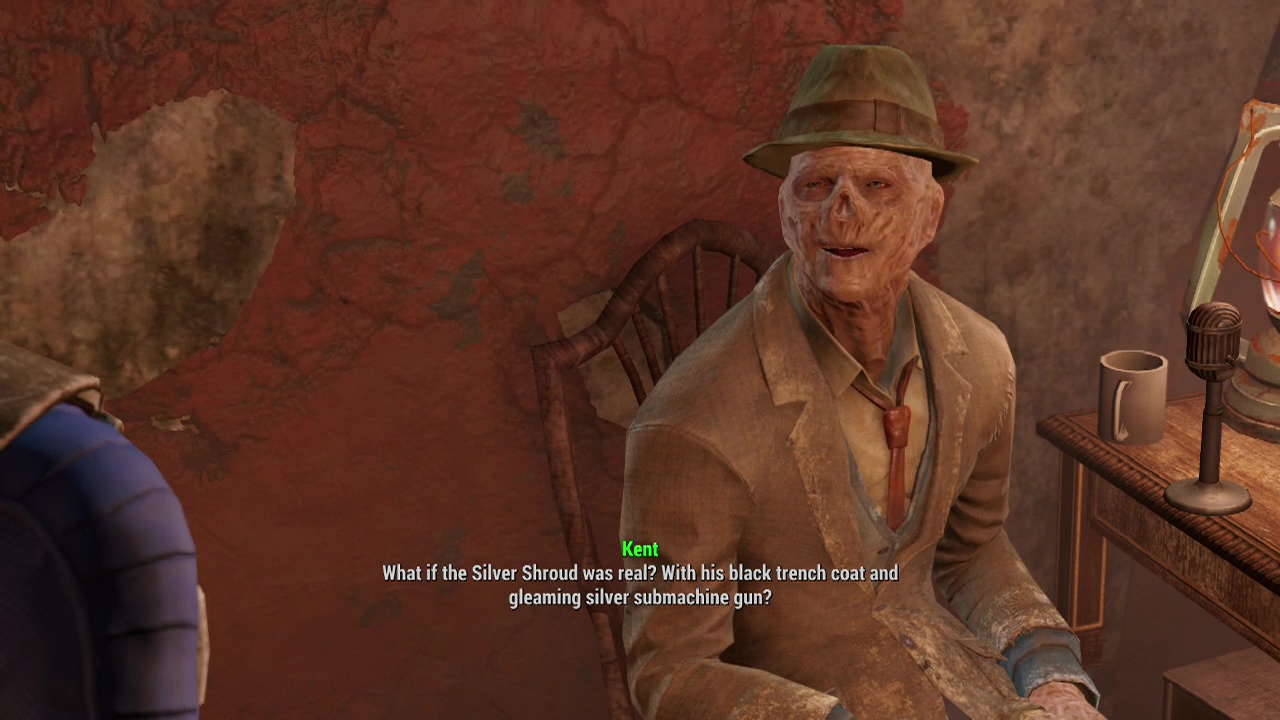
Triggered by talking to the ghoul Kent Connolly in the Memory Den in Goodneighbour
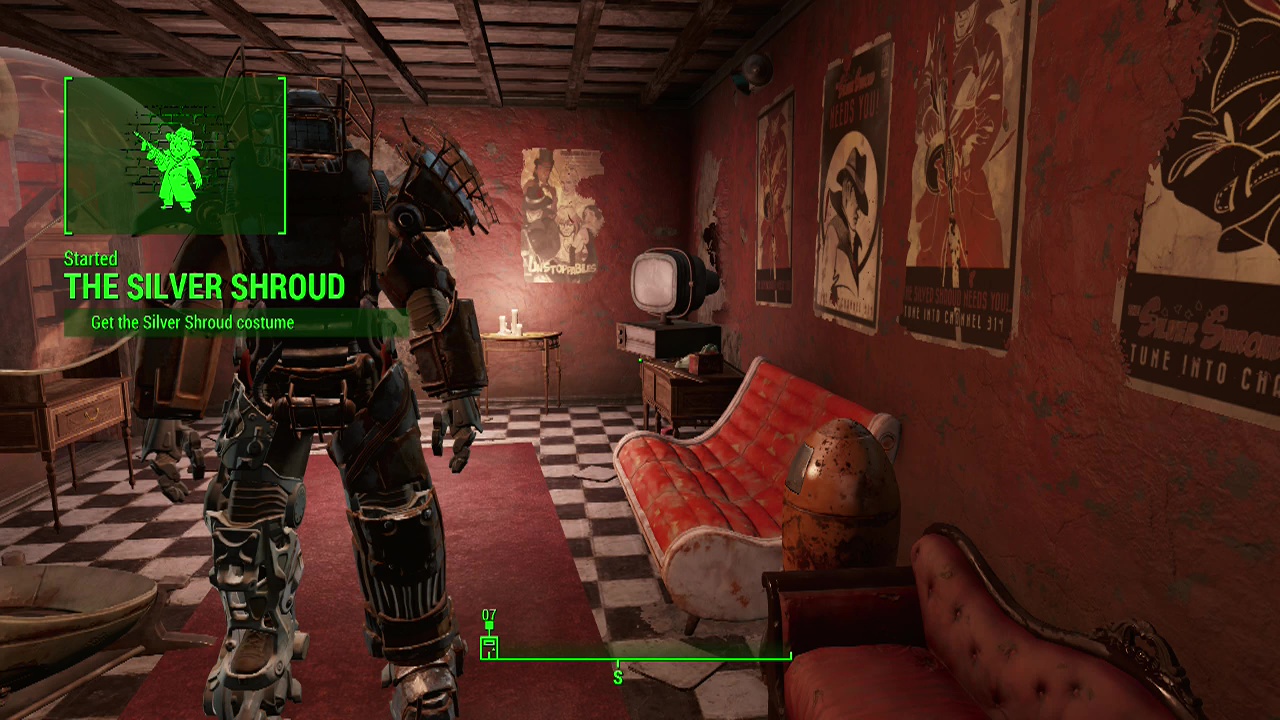
To begin this quest have a chat with Kent and you'll find out he's obsessed with all things Silver Shroud related. After a bit of banter he'll ask you to reclaim the Silver Shroud costume from the ruins of Hubris Comics where it is currently located. You can convince him to pay you some of the fee upfront if you have a high enough persuasion before even starting on this batty errand.
Objective: Get the Silver Shroud costume
Hubris Comics is located almost in the center of the city, so you shouldn't have too far to travel unless this is your first time visiting. When you enter the door of the building things will be suspiciously quiet. Make some noise however and ghouls will start pouring into the room. All the floors of this place have plenty of them and you'll need to cut your way through until you reach the recording studio on the top floor.
Note: You can obtain the legendary melee weapon 'Grognak's Axe' from the glass display case behind the reception desk.
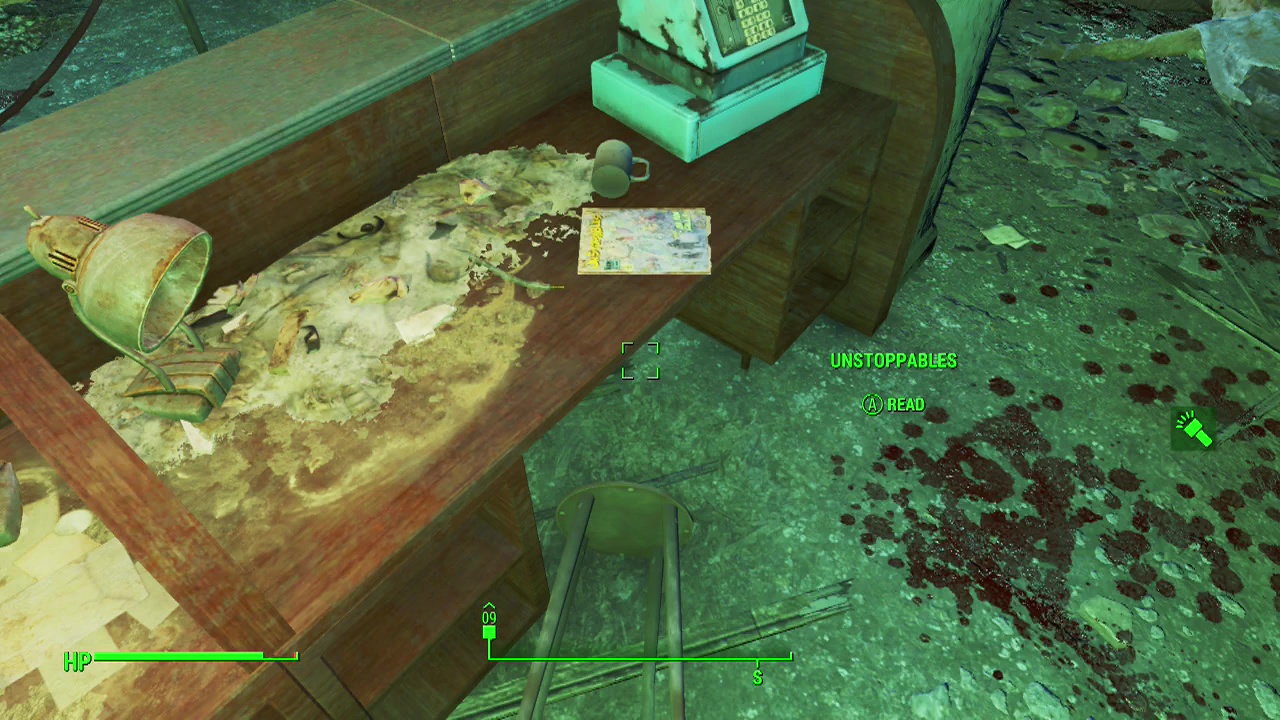
Note: On the reception desk is a copy of the Unstoppables magazine for you to pick up.
When you reach the final staircase before the top floor, stay alert as the big threat here is a glowing one behind the backdrop of the recording area. There are a couple of other ghouls but they are more of a nuisance. Once the top floor is clear, take the costume (coat and hat) off the manequin
Note: In a locker on the top floor is the legendary Grognak's costume armour.
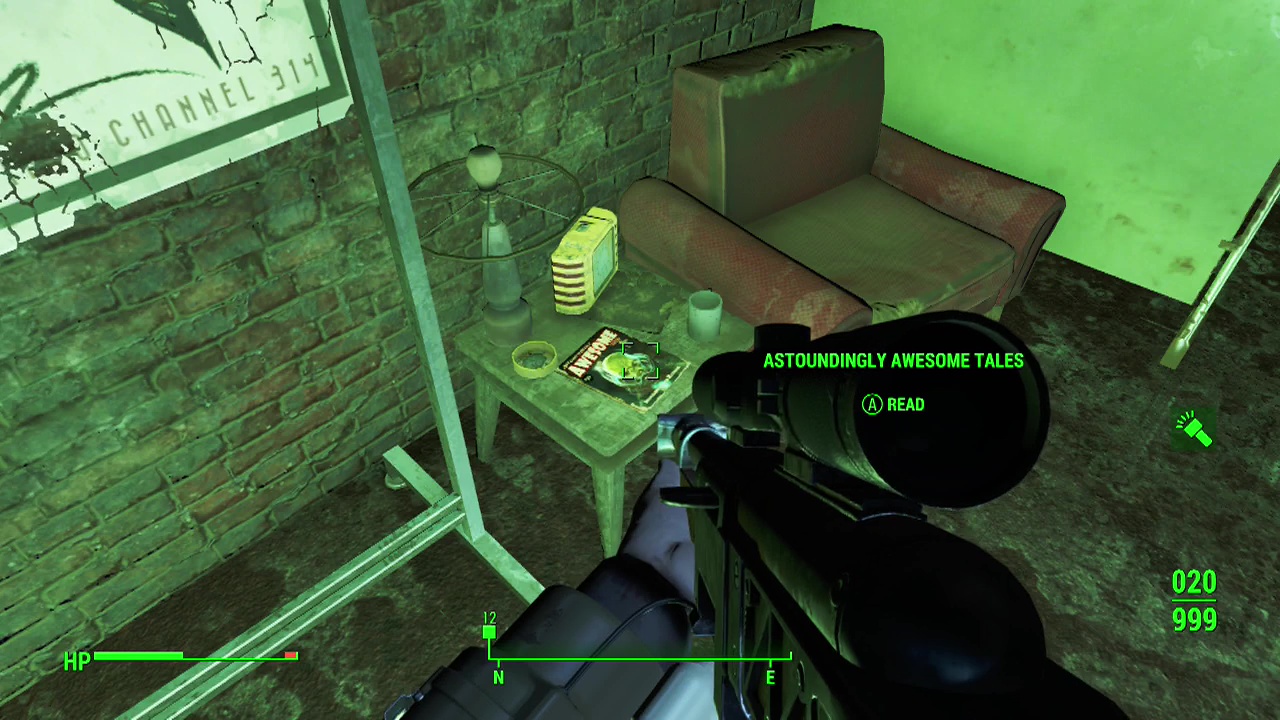
Note: Investigate the bathroom with a gold star on it to find an Astoundingly Awesome Tales magazine.
Objective: Give Kent the Silver Shroud costume.
Once you're done looting the place, backtrack to the Memory Den for another talk with Kent who will hand over the caps, weapon and some Silver Shroud calling cards.
Objective: Listen to Silver Shroud radio station in Goodneighbour
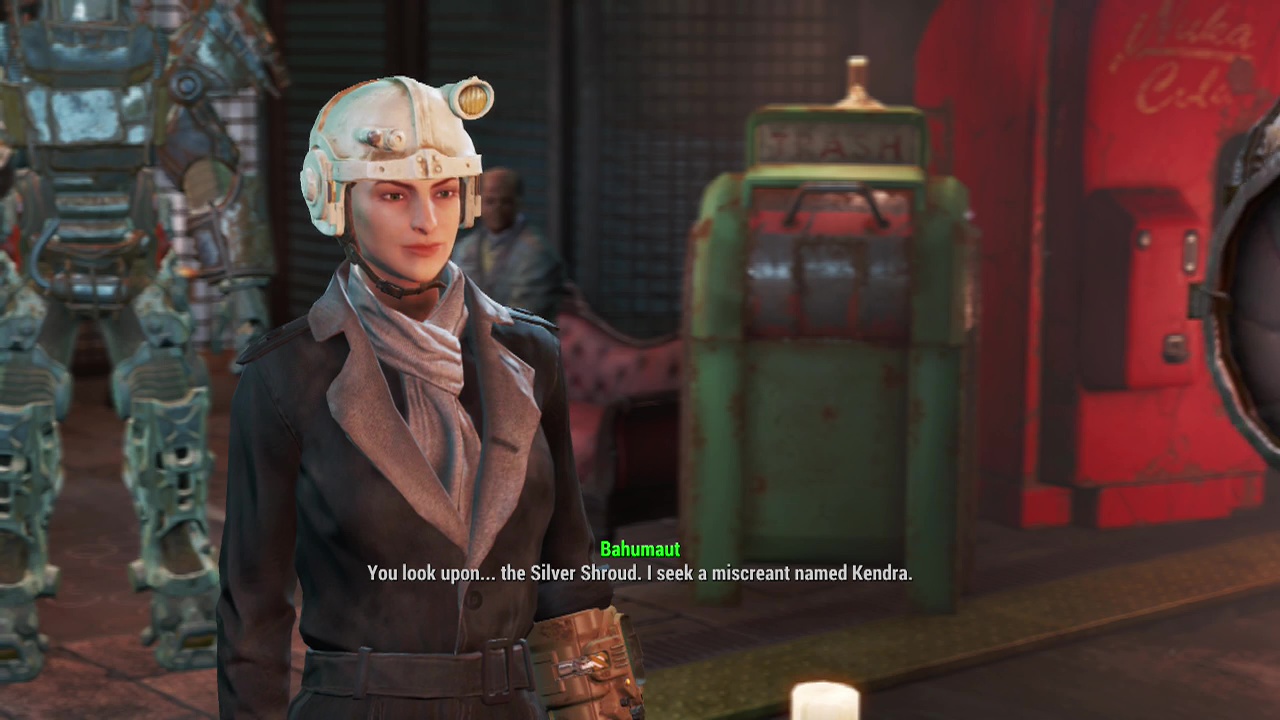
Well, looks like Kent wants to be your eyes in the sky (or over the bandwaves at least) like Oracle to Batman. Kent will tell you to listen in to his radio broadcasts so he can inform you of evildoers in the vicinity for you to punish. Mindless violence as a vigilante and getting paid, what's not to like? Turn on your radio as you leave the building and wait for your instructions. Keep in mind that if you are wearing the Silver Shroud costume, you can respond dramatically as 'The Silver Shroud' during conversations in this quest, which can be hilarious.
- Kill Wayne Delancy – After killing him, make sure to leave a calling card on his corpse.
- Deal with AJ (AJ + 2 triggermen bodyguards) – Dispose of the drug dealer and once again leave your mark in the shape of a card and blood splatters.
- Talk to Whitechapel Charlie – Head to the Third Rail and ask Charlie about Kendra. You can bribe him or try other methods of coercion but in the end he'll point you to some flats near Goodneighbour.
- Kill Kendra – When you arrive at the Water Street Apartments outside of town, you'll need to fight your way up through a fair number of raiders and turrets until you find her on the top floor. Bring her down and leave your calling card once more.
- (Optional) Assassinate Shelly Tiller – When looting Kendra's body you will find a contract for Shelly Tiller with a reward of 500 caps. You can choose to take this contract or not. Fast travel to the National Guard Training Yard and you'll find her inside. A quick gunshot and you can return to the dead drop outside Goodneighbour for your caps.
- Meet with Hancock as the Shroud – Return to Goodneighbour and enter the Mayor's house to talk to the ghoul. He professes to agreeing with your straight-forward approach to crime prevention. He'll give you some info on two of the raider higher ups who are still alive.
- Kill Smiling Kate – She can be found in Charlestown, pretty close to Bunker Hill. She'll be surrounded by a group of raider bodyguards so you'll want a decent gun for ranged combat (or sniping) to make things easier.
- Kill Northy – Pretty much the same deal as Smiling Kate (guarded by a group of raiders) except Northy is located in Cambridge. Bang bang job done.
- Search body for clues – Whichever of the two you kill second will have a note on them regarding their plans to get to you. They've tracked down Kent and things suddenly take a turn for the worse.
Objective: Find Kent
Return to Goodneighbour and talk to Irma in the Memory Den to find your worst fears realized (or your complete indifference if you don't care either way).
(Optional) Objective: Save Kent Connolly
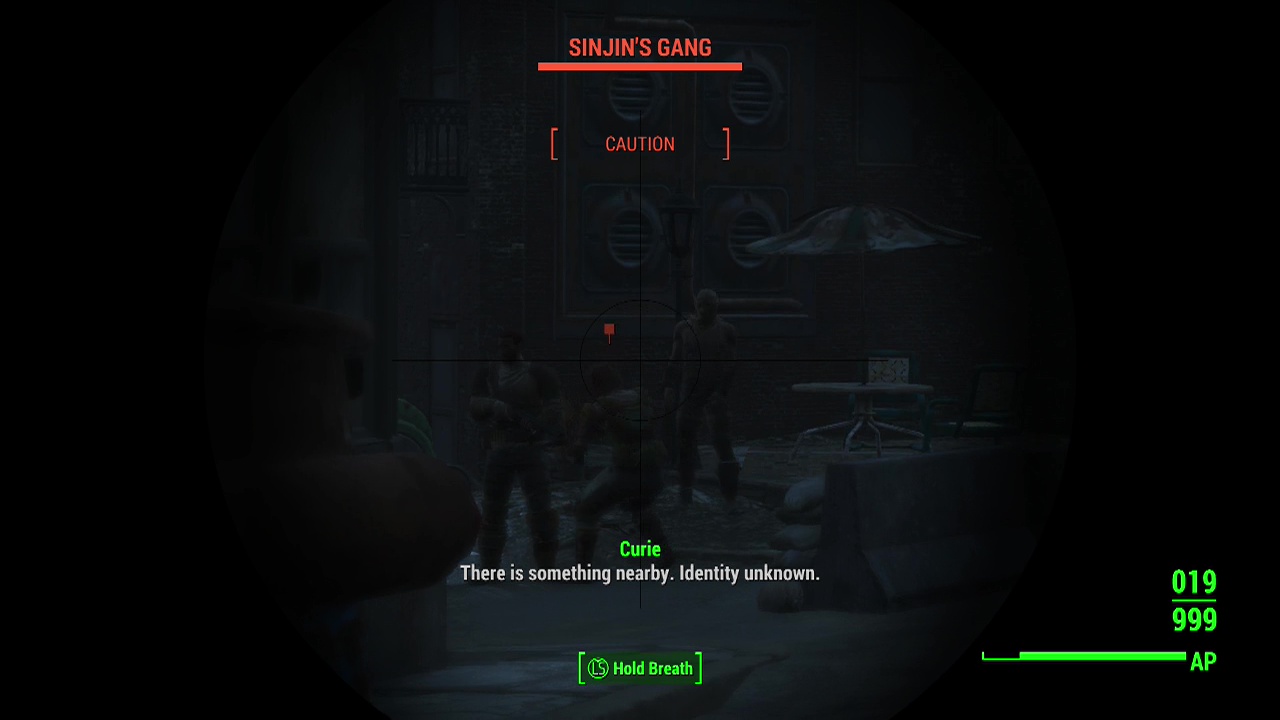
Objective: Kill Sinjin
Let me just mention one thing in advance. Kent has the ability to upgrade the Silver Shroud armour three times (based on level – 25,35,45) if you rescue him. It is a decent light armour, but it's up to you if it's worth saving him for that. Now that that's out of the way, it's time to head to Milton General Hospital to bring things to a close.
You'll have to fight your way down to the lowest level of the place (taking the elevator down to the sub-levels) to confront Sinjin. Here you will be able to talk briefly with the raider leader. To really have a hope of saving Kent, you'll need high level Charisma to pass a red persuasion check. This will stop them from focusing on Kent if you succeed, making it much more likely he will survive.
Once the firefight comes to an end and the final bullet casing hits the ground, free Kent and return to Goodneighbour to have a brief talk to Hancock about your expenses and Kent will retire from being a vigilante. After a certain amount of time passes his radio station will start up again, this is a signal that you can visit him to upgrade your Silver Shroud armour.
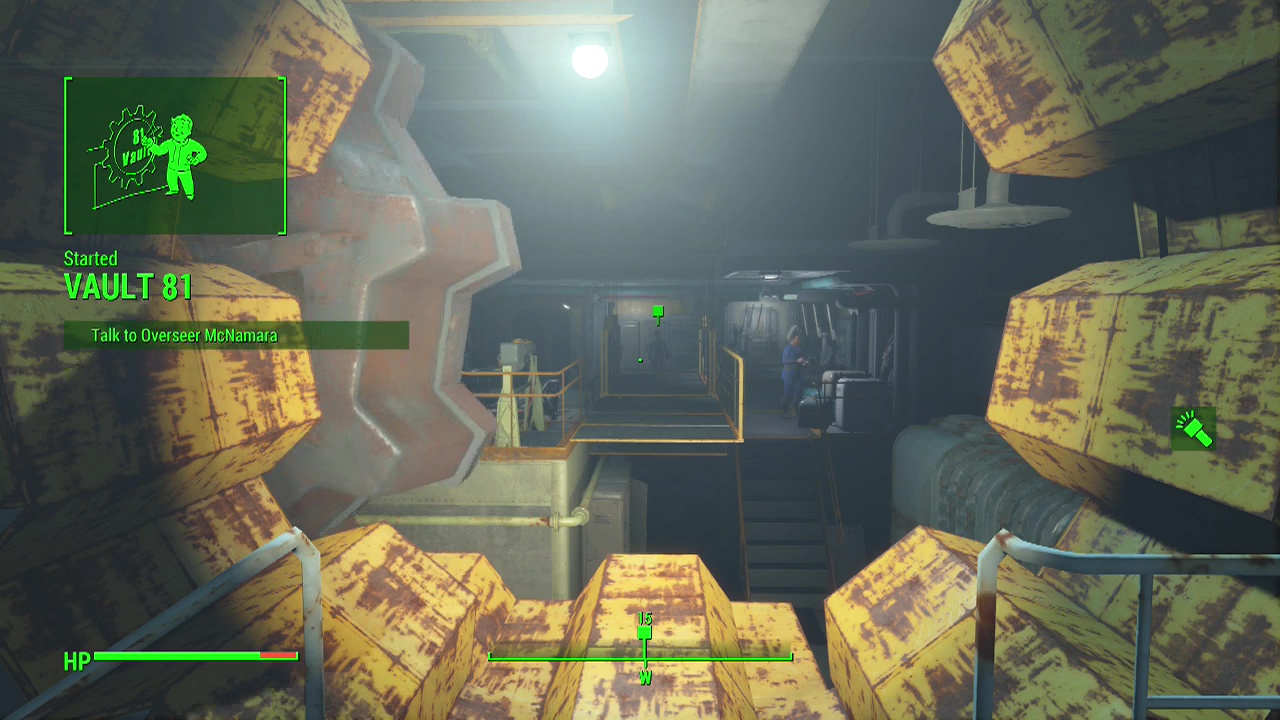
SIDEQUEST – Vault 81
Triggered by attempting to enter Vault 81
To find the Vault, you'll need to head West from Diamond City. Walk into the cave leading to the Vault entrance and interact with the unlocking mechanism to be hailed by the residents. The Overseer of the Vault will inform you that they want three fusion cores to let you inside. If you have high Charisma you can persuade them to let you in, otherwise you'll need the cores. Once you have the cores or you convince them to let you in, they will open up the large door to the Vault. Hand over the cores (or not if you are silver tongued) and you'll be free to explore the new location. Quest complete.