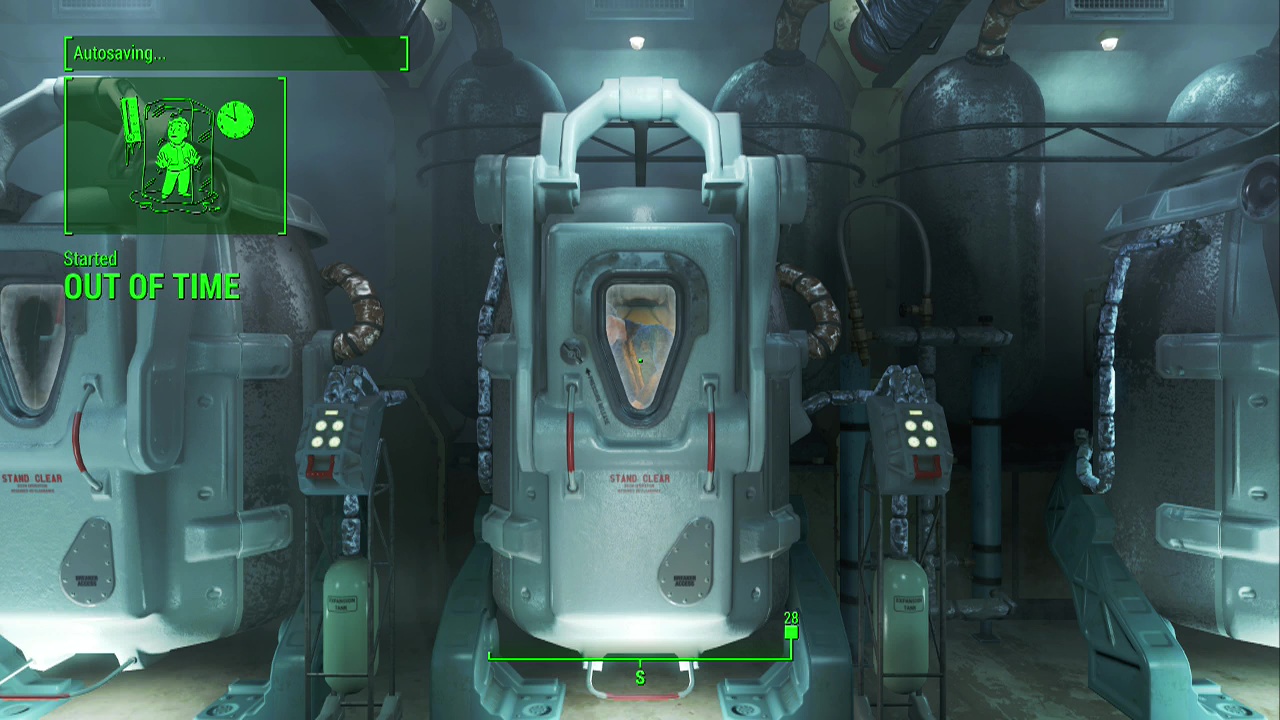
STORY 02 – Out Of Time
Objective: Exit Vault 111
After you emerge from your 'decontamination pod,' shaking the icicles off your arms, you'll be facing your wife/ husband's pod.
Note: You can open your wife/ husband's pod using the manual release beside it to retrieve their wedding ring from their body (base value 250 caps).
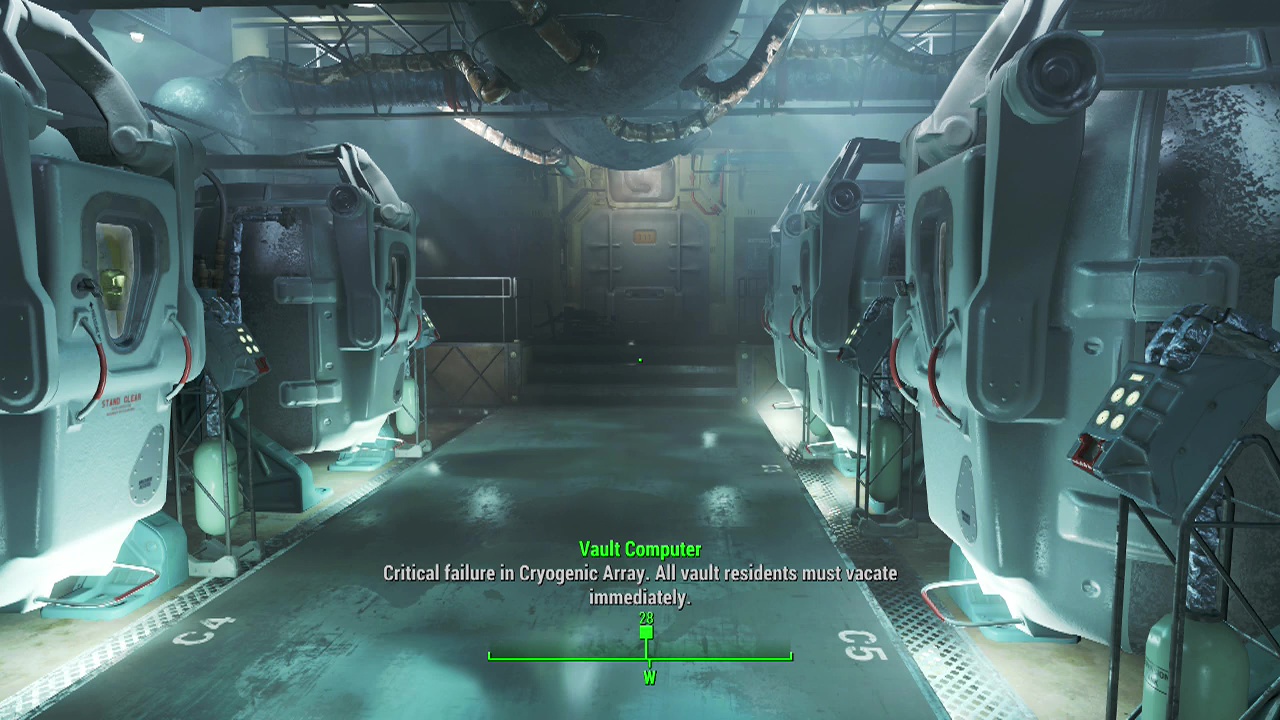
Turn right and follow the walkway between the pods, opening the sliding door ahead of you. After passing through the sliding door you'll see a toolbox at the end of the hall with some tools scattered around it. These are your first junk items in the game that can be broken down into components to improve your weapons and armour as well as being used to build objects in settlements (which we'll get to later). These items (stored in the junk tab of your inventory) are worth grabbing whenever possible if you have the spare inventory space. I won't point out these kind of items in the future as there are so many in each area, but keep this in mind as you continue.
Another sliding door awaits on the right wall of the hallway, so enter it and head down the short stairs into a new hallway. This place is like a maze isn't it? You'll see a marked sliding door to the right here, but before you go through it, enter the small cafeteria/ relaxation area to see a terminal with a stimpak on the desk next to it. Stimpaks heal a set percentage of your health (initially 30%) per use and can also be used to revive downed companions, making them quite useful. Now back up and proceed through the marked doorway into… yeah, you guessed it. Another hallway.
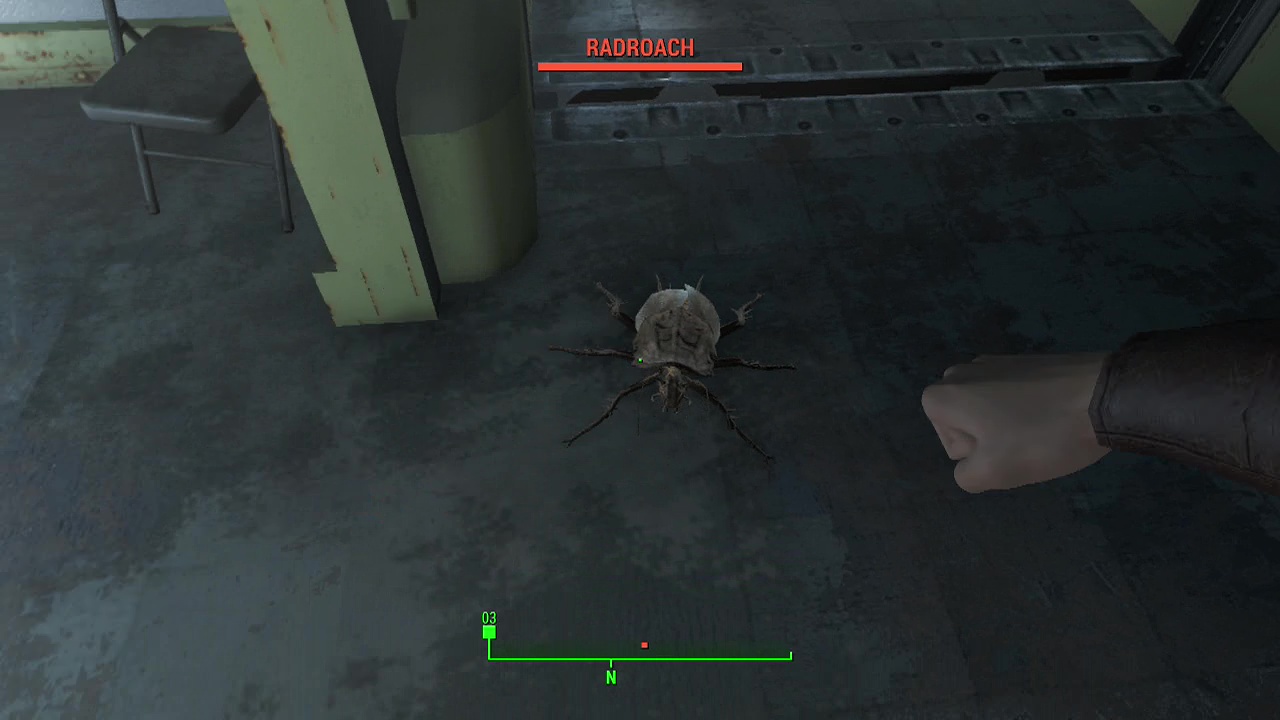
Follow it as it curves around to the left, and you'll get your first taste of combat in the world of Fallout 4. You'll be taking on a radroach. These weak enemies will leap at you to attack, inflicting normal damage as well as radiation or 'rads' on you when they attack. Rads reduce your maximum health by 1% for every 10 you absorb, so you'll want to avoid absorbing too many until you have the ability to heal your radiation damage.
Tapping RT will bring up your fists and pressing the button once will make you perform a regular attack. This is more than enough to take out these fragile enemies, so run up and punch the roach out. Cooking the meat dropped by dead enemies gives small XP increases and can give other bonuses (increased HP recovery, AP bonuses, radiation reduction and so on), so consider grabbing all the radroach meat you can during your time in the vault.
Once again ignore the marked door ahead and enter the room with benches ahead. The recreation terminal against the back wall can be interacted with to find it holds a red menace holotape you can eject with the X/Square button. These game tapes sell for a decent amount and can be played if you wish by inserting them into any terminal and selecting the 'play tape' option. Playing a game within a game, how meta. You can also use the beds in the side room here to recover you health if you somehow managed to get beat down by the radroach somehow. Return to the previous hallway and enter the marked door when you are done.
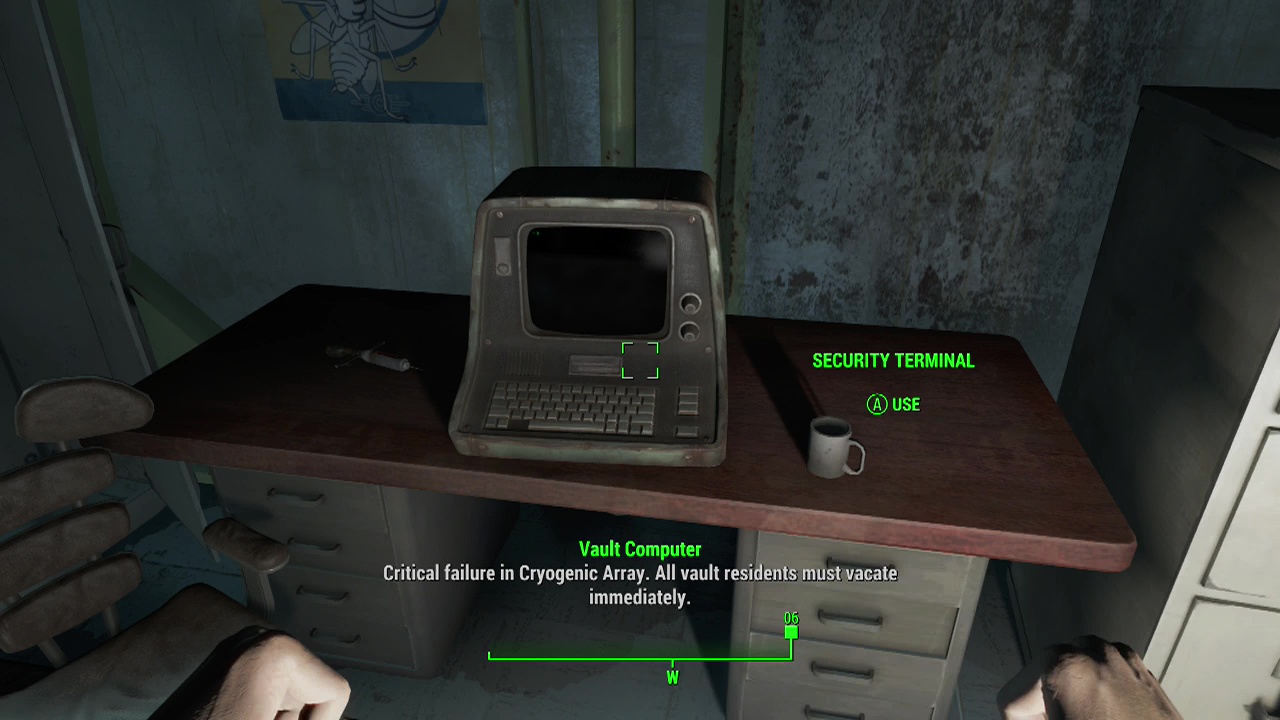
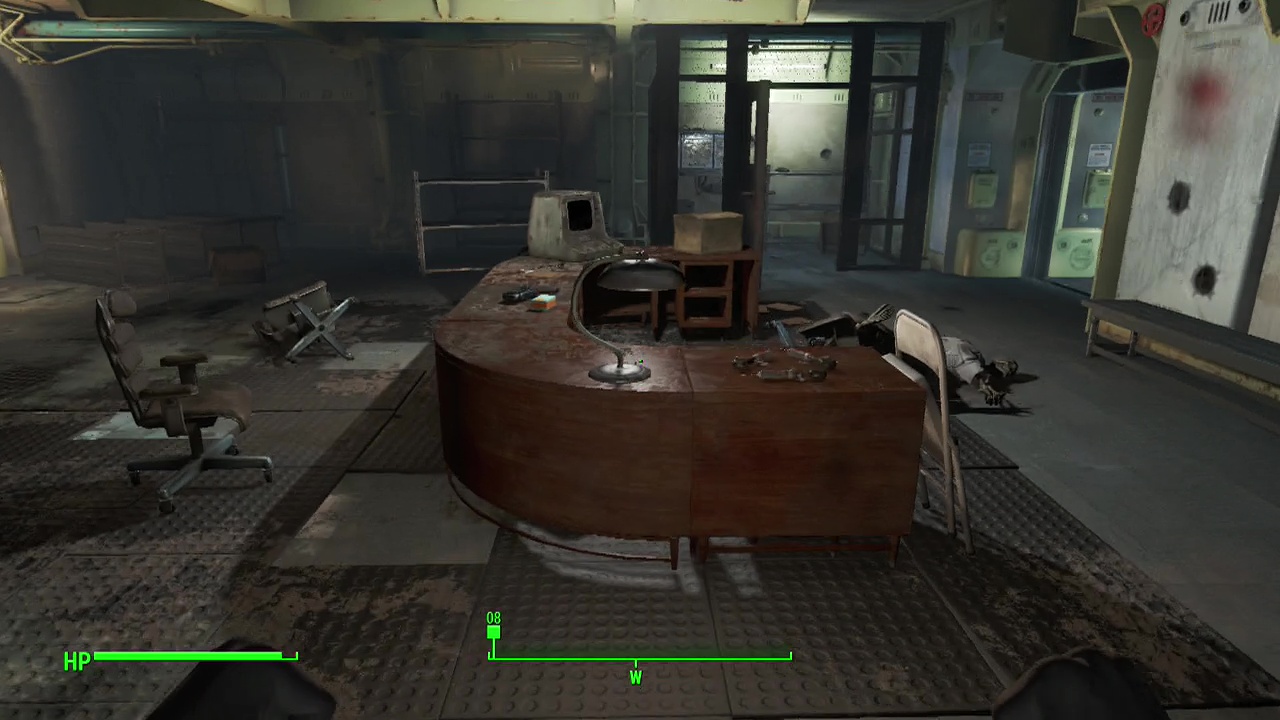
You'll enter a room with multiple generators, including one defective one that blasts the surrounding area with electricity. Avoid getting close to this by traveling around the outer walkway on the edge of the room, punching a pair of radroaches in the face as you go. On the other side of the generator room, enter the sliding door and climb the stairs for another pair of radroaches to introduce to your fist. Passing through the door beyond will place you in the what looks like a security center or office. Immediately in front of you as you enter are three stimpaks on the desk, along with your first weapon of the game: a 10mm pistol along with some 10mm ammo. Note the terminal here as we'll be coming back in a few seconds. Enter the security cage at the back of the room to find more 10mm rounds on the shelf and another 10mm pistol.
Note: In the same security cage is the Cryolator – a gun that can freeze enemies solid. Unfortunately you need the ability to pick master locks or to abuse a glitch using dogmeat to access it. So remember to come back for it when you can later.
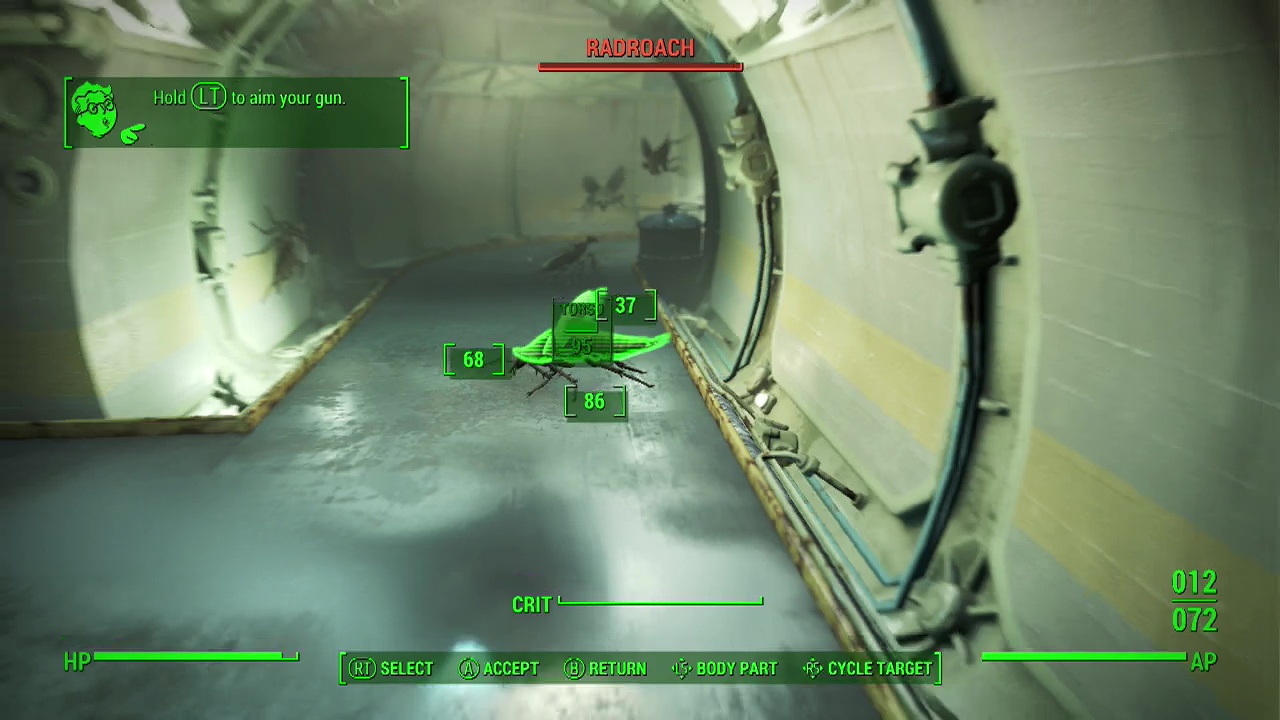
When you're done looting, return to the terminal. You can read some of the entries here to find out what was really going on with Vault 111 if you wish, but we're most interested in the bottom option to 'open evacuation tunnel.' This opens the nearby sliding door and gives you access to the main entrance to Vault 111. As you pass through the now open doorway, you'll get a quick tutorial for your new gun (you now have access to V.A.T.S to assist your targeting by pressing LB). Like most games that use firearms, hold LT to aim and press RT to fire your weapon. You can also tap RB to melee with your equipped gun if the enemy gets too close. Remember that these roaches are weak, so you can save your bullets if you wish and just melee them instead.
There is a total of six radroaches for you to deal with before you can advance. When the smoke clears, enter the door at the far end of the corridor and turn right to pass through another to find the stealth tutorial. You can press RS in to trigger stealth mode (pressing it again to deactivate) then slowly move up behind the radroach and melee it. Or you could just shoot it. You know, whatever floats your boat. After the roach is dead, look around for a second one to kill as well. When that's done you'll find yourself in the entrance to Vault 111. Now it's time to get out of here.
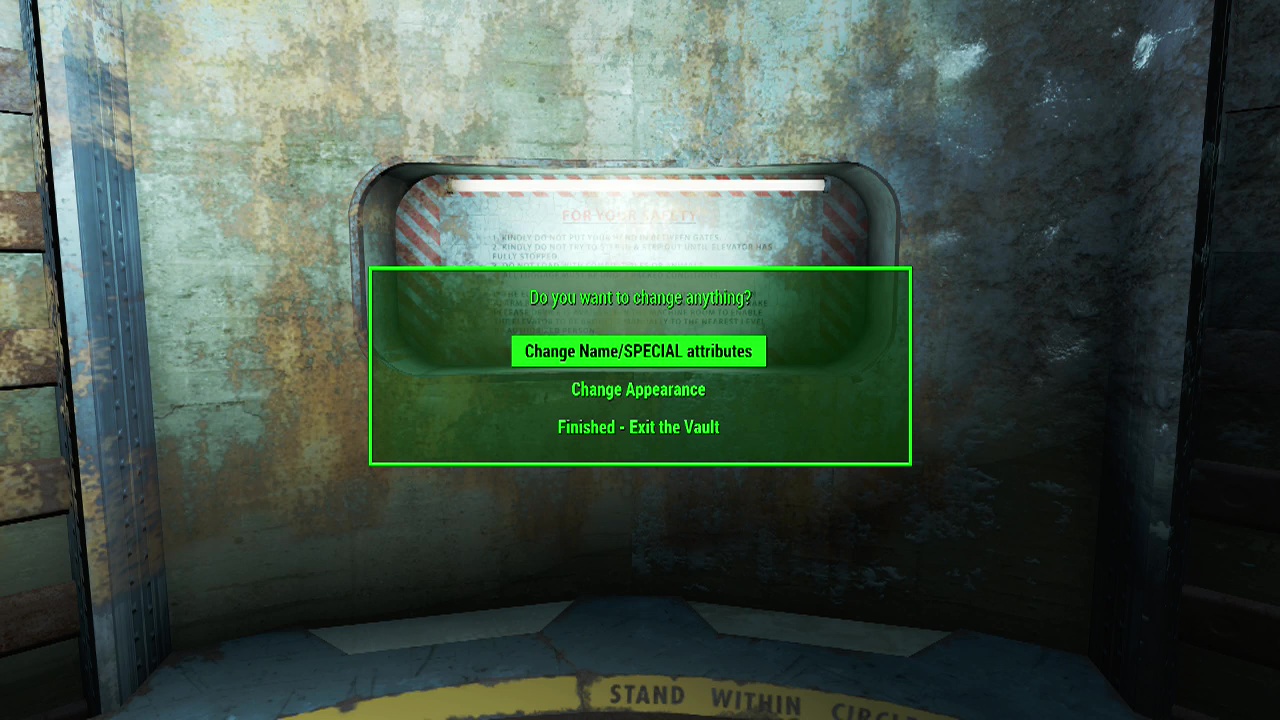
Approach the skeleton on the ground in front of the marked control console to find your Pipboy. This device is essential as it displays your inventory, maps, keeps track of quests and many other useful functions. It also has the ability to interact with vault control panels to gain entry to closed vault doors (including this one). Walk over to the marked panel once your pipboy is up and running, interacting with it to begin the process for opening the huge vault door. When the cog shaped main door of the vault is open, travel along the catwalk, descend the stairs and step onto the elevator platform you used once, long ago. Here you'll get a final chance to revise your choices up until this point (appearance, name and S.P.E.C.I.A.L attributes). When you're happy with them, confirm and the elevator will ascend to the world above.
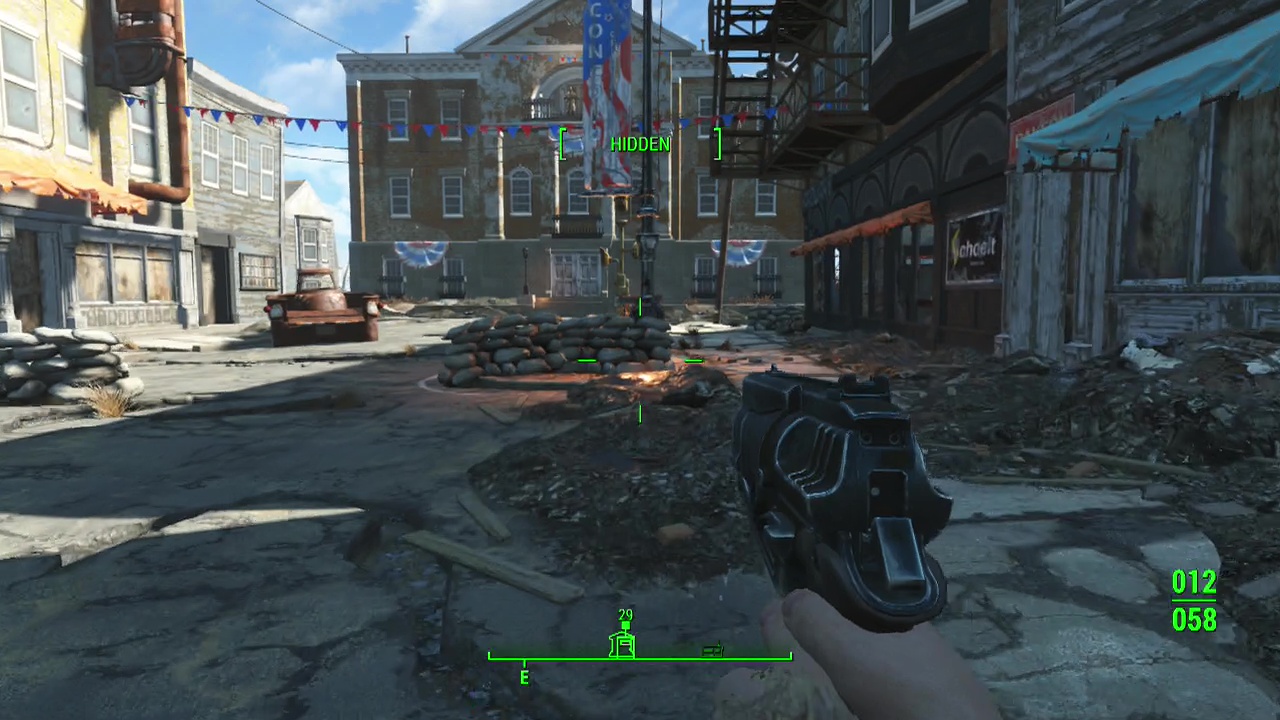
Objective: Go home
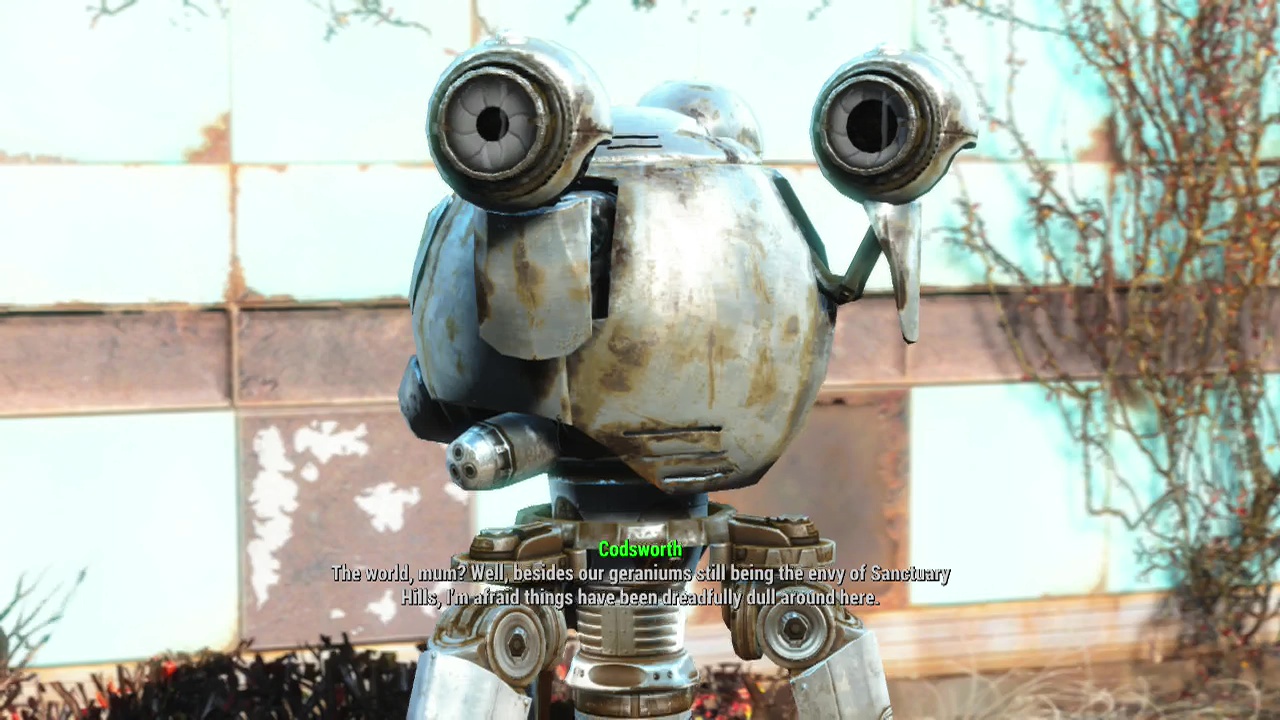
After being blinded by the light, you'll find yourself in the open air at last. Before heading towards the marker, you can check out the nearby elevator control shed for some goodies. When you're good to go, start following the marker down the slope to the East, to enter you old hometown of Sanctuary (Hills). Walk along the street here and you'll stumble across your old robot Codsworth, who it seems has been looking after your house since you entered the vault.
Objective: Talk to Codsworth
During your little chat with Codsworth, he'll fill you in on a few details about what's been happening. Apparently your geraniums are still the best in the town. Huzzah! You'll also get your first persuasion chance here. Persuasion dialogue options convince others to help you, give you caps or give you information which can be helpful as well as a little XP increase which can be improved by befriending and maxing out Piper, a companion you'll come across later during the story. The difficulty is indicated by the colour of the dialogue (easy = yellow, medium = orange and hard = red). The chance of you succeeding is based on your charisma stat and any other perks you may have that affect it. Equipping charisma boosting items (like hats, suits and dresses) before trying a persuasion challenge is a good way of getting through them if you have a low base charisma stat. Codsworth will also give you a holotape from your wife/ husband during the conversation that you can play using your pipboy if you wish. As the conversation reaches it's end, Codsworth will suggest a quick check of the neighborhood to see if Shaun can be located nearby.
Note: You can investigate your home (where Codsworth was initially) to find a copy of Grognak the Barbarian on the kitchen counter and the stat boosting I'm Special book in Shaun's room under a dresser to the right of the crib.
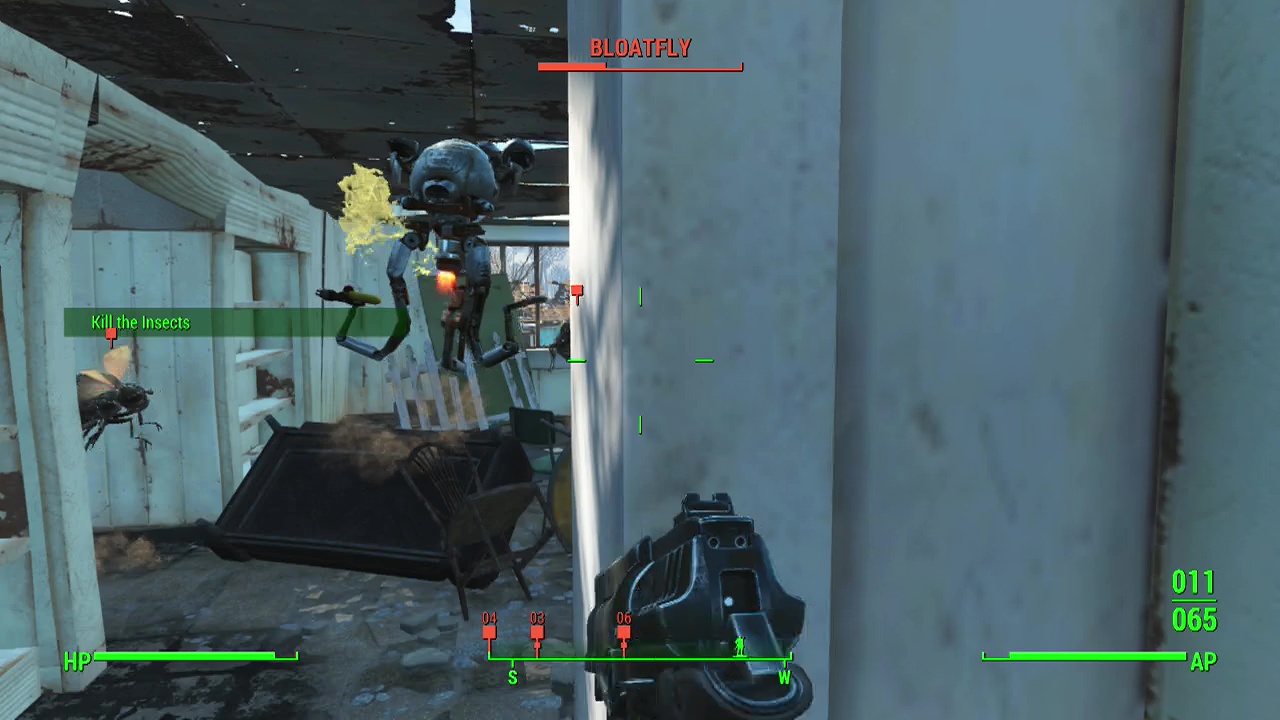
Objective: Search the neighborhood with Codsworth
Codsworth will then take off down the road, entering a building on the left side and attacking a trio of bloatflies inside. You can leave him to it if you wish or inflict some pain on the flying pests. One thing to note is that you only need to deal a certain percentage of damage to enemies (about 30-40%) to get XP if your companion kills them. A useful tip if you want to milk each bullet/ V.A.T.S in a gunfight but still get the XP for it. After that it's off to another house with a pair of bloatflies to take down. Once that's over, Codsworth will talk to you once again, accepting that Shaun is indeed not in the area, suggesting that you try the nearby town of Concord.
Note: There are around three semi-hidden safes and other valuables to find in the houses of Sanctuary (including one that belonged to a drug dealer), with a few radroaches and bloatflies defending them. So it may be worthwhile to explore the place if you have time.
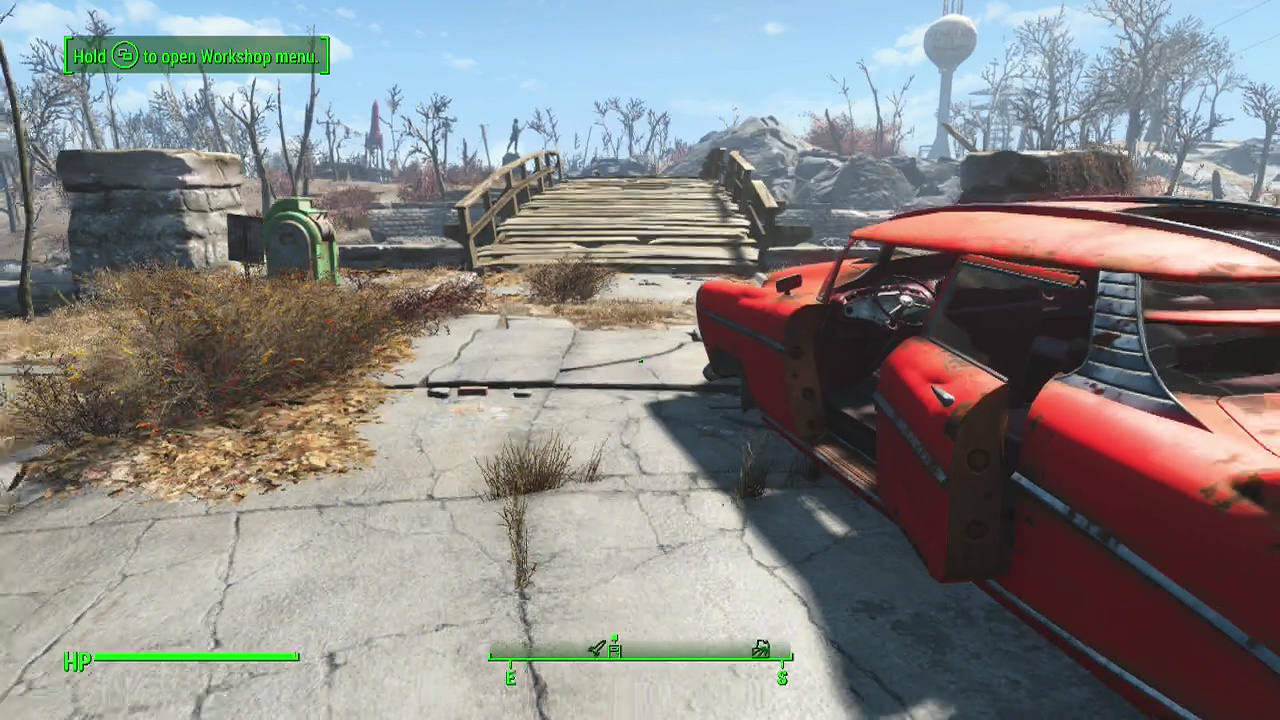
Note 2: You can also take the time to cook your meat at the cooking station near the South bridge that you grabbed from the roaches to get some additional healing items and XP.
Objective: Investigate Concord
Leave Sanctuary via the wooden bridge to the South-East (the only way across that doesn't go through water or back towards Vault 111). On the far side of the bridge are a couple of bodies you can loot as well. Follow the cracked and broken road to reach the Red Rocket Truck Stop and find your first companion of the game. You can bypass the truck-stop if you really don't want to meet Dogmeat, but there's no downside to having him as a companion.
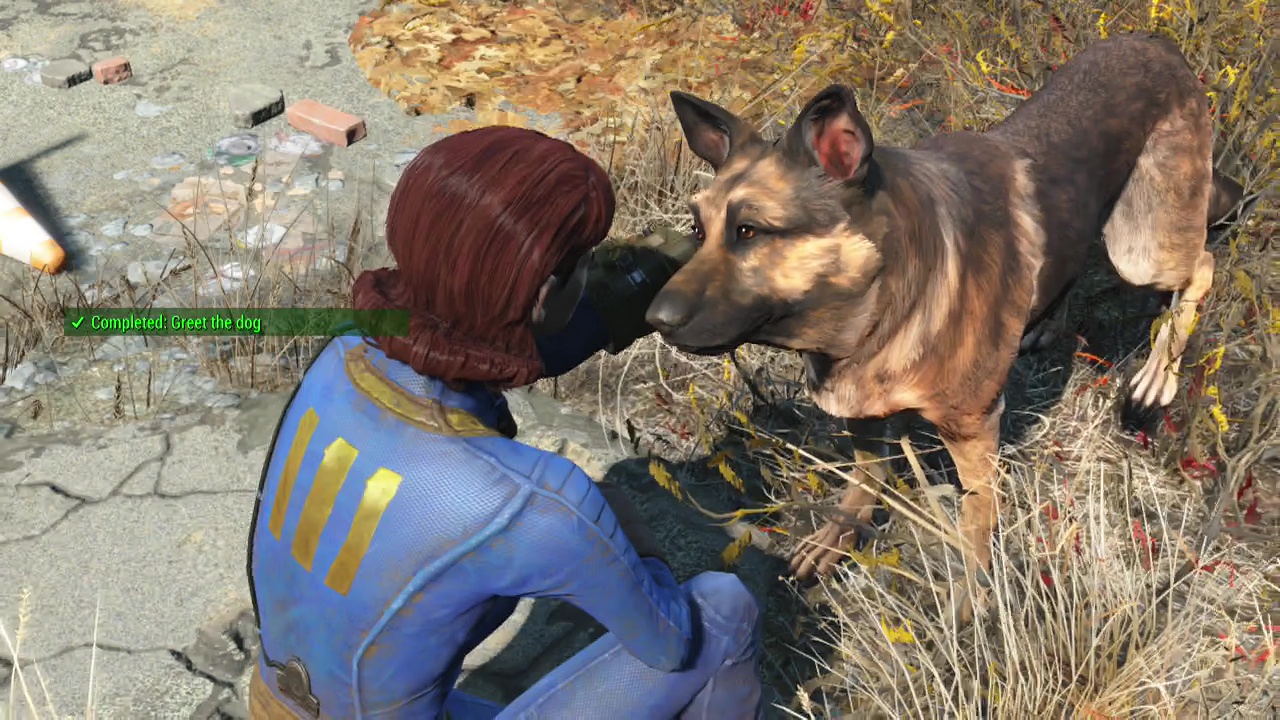
(Optional) Objective: Greet the dog
Talk to Dogmeat and you'll decide he and you should stick together. Afterwards, you may trigger a molerat attack (three or four molerats may burst up from the ground, attacking you and Dogmeat) as you walk through the truck stop. Just back up and use your V.A.T.S to shoot them (they dig underground and move fairly fast so shooting them manually often wastes ammo). You can look through the truck stop for some minor loot, but nothing spectacular. From the truck stop, it's only a few seconds to the South-East to reach the outskirts of Concord.
When you arrive, cautiously move down the main street as raiders are attacking the Museum of Freedom at the South end of town. Only one or two should be left standing as you arrive, but you don't want to be blindsided by these guys (especially on higher difficulties). You can use your sneaking abilities to inflict a sneak attack on the unaware raiders for double damage. Or you can just run up to them and shoot them in the face. The choice is yours. Make sure you strip them of armour so you can equip it on yourself, as well as weapons and ammo.
Note: Amour comes in one piece and multi-piece forms. Generally multi-piece armours give better overall protection totals (i.e: the whole five pieces of combat armour (arms, chest and legs) combine to give more defense than a single piece of one-part equivalent armour. Use the + or – signs when equipping armour to determine what is overall best for you.
Follow the trail of dead raiders along the main street towards the museum to the South and as you encounter a man on the balcony of the museum, the second story mission will end and the Minutemen mission: When Freedom Calls will begin.