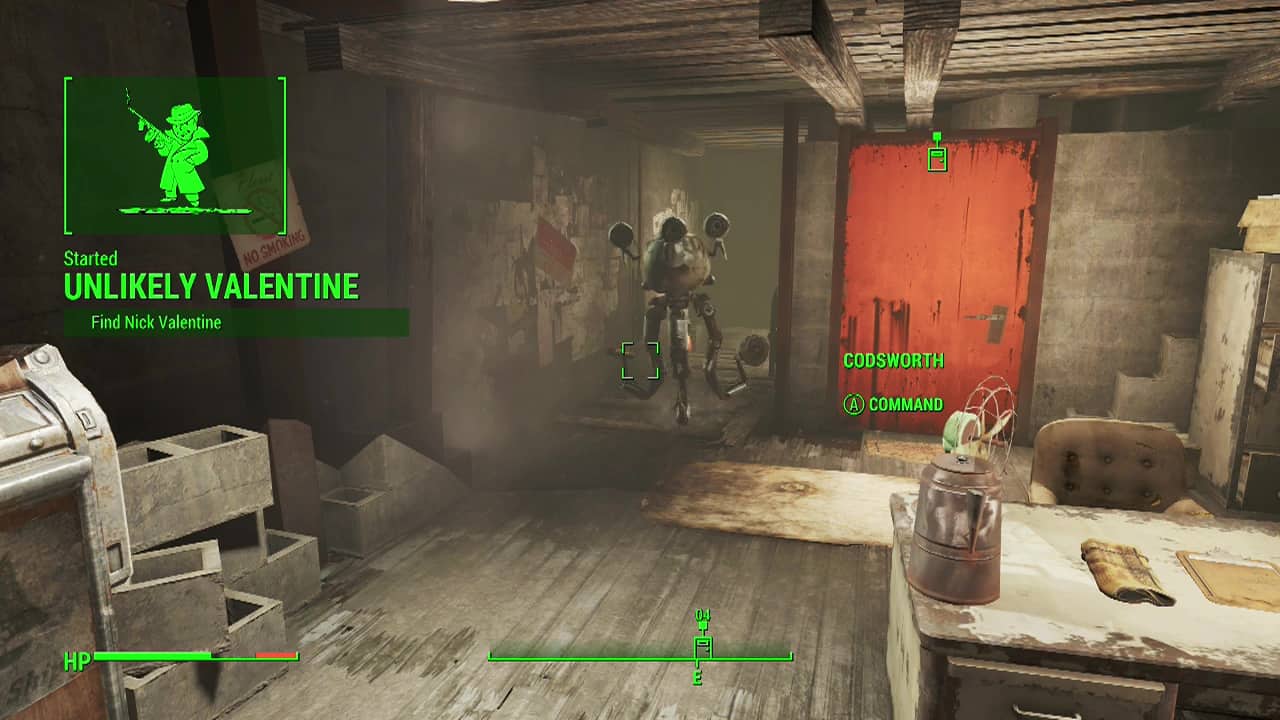

STORY 04 – Unlikely Valentine
Objective: Find Nick Valentine
When this story quest begins, you'll be tasked with tracking down the detective that hunts down missing people. Kind of ironic really. First things first, you'll need to reach Park Street Station on the East side of Boston. The location appears as a marker on the map but you'll have to wind your way through the city. This area has quite a number of enemy groups scattered around (super mutants and raiders mostly), so you may want to use a combination of V.A.T.S checks and stealth to locate and avoid enemies where possible as you travel East from Diamond City or any closer location.
Entering the station places you at the top of an escalator leading down to a doorway below. Four triggermen (human enemies with submachine guns or 10mm pistols that chew through your health fairly fast if you are caught in the open due to automatic fire) will be patrolling in the next room. Players on higher difficulties can use the narrow bottleneck of the door to place frag mines to soften up any incoming enemies if/ when they become alerted to your presence. Keep in mind also that you can take cover at the top of the elevator as well by using the central railing to hide behind while firing down at the enemies below. Use a sneak attack if you can to instantly eliminate one of the enemies before taking cover and dealing with the remaining foes.
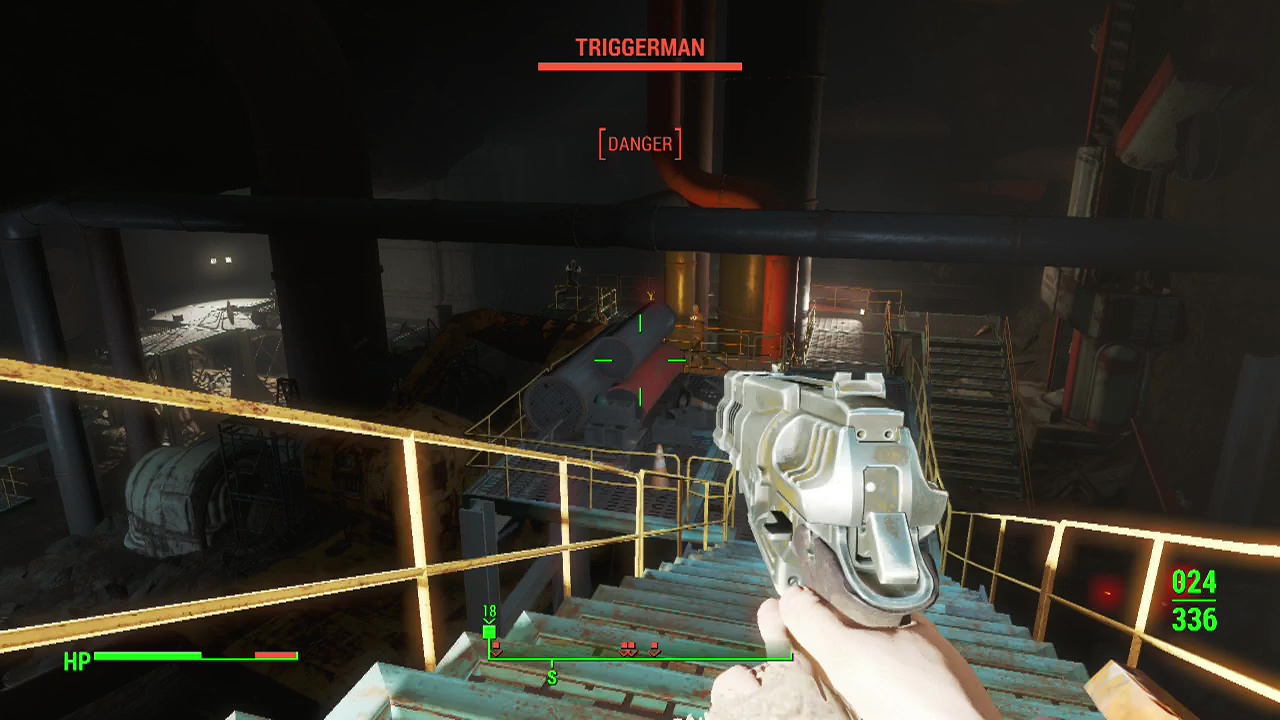
When the initial enemy room is clear, grab the ammo off the bodies and loot the subway office to the left before proceeding down the marked corridor to the left, taking the stairs downward. At the second bend in the stairs, be wary of a set of scales acting as a pressure pad that you can disarm (or else it detonates a nearby explosive). Carefully move down the stairs afterward and look over the railing to the left to see a large group of around six triggermen wandering around the station platform below. There are a couple of things you can do to make life easier here: Luring the triggermen onto and up the stairs makes them an easy target as they can no longer strafe to avoid your shots. You can also peek over the railing for a sneak attack and retreat back upstairs until you are no longer detected on higher levels as well if you want to play cautiously. Frag mines can also be thrown at the bottom of the steps to eliminate any triggermen that get too close. On higher difficulties, you want to maintain as much distance as you can from the triggermen as they deal reduced damage the further you are away.
When the platform is clear of enemies, look for a small room straight ahead from the bottom of the stairs to find a sleeping bag you can use to regain any lost health before following the marker into the train tunnels ahead. Follow the sloping tunnel downwards, slowing down when you reach the bottom of the slope and keeping an eye out for more triggermen ahead. The good news is there is more reliable cover here (with concrete walls around you), the bad news is that another three triggermen will be in the excavation site area and main entrance to Vault 114 just ahead. As before, your best tools are flanking and luring individual enemies away. Use your companion as a decoy while you move around the side and pump them full of your preferred ammunition (irradiated 10mm rounds was my personal favourite).
Now that the vault door area is free of opposition, stroll up onto the walkway facing the gear shaped door and interact with the panel to open it up. As the great mechanism creaks open, enter and go into stealth mode as you hear triggermen conversing inside. If you weren't detected, you should be able to take care of the first one just inside the vault in the first room without any hassle. A second triggerman with a baseball bat will likely rush out at you around the same time from a room on the left. Backpedal and fire until he drops. Enter the room on the left where the melee triggerman came from and pass through the sliding door inside when you're done looting.
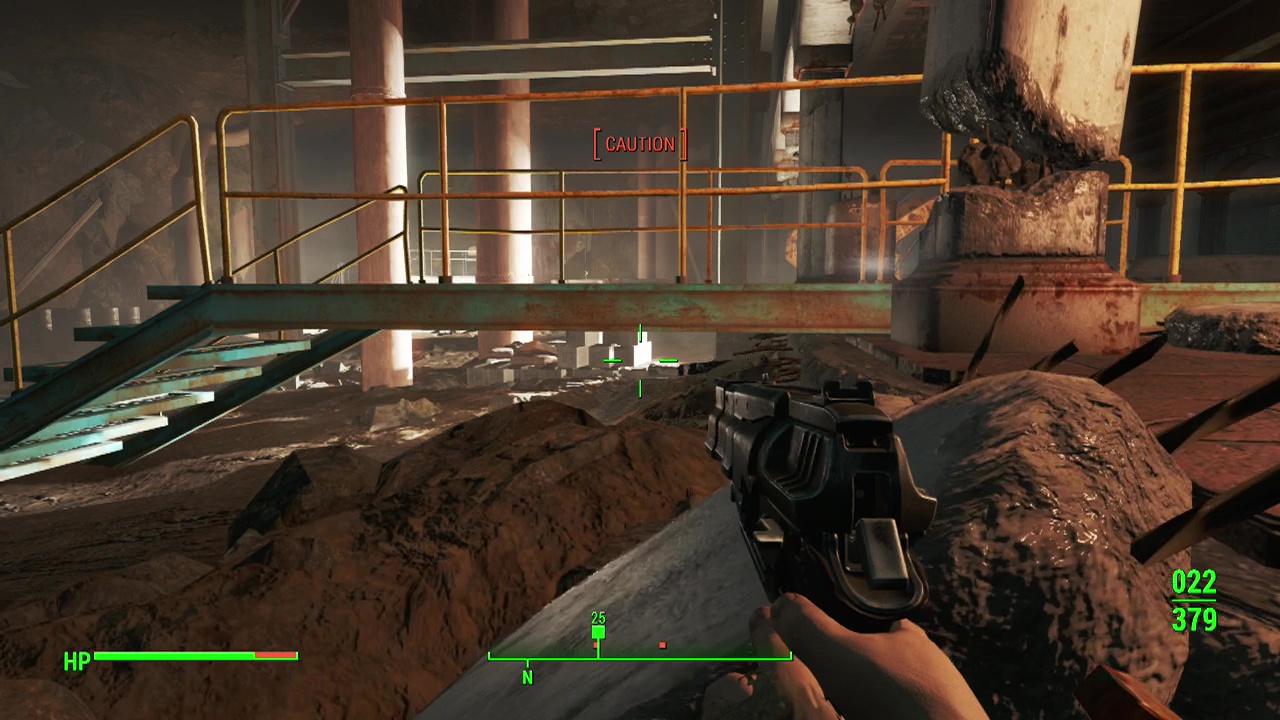
A set of stairs will lead you down to a room lower in the vault where you can hear two more triggermen arguing in the hallway just beyond. Once again enter stealth mode and pop one in the head before turning your gun on the second surprised sucker. Or just throw a molotov or grenade at them if you're feeling lazy. Afterwards, walk past the inactive radiation scanners and through the marked door at the end. Here you'll reach the area leading to the lower vault levels. This area can be dangerous on higher levels due to the openness and poor amount of cover in the area. You're actually better off jumping down off the walkway and making your way forward on the ground instead. Five triggermen will be scattered around the back of the area, so flanking and luring will once again help you out tremendously. Also be careful that to take them down quickly if they attempt to run up onto the catwalk or under you if you remain on it as they can be hard to damage if they succeed.
When you've finished massacring what feels like a battalion, return to the catwalk and follow it to the marked room. You'll see the marker moves to a hole in the ground nearby. Keep in mind that you won't be able to get back up the chute, so you won't be able to retreat if tits become upwardly inclined later. Drop down when you're ready and follow the hallway to the sliding door which leads to the lower area of Vault 114. Follow the hallway to the left and open another sliding door at the end to emerge into a large open area which looks like a ruined cafeteria. You'll see a lone triggerman looking through a window opposite you on the upper level. This is Dino, the man left to guard Nick Valentine who is the missing detective you're looking for. Players with a sniper rifle can take him down with a single sneak attack from here, but if you don't have one take the stairs against the left wall instead.
Objective: Free Nick Valentine
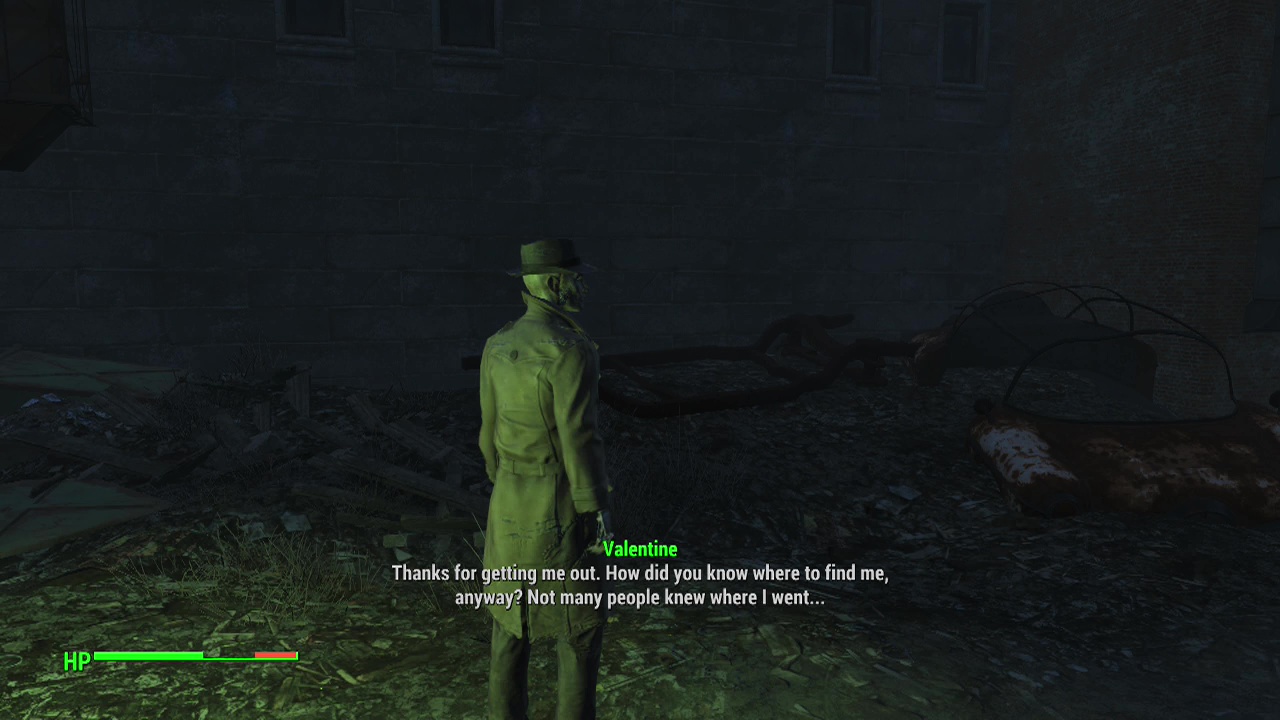
When Dino's been dispatched, loot his corpse for the overseer door password to the terminal on the wall beside the door. A quick few key taps later and the door will swing open, finally bringing you face to face with Nick Valentine.
Note: There is a speech bobblehead on the overseer's desk in the same room you encounter Nick Valentine.
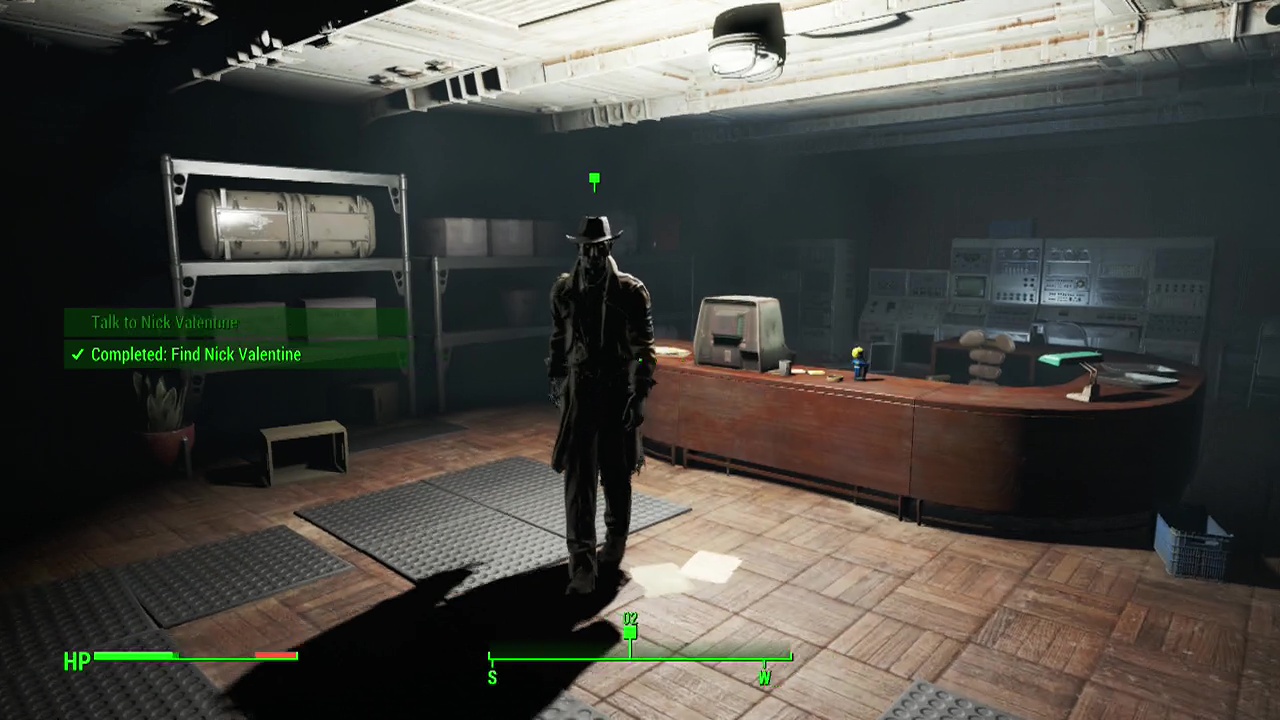
Objective: Talk to Nick Valentine
Talk to Nick about his and your situations.
Objective: Follow Nick Valentine
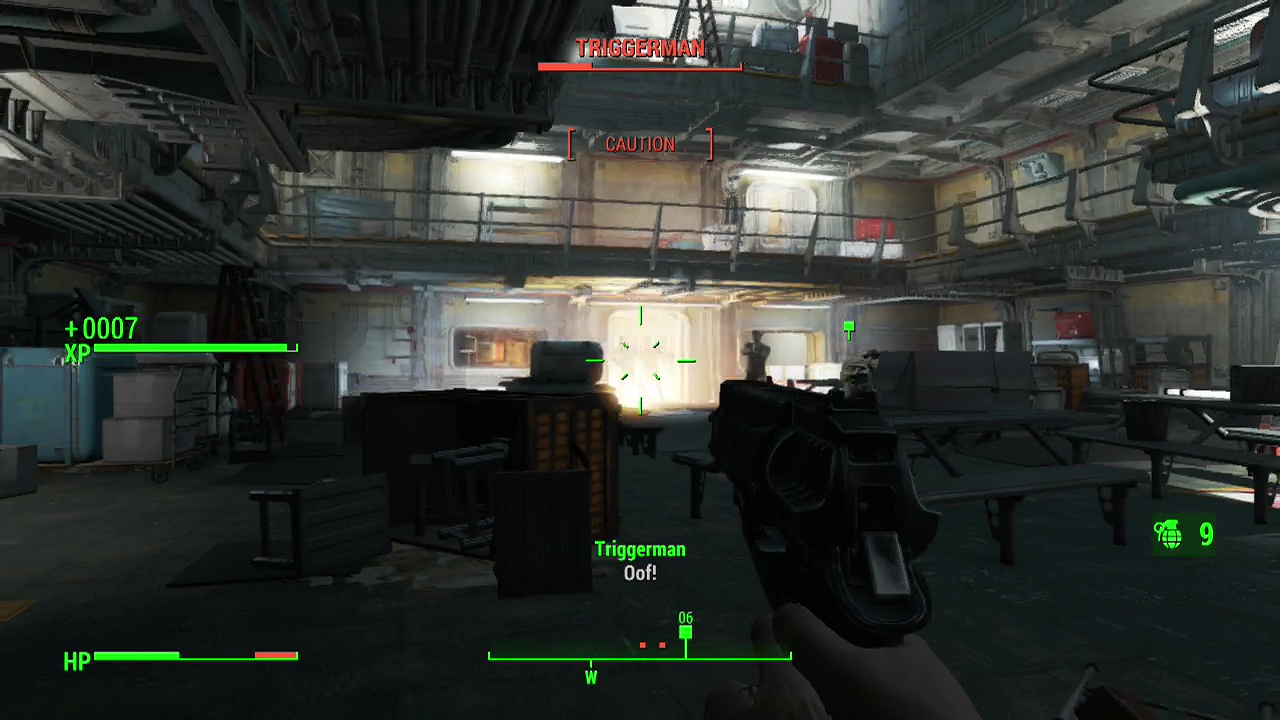
Now it's time to make a beeline for the exit. Unfortunately you'll have to go through more triggermen to get there. Chase after Nick as he winds down a couple of staircases to the lowest level of the cafeteria. When you reach the bottom level, you can choose to deal with the next encounter using stealth or ambush tactics. Three triggermen will pass through the door at the far end of the cafeteria's lowest level shortly (you'll see them approach through a window next to the door). Skilled players can lob a grenade at the doorway as they bunch up to pass through, killing them all straight out or at least severely injuring them. You can also use the side rooms as cover as you stealth kill and snipe them down. There's plenty of options here so pick the one that best suits your play-style. Pass through the doorway the triggermen came in by afterwards.
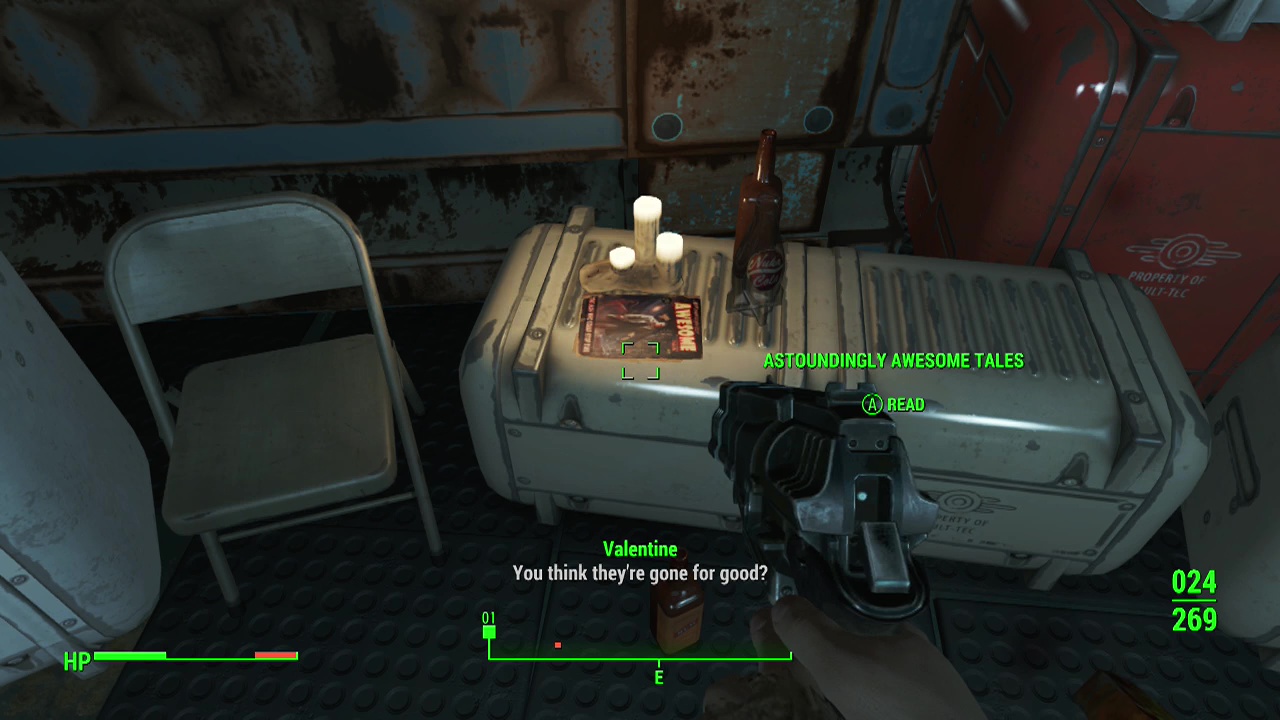
Enter the hallway and follow it to the end to watch Nick open up the door for you to continue. As a heads-up, Nick is quite good at hacking computer terminals and can be commanded to when he is a companion. This is extremely useful if you haven't taken the hacking perk to deal with high difficulty terminals. Follow Nick up the stairs on the other side when he opens the door, to find a melee triggerman at the top who will rush towards you. Quickly gun him down before he gets too close and enter the room he came from.
Note: There is an astoundingly awesome tales magazine on a crate at the back of this room for you to pick up.
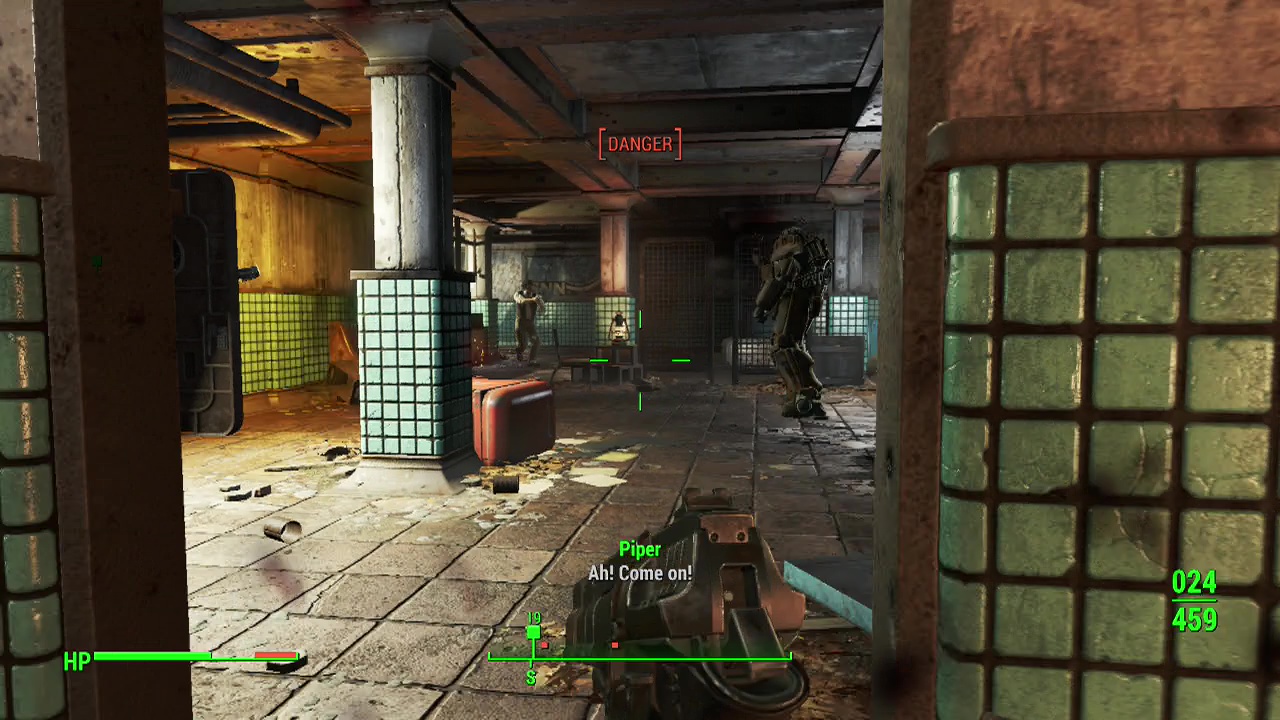
A couple more triggermen will be in the vicinity, so don't relax your guard as you peek around corners and use Nick and your other companion as a distraction/ meat shield. When the enemies are gone, you can use the bunks in the sleeping quarters to replenish any lost health before pushing forwards. You'll run into another pair of triggerman as you leave the first sleeping quarters, passing through a second to find yet another melee triggerman in the corridor beyond. When the firefight is over, resume trailing after Nick as he heads up stairs leading back to the upper levels of the vault. Two more triggermen will be waiting in the room at the top, so take the time to stealth if you want to take them by surprise. After yet another set of stairs, you'll finally be back at the top level of the vault facing a door leading out. Nick will warn you that he can hear noises outside. Be prepared to walk into a confrontation with the gang leader Skinny Malone when you pass through the door, meaning it is a good idea to heal up and reload before heading out.
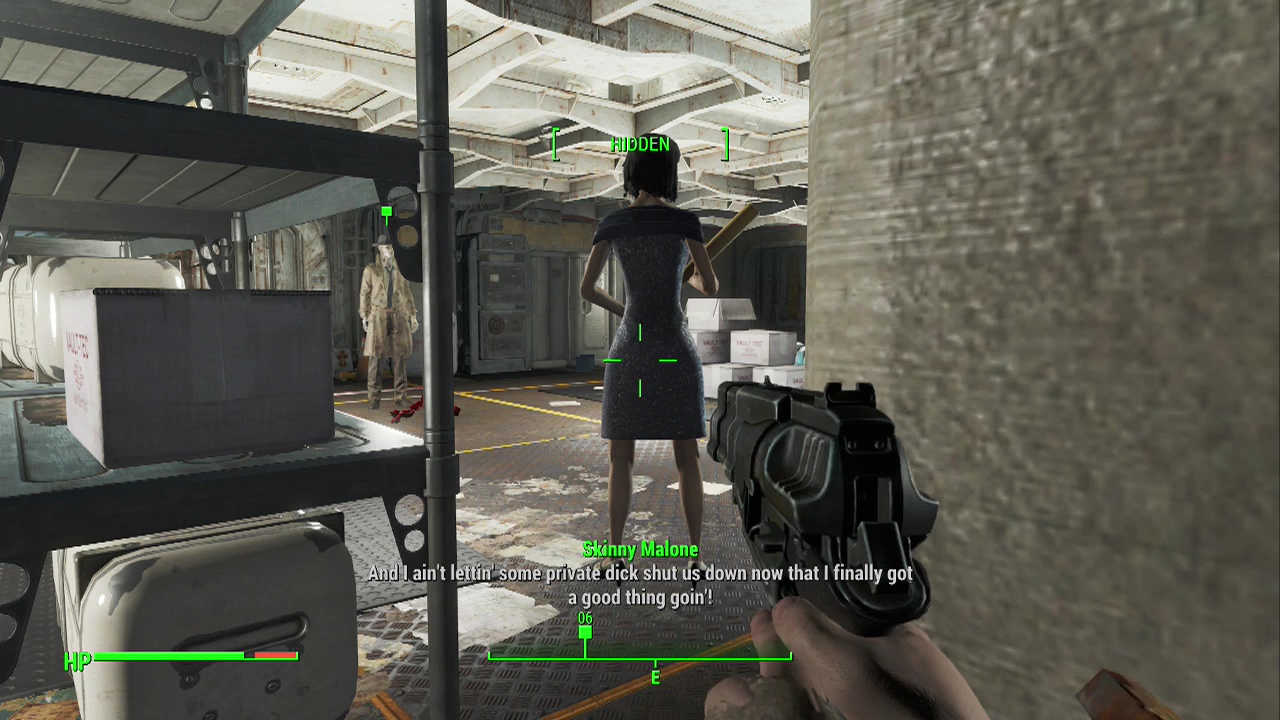
Skinny Malone will be flanked by two triggermen and accompanied by his girlfriend. During their conversation with Nick, you can move around into a flanking position, getting ready to unload on them. If you have a high charisma stat, you can convince Skinny and his girlfriend to let you go without a fight. If not, you'll be under attack as soon as the conversation ends. Despite being the leader, Skinny goes down at the same speed as regular triggermen. With your superior positioning and two companions, you shouldn't have too many problems here, even on higher difficulties. Just be careful about the girlfriend as she uses a melee weapon and can stagger you, leaving you vulnerable to other attacks while you recover.
After the battle/ walking away happens, Nick will head for an alternate exit nearby that will take you above ground once more. After a brief talk with Nick, he'll ask you to meet him back at his office where you can go over the details of your son's abduction. This leads on to the next story mission: Story 05 – Getting A Clue.