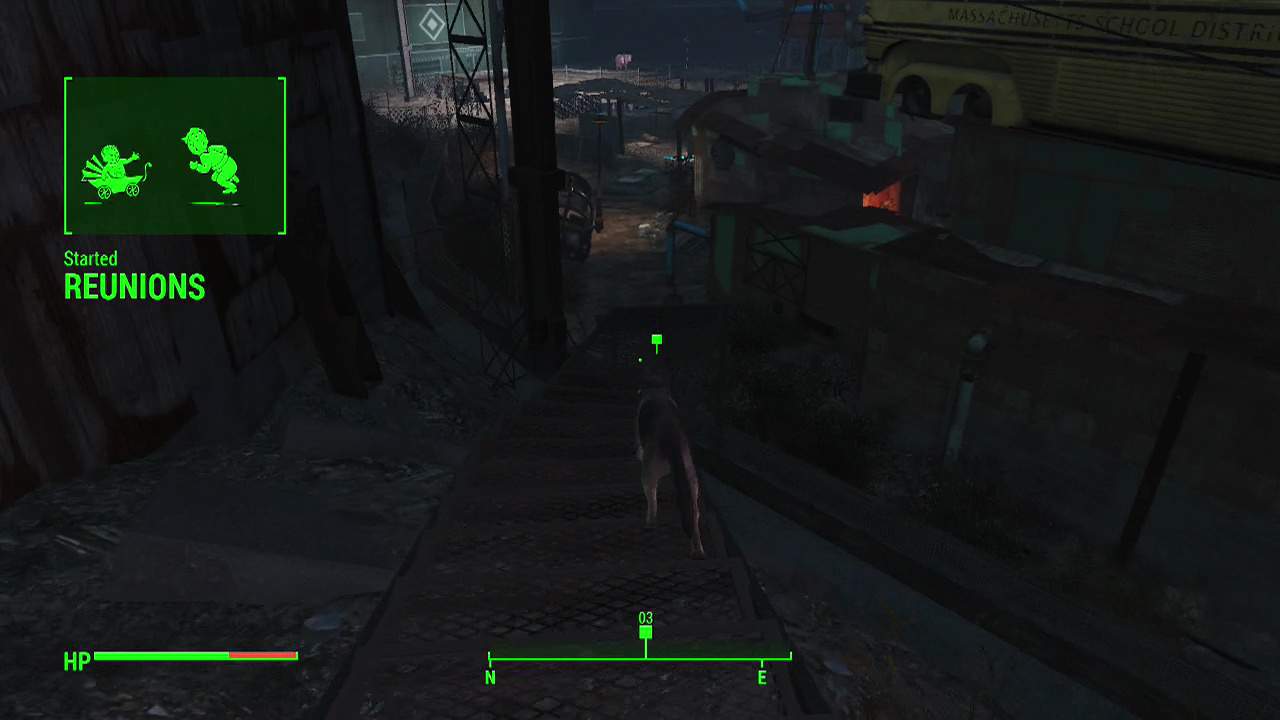

STORY 06 – Reunions
Objective: Follow Dogmeat
And we're off. Dogmeat should be on the move towards the main entrance of Diamond City after you showed him the cigar out the front of Kellog's house. Leave Diamond city after your favourite mutt, passing the security guards as you go. After traveling down a street for a little while, a marker will appear off the side of the road to your right.
Objective: Search for clues to Kellog
Turn off the road towards the marker to find a tree stump, a crate and an upturned chair. On top of that chair is an ashtray with another cigar. You will be asked to provide clues multiple times during this journey with Dogmeat. These take the form of either cigars or bloodied bandages for future reference. Pick up the cigar and you should automatically shove it under Dogmeat's nose. Continuing on, people.

Objective: Follow Dogmeat
Dogmeat will then briefly return to the road and then turn right along a set of railroad tracks. There will be a molerat attack as you move up (when you see the bones on the track, that is the trigger area), so make sure you have a decent weapon ready if you're on a higher difficulty as one of them will likely be legendary or glowing (or both if you're unlucky, like me apparently). The good news is that Dogmeat and your other companion (if you brought one) will provide a good distraction. For those on lower difficulties, blast them apart and continue after the dog.
Keep rolling along the train tracks after the vermin attack is over, and Dogmeat should run off to the right just before you reach a bridge. Chase after him down a set of concrete stairs and you'll arrive at the bottom of an underpass with a wrecked truck.
Objective: Search for clues to Kellog
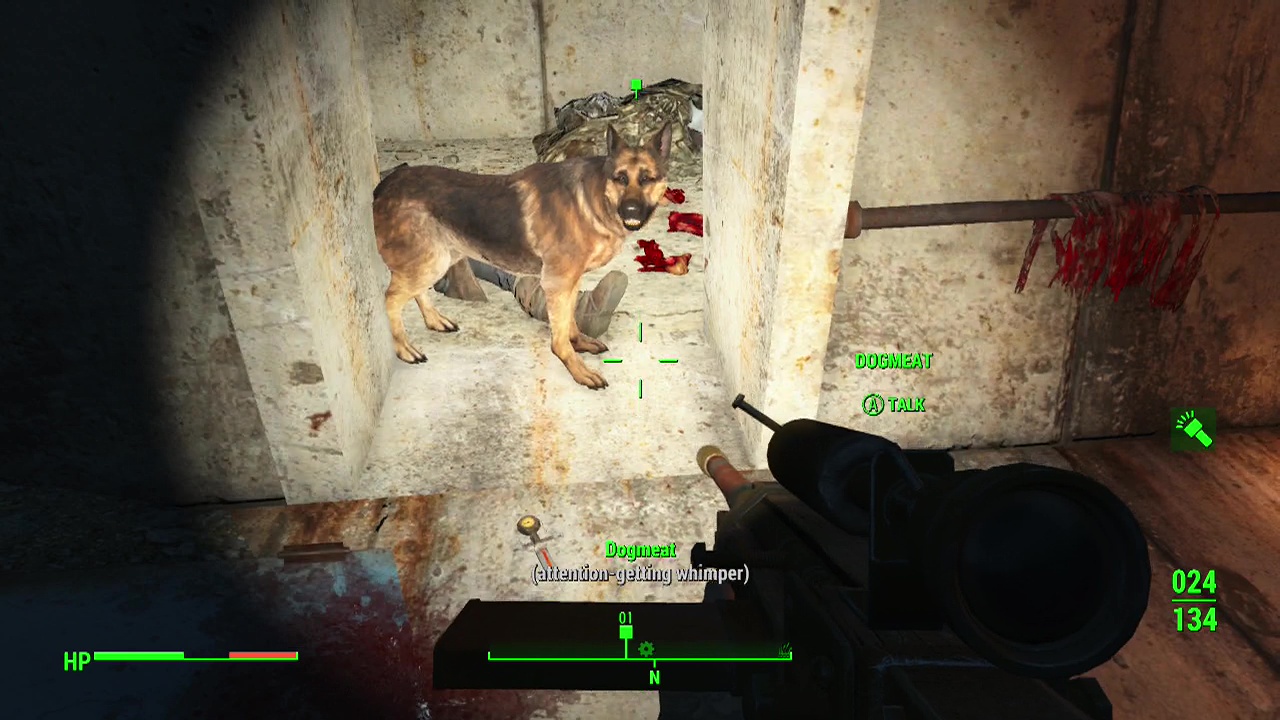
On the opposite wall you should see another doorway with a set of bloody bandages handing on a pole to it's right (a lit lantern should be beside the bandages making them easy to spot at night). Loot the remains of Kellog's enemies here as well if you want some free ammo. Interact with Dogmeat again after grabbing the bandages to move up the stairs beside where you found the bandages.
Note: From this point on until you finish tracking, enemy encounters may appear/ not appear depending on your game. I will list any encounters I had, but keep in mind they may not appear in your game.
Objective: Follow Dogmeat
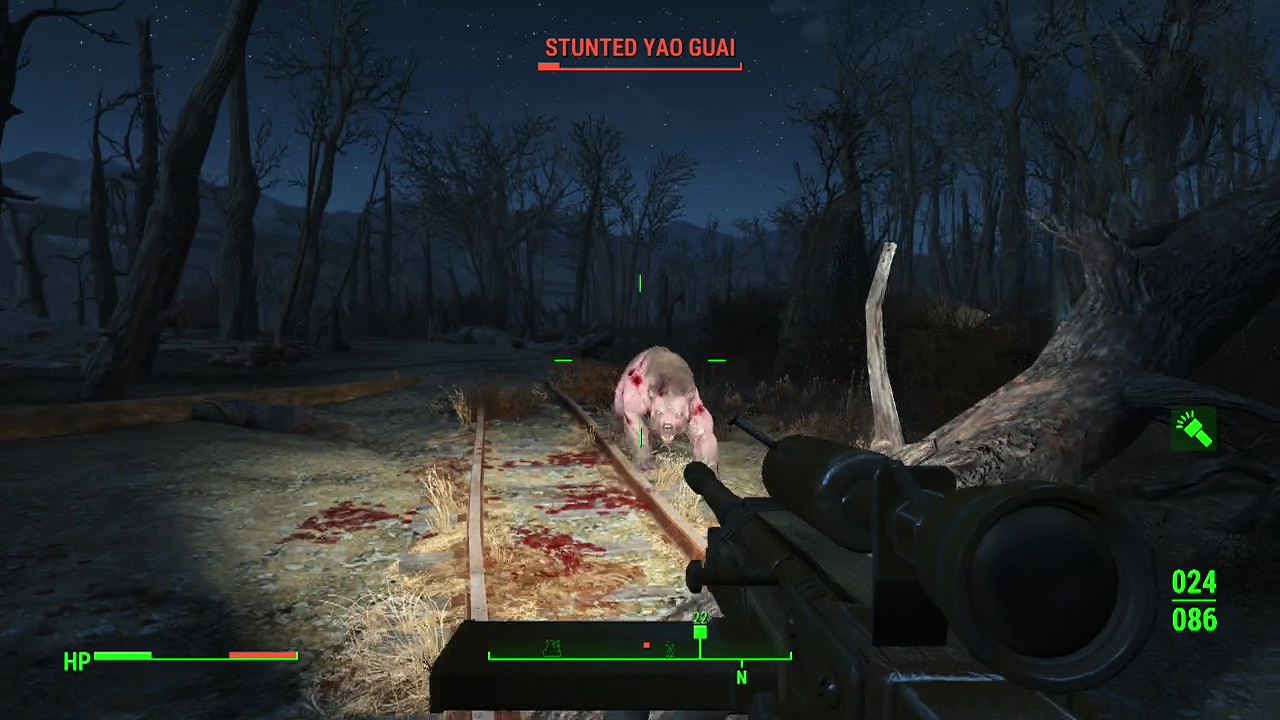
Seconds after you reach the top of the stairs, you may run into a pack of three mongrel dogs. Make good use of your ranged capabilities to bring them down fast, backpedaling if one of them turns to attack you. With that out of the way, Dogmeat will take off to the West, moving back onto the train tracks. Keep following them, but stay on the alert as you may run into a stunted yao guai (bear) here. Distance is your best friend here on higher difficulties. I recommend using fallen debris (like trees or rocks) to confuse the bear's AI, allowing you to get shots off if it turns to attack you (the fallen tree slightly back along the tracks I used in the video worked quite well) because it is faster than you and will catch you if you run/ backpedal normally. Once again if you're on lower difficulties, simply blow it's head off and move on.
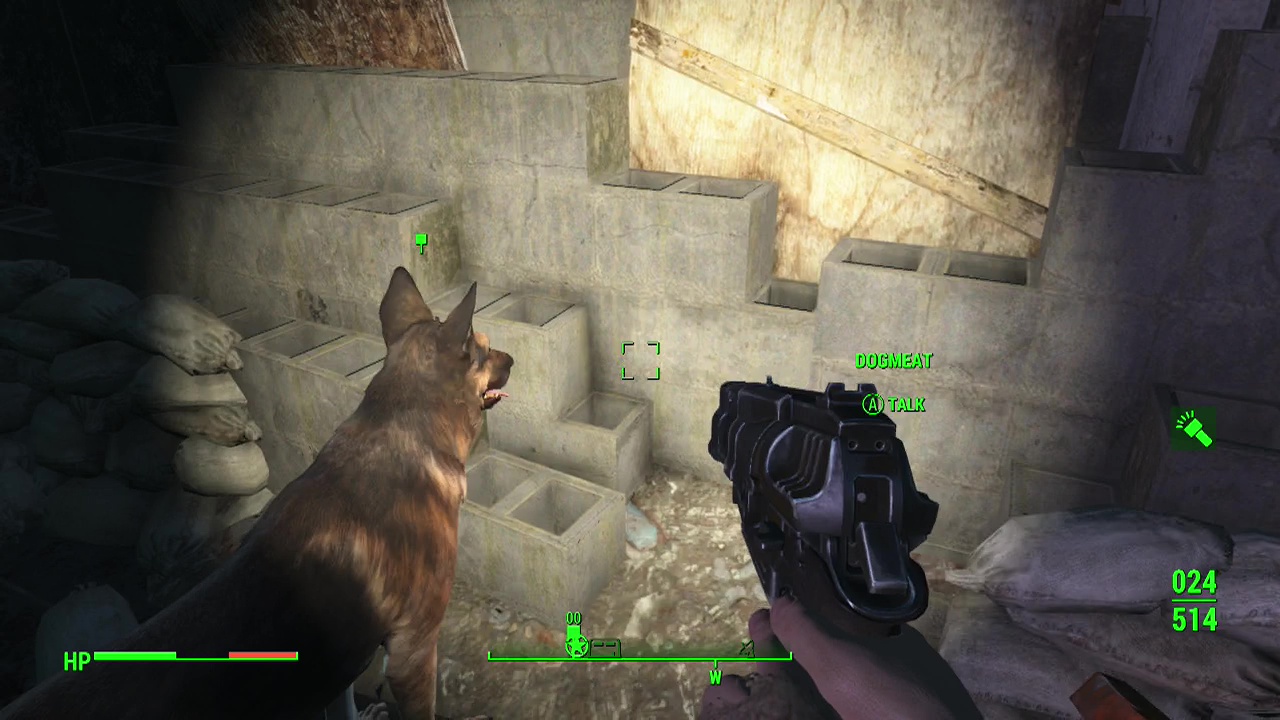
Yep, another trio of mongrel dogs may be waiting for you just a few meters away from the bear. Repeat the same tactics you used against the earlier group then go back to trailing Dogmeat along the train tracks to the North. Dogmeat will run into a shack to the right of the tracks after a little while, so follow him in.
Objective: Search for clues to Kellog
Another set of concrete stairs leads down leads down to a short tunnel. Disarm the hanging cans and be careful approaching the bed at the far end as a frag mine is sitting on the sleeping bag. The sleeping bag is the clue to continue the chase, so inspect it after disarming the mine.
Objective: Follow Dogmeat
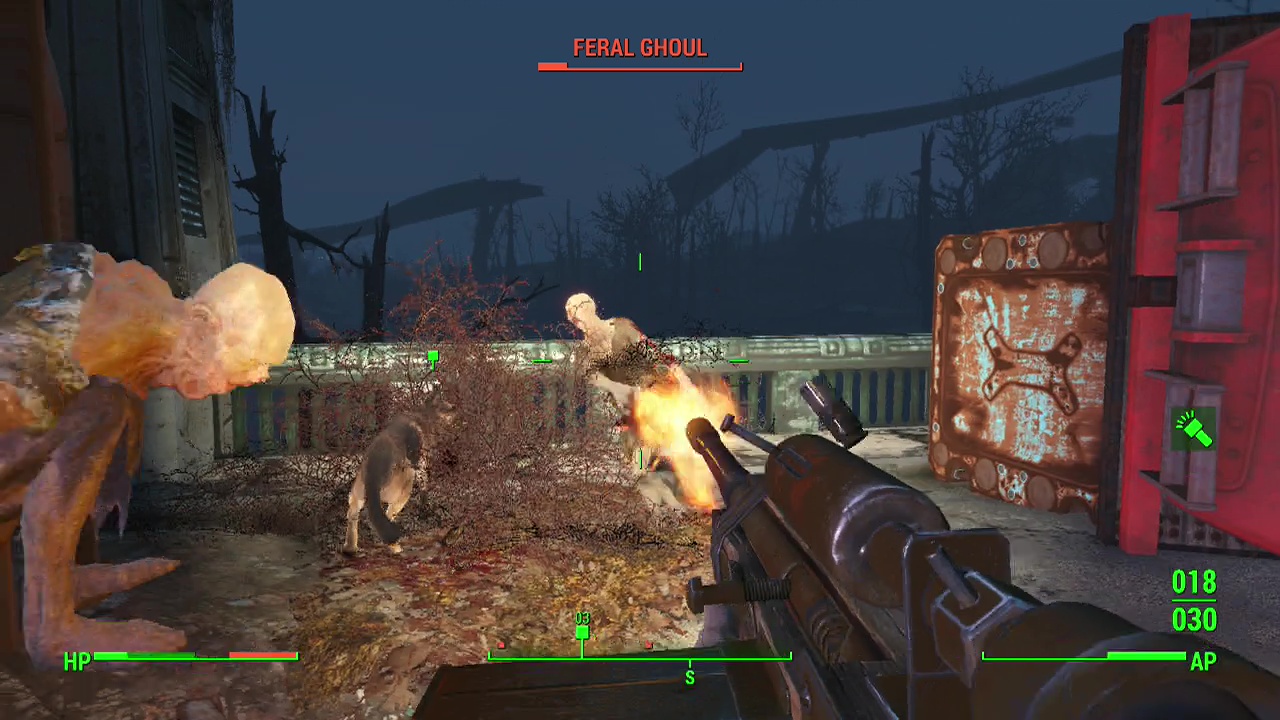
After that, exit via the nearby door to find yourself at another underpass. Tromp after Dogmeat as he travels to the West along another road. You'll start crossing over a bridge shortly afterward. When you get about halfway across, you'll see some wrecked trucks ahead. A trio of ghouls will be hiding between them, so be ready to gun them down as they start to emerge. Another three or four ghouls will attack when you finish crossing the bridge as well. Afterwards, continue following Dogmeat down the road, until you find the scattered remains of multiple robots strewn across the road.
Objective: Search for clues to Kellog
There are a couple of containers you can loot here before approaching the assaultron head sitting on a metal case. Beside the head is another cigar for you to grab and shove under Dogmeat's muzzle.
Objective: Follow Dogmeat
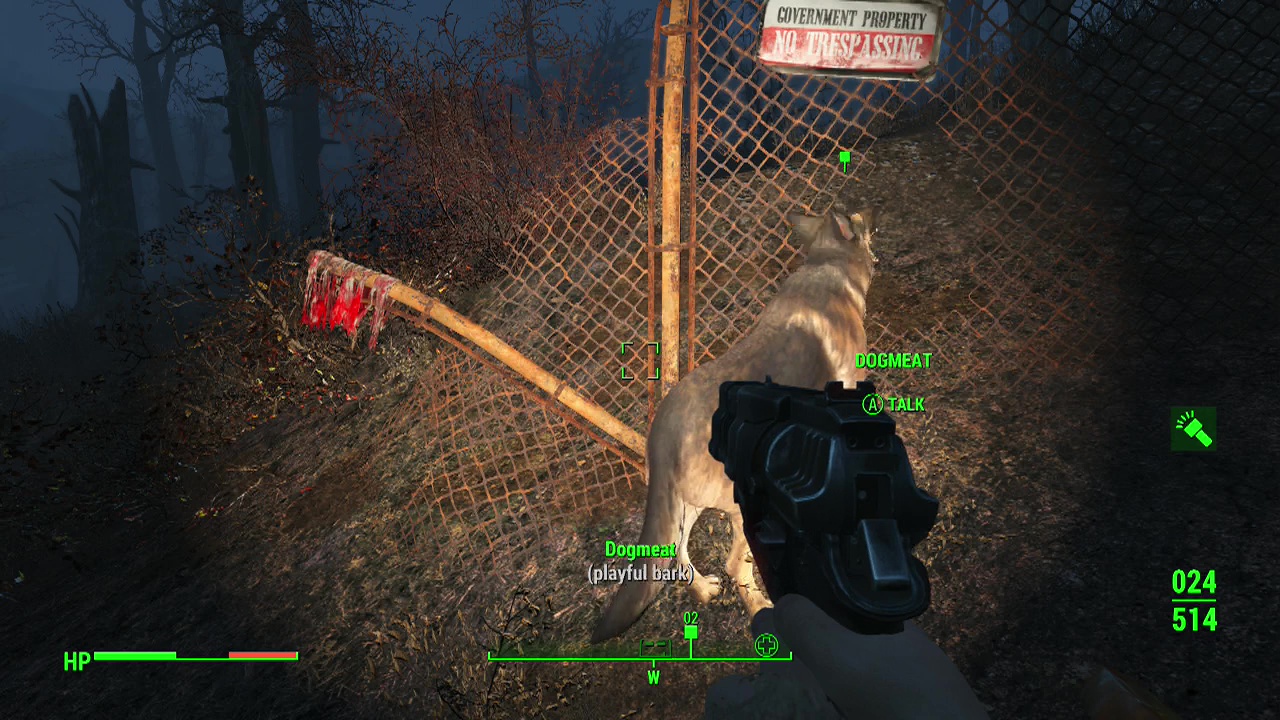
On the road again… Trudge West along the road with Dogmeat until he turns onto a new road leading North. After rounding a scrapped truck on the left side of the road, Dogmeat will veer off the road into the undergrowth to the West. Chase after him and you'll reach the remains of a rusted fence after a while.
Objective: Search for clues to Kellog
On the pole to the right of the hole in the fence is yet another set of bloodied bandages for you to pick up.
Objective: Follow Dogmeat
Pass through the hole in the fence after Dogmeat, to arrive on a road once again leading to the North. As you follow this road, you may run into a bloatfly and/ or bloodbug hatchling for you to take care of before you finally reach the entrance to Fort Hagen. Dogmeat will lead you straight to the blockaded main entrance.
Objective: Check on Dogmeat
Interact with Dogmeat and you'll be prompted to select who to accompany you into the fort.
Note: Now that you have found the fort, on higher difficulties you may want to change into energy resistant armour as nearly all the enemies (except for Kellog) will be synths using institute pistols. Changing back to physical resistant armour just before confronting the mercenary. If you haven't got any energy resistant armours (eg: if you're still using raider, leather or metal armour and can't upgrade them at the workshop), it may be worth bringing power armour for this quest. Plus it will make the fight against Kellog easier. The downside is the cost in fusion cores, but it's your choice.
Objective: Search Fort Hagen
The only entrance for your first visit to Fort Hagen should be through the parking lot on the South side of the fort (around the corner to the left of the main entrance). There is a ramp leading up to the roof where multiple turrets are waiting, but the door up there should only unlock at the end of this quest. For now go past the raised barrier and enter the open door in front of you to descend another set of concrete stairs. At the bottom you can grab some loot off the body of a settler who overdosed before looking for a red exit sign nearby. Enter the door beneath the red sign to access Fort Hagen.
As you enter you'll hear synths in the levels above talking. The door directly ahead of you is chained up on the other side, so take the stairs leading up instead, Wind your way up until you reach a floor with a protectron charge station in the corner with a terminal beside it. The enemy synths are through the blue door beside this, but you can power up the protectron if you wish to help you clear them out (just be careful it doesn't turn on you). If this is your first time encountering synth enemies, here are a couple of things to keep in mind. They are fairly weak physically, however their energy weapons will often tear through your armour if you don't have a decent amount of energy resistance (raider and metal armour sets have little in the way of this resistance). If you're already up to combat armour you shouldn't have anything to worry about. The other thing is that synths don't have a lot of energy resistance themselves, making them quite susceptible to their own institute weapons. So picking up their weapons and using them against them is an effective strategy.
You'll want to advance slowly through this floor, luring out the ten or so synths in small numbers if you can. Try sending a companion forward and then retreating them when they come under attack if you don't want to use yourself as bait. There will also be a frag mine sitting just inside a hole in the wall, so be careful not to blow yourself up (use V.A.T.S to spot it easily as you move around) and a tesla ceiling trap will be above a novice difficulty explosives box as well. There are also one or two laser ceiling turrets to take down as well, so keep an eye out.
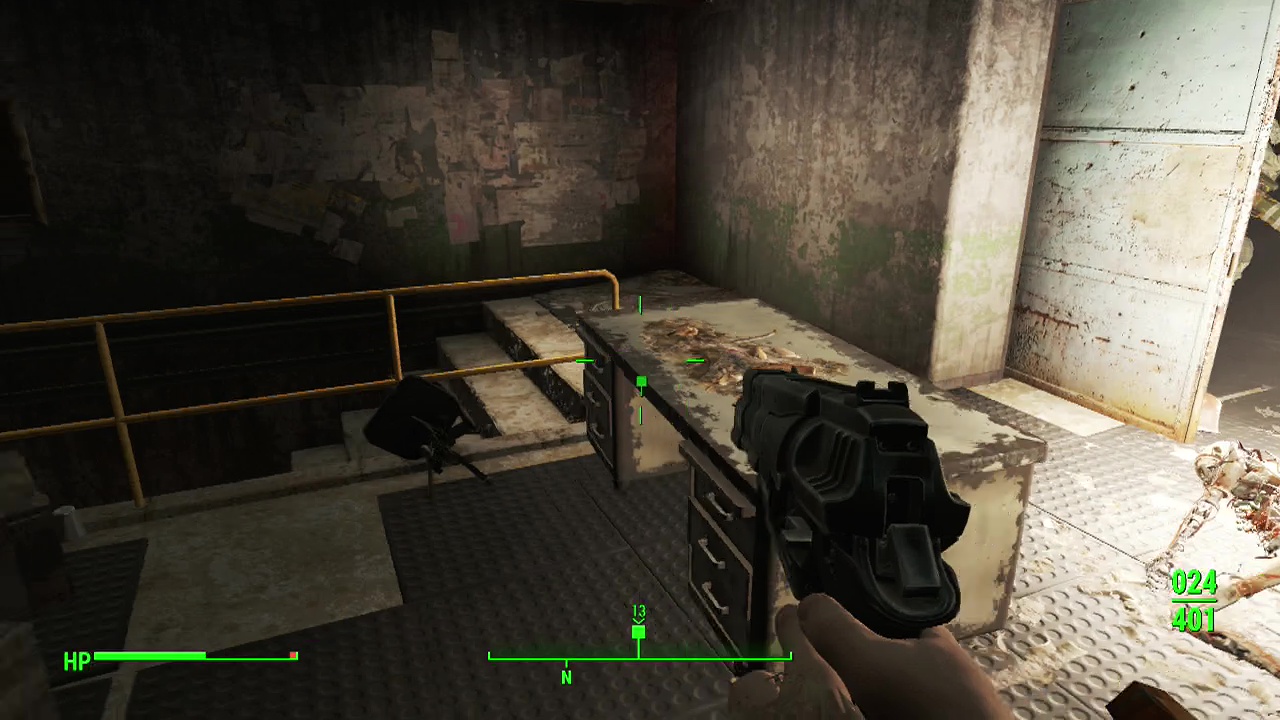
You'll reach an area near the back of the floor with a terminal and a security cage you can unlock for a tidy amount of ammo and other loot. At the rear section of this level is an elevator leading down into the complex. You can just advance forward, but there's additional loot and enemies to take down on the floor above if you want as well. For those that want to check out the top floor, read the paragraph below. For those that don't feel free to skip the next paragraph.
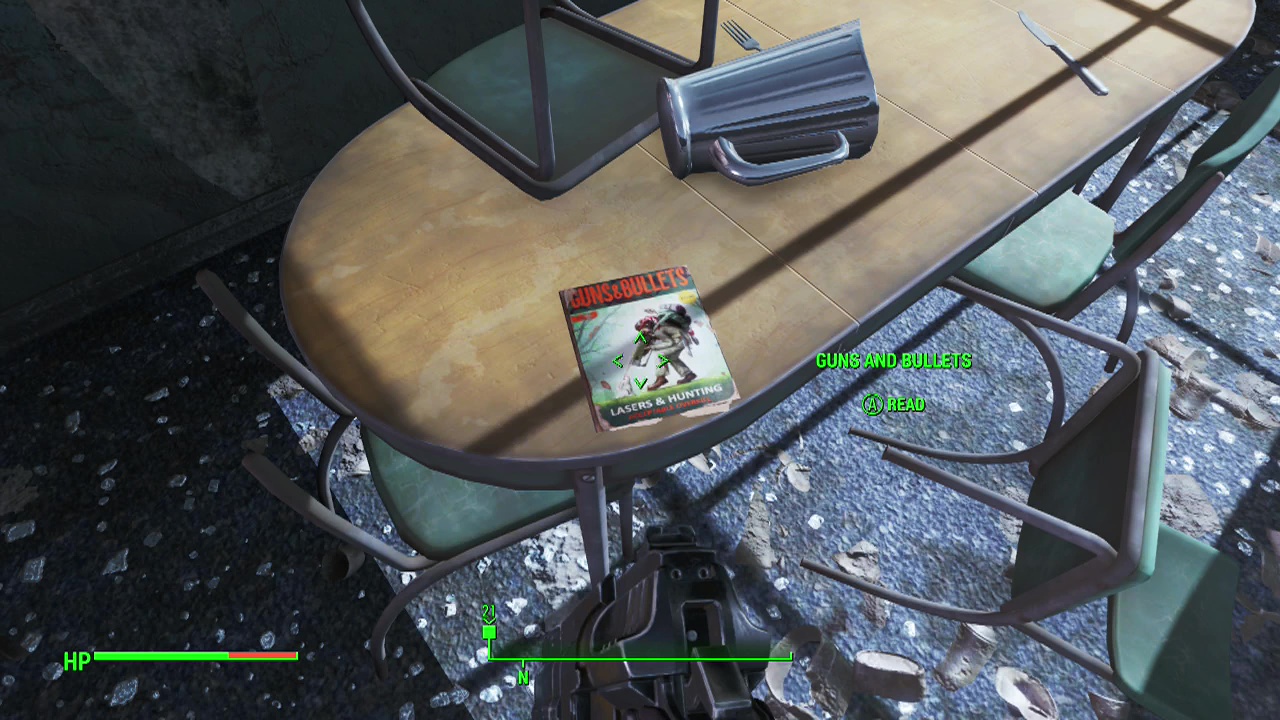
Top floor: At the top of the stairs, you'll be faced with a machine gun turret. Laser weapons will drop it extremely quickly, or you can just pelt it with regular weapons with no threat if you position yourself correctly on the stairs. As you reach the destroyed turret, synths will attack from the right, so back up to the stairwell/ doorway and start picking them off. Another machine gun turret will be covering the open area just past the first, so be careful as you move in once the initial synth wave is vanquished. In the back corner of this floor in the room with the sleeping bags is an advanced difficulty wall safe you can empty out. But the main prize for clearing this floor is the magazine in the eating area. Return to the elevator on the floor below after you've collected it and descend.
Note: You can find a copy of Guns and Bullets (lasers & hunting) on the table in the eating area.
When you exit the lift, you'll be in a long corridor. Advancing straight ahead leads you to a group of synths and a turret prepared to ambush you (as well as a laser tripwire on the floor you can disable). A good strategy is to take cover behind the cart on the right just before the tripwire and use a rifle or sniper rifle to sneak attack a synth or the turret to make life easier. If stealth isn't your thing, a well placed grenade will do the job just as well. Keep mowing down the synths that appear at the end of the corridor until the coast is clear. You can pass through a door to the left to flank around the side of any remaining synths as well.
Enter the room the synths were in and descend the stairs and open the security gate at the end of the hallway, being careful to avoid the tesla trap on the ceiling above as you do. An ammo crate and first aid kit can be found to rummage through in the alcove to the left here before heading down the remaining stairs, stopping just before you reach the bottom as there is a turret waiting in the hallway. Pop out and immediately take down the turret next to the security door before passing through. This will bring you to the double doors leading to the command center of Fort Hagen.
Kellog has locked off certain doorways in the command center to make it extremely linear, so move into the hallway when you step off the lift, stealthing down the stairs to get the drop on the synths in the room ahead. If you've got a decent long range weapon, you should be able to bring down at least two of the three from this position. When the hallway is clear, march down it. The door at the far end will be inaccessible, so you'll need to go through the open doors to the right instead. As you enter this new hallway, look for a laser turret about halfway along to bring down. The room full of bunkbeds to the left has several footlockers you can loot, as well as terminal on the wall with the security cage in the side room holding some currency, bobby pins and other goodies. Return to the hallway and move to the next corner carefully as a pair of synths and a laser turret will be waiting around it.
When you've taken care of them, go down the steps and turn right, looking for the ceiling laser turret in this next corridor to bring down. The room on the right here holds a fusion core you can grab from a machine before moving down the corridor. The door at the end holds an medical ward you can loot some stimpaks and other supplies from, while the cafeteria on the left holds an item of major interest.
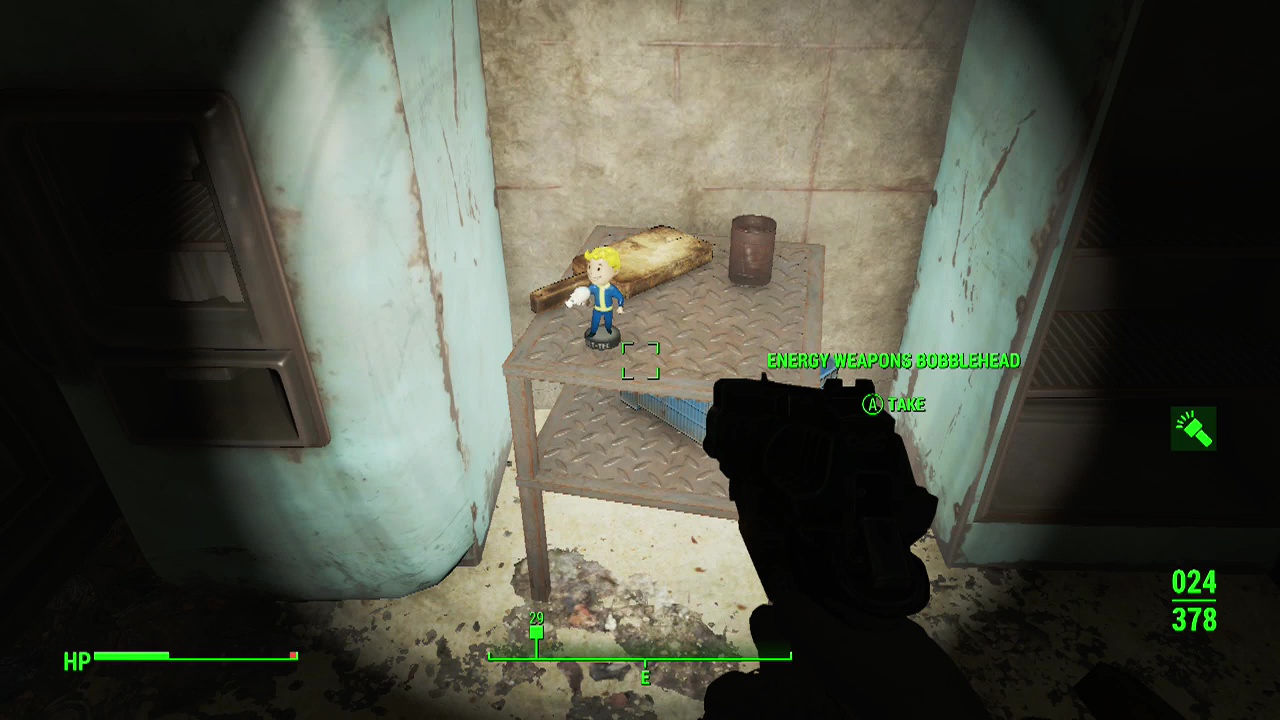
Note: You can nab the Energy Weapons bobblehead from a shelf in the kitchen area of the cafeteria.
Stay wary as you turn around to exit the kitchen as two synths will race through the door opposite and attack. You can use the kitchen counter for cover while firing back at them. Exit the cafeteria and you'll be presented with two choices leading down. Take the right path (red light) first to find a nuka cola quantum and a red toolbox that contains the armory password you need to advance. Backtrack and take the other path down now. A curved corridor will lead off slightly to the left here. Be extremely careful as this can be a deathtrap on higher difficulties due to the vision obscuring steam and dim lights. You'll want to sneak down and use a rifle or long range weapon to take out the pair of synth partway along it. At the end you'll see a terminal and blue door directly in front of you. Ignore it, turn to the right and enter the living quarters on your left.
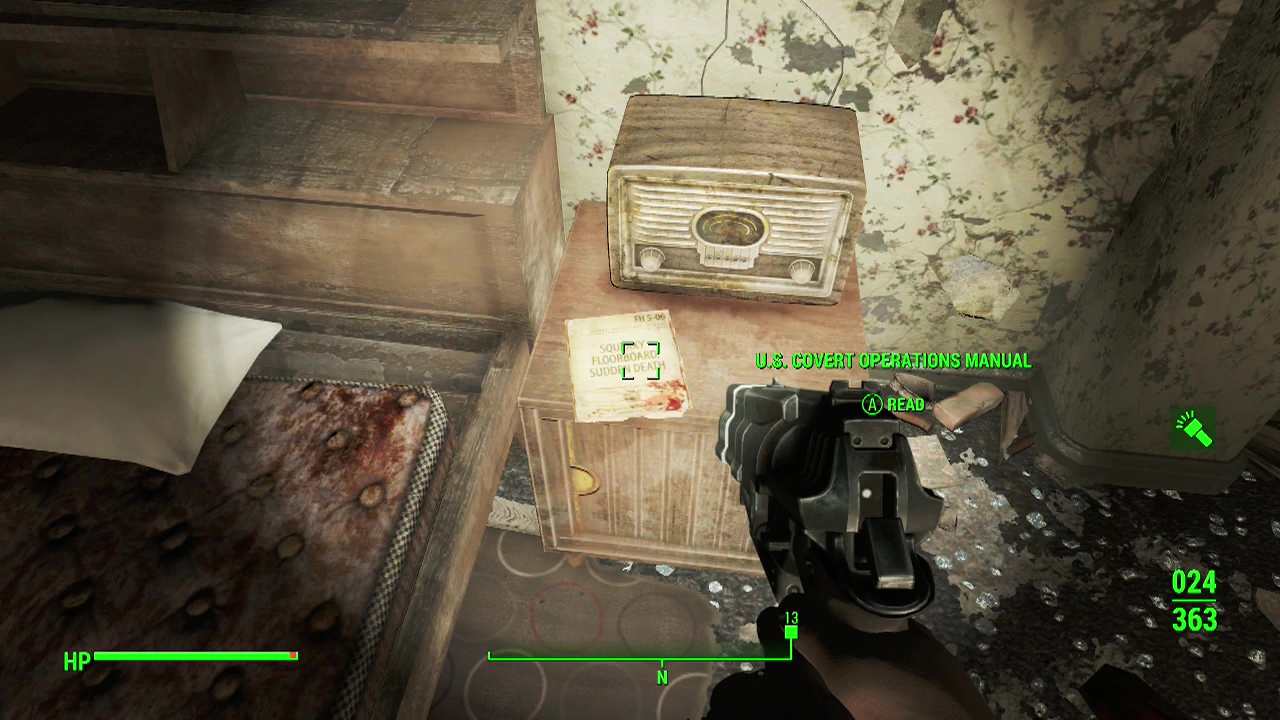
Note: On the bedside table here you can find a copy of the U.S Covert Operations Manual (squeaky floorboard, sudden death).
Leave the living quarters and head left into a reception area. Pass through the red door here and then through the security door on the other side when Kellog opens it.
Objective: Confront Kellog
Note: Make sure you swap your armour back to increased physical defense if you changed it earlier to combat the enery weapons of the synths.
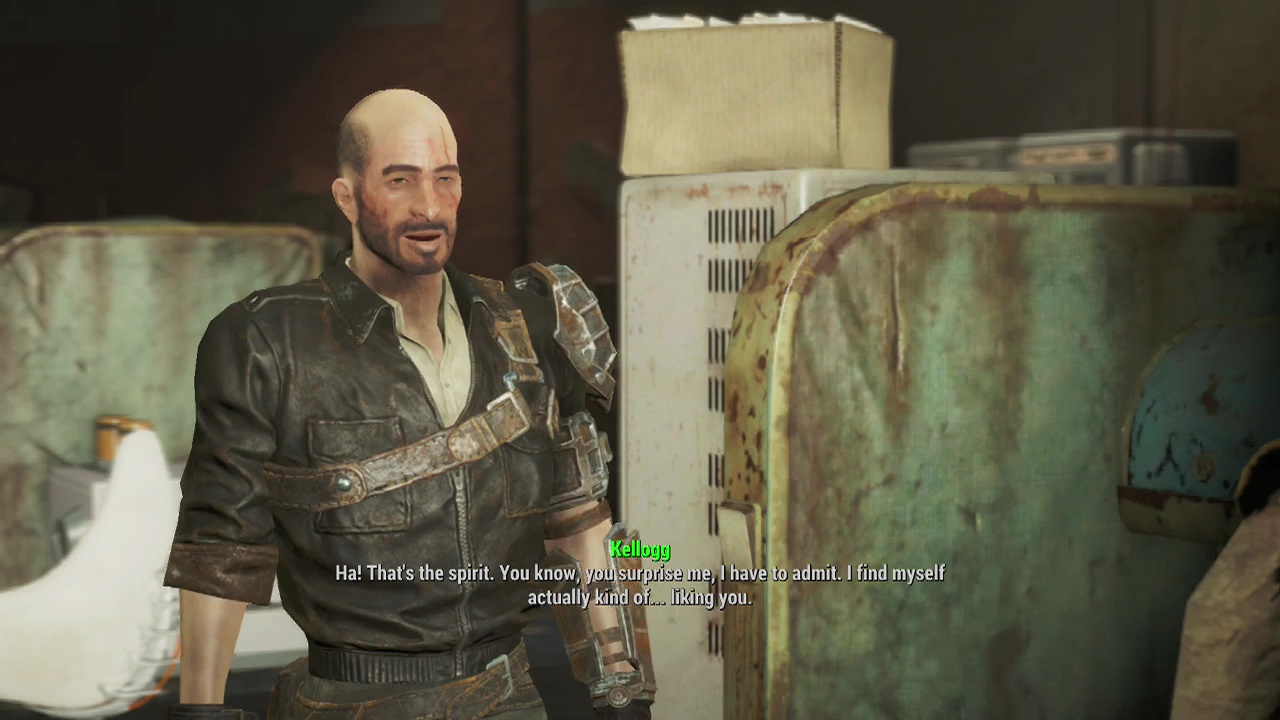
The next door will lead you to the control center of the fort and leave you face to face with Kellog. Keep in mind you can drop down mines or prep yourself with Med-X or other drugs and buffs before you move close enough to talk to him. He can be difficult to defeat, especially on higher difficulties so you may want to take advantage of some of these things. A couple of words of advice beforehand, Kellog has the ability to cloak (stealth boy) for set intervals, making him hard to target. He also tends to stay in fairly close range, making pistols, shotguns and other close range weapons valid options to bring him down. There is cover (the cubicle walls in the center of the room) that you can circle around, just be careful to avoid being flanked when Kellog is cloaked. You will definitely want to bring down the synths first as Kellog has a large pool of health so you won't be able to finish him off quickly (unless you are on easy mode) so take down the synths to prevent flank attacks and blindsides.
Objective: Kill Kellog
Got all that? Good. Then you're ready to take on Kellog. After he finishes talking to you anyway. Take my advice above to make things easier and pound him into the dirt.
Objective: Search for more information
When you emerge victorious, take your time and loot everything on Kellog (you'll need the cybernetic brain augmenter in the following story mission) and the room as there is plenty of first aid and ammo to pick up before accessing Kellog's terminal for some additional info as well as opening up the security door leading to the exit.

Objective: Discuss your findings with Nick
Now it's time to get the hell out of here. Go through the now open security door on the left side of the room and you'll see a red exit sign at the end of the hall (this was inaccessible earlier), pass through and into the elevator at the end. You'll come out in an enclosed area on the roof. Use the terminal beside the door to disable the rooftop turrets and open the door. As you exit, you may or may not see the Prydwen (brotherhood of steel airship) fly overhead giving you the brotherhood of steel quest 01 – Reveille. Fast travel back to Diamond City and enter the detective agency to meet up with Nick. Talk to Nick when he and Piper are done arguing and Piper will become available as a companion if she wasn't already. After the conversation ends, Nick will offer to escort you to you next story destination for Story 07 – Dangerous Minds. Take him up on it or decline. Either way it's on to the next bit of the story. Phew, that was a long one.