
STORY 09 – Hunter/ Hunted
Note: If you want to make the fight against the courser much easier on higher difficulties, bring some power armour due to it's high energy resistance.
Objective: Travel to C.I.T
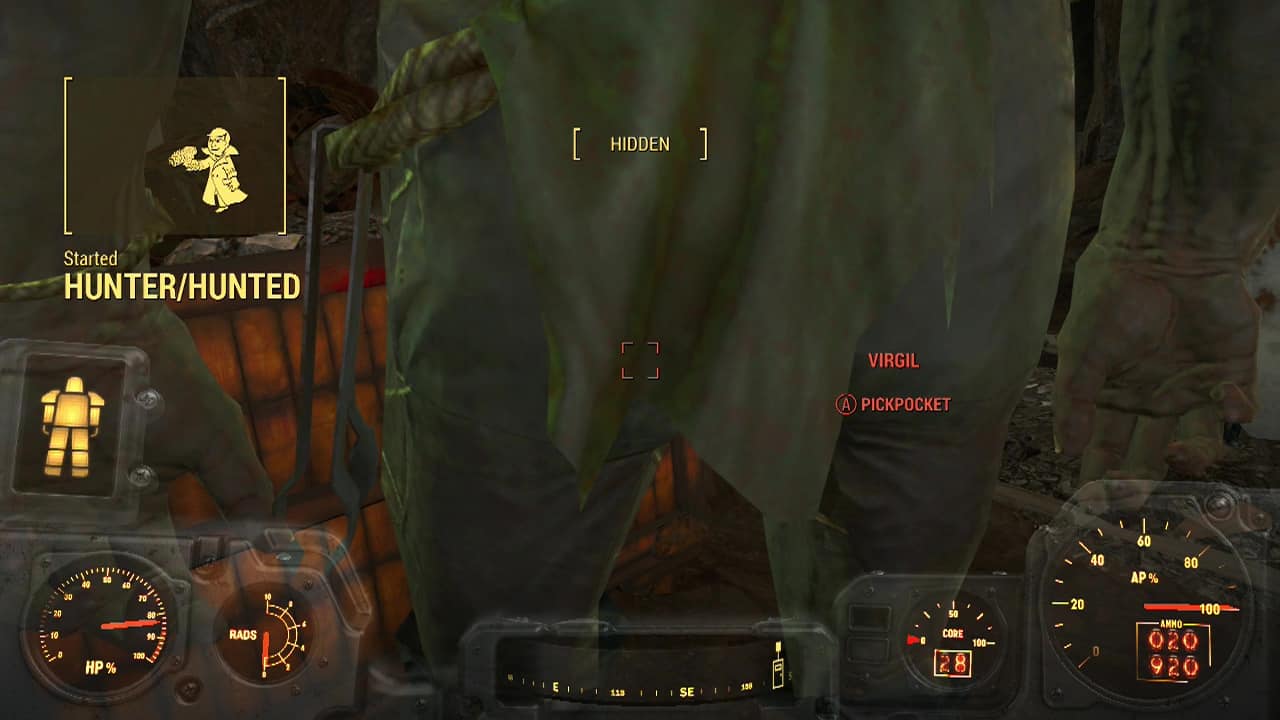
After getting pointed in the right direction by Virgil in the previous story mission, your next task is to track down an elusive courser. These high tech synths have the ability to travel in and out of the otherwise inaccessible Institute. The ruins of C.I.T are directly to the North of Diamond city, just across the river. Fast travel to the closest location you have available and move through the streets until you reach the marker in front of the ruined structure.
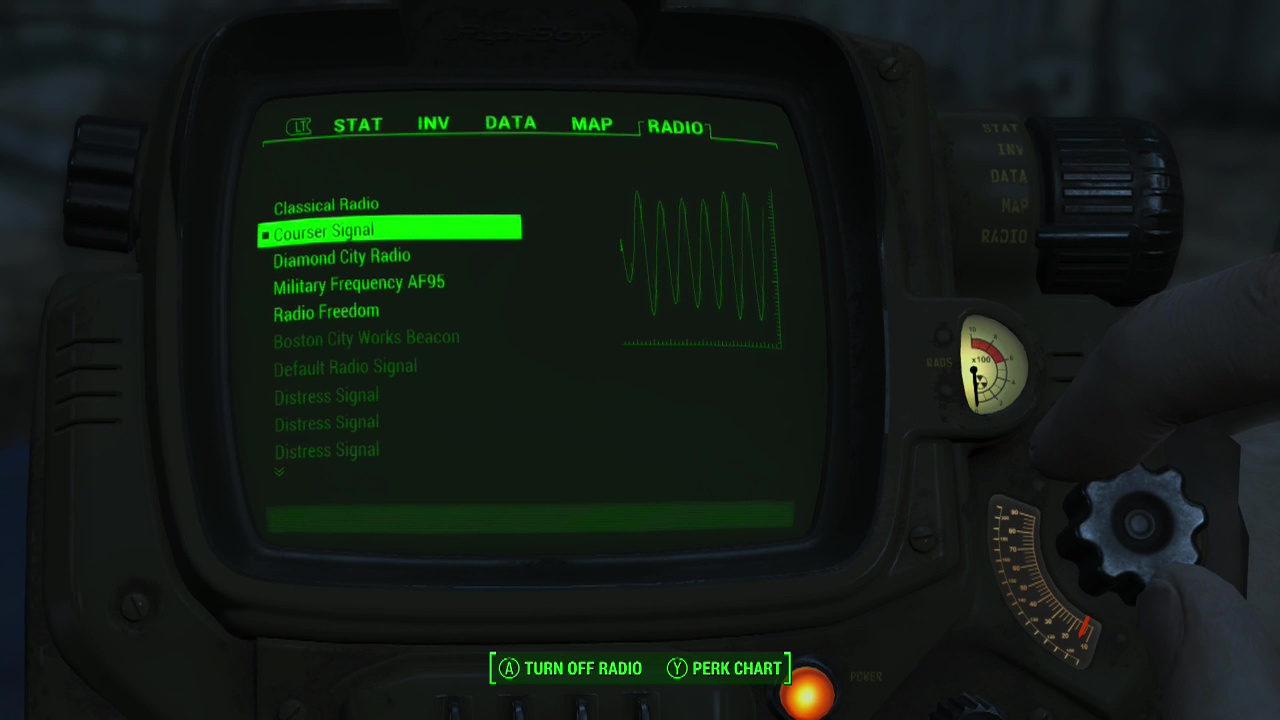
Objective: Tune to courser's radio frequency
When you reach the area, a notification will appear in the top left of the screen showing that you are not picking up the courser's signal. Go into the radio of your pipboy and select 'courser signal.' You will then get an indicator of signal strength based on how close you are to the courser.
Objective: Use the courser's radio frequency to track courser
You'll want to head North and East, adjusting your path based on the signal strength. You may run into a group of raiders along the way, but you should be able to sneak past or just bring them down. When you arrive at the green building Greentech Genetics, you've reached your destination. Head inside.
Objective: Kill the courser
You can now turn off the courser signal as it won't be of any further use inside. Keep in mind you are going to be facing a large number of gunner enemies (equal ballistic and energy resistance, so use whichever weapons you like), as well as plenty of machine gun turrets. Higher up in the building are gunners armed with missile launchers which are an instant death sentence on higher difficulties. There are also a few mines scattered about the area, so make sure you are actively using your V.A.T.S to spot them.
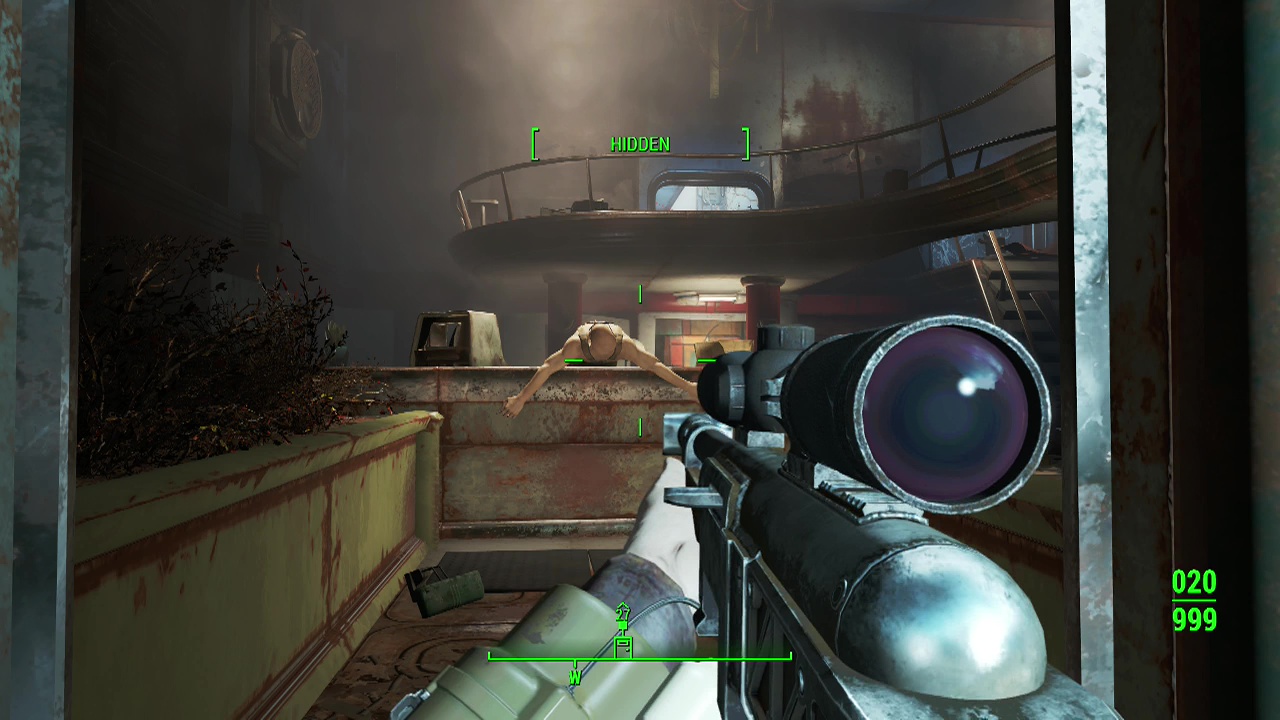
Go up the stairs to the right as you enter the main area and then work your way back across along the catwalks of the second level, picking off gunners and turrets. At the top of the stairs when you reach the third floor, take out the pair of gunners defending the toilet. Take the left door here (that leads to a room with red couches and red paint on the walls).
Note: On the third floor between two red couches on a circular white table is a copy of the massachusetts surgical journal you can pick up.

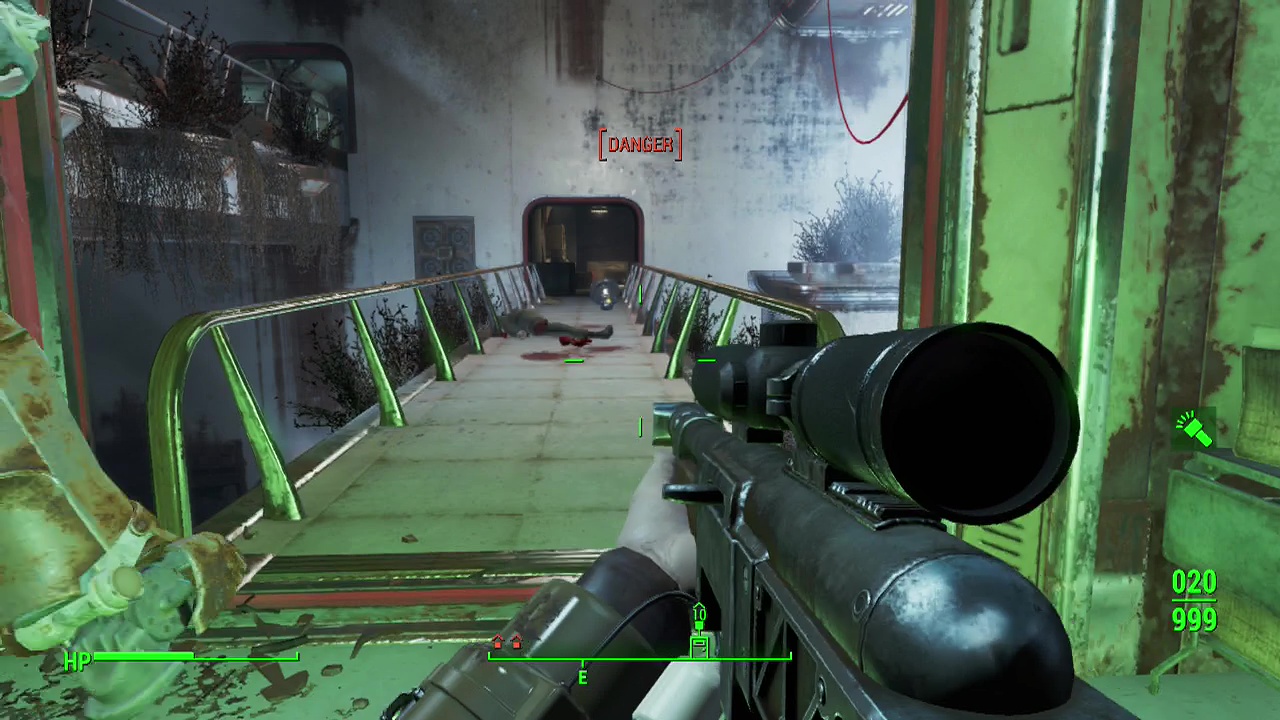
Travel through the corridors and hallways until you come to a bridge between the sides of the floor. Two mines will be sitting on it and it will be covered by a missile gunner as well as a couple of regular gunners on a balcony above and to the left. Gunners may also shoot at you from the far side as well. You want to be extremely careful here as a missile hit is instant death on higher difficulties. Time your shots between missile strikes (you can tell when the missiles hit due to the noise and shaking).
Continue working your way up the building, clearing out the gunners and turrets you run across. There are multiple ramps and paths in the upper levels. You'll reach another bridge across the area further up with another missile gunner guarding it from a balcony to the left. Use the same tactics you used earlier (wait until a missile strike hits the wall and then fire at the gunner). Cross the bridge and you'll eventually find at the top of this section an elevator that will take you the top area of the building.
As you exit the elevator, directly ahead will be a terminal (master) and a security door. Inside the cage on the banks of computers are two fusion cores up for grabs. Entering the door at the back of the room will lead to another locked door (advanced) to your left. Inside you'll find another fusion core and some more goodies before ascending the stairs outside. Yet another terminal will control a security door on the level above. This time you can some ammo and first aid items to grab instead.
Note: When you first encounter the courser, you can use it's recall code in dialogue if you completed Minutemen Quest 02 – The Sight and got the code from Mama Murphy.
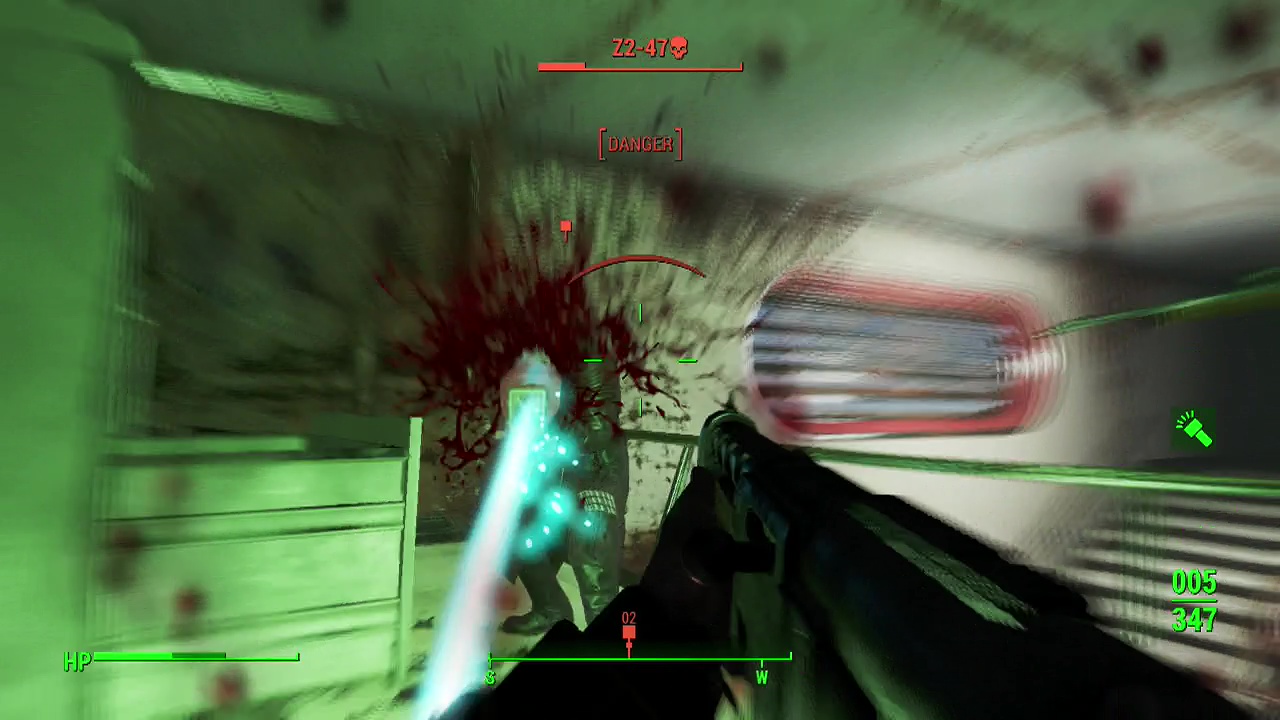
Keep heading upwards and on the next level you'll come face to face with the courser Z2-47. No matter what you say to him, the end result will be a fight. The courser has the same style of stealth as Kellog who you fought earlier in the story, vanishing for a set amount of time with a stealth boy before reappearing. His automatic pistol interrupts your aim and quickly deals limb damage if you stay out in the open, so you are best off taking cover unless he moves towards you. If he does, swap to a shotgun or other high damage close range weapon to take advantage of it. If he takes cover, use grenades or molotovs to damage him and force him out. If you can cripple his legs this becomes extremely one sided as he can't move away from you anymore.
Objective: Recover courser chip
When the courser drops, loot his body for the courser chip and anything else he's carrying. The quest will end after picking it up, but there's a couple of things you can do before leaving the place.
Optional Extras
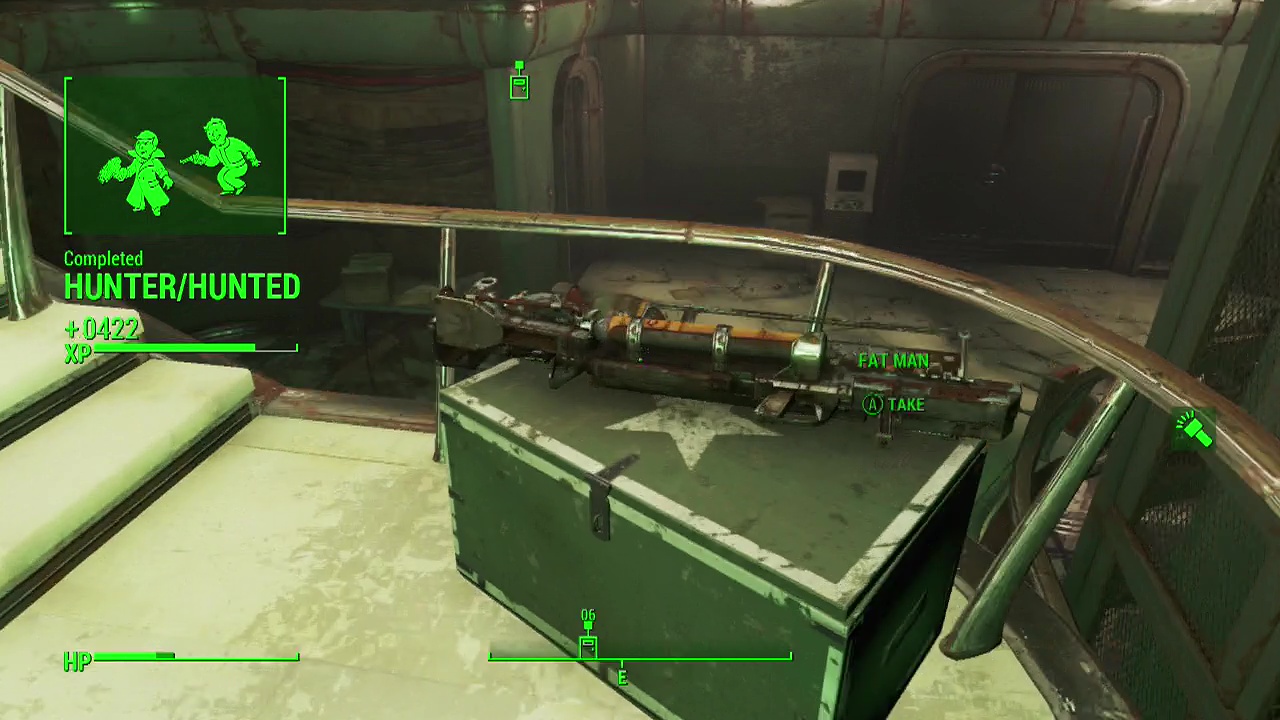
Open the locked room the courser was trying to get in to retrieve K1, a synth related to a separate sidequest. The password can be found in a red toolbox behind you when you are facing the locked door. Loot the green metal box on the stairs for ammo and other goodies as well as a fat man launcher.