Chapter 2.6 – The Great Raid
Observables:5
Breakables:5
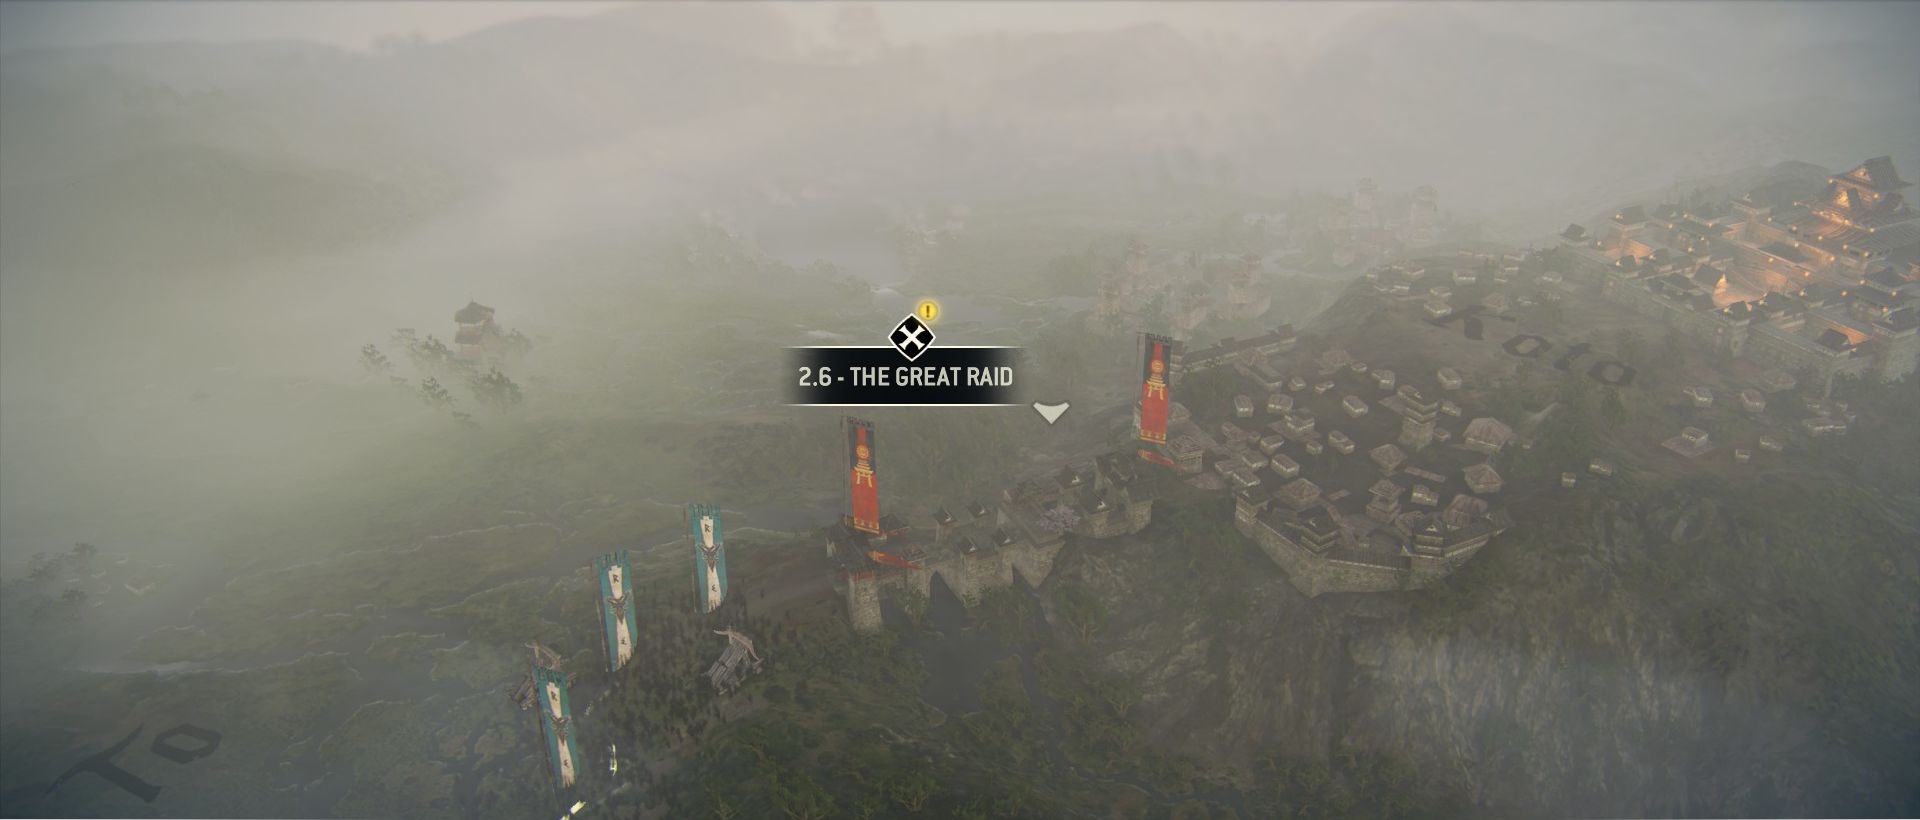
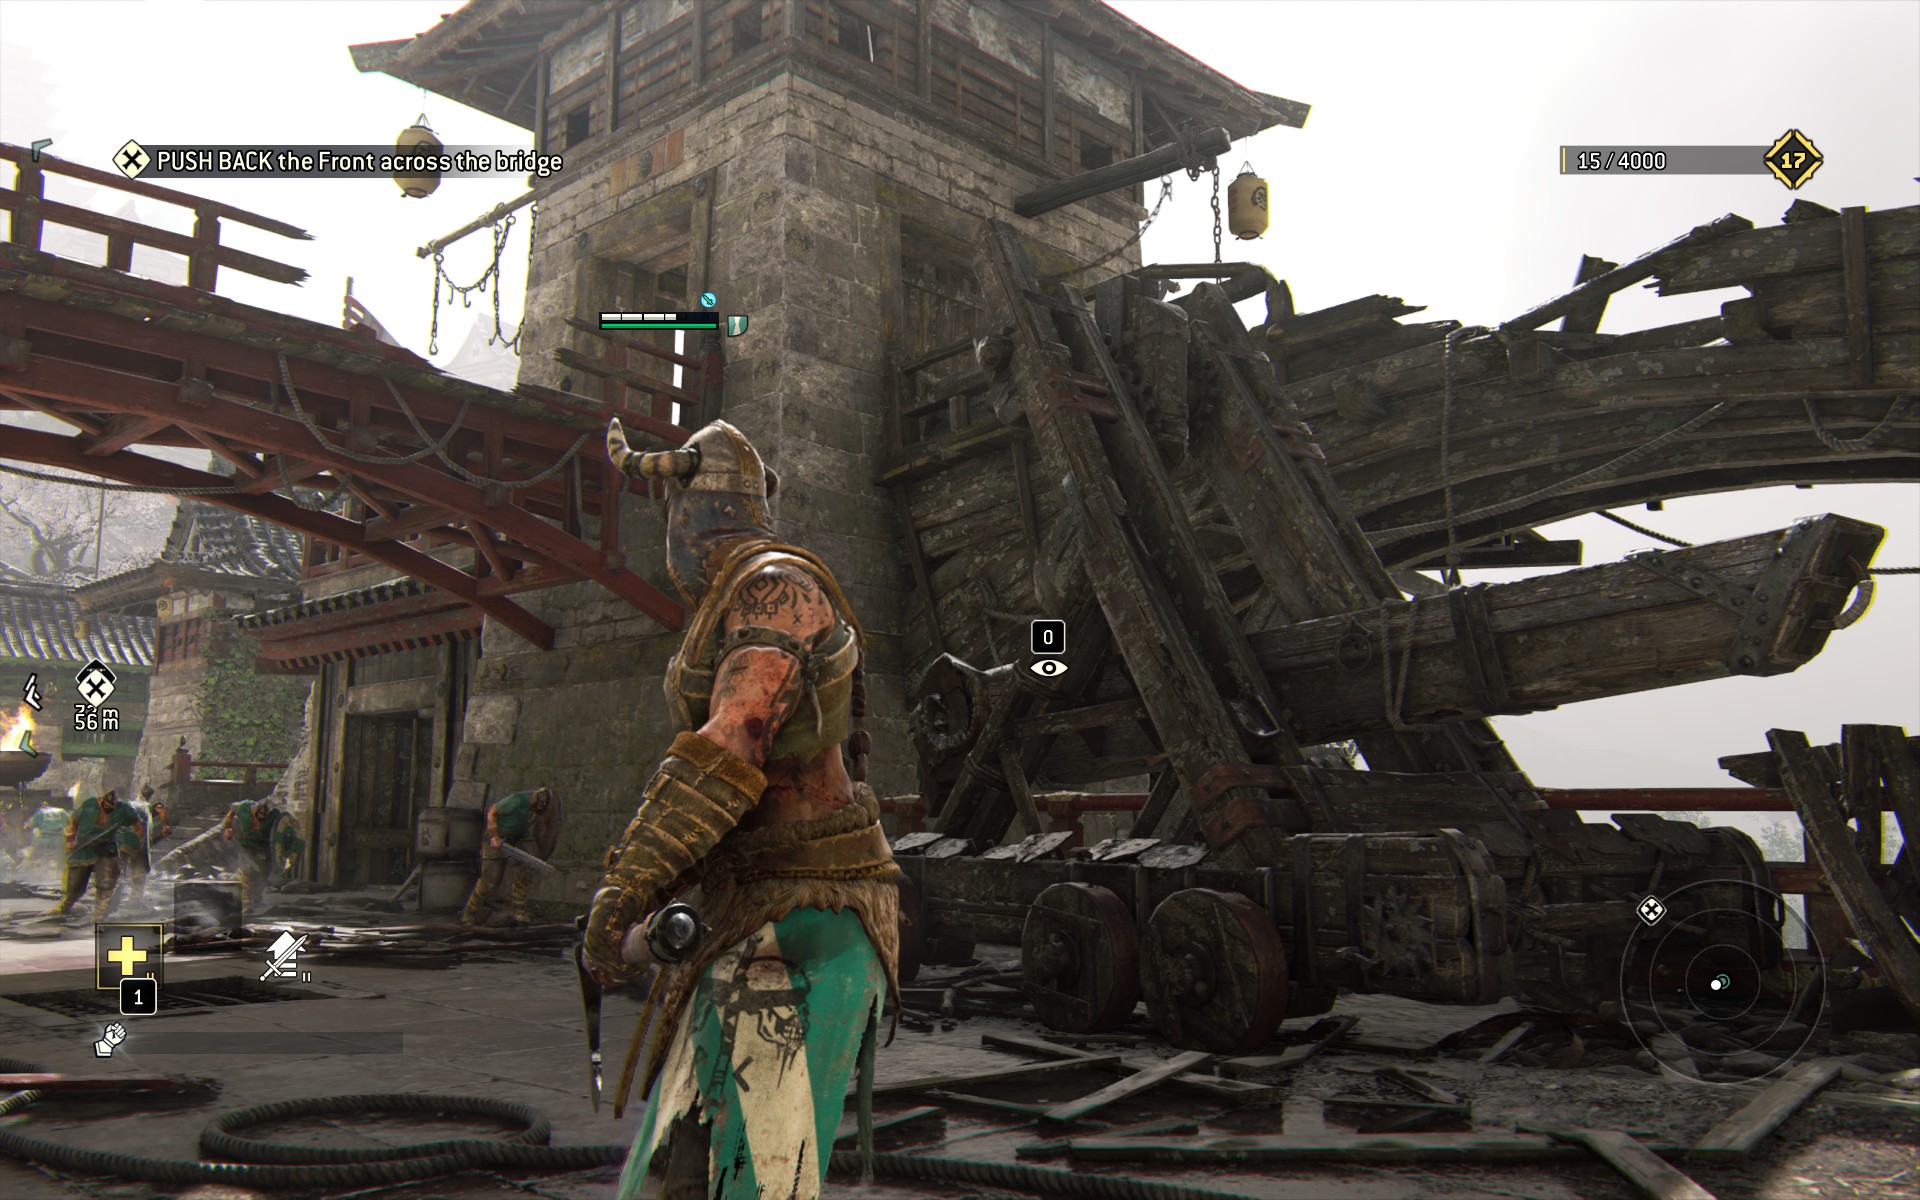
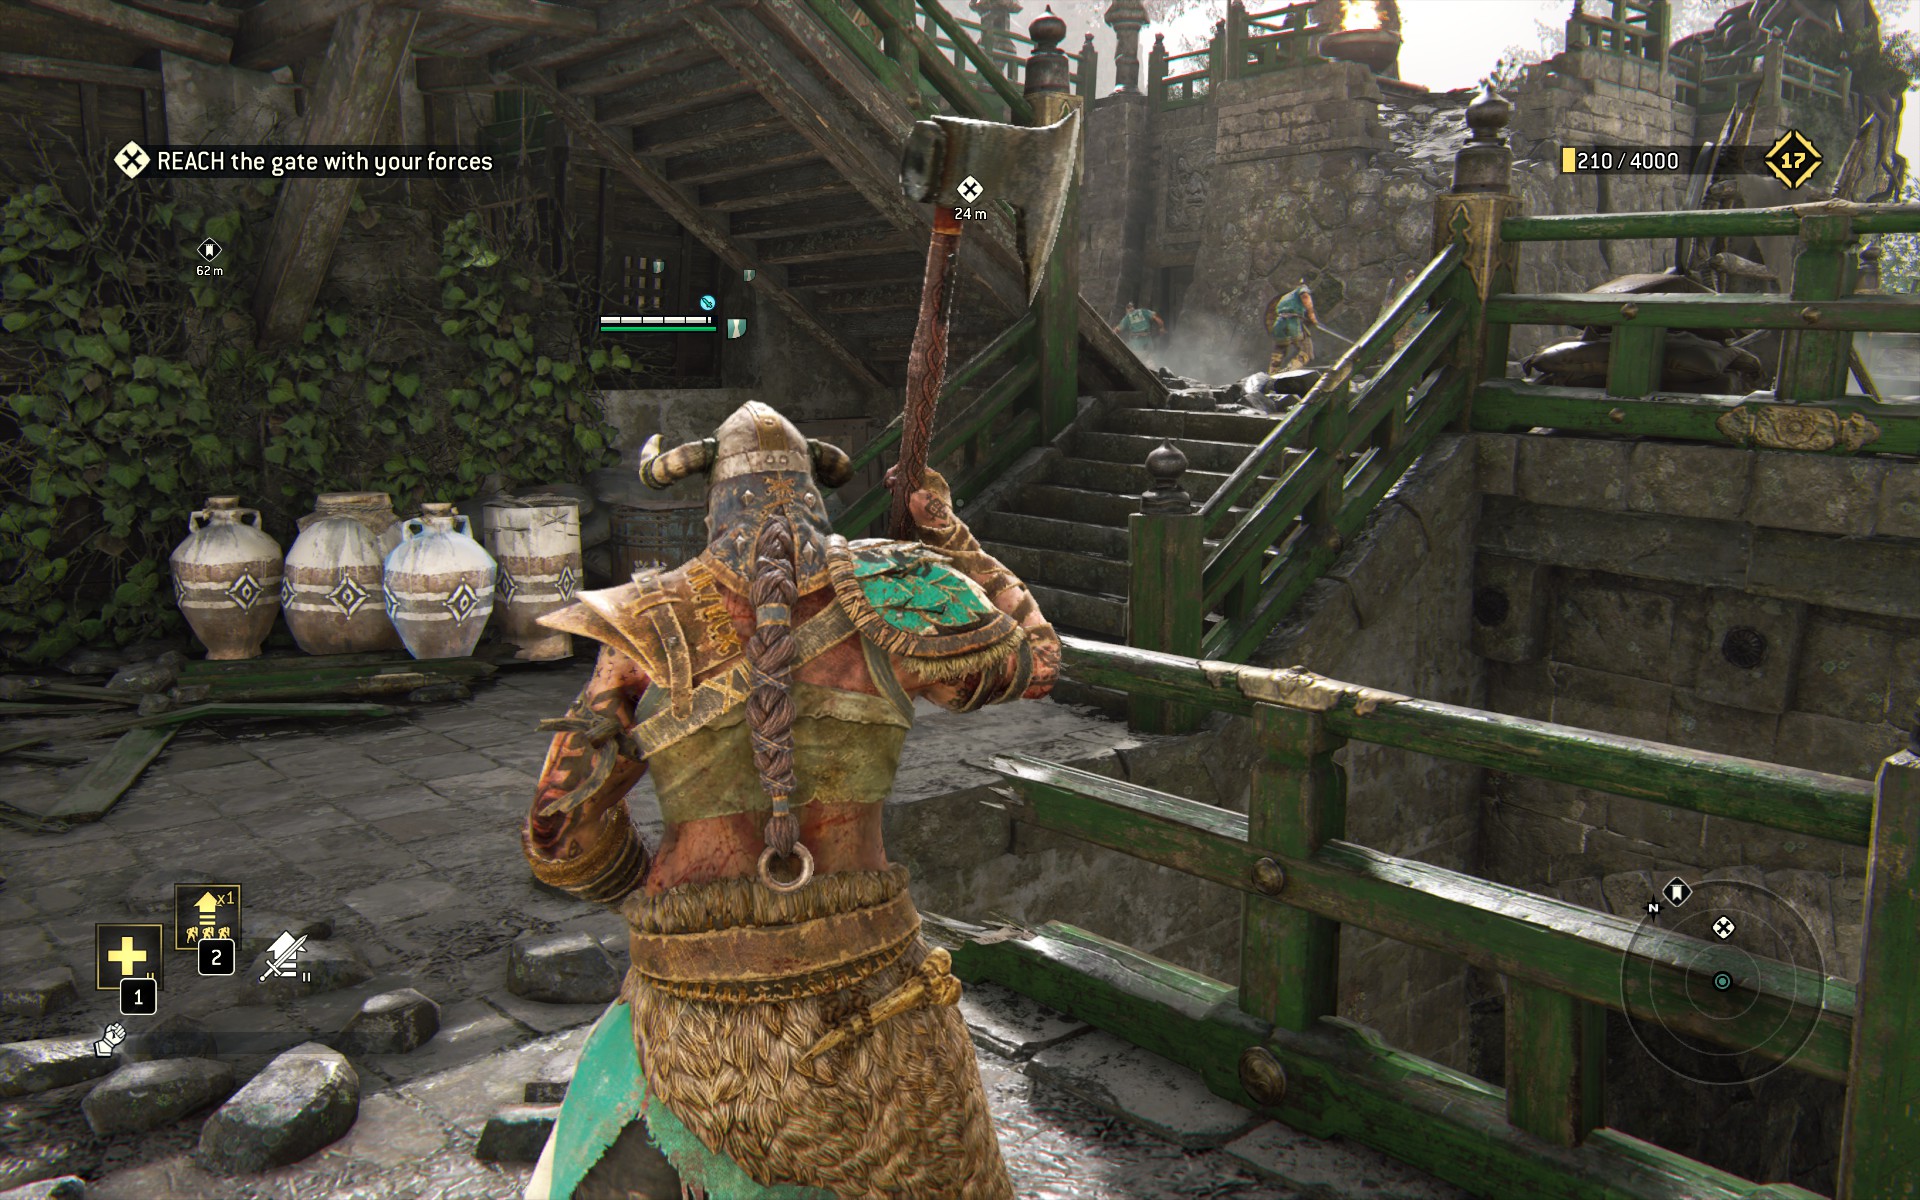
The level here is not huge, but it capstones with the toughest extended fight of the game so far, so try to get your Observables and Breakables in early. The entire level is basically just fighting up and down the Sanctuary Bridge map. You'll begin at the end farthest from the fortress.
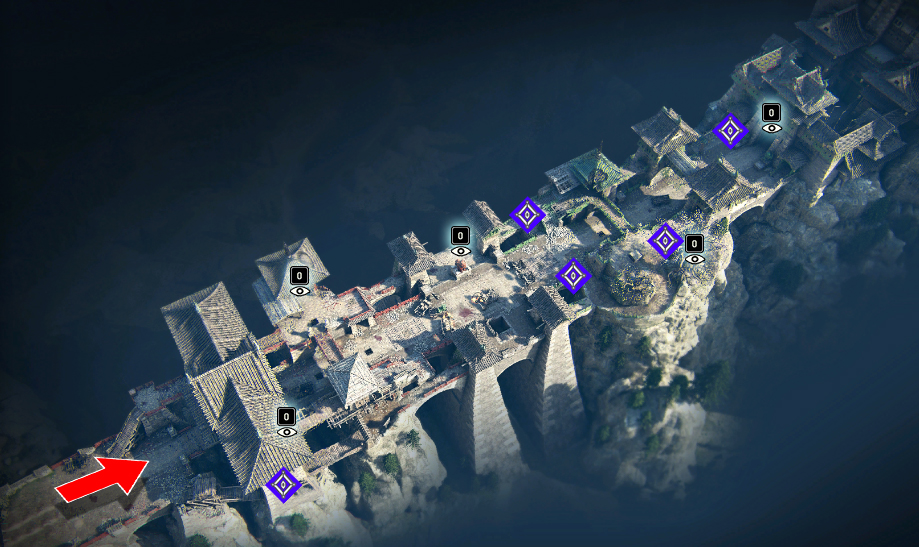
Start with the rightmost path, through a wooden Viking siege tunnel, through a broken wall into a small room with a Breakable cache.
Loop back to the entrance (slaughtering defenders as you go), and look toward the eastern side of the bridge for one of your discarded sige weapons, Observable as Used Battering Ram.
Climb up the western tower here (still near the entrance) for a giant bell Observable, listed simply as Bell.
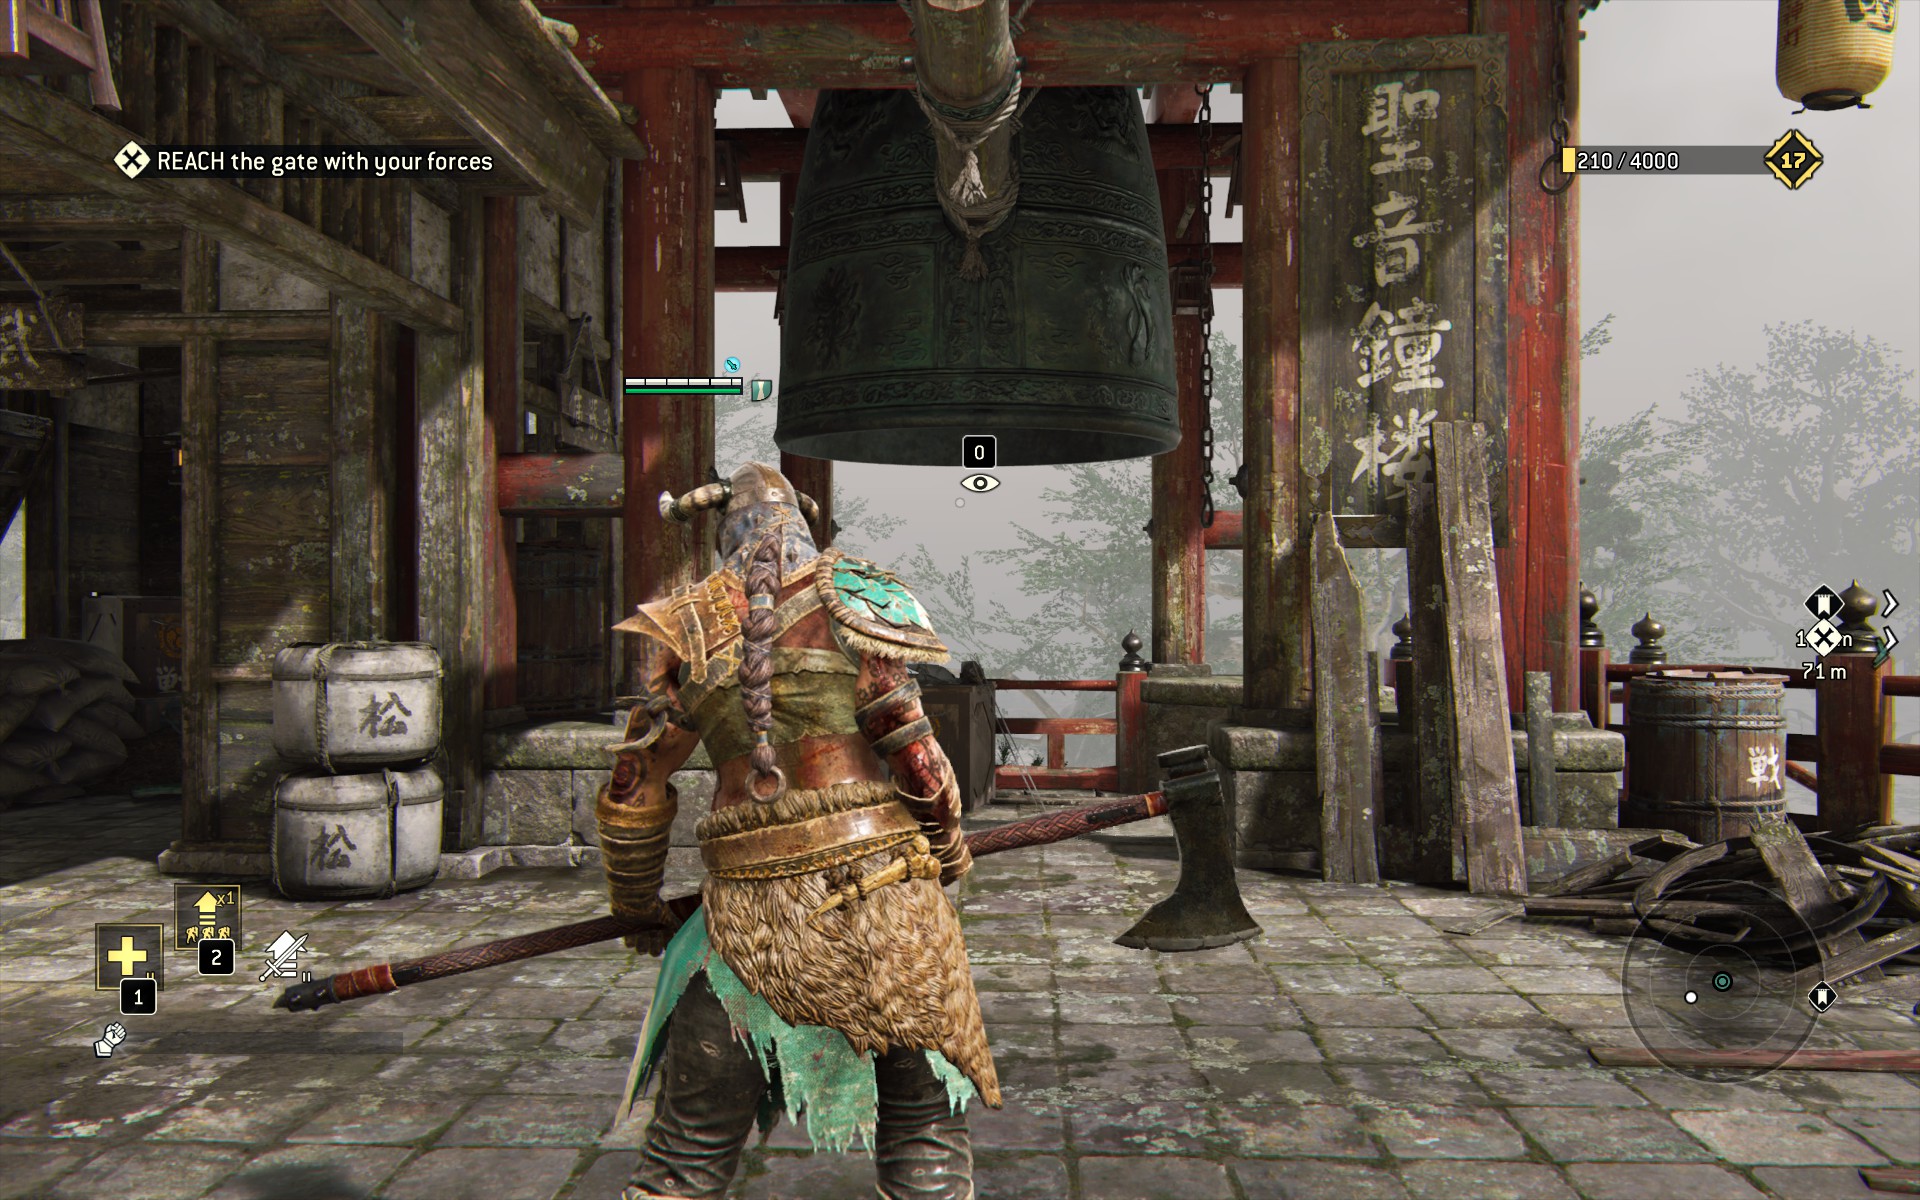
Cross the bridge east, then take left through the tiny room at the end to find some Breakables next to a small gong.
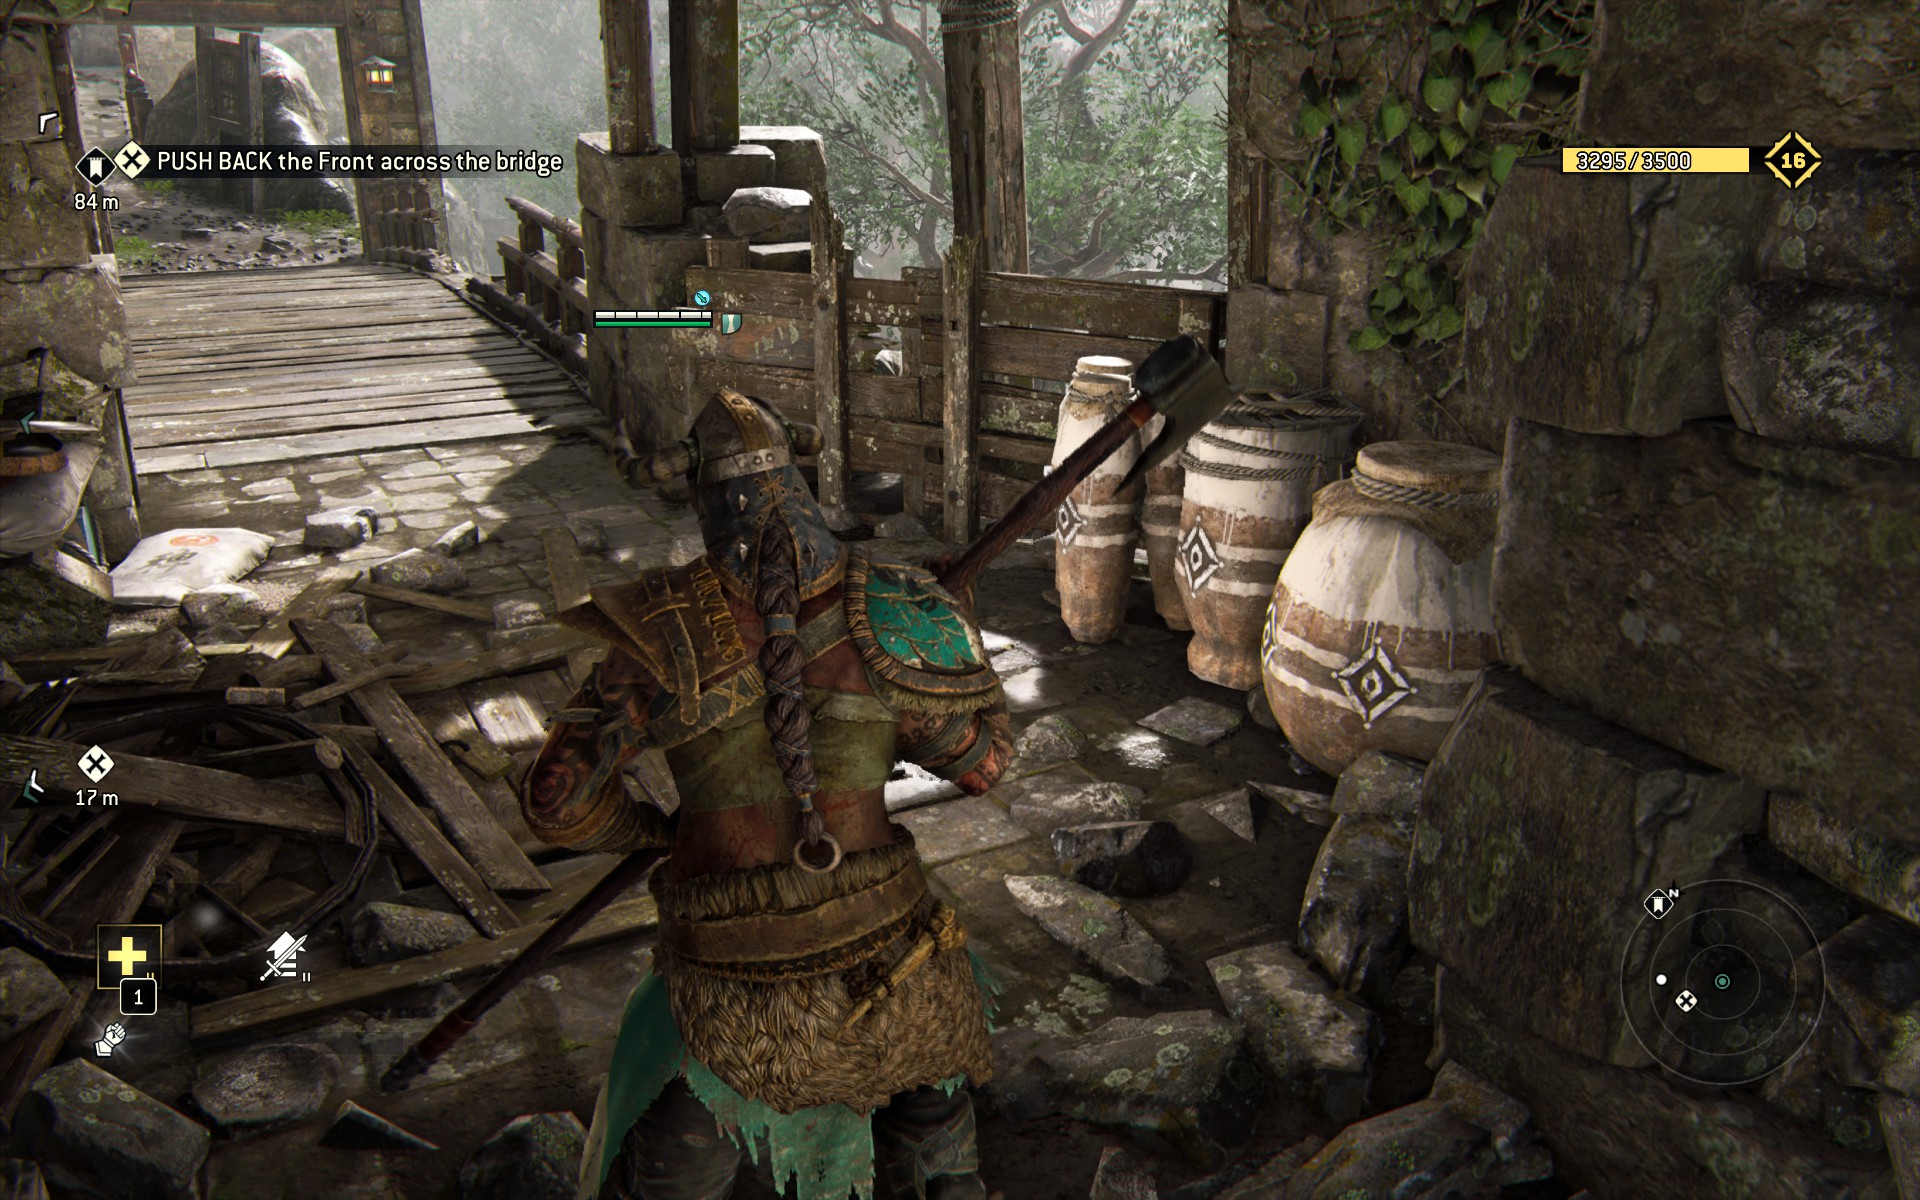
Drop back down to ground level, and kill enemies until the front moves forward.
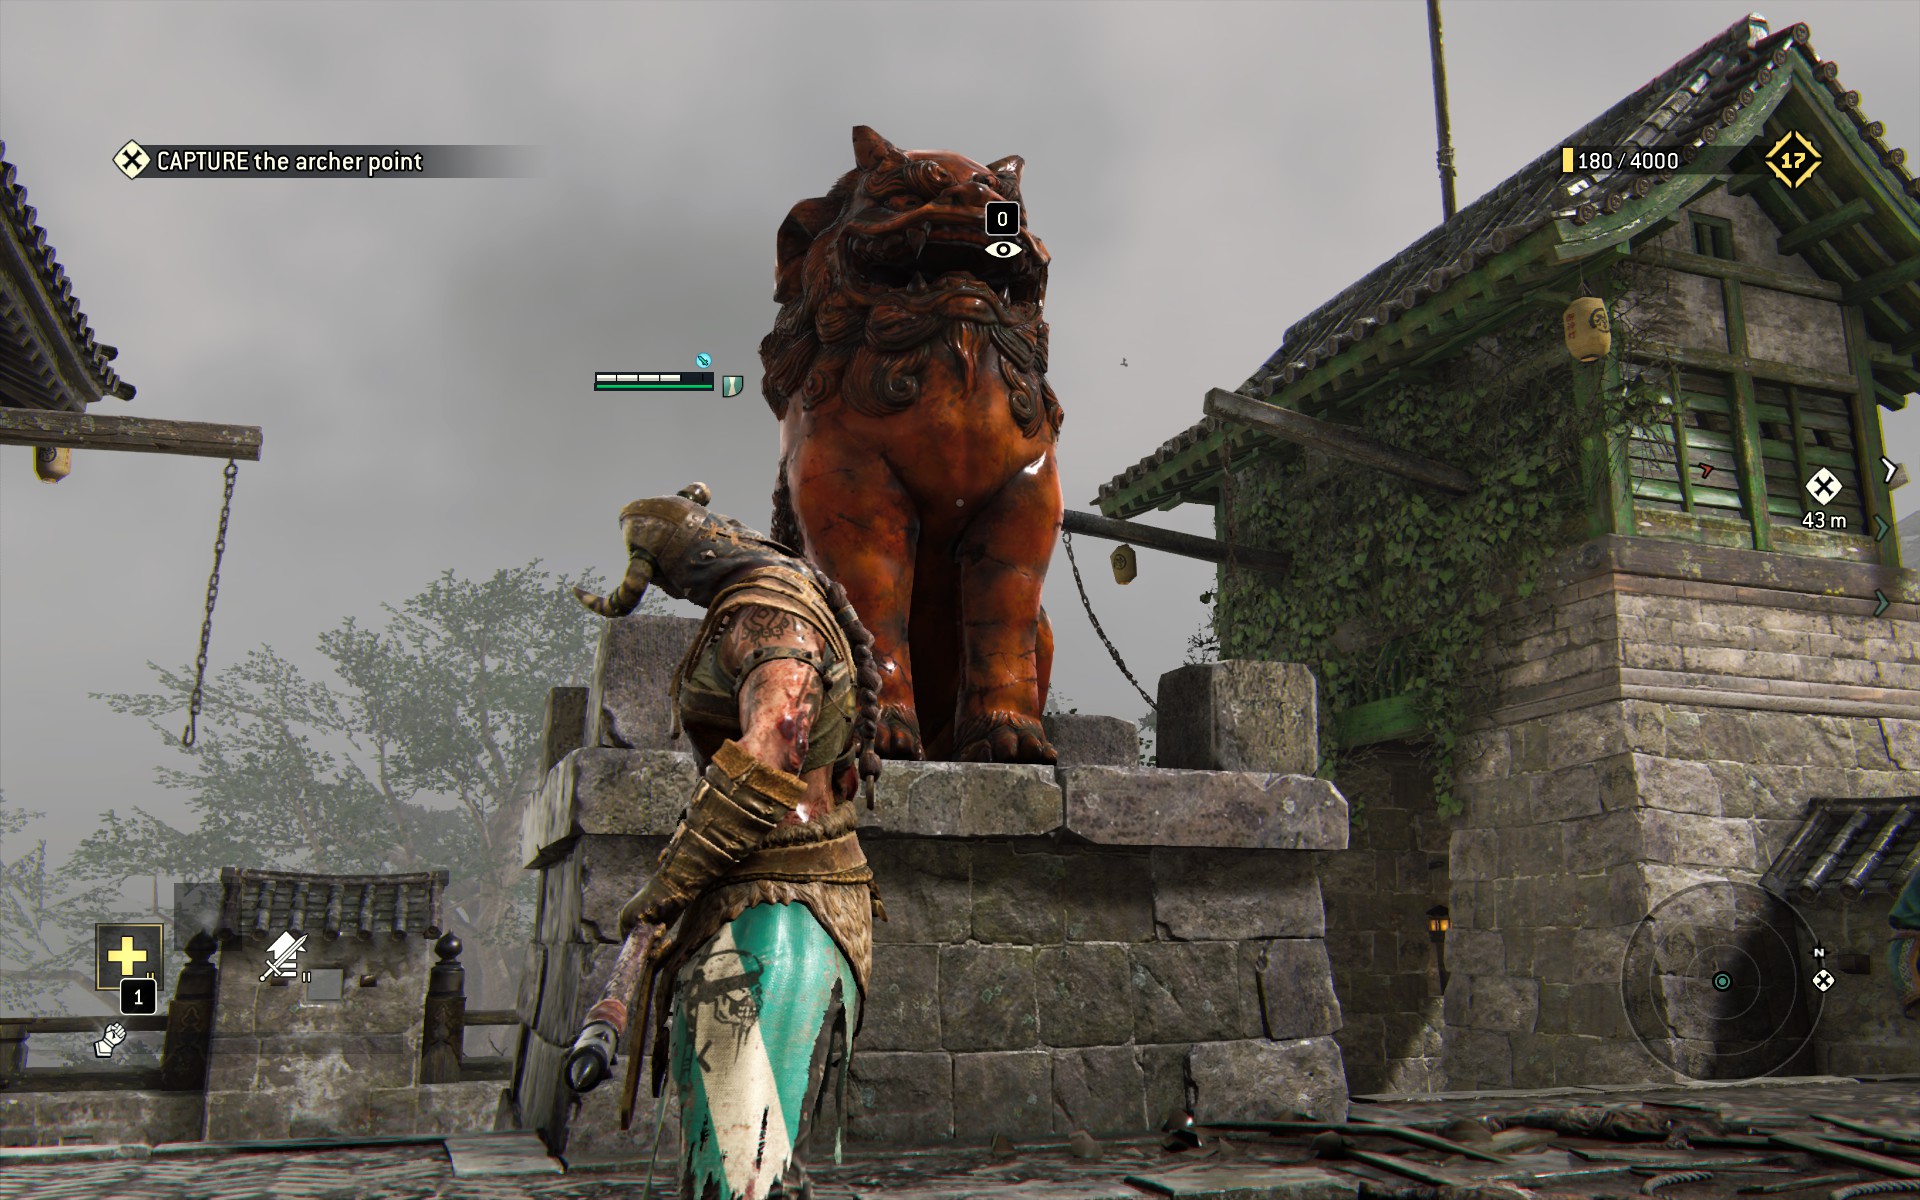
Take a moment to admire the detail on west-side statue, recorded as Komainu Statue.
Once you claim the middle section, an objective will pop, and you'll have to clear some archers off the green-trimmed bridge above. Do so with vigor, by ascending the rubble-strewn steps to the west.
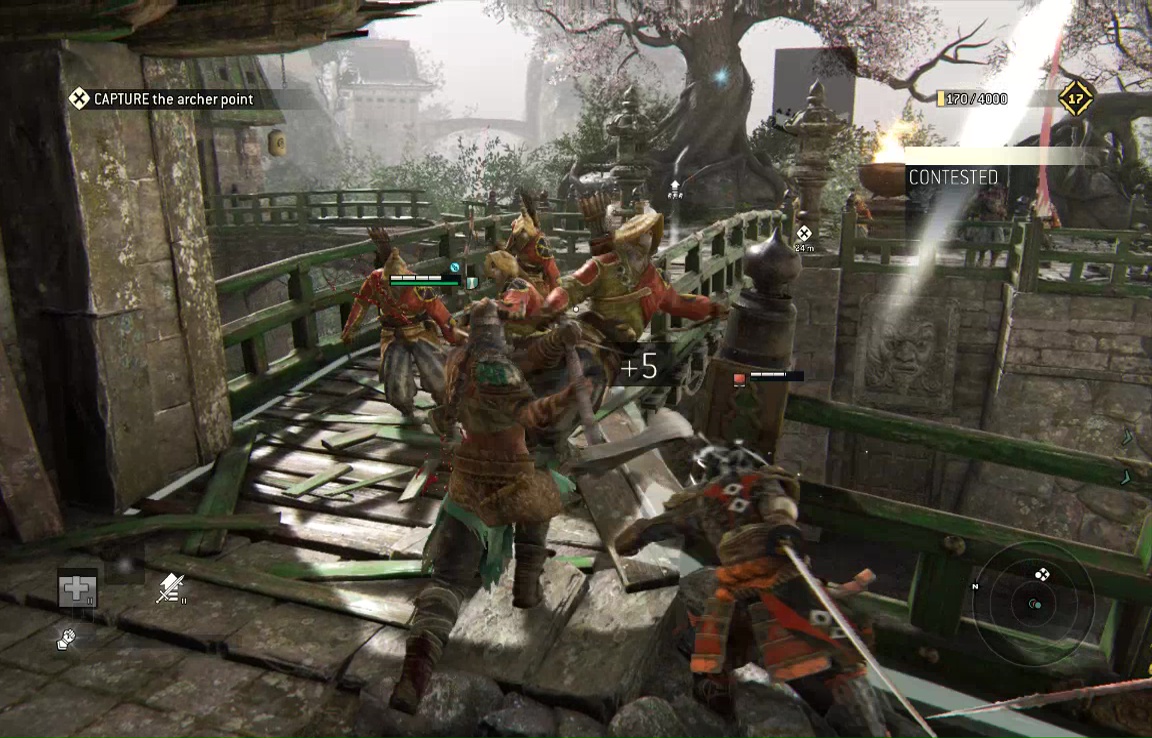
Cut a swath from west to east. When you've cleared the eastern side of the bridge, record the large tree here as Blossom Tree.
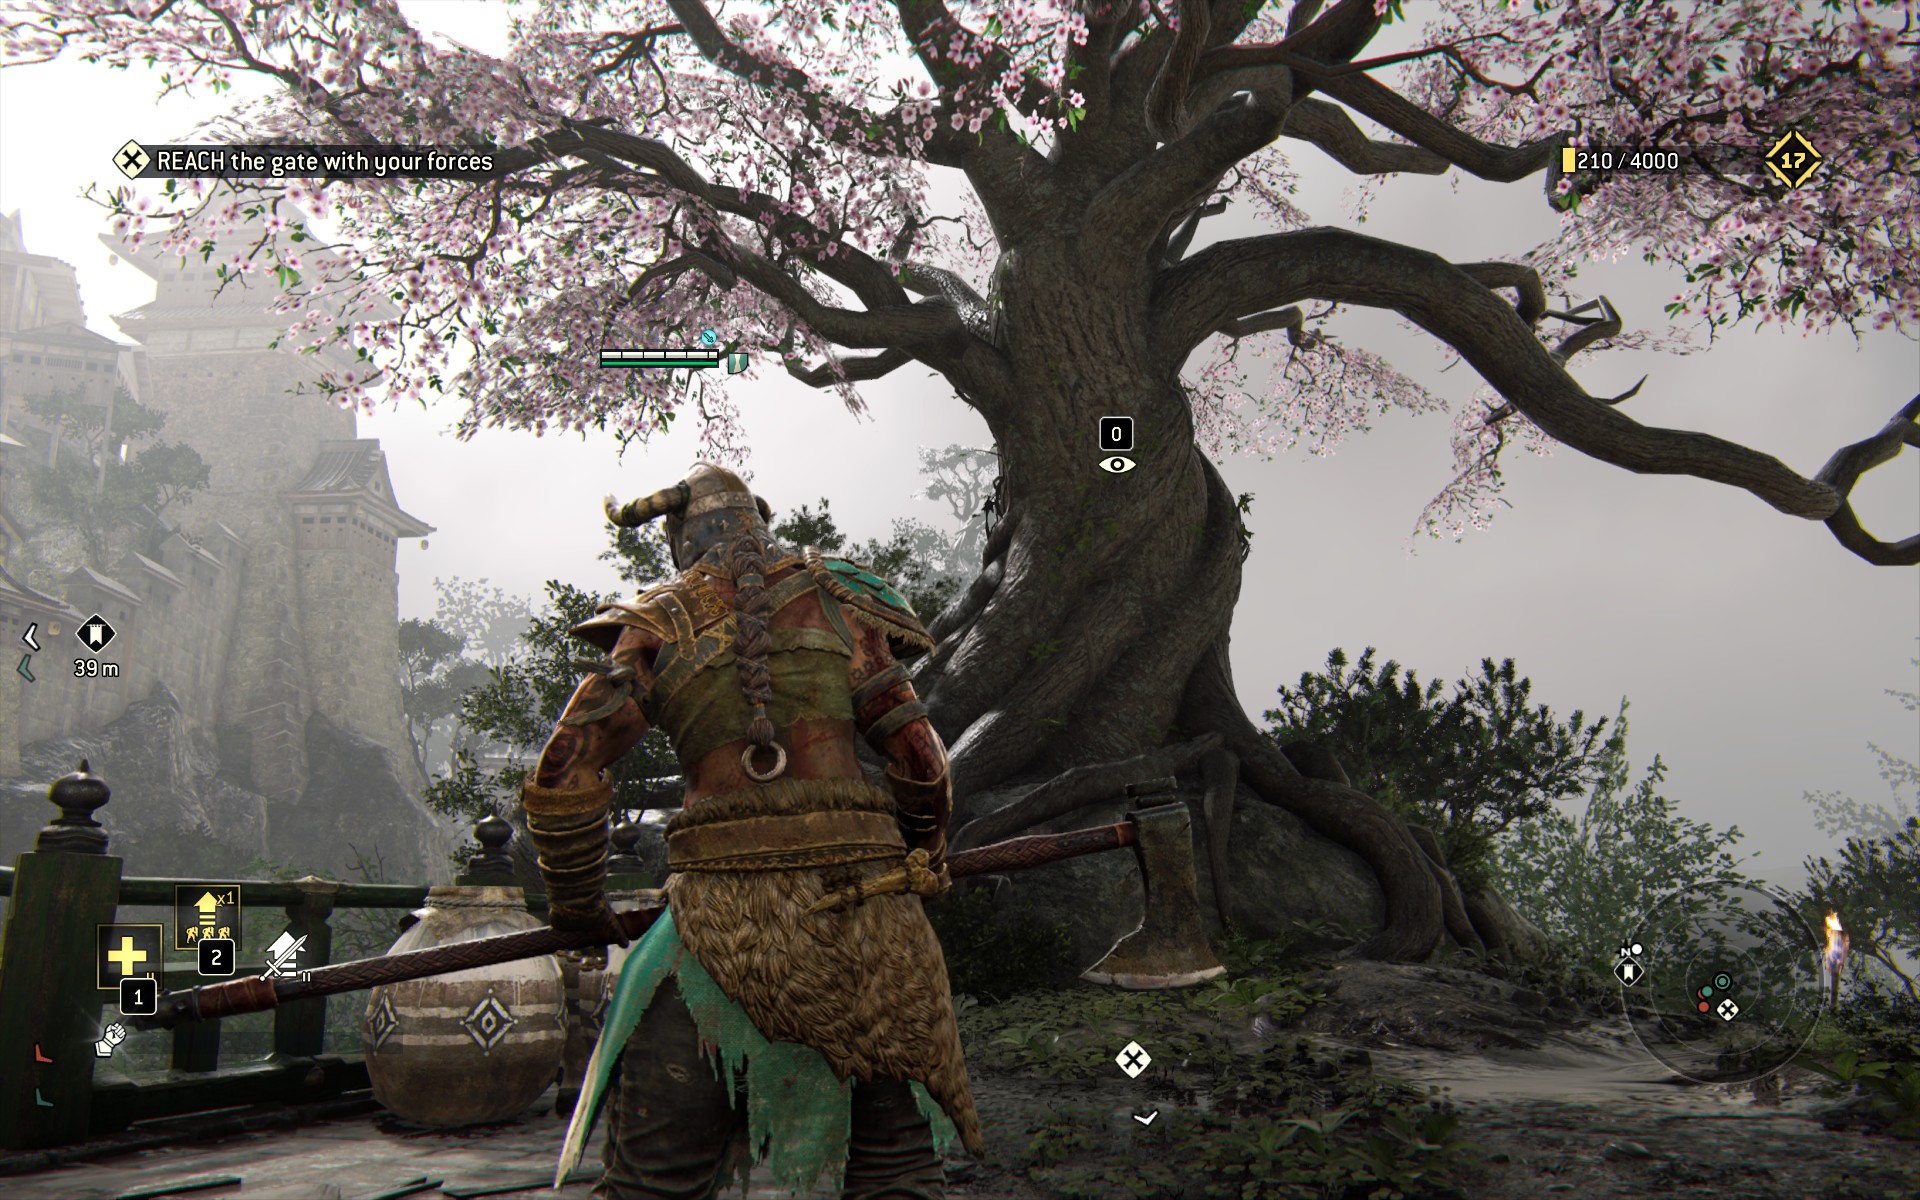
Note also the Breakables cache at its base.
Descend the ramp from this platform to find another cache where the path meets the main ridge, by a small barricade of shields.
Now cross the bridge west and, where you once went upstairs to clear the archers, take a short flight of stairs down to find yet another cache.
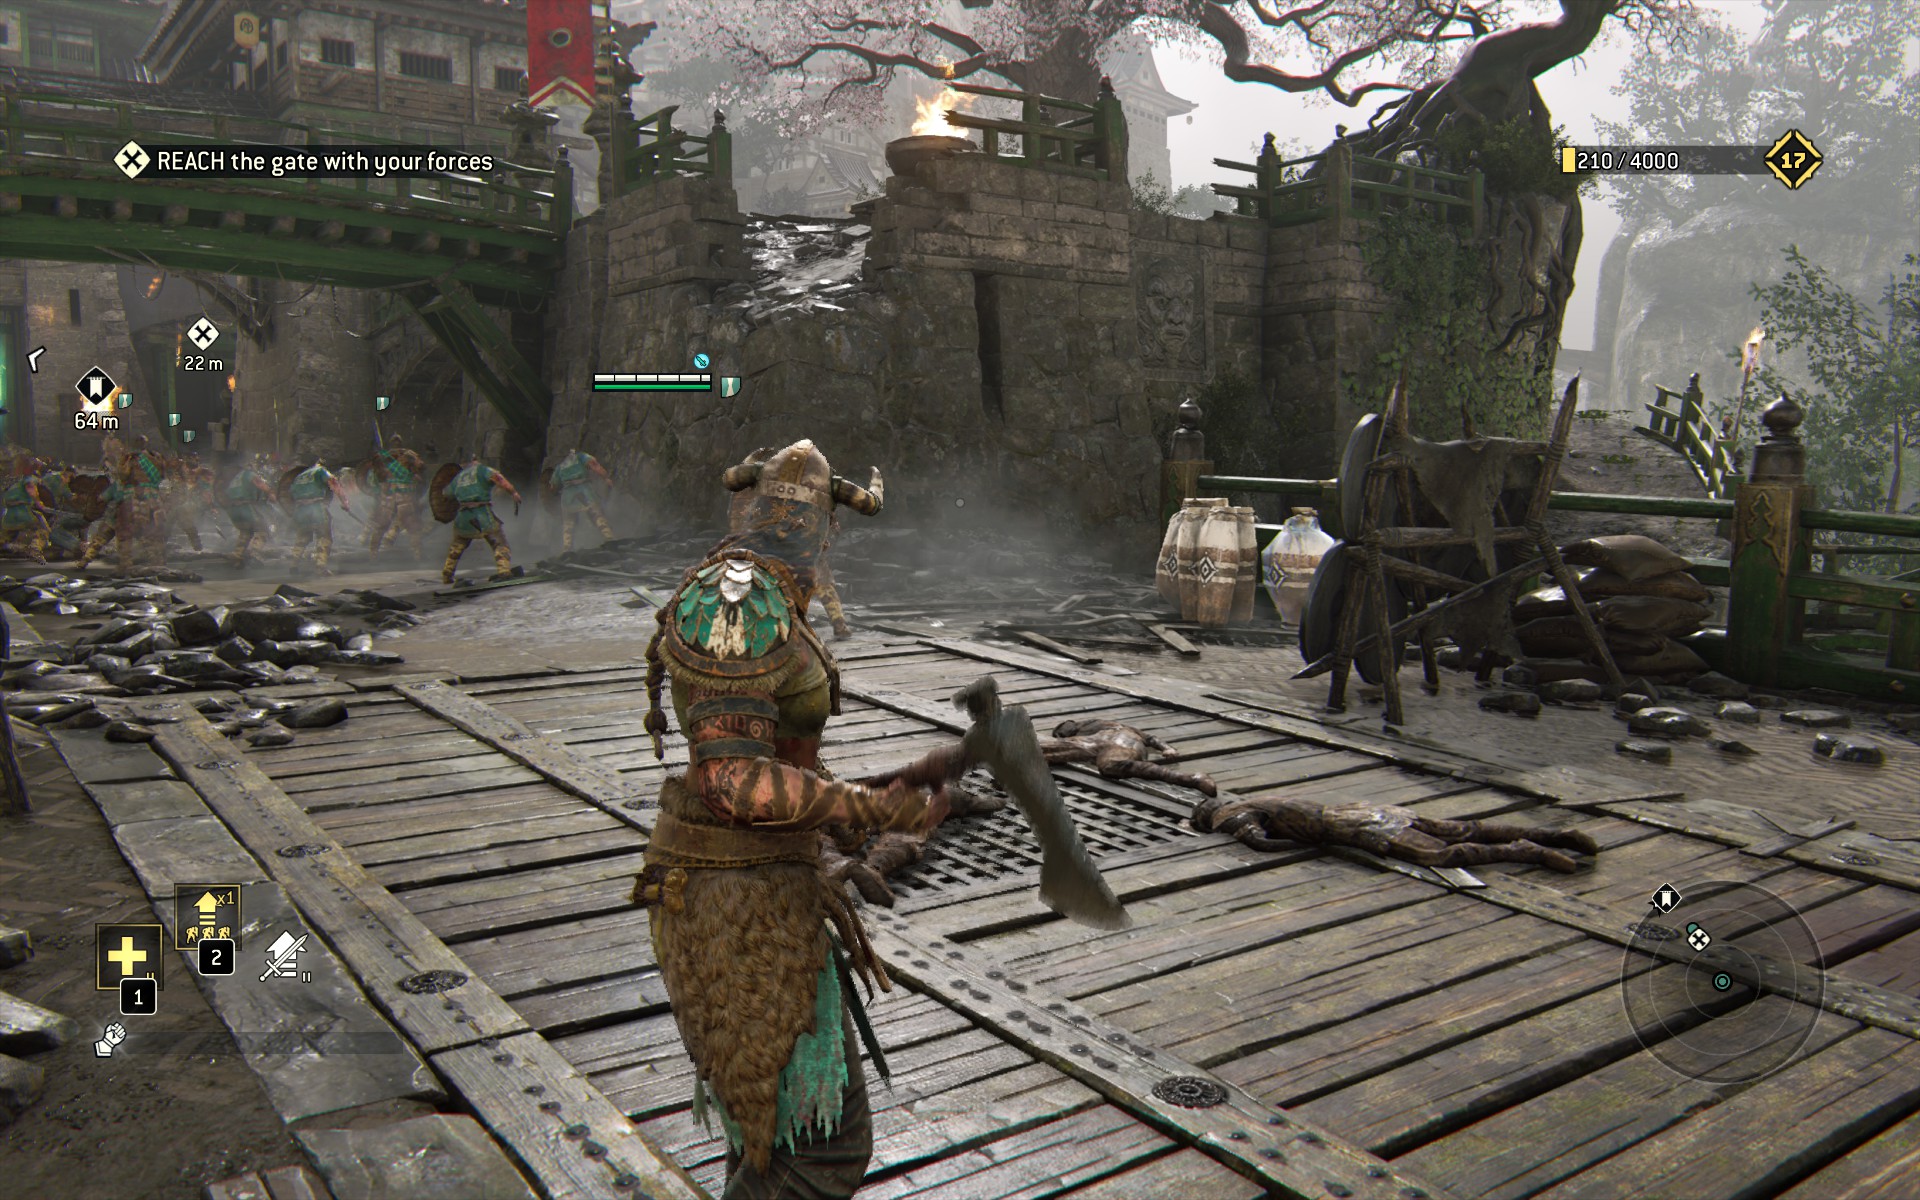
Push forward to the gate of the fortress itself, which also functions as the last Observable- Sanctuary. The last Breakables are to the left/west of the gate, just past the lion statue. You may need to search closely- the jars can sometimes be broken in the fighting before you even lay eyes on them.
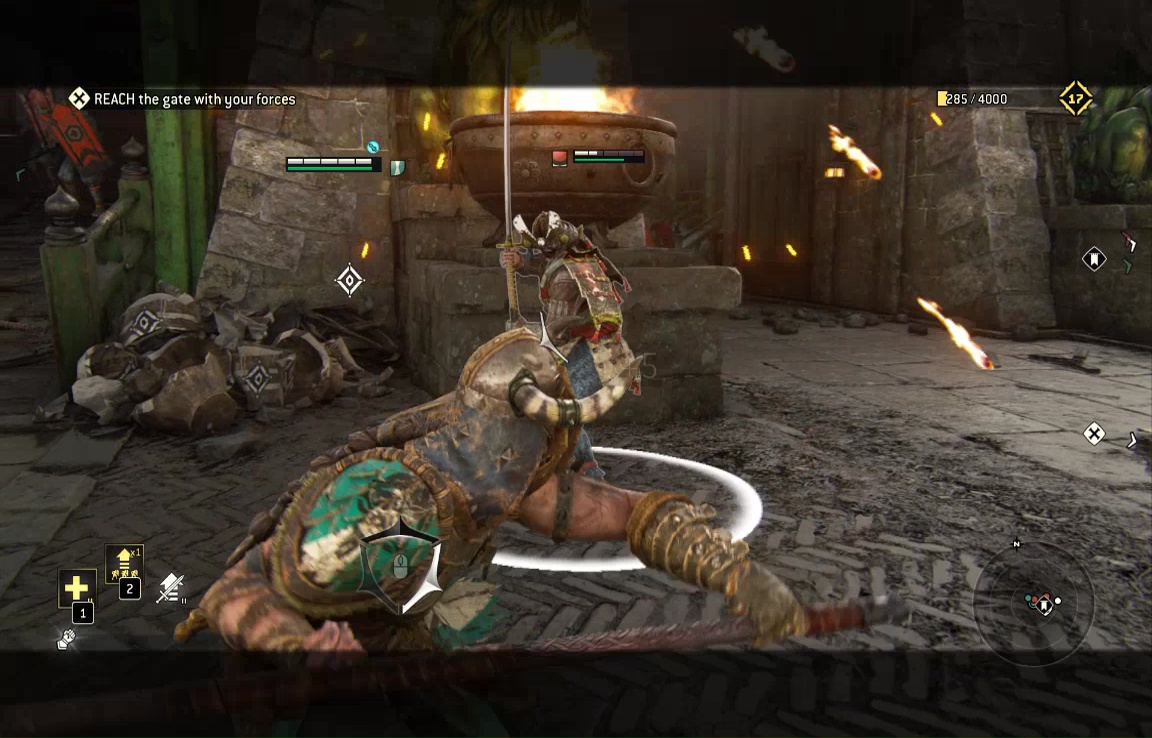
Mop up the last of the resistance here. The most troublesome fighter is probably a Nobushi by the doors themselves, but you can neutralize their vaunted mobility by continually ramming them into the walls.
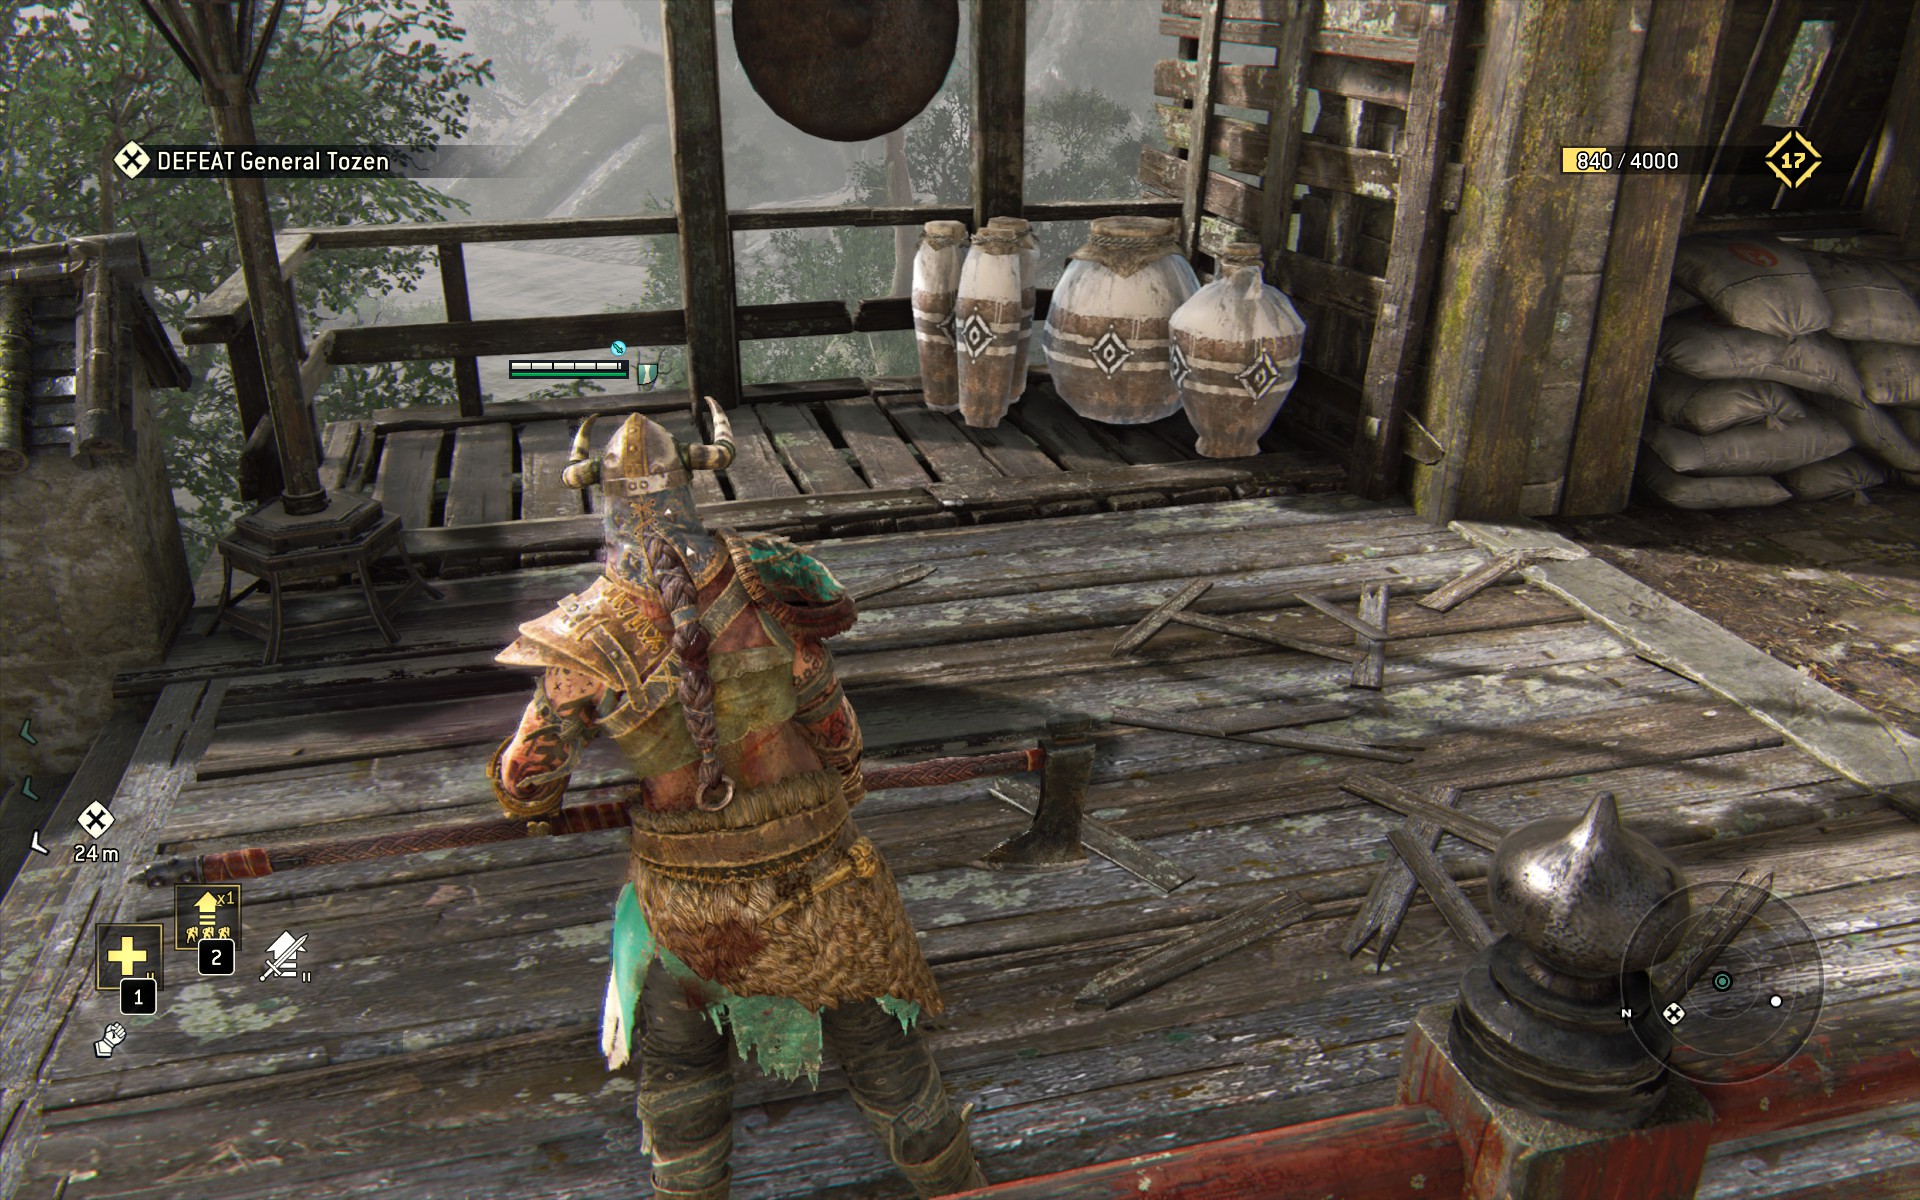
A cutscene plays, and you now face your greatest challenge yet- General Tozen. This is a long, multipart fight, but it things look bleak you can always drop back behind your own lines to heal & recover stamina. It's not completely in keeping with the warrior ethos, but it is a handy way of not dying.
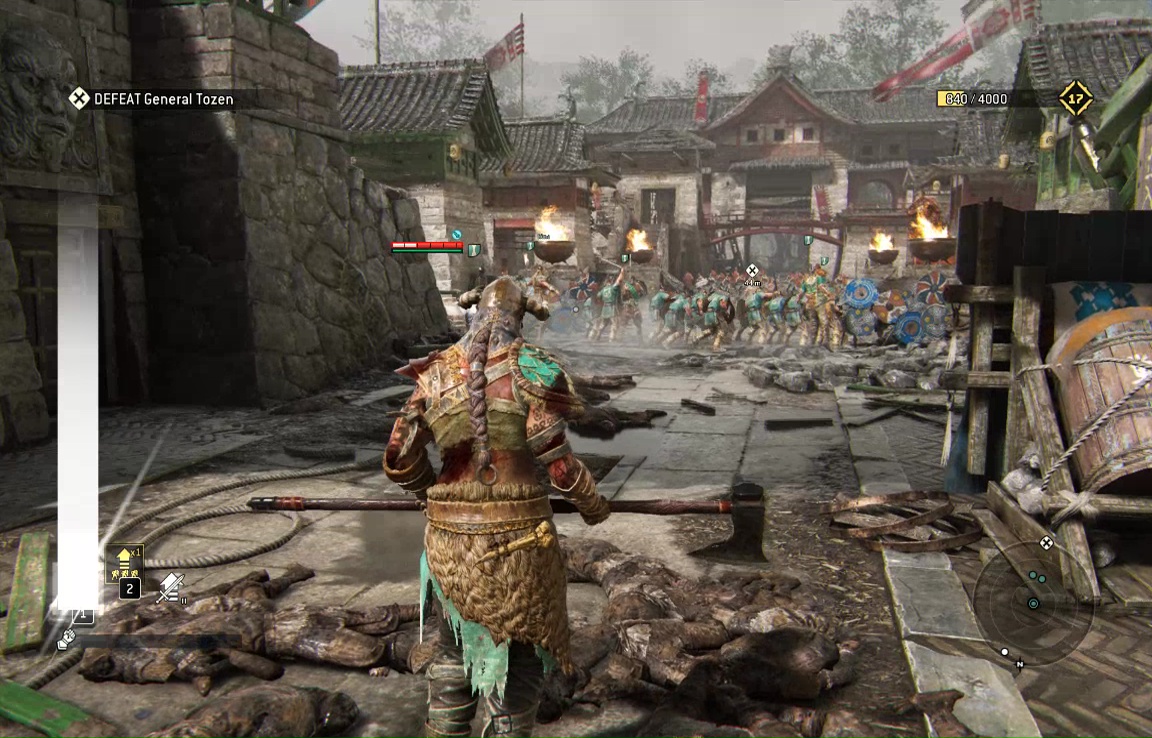
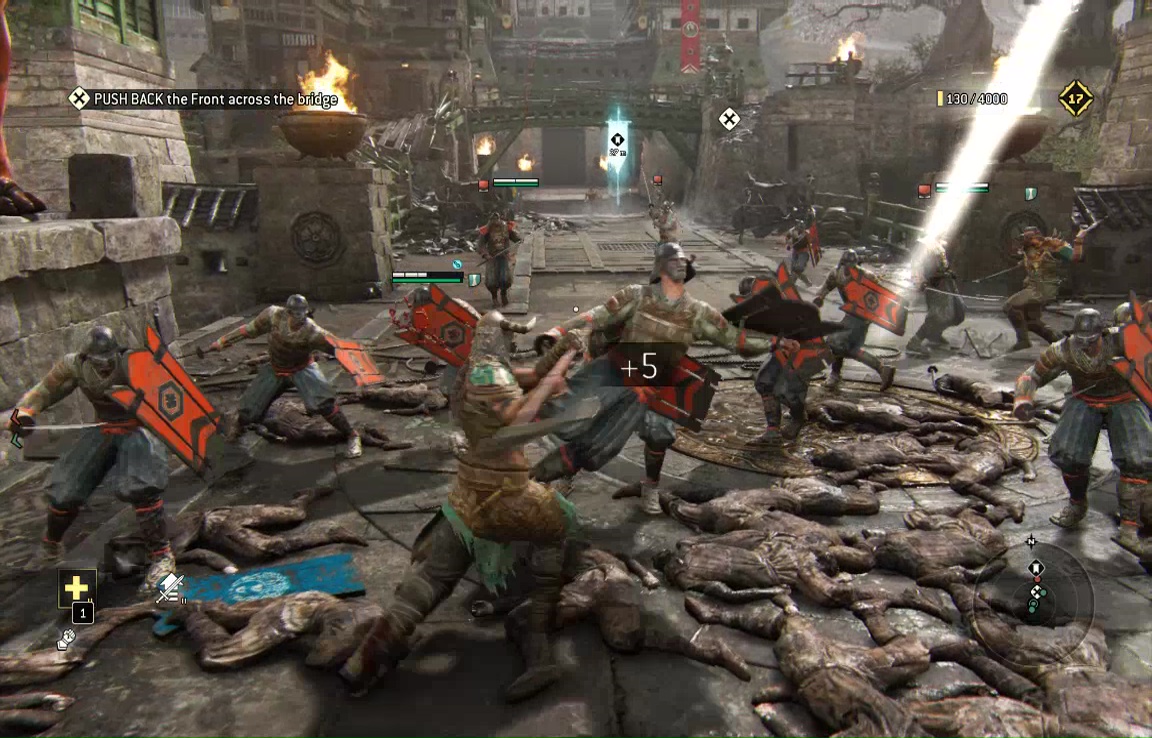
The fight opens with Tozen splitting himself into three warriors, which doesn't seem totally in keeping with the setting here. Maybe they're just trained bodyguards? In any case, they're fast, tough, and quick.
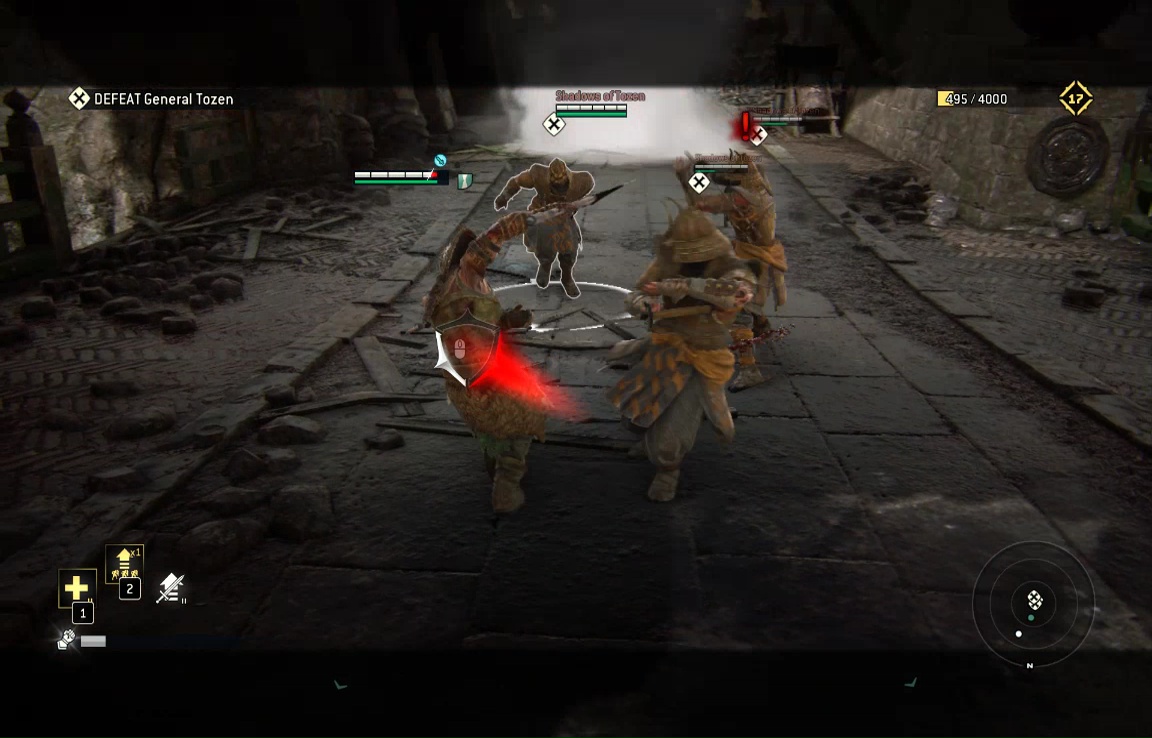
Focus on taking them out one at a time, but the main thing is not to get surrounded. Best tactic is to put your back to a wall and block/parry until your revenge meter fills, which should be near-instantaneous under the constant assault.
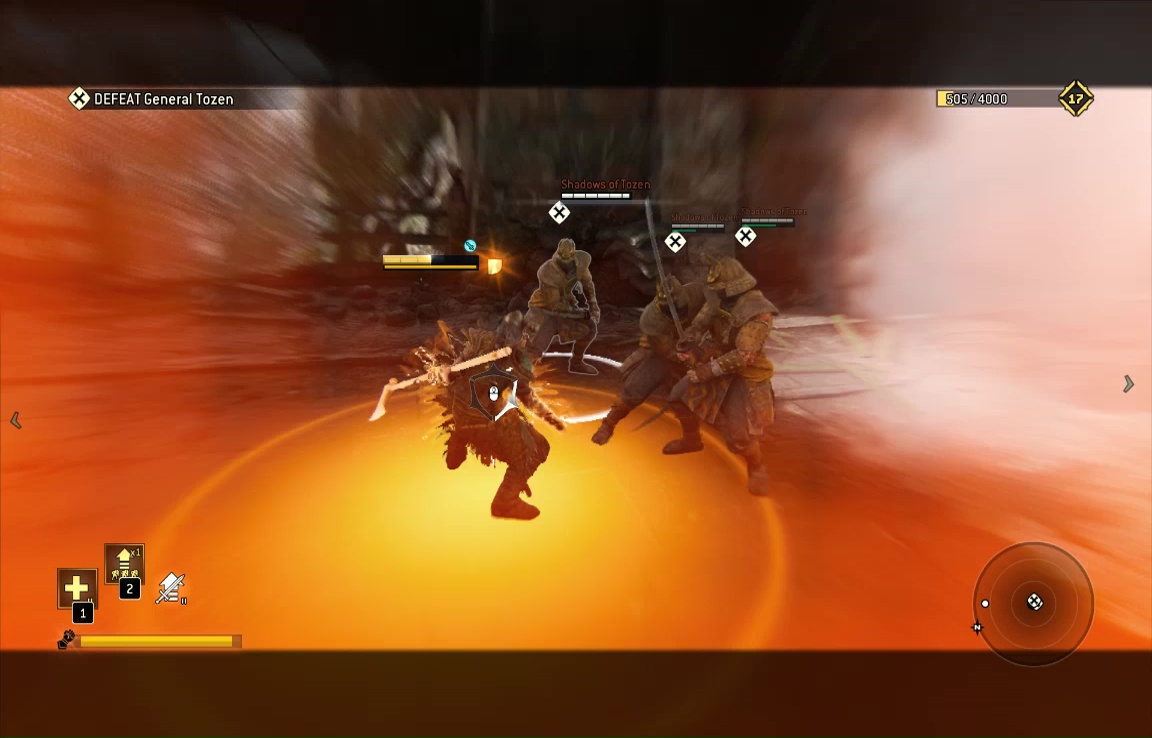
When the last shadow falls, Tozen will reappear in the midst of his army. Take the fight to him, but don't feel you need to sock it out toe-to-toe. Tozen is a formidable fighter with a bevy of special feats, but he won't chase you very far. Fall back when you're getting hammered, and re-approach from off angles to use charges and Heavy attacks against him.
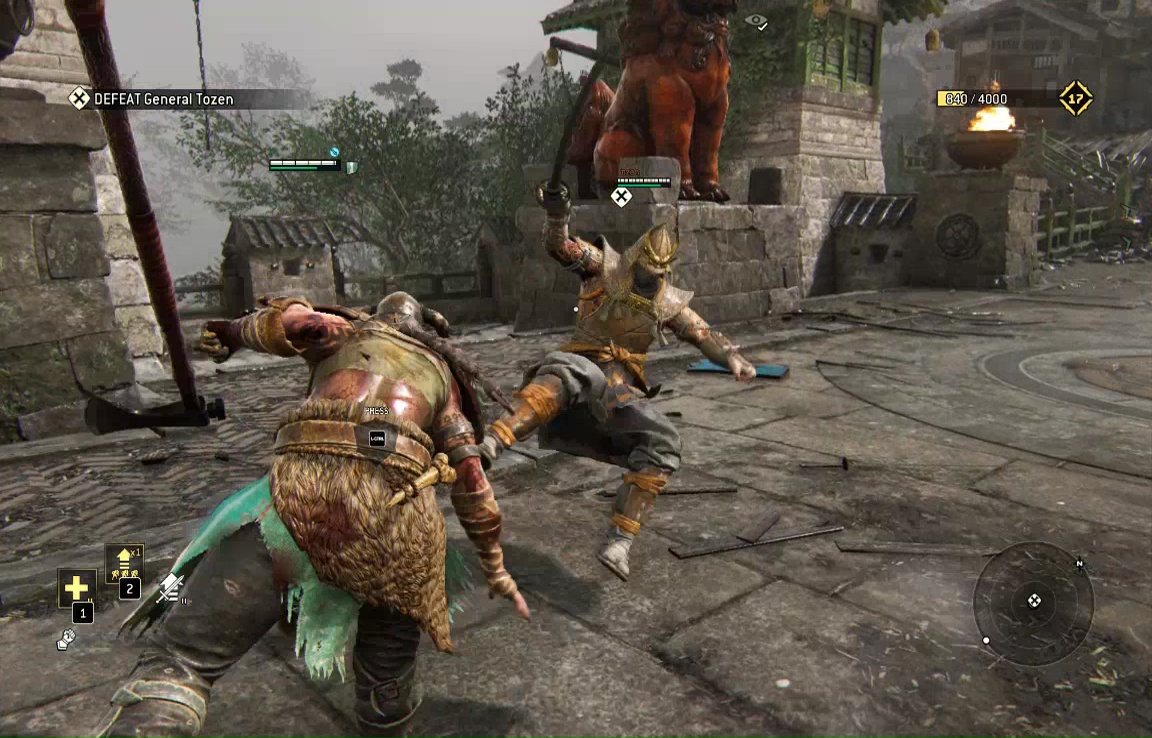
When he reaches half-health, he'll use a smoke bomb to teleport to the middle of the red bridge near the entrance. Follow him up for the final segment of this fight. He's stripped off most of armor, but he's still a badass. luckily, he's still susceptible to throws, and you can end this quickly by tossing him over the edge.
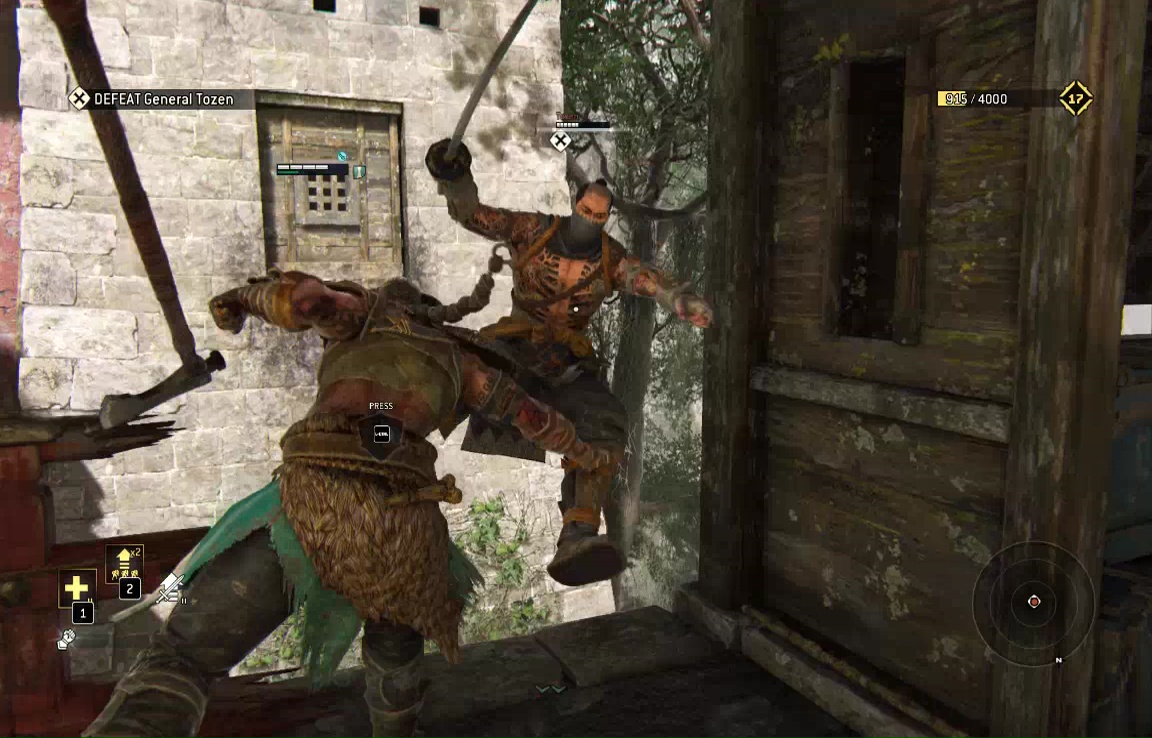
This ends the raid, the level, and the Viking campaign. Let the cutscene roll for glory, and a sinister hint of things to come…