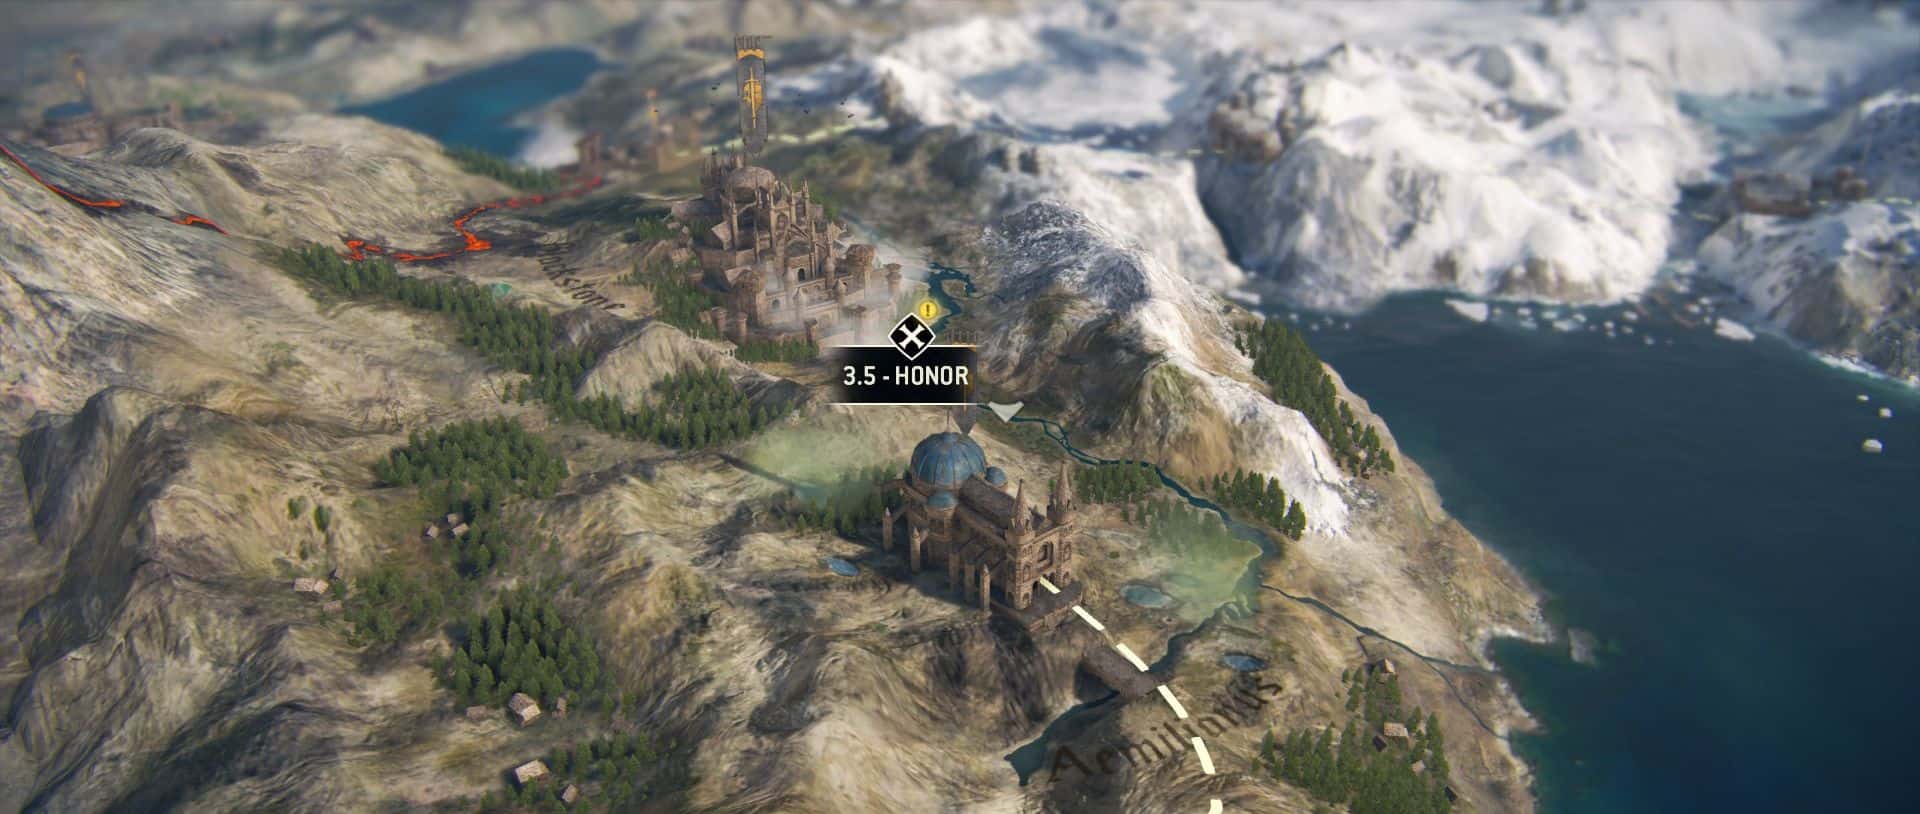
Chapter 3.5 – Honor
Observables:9
Breakables:5
In this chapter, we close in on Apollyon. There aren't a lot of tough fights here, but there are scads of subheroes. Remember that guardbreaks work on them roughly 100% of the time- a bash and a couple strong hits will take out almost any of them.
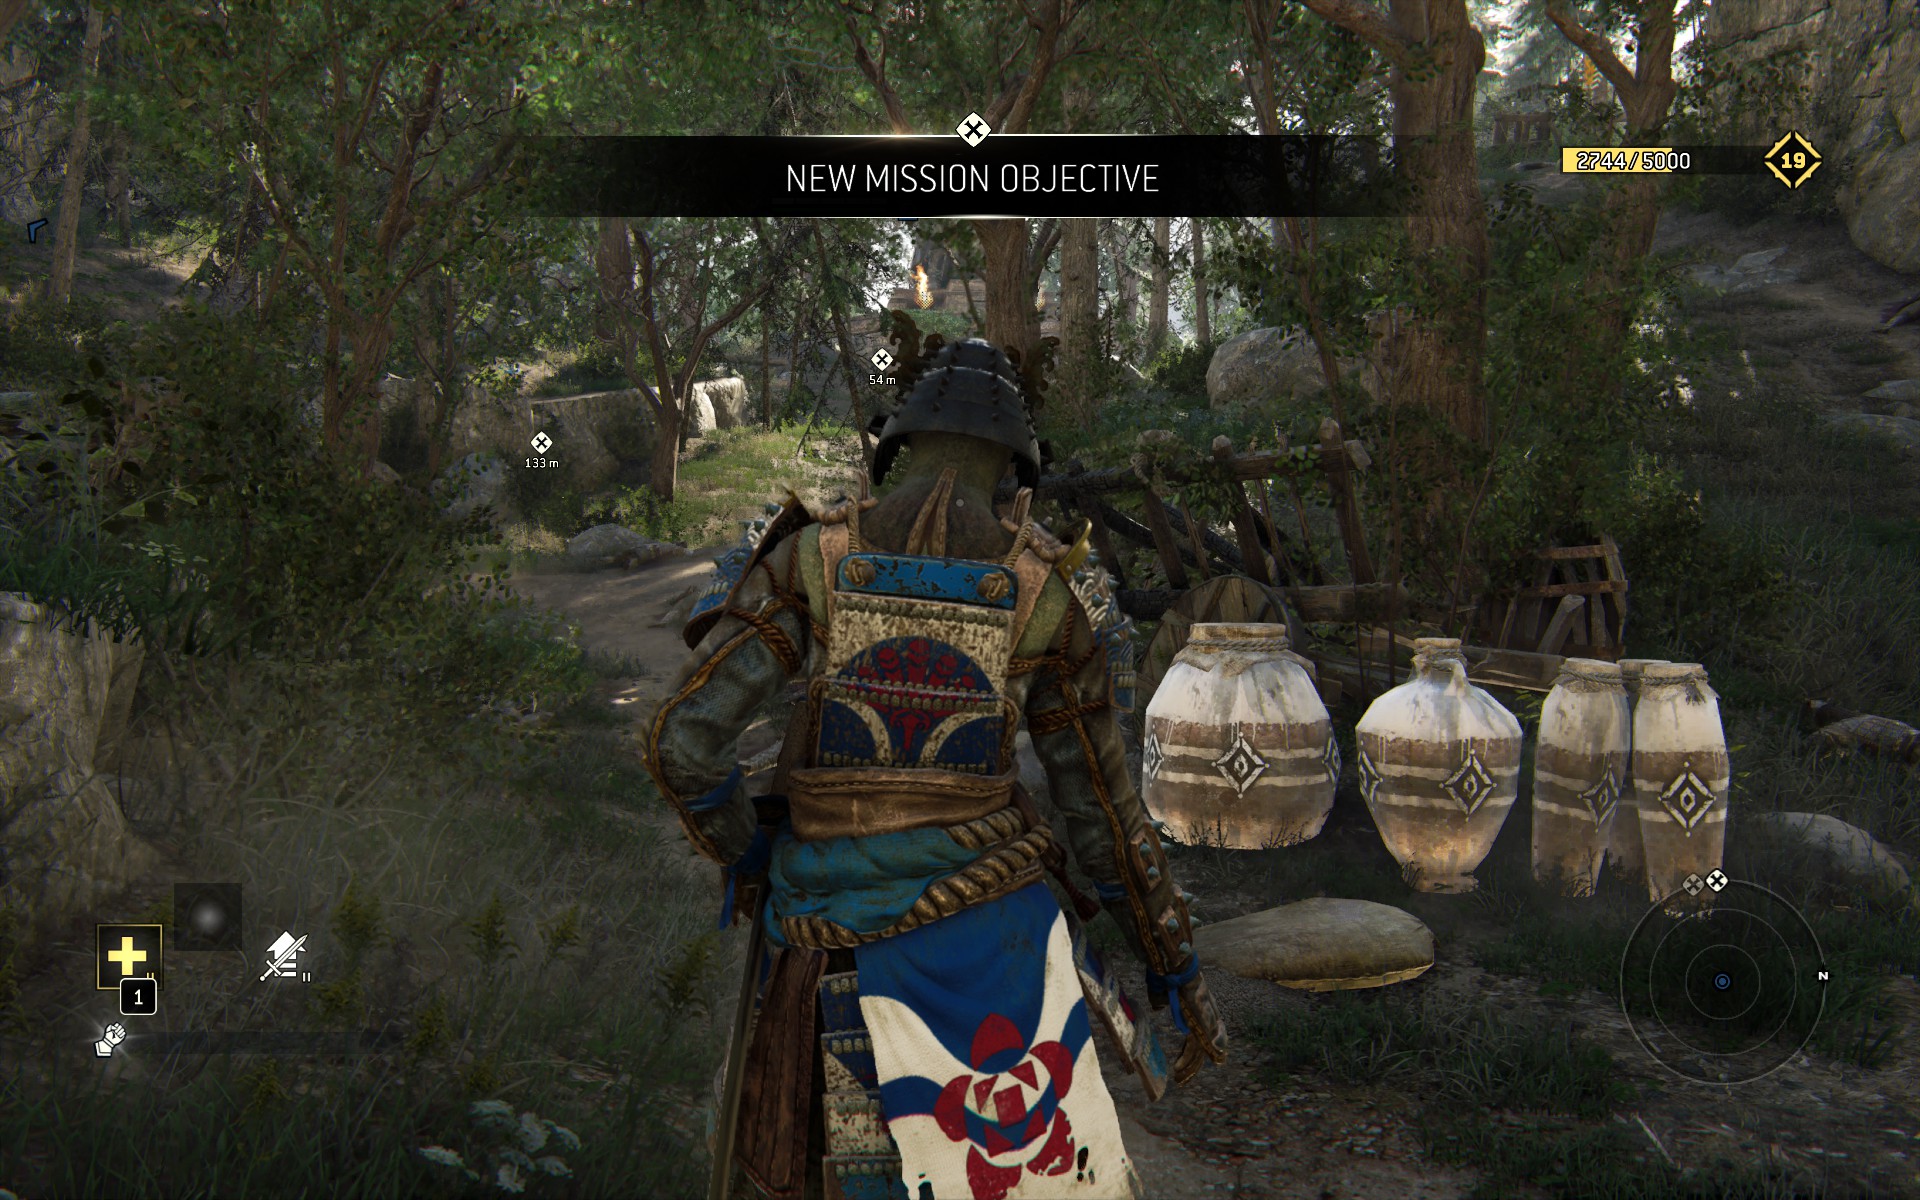
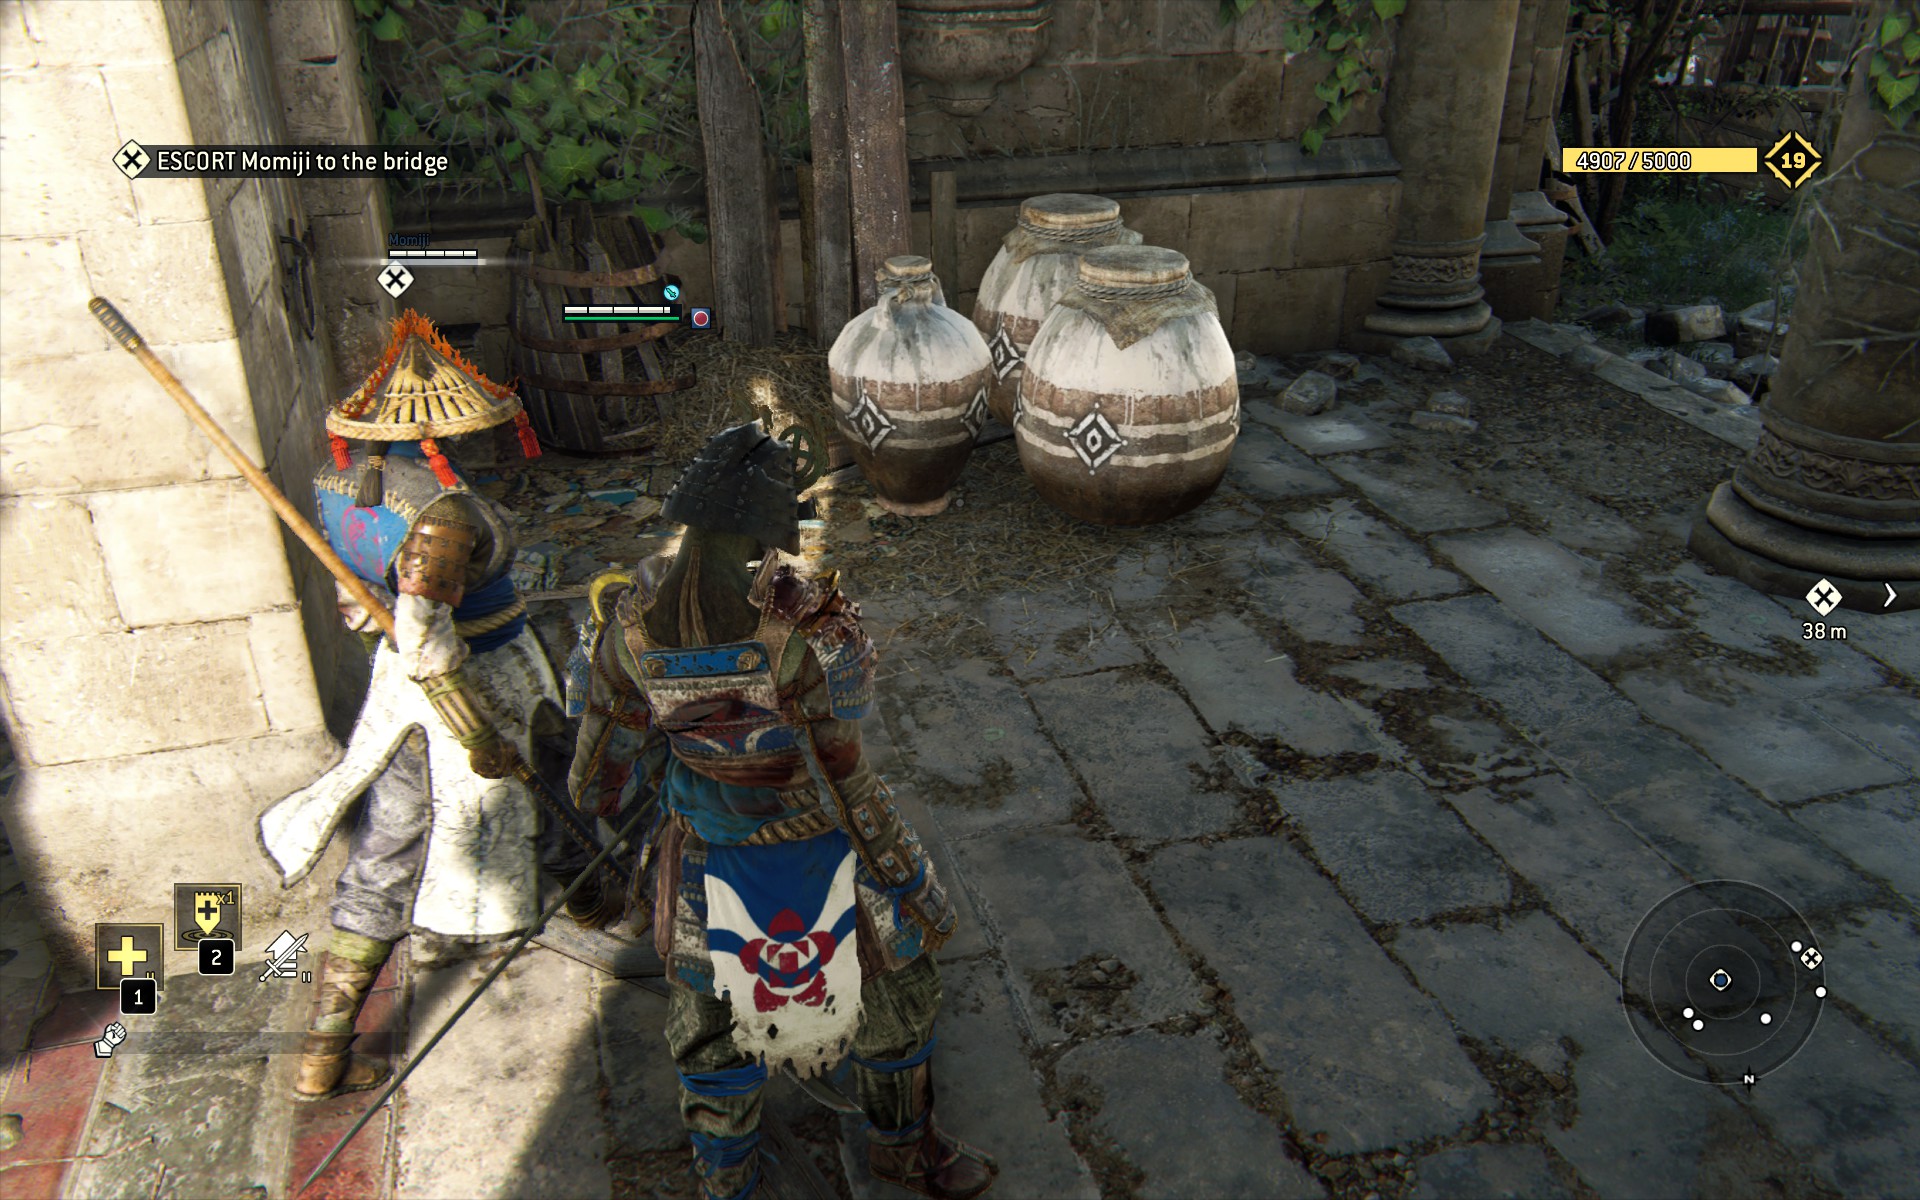
The mission opens up with Breakables cache one directly in front of you.
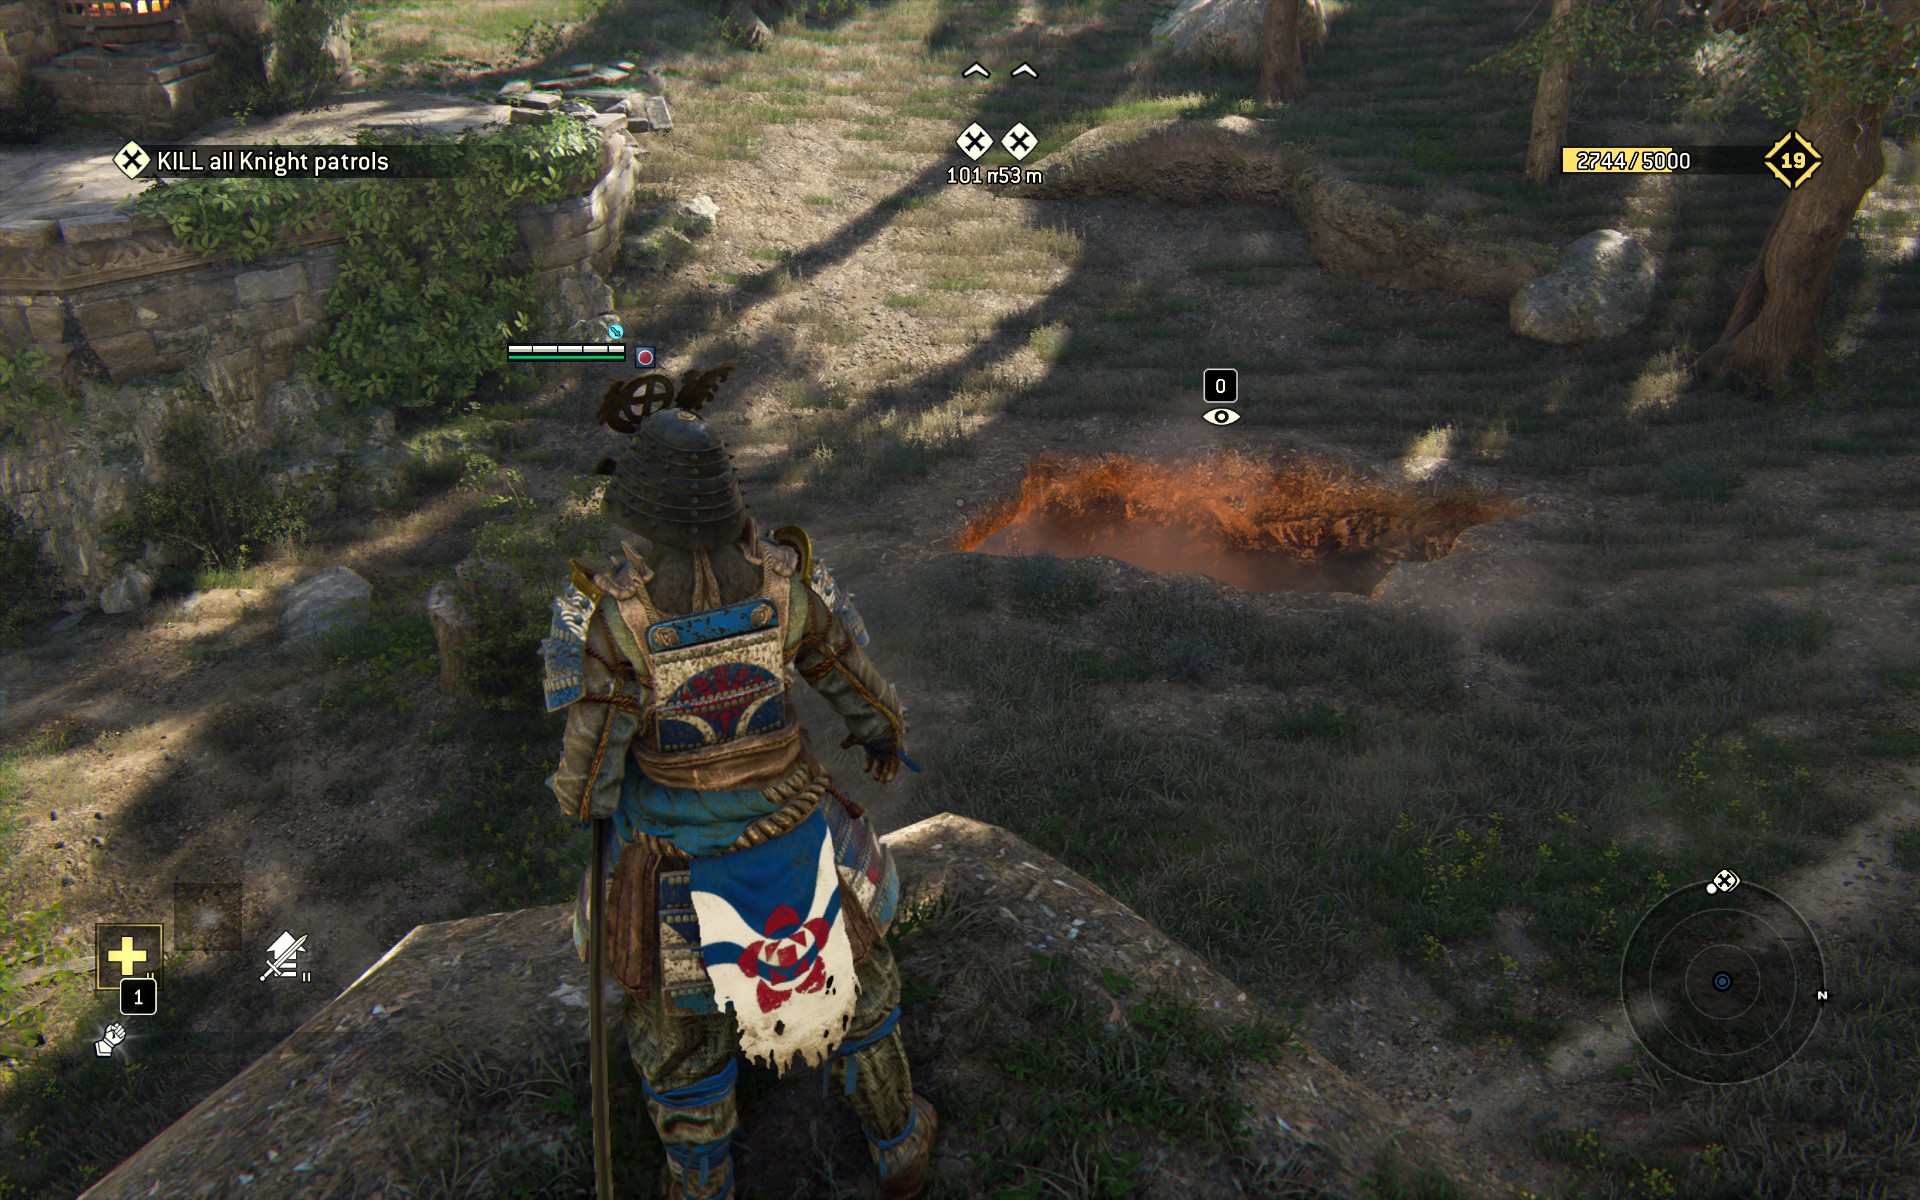
Move forward, taking the trail to your left,which leads up a ridge. At the top of the ridge is outcropping to your right, from whcih you can see a giant Statue (that is not Observable) and a Lava Pit (which is).
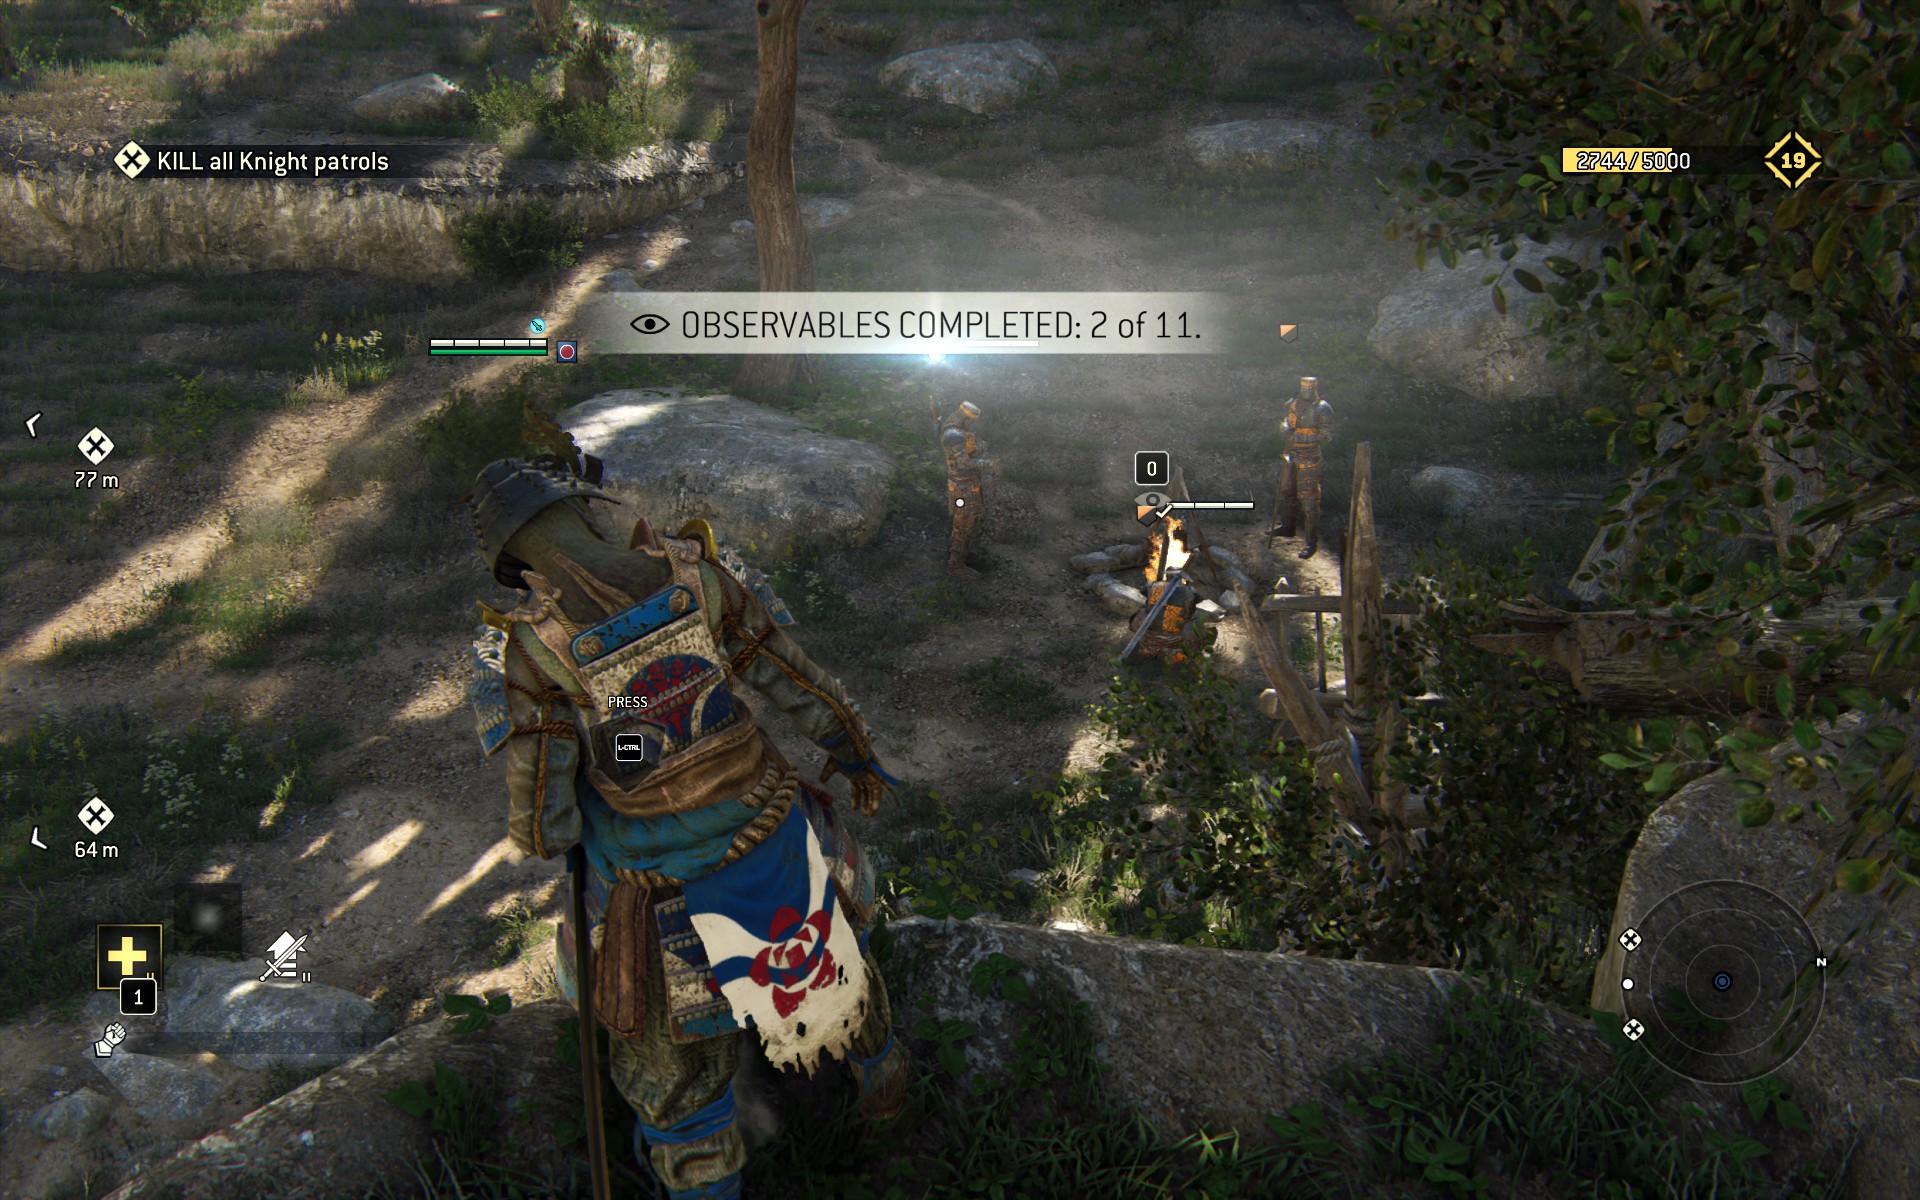
Continue west along the ridge until you have a vantage on some Blackstones making camp. Observe their campsite for the entry Wrecked Wagon.
You'll probably want to exterminate them too, which is fine, just be wary of other Blackstoners joining the fray unexpectedly. Your hardest opponents here will likely be the Conquerors.
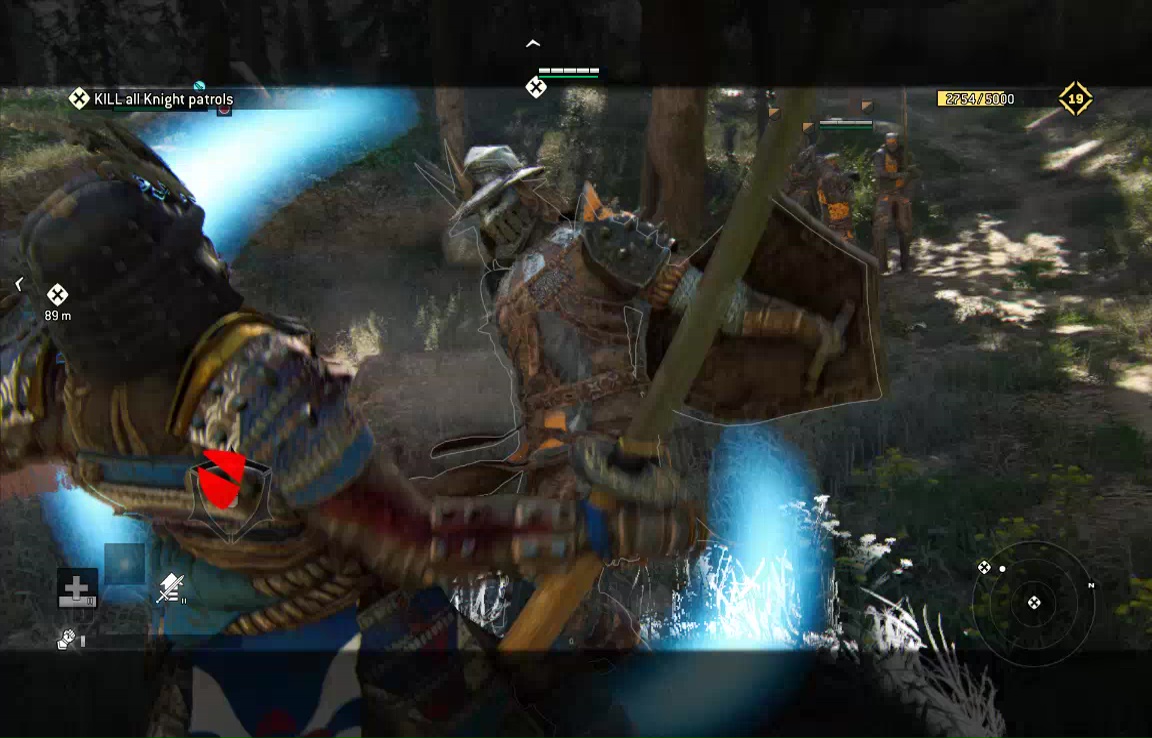
They do good damage, are pretty quick to counter your guard breaks, and your speedy light blows just bounce off their perfect defense. As with every other tricky encounter, the answer is patience- parry their combos to open them up for counterattack, and only attempt a guardbreak when they go into turtle mode. You'll also want to keep an eye on their stamina- Conquerors go through it pretty quickly, so use their feeble period to strike hard.
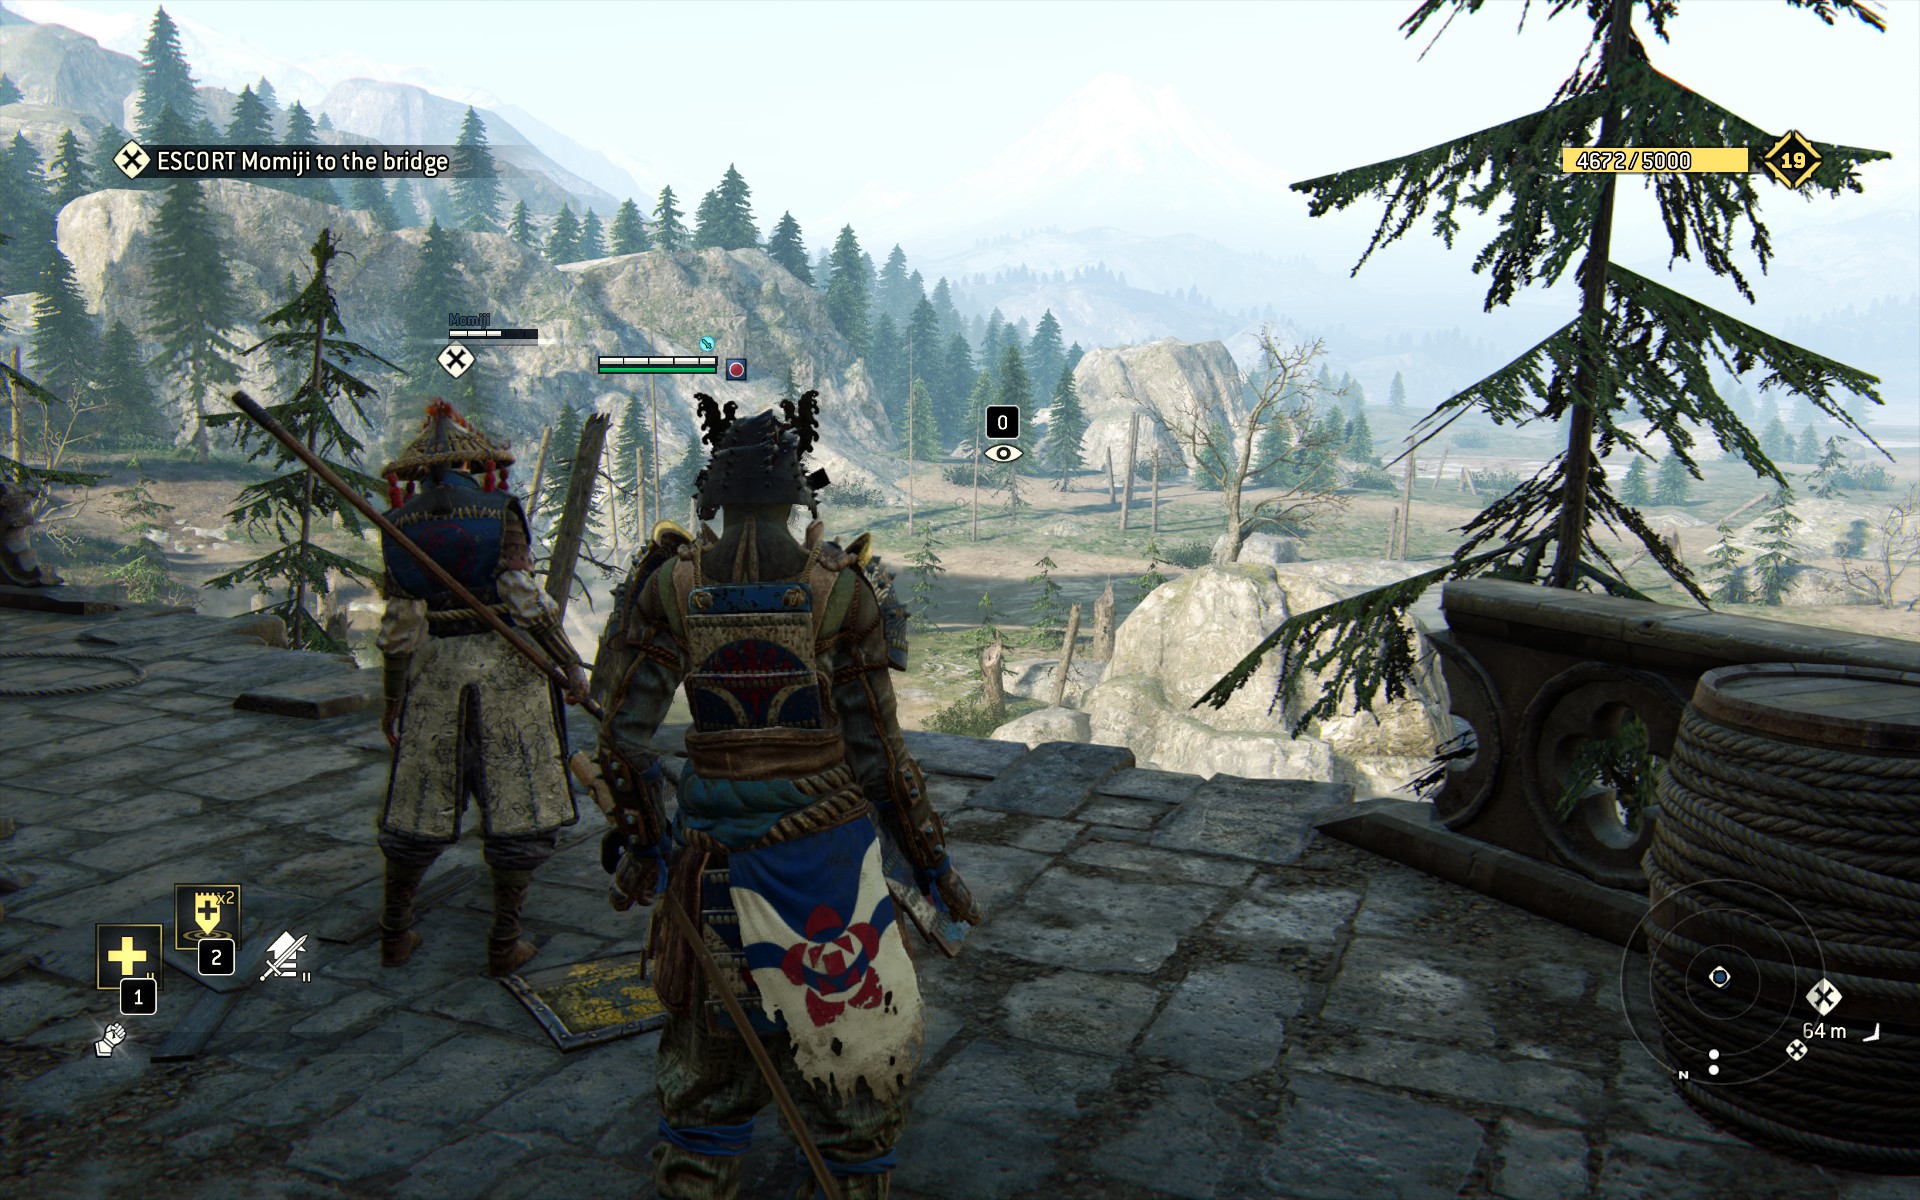
In any case, once local resistance is quelled, head to the giant statue in the middle of the area. There's a Kiai upgrade and some goons here- you can use one with the other if you like.
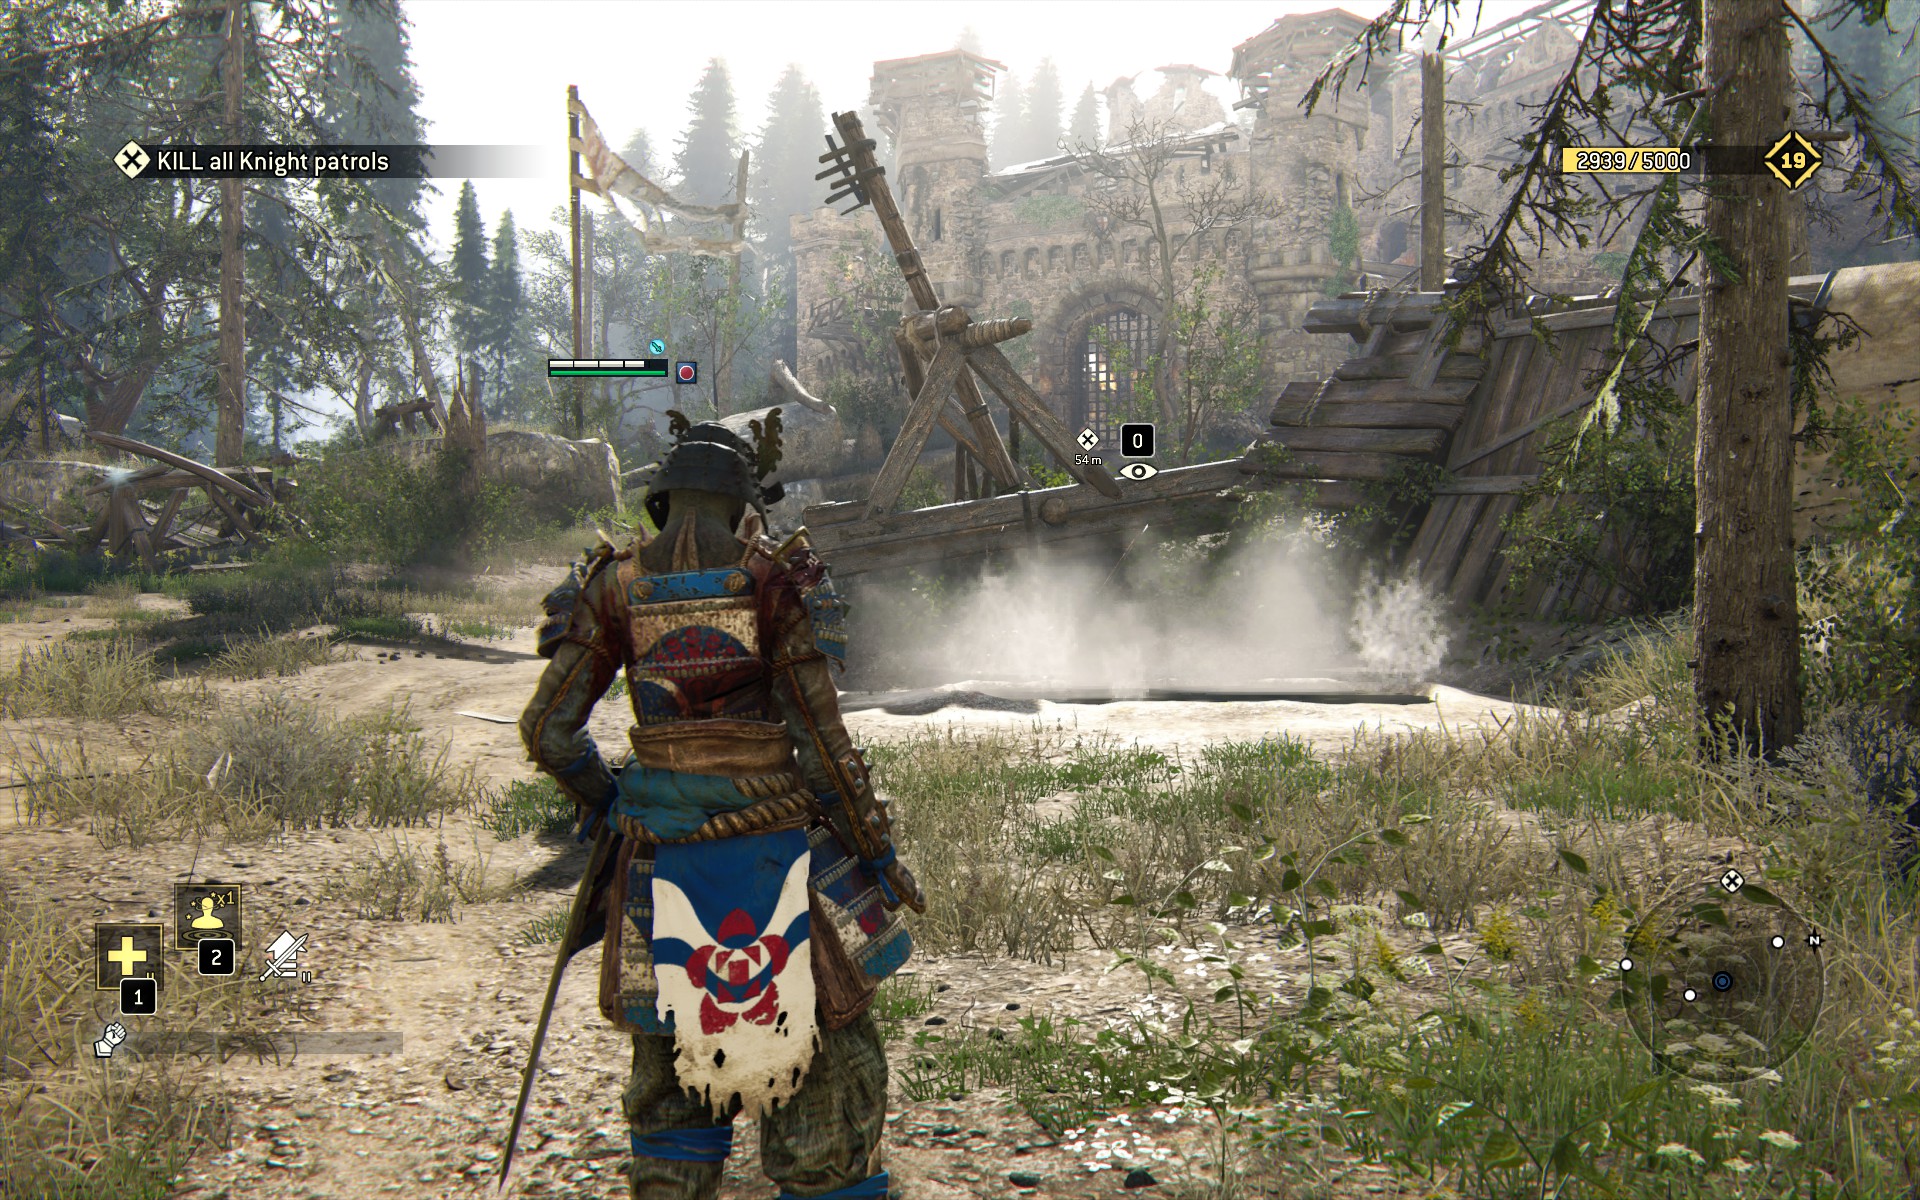
From the statue, bear southwestish until you meet up with the main road, then head toward your objective marker (which should be pointing you toward the castle gate). On the way, you'll find an Observable Geyser by a broken ballista, on the righthand side of the road.
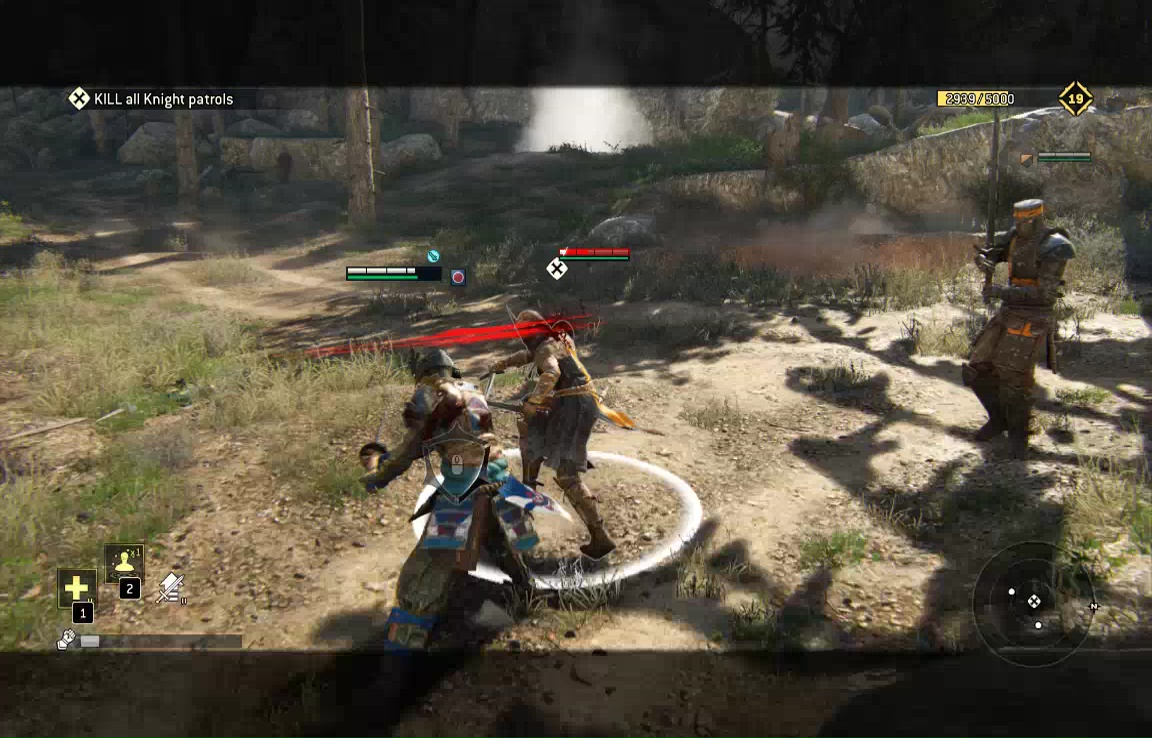
From there, pivot left. Across the road from the geyser is another wrecked ballista, this one recorded as Ruined Warmachines. At this point you'll likely be ambushed by a Peacekeeper. She's no no Mercy, and while she's quick enough to flit away from a Storm Rush, she's surprisingly vulnerable to Heavy Attacks. Hack her apart before her posse surrounds you, and you'll be fine.
Now leave the main castle be for the moment, and follow the main road as it forks southeastish, toward a manned wooden palisade.
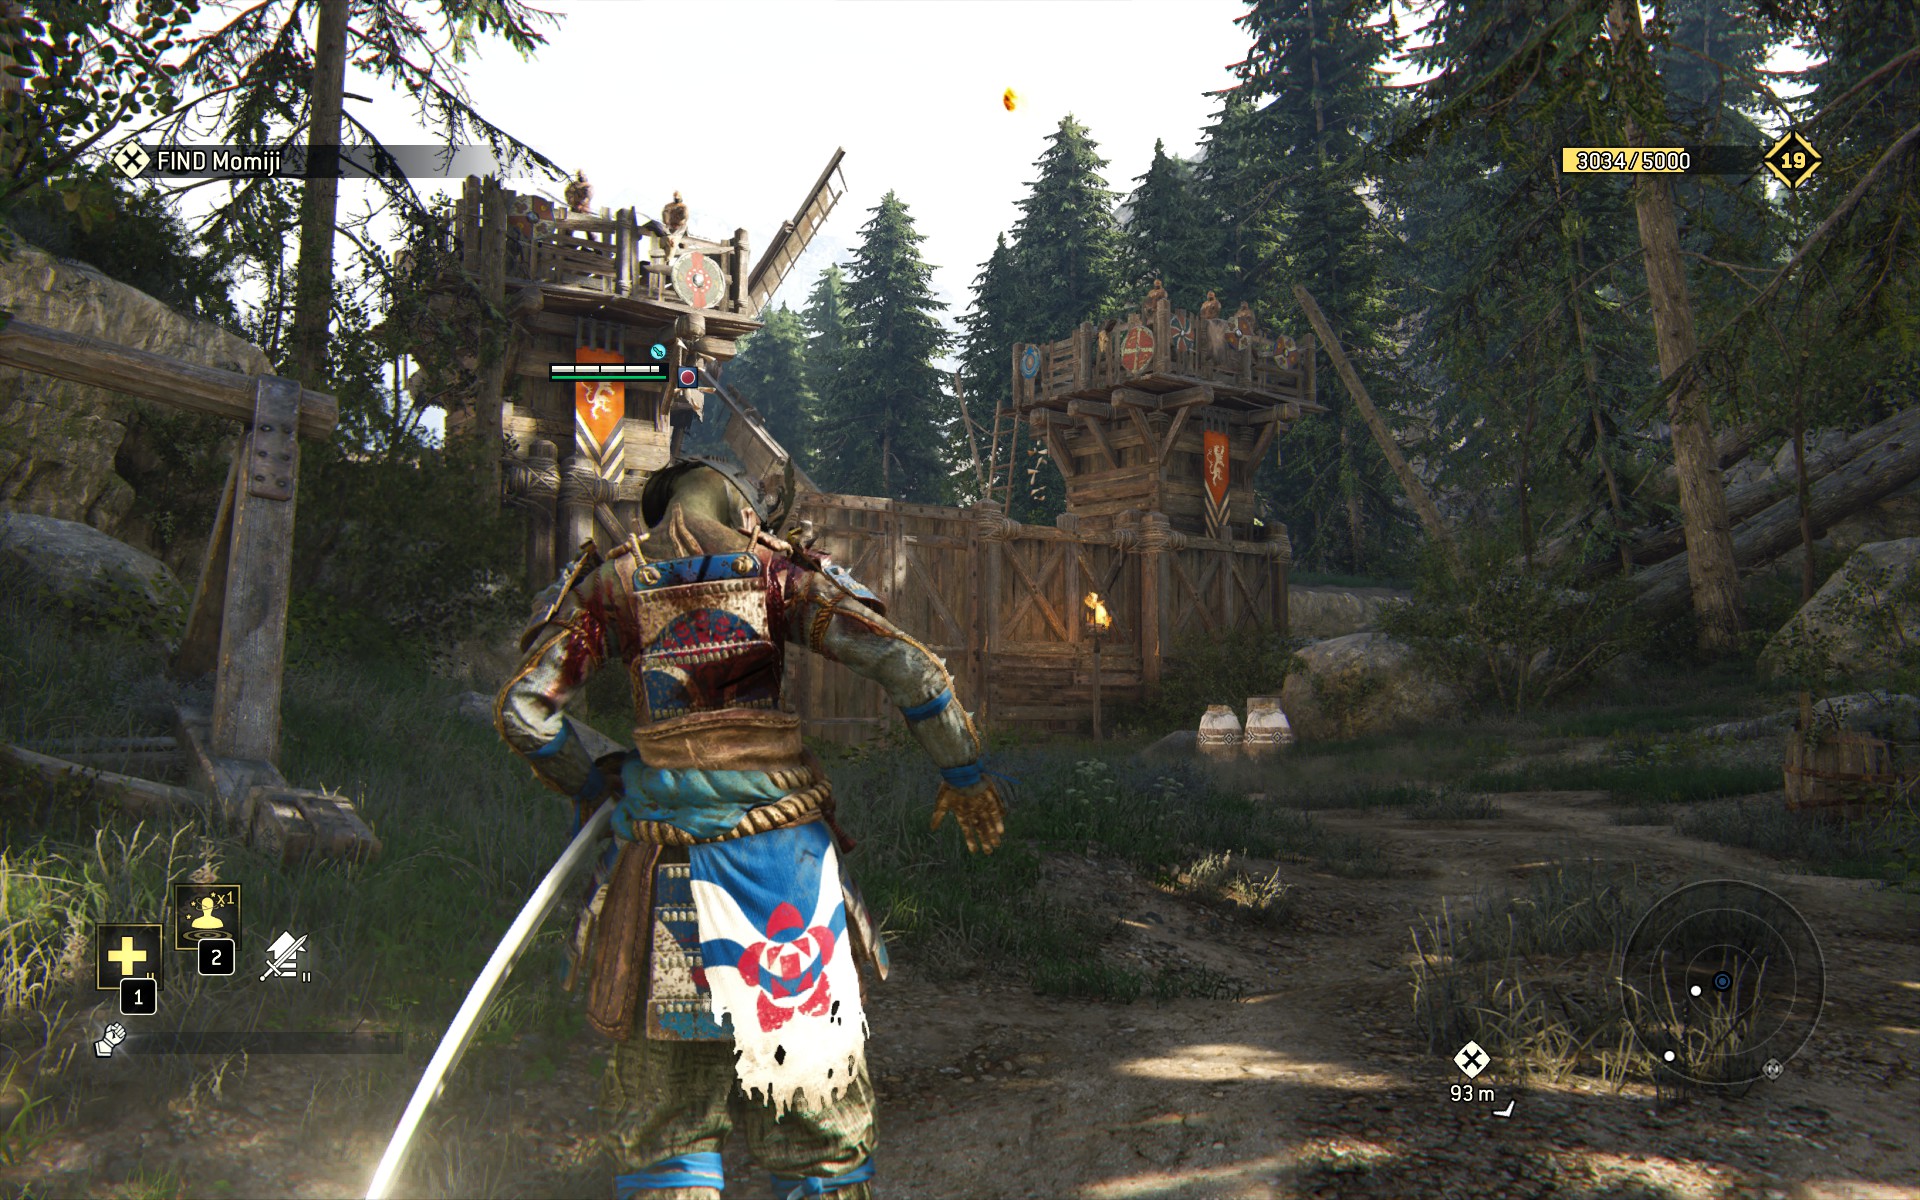
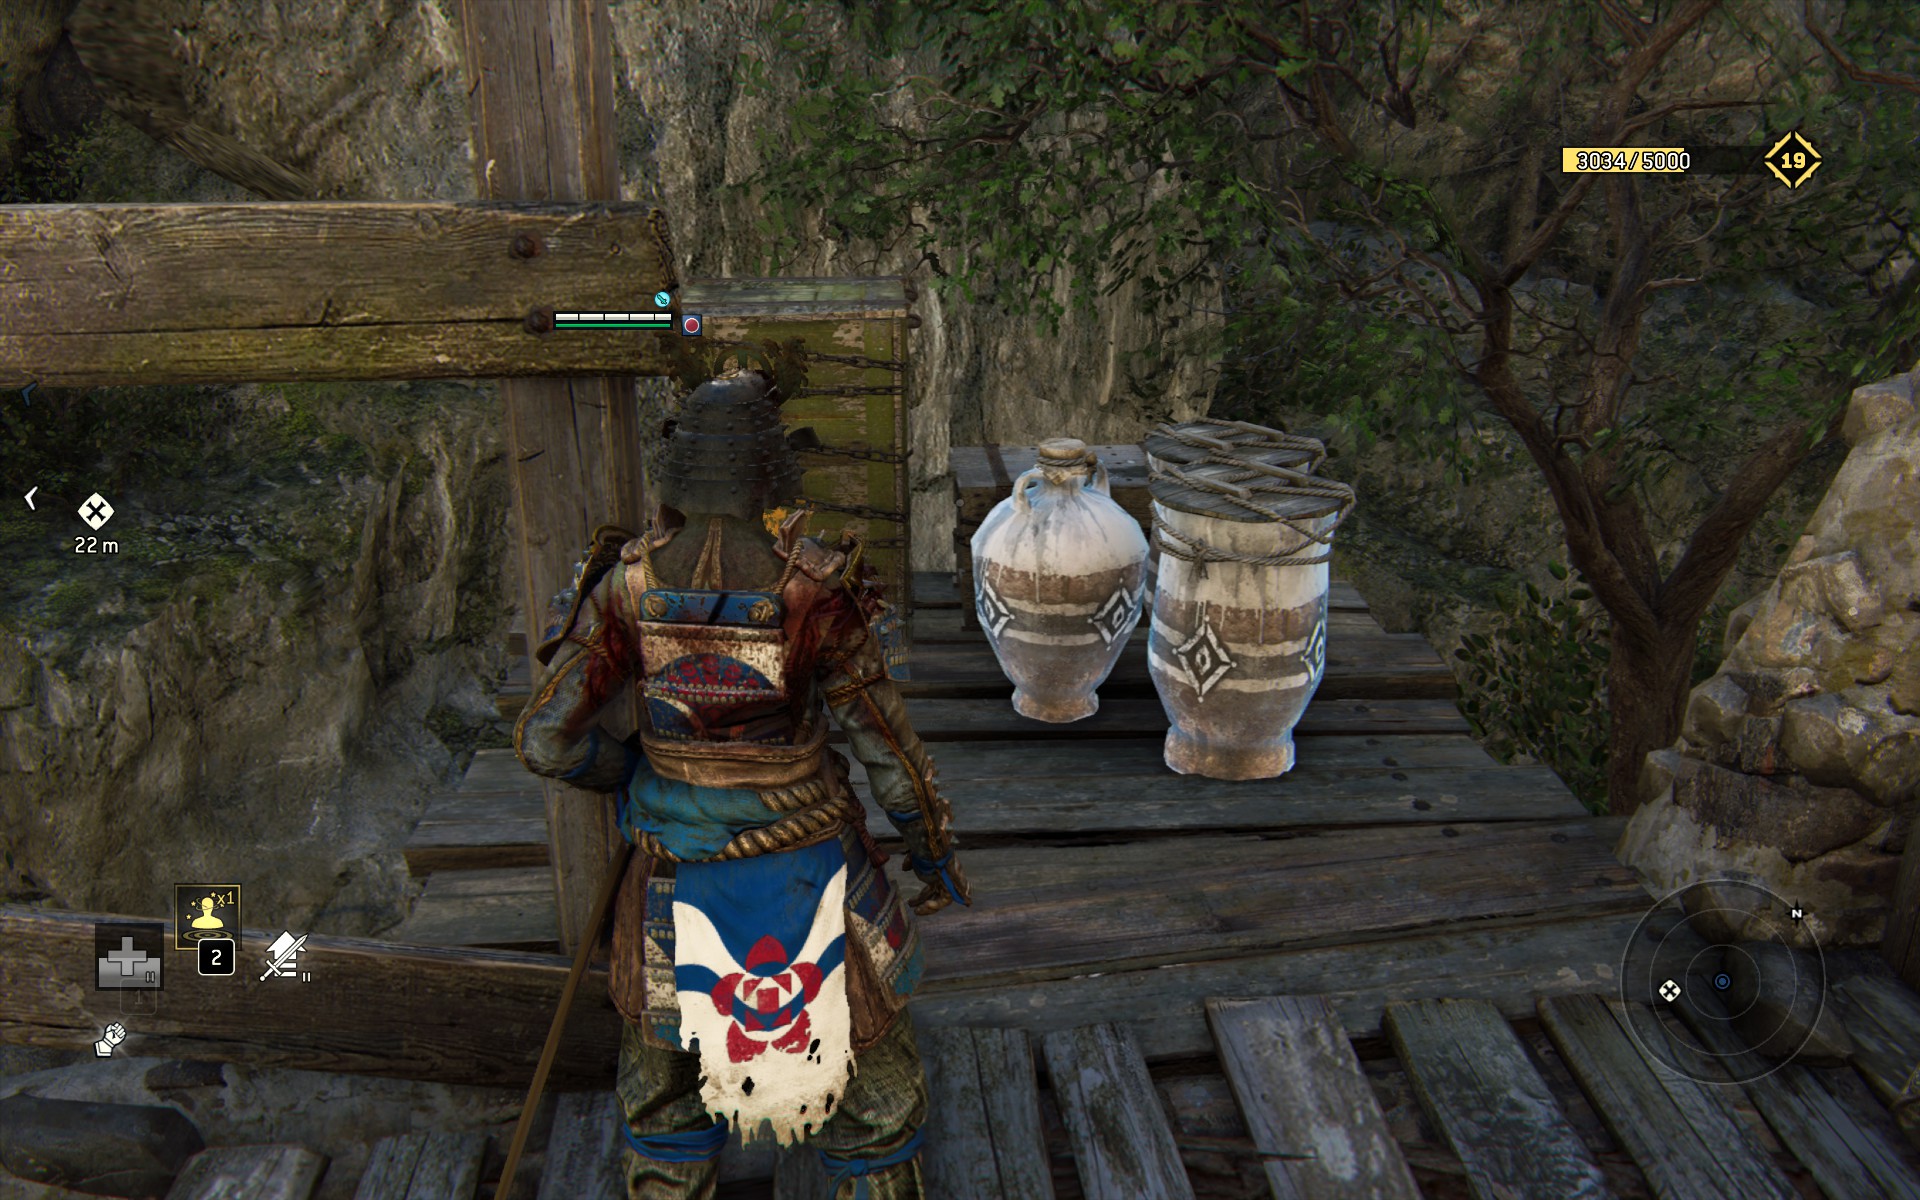
You'll notice the stash of breakables just in front of the gate. Archers will fire at you as you approach, but just ignore them. Smash the pots, then take just a moment to observe the gate itself as Outpost.
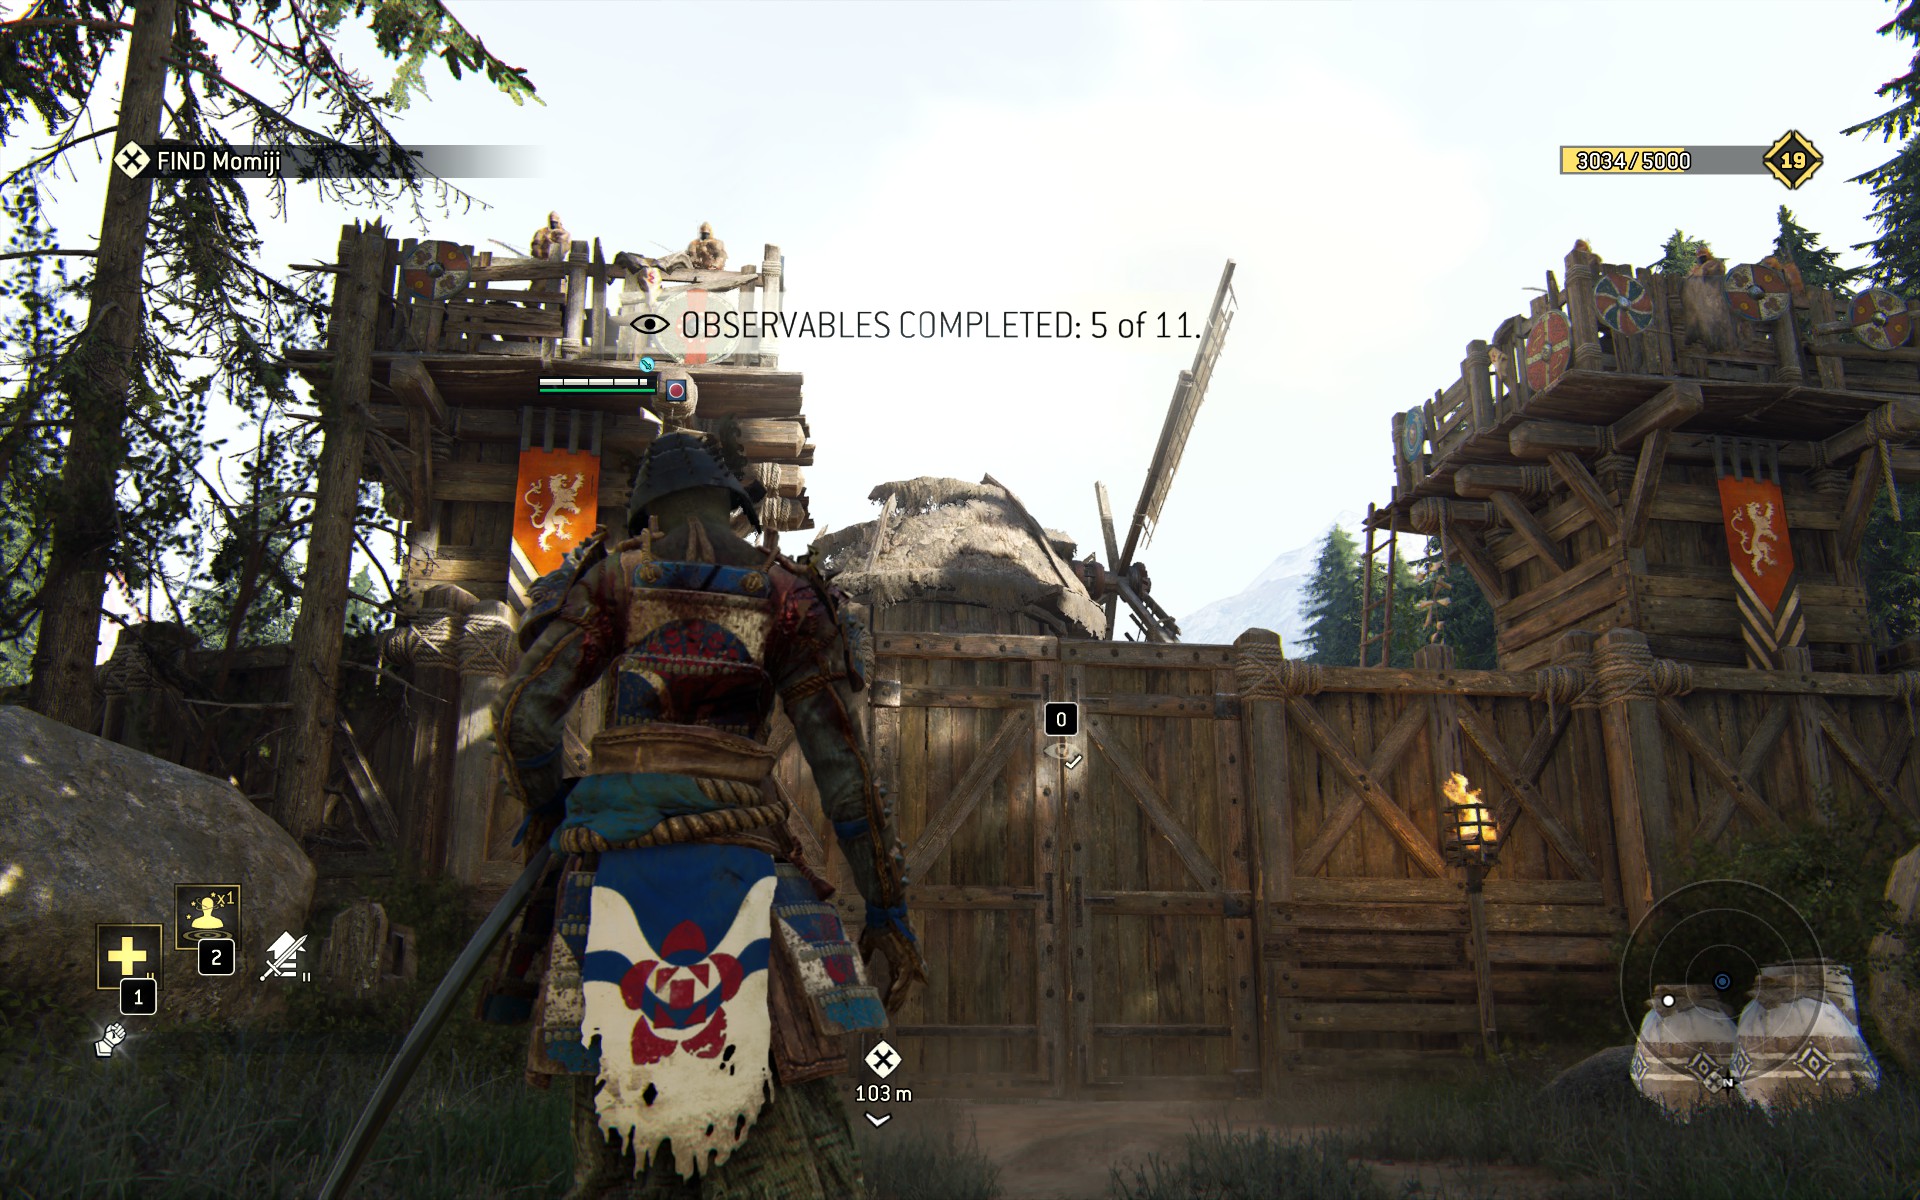
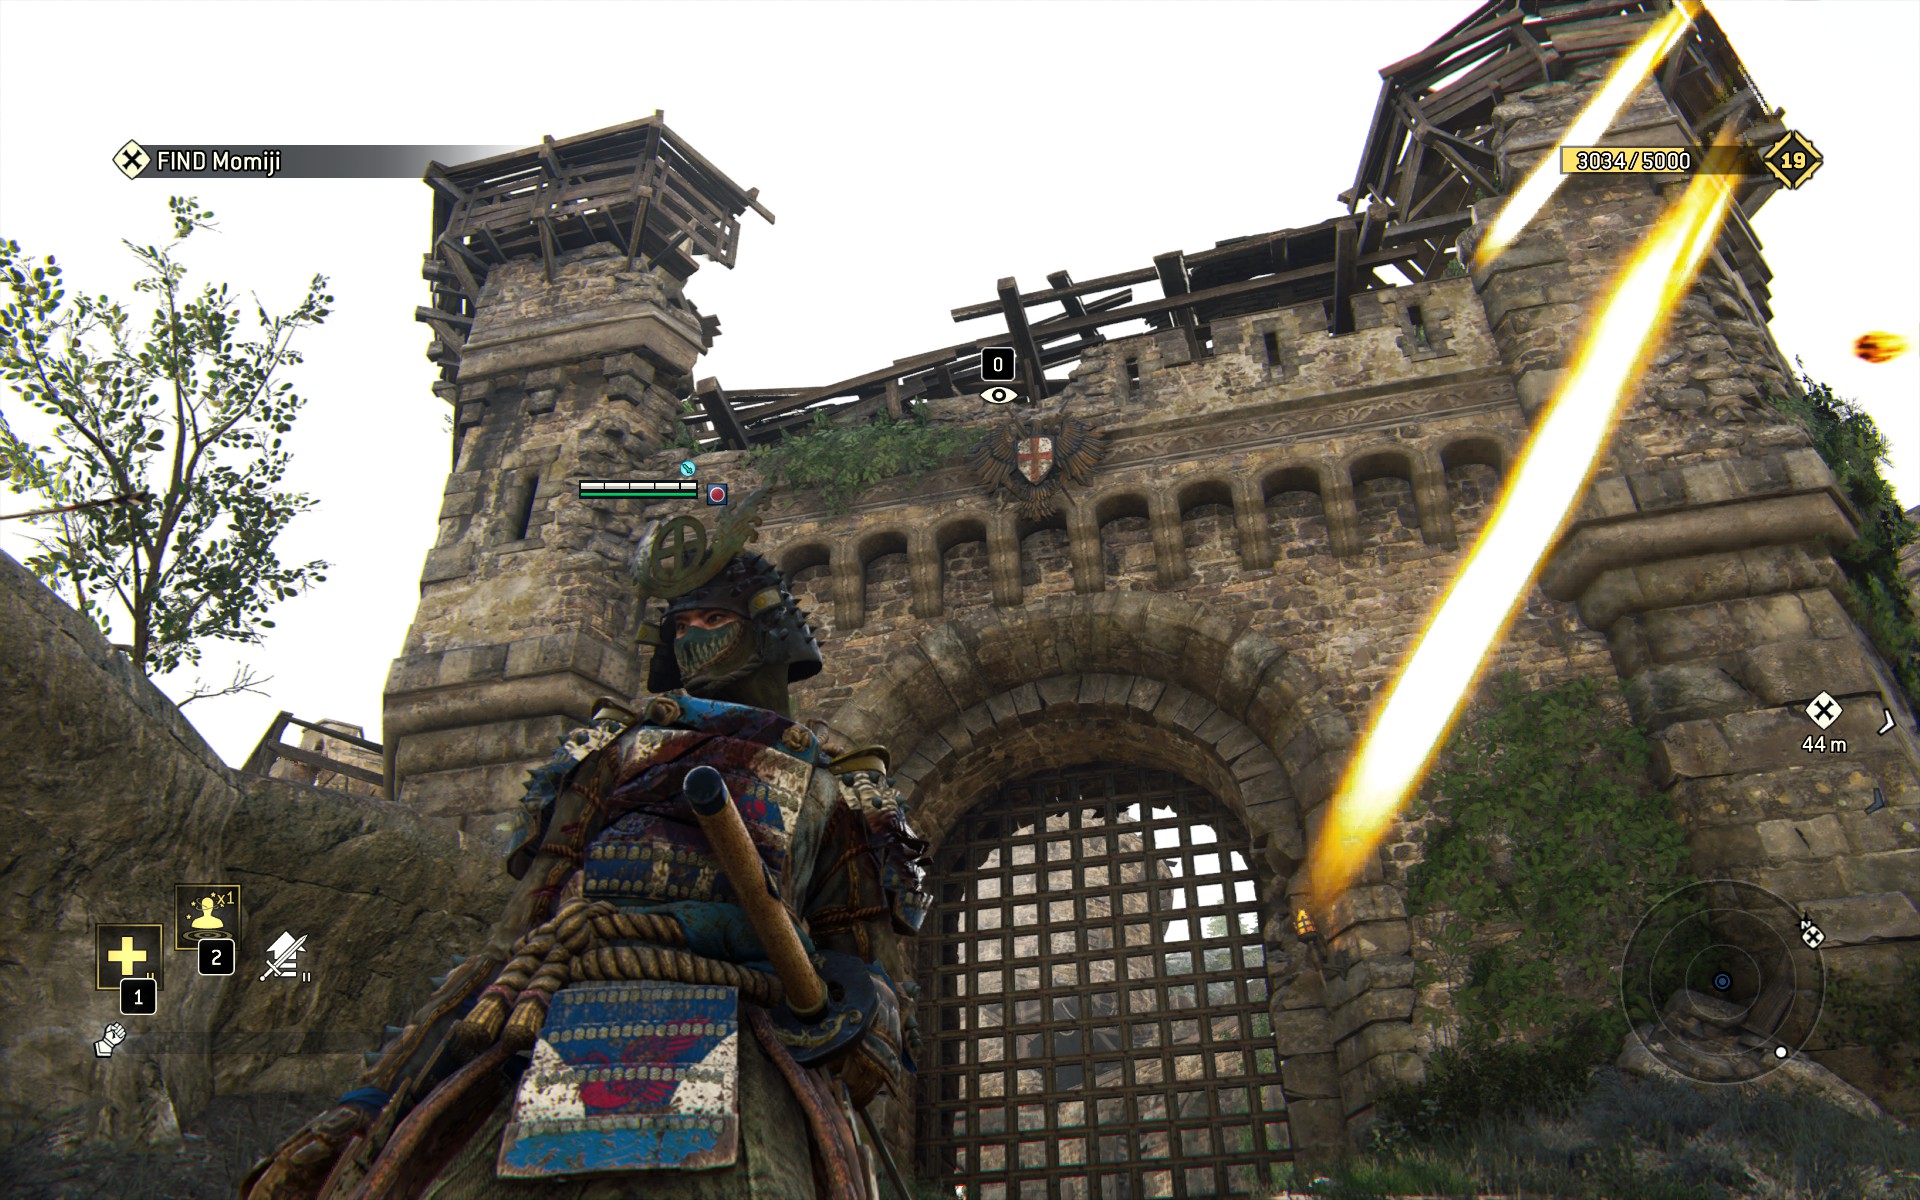
Now head back to the main castle. The archers here are a lot more vigorous than the outpost ones, so watch out for red circles as you get close enough to the main gate to score the Observable Derelict Castle.
Retreat back out of range, then head north, toward your new objective marker, where a wooden ramp joins the castle. To the left of the ramp, near an abandoned cart and a smoldering wooden stump, is the third Breakable cache.
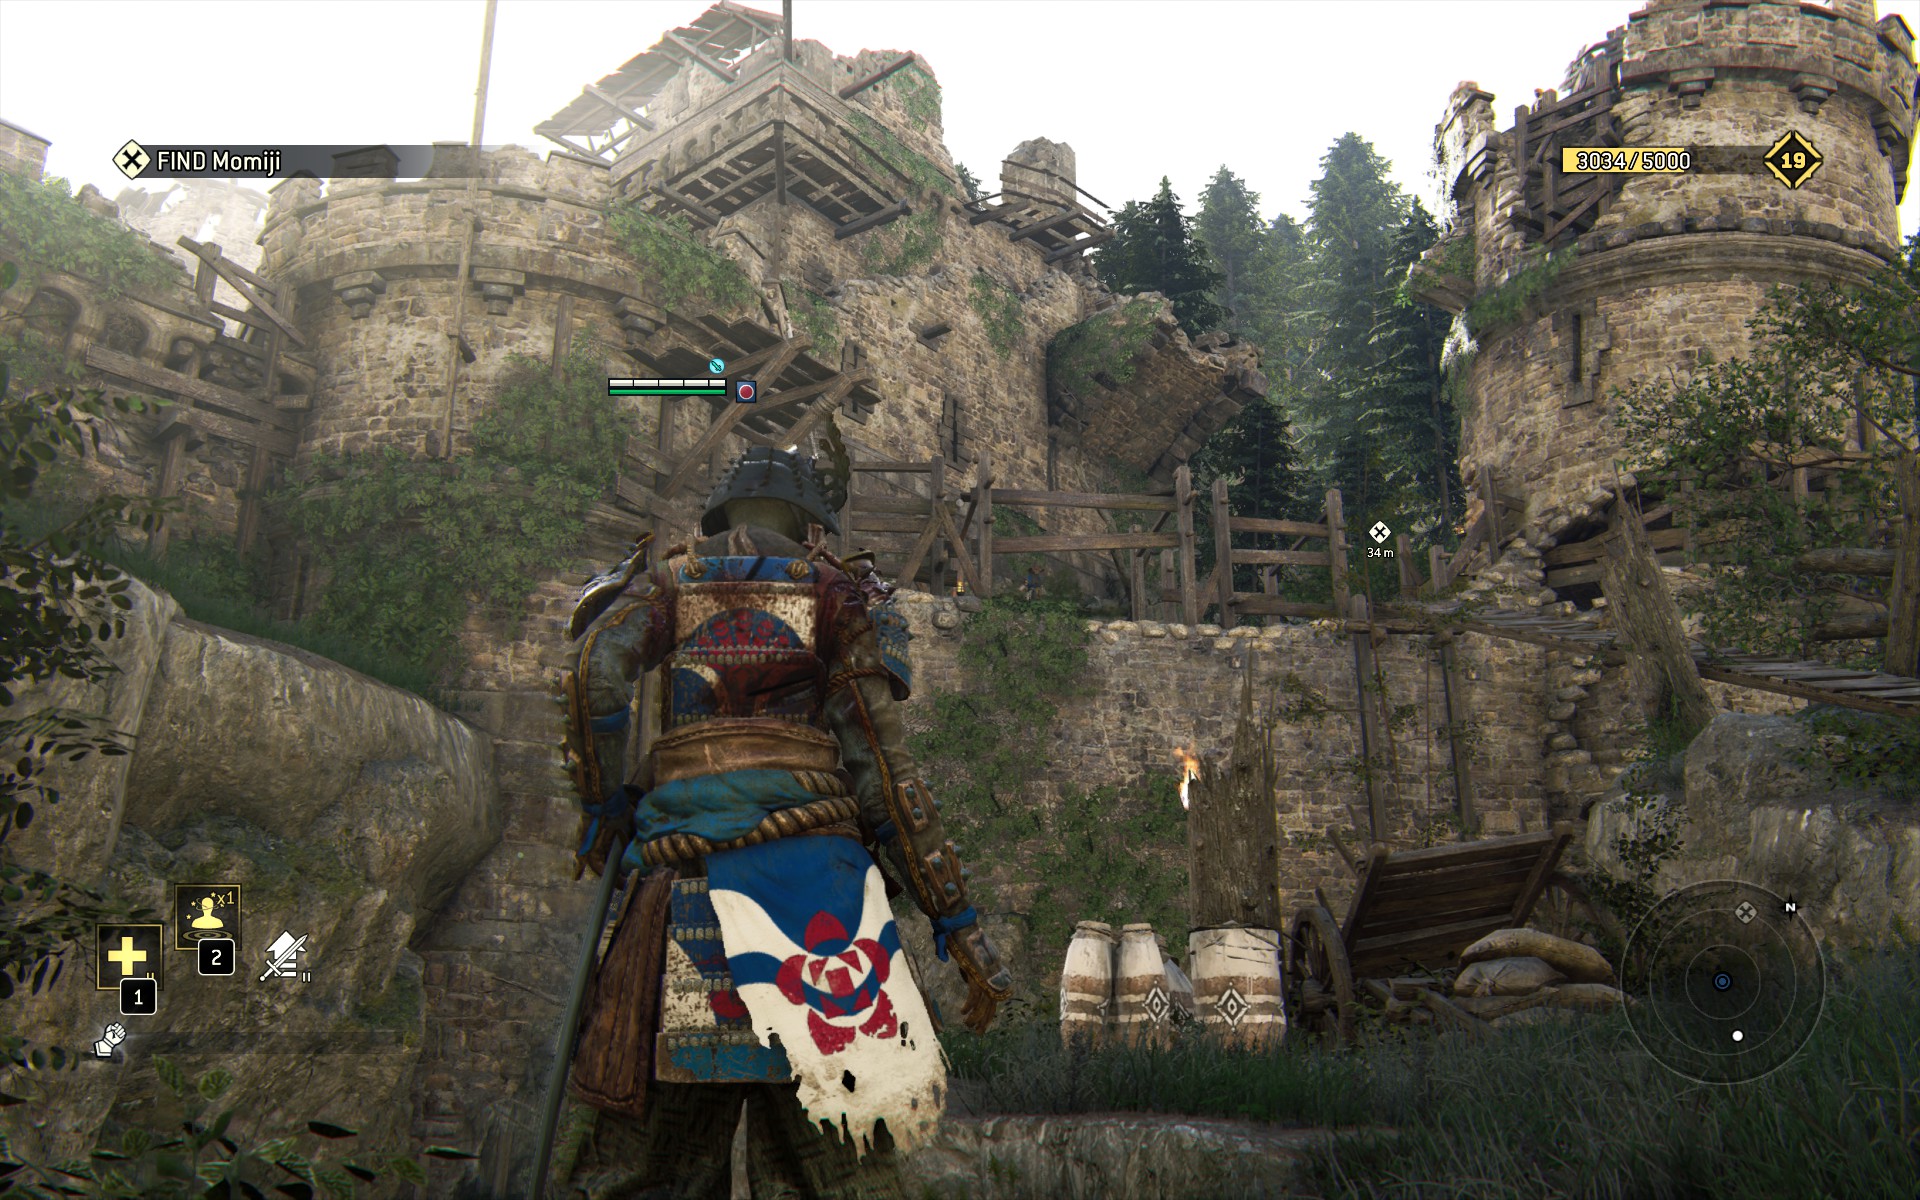
There's another cache at the top of the ramp.
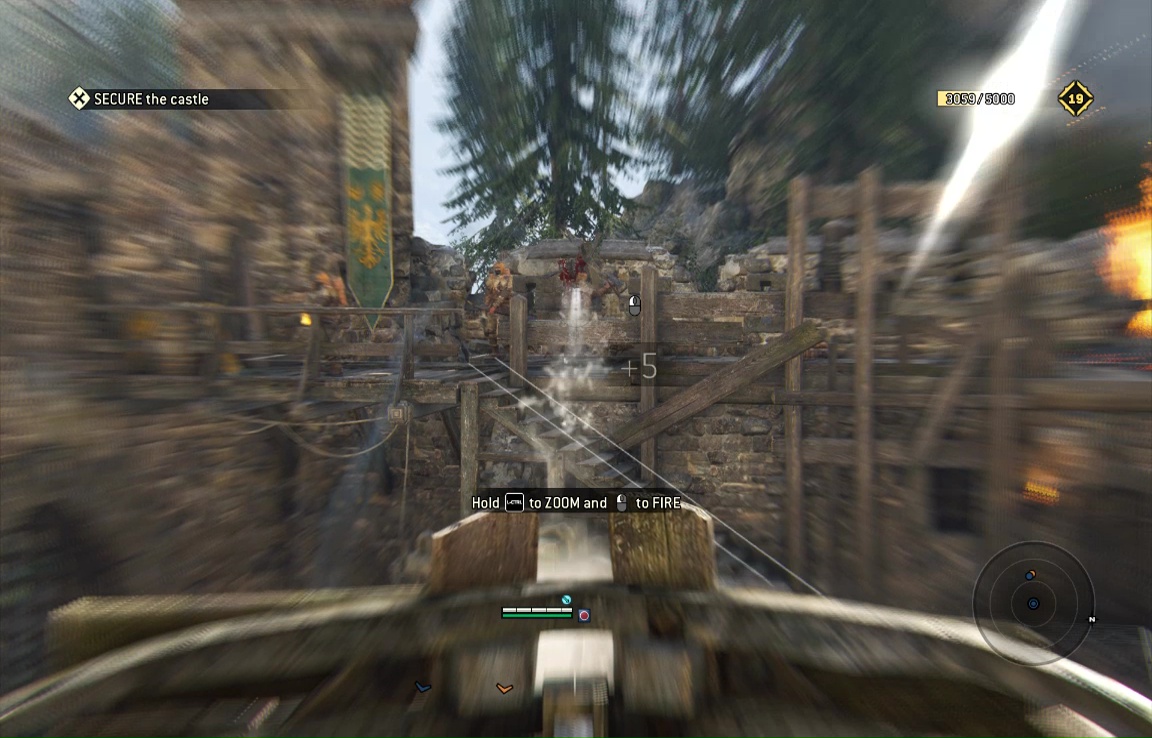
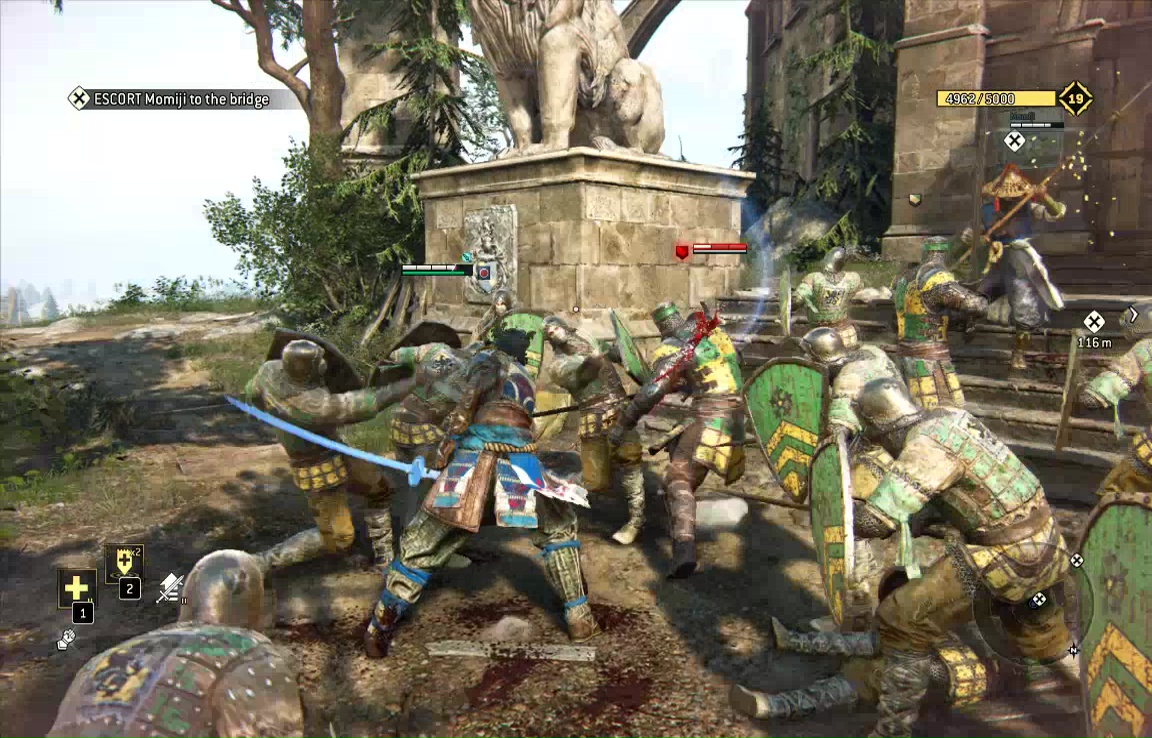
When you have all the Observables and Breakables so far, climb the ladder up into the castle to begin a Cap the Point type challenge. Start by manning a turret to dispose of enemy archers.
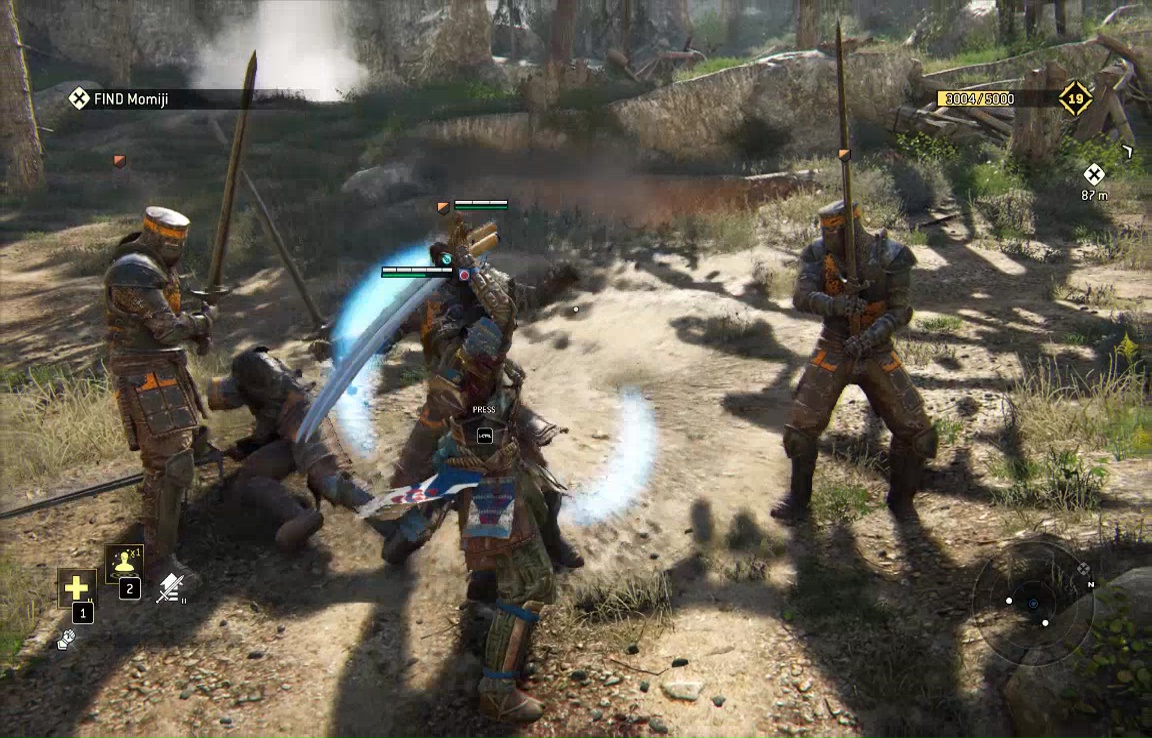
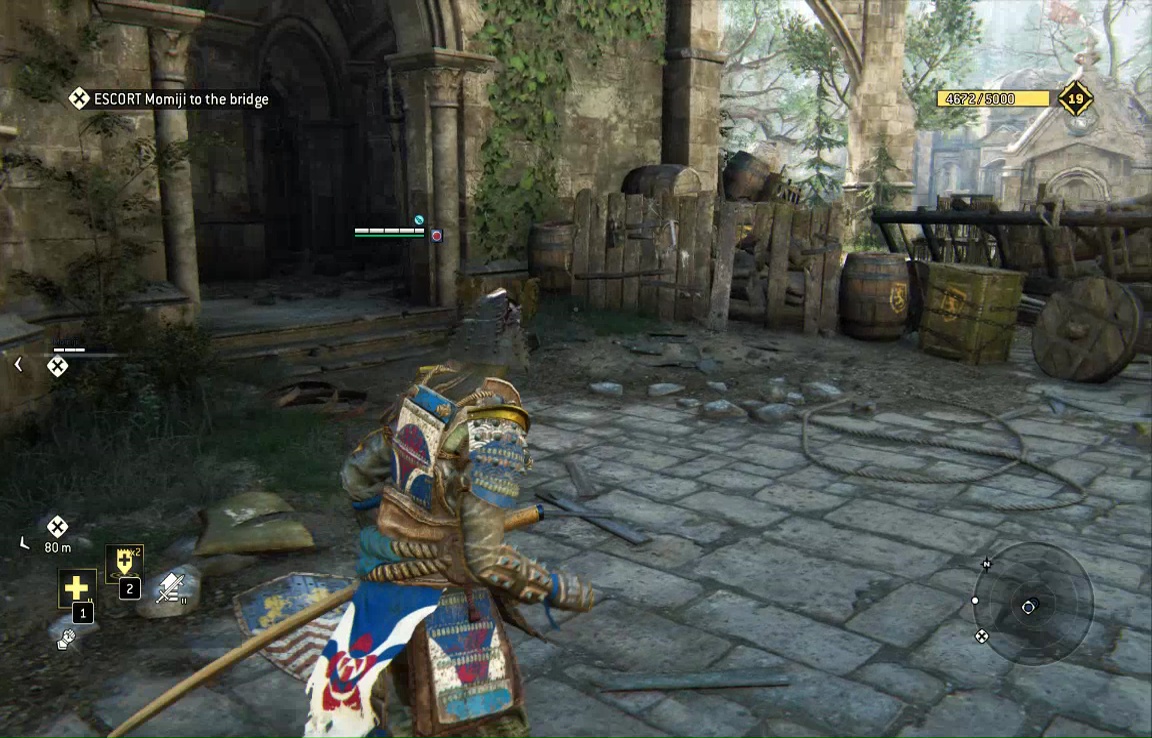
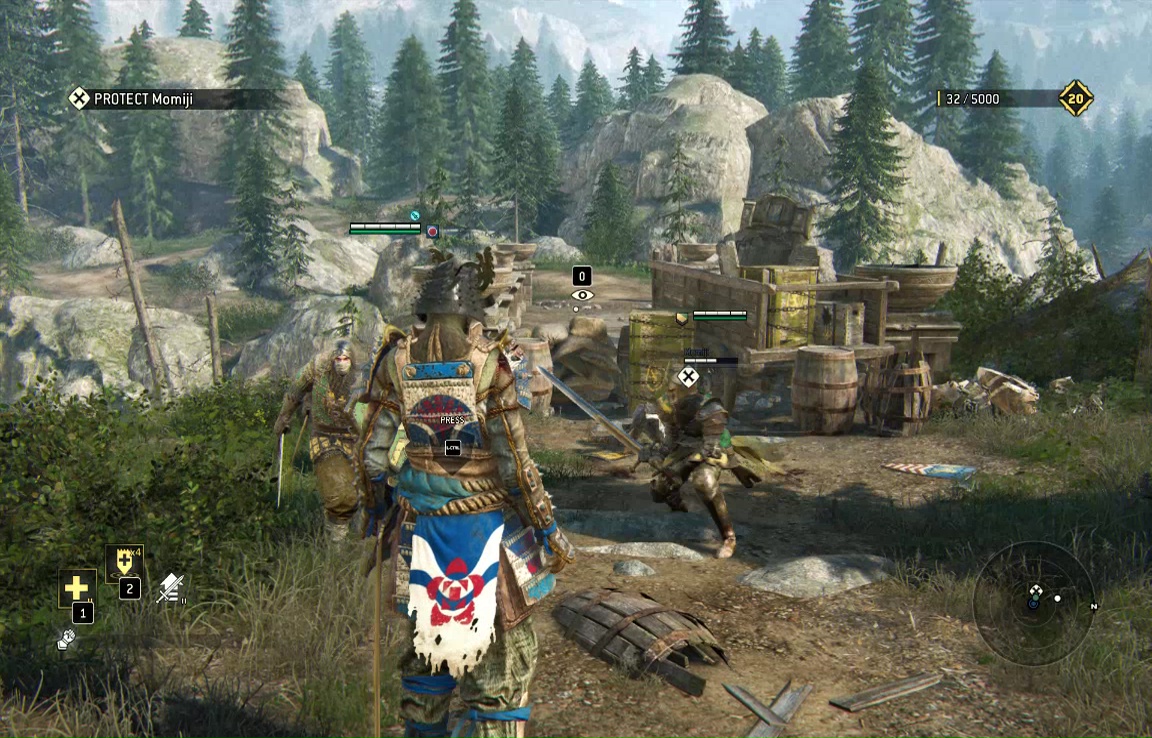
The turret can't tilt down to cover the courtyard, so when the archers are destroyed, head downstairs to give Momji a hand. You're about to face wave after wave after wave of enemies, but allot a few moments to get the Breakable cache by the main gate here. Once the last enemy falls, it'll be too late.
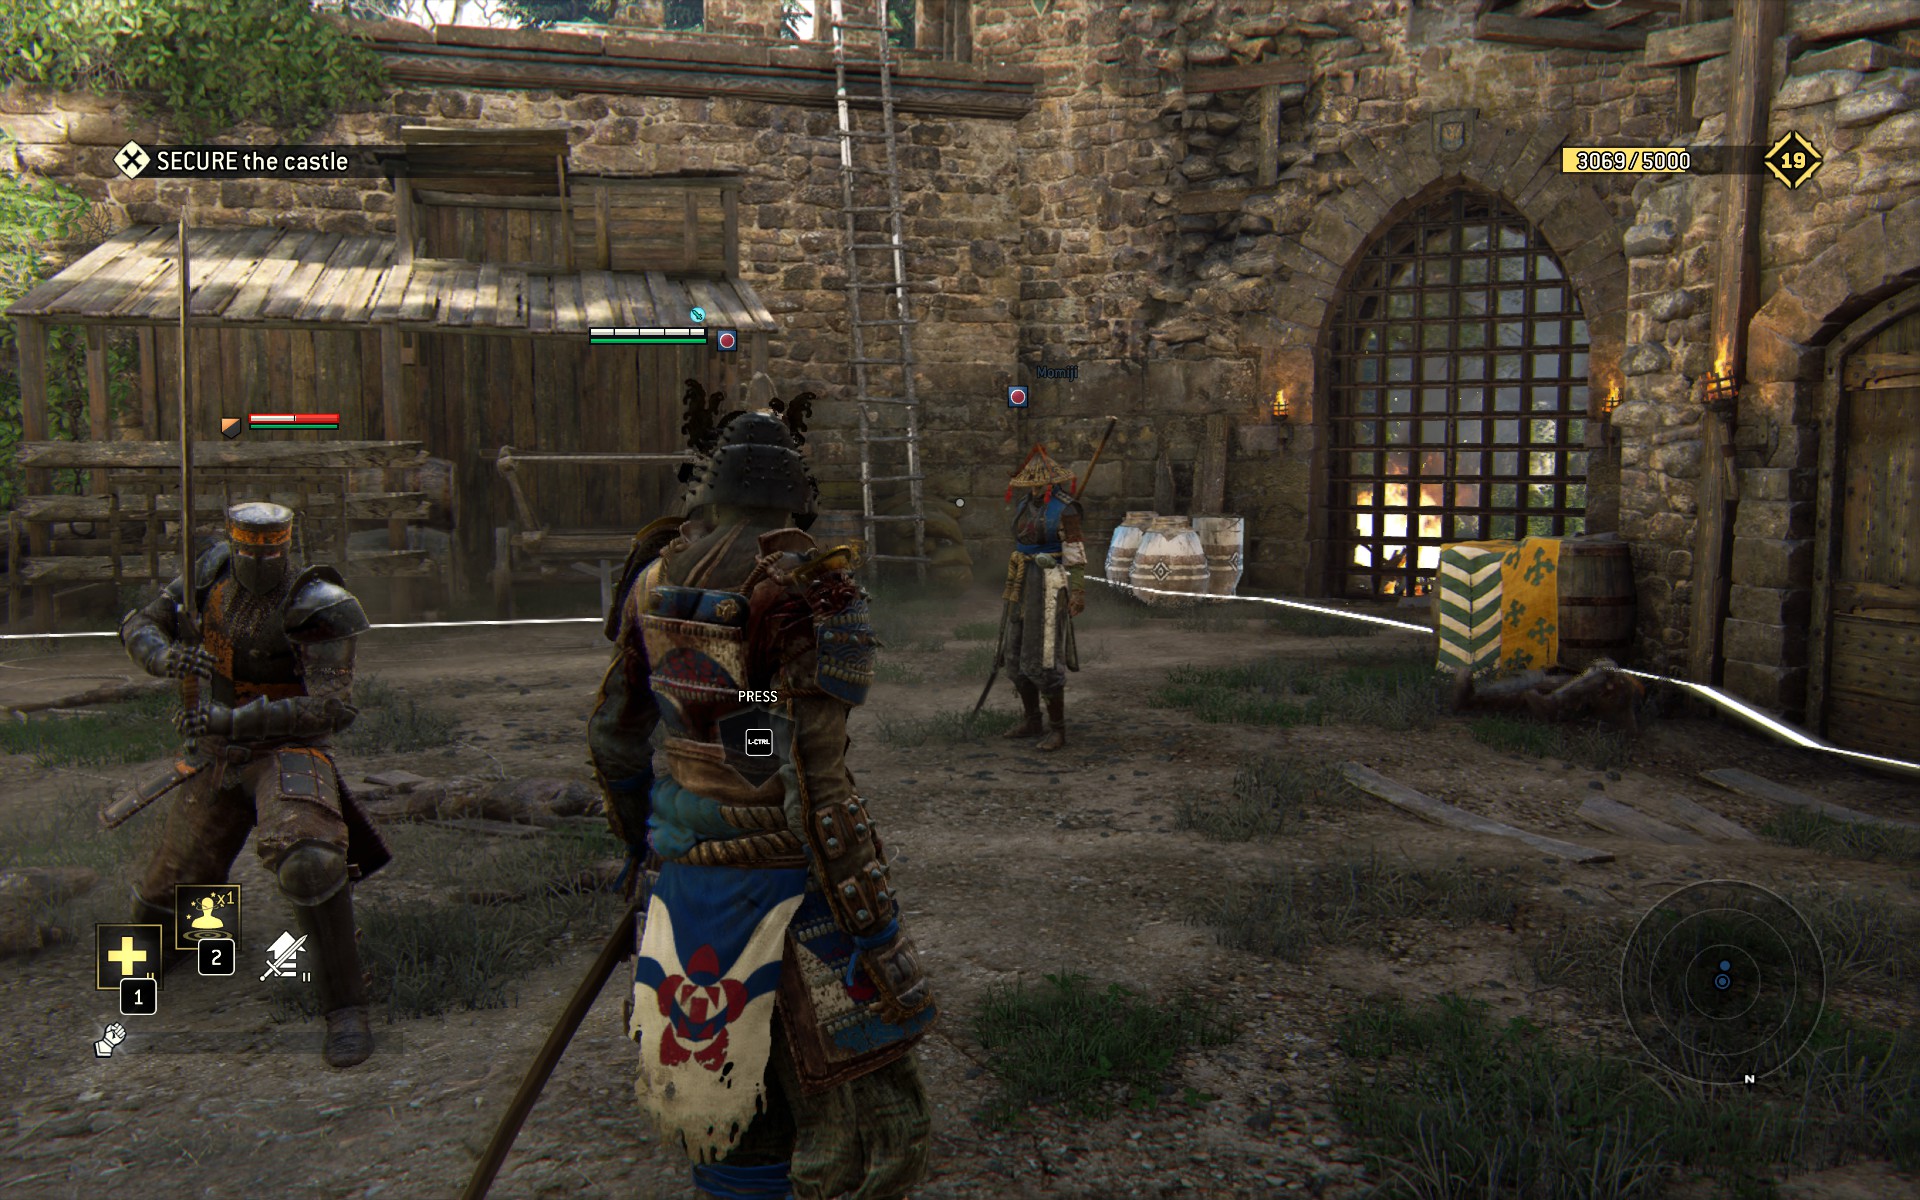
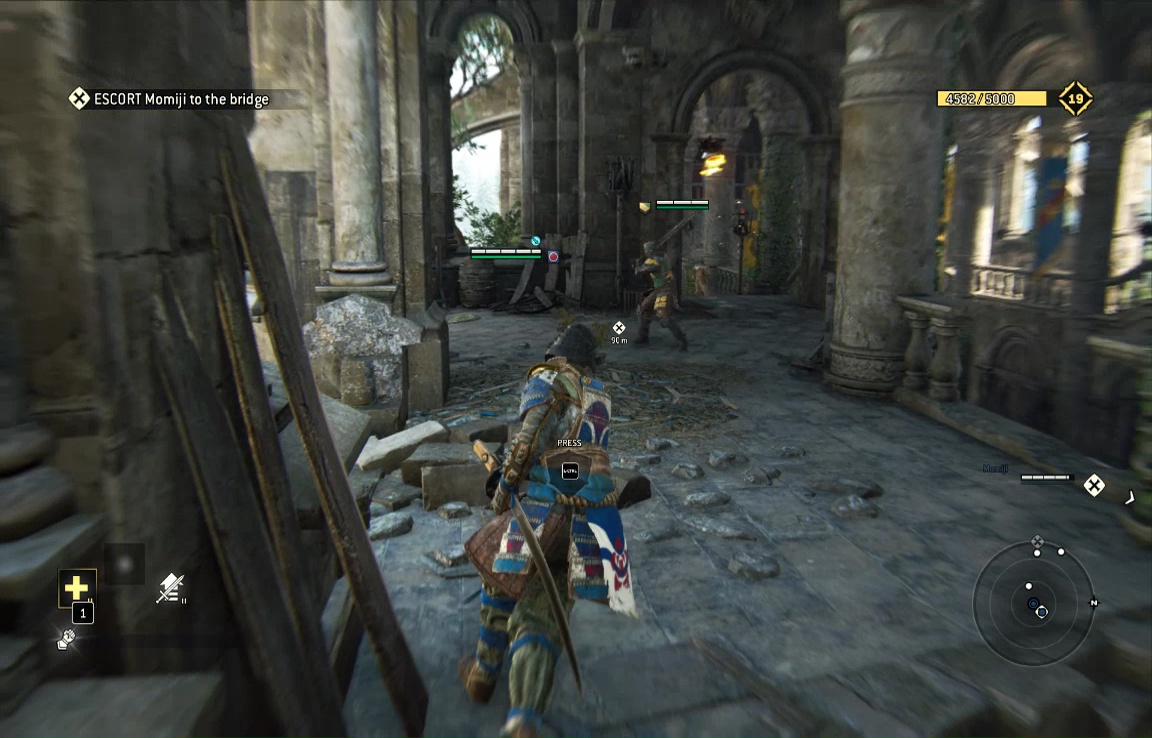
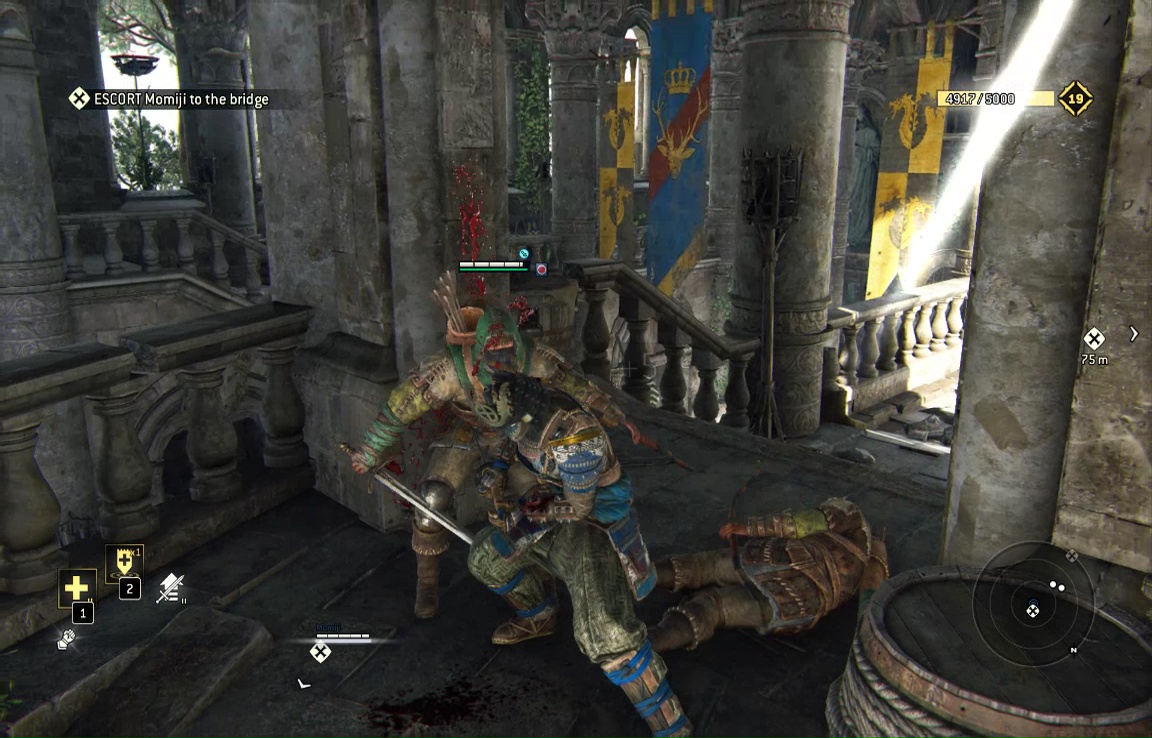
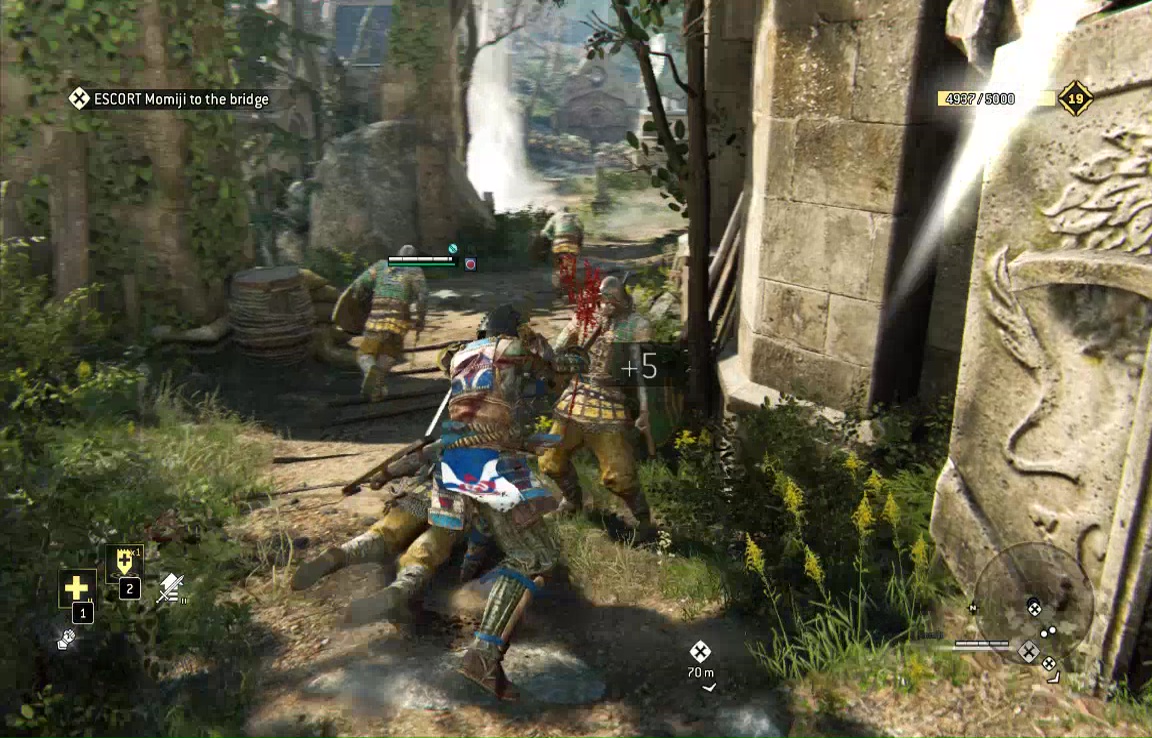
As for the enemies, there sure are a lot of them, in a lot of waves. Maybe there's some of elevator system at work? Regardless of the mechanics, remember to use guardbreaks to take down the subheroes quickly. Let the higher-level heroes tangle with Momji while you clear the field, then take them out with surprise attacks.
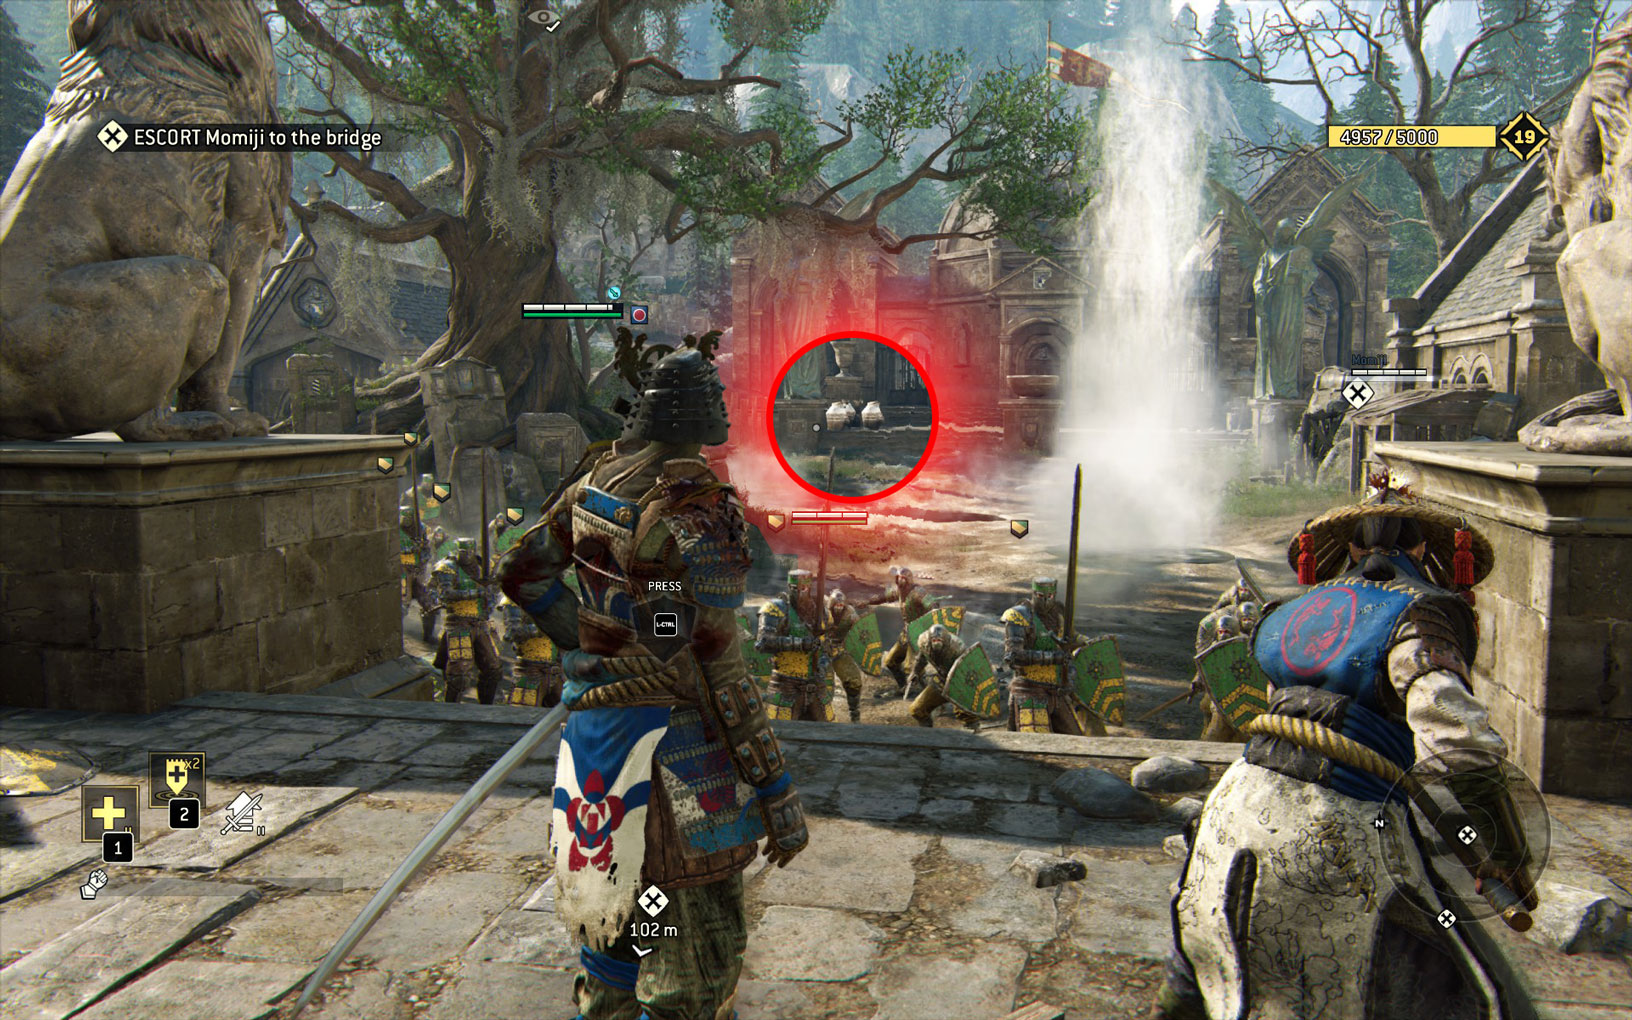
When you've bested all comers, the scene changes, as you follow a mysterious Warden. You regain control in a Cathedral, surrounded by ex-Blackstoners. These are technically the good guys, but you're going to slaughter a bunch of them anyway. When you gain control, head left (toward where Momji was just shot), and take out the sowrdsman here with a bump-slash-slash.
Turn right and go to the railing here, then look at the giant statue inside the Cathedral for the entry Knight Statue Chancel.

Continue west along the balcony to kill two archers, and foil a Peacekeeper ambush.
Do not continue down the stairs, instead backtrack just a few steps to where you slew the archers, and take the ladder leading outside.
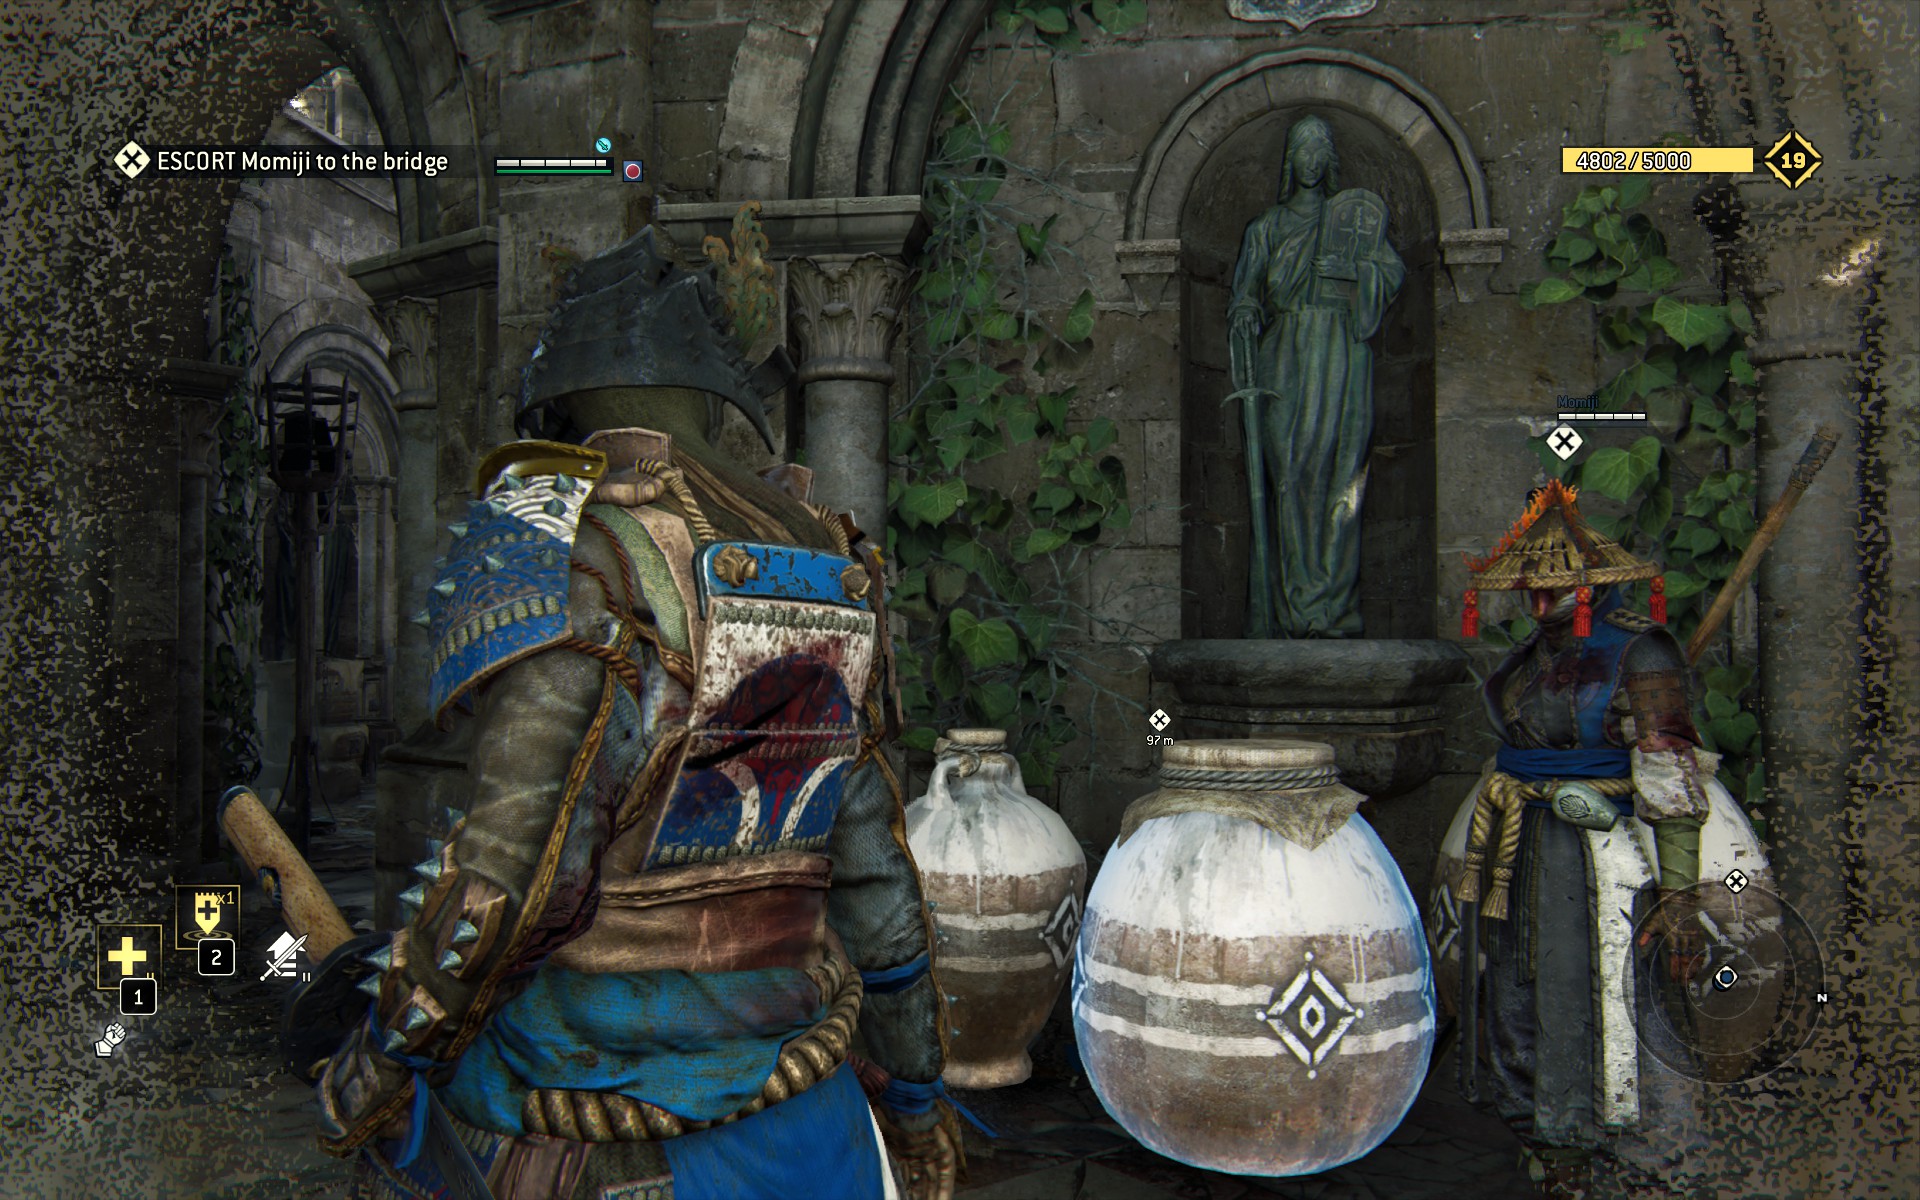
A small horde of knights will attack you as you reach the ground, but they're zero-level. Annihilate them, then smash the pots at the base of the ladder
Take in the landscape to the south of this platform as the entry Acid Lake.
Continue east along the platform, then re-enter the cathedral through a door on your left.
Bear right to work your way behind the giant statue, and discover a Breakable cache.
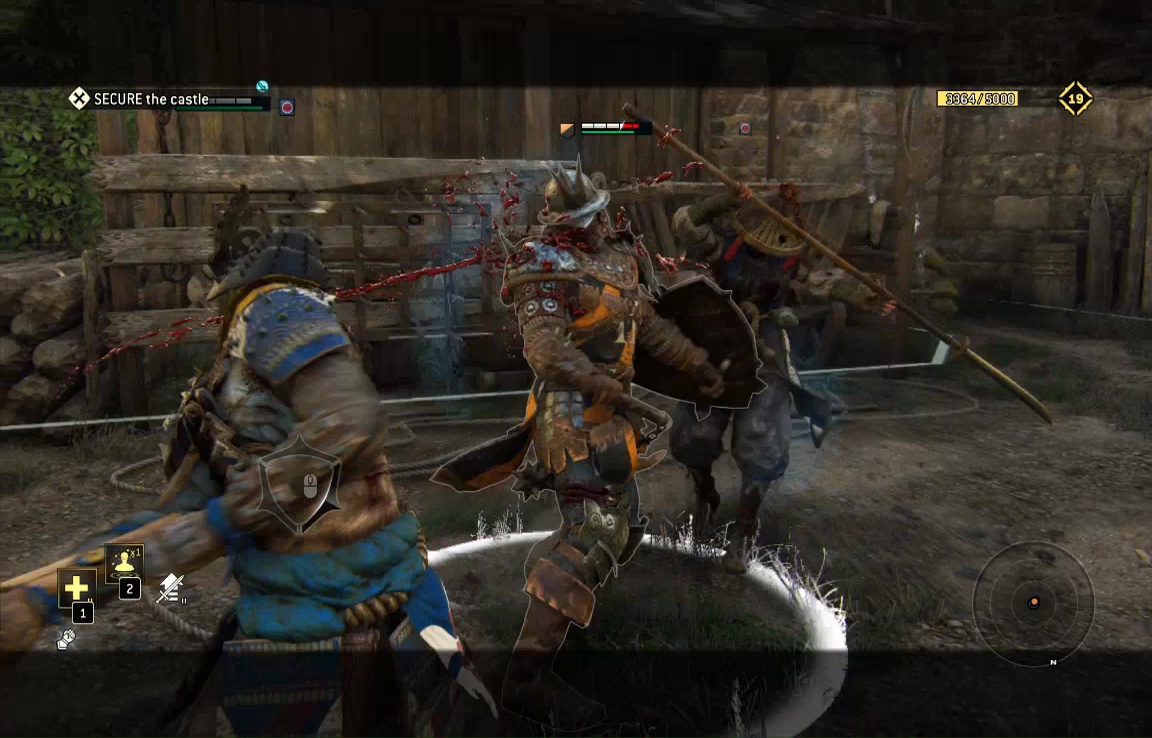
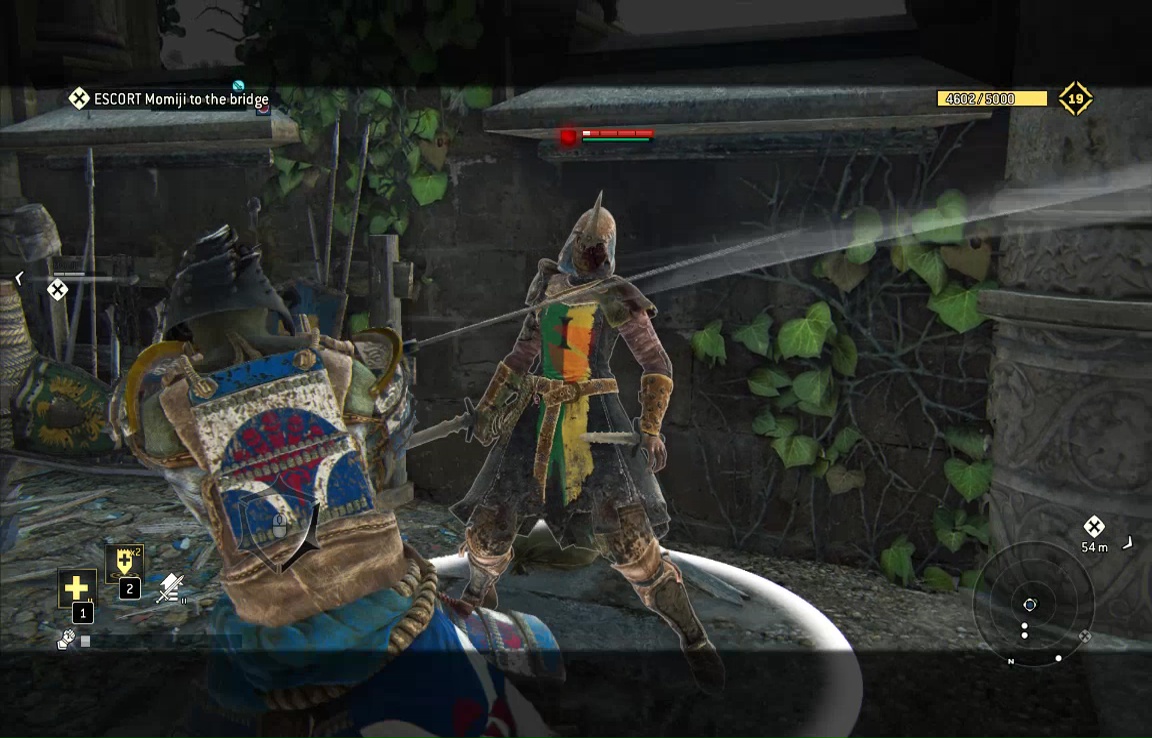
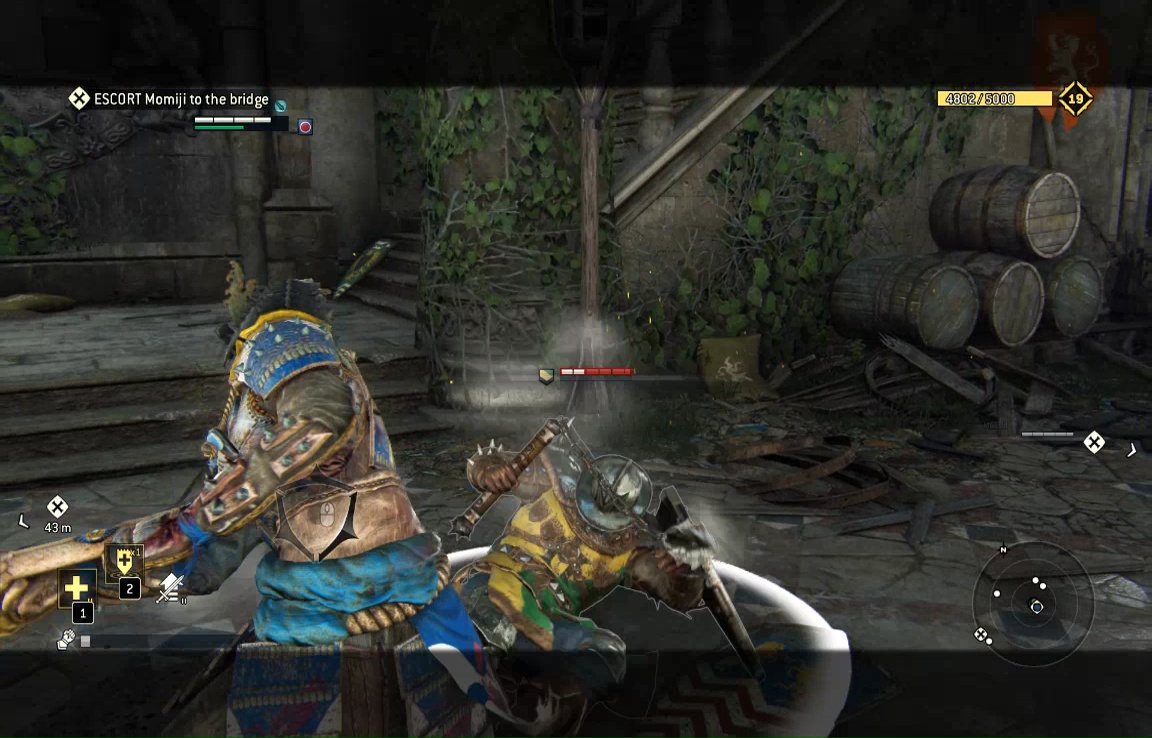
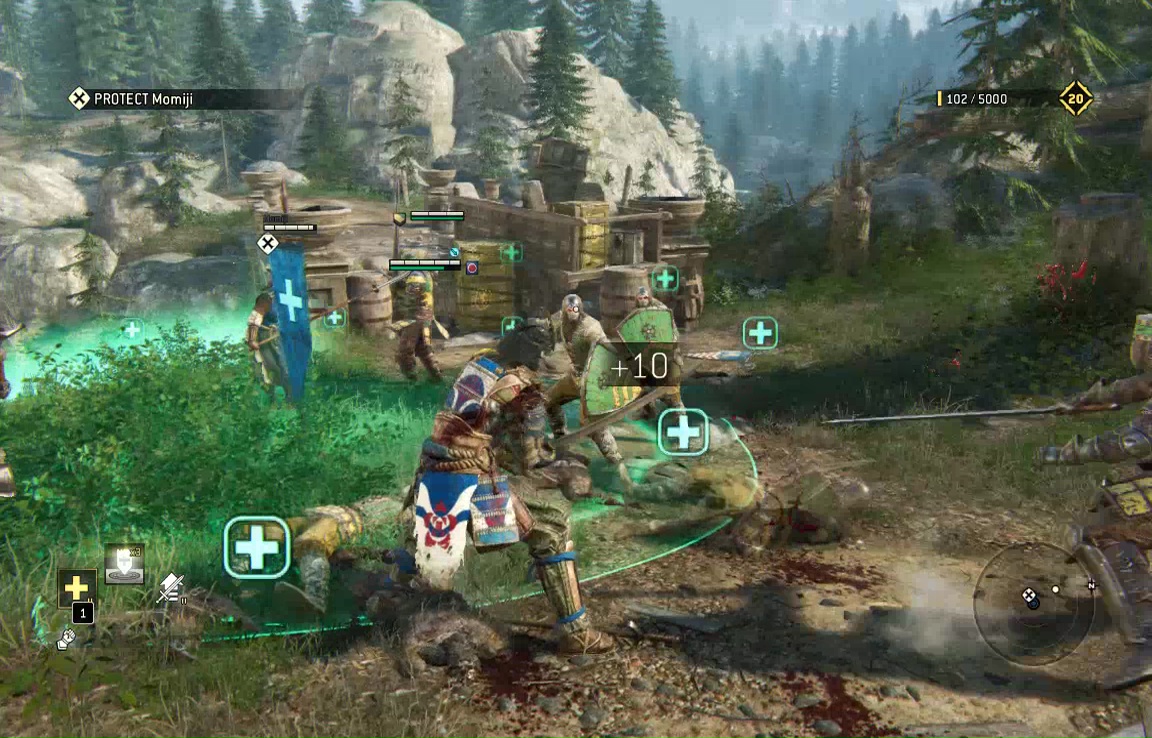
If you decide to slaughter all the troops in the cathedral center, keep an eye on Momji's health. If she starts to flag, deploy one of the Stalwart Banner power-ups to keep her in fighting trim. Once the Cathedral floor is cleared, it's good form to move toward the main door at take out the archers here as well.

When you're done, retrace your steps back outside, along the acid-lake-view platform, back up the ladder, and now down the stairs to the main door of the cathedral, which is guarded by a Conqueror. As before, keep a close eye on enemy stamina for the chance to knock him on his ass.
When he's down, step outside the front door just a little and smash the Breakables to your immediate left.
There are other things of import here, but we'll be back for them. For now, go back inside the cathedral, and take the right-hand stairs up. Go back past the ladder, back past where Momji was shot, and keep going past where you began the level, continuing all the way around the balcony. You'll know you're on the right path, because you'll have the chance to kill two more archers stationed up here.
Just past them is a broken wall to your right(north). Step through and dispose of the subheroes, then chase the stragglers east.
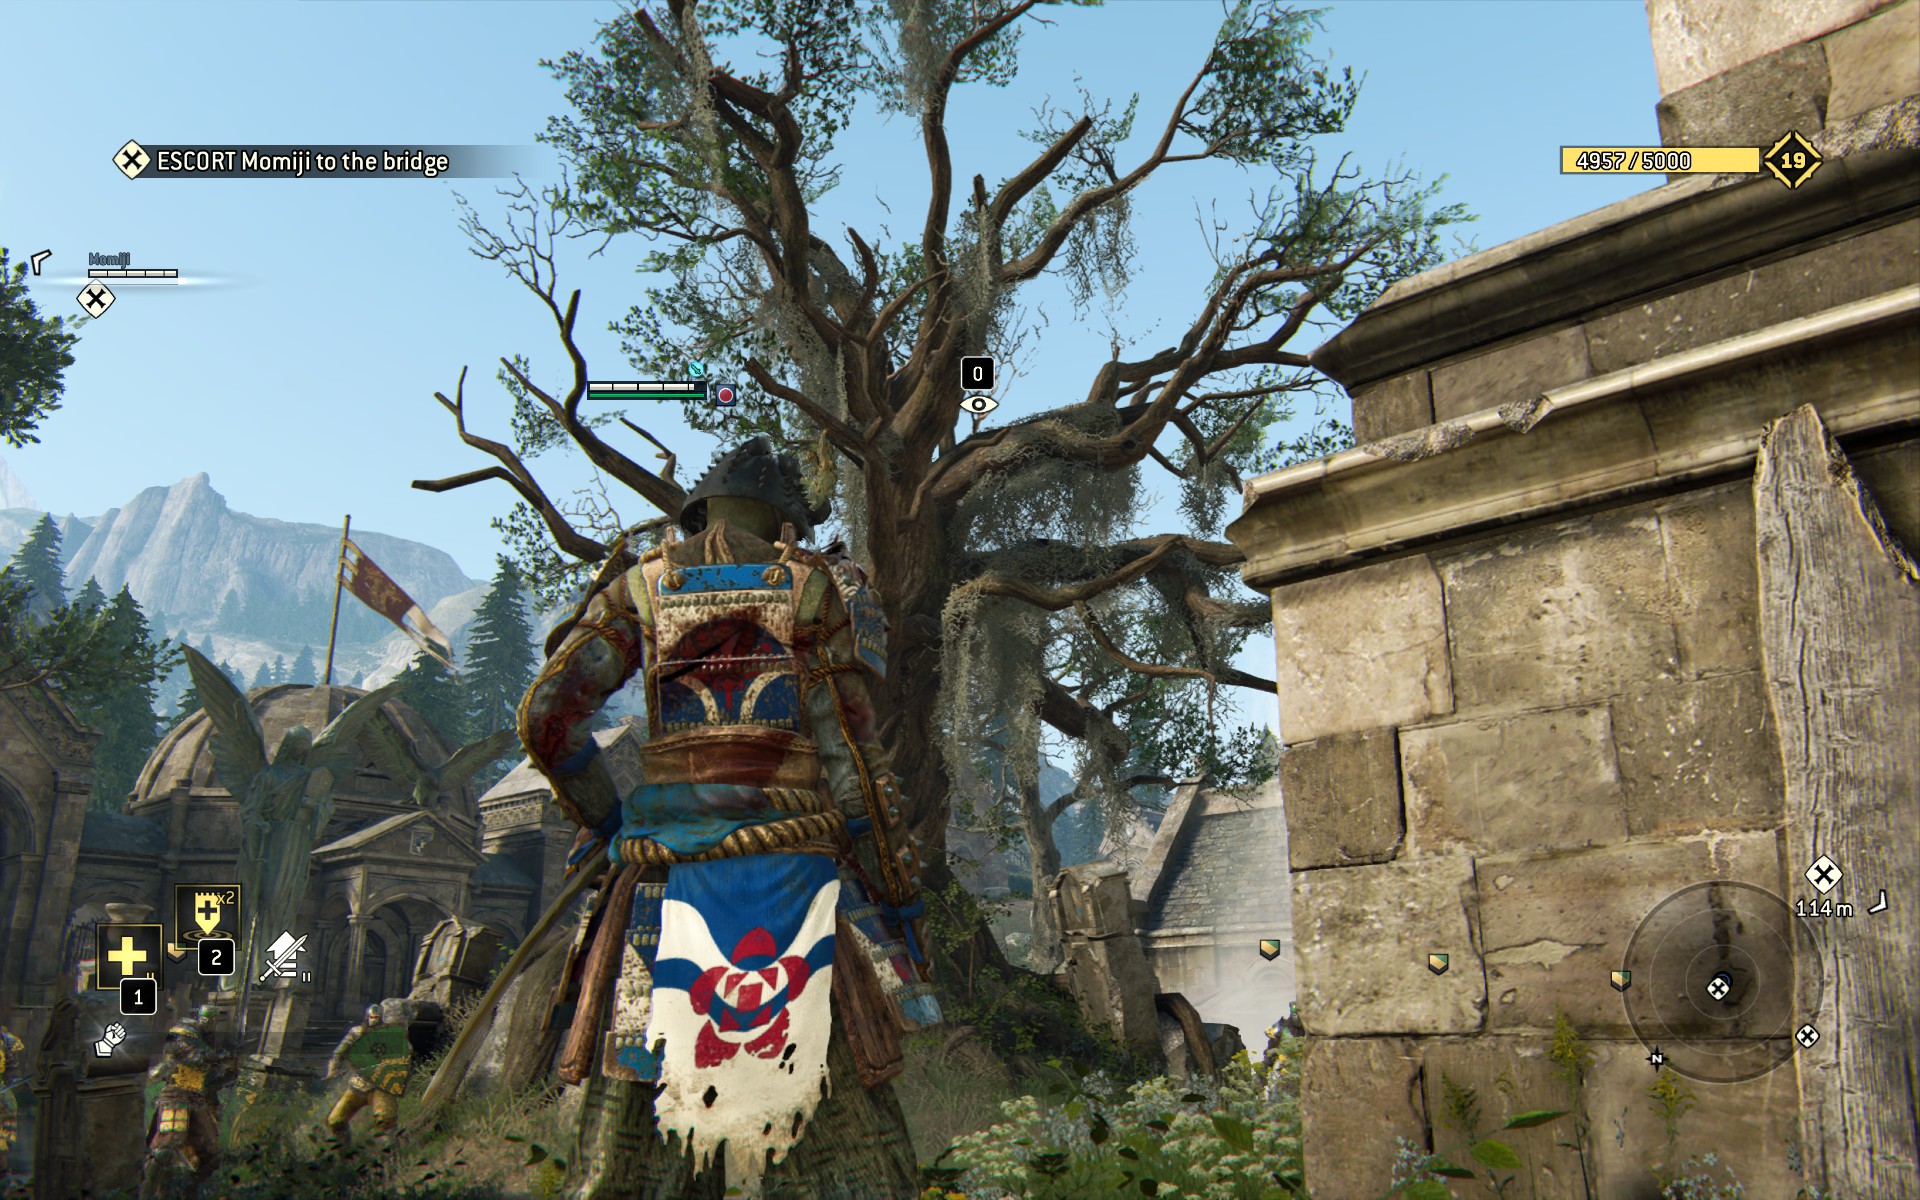
As you enter this marching ground full of enemy knights, keep an eye to the right to spot a giant tree, Observable as Old Dead Tree.
There's a Breakable cache on the far side of the army here.
You can get to them without significant resistance, but Momji will probably get deeply entangled in the melee, so run over, smash your precious pots, then run back to reinforce/extract your Nobushi.
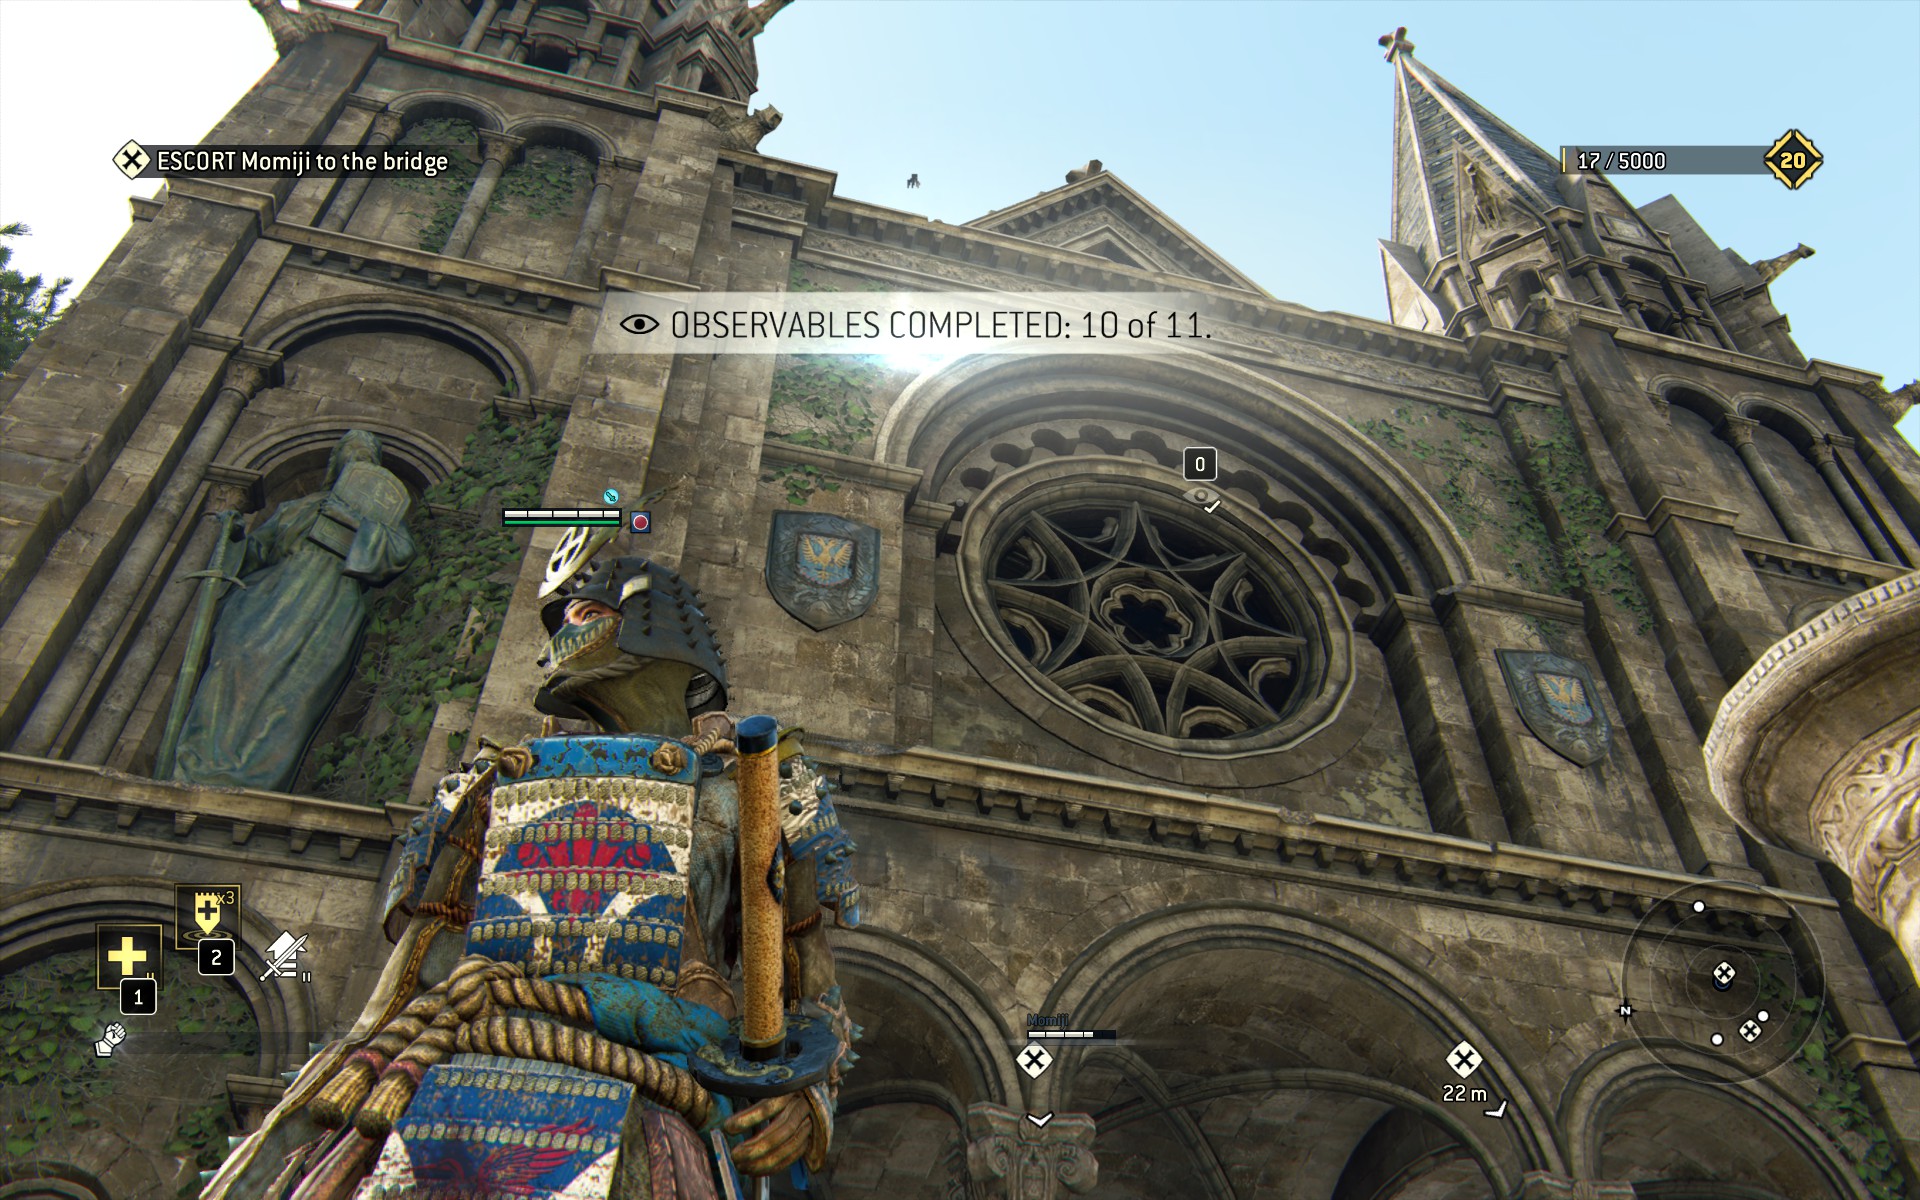
Now you can head back to the front of the cathedral, glancing back up at its edifice to score the entry Cathedral.
There's a bridge up ahead, guarded by a barricade and few soldiers. Before you kill them all, be sure to smash the jars toward the right side of the barricade.
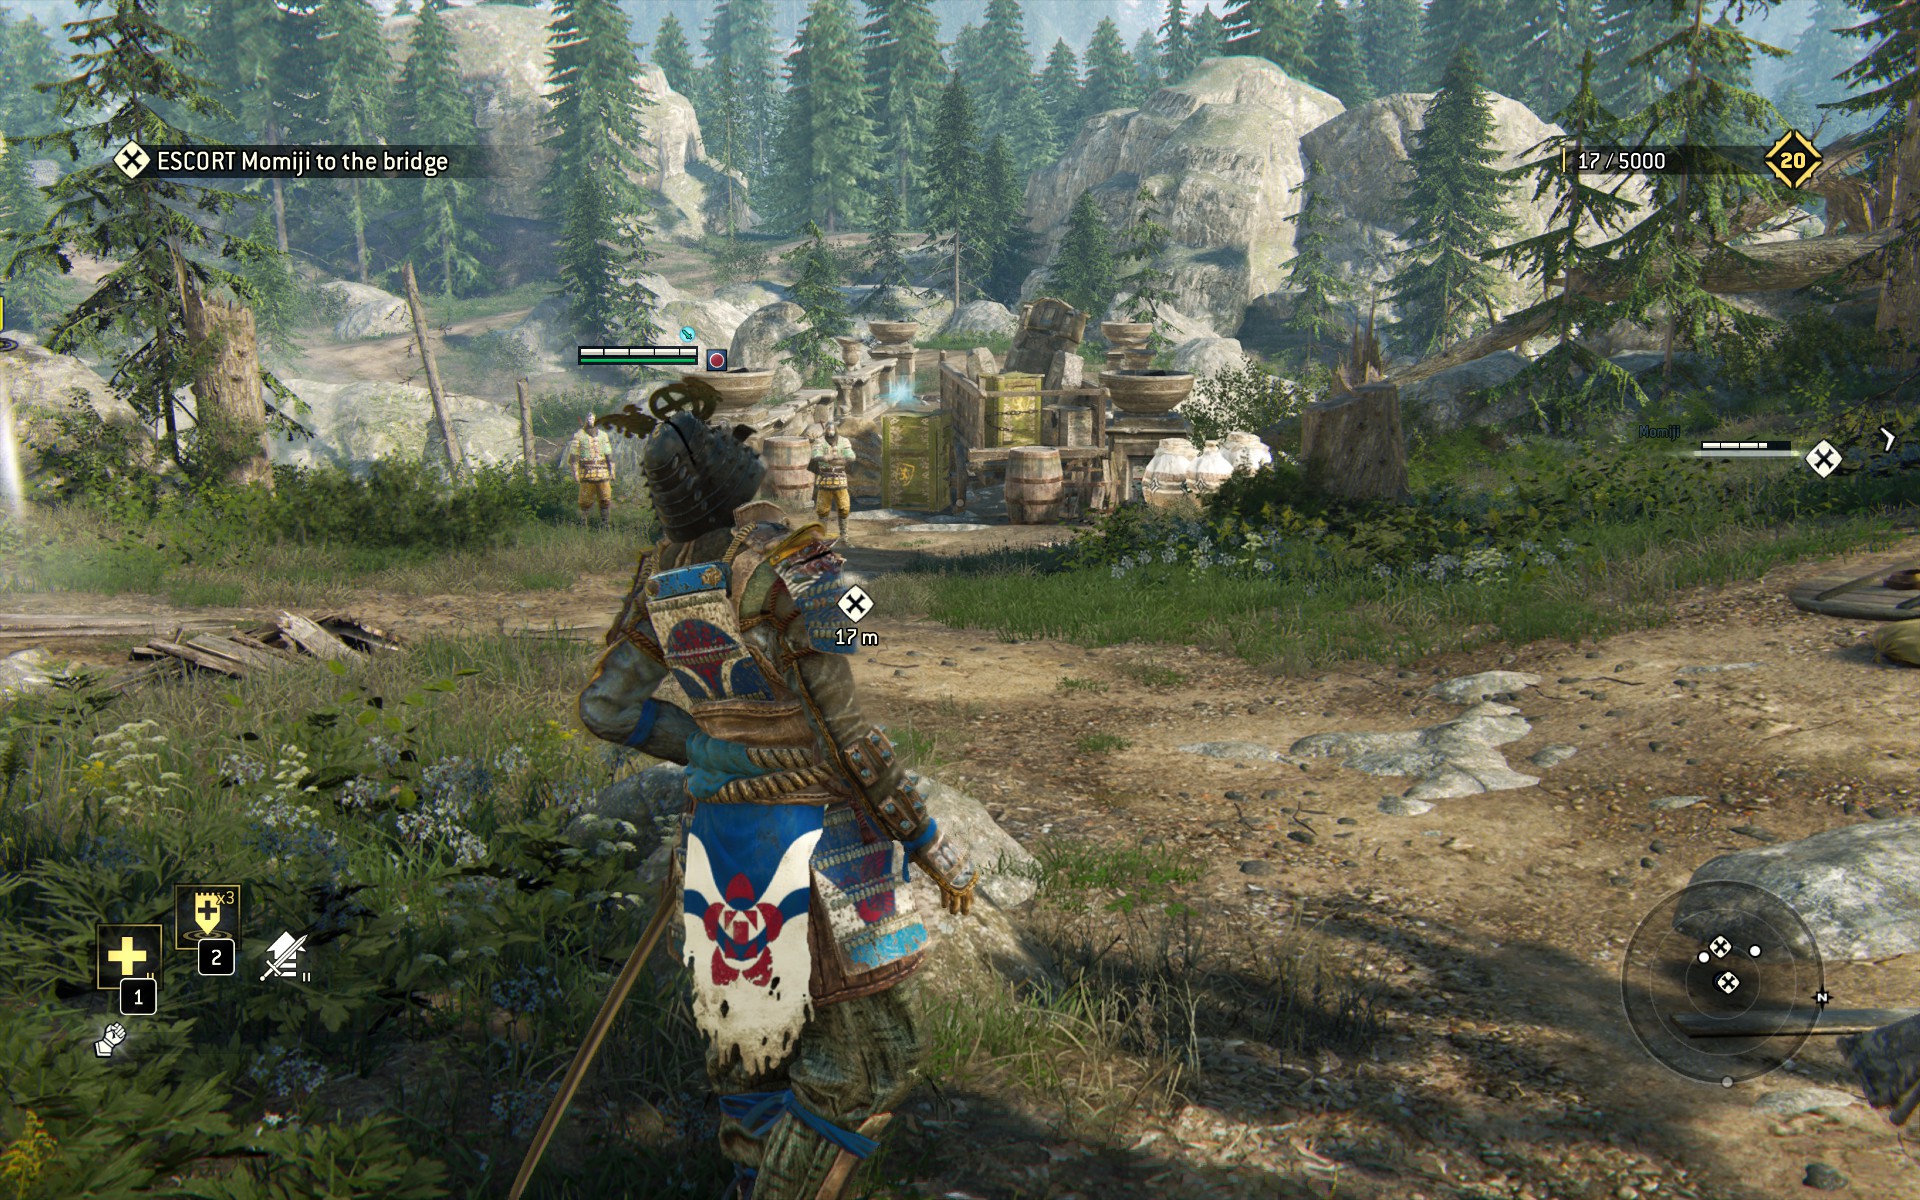
You'll also want to glance at the bridge itself, recorded as Bridge Will Fall.
Slaughter the rest of guard with Momji's help. Again, Stalwart Banner can be useful in keeping her alive.
When they're all dead, a cutscene plays in which you get suckerpunched, and don't take it too well. The last part of this mission is duel with the Warden. Your Warden, in fact.
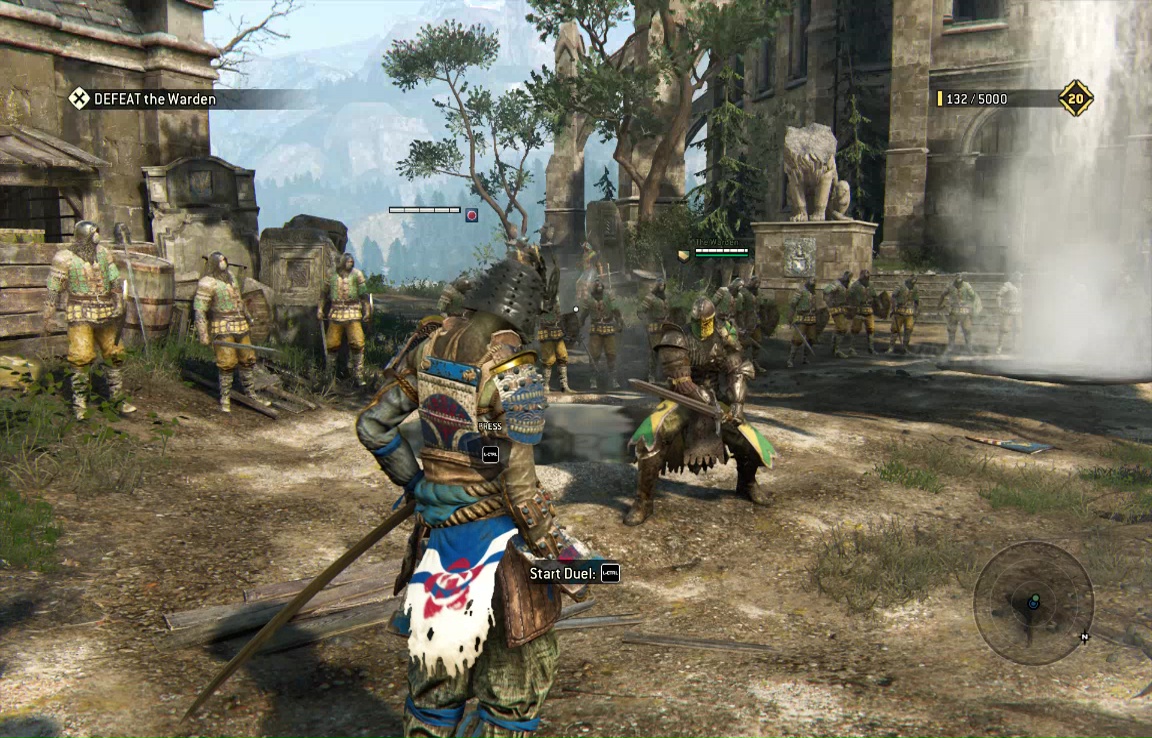
He's pretty good (used to be a PC, after all), and has a few tricks up his sleeve. As with any one-on-one, you'll want play it patient here. If you do get rocked, zig-zag around the geysers until you can restore your health. Don't go for the kill early on, instead knock him around until he deploys a healing banner then wait for it to expire.
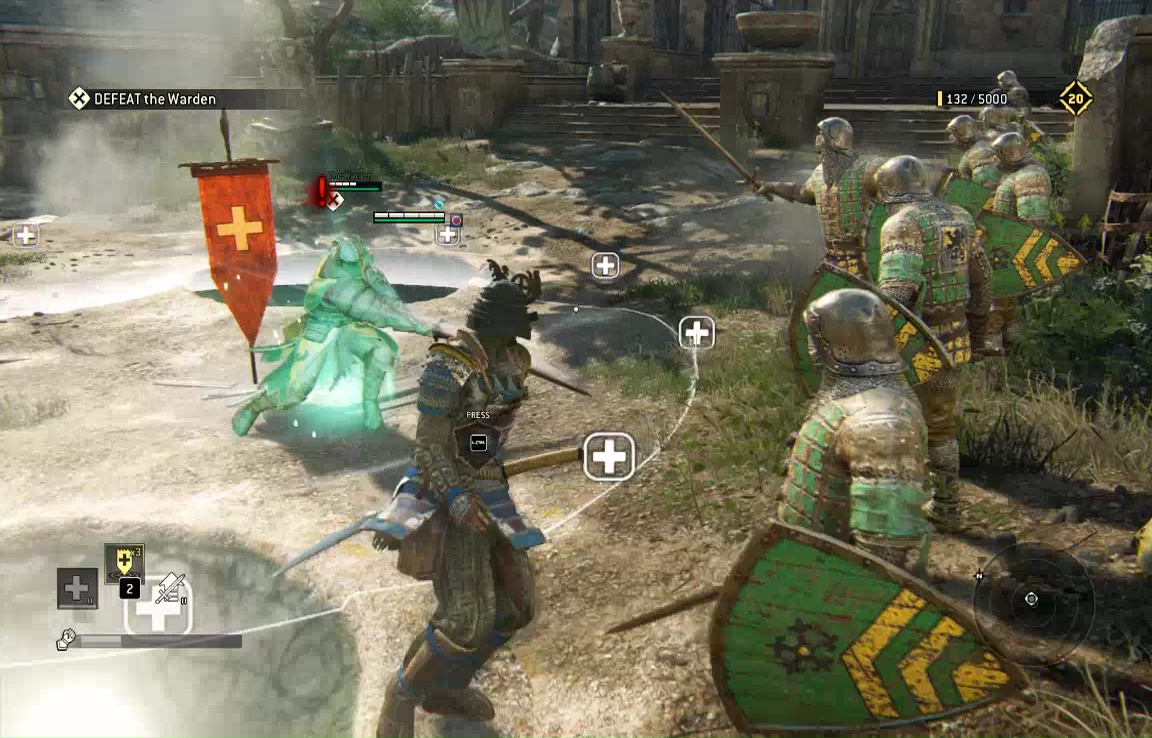
After, just use your standard tactics. The Warden is no pushover, but he's not a wizard either. If you can stun him by knocking him into a wall, you'll get a good couple free hits. Knock him down to just a pixelswidth from dead to trigger the final cutscene.

Well, it's odd that he would clear the way and not join forces, but at least your path to the final battle is clear.