MISSION 02 – Blue Team
Advised weapon combo: Assault rifle/ Battle rifle + shotgun (initially) —> Battle rifle + DMR/ Rocket Launcher/ Other (depending on enemy)
Skulls – 1
Intel – 8
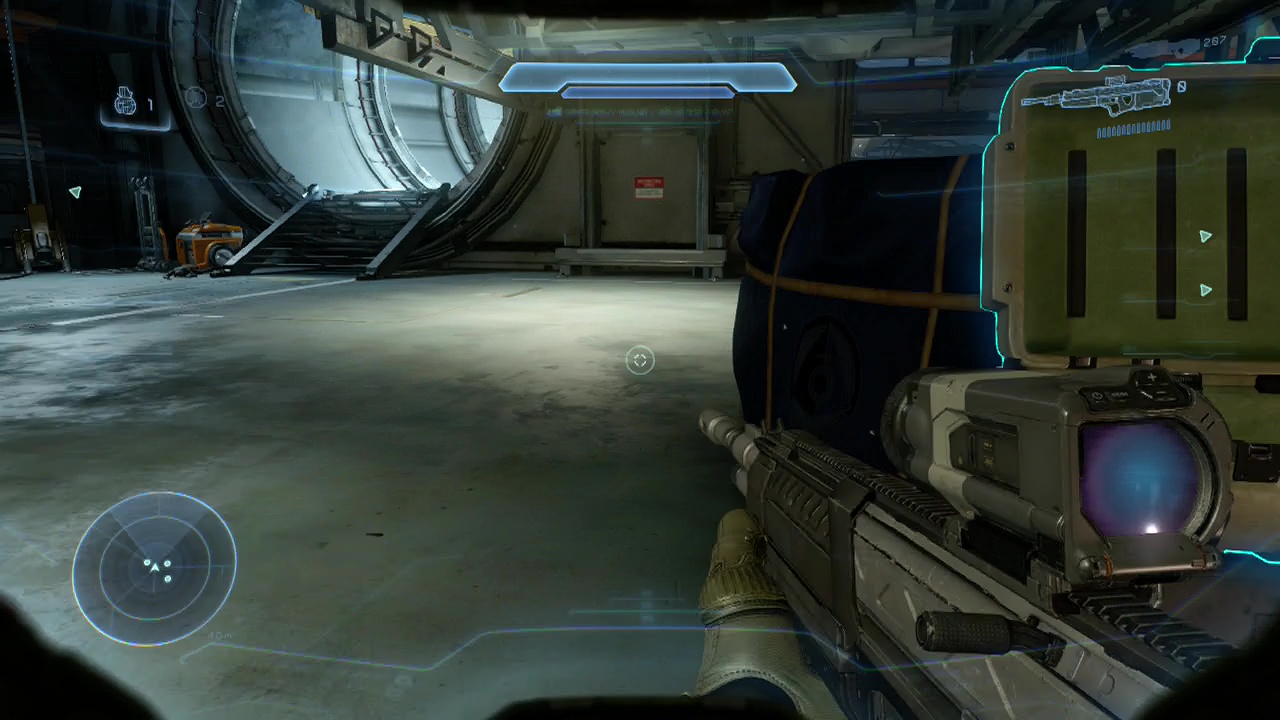
When this mission begins, you'll be back in the big stompy boots of Master Chief, equipped with an assault rifle and a magnum. Follow the linear hallway around the first corner. Pass the windows and there will be an open hole in the wall near the end with a crate on the floor next to it holding a shotgun you should grab to replace your magnum (the upcoming indoor areas can make it handy, plus there are elites in this level making if effective as a shield breaker).
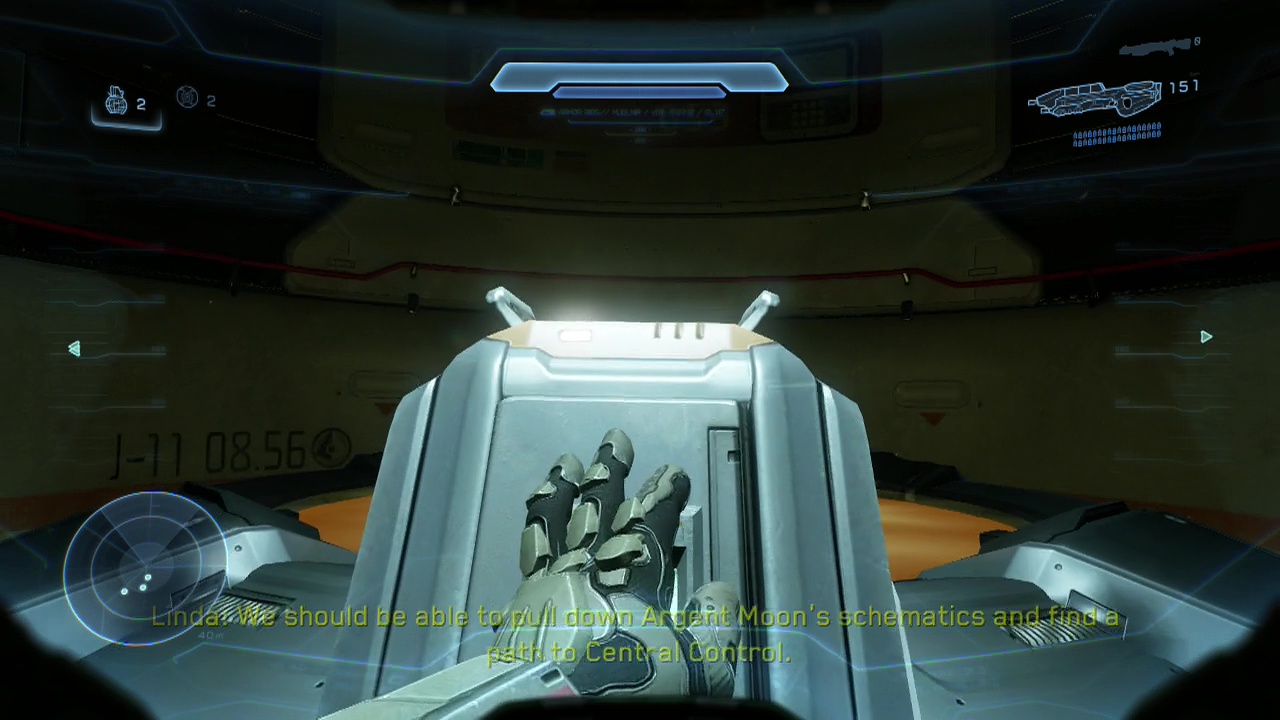
Pass through the large hole and follow the wide walkway as it circles around, overlooking the scrapped ship below. You'll stroll up a ramp with a computer terminal directly in front of you that you can interact with for some intel and then turn left into another corridor.
CHECKPOINT
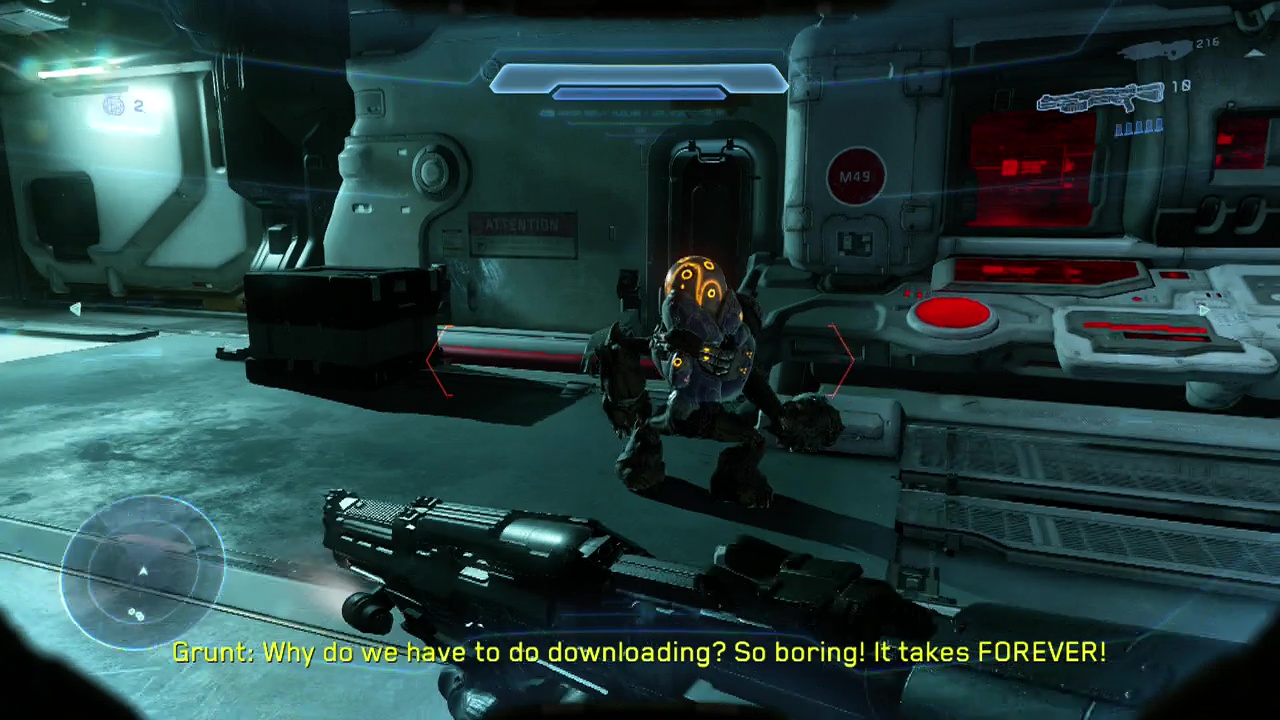
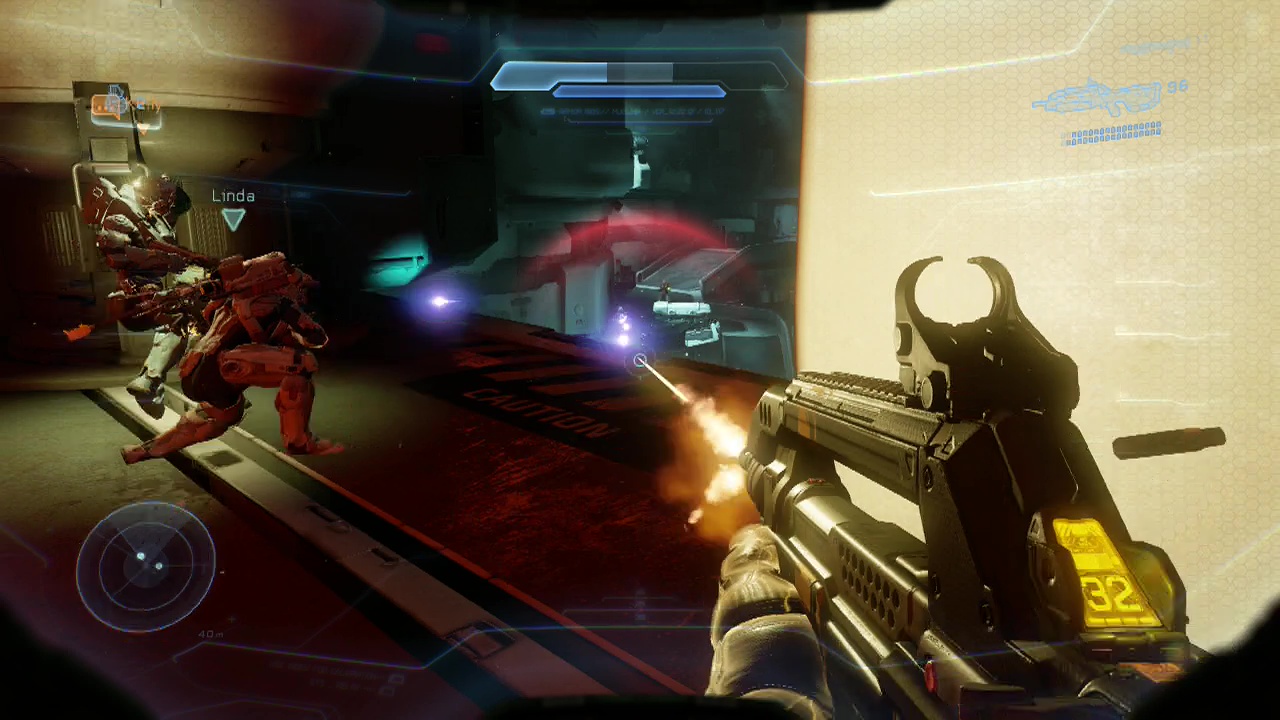
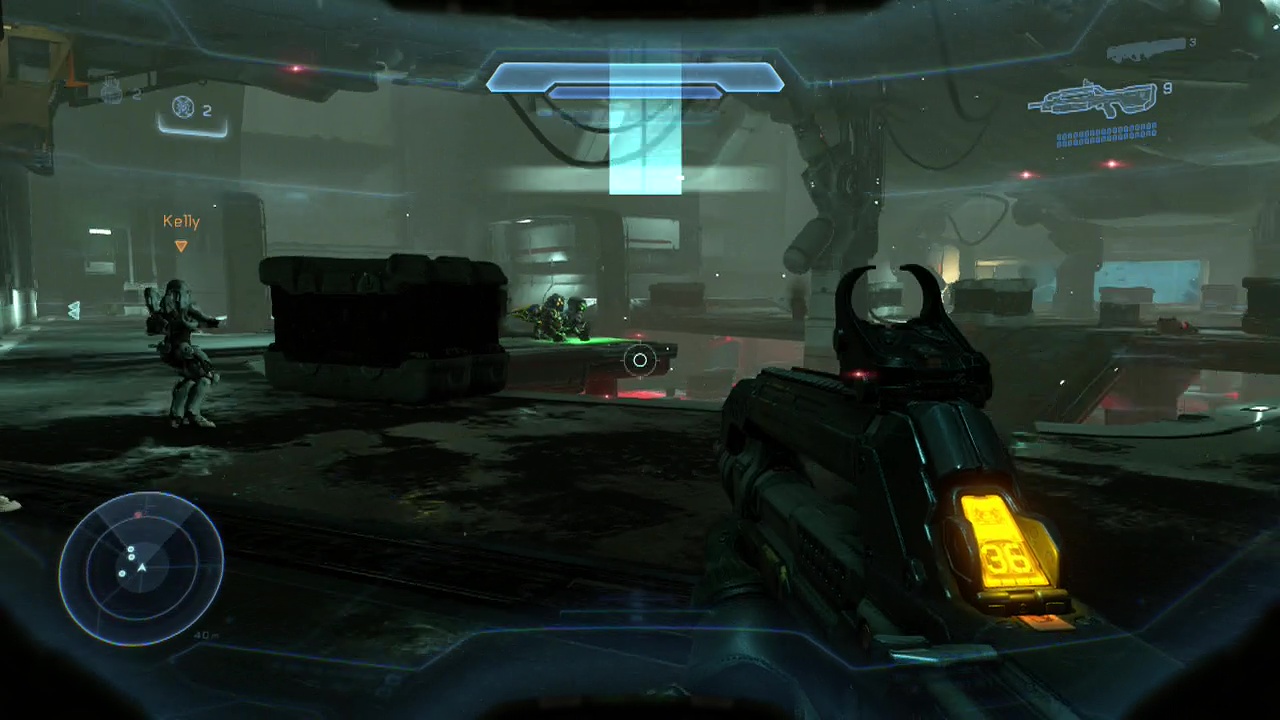
Descend another set of ramps and pass through the self opening door to see a lone grunt. You can walk up behind him and melee him for a stealth kill, or just unload your shotgun in the back of his head. Whatever floats your boat. A pair of shield bearing jackals will approach from a doorway in the right wall, spraying you with a plasma pistol and needler. Take cover quickly and use your assault rifle to fire at the gap in the left edge of the shield, staggering them and leaving them open to an easy head-shot (for players who have never fought shielded jackals before). Everyone else can just yawn and get back to the killing. Followed by light salad.
A trio of grunts supported by an elite will be inside the room where the jackals entered from. Obliterate the grunts with your assault rifle and the elite should retreat to the far end of the room where two more grunts and another elite are waiting, with additional support from two jackals and yet another elite up a ramp at the exit to the room. Note the weapon rack on the wall here, useful for replenishing your assault rifle if you run dry and the terminal beside it you can use for some more intel.
This is a prime opportunity for shotgunning the elites (run out from around the corner, blast an elite twice and then retreat to heal). However, you can also just use your assault rifle and order your team to focus fire on the elite if you think that strategy is too dicey. Once the close elites are out of the picture, use your assault rifle to get rid of the jackals surrounding the remaining elite. A word of warning before you go charging the elite.
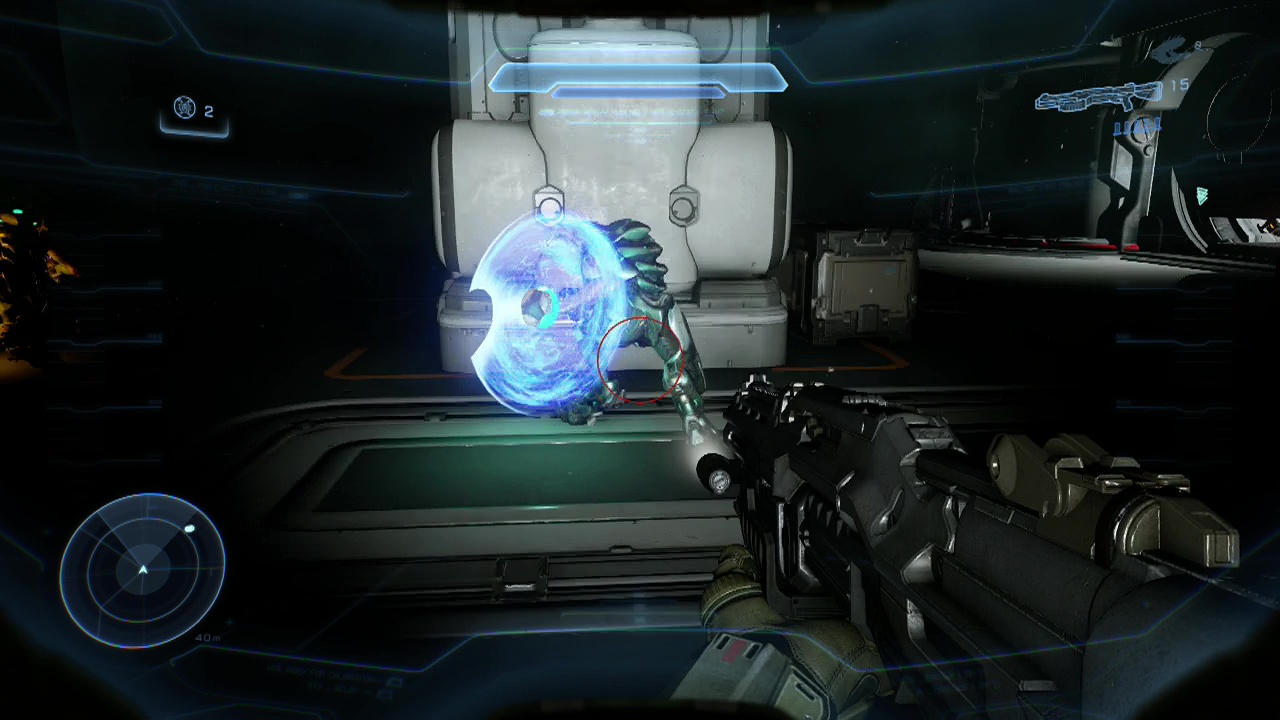
He has an energy sword, as well as his regular weapon. So he could one shot you if you aren't careful. You may want to use one of the grunt's dropped plasma pistols to remove his shields and stagger him, so you can finish him off with the assault rifle from a safe distance. A final trio of grunts will emerge from the door at the end of the room after the elite goes down, but they shouldn't pose a threat unless you walk on a plasma grenade. Pass through the doorway and follow the corridor ahead.
CHECKPOINT
The room at the end of the hallway is a data center. Examine the lit device in the alcove in the middle of the room for plans of the ship.
Objective: Reach central control
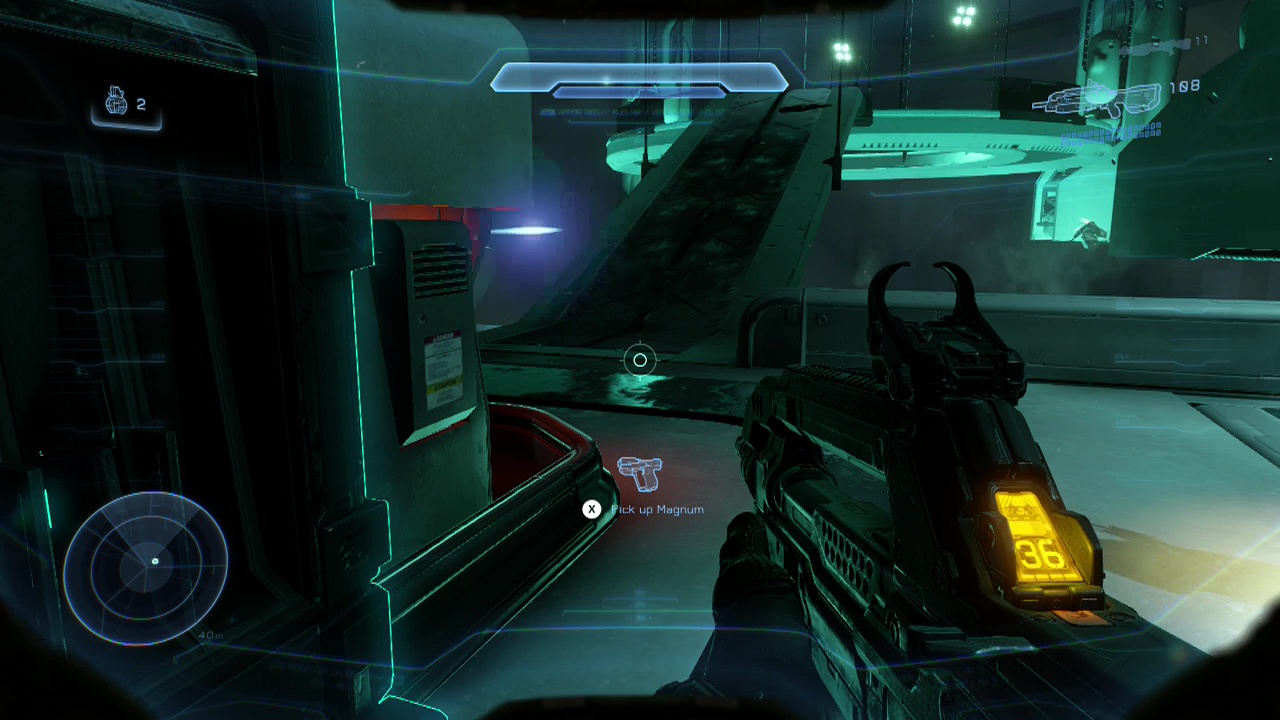
After getting the plans, look in the far right corner of the room for a doorway leading to another corridor. An elevator will be waiting for you on the left. Don't bother waiting for someone else to press the button here. They leave it all to Master 'button pusher'. Walk out of the elevator when it stops and top up your shotgun ammo from the shotgun leaning against the crate in front of you.
CHECKPOINT
On the other side of the room, you can find some SMGs in a case on the ground if you really feel like using them. Next to the SMGs is a large vent cover that you can use your spartan smash on… to fall down a wall and land in a heap in front of covenant forces. Smooth, Chief.
Three grunts will be immediately in front of you to mow down with your assault rifle. Four jackals and three elites will be further in around some containers at the base of a ramp to make your life difficult. Note the assault rifles lying on the ground behind some red cylinders next to where you fell into the room if you need some more bullets. Focus on the jackals first, as it's always best to take on elites when they have no support. When they are gone use the cover here while shotgun blasting, plasma grenade sticking or picking away the elites with you assault rifle.

If you move forward to where the elites are standing, be very careful about the walkway above and to the left, as jackals like to hide there and pepper you with bullets while you are trying to deal with the elites. Getting blindsided in the open here can lead to an easy team death, thanks to the poor AI. Once the elites are out of the way, focus on clearing the remaining jackals on the stairs and walkways straight ahead and to the left. When these five or six jackals have bit the dust, you'll be left with two elites on the upper level at the top of the stairs.
Before you start your ascent, explore the area underneath the stairs to find a DMR or a storm rifle you can swap for if you wish (even temporarily, the DMR can make killing the elites above easier). You can either fire up at the elites with the DMR or try to rush up the stairs at them (a well placed plasma grenade can end the battle quickly). Be warned that dying on the stairs in sight of the elites is pretty much a death sentence though, so it's not advised on higher difficulties.
Under the stairs behind the bodies of the two elites you just killed is a shotgun if you need to swap back/ reload. When you're ready to move on, tromp up the next set of stairs. Directly ahead of you on a crate at the top is a grenade launcher to make things interesting if you want to grab it.
CHECKPOINT
You'll see a tube to the left of the room and a lower area with stacks of crates to the right. You have two different approaches you can take here. Inside the tube is a DMR as well as three grunts on a platform at the far end. Splatter their brains to the ether and then use the gaps in the tube to head-shot everything in the area below. This is generally the preferred method for harder difficulties. The alternate approach is to grab the grenade launcher and go nuts on anything you can lock onto in the lower area, dodging back and forth into cover as you empty your grenade supply.
Either way, you should be able to clear the initial part of the room. Just be careful of the jackals as they move around fast and can blindside you if you aren't paying enough attention. Move your team up to the large ledge in the middle of the room when you've thinned out most of the enemies. This should allow you to take the platform at the end of the tube (where the three grunts were) without any enemies noticing you. Pick up the DMR (if you didn't already), and from here you should have a good line of sight for the other side of the area.
Take out any leaping jackals or grunts you see and move your team up (keeping them in your area of overwatch/ sight) to make sure they don't get overwhelmed. Move along to the next raised platform on the left hand side of the room. By the time you've cleared the jackals and grunts, you're likely to be low on DMR ammo, so jump down onto the platform where most of the jackals were and steal one of their carbines to replace it.

You should only have a handful of jackals and a lone elite to deal with at this point. As always, clear out the surrounding jackals before focusing on the elite. The grenade launcher doesn't work very well against it, so you may want to use the plasma pistol/ carbine or your assault rifle if you have any bullets left to finish it off. When you're finally done with this room, leave through the doorway at the back, stopping at the door with the words 'central command' in white above it and turn right jumping onto a series of three metal containers to find some intel on a platform above the door. Return to the doorway and follow the catwalk across the new room.
CHECKPOINT
When the scene ends and you regain control, you'll be in what looks like a darkened storage area with a red shaft with glowing sparks leading away from you straight ahead. Grab the shotgun from the entrance to the shaft and press on. Taking the left path here and then going left again will lead you to some more shotgun ammo if you need it. From the initial shaft entrance, go left at the first intersection, and then right at the next. This will lead you down some stairs.
CHECKPOINT
Immediately after the checkpoint at the first path on the right, you'll encounter a trio of grunts. Blast them to pieces with the shotgun. After you've killed them, return back to the intersection you just came from (the one you just turned right at to attack the grunts) and take the other path straight ahead to drop down a hole at the end.
CHECKPOINT
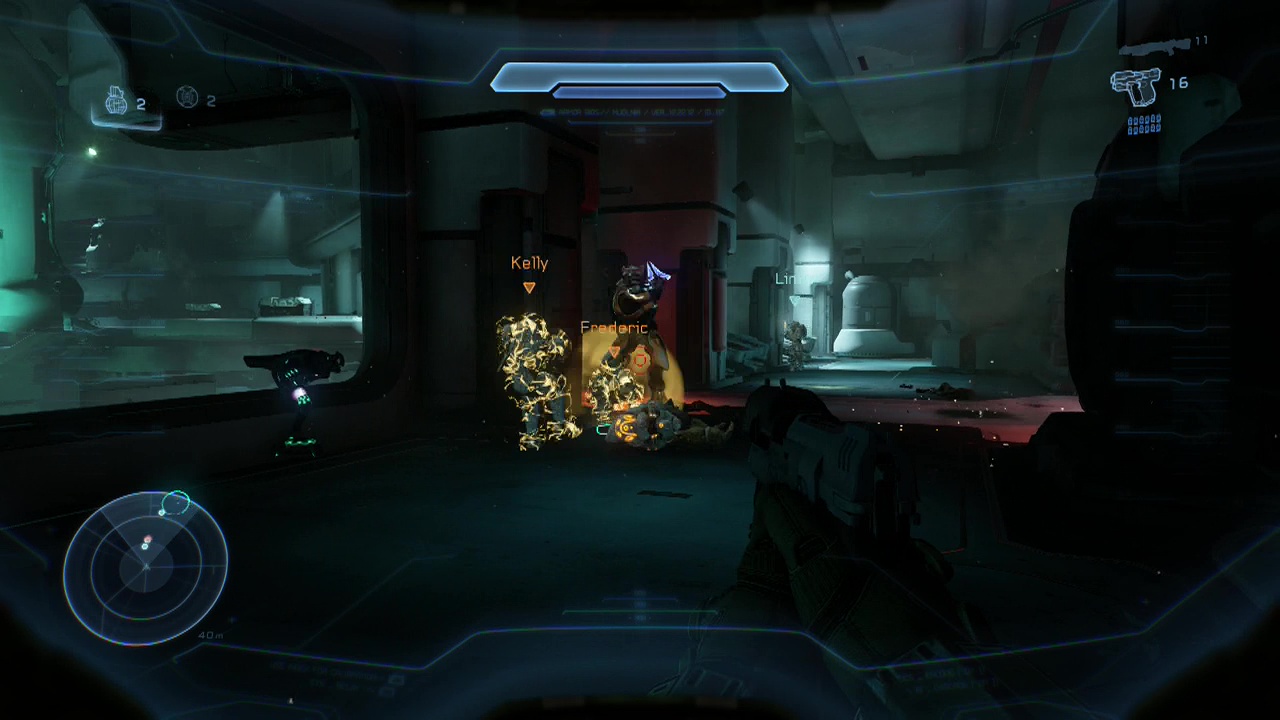
This will drop you down in what looks like a grunt sleeping area. Move up close to each grunt you see and melee them to stealth kill them (preventing them from all waking up). You should be able to get through six sleeping grunts this way without any problems. After the grunts are dead, elites will enter the area in active camouflage with a couple of grunts flanking them. You can use the vents in the side of the room for cover or retreat back to the area you fell down in instead of staying in the open to meet them.
Use you shotgun in close quarters, swapping to the assault rifle when the enemies are too far away. You should be able to get the team to focus fire on one elite at a time to distract it while you run up and blast it or flank it. Note the plasma pistols the grunts drop can also be useful in bringing the elites down.
When the room is empty of enemies, enter the service tunnel the elites came from and follow it around and down some stairs. Slow down as you approach the next corner as a grunt holding plasma grenades is waiting around it. Move up carefully and down him with the assault rifle to avoid taking damage. Keep going down the next set of stairs afterwards.
CHECKPOINT
After another set of stairs, the next corner holds another plasma grenade grunt so repeat the same tactics as before. Just beyond that, you'll find a path split with a pair of jackals bearing shields and two plasma grenade grunts along the left path. Back up and take out the onrushing grunts before dealing with the jackals. After the fight continue down/ take this left path and then take the next left path at the next intersection that presents itself. As you round the next corner, you'll see a lone grunt in the tunnel ahead pull out a pair of plasma grenades. You know what to do by now.
CHECKPOINT
Drop down the hatch at the end of the tunnel and crouch along the chute to emerge behind a waiting enemy ambush. Run up and unload your shotgun on the pair of jackals closest to you before retreating into cover as all hell breaks loose. Three grunts and a cloaked elite with an energy sword will attack. Make sure you don't get too close to the elite or else he'll skewer you. Chief-kebab. Use one of the many plasma grenades, plasma pistol + alternate weapon or your shotgun to bring the elite down. Before leaving the room, look for a duct entrance behind a pile of boxes, to find a small room with some intel in the right corner as well as and extra hydra launcher. This will be extremely handy against the hunters coming up shortly due to its splash damage (if you fire it without locking on), so make sure to grab it. Return to the previous room and enter the tunnel behind where the elite was standing to emerge into a lit corridor once more with windows looking out into space along the wall.
CHECKPOINT
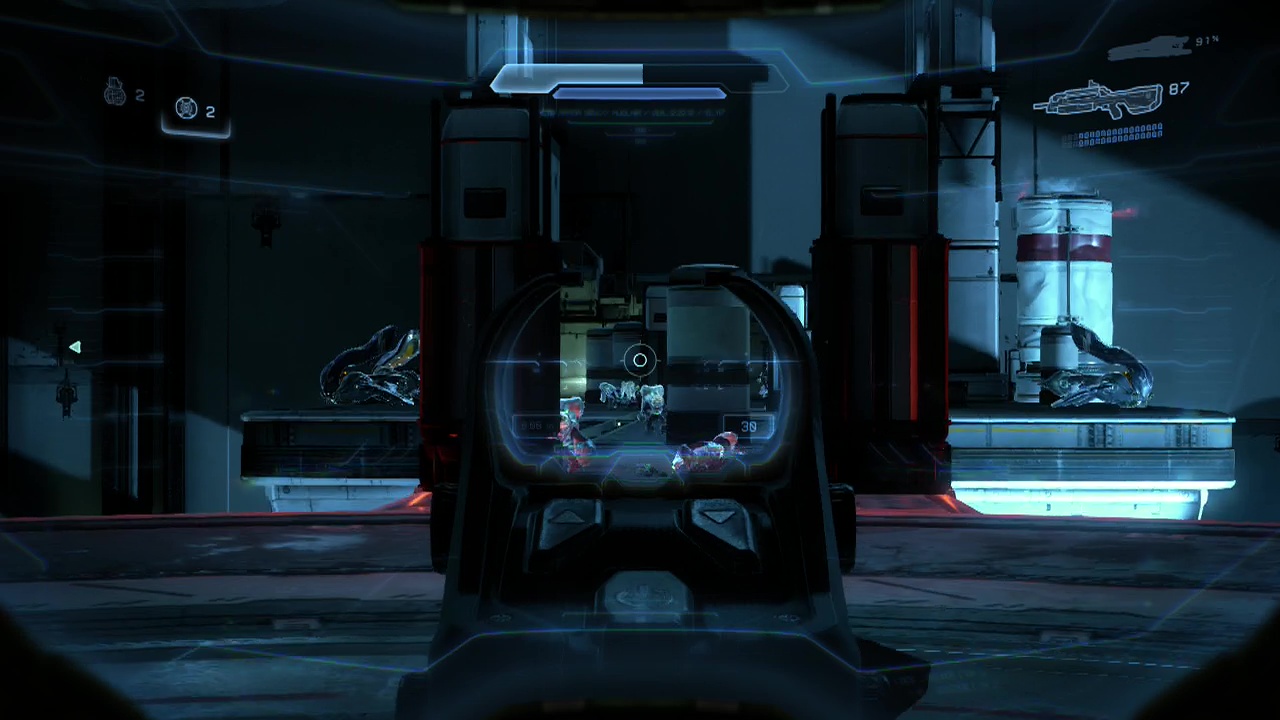
Enter the hatch at the other end of this short corridor and interact with the glowing green terminal in front of you for some intel. Turn right when you enter the darkened room to find a crate full of battle rifles, which you'll want to replace your assault rifle (lower difficulty) or shotgun (higher difficulty) with. There is also a case in the far corner with an assault rifle inside if you need to restock.
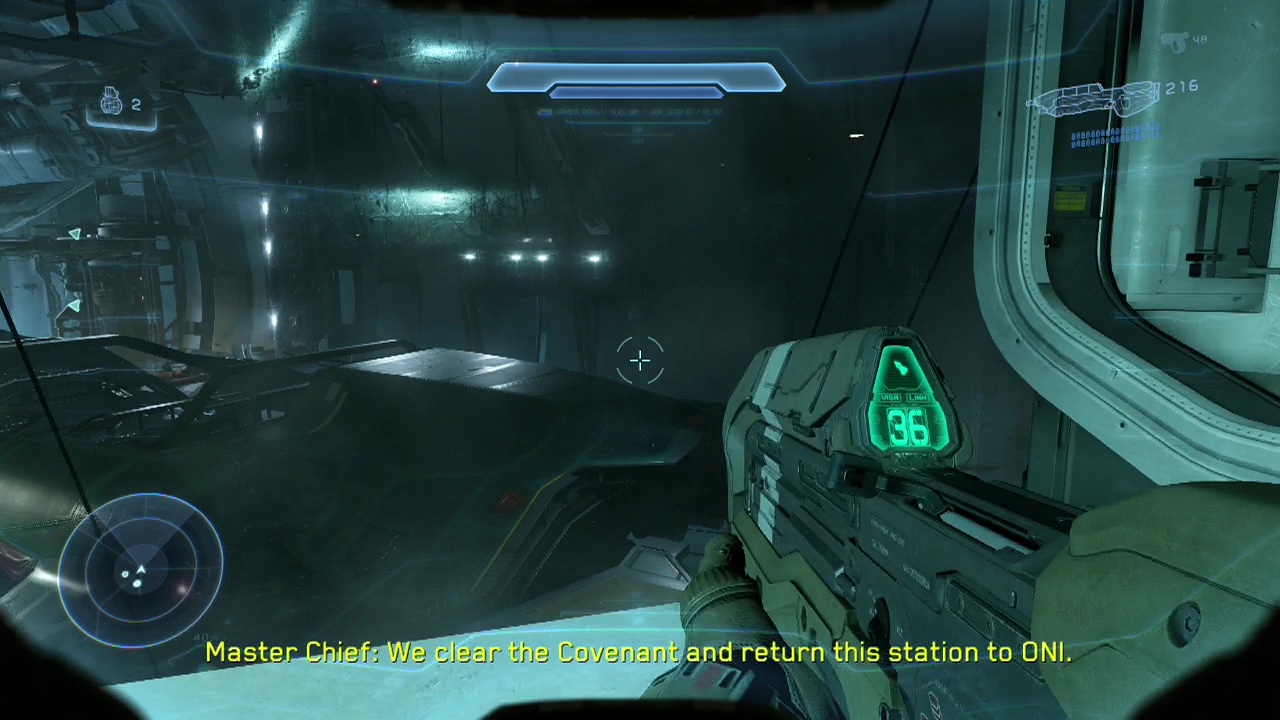
Objective: Scuttle the station
At the back corner of this room you'll find controls for the blast door that you can interact with. When the door opens, step inside to find yourself in a large elevator with a window overlooking the laboratory complex below.
CHECKPOINT
Note: Apparently according to the achievement 'I though I'd lost you' you can avoid/ run past the following pair of hunters by activating the override junction at the back of the laboratory and escaping down the hole without killing them. As a result of this, they will appear during the hangar fight later, unlocking the achievement.
As the lift stops, a hunter will rise up on the other side of the glass, just waiting for you to disembark. After a couple of seconds the doors on the front of the elevator will open and you'll be face to face with a pair of hunters (one next to the elevator, the other on the far side of the large laboratory. Depending on the difficulty level of your game, there are several approaches to dealing with these dangerous enemies.
For those that have never encountered a hunter before (lucky you), they are covered in armour plate with a heavy shield and the equivalent of a fuel rod gun for a ranged weapon (this can be swapped with a storm rifle effect at long range). Their weakness is the lack of armour on their backs (shown by the exposed orange flesh). To deal significant damage to a hunter, you need to hit it with heavy damage from behind.
On lower difficulties, or if you are an experienced and skillful player (knowing the maximum attack distance of the hunter's melee and when to evade) you can use the shotgun to rapidly circle the hunter, darting in for a quick blast before backpedaling and circling again. On higher difficulties this is less feasible due to the ranged shots of the second hunter doing significant damage while you try to deal with the first one.
Another approach is to send your squad to one side of the room while you flank from the other, taking advantage of the distraction (make sure to send them into cover or they will die very fast). The downside is their lack of desire to live in general, walking into the hunter's large energy shots. Sneaky players can actually use the splash damage of the hunter's fuel rod shots to kill the hunter itself (seen in the video at 30:27). By placing a low obstacle in the way and luring the hunter close to it, but maintaining a certain distance (so the hunter doesn't use melee attacks) it is possible to get the hunter to kill itself. Very tricky, but it saves on ammo. You could also just try to stay alive and pelt it with grenades (there is a open pipe/ container to the left of the elevator that holds a case full of frags) and gunfire. Pick a method and get down to business. Oh, and prepare to die a lot unless you are really good, on legendary.
The second hunter is a bit easier as you can command the squad to focus on it, spreading them out in the open central area making them harder targets, while you shoot the exposed areas of the hunter from cover. The second hunter doesn't have a supporting ranged hunter firing at you either so you should be able to wear it down fairly quickly. Just don't die or you'll have to fight them both again. When the second hunter goes down, explore the middle area of this large room to find some intel lying beside a dead body.
CHECKPOINT
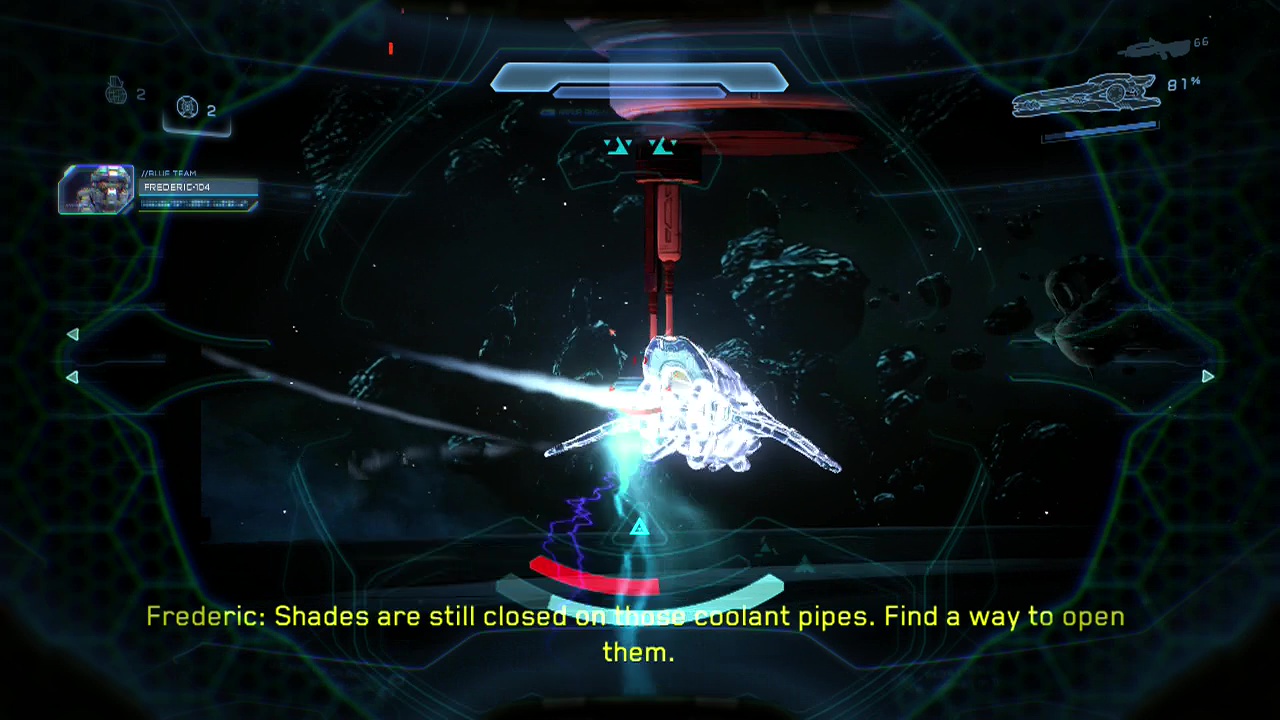
Walk over to the overide junction at the back of the laboratory (use the objective locator if you can't spot the white tube). Breaking it opens up a tube you can drop down through into a dark room with a lit up vent you can smash through with your spartan charge ability. Wind between the machinery to come out on a ledge overlooking a room full of covenant enemies.
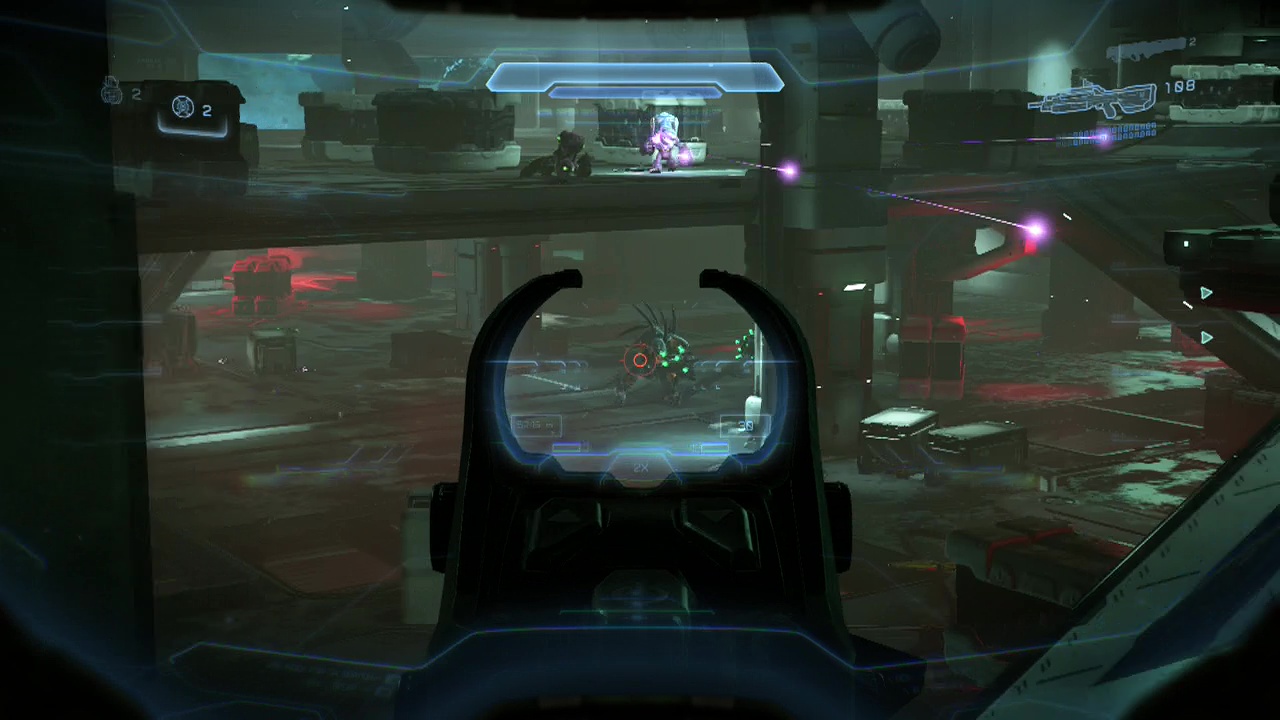
From your high position, quickly take out the two jackals on the lower level in front of you with your battle rifle. The elites on the other side of the room will open fire when you do, but your allies can easily revive you if you go down. Before you drop down from this ledge, you'll want to deal with the jackals on the ground in front of you, as well as on the circular platform in the middle of the room and the pair of elites on the walkway on the left side of the room. Hugging the cover on the left hand side of the ledge will allow you to engage them one at a time, or get your team to focus fire on one while you battle the other.
When the immediate area below you is clear and the pair of elites are gone, drop down off the ledge and check the corner to your left to find a dead body next to a terminal you can interact with for some intel. Then carefully (some jackals may arrive near the ramp leading up to it as reinforcements) head up onto the walkway where the elites were. Move a little further to the left when you reach the walkway to let it block you from the elites on the far side of the room. Up a ramp at the halfway point of the walkway, you'll see a rack full of battle rifles and magnums which will outfit you for the rest of this fight. You can actually scramble up this rack onto the platform above, moving along the pipe up there all the way to a ledge in the far upper corner of the room. Jump up over the keep clear sign and drop down onto the glowing red grille. You'll need to perform an aerial spartan charge here (jump up, hold RB until the bar fills inside the circle and then release to smash down) to reach the room below. After all this on a cylinder in the corner of the room below is a skull. Inside this room is also a rack of DMRs which may make life easier and another hydra launcher. Note that you may want to do this AFTER clearing the room to make crossing the pipe safer (or do it early to take advantage of the weapons inside, the choice is yours). You will be in a room right next to the reactor control panel that was previously locked.
CHECKPOINT
I suggest ordering your squad back to the lower area of the walkway to cover your flanks, while you pick off enemies on the far side of the room one after another with your battle rifle. While this is a slow and annoying process, the plasma cannon turret in the far corner can chew through them and you if you expose yourself to it's firing area for more than a second or two. Look for the red highlighting on your scope when you move your sights over enemies in the darkened end of the room, the cross-hairs will go red. Useful if you are having trouble spotting them.
Definitely aim for the elite on the turret first, and kill any elite that replaces him on it fast. Your second priority should be the jackals running around with beam rifles (snipers), look for the telltale read dot glowing at the end of their weapons to line them up and kill them. After killing enough enemies you will get a checkpoint. If you are having trouble dealing with the remaining elites, there are ducts you can crawl through below the walkway to end up behind cover to the left of their position. Depending on the elites position and how many remain, this is a viable tactic for finishing off the stragglers that just refuse to come out of cover.
CHECKPOINT
After numerous elite and jackals, you will eventually appear to have cleared the end of the room (i.e. no enemies fire at you when you stand exposed on the walkway). Don't be fooled however, as there are still enemies holed up in the smaller rooms at the back of this area. Carefully stalk over to the area underneath the large window leading to where the objective is. Jumping up into it will trigger several enemies into shooting you. Probably to risky. Instead, head past the window to a ramp leading up to the back of the area.
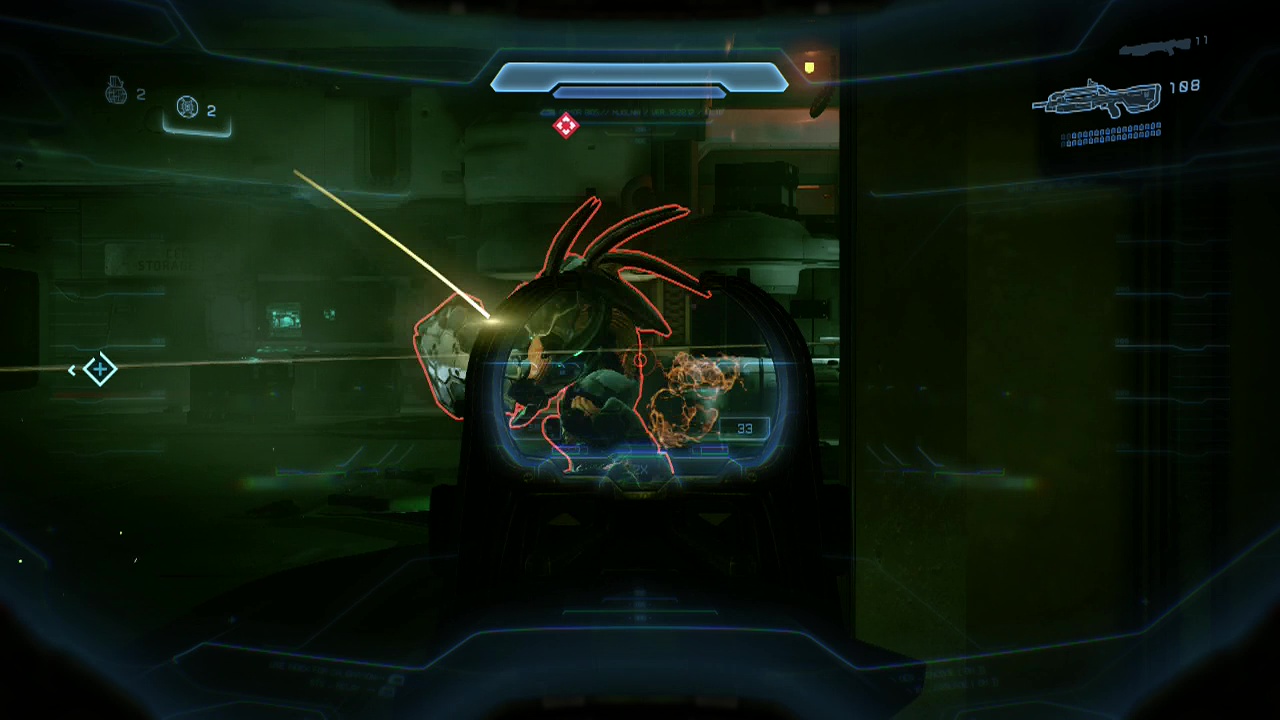
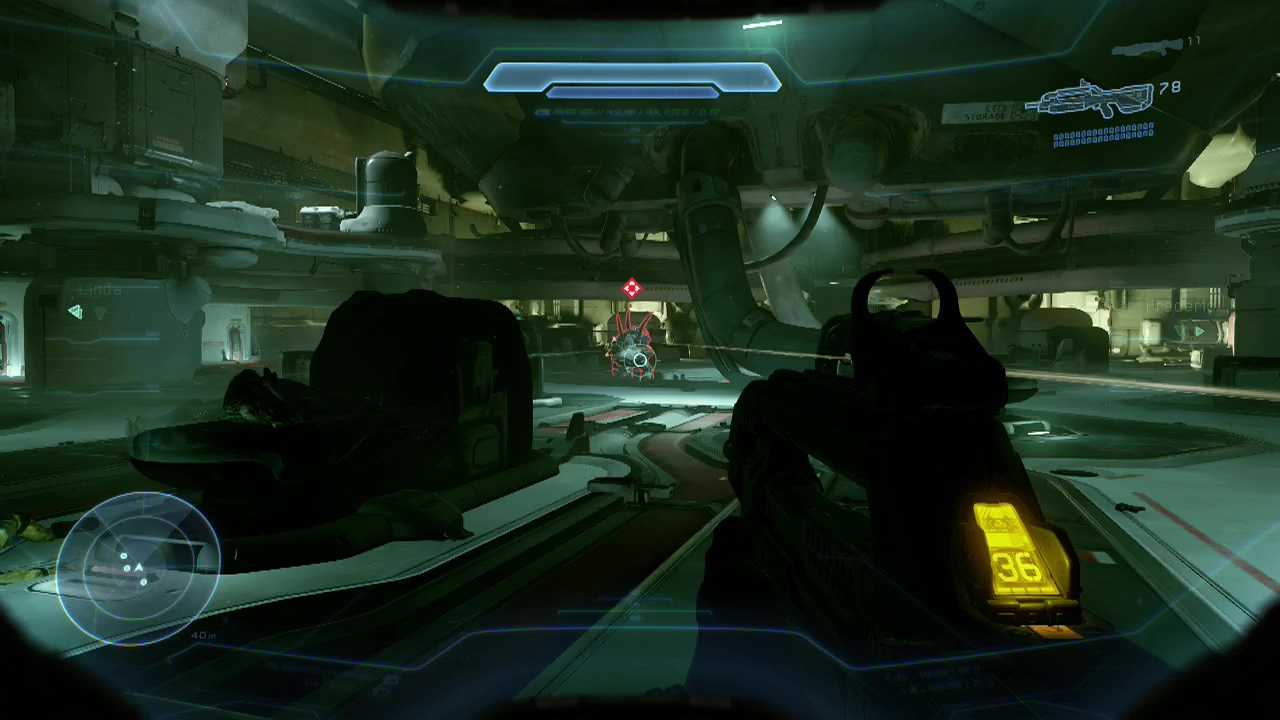
Cautiously ascend the ramp, taking out any grunts that appear (there will probably be at least two to kill off). A cloaked elite with an energy sword and storm rifle will be your final obstacle to clearing this room, so make sure not to end up impaled on it (dick move guys, dick move having a cloaked instant kill enemy waiting after all that). Get your team to target the elite while you slam shots into it from behind to finish it off fast.
In this room, there will be a large alcove on the right with a beam rifle and two cases on the floor with a battle rifle and shotgun inside. Grab the battle rifle if you swapped it out earlier as it will be very handy in the next area. The beam rifle should be in your possession when you leave this room too. Why? One word. Banshees. When you are done, head over to the glowing console in the corner (the one with the yellow glowing cylinder above it and interact with it.
CHECKPOINT
This will trigger a reactor cooling process, meaning that the reactor will be moved down into a cooling facility below this area. All aboard! Sprint for the center of the room (where the circular platform is) and drop down on top of the reactor to ride it down into the hangar. After an uneventful ride, you will emerge into a huge open area with two banshees patrolling opposite sides and covenant phantoms dropping off covenant forces on the platforms to the left and right.
CHECKPOINT
You'll want to immediately start emptying your beam rifle into the banshee directly in front of you to kill it fast while you move into cover, as being caught in the banshee's crossfire will kill you very fast (takes seven shots on legendary difficulty). Taking one of them out allows you to actually use the cover in the area while you deal with the onrushing grunts and jackals as then run across the walkways towards you.
After the banshee is gone, swap to the battle rifle and start clearing the enemies coming down the walkways (taking out the grunt with the fuel rod cannon on the left walkway is key to staying alive here). Note that you only need to reach the objective (venting control) at the end of one of the walkways in the area below where you start, but eliminating most of the enemies from the central platform makes the journey safer by making sure you don't get shot in the back.
When the majority of the lesser enemies are mopped up, you'll still have to deal with an elite on either platform. Huddle on the side of the cover opposite the remaining banshee and pump the elite's skull full of lead from range as you move up. When you reach one of the platforms, you can board a banshee to deal with the remaining banshee threat. After blasting it out of the sky, land (move slowly and hold x over the platform to exit the banshee) safely and enter the room here. The room on the right platform from where you started can only be accessed after smashing through a vent with your spartan charge.
CHECKPOINT
Make sure you check the room on the right platform as inside the room there are rocket launchers which you should pick up for a large fight coming up shortly (make sure you hold onto your battle rifle or other main mid range weapon as well though). Depending on your piloting skills, you can either hop back in a banshee after this and rain death upon the enemies on the lower platforms (being careful to dodge the shots from the fuel rod cannons). Or you can just jump off the upper area to land on the lower walkway in the center. Either way, you'll need to eliminate the enemies (multiple grunts and an elite) on one of the lower platforms to reach the vent controls and move forward.

CHECKPOINT
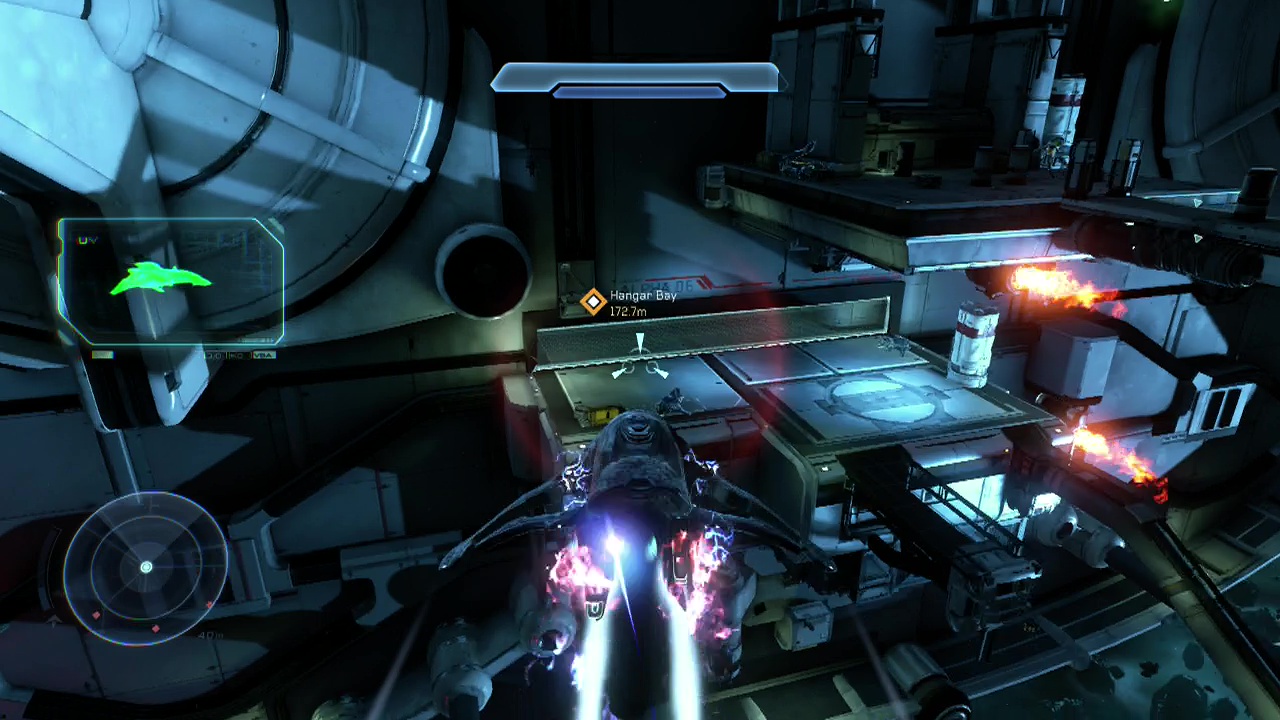
In the vent control room you should find some ammo to replenish your supplies. After the warning sounds, make a beeline for the nearest banshee and take to the air. Enemy banshees and additional ground troops will arrive via phantom in a few seconds. When you are airborne, trigger your objective markers to see many vents scattered around the area.
The idea is to try and destroy them as quickly as you can, only killing enemy forces if they get in your way. Destroy each vent in turn (there are about nine or ten total) to find out that your exfil has been destroyed by the covenant. After finding an alternative, ignore the remaining enemies and head straight for the nearby marked hangar, where a prowler is waiting for you.
CHECKPOINT
Exit the banshee and run through the air seal field to head down a linear corridors toward the prowler's hangar, stopping at the second doorway to see a green terminal directly ahead you can interact with to get the final piece of intel for this level. When you drop down into a cargo bay with a huge door next to it, you are about to enter the hangar.
CHECKPOINT
When the door trundles open, you will be faced with grunts in the center of the area. Start picking them off while looking out for flanking jackals to the left. You'll likely also spot an active camouflage elite with an energy sword in the central area, moving around to flank you on the right. Feel free to burn one of your rocket launcher rounds on him if you like.
More grunts (including one with a fuel rod cannon that you should prioritize) will appear on the central platform. Mostly they will waste time running around and leaping across the gap to the walkway near you, so make sure to shoot them while they aren't shooting back. Once the middle area is fairly clear, you'll want to move out of the cover of the room with the large door to the edge of the walkway to start firing at the enemies on the lower level.
There is a railgun on the ground in a case partway along the walkway to the right of your starting position if you want something to deal with the elites. Be careful of a second cloaked elite under the right walkway as well, as those cheap deaths can be excruciating. When the area is cleared of enemies, you'll need to cross to the other side of the room and trigger the launch controls for the prowler.
CHECKPOINT
There is a SAW on the ground next to the launch controls if you want to swap your battle rifle for something with a bit more ammo (can be useful for the upcoming swarm of enemies, but only if you stay where you are. For those on higher difficulties, I recommend starting back towards where you entered the room straight away as enemies spawn all around you (mostly on the lower area), and then head to the left corner (when facing towards where the launch controls were, go left) to find more battle rifle ammo in a case you can use to keep thinning the enemy ranks.
You'll notice a pair of hunters spawn on the lower level as well (remember what I said about that rocket launcher? Well now is the time to use it). Make sure to aim slightly behind the hunters (unless they have their backs to you) to make sure the splash damage of the rockets deals as much as possible. Keep you squad on the upper area unless you want them quickly reduced to a bubbling mass. After killing enough enemies (about halfway through the total attack), you'll get another checkpoint. Now it's just a matter of endurance. Your progress will be tracked by the ships power charge callouts (25%, 50%, 75% and charge complete). When the final enemy falls (most likely a hunter), move to the central platform in the upper area to teleport onto the prowler and finish the mission. Phew.