MISSION 10 – Enemy Lines
Objective: Retrieve Halsey's constructor
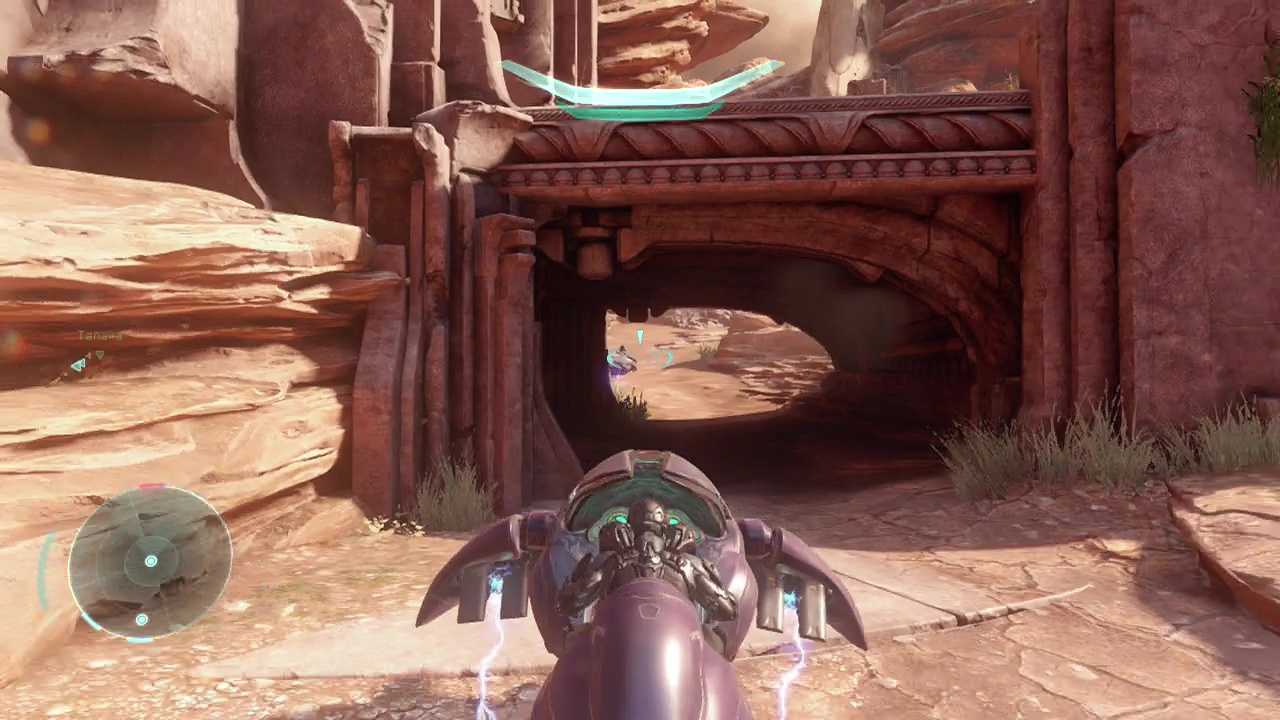
You'll be dropped off on another location on the elite home-world, once more running through the red rocky canyons. Follow the lone rocky path, taking a left and jumping down from the ledge when you reach the stream into the water below. In a watery alcove directly ahead when you land is an ancient sword you can scan for some intel. Climb back up the rocky slope you just jumped down and then move forward into the cave just past the stream. On your left just inside is a data pad containing some intel with a couple of plasma grenades beside it to grab. A couple of grunts will wander towards you from behind the nearby rock formation, opening fire when they see you so quickly put them down with your magnum when they come into view.
CHECKPOINT
Move further into the cave, descending the stairs until you find more grunts ahead of you supported by an elite. Try to finish them all off with your magnum, swapping to the battle rifle if you run out of ammo. Just beyond this as the cave ends, you'll be confronted with the Kraken with a couple of drop-ships in front of it. As you reach the end of the cave there are two exits, take the one on the right and jump up to a small ledge of the left when you do to find a data pad up there with intel on it. The Arbiter's forces will move in to attack (partially distracting it), but it is still dangerous to be in it's range without being in cover, so immediately get behind one of the pillars or walls in this area. Once the drop-ships are gone and the Kraken has moved away (thanks to Arbiter), make your way across to take on the elites and jackals the drop-ship offloaded.
You'll want to finish off your magnum (if you didn't already) and then swap to your battle rifles to engage the enemy forces, using the pillars and sculptures in the area as cover to break line of sight to heal up. Don't forget to take advantage of your spartan charge against lone elites as it is a fairly easy way to break their shields, knocking them back and allowing you to follow up with a head-shot. When the enemies are all dead, follow the rocky path at the back of the area along the cliff-side. On the path you'll see a weapon stand against the wall to your right. Swap out your empty magnum here for a plasma pistol for upcoming elite battles and take cover at the doorway next to it.
Through the doorway is an elite on a plasma turret and grunts all aimed towards you, so carefully pick off the turret from your cover position before emerging to take on the grunts. As you clear the area, stay alert to that turret (or rip if off it's stand) as enemies will enter via the doorway near it and attempt to use the turret to attack. In the tunnel past the first turret is a second one, so make sure to take it out safely from cover like you did the first. You can walk around the ledges on the right side of this area (the ones on top of the cliff) to reach a small room with a data pad in the corner with some intel to retrieve. Past the second turret, you'll see a shield blocking the cave entrance. To bypass this, you'll need to enter the doorway on the right side of the area, taking down the jackals and elites inside. There is also a weapon rack in here with fully stocked carbines, so make sure you grab one. Looking through a hole in the wall will give you a view of the shield generator on the other side of the shield wall, so shoot it a couple of times with your battle rifle to clear your path.
CHECKPOINT
Past where the shield generator was are five ghosts. Command at least one other team member to get into one and get in one yourself. Now weave through the rock formations to emerge into the sunlight once again to see the Kraken park next to the cliff and another drop-ship unloading enemies ahead of you. You'll want to remain constantly on the move here to avoid the shots fired by the Kraken while you deal with the group of grunts and the elite that come out of the drop-ship. Suicide grunts will come out of the doorways/ gaps in the rock to the left when you approach so be careful they don't destroy your ride (blowing you up in the process). Inside the larger hole at the back left of the area is a replacement ghost to ride on if they damage your original one. You can also spot a data pad in the corner nearby for some additional intel. An enemy ghost will be patrolling the area beyond, so be ready to engage it when you emerge from the small covered area.
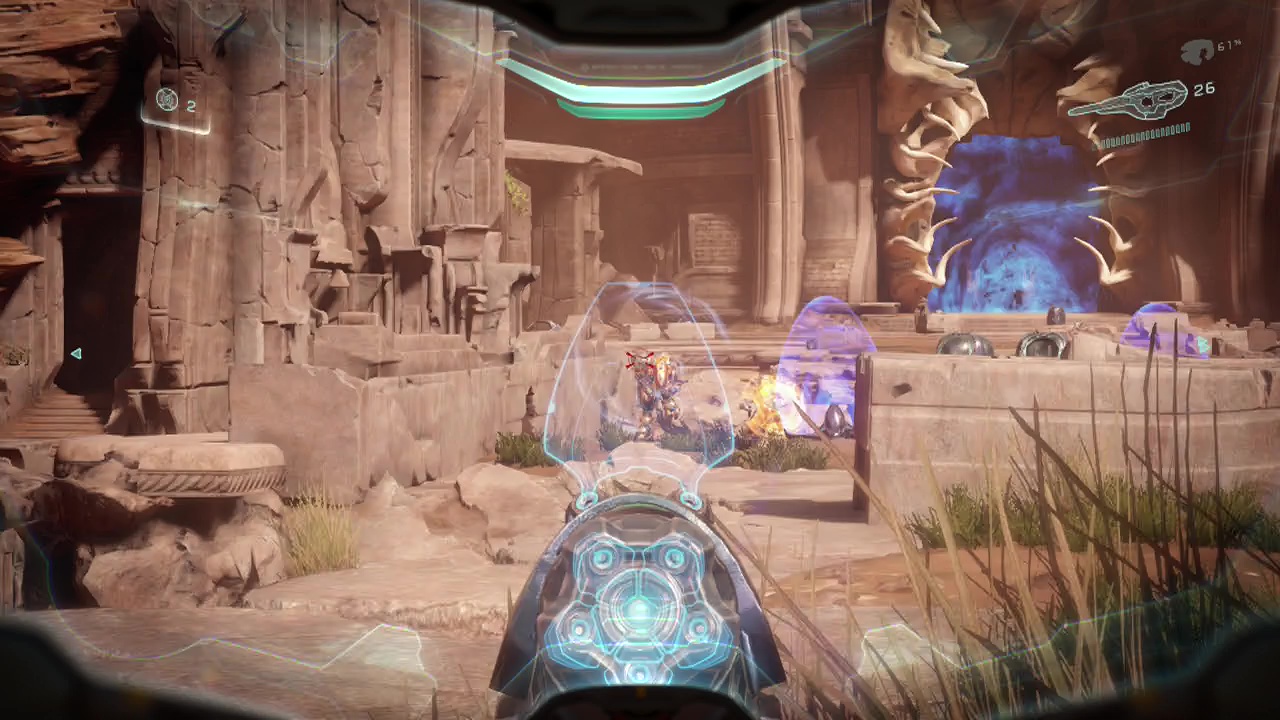
Another drop-ship will spew forth more enemies as you finish off the rogue ghost, dropping off a stream of suicide grunts. Back up to the small cave you picked up the second ghost from and gun them down before they can reach you. When the final ground force enemy dies, the Kraken will start moving away, allowing you to return to the open once more. Move along the cliff-side, taking out any remaining enemy stragglers until you reach a large opening with a couple of small shield emplacements in front of it. While looking at the shields, turn 180 to see a rock ledge a little to the right. You can jump across to this ledge, pulling yourself up to find a carbine and data pad to pull some intel off. Enter the tunnel beyond, climbing up stairs and working your way through the darkened passages until you eventually drop down in the temple grounds. You can turn to the right here, heading all the way to the far cliff wall to find a piece of stone wall with a group of plasma grenades and a data pad with intel on it. Although you may want to do this after the fighting which is detailed below.
CHECKPOINT
Objective: Retrieve the constructor
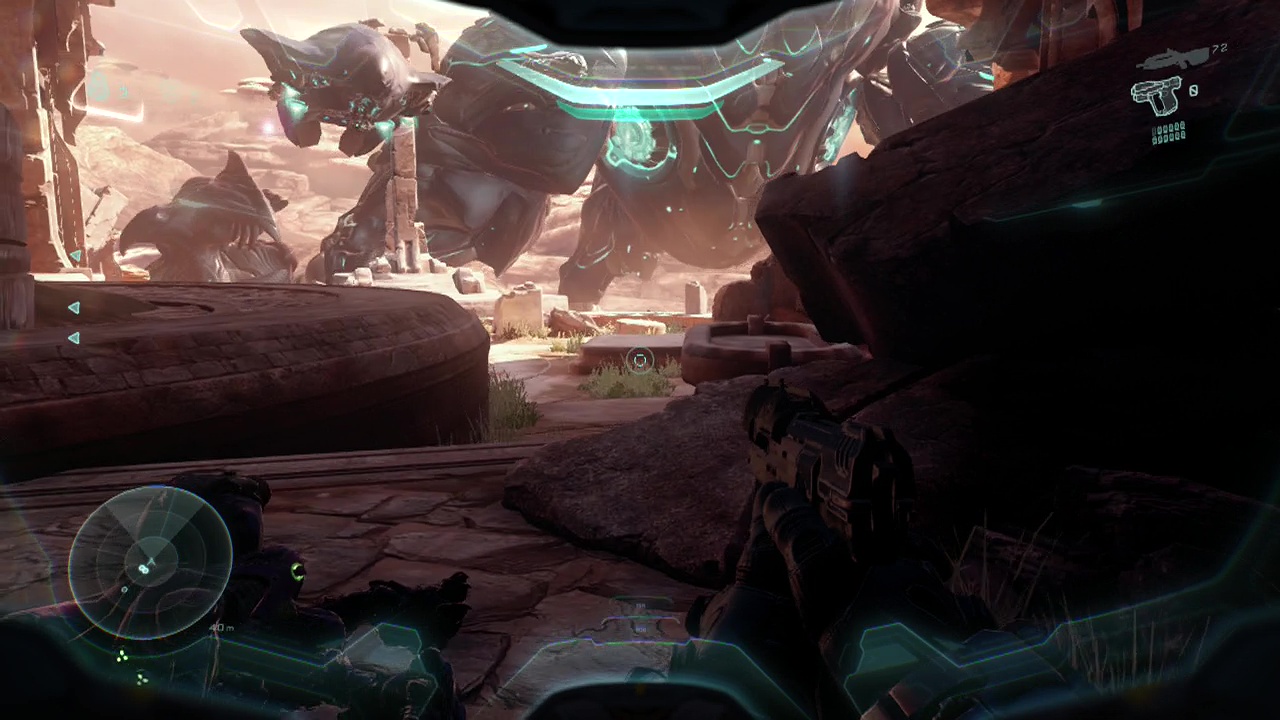
You'll leave the darkness behind, emerging into a large rocky canyon with a grunt and elite with their backs to you to the right. As you open fire, enemies will emerge from everywhere ahead and a drop-ship will bring in more enemies. You'll likely want to back up into the cave where you came in from while the drop-ship is depositing it's passengers as it will blast you if you're in the open. When it departs, you can leave the cave and resume the slaughter. Finish off the elite to the right and then start moving forward, sweeping the area for grunt and other enemies. Don't press too far forward along the right wall of the canyon as there are a pair of turrets covering the open area on the right. Instead either go along the middle or left side to stay in one piece.
As the bodies hit the floor, jackals will appear on the ledges along the left hand side of the canyon and will gun you down if you are on the open bridge area in the middle. Take the time to pick them off with a carbine before continuing to advance. A grunt in the center of the bridge holds a plasma caster that you will likely want to grab. Not for upcoming hunters, but just for the quick damage against elites. At the halfway point of the broken bridge, right in the middle of the area is a stand holding carbines you can use to stock up when the air is free of weapons fire. You should be able to fire down from slightly to the right of this stand at the turrets at the rear right of the canyon, ducking back whenever their stream of plasma threatens to connect. Just be careful and take your time dealing with them as there are two you will have to take care of before you can move forward safely. Another drop-ship should arrive when you've finished off both of the turrets, so get behind cover as it dumps more enemies at the back of the canyon for you to deal with. At some point, you can jump from the top of pillar to pillar at the center of the huge destroyed bridge, jumping across to a raised ledge on the right cliff wall to find a data pad with some intel. There is also a secret passage under the far end of the bridge (lit by blue lights). Spartan charge through the cracked wall between the two shield barriers and look to the left immediately to see the data pad with it's intel sitting on a rock.
Oh. And a wraith. Brilliant. If you still have rounds in your plasma caster, you can use them against the wraith when you get close enough. However, there is a good position on a ledge above and to the right of the wraith (you get there via covered stairs from the lower right at the back of the area) that has a pair of fuel rod cannons in a stand you can use to rain plasma down on the wraith (revenge for the balls of it that it shoots at you). To get there though, you'll need to deal with the reinforcements dropped by the drop-ship earlier, and be warned that the turrets have been re-manned, so you'll need to keep an eye open for them while you re-clear the area. When the wraith finally goes boom, you'll need to get through the shield wall. This one is pretty easy, just follow the wall around to the right from the shield to find a cracked section of wall you can burst through with your spartan charge. Follow the new path and you're behind the shield wall.
CHECKPOINT
Objective: Enter the holy site
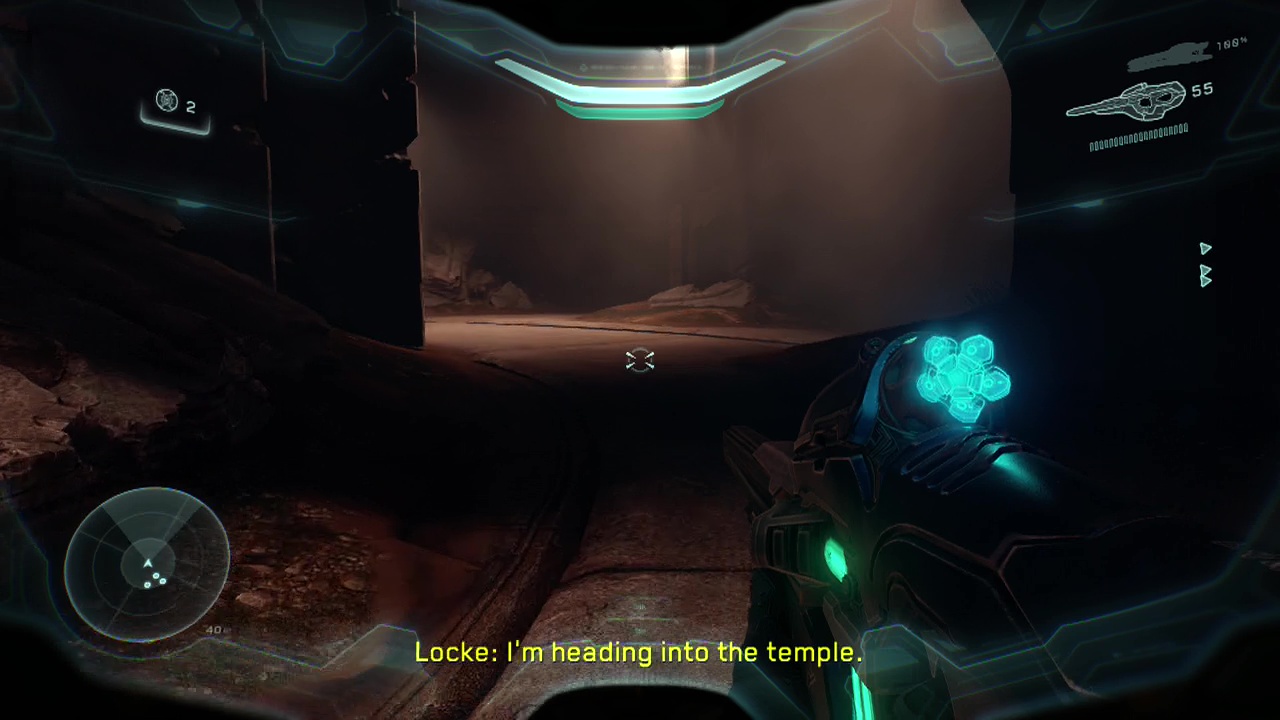
You'll now have finally reached the temple. Worm your way further inside the structure, until you reach a circular area at the back and a seemingly dead end.
CHECKPOINT
Objective: Exit the temple
From the back of the temple, turn around and you'll see a small statue of an elite on a raised dais. You can reach this by jumping across from the broken pillar on the left. Anyone else suddenly feel like Indiana Jones? Approach the small carving of the elite and scan it to open up a stone door on the back temple wall in front of you.
CHECKPOINT
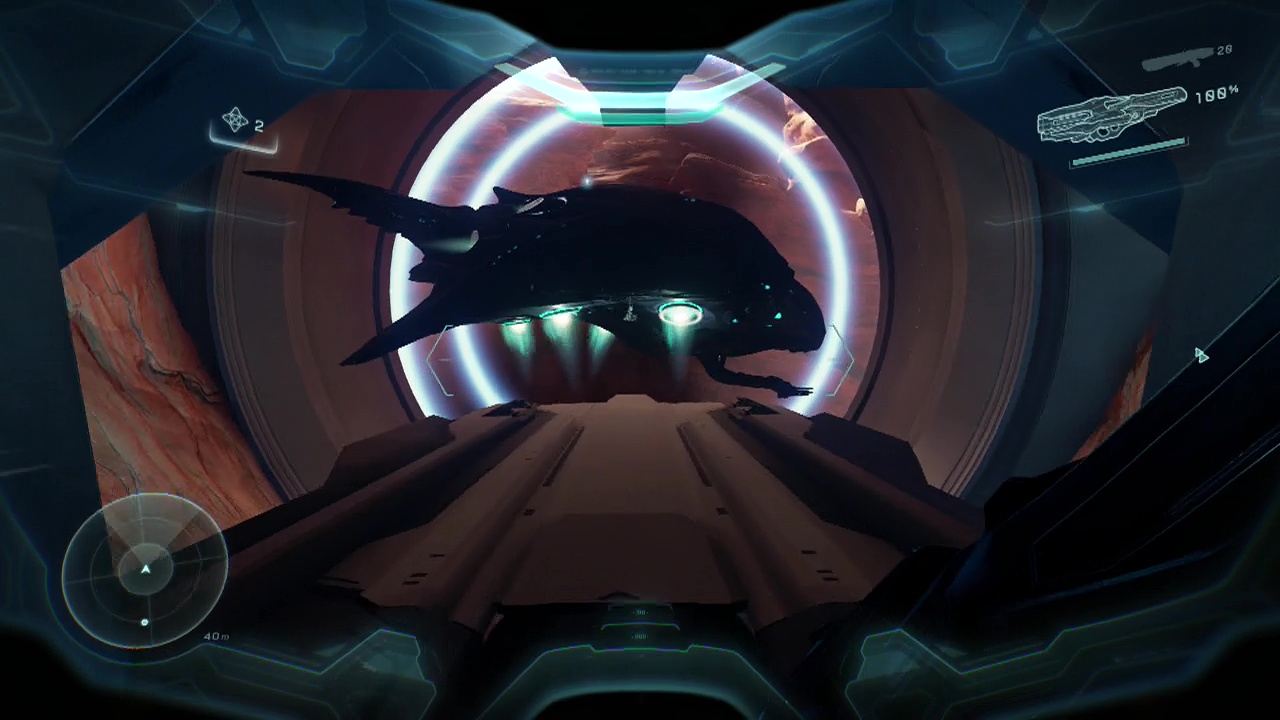
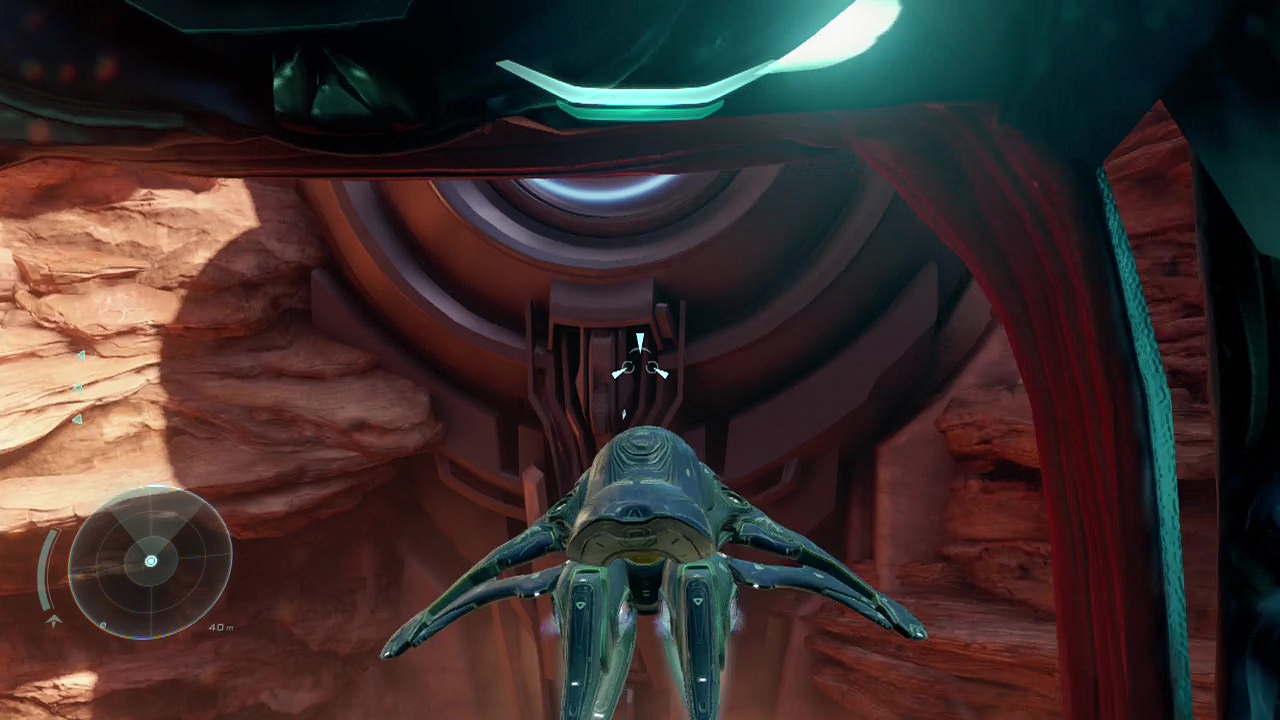
As you get close to this new opening, preatorean soldiers will flicker past. Don't bother trying to shoot them as it's just a waste of ammo. Follow them around to the right to see the Kraken still under siege by the Arbiter's forces. You'll also see on the cliff face closest to you, four phaetons on a landing pad, siren calling to you to take them. Get in one of the flying vehicles and it's time to take it to the Kraken.
CHECKPOINT
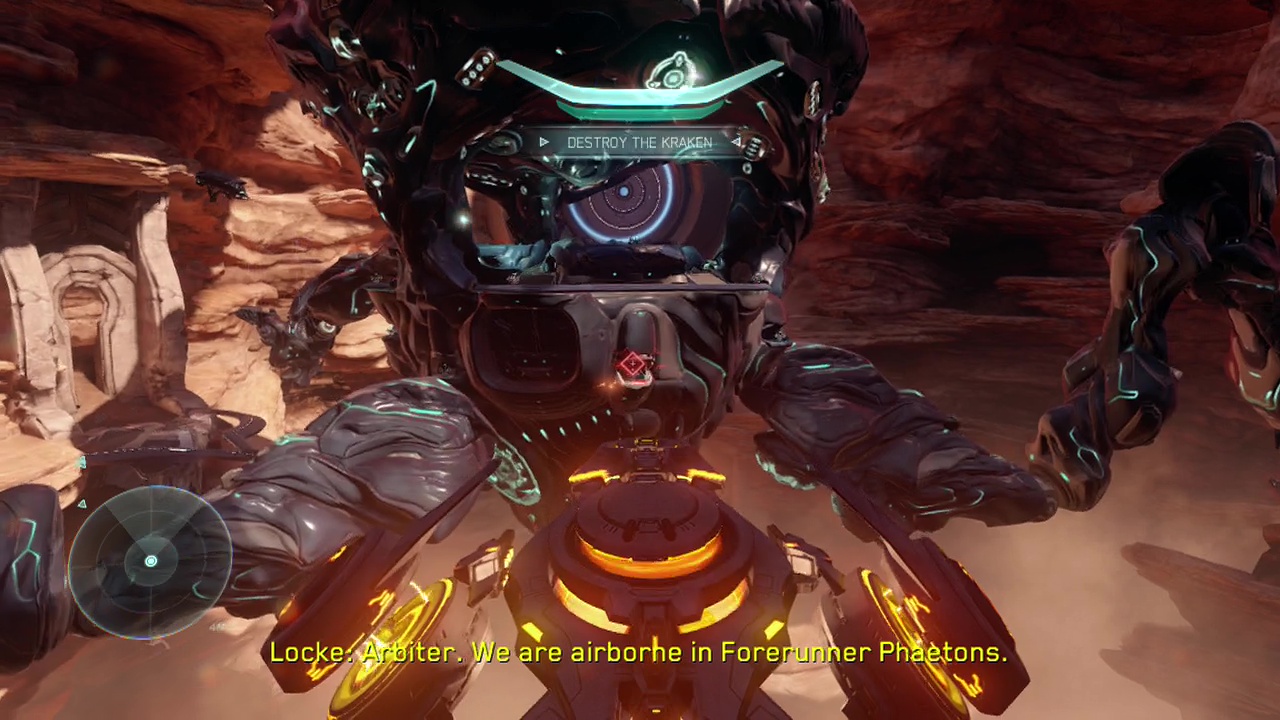
Objective: Destroy the Kraken
Take to the air in your magnificent flying machine, and go up tiddly up up (wow, that's a reference probably no one will get). You'll have two different weapons here, but the only one that is really worth a damn is the explosive blast as it does far more damage in a single shot. I tried to use the mini-gun like laser shot and it took ages to bring down a single banshee compared to about three blasts from the missile equivalent. If you're looking for collectibles, head for the lower platform to your right when you get airborne. Interact with the forerunner console down there for the final intel of the mission. Your first task will be taking down the turrets and banshees guarding the Kraken. The turrets are located on the open deck, as well as ringing the lower part of the Kraken's exterior. Dodge the incoming attacks with your strafe ability and keep piling on the damage to those turrets as you work your way around the Kraken, stopping occasionally to dismantle a banshee. Your real goal here is to make the central area of the Kraken (the large flat platform) safe enough for you to land and invade from on foot.
CHECKPOINT
You can circle around the whole Kraken taking out every turret if you like (this will slightly reduce the enemy numbers inside). When you're ready, approach the central platform, taking out any remaining ground forces that you see and lower the phaeton down to one of the landing pads. Your goal from here is to wind your way down through the corridors of the Kraken, killing anything you encounter on the way until you reach the glowing power core on the bottom level. Note the banshees in the hangar as you go down, because you will need to fly one out after you damage the power core beyond it's containment capacity. You will also want to stop at the banshee hangar because you can find the lone skull of this level there. Look towards where the banshees are parked, and then turn around to see a platform above a green tunnel leading off to the right. The skull is hidden there for you to collect. Just be careful as there are two 'hangars' both on the same level of the Kraken. After destroying the core race back up, shooting the fleeing covenant enemies in the back and jump in the banshee, flying out into the open air as the Kraken falls into the pit below.
CHECKPOINT
Objective: Retrieve the constructor
A giant circular doorway will open in the metal nearby, allowing you access. Fly through it and land your banshee on the landing strip. Enter the series of automatic doors and walk all the way through to the back area of these old ruins. Before you retrieve the constructor however, you may want to swap weapons at one of the stands in the area for ones that are effective against praetoreans as you will be ambushed immediately after obtaining the constructor. When you're ready, interact with the console at the back of the area and trigger the ambush. You'll be dealing with a large number of soldiers, splinter turret soldiers and knights here. In the center of the small structure in front of you is a stand holding an incineration cannon you can use to combat the knights when they appear. Other than that, use your weapons against the enemies, taking cover where possible and try to use the fallen splinter turrets (that the soldiers drop) against the more powerful enemies. It's a fairly confined area as well making things a bit more difficult than usual, but you have the tools to get the job done.
CHECKPOINT
Objective: Return to basecamp
When the last of the praetorean forces fall, travel back to where you landed and get on the waiting phantom to bring this mission to an end.