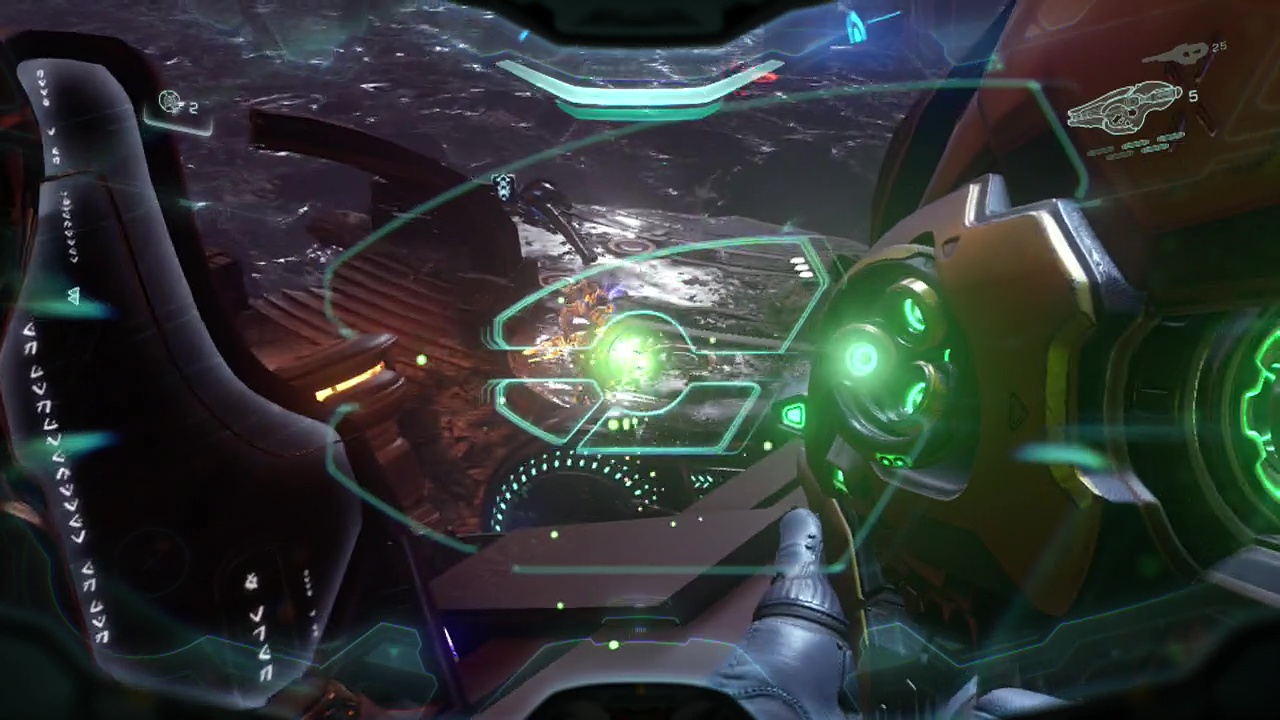
MISSION 12 – Battle Of Sunaion
Objective: Destroy air defenses
Note: This is one of the levels with the lowest amount of good ammo refills, so be prepared to use weaker guns at times.
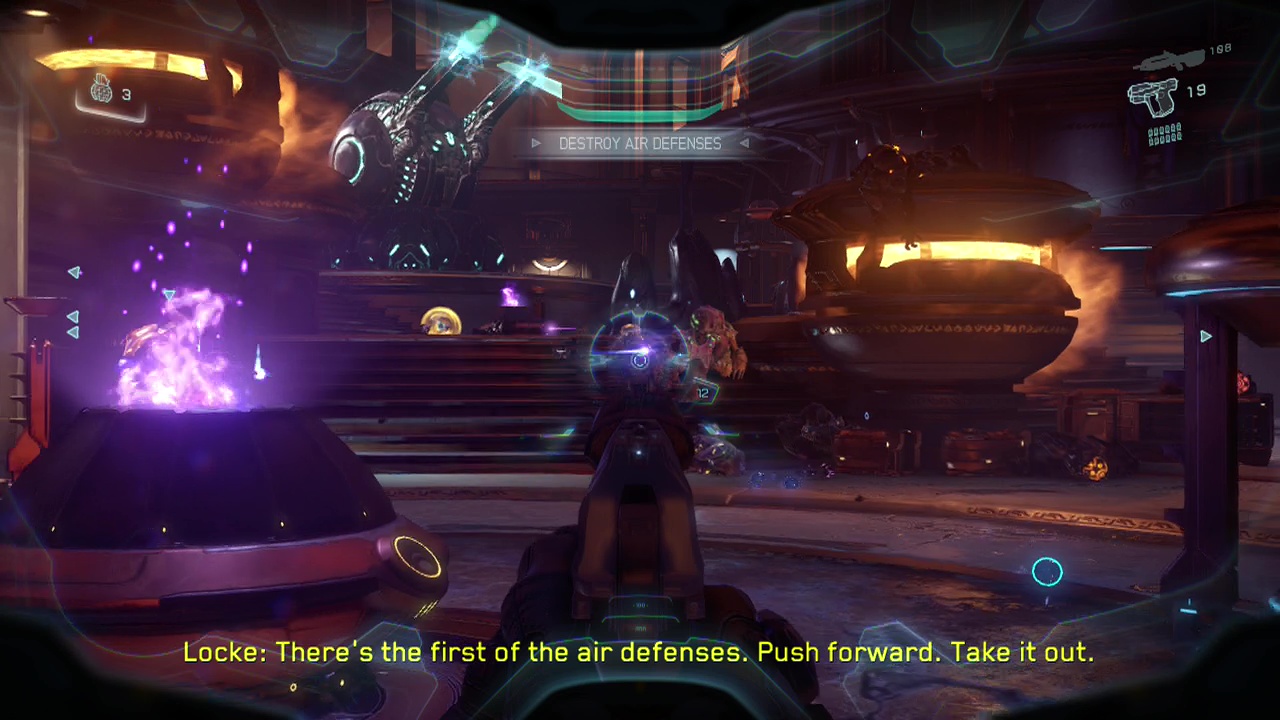
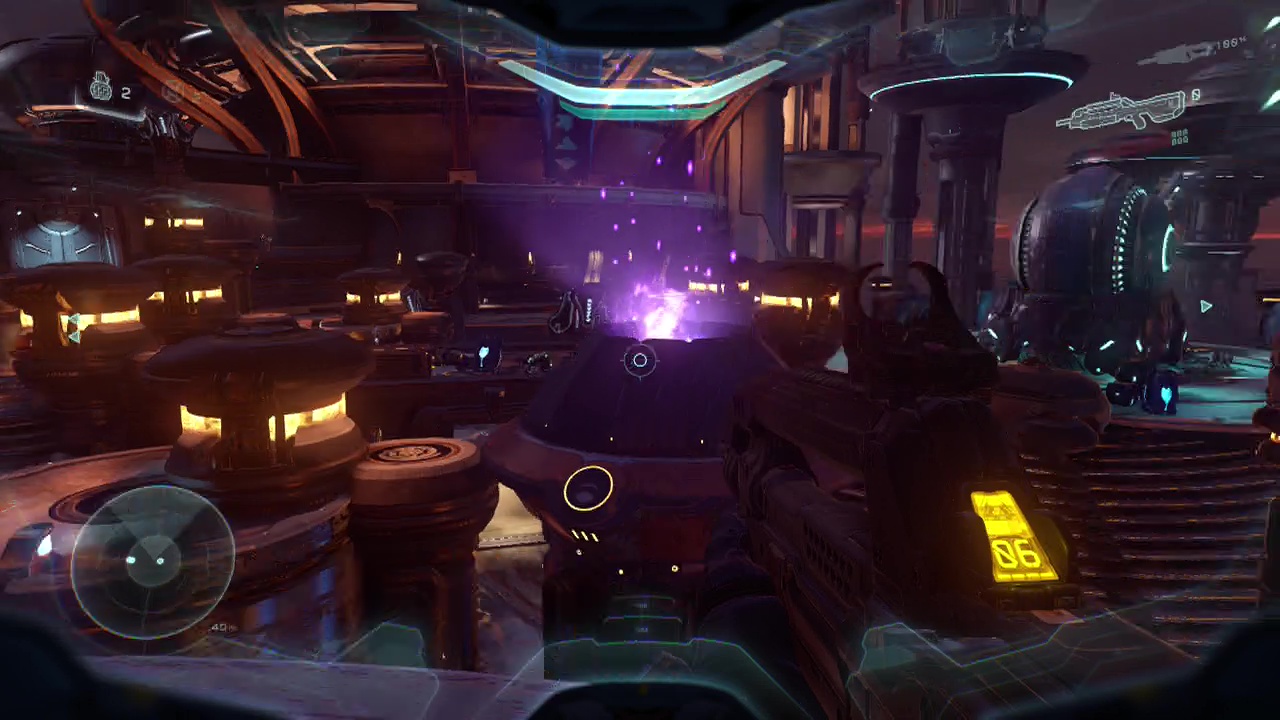
As soon as you gain control, you'll be in the middle of a firefight. Start unloading your magnum into the skulls of the group of six or so grunts directly in front of you while your elite allies push forward and engage the jackals and grunts at the back of the area. The large cannon (I'll be referring to the anti-air turrets as cannons in this guide to save confusion with the normal turrets enemies use) firing into the air nearby is your target. Watch the Arbiter's troops disable it and listen to the instructions to disable the cannon directly or take out the power supply as you are going to be dealing with a lot more of them. Keep in mind that it generally takes far less damage to take out the power supply, which you can find by following the cables from the turret until you locate it. You can also order your squad to shoot them as well if you want to save ammo. Before moving past the cannon, return to your start point and run around the edge of the platform to the right (when facing the edge) and you'll find a data pad with its intel on one of the big flaming lanterns. You don't need to actually jump on top to get the pad, just jump into the air and trigger it.
Objective: Disable turrets
Shortly afterwards a doorway will open up on the right side at the back of the area, releasing a group of four or five grunts. Once again use your magnum to power through them, passing through the doorway they just came through afterward. Climb up the stairs on the other side and enter the door at the top (grabbing the energy pistol to the left of the door if your magnum is empty). You'll emerge into a large open area with an cannon ahead slightly to the left. Move up carefully here as there are a fair few enemies on a balcony above and behind the cannon. Take your time here as there is no rush to bring the cannon down. Use any remaining magnum rounds to pick away at the enemies (it's extremely effective at staggering the shielded jackals), then swap to your battle rifle to keep the kill-count rising. You can also take advantage of the spartan charge here on lone jackals, slamming into their shield to bring it down and following it up with a magnum round between the eyes.
CHECKPOINT
Follow the cables from the cannon when the area is clear to find the power supply only a few meters away from the cannon. Melee it a couple of times to destroy it. From here, you'll need to start walking along what looks like the elite's version of a street, with linear columns to the left of the destroyed cannon. More grunts and jackals will open fire as you get closer to the rear of the area, with enemy elites showing up too for an added bonus. You'll either want to use your battle rifle, plasma pistol combo or a well placed plasma grenade to deal with them quickly. Make sure to swap out your magnum for a plasma pistol at this point as you've likely emptied it by now, and it's going to be handy against the elites you run into in this level. Work your way to the left wall of the street to find some open windows you can leap into to attack a group of three grunts inside. There are also stairs in here that lead to the upper level which you can explore if you wish.
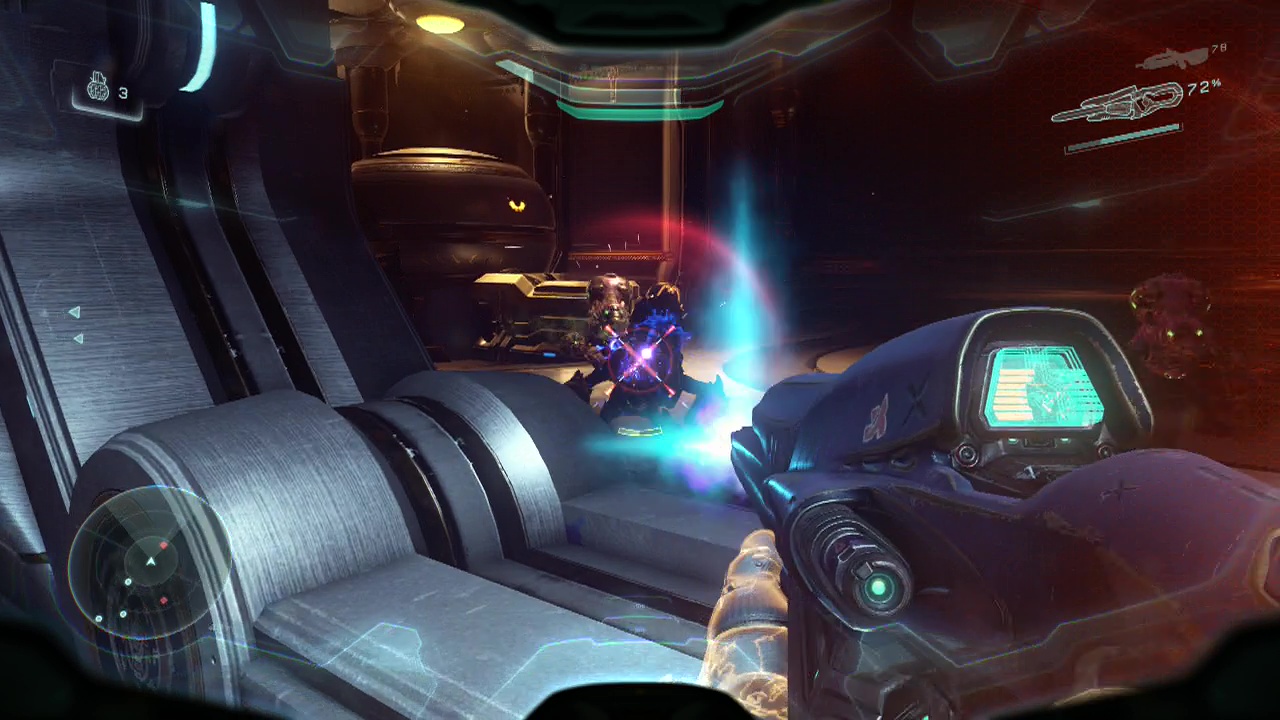
You'll probably also find an elite in the corridor to the side of this small room, so be careful to avoid being blindsided. You can turn left in this same corridor to find a console at the end you can activate for some intel. The door beside the console will bring you out onto a ledge with another platform in easy jumping distance. Stay on the ledge and start using this raised vantage point to bring down anything that wanders into your range of vision. An elite on a turret at the far end of the area (at the top of a wide set of stairs with shield barriers on both sides) should be your priority target to bring down before you move any closer. When the turret is empty, you should be able to move up and finish off the jackals with shields surrounding it.
Be extremely cautious as you move up to the ledge where the turret is, as behind you on raised ledges, more enemies will fire down on your position. However, the screen should start shaking and they will flee into a nearby structure a few seconds later. Rip the turret off it's housing and finish off any enemies remaining before moving through the doorway behind where the turret was. You'll once again be on a raised platform overlooking a lower area. Take advantage of your new-found turret firepower to begin taking the fight to the elites and jackals below.
CHECKPOINT
Some of the enemies (like the elite) may try to leave through a doorway on the right as you are fighting, so try and take them out as they move towards it. Follow after them/ pass through the door when the immediate area is free of enemies to reach another large open area with another cannon on a raised platform on the right edge of the area. Move along the ledge you walk onto upon entering to the right to take cover behind a large wall/ barrier and start firing on the enemies around the base of the cannon.
Objective: Destroy Air Defenses
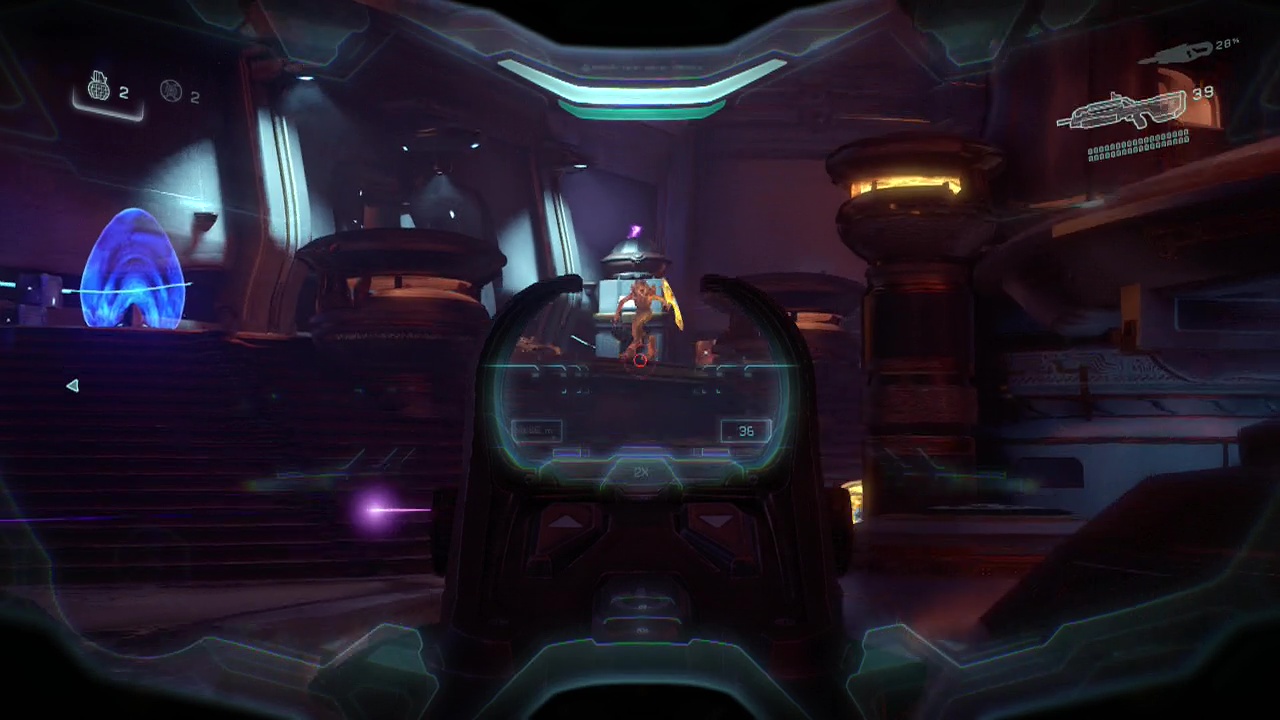
Elites will begin trying to reach a turret on a small bridge in the middle of the area, so keep an eye open as they start to move across. Depending on your aim, you can either deal with them on the way or head-shot them with ease when they are stationary on the turret. The jackals (or possibly elites) should drop a carbine or two for you to replace your likely nearly empty battle rifle. Bring down the cannon when you're done with the enemies surrounding it and rip up one of the turrets as you move along the left wall of this area towards the back. Take cover when you get close to the gate in the back left corner as an elite leading a squad of grunts will rush through the door and attack. With your turret in hand, the elite should go down extremely fast, leaving you free to quickly mop up the grunts. The elite also drops a fuel rod cannon which you should be quick to pilfer off the corpse to replace your plasma pistol for the time being. Be on watch for a jackal with a beam rifle that fires down from the wall above the doorway as well.
CHECKPOINT
After moving through the doorway, you'll see another stairs leading up ahead of you with so take them and then get into cover beside the doorway as another cannon sits in front of you in the next open area beyond, with a second canon on a raised platform to the left of the first one and a third all the way above on a balcony up the building to the left. You'll want to (when you get the opportunity) race out of the door and up the stairs close by on the left, leading you up to the upper level. A couple of grunts will be walking out of a shielded room here for you to dispatch, but otherwise the area is deserted, leaving you free to fire down from it at the enemies in the main area below. The shielded room also holds the power core for lower of the two cannons, which means you're going to need to go for the high cannon first. There is a large balcony stretching out along the side of the area closest to the water which enemies may still be roaming around, so you can work your way across this towards the second cannon, getting your squad to finish it off when everyone is close enough or you can shoot the power core at the base of the higher cannon to finish it off.
CHECKPOINT
A turret in front of the higher cannon often is manned by an elite, so be sure to take that turret out before you emerge from cover. From here, targeting the lower cannon is pretty easy, so get your squad to blow it up if they haven't already with random gunfire. You'll also want to take the time now to deal with the series of turrets around the walkways of this middle area as grunts and elites are manning at least three or four. For the final (topmost) cannon, you can dismantle a turret and fire it at the cannon above for a quick explosion or you can work your way up the building under it (the shield should be gone once the other two cannons are down). Be warned if you take the second option however, that two cloaked energy sword wielding elites are waiting in the hallway beside the cannon. Yeah, that's kind of a dick move guys. The power core is in the room to the left of the hallway with the elites if you want to destroy that instead.
CHECKPOINT
A phantom will arrive to secure the area and inform you that there is an elevator leading down to a lower level. Use the objective locator to find the elevator controls on the disc pad in the middle of the area below and move on down. At the bottom, you'll have to move across a set of bridges and jump across a gap to a platform with a vent that can be spartan charged through. You can also jump up the ledges to the left or right as well here if you want to take an alternate path into the firefight ahead. The best route I found was to jump up the ledges to the left and then jump across the gap to the platform across from you, taking cover behind the small wall here as this gives you cover, a raised position and a decent field of view on the area below. There is a second vent you can jump up the platforms to the right, then jump back towards the large pillar the vent was on, walking around the outside of the pillar to the right to find a data pad and its intel.
A stream of grunts and a trio of elites will come out into the open, allowing you to perform a turkey shoot until they start to fire back. You'll want to make sure the elite holding the energy sword goes down before you even think of moving forward. Clear out any remaining enemies as you move up. When you jump up to the ledge at the back where the energy sword elite was, move to the left side of the area and start jumping from raised platform to raised platform and you should end up in a high position overlooking the next group of enemies.
CHECKPOINT
The only real concern here is the elite on a turret on a platform to your right, so make sure to take him out quickly before you do anything else. Another elite with a carbine will likely be moving around beside the elite on the turret, so he might be a good secondary target. After that it's just back to picking off the grunts and jackals in the area below you. Oh, and the elite on the lower level with a plasma caster. It isn't too dangerous however because of your raised position, making it very hard for the elite to actually connect with the plasma shots. When the area is clear, make sure to grab the ammo from the carbine the second elite dropped and swap out your secondary weapon for the plasma caster before following the marker onwards. You can also rip up the turret for additional firepower.
CHECKPOINT
Another swarm of grunts and other enemies will emerge from the platforms further back and to the right of your area, On the first platform on your left (the one that has a small footbridge on it) you should find a carbine lying on the ground to restock some precious ammo before engaging the new arrivals. There isn't anything really special about this engagement so take advantage of cover (stick to the left side of the area to avoid flanking) and use your plasma turret and carbine to chew through the enemy ranks. Another elite with a plasma caster will also be in the fray, allowing you to resupply your own after the fight ends. Be careful of the turrets at the far rear of the area (on a raised platform with stairs leading up to them). You can flank the turrets by simply ascending the stairs to the left and shooting the operator or fire up a well places plasma caster shot. Move along the bridge the turret is facing and circle around behind the large pillar to find a data pad with intel embedded in the side of the pillar. After that, you'll want to mop up any remaining enemies nearby before entering the rooms at the back behind the turret. A carbine will be leaning against a crate on the ground for you to resupply with.
CHECKPOINT
You'll walk across a series of platforms and reach a long bridge with a couple of unaware grunts an elite at the end closest to you. A couple of jackals will be about a third of the way down the bridge as well. At the far end is a pair of turrets that you don't want to be hit by in the open. The platforms on the left side of the bridge halfway along holds a cloaked energy sword elite, and the raised platforms on the right will be populated by jackals with carbines when you start to cross. Along with all this is a supply of enemies appearing from the end of the bridge to make life more difficult. Needless to say this is a very dangerous area. Take your time here and use your carbine at range to pick threats off before they can fire back. You'll want to use your plasma caster against onrushing elites and the turrets at the end of the bridge to kill the operators safely. Don't forget you can use your squad as a decoy against the cloaked energy sword elite so you can gun it down. That's the situation people, it's down to your skill to make it to the other end of this bridge in one piece, good luck.
CHECKPOINT
On the other end of the bridge you'll need to deal with a few straggling jackals, grunts and elites as you move up the ramps to the large platform at the top. When you reach the gold-lit platform at the top, you'll be face to face with a pair of hunters. Well, looks like we've got more annoyances to deal with. Don't try and take them head on with your current weapons unless you have a lot of shots remaining in your plasma caster. Instead, race up to the platform to the right from where the hunters are and circle around behind the large pillar to encounter some intel and a stand holding a pair of fuel rod cannons to make the battle much easier. Use the remaining shots from your caster and then start unloading your fuel rod cannons on the hunters back on their platform to bring them to their knees. After the second hunter bites the dust, an elevator with about four grunts will rise at the back of the same platform. Lob a grenade inside or run in and go nuts with melee attacks after you've picked up some replacement weaponry (or your old carbine you dropped earlier). Hopefully you should have a carbine with at least a few shots and a fuel rod cannon to move on with.
CHECKPOINT
Activate the elevator and ride it upwards. When you exit into a hallway, turn left and restock your carbine at the stand here. Drop down into the plaza of death below, turning right from the glowing hologram of the elite to find an ancient sword on the ground between some bodies you can scan for intel. Then head towards the marker at the top platform. As you move through the doorway, you'll see a group of phantoms race past through the air. Follow in their direction up the stairs ahead of you.
CHECKPOINT
As you move through another doorway, the path ahead will start to crumble due to the guardian's shock-waves. You'll need to run across a series of disintegrating platforms. Run straight ahead, jumping up onto the ledge when the path drops down below you. Follow the curved trail ahead and then lead across the gap to enter a quick automatic sequence where you slide down a tilting platform. When you scramble back up, jump down onto the wide platform below you to safety.
CHECKPOINT
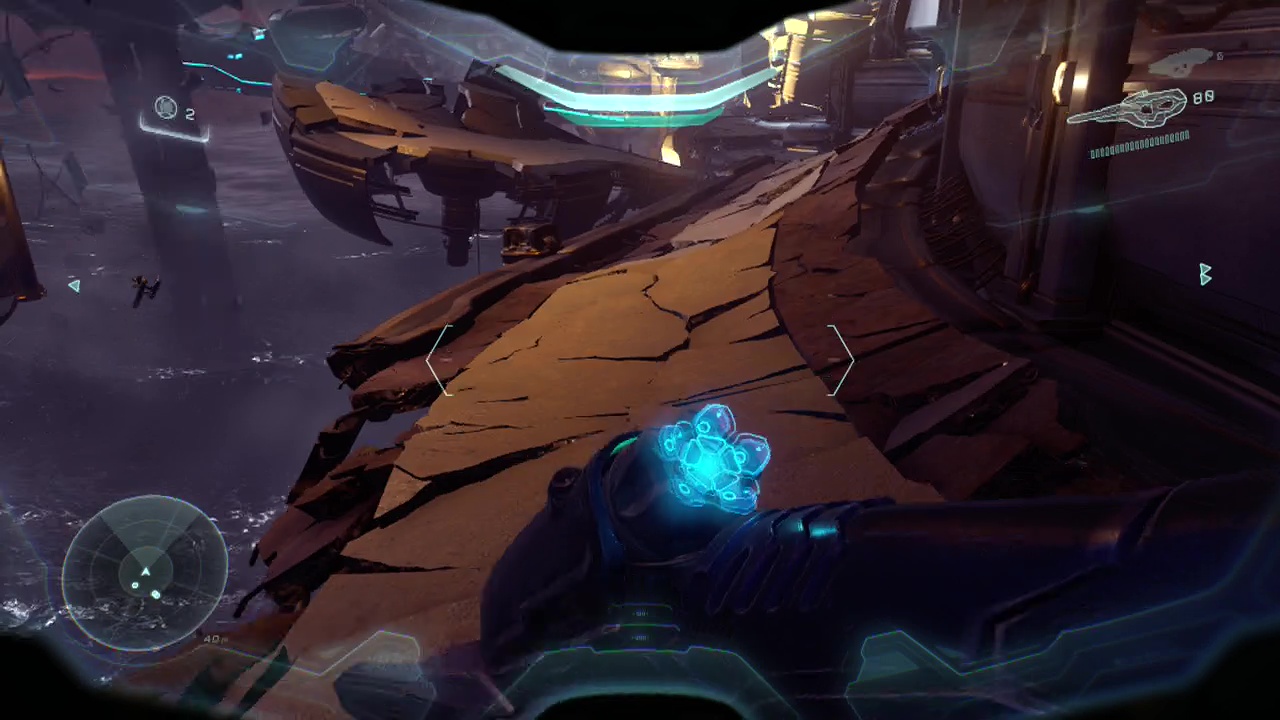
Cross through the mostly destroyed room ahead, and on the upper left ledge in the second room you'll find a data pad with intel on it. Keep following the trail of the teleporting promethean soldiers and you'll pass through a door to find a pair of crawlers on the ground to your left. A quick spartan charge followed up with a carbine shot or two should quickly dispose of the pair. Climb up the crumbled ramp of debris just beyond to finally catch up with the Arbiter, who is duking it out with a knight. Turn right down a hallway when you see him in front of you to find an ancient sword you can scan for intel at the end before returning to Arbiter's location. Directly ahead through the rubble you'll see the guardian you need to reach, however you're going to need to go through a lot to reach it (as if we haven't already).
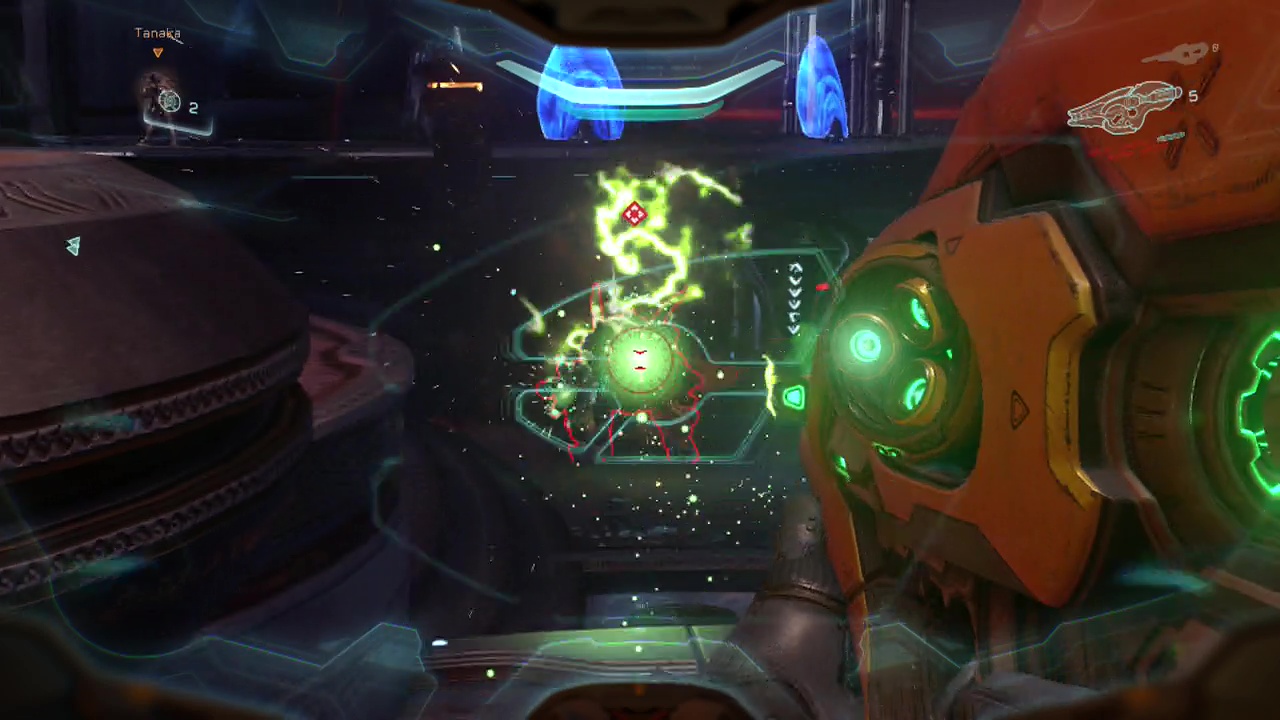
Note: The tilted pillar/ platform closest to the guardian on the right holds a stand with a pair of fuel rod cannons and an incineration cannon further up, conserve these until you need to deal with the Warden later. There is also a scattergun at the cliff/ ledge right at the edge of the area as close to the guardian as you can get that may be of use if you want to engage the Warden in close combat.
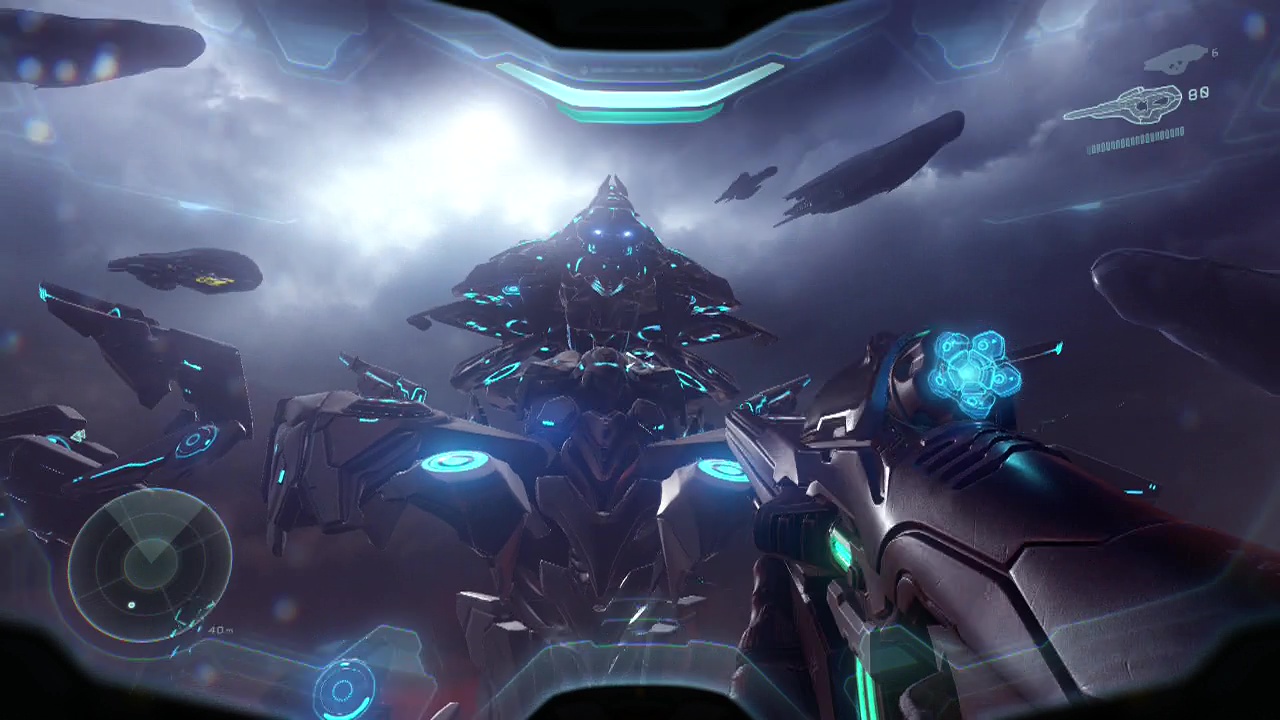
If you look over the side here from the ledge closest to the guardian there is a narrow beam below you can drop down to that has the skull for this level beside it on some broken stone. You're going to want to let the arbiter act as a decoy here while you grenade or pick off the stream of enemies that follow after him. Essentially pick a high location with a good field of view and start tearing through the distracted promethean crawlers and soldiers below. Empty your carbine and then look for a dropped light rifle off one of the soldiers as you continue to take down prometheans. When most of the enemies are dealt with, the Warden will arrive.
CHECKPOINT
Thankfully we have the right tools for this job. Climb up the large pillar/ platform closest to the guardian and grab a fuel rod cannon and the incineration cannon then take cover to avoid the Warden's instant kill attacks. Unlike previous encounters, we aren't going to use the scattergun back-attack method. Instead just pelt him with AoE weapon fire until he dies. Simple strategy, but effective. I haven't boxed this section out as a proper boss fight due to the easy nature of this encounter. When the Warden dies and the area is free of enemies the final scene of the level will play out and it's off they go.