
MISSION 13 – Genesis
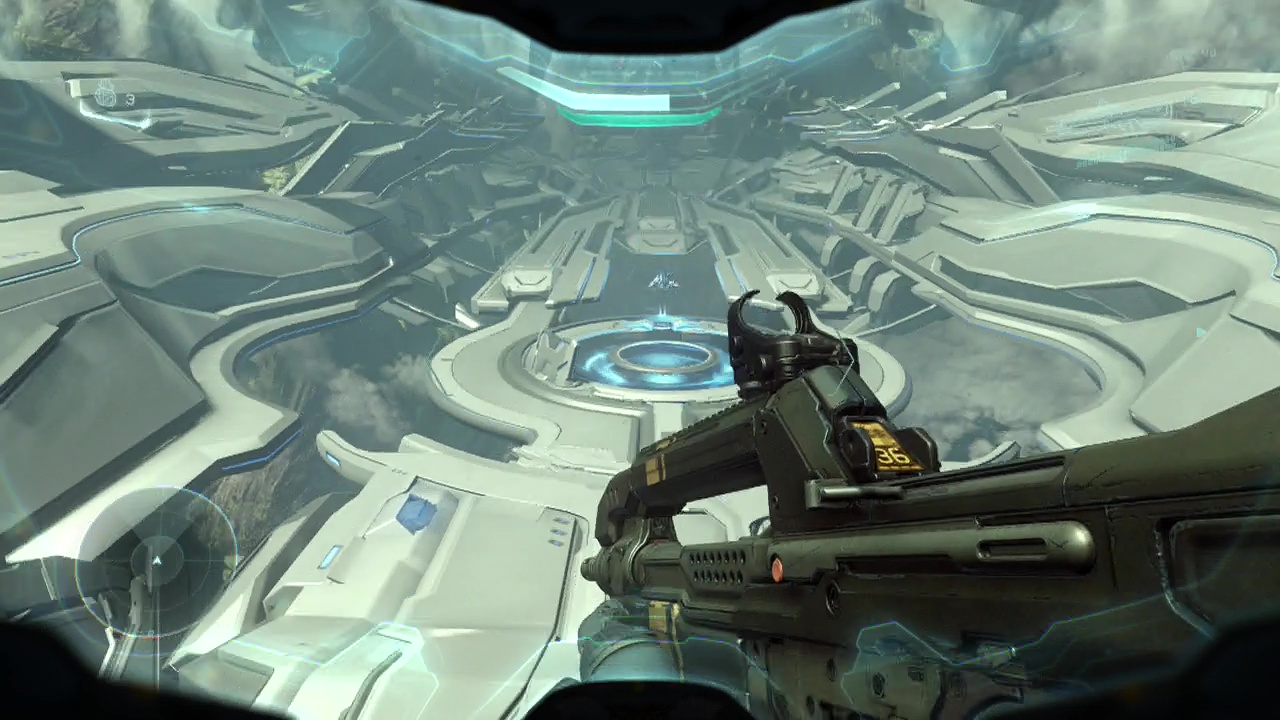
Anyone up for skiing? Well you'll kinda be doing that. Except you'll sliding down a massive incline on the side of a giant piece of alien technology. Oh, and you have no skis either. There are several factors against you on higher difficulties, whereas on lower difficulties you can basically just walk your way down the middle of the area if you like, shooting everything in your way. On higher difficulties you will want to conserve your ammo (therefore not engaging the enemies). To do this you can simply jump to drop forward at fast speeds, hopping down the side of the massive guardian. There are some things to keep in mind if you take this approach however: Avoid moving too far to the sides of the path as there are large gaps in certain sections as you descend.
Also use your thrusters to knock yourself back on course if you mess up a jump or bounce awkwardly, they can easily save you from a rather splattery death. Also don't stop. Stopping in mid descent will generally wind up with you full of laser/ plasma burns plummeting to your death. It may take a few attempts to get the hang of it, but you will get a rhythm down after a few goes and be merrily bouncing over the heads of the enemies along the side. Wait a minute, how are they even clinging to the side of the guardian? Do they have mag boots too? When you get far enough down, a scene will take over with you arriving on the ground afterwards.
CHECKPOINT
Move through the twisted plant archways ahead of you and through a doorway that opens itself. Not creepy, not at all. You'll encounter a resident of the structure by the name of Exuberant who will greet you inside. You'll begin descending in an elevator while Exuberant talks to your squad.
CHECKPOINT
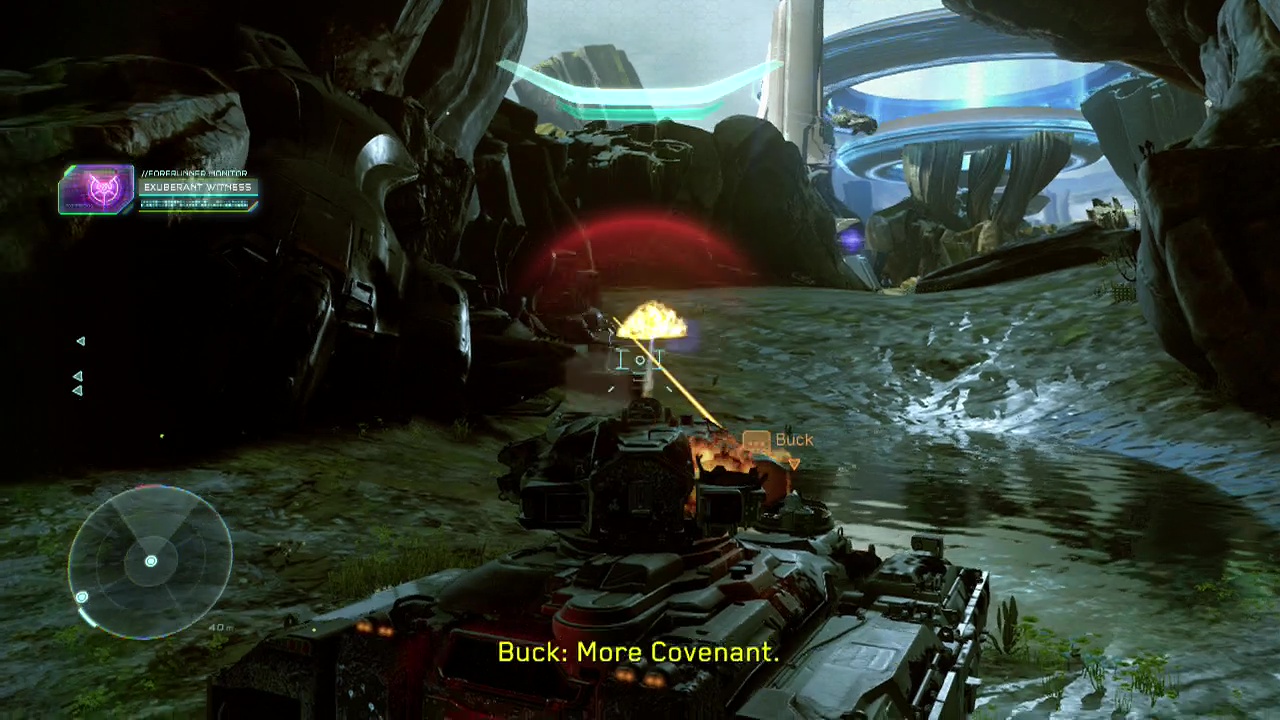
Annnd tank. Yeah, I'd say that WILL be of use to us Exuberant. Especially those of us on legendary difficulty. Seriously, love your tank and keep it alive as it will make your life so much easier. You'll also get an achievement out of it on legendary difficulty if you can get it far enough in the level in one piece. Before you do anything else, hug the left wall past the tank to find a data pad with intel beside a pair of ghosts just ahead. Stock up at the weapon stands on the right and then jump in the tank to roll out. A drop-ship will be just outside, as well as some scattered grunts and a ghost. Back away until the drop-ship is gone then move out. Your machine gunner squad-mate should tear through unshielded weak enemies, so focus your attention on the ghost moving around ahead. Your other squad members should find ghosts to trail along with you in, just be careful not to run them over as you advance.
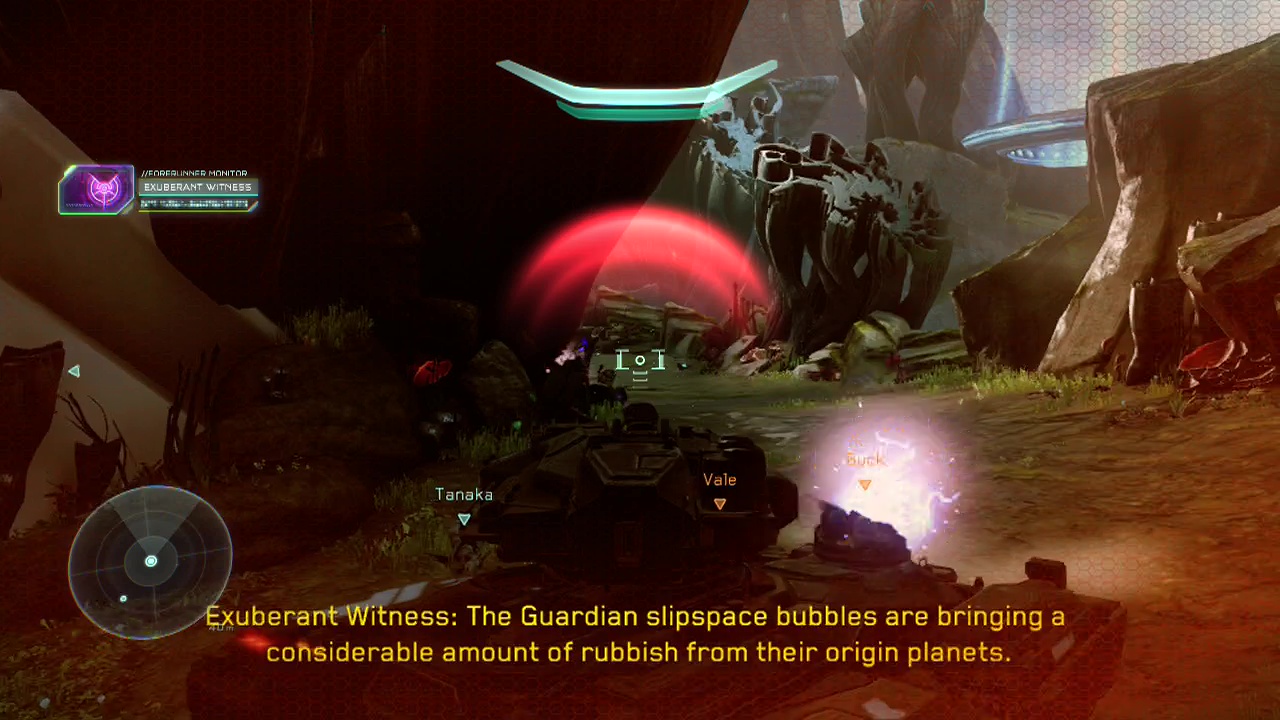
Trundle across the metal bridge as another guardian warps in overhead, Another drop-ship will fly in from the guardian's warp location so if you are quick enough you can do significant damage with your cannon before it can drop off it's cargo of two ghosts and a wraith. Promethean crawlers will begin to teleport in to attack the covenant so quickly blow them away so you are free to engage the enemy vehicles below. You can use your raised position to peek over the edge (making it harder for the wraith to hit you). There will also be a promethean turret that appears on the right side of the area underneath you so make sure if it turns your way you dispatch it immediately. Despite the annoyance of the ghosts, the wraith is the bigger threat as it can deal massive damage if it's blasts connect. So let your squad-mates distract the enemy ghosts while you fire away at the wraith below.
CHECKPOINT
Rattle towards the charred wreckage of the wraith and ghosts, looking to the right when you reach the bottom of the slope to spot a phaeton and another promethean turret firing down at your squad. Stay back out of the turret's line of fire while you focus on the phaeton. You want to bring both of them down fast so they don't kill off your squad-mates, but the phaeton is the more important target due to it's mobility. A ghost will also be wandering around the rocks below where the turret was (unless the promethean defenses blew it up already) so be on the alert as you move up. Before moving too far forward, investigate the edge of the cliff at the back left of this area to find a data pad with intel and a fuel rod cannon. You can keep hugging the wall of the rock formation to your right, jumping up to the rocky ledge above to find a broken constructor you can pull some intel from.
CHECKPOINT

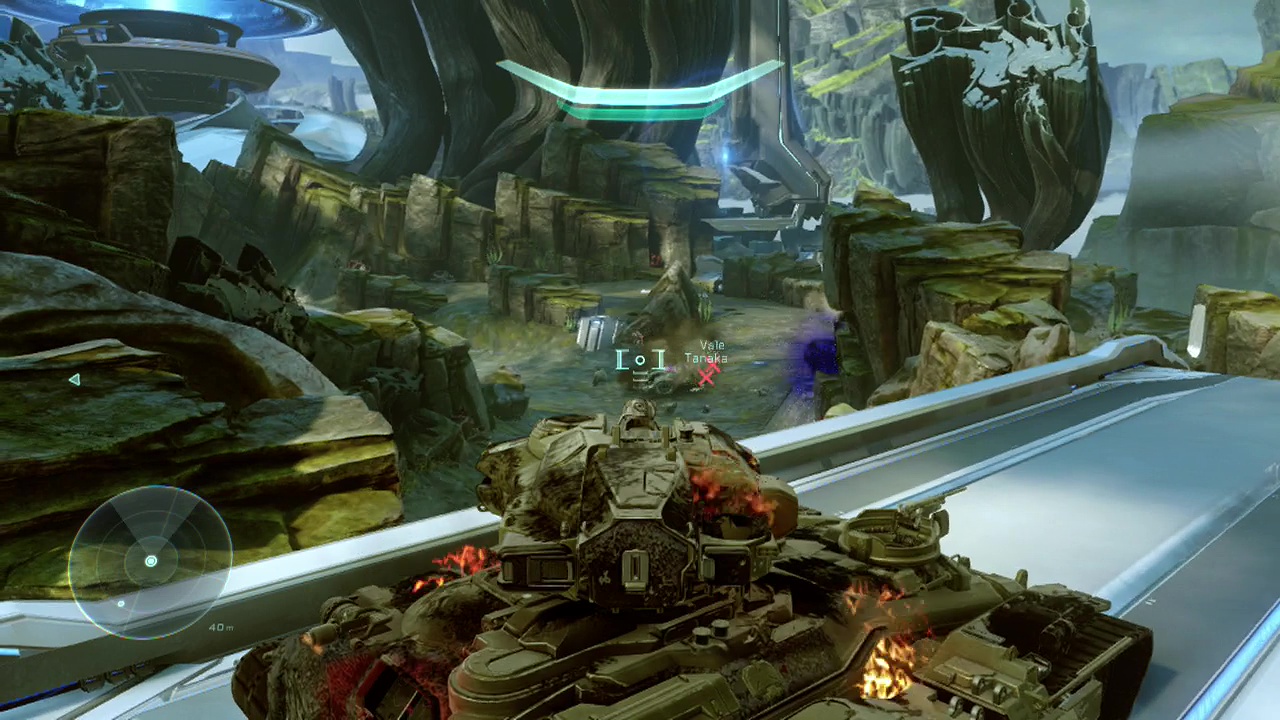
More promethean defenses will trigger after you've dealt with that first wave of enemies. so be ready to take on a trio of knights (at least one of which has an incineration cannon which you may want to 'borrow' afterwards for a Warden fight later) as well as a few crawlers. Focus on the knight firing the incineration cannon first as that thing can seriously ding your ride. A promethean turret will also appear on the cliff to the left of where the first one was, so be prepared to deal with that as well. Your machine gunner and cannon turret should quickly take care of any remaining crawlers, so cross the sodden water meadow towards the forerunner structure after the coast is clear.
CHECKPOINT
Watch Exuberant's epic door opening skills in action and roll through the door when it opens. You can climb up the rock formation to your left to find a data pad with intel up there. As you move through the tunnel beyond, a ghost will fly forward and open fire so swat it aside with your turret as you back up to avoid the incoming attack of a promethean turret and a banshee just ahead. When the ghost is gone, you can carefully creep forward and pick off the turret and banshee ahead.
CHECKPOINT
There's also a pair of rocket launchers on the left here if you didn't grab the incineration cannon earlier. As you emerge from the cave, a wraith will open fire from the middle of the area in front of you. Keep moving to avoid the balls of death whizzing your way as you unload your turret on the wraith. Another wraith will take it's place almost straight away after the first one falls and jackals will approach from the right side of this area. Ignore them for now (but be careful not to move further forward as a grunt among them has a fuel rod cannon) and focus on the wraith to turn the second one into metal clutter. Blow up the group of jackals and grunts on the right after the wraith is gone to get rid of the fuel rod cannon grunt and watch out for a turret at the far back of the area to appear as you move forward. A knight will also appear on the left, but you can pretty much pay no attention to him unless he gets close (due to him only having a scattergun). Finish off the knight when you're ready.
A covenant drop-ship will slide in at the back of the area, depositing elites, a ghost and another wraith. As it does, knights will warp in (one with an incineration cannon), so keep a wary eye out as those things hurt. Roll up into an over watch position on the bridge in front of you to fire down on both enemy forces below. You should be able to safely take out the wraith from up here as it will likely be concentrating on the knights. Note that you can get out of the tank and head left from the bridge to a metal outcrop with a forerunner console you can access for intel. Finish off the final ghost and trundle across to the other side of the bridge. Park here behind the rock wall on the left and climb up it to find a broke constructor with intel you can retrieve. A pair of knights with incineration cannons should appear in the center of the area when you do so open fire immediately to get the jump on them, rolling back up the hill into cover if they fire at you. A phaeton and more covenant forces will be ahead on the left, so fire into them from your position on the far side of the bridge until you are forced to move forward when you can't see any more enemies from here. Make sure you bring down at least the phaeton and promethean turret before you move forward from this position. Note that this will be your last chance to pick up an incineration cannon from a fallen knight.
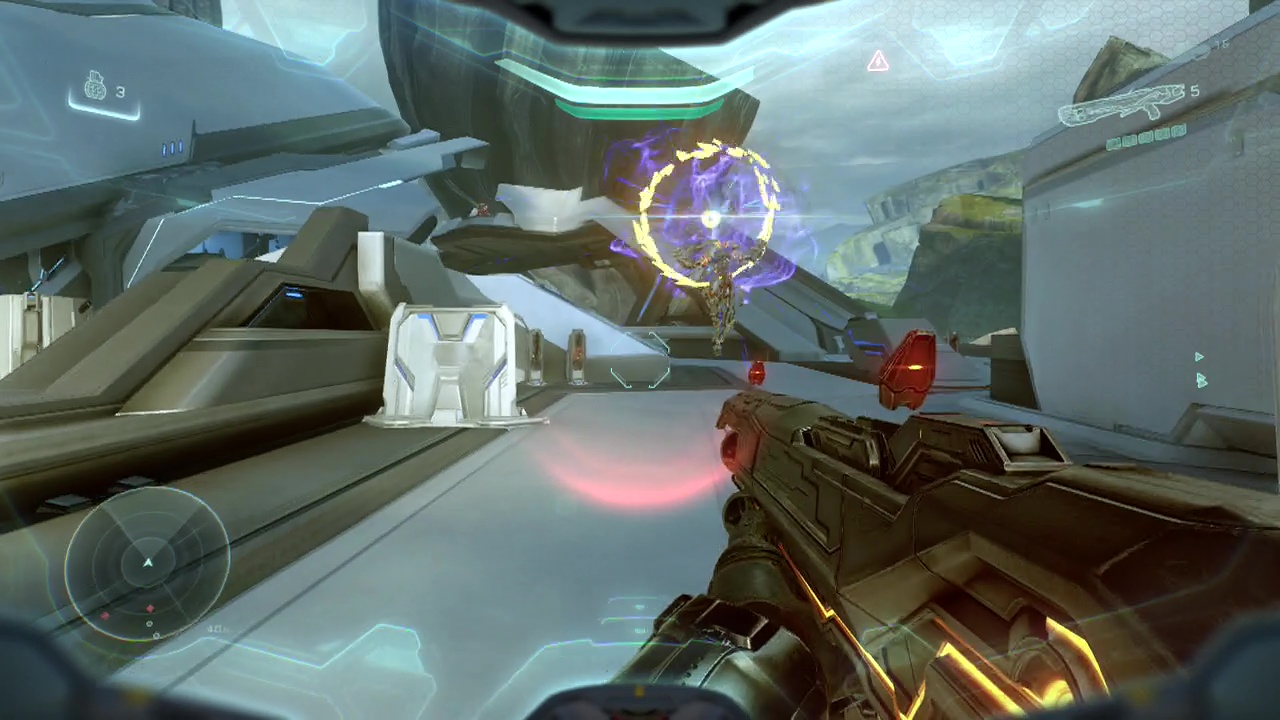
When the area is finally free of enemies, approach the inactive light bridge on the left side of the area and wait for Exuberant to turn it on. You can exit the tank on this side of the bridge and look for a rocky outcrop on the left side you can climb up to a data pad with intel and a spartan laser. Most exciting. Yeeees. Two turrets and the Warden will appear when you reach the other side, so immediately start backpedaling while you take out the pair of turrets and then focus your own turret on the Warden. With the tank's shots he should go down in a handlful of blasts. Just keep back from him until he dies as he can still deal damage to you and temporarily disable your tank with his eye lasers. If you manage to defeat this Warden and still have the tank, you'll receive the achievement at this point. Drive over to where the Warden appeared and you'll have to leave your trusty mechanical menace behind. Backtrack a little to the light bridge and enter the gap between the rocks to the left. Up here you'll find a dead elite with a data pad and intel on it beside him. Backtrack to the tank and then take the right path this time, circling around until you see a forerunner panel jutting up out of the ground. Turn left and climb up the rocks to your left. Jumping up to the top will net you this level's skull. From the ledge with the skull, turn around to see a forerunner outlook jutting out over the cliff. Drop down and investigate it to find a data pad you can access for some more intel. Hopefully you've got an incineration cannon and battle rifle as your weapons as you jump up into the next area. Moving towards the forerunner structure ahead will trigger a checkpoint and your next battle against … TWO Wardens. What the hell?
CHECKPOINT
======================================================
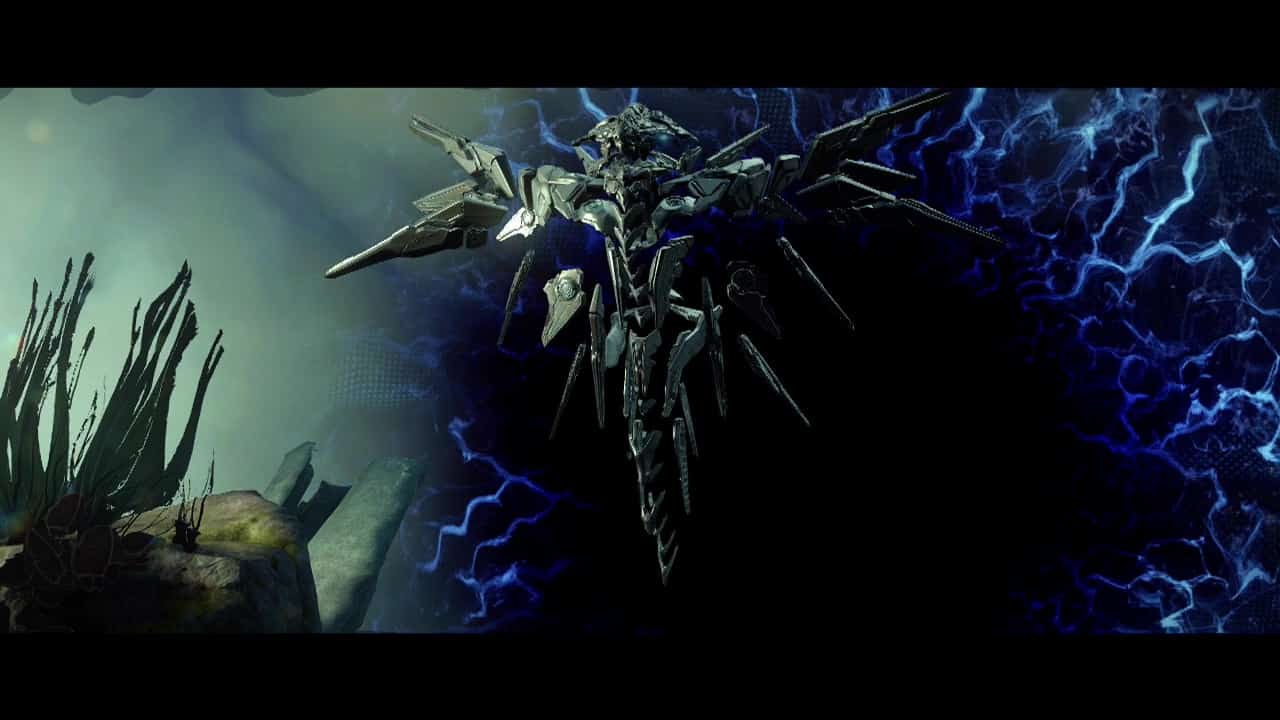
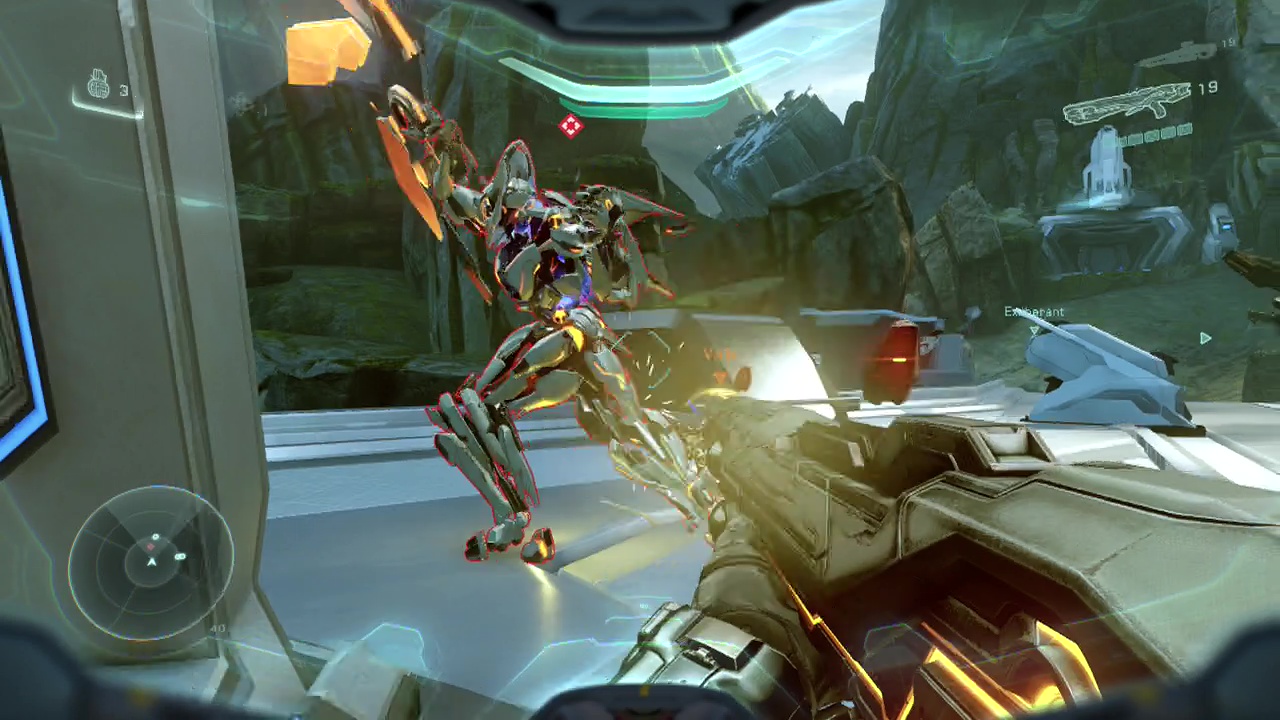
BOSS BATTLE: WARDEN (fourth encounter)
Note: You can activate checkpoints during this fight by dispatching a certain number of enemies. This is very useful to trigger after killing the first Warden.
Ugh, how many times do we have to fight this guy? The biggest issue here is that you'll be dodging two lots of instant-kill attacks and there will be twice as many spawned crawlers and soldiers as there were in the past. There will also be knights to deal with as well. The strategy however remains the same. If you picked up an incineration cannon earlier, you'll have a definite advantage as it makes it easier to hold the Warden still while you fire at his back with the scattergun (there are plenty in stands on the sides of the area). There is an additional incineration cannon under a small bridge on the left side of the area, but it is difficult to reach normally as one of the Wardens normally hangs around nearby. Hopefully by now your Warden killing skills are refined enough that even two of these guys don't pose too much of an issue.
You'll want to try and lure one of the Wardens away from the other before setting your squad to attack him, then blast him with the incineration cannon from behind or the side and quickly race up to deliver your love tap with the scattergun several times until he implodes. When the first Warden vanishes, the situation will get easier as you'll only be dealing with one lot of summoned support. Repeat the same tactics and take the second Warden apart. With the checkpoints from killing enemies, overall this fight isn't too difficult in comparison to other ones. Yeah, this still isn't the hardest Warden fight by the way. It's coming up pretty soon though.
======================================================
CHECKPOINT
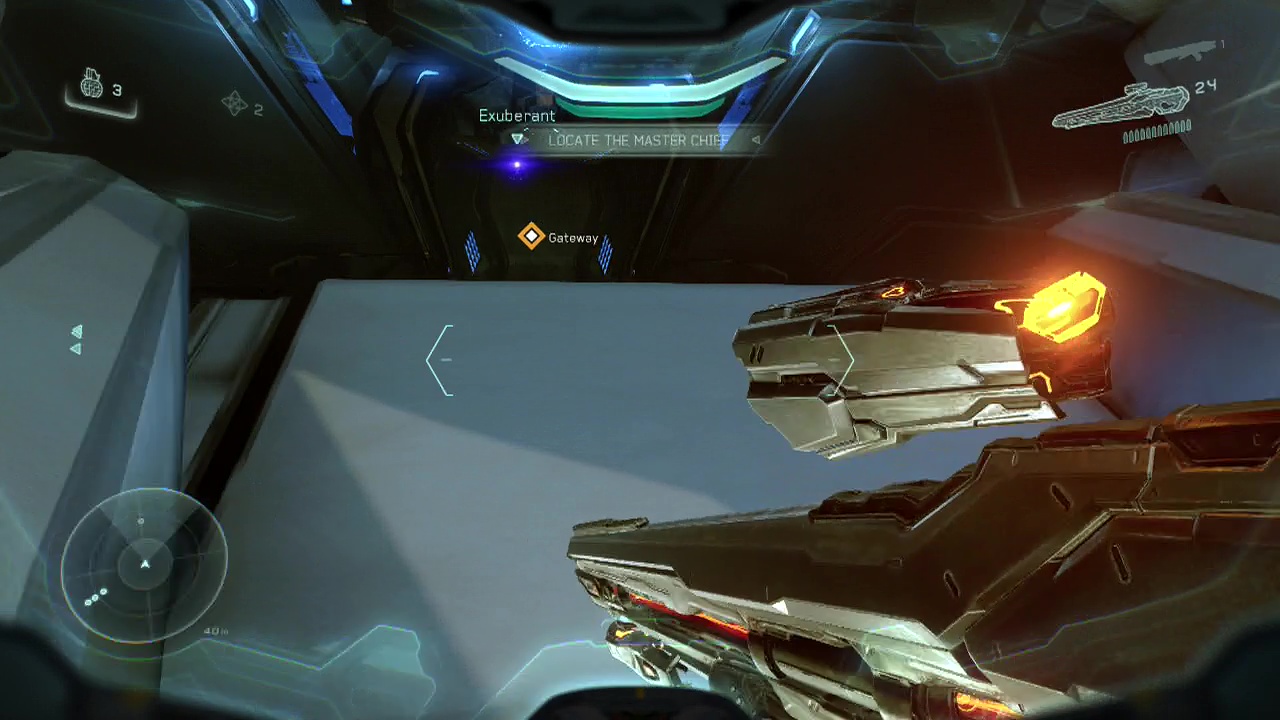
Objective: Locate the Master Chief
After the battle ends, head up to the left side of the upper area in the back corner to find a forerunner console you can access for intel. Then head to the back of the area and a scene will take you away as the level ends. Pretty short one overall, wasn't it?