
WARZONE MODE ADVICE/ MAP INFO
Note: Requisitions are only available for use in warzone mode
- Requisition basics – Halo 5 introduces the ability to collect and use requisition cards by spending requisition points you earn by completing multiplayer matches and leveling up. These come in multiple categories, some permanant and some not. Loadout weaponry for example: assault rifles, smgs, battle rifles and their variations with increased attachments, are permanent upgrades, allowing you to equip them any time in a warzone battle as long as your team reaches the required requisition level (shown by a number of green cubes at the bottom of the screen) to use the item. Other more powerful items (such as vehicles, powerful weapons and suit powers) are consumed each time you use them. These can be replenished by buying more requisition packs.
- Requisition advantages – Constantly upgrading your weaponry as the game goes on (especially with the permanent initial loadout weapons) can be a major advantage, allowing you access to battle rifles and weapons with upgraded sights, bayonets, laser tracking and more. Having these improved weapons every time you respawn can give you a decisive victory over less prepared enemies.
- Appropriate timing – Spawning in a scorpion tank when the battle is seconds from ending is both pointless and a waste. Consider using consumable requisitions when appropriate. For example when you try and take down a powerful enemy on the map for the bonus team score. Or using a scorpion to help your forces in the final push at the enemy base.
- Reloading – While you can often reload your basic weapons from the weapons scattered around from dead combatants, you can also approach any requisition station your team controls to top up your weaponry.
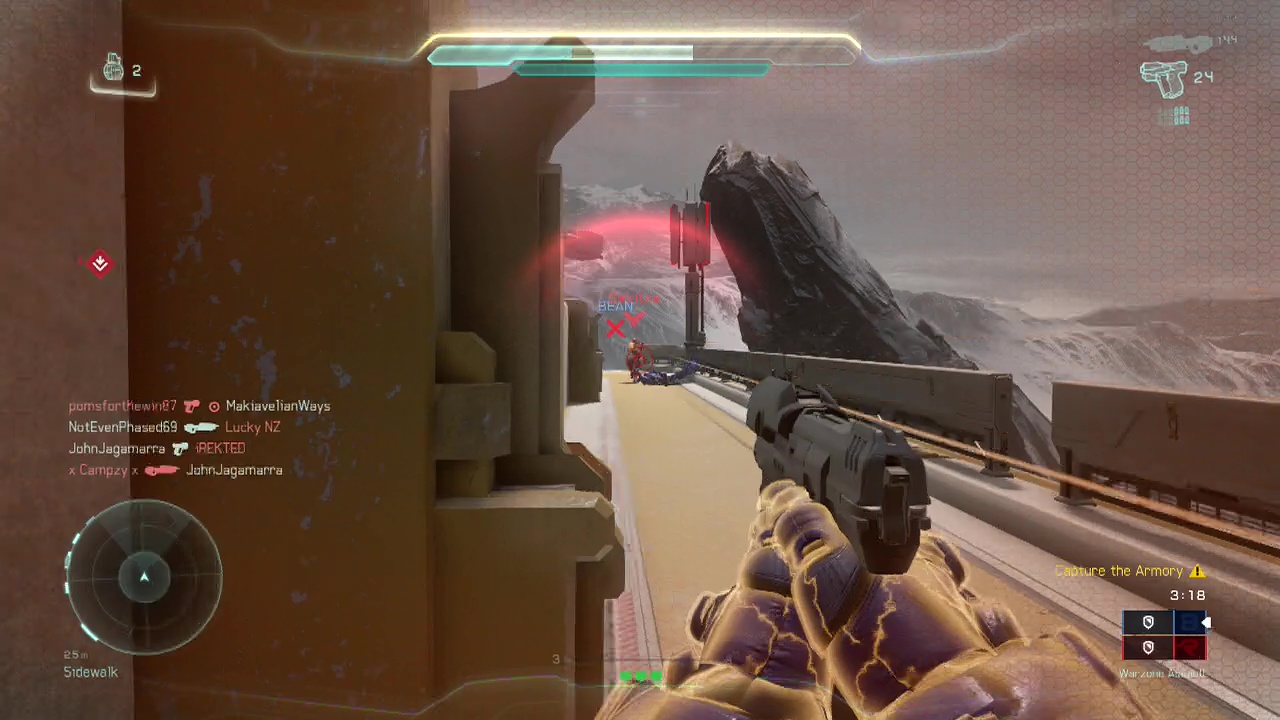
- Pick your targets – Warzone maps contain two teams of 12 players PLUS AI controlled enemies. Less experienced players should spend the early parts of each map fighting the AI enemies. This contributes points to your team, as well as giving you practice. You may also get the opportunity to take out distracted opponents who are firing at the AI enemies. For those that are used to dealing with human opponents however, you will want to focus your activities on capturing and maintaining control of the three areas on each map that give passive points to whichever team controls them. Of course you can do this by running up and shooting other players in the face or providing overlook from a high vantage point. How you do it is up to you.
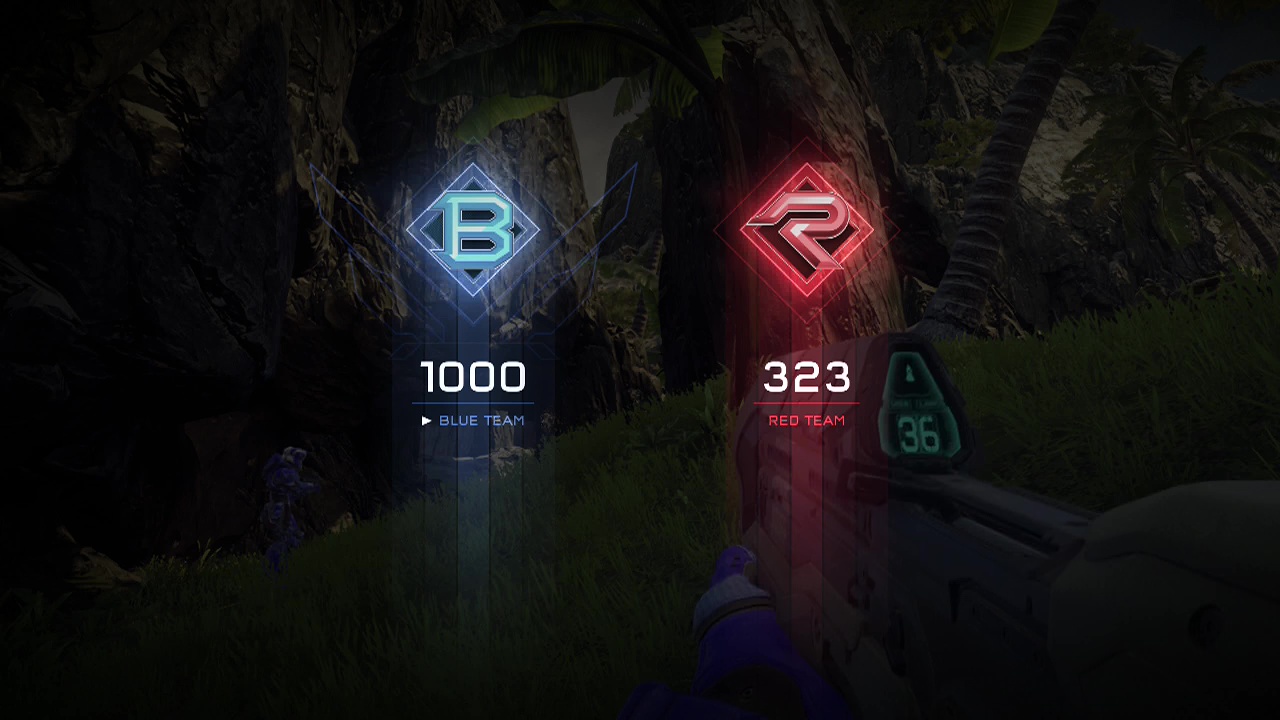
- Legendary/ Boss enemies – These spawn in the maps at fixed intervals (elite commanders, the warden, tank commanders and various other forms) these offer a huge increase in points (100 – 150+) for the team that defeats them. Many matches can come down to who lands the final hit on the warden (usually the last legendary), gaining that last bunch of points to win the game. Make sure to join your team when they attempt to go after one of these powerful enemies, using a good AoE or powerful ranged weapon to increase your damage output. Taking down one of these guys can really make a difference.
- Spawning – When you respawn after dying, you can select your home base or any of up to three additional locations if you have taken them over. Make sure to spawn in the area that best suits you. Frontline fighter? Get back in the action straight away. Sniper? Respawn at one of the futher away bases so you can get back into position safely. Always check your destination before you spawn, as the enemy team may have taken over your previous base, meaning the spawn location selection will change.
MAPS:
March on Stormbreak
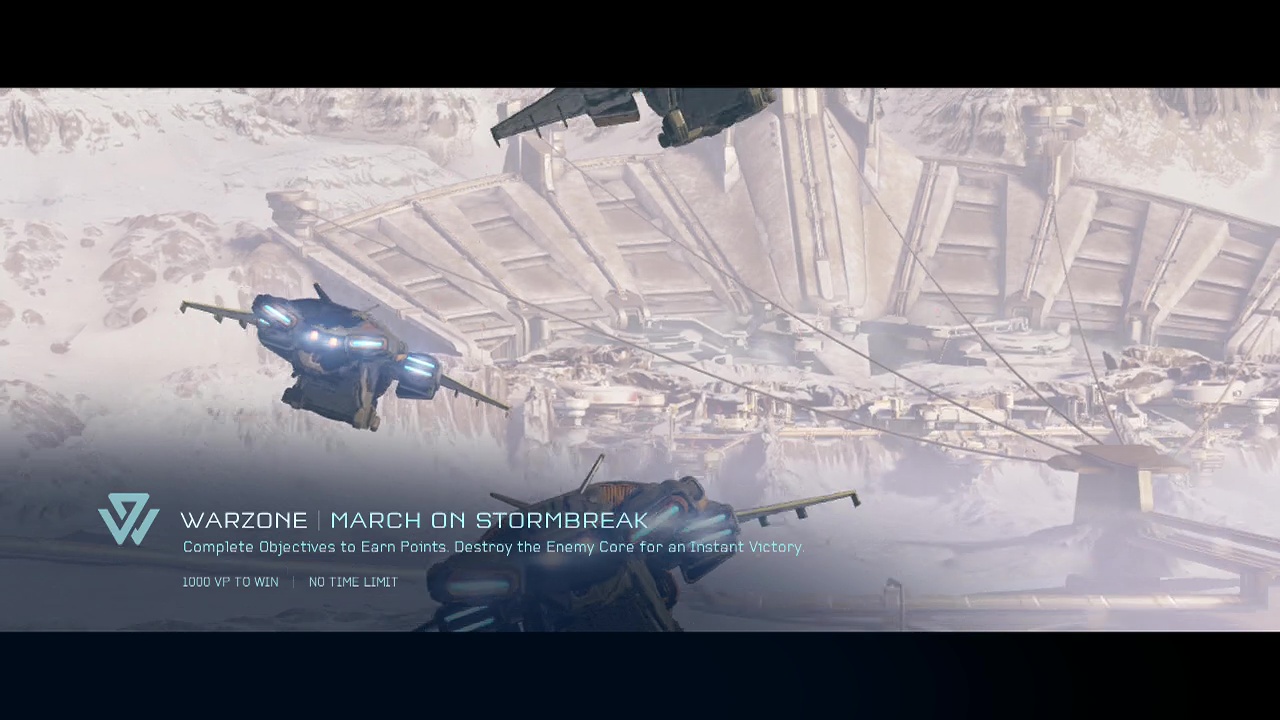
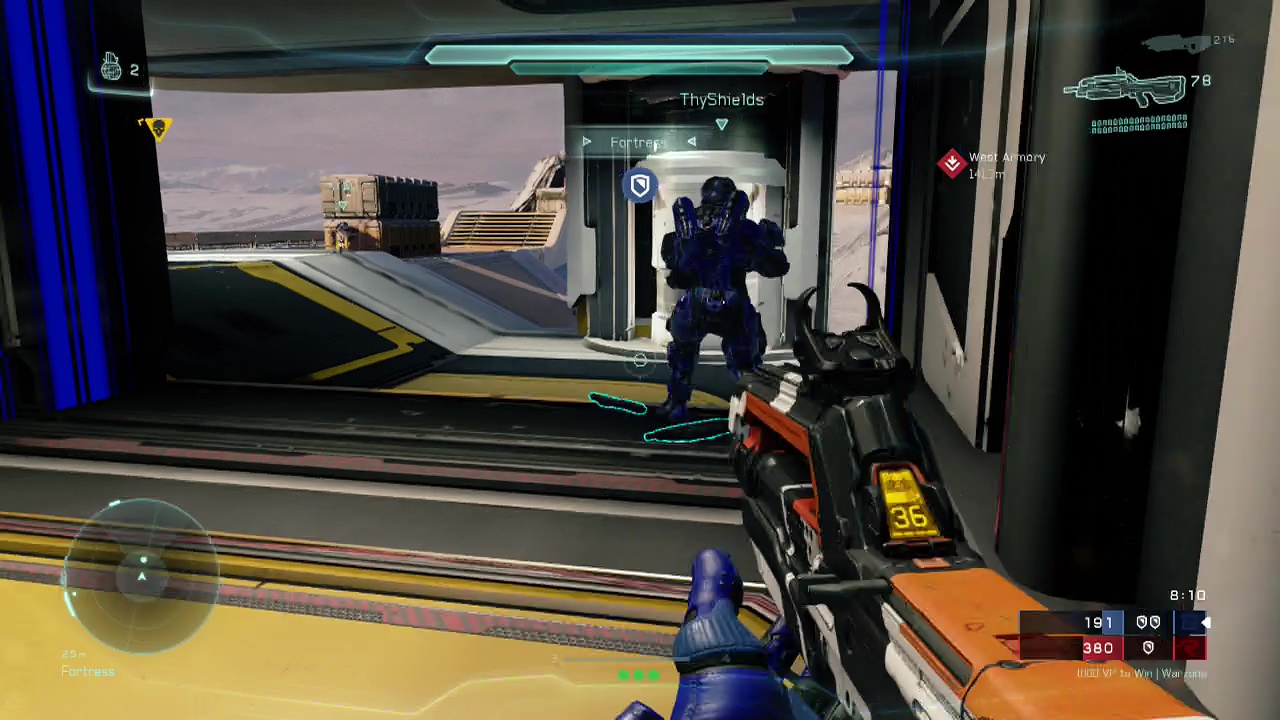
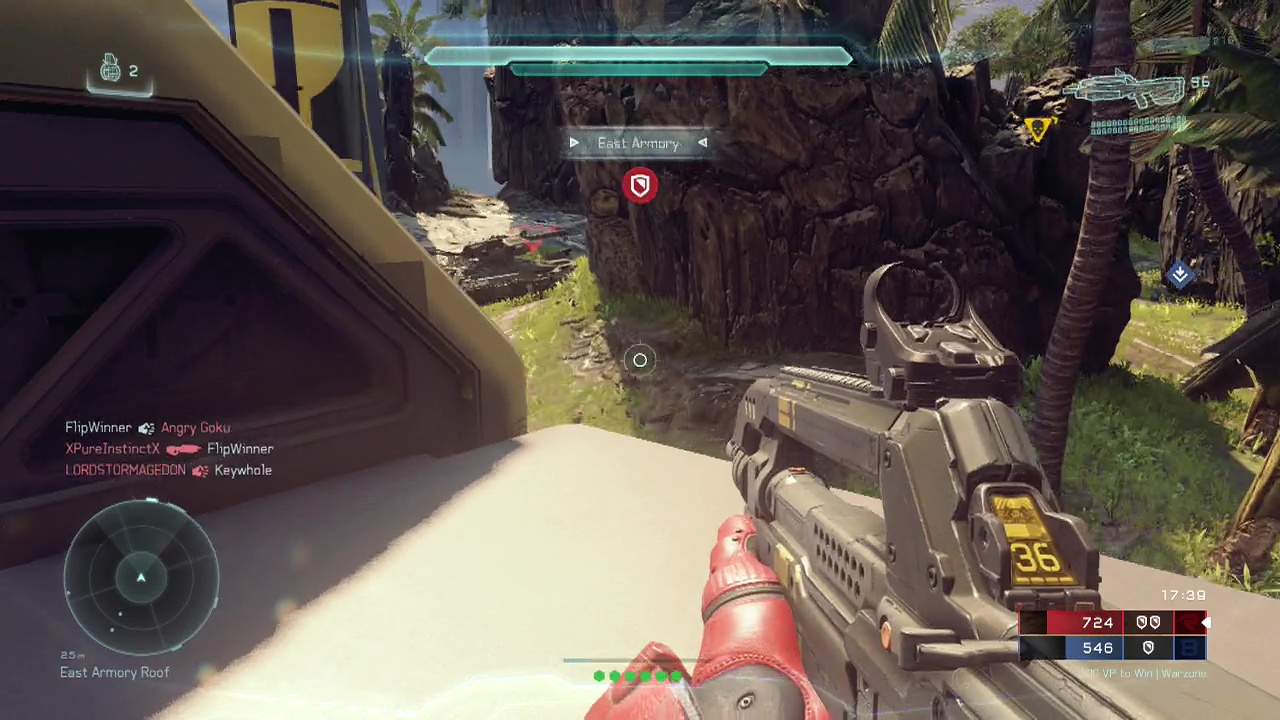
As soon as the match begins, immediately leave the pelican and rush into the base complex in front of you. Work together with your team to eliminate the promethean enemies inside (use the radar to find them). The quicker you can regain control of the base, the quicker you can leave (due to the home base being on lockdown until secured) and take over the armoury closest to your home base (East or West armoury).
Taking these over quickly allows you to reach the Fortress in the center of the map before the other team, allowing you to get better defensive positions and the ability to start attacking Commander Lochagos (the first legendary of the match) who appears in the Fortress to get an early lead on points. From this point on, you need to try and maintain control of the Fortress, pushing forward to the armoury the enemy controls if possible. Just make sure the enemy don't circle around and take control of your armoury, as defending the Fortress from two directions is a death sentence.
+ Use the long sightlines on the landing pad side of the fortress to snipe enemy players with your battle rifle or sniper rifle
+ Only stay guarding the fortress doors on the upper levels with groups, as the lower levels are easily accessible by vehicles, meaning pedestrians will be easily squished/ shot by enemy vehicles. Shoot down at vehicles from the upper level instead.
+ When assaulting groups of enemies at the fortress doors (from outside) remember to use your grenades. If you are with a fireteam, lob a bunch of grenades at once to prevent enemies escaping the blast.
+ When it is a tight match, use your powerful vehicles at the end against the final legendary enemy to try and get the last damage in, grabbing the points.
+ The majority of players tend to be in cover in the fortress or under overhanging structures for most of the match (generally unless they are new players), making aerial vehicles relatively useless here. Save them for a map that suits them better.
Another legendary by the name of Captain Wamik (banshee) will arrive a few minutes later (generally around the 8 minute mark at the landing area just outside the Fortress, although his arrival time may vary depending on the progress of both teams. Shoot from behind cover or from a decent range if you can at the captain because both sides tend to swarm the landing pad. If you are looking down the sights when an enemy is near, you won't see the radar and are likely to get assassinated, so make sure you burst fire, check radar, fire and so on. You can also try to kill off enemy players who are distracted while shooting the captain.
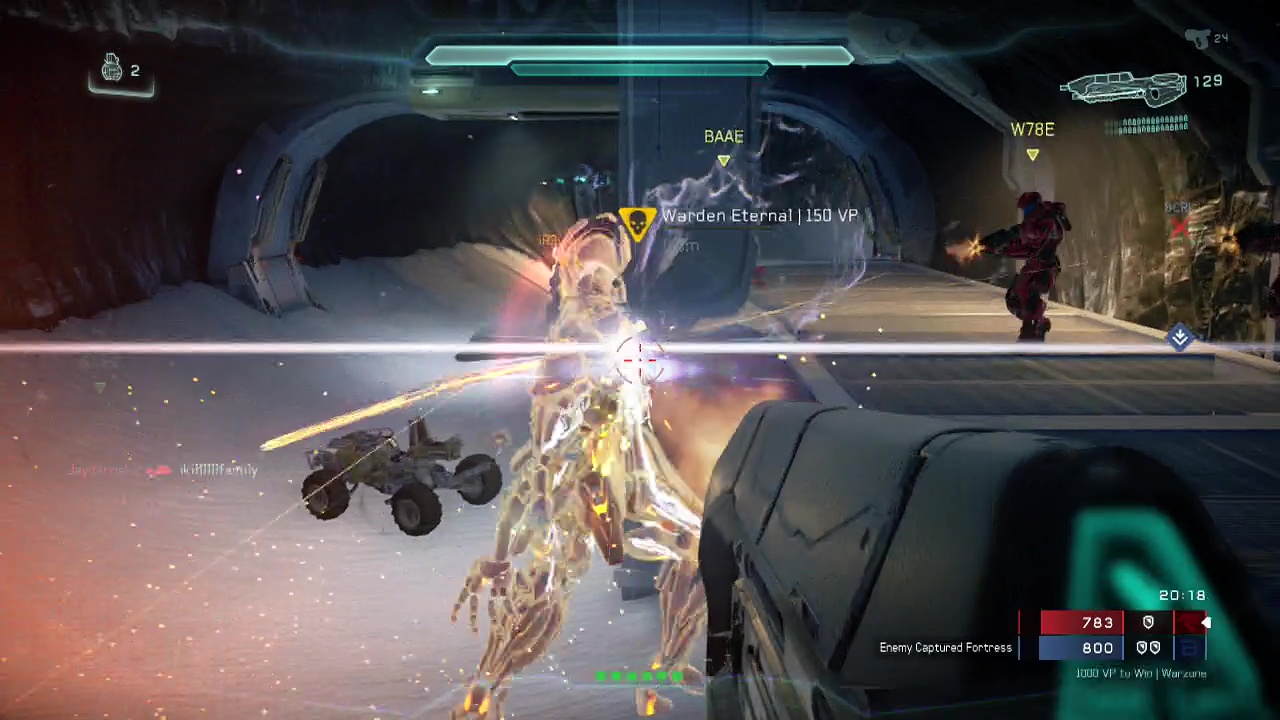
When one of the teams is at the 700+ point mark or the game has reached around 15mins+, the final legendary enemy will appear. As in most levels, this is the Warden. The whole team should drop what they are doing and head for his spawn location. The area (outpost) he is located in is dangerous as it is fairly open and it is easy to get killed off by battle rifle wielding enemies here. Use what cover you can and aim at the back of the Warden whenever he presents it. Moving away if he comes after you. Remember that the last hit is what counts here, so if your team is putting more fire on the Warden, it is likely you will get the final hit and the points that go with it. If you are in front this should leave you only a handful of points away from victory.
Escape from A.R.C
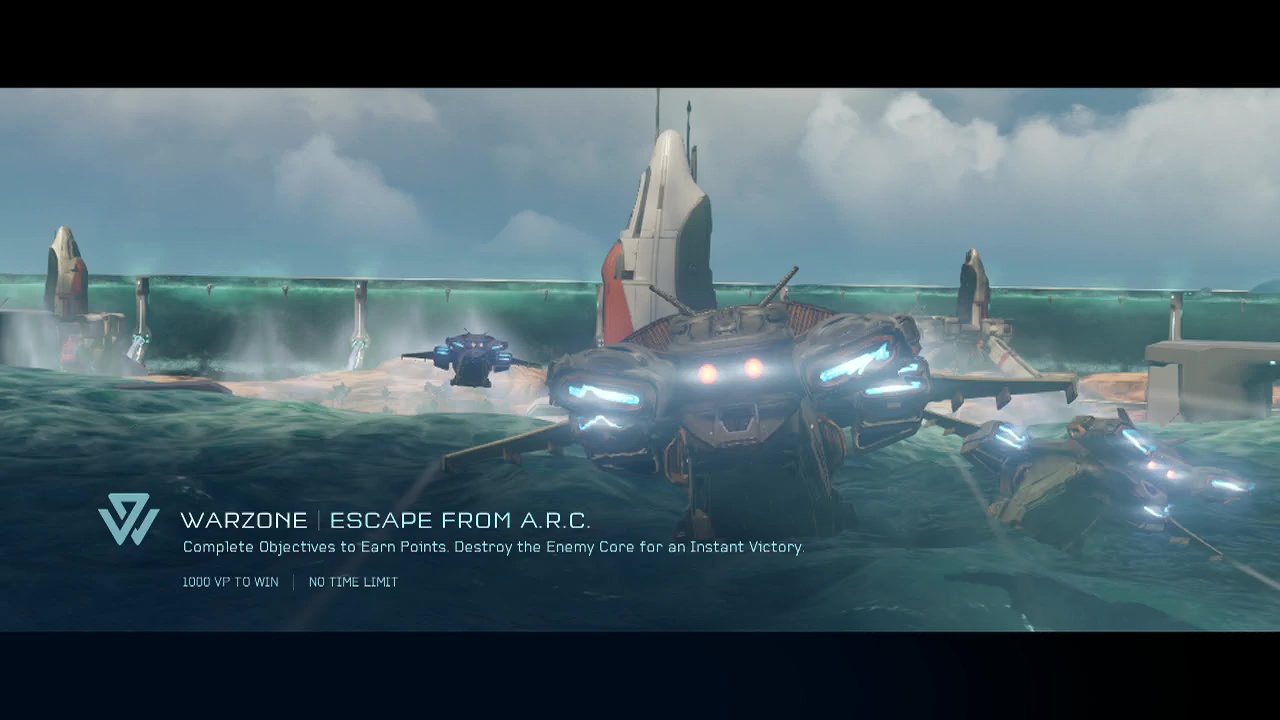
You'll exit the pelican and be the promethean forces (crawlers) will be right in front of you. Open fire with your battle rifle while moving forward and help your squad start clearing out the home base. Soldiers will be teleporting around on the ledges further inside, so be careful if you are on the lower levels to avoid dying embarrassingly to a soldier. As soon as the base is cleared, run through the deactivated forcefield at the front of the base to emerge into the outside world, a large scale mining facility.
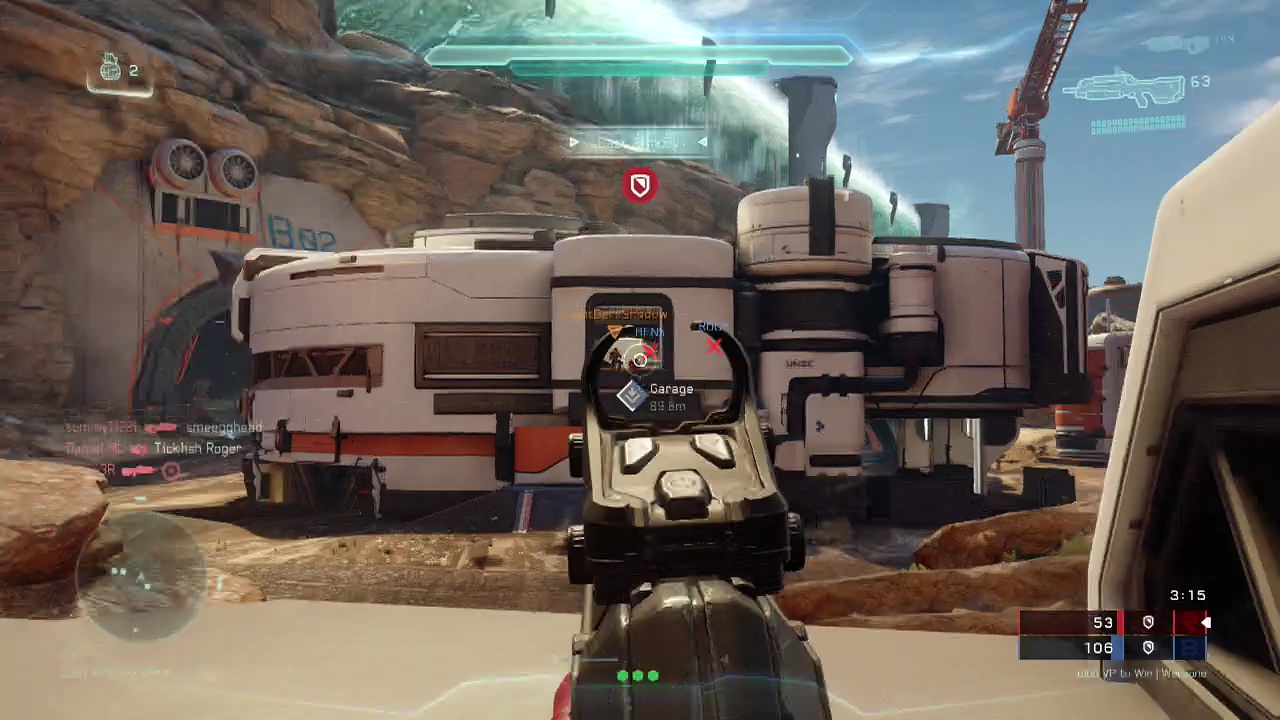
Immediately start running towards the armoury closest to you, stopping only to take down a elite general on a nearby rooftop if you wish. Be ready to take on the promethean soldiers inside as you enter the building. Be careful advancing towards the central building from this position as there is a lot of open ground between the structures and enemies like to fire from the windows at exposed targets. Avoid entering the large red mining (East) tunnel at this point (although you will likely return here later for a legendary). You can also remain on the armoury rooftop, shooting at enemies that appear at the windows as well if you don't want to take the Garage (central structure).
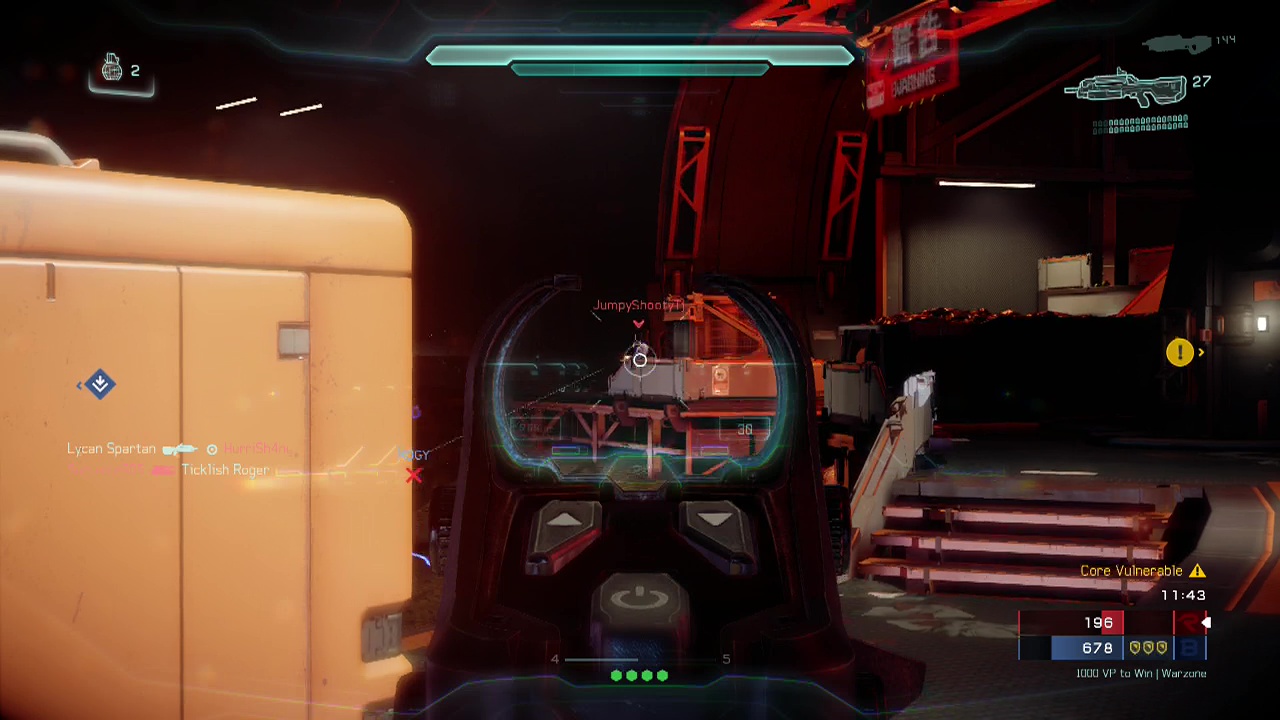
Baron 'Sroam is the first legendary you spot at the 8 minute mark. He will be flying between the West Armoury and the Garage in his red banshee. Concentrate fire on him with automatic weapons for a little while and he'll go down fairly fast. Knight Strategos will show up next around the 13 minute mark of the match. Use accurate fire or AoE weapons/ vehicles to break his armour and kill him quickly. Warden eternal will show up last as usual, kite him and shoot him in the back with your most powerful weapons to nab the final legendary points and hopefully clinch the win for your team.

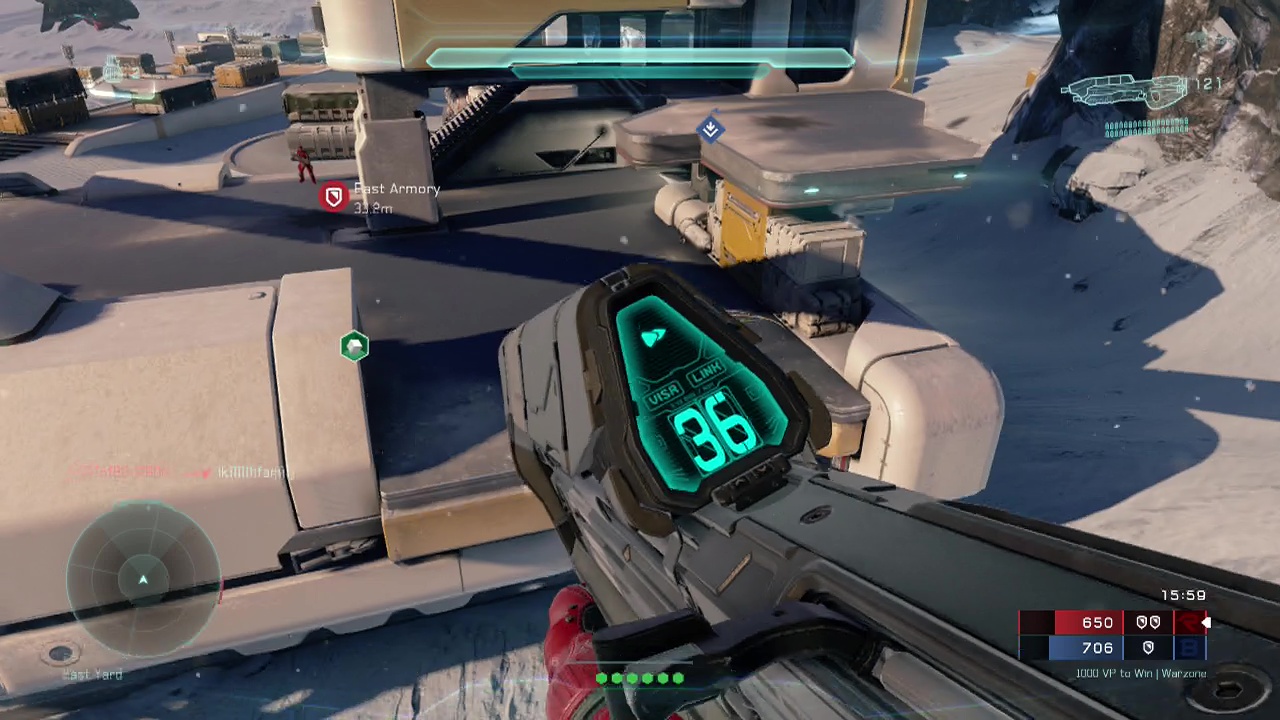
Raid on Apex 7
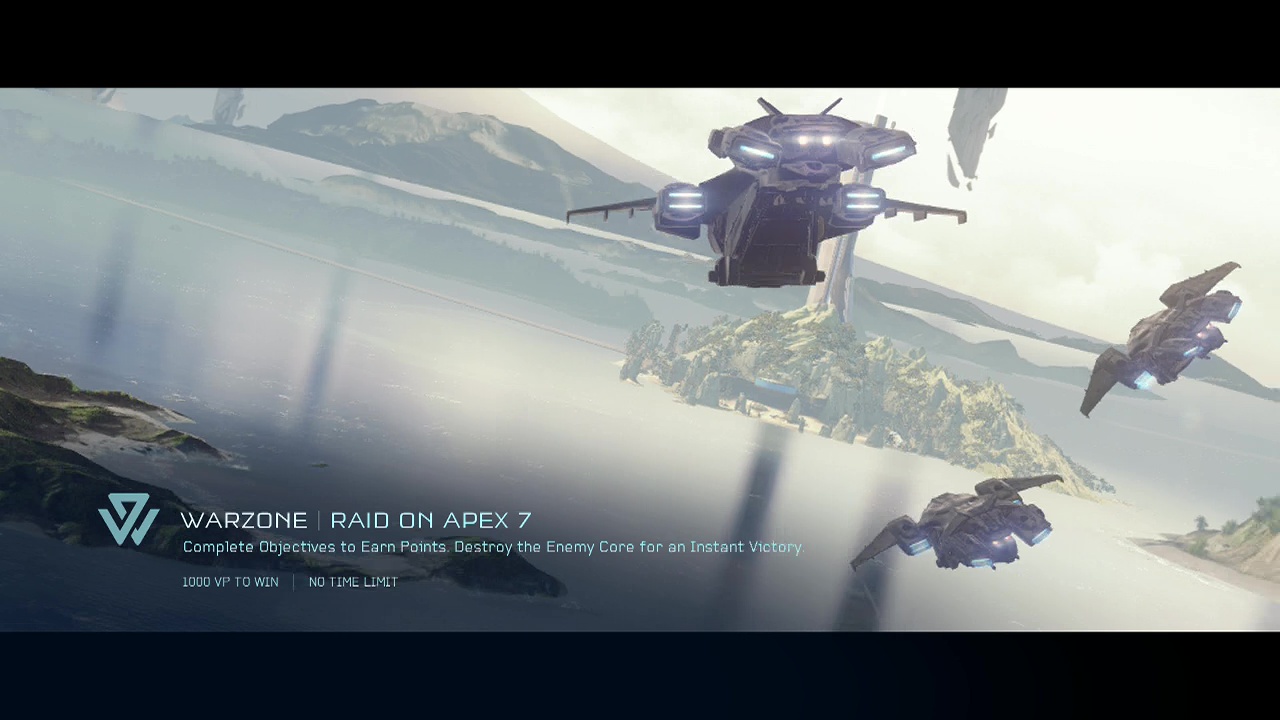
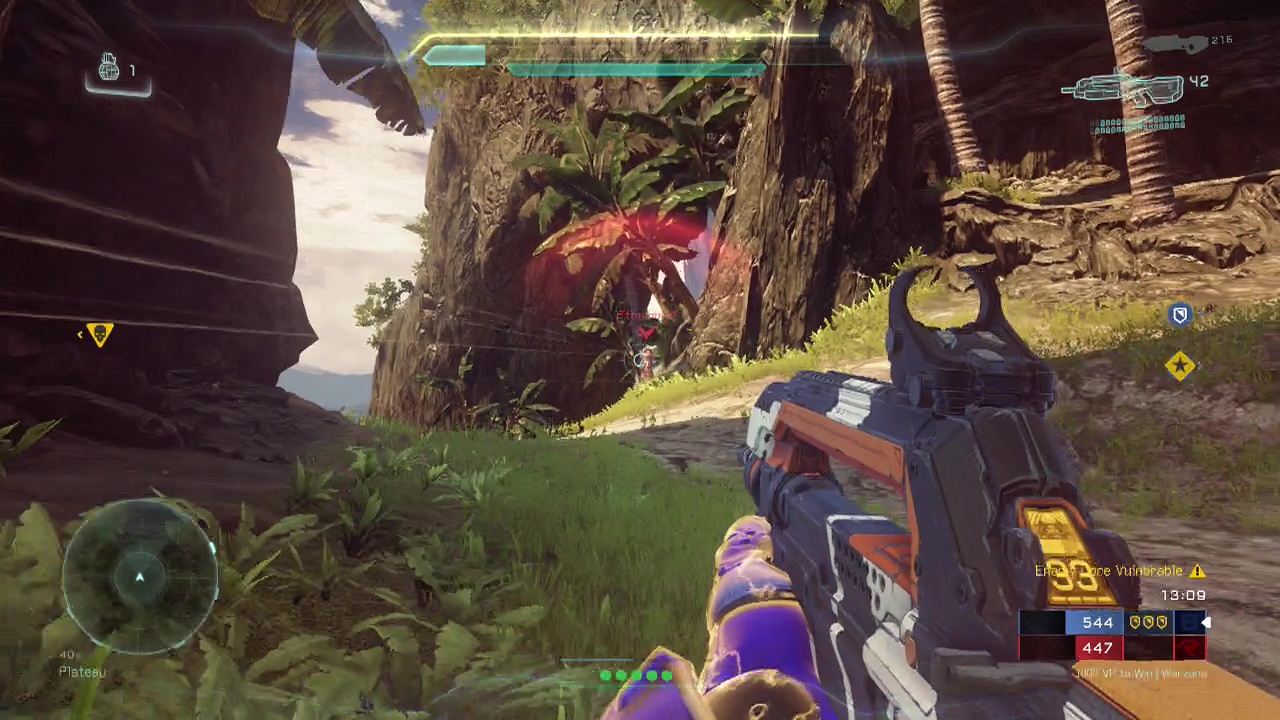
As you jump off the pelican, sprint across the sand and into the building in front of you. There are a decent number of enemy prometheans inside for you and your fellow spartans to take care of before you can can leave the home base. When the home base is yours, start moving towards the armoury closest to your starting position. Unlike the other warzone maps, the legendary enemies spawn later than usual, giving you more time to capture locations first. Less experienced players can remain here using the limited entrances and ramp up to the upper level to blast any invading enemy forces. Staying crouched and not moving is a great way to ambush unwary players who rush in to claim the armoury. Just be careful to avoid enemies flanking you through the other doors. More experienced players however should continue to move up to try and take the central position known as the Spire.
The Spire offers good views of the surrounding area and allows alert snipers to have a field day when groups of enemy players run across the open spaces on each side of the Spire. Make sure to duck behind the walls regularly though as you are very exposed when looking down from the upper level. There are also ramps leading up from the lowest level which can make enemy tracking disorienting without practice, so be careful. When you reach the 8 minute mark (or sufficient progress) the lengendary Tankmaster Rok should appear on the beach between the fighting forces. You definitely want heavy weapons or a powerful vehicle to take this guy down as he is in a wraith. Get a few allies together with these and you should be able to chew through his health pretty fast for the bonus points.
At the 12 minute mark (or after sufficient progress, legendary Captain Hestro will appear at the beach in a Phaeton. Greet him with a barrage of powerful weapon fire or snipe at him from cover. The phaeton will take a little while to destroy, even with concentrated fire so be wary of enemy ambushes as you fire upon the flying craft. When Hestro is destroyed, return/ redouble your efforts to capture the Spire, as the final legendary will appear in front of it shortly. It also offers great views and a good defensive position for covering a large area of the terrain. Coordinated enemies will often try to use the tunnel system at the base of the Spire to get in close without getting shot as, so be watchful for these intrusions.
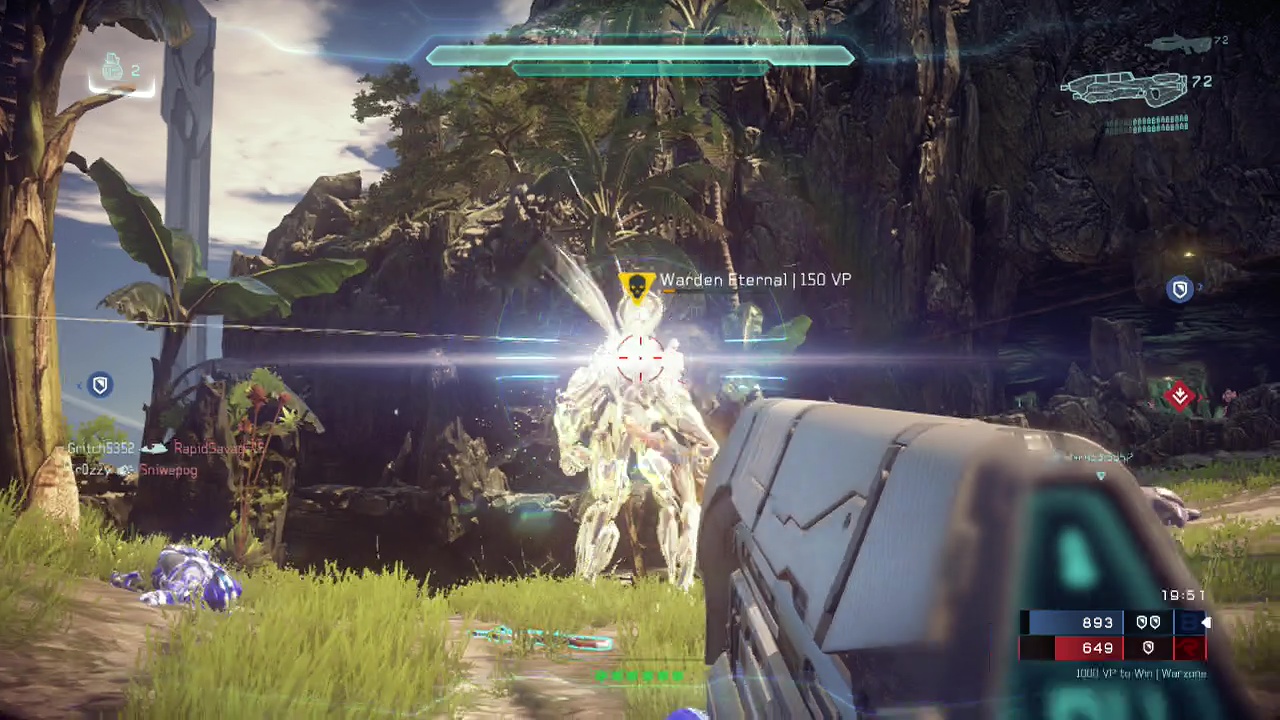
Around the 18 minute point, Warden eternal will appear at the crossroads in front of the Spire. Whoever is in control of the Spire at this point will have an advantage due to having an elevated position to shoot down from. Just be careful not to bunch up as enemy players have a habit of firing AoE weapons (or using a scorpion's cannon) at the ledge overlooking the Warden, taking out multiple unwary players at once. Due to the extremely open nature of the area, you will want to stay pretty far back in cover or up on the Spire to take your potshots at the Warden's back unless you want to be mown down in seconds by the crossfire.

WARZONE ASSAULT
Maps:
Dispatch
Array
Summit
In all warzone assault maps, you play on either the defending or attacking team. The defending team has to protect a series of objectives (three in total). If they manage to successfully defend any of these objectives until the 5 minute timer runs out, their team wins. The attacking team must capture each structure in turn (you cannot skip ahead to the next one), this can be extremely difficult as the defending team often has better cover positions and respawns nearer/ inside the structure, while attackers often have to cover terrain again after death to reach the structure.
Despite these differences, the overall strategy is the same on either side: Coordinate and communicate with your team members, use ranged weapon fire to take out approaching enemies/ defenders. Stick together when capturing/ defending (but not too close or grenades can kill multiple players). Look in the general multiplayer strategies section if you need more details on how to succeed in this game mode.