MISSION 17 – Tangled Up In Blue
Mission area: Corda Dracon Centcom
Requirements: Complete mission 'electromagnetic pulse'
Liberate settlement 'corda dracon: centcom'
As you enter the mission, it seems the battle for Corda Dracon is already underway. Just like the previous regional war, you'll be required to flit from battlefield to battlefield, helping the rebel forces to max out the meter at the top of the screen. When it is completely filled, the rebels will be victorious. As you gain control, you may want to call in a helicopter to make your journey to the first battle quicker (3km), but it isn't mandatory as the meter won't drop too fast. Float or fly your way across the countryside, heading for the battle site. Try not to get too distracted on the way as the rebels can't hold back forever. You'll eventually reach the airstrip where a rebel plane is prepping to take off.
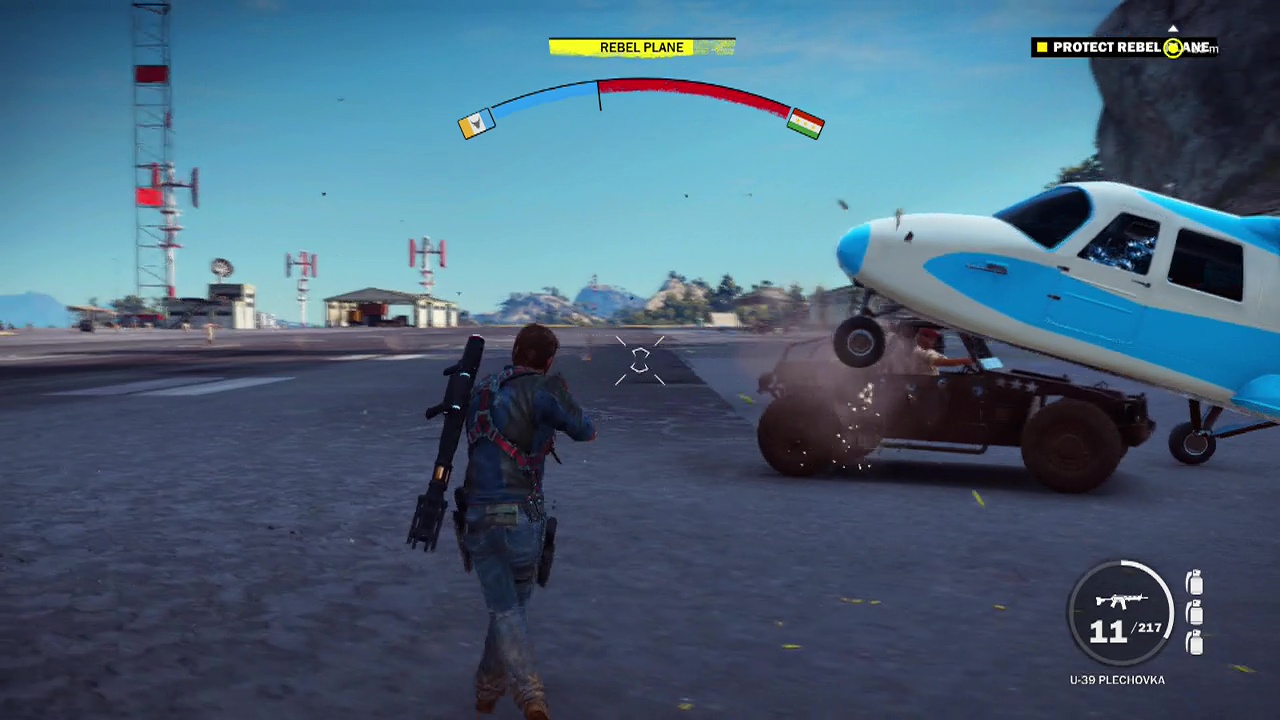
You will have to be extremely efficient here as Di Ravello's men like to ram their trucks into the plane which can cause a glitch (if an allied vehicle is in contact with an enemy vehicle – even a stationary one, it will take damage). In my game, the soldiers rammed the truck into the plane, getting it stuck under it causing it to explode in seconds. Hopefully you can avoid this happening to you. However, you won't fail if it does, it just means you will have to fight more total battles to win. Use your RPG and grenades to bring down the trucks before they can get too close to the plane and keep protecting it until it manages to take flight. Due to the openness of the runway, there isn't much strategy here. All you can do is keep killing soldiers and vehicles until the timer runs out or you or the plane dies.
Note the jets on the runway as well as they will allow you to quickly travel to the next fight. This happens to be an allied gunboat that needs a driver to get it through the enemy blockade ahead. Rapidly descend and take command of the vessel, piloting it towards the nearby marked beach. The good thing about the gunboat is it has cannons you can use to blast enemy boats that appear as well as a decent amount of health. These two factors mean you shouldn't have any issues getting it to the beach safely (unlike that stupid plane). Keep moving in a straight line, firing at nearby enemy vessels until you reach the beach and your allies inform you of a nearby convoy of enemy vehicles.

This convoy consists of four trucks and a bavarium tank (the one that creates a temporary shield that makes it invulnerable and unable to be boarded while the shield is active). If you have any RPG/ special rounds left this will be the time to use them. Failing that, grapple onto the tank and plant a GE-64 bomb on it when the shield is down. The trucks should go down quickly without fire support from the tank so turn them into twisted metal.
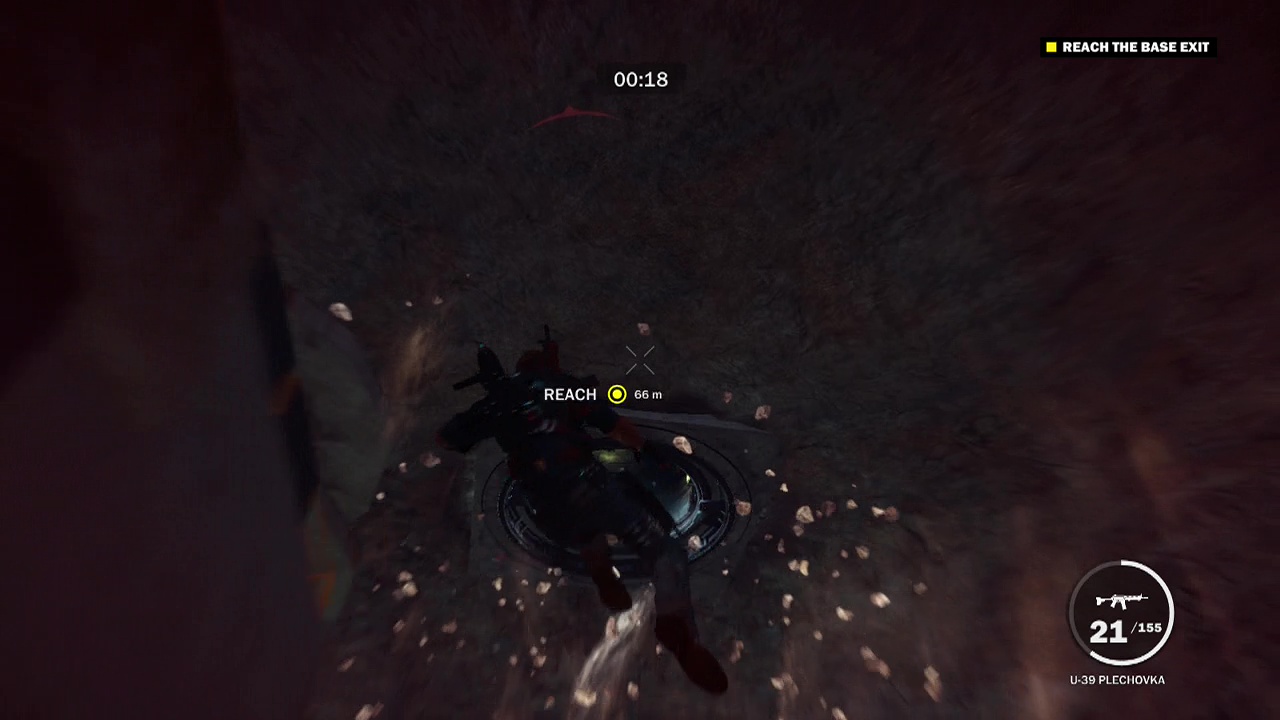
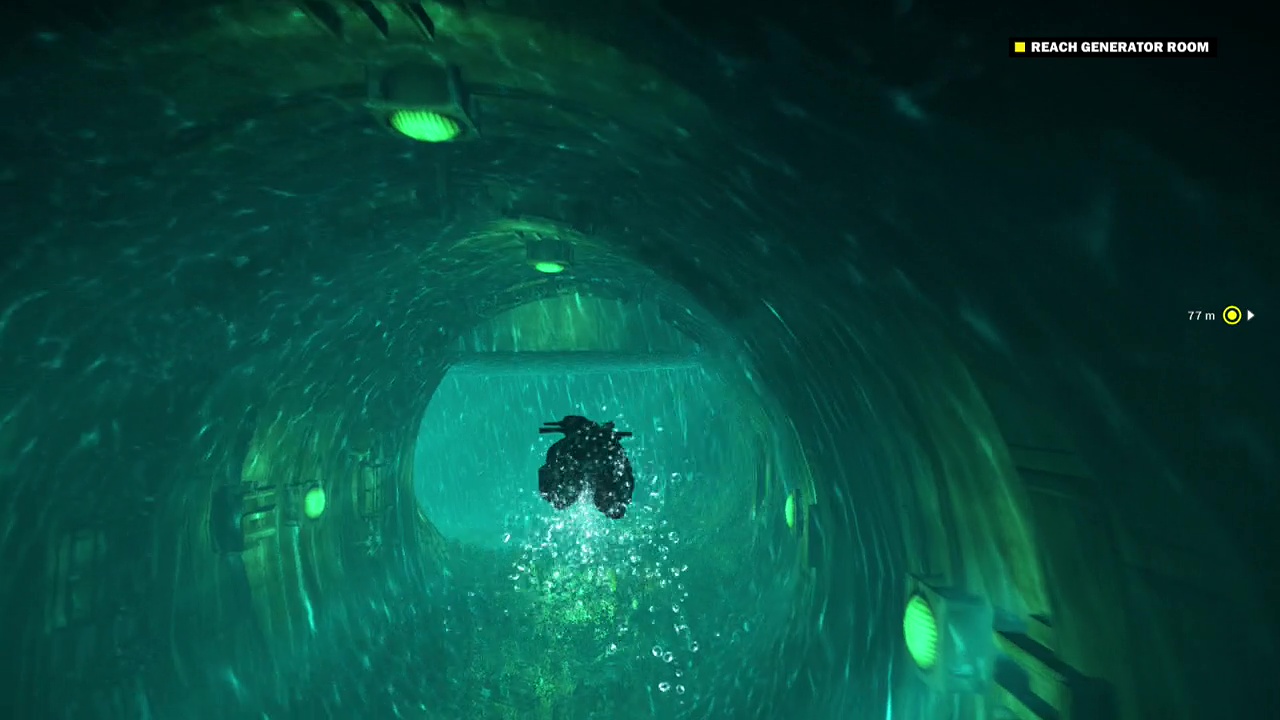
The final part of the mission will require you to travel to and infiltrate an underground enemy base to destroy three generators. Glide down through the marked door when you arrive (it should open a few seconds after you reach it). You'll have to work your way through (over if you're parachuting) the complex to reach a cooling generator at the back of the base. Plant a GE-64 bomb on it and blow it sky high to open the underwater access tunnel that connects to the inner area of the base. This is a long swim so make sure you're full of air before you swim into the tunnel connecting them. There is an air pocket halfway along that you can refill Rico's lungs at before making the final push into the inner base. Jump out of the water on the other side and prepare to blow shit up.
You'll need to destroy three generators in this inner area. To access them, you need to activate a control panel on a walkway above each one for the door protecting it to open, allowing you to fire/ bomb the generator inside. You'll be facing serious enemy soldier opposition here with some of Di Ravello's special forces scattered amongst the regular soldiers, so make sure you're on the move constantly to avoid taking too much damage. When the final generator is a pile of expensive wreckage, the base will begin to self destruct. When this happens, Dimah will point out a tunnel leading out on the roof of the cavern. Grapple up the rocky walls and into the tunnel to escape the explosion and bring the mission to a successful end.