
MISSION 02 – Magnum Opus
Location: Chum's hideout
Objective: Drive to the Graveyard
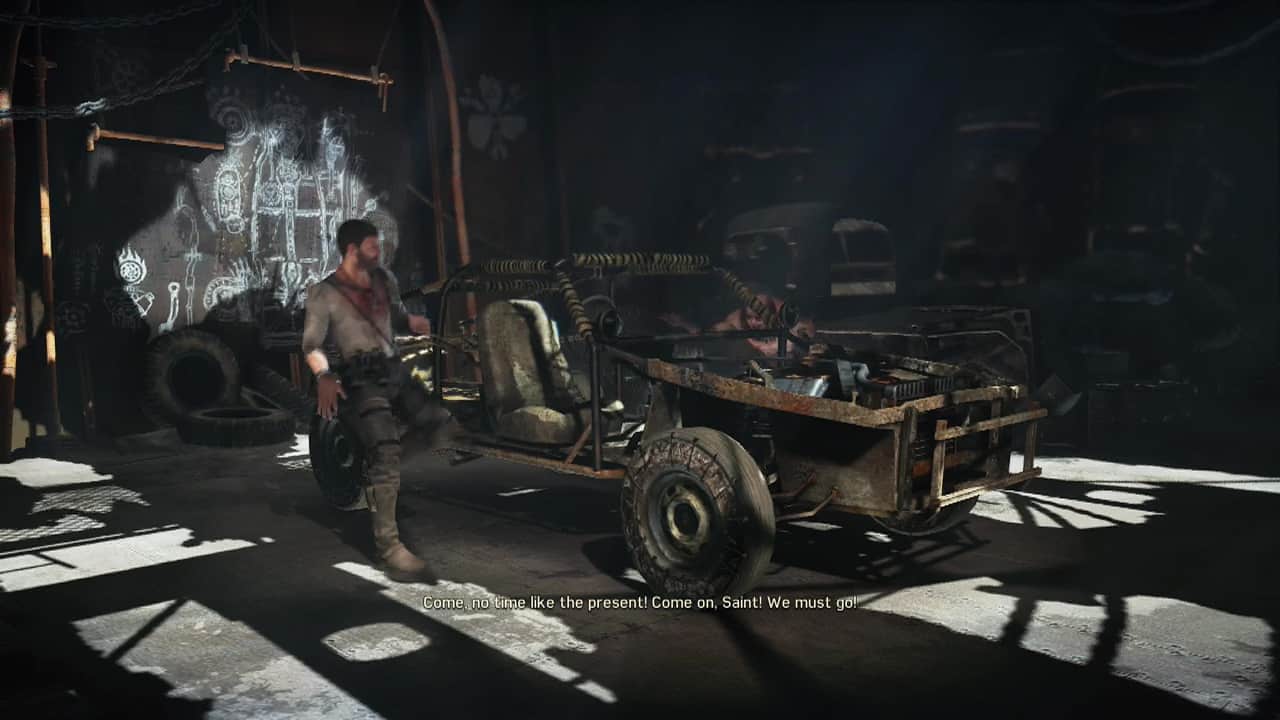
After talking to Chum in his hideout, a scene will play out. Notice the shape of the light falling on the blueprint for the car. Subtle. When you regain control outside the hideout, night has fallen and you'll be rolling in the Magnum Opus. Time to start locating and putting the pieces of your ride together. The first item on the shopping list is a car body. So you there's something between you and the crazed lunatics that roam the wastes.
Follow the winding green trail while Chumbucket fills you in on the details. Apparently the Graveyard is where car bodies go to die. Wait, what? Gibberish aside, about halfway to the Graveyard, you'll suddenly find you are low on fuel (gee, that came on quick). Chumbucket will inform you that you can find gas at nearby scavenge sites (shown by the hand icon on the map and pointed out by objective markers on the screen.
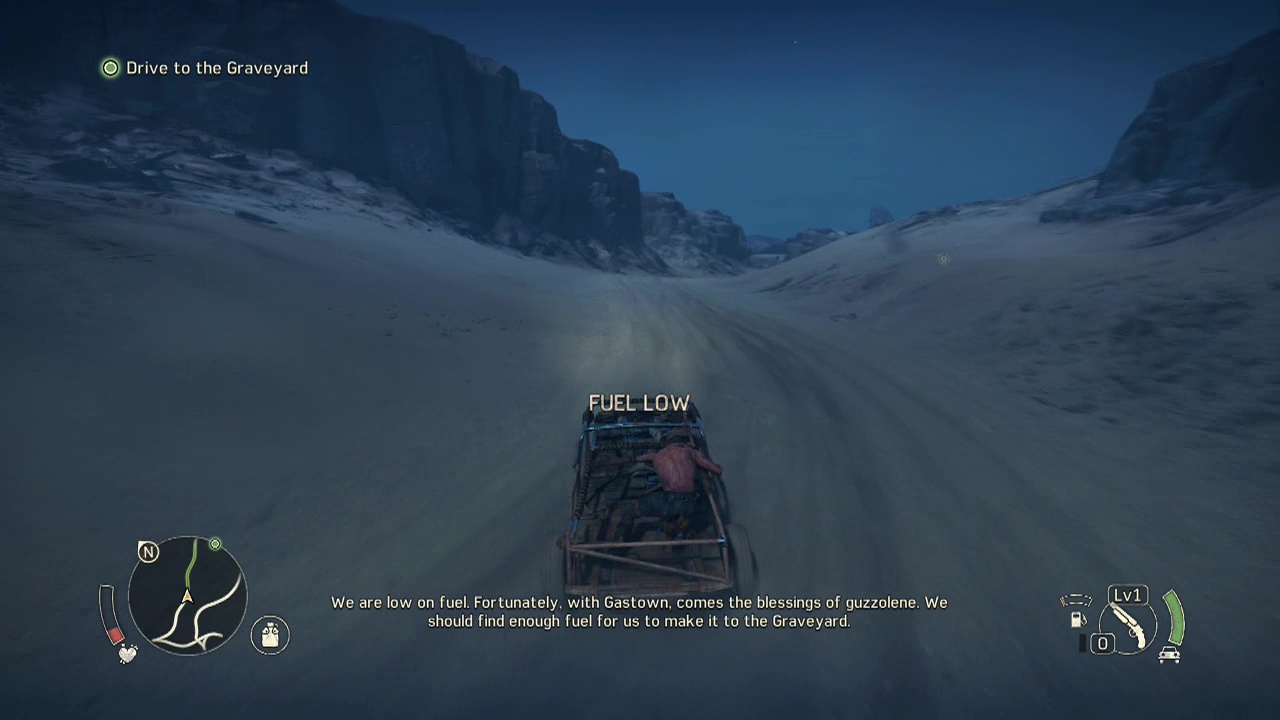
Objective: Find fuel for the Magnum Opus
Approach the Northernmost scavenge site first. Here you'll find an empty jerry can when you interact with it, but also in the tent next to it is some scrap. You'll also find another piece of scrap to the right of the tent next to a wrecked car. Now that this site is empty, jump back in the car and make for the remaining marked site.
As you get close to the second site, the engine will cut out and an 'out of fuel' message will appear on the screen. Coast to a stop and then get out of the car and prepare yourself for combat. Three bandits will run into the open and open hostilities. Kick, punch it's all in the mind… Well, after the bodies hit the floor,
Pick up the jerry can in the center of the site. You're in luck, this one is full to the brim of guzzoline. Er, I mean gasoline. Carry it back to the Magnum Opus and circle round to the back of the machine for the prompt to fill er' up to appear (tap X/ Square).
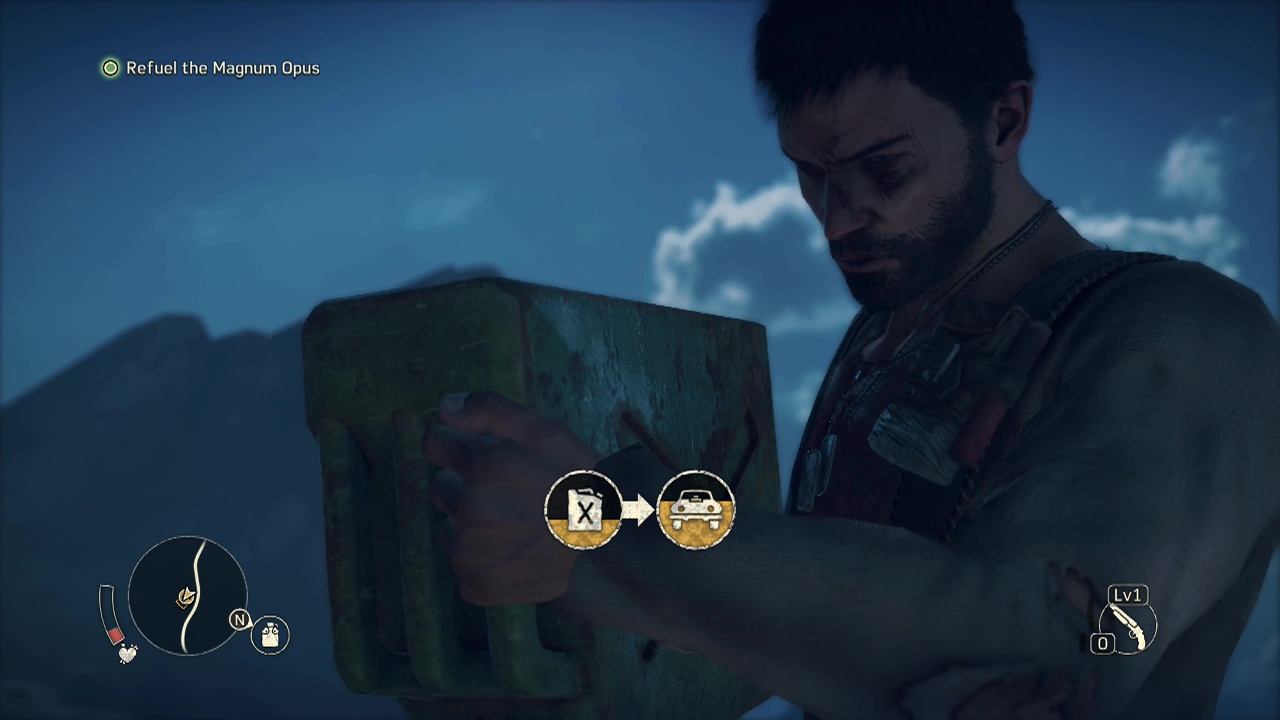
Objective: Store a fuel can in the Magnum Opus
Once the tank is full, Chumbucket will recommend you take another jerry can with you in case (one magically spawns where you took the last one from). Grab the magic jerry can and load it into the back of the Magnum Opus (hold A/ X).
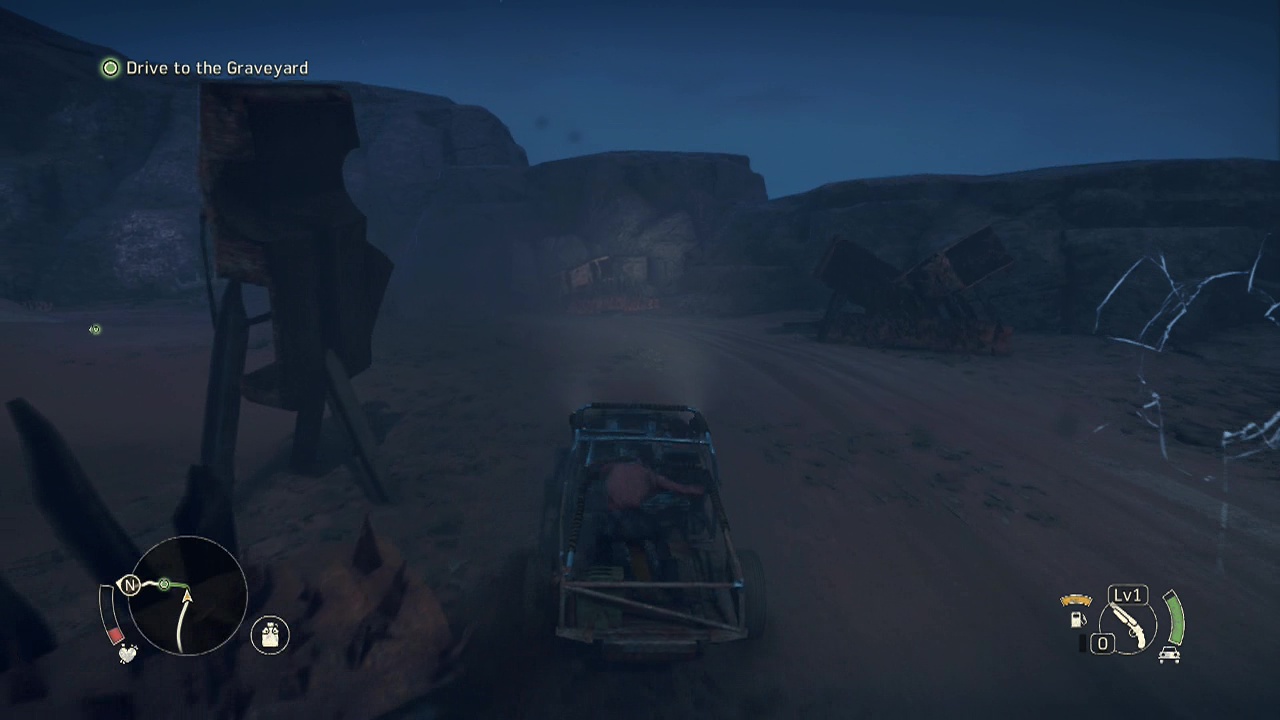
Objective: Drive to the Graveyard
Now you've stocked up on gas, get on the road again. Well, dirt trail anyway. A short distance along the cliff, you'll start seeing sheets of metal covered in spikes. This means you're getting close to the Graveyard entrance. Avoid running into them as they will (obviously) damage your car.
Objective: Destroy the gate
Around a corner nearby, you'll come across a gate blocking your path into the Graveyard. Looks like that extra can of fuel will pay off. Pick it up out of the back of the car and walk over to the metal gate. When you are close (within a few feet) press X/ Square to ignite the can. A scene will place it for you and the gate will disintegrate with the force of the explosion.
Objective: Find a car body
Once the gate is gone, you'll be free to head inside. Hopefully you've got the hang of the car's movement by now as you're going to have to avoid damaging obstacles in a few seconds. As you wind down deeper into the canyon, you'll see what looks like a flaming ball hanging from a chain.
These are similar to mines that explode when triggered (in this case touched by your car). There will be many of these in the canyon ahead, some swinging across the path. Note that you can take it slow if you wish as nothing is chasing you. You can also just tank the damage, bail out and let Chumbucket fix the car. So it's not really as deadly as it initially appears. After several caves, many swinging mines and several spiked obstacles, you will trigger a scene as you arrive at your destination.
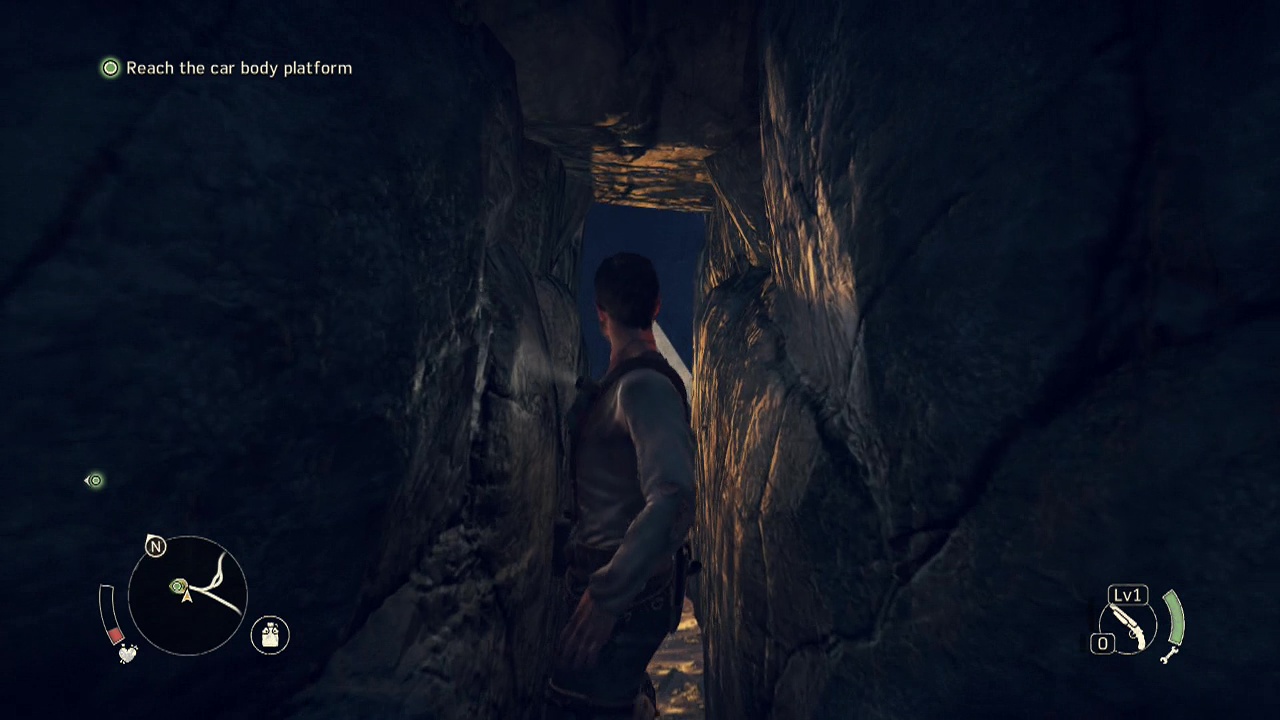
Objective: Reach the car body platform
The car bodies are there for the taking. So it's time to get takin.' Wander into the cave in front of you to quickly spot people running around in the near darkness. Keep traveling upwards in the cave and around the next corner you should see a glowing piece of scrap next to a yellow rusted car body. Just past the scrap you just picked up is a zip-line which will take you to the far side of the gap. Several steps forward and you'll see a lit area of floor with a flashlight in the center. Stroll over and add it to your survival supplies.
You'll start heading upwards again here, reaching a narrow gap to squeeze through at the top. On your right immediately after emerging from the gap is a water collection point to use (make sure you are as healed as possible as a fight will be coming up soon). Once you're hydrated, use the zip-line here to cross the canyon again. As you cross, you'll get a groan-worthy line from Chumbucket. On the right wall after landing is some scrap in a box.
Objective: Select a car body
Before approaching the marked lever, turn to the right of it to spot some more scrap against the wall. With that done, return to the lever and interact with it. When you do, you will be presented with a choice of four car body types. Choose the one you like the look of most and after a brief scene, you will be thrown into battle against the Buzzards.
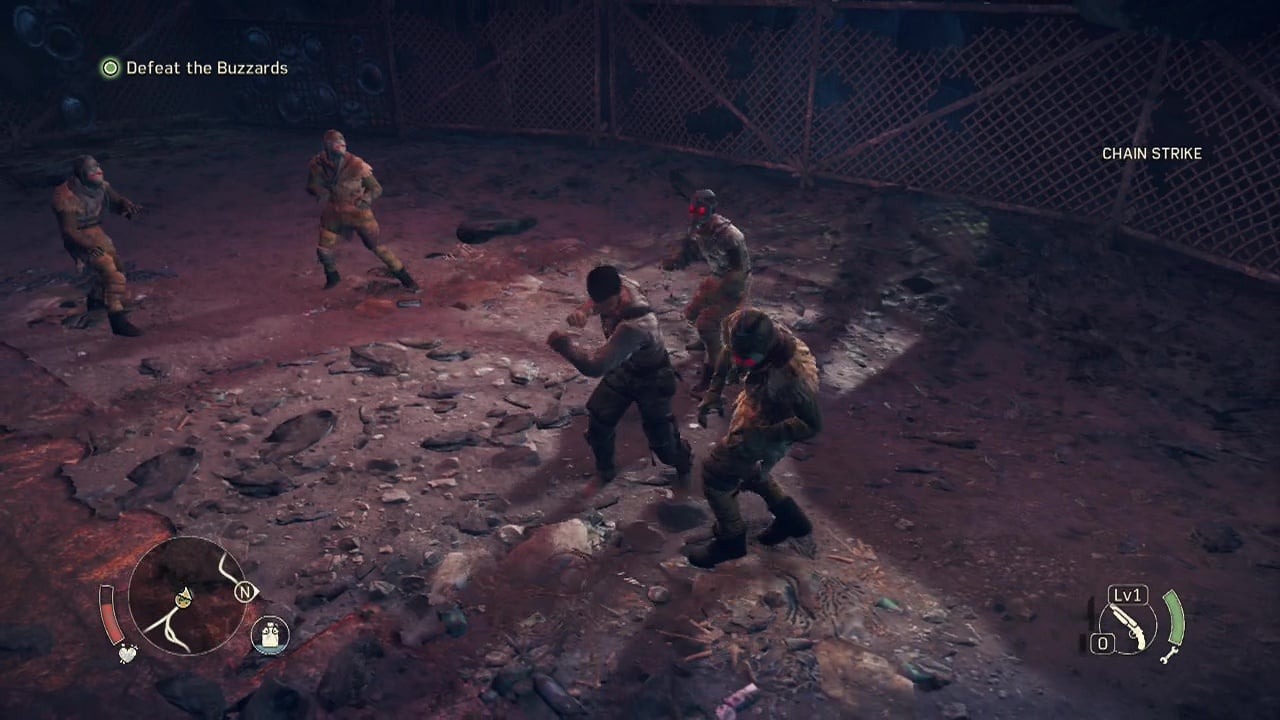
Objective: Defeat the Buzzards
Initially, you'll be up against a single buzzard with a shiv. When armed with a shiv, some of the enemies attacks become unable to be countered (shown by red lightning bolts and a skull icon overhead before the attack). To avoid these attacks, make sure to evade (RB) by rolling out of the way. The buzzards close attacks (the non-charging ones) are able to be countered, so after avoiding the initial rush just move in close and pound seven shades of motor oil out of him. If you are having problems, remember that you've got a shotgun. Nuff said.
Another thing to note here is that you can pick up a dropped weapon during a fight (press A/ X when standing over it). A shiv (the weapon used by the enemy you just fought) is a special weapon and allows Max to perform a finisher by pressing A/ X on a dazed opponent. After the first buzzard hits the deck, five unarmed buzzards will leap the fence and join the rumble. By now you should be well acquainted with the melee combat system and these goons should pose little threat. Complete the smackdown to move on.
Objective: Escape the Graveyard
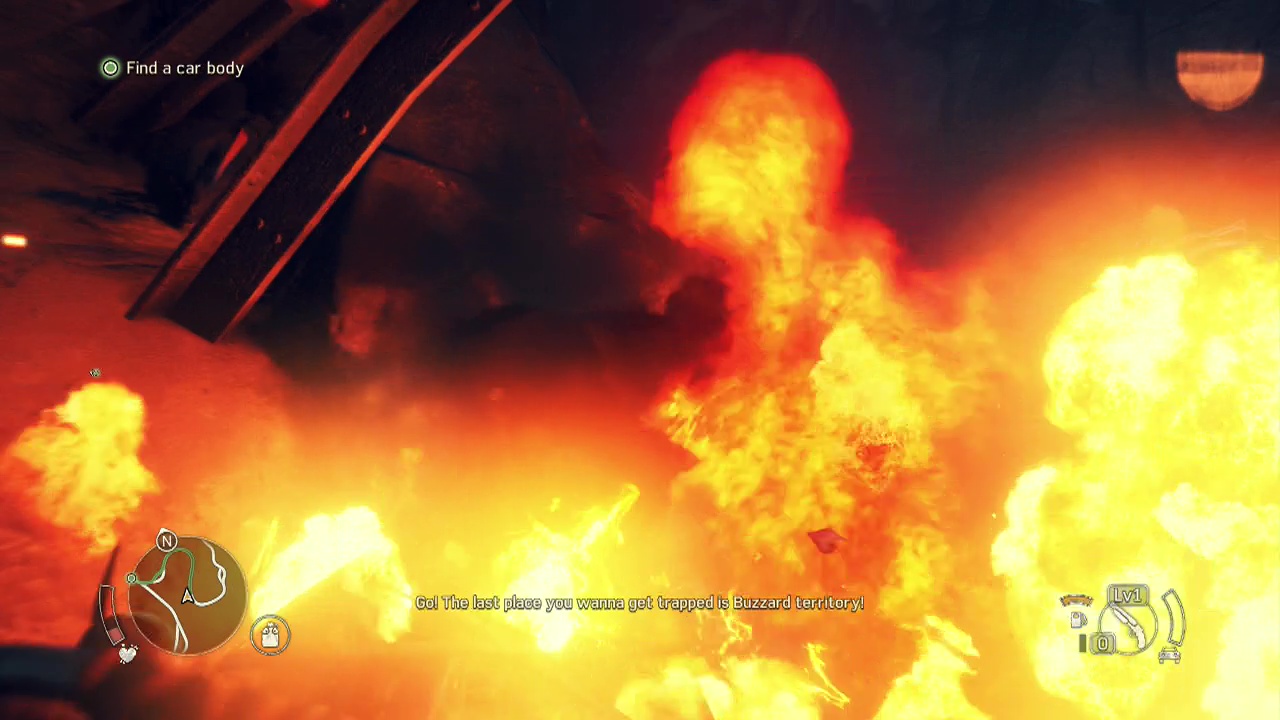
As soon as the final buzzard is down, molotovs will begin bursting into flames across the platform you are standing on. Immediately run to the right of the level (opposite to where you arrived from) to find a raised bridge you can lower by smashing a nearby crank. Be careful moving across the molotov area as you can be caught between the flames (as I found out personally), and get trapped in an knock-back animation loop until you run out of health and die.
Cross the bridge and kick down the ladder on the other side (hold A/ X), then descend rapidly to find the Magnum Opus below with molotovs flowering into fireballs around in. Get in and race back the way you arrived. While you won't find any mines on the way back, the spiked walls are still there and a new threat will be present. Some of the buzzards will be driving their vehicles in the canyon trying to stop you. When you get close to the first buzzard vehicle, a tutorial box will come up showing you the car combat controls.
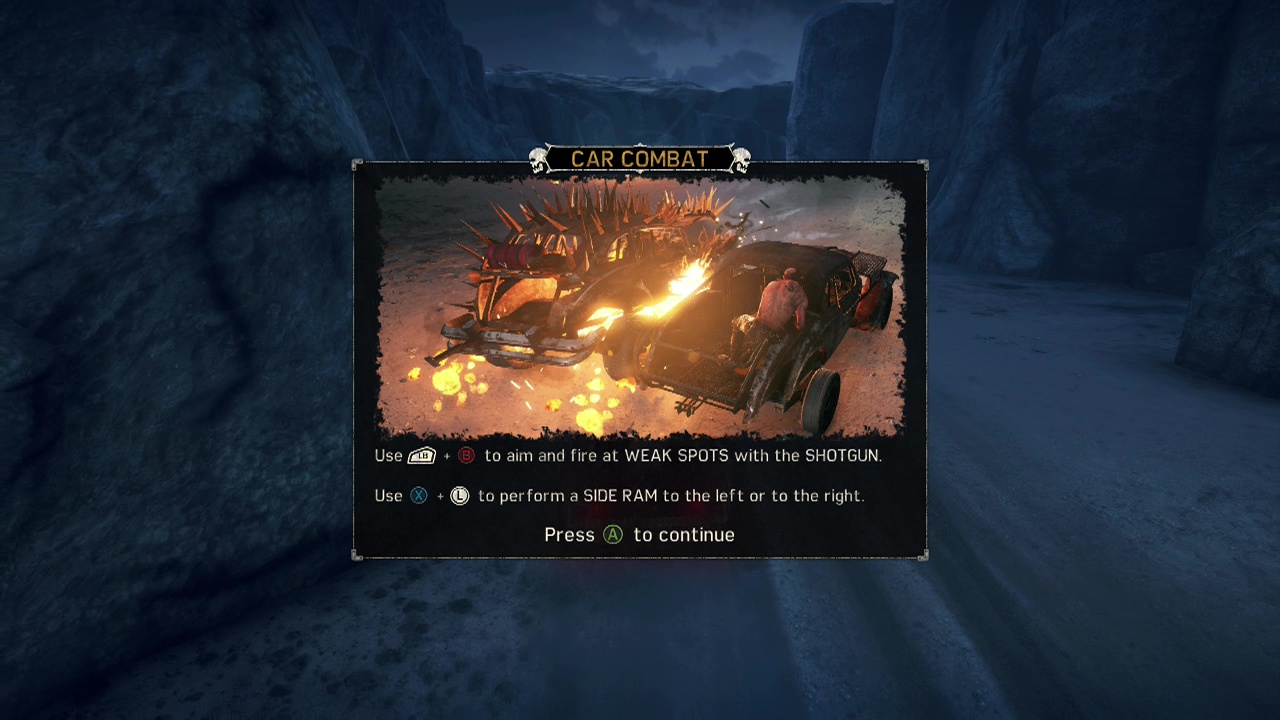
Car combat controls:
LS + X/ Square – Side ram
LB + B/ Circle – Aim and fire shotgun
Slam into the enemy vehicles and/ or shoot their fuel tanks to dispose of them as you race through the canyon's twists and bends. After defeating two or three vehicles, you will reach a small ledge and fly off it, out of reach of your pursuers (somehow). With that, this mission is over.