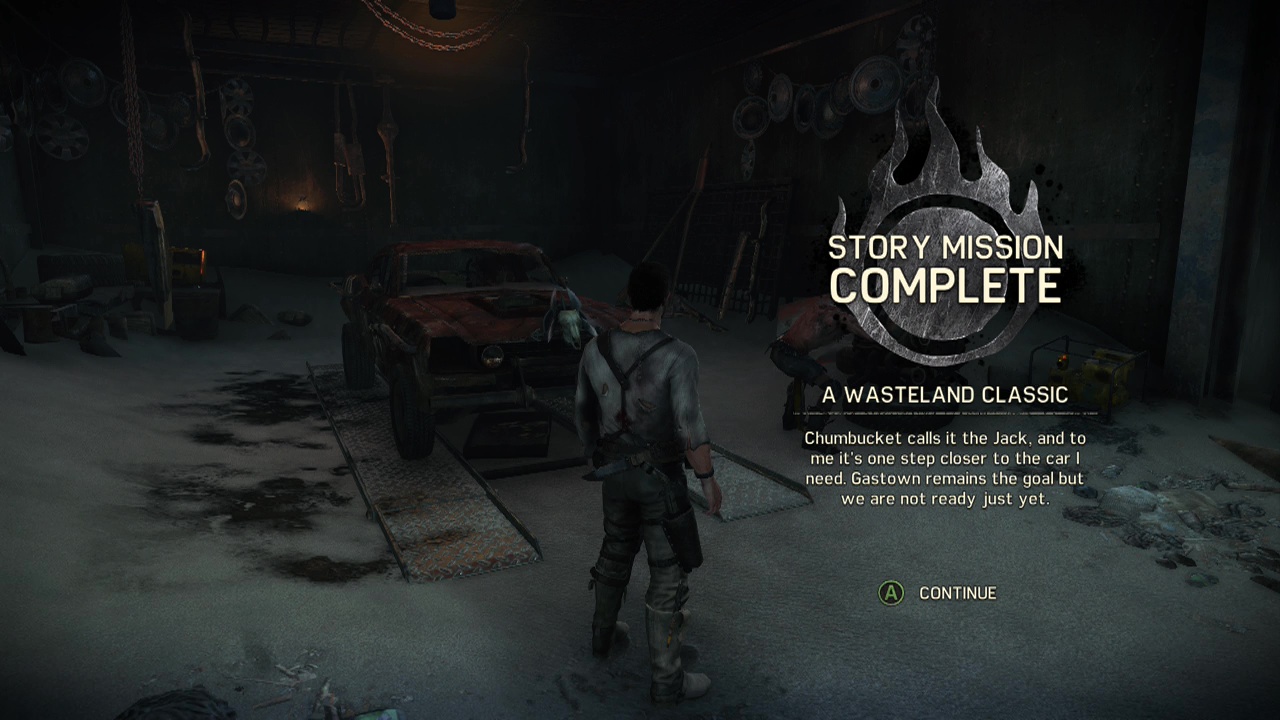
MISSION 05 – A Wasteland Classic
Location: Jeet's Stronghold
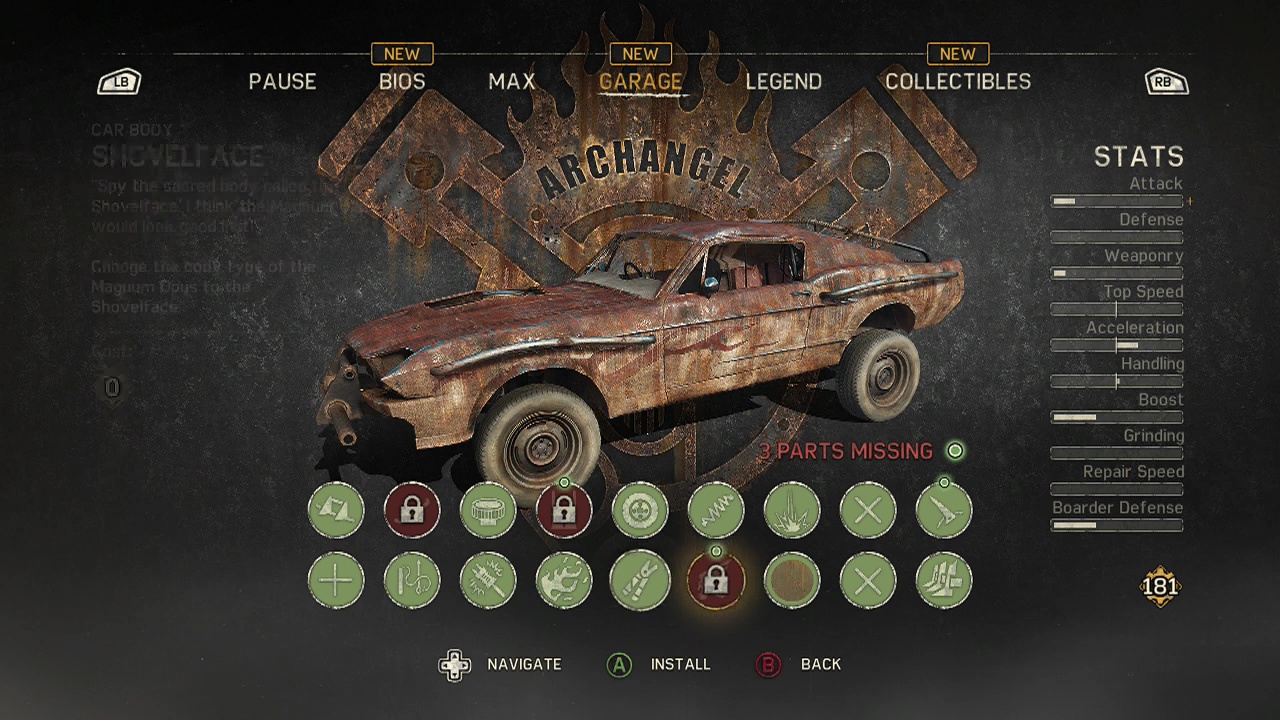
After watching the scene with Chumbucket, you will be introduced to the concept of archangels. These are special configurations of parts for the Magnum Opus that can be useful for increasing/ adjusting stats and certain sidequests. Your overall job in this mission is to complete the Jack archangel setup. This requires you to accomplish multiple things. But don't worry. Each one you pull off will make your car more powerful.
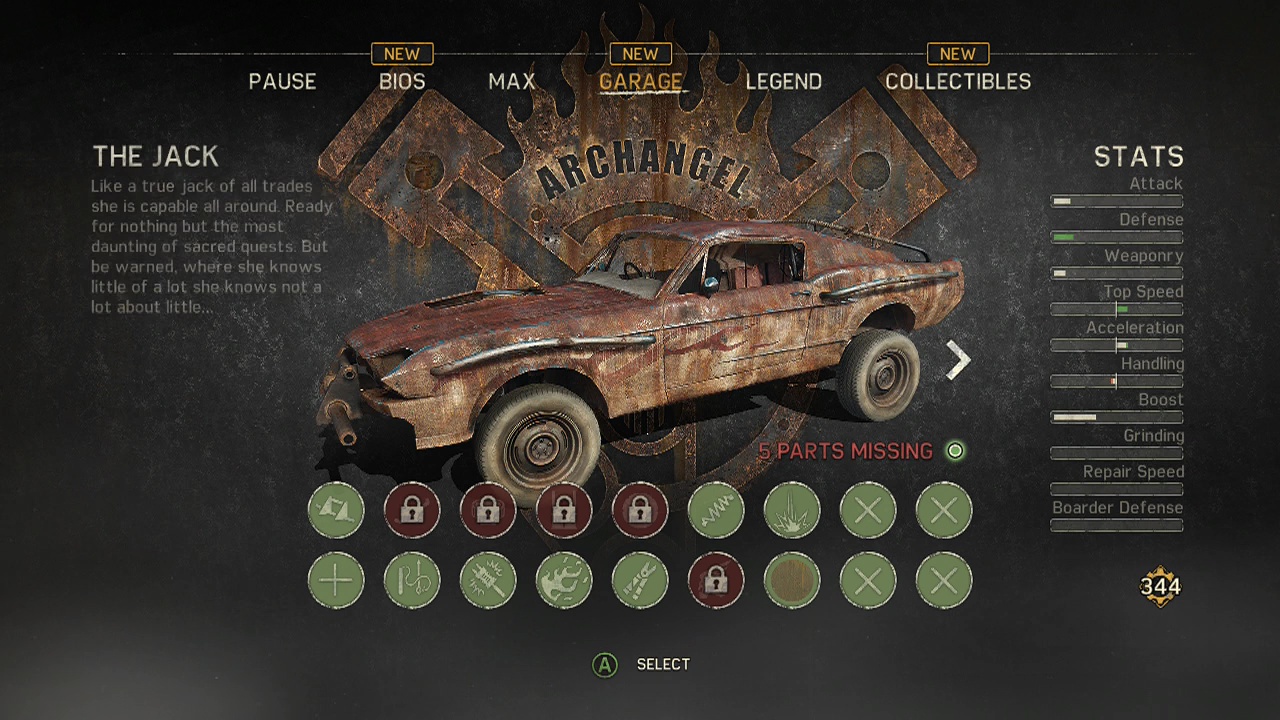
When you are in the garage menu, press X/ Square to go to the archangel screen. Here you can see the parts required to build the Jack and the requirements for unlocking them. You can also select the part in the archangel menu and buy it there if it is available without having to go back to the main garage screen. Once you are done staring at the bits and pieces, leave the menu to get on with the story.
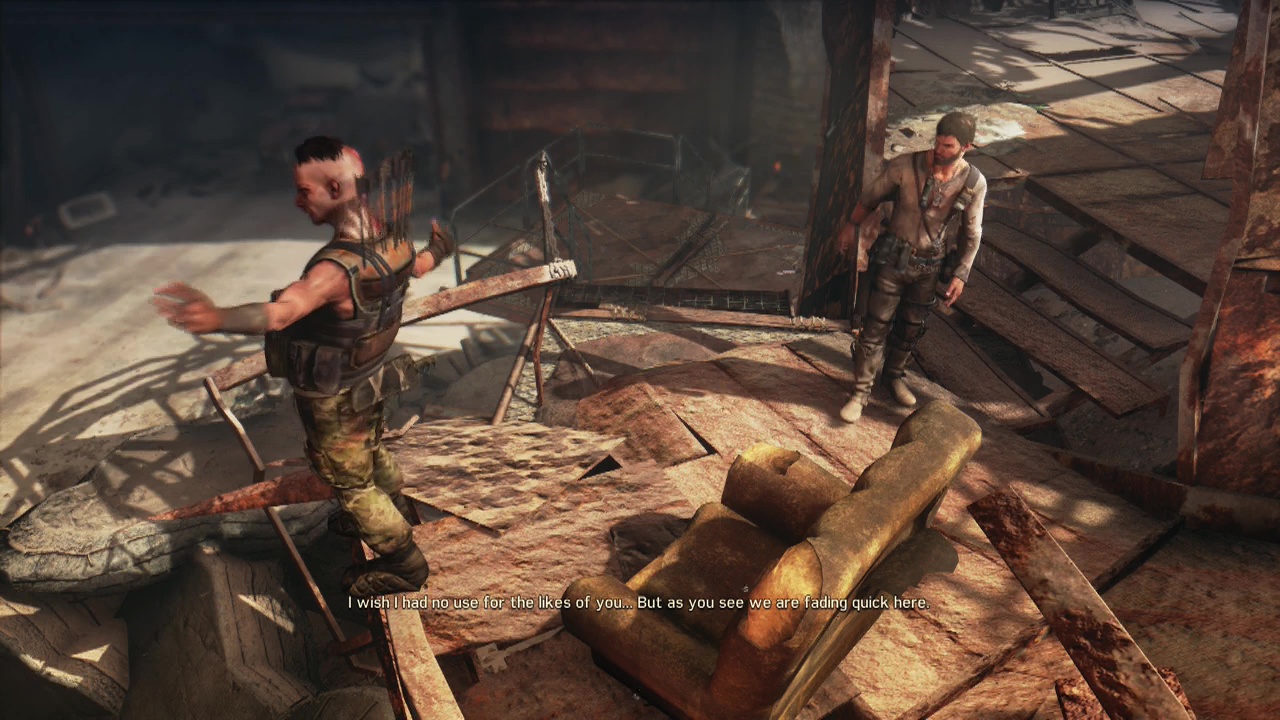
Objective: Speak with Jeet
As usual, walk up the metal staircase to find the waiting nutcase. Here you'll be introduced to the concept of 'you scratch my back, I'll scratch yours.' Or, to put it another way: Stronghold Projects. These are passive benefits that can be gained by helping improve a stronghold in many ways.
Benefits of doing this include: automatic refueling, replenishing ammo, free water and many other worthwhile bonuses. The requirements for getting these vary, but generally boil down to three areas: Completing optional sidequests, spending scrap or finding project parts in the Wasteland (normally in scavenging locations or enemy camps).
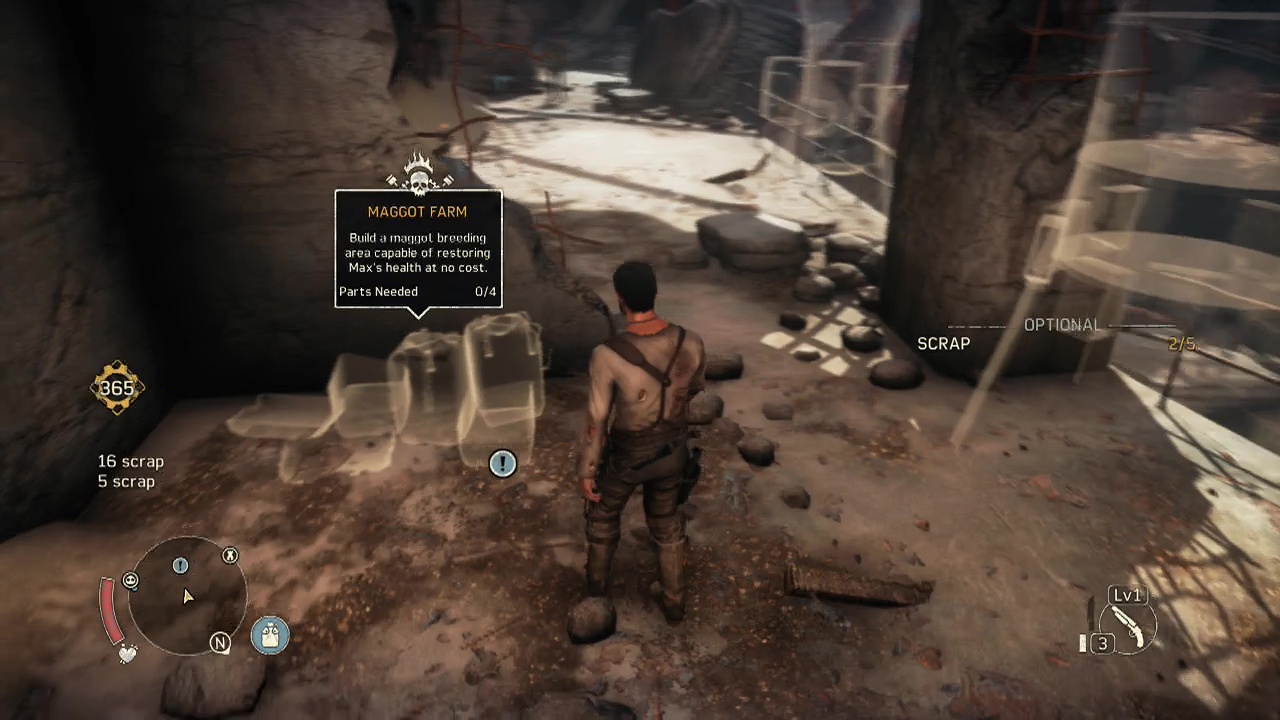
After Jeet's little speech, you can have a walk around the stronghold to see the projects (shown by outlines), their details and requirements for unlocking. Keep these in mind as you travel the wastes, as they will make life a hell of a lot easier. You can also take this opportunity to plunder Jeet's stronghold for scrap.
Continue past where Jeet is sitting to reach the upper walkway. Walk along this until you reach the armory project with your first bit of scrap next to it. Keep moving along the walkway to find the next lot of scrap next to the railing overlooking a set of stairs leading down (next to the maggot farm project).
Another chunk of scrap will be in a corner a little bit onward and another piece of scrap will be in the small room at the end of the upper walkway. Descend the stairs you just passed and turn right when you reach the bottom to find yet another lot of scrap. When you are ready to move on, approach and speak to Chumbucket to initiate an optional Wasteland Mission revolving around your missing pet.
Note: You only need to accept the mission, not complete it to be able to continue with the story mission. For those that want to do it now, look for Wasteland Mission 01 – Dinki Di in the Wasteland Mission section of the menu.

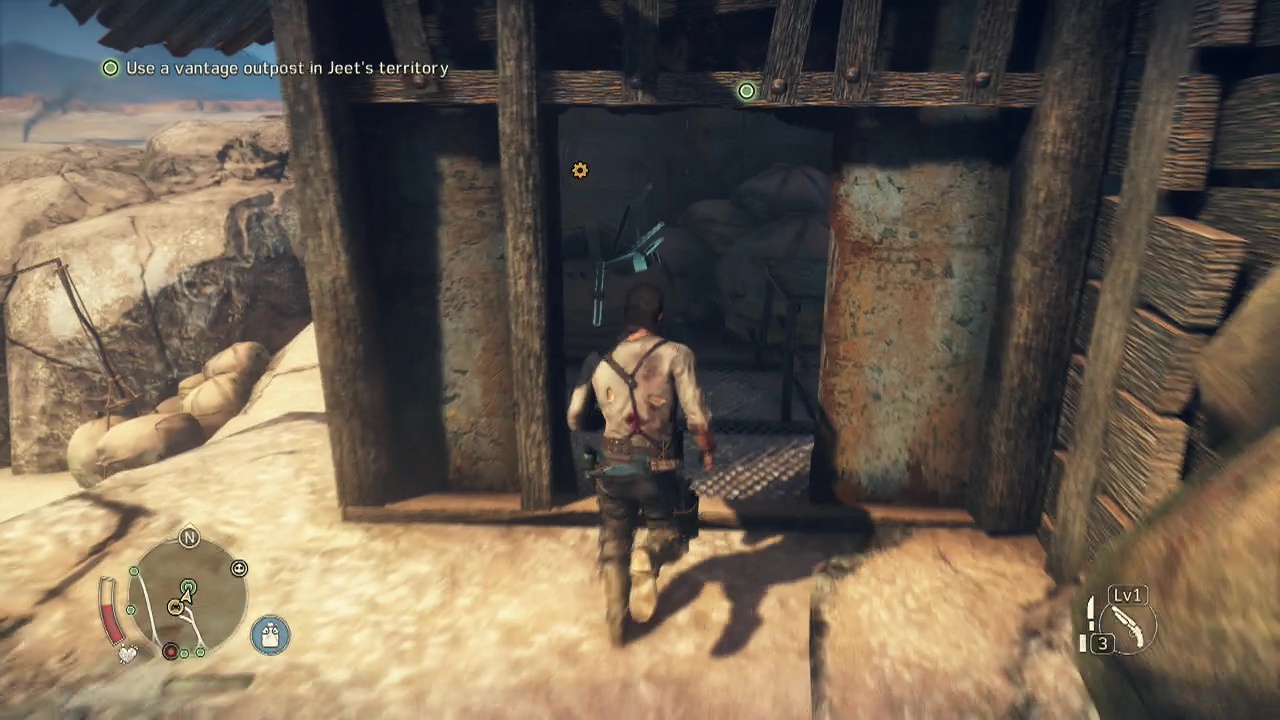
Objective: Use a vantage outpost in Jeet's territory
Note: You can use any vantage point in Jeet's territory, but I used the one in the Dry Gustie area of the territory, so it the guide references that location.
Roll up through the white dunes towards the waiting outpost (you should be able to see the balloon on top of it, your target). At the front entrance, jump out of the Magnum Opus and enter the outpost. Just inside, you'll encounter three war pups and a war dog (slightly faster and tougher with good dodging skills). Gun down the war dog to make the fight easier or use your heavy attacks to break his guard, delivering the pain. If the war dog manages to grab you from behind, rapidly tap X/ Square to break free before he starts dealing damage to you.

Once all the enemies are flat on the ground, walk a little further into the outpost looking at the wall to the left, where you'll spot an alcove with ammo inside. Keep following the left wall and circle around behind it when you can to find a tin of food to top up your health. On a wooden ledge just past the food is a bit of glowing scrap. Turn around and look at the wall directly behind you for another bit of scrap.
Before going further up the hill, use the ladder to the right of that last piece of scrap to climb to the upper level. Here you'll find a small shack with a scrap pallet inside, looks like we hit the jackpot. Turn around from where the pallet was to see a water collector you can use to top things off. Follow the walkway past the collector until you are standing over the entrance is to find more scrap.
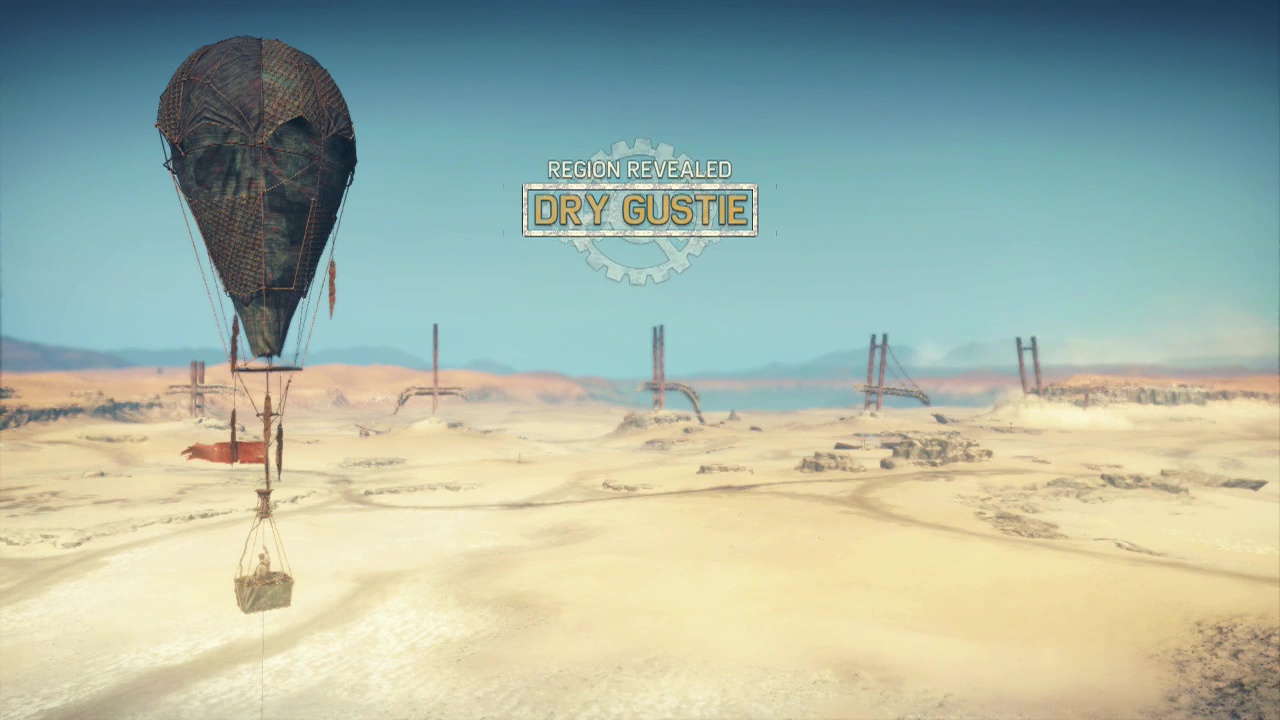
Now that the vantage outpost is scrap free, return to the lower level and then follow the main path up the hill to kick down a door and find the platform where the balloon is waiting. You'll see a fuel container next to the door you kicked down, but you shouldn't have to refill the balloon. Climb inside with Y/ Triangle and ascend into the azure skies above.
Continue ascending until a brief scene shows the area being revealed (similar to the Assassins Creed synchronize). After it ends, you'll be looking through binoculars. Rotate the view to find all the small white dots around you, these will mark locations, enemies and the like on your map for later. If you spot everything, a green tick will appear beside the vantage outpost on your map. These vantage points also act as fast travel locations once used, making travel across the wastes much easier.
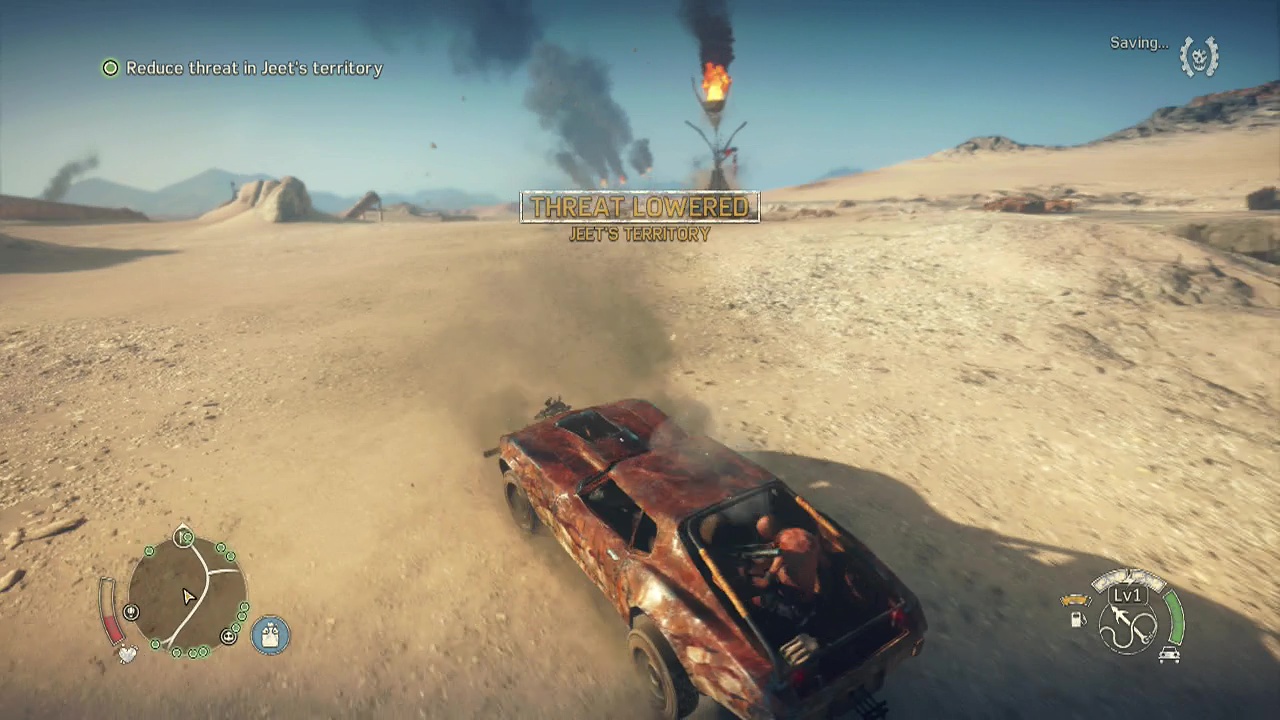
Objective: Reduce threat in Jeet's territory
Now it's time for the free-form part of the mission. To lower threat in Jeet's territory, you can do many things:
- Destroy scarecrows
- Demolish camps
- Impale snipers
- Take out convoys
- Clear minefields with the buggy and dog (if you have completed Wasteland Mission 01 – Dinki Di)
Piss in the wind
To continue with the story, you'll need to lower the threat level of Jeet's territories down to four (the threat level counts all parts of Jeet's territory, so even if you completely clear an area, the overall threat level will not drop to 0 until all areas are clear). It's up to you how you want to make it happen, all that matters is that is does. Keep in mind the initial video of this mission was 1:35:00 in length, so it may take you some time.
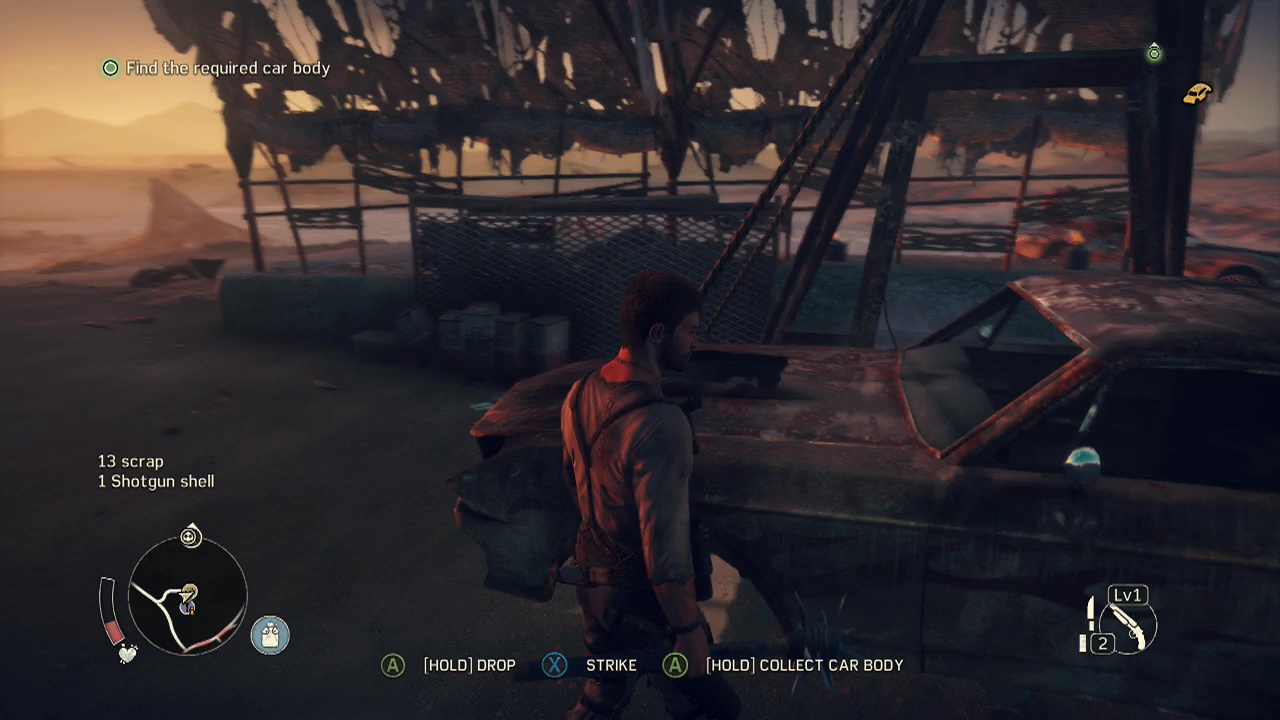
Objective: Find the required car body
Note: If you selected the Shovelface body during Mission 02 – Magnum Opus, you may not need to do this section of the mission.
Once the threat level reaches four and the objective changes, roll along the dusty trails until you reach the marked scavenger location where the Shovelface body is waiting. A roadpounder (armed with a melee weapon and a couple of skrappas will likely be guarding the place.
After the fight ends, inside the billowing white tent you'll find some ammo and the car body you need. In a small shack to the left of the car body is a bit of scrap, and another bit of scrap against the wall to the left of the shack.
Objective: Use the garage to install upgrades for the Jack
Ok, this is the point where I hope you've been saving your scrap shaped pennies like I advised. You should need five upgrades total to complete the jack from the start of this mission. The body you just got and the armour will unlock later in this mission, but you will need to dish out scrap for three essential parts before you can continue. The Bantam V6 engine (100 scrap), Baby Exhaust (300) and the Deep Treadies wheels (100).
If you don't have enough scrap, you'll want to start prowling scavenging locations or continue reducing the threat level of Jeet's area (as scarecrows drop scrap upon destruction, enemy cars drop scrap when destroyed and most areas on the map have scrap you can find). Once you have installed everything but the final requirement (Baby Bars), your objective will update, and you'll be on your way to meet Gutgash.
Objective: Drive to Gutgash's stronghold
Follow the marked trail across the wastes. As you enter Gutgash's territory, you'll notice the enemy vehicles become much more dangerous and far harder to kill. They have additional health bars (shown by a shield with a number on it) which make them a massive threat to you. Run from them if you encounter them (or harpoon the drivers through the windscreen) and race for Gutgash's stronghold, a massive landed ocean liner stuck in the sand. When you arrive, a scene will trigger.
Objective: Collect the welding wire
Once you are inside, Chum will get to work and ask you to collect some welding wire for him. Amble through the newly accessible stronghold, taking in the sights as you go on your epic quest to collect welding wire that is about fifty meters away. Collect it from the shelf and head back to the grease pit and Chumbucket. Or not, as your objective will change instantly when you pick it up.

Objective: Collect a total of 100 scrap (triggered if you don't have enough scrap to buy the Baby Bars upgrade)
Leave stronghold, collect scrap. Make life shorter for the denizens of the wastes. For those that are running a little short of scrap, head for the closest scavenging location to the North-East of Gutgash's stronghold. Here you will find a shipping container with three red crosses on the doors and a piece of scrap in front of it (only 1 scrap? That's kinda cheap).
Bring the Magnum Opus around to the front of the shipping container and use the harpoon to wrench the doors off. Revealed inside will be a scrap pallet, there for the taking. Should add a nice little amount to your scrap total (54 in my case).
Objective: Use the garage to install the final upgrade for the Jack
Go into the garage menu, purchase and install the final upgrade for the Jack to finish the archangel configuration. This will give you a basic multi-purpose vehicle for traversing the wastes and complete this mission.