
MISSION 10 – Fumehead's Debt
Location: North Edge of Pink Eye's territory at a Death Race
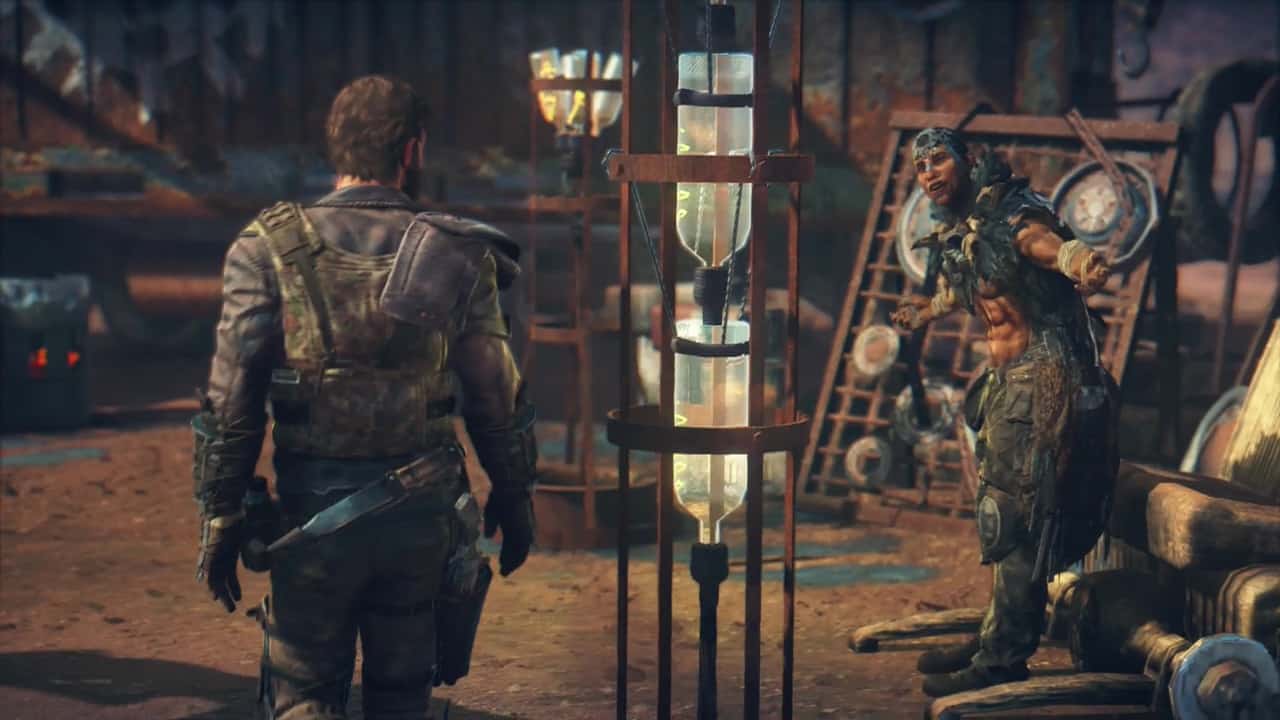
When you are ready to begin the mission, drive to the location of the story icon on the map. Here you will find Crow Dazzle ready and waiting for you. Walk over to him and interact with him to start things off with a scene.
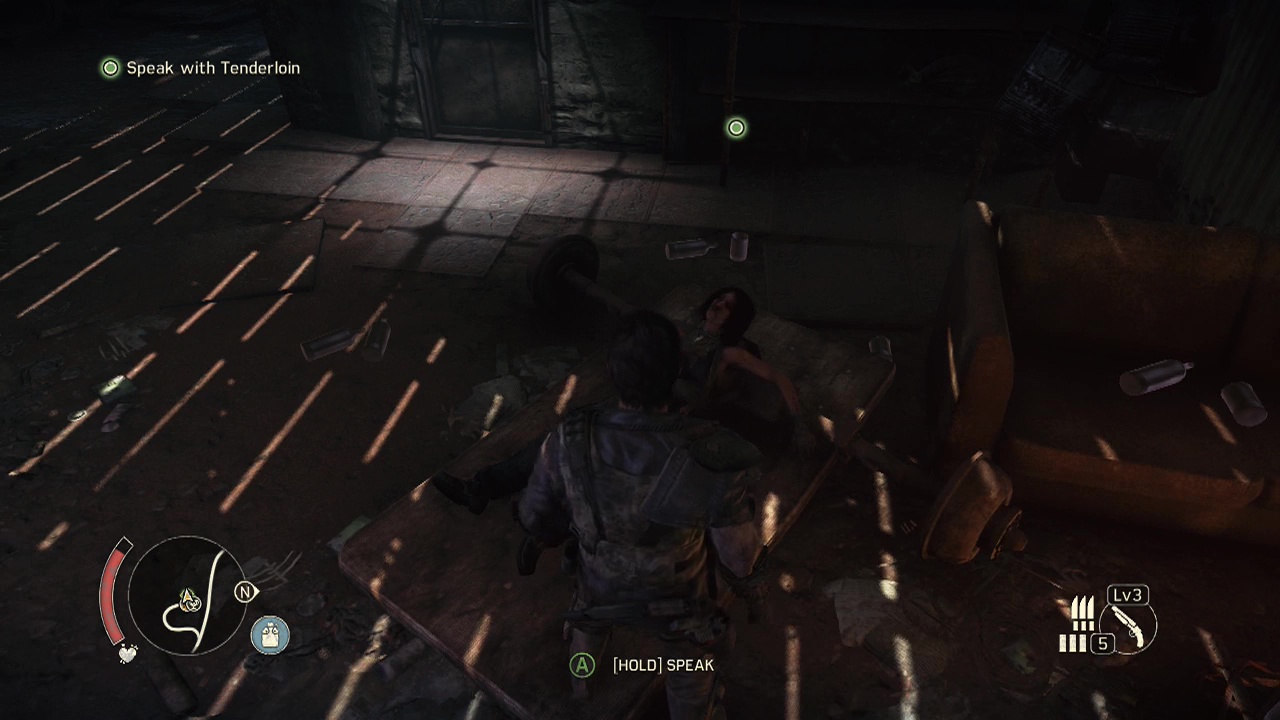
Objective: Speak with Tenderloin
Apparently there's only one fighter remaining, waiting inside the nearby shack. There is a water collection point next to the entrance to the place if you want to top up your canteen. Enter the doors and turn left in the gloomy hallway to find the fighter lying on the floor within. After interacting for a scene, walk past the fighter into the small area beyond to find some scrap.
Objective: Return to Crow Dazzle
Turn right when facing the fighter to find some more scrap next to a low table. The final bit of indoor scrap is in the small room next to the last one you picked up. Walk back out into the sunlight and head past the water collection point to where the concrete barriers are to find some scrap on the ground and another bit of scrap against the far barricade.
Now that you have everything, walk back over to where Crow Dazzle is waiting for you to begin negotiations. Depending on the current state of the area and your car, you may be able to skip some of the following objectives. For those that haven't spent much time lowering threat in Pink Eye's territory or clearing enemy camps, this mission will drag on for a while.
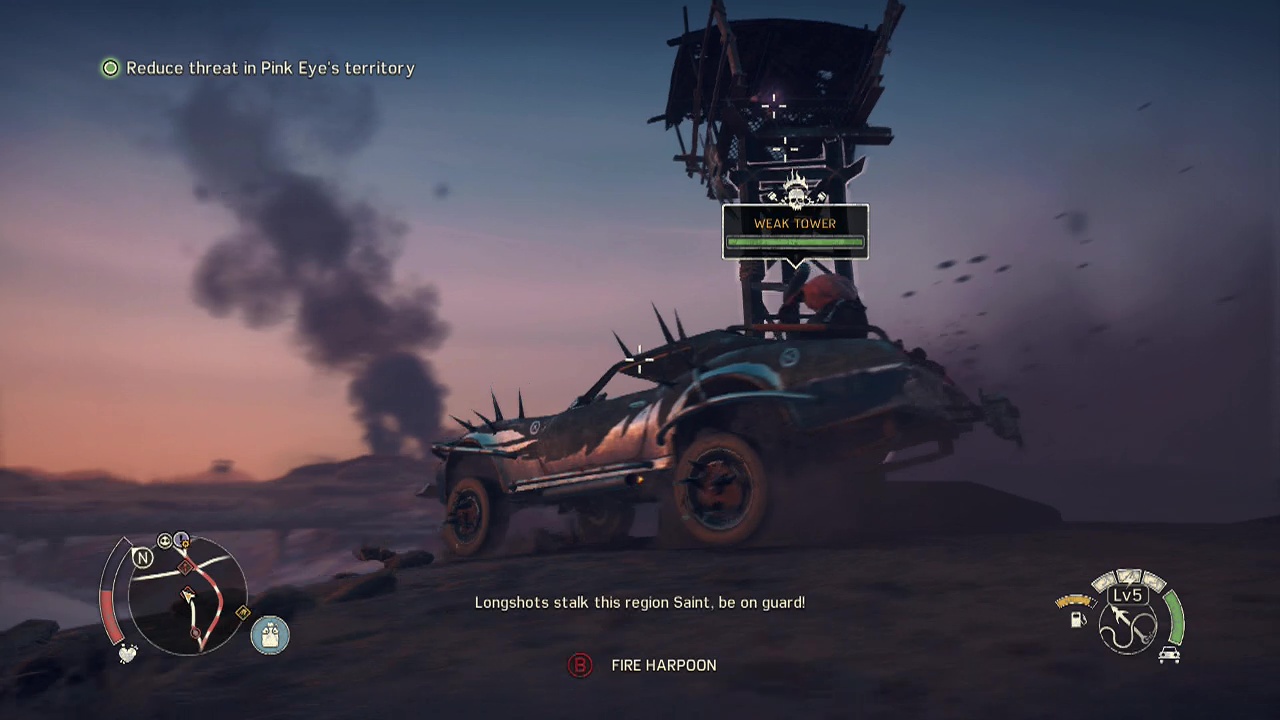
Objective: Reduce threat in Pink Eye's territory
Note: Will skip to next objective if you have reduced threat to level 4 or lower
Now it's time for the free-form part of the mission. To lower threat in Pink Eye's territory, you can do many things:
- Destroy scarecrows
- Demolish camps
- Impale snipers
- Take out convoys
- Clear minefields with the buggy and dog (if you have completed Wasteland Mission 01 – Dinki Di)
Piss in the wind
To continue with the story, you'll need to lower the threat level of Pink Eye's territories down to four (the threat level counts all parts of Pink Eye's territory, so even if you completely clear an area, the overall threat level will not drop to 0 until all areas are clear). It's up to you how you want to make it happen, all that matters is that is does. Keep in mind it may take you some time.
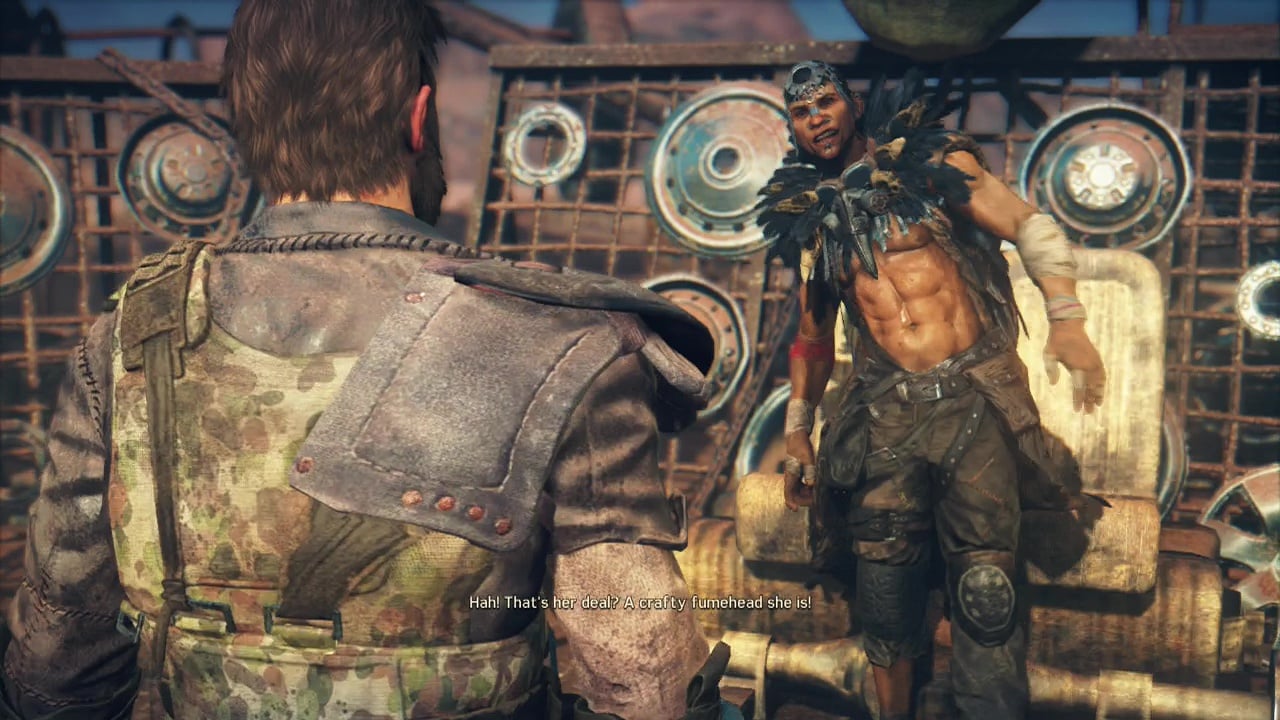
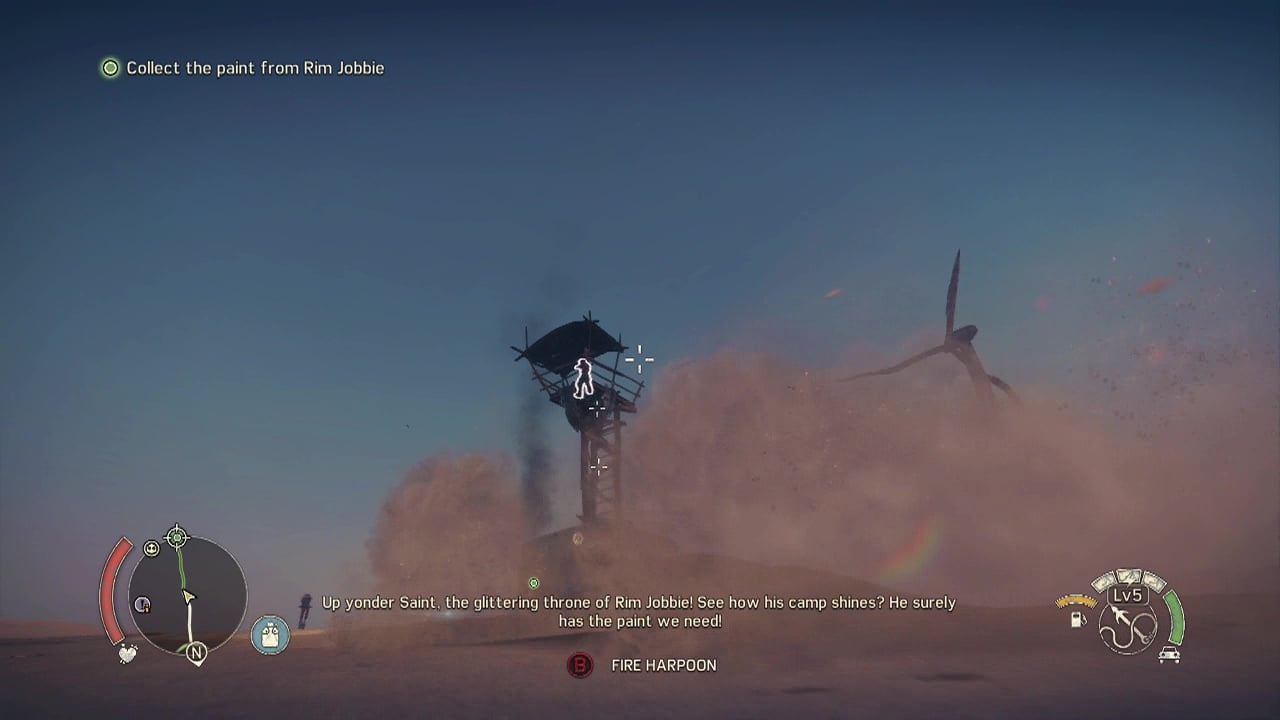
Objective: Collect the paint from Rim Jobbie
And I thought the character names couldn't get much worse (Scaborous Scrotus? Seriously? Why not just call him Balzac?), but the game proved me wrong. Once the threat level in Pink Eye's territory has dropped to level 4, this objective will appear. The place you are looking for shows up on the Eastern side of Gutgash's area at the base of the wind-farm symbol. As always before assaulting an enemy camp, make sure you are as fully stocked as possible before approaching.
Drive across the flats toward the wind-farm (should be easily visible) where Large Blade camp is waiting, to see two sniper towers in front of the gate that leads inside. Either stay back and pick them off with your own sniper rifle or put the pedal to the floor, flying past and harpooning them as you go. Three flame towers will also be amongst the sniper towers, so be careful not to run into their fire shots if you do rush in. A final pair of snipers will be standing at watchtowers just ahead of the main gate (one on each side), so make sure to bring them down as well.
A final sniper will be up a tower directly to the right of the main gate for you to snipe. Now that the outer areas of the camp are clear, you'll only have the flamethrower blocking the main gate to deal with. Approach the gate and look up and to the left to spot the tank supplying the fuel. A quick harpoon or sniper shot will open the way for you. Lastly you'll have to destroy the gate. the easiest way is to use the harpoon, but you can also use a jerry can of gas (there's one to the left of the gate) if you like to make a bigger boom instead.
Once the gate is down, you can finally roll into the camp, and immediately stop at the barricade as usual. Keep in mind that this is a top dog camp. These always have a boss fight with the camp's leader at the end. This makes conserving your shotgun ammo much more important than usual. Especially if you haven't upgraded Max's melee skills much. Even if you have, they make the fight much quicker, and more amusing.

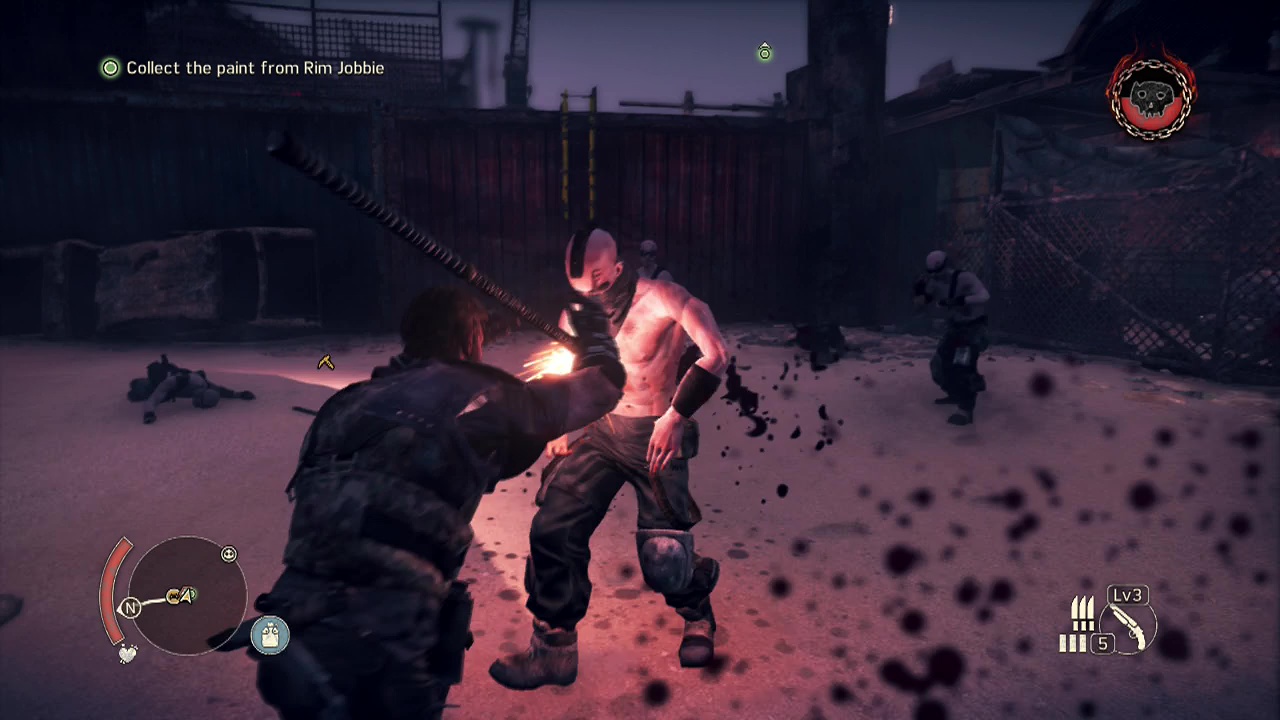
Stride through the outer barricade and kick open the yellow door. You'll enter an open area and instantly be attacked by a pair of war boys with thundersticks (make sure to avoid the red circles showing their landing point, as they hurt).
Quick players can disarm the war boys (via skills or just punching them) and then use the thunderstick against them (which is hilarious, as you can see in the video at 17:13). More war boys will swarm in progressively as the fight goes on and you kill more of their allies. The enemy number here will total around ten enemies you have to bring down to pacify the area.
Enter the room on the right side of this open area to find a lock-box you can use the jimmy bar on with scrap inside. In the corner opposite is some scrap just lying on the ground as well. Afterwards, enter the shipping container beside this room and around the corner you'll find a water collection point to heal up at if you took damage from the earlier fight. Just beyond that against the right wall is a box of scrap between some garbage bags and a metal frame.
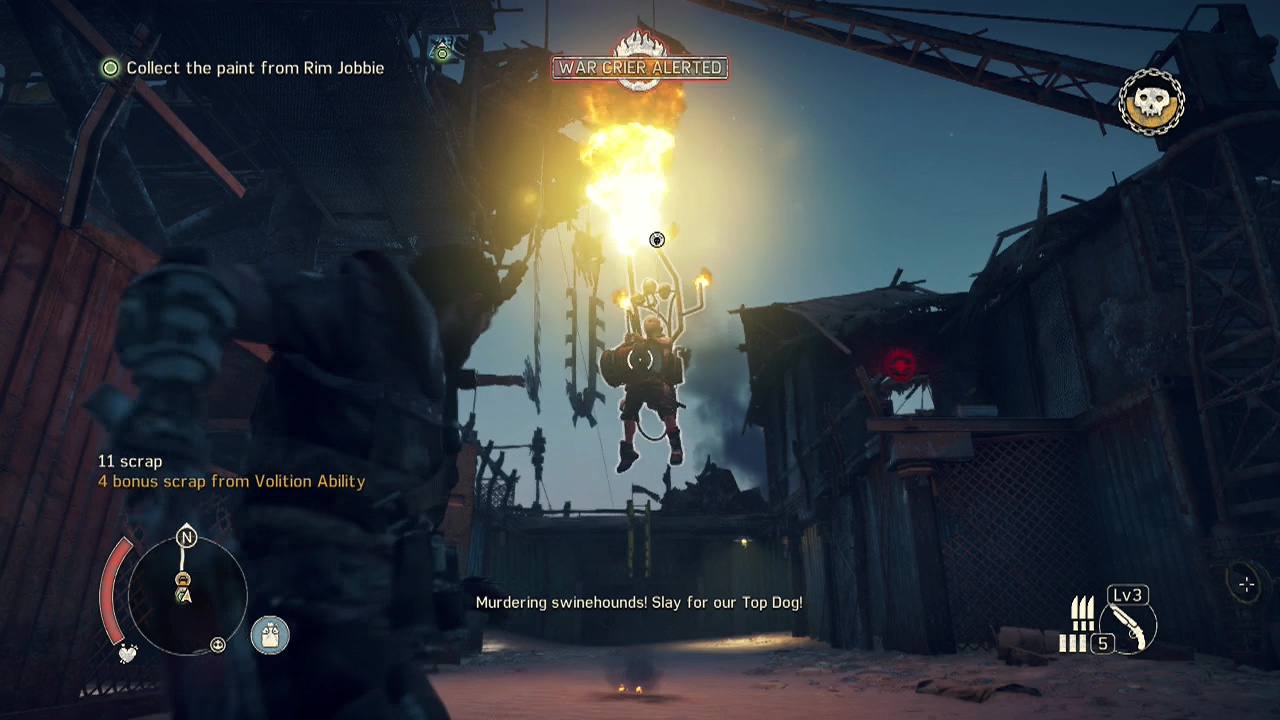
Just past that will be a shiv to pick up against the right wall before another another fight breaks out. This time, the enemies have a warcrier dangling overhead. So shoot him as you are unlikely to reach the wheel to drop him before you get surrounded. A couple of war boys and a war dog will be your first opponents. Just be careful of the war dog's grapple attack (mash X/ Square to escape if he does grab you) and you shouldn't have any problems with the small force of five enemies. Before moving towards the ladder at the back of the open area, examine the corner next to the shiv to find a door you can kick down with some scrap tucked away in the corner.
Facing the ladder that the enemies kicked down, stick to the left wall to find an entrance to a shipping container, at the end of which you'll find an insignia to destroy. Leave the container, pick up the shiv behind the ladder if you need it and climb up to move forward. Turn right at the top of the ladder to find scrap to nab. Against the opposite wall, you'll find a relic to pick up as well. Go through the small door next to this to find an ammo stash, as well as an insignia over the door to blast when you turn around.
Now that you're done, leave the room and travel along the metal walkway. You'll pass a ladder you can kick down to make a shortcut back up. A little further on will be a raised bridge. Smash the wheel with the butt of your shotgun to bring the bridge slamming down. On the other side, climb the ladder to reach another walkway above. You'll wind your way upwards with a climbable wall at the end. Pick up the shiv on the ground if you need it and a war dog will emerge from around the next corner.
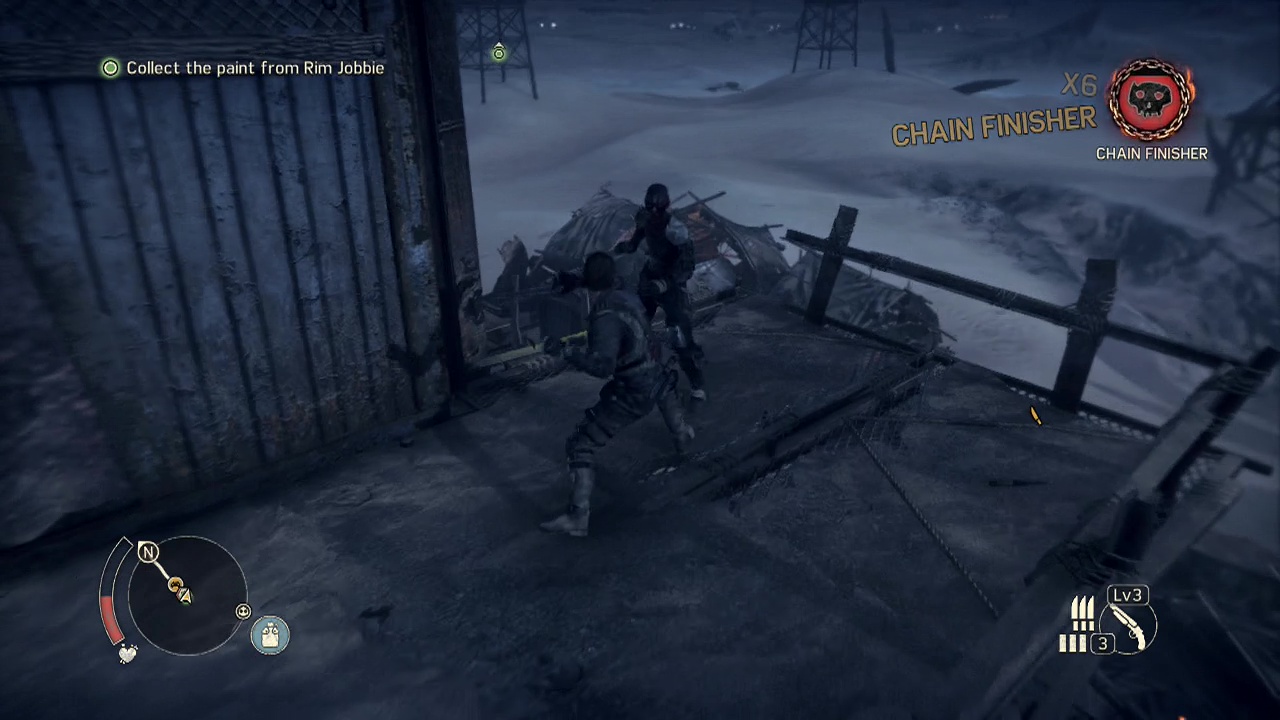
Another one will follow seconds later, so quickly begin breaking down the lone war dog before his friend arrives. Feel free to use a shiv to end one of them quickly if you didn't pick up the one on the ground a few seconds ago. As usual, use heavy attacks (hold X/ Square) to break their guard and mash X/ Square if they manage to grapple you. Once they are out of your way (bubbling softly on the ground), continue along the walkway to find the area of the tower where one of the snipers was firing from earlier.
Grab his dropped ammo and the scrap in the little alcove opposite before moving onwards. Next to a ladder, you'll find another water collection point if you need a refill. Before climbing the ladder, continue along the path to find some ammo and a bit of scrap hanging from the railing (note the zip-line as well, we'll be coming back to visit it shortly). To the right of this is a shipping container with a jimmy bar icon on it that you can wrench open.
Inside you'll instantly see an insignia on the opposite wall to destroy. There is also some scrap at the end of the walkway to the side of where you entered the container. Exit the container and retrace your steps back to the ladder you bypassed. Clamber up it and then up the stairs to reach the arena where the top dog is waiting. When you regain control after his scene ends, you'll spot the two weapons on the ground where he enters the arena from.
However, if you saved up a few shotgun rounds this will all be over quickly. Simply dodge one of his charge attacks, walk up behind him and blast him twice at close range with the shotgun. Five or so shots should have him with just a sliver of health remaining. If you don't have any/ enough shells to do this, you will need to use the melee approach. The only difference in the strategy is that you use one of the melee weapons scattered around to hit him with instead of a shotgun blast while he recovers from his missed charge attack.

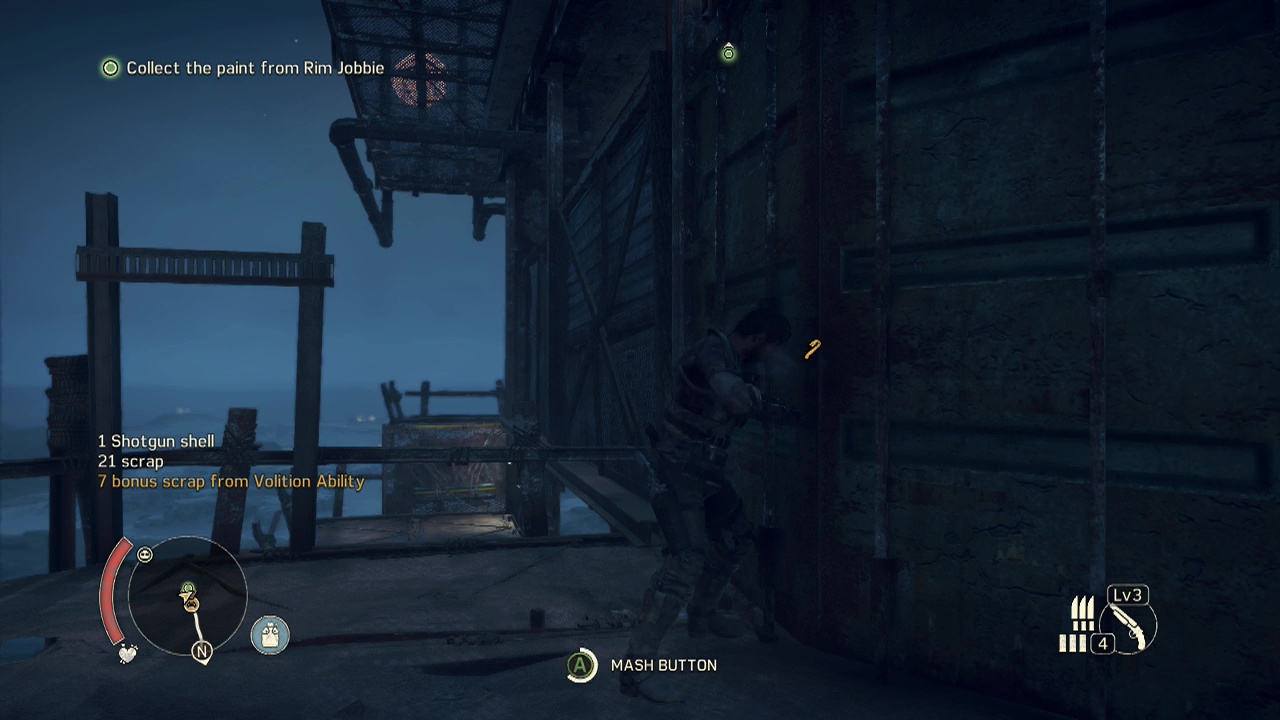
When he reaches low health, a prompt will appear over his head (A/ X) that allows you to initiate a final takedown. Once this is complete (I'm sure he didn't need that blood inside him or anything), the Large Blade camp is yours. You'll instantly obtain the paint after the fight. But there's still some stuff to pick up on our way out. Loot Rim Jobbie's corpse before turning off the wheels on each side of the platform to clear the flames from your path back down the ladder.
At the bottom of the ladder, use the water collection point if you need to before heading to where that zip-line was that was pointed out before (when facing the ladder head left to find it). Zoom across it now to find an insignia on the roof at the end as well as some scrap and ammo from a dead sniper on the floor. Kick down the ladder nearby and descend to rejoin the Magnum Opus and Chumbucket.
Objective: Find the required car body
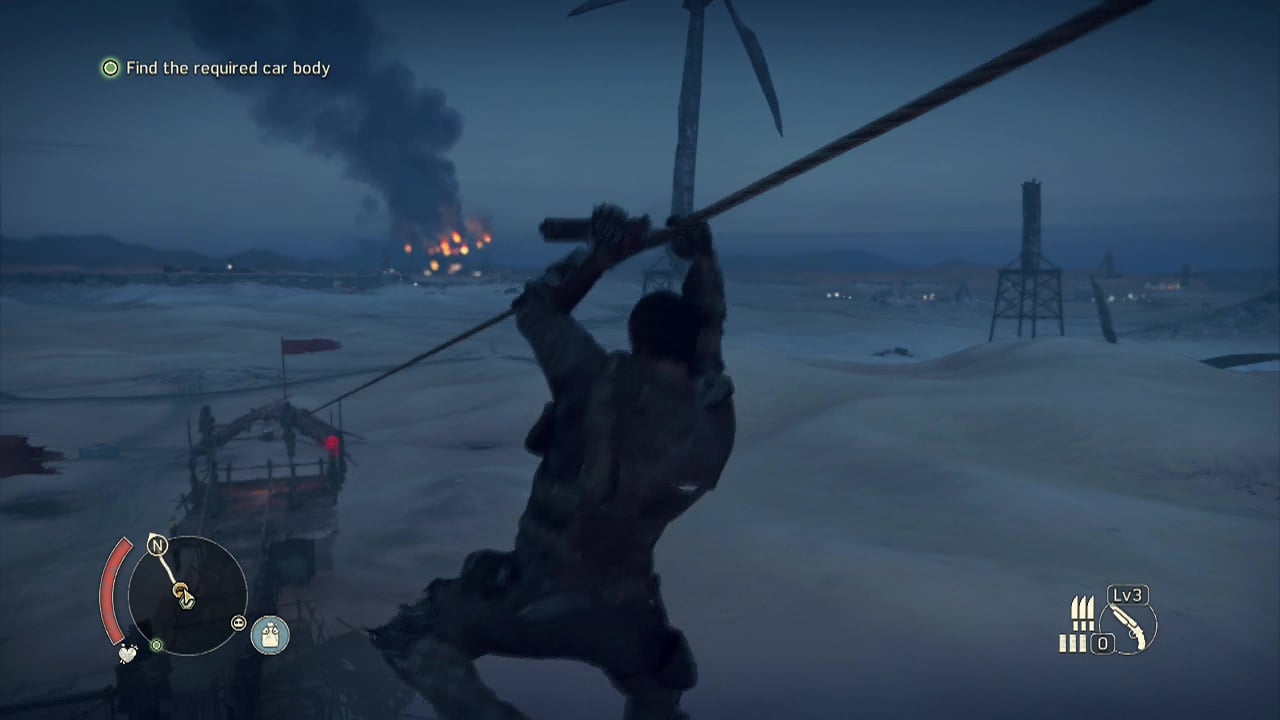
Now it's time to pick up the Wild Hunt body for the speed demon archangel design. Follow the trail across the wastes to a scavenging location deep in Gutgash's territory. Circle around the location marker to find an entrance you can travel through on foot opposite the nearby road/ trail. Walk in carefully as there are bear traps scattered on the ground at the entrance (which deal significant damage, even with upgraded health).
After getting past the trap welcoming committee, you'll encounter the residents of the location a group of four scavengers (one with a weapon) will attack you here. Quickly disarm the weapon wielder and then lay waste to all around you. Against the wall next to the small canvas over their beds is a project part for the cleanup crew in Gutgash's region.
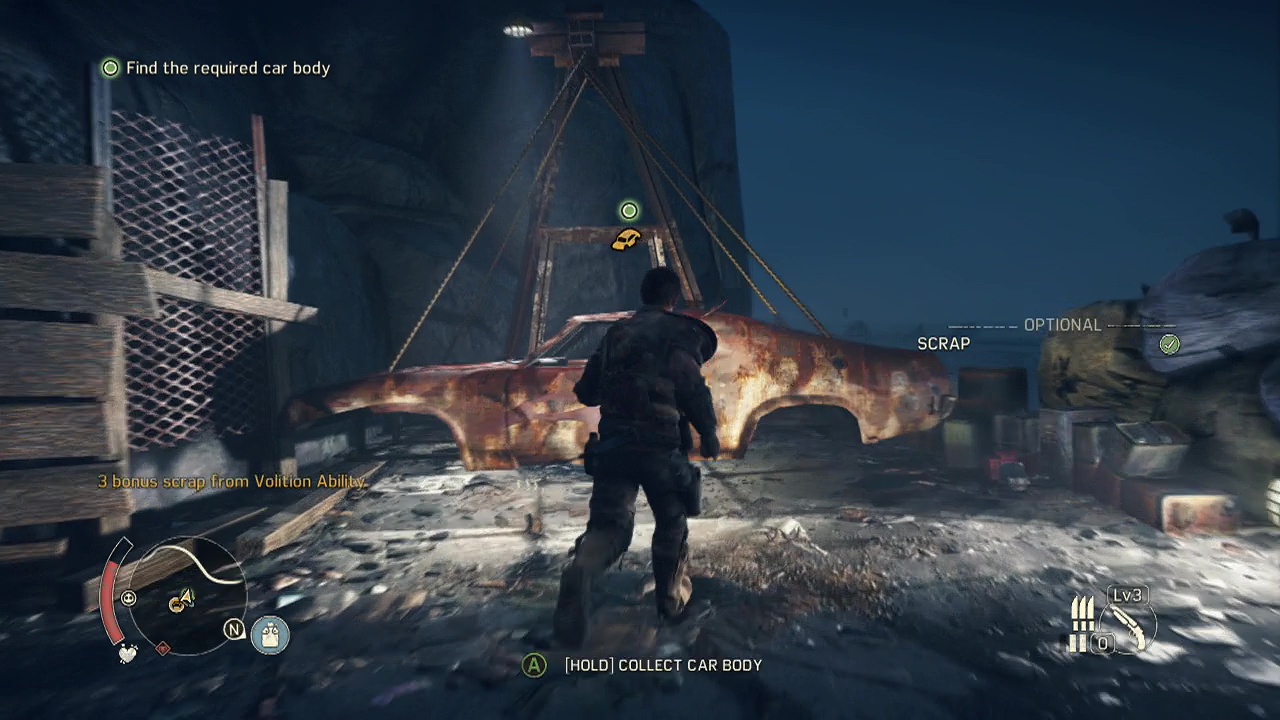
Turn around from the part to see a bit of scrap hanging on the wall. Further along the wall in a little alcove is some more scrap to grab. On the far side of the little area is the car body you need. Get close and interact with it to fire off a flare and collect it.
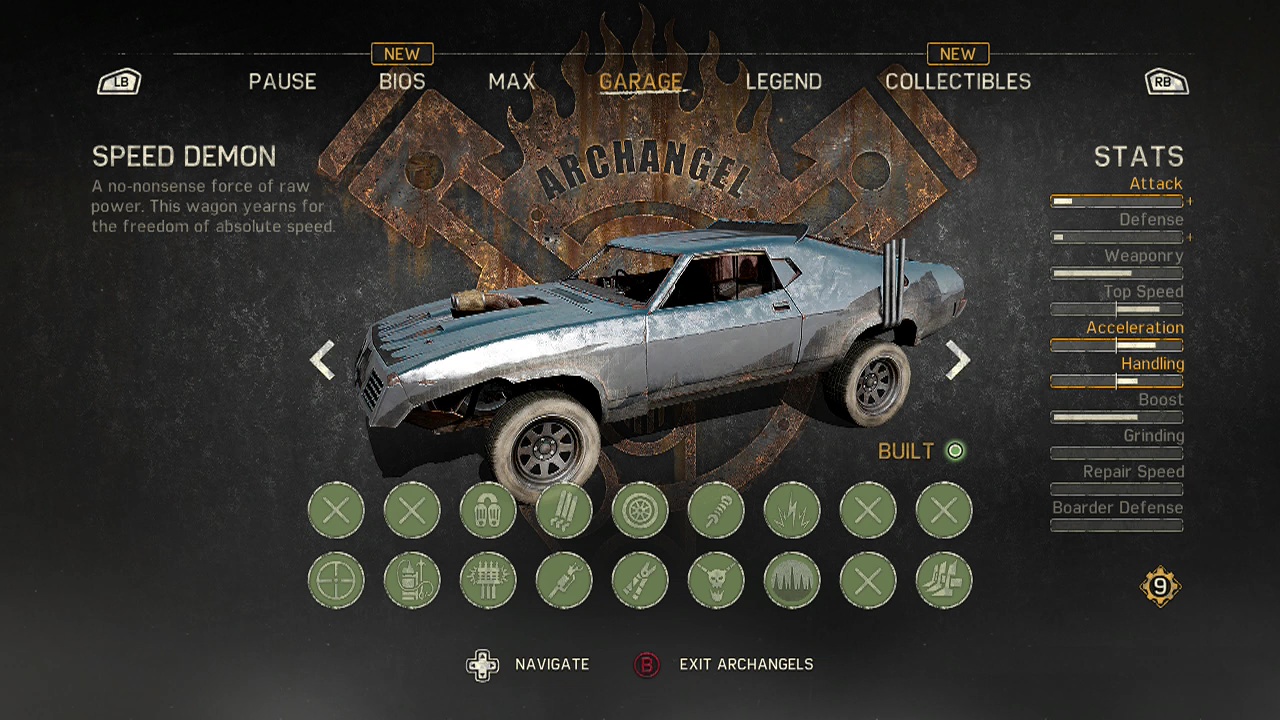
Objective: Use the garage to install upgrades for the speed demon
Here's where you finally put everything together. Go to the archangel section of the garage menu and install all the required parts (if you run out of scrap, you'll need to go earn it to buy the upgrades before you can advance with the mission). Install everything and you should have a fairly speedy set of wheels to bring back to Crow Dazzle.
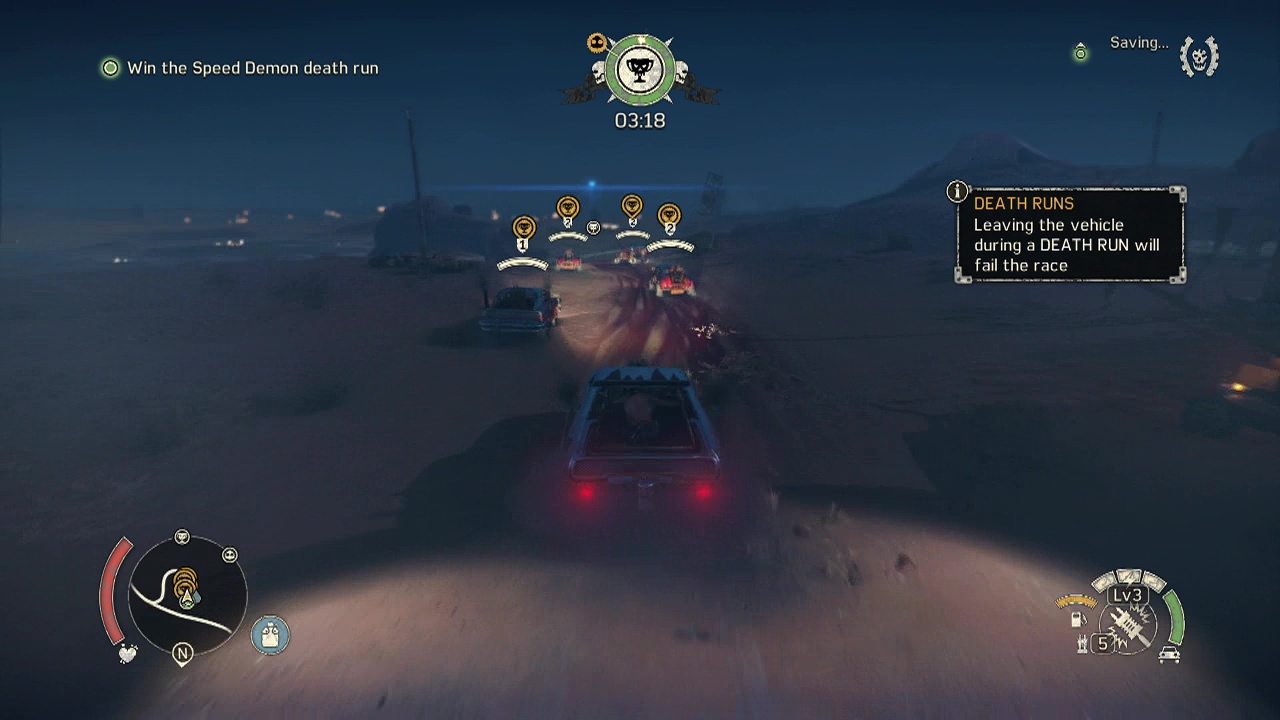
Objective: Win the speed demon death run
Drive all the way back to where Crow Dazzle is waiting in Pink Eye's territory to begin the death run. Climb the ladder and talk to Crow Dazzle to be offered a choice of race after the scene. You will need to pick the Barrel Bash option here to enter the speed demon. The Barrel Bash is like a normal checkpoint race with a twist or two. Each checkpoint is represented by a row of barrels. You must break a barrel at each checkpoint for it to count. You can destroy your opponents with the thunderpoon if you wish, but you will still need to reach the finish line before the timer of 3:19 runs out to claim victory. Your car getting destroyed will also lose you the race. If you run out of time, your car blows up and you lose. Sounds like fun, eh?
Objective: Recruit Tenderloin
After successfully completing the race, you will be free to pick up Tenderloin. Backtrack to where the race started to find her waiting for you in the shack nearby. After a brief scene, the mission will end and you'll be ready to take on the races in Gastown.
