MISSION 11 – Immortal Enemy
Location: Gastown
Requirements:
Reach Gas Guzzler legend rank
Upgrade max's knuckledusters, jacket and wrist armor
Note: Make sure you have the best upgrades you have equipped to the Magnum Opus, as this is the point where extra power and toughness are going to come in bloody useful.
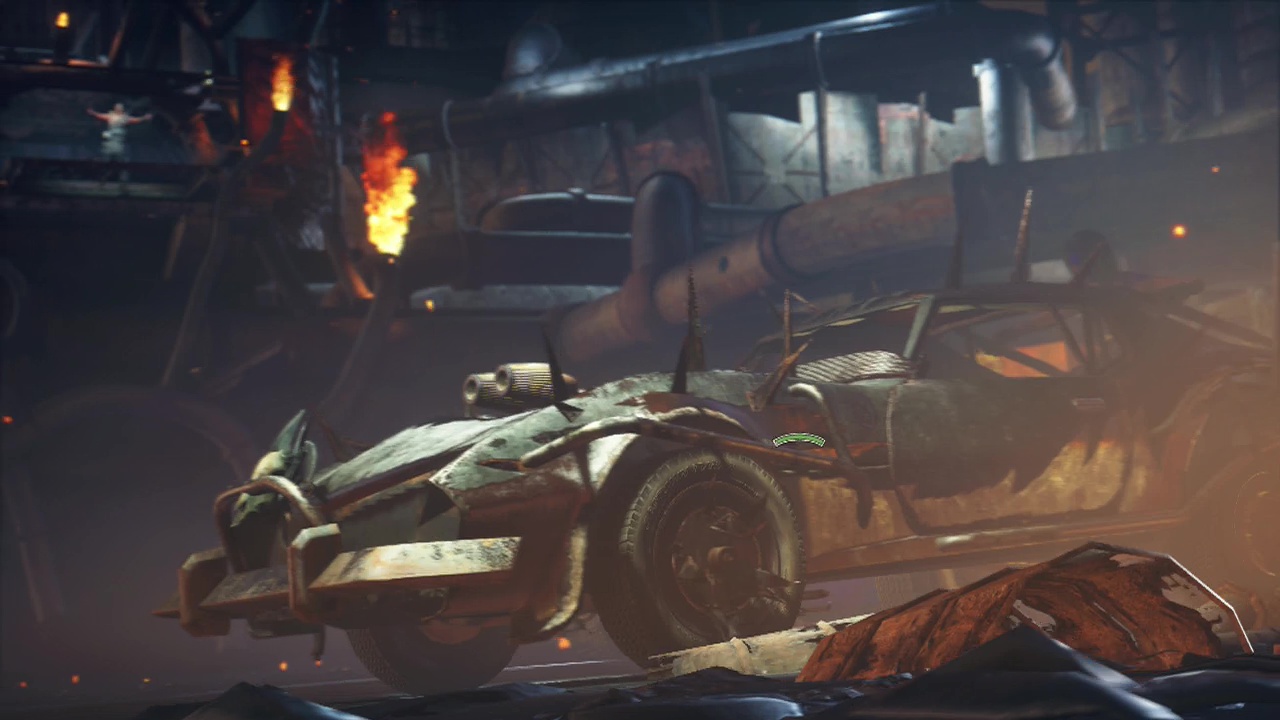
Fast travel back to Gastown and interact with the Outcrier at the racing board to start things off. A long scene will begin here, showing the lead-up to the race. Things take a turn for the unexpected when it suddenly becomes more important that you finish off Stank Gum, the owner of the big chief V8 quickly.
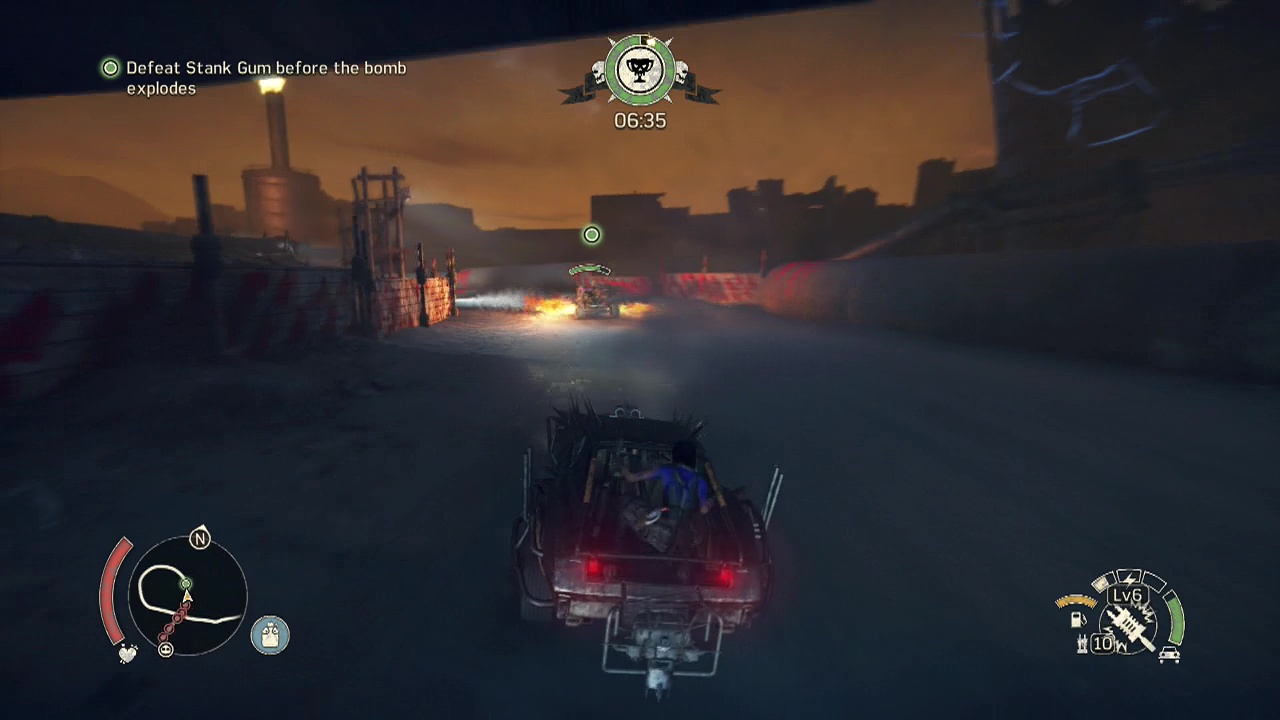
Objective: Defeat Stank Gum before the bomb explodes
The goal here is purely to destroy Stank Gum. You don't need to outrace him or destroy the other vehicles (although you can if you want to). The vehicles on the track will respawn (fly onto the track from outside) shortly after you destroy a vehicle, so there is little point to killing them off, unless they are blocking your path. Concentrate on getting ahead of them and tailing Stank Gum while you rain thunderpoons down his tailpipe. After five or so shots, he will explode and the race will abruptly end.
The difficulty of accomplishing this really boils down to your car's stats, your own skill and knowledge of the track. With a moderately upgraded Magnum Opus, it was easily done on the second attempt – seen in the video. With a maxed out Magnum Opus this would probably be a cakewalk. After the race ends, another scene will play and you will find yourself in a metal cage, facing Tenderloin in a battle to the death. Sigh, Max just can't keep friends easily. Can he?
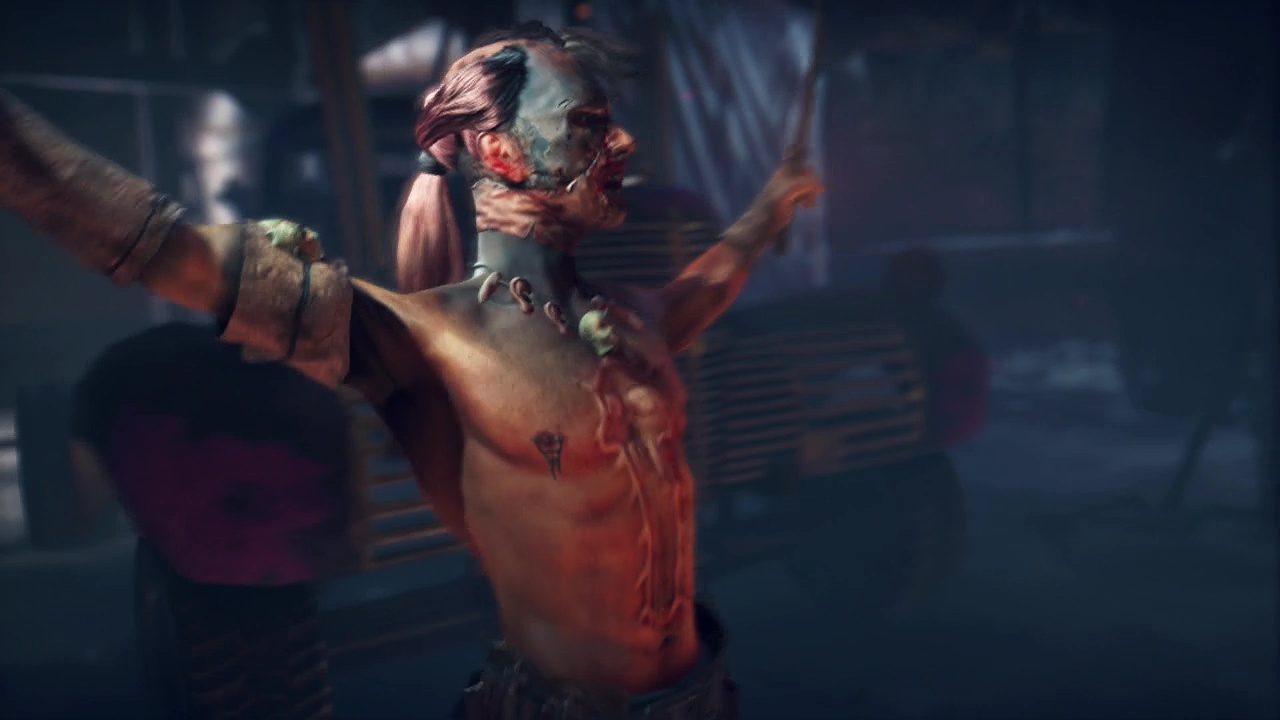
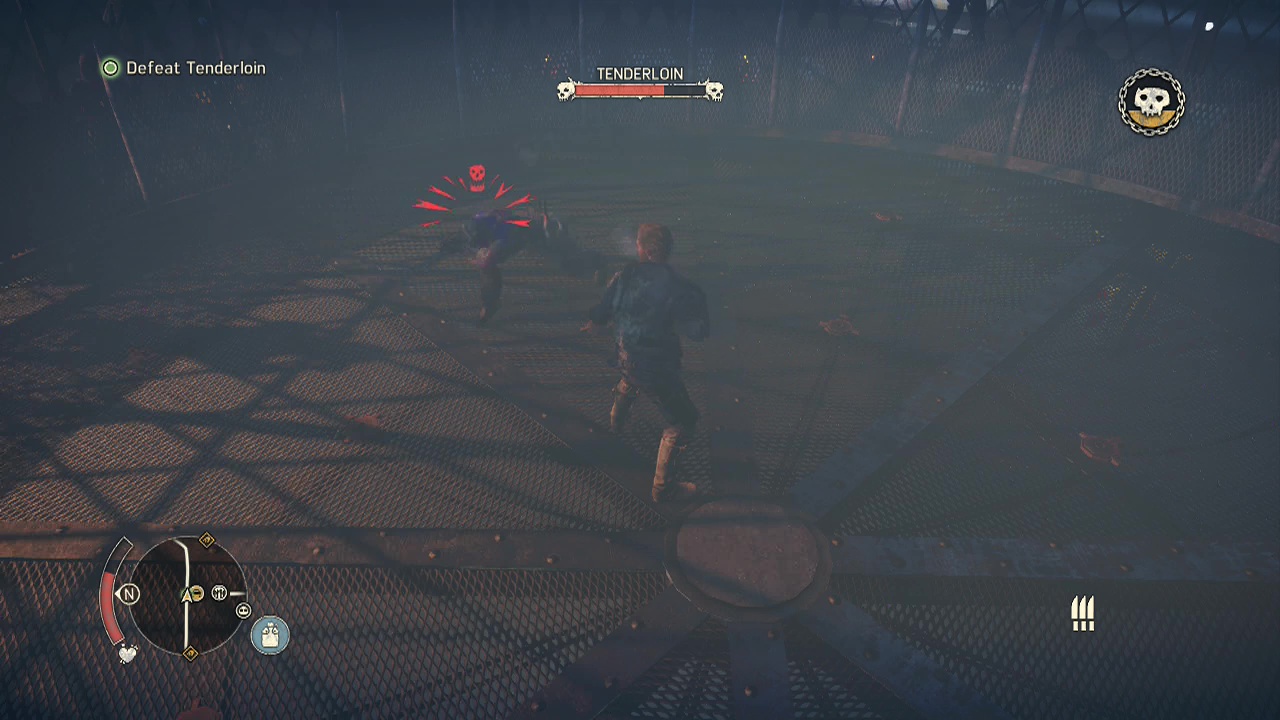
Objective: Defeat Tenderloin
Tenderloin really only has two or three attack, although the prompts for them can be a bit annoying to deal with. Her first close range move is to crouch down low for an unblockable attack, followed by an attack you can counter. Unless you are at exactly the right distance from her, there's little you can do aside from dodging this attack. The second close range attack is the same as the first, except with the unblockable and counterable symbols reversed (yeah, even the animation is the same). This is the attack you need to abuse to deal damage to tenderloin. When you see her start this one, immediately counter it and then pound away at her with a series of attacks until she begins avoiding you again.
Her mid range attack can be rather dangerous, especially if you push her close to a wall so she initiates it in close range. She will perform a flip and then slice you multiple times dealing nasty damage. Try and keep her close to the middle of the area to avoid this happening to you. You won't be able to just attack her at any time as she will dodge away from your moves, backing away when you get close to her as well. You will need to repeatedly hit her by countering that one move, over and over again. The main issue in this fight is determining when to counter and when to dodge, as the animations for her close range attacks are identical. You will need quick reactions and judgement to decide when to fight and when to run.
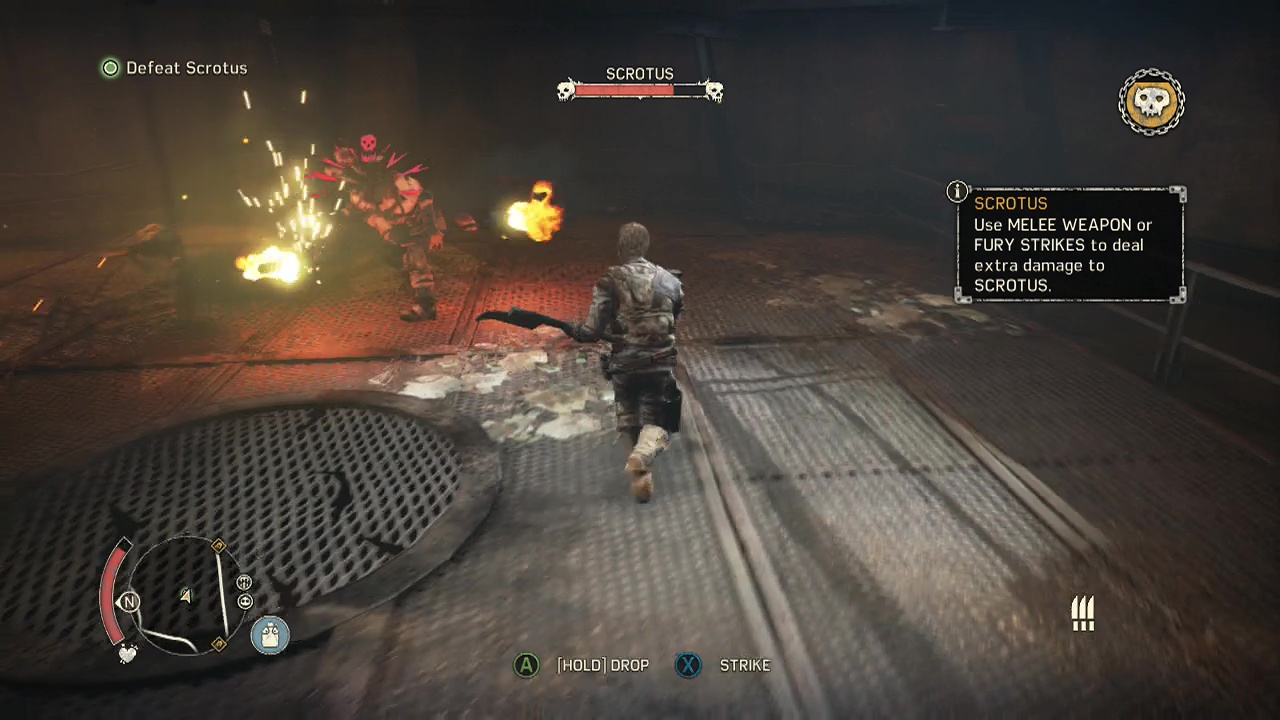
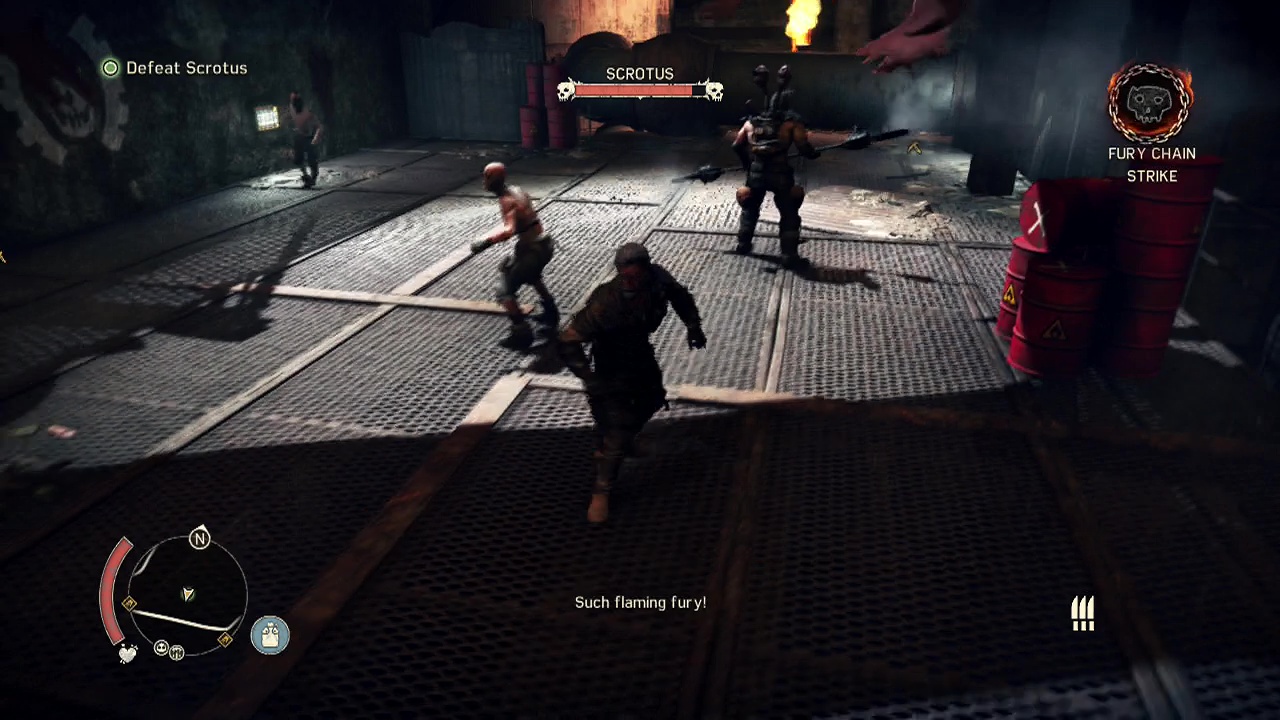
Objective: Defeat Scrotus (to prevent scene spoilers – highlight to reveal missing words)
After the brutal cage match is over and Tenderloin lies dead on the floor, you'll be thrown into another fight after the scene plays out. You will be facing off against the one and only Scaborous Scrotus. Scrotus is still using his double headed chainsaw staff, stolen from Dead Rising 2. Scrotus can perform a variety of attacks, all of which are unblockable. At close range he will raise the chainsaw staff and then quickly slam it into the ground in front of him. This is fairly slow and easy to avoid, allowing you to attack him from behind if you are quick.
At mid range, he will lunge towards you with a quick sweeping slash or two from his chainsaw staff, leaving his back exposed for a couple of seconds after he comes to a halt. He can also perform an extended version of this, where he covers more ground and continues to swing the chainsaw staff for a few seconds after he stops moving. Be careful of trying to back attack him during the extended version, as he can hit you even while facing the other way if he is still swinging the staff.
Multiple times during the fight, he will summon reinforcements in the form of three or four war pups who will constantly annoy you while you are trying to focus on the boss. To make matters easier, use the weapons strewn about the ground. The wide swing arc will hit multiple enemies at once, and deal additional damage to Scrotus. After losing about a third of his health, Scrotus will add a new attack, a fast charge that launches him across the area towards you.
This charge attack provides little warning, he will duck down for half a second and then sprint towards you, swinging his chainsaw staff when he gets close for decent damage. He will begin to use this attack often whenever there is a medium amount of distance between you. Use this new attack to your advantage by standing next to the red barrel piles in the area, luring him into attacking them and damaging himself. Just keep in mind that the explosion damage won't be enough to take him out, even using all three piles. You will need to continue the melee beatdown as well to empty his health bar enough (just below half) for a scene to end the fight.
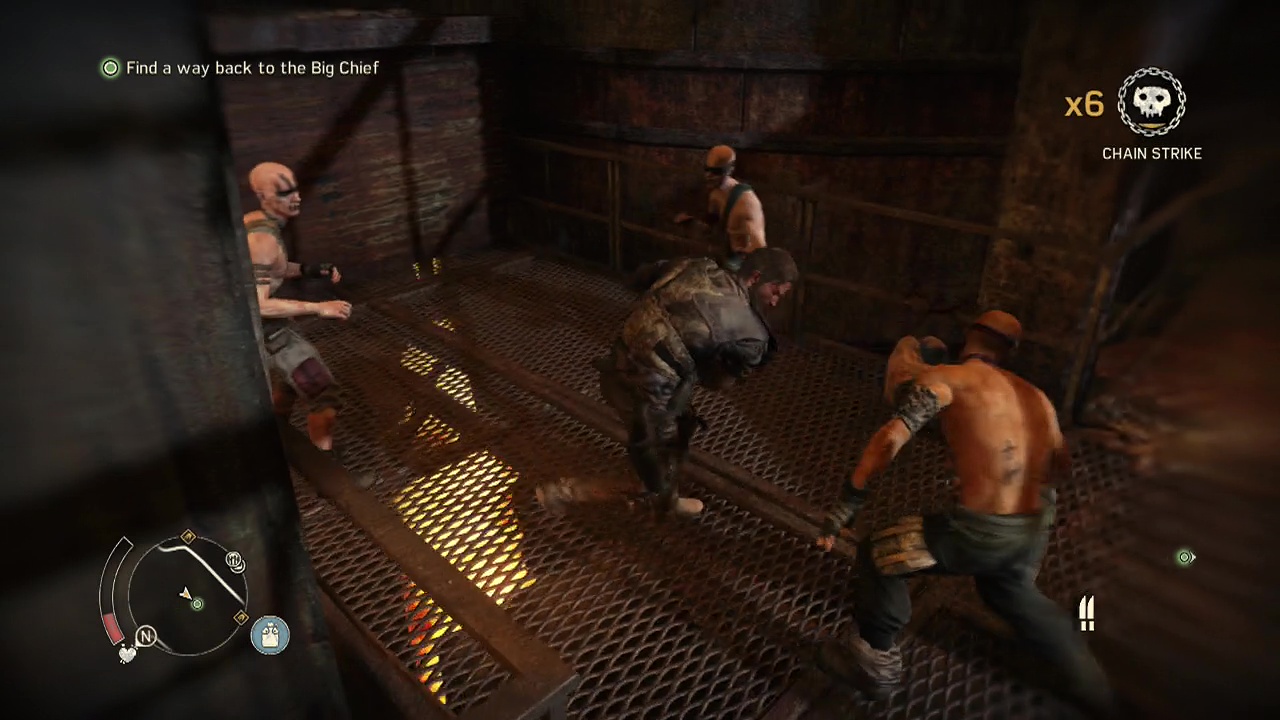
Objective: Find a way back to the big chief
Once you regain control on the far side of the gap, turn around and head to the left. A bridge will be lowered as a couple of Scrotus' war pup minions try to take you down. Show them the error of their ways and cross the bridge. Follow the trail until you round a corner and see a ledge in front of you with three war pups in the area beyond. Drop down and start the rumble. As you fight, more war pups will rush in so that in the end, you will bring down seven or eight total.
After the battle, check the area to the left of where you dropped down for scrap. Directly opposite it in corner will be some additional scrap as well as some food to replenish your health. On the ground nearby will be an ammo container you can stock up with (although you can't use your shotgun here). Follow the rusted iron walkway to reach a water collection point you can use. Make sure you are at full health before proceeding. As you enter the cylindrical building ahead, a scene will trigger and you will be thrown into another fight.
Objective: Defeat Scrotus
This is nearly identical to the previous fight, except for a couple of things. War boys will also be amongst the reinforcements he calls in (with weapons), so they can be a little more difficult to deal with. There are also no piles of red barrels here to take advantage of. Use the melee weapons to bring down the minions quickly and then concentrate on back attacks for Scrotus himself. This fight will test your crowd control and counter abilities, as you multitask between avoiding Scrotus' attacks and taking down his minions. When Scrotus is reduced to half health, a scene will trigger like last time, ending the fight. I really want to know what the developers were smoking when they came up with this scene.
When you regain control, the mission will end. However, you will still need to return to the Magnum Opus. Leave the doctor's room and follow the linear trail until you encounter Chumbucket and reunite with the Magnum Opus.