MISSION 13 – In It For Glory
Location: The Dunes Region
Note: If possible, make sure you have your shotgun fully stocked for the final battle of this mission as it makes things a lot easier.
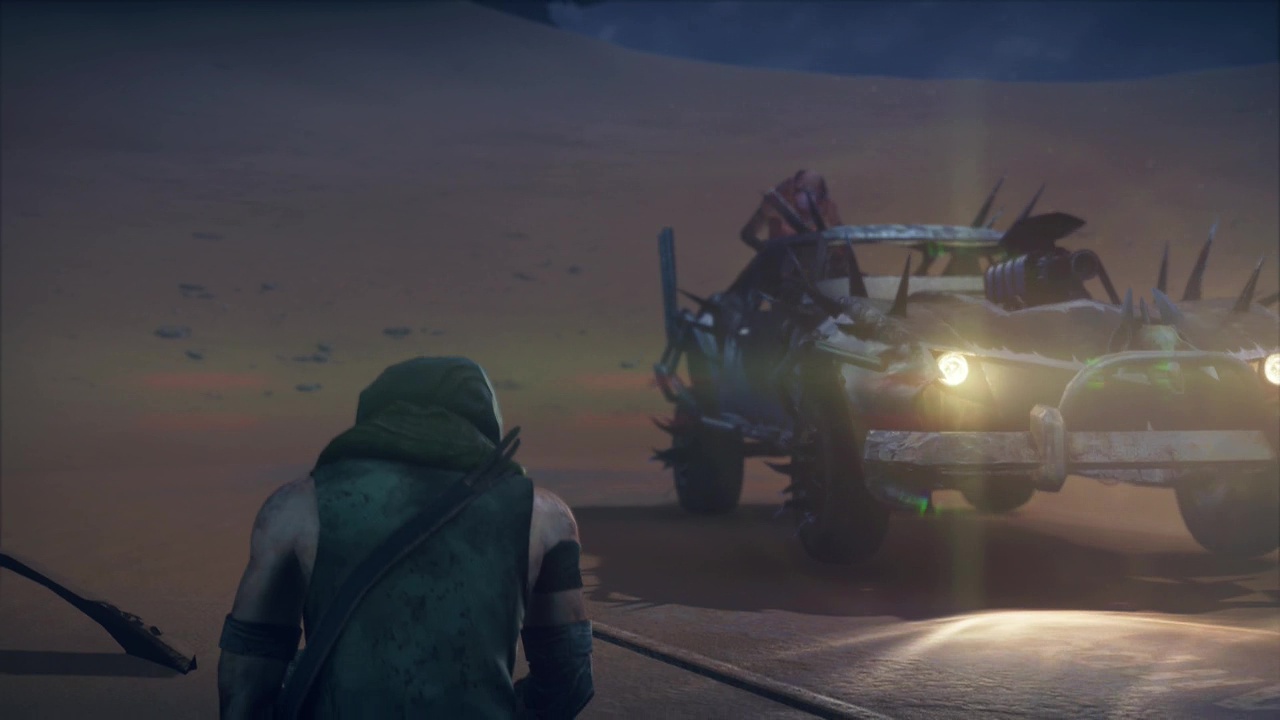
You'll have to drive back out into the Dunes Region (Buzzard territory) to find the old man Hope spoke of. When you get close to the story marker, a scene will trigger and begin the story mission automatically.
Objective: Follow the tire tracks
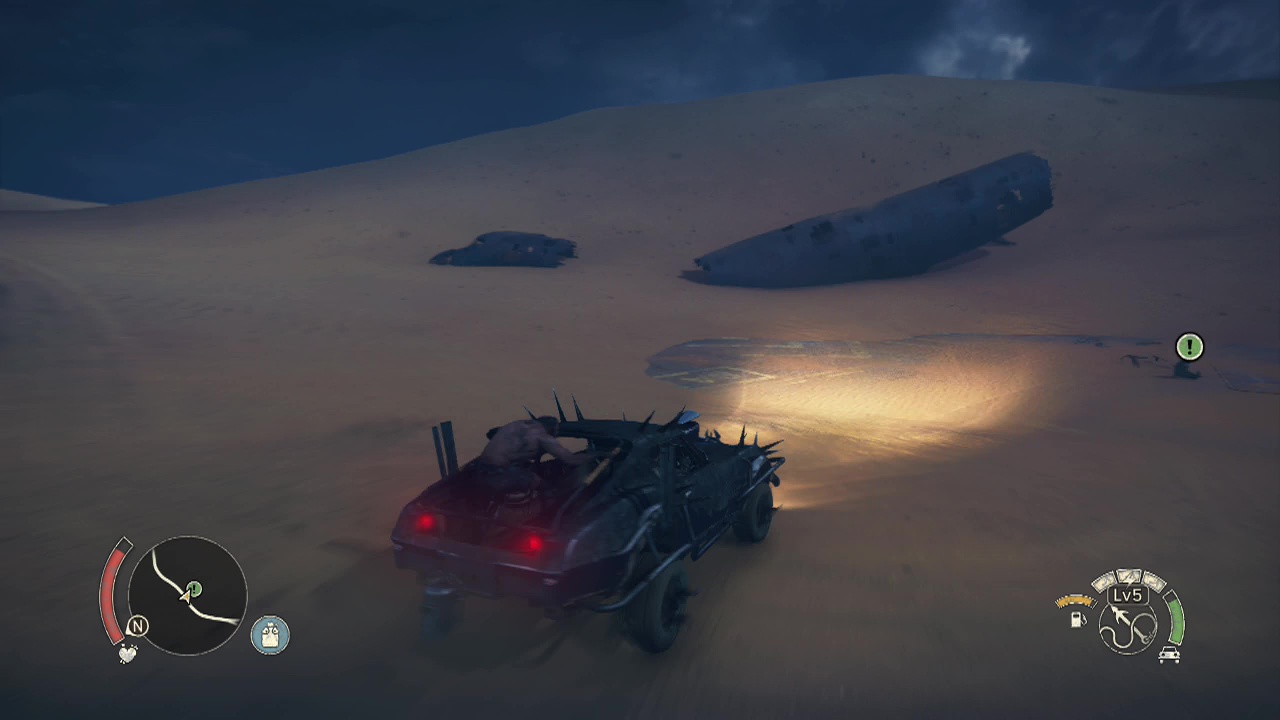
After the scene finishes, start following the tire tracks (or the green line on the map) leading away from the body in your Magnum Opus. A fairly short drive through the sands will see you arriving at the entrance to the Underdune. Yay, this fun place again. A weak gate (harpoon restricted) will be blocking off the entrance, so put the pedal to the metal and ram that sucker. A quick scene and sudden drop will end with you deep in the Underdune (past the baggage carousels you wound through in an earlier mission).
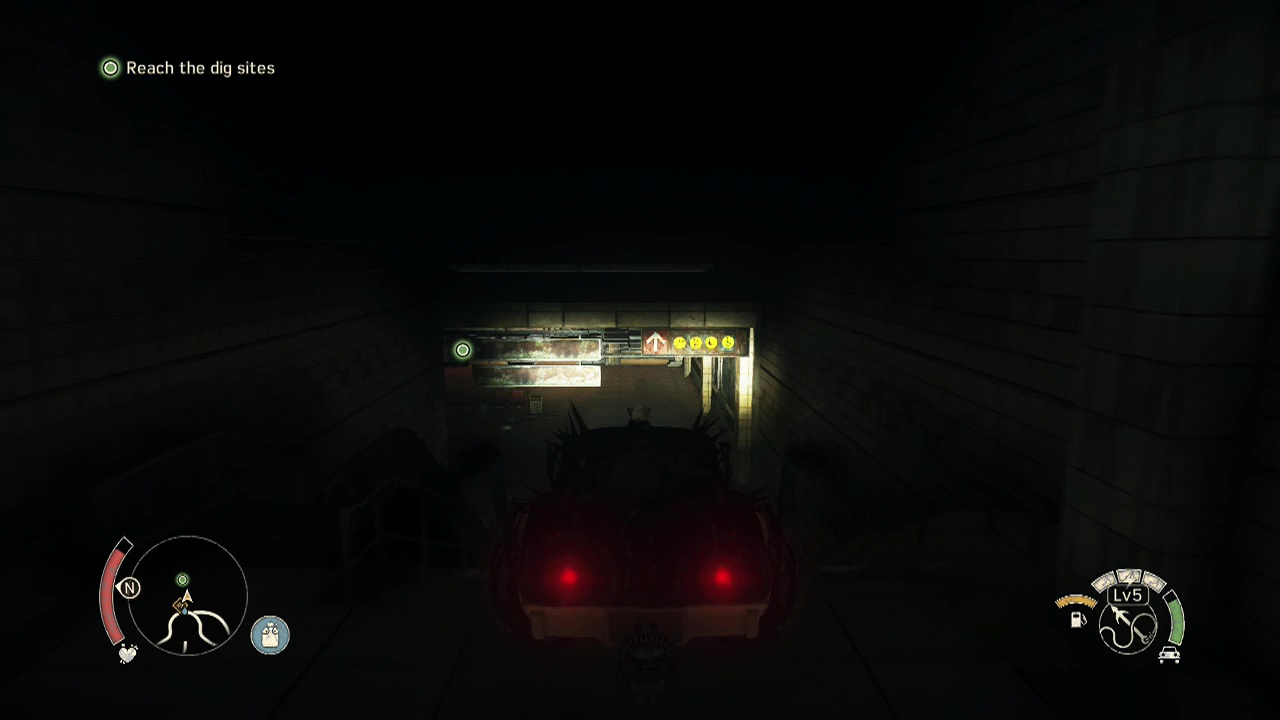
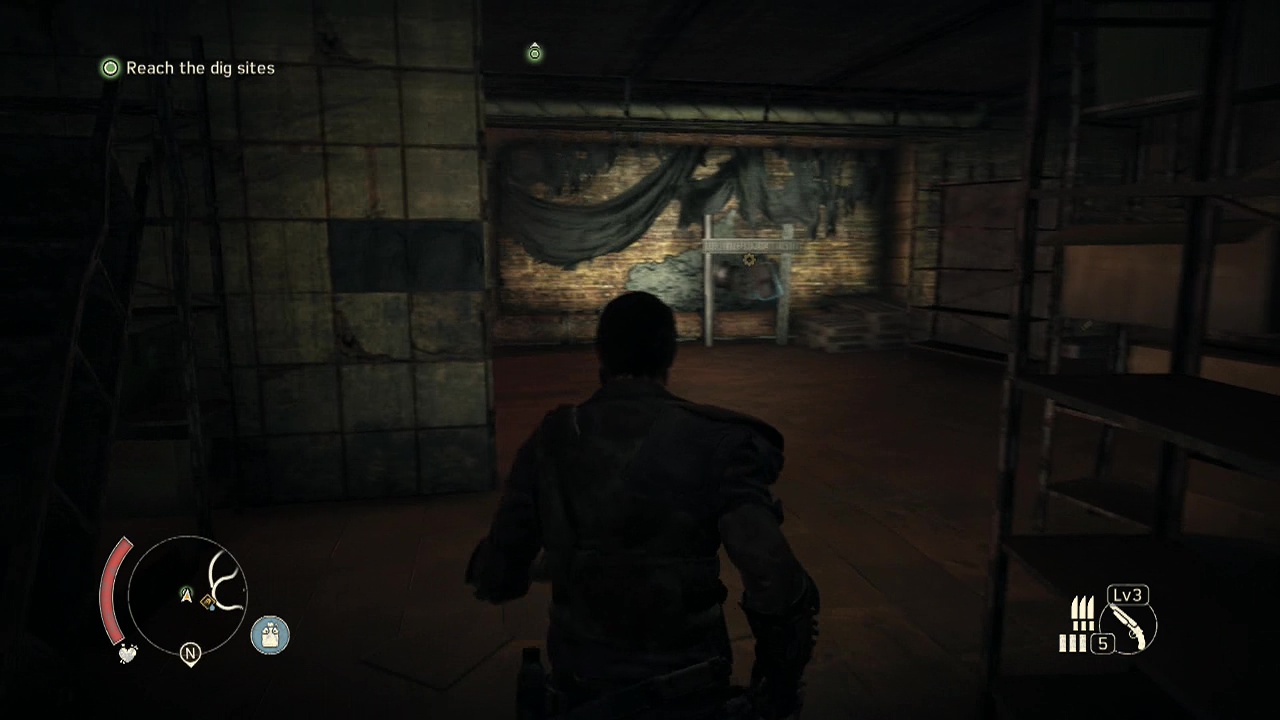
Objective: Reach the dig sites
Trundle along the walkway in the direction the car was facing after the scene and follow it around to the far side. You'll drive down an escalator with a sign saying 'garage' overhead. Just beyond this in the next room will be an open doorway with witches hats (road cones) around it. Dismount your rumbling beast, top up your canteen at the water collection point and walk through the doorway.
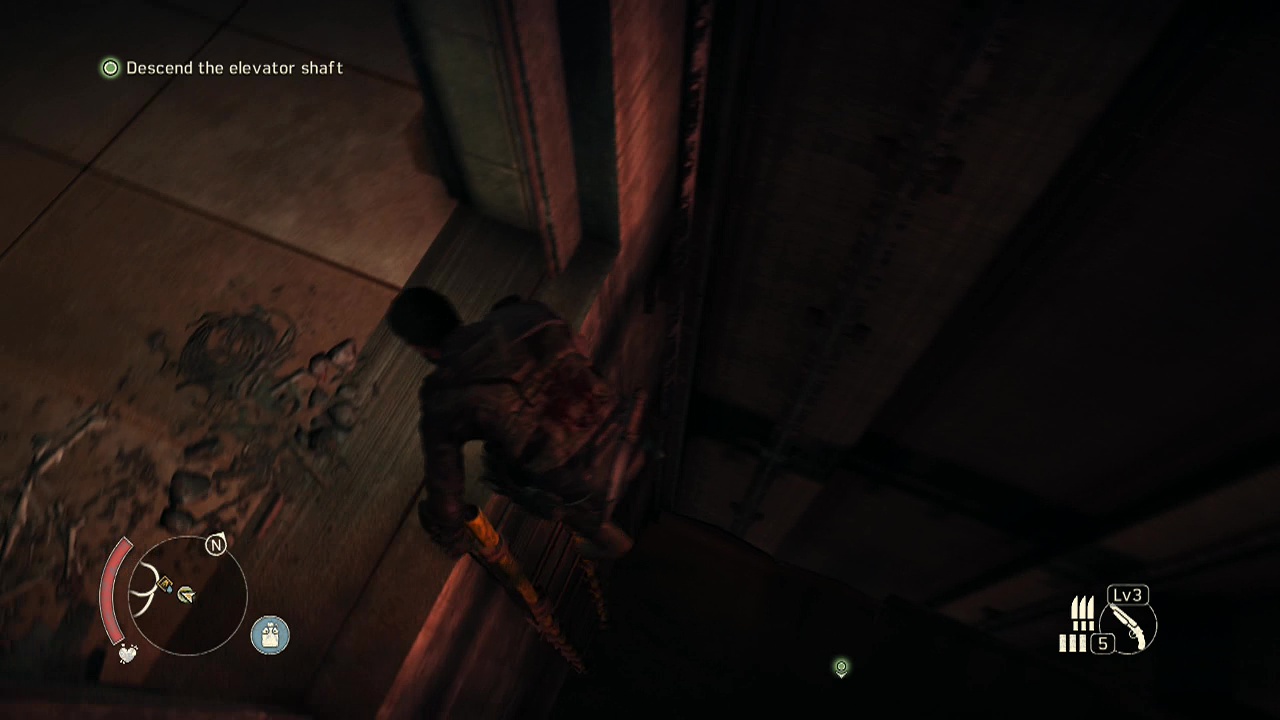
Objective: Descend the elevator shaft
You'll drop down on top of an elevator's roof. Keep descending, being careful to drop onto the ledge from the second elevator's roof. At the bottom of a ladder, you'll turn around to find some yellow car bumpers you can climb up. Turning right in this new room, you'll spot a ladder and a doorway just ahead. Ignore the ladder for a minute and go through the doorway to discover some scrap on the floor and some more scrap next to it.
At the far end of the toilet cubicles, you'll find another piece of scrap hanging from the wall (what do these buzzards get up to in their toilets? A little light welding?). Now that you've looted this level, return to the ladder you passed and start clattering downwards. More elevators act as stepping stones here for your descent. Drop down again to trigger a scene and plummet into the depths of the Underdune.
Objective: Reach the dig sites
After hearing the events above involving Chumbucket, walk through the next room with the shelves. The room following that will have even more shelves that you will need to weave between. On the far back wall of this room is some hanging scrap for you to grab, with an ammo pickup behind a shelf to the right of it. You'll spot another bit of scrap on the ground next to the door leading out of this room.
Leave the room to find yourself faced with a staircase. Head downwards first and at the bottom you'll find some scrap against the wall. Now that you've got that, you can start heading up the stairs instead. Wind your way upwards and pass through the open door at the top for a scene.
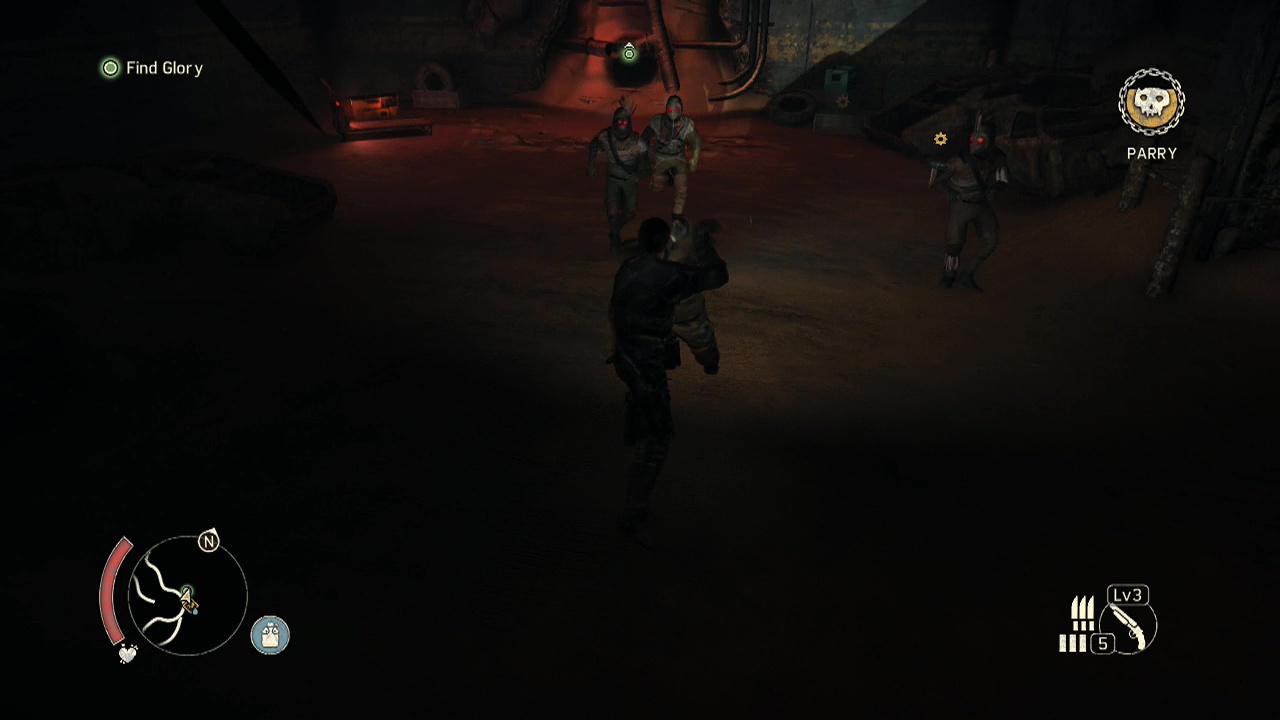
Objective: Defeat the buzzards
After the scene, you'll be facing off against a group of four buzzards. One or two will use the annoying unblockable grapple attack, but aside from that there shouldn't be any issues with you introducing their faces to Mr. McFist.
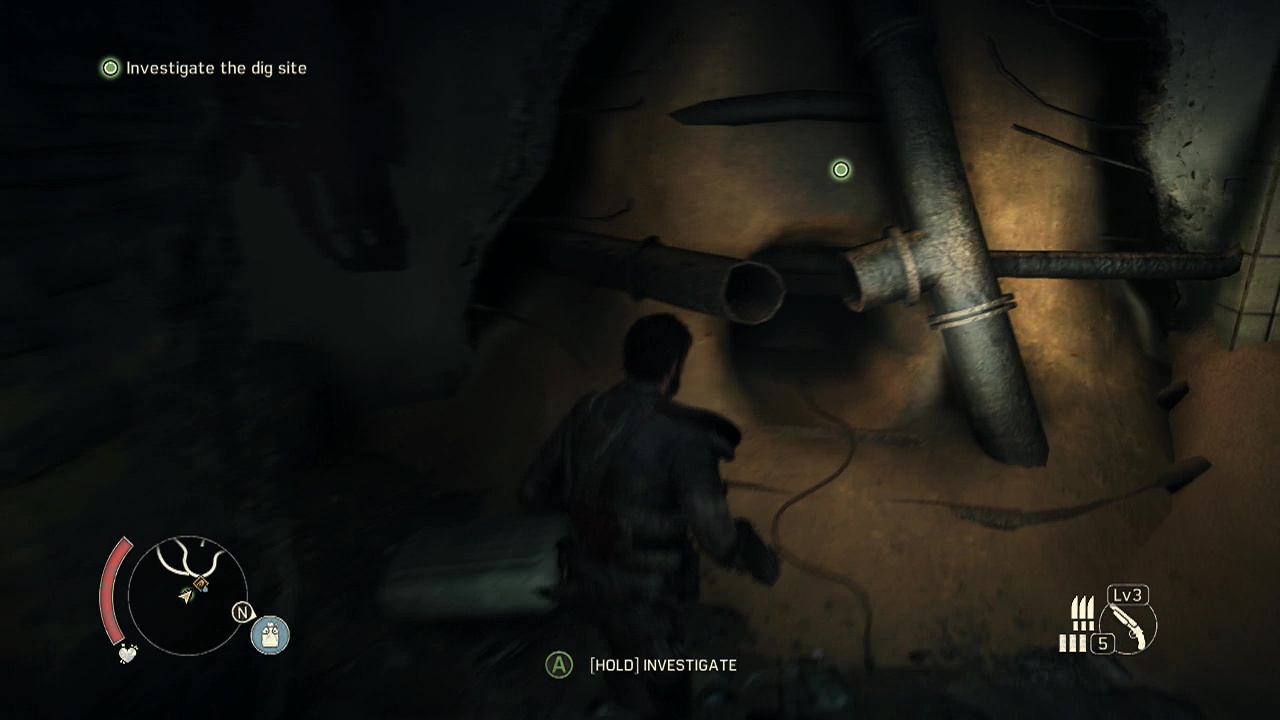
Objective: Investigate the dig site
When the dirty deed is done (dirt cheap), approach the marked hole in the wall where the digling was and hold A/ X to investigate. Apparently Max can speak digling.
Objective: Find Glory
Doesn't that sound like a strange objective out of context? Anyway, when you regain control kick down the yellow and blue door to your right to reach digling area. You'll be confronted with a trio of objective markers here, pointing out the locations of the diglings in the area.
Note: Not sure if the order you visit the markers change Glory's location or not. But I have listed what was found at each location in my playthrough,
Left marker: Clamber down through the rubble and debris and then slide down the slopes below the concrete surface to find yourself staring at a bit of scrap hanging from the wall ahead. Just beyond that against the left wall is more scrap for you to scavenge. Once you have the loot, investigate the hole in the wall at the end of the tunnel to obtain… nothing. Back to the upper levels with ye.
Center marker: Once again descend the slope leading below the concrete layer. This time your welcome won't be so friendly. A group of four buzzards will rush to attack you when you reach the lower level. Due to their low numbers, they shouldn't pose any threat unless you are on a sliver of health. Once the group has been dispatched, pick up the scrap next to the rusted car to the right of the marker and the scrap in the box next to it. Investigate the small tunnel as usual when you are ready. Argh! It's a poorly designed character model. But not Glory. When you resurface and head for the final marker, your objective will change.
Right marker (vanishes after checking first two markers): On the right side of the area, descend the slope you find to reach a chamber with some scrap against the wall, and another bit of scrap beside it.
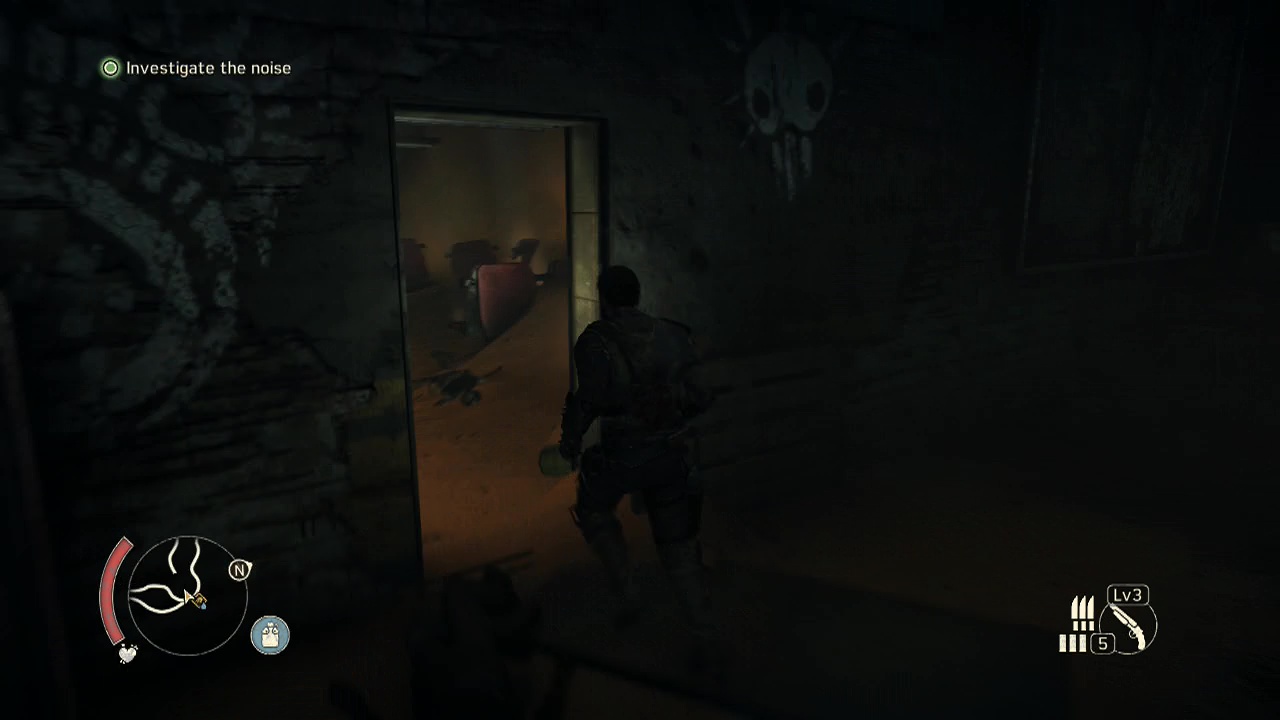
Objective: Investigate the noise
Now it's finally time to pick up Glory. Cross the car wreckage strewn upper area until you see the marker on the door lit up by flickering blue light.
Objective: Find Glory
Enter the room past the door to see a small tunnel in the wall to the right for you to investigate. It's a bit too small for Max, so instead look for a marked gap in the nearby wall that you can squeeze through to get to the adjoining room. Inside you'll find a large metal box in the middle of the room. Gee, I wonder where she's hiding? Open the metal box and watch the scene play out.
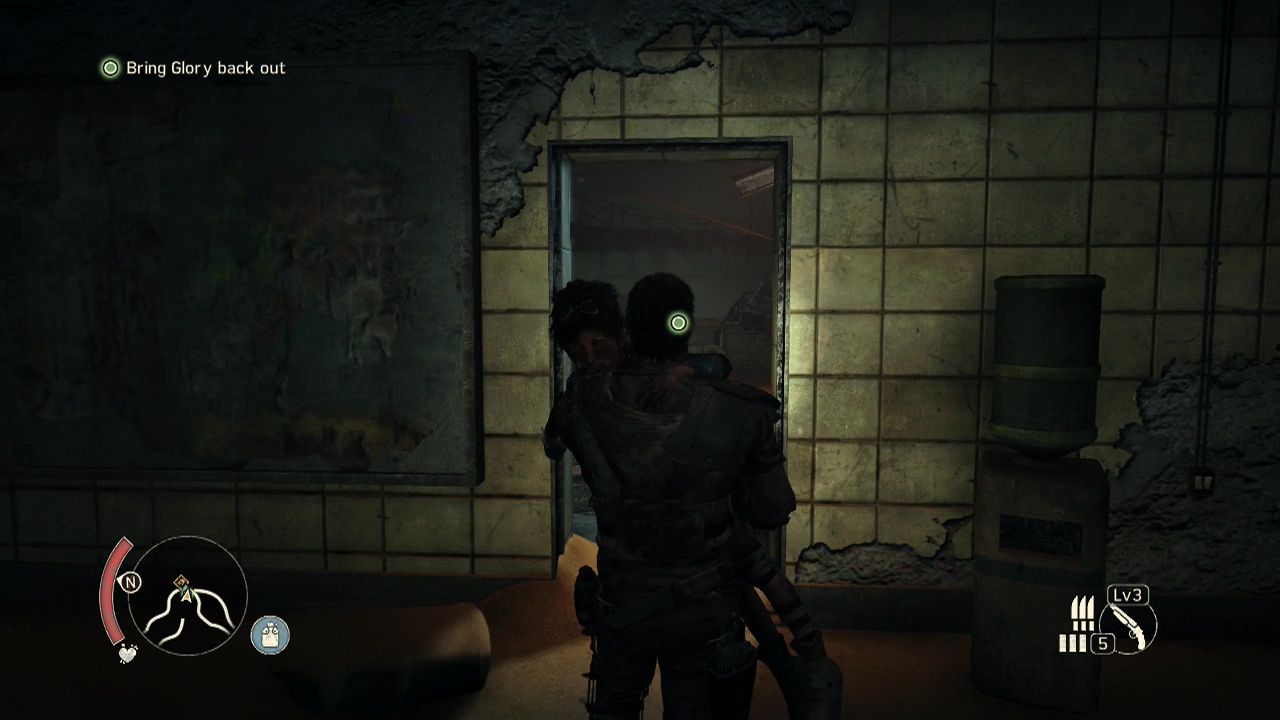
Objective: Bring Glory back out
Remember when I said it was time to pick up Glory? I wasn't just blowing smoke. Carry her back out of the room to the large open area outside for a scene. Looks like we've found a replacement set of wheels.
Objective: Defeat the buzzards
Just gotta deal with the fleshbags driving them first. You'll be fighting a top spike here (a two handed club wielding enemy similar to a top dog camp boss) as well as five other buzzard enemies at the same time. You'll need to be on your crowd control A game here as you will need to watch both the unblockable attack icon of the top spike to dodge safely, while being on the lookout for counters opportunities against the swarming lesser buzzard enemies.
Focus on clearing the lesser enemies out first, dodge rolling away whenever the top spike charges at you. Be warned that (like most boss enemies), the top spike will call in reinforcements (with ferals amongst them) about twenty seconds after you have cleared out all his minions. The good news is, you will have twenty uninterrupted seconds to unload your shotgun into him if you have it fully stocked. This can lead to the fight ending after a single wave of goons if you are quick enough.
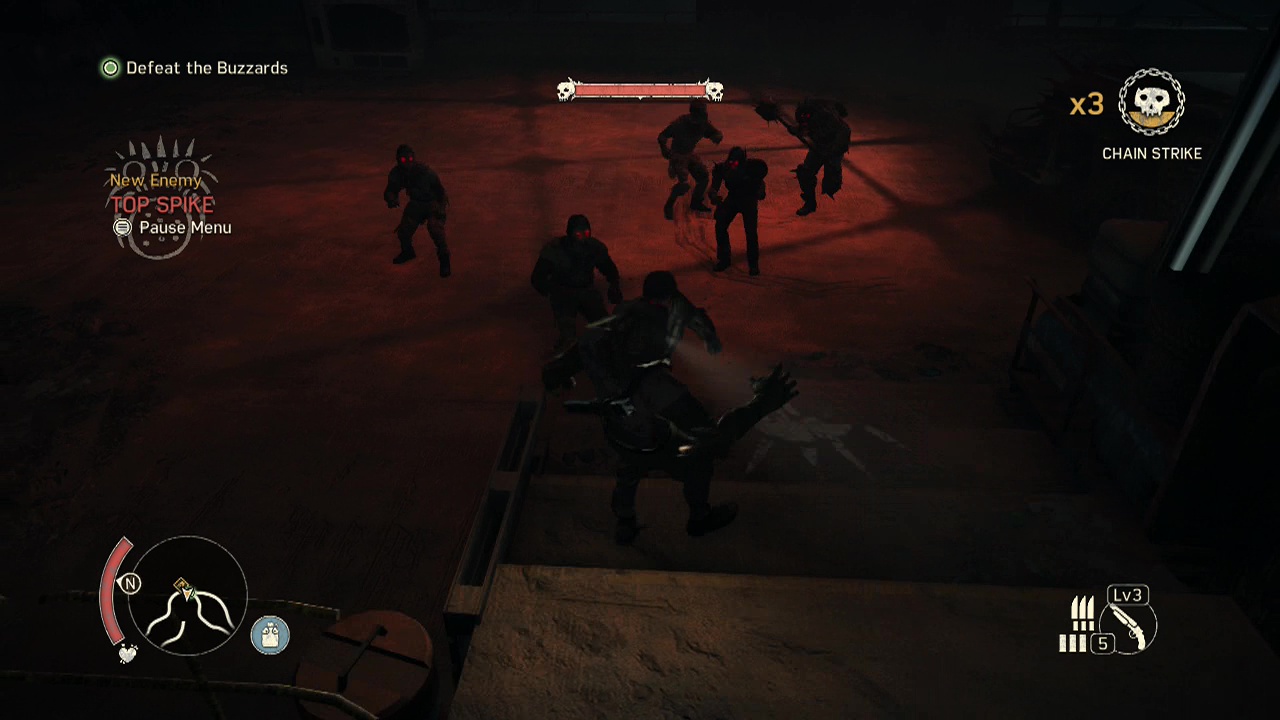
For those that are lacking in shells, you'll need to slog your way through lesser enemies repeatedly to get the chance to deal a couple of combos worth of damage to the top spike. If you can trigger fury mode for those combos, you'll do much more damage to the boss.
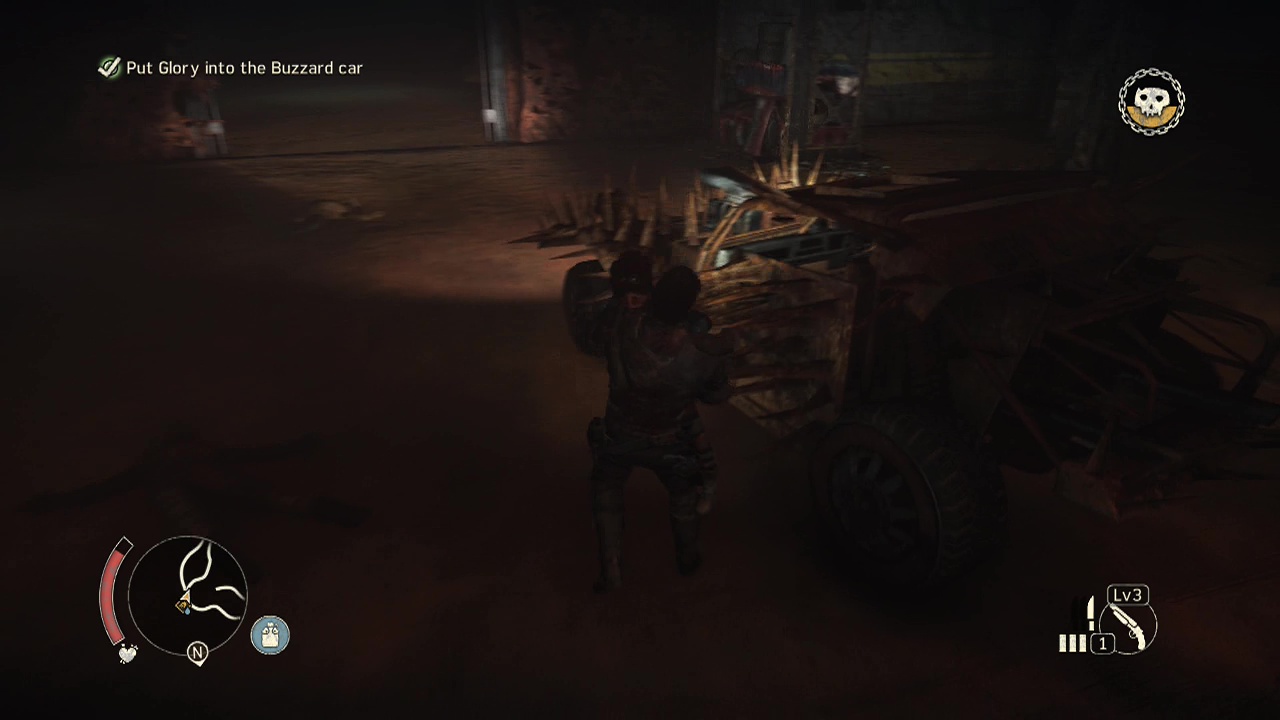
Objective: Put Glory in the buzzard car
When the fight is over, stroll back over to pick up Glory and transport her to the buzzard car. Damn, that thing seems like just looking at it would give you tetanus.
Objective: Drive Glory to her mother
Hop in beside her and start driving down the tunnel in front of you. A linear path will lead you all the way back to the entrance of the Underdune, thankfully free of enemies. At least until you emerge from the entrance and they rise up out of the sand. Wait, what? How do cars spawn out of the sand? You don't have any weapons besides the shotgun… oh, and mines! So your best best is a combination of aggressive side swipes and trying to get in front of the enemy vehicles so you can let slip the dogs of boom with the A/X button.
It's a fairly long drive to Friah's stronghold, but you should be able to hold out until you get there. When you arrive, watch the scenes play out as the mission ends. No wheels! What will we do now?