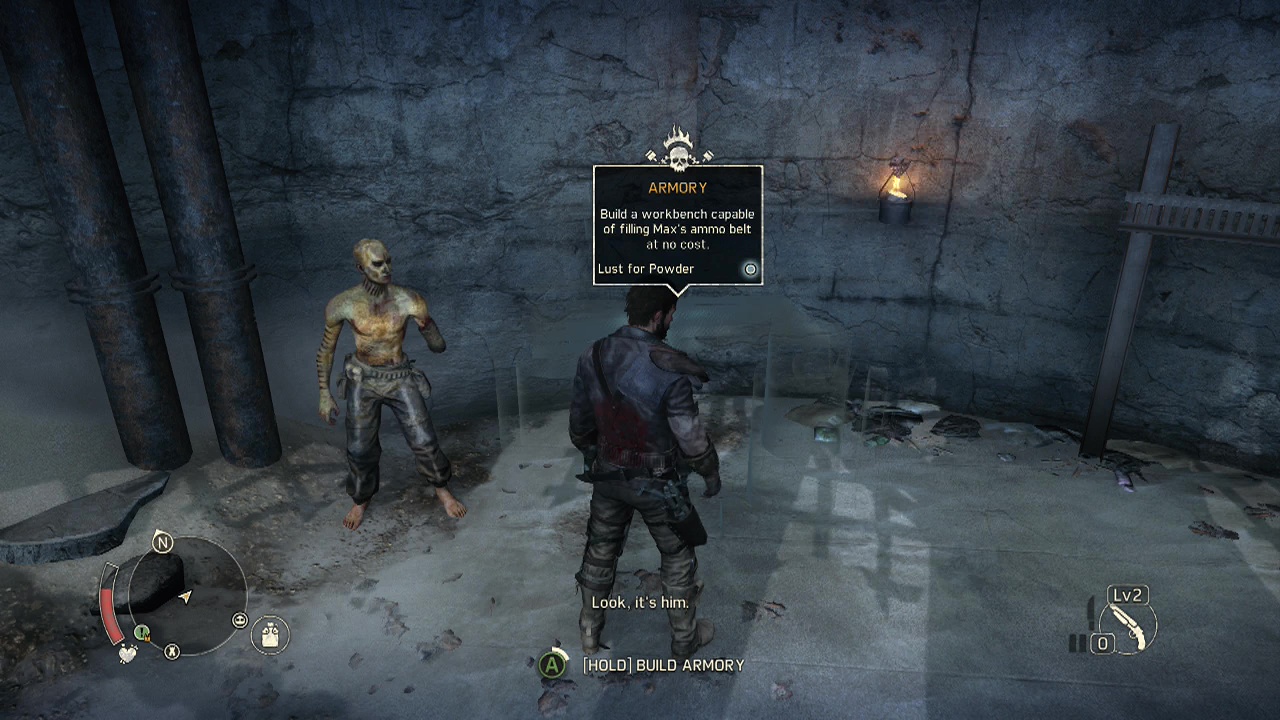

WASTELAND MISSION 02 – Lust For Powder
Location: Jeet's stronghold – Jeet
Reward: Armory project becomes available at Jeet's stronghold
Objective: Enter the thrall rustler's cave
After discussing the matter of black powder and a certain prisoner with Jeet you'll begin the wasteland mission. Exit the stronghold and fast-travel (or drive if you haven't unlocked any nearby locations) towards the South-East edge of the map (just a little to the North-East of the starting area of the game). When you get close to the cave marker area, you'll see the large entrance in front of you, off to the side of the road. Get out of the car and run for the entrance as a sniper is most likely lining up a shot on you from above.

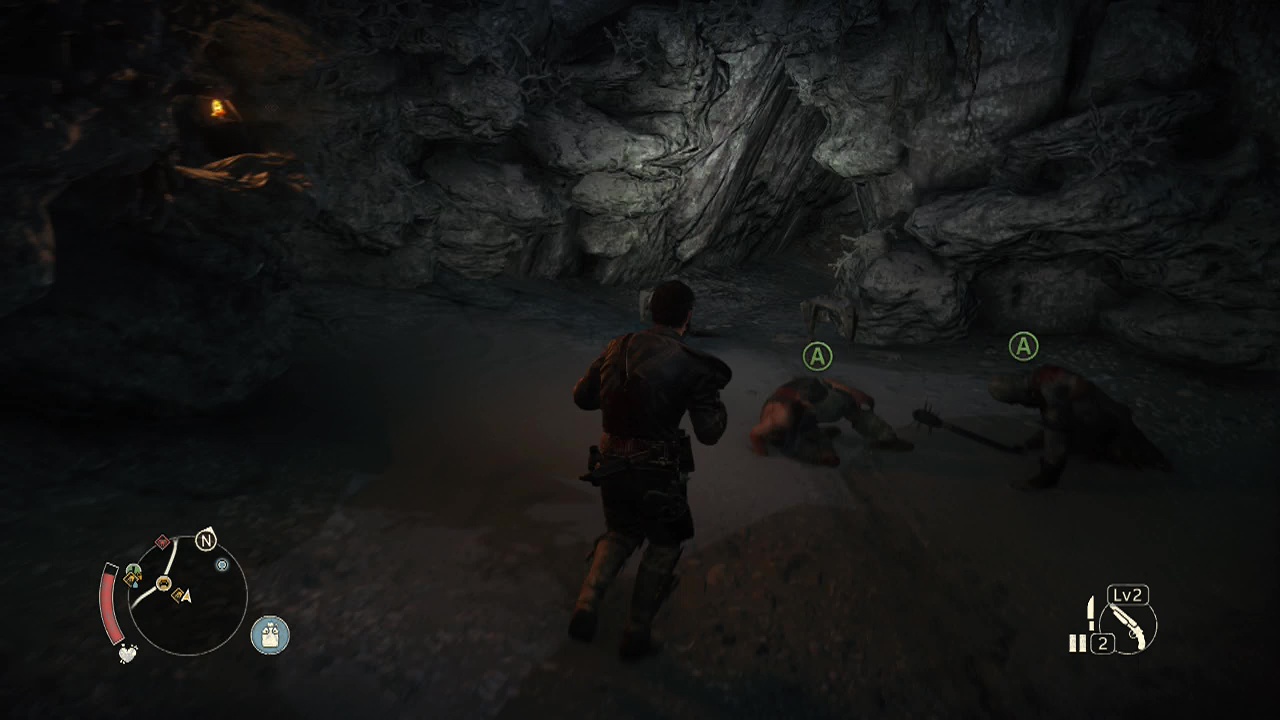
Objective: Defeat the slavers
After you slither through the gap to enter the cave proper, climb the yellow bumper bar on the ledge in front of you and follow the path as it winds around to the left for your first encounter with the slavers. If you get close quietly and press A/ X you'll perform a stealth kill, but since there are only two of them this is pretty unnecessary.
The weaponless enemy will go down quickly with a quick series of punches. The weapon holder on the other hand can dodge your basic strikes, meaning you will have to counter an attack or time one of your counters to match one of the brief prompts that appear when he dodges an attack to hit him successfully.
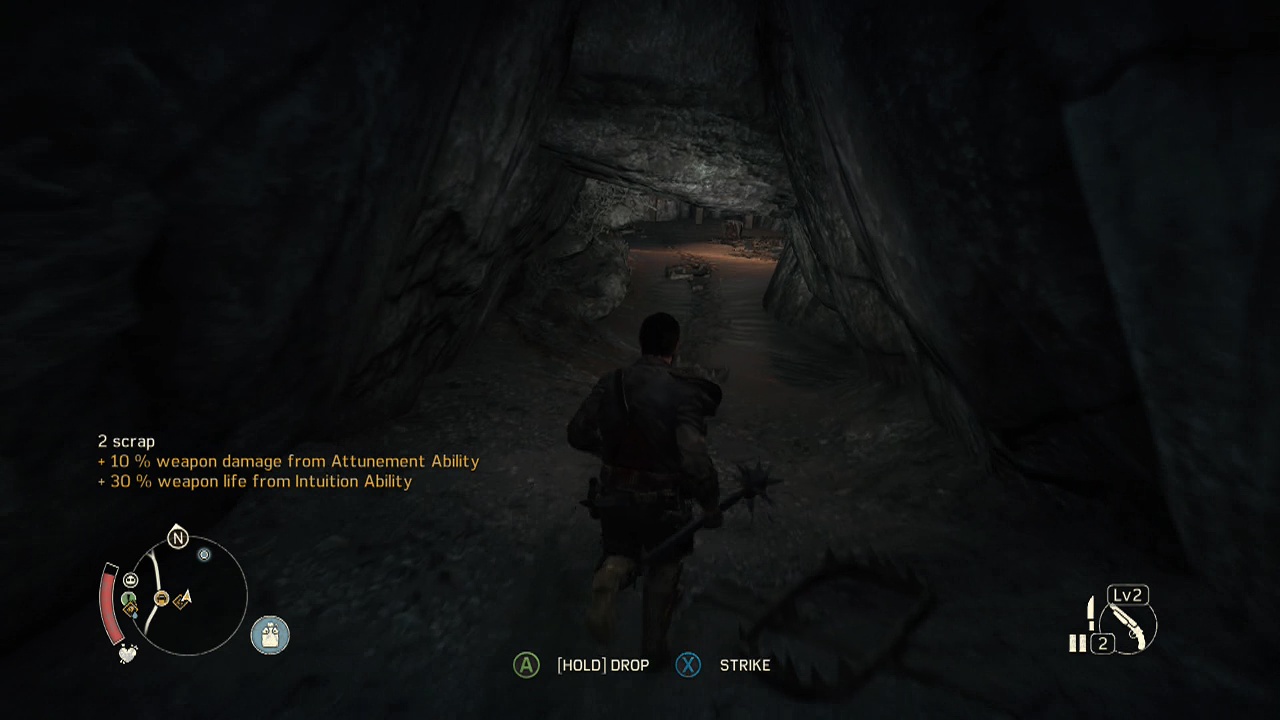
When the roadkill enemies are down, carefully examine the ground in front of where they were crouching to spot a pair of bear traps. These deal massive amounts (about a quarter of your health at maximum health) of damage, so make sure you avoid stepping on them as you progress through the cave. The path will split here as well, so make sure to pick up the dropped weapon on the ground before taking the lower path with the bear traps (we'll come back the other, easier way).
There are a LOT of traps in the next passage, so move Max through the area with extreme caution, as there is a decent sized fight at the end of this wasteland mission. This means you don't want to be too drained of health when the final fight begins. You'll drop down a pair of small ledges after the first wave of traps, with one lone trap almost hidden in the center of the path after the second ledge. Just beyond this you'll run into your next lot of roadkill enemies.
Hopefully you've still got that weapon you picked up from the first fight to greet them with. They are just three regular unarmed enemies, so they shouldn't do much beside give Max a brief workout. When the area is clear, grab the scrap from the box against the wall. Follow the trail around and climb up the ledge in front of you to travel deeper inside. A few steps further on, a regular roadkill enemy will climb up a ledge in front of you and engage you in combat.
Particularly vindictive players can quickly smack him so that he falls back down the cliff he just climbed up for a quick kill. You'll see the narrow ledge against the wall marked with yellow paint for you to balance your way across with some scrap on the far side. Follow the cave around a couple of corners and you'll spot an opening in the left wall leading to the prison area where your objective lies.
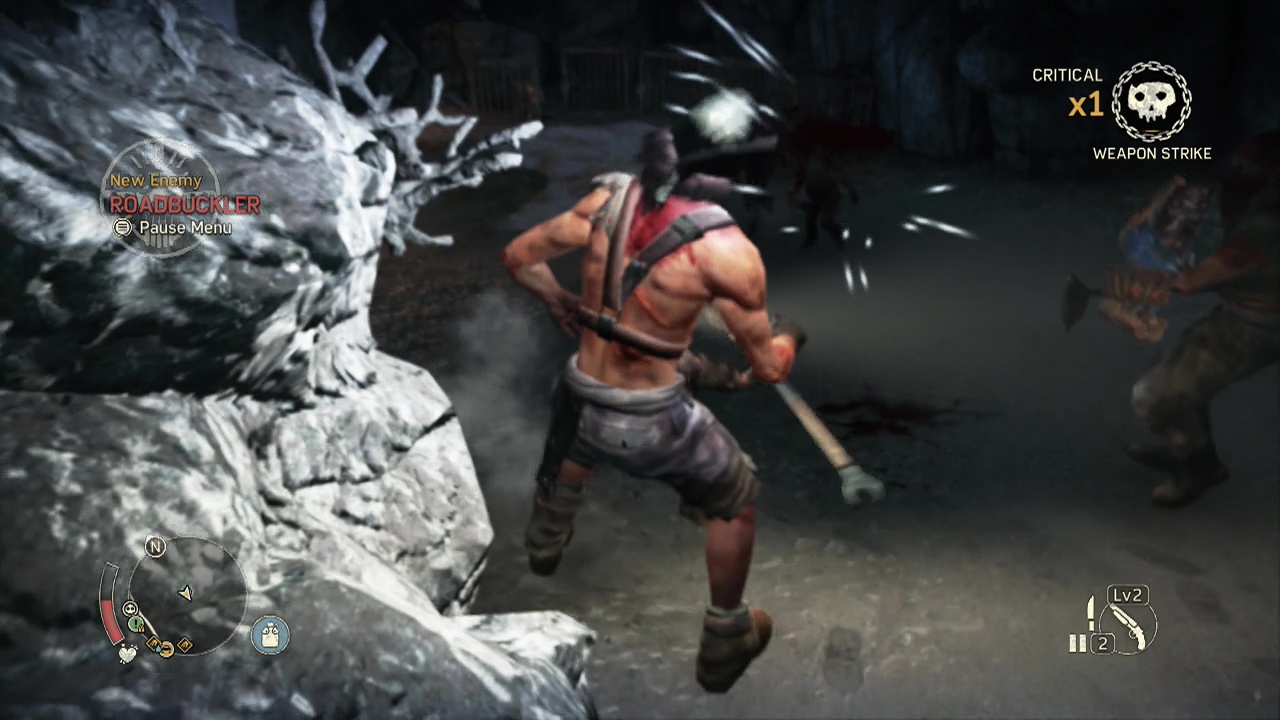
A roadbuckler (shield + weapon roadkill enemy), a weapon wielding enemy and a pair of regular roadkill enemies will welcome you in by attacking without mercy. Remember your evade button (RB) here, as the roadbuckler will continually charge you while you try and deal with the lesser enemies. Try and get rid of the enemy with a weapon first, as it will allow you to quickly polish off the two unarmed enemies and then use it to start wearing down the shield of the roadbuckler.
There are three main methods you can use on the shielded enemy, plus an additional situational method. The first one is to evade an attack and then punch the enemy in the back while they recover. The second is to shoot them in the back after evading a charge. The third is to punch and hit the enemy shield until it is destroyed.
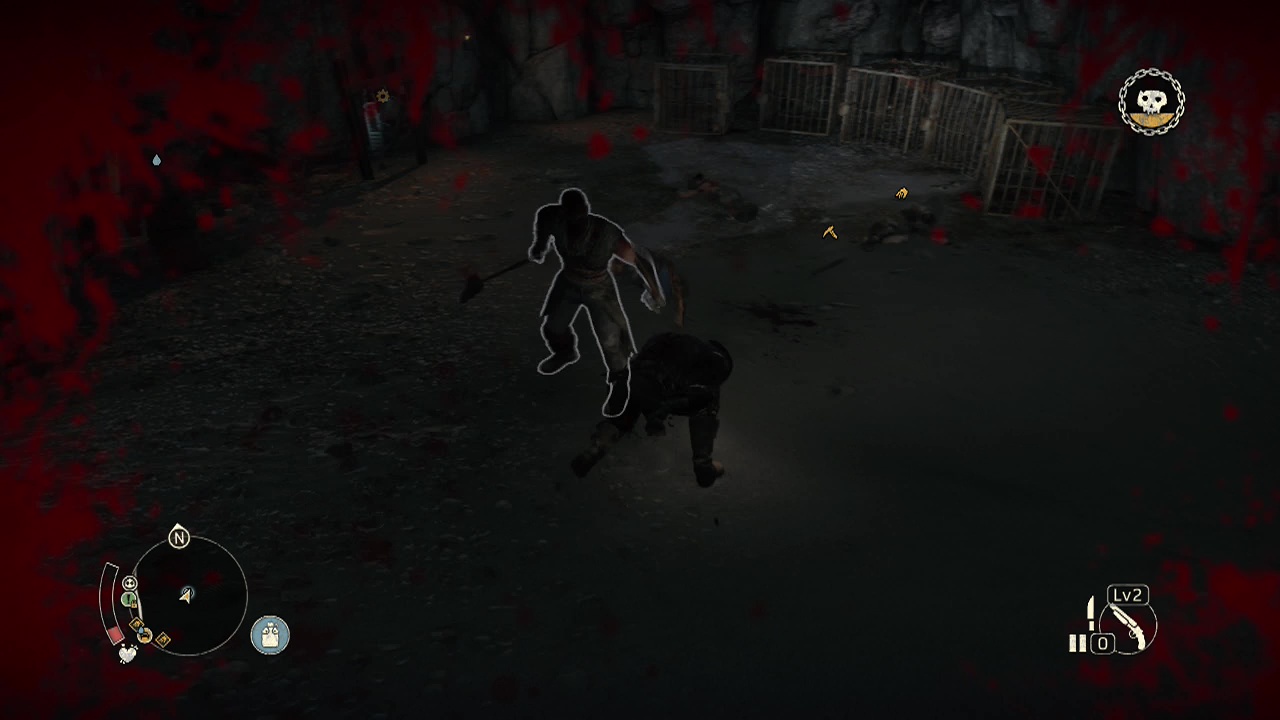
The final situational method is to use fury mode to bypass the shield (hitting the shield several times in fury mode will knock back the shielded enemy, allowing you to punch past the shield and damage them directly – strange but true). Pick whichever method suits you and polish off the final guy.
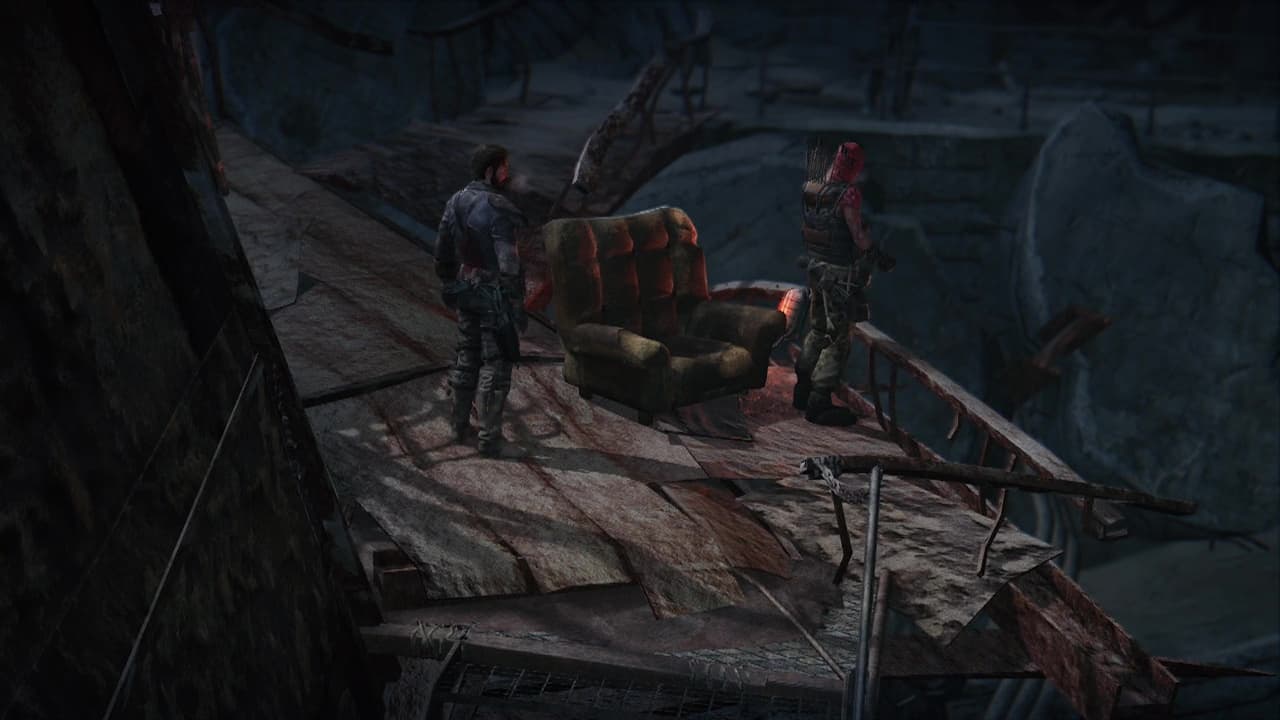
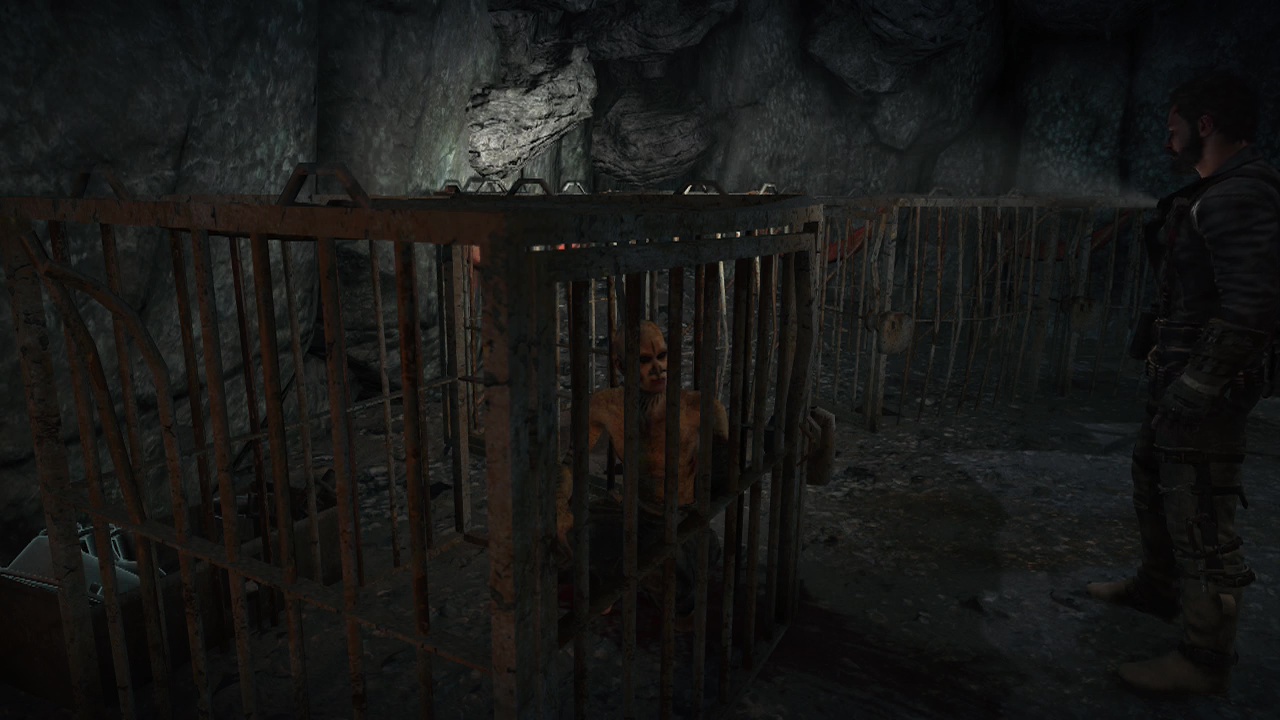
Objective: Speak with the prisoner
Before interacting with the prisoner in the cage, grab the scrap hanging against the wall and refill your health/ water at the water collection point if you need to. Behind the prisoner's cage is another bit of scrap for you to collect. You'll also spot a small gap in the wall to the left of the prisoner that you can squeeze through which leads to a tunnel with an alcove along it on the right side where you can find another piece of scrap (this path leads to a ledge overlooking the entrance). When you are ready approach the prisoner for a scene, then use your jimmy bar to break open the cage.
This will complete the mission, but there is still one more bit of scrap to collect. From the cage room, head back towards the way you first came in. You'll find a path split here with one leading down on the right, the other flat on the left. Take the left path here and climb the ledge a bit further along. Sidle through a narrow gap and climb the ledge on the other side to find a bear trap on the ground in front of you to avoid.
On the other side of this slightly open area, you'll encounter a pair of unarmed roadkill enemies. If you're quick, you can lure them into the bear traps on the ground. Killing them instantly. Finish them off with whatever method you wish and approach their sleeping area on the right wall to find some food and the final piece of scrap. You can continue to follow this path back to the entrance as well. Return to Jeet's stronghold and construct the armory project on the upper walkway to restock your ammo every time you visit (shivs, shells and thunderpoon caps).