WASTELAND MISSION 04 – In Due Time
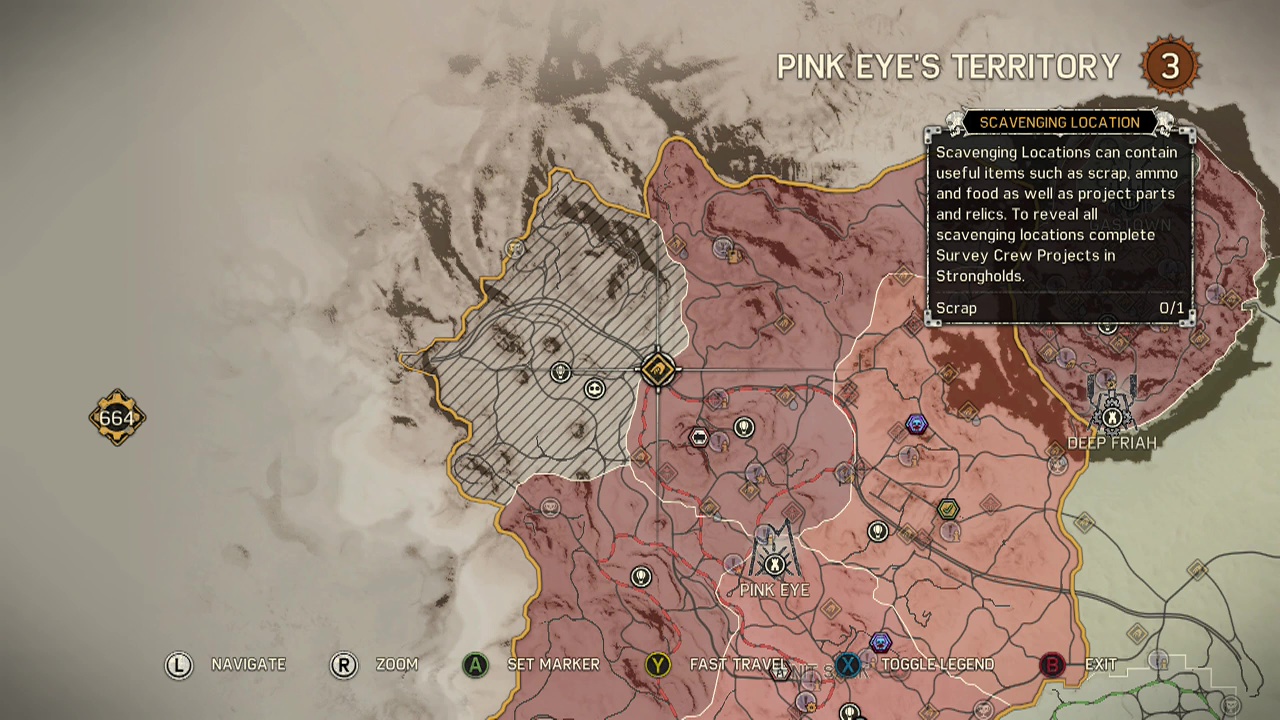
Location: Pink-Eye's stronghold – Pink-Eye
Reward: History relic – showing stash of secret tires
Objective: Drive to Tyrant's Lash camp
Welcome to the easy part of the mission, folks. I'll warn you in advance that this is a 5/5 difficulty camp and has probably one of the hardest fights in the game inside (there are one or two other similar difficulty brawls in other areas, but you will likely run into this one first).
Bear this in mind before making the attempt and ensure you are stocked to the gills with ammo and are as upgraded for melee combat as possible. Yeah, I died a lot of times attempting this camp from lack of health and damage upgrades.
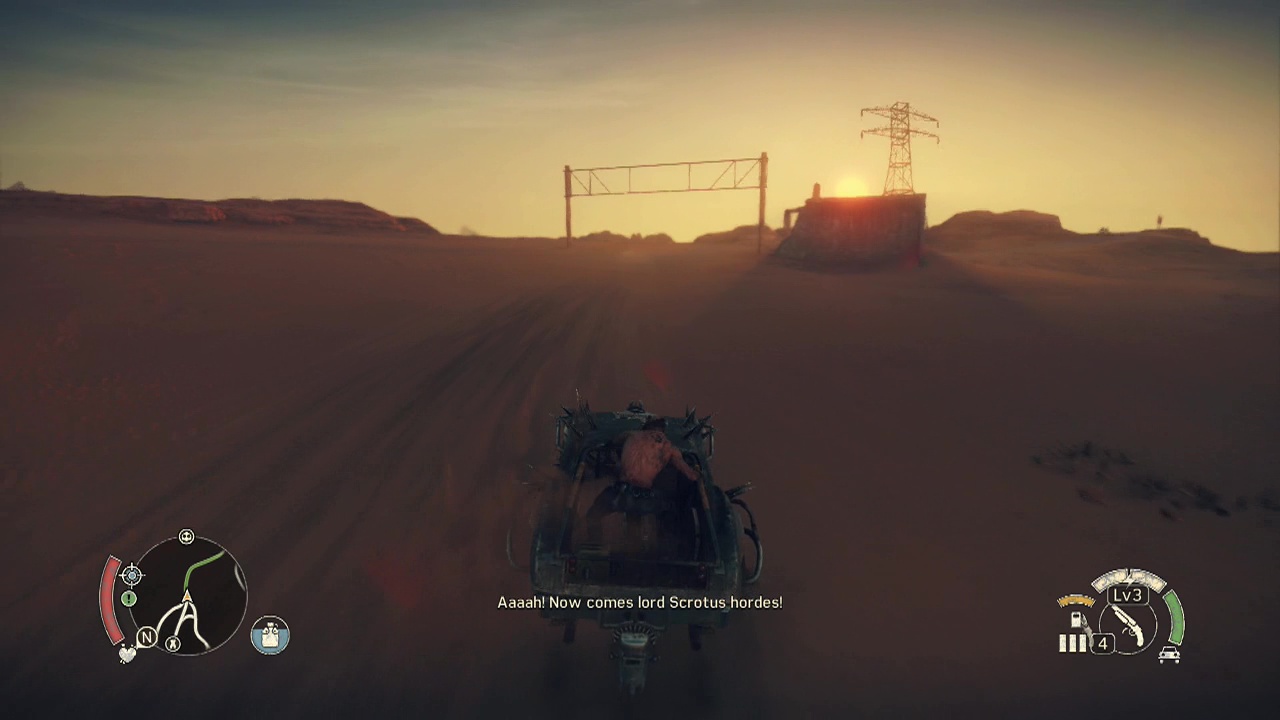
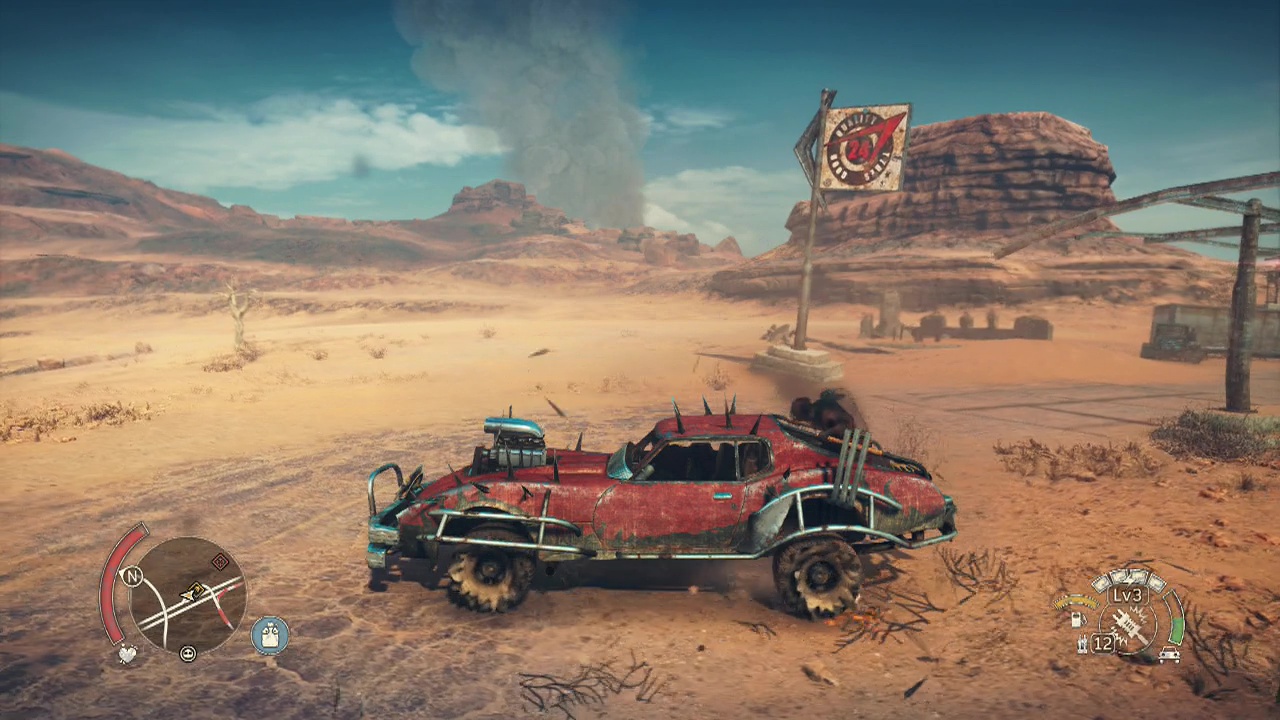
Until I said screw this and decided to use some strategy. After getting the mission from Pink-Eye, descend to ground level and leave the stronghold. The camp is located a fairly short distance to the East/ North-East of Pink-Eye's stronghold in the Rot 'N' Rusties area (lovely name). As usual, you'll have to deal with any roaming patrols along the way.
Objective: Kill the top dog
When you arrive at the outskirts of the camp, you'll immediately be confronted by a massive gate which is ramming restricted – meaning you can only damage it with explosives (car detonations, jerry cans, thunderpoon shots) or a fully maxed out harpoon which is unlocked after clearing all of Jeet's territory.
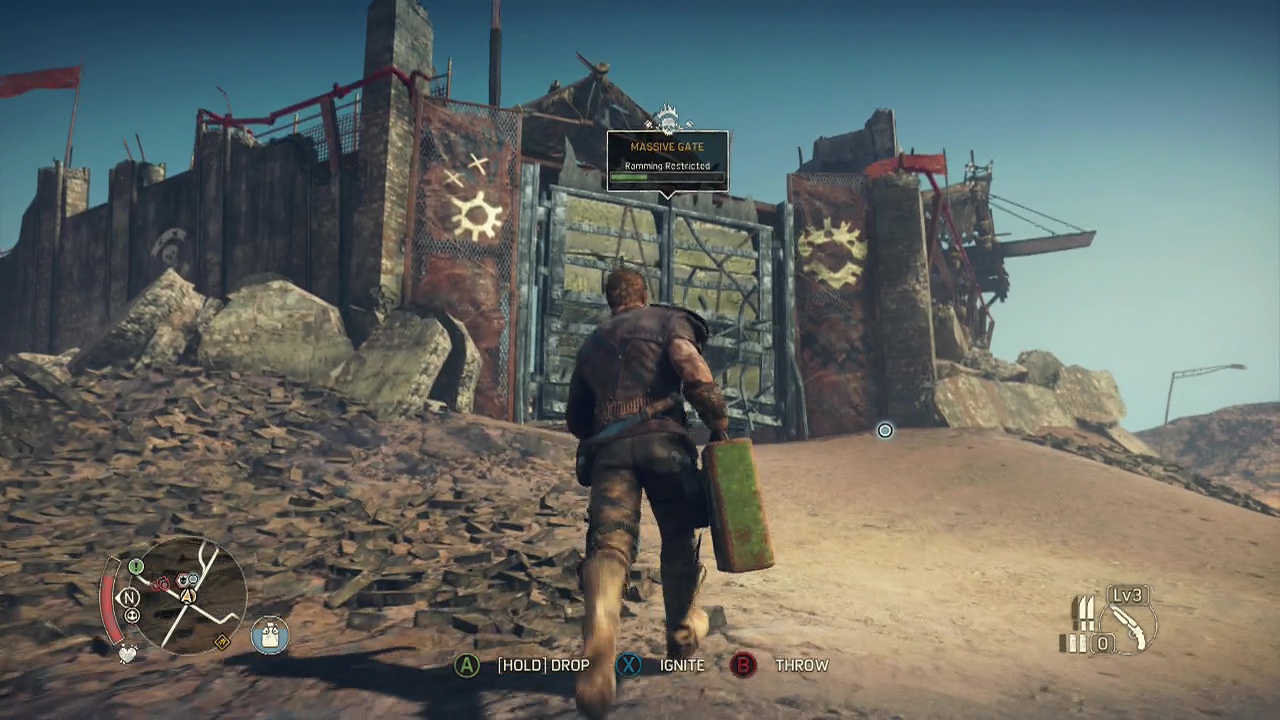
Or you could just slip through the hole in the wall to the right of the gate and use the infinitely respawning supply of jerry cans on a ledge inside. But don't let that spoil your gatecrashing fun. Choose the method that suits you and get that damn gate out of the way (I took the slow and painful route of detonating enemy vehicles and stealing their jerry cans to blow it up as I hadn't unlocked the max harpoon or thunderpoon yet – what a waste of 25 minutes).
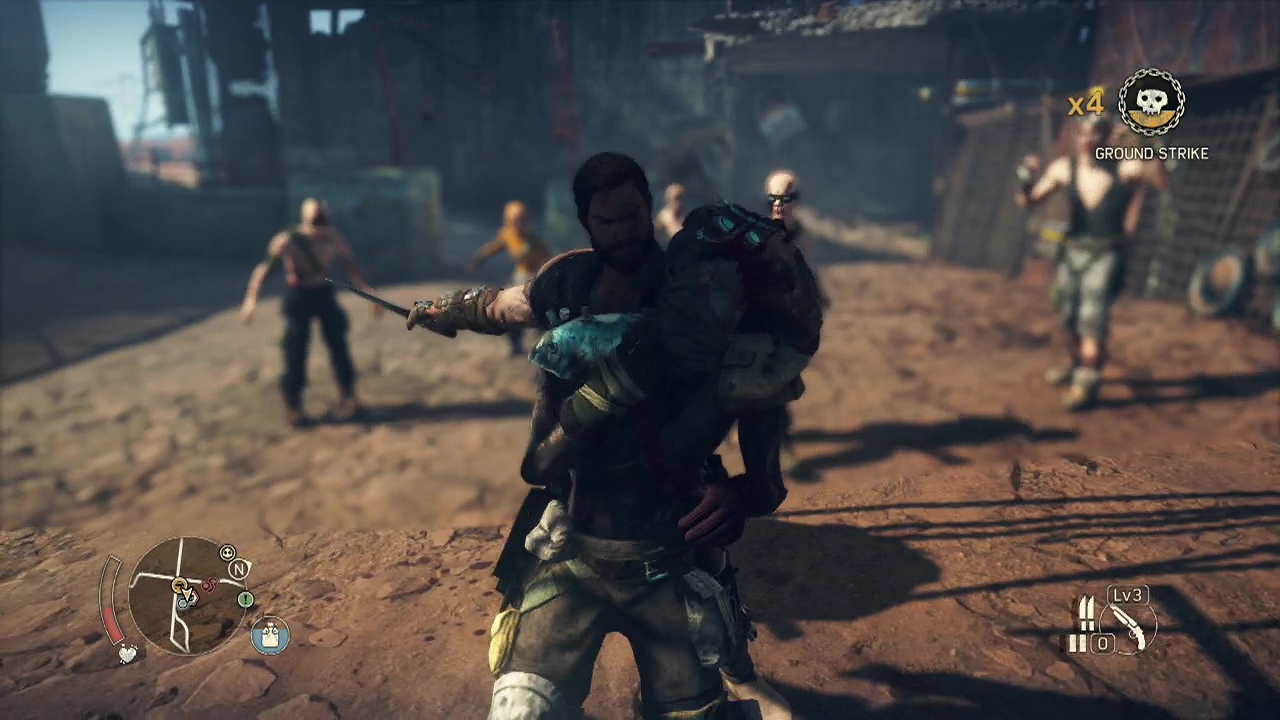
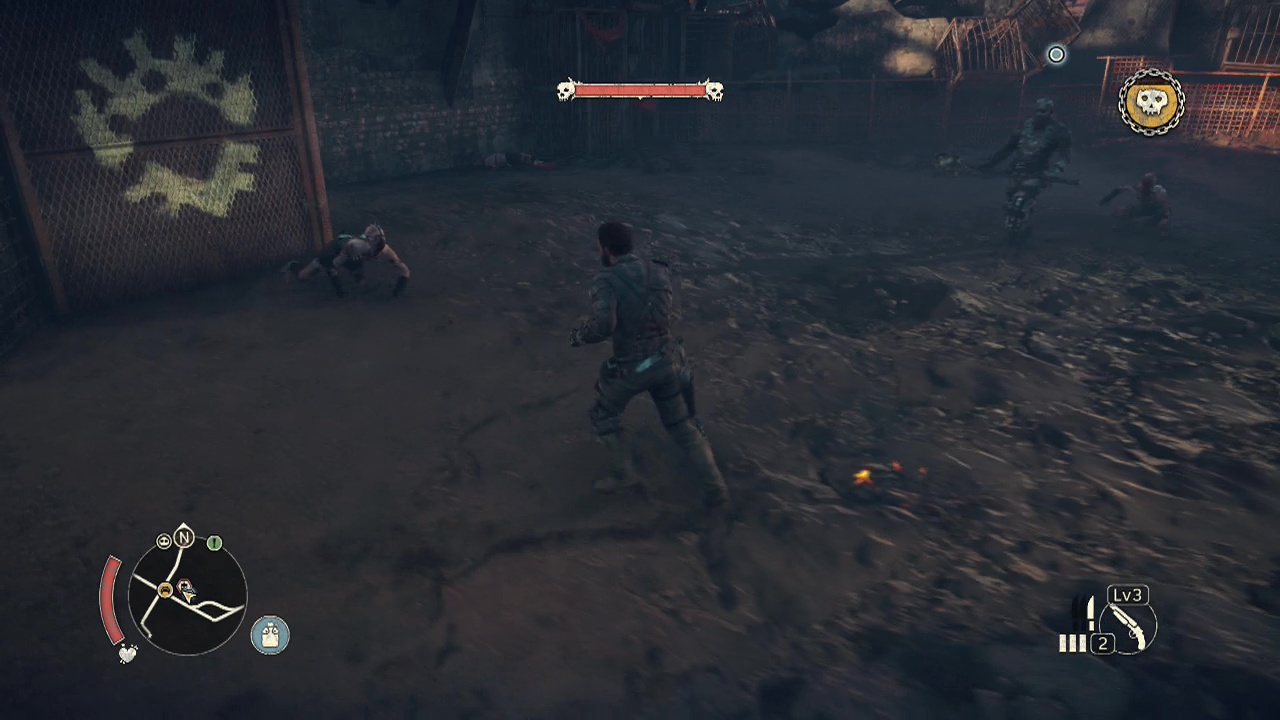
Strut in through the ruins of the gate like you own the place to be confronted with a group of six scrotus factions inside. Amongst the war pups is a war dog, with his unblockable grapple attack. There is also a war boy with them as well, making life a little more difficult. Bulldoze your way through the enemy resistance and leave them scattered across the ground. When the fight is over, look in the corner of the area under the canvas hanging to find some scrap (opposite the gap in the wall that can be used to sneak into the camp).
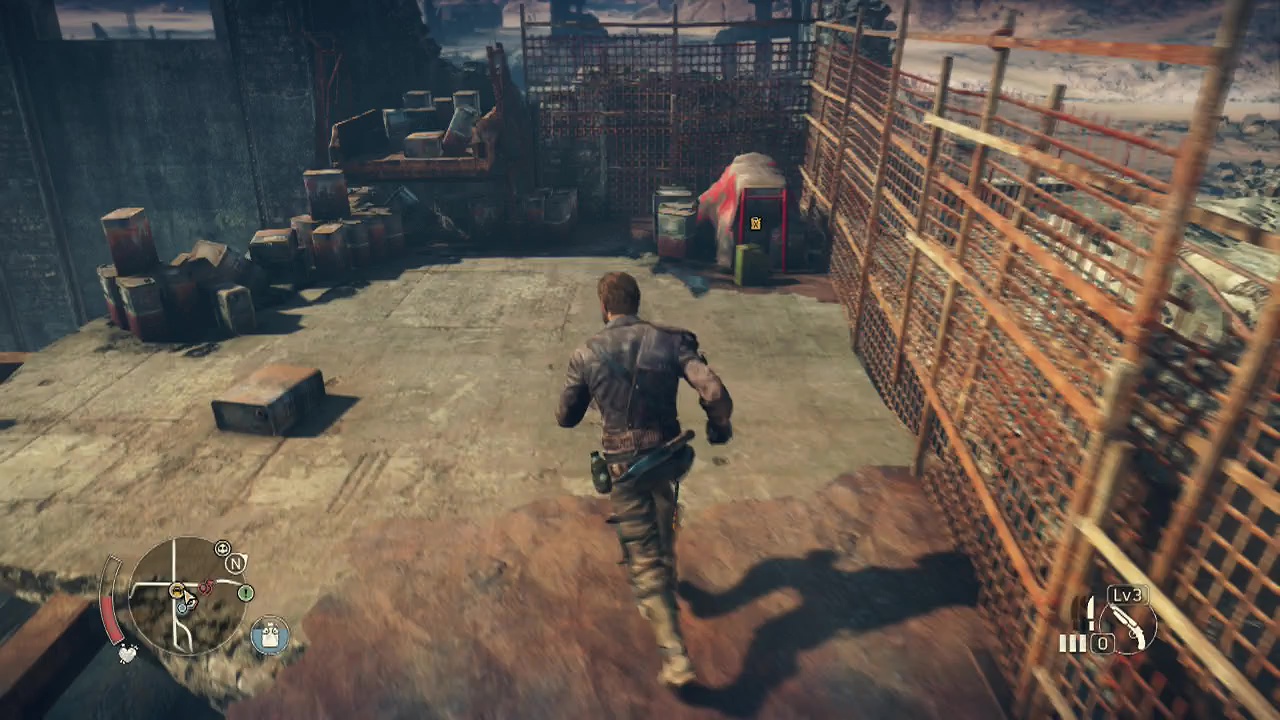
Next, climb up the ladder next to the gap and look up towards the tower to your left when you reach the top. You will see an insignia suspended on it for you to blast with your shotgun. After reloading, follow the walkway around towards the entrance to find some scrap sitting on the ground at the end. Backtrack the way you came and climb back down the ladder. On the side across from you will be a ledge with a couple of yellow painted bumpers that you can climb up, do so.
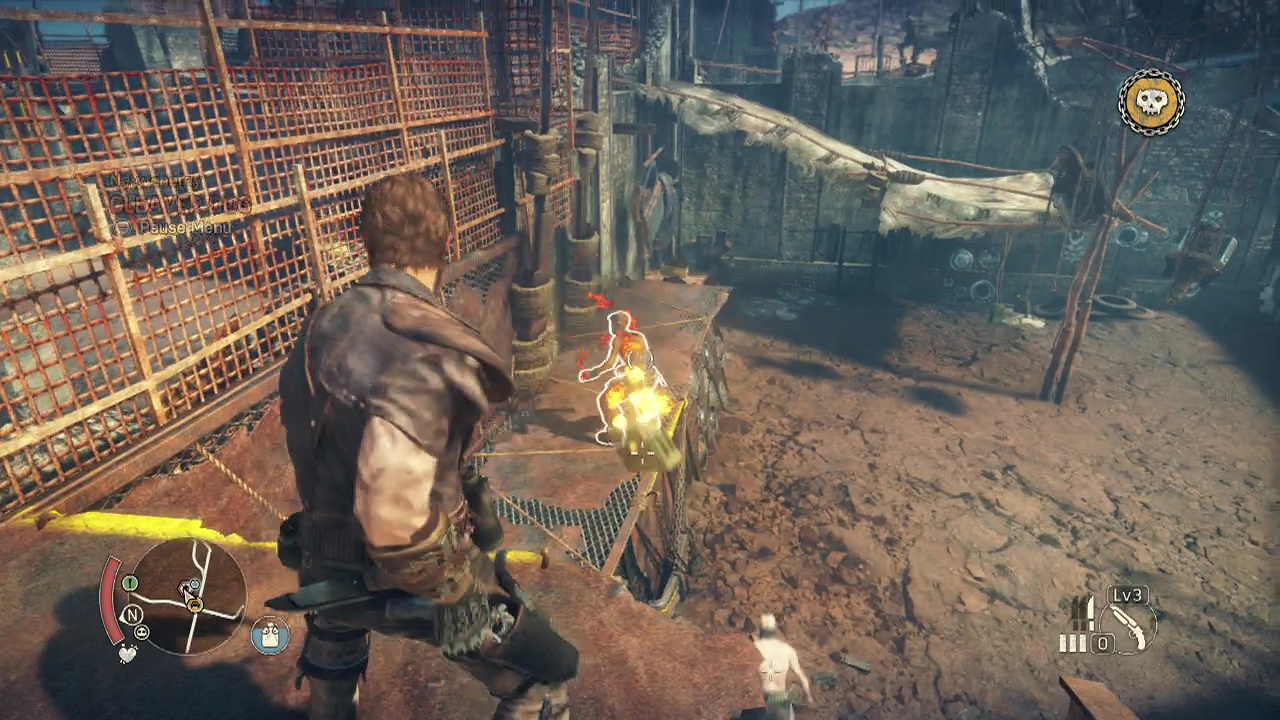
Clamber up to the next level above to find a infinite respawn jerry can (the one mentioned earlier as a way of destroying the gate), grab a can and drop back down to the lower area, looking for a yellow door you can blast away with the explosion in the area underneath where you picked up the jerry can. Well now, onto the hard stuff. As you walk through the gap where the door used to be, two war pups will emerge (one under the fence to the left, the other dropping down straight ahead) for you to terminate with extreme prejudice.
As you round the corner after the dustup, you'll run smack dab into a wall of waiting Scrotus enemies with a war crier dangling overhead. There are two strategies you can follow here, one is the one-man-against-the-world approach. This involves you immediately shooting the war crier and taking on both large enemy waves, one after another without dying. Somehow. Because you are fully upgraded or a Mad Max melee combat god.
The less insane and far more likely to succeed plan is… to be a dick. Yep, backtrack into the earlier area and abuse the hell out of that infinitely respawning jerry can we used earlier to blow up the door. This provides the added advantage of placing the enemies outside the war crier's buff range.
Race up to the upper platform and start flinging down exploding cans as soon as any enemy sticks their head out to have a look. While this isn't very heroic, it is effective. The only issue you may have is blowing yourself up with a poorly tossed projectile and taking out the two remaining shielded + armed enemies from the first wave.
When you clear the initial rush and have the two shield bearing enemies remaining, you're going to need to be very good with your jerry can aim, or take them on in melee instead on the ground floor. They have a nasty tendency to charge you one after the other, making it essential you are ready to evade at all times. Listen carefully for the clank-clank noise they make when they strike their shield before charging, it could save Max's ass.
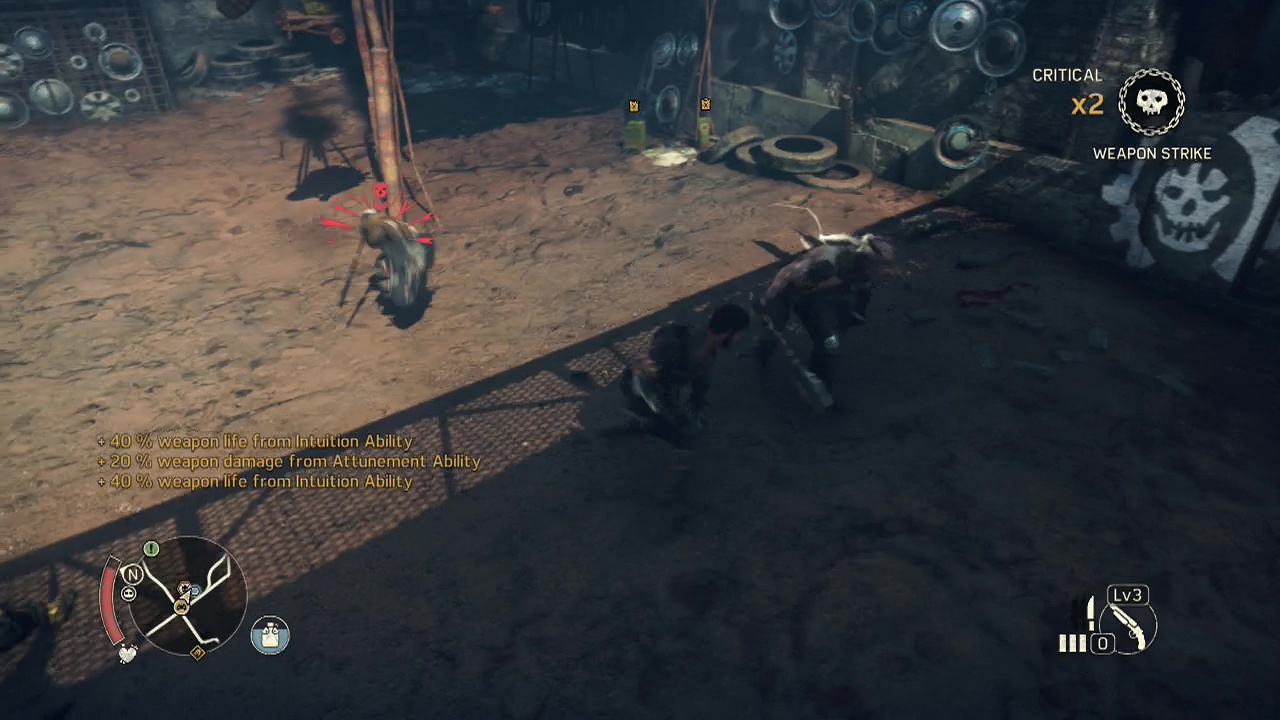
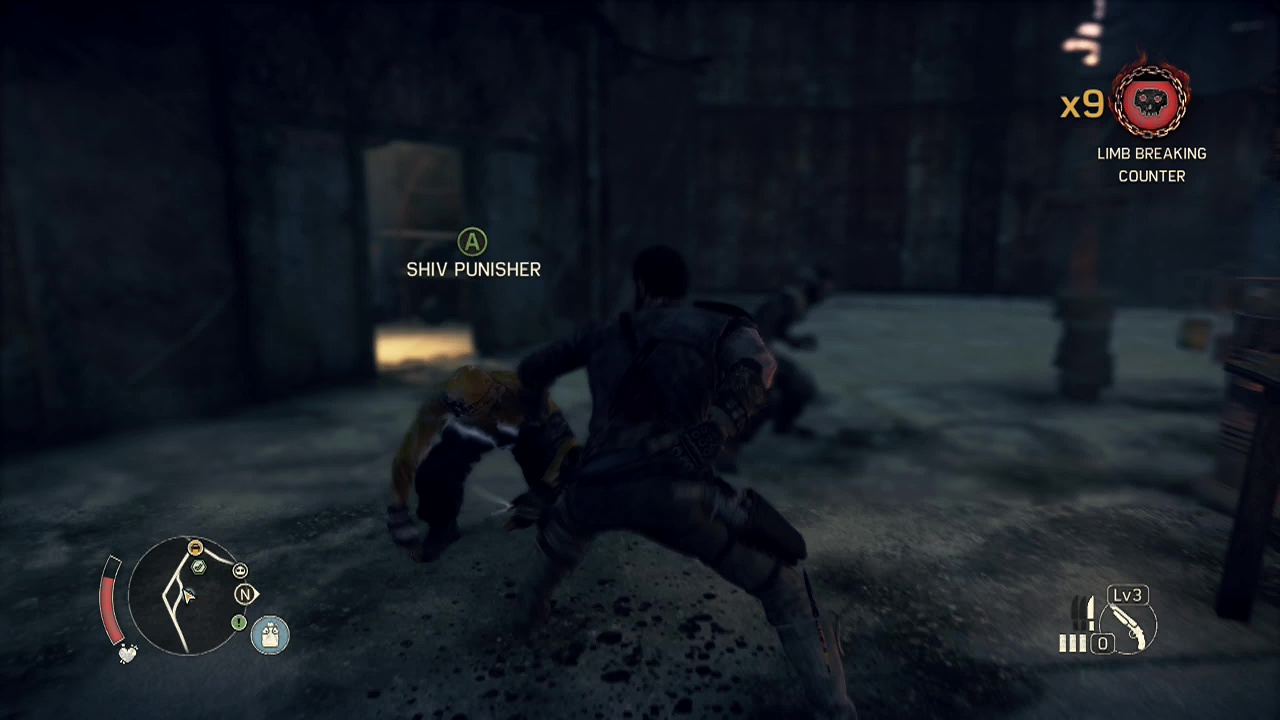
Depending on your skill and inventory, you can evade and shoot one of them in the back to simplify matters (as taking down one of them quickly makes things a LOT easier), or you can try to evade both and punch/ use a weapon on their unprotected backs while they recover. Players who trigger fury can also overwhelm a shielded enemy by unleashing a series of rapid melee strikes, bypassing their shield and killing them quickly.
That's the first wave down, onto the second. Return to the open area where the first wave spawned to trigger the second and repeat the strategy you used on the first one. The good news about the second wave is that it's pretty much just war pups and mashpups, making it easy to punch your way through if the jerry can strategy fails. The major risk is that you are likely damaged from the first wave, and dying here will return you to just before you opened the door with the explosion. Not fun.
Now that that's finally all over, return to the corridor that you accessed via the exploded door and follow it to the end around a corner (past the turn into the large open area) to find some scrap in the corner. Now you can freely enter the large open area without hordes of enemies descending on you, If you haven't already, you can take care of the war crier by turning the wheel right next to him (on ground level).
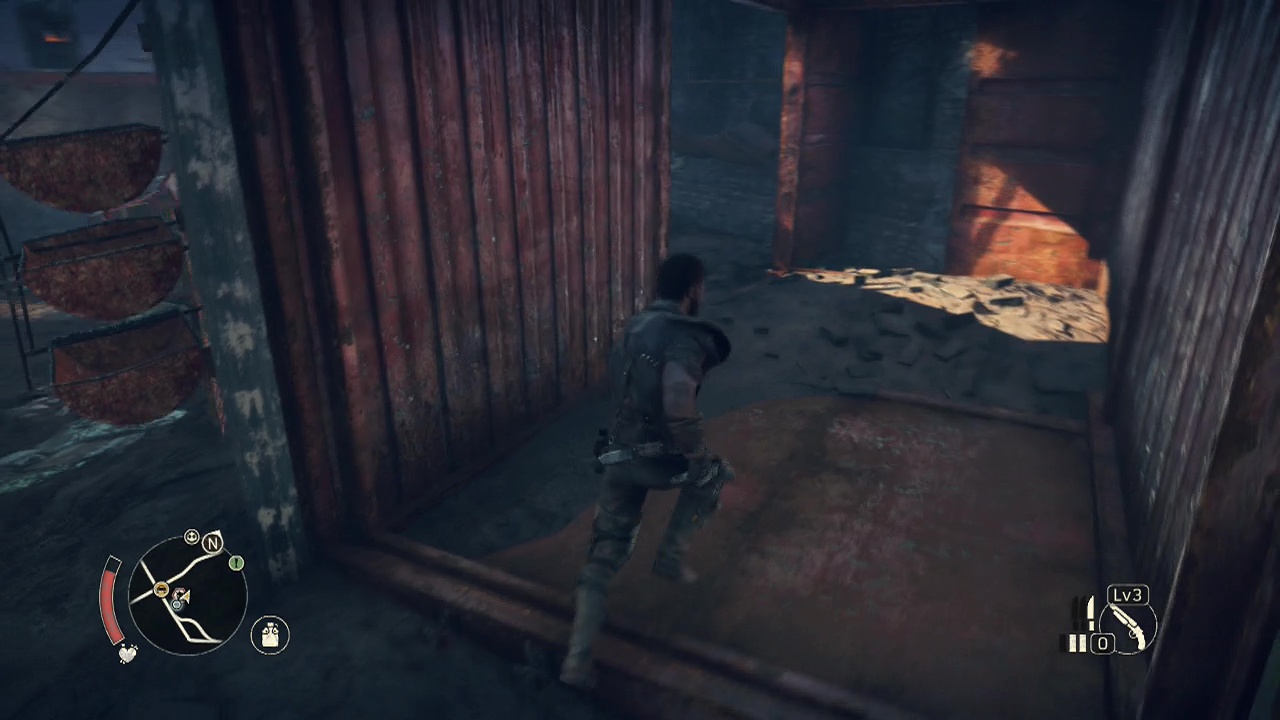
You'll see two exits in the wall on the far side, one bathed in a constant stream of flames, the other a door you can kick open. Go through the door and follow the path to stand in front of the shipping container. Next to it will be a shipping container door you can use the jimmy bar on to get at the delicious scrap inside. On the other side when you go inside the other container, you'll be faced with a path split, to climb the bumpers or the ladder. The bumpers simply lead you back to the open area, so ignore them and take the ladder instead. Look at the mesh fence on the left when you get to the top of the ladder to see an insignia hanging there for you to destroy.
There is also a water collection point right next to this for you to use after that draining fight. Past the water collection point, you'll spot a red pipe snaking to a wheel you can turn to deactivate the flame barrier below. Kick down the ladder next to it when you are done and slide down it to the open area once more. Now you can pass through the open hole in the wall. As you enter, you'll see a set of metal stairs leading upwards to your left that you can climb,
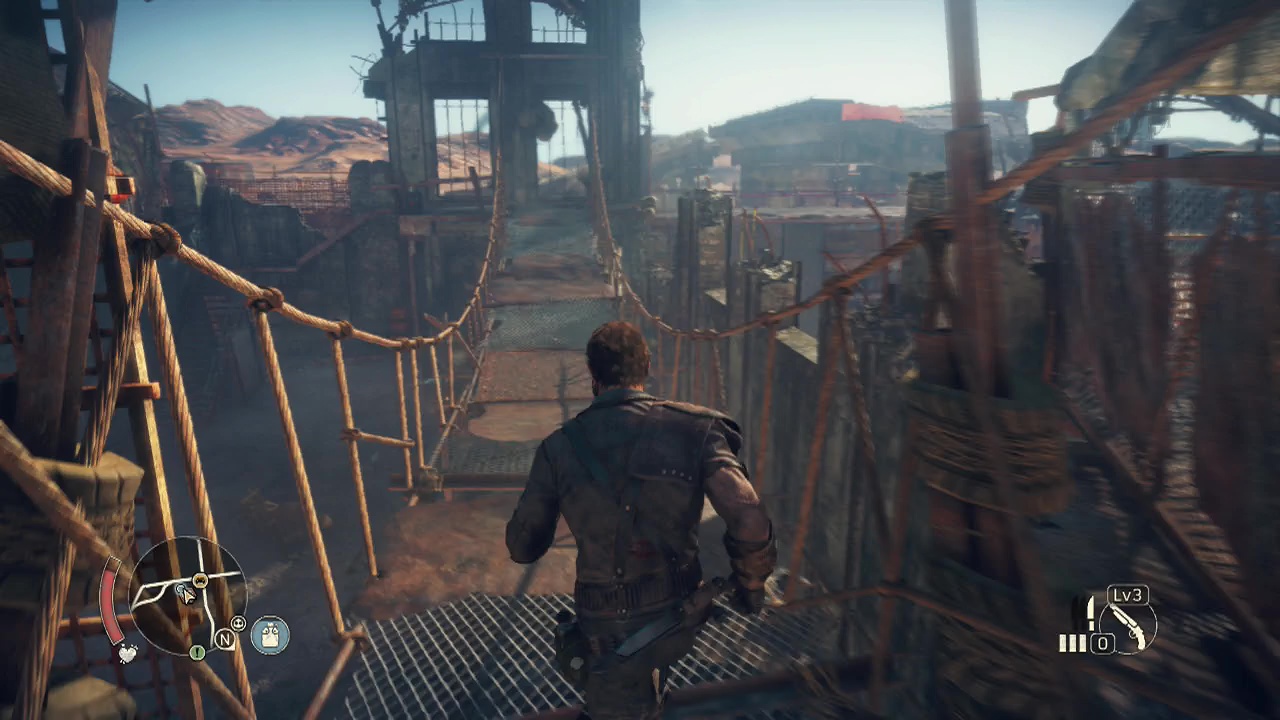
At the top you'll see a relic on the ground next to a table and chair in front of you. Look to the right from the relic location to see an ammo stash nearby for your restocking pleasure. Before crossing the bridge, follow the metal walkway to find some scrap hanging from a couple of posts. Once you've got it, return to the bridge and make your way across. Clatter down the steps on the far side of the bridge to the lower area.
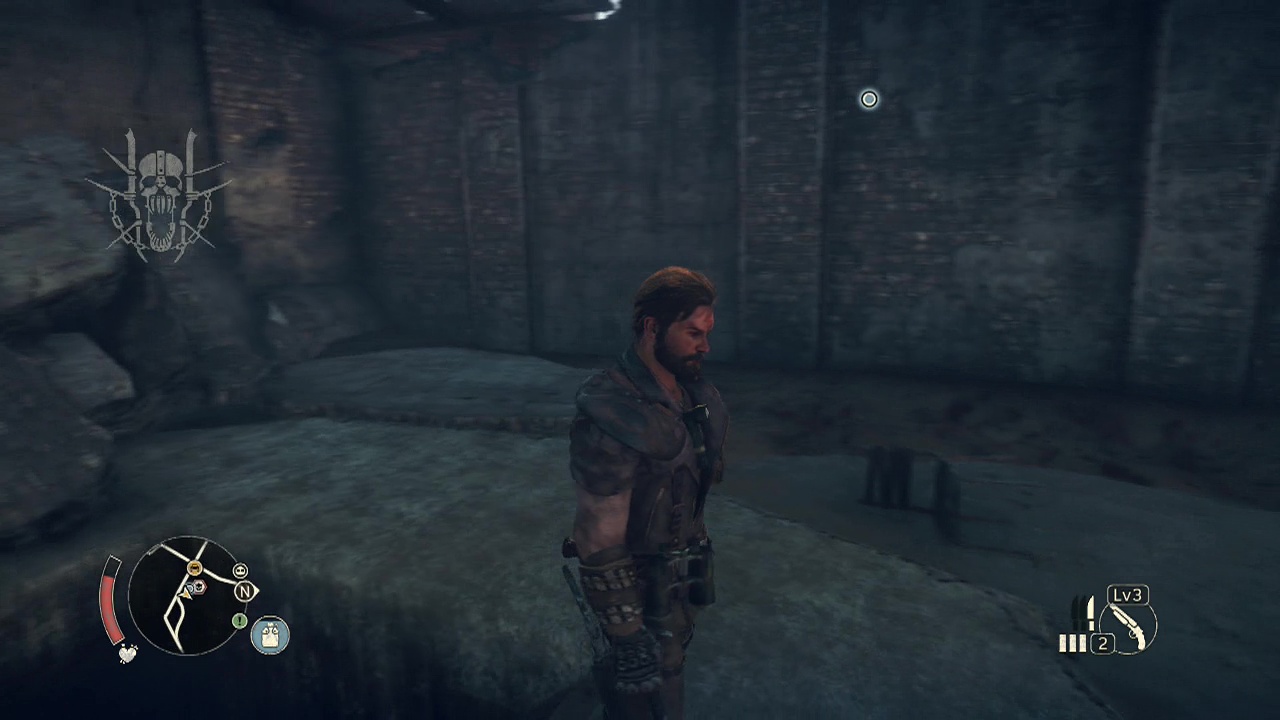
Here you'll spot some scrap in the corner next to the bottom of the stairs, and then some more scrap in a box if you follow the wall along. When you have everything, approach the hole in the ground ahead and walk down the stairs into the gloomy darkness (flashlights on people). Take the only doorway out of this small room at the bottom of the stairs, and you'll enter a hallway with two doors you can go through. Take the door on the right, as opposed to the one at the end of the hall first to enter a small room full of cages.
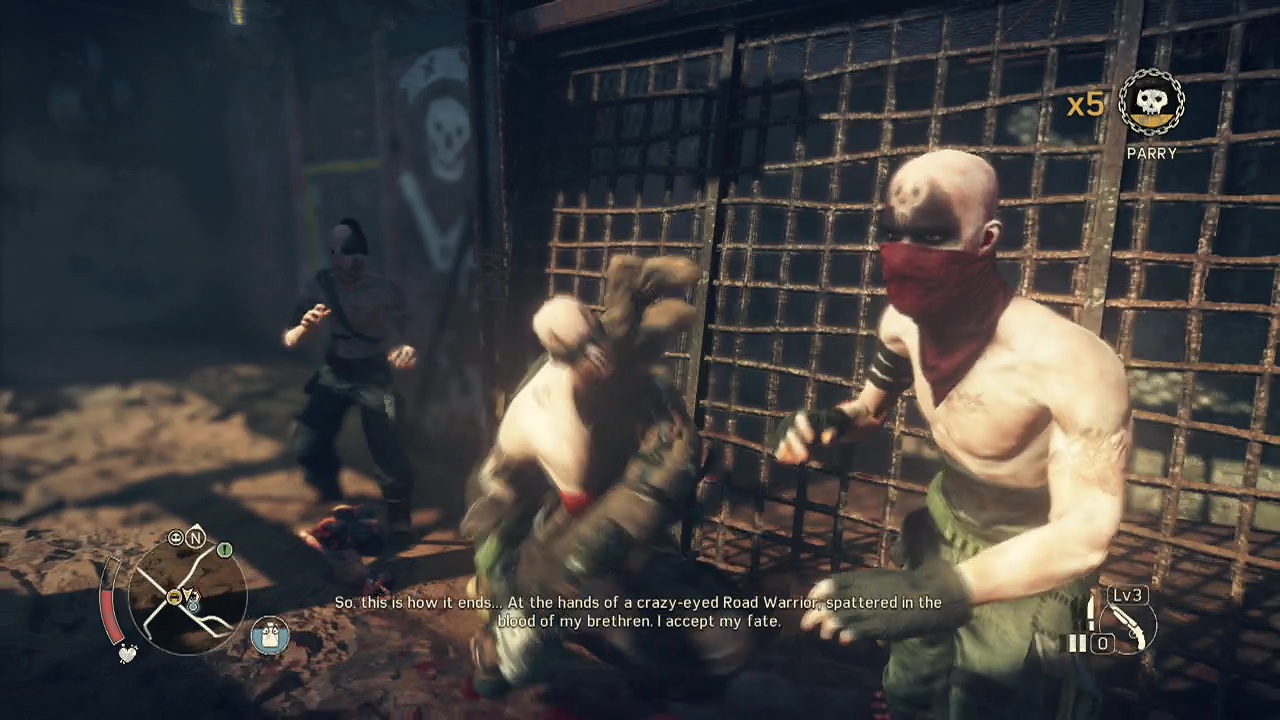
Alongside the cages are two stashes of ammo and an insignia in a cage in the corner for you to jimmy bar the door open to destroy. Leave the cage room via it's other door and follow the linear path until you arrive at a door you can kick down. Stepping into the light in the room ahead will trigger a decent sized fight. Four ferals will emerge from the darkness and begin attacking you. Be very wary of their unblockable attacks, either attacking them swiftly to interrupt or rolling away to evade them.

When they perform their leap attacks towards you, counter them in midair and proceed to teach them the error of their aerial ways. More ferals will reinforce the fallen as the battle goes on. Your most dangerous opponent here is the camera, as it gets too zoomed in if you get close to a wall or corner. Keep the camera moving when possible to spot incoming leap attacks that would otherwise blindside you.
After about six or seven ferals have bitten the dust, the fight will come to an end. Take the leftmost of the two doors leading out of the room first and turn left at the intersection to enter a small room with a jerry can for you to pick up inside. Lug it back down the hallway behind you and detonate it in front of the door blocking your path. In the room on the other side of the door you just exploded is some scrap hanging from the wall, and a set of stairs leading upwards for you to take.
When you emerge out of the underground area, you'll run into a water collection point straight ahead to refill at. Make sure you are fully healed and good to go as you are about to face the top dog for this camp. Kick down the door beyond and walk into his parlour. This is one of the harder top dog fights, due to his supply of ferals joining the fight. You will need to be in top form with those counters and evades to avoid taking cheap blindside damage.
Keep in mind you will not always be able to capitalize on your counters, instead interrupting them with a dodge roll to avoid the incoming strike of the top dog. Concentrate on clearing out the ferals first, as them make direct assaults on the top dog practically impossible. They also (unlike most boss fights) do not continually arrive in waves as the boss drops in health.
When the first wave is clear, start laying into the top dog's back (after he misses an attack) with shotgun shells or your fists to start draining his health. Don't forget your shivs if you see a prompt to speed things along. Keep wearing the boss down and avoiding his strikes until you can trigger the quick-time event and finish him off. The camp will now be under your control, but where is that bloody sail Pink-Eye was talking about?
Objective: Reach the silo
After the boss fight, turn off the valve next to the mesh platform to open the path ahead. Climb the ladder leading up out of the boss area to reach a walkway above. Follow it all the way around the outer perimeter of the camp, kicking down a ladder on the outer edge. On the opposite side to the ladder is a ramp leading down into a an area strewn with rubble and slabs. Descend the ramp and check the far right corner of the area for scrap on the ground with more scrap laying nearby, and another bit of scrap hanging from the wall. Bonanza.

When you are done looting the scrap, turn around to see a ladder leading upwards behind you. Climb up to the level above and pick up the scrap in a box against the wall to your right. Look carefully here to see a gap in the wall leading out onto a narrow walkway leading upwards to a ladder. At the top of the ladder you'll see the last insignia directly in front of you on some mesh. Break it's spirit and it's form before using the zip-line to the left to zoom across to the silo outside the camp.
Objective: Secure the silo
Note: Scrap from the silo is not counted towards scrap from the camp
When you land, you'll see a scrap crate on the far wall and some more scrap lying loose in the middle of the room, with another bit of scrap next to it. There is also some more scrap hanging from the wall next to the stairs leading upwards. But before you can start looting, you'll be rudely interrupted by a pair of war boys and a war dog. As usual, look out for the war dog's unblockable grapple attack. Considering what you've already been through to get here however, these guys should barely make you break a sweat.
Objective: Get to the roof and call for Pink-Eye
After the silo is secured, you can refill your canteen at the water collection point before climbing up the ladder leading up to the hole in the silo wall (yes, the one the zip-line passed through before you dropped off it). At the top of the ladder, turn right and follow the rusty staircase up and around until you reach the roof of the silo. Walk to the middle of the silo roof to pop a flare for Pink-Eye.
Objective: Return to Pink-Eye
Fast-travel back to Pink-Eye's stronghold to collect your reward from her. A photo. A photo leading to tires. For those that want to pick up their phat loot, It lies right on the border of Grandrise and The Heights (Pink-Eye's North-Western areas). It's right on the North-West corner of the convoy route circling around the lower half of The Heights.
Max will comment upon getting close to the broken down gas station as well. When you arrive, look for a set of stairs leading underground in the gas station ruins to find the tires in a corner below. If you are still having trouble, use the screenshots below to make things easy.