
Enemy Guide to the Remnant
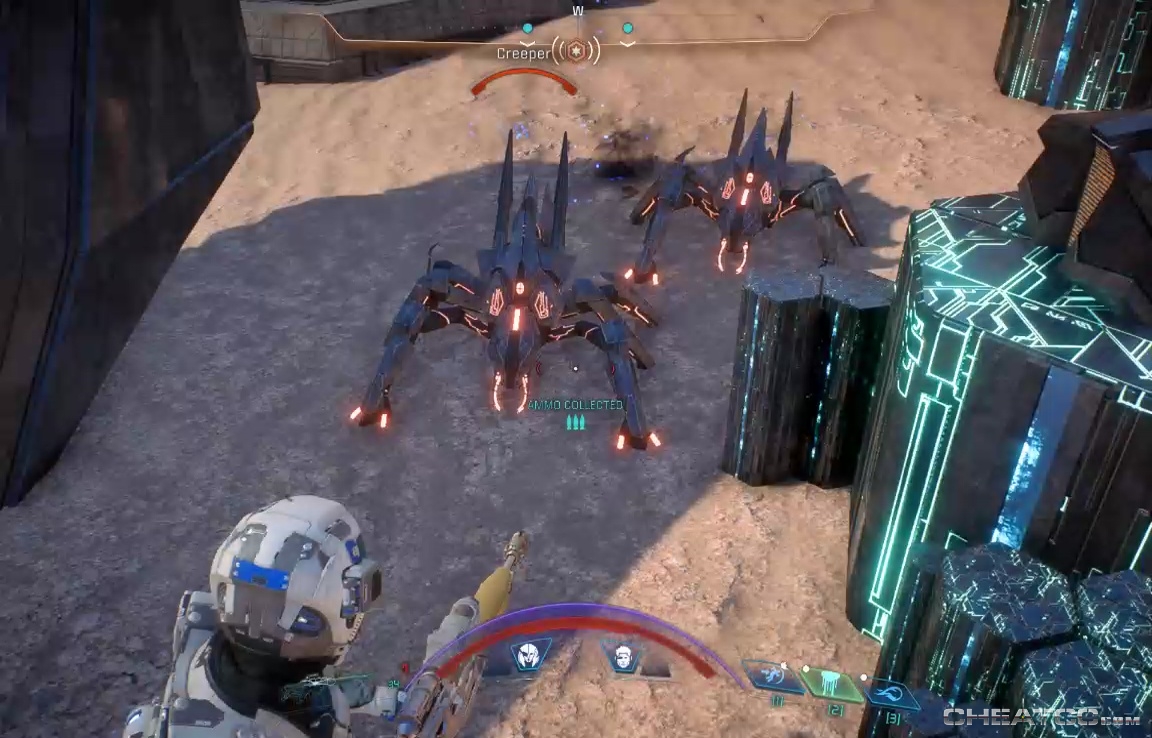
Creepers: These are more for ambiance than to provide an actual threat. While they can technically deal damage, it's very slight, and they're easily dispatched. Creepers are never part of any protection or attack force, but do provide a useful indicator of nearby Remnant ruins.

Observers: One of the deadlier enemies in the early-to-mid game, the Observer's powerful laser and ability to shoot over low cover can ruin your whole day, particularly if more than one has you targeted. Their shields and aerial positioning make it tough to take them down with a single attack, but focused pistol or rifle fire on their vulnerable central eye is a quick way to get them out of your face. Observers should be the priority target in almost any Remnant encounter- getting them off the board early is worth dealing with a few extra Breachers at the end.
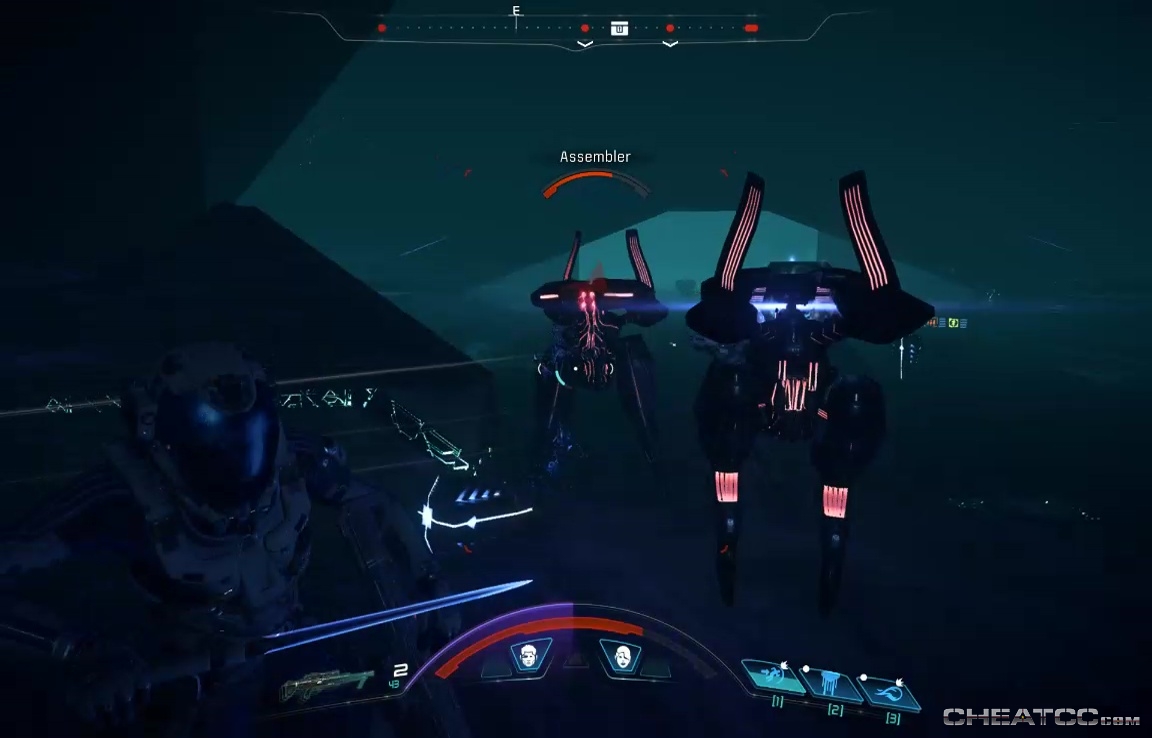
Assemblers: These bipedal constructs can do moderate damage with their rapid fire guns, but their signature ability is the spontaneous creation of Breachers. Like most Remnant, shots aimed at their central eyes are the quickest way to take them down, though chained electric abilities can be good for taking out flocks of them (and you seldom see a single Assembler)
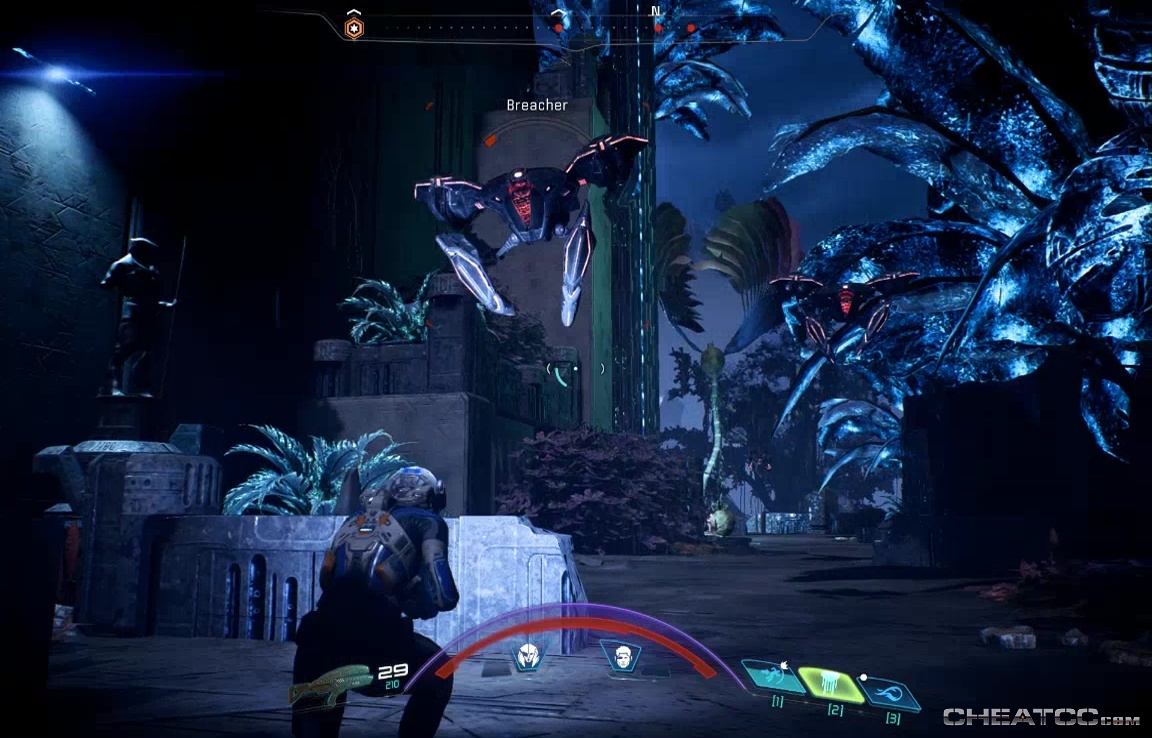
Breachers: Like adhi or wraiths, these units are made to get in close and flush you out of cover. It's also the only Remant that can grapple with you, leaving you exposed and briefly helpless. Luckily they're easy kills- the giant red port in their front is easy to hit and they can't suffer much damage before exploding.
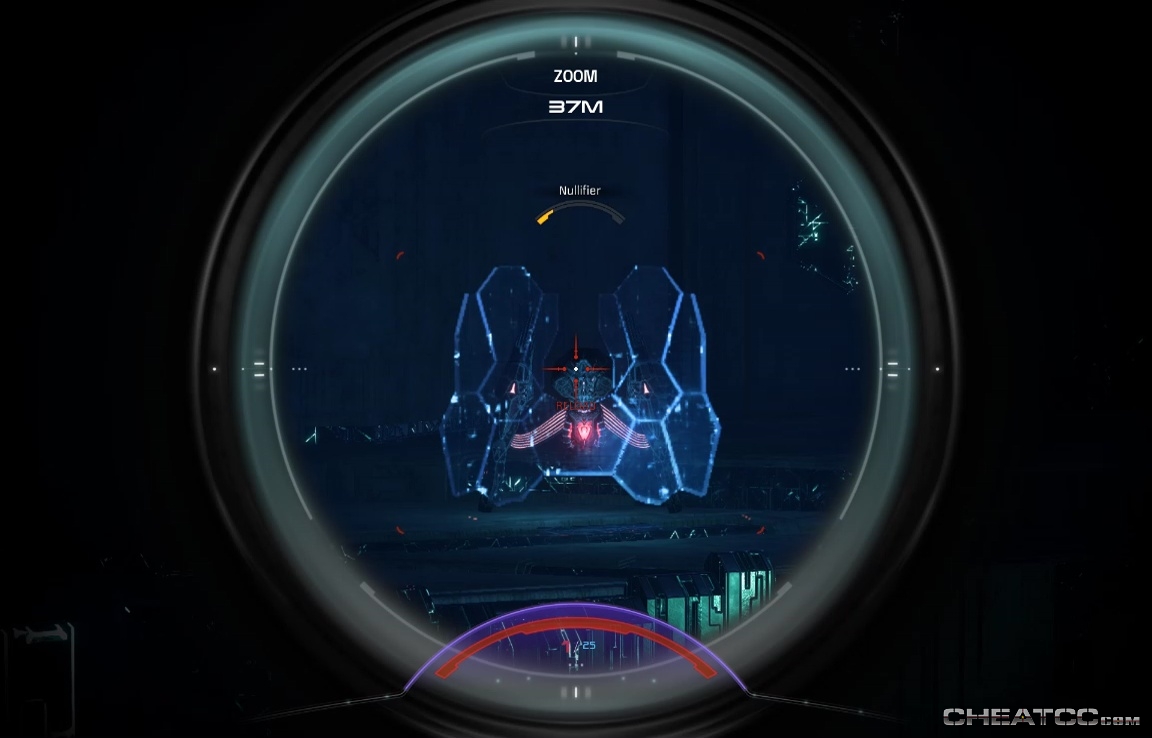
Nullifiers: Vaguely crustacean menaces, they stand out with their ability to generate temporary shield walls, which deflect weapons fire, powers, and even biotic charges. These shields can be taken down with sufficient damage, but they can also be manuevered around, or decent damage applied to the Nullifer's head, which is left unshielded. Their real danger is their cover-penetrating shots, which do subtantial damage. A visible tracking beam lets you know when they're about to fire, but against a pack of Nullifers, it's best to just keep moving.

Destroyers: One of the toughest enemies in the game, the Destroyers are heavily shielded, heavily armored, and deal enormous amounts of damage. You never encounter more than one at the same time, but one is usually more than enough. It's always best practice, even at higher levels, to target and destroy its shoulder cannons first. Not only are these cannons extremely damaging, but taking them out forces the behemoth to rely on a special attack. Charging this attack reveals its vulnerable red core, and being able to fire on this greatly reduces the fight time. Do remember to evade the actual special attack, however, and don't get too close- the Destroyers have an anti-melee field that causes significant damage to anyone inside their personal space.
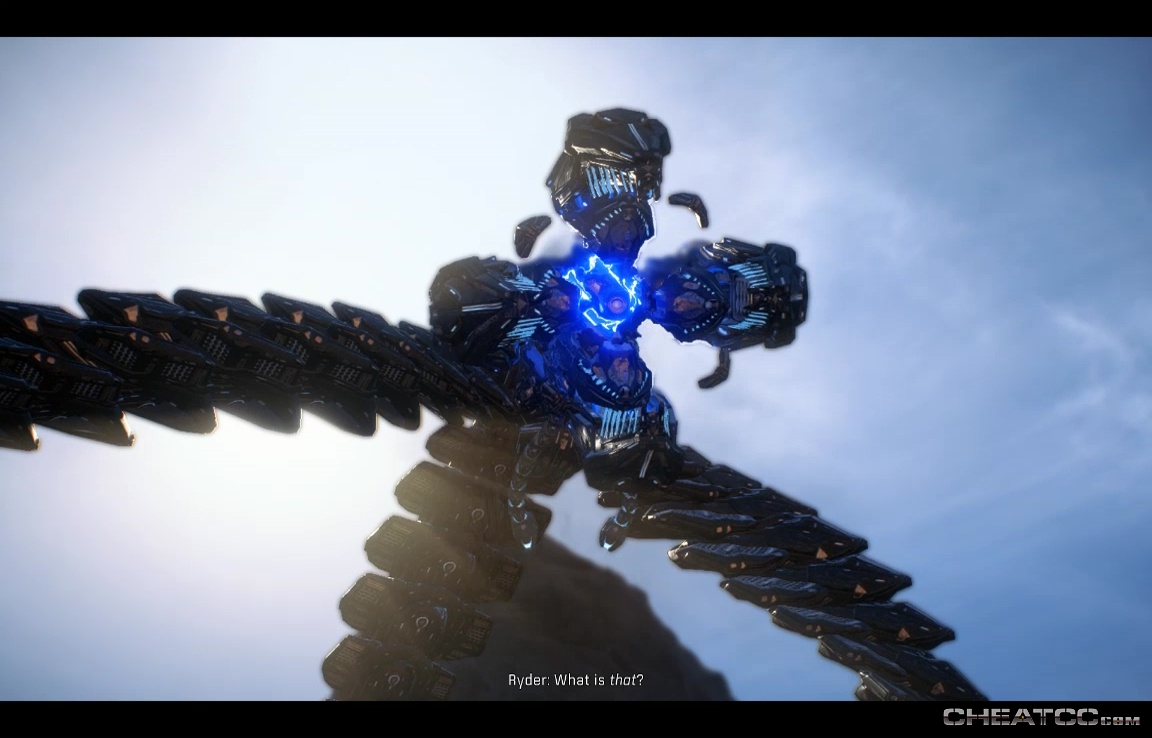
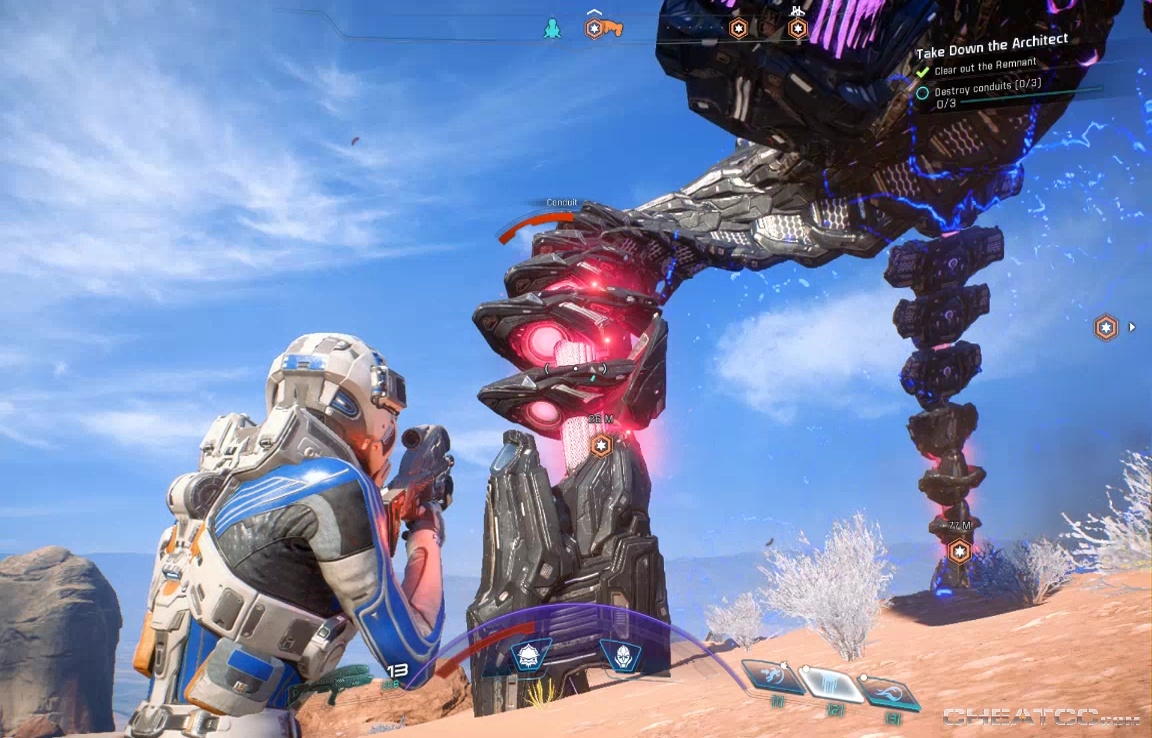
Architects: Architect fight are pretty much the biggest, bossiest battles in Andromeda, so strap yourself in. The Architect itself has three main attacks. The first is a rapid fire blaster that chews through shields almost instantaneously. You can outrun it for about half a second- use that time to reach cover.
The second is a massively powerful area attack. It takes time to charge, so if the air around you is suddenly glowing red while black flecks circle and lightning crackles, get the hell out of that area. Even a single hit of that is enough to flash your shields and probably take a good bite out of your health.
The last attack is almost quaint by comparison, a volley of glowing pink sticky grenades. Easy to spot and easy to evade.
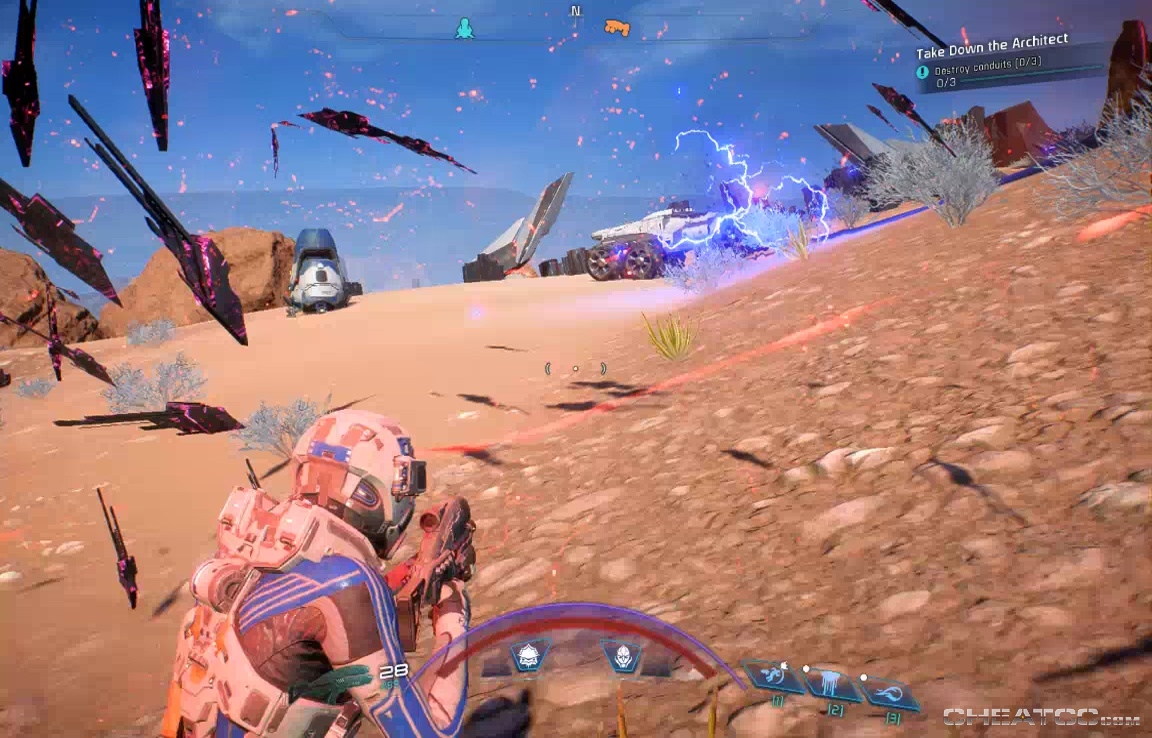
Combat itself proceeds in predictable phases. In the first, the Architect summons lesser Remnant to help it. Each Architect has a different set of Remnant it calls, but it's best to dispose of these as quickly as possible.

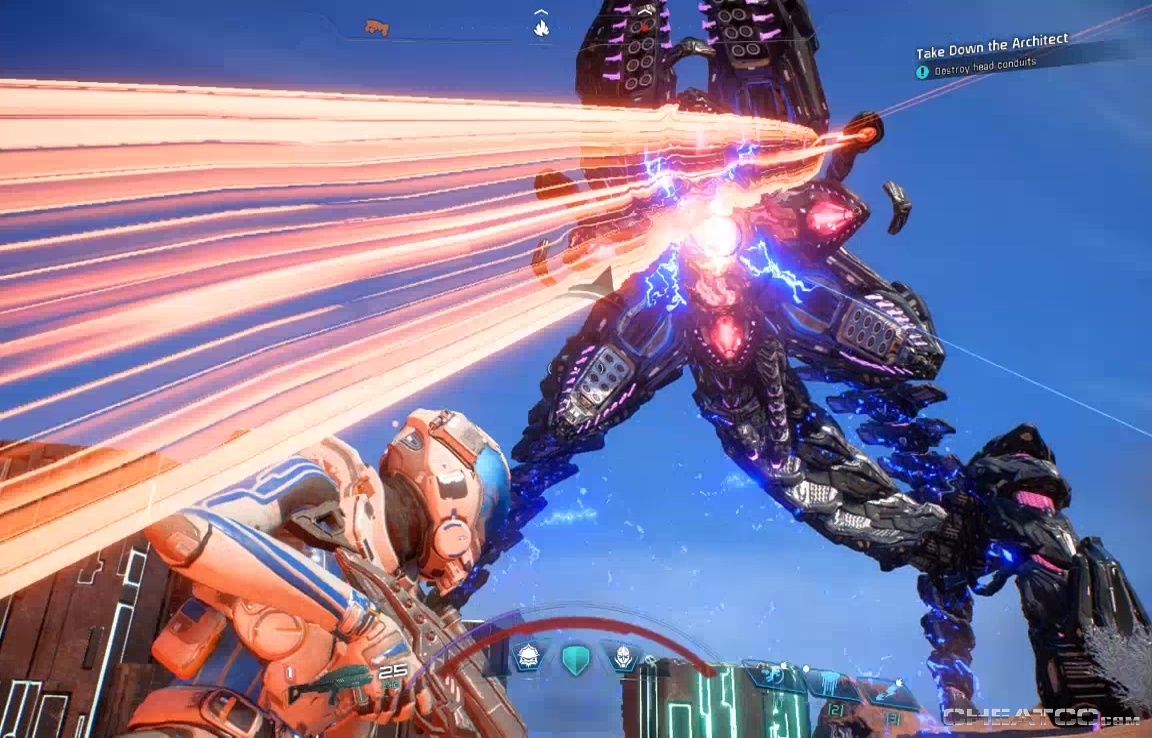
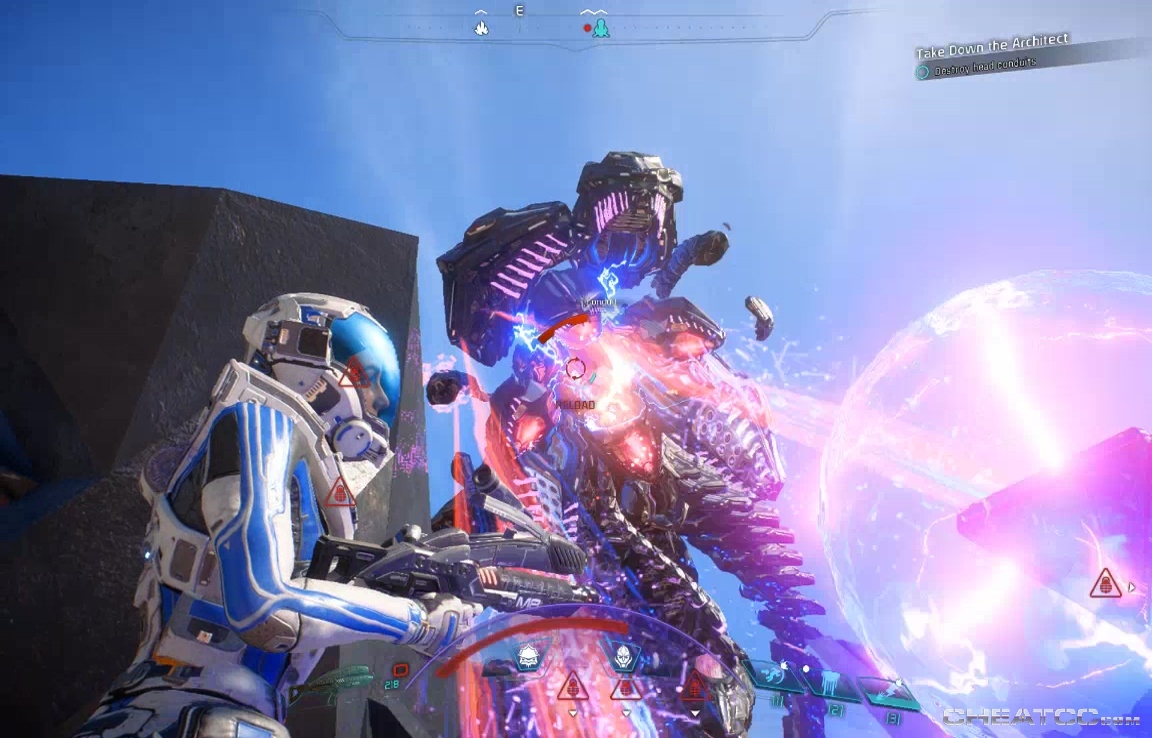
When the lesser Remnant are down, the Architect's legs become vulnerable. Pour on as much damage as you can while dodging incoming attacks.
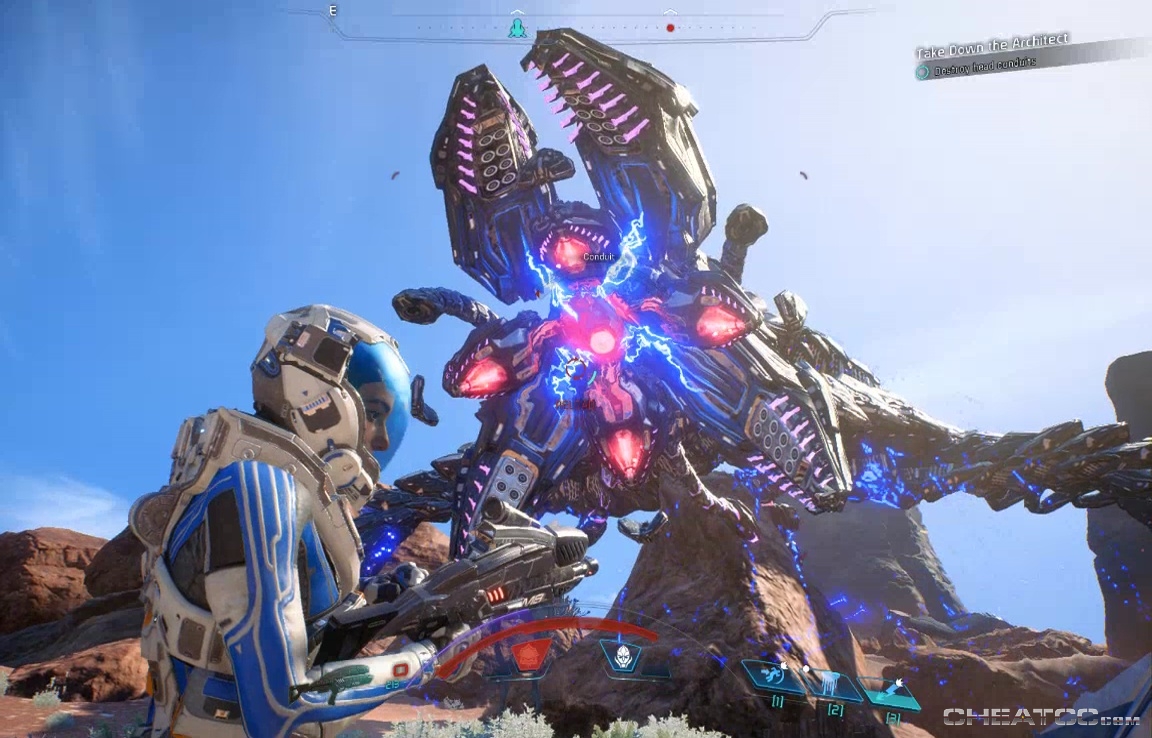
Do enough damage and the head will swing around toward you. Again, you'll want to pour on as much damage as possible. Cobra RPGs can be handy here, because that metal noggin is just stuffed with hitpoints.
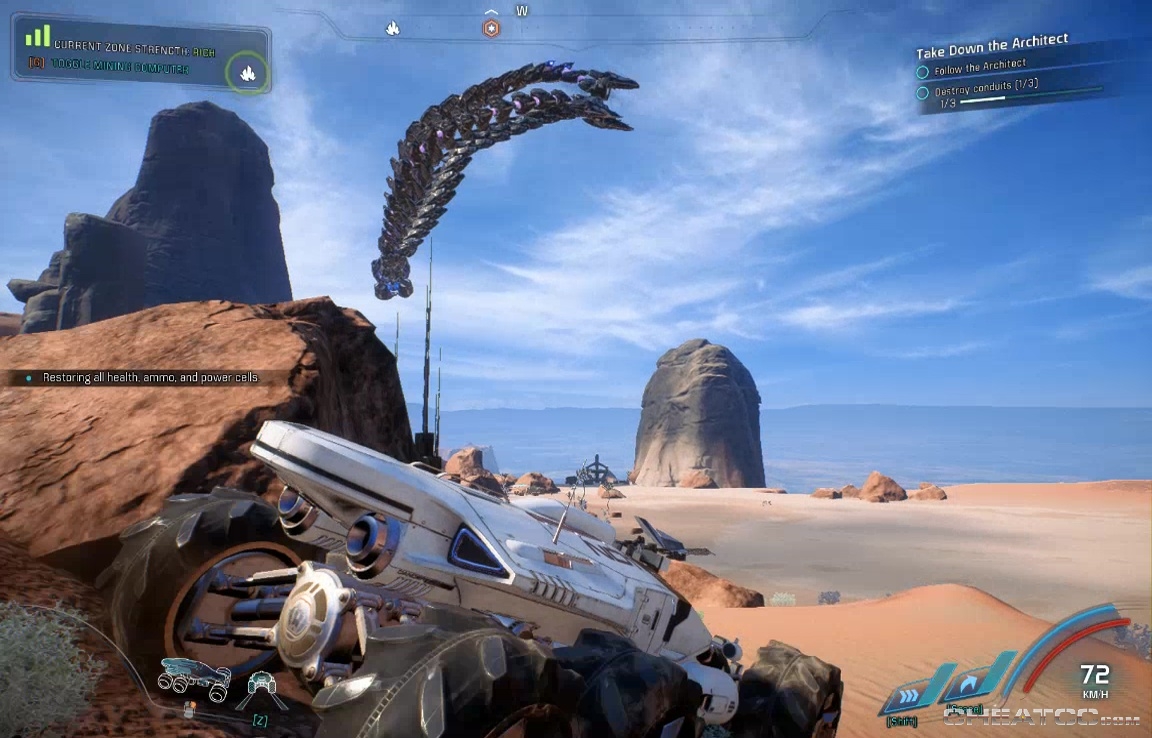
The cycle then repeats. Everytime you do enough damage to destroy a leg, the Architect flies away- follow it in the NOMAD until it lands again, and resume the battle.
When it finally goes down, interface with the head to end the fight once and for all.
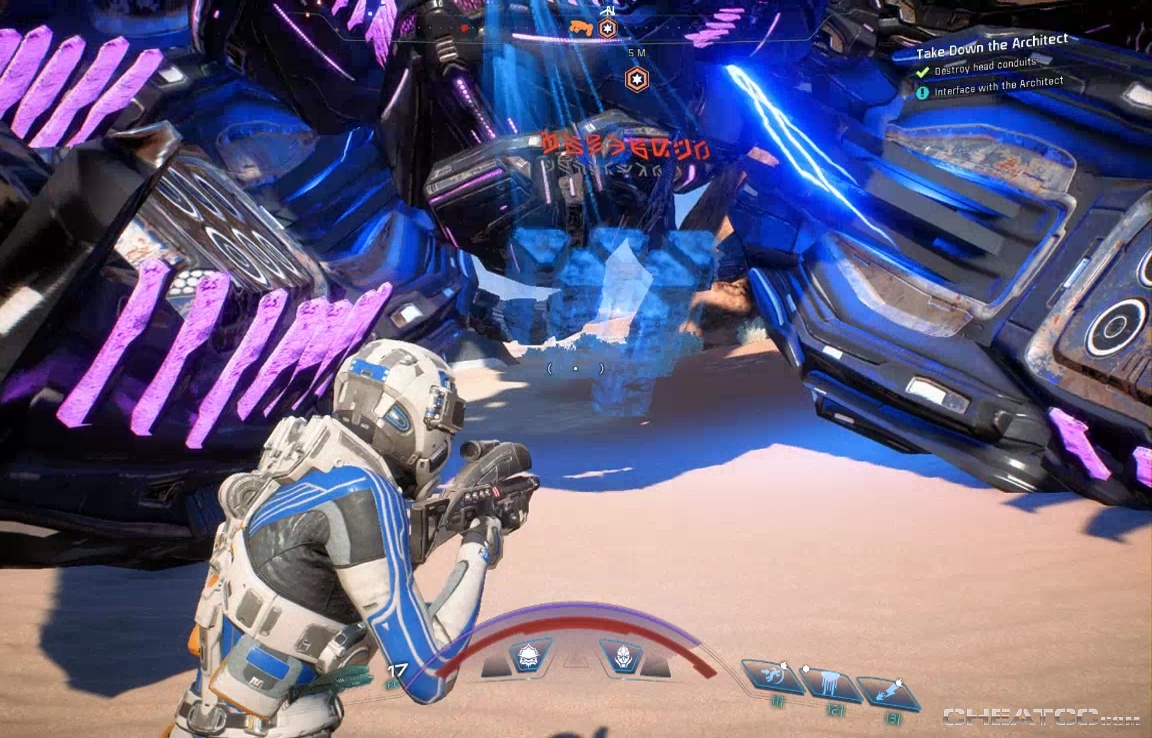
This completes the quest, awards you AVP, and the disappearing Architect leaves a little Remnant Cache where it fell. Claim the cache and, later, you can scan the Architect from orbit for a Research boost.