
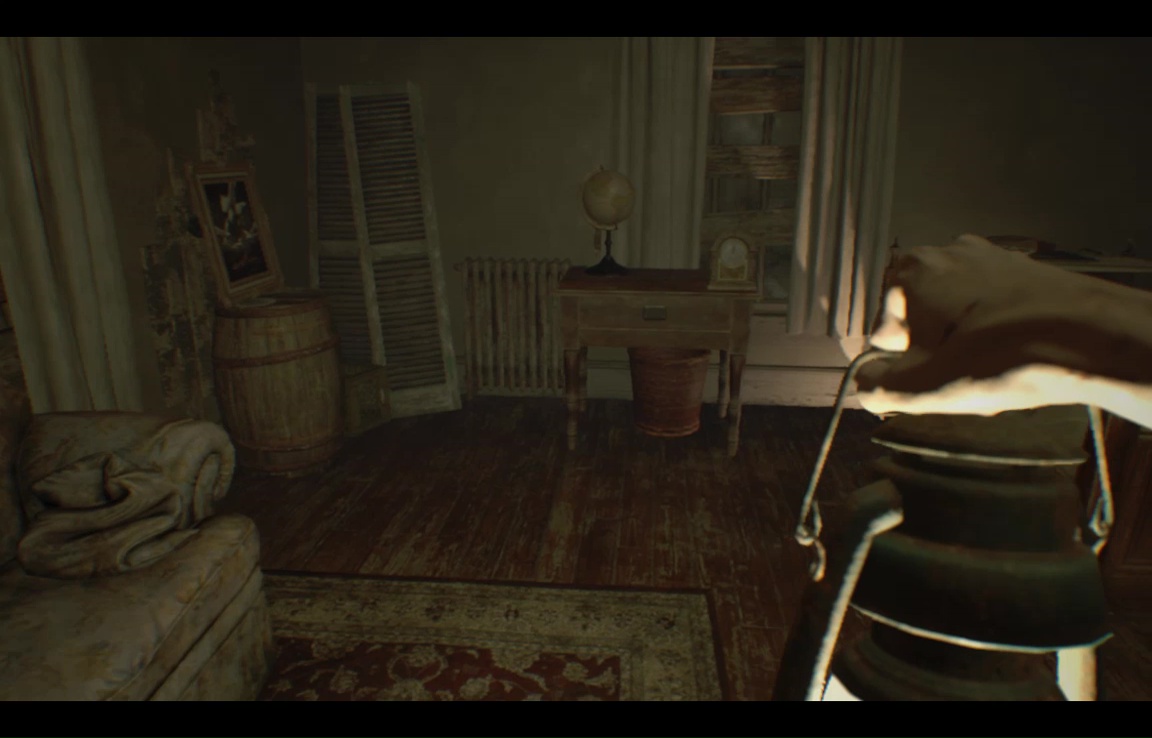
Bedroom
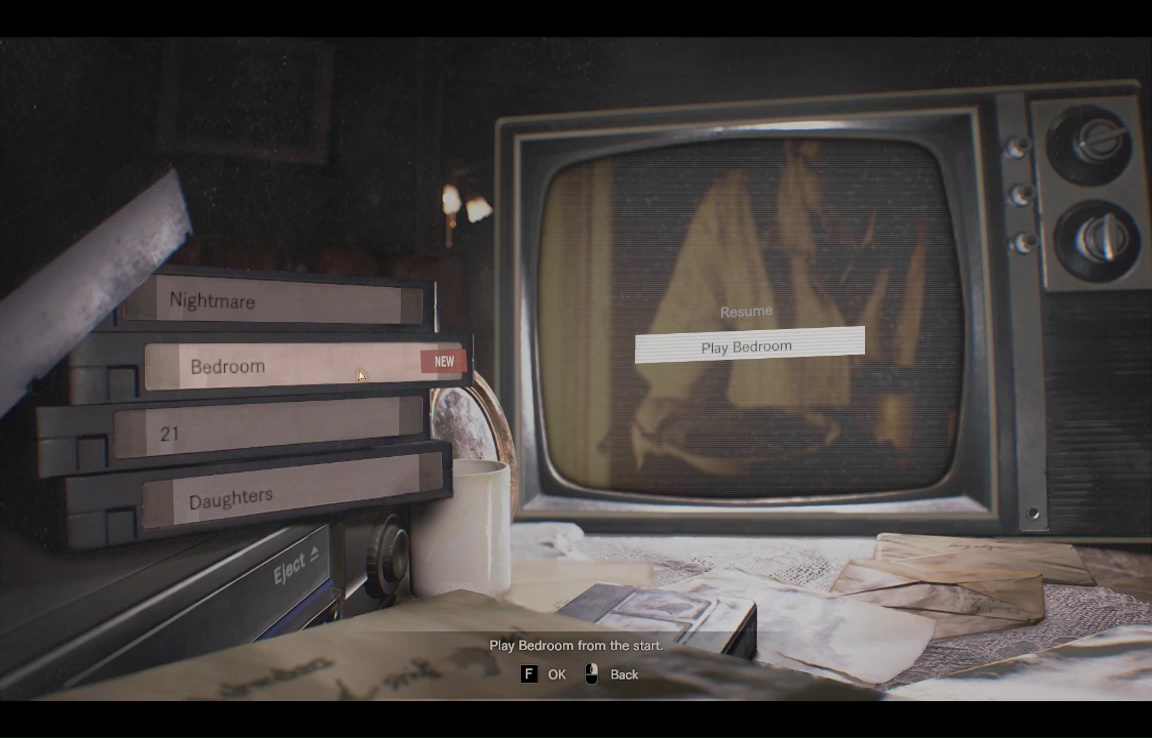
Bedroom seems be the second of Clancy Javis' agonizing adventures- after his abduction in the Swamp Gators video, and before the gauntlet of Nightmare. In this scenario, Clancy wakes up handcuffed to a bed, while Marguerite serves him dinner. Tell her what she wants to hear, and she'll leave him to chow down.
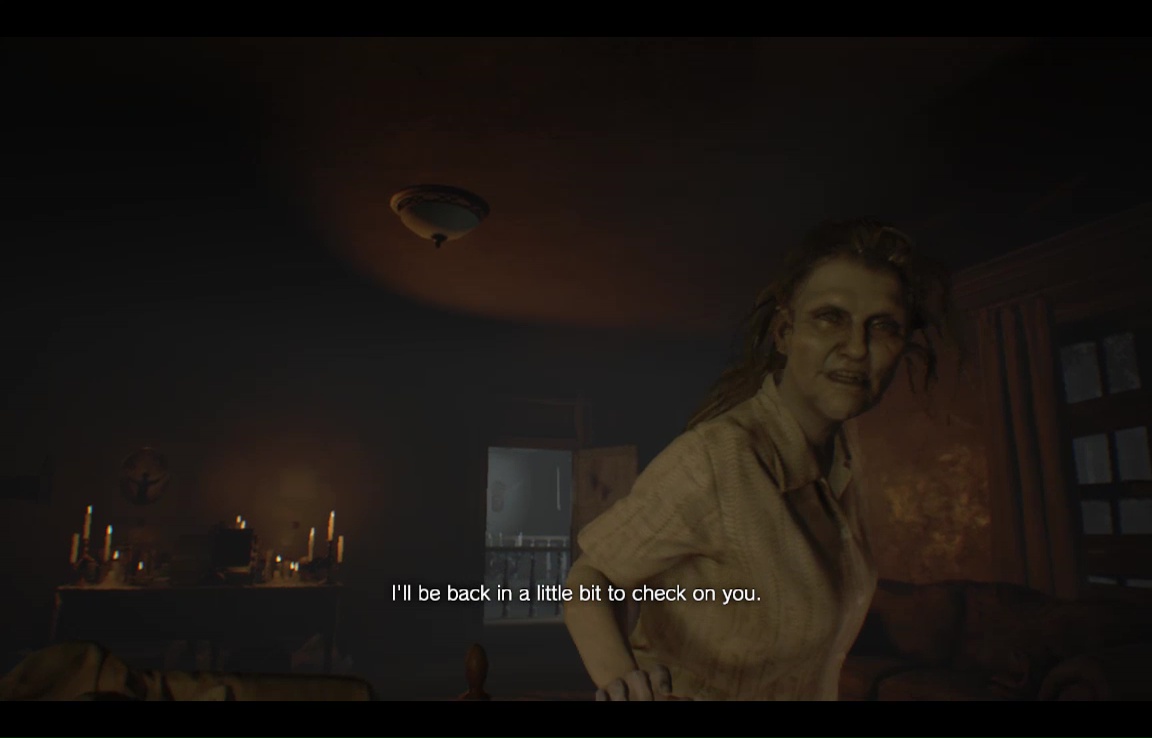
Once he's alone, it's time to make your escape! This is a classic escape-the-room puzzle with a twist – whenever you make too much noise in your explorations, Marguerite will stop whatever she's doing downstairs and and storm up to see what the commotion is. In the time it takes her to reach the bedroom, you must put everything you've moved precisely where it was before, then hop back into bed and reshackle yourself. If anything is amiss when Marguerite returns, there's hell to pay.
Luckily you do have a bit of wiggle room – Marguerite only cares about things she can see. Objects that are hidden from sight don't need to be replaced. With all that in mind, let's begin.
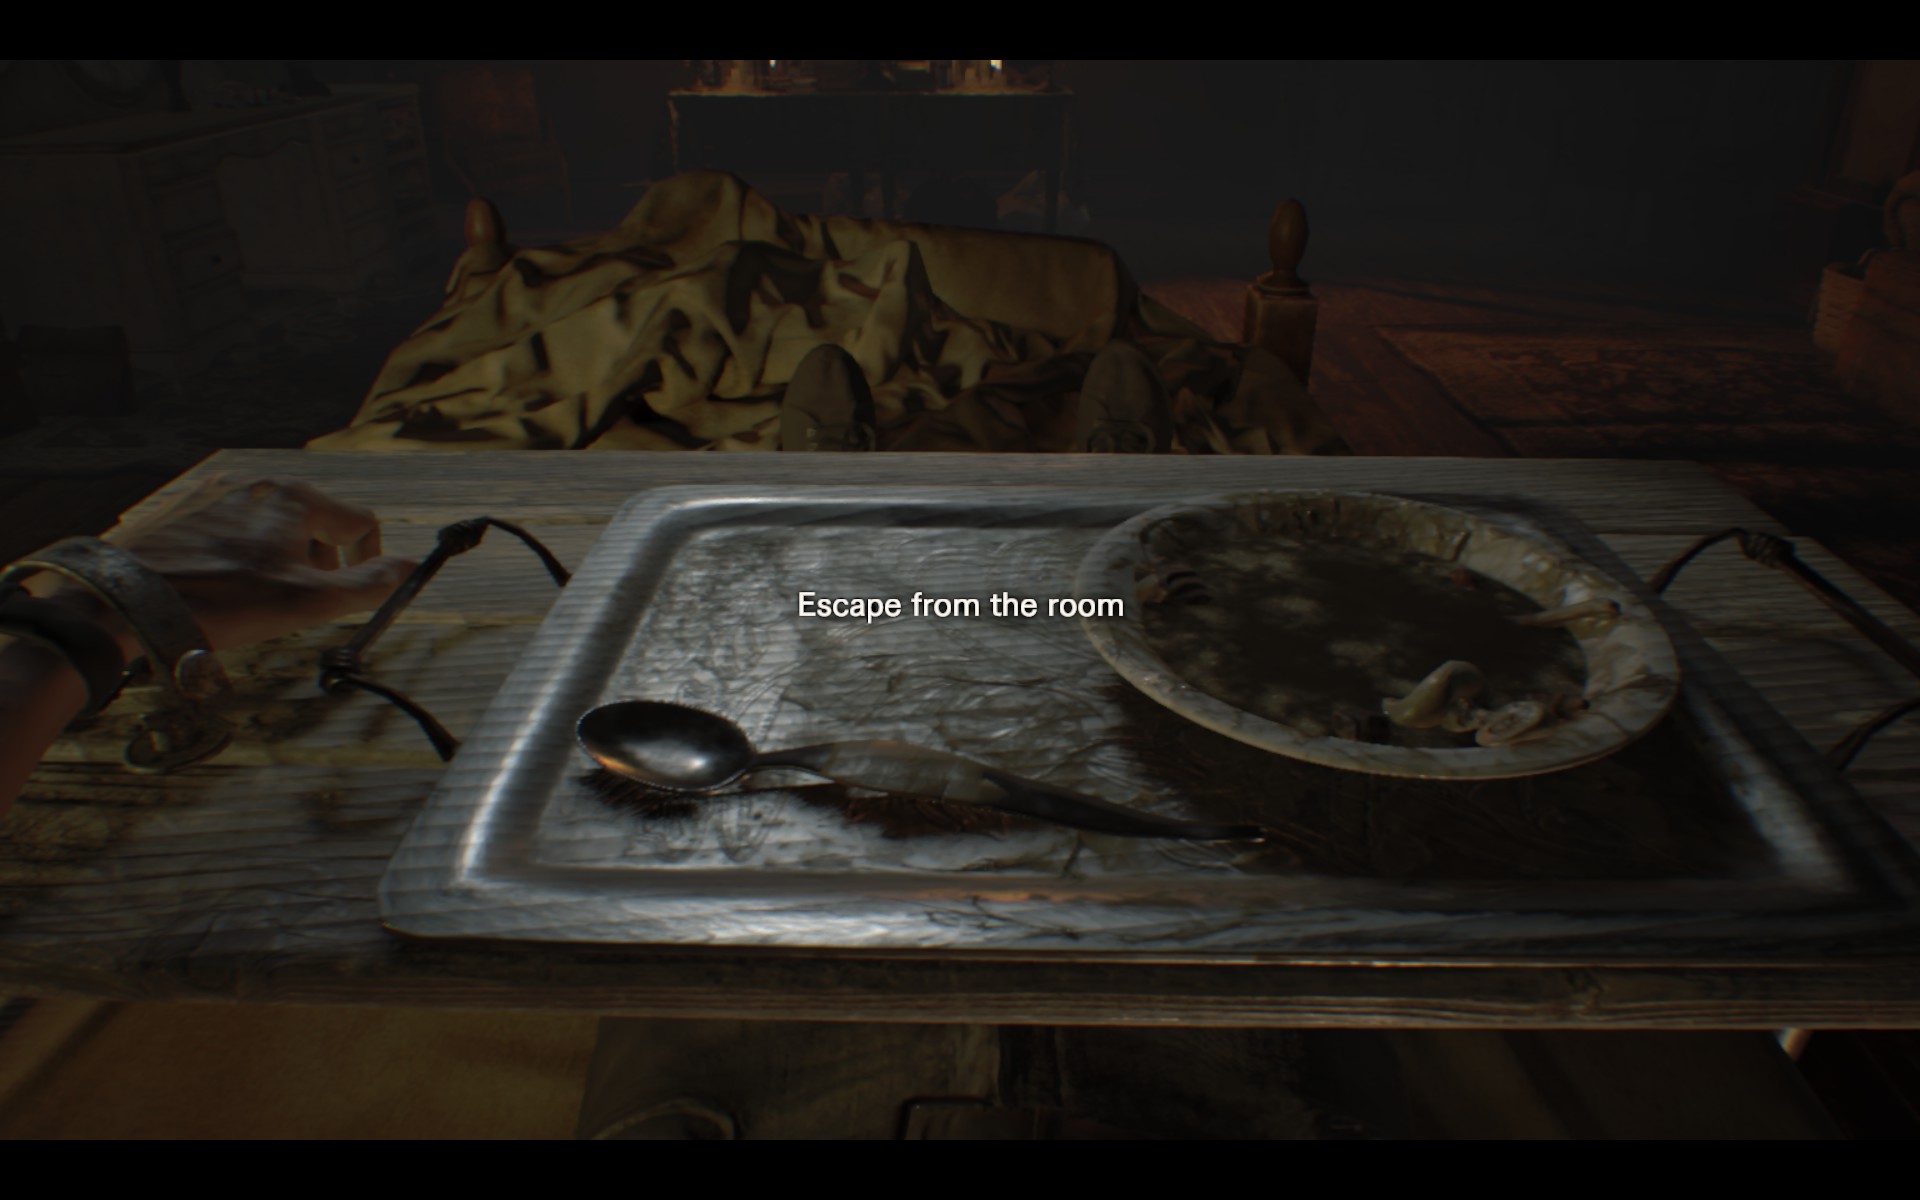
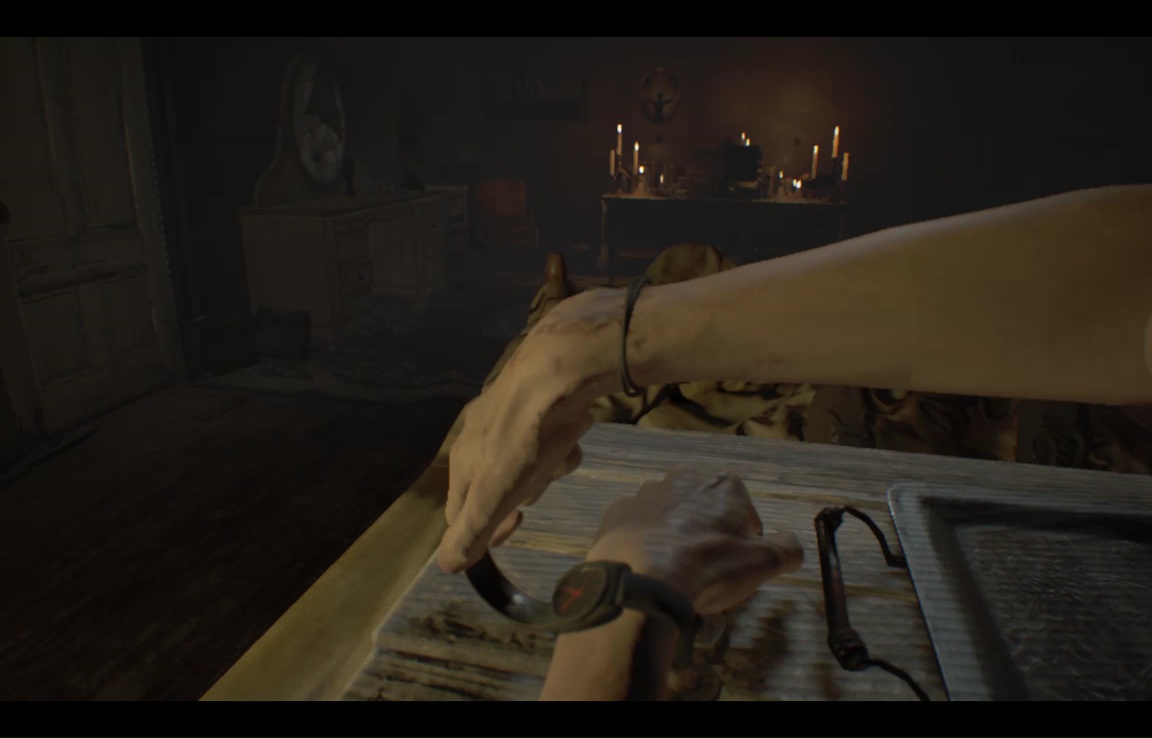
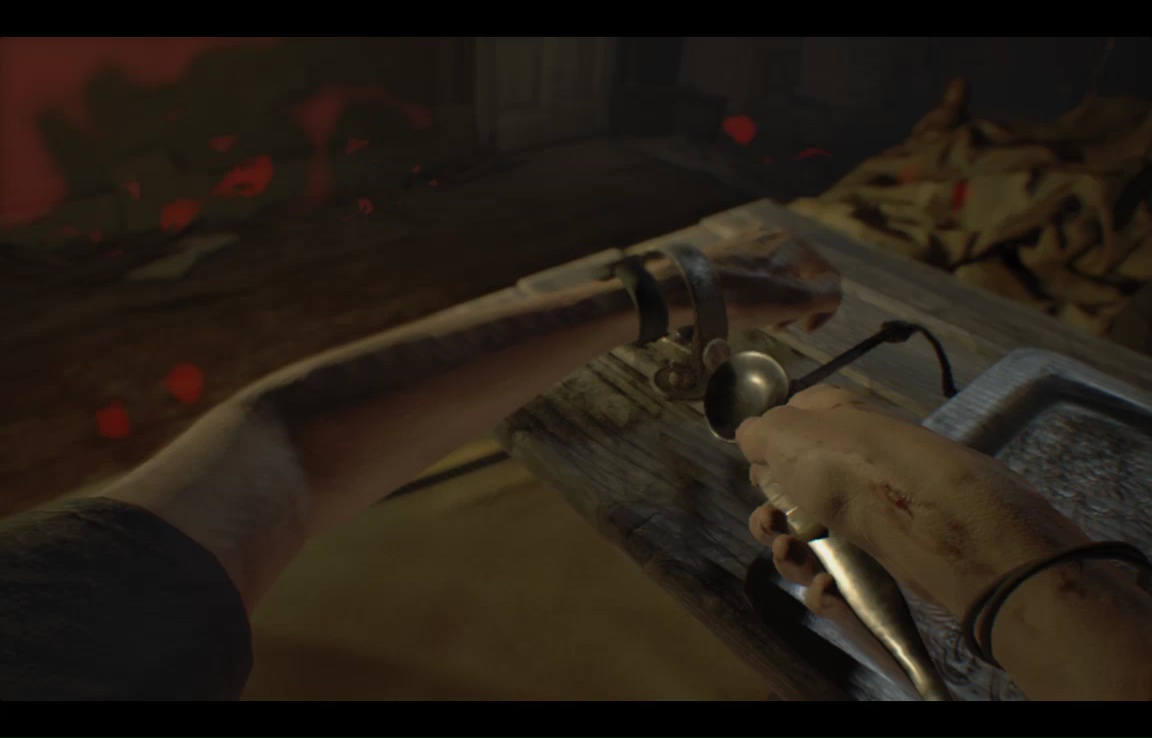
Grab the spoon from the tray in front of you, then just use [F] with your shackle to open it. That was easy enough.
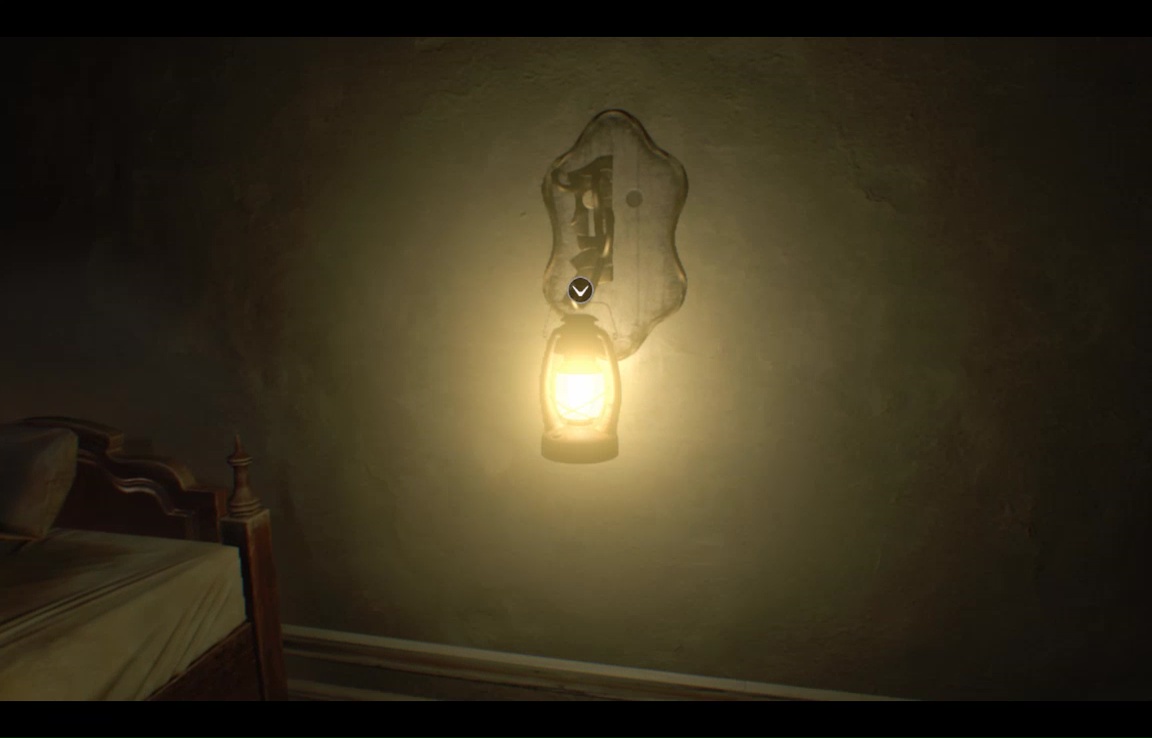
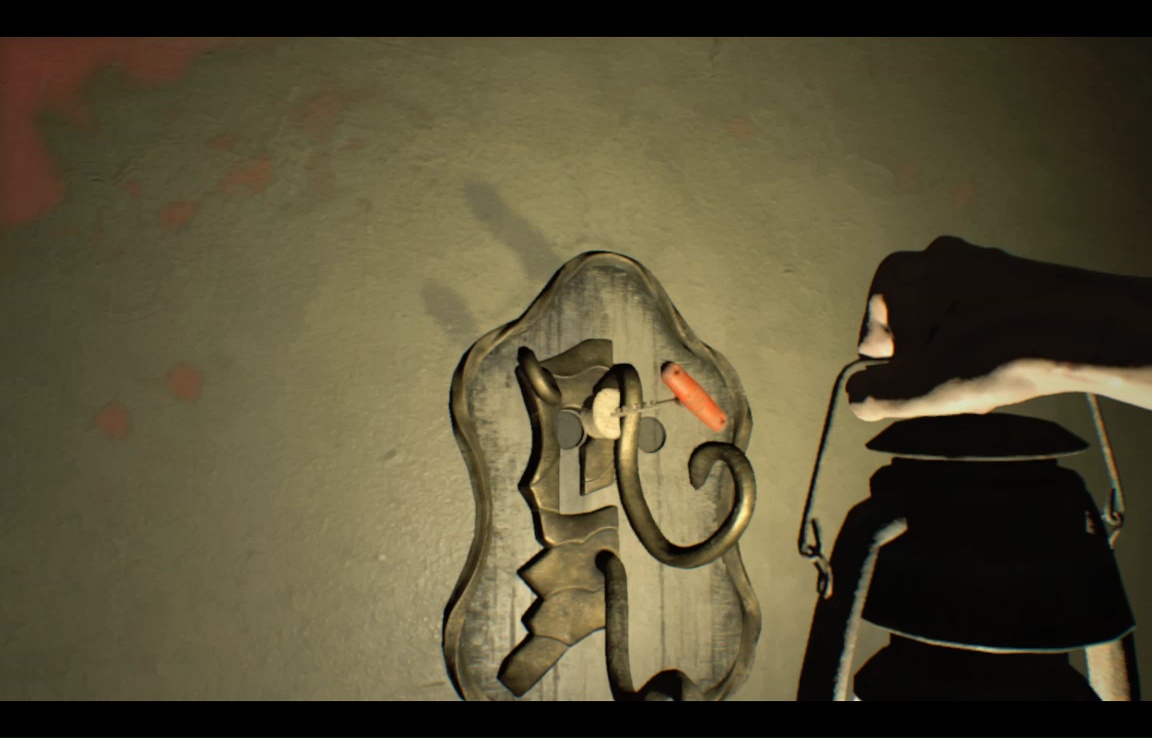
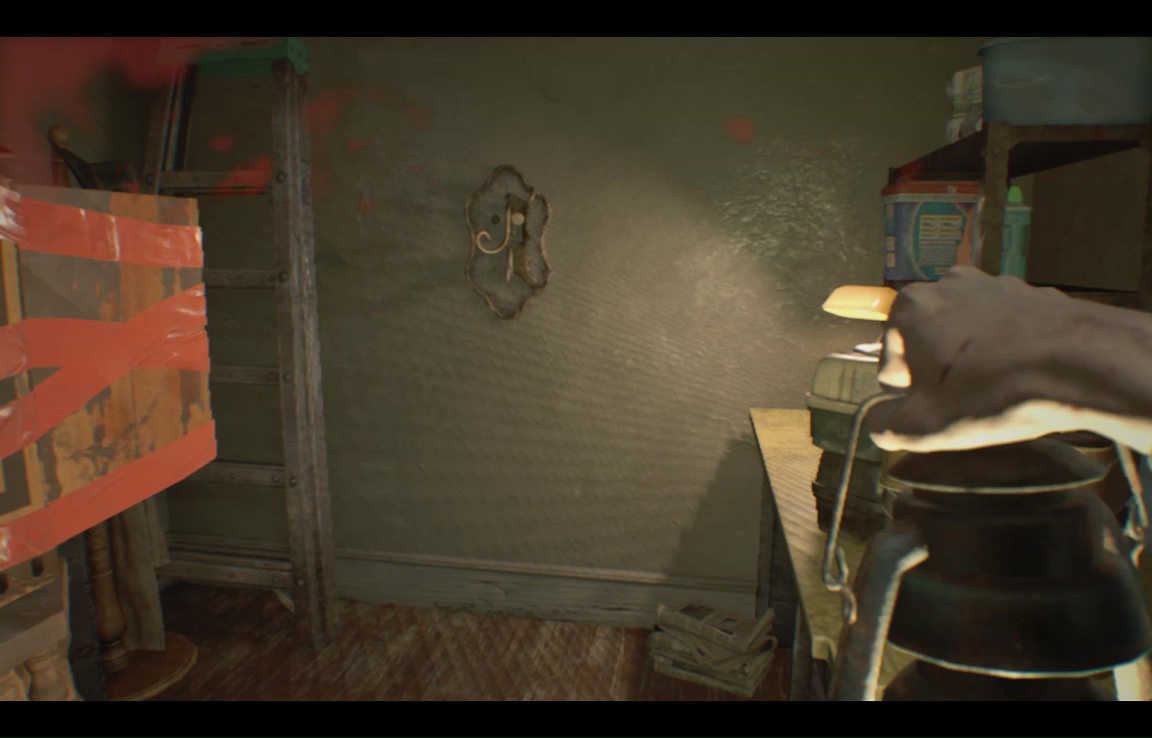
Immediately to the left of the bed is a hanging lantern. The lantern is extremely important- you can't really do anything in the room without its light, so it's always the last thing to replace when you're putting the room back together.
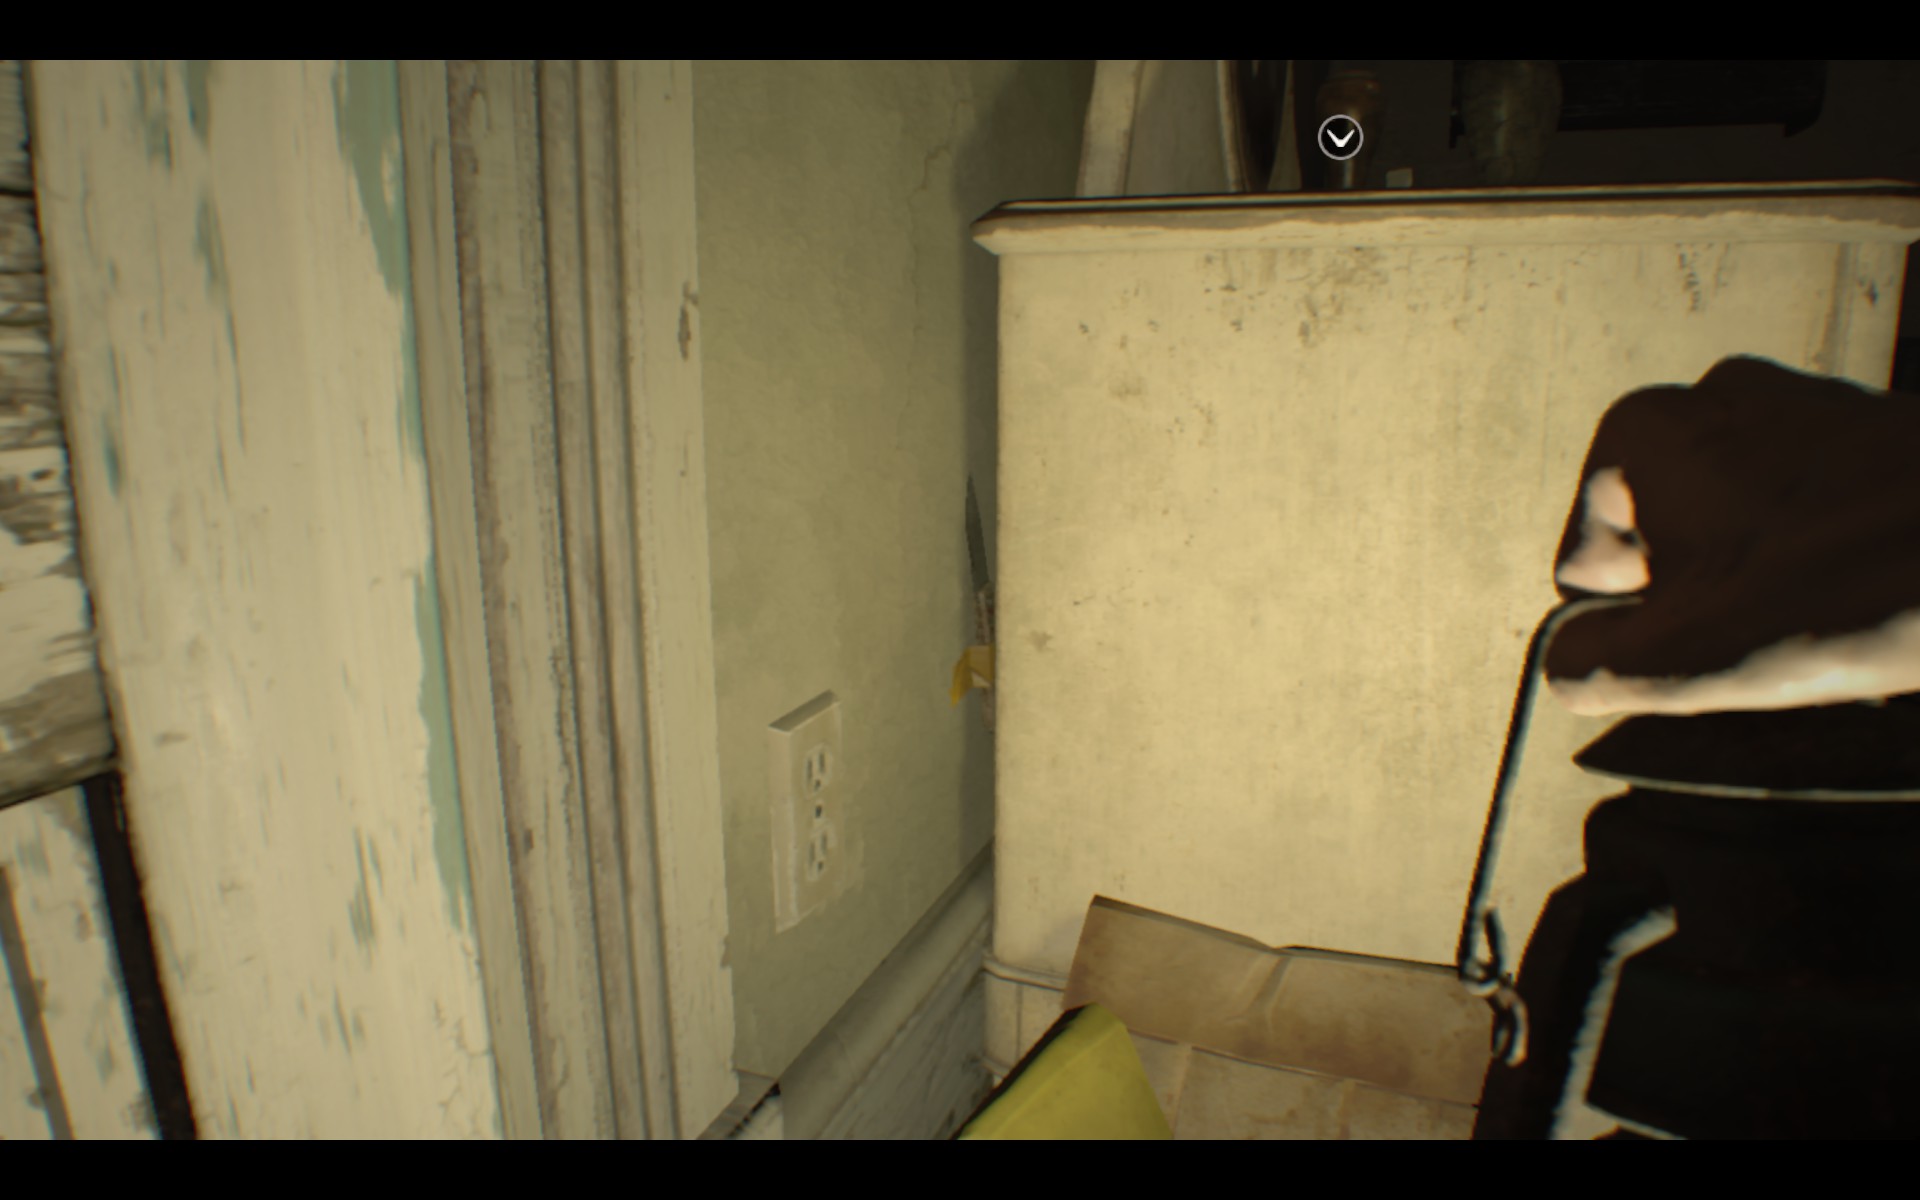
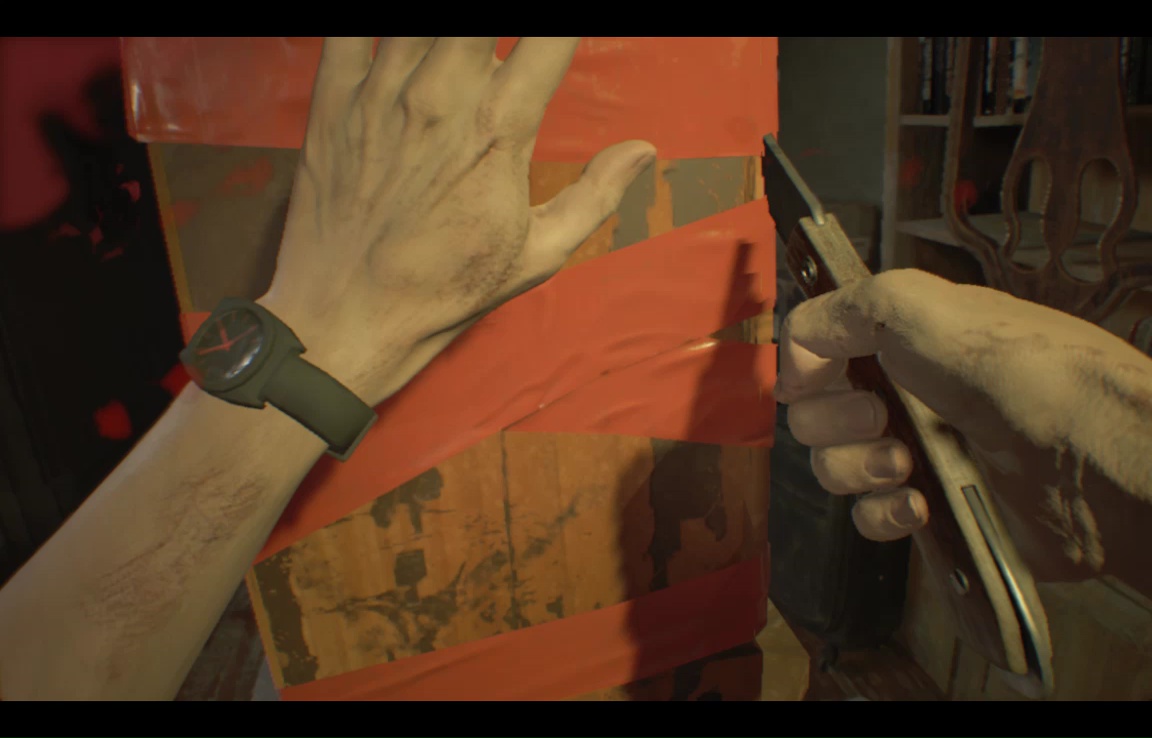
Now that that you're packing lumens, turn around look behind the dresser here, to find a knife that's been taped to the wall. Crouch down and retrieve it (because the knife is hidden, you do not need to replace it later).
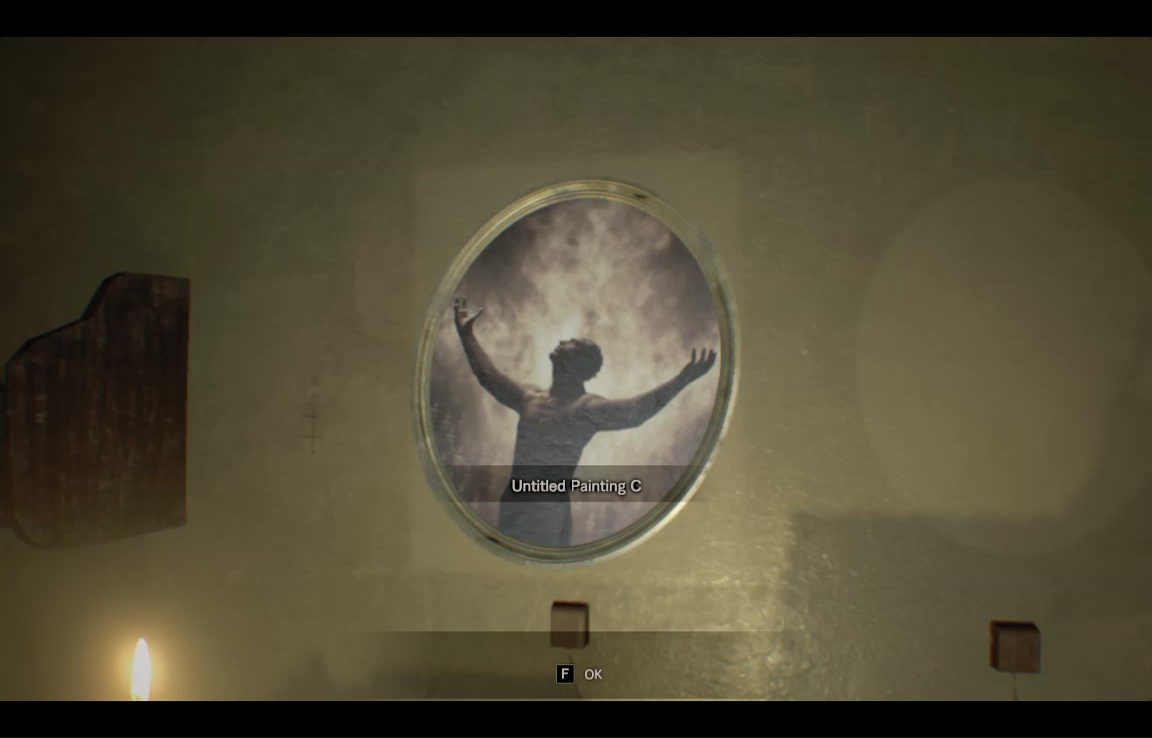
Take a good long look at the wall with the painting. You're going to have to return it to this state a couple times, so just make sure you remember it.
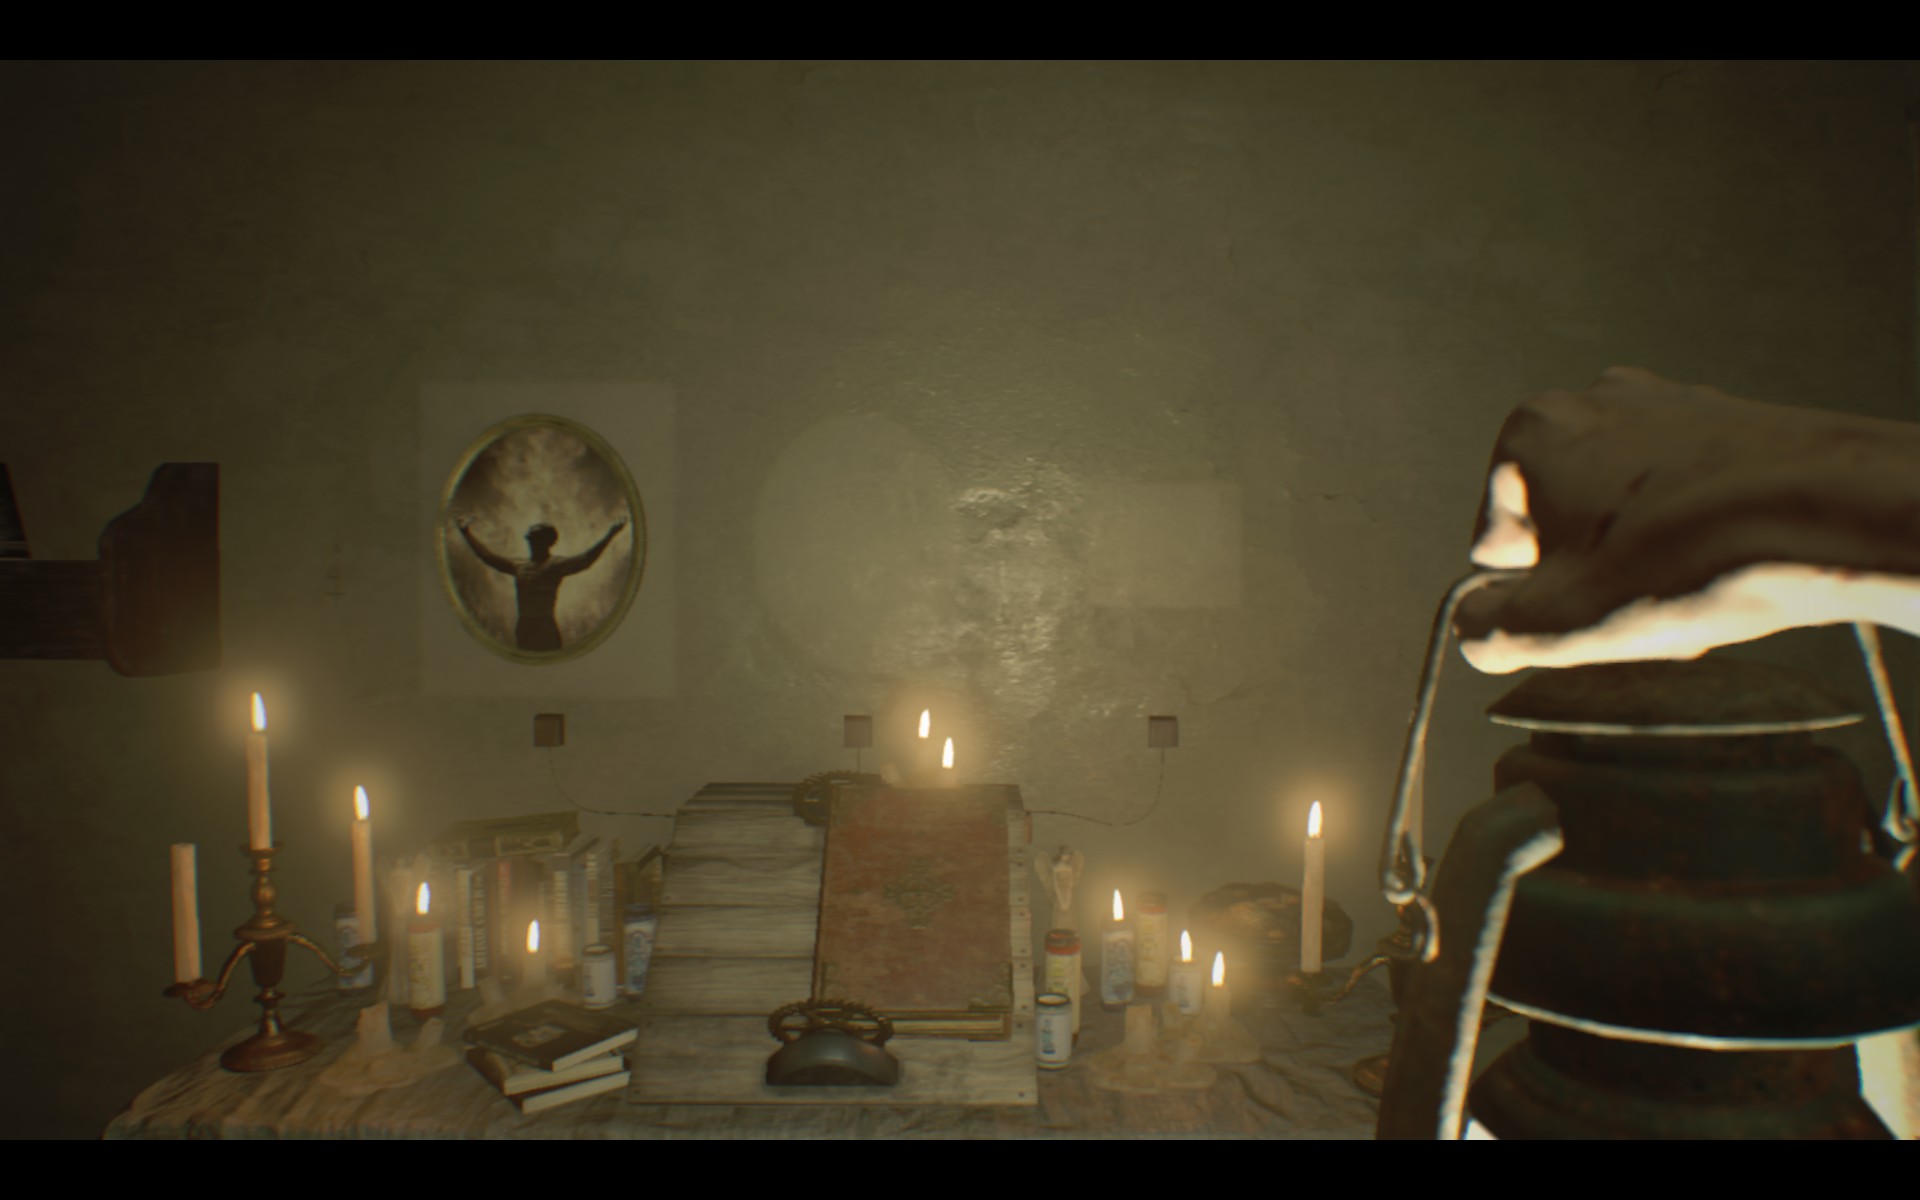
With that clearly in mind, go ahead and take down the painting here, named 'Untitled Painting C.' Catchy.
Now turn around and regard the area on the other side of the bed.
Note the painting, the globe, and clock. Before messing with any of them, however, peek behind those green shutters to inspect the dead rat behind them.
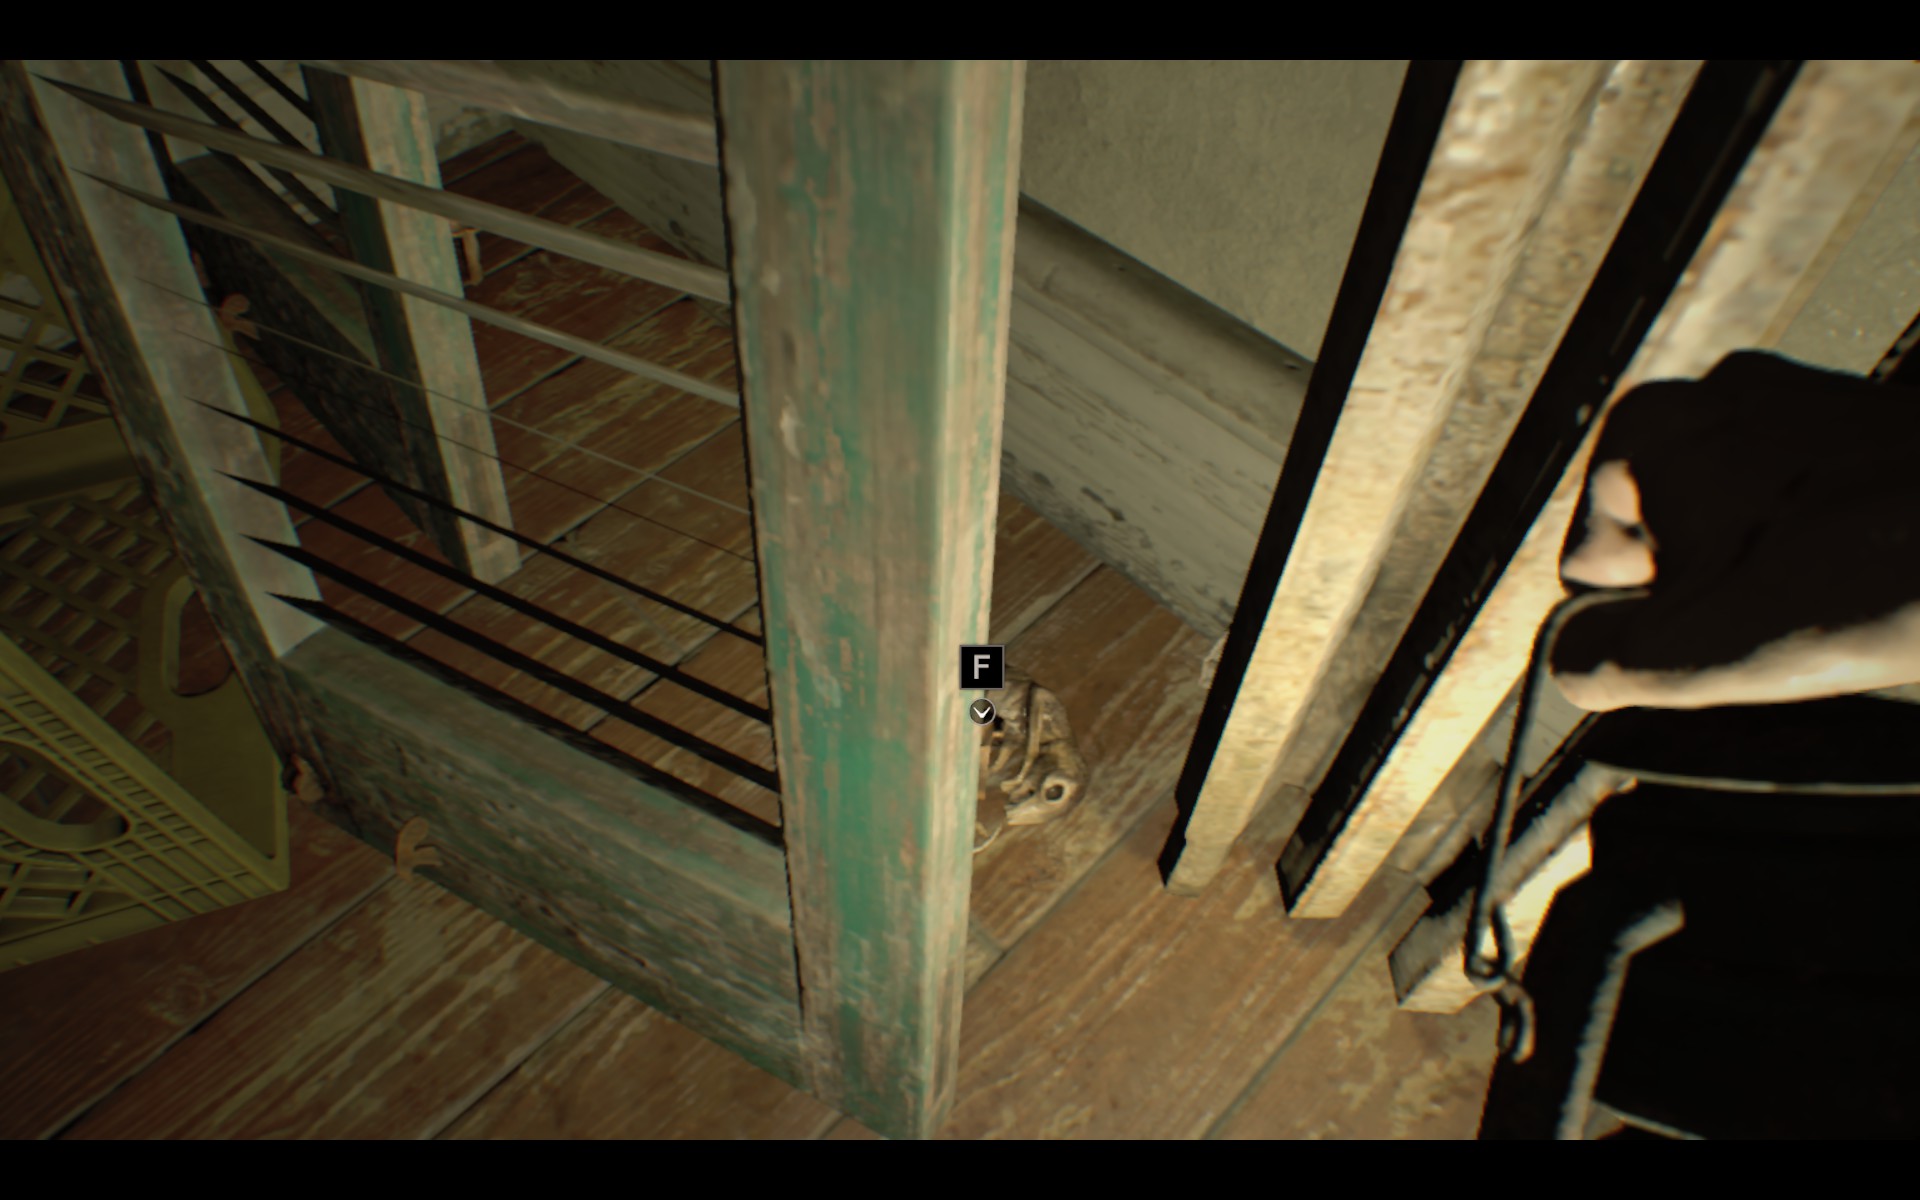
This is one of the three rats you need for the Ratcatcher achievement.
While you're here, interact with the clock to remove the minute hand. Luckily this is a minor enough detail that Marguerite won't notice it.

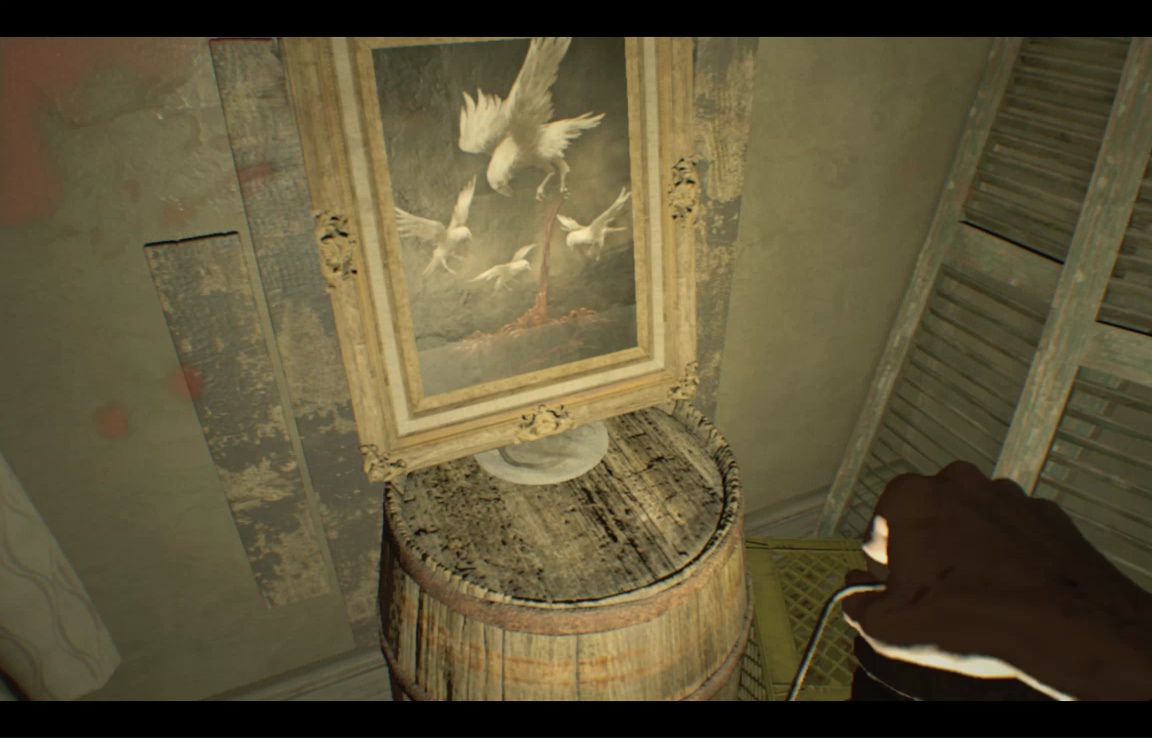
Now turn left to study the lovely painting of the gore-eating albino raptors, also known as Untitled Painting B.
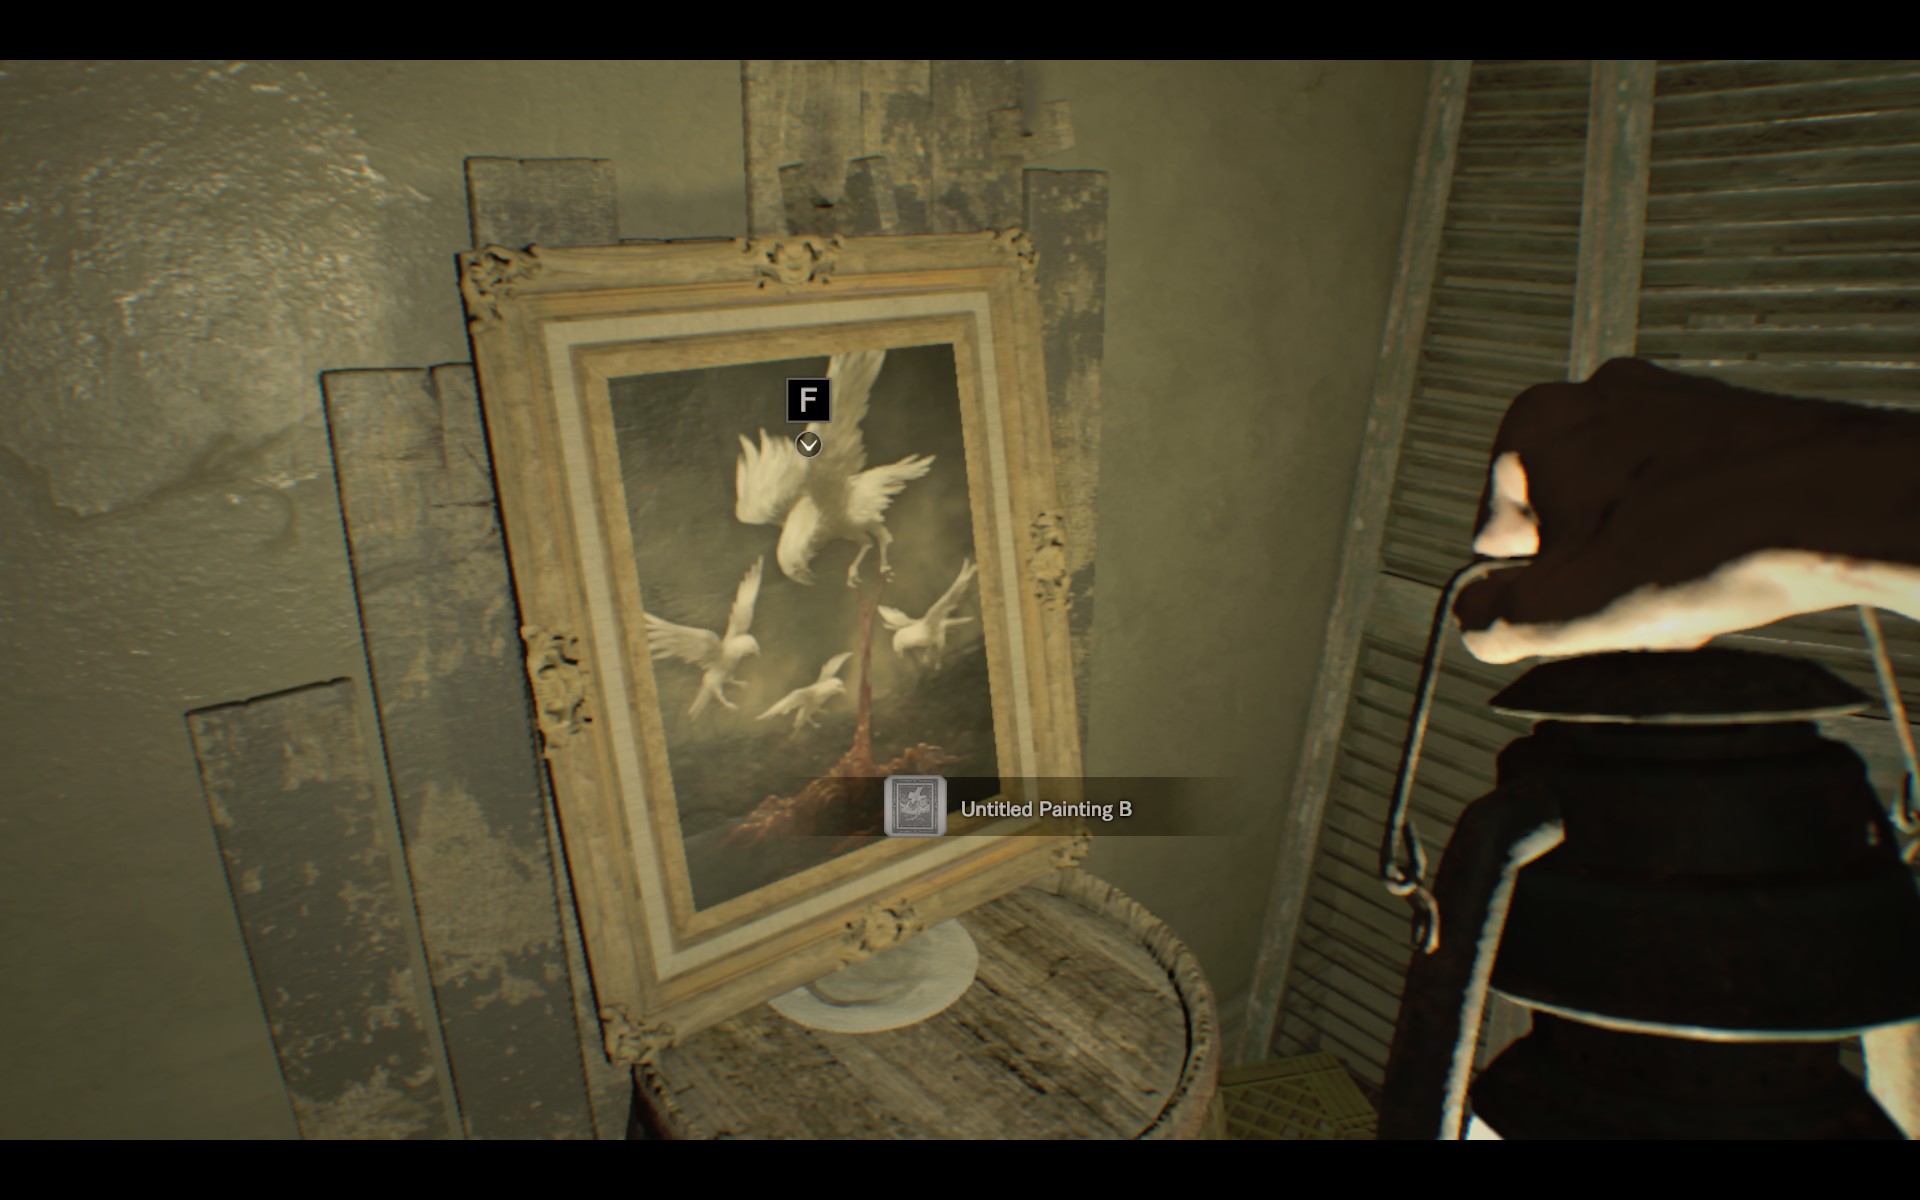
This is another oft-replaced item, so remember it as it is before taking it. Return to the painting wall, and place your two paintings in the spots that match their shape (B in the leftmost spot, C in the center, and the last spot blank). The third painting is inside the grandfather clock, which you can open with the minute hand.
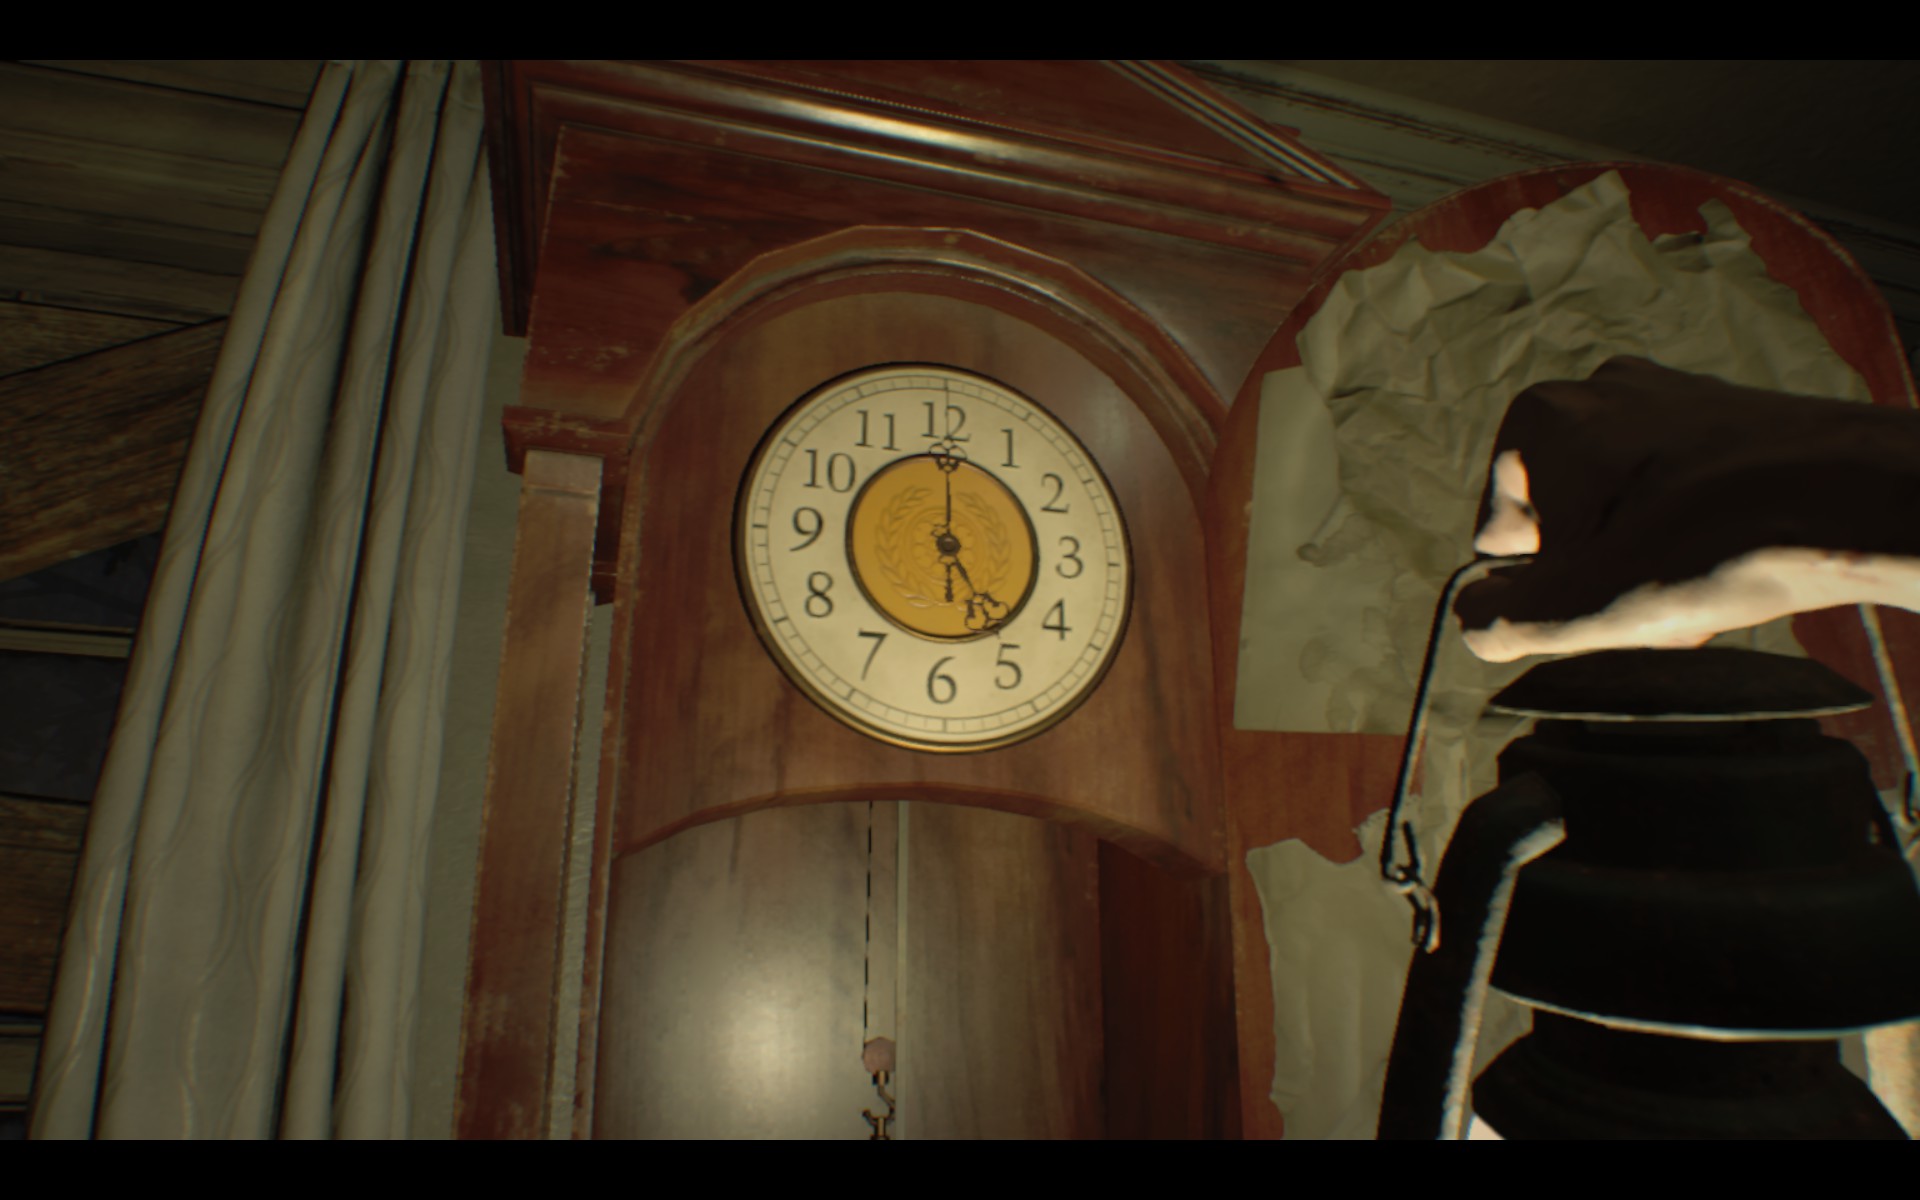
Be sure to note ye well the time (5 pm), as it's important. Looking down, you'll see the last painting wedged against the pendulum. Gird yourself for action, because the moment you take it, the clock will chime, and Marguerite will start on up the stairs.
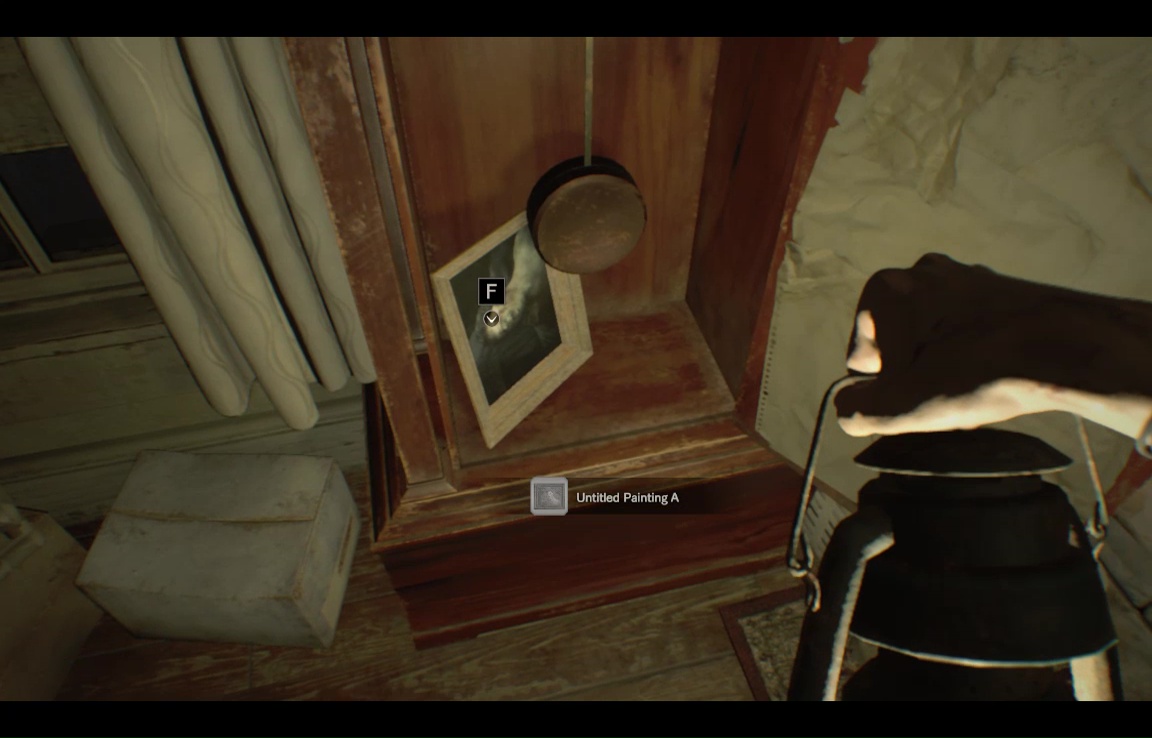
Close the grandfather clock door, then place the last painting (Untitled Painting A, naturally), in the final spot. The book here will open to a straw dolly with a sewing needle stuck in it.
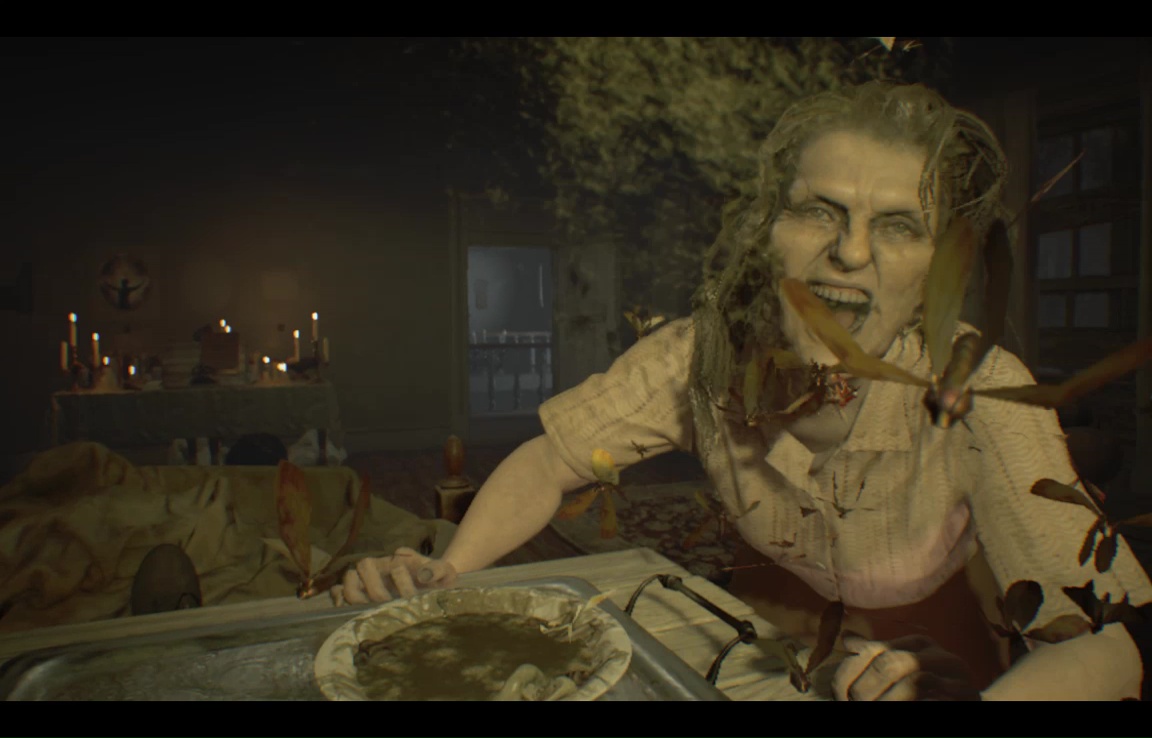
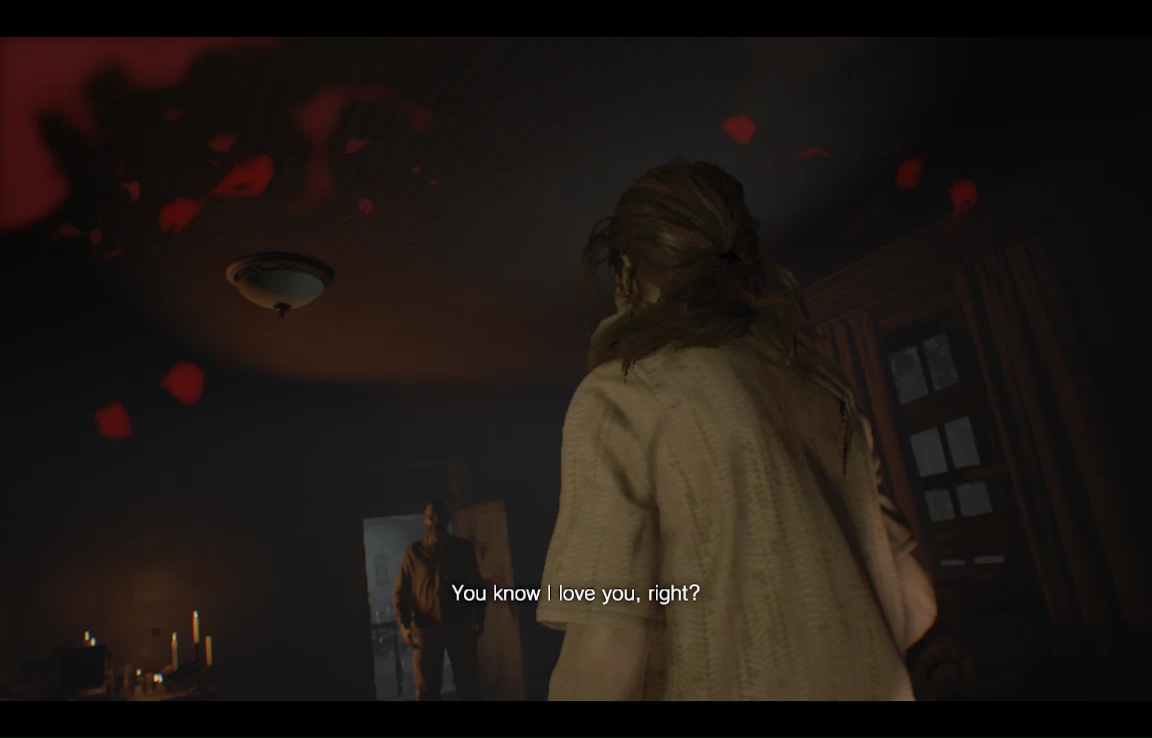
Take the needle, then grab all the paintings off the wall. Place the oval one (C) back in the leftmost spot, and place the large rectangular one (B) back on the barrel. Painting A was hidden, so you can keep that in your inventory. Return the lantern to its hook, and then Use the manacle to hop back into bed. Wait for Marguerite to arrive. She will stab you a bit, but it's all part of the script, and does lead to a cute little moment you probably shouldn't miss.
Once she's gone, you'll have to unscrew the manacle with the spoon before you can get back on your feet.
Grab the lantern and go to the clock. If you remember the main game, there used to be a note from Lucas here about matching all the other clocks. You don't have access to the whole house now, but you do remember the grandfather clock, right?
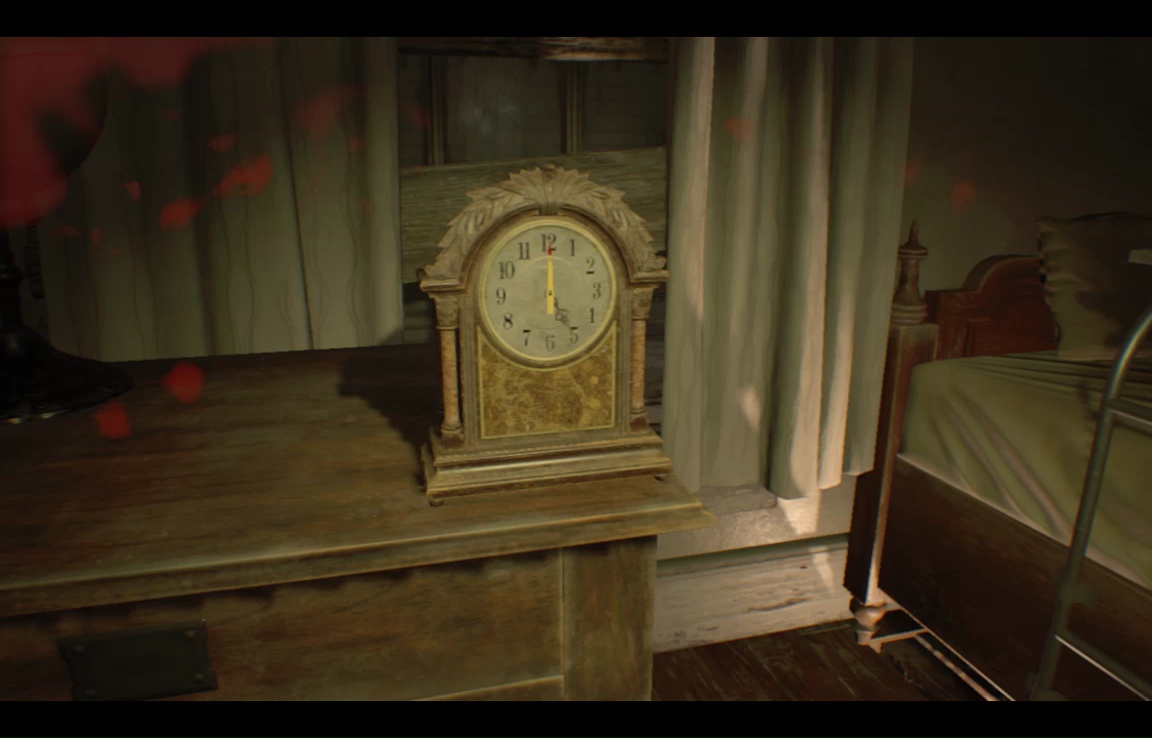
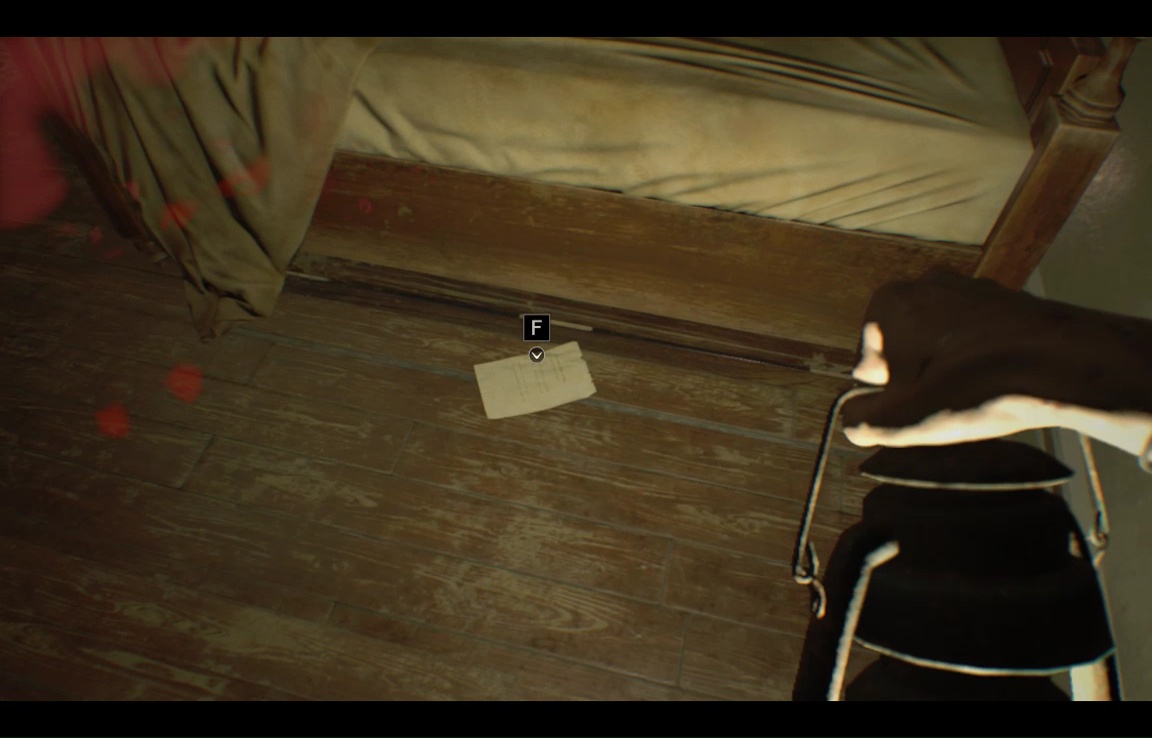
Using the needle as the minute hand, set the clock to 5pm to trigger the sliding bed mechanism, just like Ethan will do in a few nights. This time, however, there's a Snake Door underneath, along with a note.
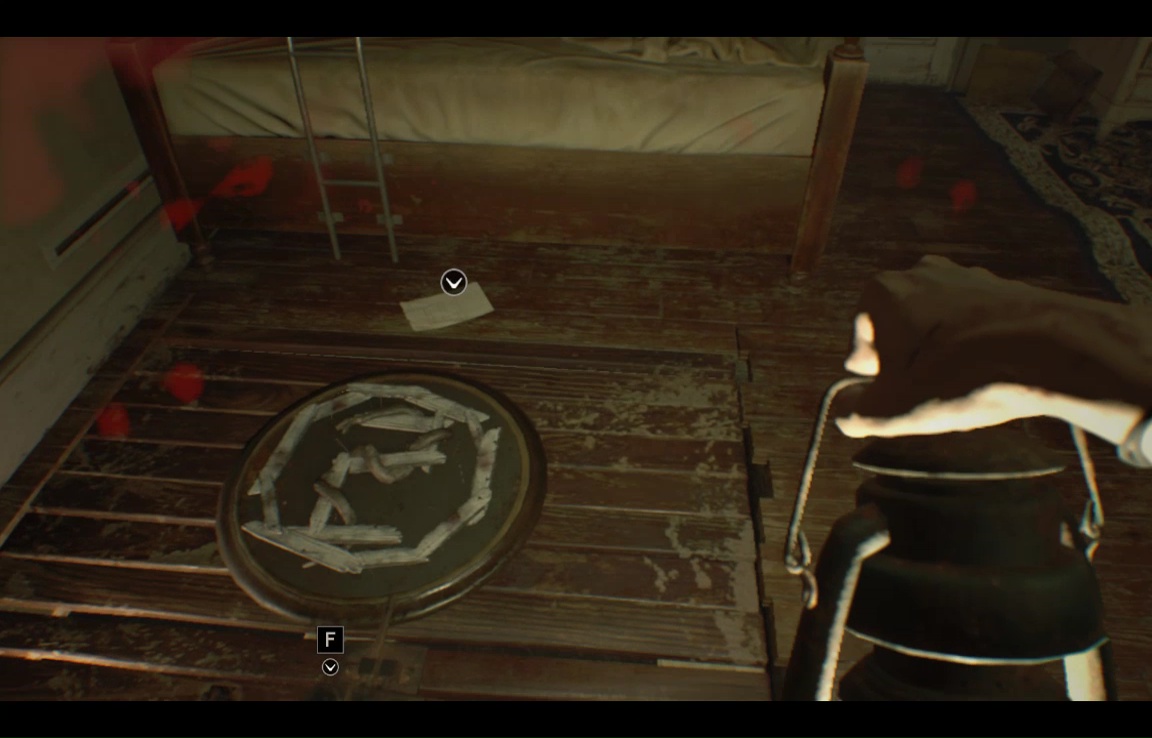
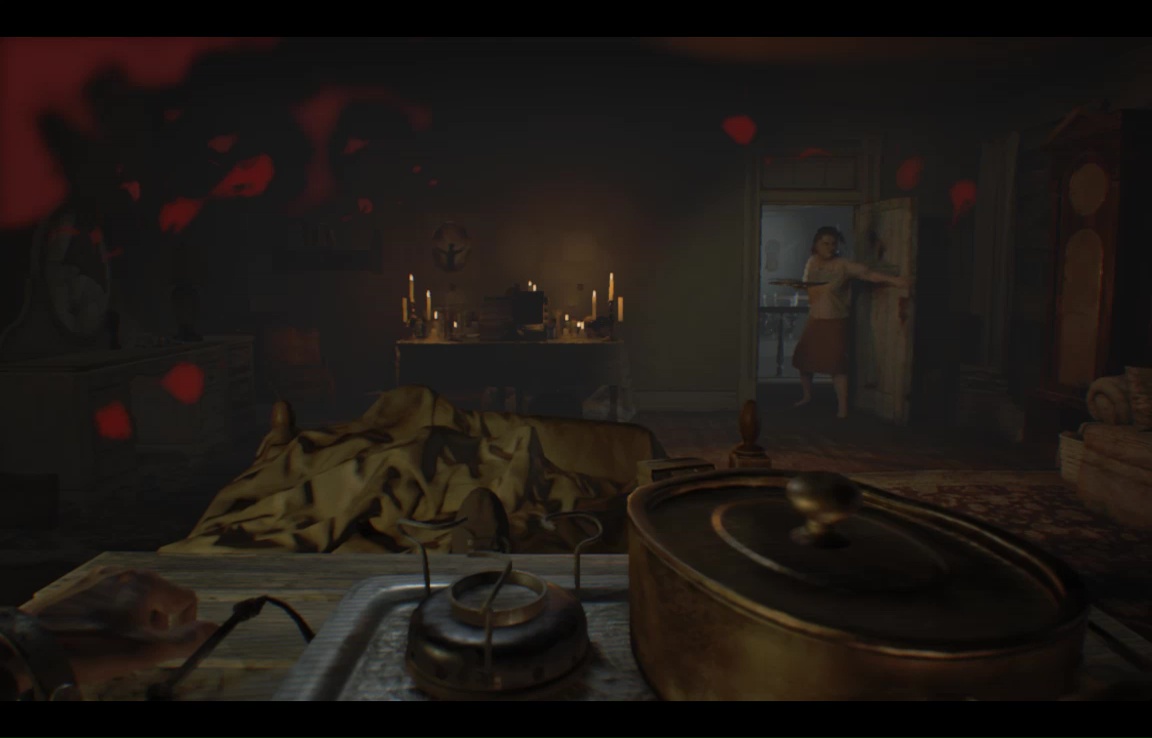
The sound rouses Margie again, so use the clock to reset the bed. You can't pick up the note, but luckily enough Marguerite is strangely blind to it. So just hop back into bed, and let Lady Baker serve you a second course of her hearty victuals.
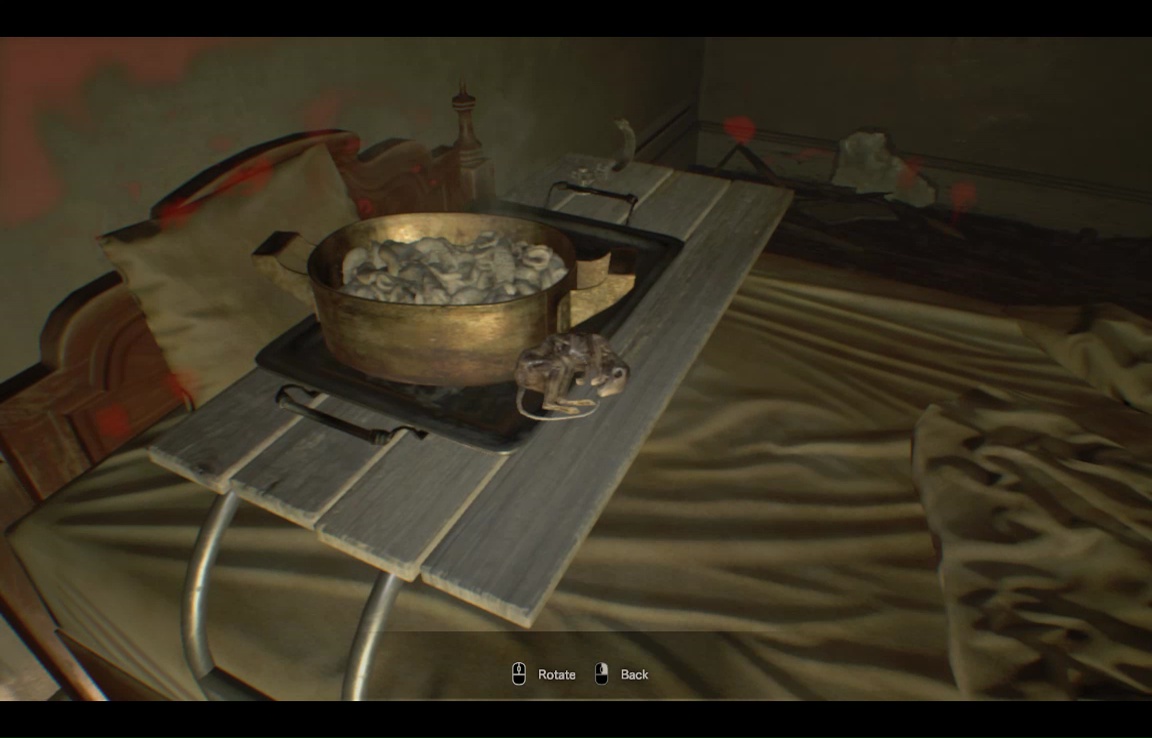
Now things get good. On your new tray, you'll be able to grab the fork and the stove.
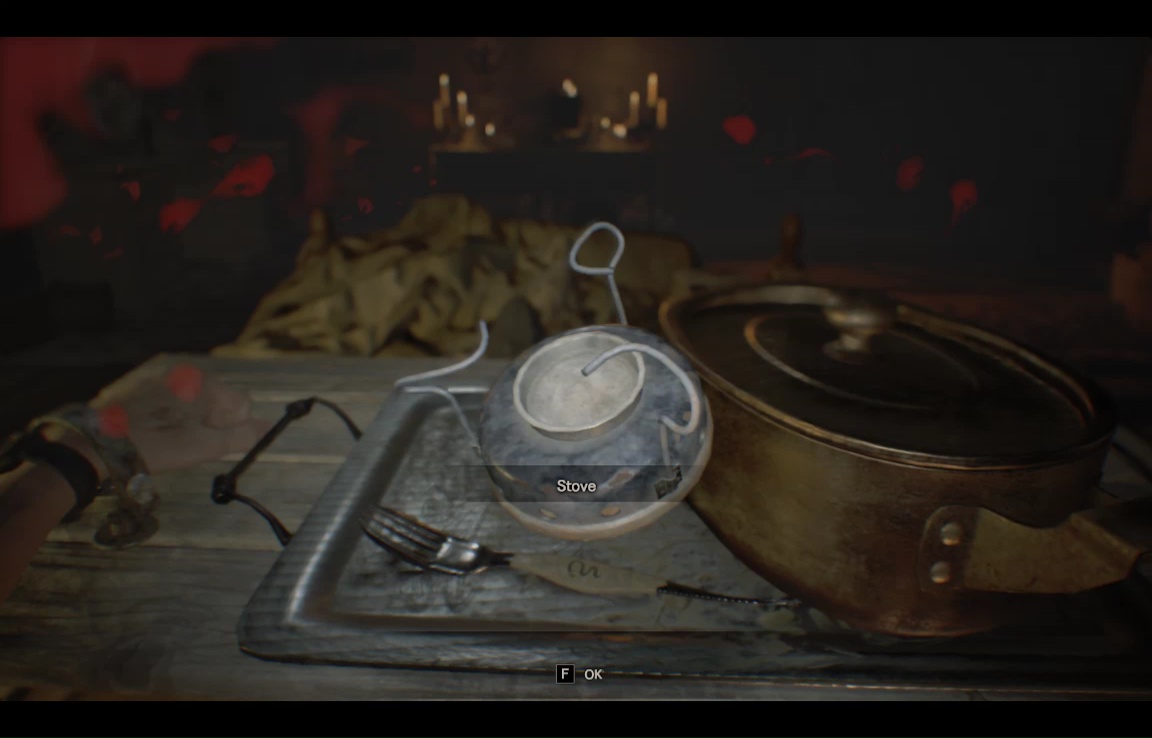
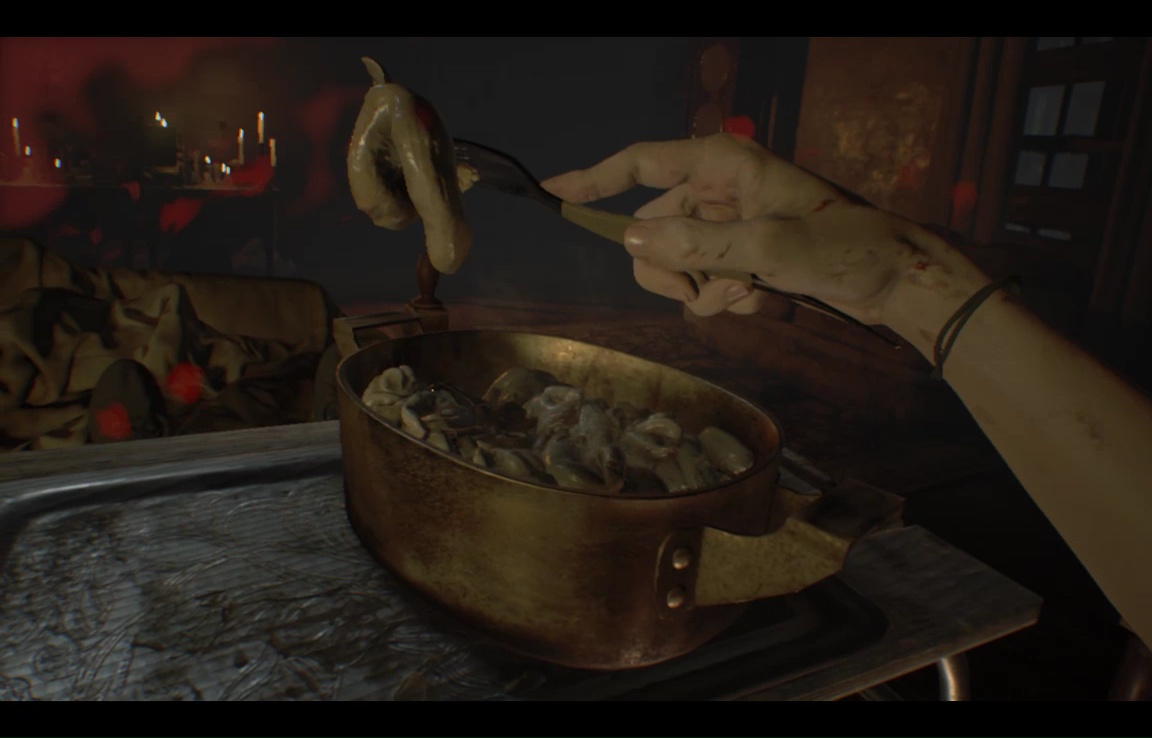
Open up the pot here and use your fork on it.
Yes, this is obviously a terrible call on Clancy's part, but it'll net *you* an achievement. Eventually. One you've recovered, get out of bed and grab the lantern, then read that fallen note from before.
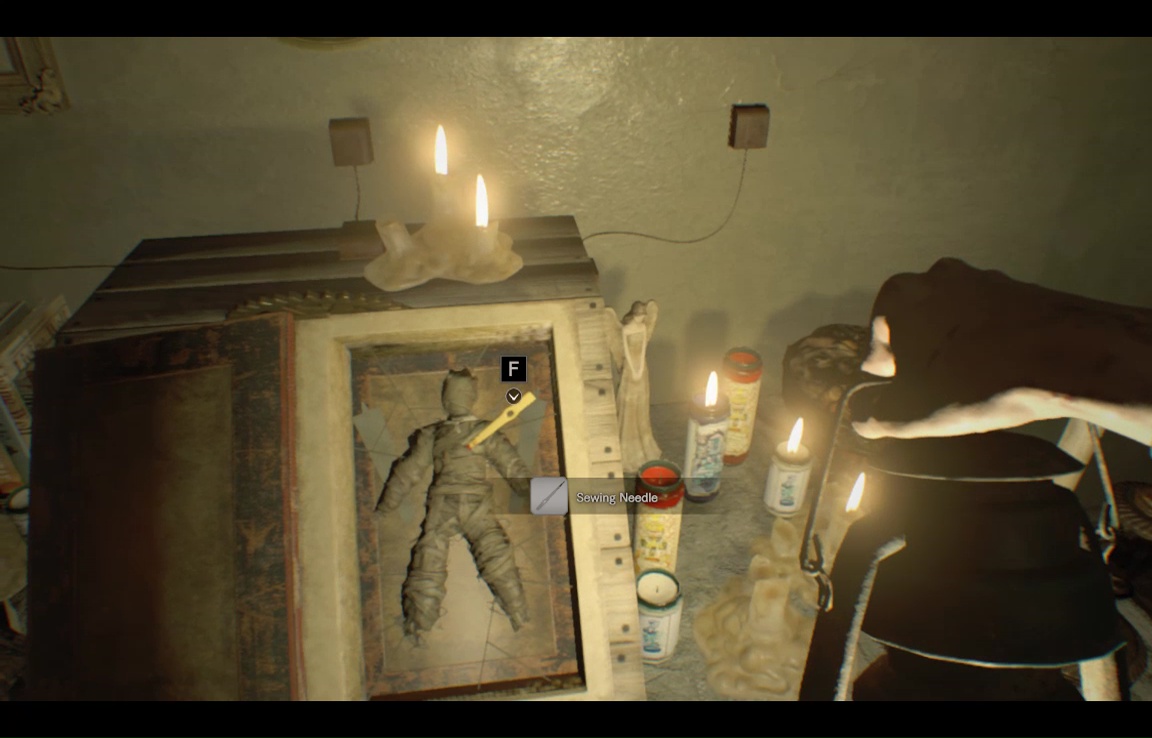
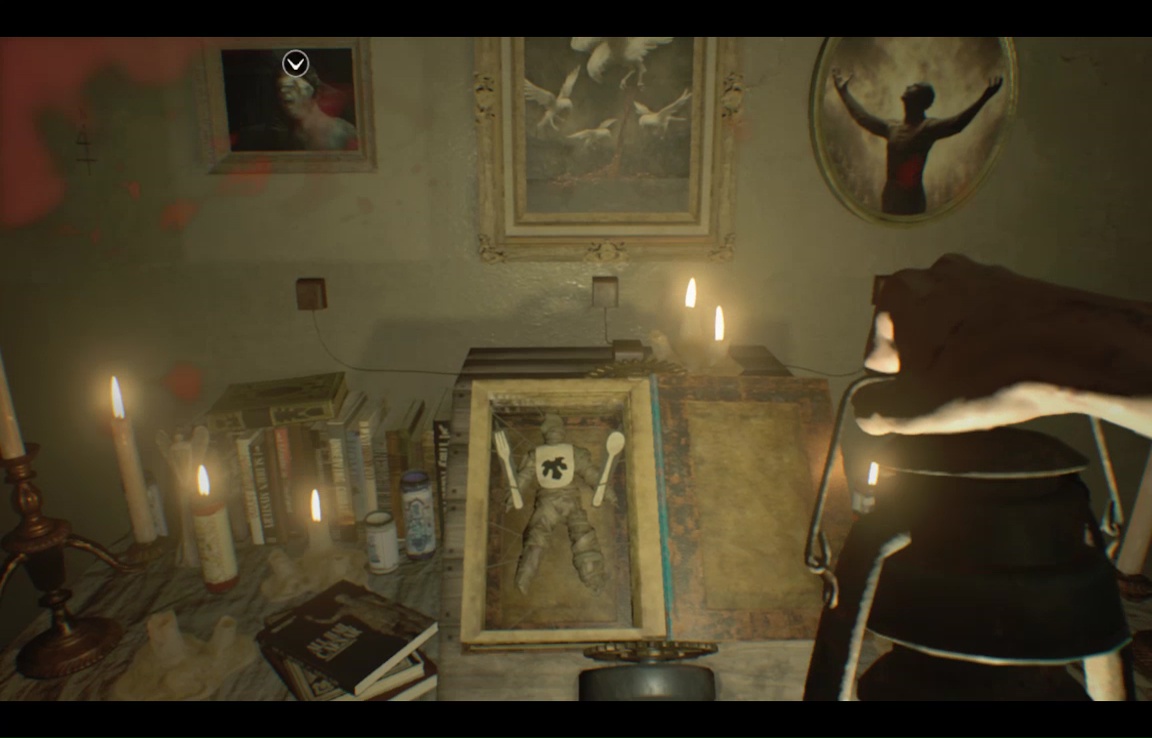
This blank verse hints at a new order for the paintings, so gather them all up again, and place them along the wall in order A,B,C (it's almost *too* easy). The book will open to a new compartment- this one just a straw figure with fork, spoon, and fig leaf bib.
While we ponder that, take a moment to go to the right side of the bed and inspect the stew pot. You'll be able to view the second dead rat of the Ratcatcher achievement.
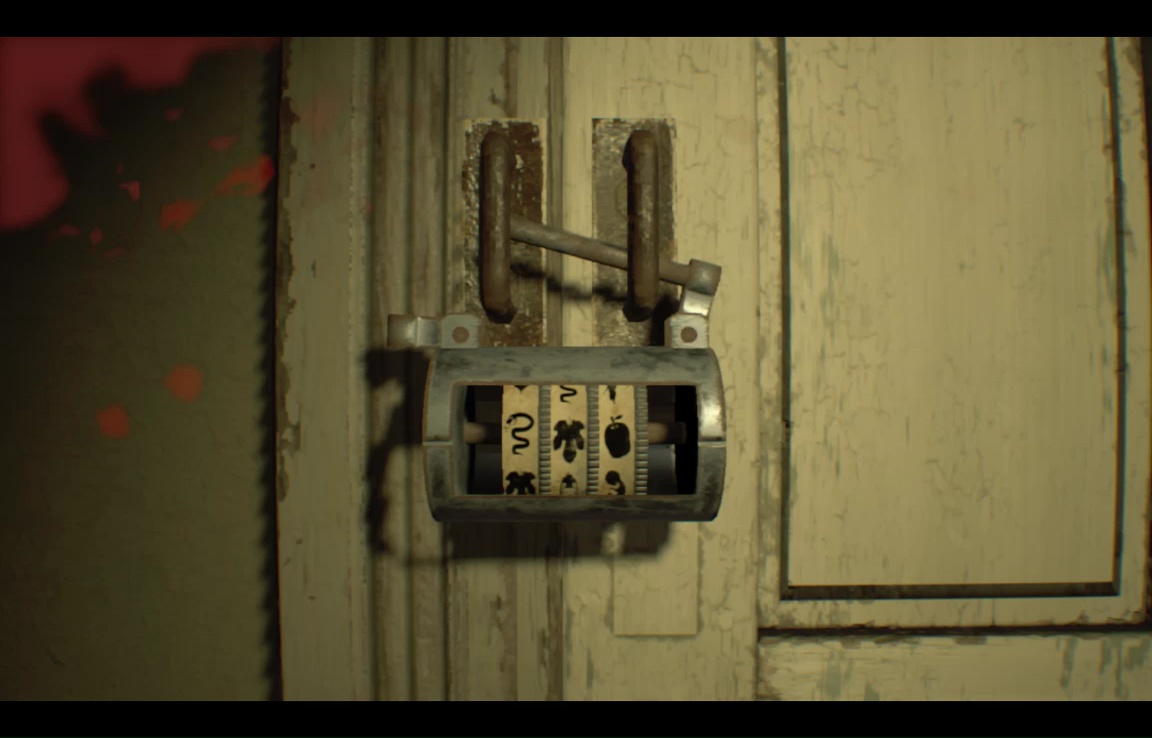
Now, the straw figure actually represents the combination to the Storage Room here. If you inspect your spoon and fork in Inventory, you'll notice each has a little symbol on the handle. Use these in conjunction with the newly revealed fig leaf symbol to open the lock (The combination is Snake, Fig Leaf, Apple – clearly an allusion to being cast out of the Eden, though any deeper meaning remains obscure).
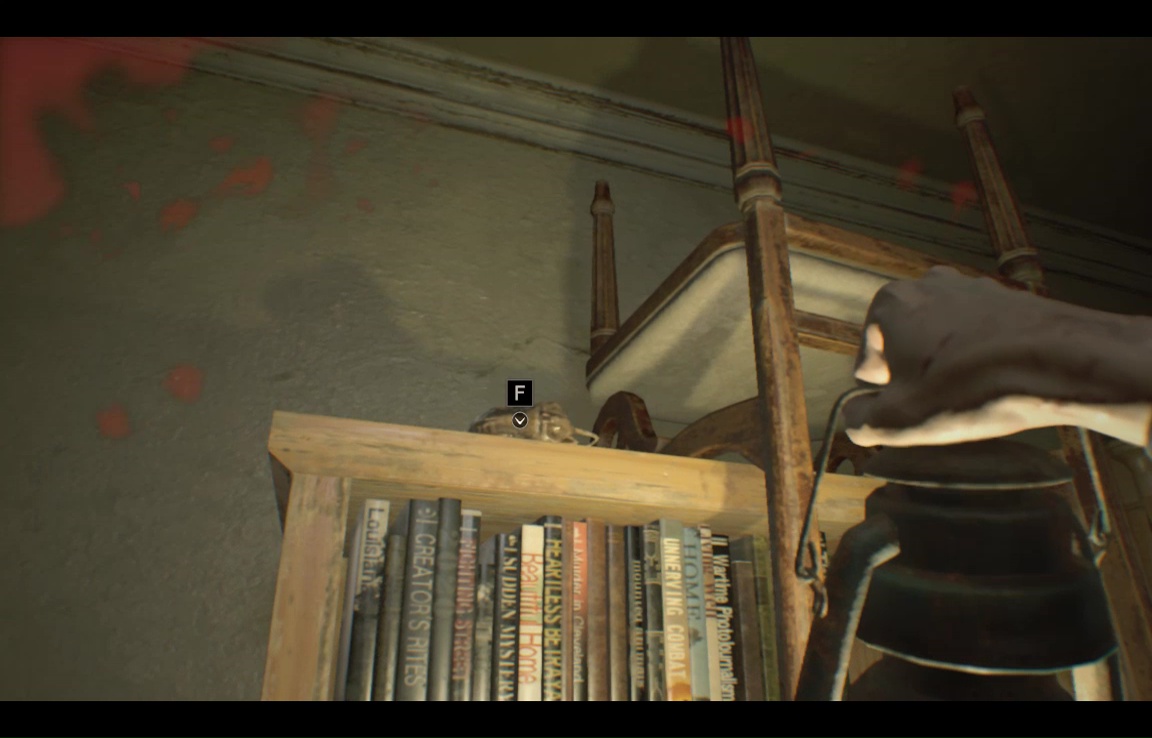
Immediately on entering the storage space, look atop the bookcase in front of you for rat number three, and the achievement.
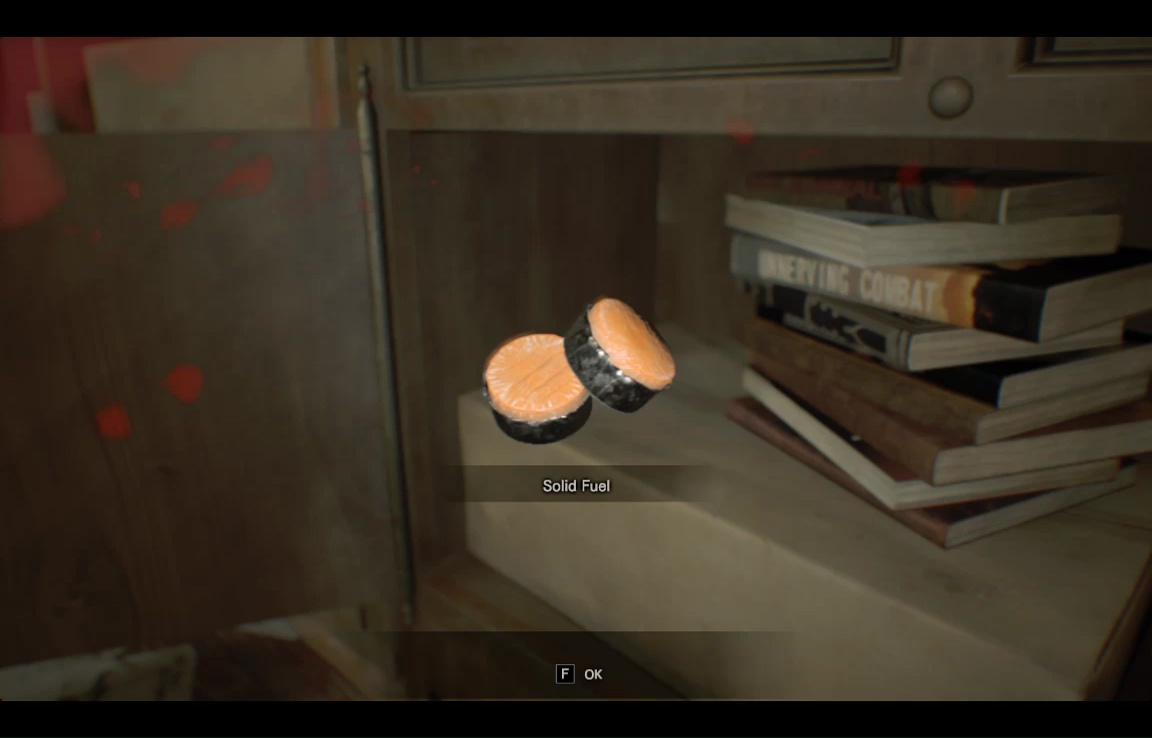
Now duck down- to the left of the bookcase is a bureau with a boarded-up bottom section. Use the fork to pull out the rightmost nail.
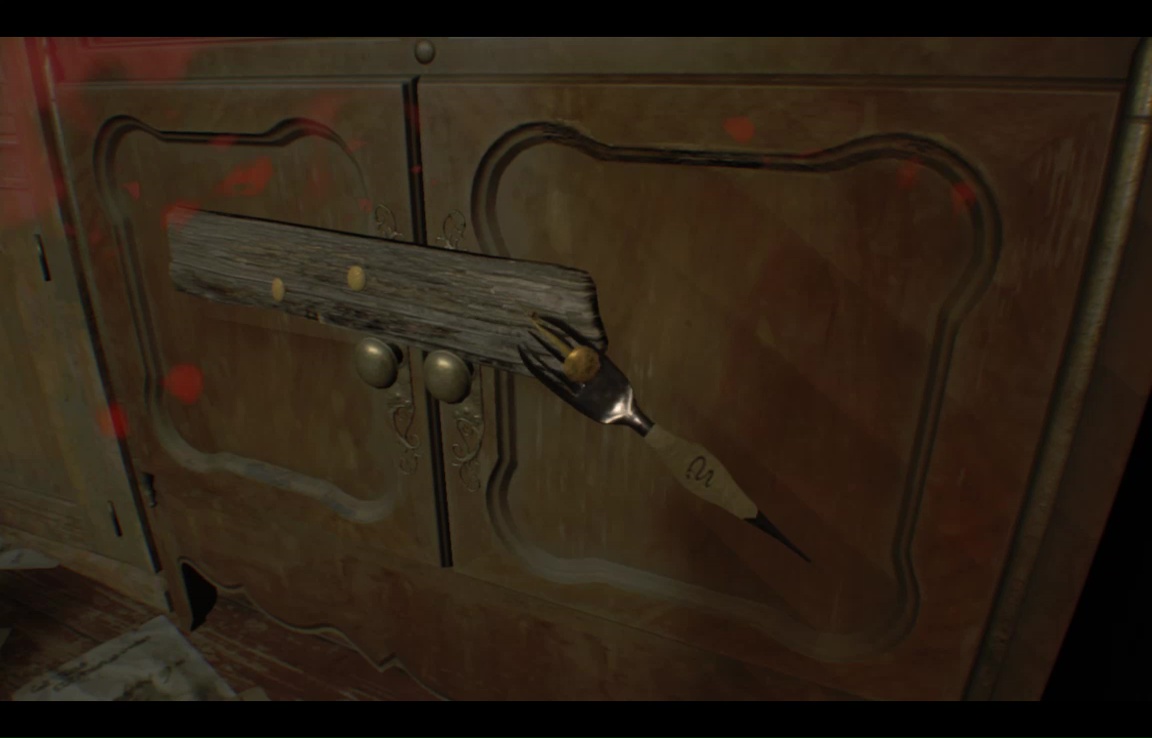
Inside you'll find some solid fuel, but don't get your hopes up about a flamethrower. Instead, combine it with the Stove in your inventory.
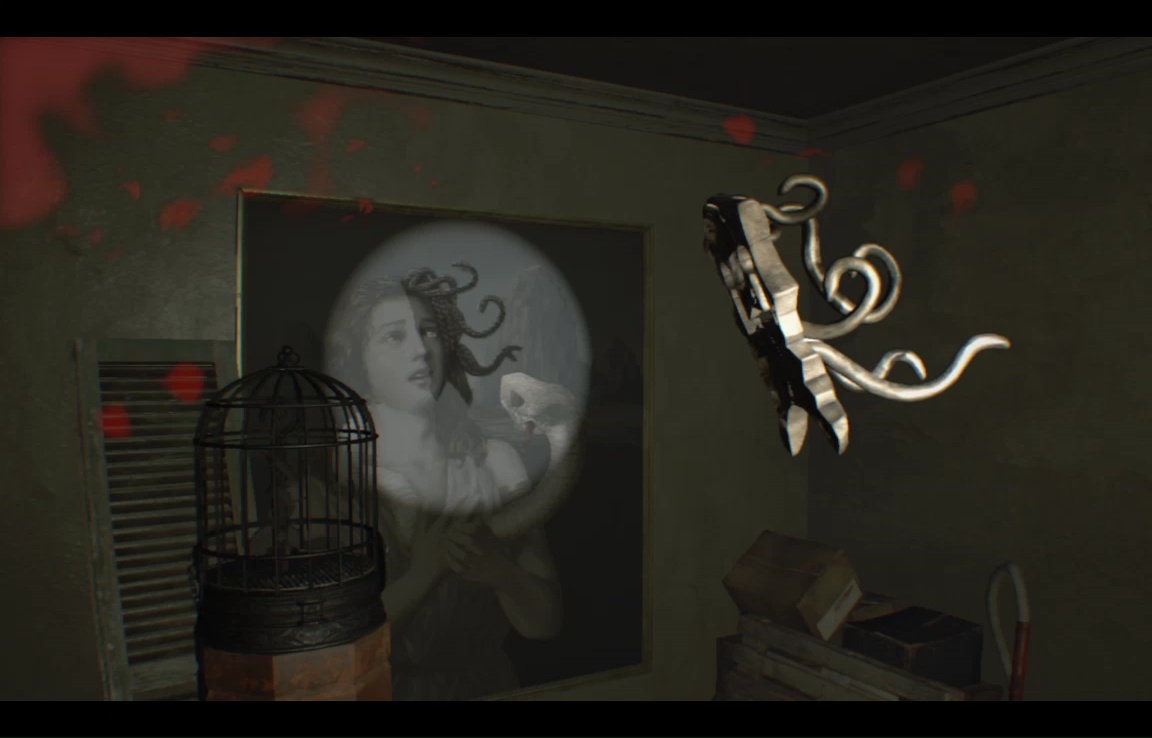
Now take a closer look at the shadow puzzle apparatus in the middle of the room. The projector is all taped up but, like the garage door controls in the Main House, you can use a knife to gain access.
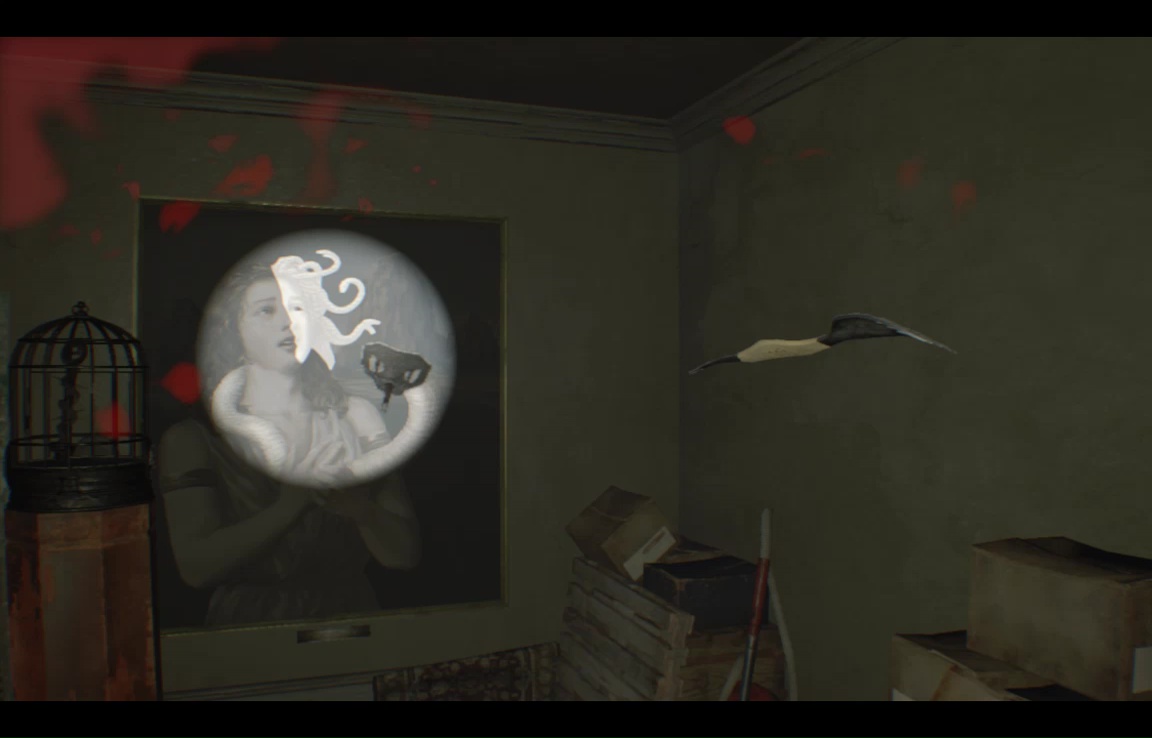
Place the lantern inside the box to reveal an image of Medusa and a Serpent. This is the first shadow puzzle to require two objects, but you've only got one so far. Place the fork on the pedestal closest to the projector, and arrange it to match the serpent's head.
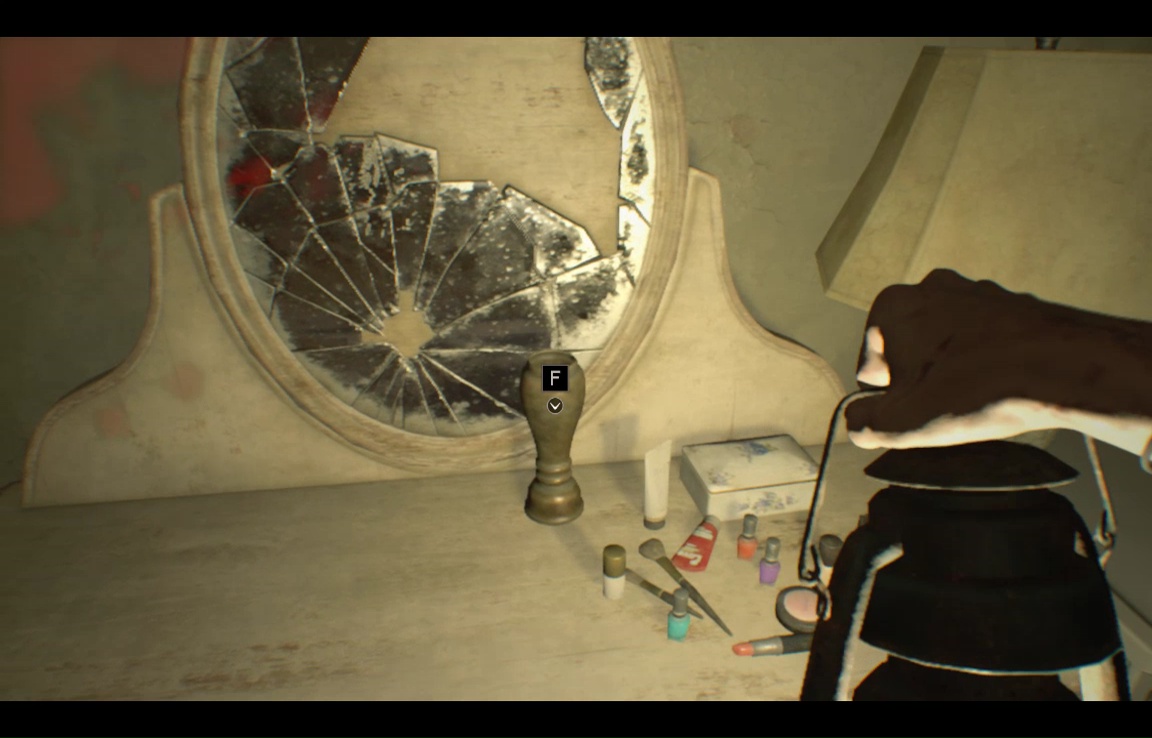
Grab the lantern and return to the main room. We're about to summon Marguerite for the last time, so remember to close the storage door behind you, and put Painting C (the oval one) back on the wall. On top of the dresser that the knife was taped behind, look inside the narrow vase to score a lighter.
The lighter, like the knife, does not need to be replaced. Go to the barreltop where Painting B likes to hang out. If you've already tried grabbing the bottles, you'll know that they're crawling with spiders. Place the stove on the barrel (you should have already combined it with the solid fuel from the storage room), then apply the lighter.
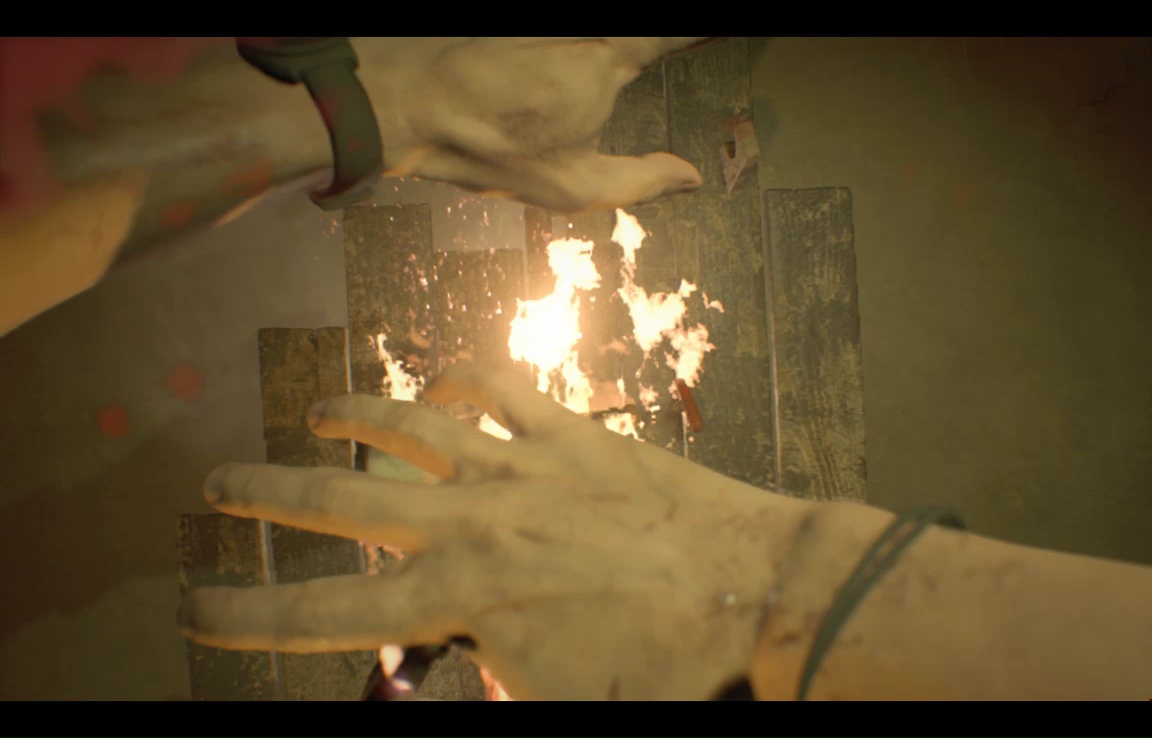
The resulting explosion summons Marguerite, but you don't have that many tracks to cover. Grab the remaining bottle, then extract the corkscrew.

Take the stove and replace Painting B.
Hang the lantern back up and shackle yourself into bed again. Marguerite will act suspicious (she alwasy does), but will eventually leave you be with nothing more than a few harsh words.

Now we escape. Undo the manacle one last time, grab the lantern, and take a good look at the lantern hook. You'll notice it's held in place with a cork. Use the corkscrew to free it, then take the lantern hook itself.
Go into the storage room, and repeat the operation with the hook behind the projector.
Combine the hooks in your inventory for a weird sculpture. Place the lantern back in the projector, and the sculpture on the last shadow pedestal to solve the puzzle.
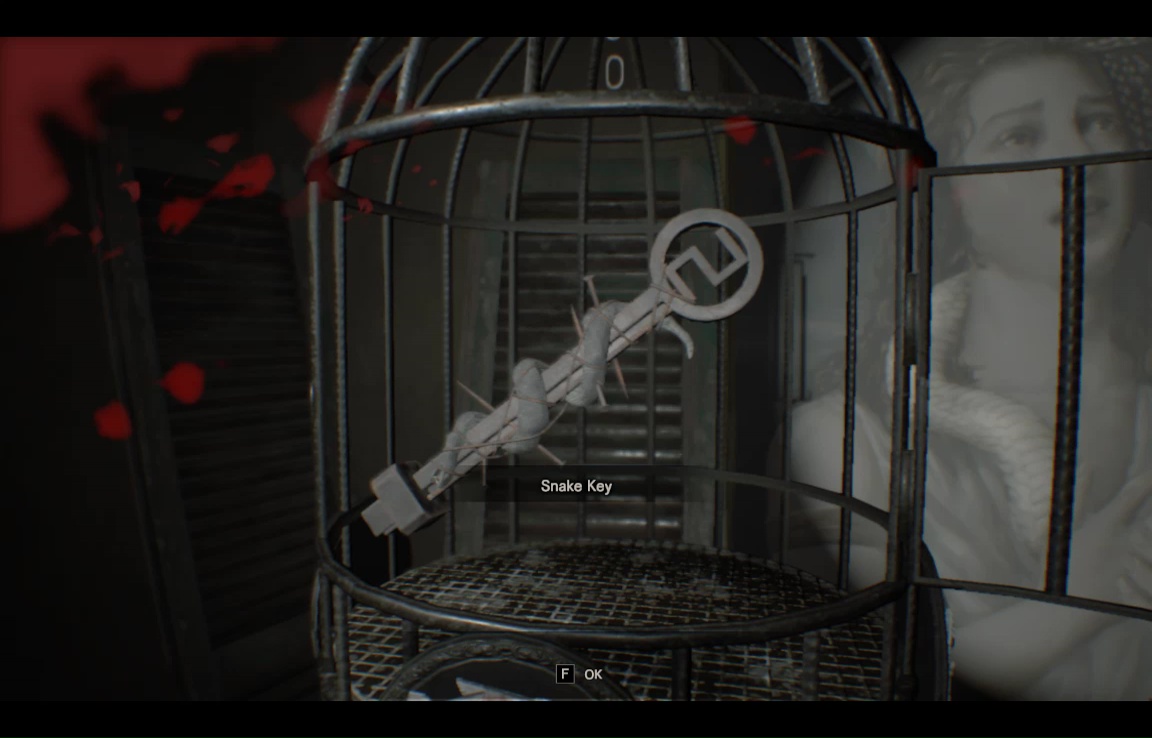
Now you can claim the snake key from its cage.
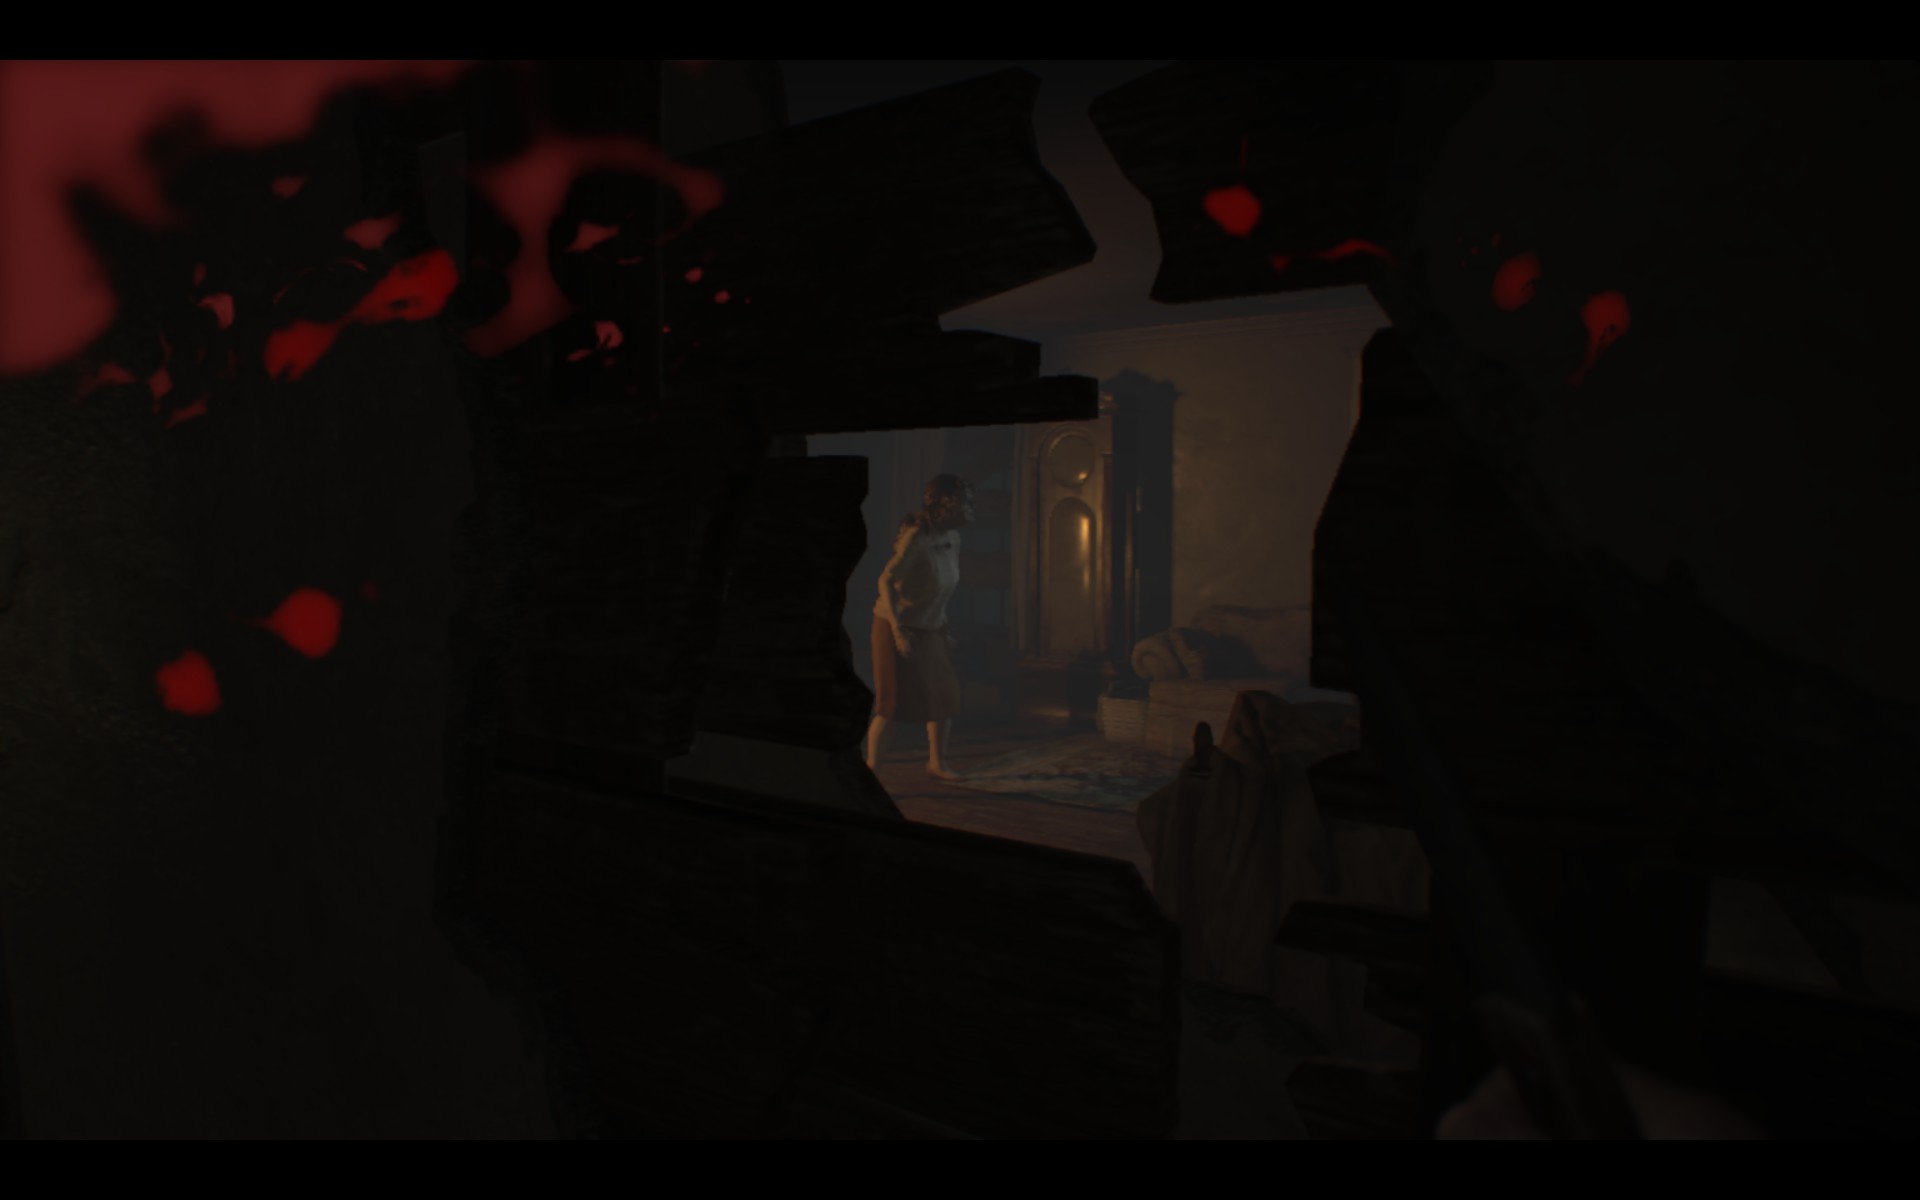
The ruckus attracts Marguerite, and this time she appears instantly in the bedroom. You can watch her through the hole in the wall, though she doesn't seem able to see you.
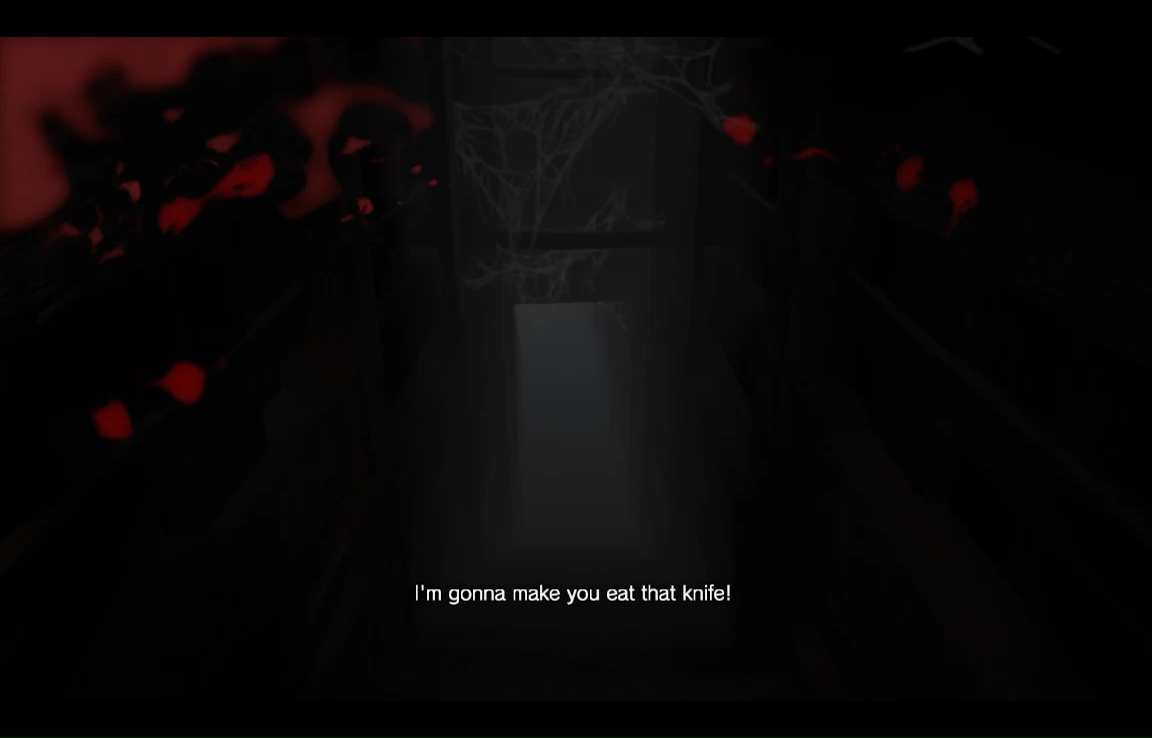
Equip the knife (so that you're visibly holding it in your hand) and open the door. In a pre-scripted sequence, you'll knife Marguerite in the throat. It surprisingly effective, considering. While she writhes and curses, activate the bedside clock, and use the key in the re-revealed Snake Door. Drop down the hatch to escape the Bedroom for good.
Of course, you're escaping to the processing area, for a harrowing night of terror that'll make the Bedroom seem like a country picnic, but I suppose we can take a moment first to savor our victory, and the Like Mama Used to Make achievement.