Ethan Must Die – Walkthrough

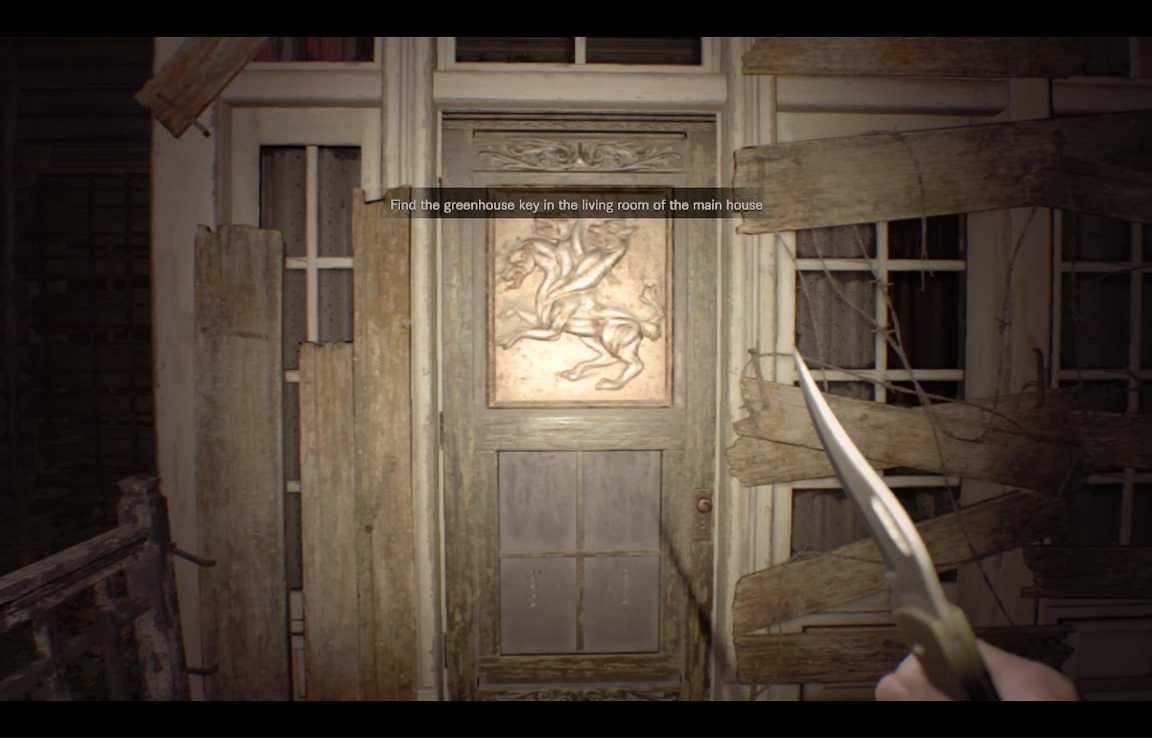
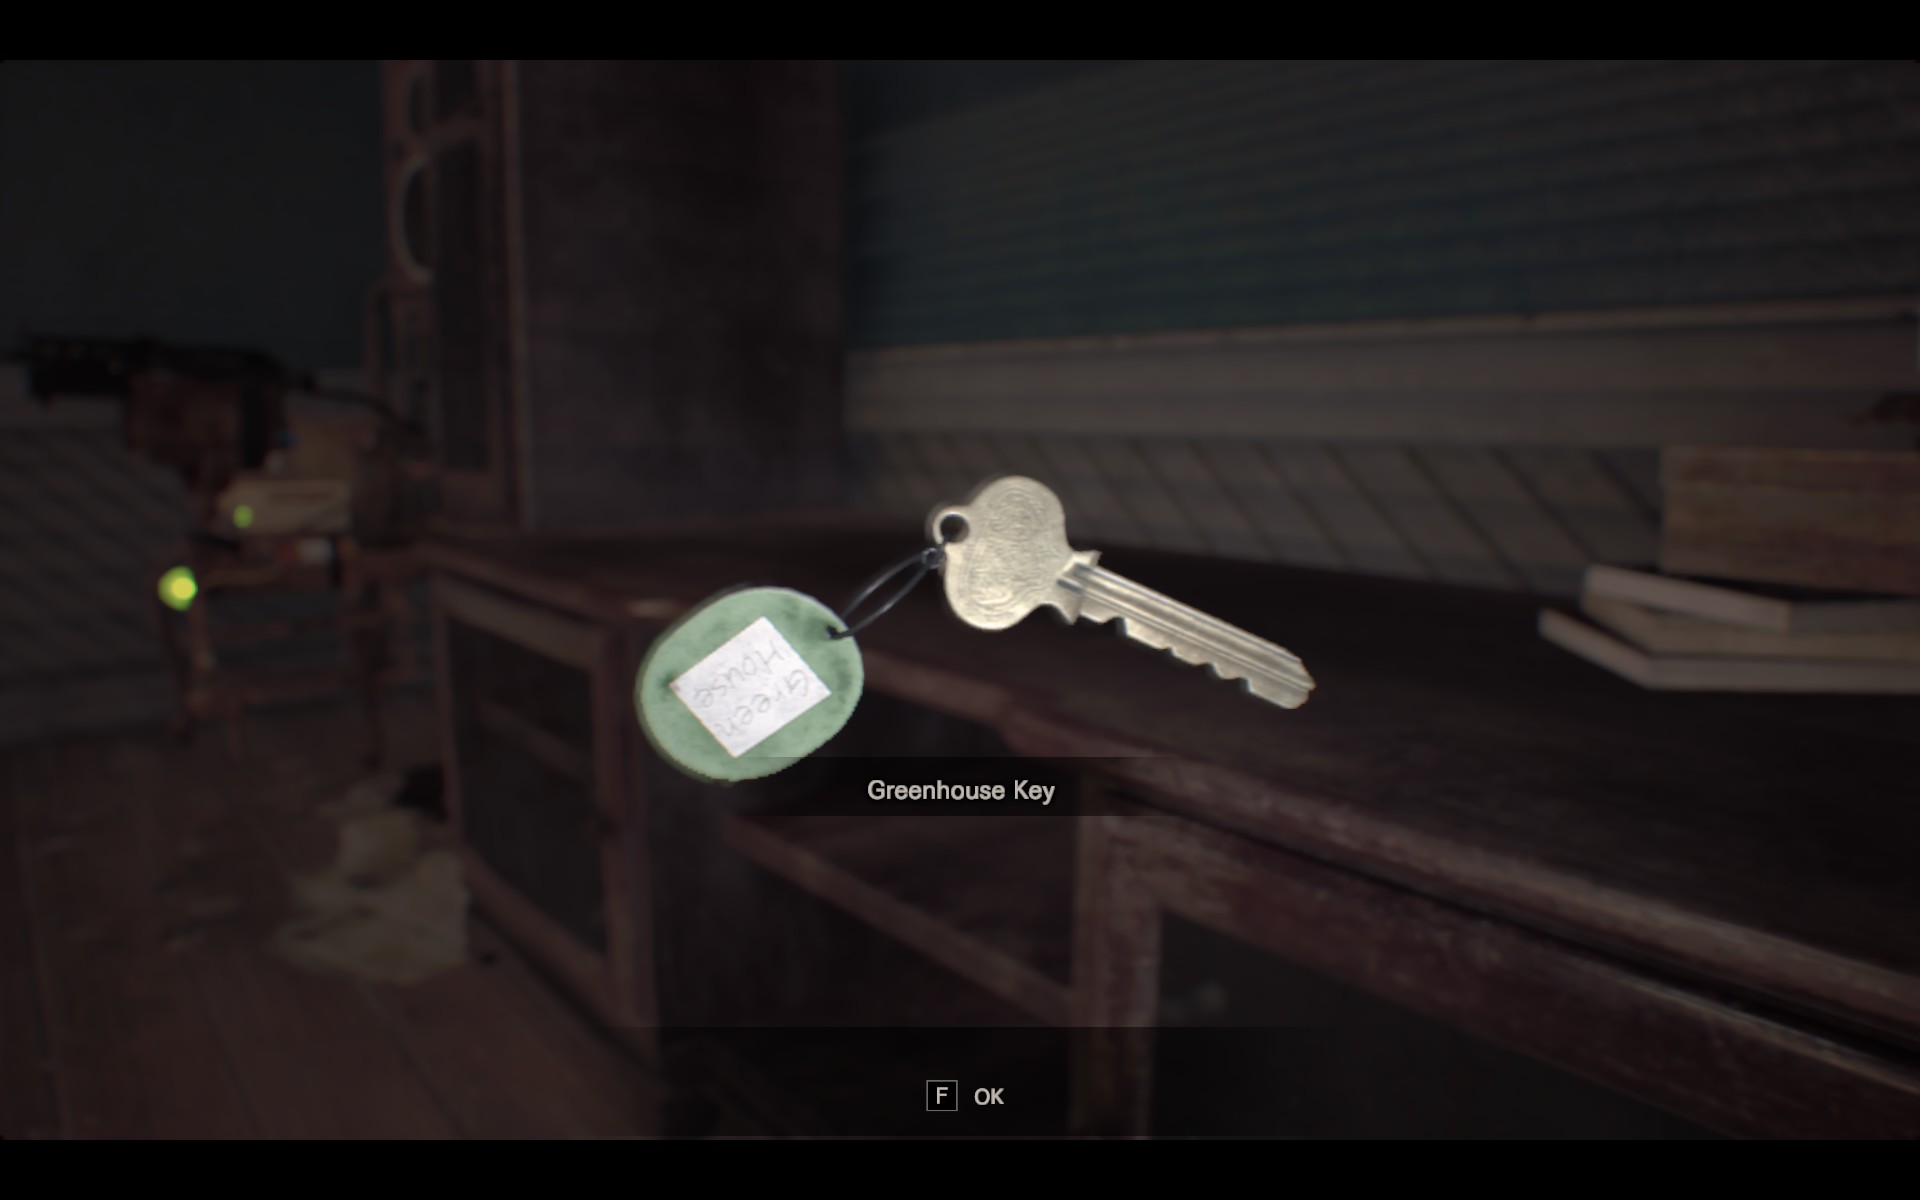
Start out in Yard. Make straight for the house- any crates that choose to manifest (and that number may be zero) will do so on you path. The one detour you might make, if you haven't played before, is to inspect the Greenhouse gate behind Zoe's trailer.
![]()
You'll notice bombs, but no tripwires. These will be important later.
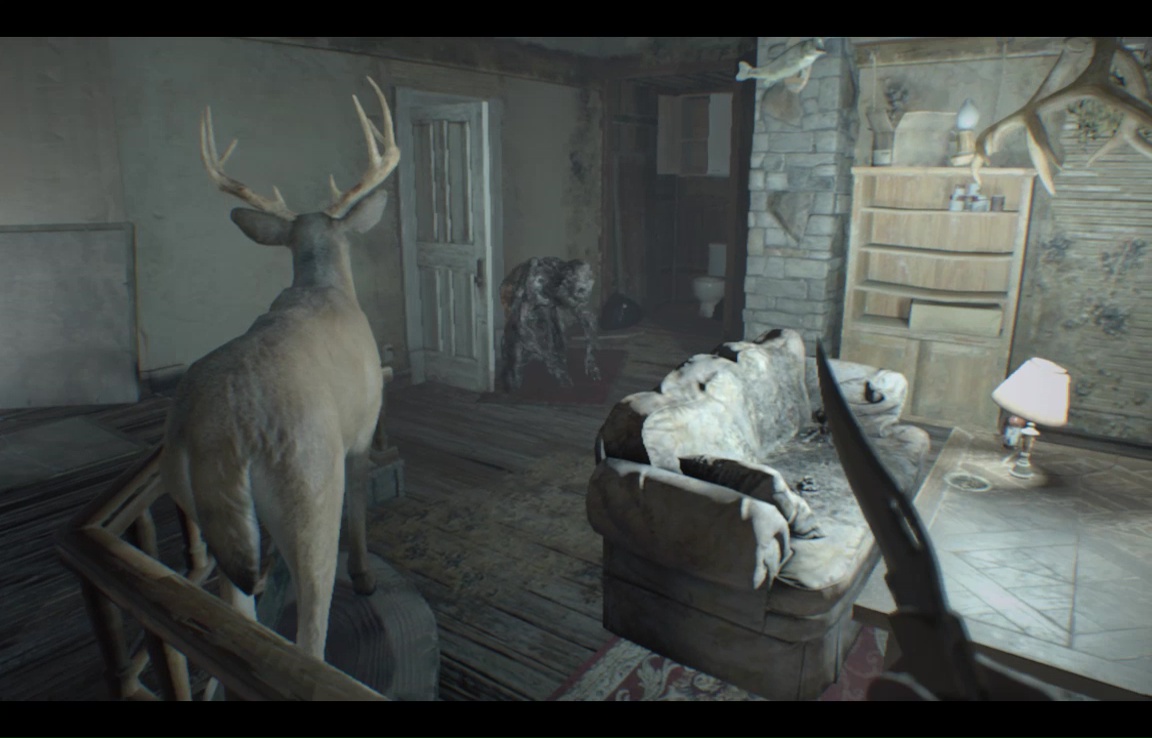
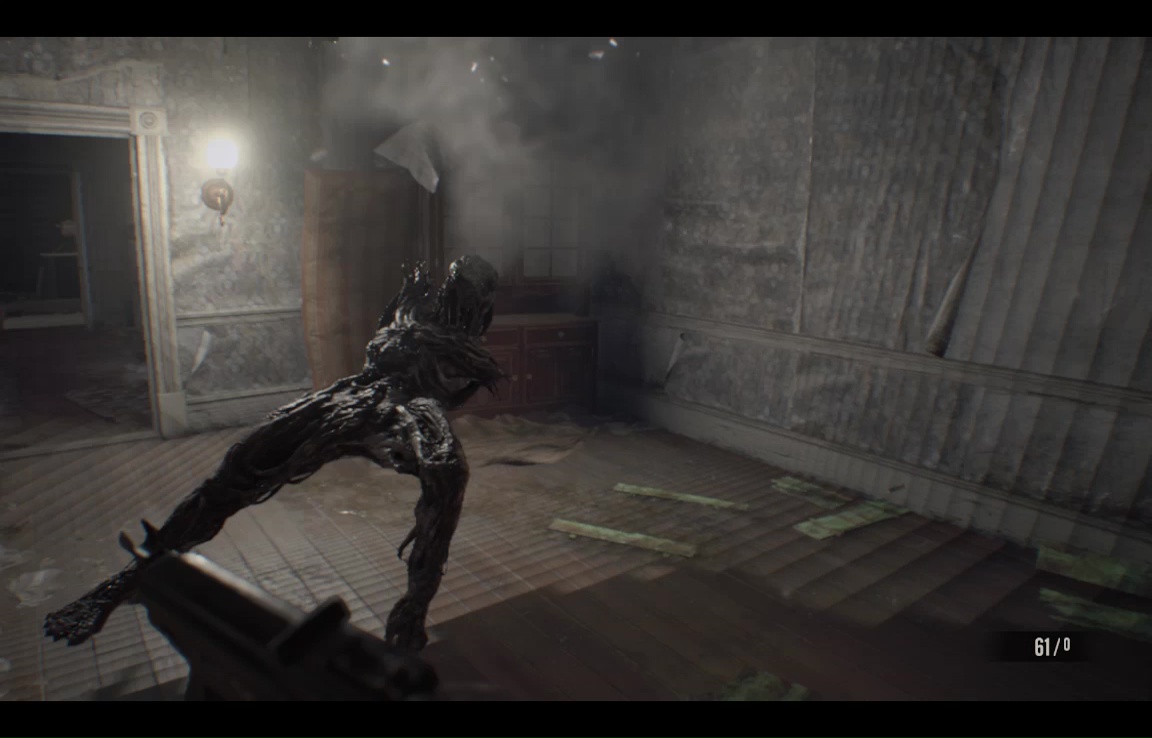
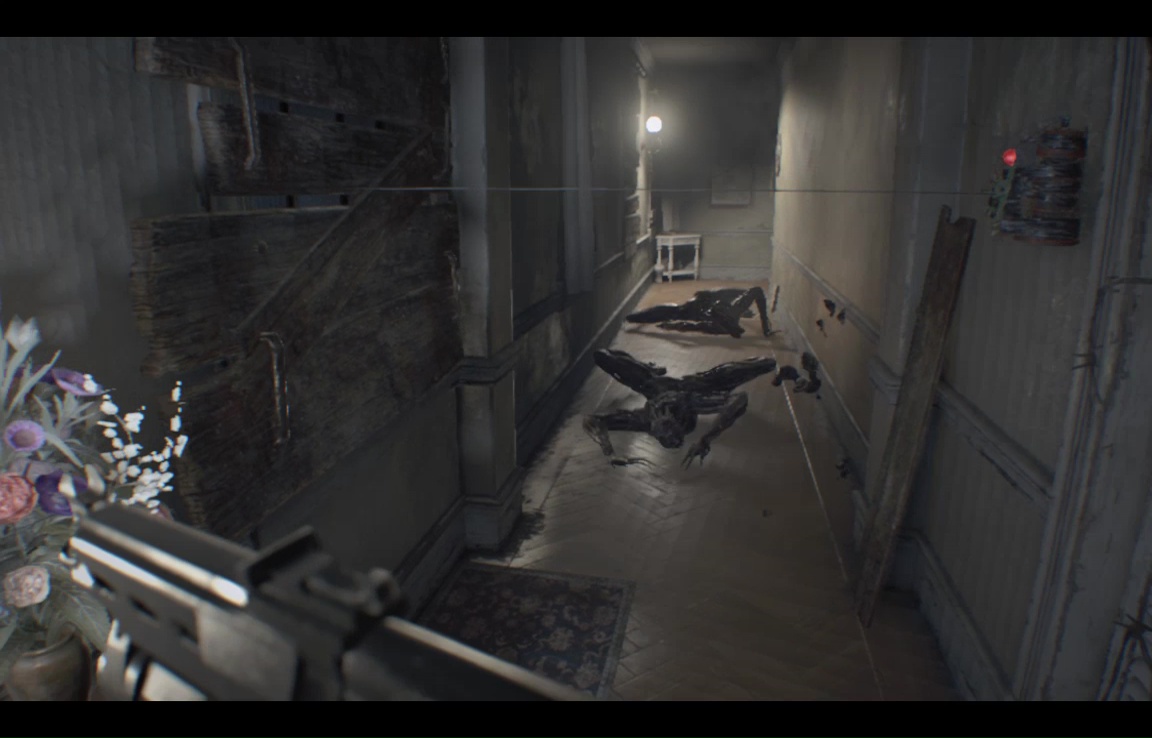
Open the door to the mainhouse- there are some new obstacles here, and a Blobby mold up on the railing above, randomly spewing acid. So that's fun. Two Molded will also spawn on the ground level- one dropping from the ceiling, the other coming down the far stairs.
The key is to sprint right around the table, then to what used to be the Scorpion Door. You can take a slash at any crates you pass by, though time is very short, and you'll be back here later. If the crates explode, you might as well start fresh- you've only lost a few seconds.
Close the Scorpion Door behind you, then sprint forward to avoid the Molded which manifests in the hallway to your left (toward where the save room used to be).

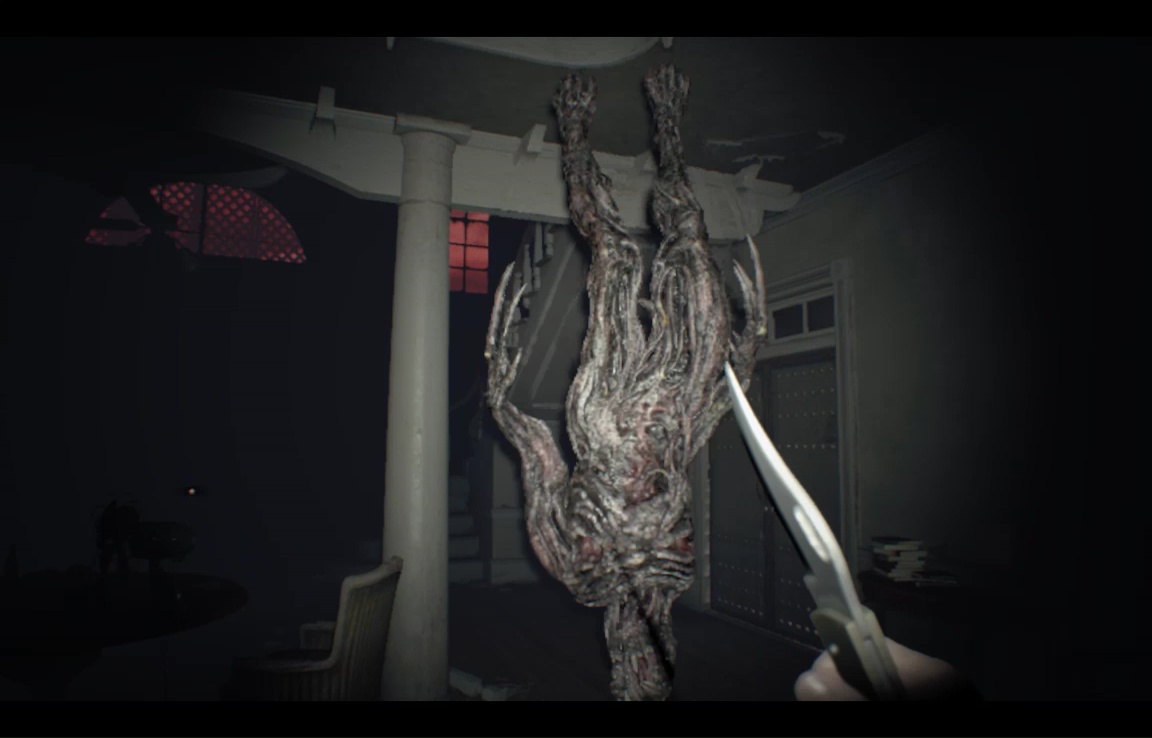
Closing the door on that one de-rezzes it for a time, so you're safe passing through the monitoring room area, until you get to the Drawing Room, where a sole Molded will rise up out of the welcome mat.
It takes more than a shut door to desummon this one, but you can lure it into the Crow Room. Just be sure to duck under the tripwire, then let it barrel on in.
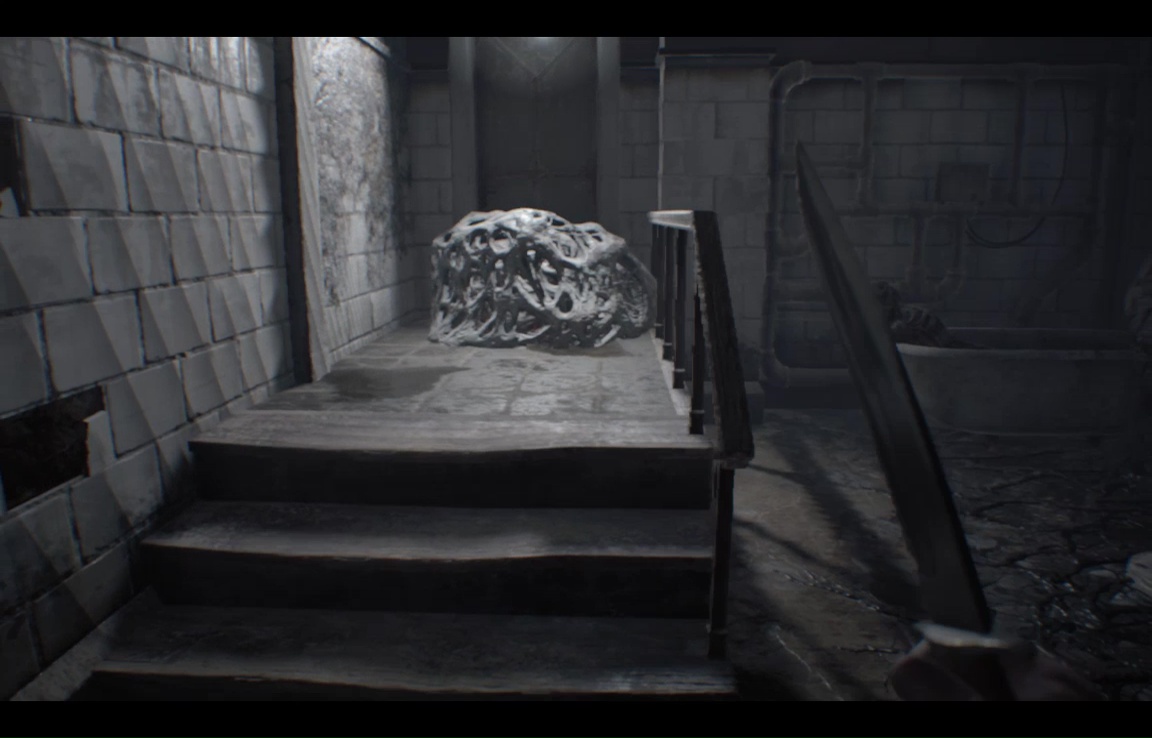
Gather what crates you may (always, of course, listening for the ones that tick), then head back the way you came. The save room is locked, so don't bother, instead heading down to the processing area. THe moment you reach the stairs, the Molded of this area will start to respawn, so stay sharp.
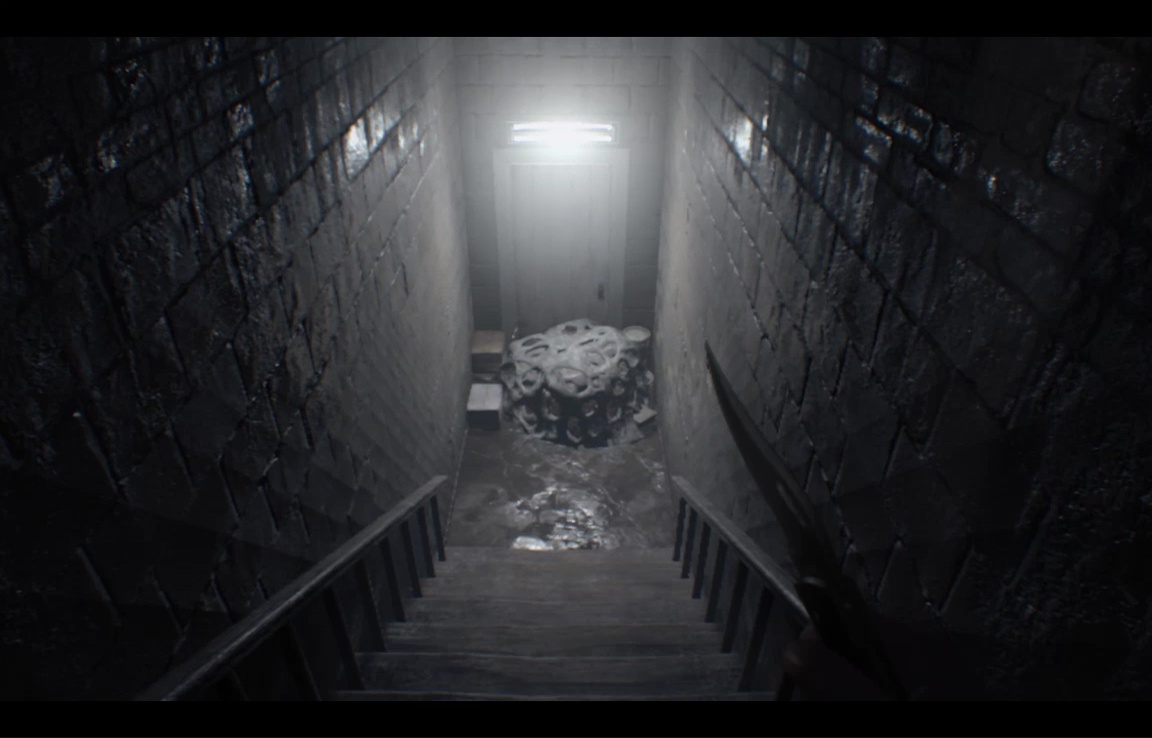
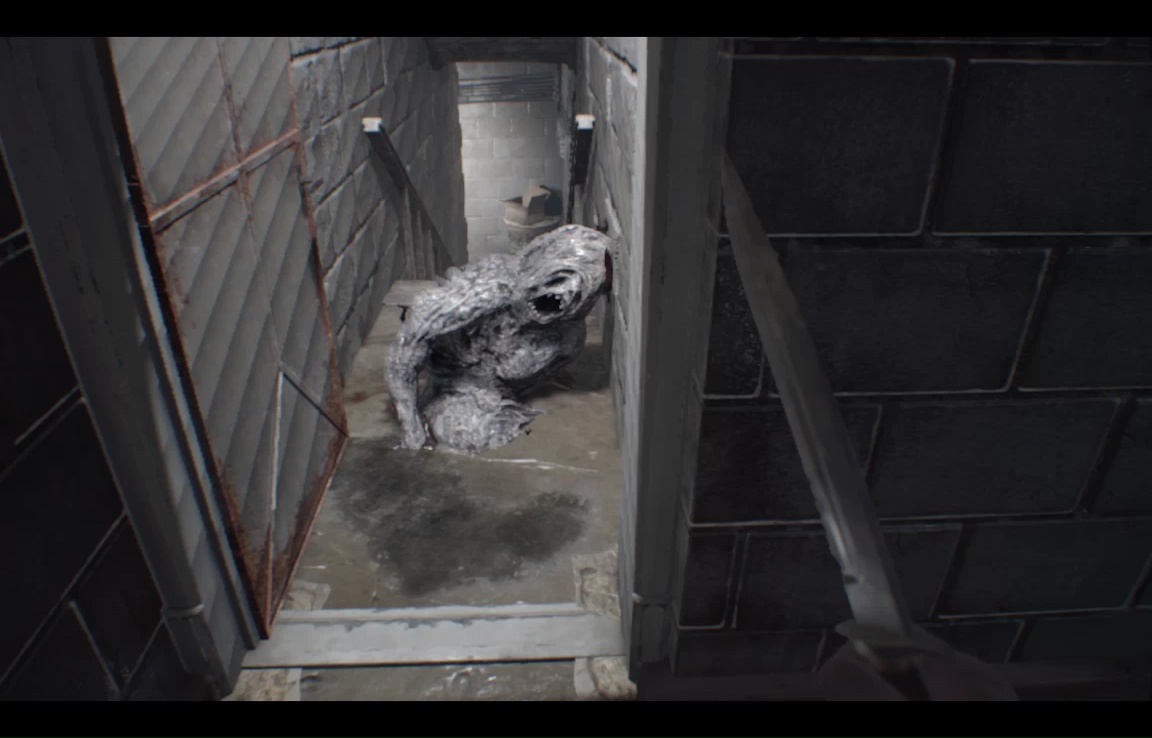
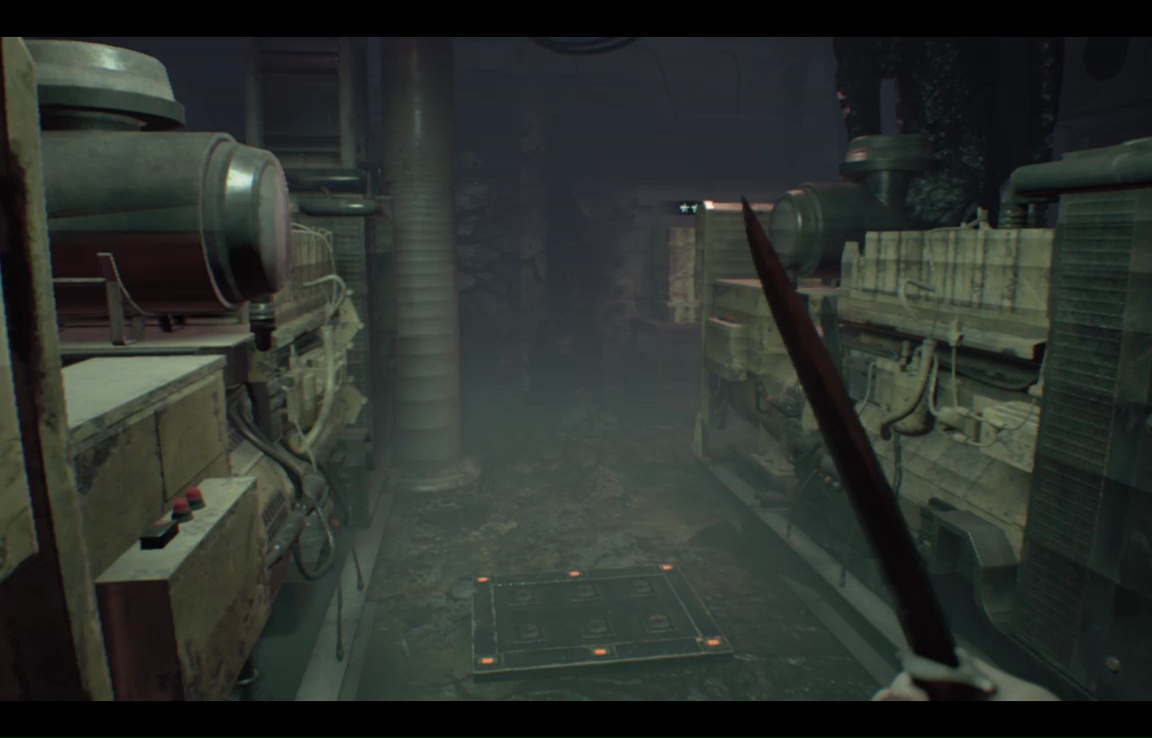
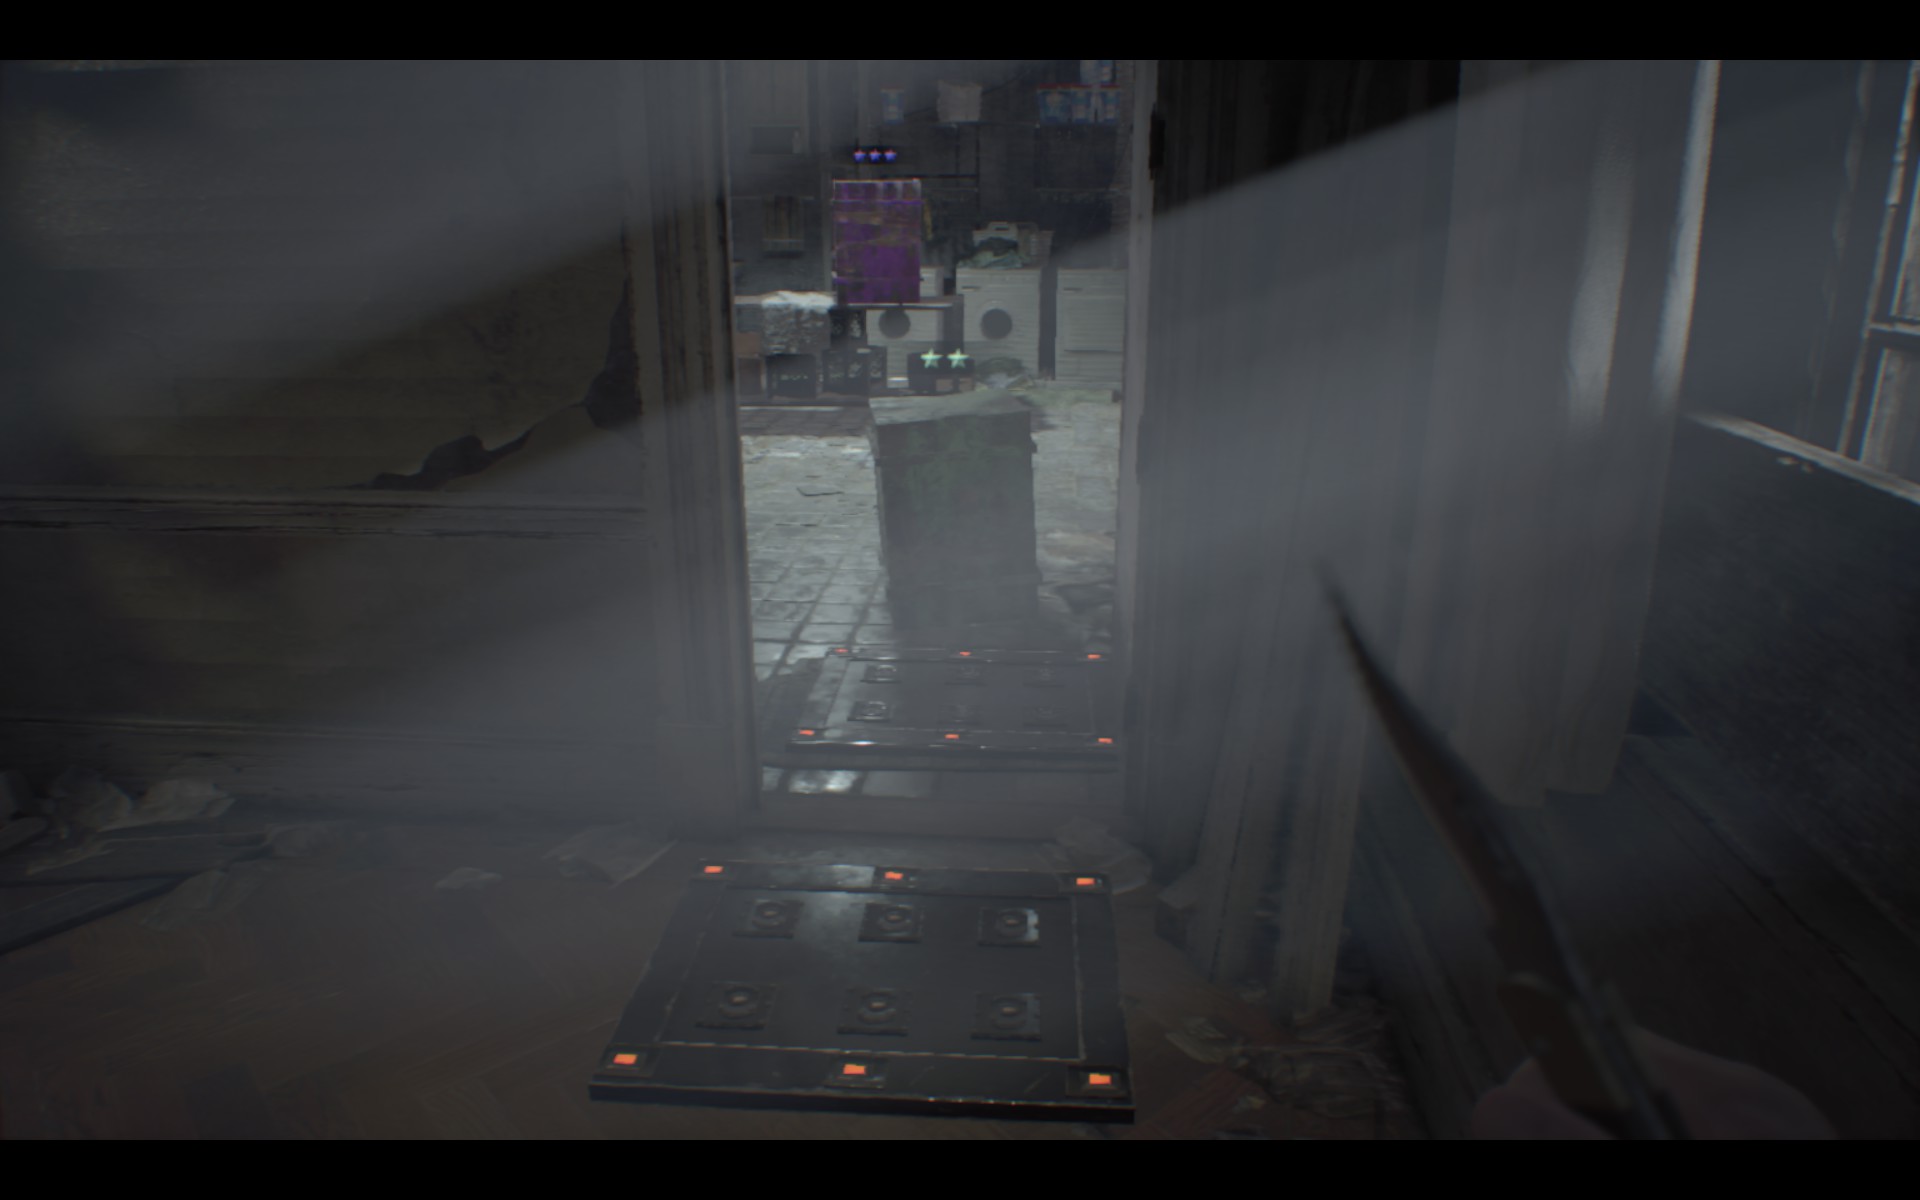
There is a hive at the bottom of the stairs here, but hives work a little differently now- they don't spawn bugs, and they can't take nearly as much damage as they used to- they're just there to slow you down. You should still have enough time to pocketknife this one apart before the moldie gets you, but of course any other weapon would be quicker. Step through the door and shut it behind you. You're in no immediate danger, but this area has a new type of pressure-plate trap.
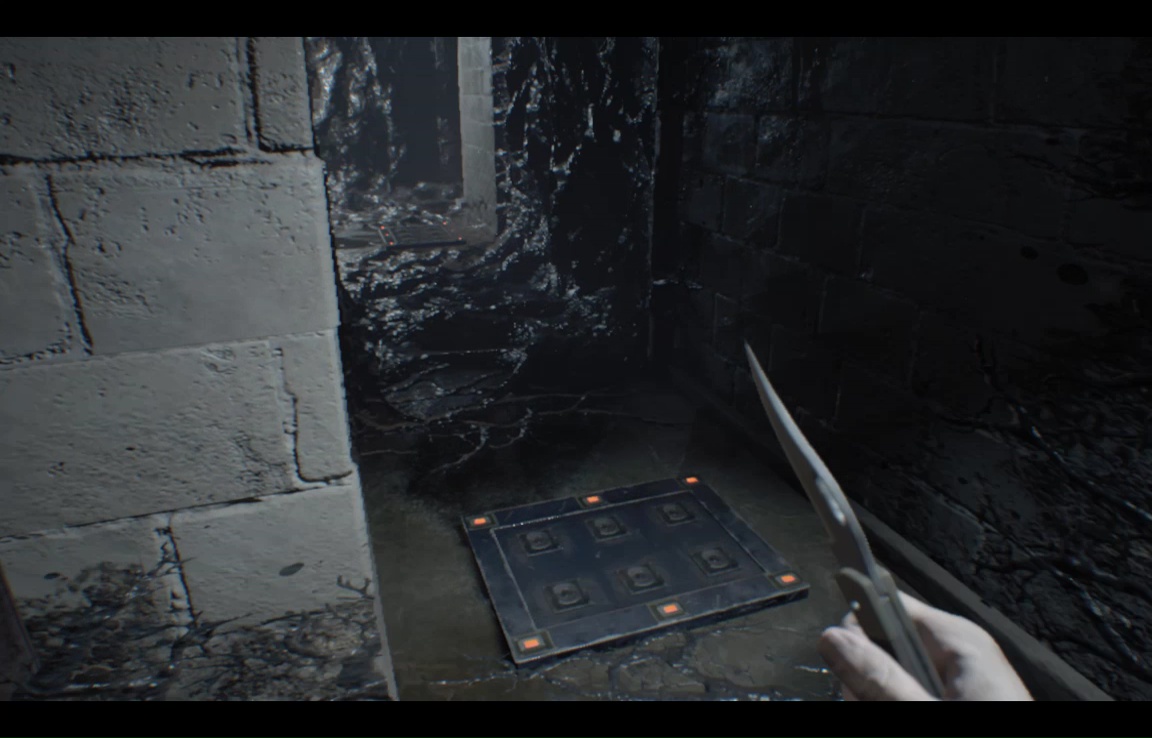
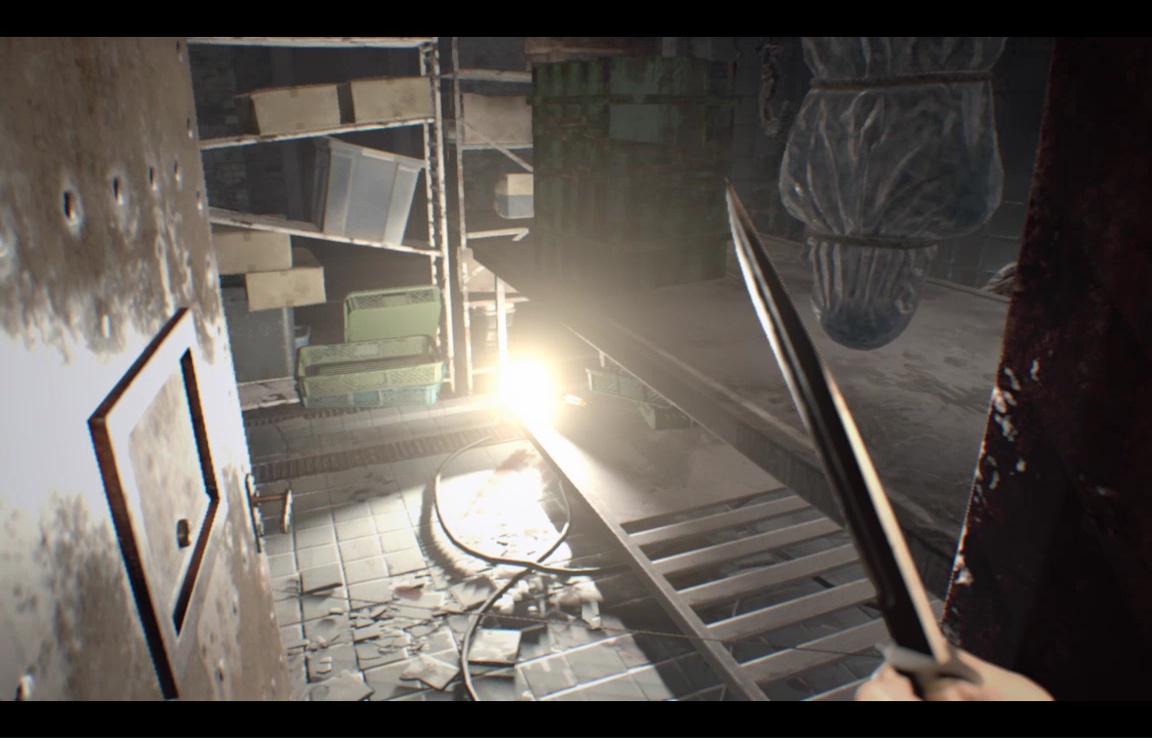
These take a few seconds to go off, so you can sprint over them and not get caught in the blast. Still, best practice is to walk around when possible, so you can lure enemies into them later. Make for the incinerator room first- there's no monstery resistance yet, though you have to sprint over a few traps. Do not trigger the last one. Instead, loot the room (it tends to have a higher grade of items than most rooms, including the occasional 4-star crate), then return the door. A quadfoot will have manifested in the corridor, but it can be lured into that last untriggered trap.
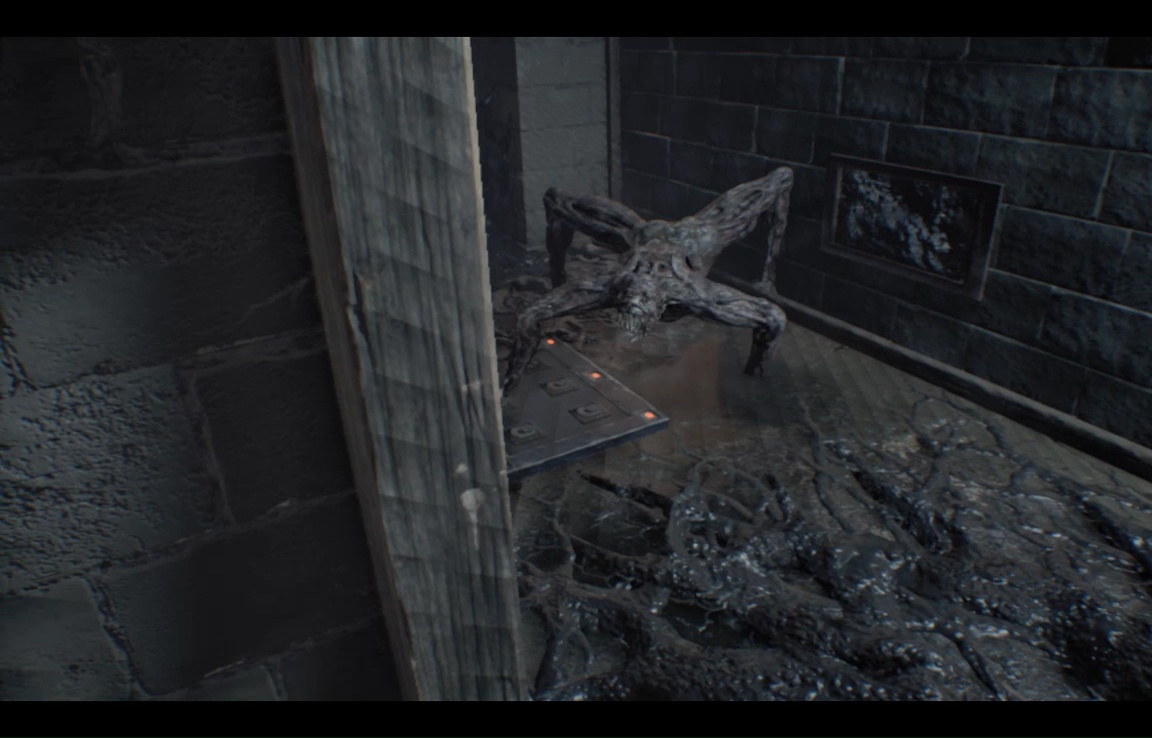
Return to the door that leads to the steps, but this time head toward the room where you first found the Scorpion Key. Another moldie spawns, but this one can be lured back to the pressure plate you passed by the door.
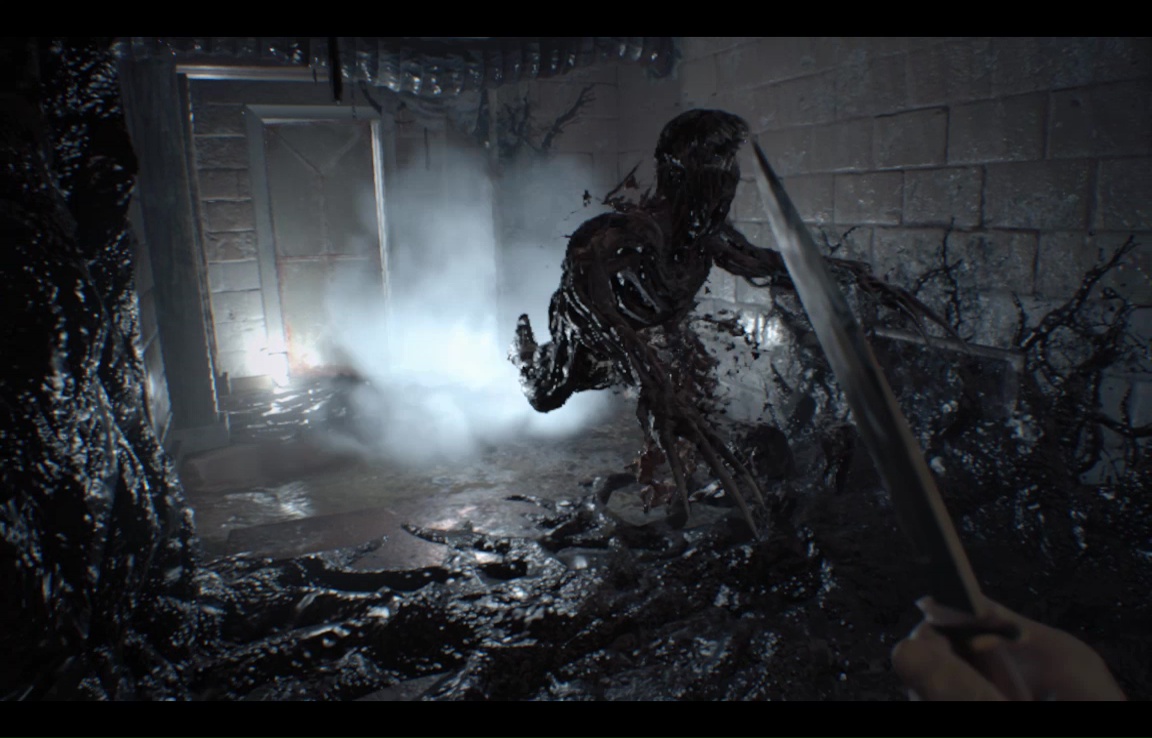
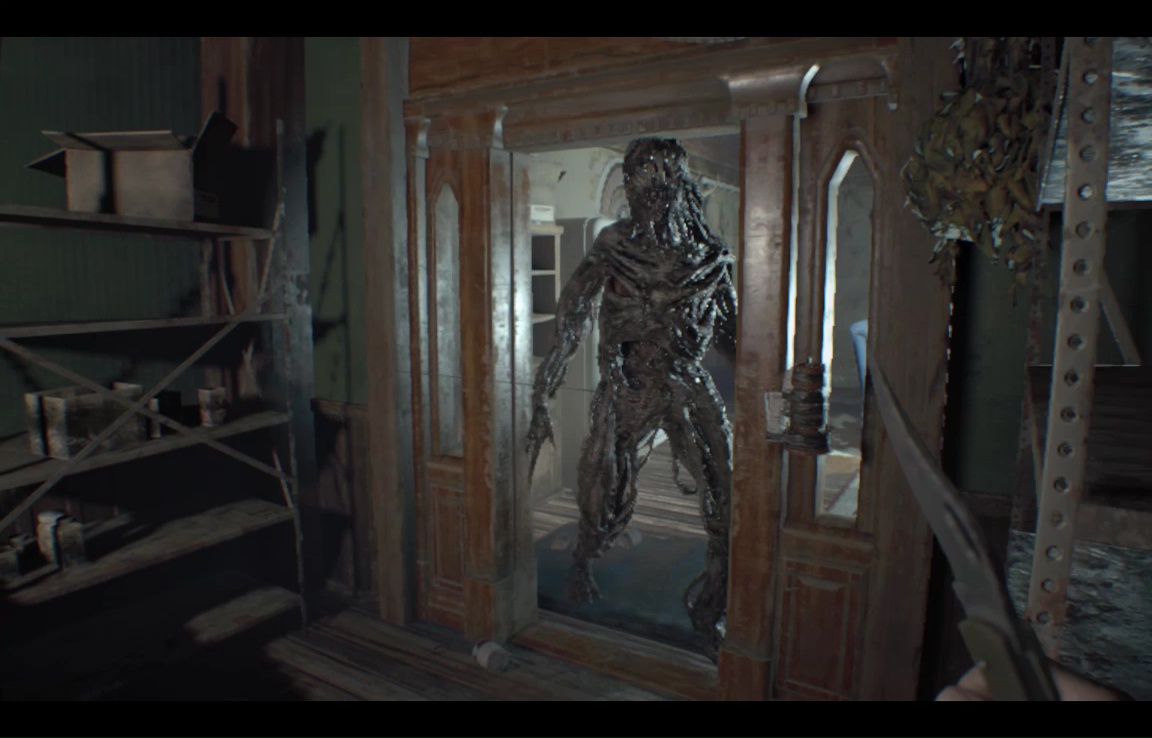
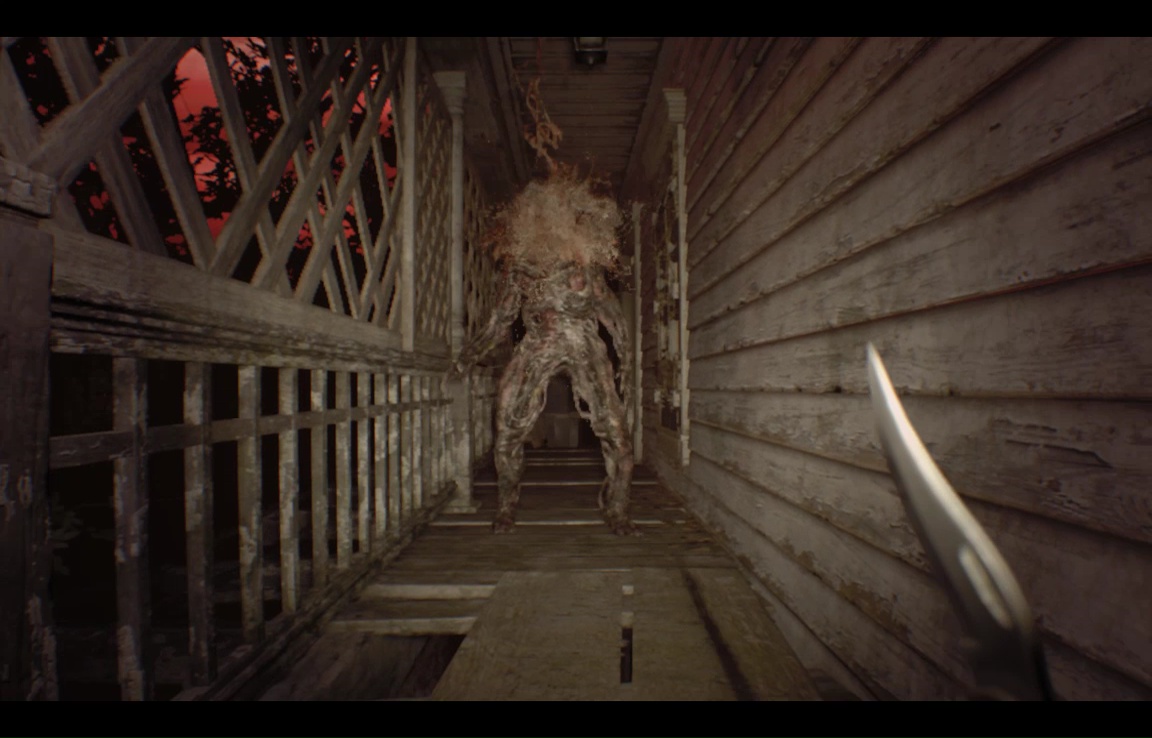
The shamblers are bit tougher than the spidery molded, so you may need to finish this on off with a knife. Inspect any crates, then make for the door downstairs- cautiously. The moment you open it, you'll be face-to-face with another vomiting Blobula.
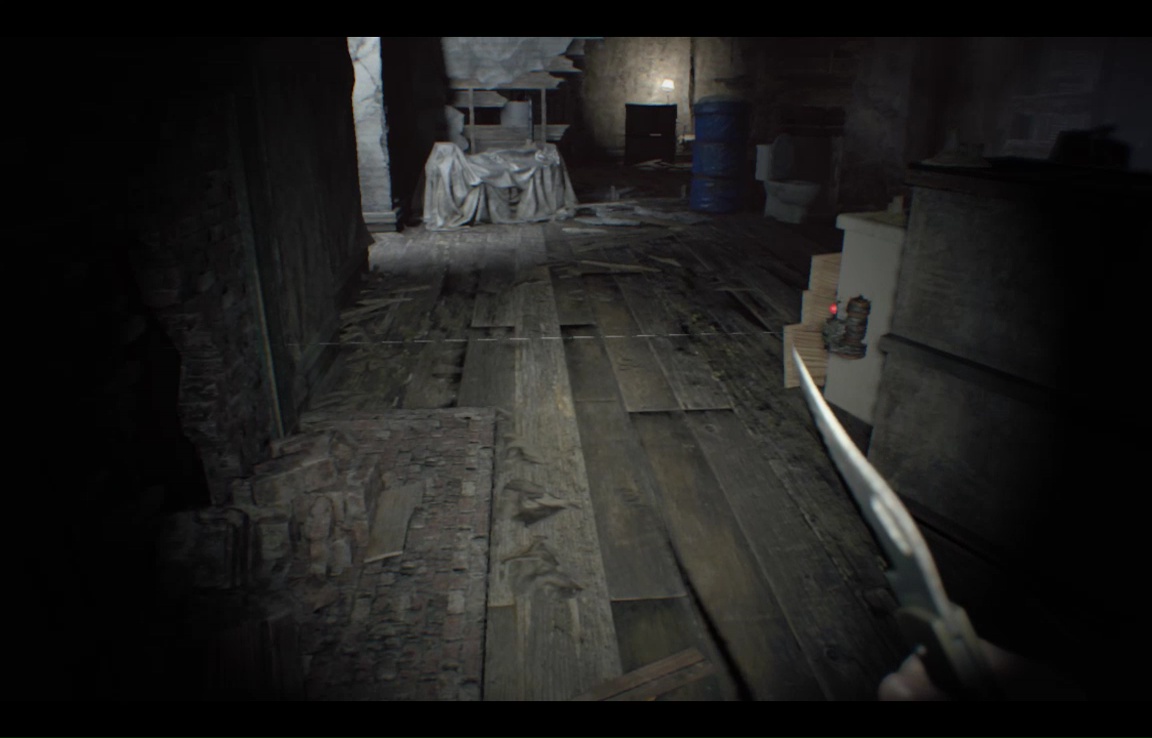
Shutting the door won't shut him down, alas, so lure him around the table, then dash for the stairs and shut the door behind you. The table and pillar should keep you safe from the spew, but still be ready to dodge- clipping errors are not unheard of here. Make your way through the morgue area- no monsters here, but the door to the morgue itself (where the deputy's body was kept) is trapped. If there is a crate on the near table, it is possible to creep just far enough inside he room to break and loot it, without setting off the trap.
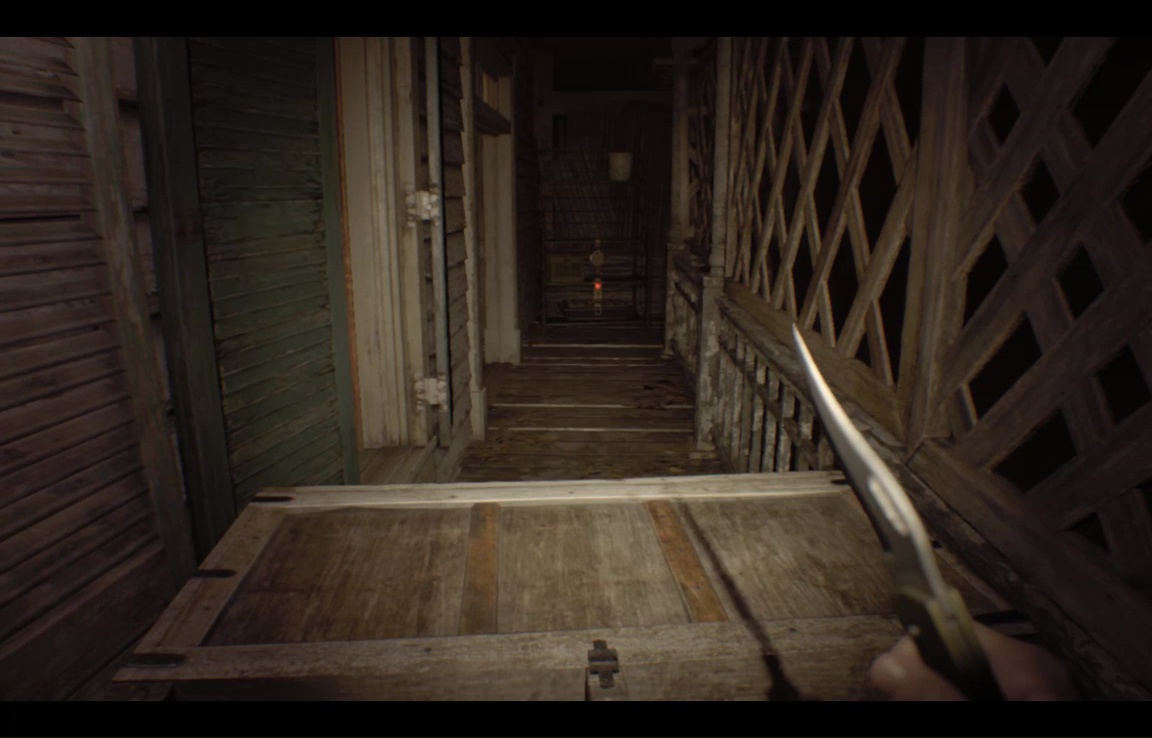
Continue on, down the stairs, and through the double doors to reach a hallway string with bombs. Crouch and move ahead until the scyther just around the corner takes interest, then go back the way you came to lure him into wirey, bomby death.
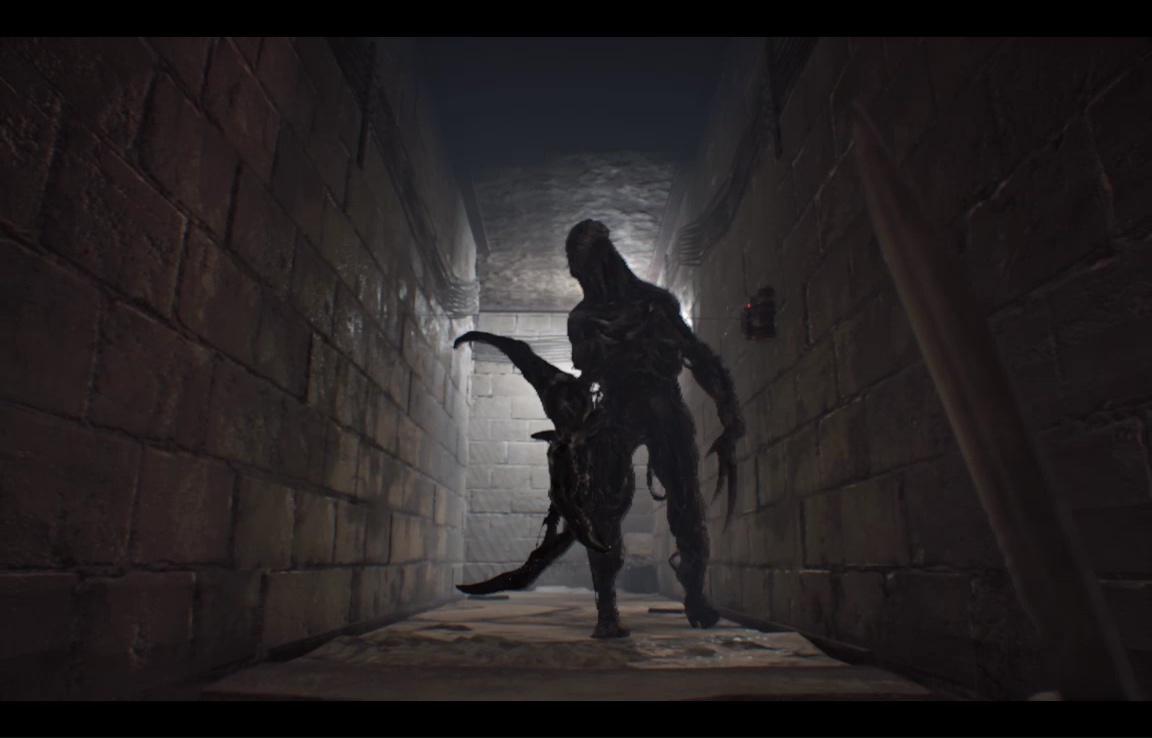
He'll probably go down with two bombs, so make sure to duck the last one when proceeding. Equip a weapon you're comfortable with, then head into the machine room. A few seconds after you do, you'll get a little message that the doors have locked, and enemies will start to bubble from the floor. You can't leave until they're all dead. There is an explosive panel in the center of the room (between the machine banks), and one of the enemies starts armless, which makes him relatively easy to knife, but you'll probably want to spend some bullets taking down the Scyther.
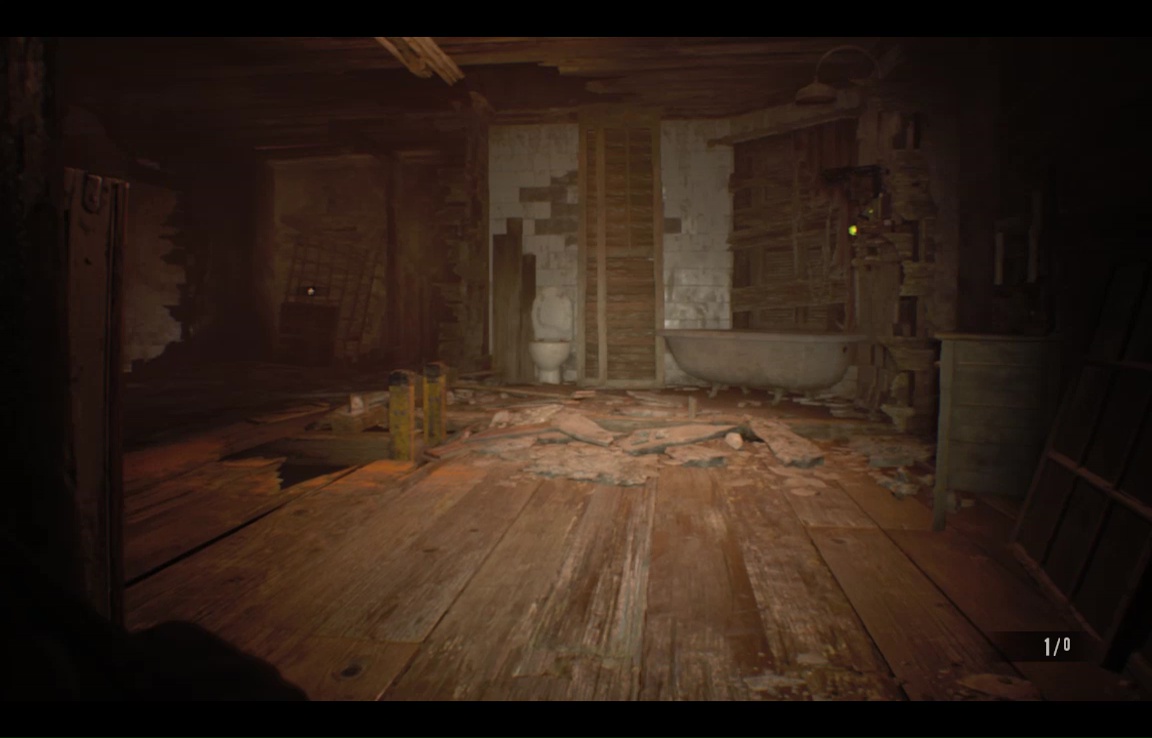
The doors unlock, and you can exit into the bathtub room. A quadfoot immediately spawns- if you still have a bullet or two to spare, use them on the hive by the door, and then shut it behind you. It is possible to knife the hive away, but the quadfoots are a lot quicker than shamblers.
Continue on, into the Workshop, then pause halfway up the stairs to consider your position.
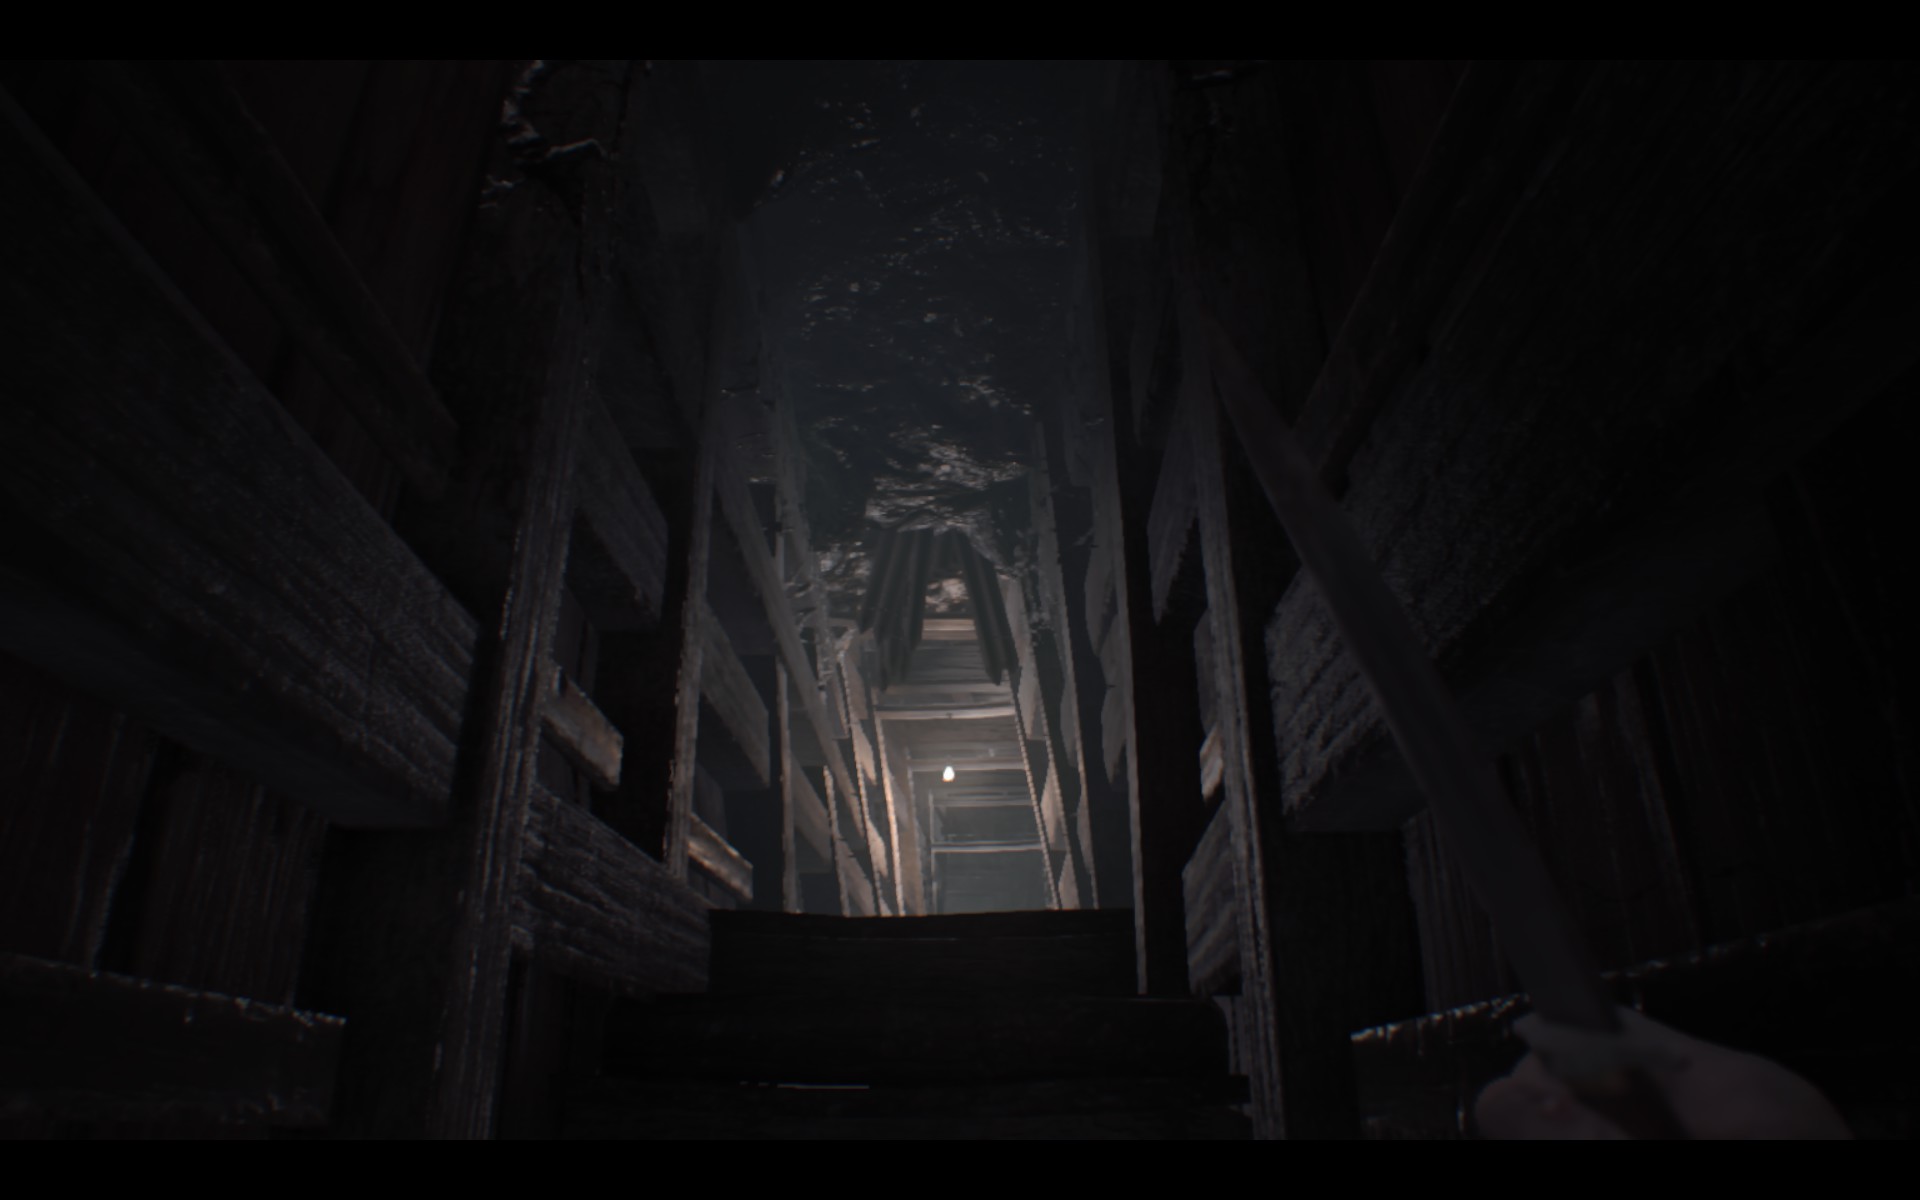
Up ahead, you can see one of those swinging spike traps like the one by the keypad in the Testing Area. If it hits you, it will kill you- regardless of health, defense scrolls, or positioning. There is no tripwire or electric eye that sets it off, it just *goes.* It's an annoyingly easy way to die, is what I'm saying, so play it safe. Back slowly up the stairs and, when you hear the trap start to spring, sprint away, then sprint back past once the hammer has gone by.
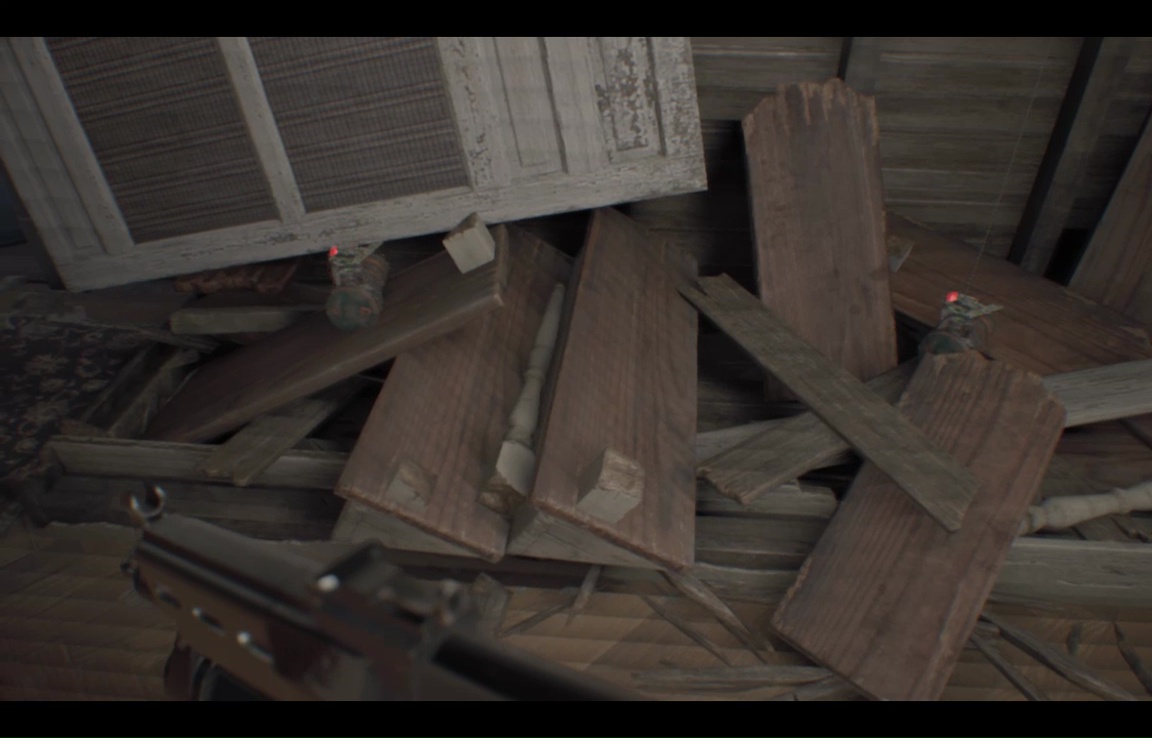
Emerge into the master bedroom.
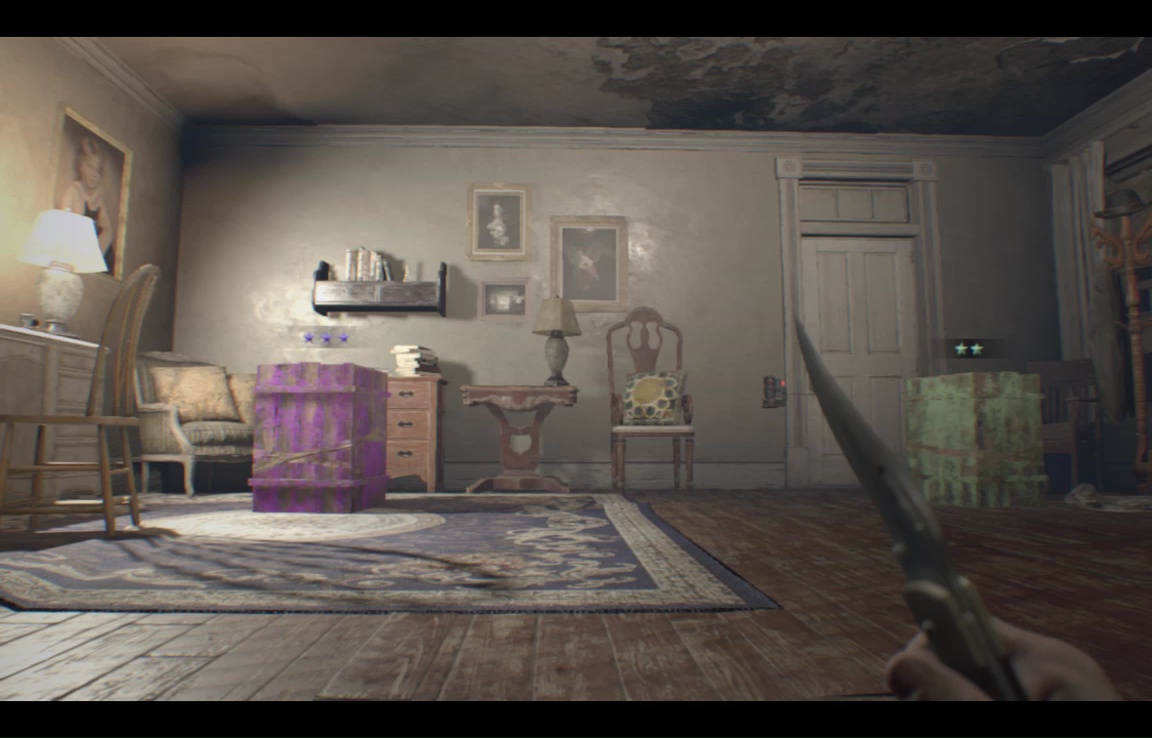
Every time I've passed through here, all the boxes have been trapped. Blowing up any will blow up all, so the smart solution is to run over the pressure pad by the stairs and immediately drop down into the stairwell, avoiding the worst of the blast.
Boxes in the Storage Room (where you found the mannequin head Treasure Photo), have at least an average chance of being untrapped.
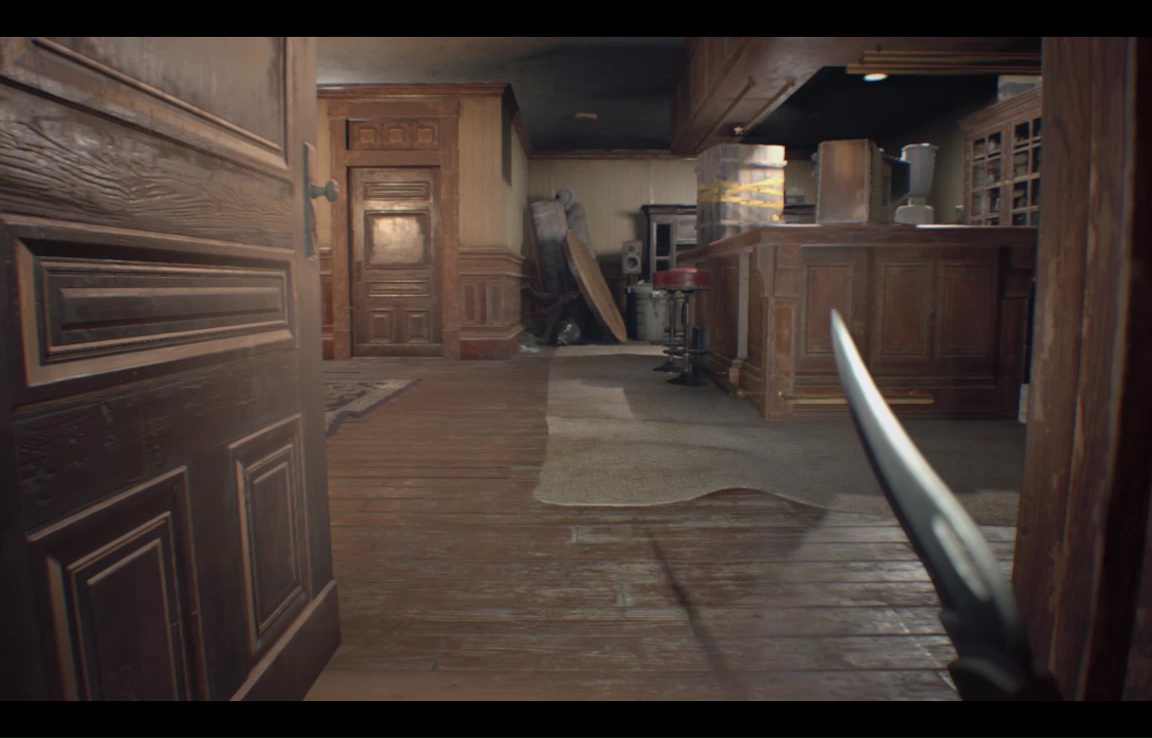
Enter the Main Hall. Blobula has disappeared, so make for the Rec Room area, but you'll hear something weird just before you leave the Hall. Peek through the door to see that Jack has been cut down by an automated turret. Delightful.

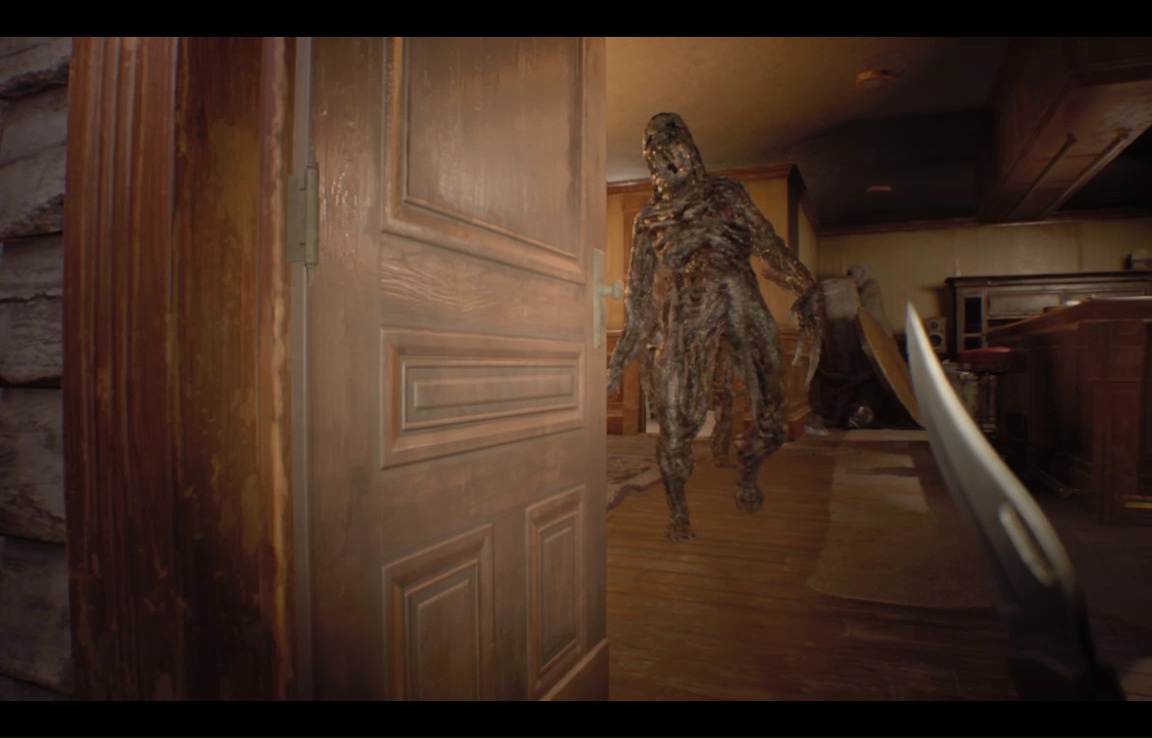
Don't linger too long though- Once the turret spots you, it gives a quick series of eight beeps before opening fire. They have limited rotation, and can't be damaged, so the best bet in general to sprint past them. In this case, the moment you get much rightward of Jack, a molded will spawn out of the floor. So the tactic is to sprint in rightward, out to the balcony, and then crouch when you hear the beeping start. There's a turret at the far end of the balcony, behind a crate. It will ignore you when you're crouched, but has no trouble cutting down the Molded following you.
In theory, anyway. I found turrets didn't always register Molded correctly, so be sure to have a backup weapon handy.
Enter the Rec Room very carefully – there's a turret at both the left and right ends of the room. There are also tripwires by the near end of the bar, and the far end of the pool table. Once you're in, sprint straight across to the area where you got the dogshead.
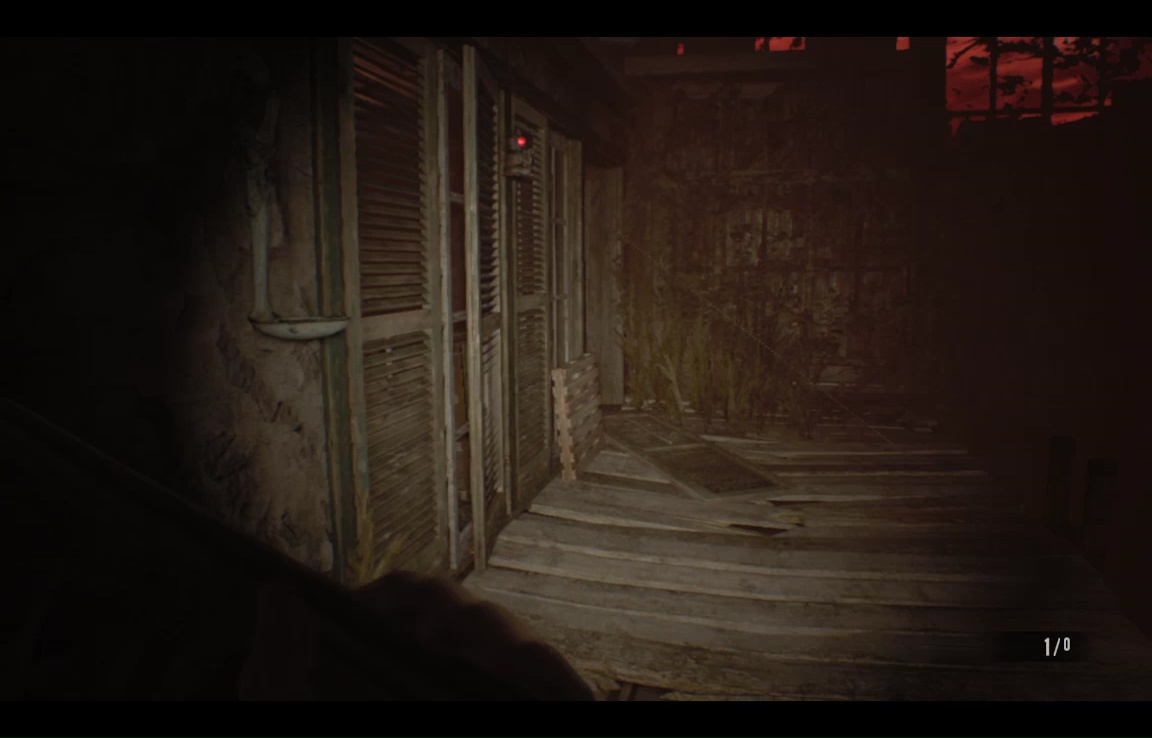
Investigate any crates, then open the outside door. After a few steps, two moldies will appear on either side of you- sprint through the room to the outside balcony, remembering to duck as soon as you get outside. Close the door behind you, and let nature take its course.
Check the bathroom for crates. When you emerge, two moldies will rise up after you. Fall back toward the outside balcony (but do not step out side, or the turret will chew you up), and shoot the red barrel. time it right and you can get both molders, otherwise you'll have to finish off the other the old-fashioned way.

When the coast is clear, inspect the drop down to the Dining Room area. You'll notice two vertical tripwires here, drop down between them, then move carefully to the other side of the hall.
Nip down to the garage door to check for crates, then surface and go through to the kitchen to the room with the hatch. Notice it's full of explosives. Shoot the red barrel to clear them all- except the bundle tied to the chandelier.
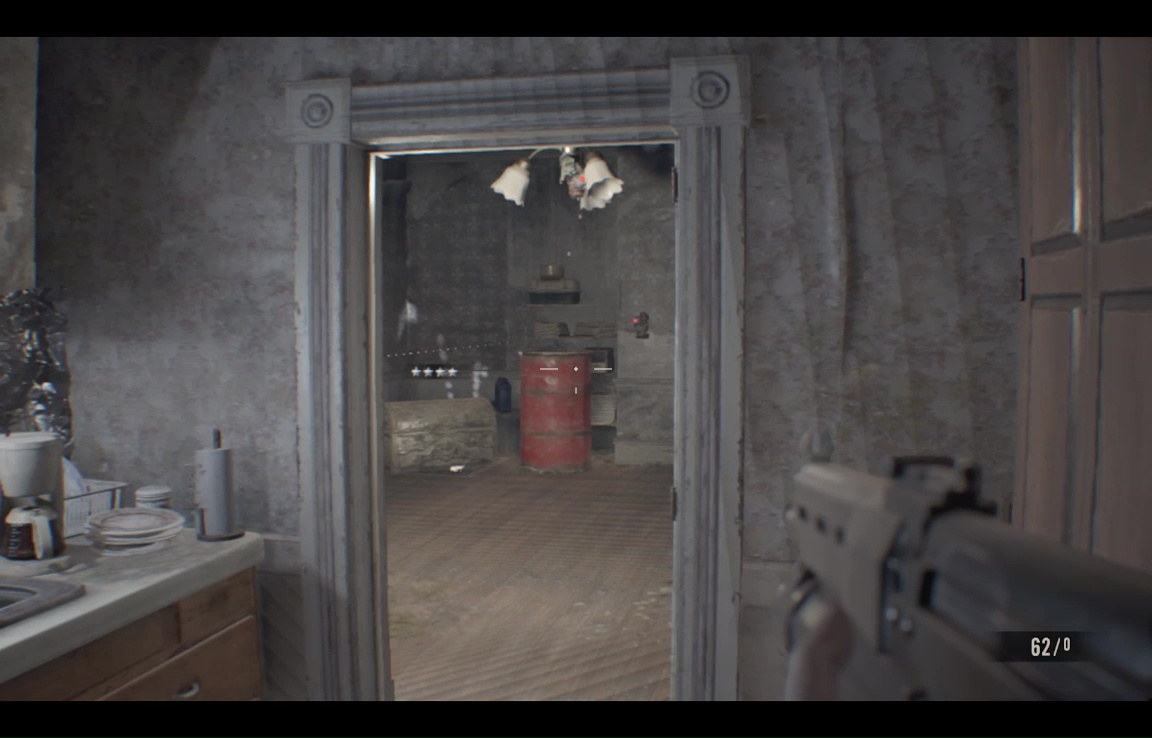
When you move further in the the room, a moldie will spawn- lure him into that central bundle for another ammoless kill.
There's a pressure plate outside the Laundry room- trigger it by running across it while rounding the corner- not while entering the Laundry. When it's gone, push open the door (by using 'F' from distance, not by walking through it). There's another pressure plate here, which you can sprint past to loot the room (Exception- if there's a crate by the door, and you can hear it ticking, sprinting won't be enough. Best to then ignore the room, or take out the crate with a bullet).
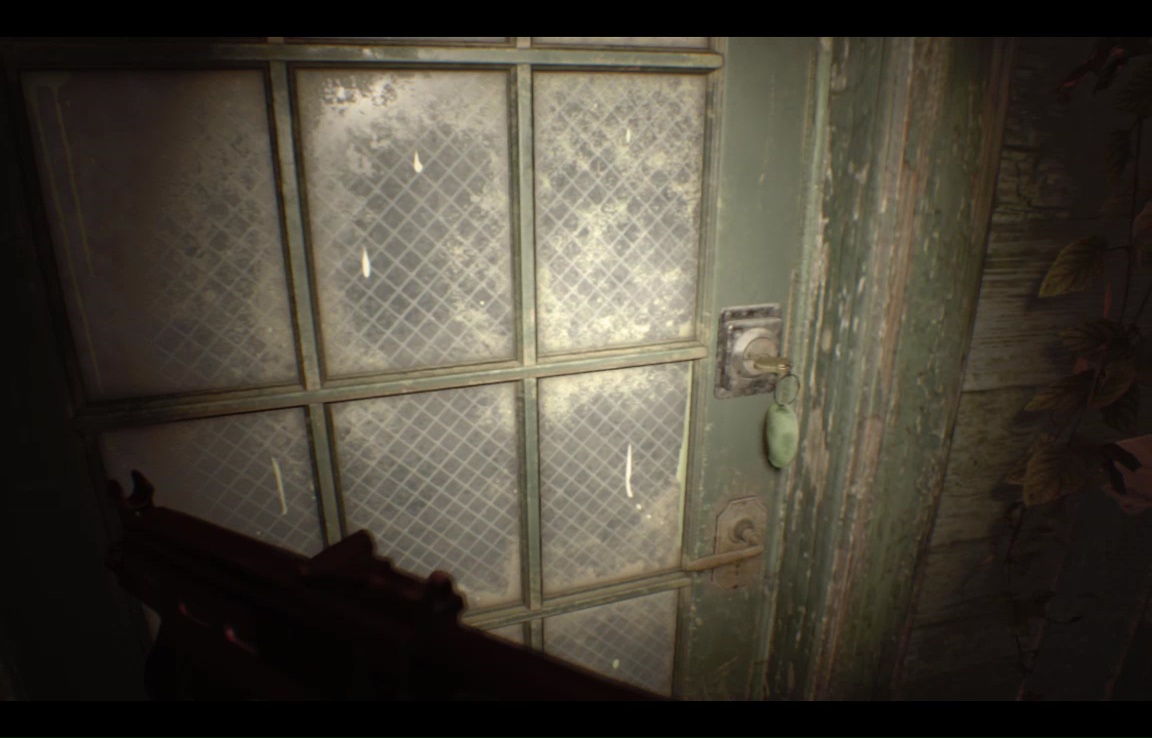
Finally, head into the den. There's a turret here, but it can be evaded by ducking behind the couch, and bearing right through the room. On the empty TV cabinet is the Greenhouse key you've been looking for.
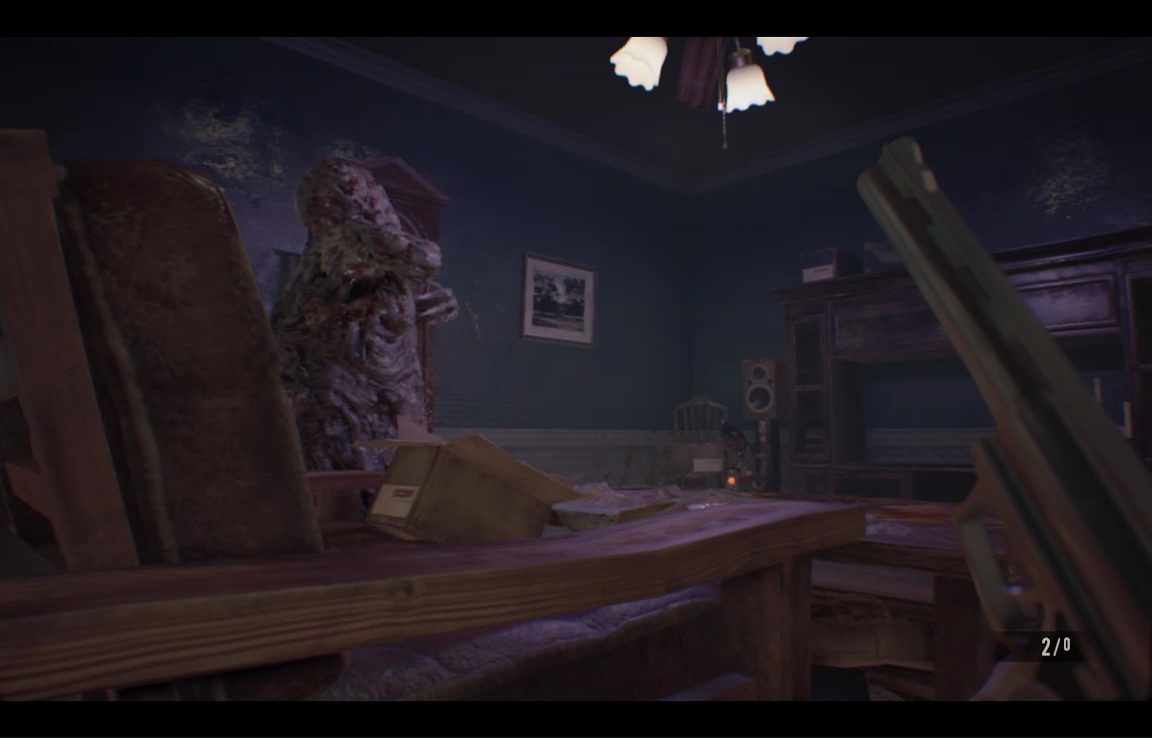
When you go back to the dining room, mentally play the Kill Bill fight sirens, because it's another locked-room death fest. Go back to the turret (still crouching around the couch to get there), and let it do all the heavy lifting.
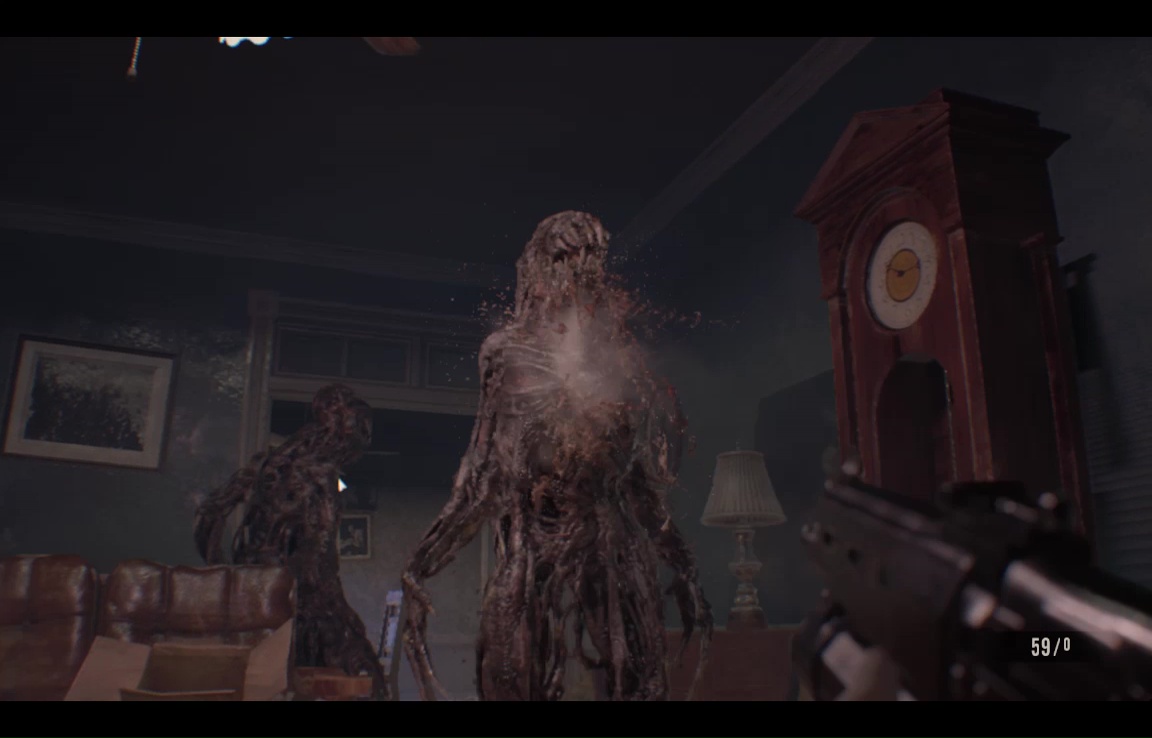
You may want to throw in a headshot or two of your own, just to slow the shamblers long enough for the turret to cut them down. Following them, however, is another blubbermold. Here you'll definitely want to lend the turret a hand. A single Magnum round in the skull is ideal, but anything else with a touch of stopping power will do.
Once blobula's down, the doors will unlock. Head for the dining room corridor, carefully ducking under the tripwires. As you near the corner, two slithering molded will have at you.
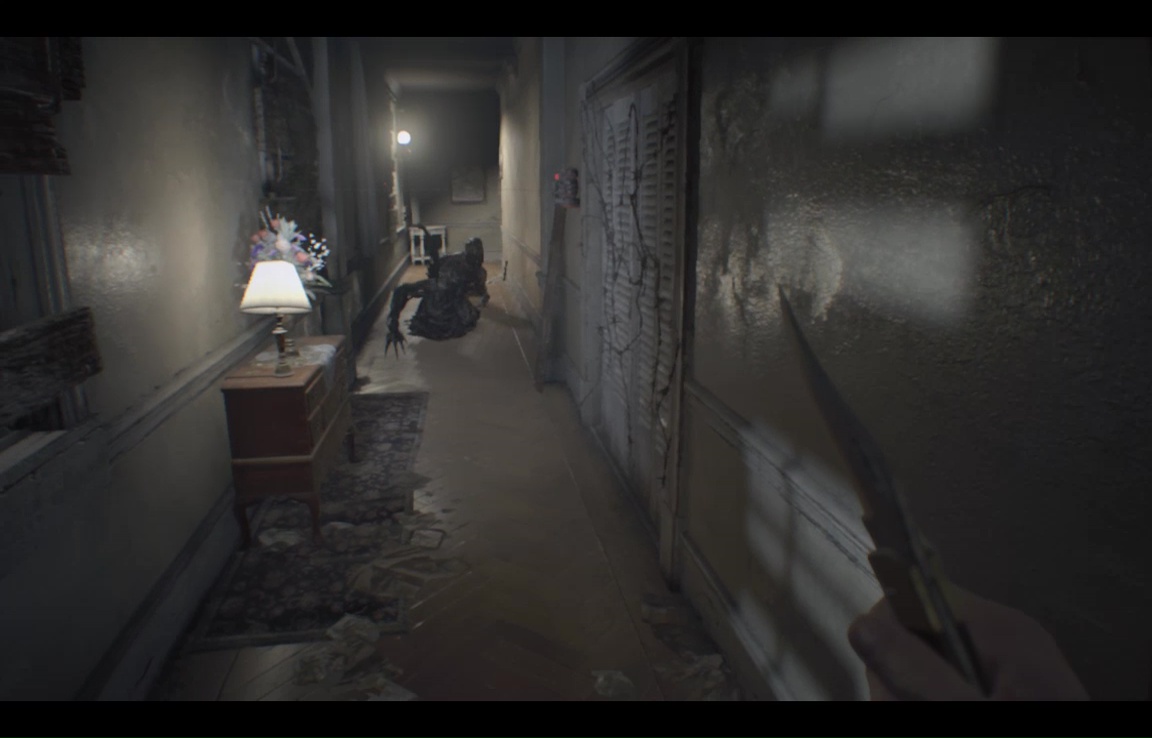
If possible, do not shoot the tripwire bombs here to kill them- you'll have a better use for such explosives in a second. Instead use the broken stairway bombs, or even lure them back to the turret (though it does, as it turns out, have a finite supply of bullets). Round that corner again, and this time it's a pair of arachnids. These you should absolutely use the tripwire bombs to kill, though if you're lucky, they'll leap up into them on their own.
Now you can finally re-enter the Main Hall. Watch out for the vertical tripwire running between the two doors- you can use it to take out the shambler here.
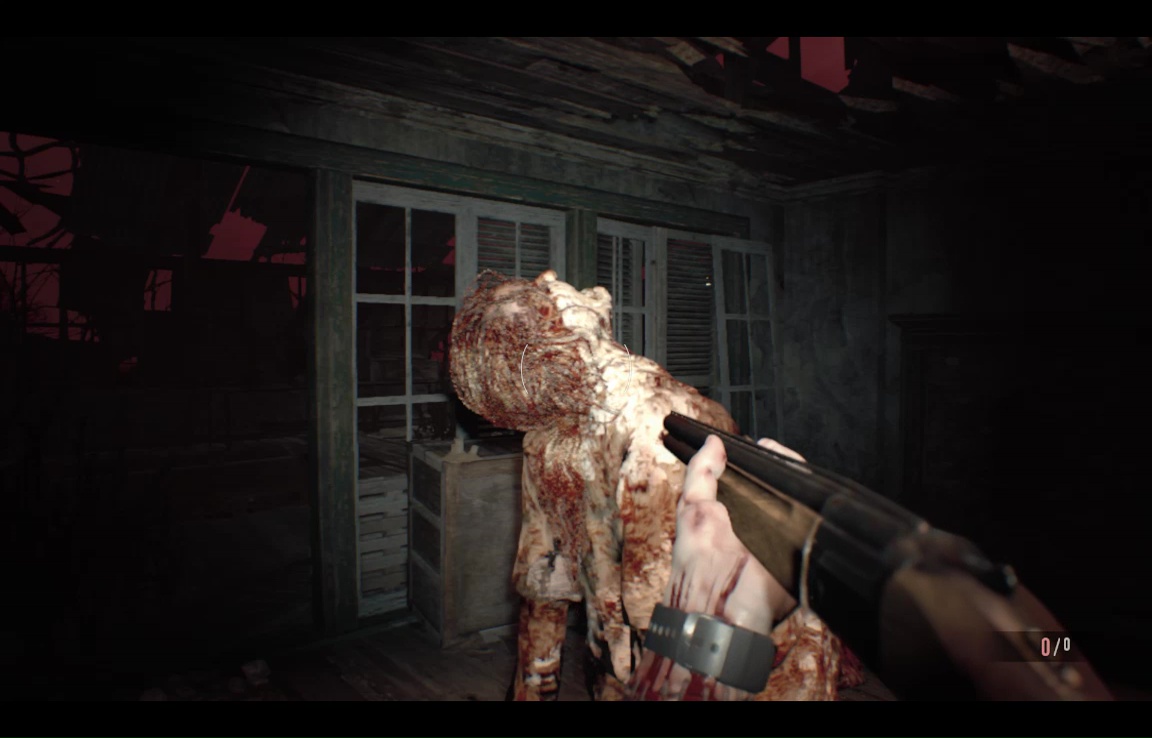
Now sprint for the main door- the vomitblob has reappeared upstairs, and you don't want to get tagged. Head cautiously to the Greenhose. Many molded will appear- two biped that will chase you you around, and one blubbermold than remains rooted in the Greenhouse gateway. Kill or evade the other two but when you have the chance, shoot the explosives around the gate to kill the blobber.
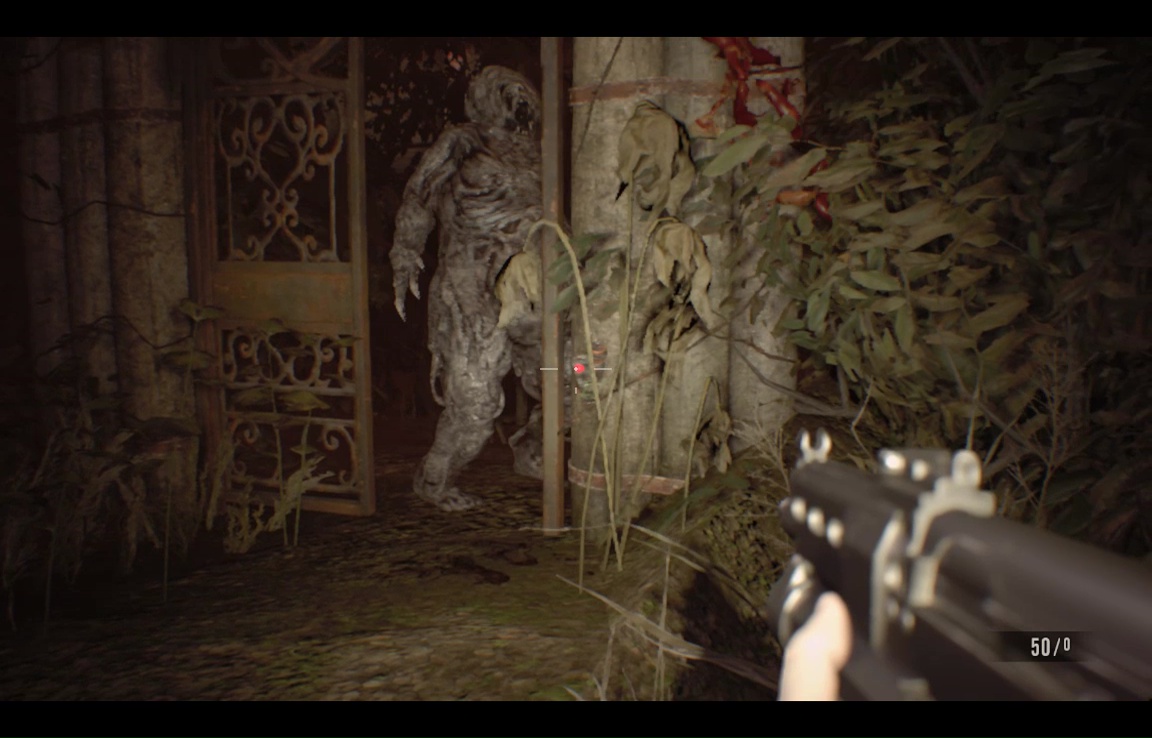
Note that you can't start shooting the explosives right away- if the blobula hasn't fully materialised, it may not take damage. If you wait for it to completely emerge before firing, then detonating all three charges will kill it dead.
Now head to the Greenhouse for the final confrontation.
As in the original, going up the stairs will trigger the main fight, as Marguerite reaches in through the window, and is repelled by a few attacks of whatever weapon you like the least. Before you reach that point, carefully explore the downstairs, smashing crates (of the non-ticking sort) and noting traps that you can use later.
There are no spiders in this iteration of the Greenhouse, nor are there any big bugs, which is a blessed relief. Once you've triggered the fight, and shot Marguerite in the face as per usual, run up the stairs, then veer left on the 'outside' balcony.
Duck under the diagonal wire here and then left into the room, to find one the Greenhouse's most defensible spots. The turret here packs a wallop, and the trip wire you just passed under carries a punch of its own. There are also many ways to escape if Marguerite somehow gets the drop on you.
In general, the strategy to is to lure Marguerite into traps, shoot neearby bombs, and sic the turrets on her. You'll also want to use whatever ammo and weapons you've acquired, including what's in the Greenhouse itself, which often boasts a four-star crate. Marge can't spawn bug in this own, so there's no reason to chase her down- pick your spots, and let her wade through the gauntlet to you. Eventually, she'll go down.
And now you can finally breathe easy again, and cherish your Ethan Never Dies achievement.