
Madhouse Mode
Madhouse Mode is the toughest difficult RE:7 has to offer, and it does not pull any punches. Not only are enemies faster, smarter, and distressingly resistant to bullets, but there far fewer bullets to be had. And don't count on your knowledge of previous playthroughs to give you an edge. While the basic layout and flow of the game is the same; items, keys, and monsters have be remixed and shuffled around. Ammo or healing you're counting on may be gone, and previously safe spaces might be ambush central. Expect pain, to put it simply.
But forewarned is forearmed- below are the major differences in gameflow between the regular modes and Madhouse mode.
Walkthrough Hilights
Prologue
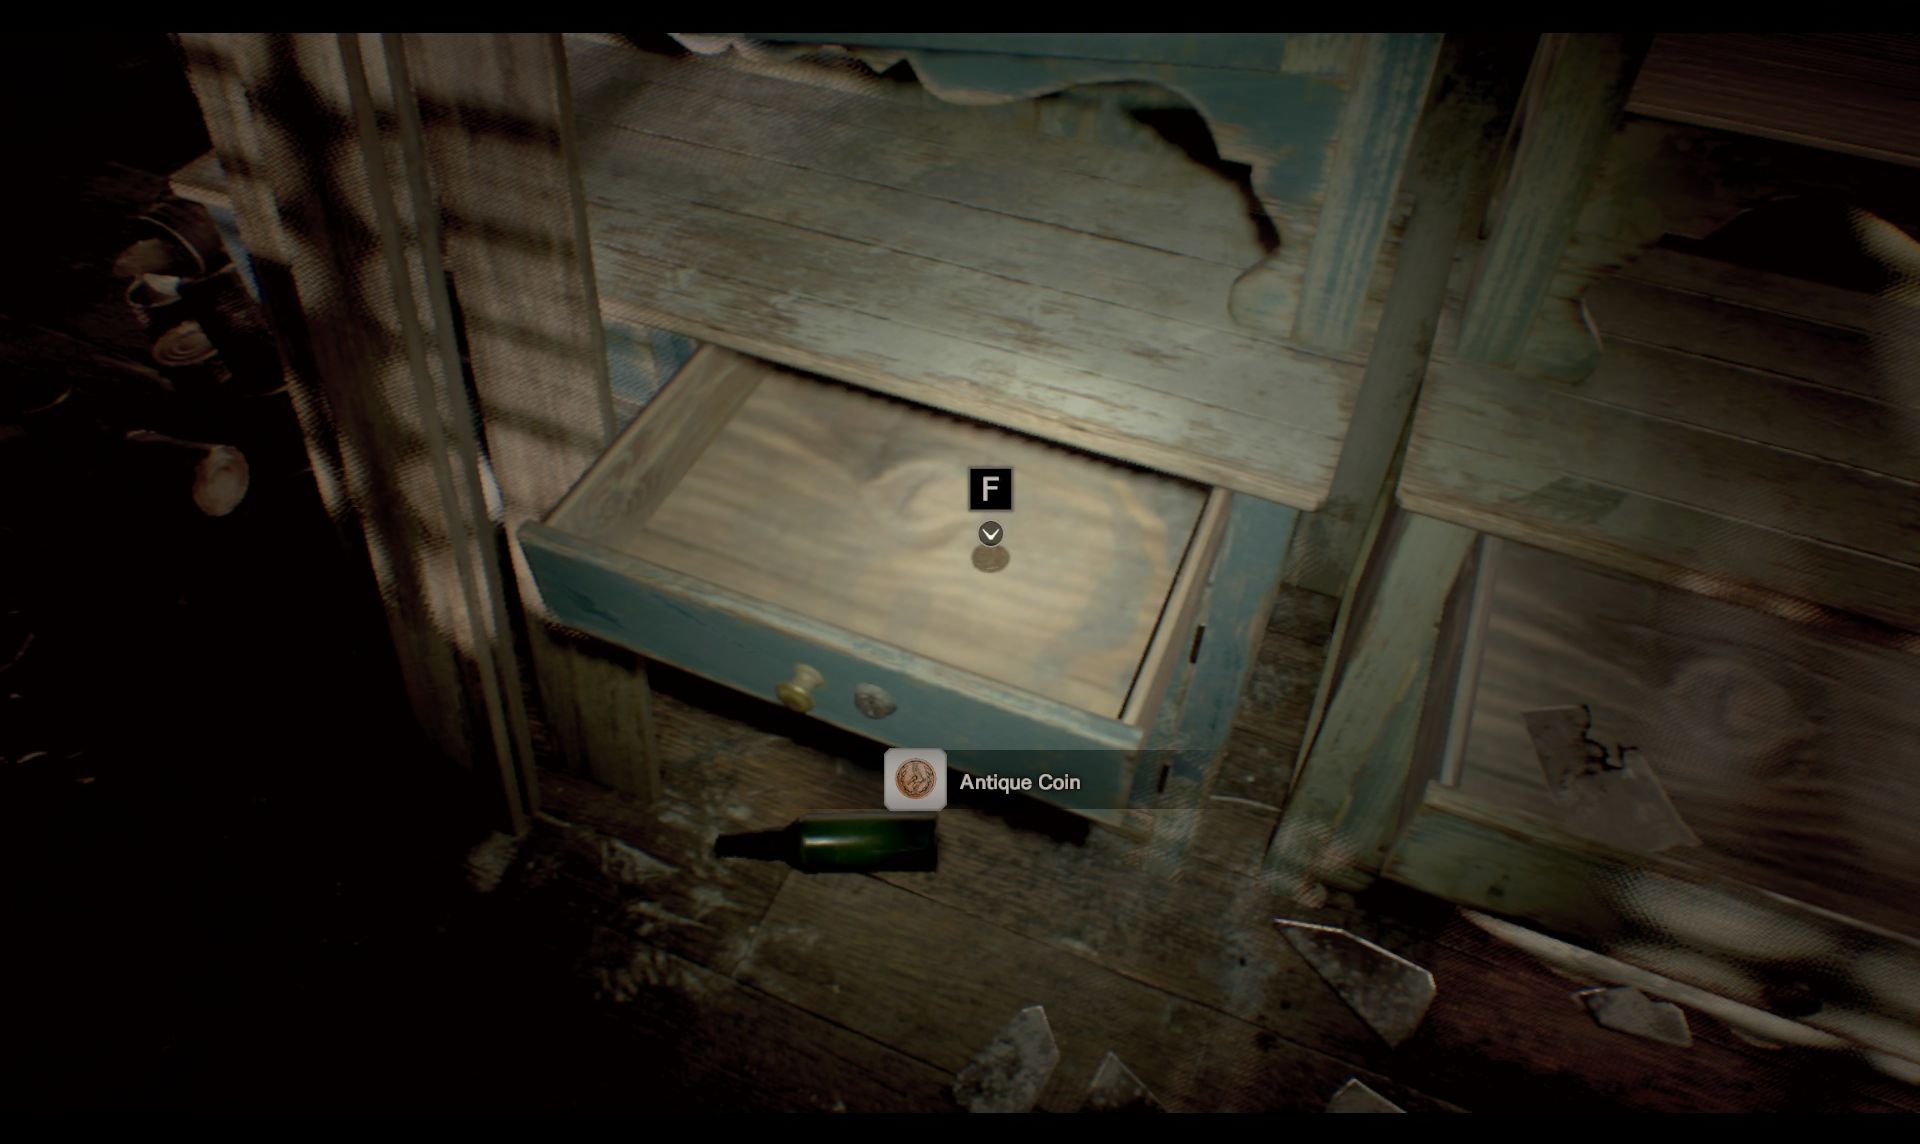
The Guest House prologue plays out almost identically to the other modes. As before, there's only one Ancient Coin, and you get it by picking a lock in the videotape flashback, then checking the drawer in the present.
Ironically, the rest of this intro chapter section is some ways tougher than what follows, because you don't have access to all those bonus items from previous playthroughs yet. Thus the strategy to the first fight with Mia is the same- block her attacks, and sneak in a quick counterattack when she's off balance. Don't get impatient, and don't get greedy trying for multiple strikes.
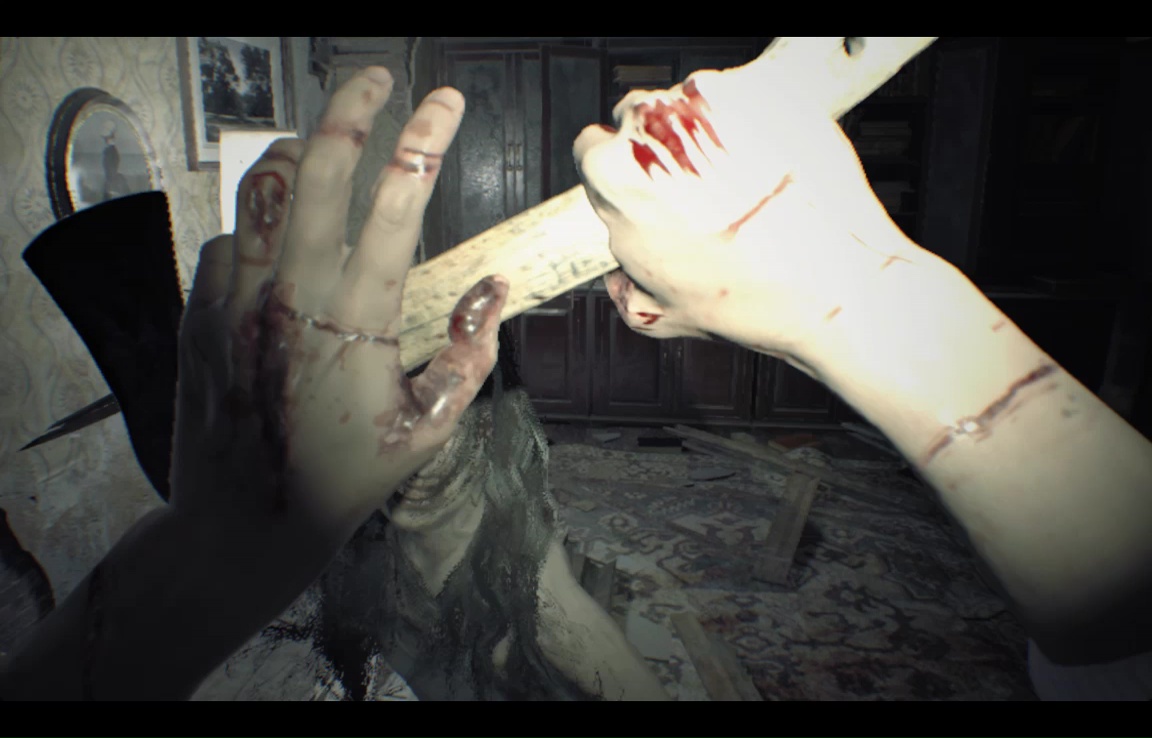
The second fight is harder, so get the gun, grab up all the ammo, and claim the fallen axe if you didn't before, then use a cassette tape to save your progress. Mia is faster and tougher now- your greatest advantage is that she still reels and takes a predictable step back when shot in the head. You can use this to chain together a series of headshots for maximum damage. Be careful when reloading, Mia can sprint pretty quickly now, and you don't block too well anymore. She doesn't corner that well, however, so sprint back and forth across the room until you're ready to fire again. You can take her down with ammo alone if you're consistent with the headshots, but even a couple of misses will you force you to finish her with the axe. Rather than blocking, best strategy to dodge a charge, then come at her from the side. Once she's down, your trip to the main house plays out as normal.
Main House & Environs
Sneaking out of supper is the same, and once you get to the Laundry Room, you'll get access to all your goodies, including the Circular Saw (tips on maximizing its effectiveness here).
The Garage Fight is largely the same, but now the key is locked up. Sprint straight ahead to grab a lockpick from the workbench, then back to the key to open the lockbox.

Do this before Jack finishes his tirade about cops, or he'll start the car first (even though he doesn't have a key).
The pistol is now lying next to the deputy, rather than in the backseat of the car.
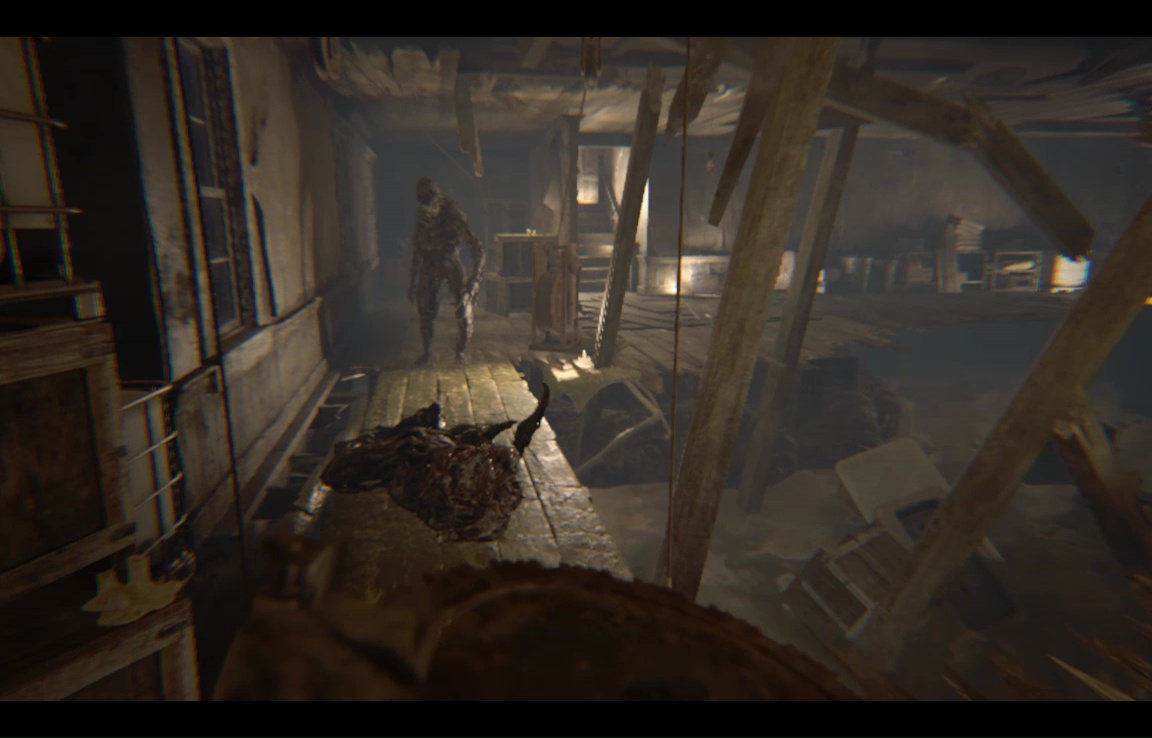
When you return to the house, there's no longer a grace period of peace- Jack will be stalking you constantly. The saw takes him down right quick, but he resurrects after a minute or two. If you saw him down, enter a room, then find him still laying there when you emerge, it's usually worth it to wait for him to stand back up and cut him down again, rather than be surprised later. You may also want to make getting to the Dissection Room a priority- once you do, Jack stops appearing upstairs.
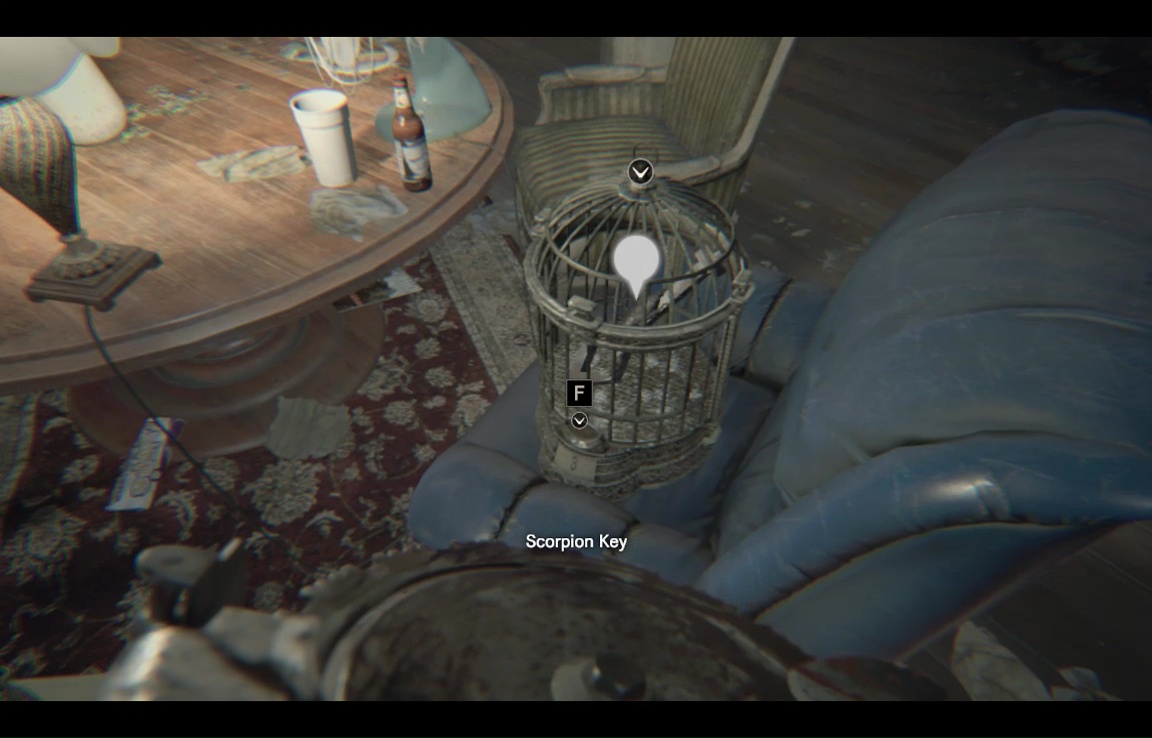
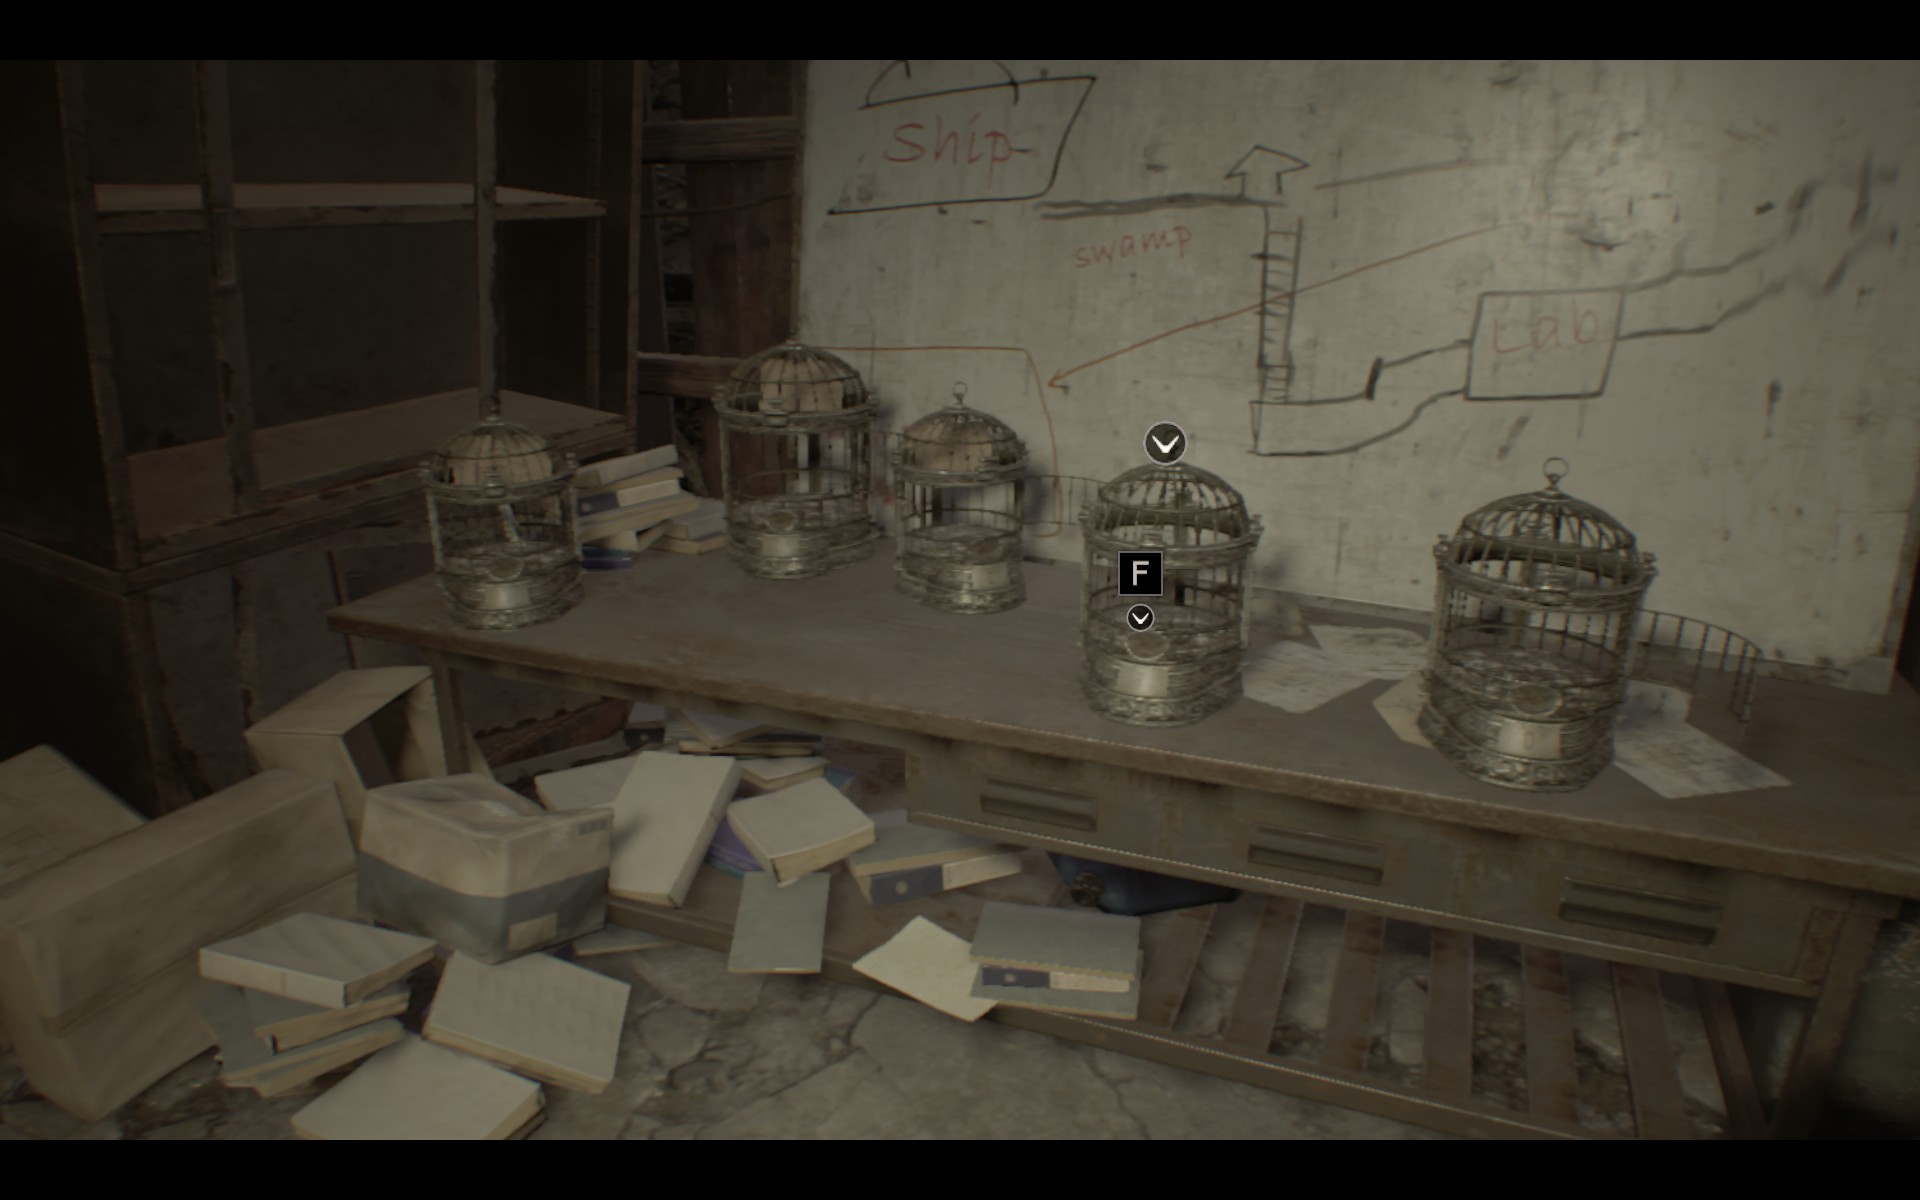
The Scorpion Key is now in a coin-cage in the Main Hall, but between the coins from the Guest House Kitchen door, the tv room, and the garage, you should be able to purchase it immediately (See our Madhouse Coin Guide for more details).
This allows you immediate access to the Save Room past the Scorpion Door, though it's now guarded by a quadfoot.
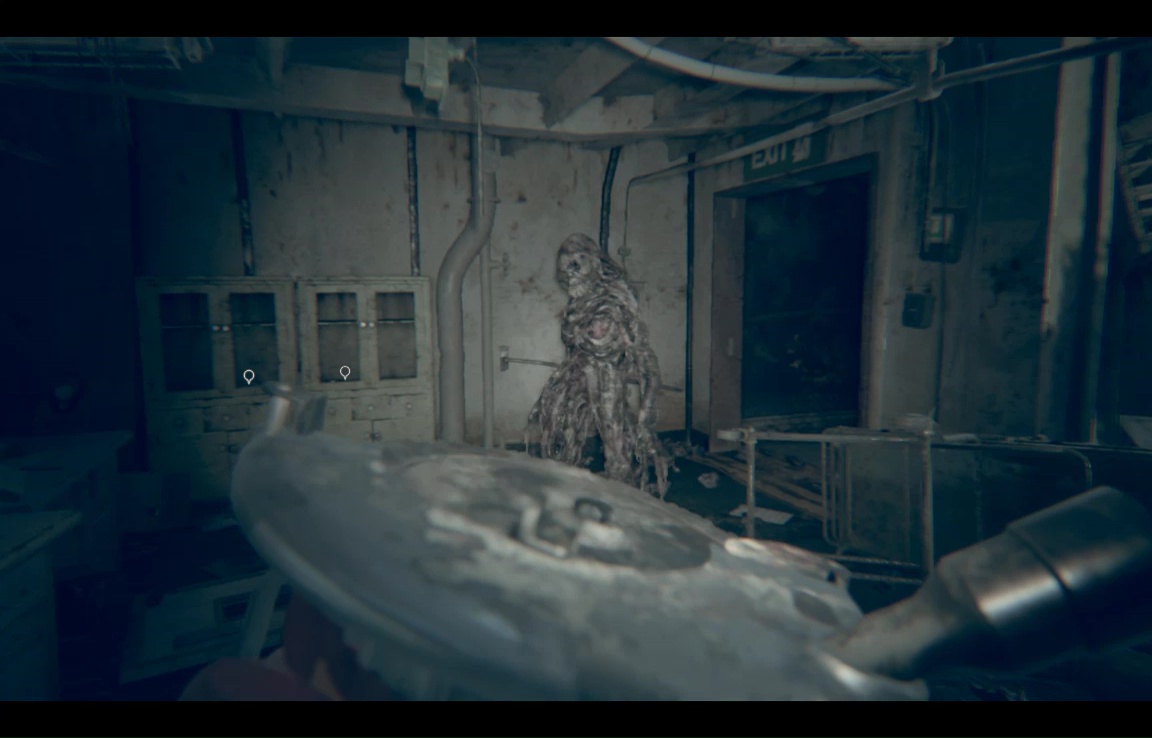
The Crematorium tray with the Dissection Room key is now empty, but you'll be jumped by two Molded as you leave.
The Model Shotgun is now in the Dissection Room next to the dogshead, but you don't need it. You've got the Albert pistol now so you should use the first Repair Kit on the Broken Shotgun anyway.
The Grenade Launcher is now in Zoe's trailer.
The Repair Kit is still in the back yard, but now it's to the right of the stairs leading down from the Cerberus door, in the underbrush where there used to be an urn with a coin.

The bees in the Old House are now even more vicious, but will still give up on an attack if you move far away enough from the hive. A Molded will spawn during your first pass through the TV room. The stone statuette, burner components, and crank are all in the same places. There's an extra ambush of Scyther + Shambler after you first discover the Crow Door leading to Marguerite's altar.
Marguerite's boss fight is largely the same – use the saw for quick jabs and keep on the move- a saw to the head won't always keep Marguerite from counterattacking if she's facing you.
Getting the access cards plays out the same way, but leaving the Workshop will spawn tons of Molded in the the Processing Area. Taking the shortcut through the unlocked brass door, you'll have to deal with three- run past the nearest before they're fully formed and saw down the last to get free.
Infamously, the barn fight now has two very tough Fat Molded, and the elevator won't activate until they're both dead. Get some shotgun blasts in before the elelvator open, then fall back to the stairs. Use a neuro round to stun them and then shotgun and/or circ saw to take them out. Remember they explode after death!
There are more Molded on the piers leading to the Boathouse, but nothing the saw can't handle.
Jack is technically tougher in the Boathouse fight, but with your defense scrolls and his slow-windup strike, he's easy enough to take apart. You can even use the saw on his outer eyes (particularly his arms just after you've blocked a strike).
Wrecked Ship
The ship video plays out much the same, though those early, unmissable coins have moved (see the Madhouse Coin Guide for details).
Back in reality, floor 2F is now patrolled by two vomiting Blobulas. Even after you get weapons, these are probably best avoided simply by ducking into any of the many doors on this level.
After you take out the Blobula in Sickbay, it'll be followed by a Shambler that appears as you start to detach the power cable.
Endgame
All the coin cages reappear in the swamphouse savepoint.
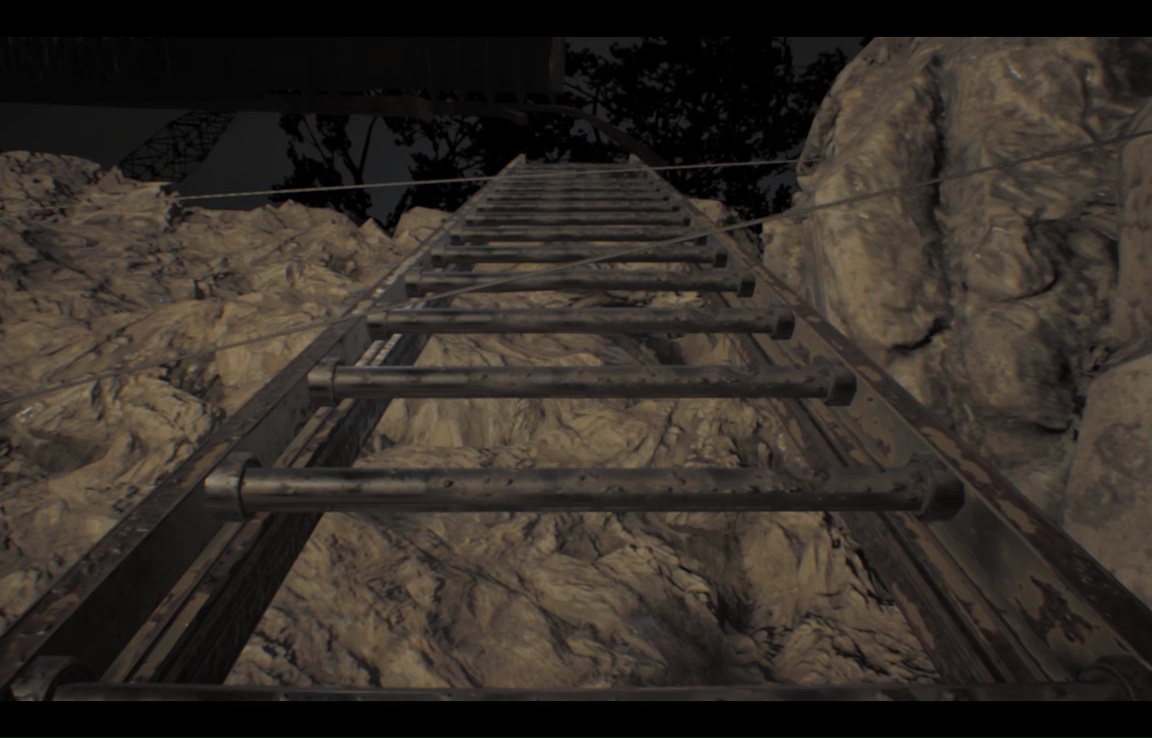
When you run the Gauntlet, the final ladder after the twin Blobulas is now booby trapped with tripwire explosives. That's some evil genius at work.
And after that, things proceed as before. You do still need to pick up the Albert Pistol dropped from the helicopter, even if you've already got one.