The Barn, The Boathouse, The Choice
Welcome to the funhouse.
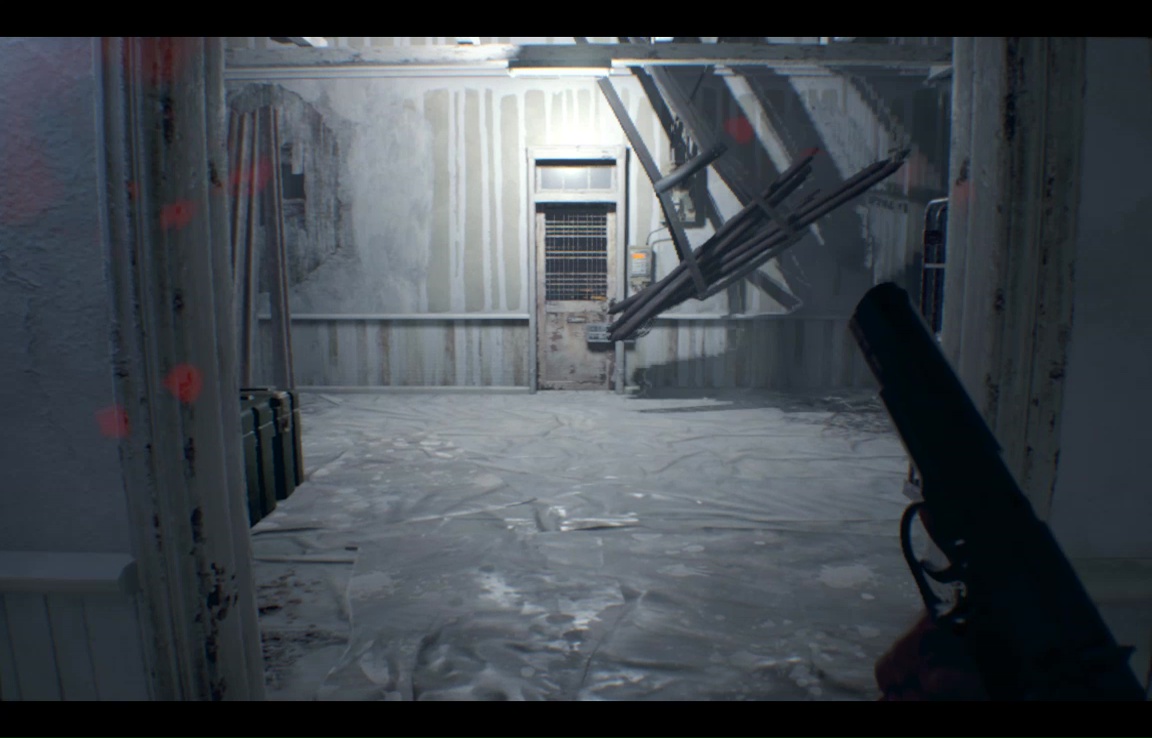
Frankly, as murder-themed funhouses go, we've seen better, but then I suppose Lucas is operating on a bit of a shoestring budget. Inside of a barn. Proceed forward to the room with the television.

Despite the fact that you are obviously in deathtrap central, activate the tv to have Ethan sit down and endure a long, but not uninformative rant from Lucas. When the tv predictably blows up, exit through the newly opened door behind the television. Follow the corridor around the corner and all the way down to grab a Herb from atop a stepladder, then enter the white door here to reveal a new theme for the level- tripwires.

Tripwires can be set horizontally and vertically, and can't be looted or disarmed- the only safe way to take one out is to shoot it from a distance. Most, however, can be evaded. Knife open the crate here, then duck under the wire. Keep crouching underneath a second wire on the other side of the room, grab some ammo from the shelving, and open the next door.
That rack in the corner looks familiar- like we've seen in a photo somewhere. A treasure photo. Duck under the near wire and activate the mannequin head here to reveal the game's second Gun Repair Kit, and its last photo treasure.

There's not quite enough space to limbo past the next tripwire, so shoot the bomb attached to the horizontal one (from a safe distance), then sidle past the vertical one (bearing left).
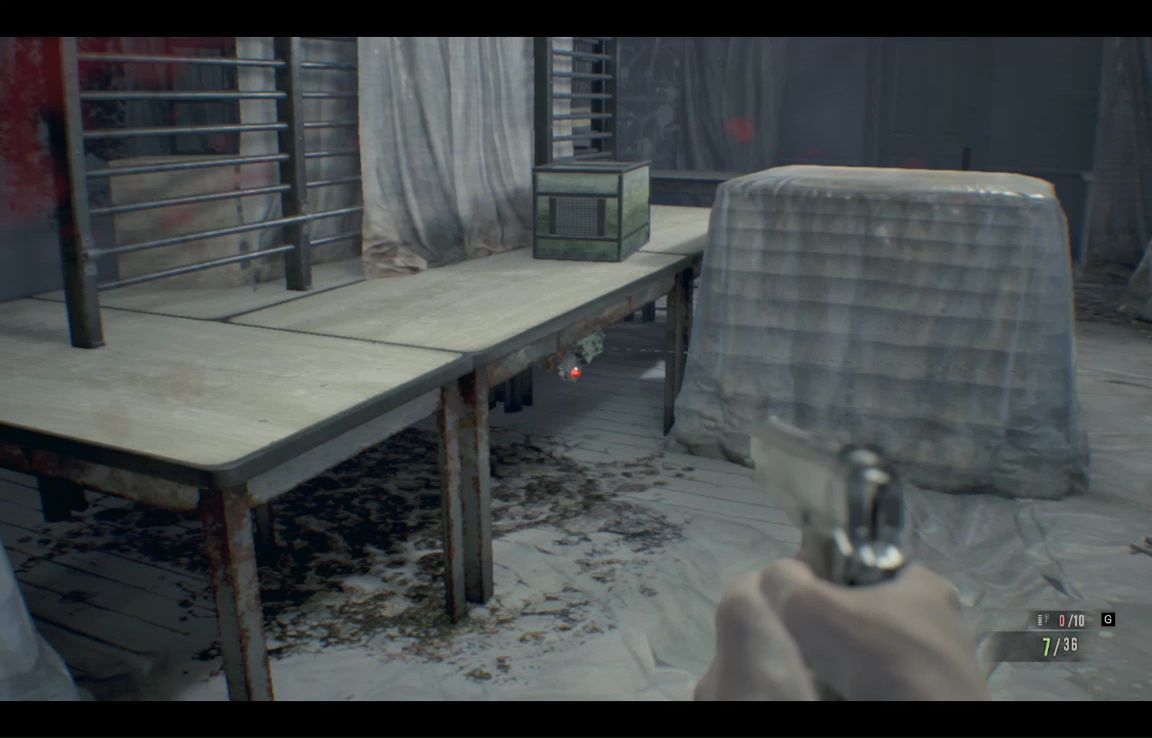
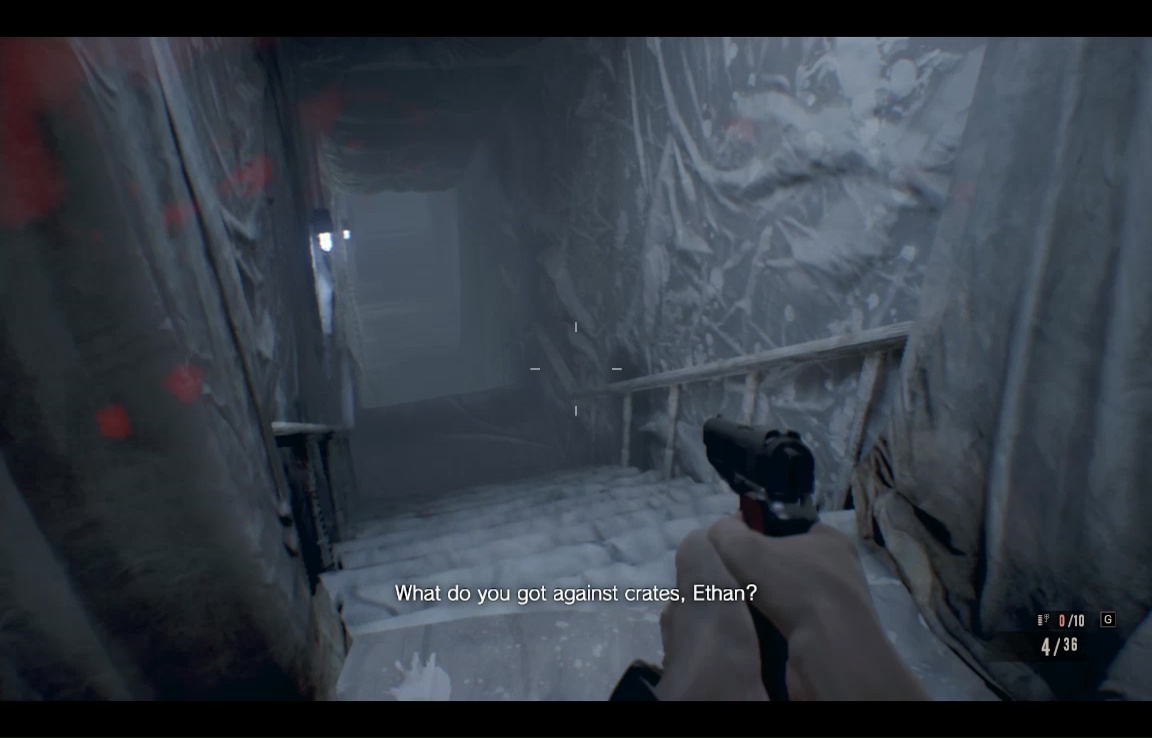
Open the door to the next area- the first crate you see has some supplies, but the next one is trapped with explosives. If you're both in a hurry and have some excess pistol ammo, you might consider just shooting crates from now on.
The next open doorway you come to is heavily tripwired. Go past it, then turn around and take out the visible bomb (again, from a safe distance).
In another first for the game, there's an inventory box here, but no tape player (and certainly no safe haven). Gear up for a fight, including the repair of the Broken Shotgun into the M21. When ready, approach the keypad.
Lucas will appear and spout a line of nonsense about passwords and codes, but ignore it. The moment you have a chance, [CANCEL] out of the numpad interface and take several healthy paces back, until the giant spike hammer swings across the door.
Once that's done, look right for a secret panel that's opened up in the wall.
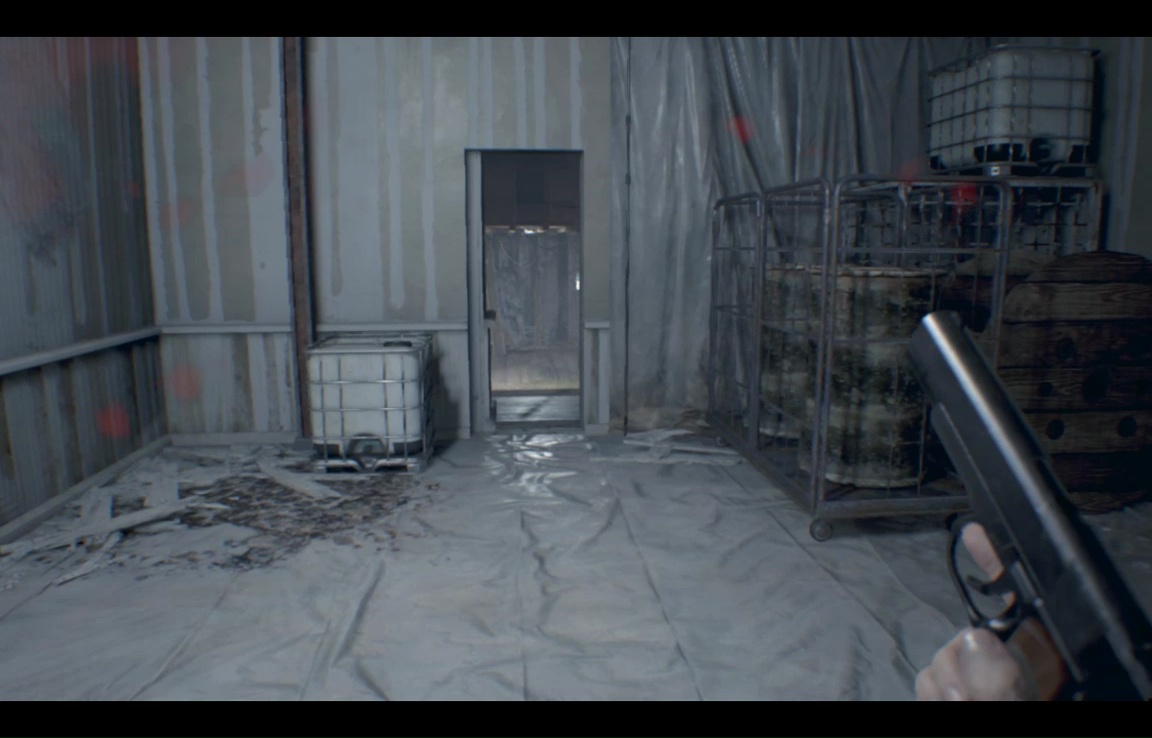
There's a corner room here – the crate to the left has supplies, the other is trapped. There's also some ammo in the wheelbarrow.

Walk down the corridor until you get to the tripwire, then turn around – there's an arachnomoldy trying to get the drop on you. Draw your pistol and take it down.
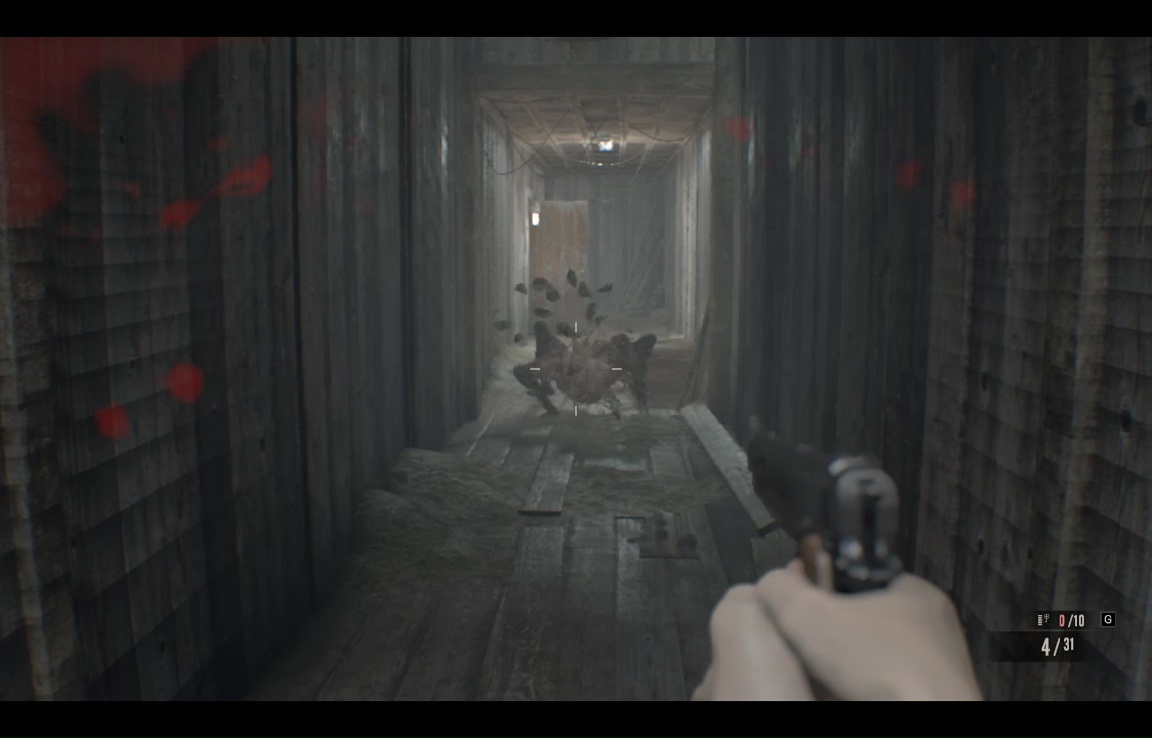
Headshots are ideal, but these quadfooters can't take much damage anyway- just be sure not to back into the tripwire.
Turn around again, duck under the wire, and open the door at the end of the hall. Take out the bomb at ground level.
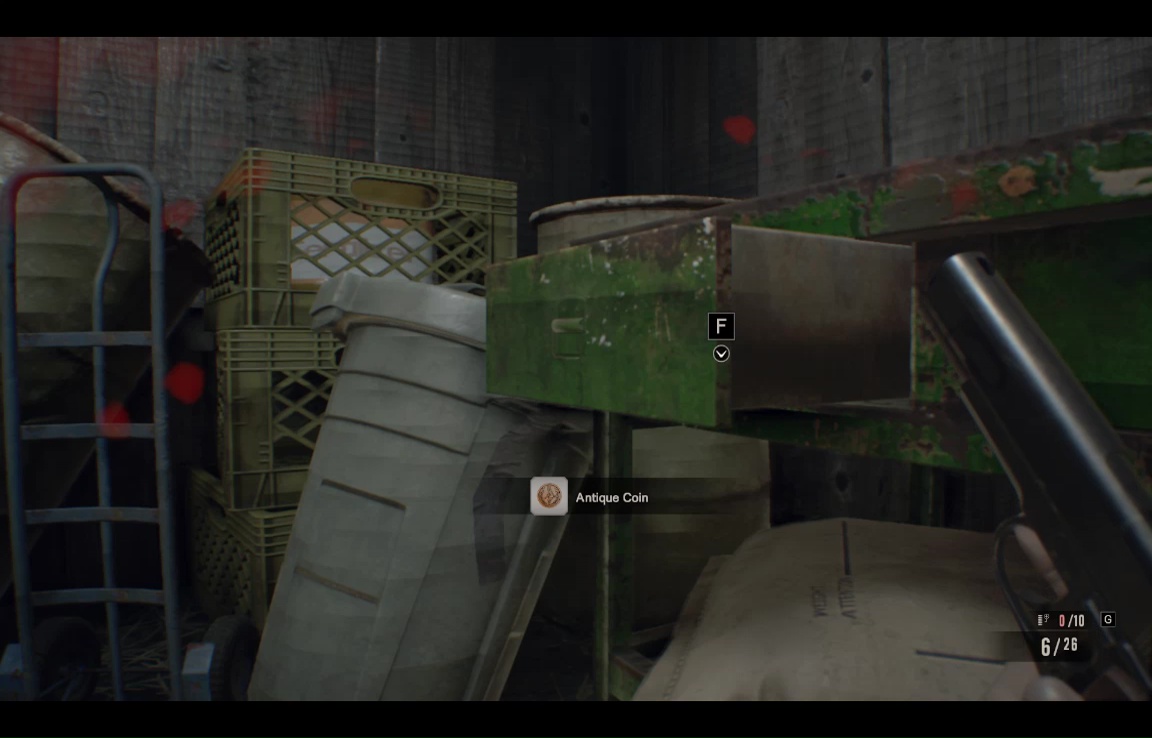
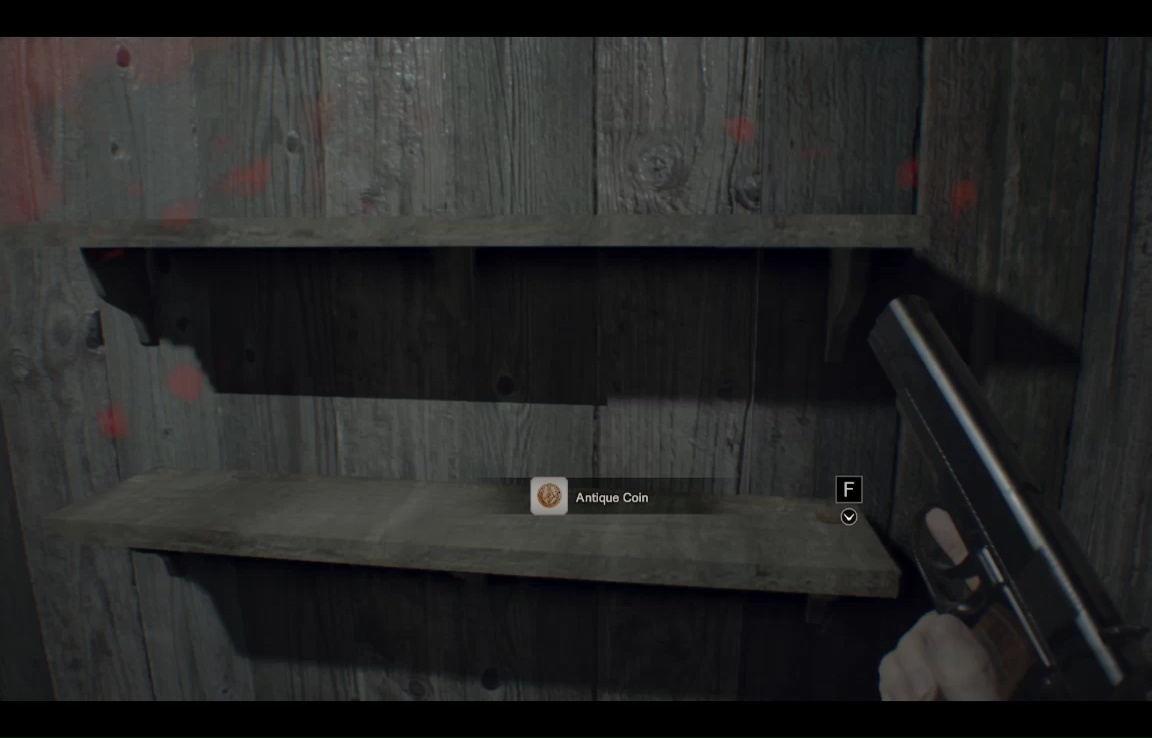
You can sidle past the other wires- there are steroids in the locker (along with a trapped) crate, and an antique coin in the green drawer to the left.
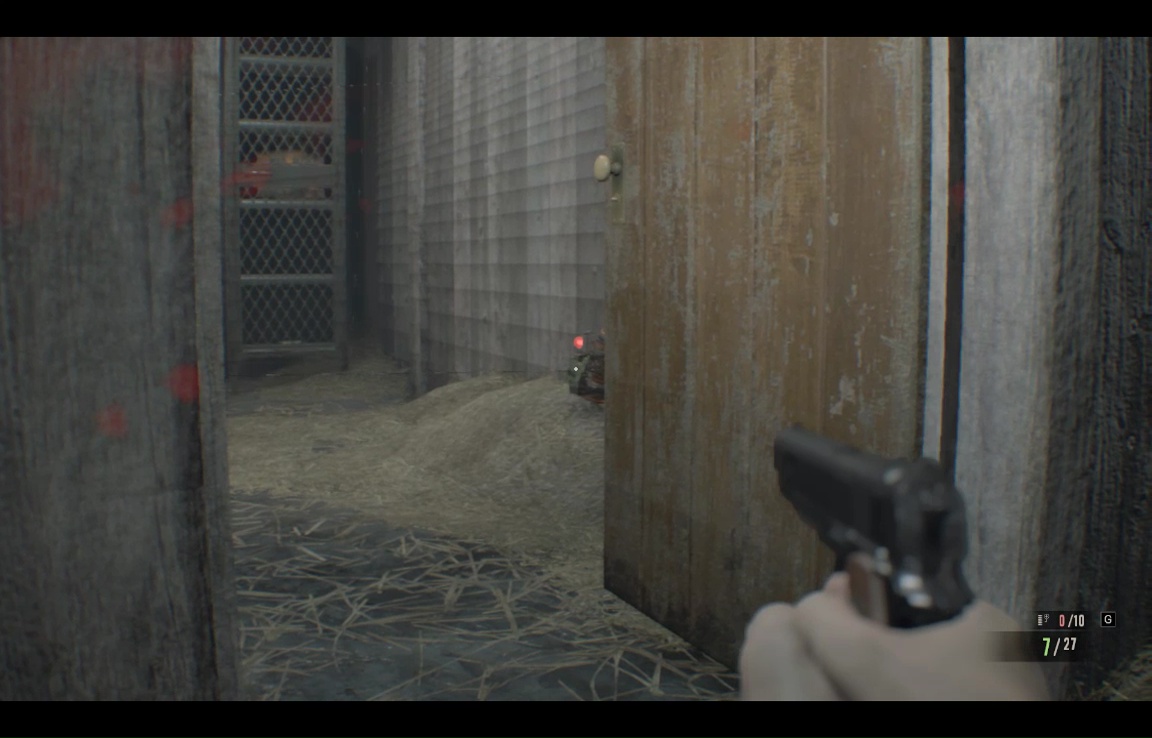
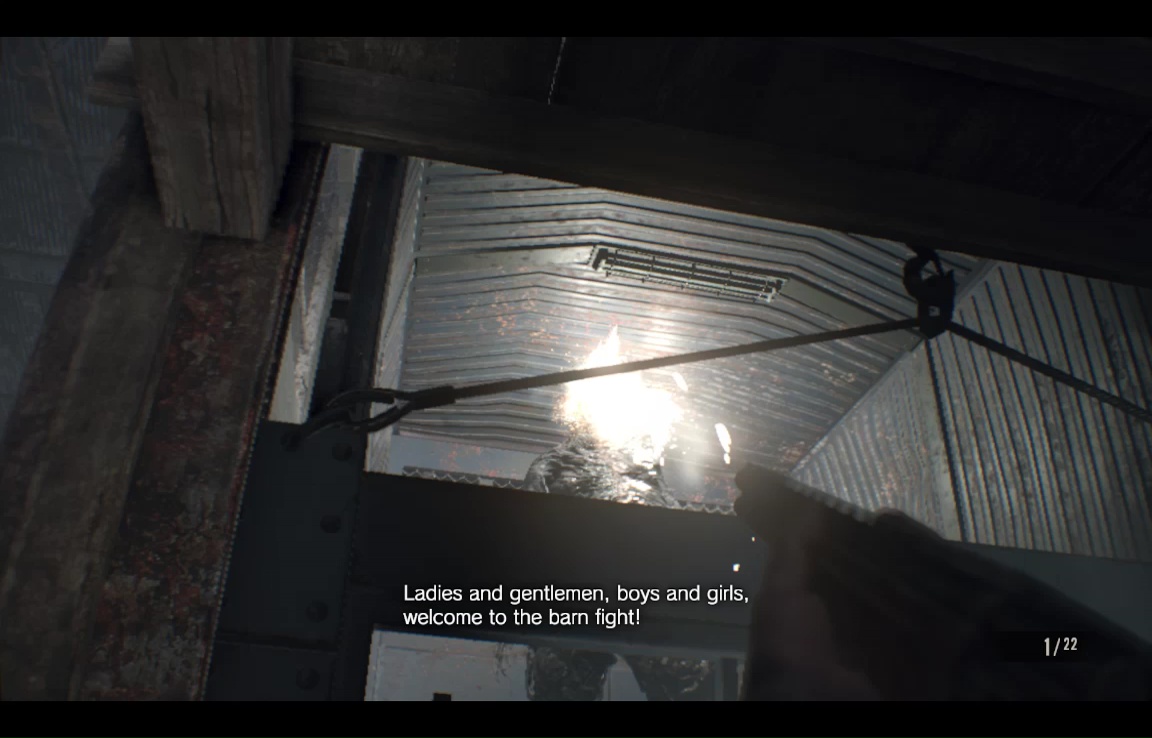
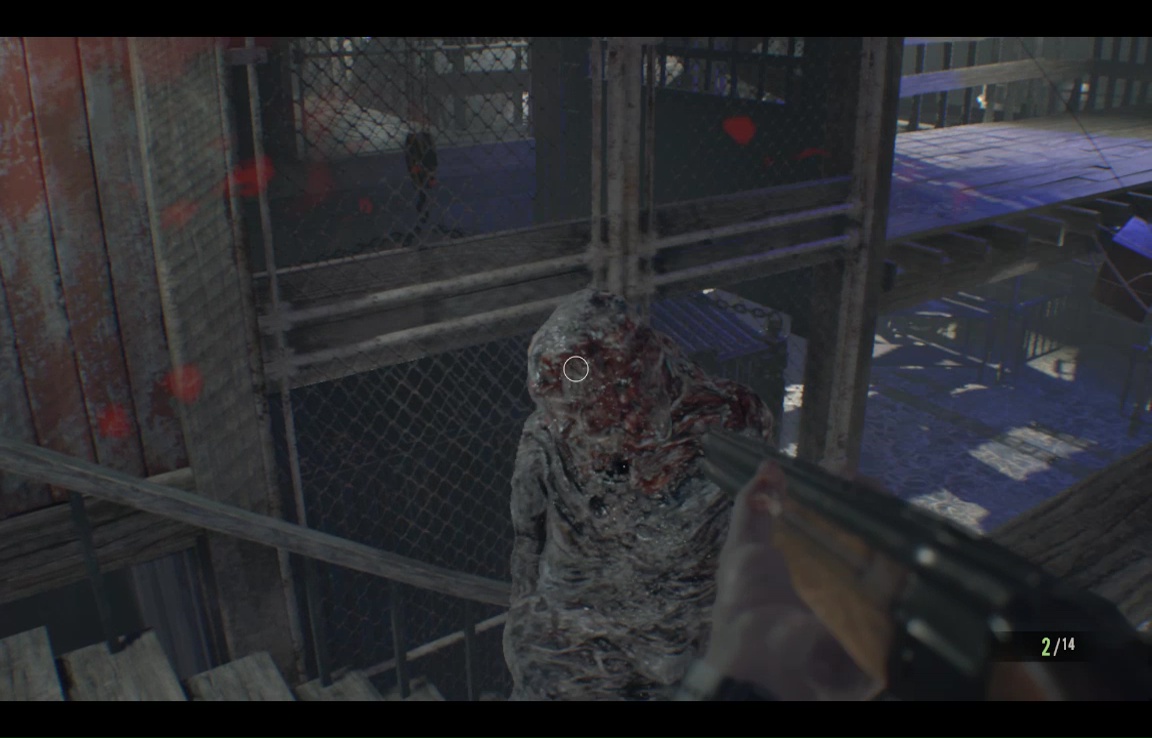
Sneak carefully into the barn, eyes right. This is your first real chance to ambush a baddie, so make your first few shots count.
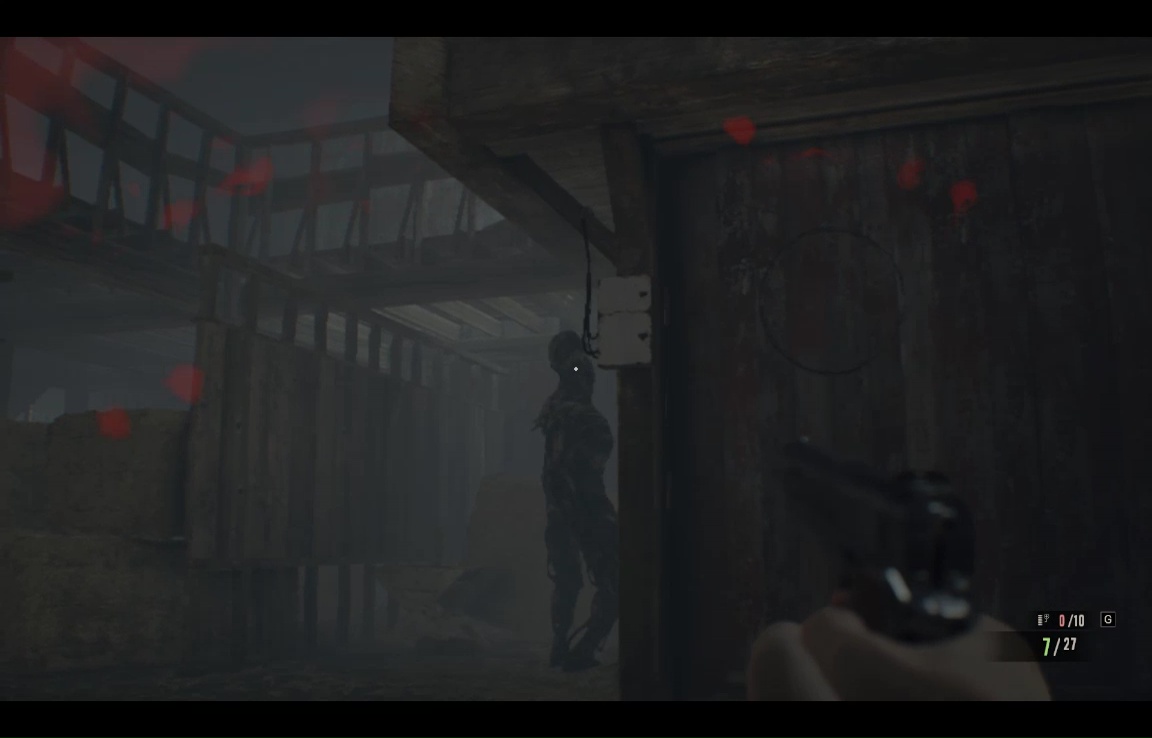
Of course, it's not the only one here,so retreat back down the hall, remembering to duck the tripwire. This bomb should badly wound the other walking Moldy- so take it down with the pistol, then switch to shotgun for a crawling Scyther.

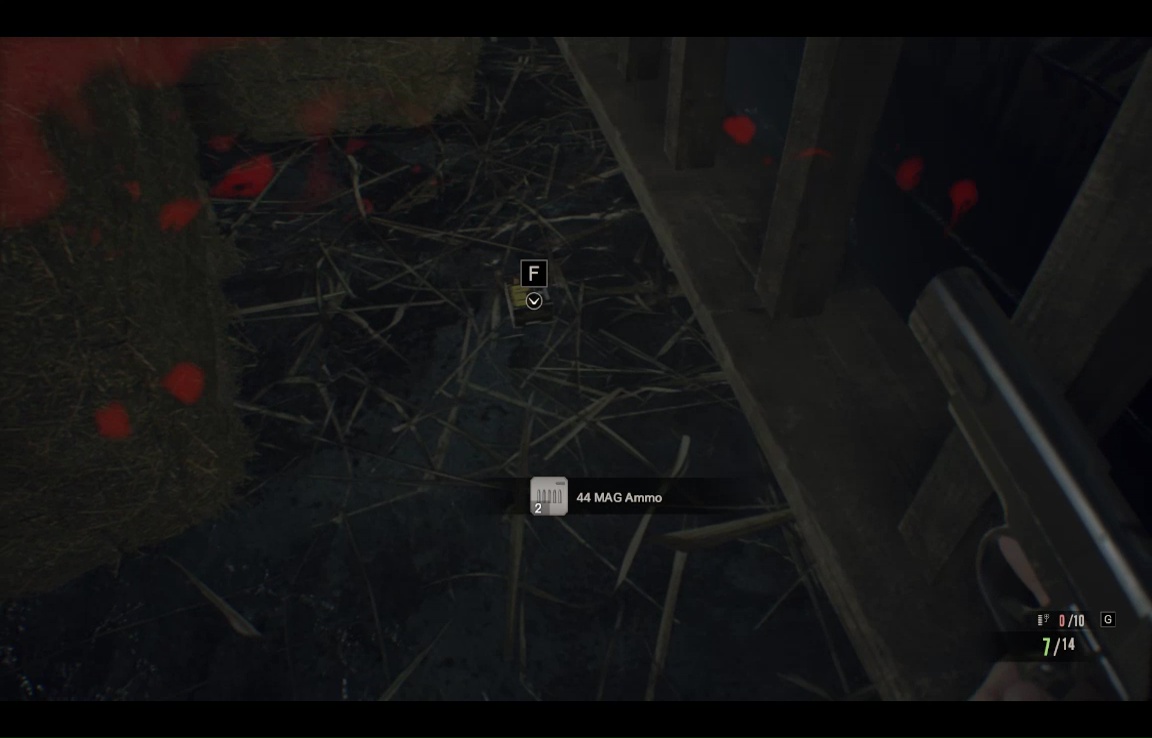
There's some random loot around the barn here, including some Magnum ammo behind the hay bales dead ahead.
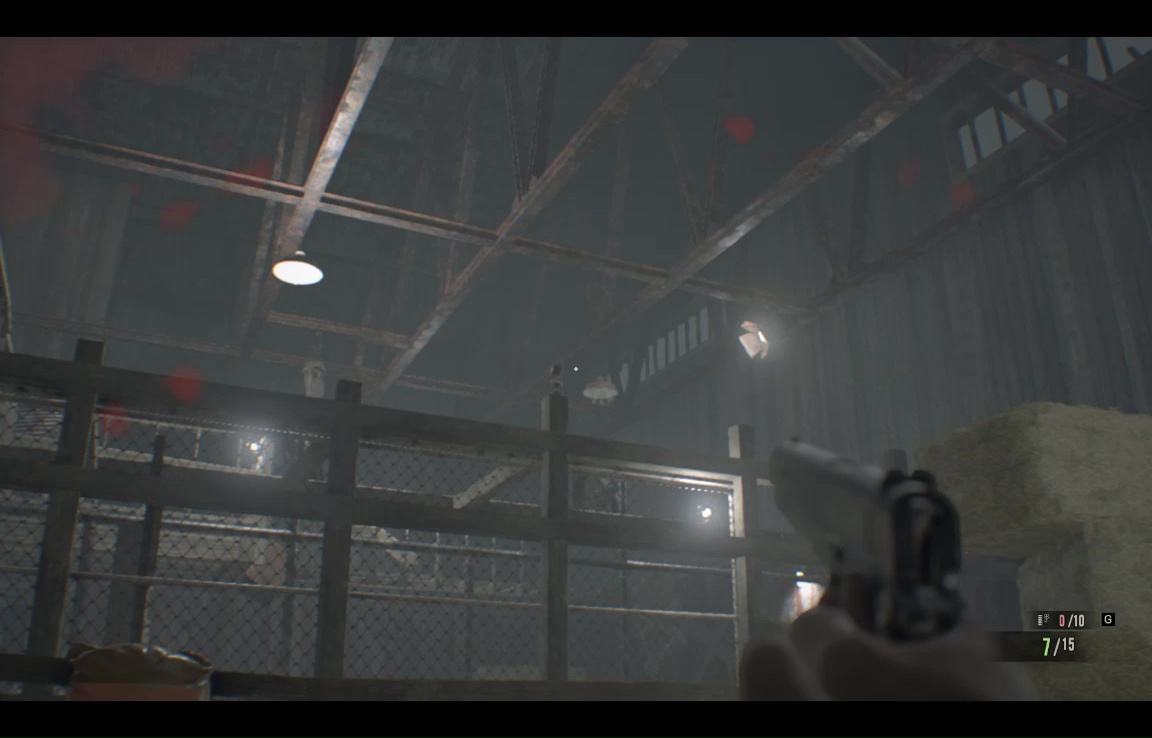
Also remember to to look up and toward the center of the room to see a familiar silhouette balancing on a post. Put a bullet through one more Mr Everywhere.
Climb the stairs and go dead ahead for access to a new save room.

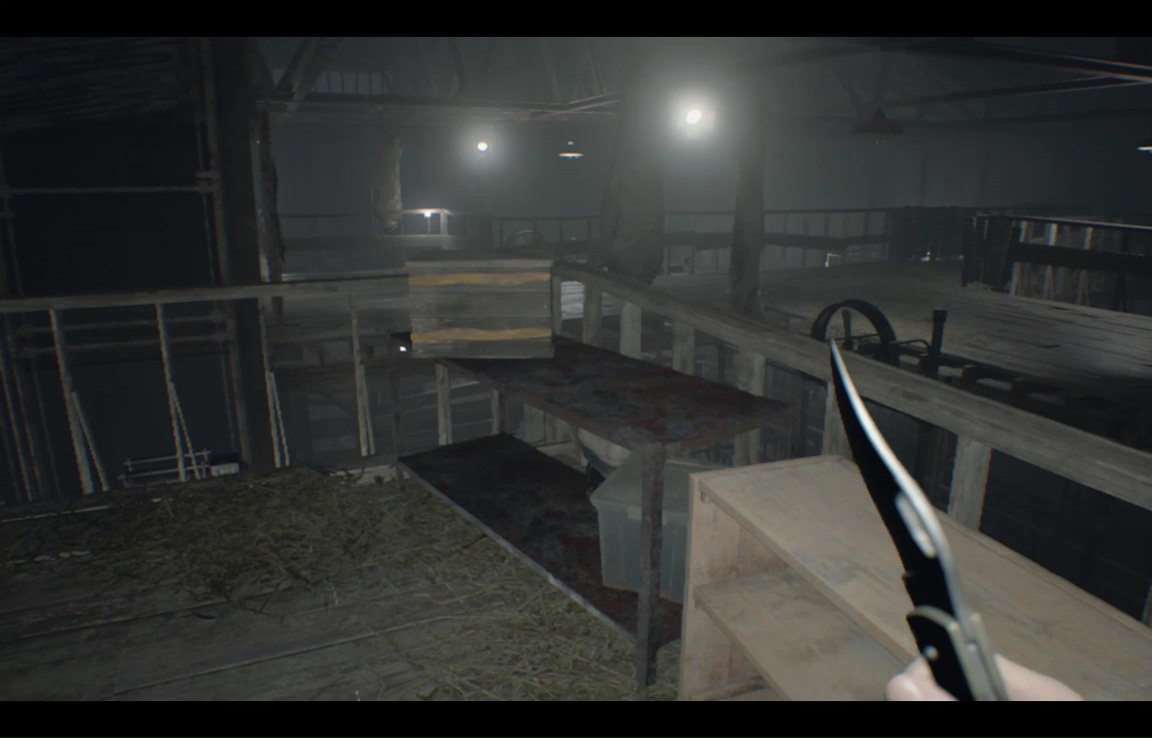
You may want to loot the surrounding area first, but do not drop down to the lower level until you're ready for a fight.
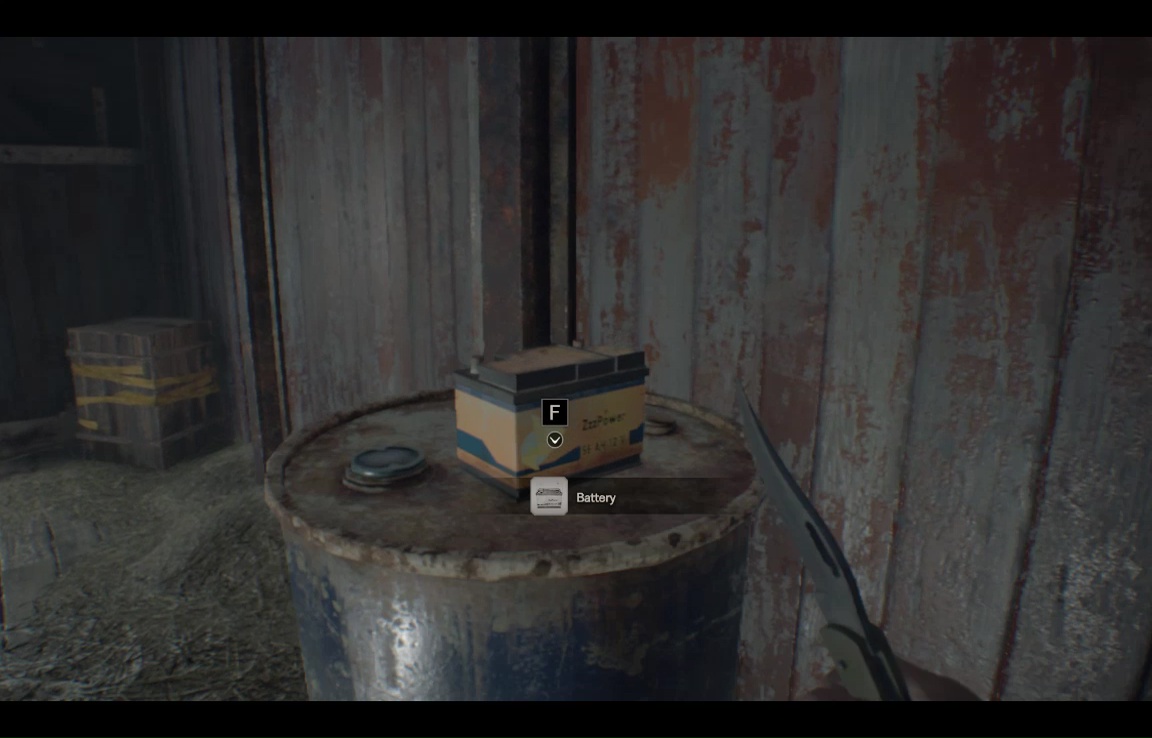
When that happens, drop down to the new area, and immediately climb the stairs to grab a battery.
Loot the area. Only the crate on the balcony metal table is trapped.
When done, put the battery in the console.
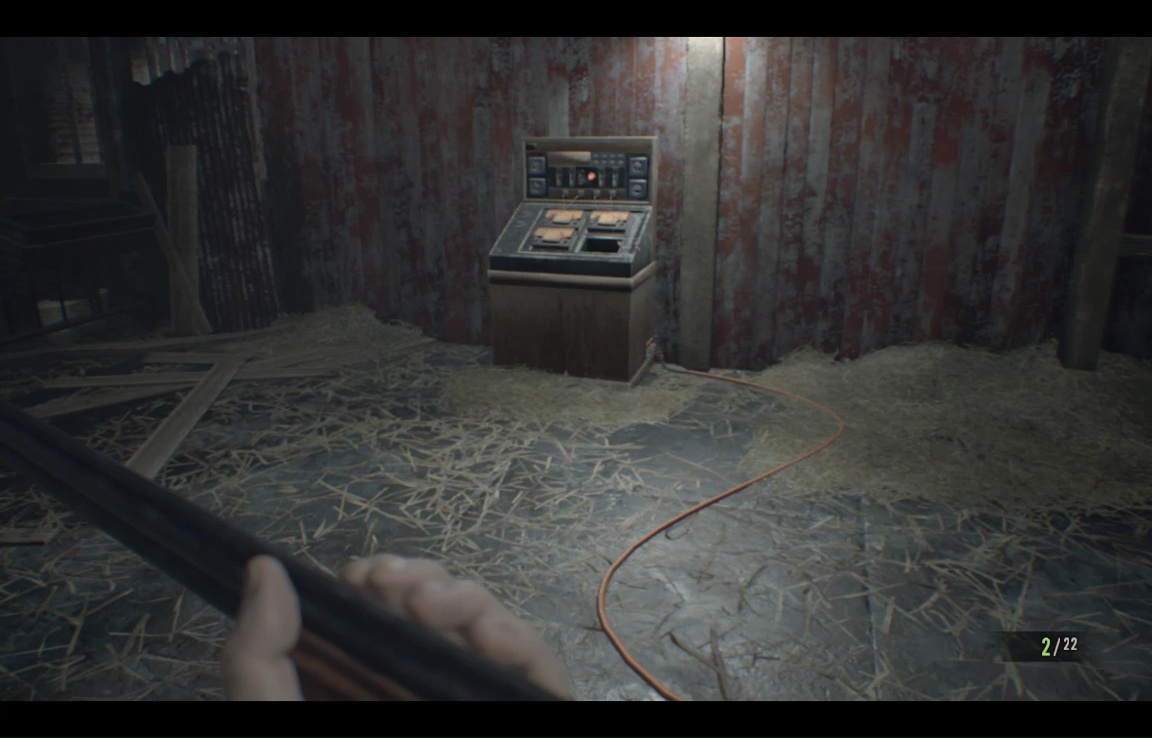
It will, of course, explode, but not significantly. Pick yourself up and run to the elevator, where a Super Moldy is descending. You get a few free shots before the doors open- the shotgun can do some nice damage here.
Things get a little trickier when the doors actually open- this thing can not only take its shots, but projectile vomit acid a respectable distance. Retreat up the stairs- it has some difficulty aiming over the railing, and keep shooting its bulbous head until it falls.
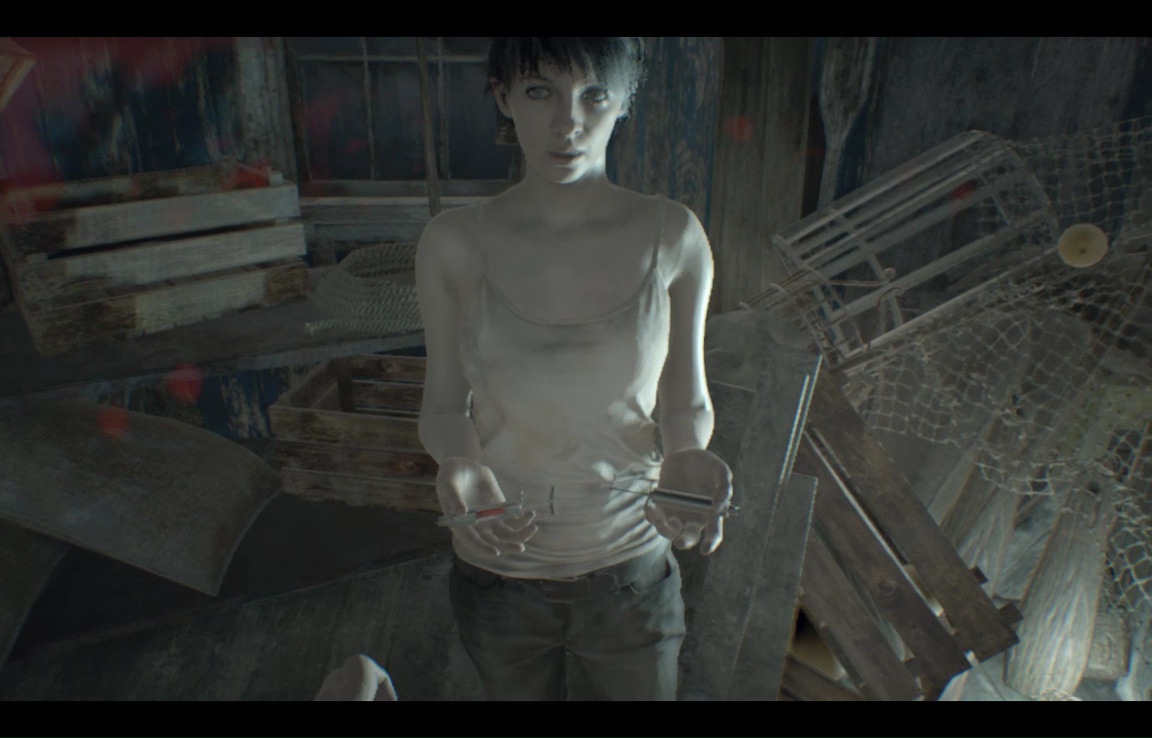
When it does fall, you should immediately gain some distance, as it will explode. After, take the elevator up to a small room where we find the last remains of Clancy Javis.
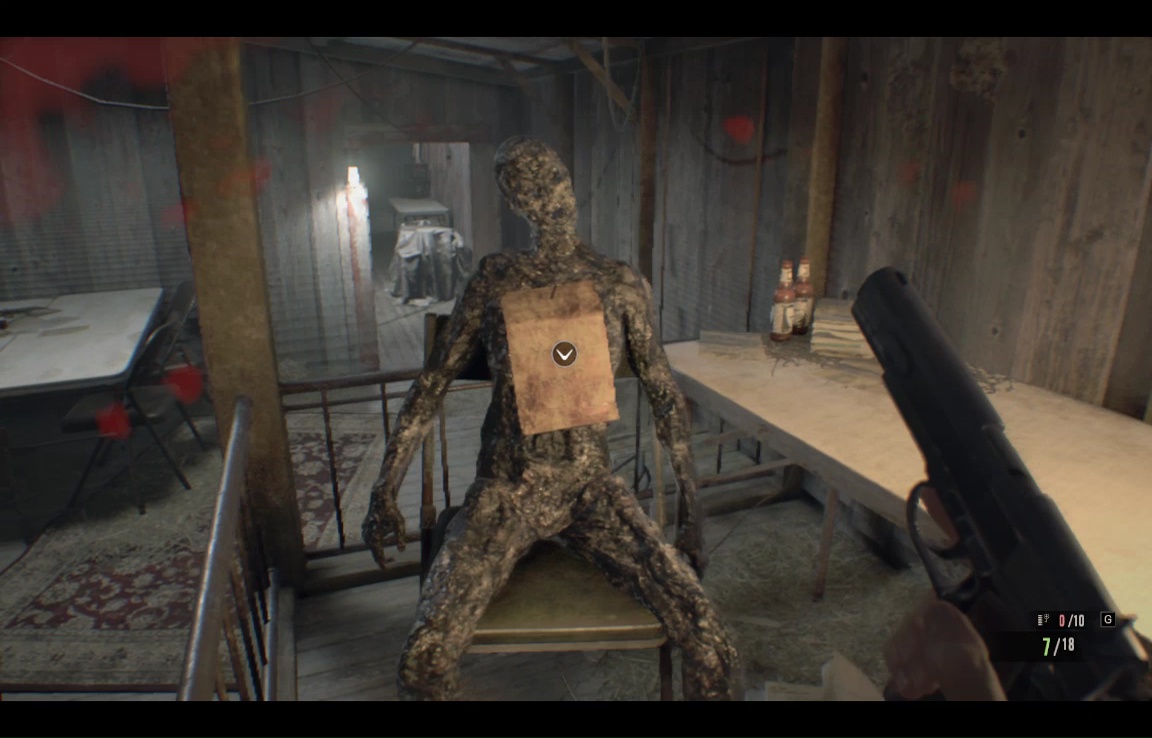
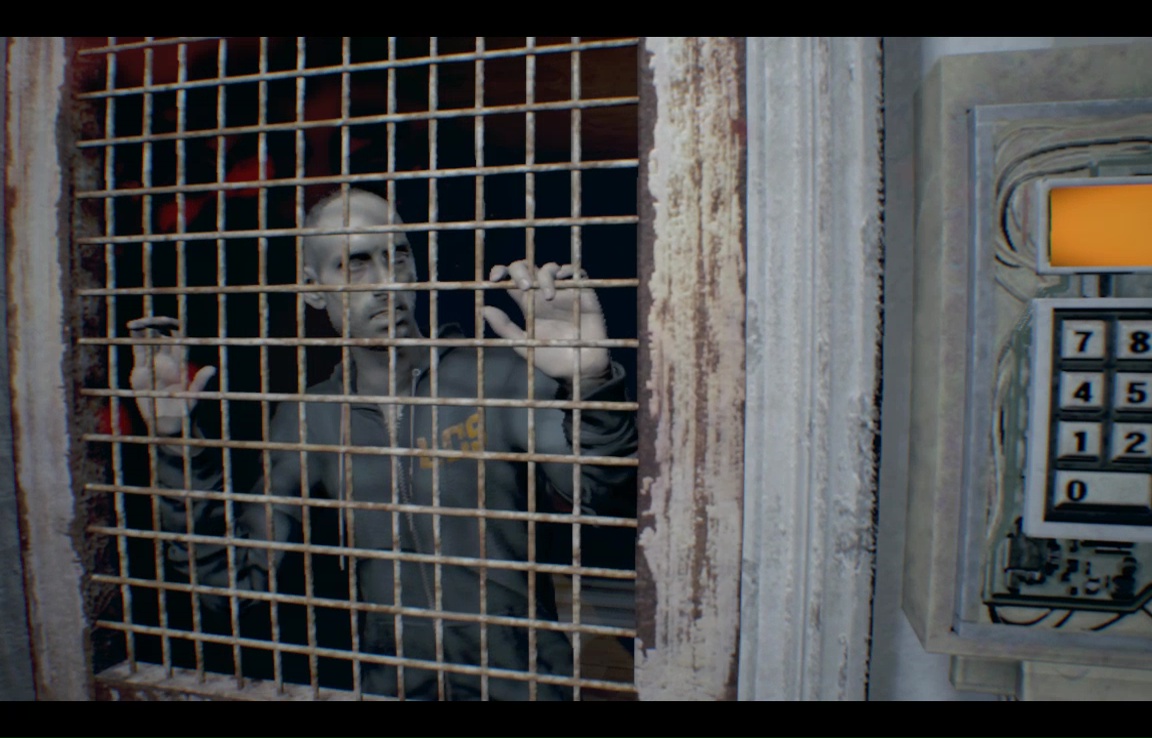
Read the note on his chest for a File entry, and the code to the keypad from earlier. As you exit the room, note the shelves on your right- there's an Antique coin on them.
Hit the button to lower the stairs here, which will take you back to the keypad room. Convenient. Type in the combo, and Lucas will demand you leave all your gear in the box before entering.
Go ahead and comply with his insane demands. Once you do, the door swings open, and you'll find yourself in the birthday room from the earlier video.

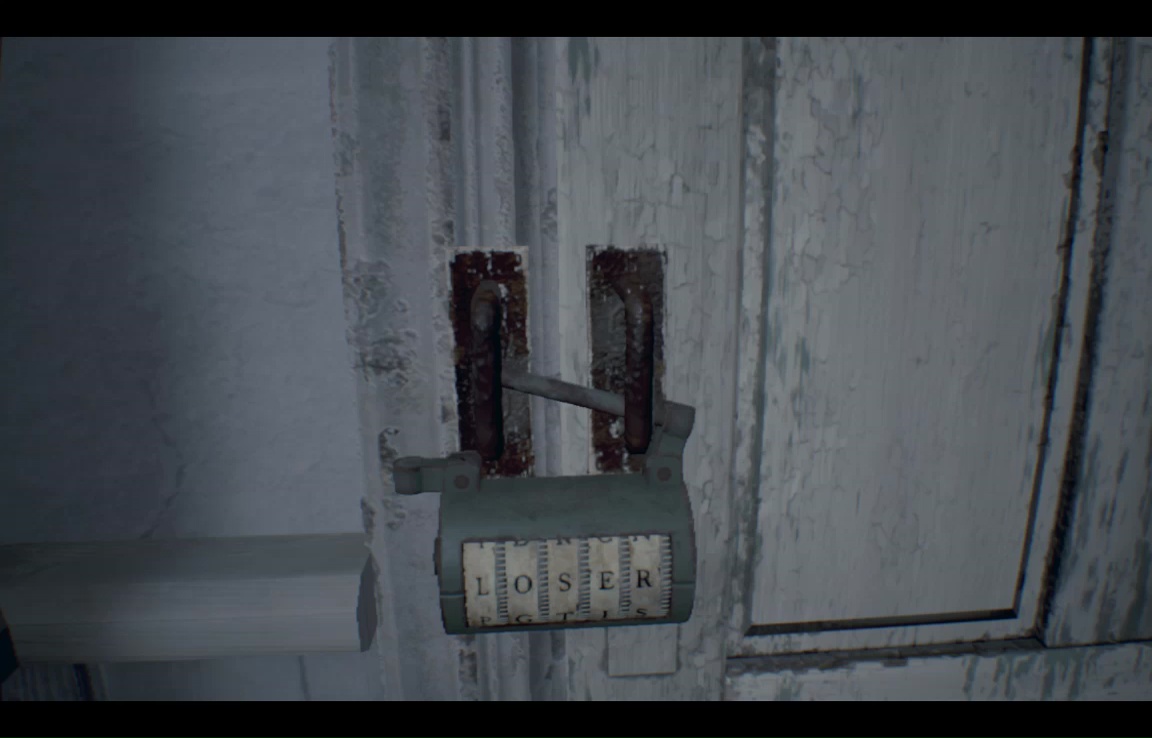
Start things off the same way- grab the candle, walk into the cake room, let Lucas make his mad little speech. Do NOT, however, pull the key from the keg. Clancy didn't make it out of this room alive, but at least he showed us the way. Once you can act again, go back out to the kitchen and light the candle, then burn the rope sealing the balloon room. Ignore the spiky balloon of death, and instead go straight to the password wheel, entering 'LOSER,' as we saw before.
Grab the valve, shut off the water, light the candle from the stove and plop it on the cake. The cake explodes as before (Ethan should really have known better), but without the oil from the keg, the room fails to ignite. Thanks, Clancy. In surprise jerk move, Lucas drops a bundle of dynamite from the ceiling.

Rush over to grab it, and jam in the hole in the wall just a few feet away (right of the cake, left of the keg).
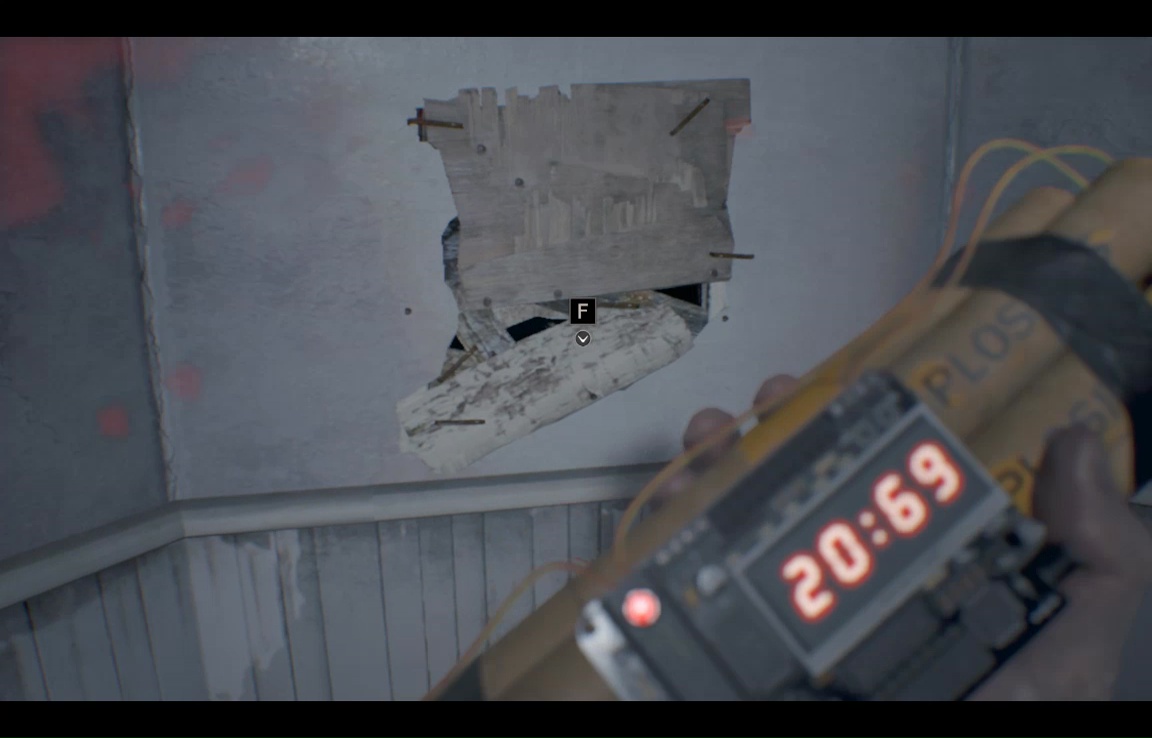
Jog out of range, wait for the blast, then jog back to find a new passage available to you.

This little room has the D-Series head you need for the serum, and a monitor with Mia and Zoe.
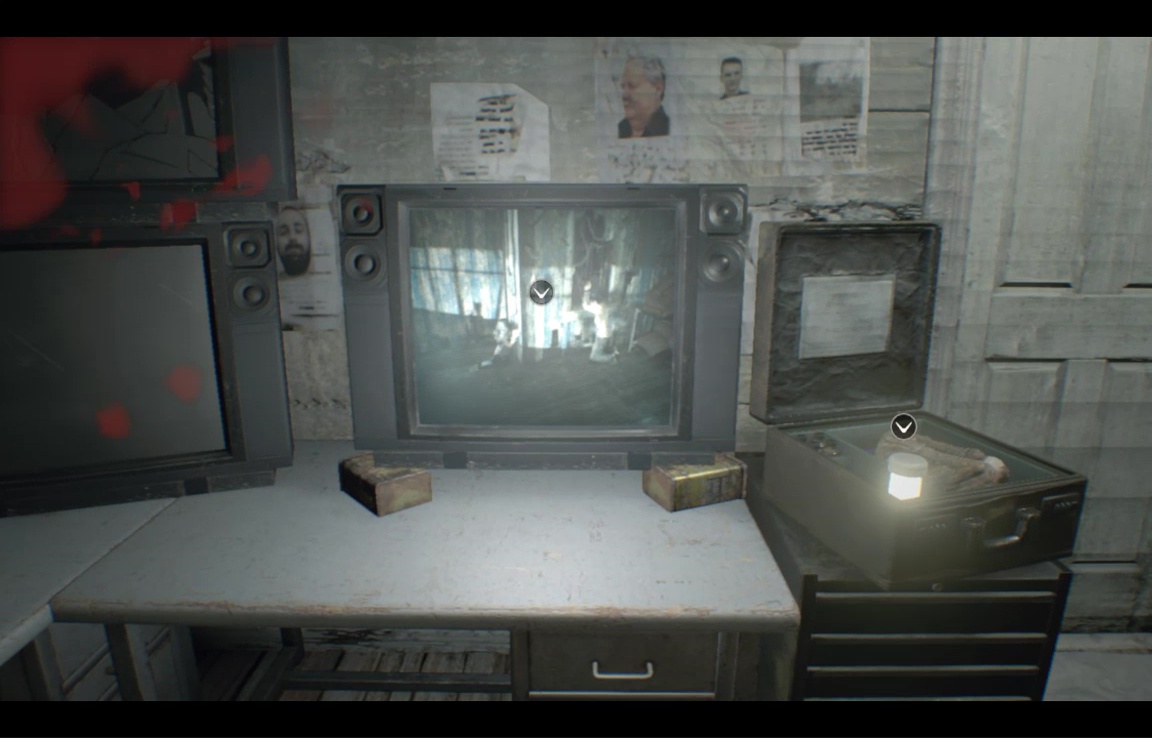
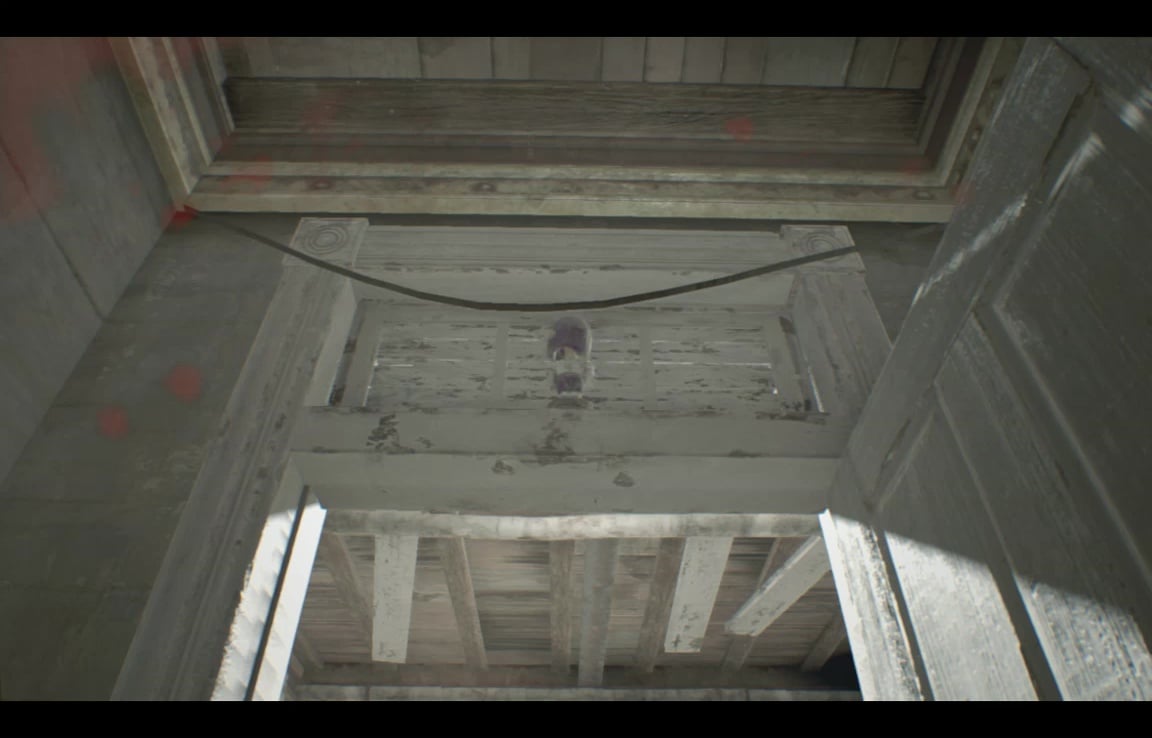
Grab the one and watch the other, then claim all your stuff from the inventory crate here, being sure to take the Crank from the Old House. You can also pick up a map of the testing area. Before saving, step outside the far door, and look up and behind you. You'll see a Mr. Everywhere hiding on the lintel.
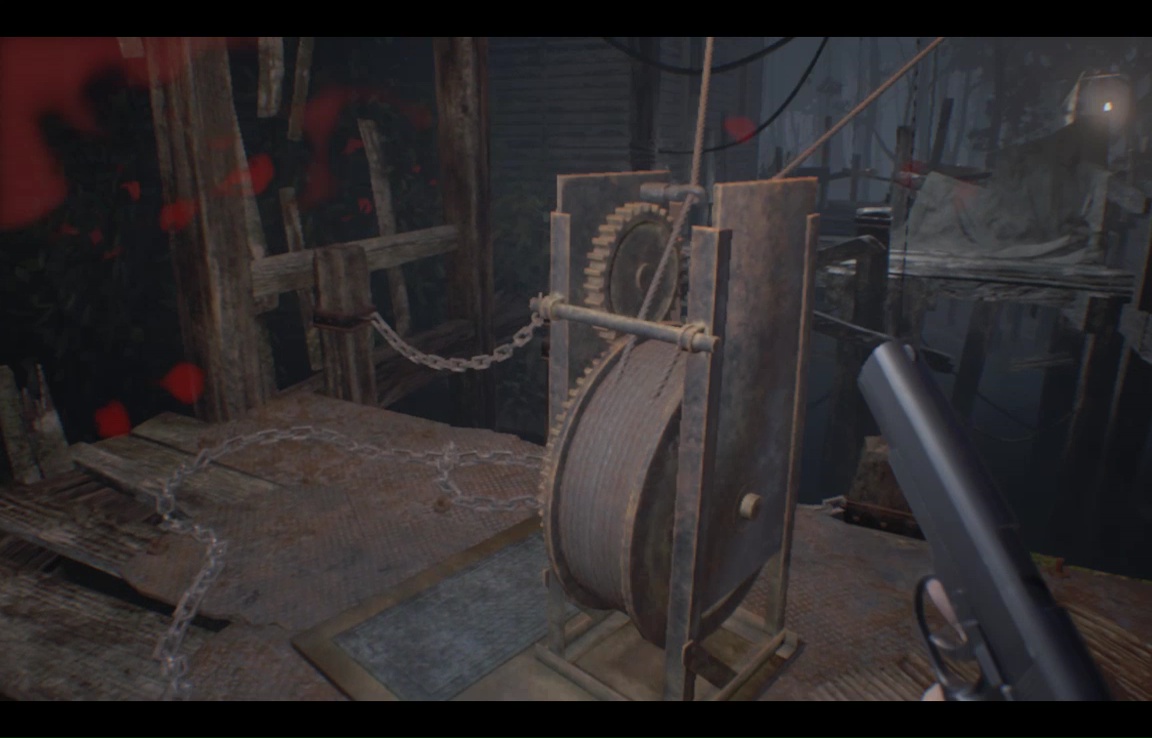
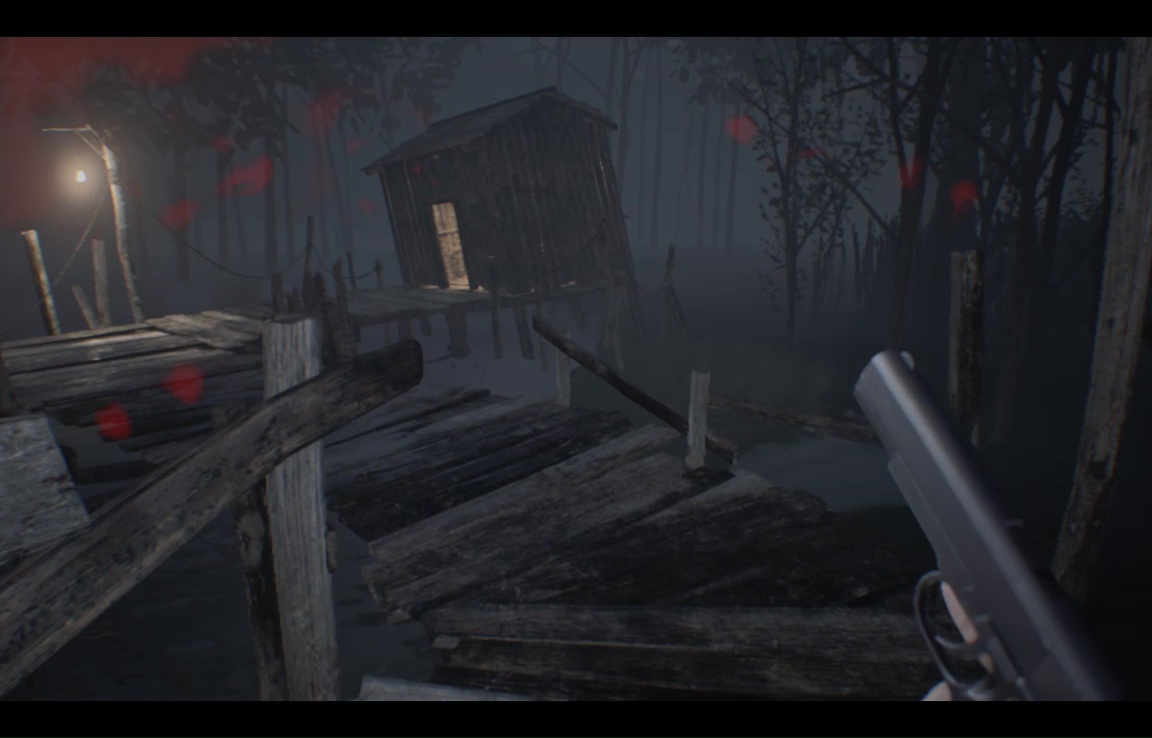
Take him out (he's close enough for a knife swing), then return and save your game. Head out to the little pier, grab some shells from the yellow counter to your right, and some bullets from the tarped boxes ahead and to your right. Then apply the crank to the mechanism here to raise a new bridge.
Start down the rickety pier, bearing left then left again, heading for a slanted boathouse with an illuminated doorway.
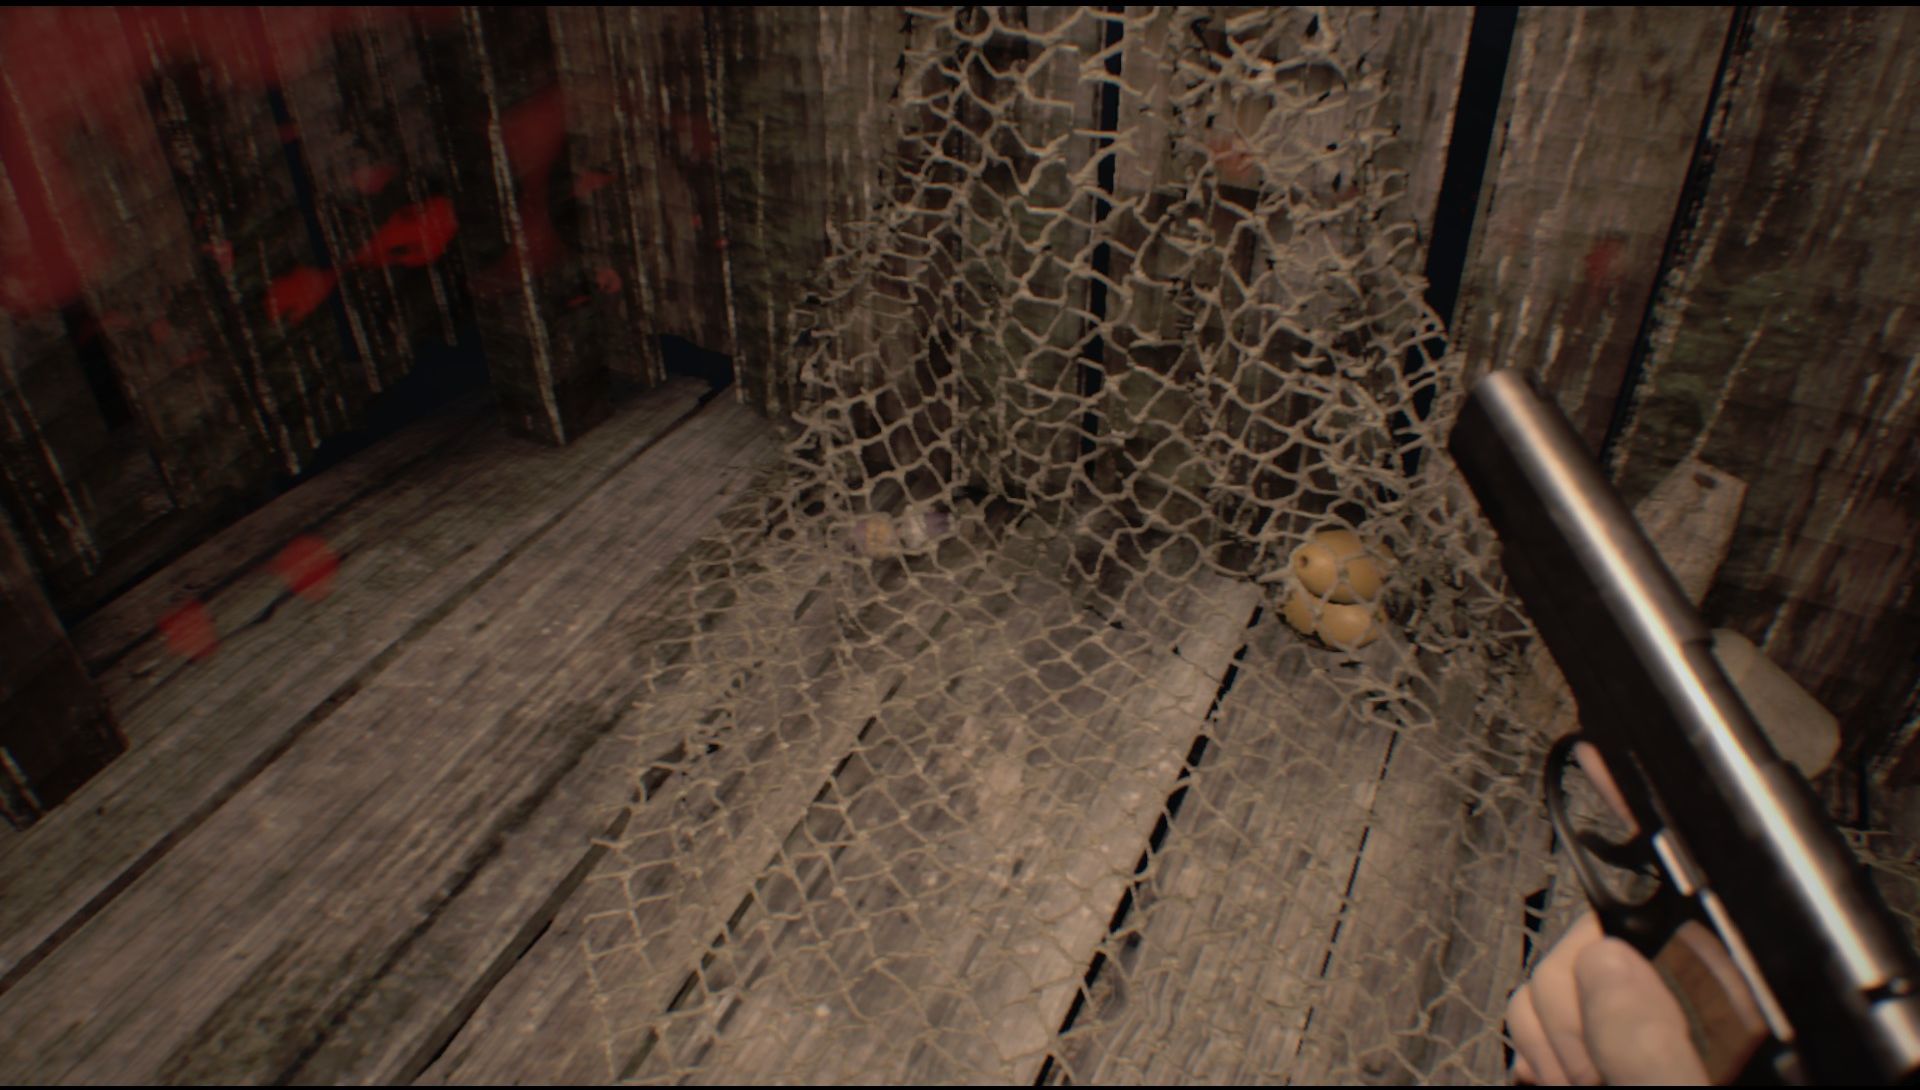
Inside you'll fend some chemfluid, some supply crates, and a very sneakily hidden Mr. Everywhere in the nets here (he's lying on his side- is that even allowed?).
Leave the shack and head straight for another crank mechanism. Ready your weapons, because things are about to move fast.
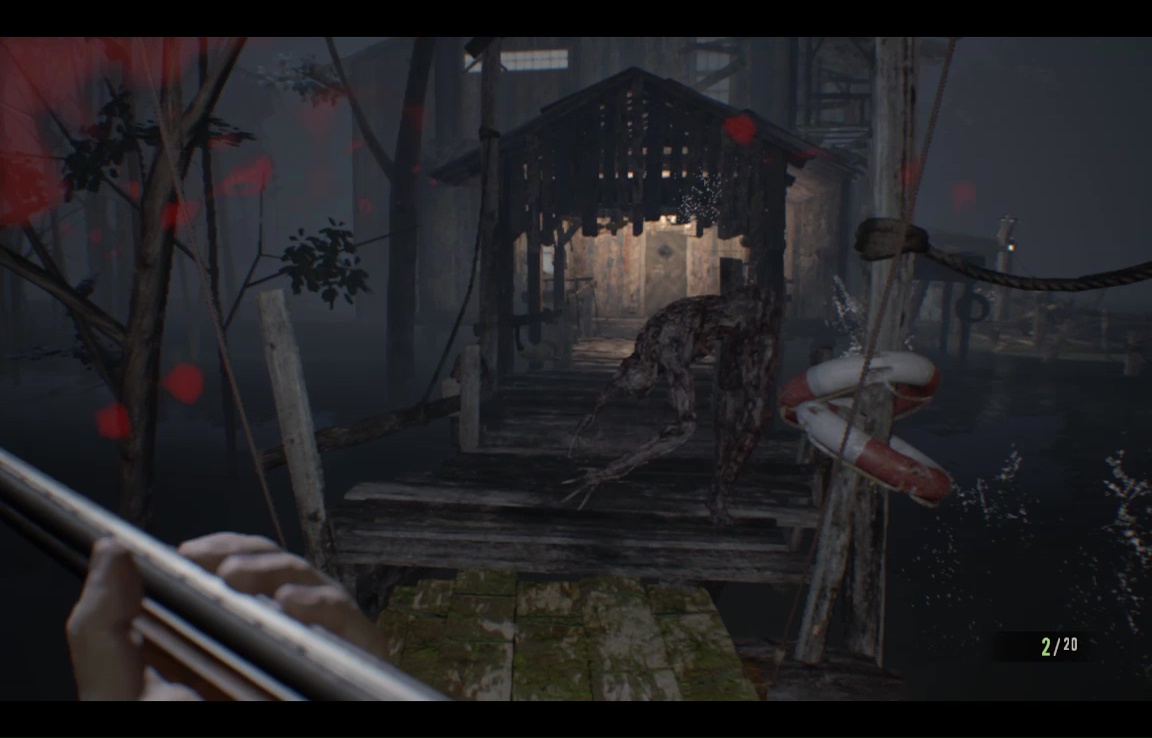
The moment you step onto that end of the pier, enemies will start swarming behind you, so quickly slash and loot the crate, then use the crank to raise a far bridge. Spin around to find a quadfoot rushing toward you. Give it a blast of the shotgun as you run by, just enough to let you get past it.
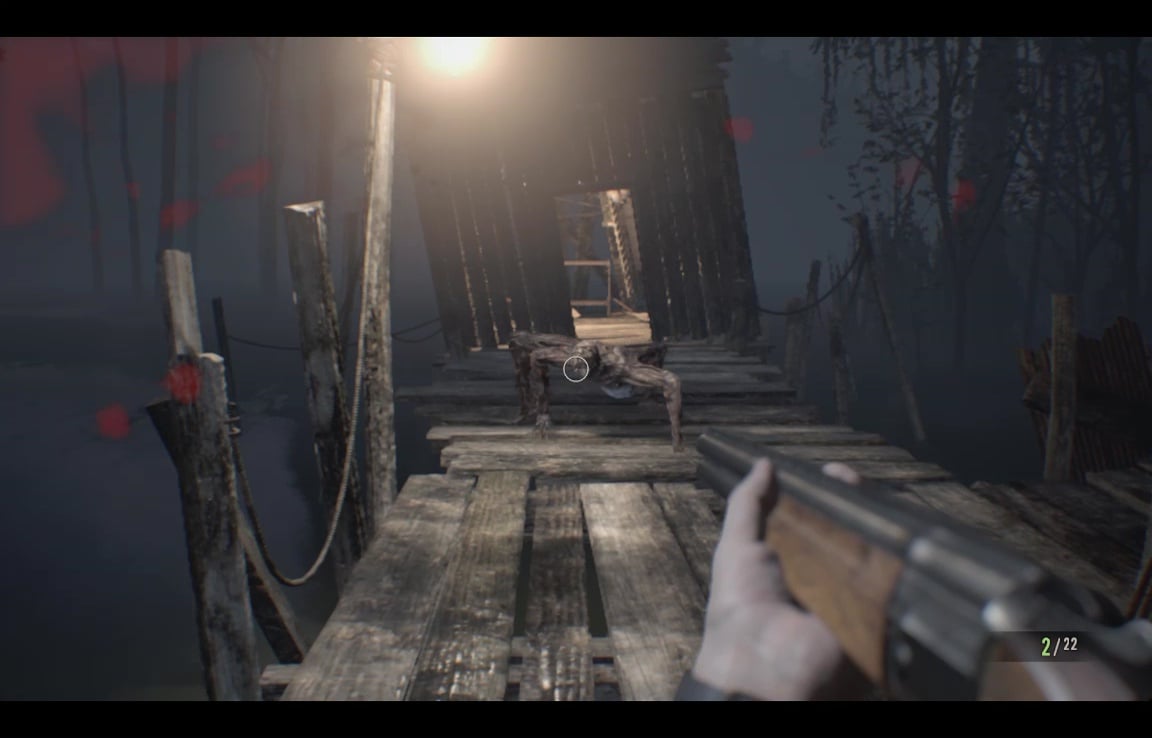
Two shambling moldies are closing on you as well, but if you sprint you can reach the path junction before they do, and make it by without firing a shot. Your last obstacle is another quadfoot that leaps from the water just before you reach the far door. Again, a good shotgun blast to the head should daze it enough for you to make to the door, which is a safe room.
Pick up the rainbow of Chem packs above the recorder, and the Grenade Launcher shells from the nearby case. There's also some ammo, gunpowder, and a supply crate lying about. Use the inventory tub to equip yourself for the longest boss battle to date – bring plenty of shotgun ammo and enhanced pistol ammo- if you have to leave a weapon behind, it should probably be the burner. You can also ditch the Crank, but do bring along the D-Series head and arm. Go up the stairs and cut the girls loose. Zoe will make the serum… instantaneously. Complete with syringes. I didn't even hear a blender.
Take them to trigger a blockbuster of a battle.
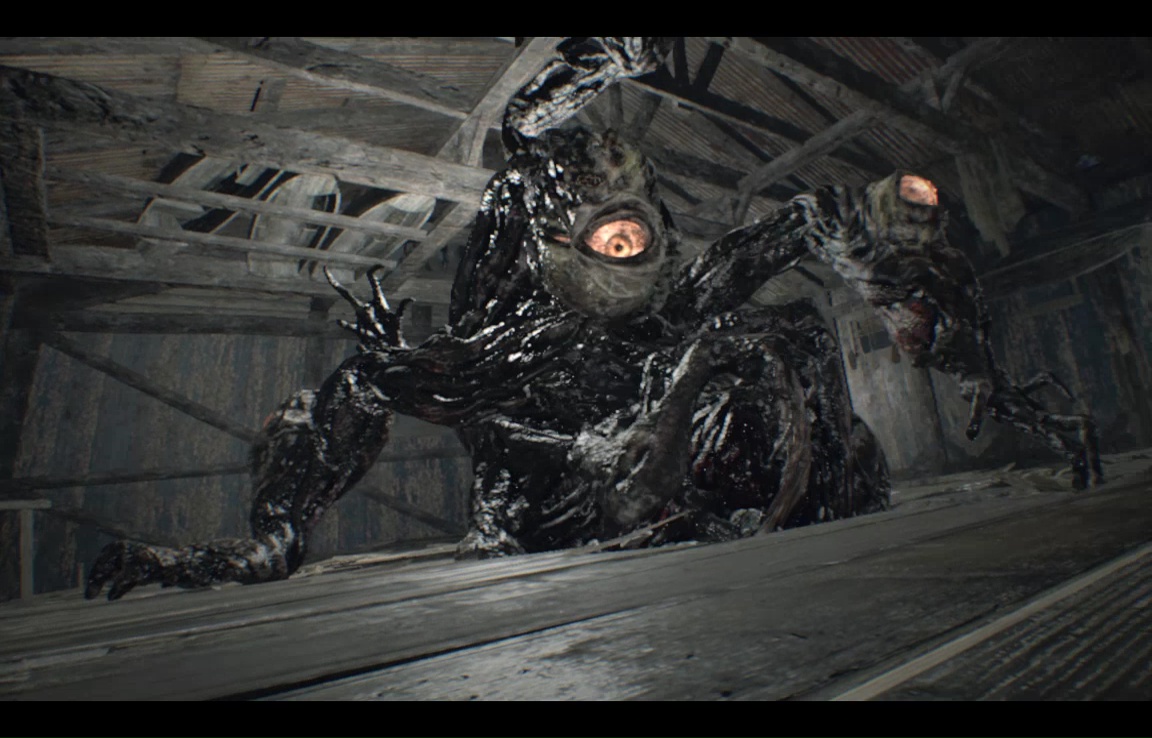
Jack's back, in a new, gigantohideous form. This battle isn't really difficult, but it does take a lot of ammo, and you're going to take a certain amount of damage just because it goes on for so long. First order of business is to get moving- stay in this corner and Jack will simply smack you to death. Sprint left to fall down to the lower level. Jack will follow you sooner or later, but no matter which level he's on, he'll have an extremely hard time hitting if you keep running around the outer edge of the lower level counter-clockwise (eg, always strafing right). You'll have noticed Jack is covered with orange eyes- you have to take them all out.
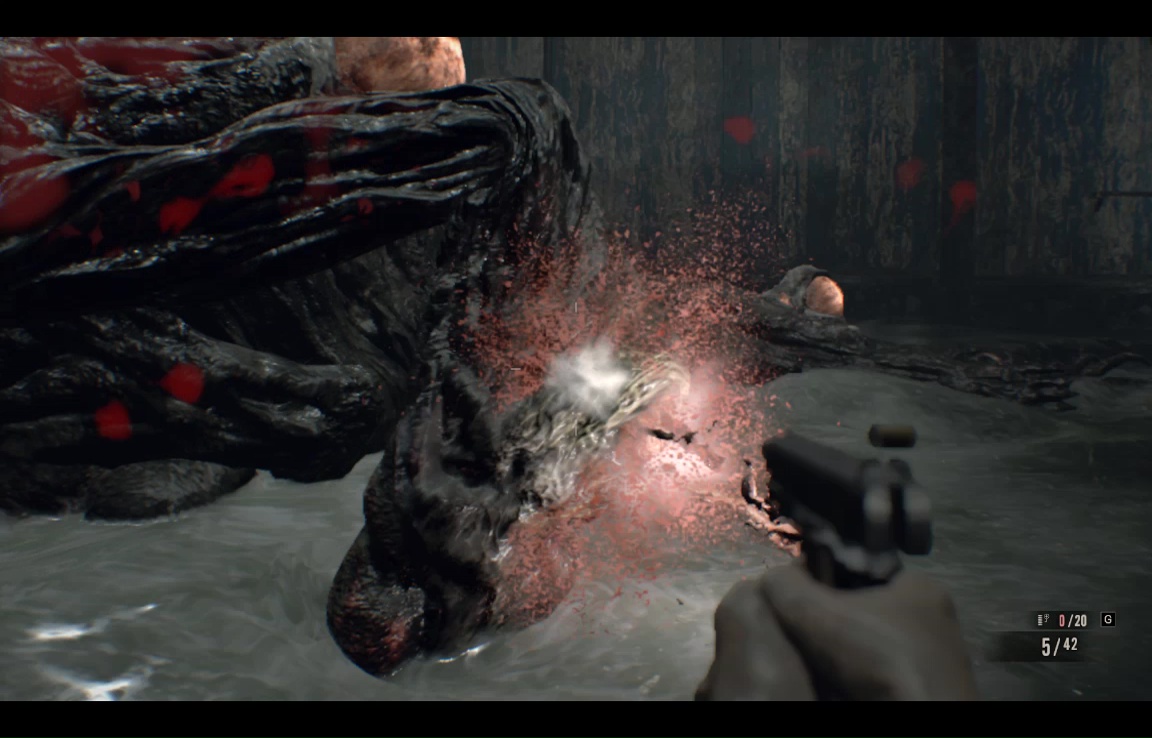
I found enhanced pistol bullets and shotgun blasts the best way for this kind of surgical work, but others have found the area damage of the grenade launcher helpful as well. In either case, Jack has a ton of eyes, so just keep picking away at them. Each time you burst one Jack will writhe around on his back for a bit- this is a good time to heal and reload, but it's also a good time to get the hard-to-reach eyes on his belly and right elbow.
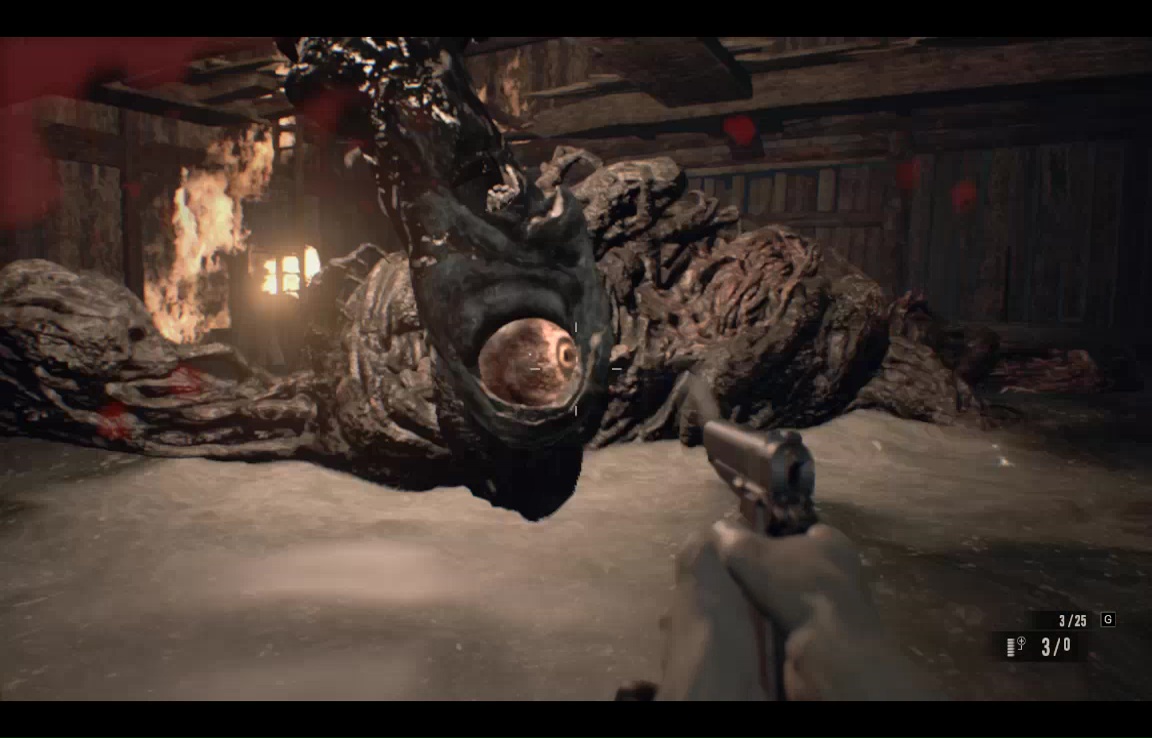
There are some item crates here if you run perilously low on goods. One note is that most of these will be inaccessible once the fight is over, so hoarders may wish steal few seconds here and there to claim them. In anycase, once you've popped Jack's last eye, he'll dive under the water, then burst up again for some face-time with his regrown main eye. His smack attacks are dodgeable, and somewhat blockable. Each strike is slow, but he throws a lot of them, so mind your footing, and take out that last eye.

Make for the door, then a story event will see you use one of the serum doses to make him stay dead. Follow Zoe to the dock, where you have to make the central choice of the game- give the remaining dose of serum to Mia or Zoe.

It is a bit of a head-scratcher. On the one hand, you've essentially just met Zoe, and while she's technically been helpful, she's never been "Hey, here's a shotgun" helpful, or "I grabbed the Scorpion Key and bunch of ammo from the house for you, since Daddy isn't actively trying to kill me" helpful. On the other, hand, she's the only reason you have the serum in the first place, and she's never thrown you through a wall, unlike certain fiancees we could mention. And speaking of Mia, while rescuing her is what brought you to the Baker house in the first place, she's clearly a part of the darkness here, and, and, she cut off your hand with a chainsaw. So, you know- sit with that for a moment.
Tactically speaking, giving the serum to Mia lets you skip a boss fight later on, so if you're going Madhouse I'd definitely favor the girl with the long locks. Likewise if you're crafting a story [SPOILER ALERT] giving Zoe the serum essentially consigns her to death, so that's not very happy either. The last thing to consider is that each of the two endings gives it's own special achievement, so if you want both, you're going to have it play this bit through twice anyway. Make your choice, then get on the boat and away from this godforsaken hellscape.
UP NEXT: more hellscape!