The Mines, The Lab, The End
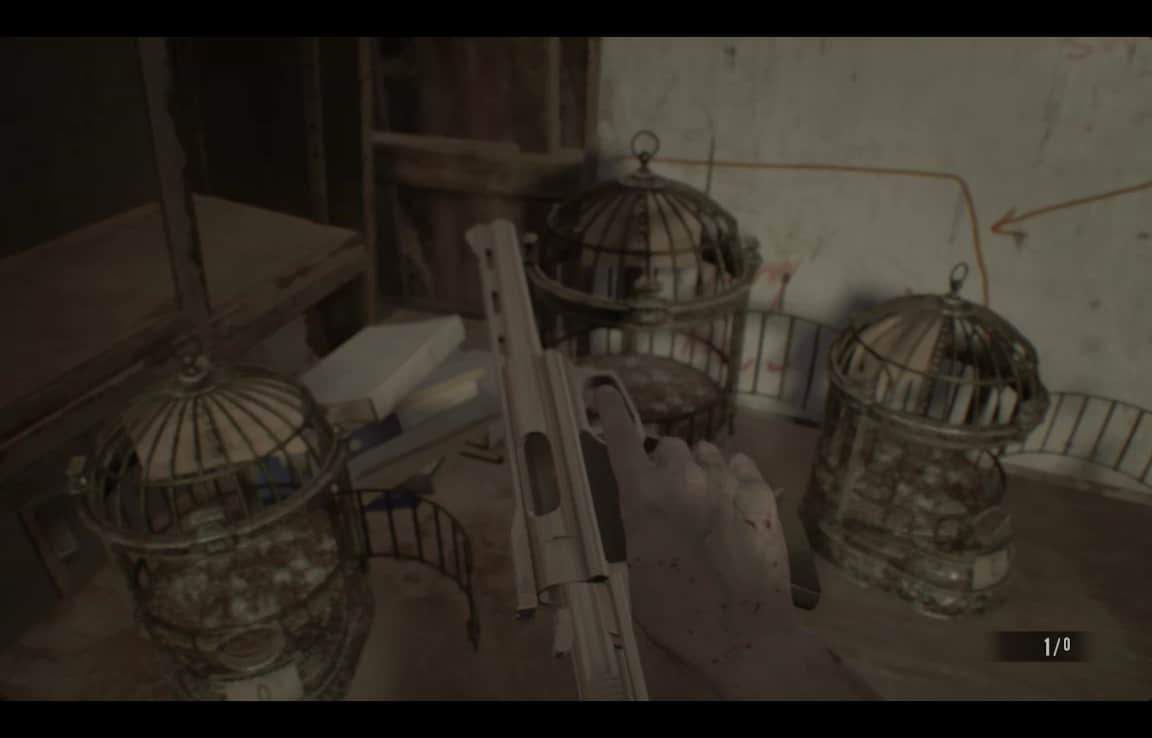
Back in the swamphouse, the same cages from Zoe's trailer have magically been transported here. If you did't pick up the Grenade Launcher earlier, that's been teleported in as well.

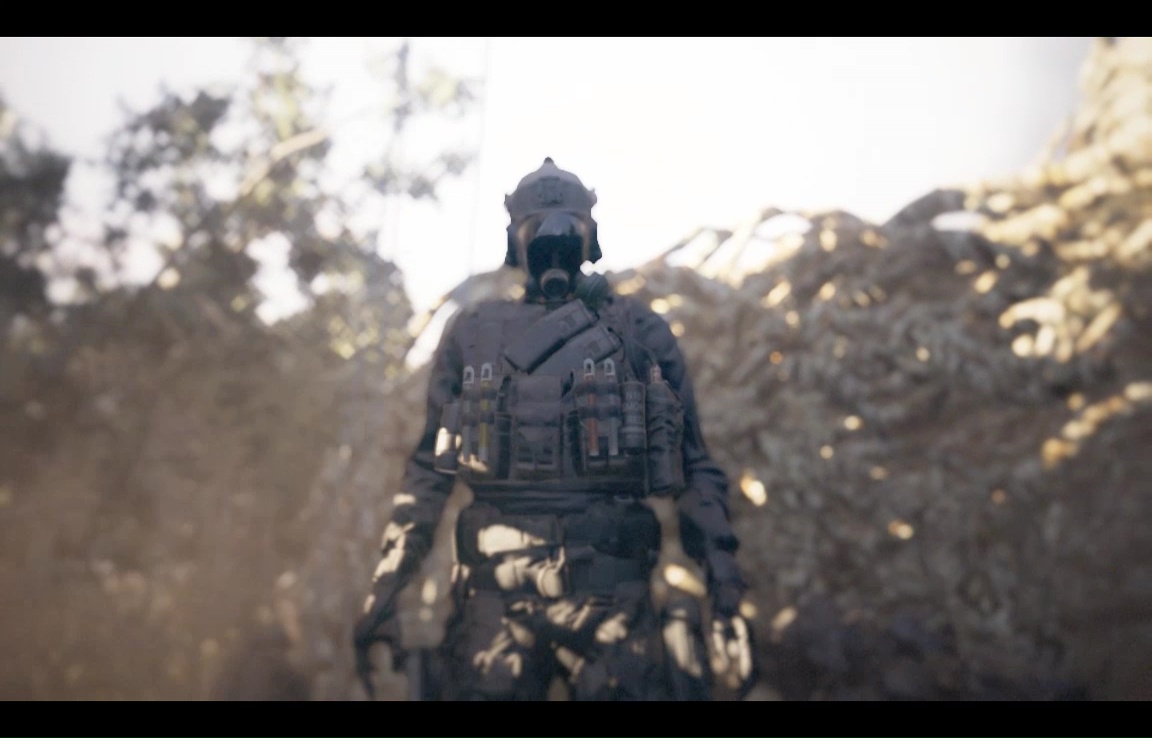
We're on the last lap of the game here, so if you've been hoarding ammo all this time, now's a chance to cut loose a little (though I'd still keep the Magnum ammo in reserve).
Retrieve all your stuff from the inventory box, which means retrieving the stuff Mia collected as well, including her machine gun. Is it any wonder you love that woman? You'll need to leave a few inventory spaces free for lootables, but otherwise pack yourself up with weapons, ammo, and healing. And lurch on out the door.
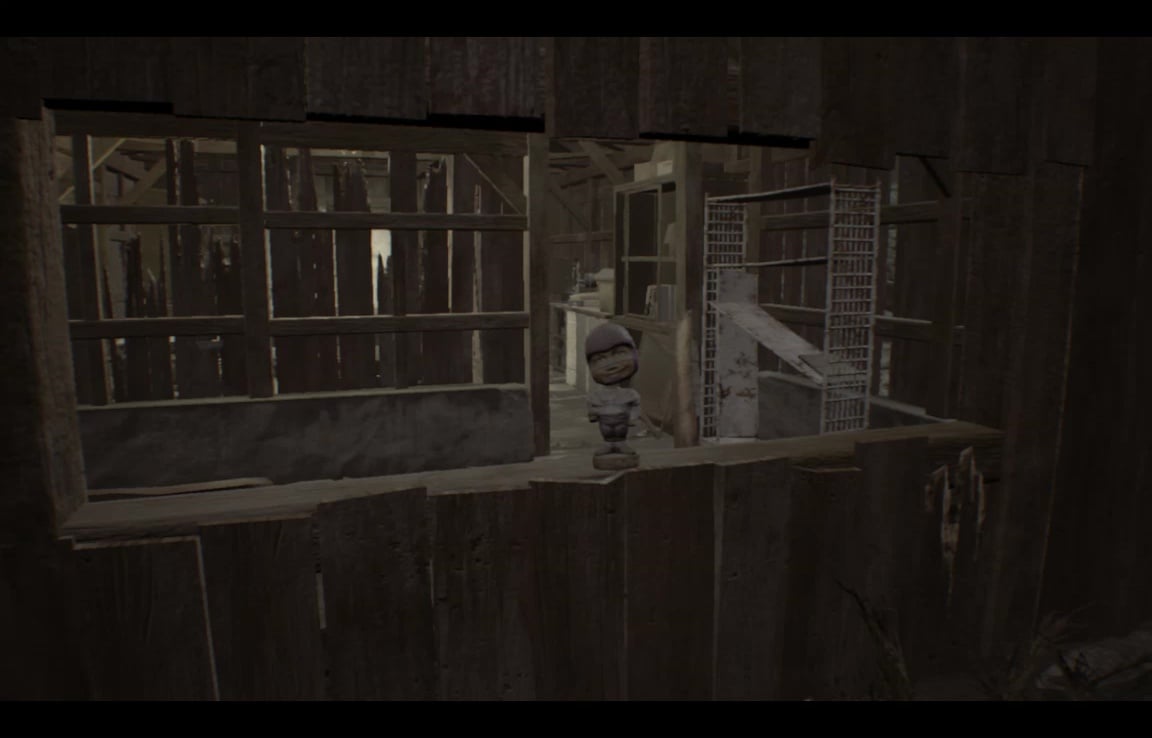
Turn back as you go- there's some burner fuel by the doorjamb, and a Mr Everywhere bobbling away on the windowsill. Frag him.
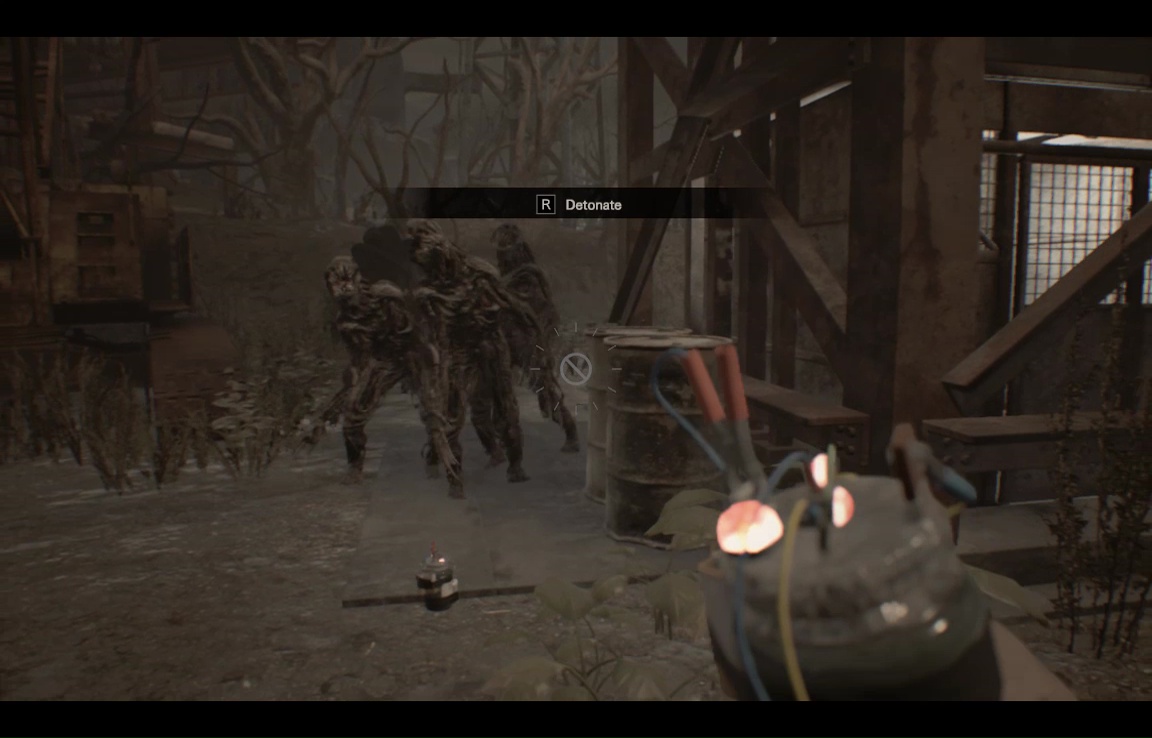
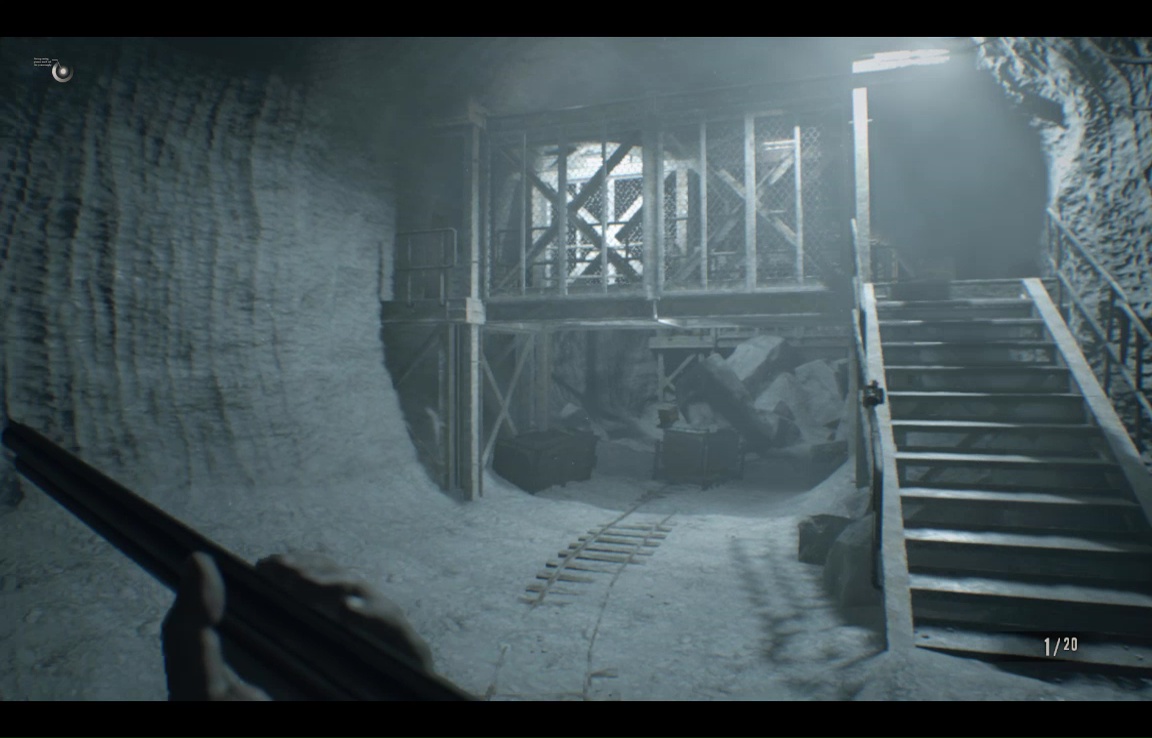
This path leads to a large open space with an elevator, where you will be attacked by several Moldies. They are, luckily, all idiots, and you can easily waltz around this area collecting loot while they vainly struggle to keep up. If they do start to annoy, just take a quick loop around the elevator shaft so as to clump up your pursuers, then take them out with a remote bomb.
When you're ready, hit the big red button to open the elevator doors.
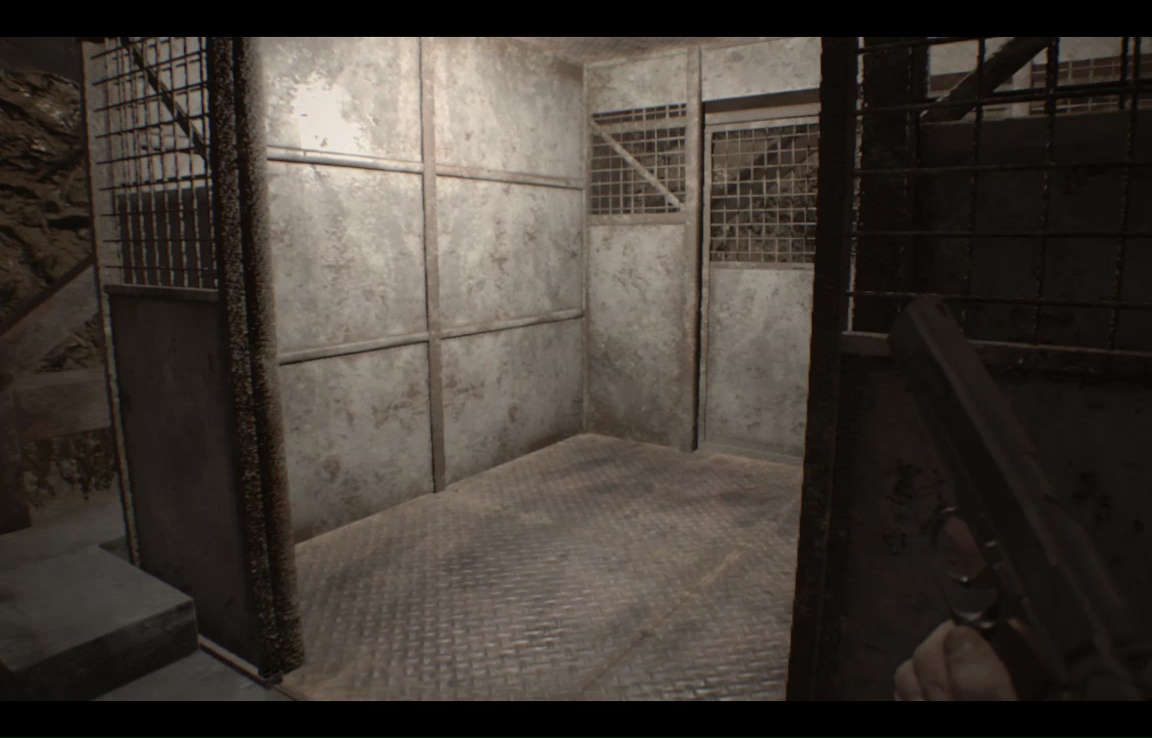
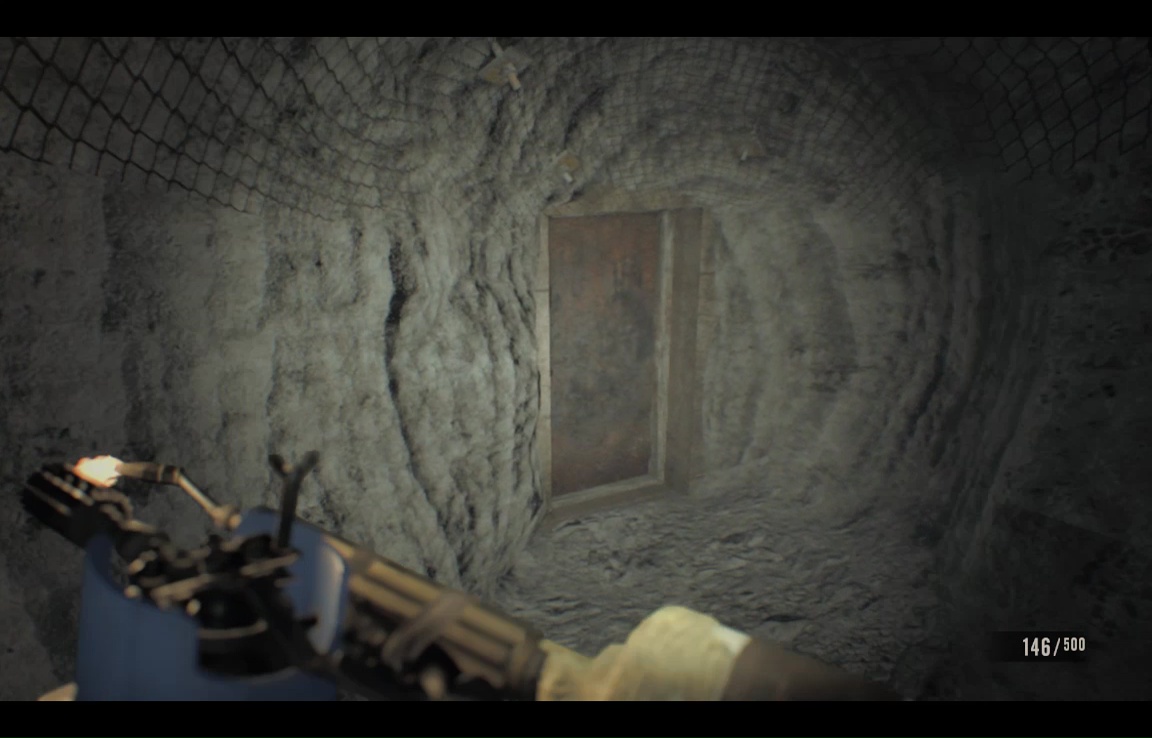
No ambush this time, so rest easy as the metal box descends hellward. Emerge in a wide tunnel, with a metal-grate door at the far end. Have a pistol ready for the quadfoot that attacks when you get about 2/3 of the way there.
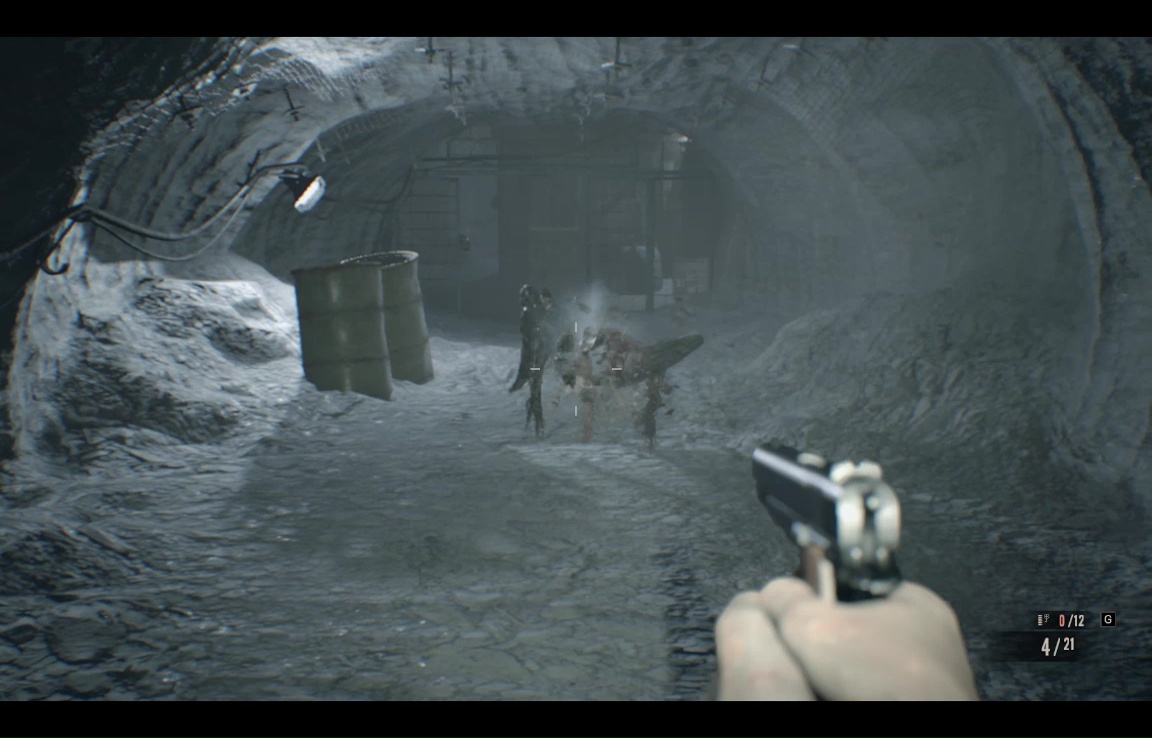
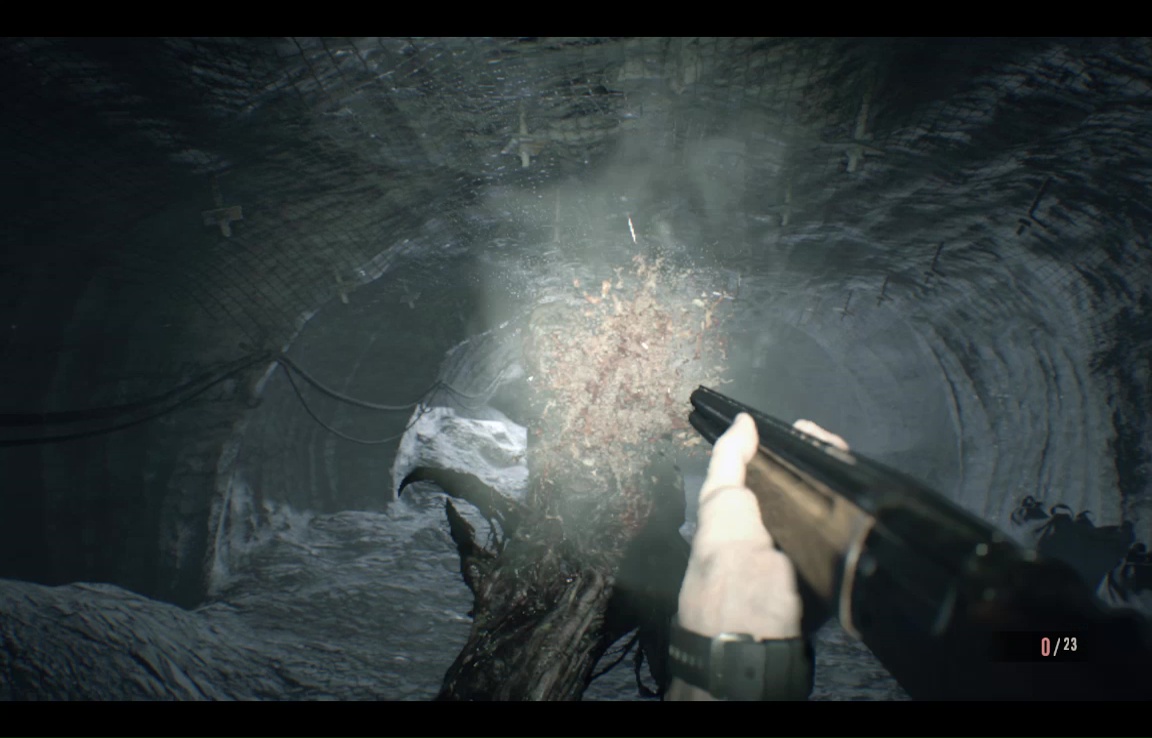
Duck under the tripwire and bear right. When the music starts to swell, duck back under the wire and wait for two Moldies- a scyther and a shambler, to follow. One will blunder into the tripwire, which really doesn't do the damage one might hope. Finish them off as you like- with all this open space, the burner or even the knife become viable possibilities. Or, if you're in a hurry, there's always the shotgun.
Smash the crates here (ducking or disabling the other tripwires) then move forward, until you reach one of those irreversible dropoffs we love so much.

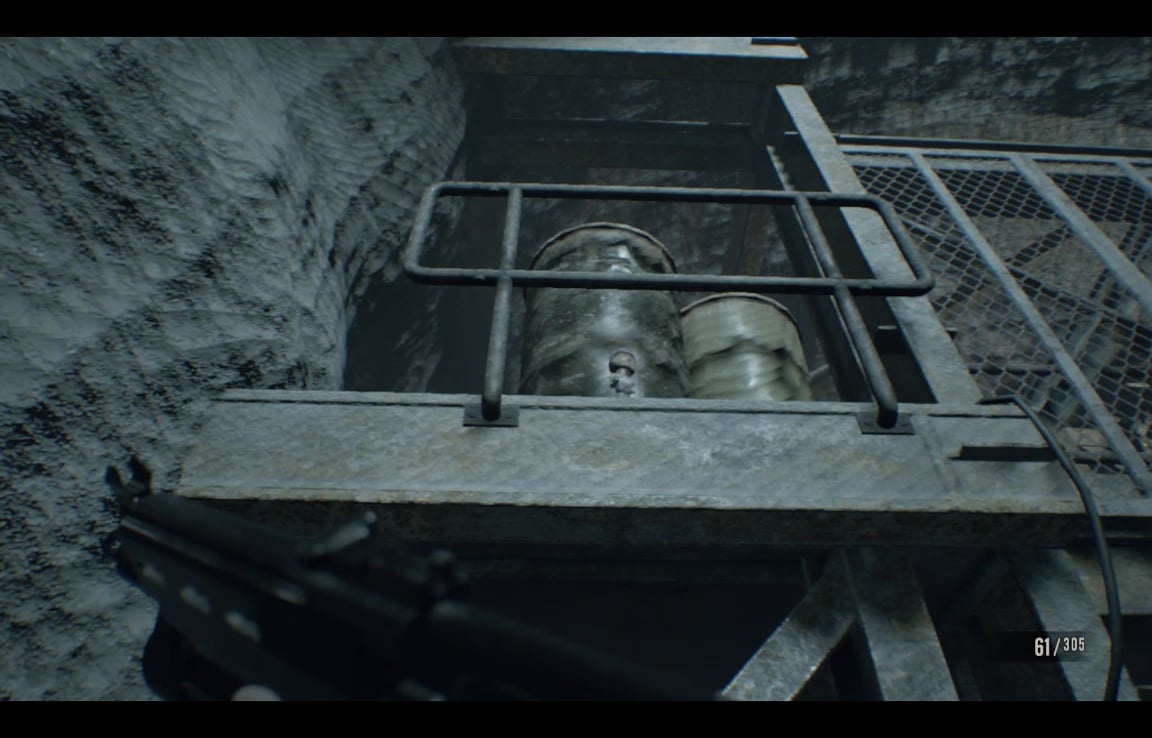
Drop off it, and veer left to find some precious, precious Magnum ammo in a blue barrel.

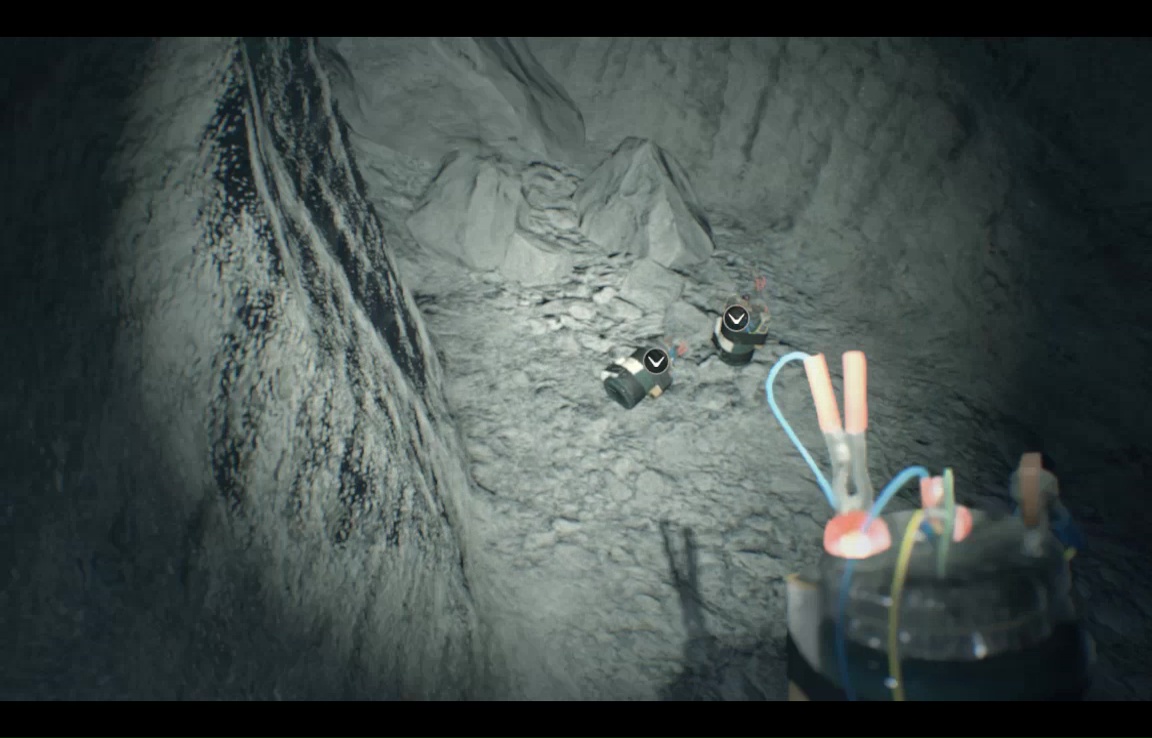
Face back the way you came, and veer left again for a couple of bombs stashed in the rubble.
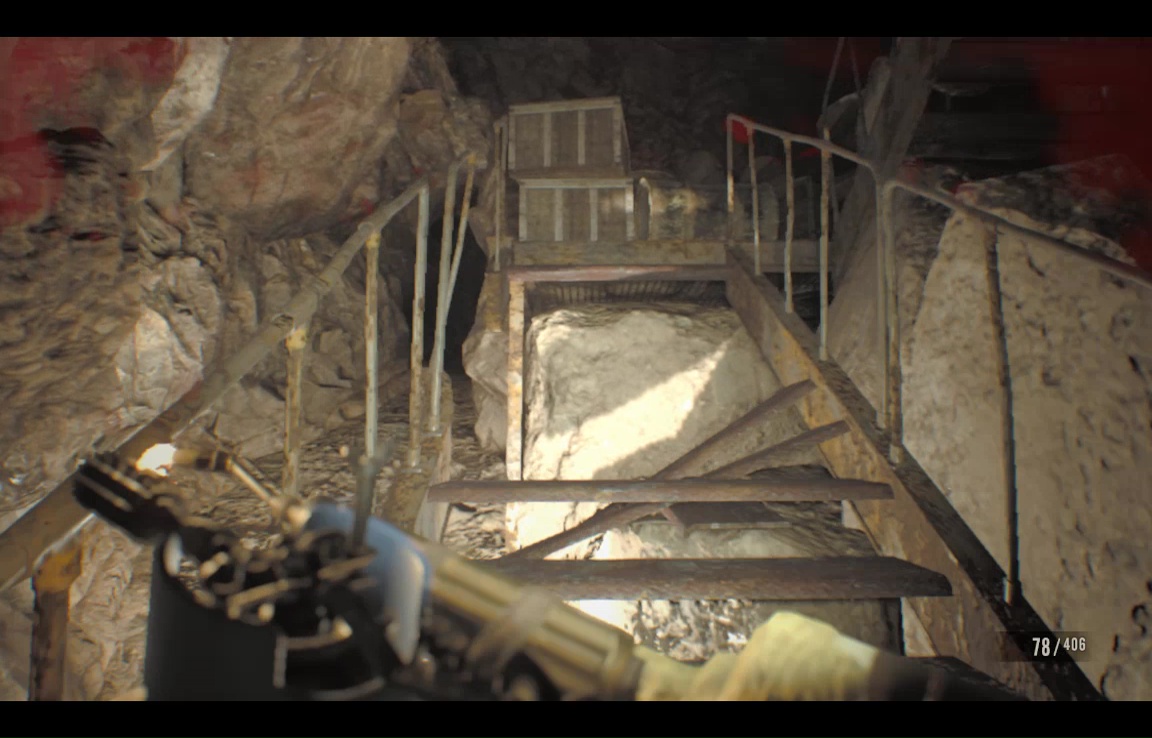
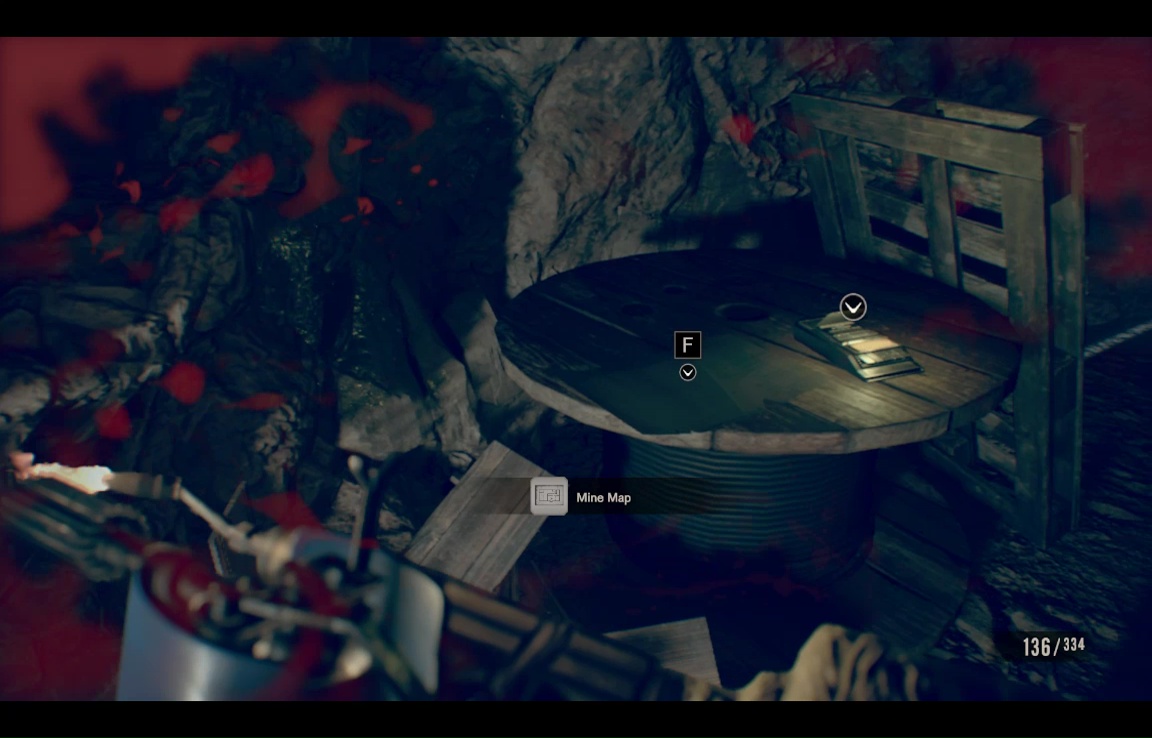
As you progress down the last passage, many Moldies will appear and chase you. If they get too close, ward them off with a remote charge (you can never be damaged by your own explosives), but try to crush as many as you can with the mining cart at the end of the tunnel. You'll have to get around the far side and press [F] to get it going. Be prepared to finish off any stragglers who were merely maimed by its passing.
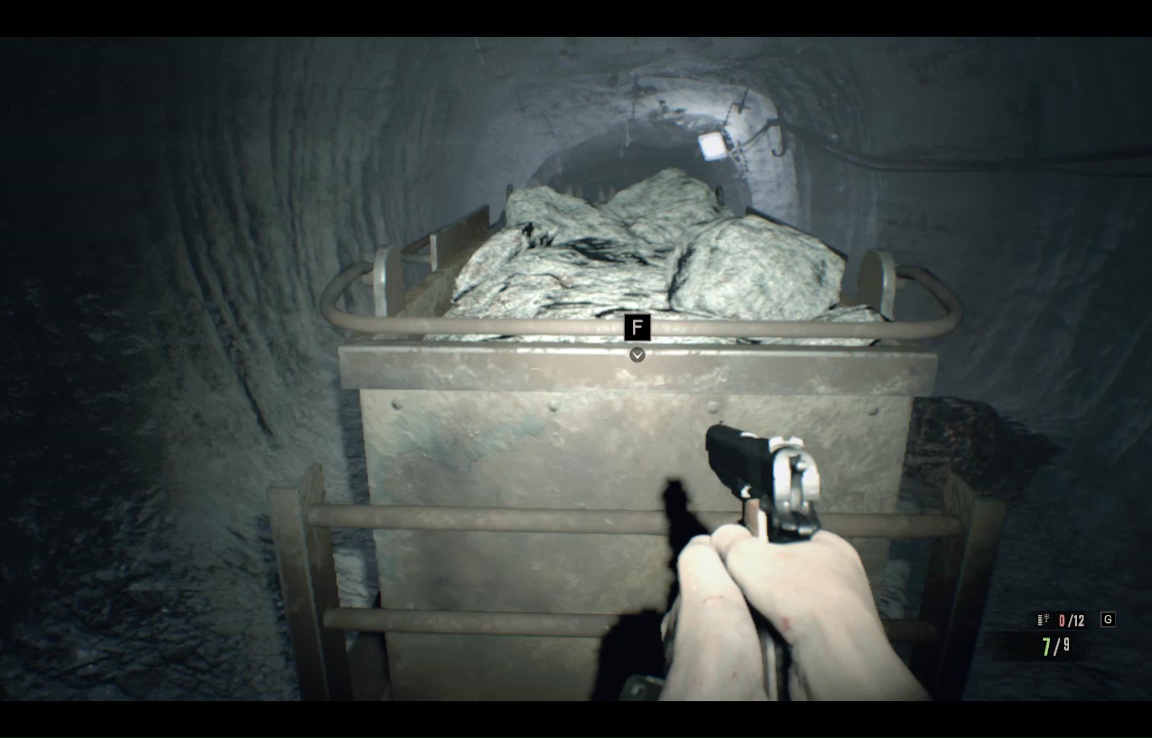
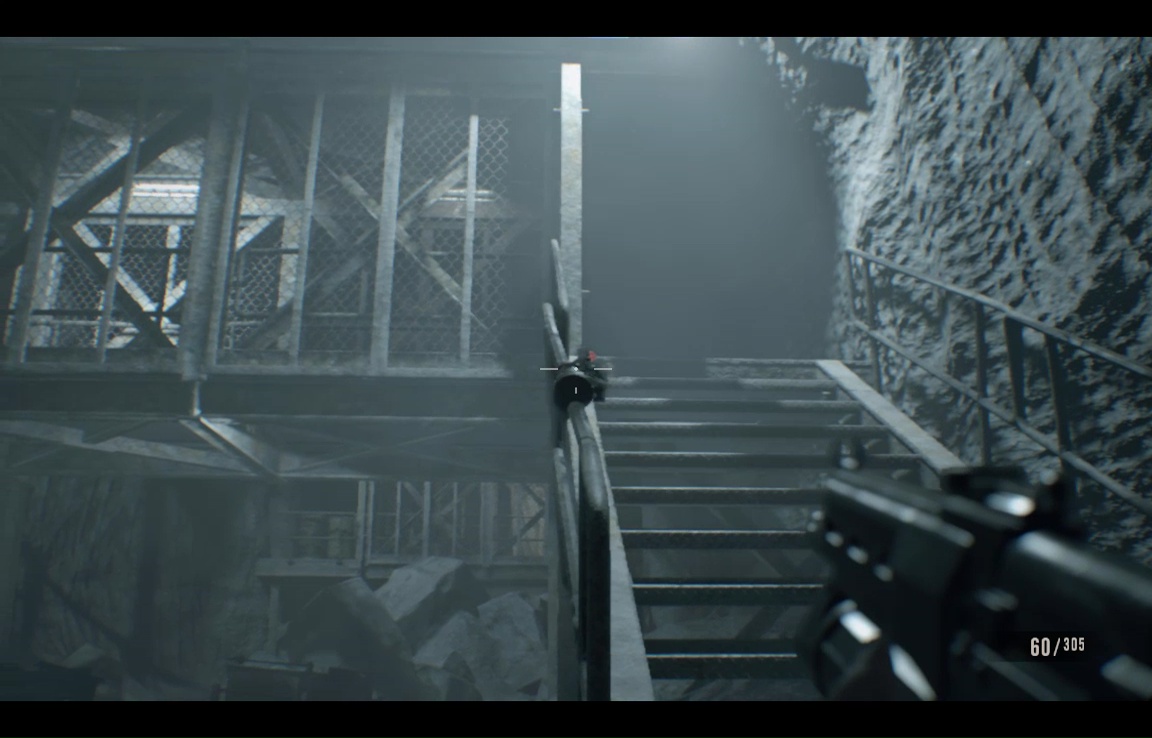
Apart from killing Moldies, the cart has also bashed through a wooden barricade for us. Follow this tunnel to reach another cartline and some stairs.
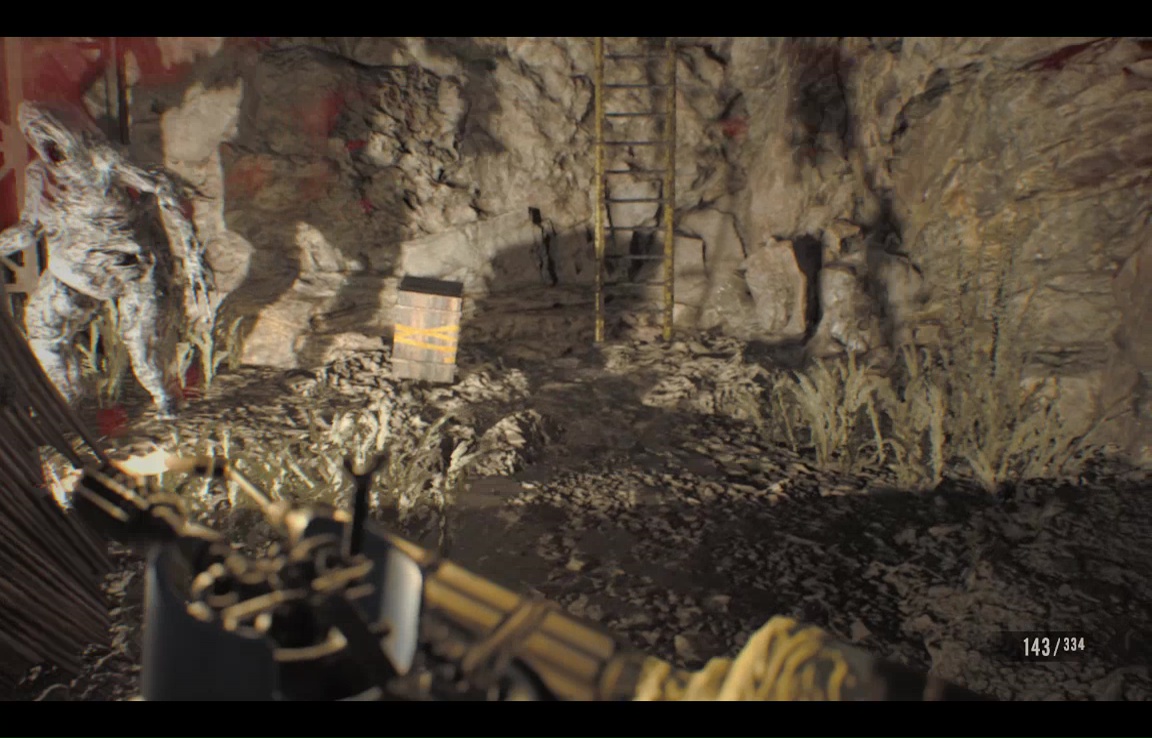
Follow the groundlevel tracks to a supply crate. Bash it, then look up to see another purply bobbler. Get him.
Return to the stairs and disable the tripwire.
The crate at the immediate top of the stairs is a trap, so ignore it and push left through a door into a secret underground lab, the sine qua non of sci fi survival horror.
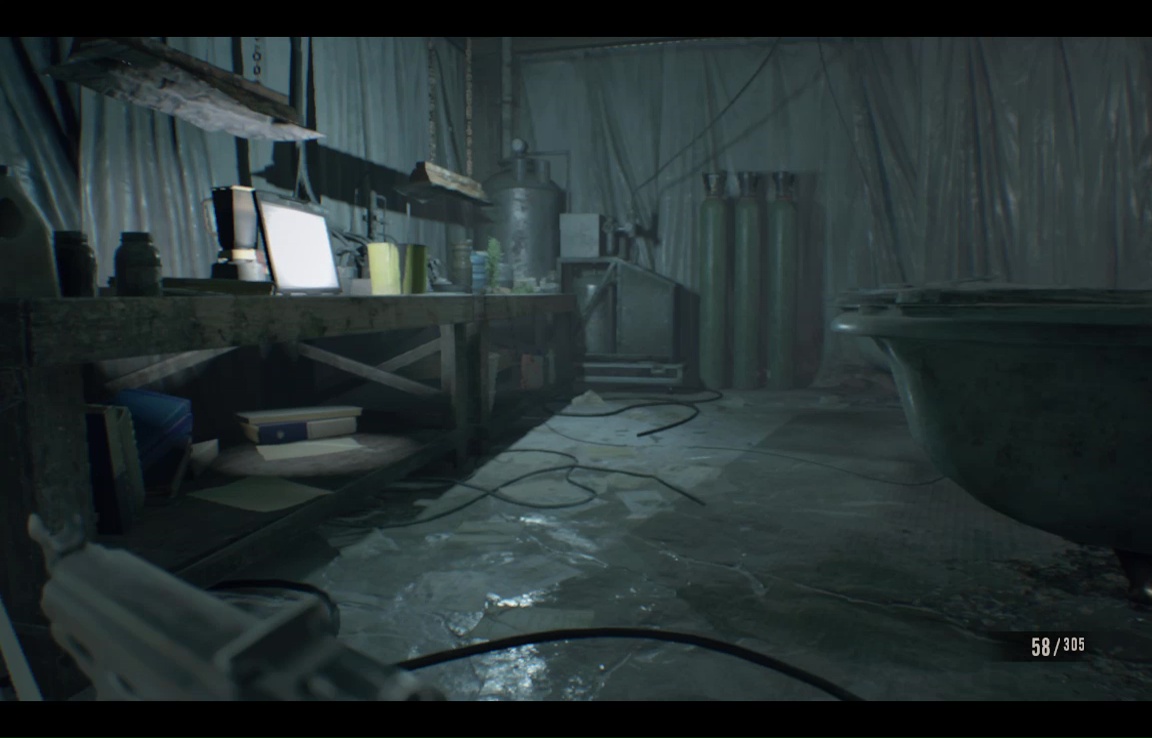
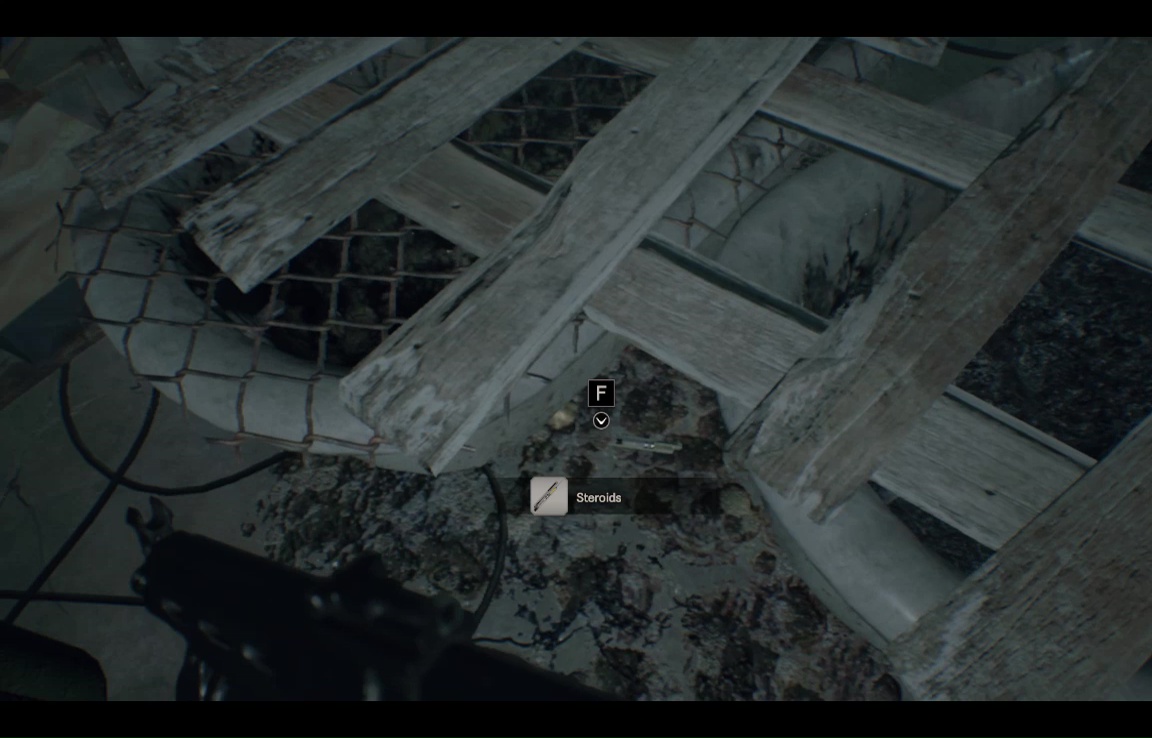
There's tons of great stuff in here and the next room, including the last four Devil is in the Details journal entries. You'll also want to be sure not to miss the fallen steroids between the two bathtubs in the first room (…talk about your dirty needles…)
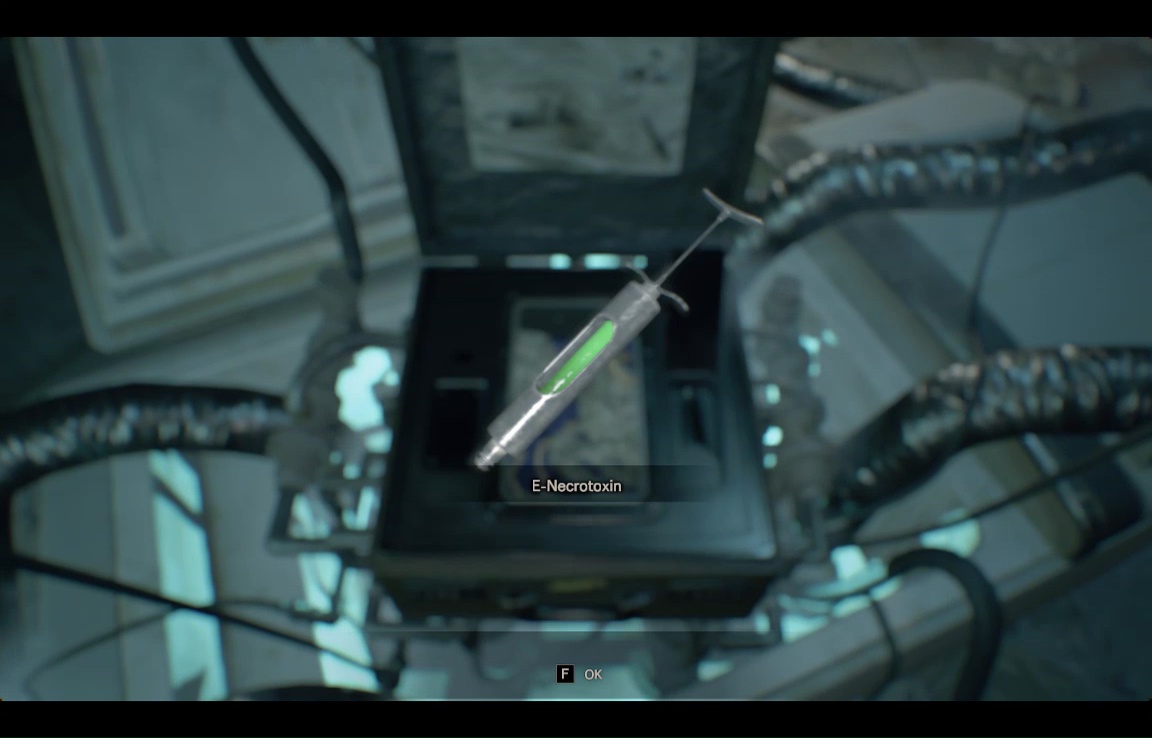
In the next room you'll find a case like the one which held the serum formula. Crack it open, and insert the sample that Mia had. After some odd biosynthesis action, you'll get the E-Necrotoxin.
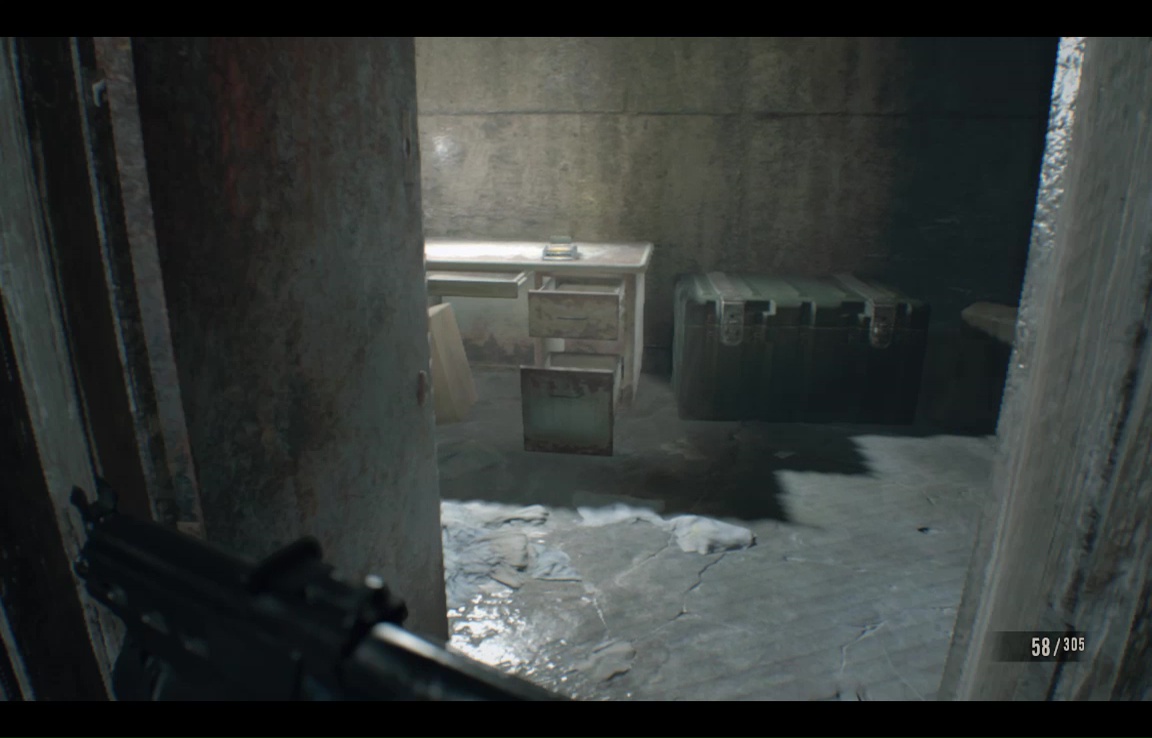
The last room of this little complex is a save room, complete with inventory box.
You're about to run a gauntlet, so load up on bombs and shotgun ammo, and neuro ammo for the launcher. Don't bring the burner unless you just really like a challenge. Transform remaining chems into healing and ammo, with an emphasis on the healing.
Leave the room down some stairs and collect a little loot where the searchlight is, then bear left through a lonely little metal door.
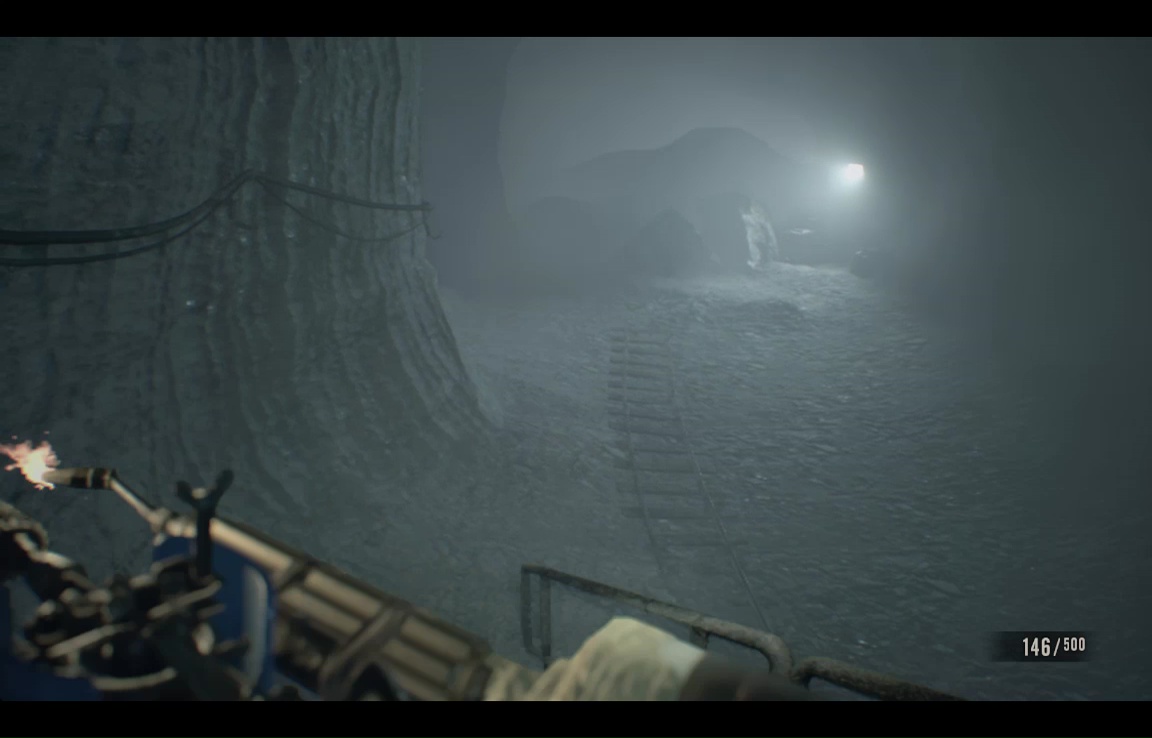
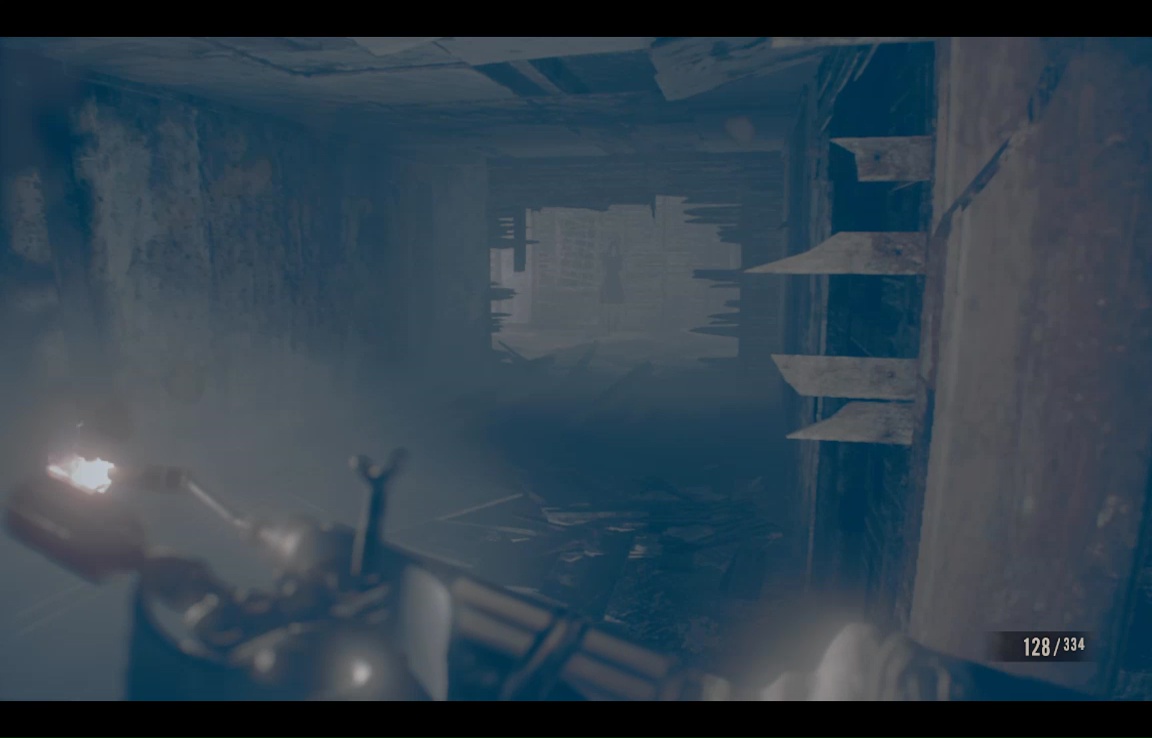
Cross the water an duck through the tunnel. When Eveline tells you to die- run. Keep to the path- there's supplies in the offshoots, but nothing unique, collectible, or worth the detour. Most of the enemies can be dodged around- use the shotgun or quickly-deployed remote bombs to sweep those that can't be (e.g. either shamblers that fill up the whole tunnel, or nimble quadfoots). Remember that you can both reload and heal while on the run, and you never take splash damage.
At the end of the gauntlet, you'll cross over some broken stairs.
In this next chamber you'll be ambushed by two vomiting Blobulas. Juke left to lure them around the elevator shaft, then race for the ladder.
It's possible one might knock you off with a long-distance hurl, but if so, just try again. Better to waste a medkit or two than valuable ammo. If you really can't get past them, then just go all out with your remaining remote bombs- you don't really need them after this. Up the ladder, you'll come to the last saveroom in the game.
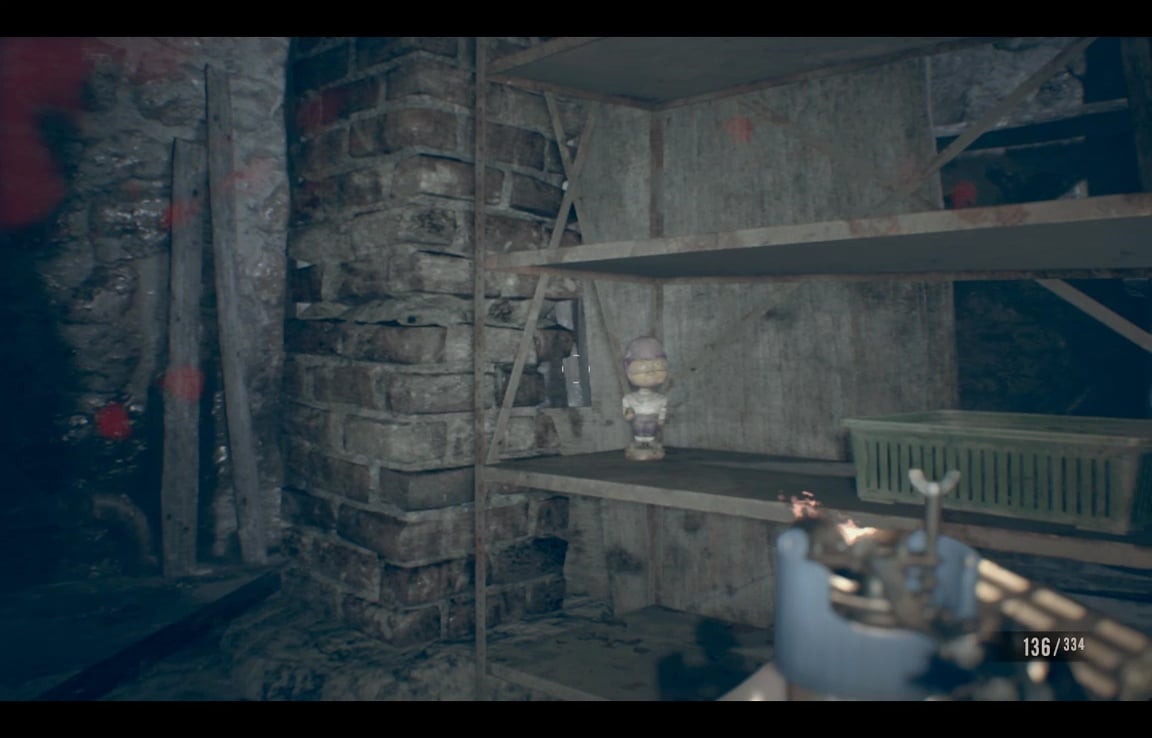
There's also a map of the mine you're about to exit forever, so that's nice. Push through the blocked passage here to find youself back in the guest house- in that little room you explored while Mia was resting on the couch. On the shelves here, facing that selfsame couch, is the very last Mr Everywhere bobble in the game. Destroy him.
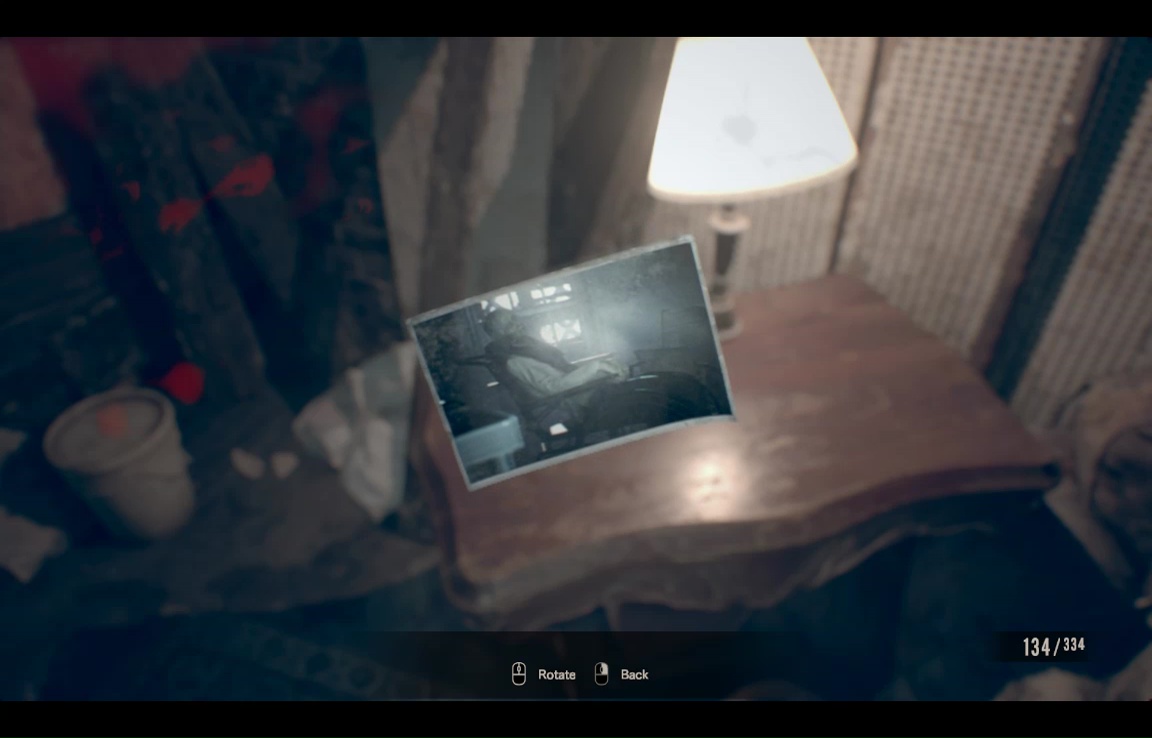
That same photograph from the first time we visited the room is still there, but between the note on the back, and Luca's journal, it now holds new meaning.
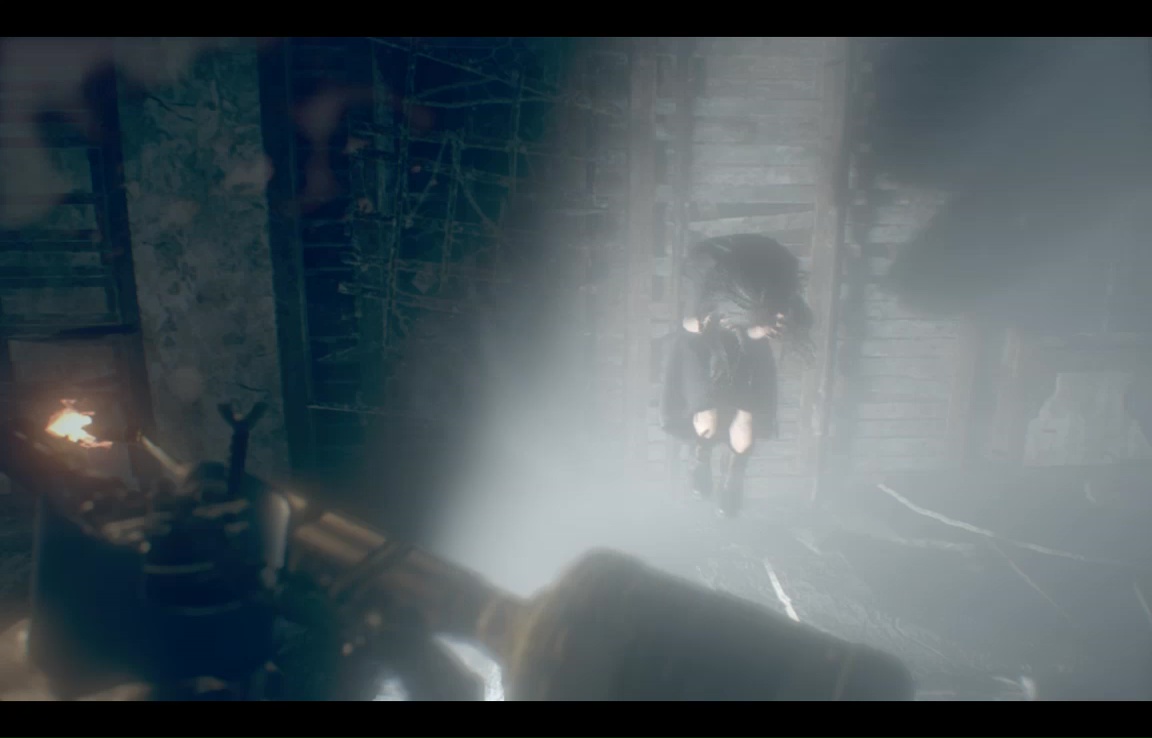
Walk through the Guest House to suffer a series of Eveline-induced hallucinations. Despite their appeaance, these visions will not hurt you. Go all the way back to the front door on the house, then return up to the stairs to the attic to begin the final showdown.
Don't bother shooting, just keep advancing on Eveline. Block whenever she starts to ball up or shout, to deflect the incoming shockwave.
Once you get close enough, you'll trigger an automatic cutscene where Ethan injects her with the necrotoxin, and a revelation about Eveline's true state is made. Then she dies.
Only to come back seconds later as giant monster head. I'm not sure that's how the necrotoxin is meant to work.
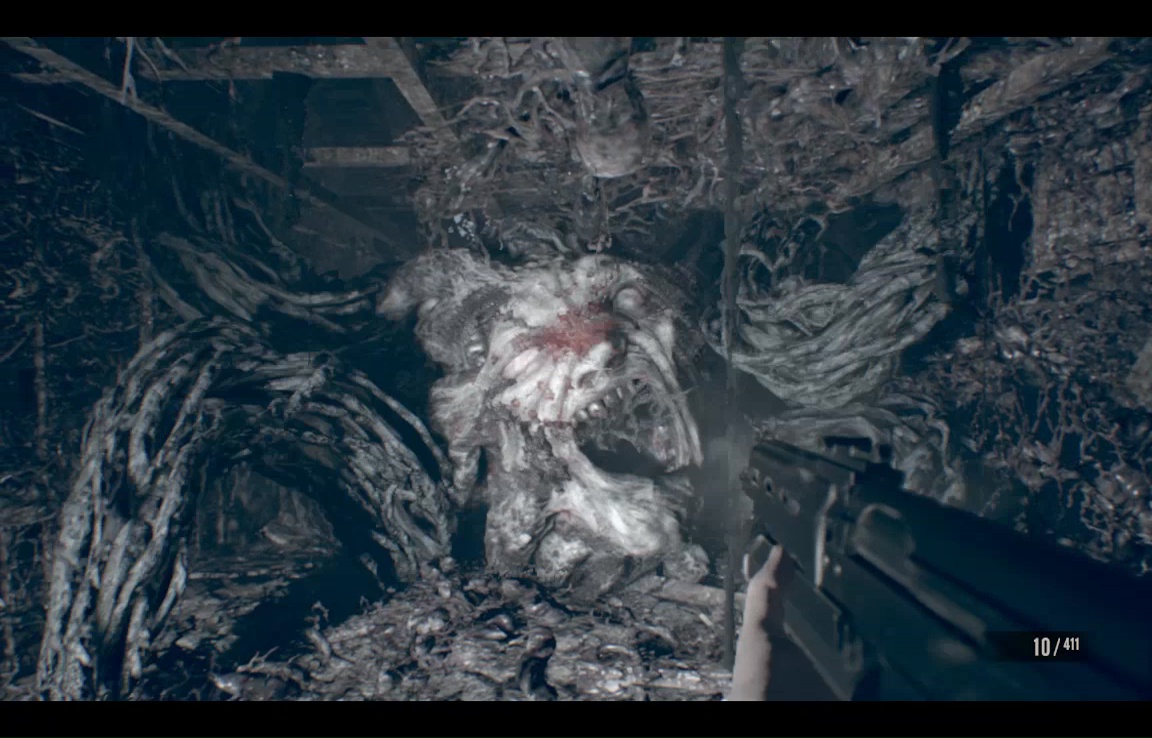
The game here is just to pump as much damage into the head as you can before it reaches you. The machine gun works pretty well here- just lock and unload. Once you've hit the damage threshold, you'll be knocked outside as helicopters fly overhead. Fire a few machinegun or pistol shots at Eveline just to get her attention, but once she picks you up, you'll want to do as much damage as you can.
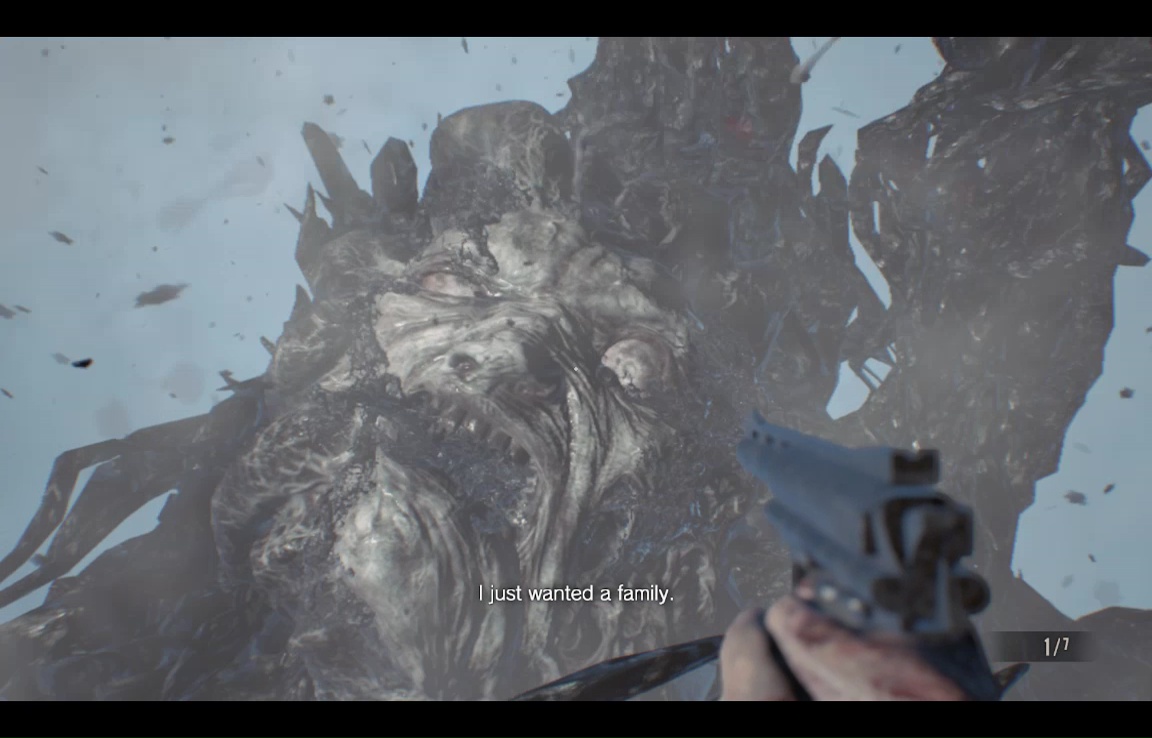
The Magnum is ideal here- just a few shots and she'll fling you aside once more. This time, there's a new weapon on the ground- a gift from the helicopter-people, apparently.
Grab it and, when Eveline picks you up once more, empty the magazine into her face (it doesn't seem to make a difference whether there are tentacles in the way or not). And with that- the threat is finished, and the game is over. Sit back to let the last scene play, and credits roll.
Congratulations, you've won! And now that we think back on it, we weren't really that scared, were we? Practically not at all, right? In anycase, this battle is over, but if you're still looking to pick up some stray achievements or mount a run on Madhouse difficulty, just go back to main menu here to plan your next assault on Resident Evil:7.