The Ship
The escape doesn't go as planned, and Eveline attacks the fleeing boat so hard she knocks Ethan clean out of the story. You'll proceed through the next section as Mia.

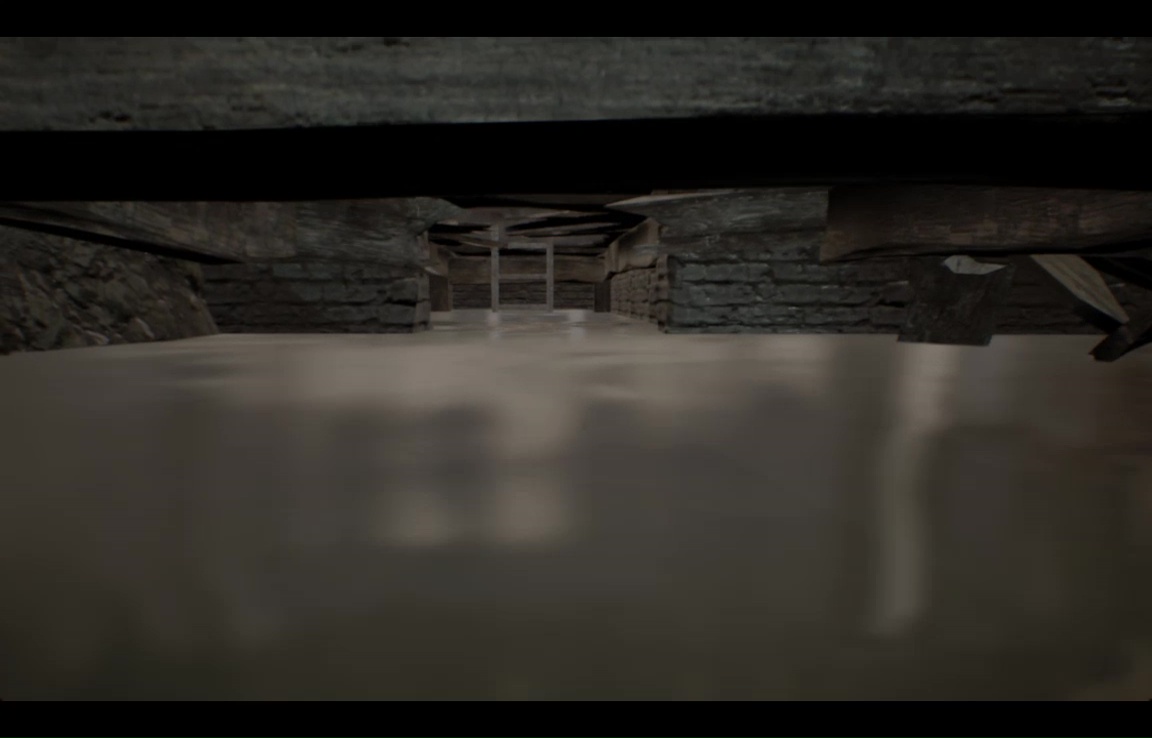
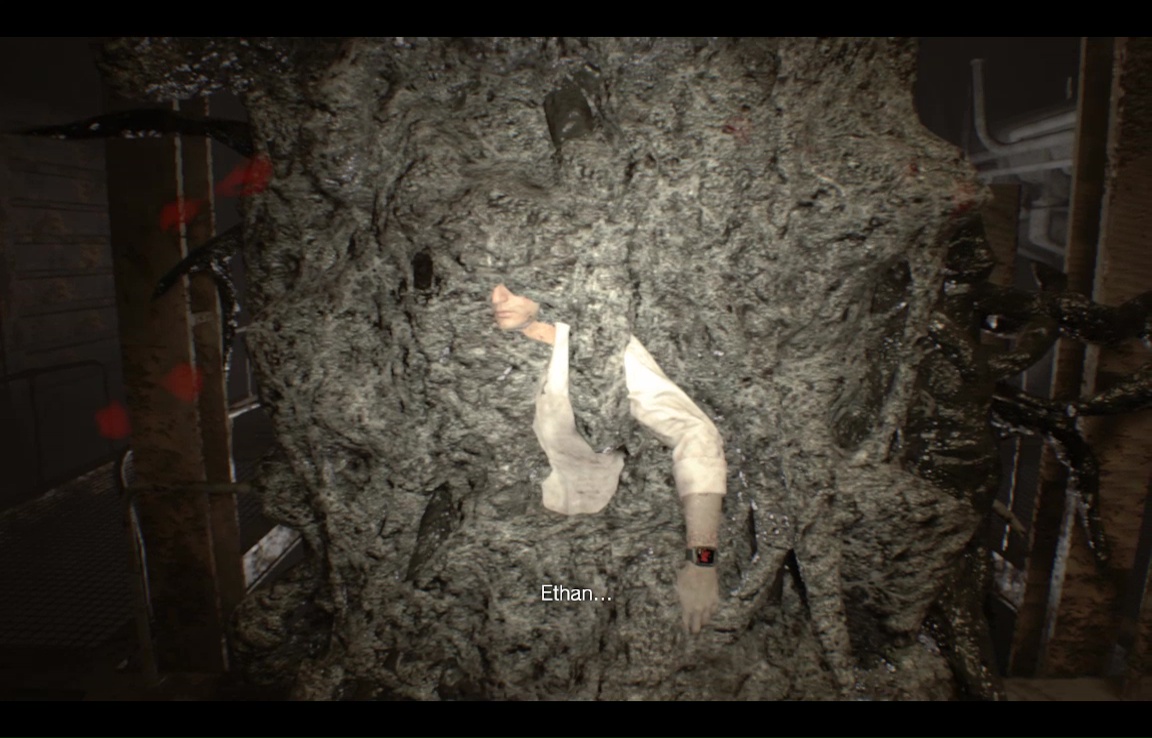
Get to your feet and explore the boat wreckage. There's really only a single path, so you'll come across Ethan in no time.
He'll be taken away by the ooze just as quickly, so press on into the boat. This next bit is pretty linear, and there are no enemies, so just keep pressing ahead, despite the general muck, darkness, and occasional flashback.
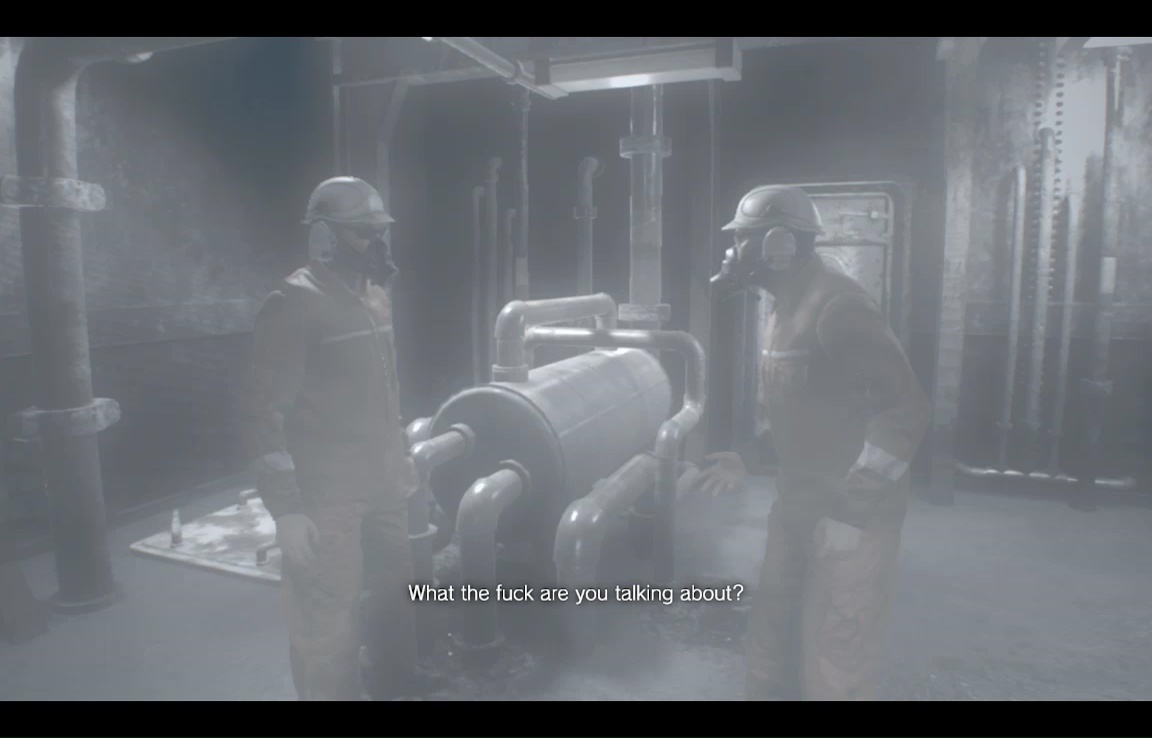
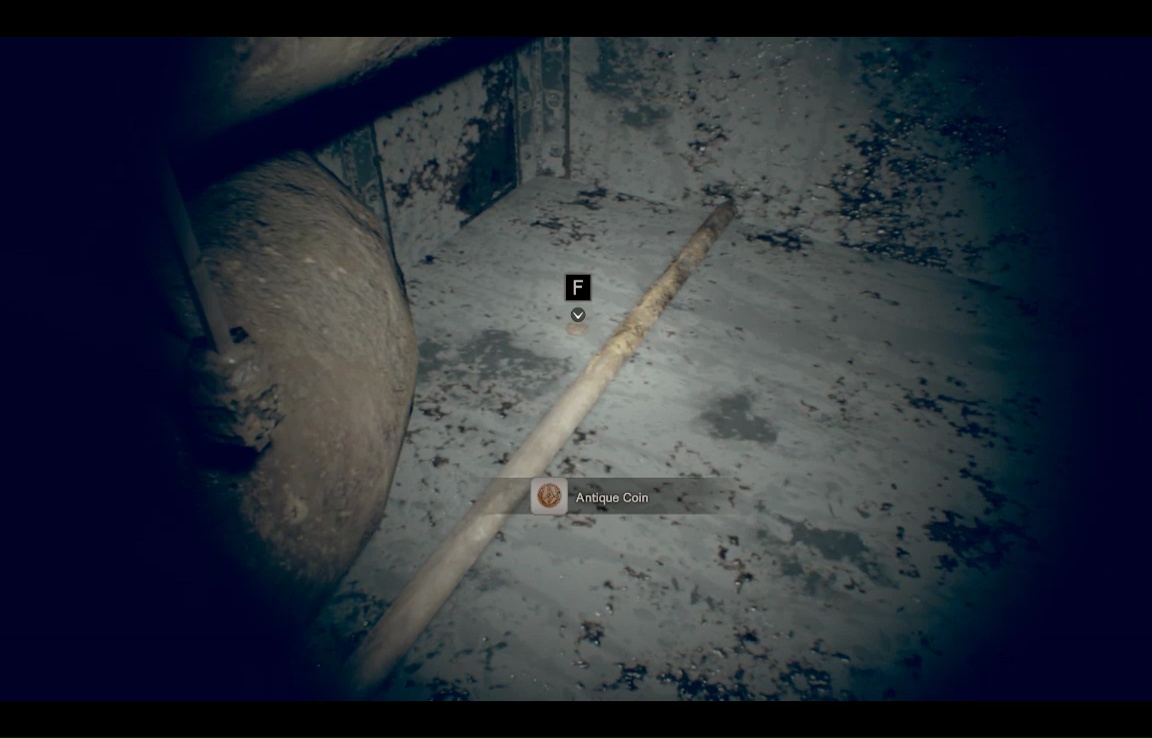
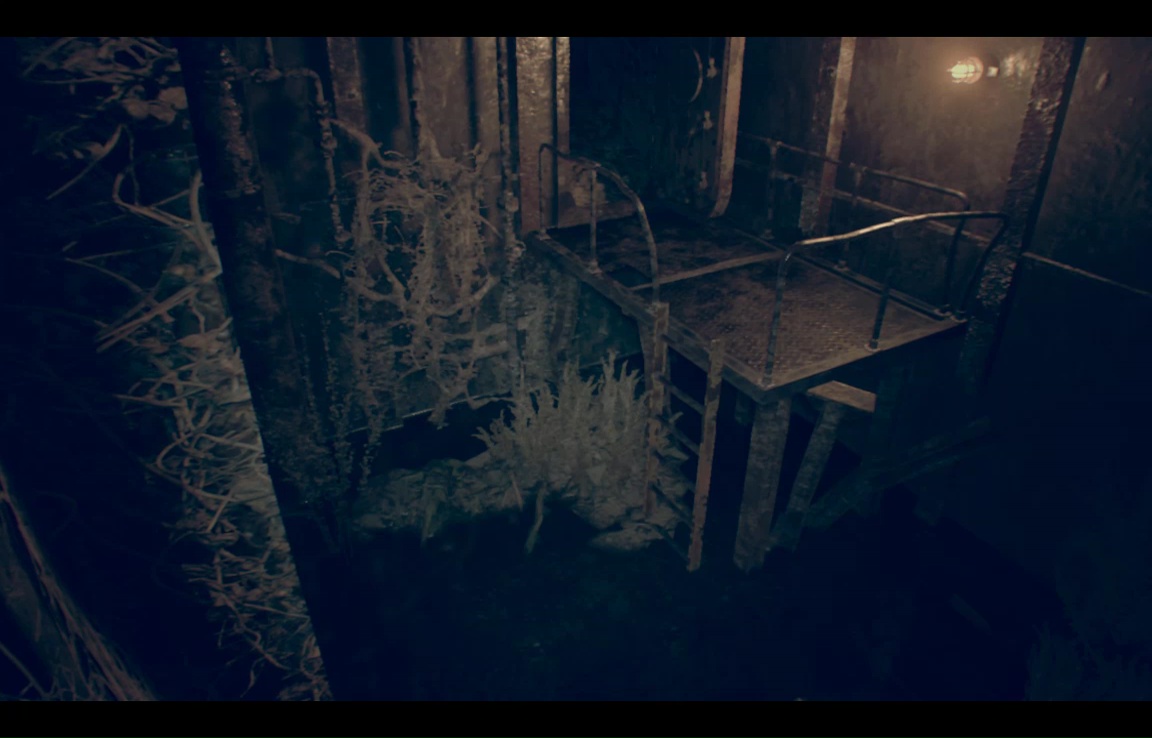
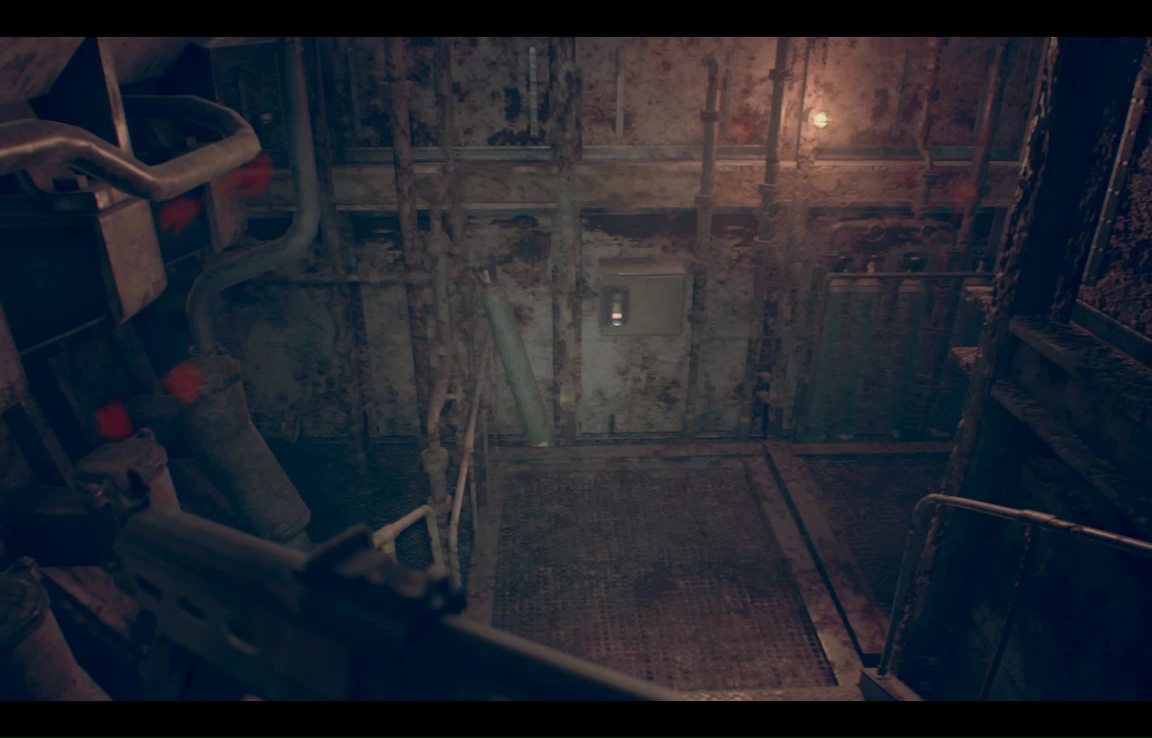
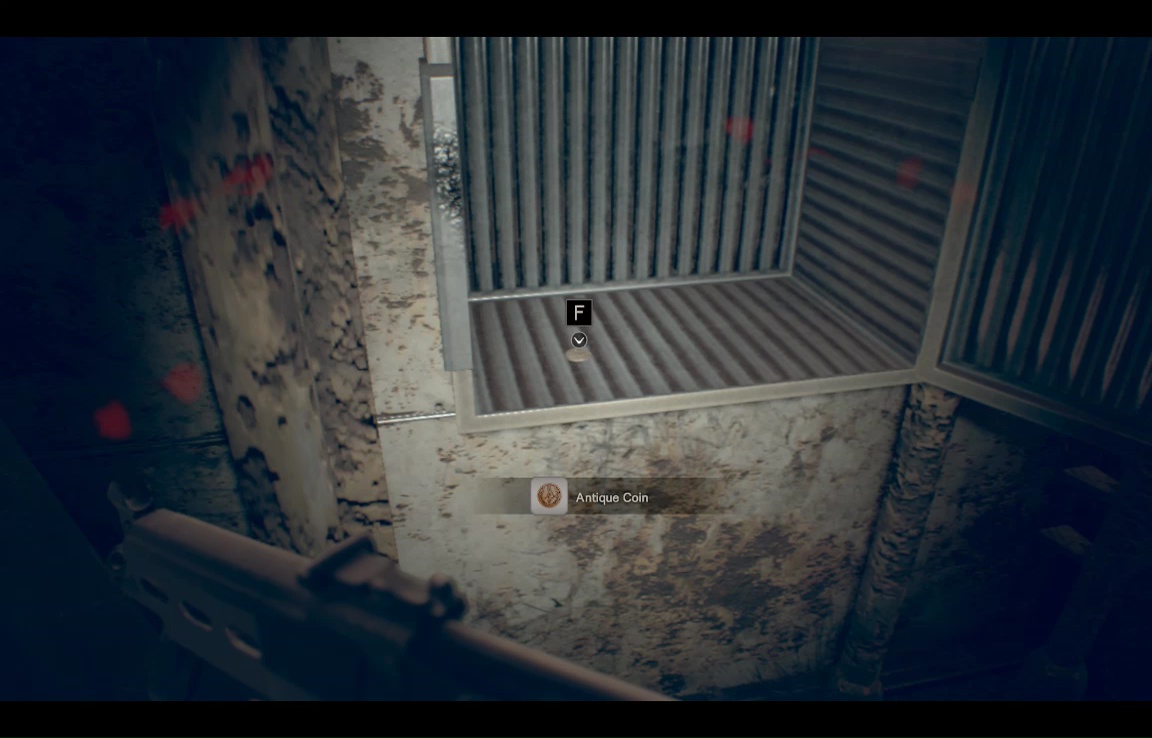
Do sit up when you reach the flashback where two workers are talking about how everyone in the engine room is dead. You're about to pass by an Antique coin, and there's no going back for it later. Drop down the hatch the workers were talking about. Turn left, then follow the duct until it branches, then go right. At the left side of this little dead end is the coin.
Go back down the other branch, and drop down the shaft to a lower level. Poke into the two small rooms here to glance at the crew manifest, and to note that the two workers in the flashback didn't get very far.
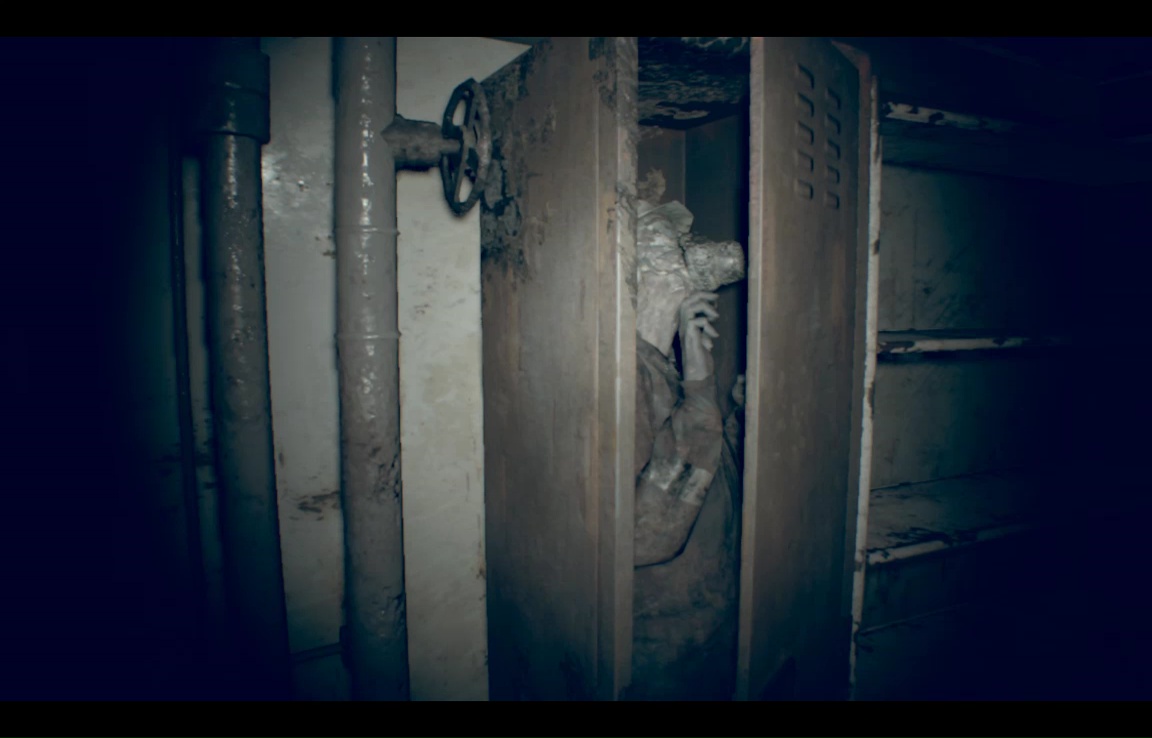
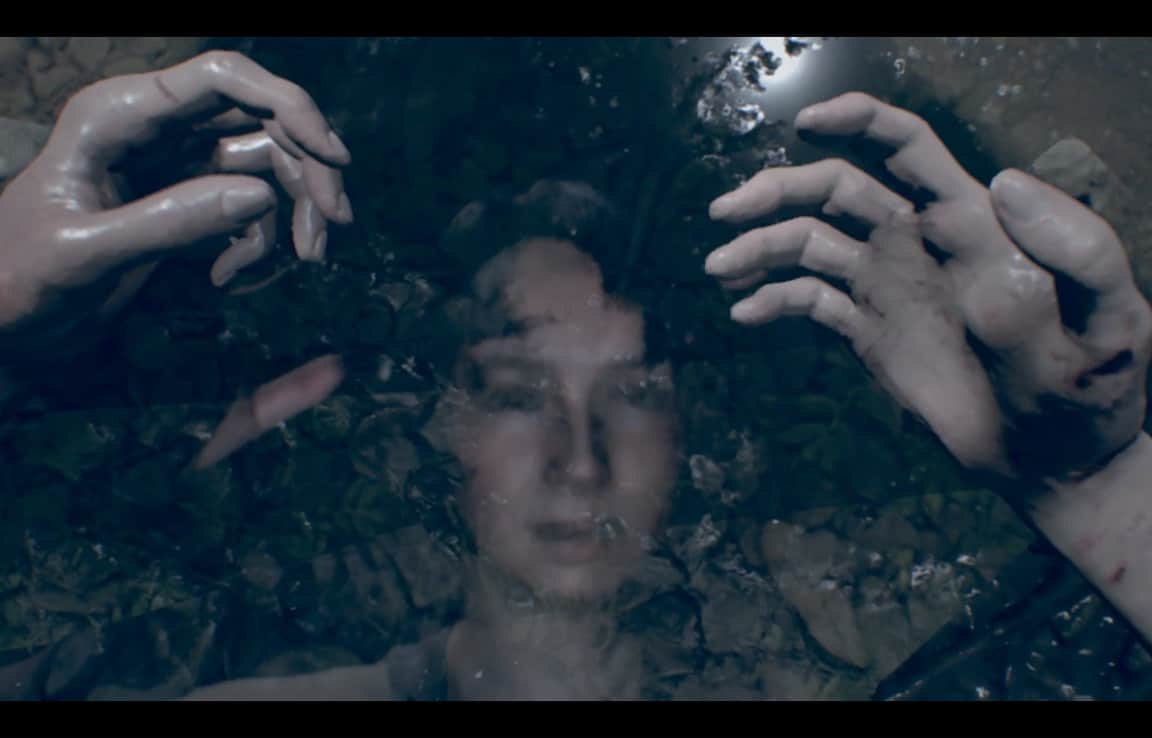
Go down the corridor into a torn-apart room, and turn left to the stairs. Here you'll come face-to-phantasm with Eveline, but it won't last.
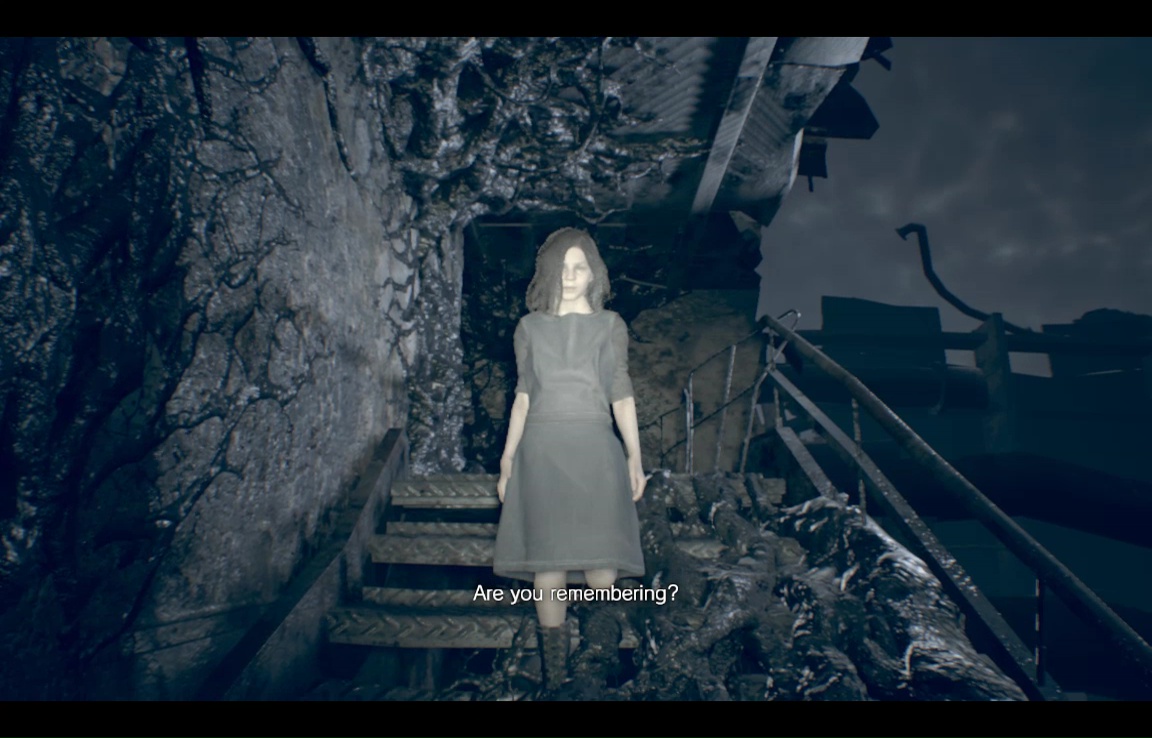
Follow her lead into a small extra-goopy chamber, and climb the ladder on the far wall.
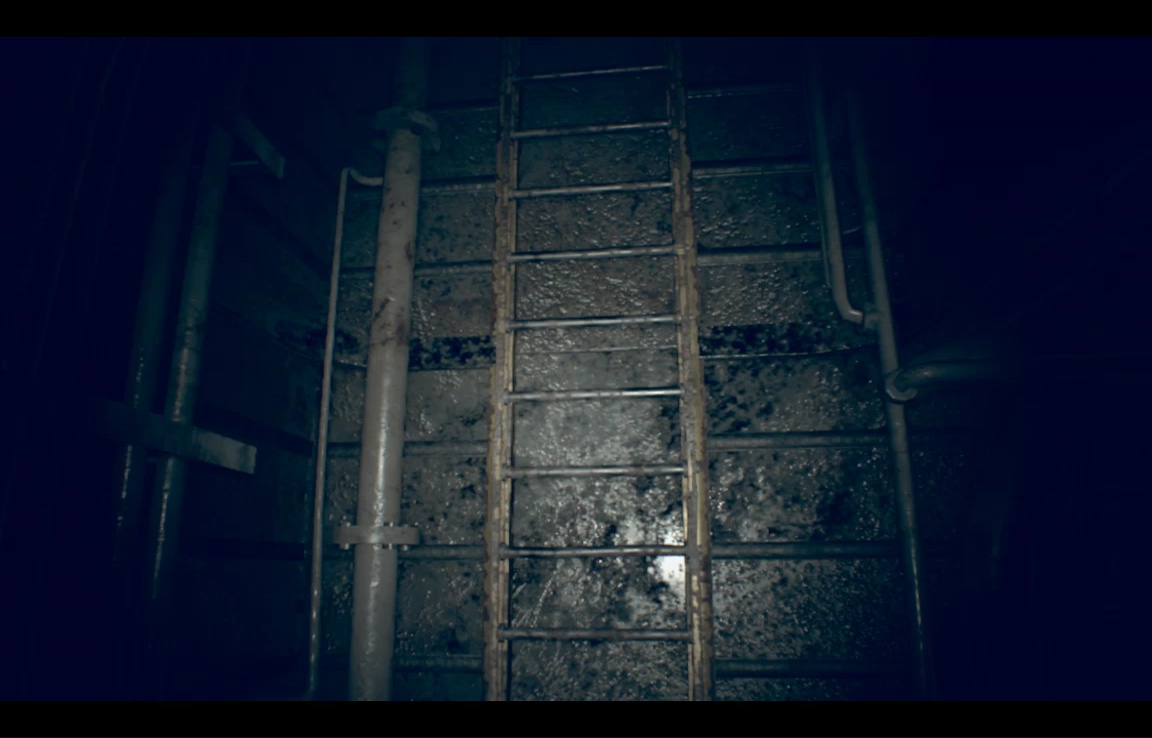
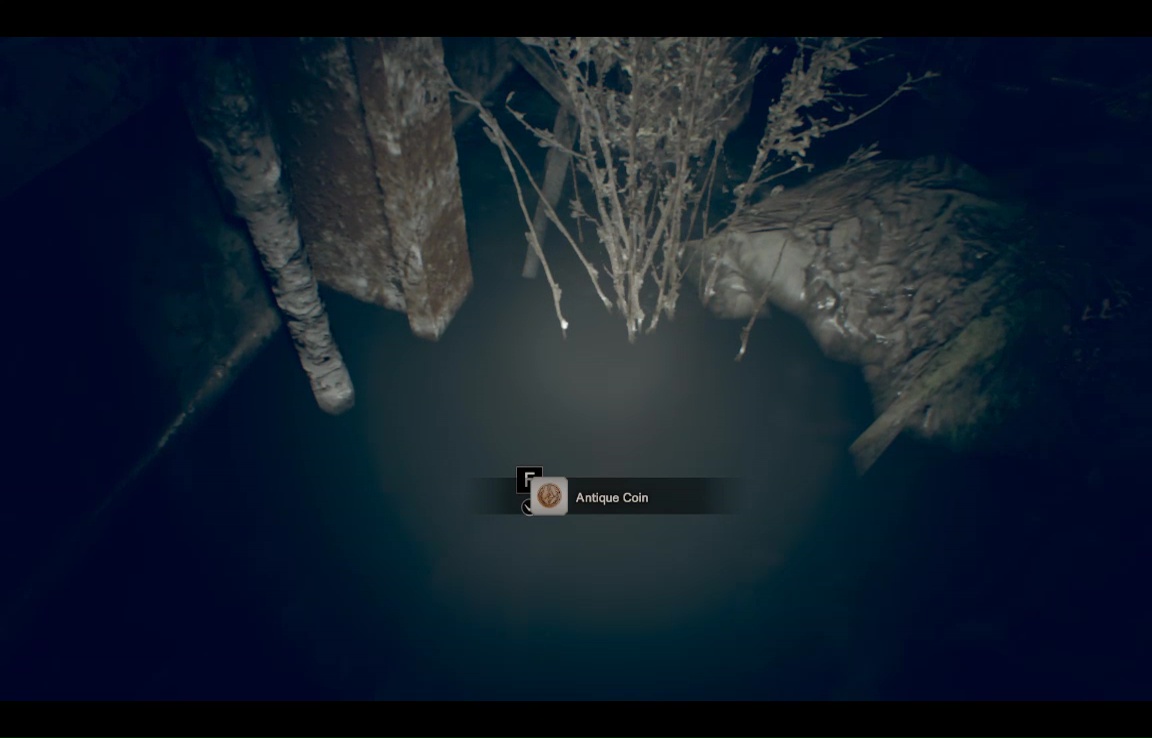
Pay close attention again, because there's another highly missable coin coming up. You're about to come to a room where you have to drop down into some water, then climb a short ladder up again.
Drop down, but before climbing the ladder, search the area to its left. There's a coin here, hidden invisibly beneath the murk.
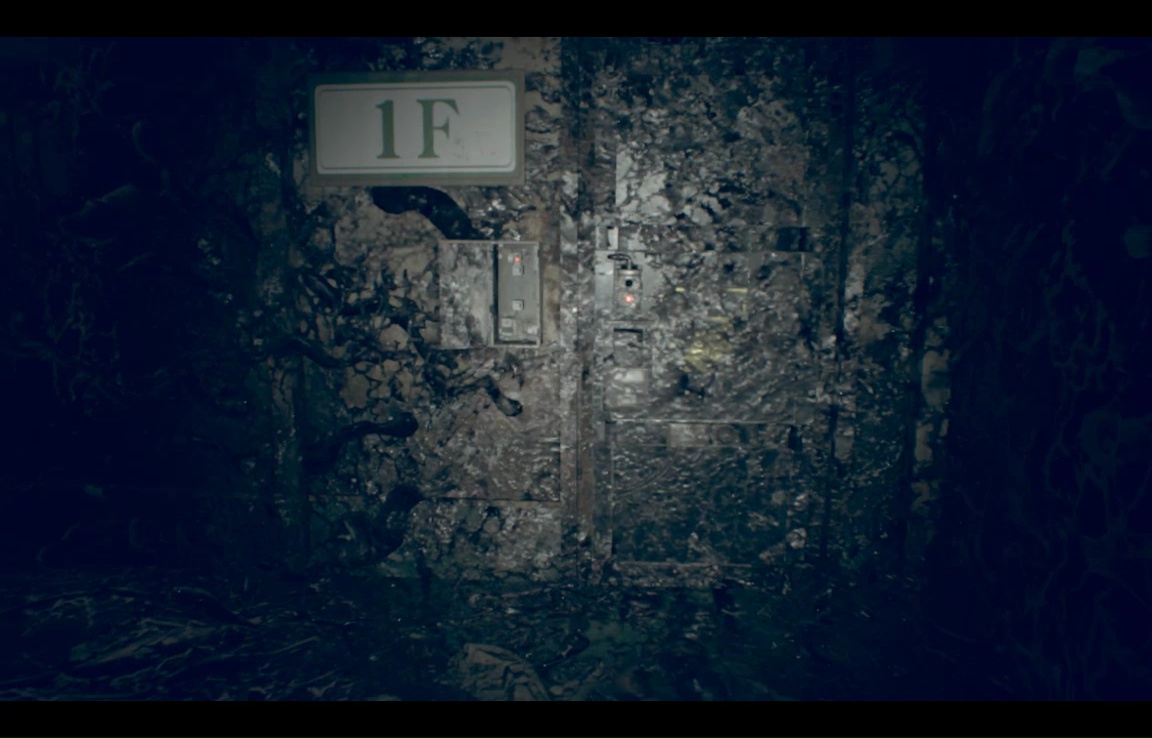
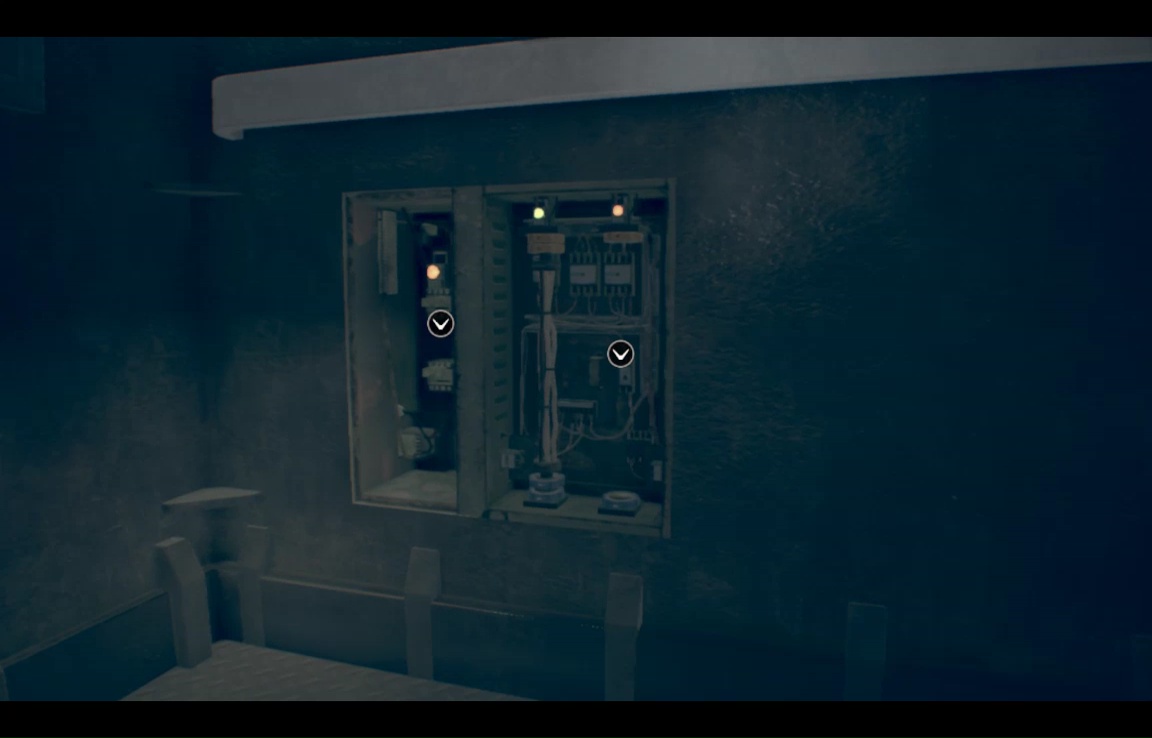
Climb the stairs for another brief enounter with lil' E. This next section has enemies, so don't linger. Our way out is the electronic stairwell door in the corner, but it needs a fuse. The fuse in the largest room in the section- the one toward the center with two doors. Enter, and you'll see the fuse glimmering in the dark

Moldies will appear when you get close, so sprint for it, grab it, then sprint out and immediately close the door behind you. Sprint for the stairwell (a quadfoot or two will be wandering the corridors now) and load the fuse.
Push through, and again close the door behind you. Climb up to the third floor, and walk through a few unnoteworthy rooms to find Eveline watching TV. Man, kids these days.
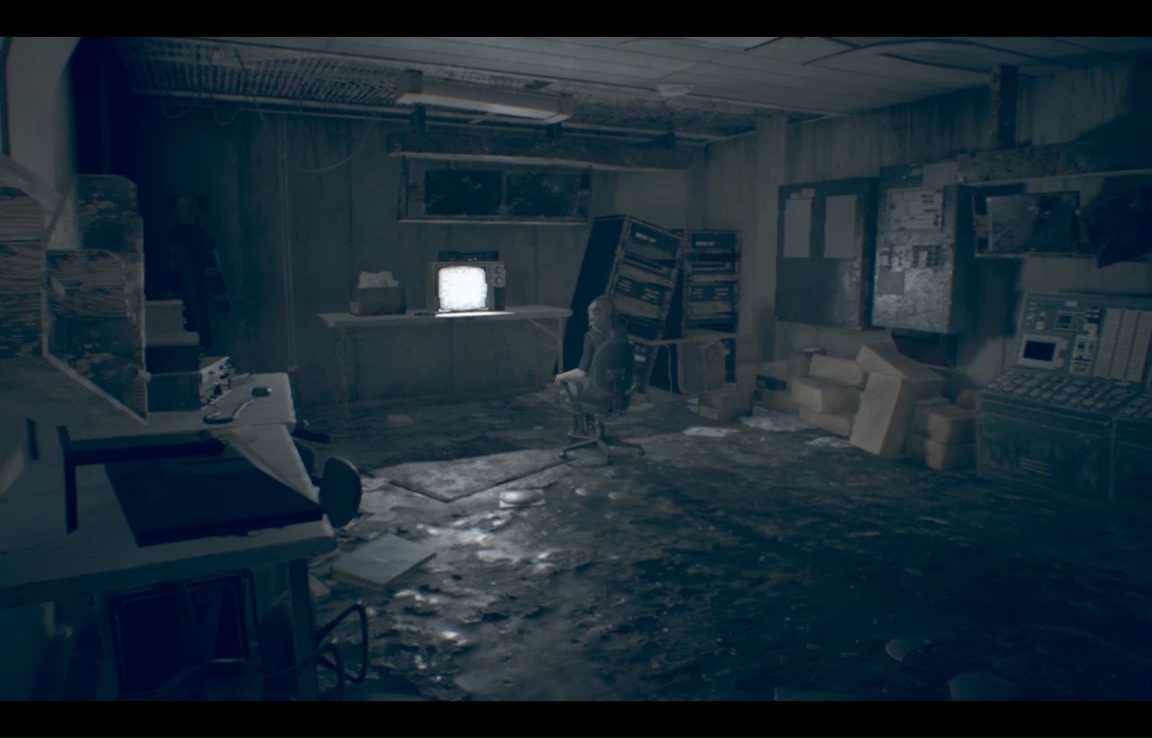
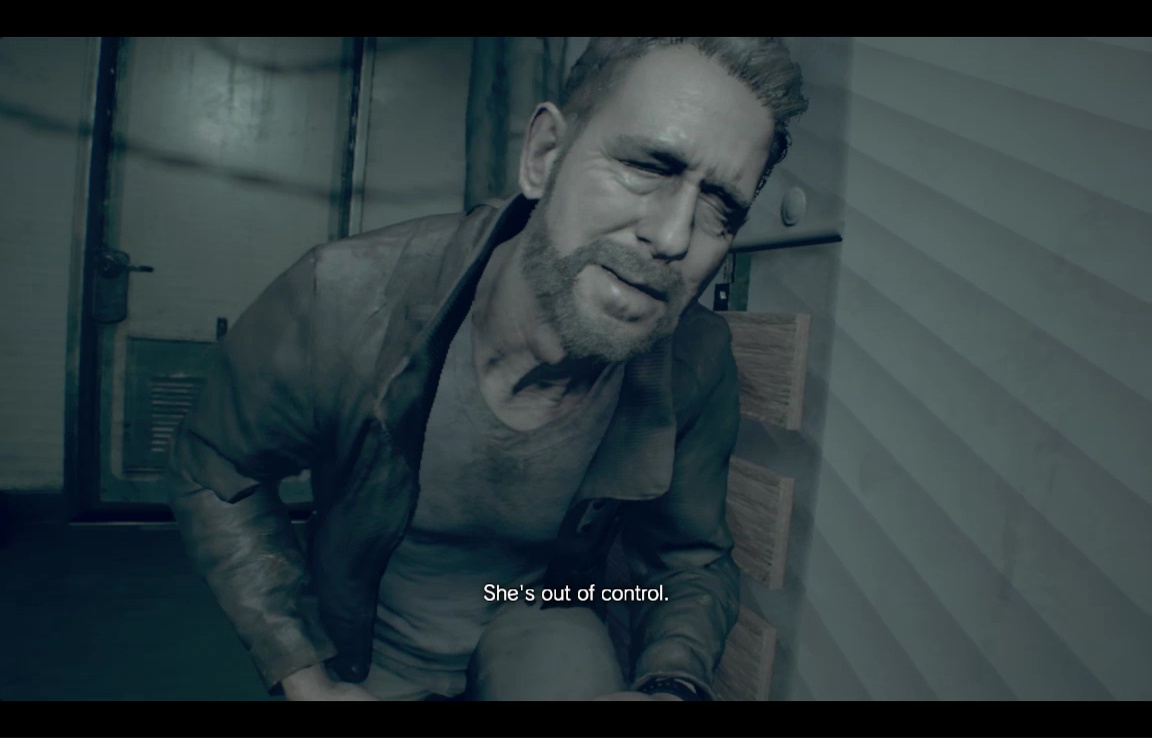
She'll insist you watch too, so grab the so-moldy-it-would-immediately-gum-up-any-VCR tape from the table, and pop it in the machine. You flashback to the boat just before the crash, stepping into the shoes of… yourself actually- it looks like you're still Mia in this flashback. Mia, the secret operative of a clandestine bioweapons corporation. Hm.
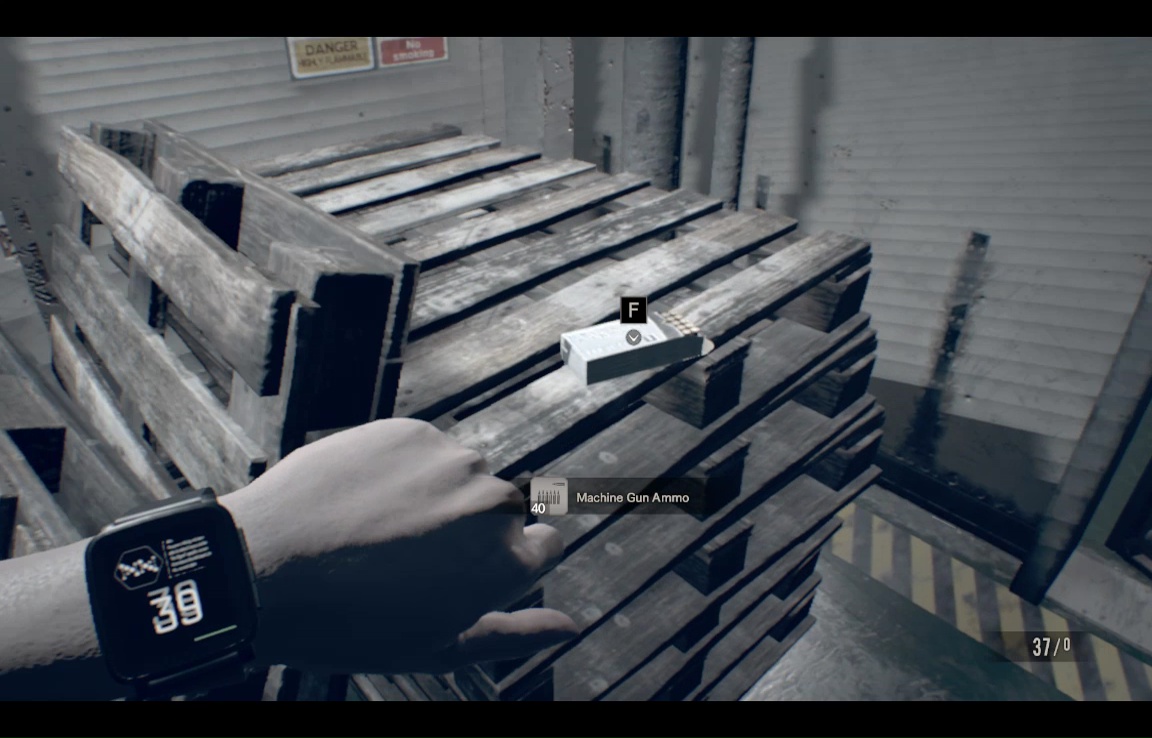
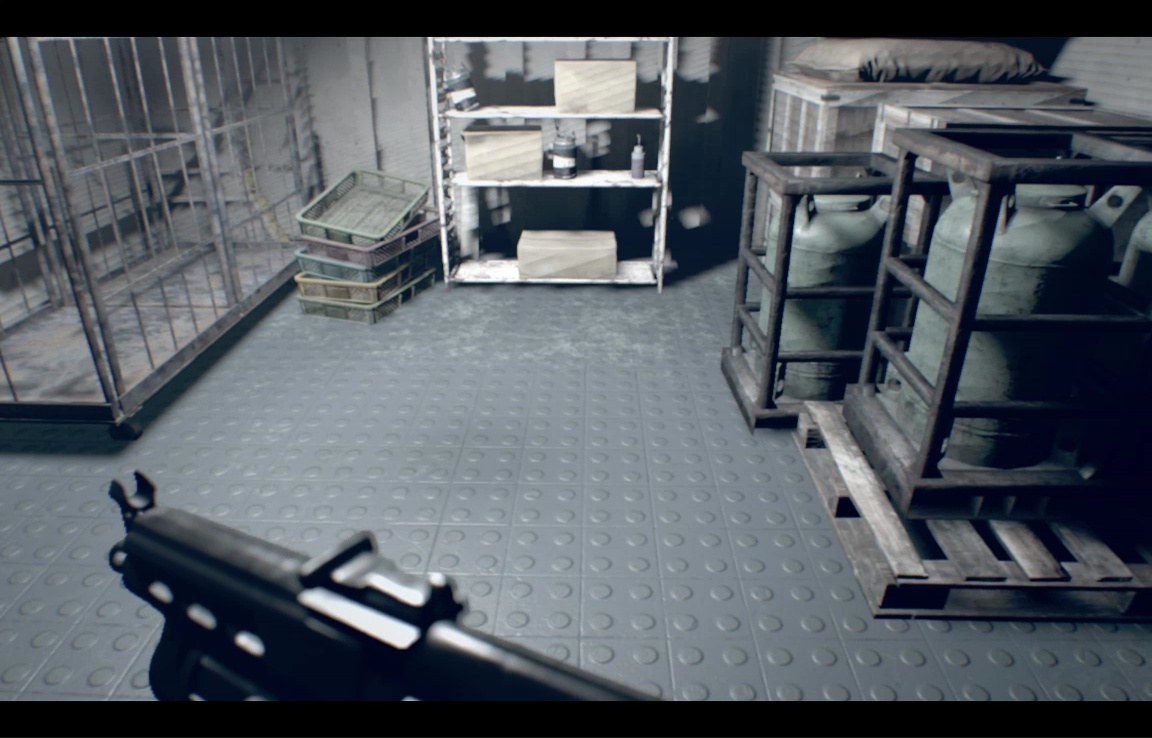
Chat with your wounded partner, then start hunting down Eveline (no spoiler to say that you do not manage to catch and neutralize her before she becomes a problem). You have to explore this floor before Mia will use the elevator, but there are no enemies yet, so take your time. In particular, there's a lot of machine gun ammo spread around here. Scoop it all up before narrowing in on your objective, which is just past the dining room. The double doors here are locked, but there's an opening in the corner, left of the doors and immediately left of what looks like a server rack.
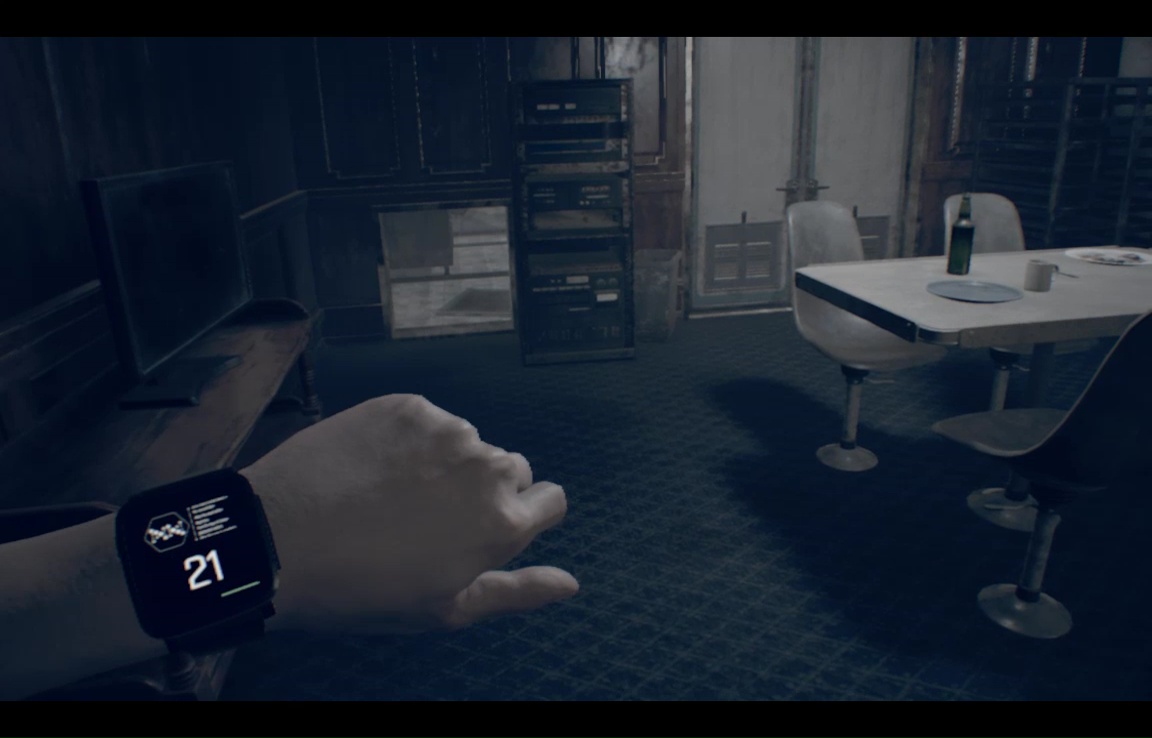
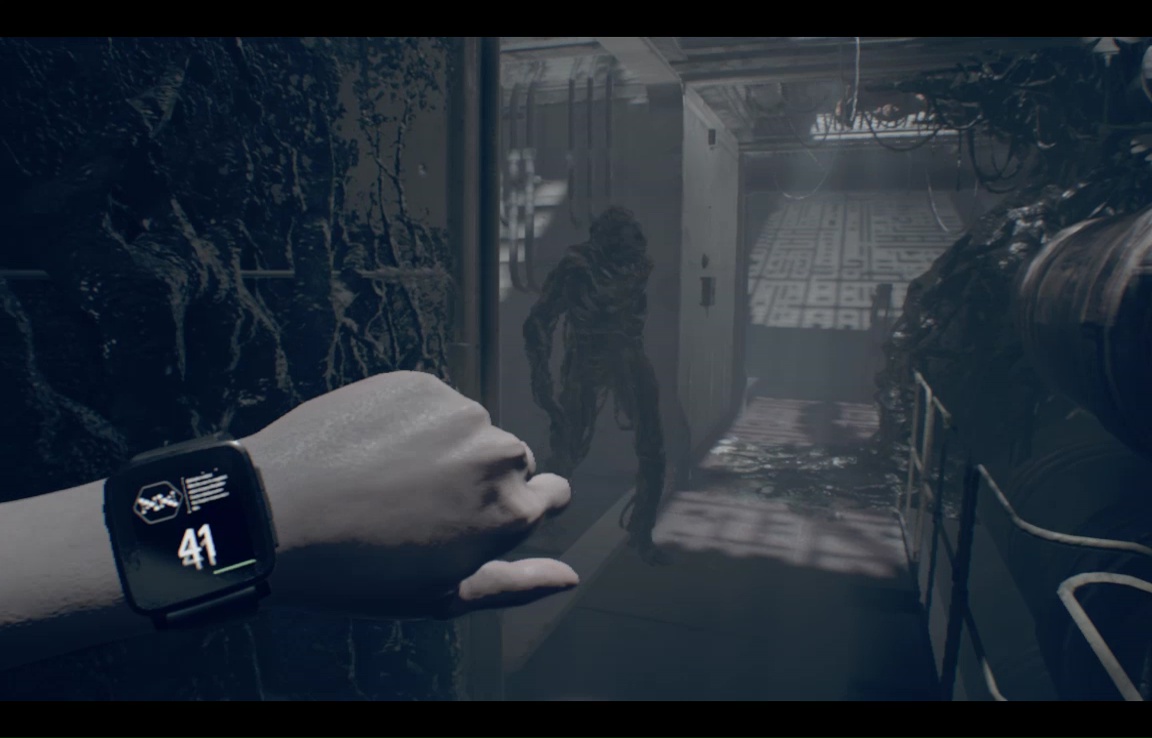
Go through to encounter a pile of 'vomit,' and have Mia recalibrate her tracker. You can also grab a Herb from the sink here- seems perfectly sanitary. There will now be a Moldy shambling around outside. There's a lot of ammo in this flashback, so as long as you don't go crazy with it, feel free to execute any enemies you come across. As ever, retreat slowly, use aim, and with the machine gun fire in short bursts to minimize waste (while maximizing wastage).
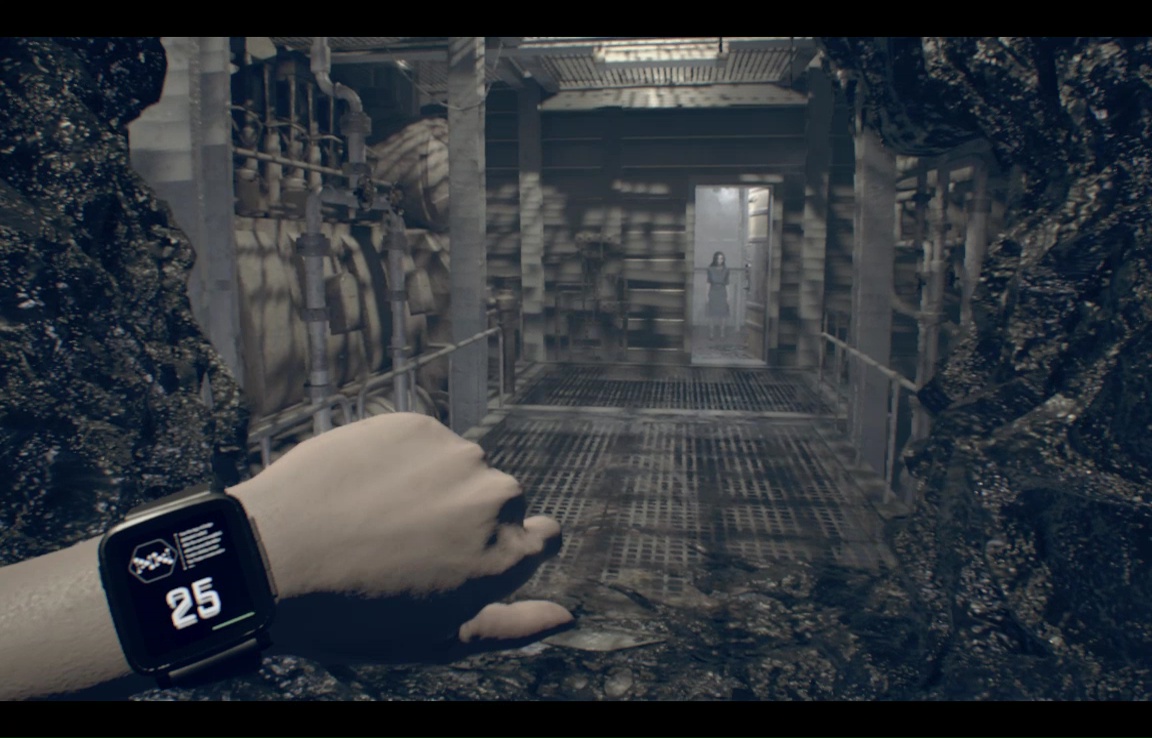
Head to the elevator to catch a glimpse of Eveline. Because you can totally trust your eyes at this point.
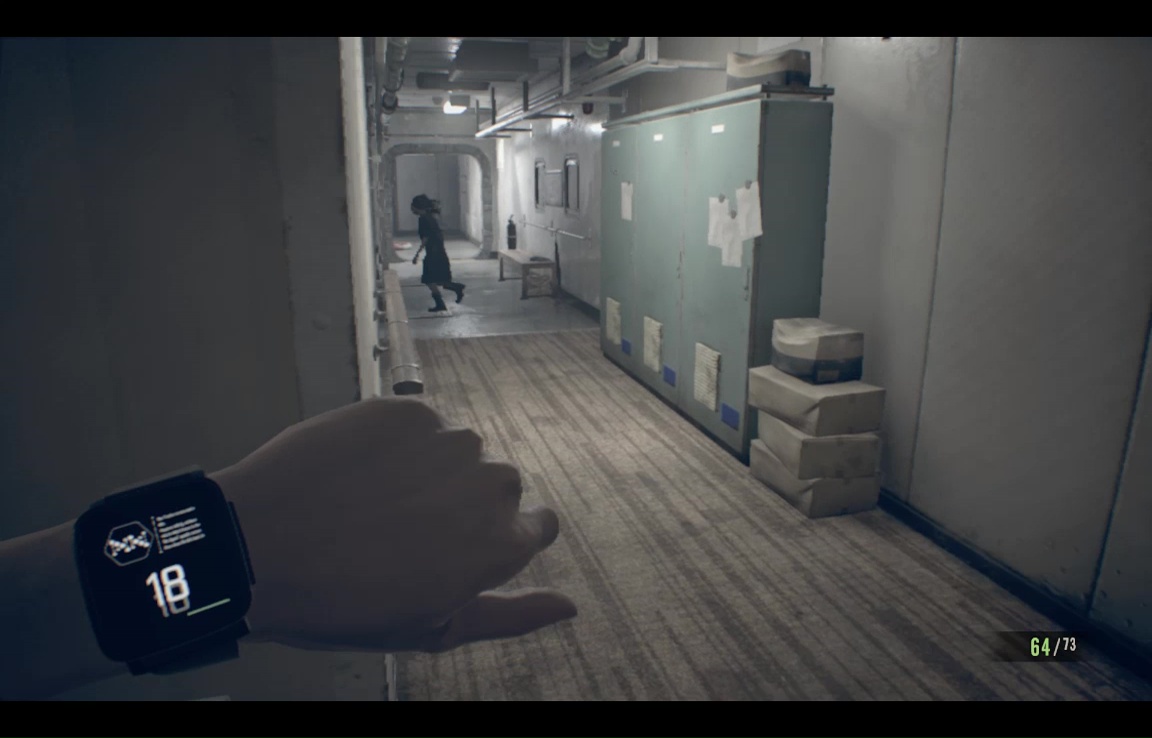
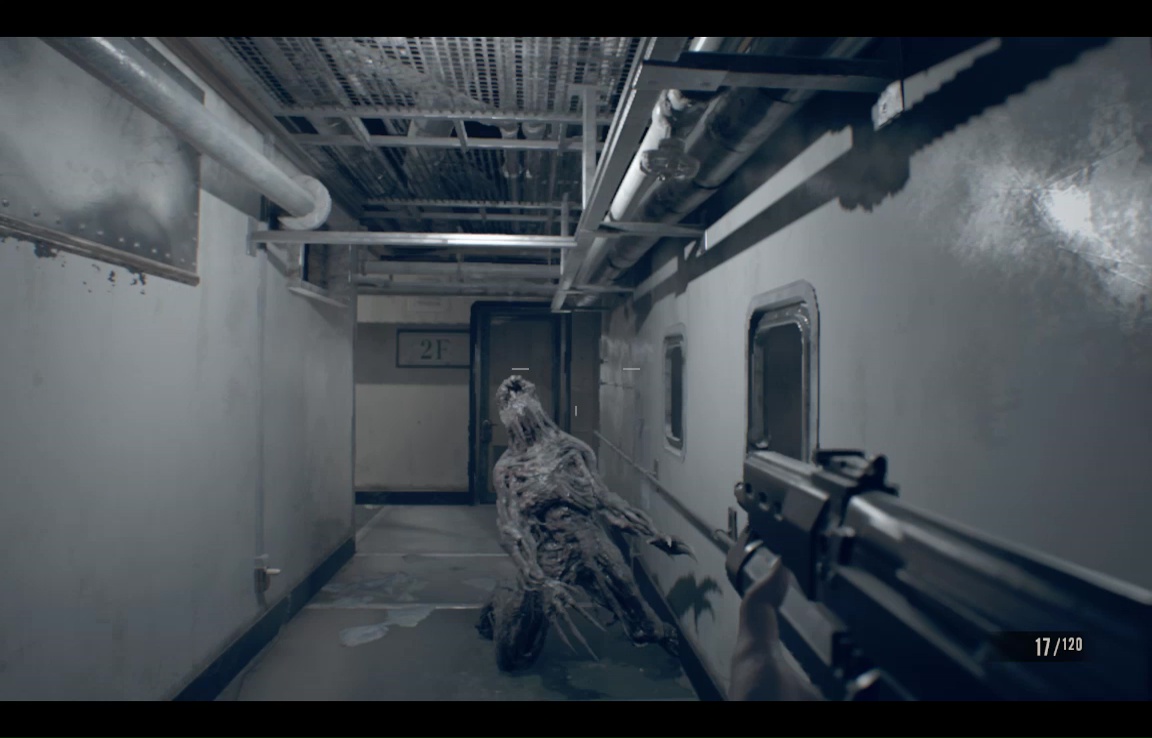
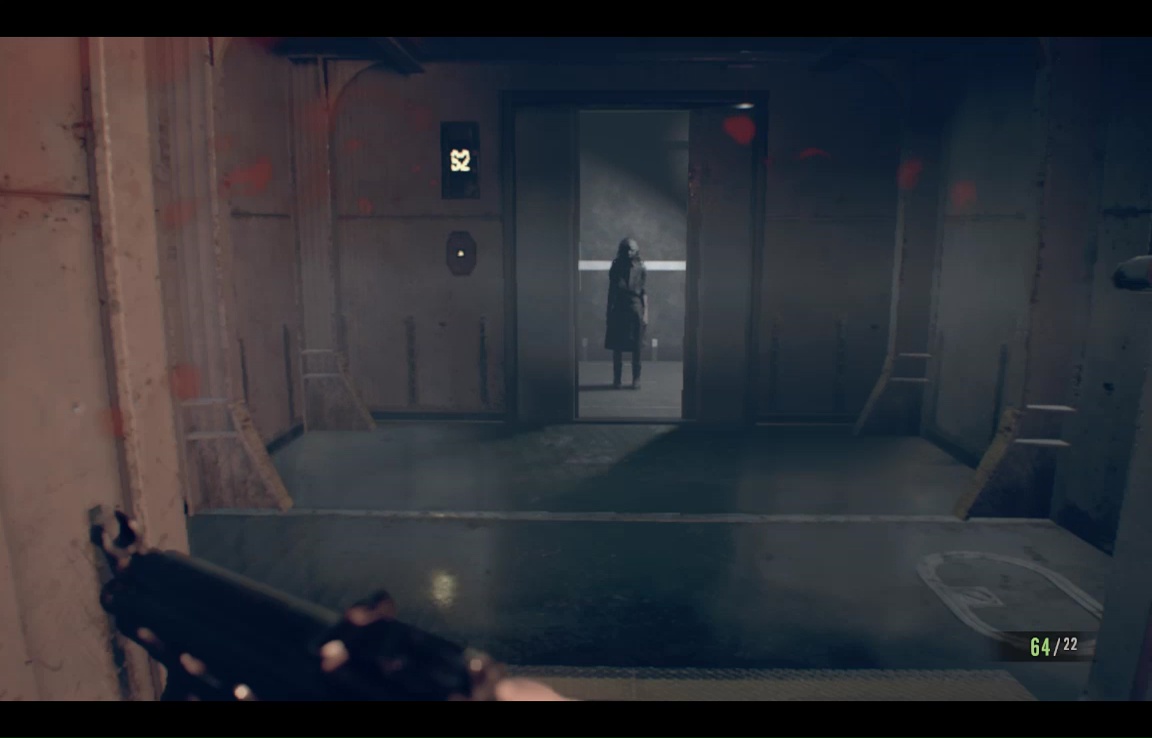
Wait for the elevator, step inside, then immediately step outside as a Moldy tries to ambush you. Gun the sucker down, then catch a ride to level S2- the only floor available. Sprint down this section. As you reach a room with a particularly giant pipe to your right, a shambler will attack from your left, but it's not even worth shooting.
Just grab the herb and then machine gun ammo on your left as you exit this section, then close the door behind you.
This next section has a Scyther who is worth shooting, so do that. Note also the double doors here- you can't get through them now, but they're useful later.

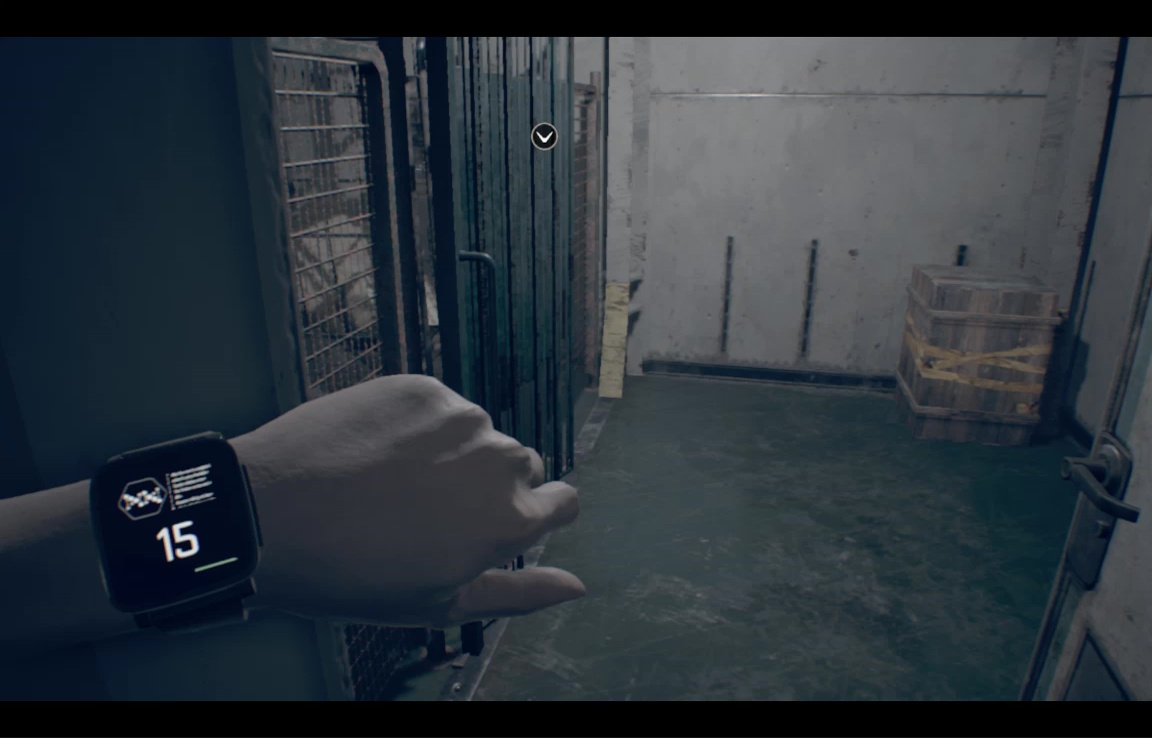
Grab some smart bombs in an open cabinet at the end of this hall, then turn left and through the double doors. Ignore the platform and stairs in the middle of the room (and the Moulder and Skully making their way laboriously down them)- just run for the far door and close it behind you. You're now in a hallway where Mia thinks she has Eveline cornered (insert hollow laugh), but the door is locked. Alan advises looking through your luggage, which is in the farthest door in this corridor, left-hand side.
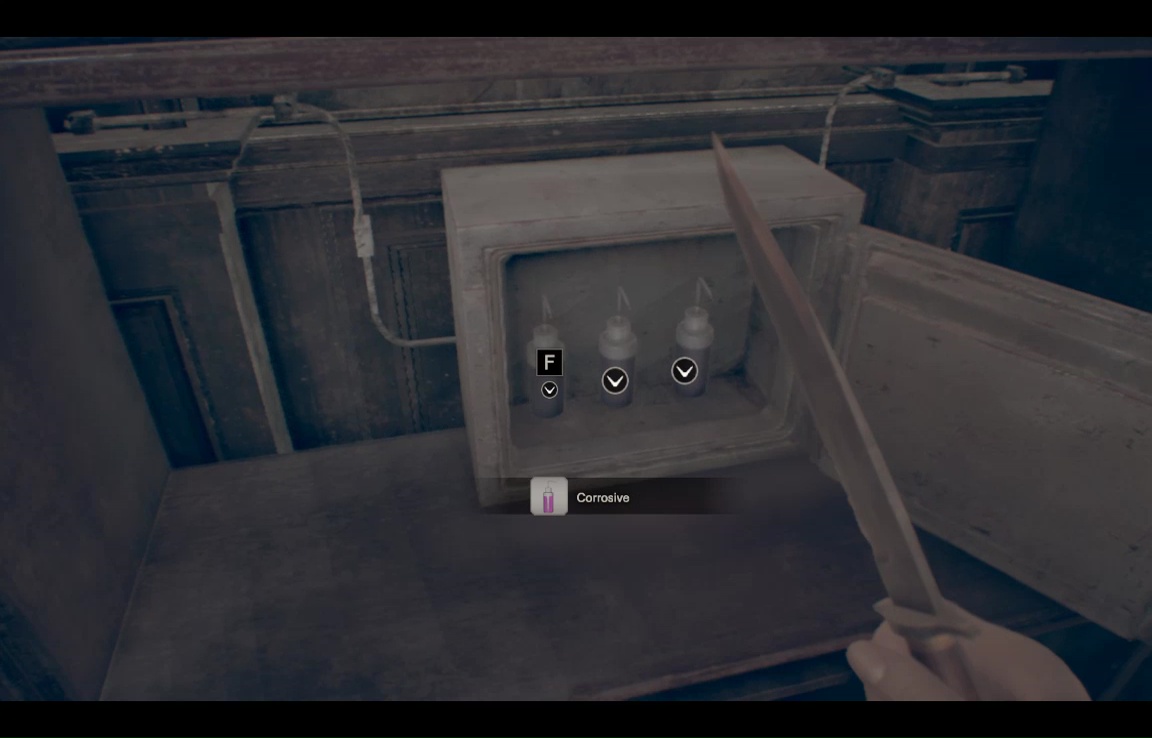
Smash the crate for supplies, then pry open the green barrier to your left to reveal a treasure trove of Corrosive- a new item type.
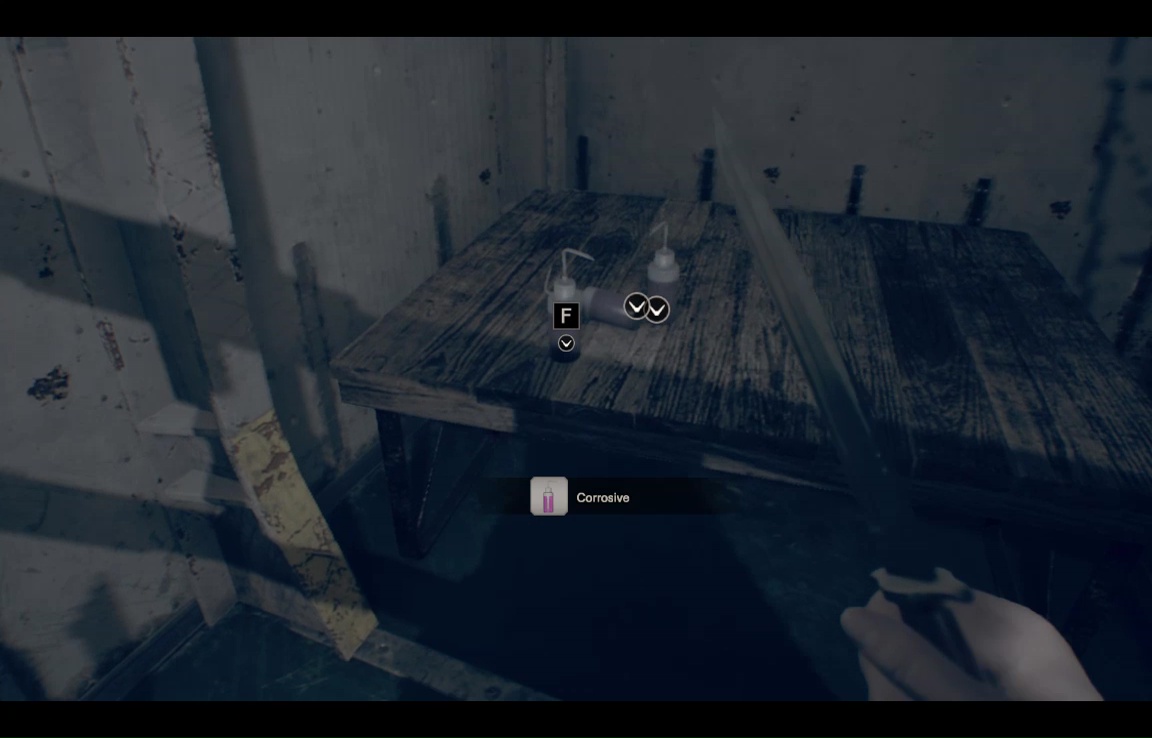
Essentially these are little bottles of acid you can use to melt locks. So you can open the door to Eveline now or, if you want to play it safe, double back to those double doors where the Scyther was. All enemies in your path have disappeared, and this room holds not only more corrosive, but more bombs, and more machinegun ammo. These are all good things.
Go back and corrode the door Eveline is hiding behind. Search this area for her, though it's clear she'll only be found if she wants to be found.
Time to go back the way you came. There are more enemies hanging about now, and this time the two in the staircase room can't be dodged. Retreat up the stairs, leaving a smartbomb to take out the walker, then shooting or dodging the crawler.

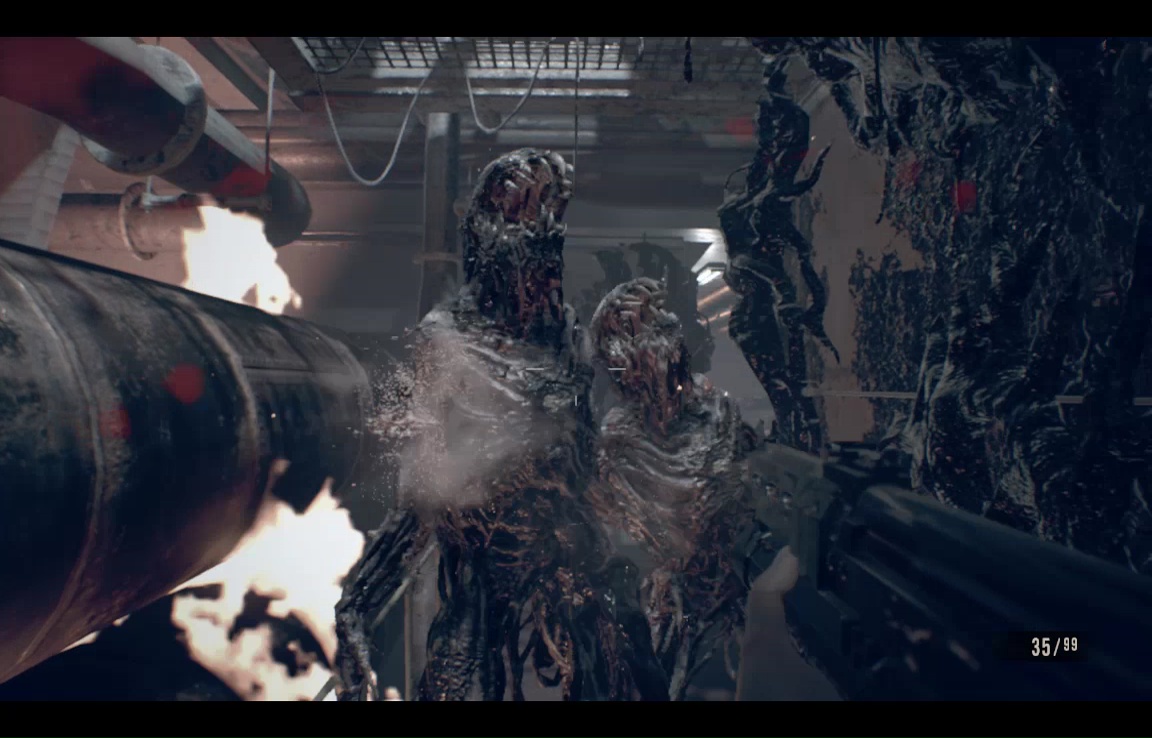
Press forward back to the elevator. That room with the big pipe where you dodged an ambush earlier has at least three enemies ready to spring at you- use the machine gun to plow the row.
Get to the elevator just in time to see it close in front of Evie. How familiar.
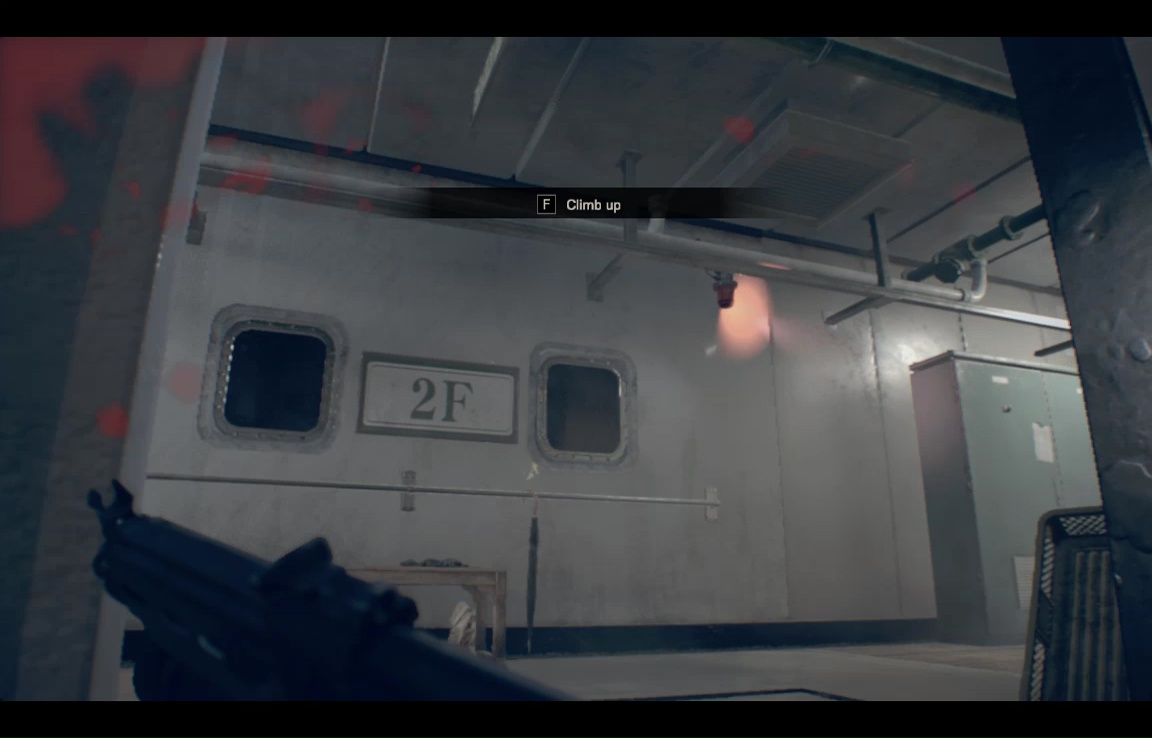
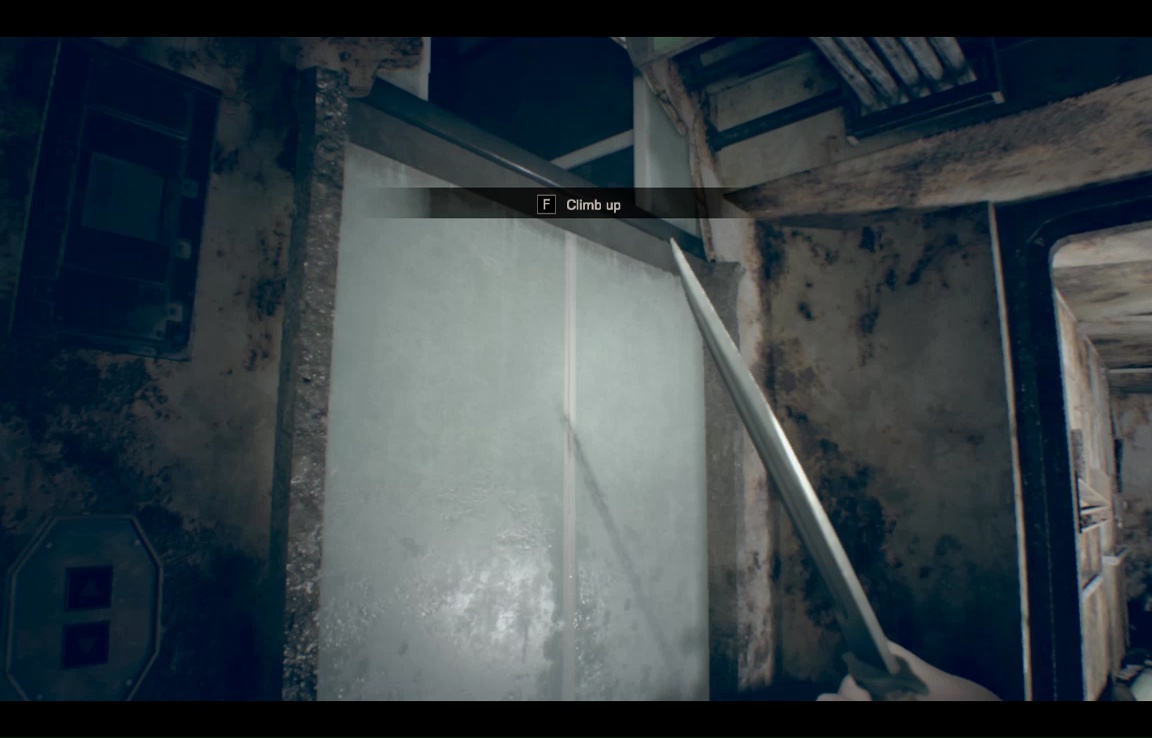
Take the elevator up, then pry open the safety doors when it stops. You're stuck between levels, but [F] will let you climb up to the second floor of the ship.
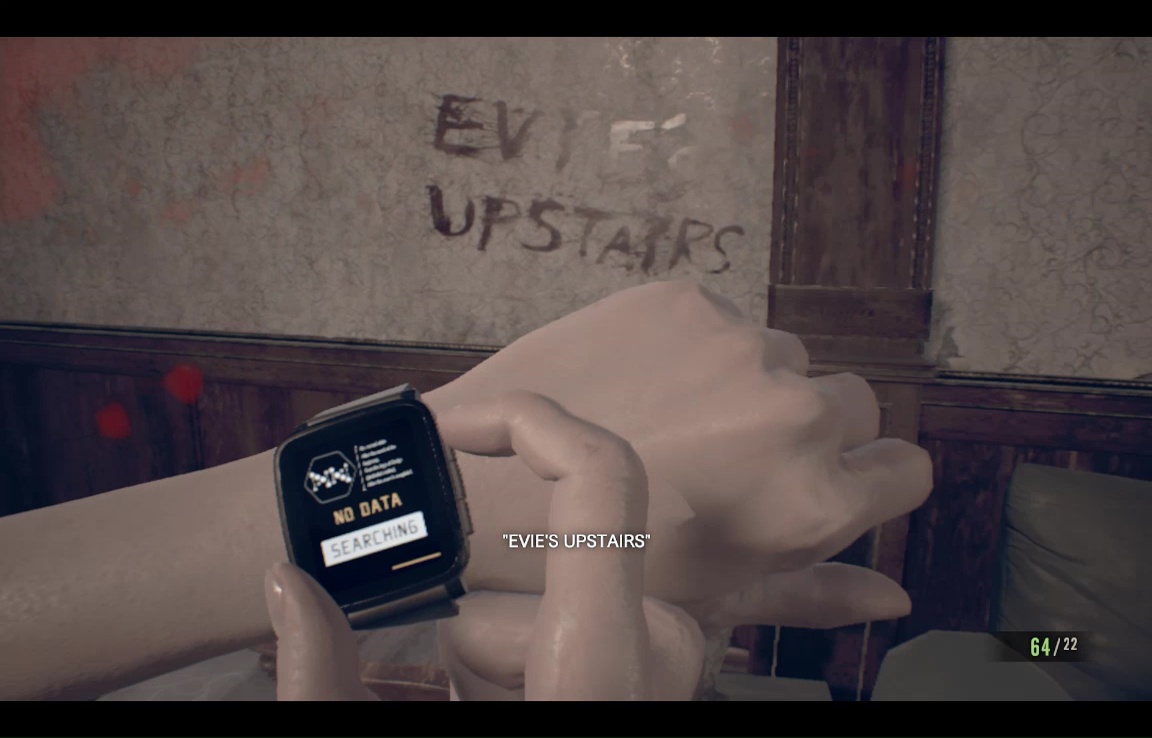
Go to the guest room (the room where this flashback began), to get a hint about Evie's location.
Go back down the hall, past the elevator into the bunk room. You can use a corrosive to claim two bombs from the lock box here.
Use one of them to take out the scyther skulking up ahead. There's another lockbox with even more bombs in the corner here, if you like.

Go back to the dining room, then enter the room adjacent- the one that had a mold-blocked door you couldn't enter before. Now this room has an open vent high on the right wall.

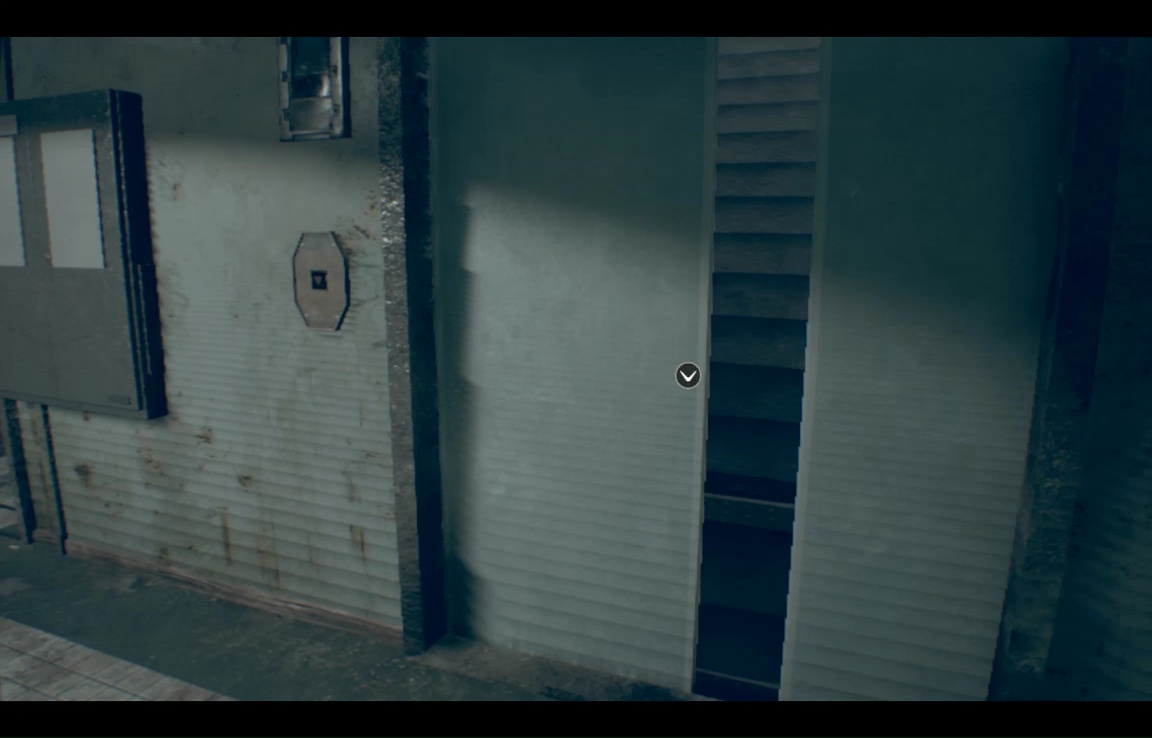
Scurry up quickly, because the door mold will start to spawn enemies the moment you step inside. Turn left into the stairwell and travel up to 3F. This area should start to look familiar.
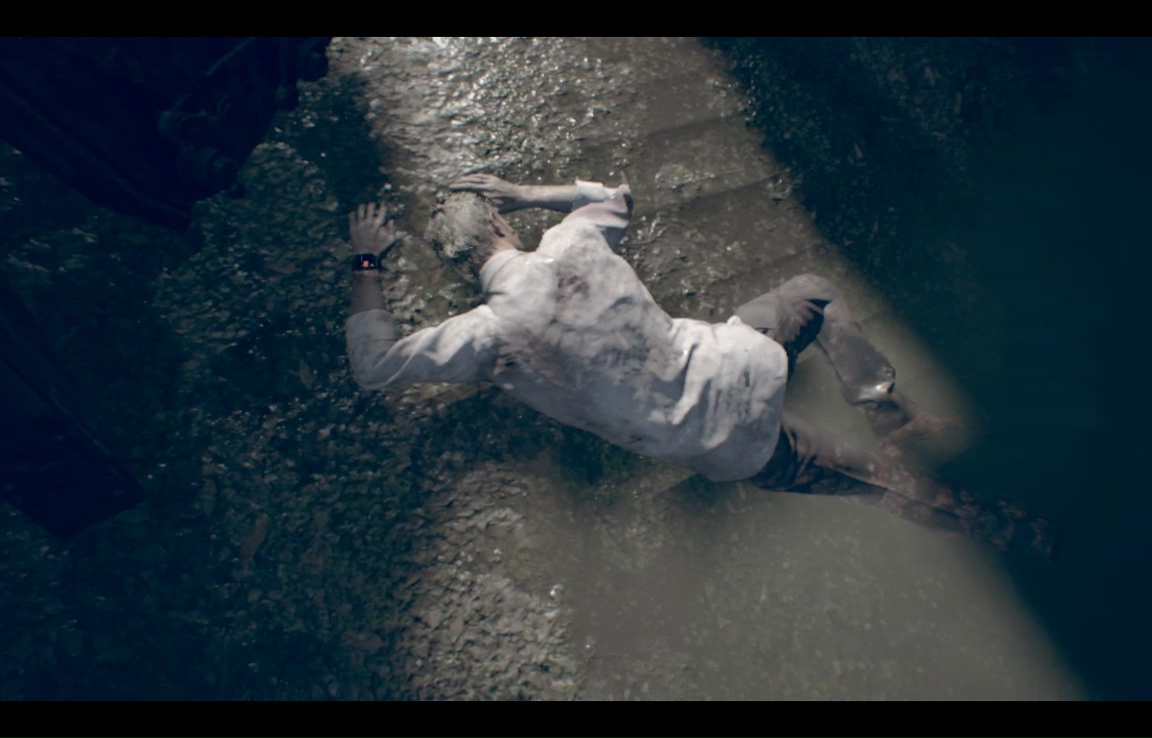
Just outside the video room, you'll run into Alan, who's not doing well.
Once that little episode is over, you collapse and wake up…. still in the flashback. Head past the body into a room with a laptop.
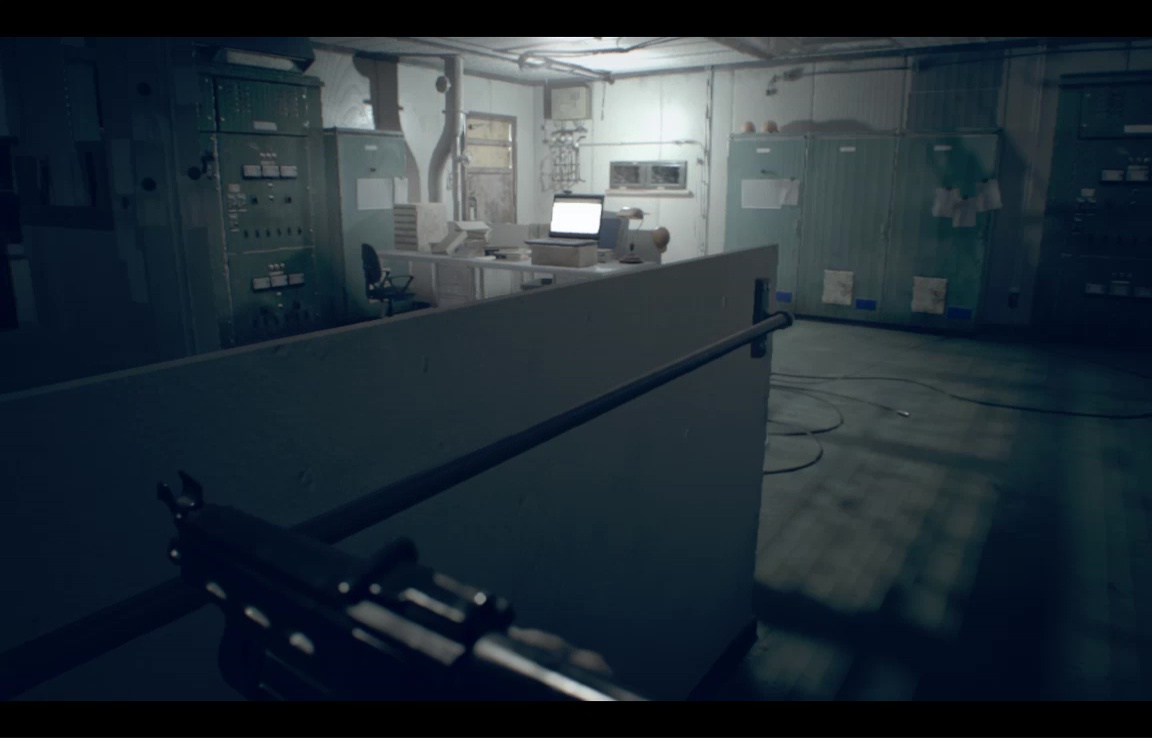
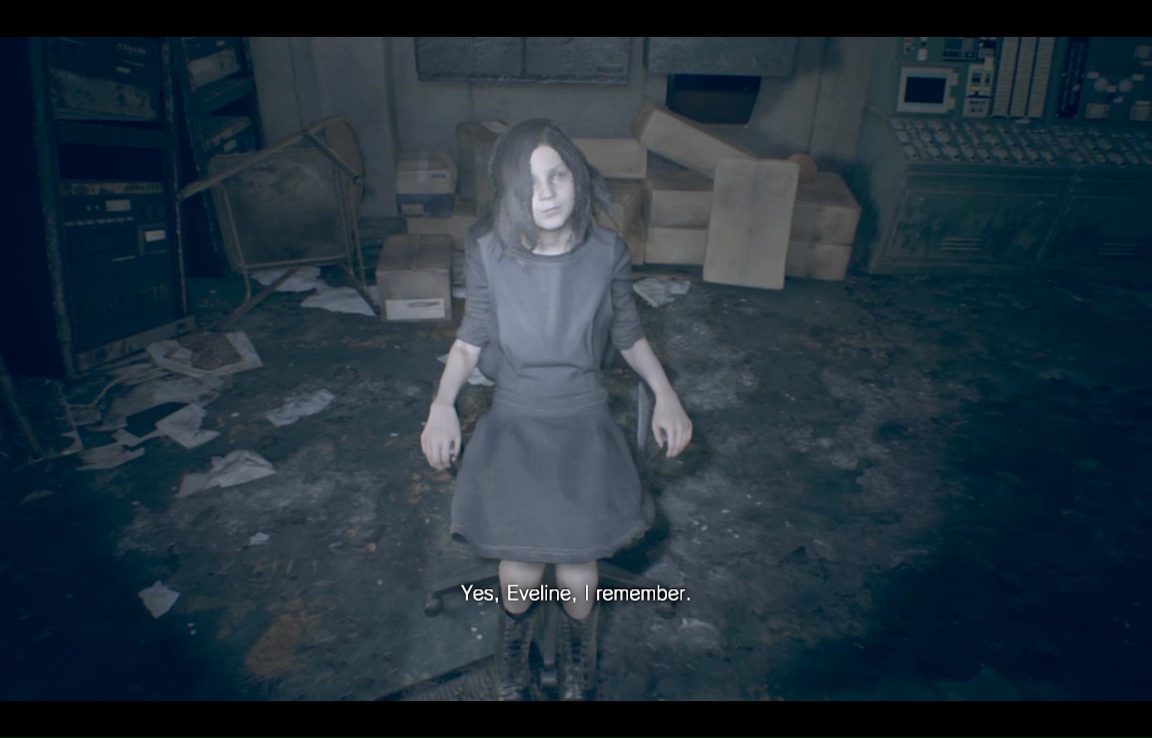
Interact with it for another blast from the past, then open the far door and head down the corridor into darkness. This time you wake up in the present, just in time for a not-entirely-cordial chat with Eveline.
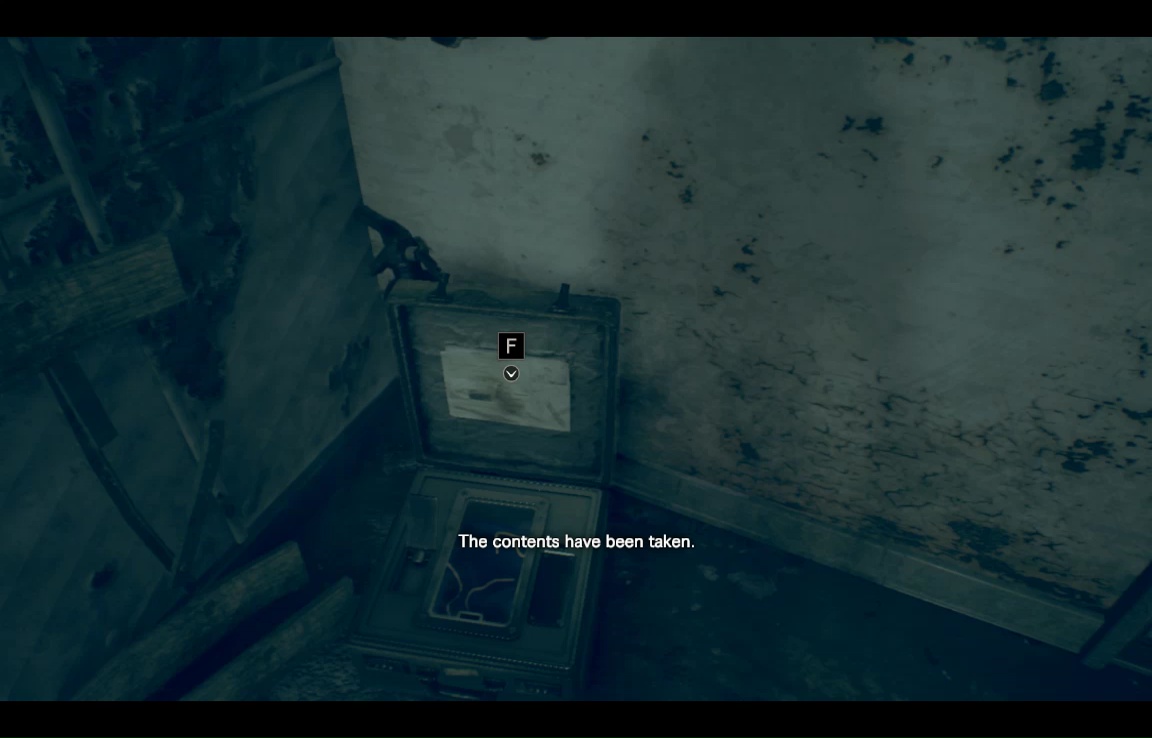
Go back to where Alan died to read the nearby case – it's worth a File entry for your Devil in the Details achievement.
In this same room, you can now pull open the elevator doors by hand.
Climb up the big yellow ladder, then drop down the access hatch here.

You're now on the bridge of the ship, which is free of enemies. For now. On the console furthest from the window is a still-operational computer.
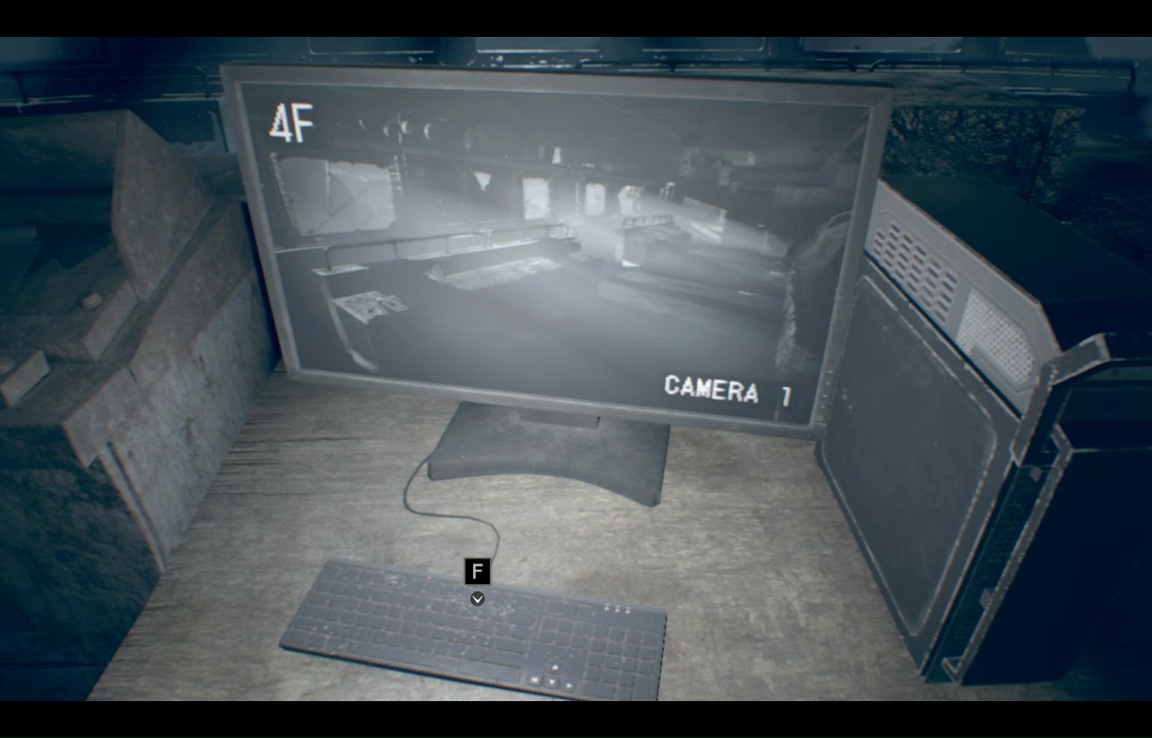
Use this to cycle through security camera feeds until you find Ethan. Endure a minor jump scare, then scour the bridge for loot, incuding some gunpowder and an abandoned remote bomb. Bear southeast to find the Captain's Cabin, conveniently labeled and unlocked.
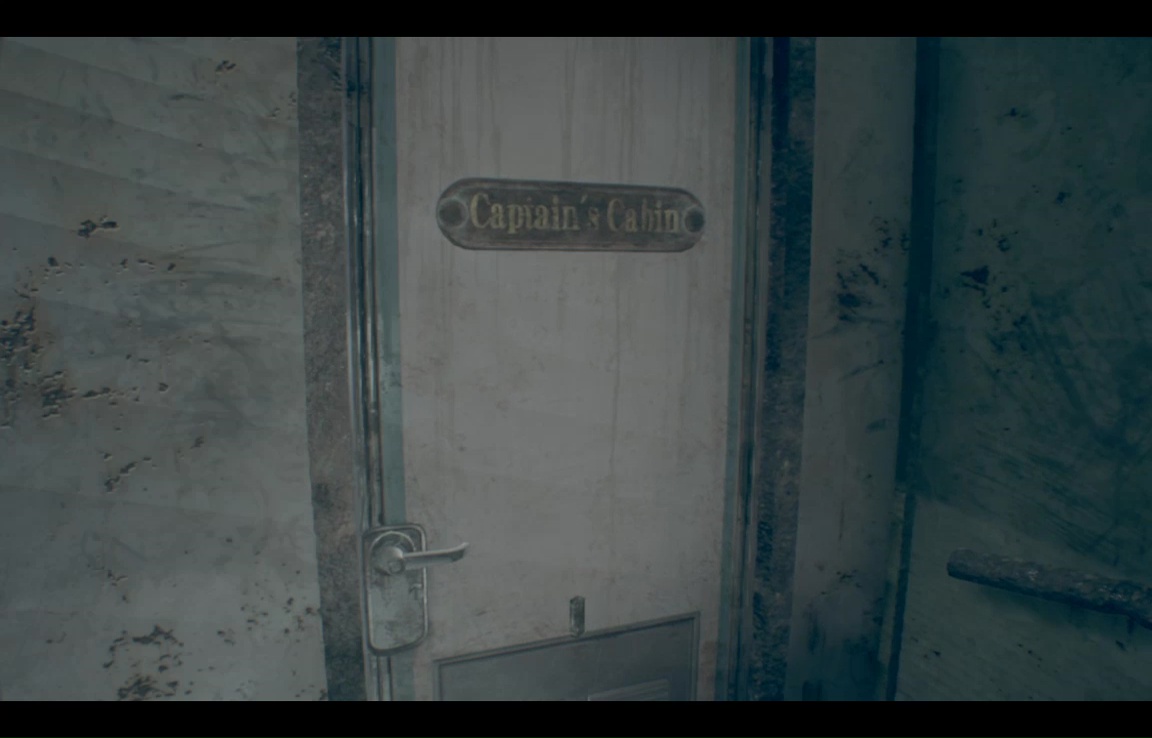
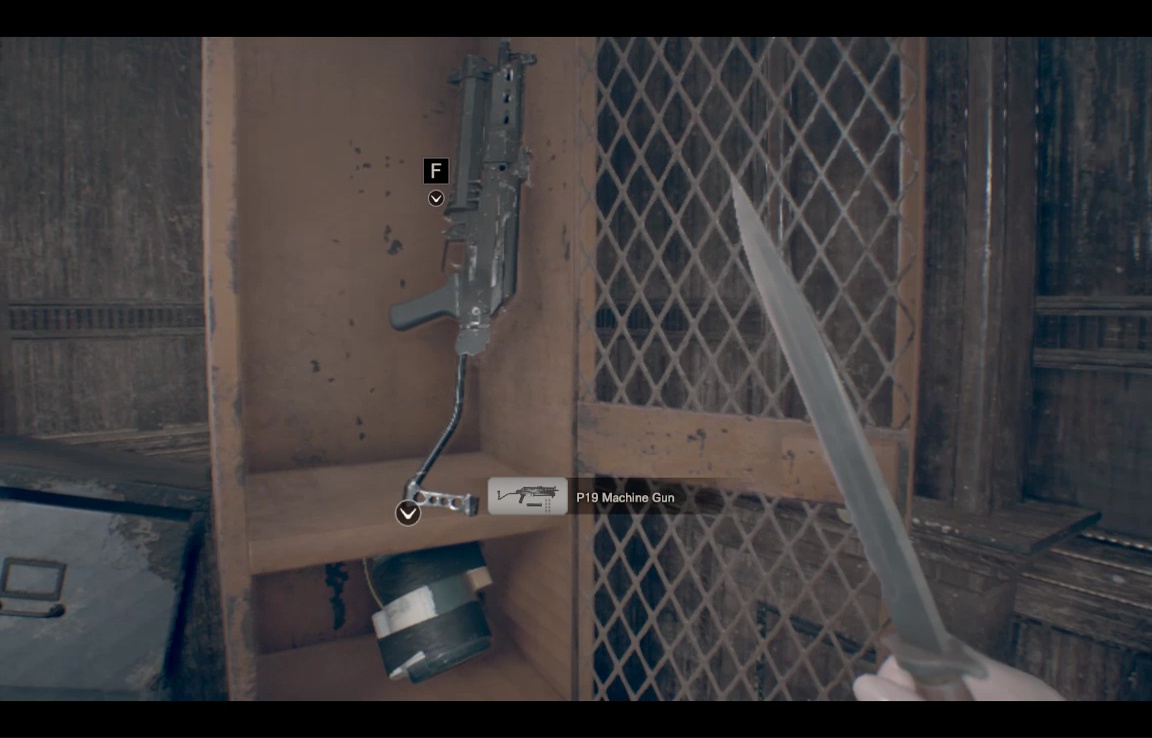
Inside is a machine gun cabinet, which *is* locked, but you can still score a handy map of the ship, and a lug wrench.

There's not much else to do here- there's a Herb and a Remote bomb in the blocked stairwell, along with a Mt. Everybody figure, but without weapons you can't claim him yet. When ready, pry open the the elevator doors do return to the elevator shaft.
Drop down, and use the lugwrench to open the top hatch of the elevator car. Drop inside to see two gaping holes where electronics should be.
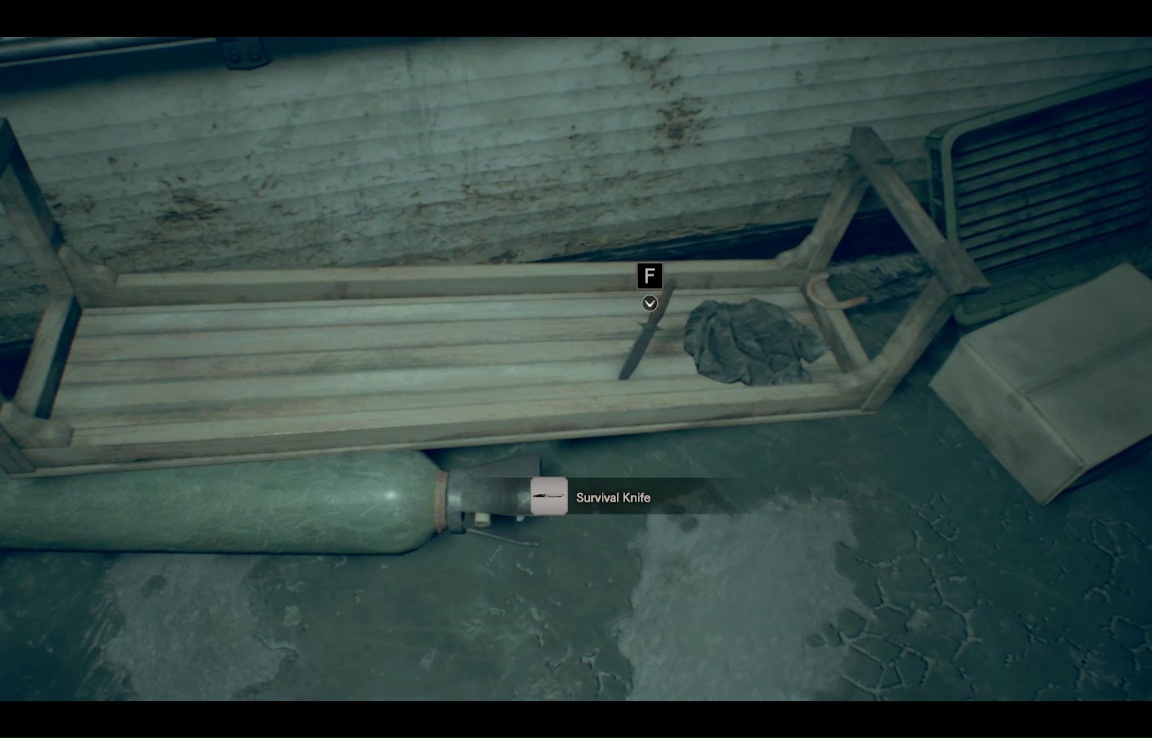
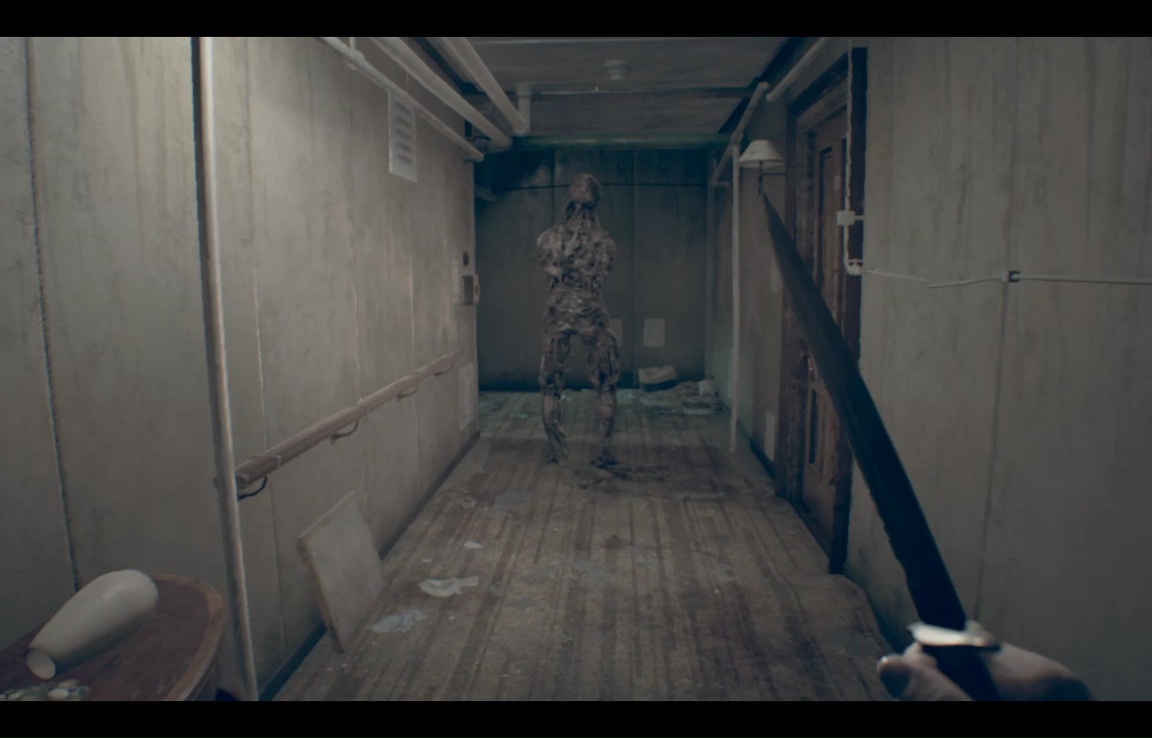
What's needed here is a fuse (the one you used to open a door earlier, in fact), and some cables. Check the note on the wall here to confirm, and to add a File entry. The elevator car is wedged between levels, allowing you to exit up or down. Choose up, and immediately in front of you is a survival knife, stuck in a table. Make it yours.
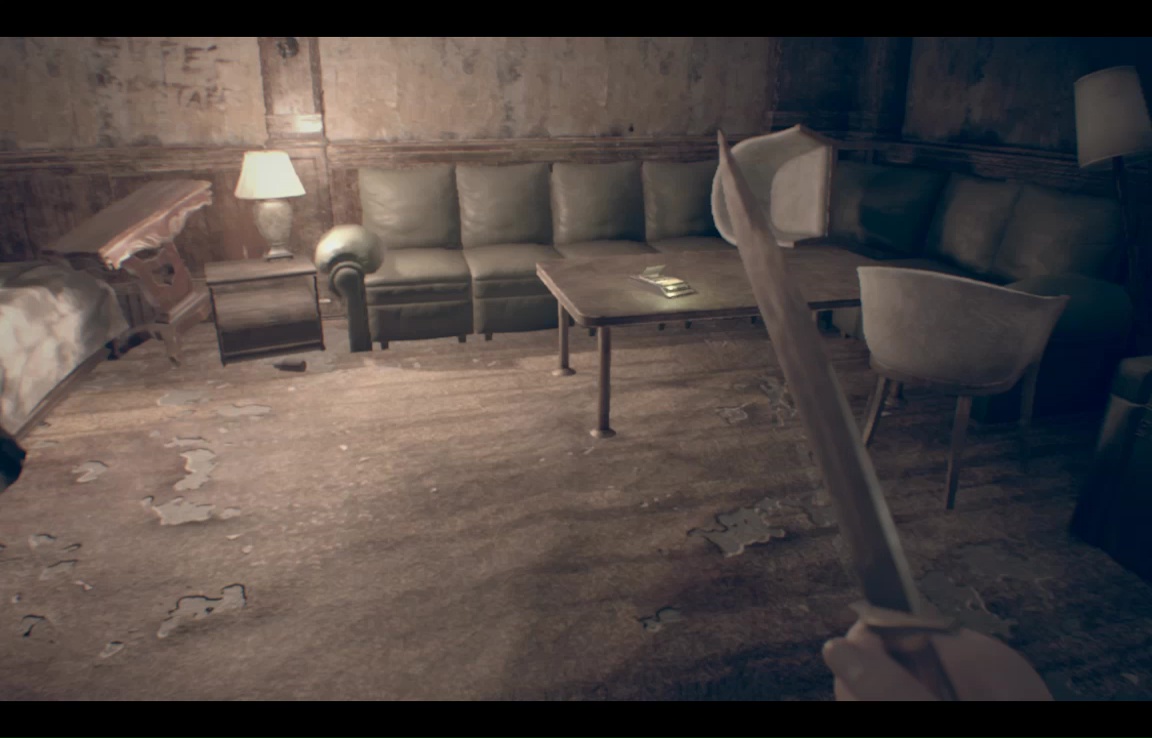
Check your map and head for the lounge. You make wake a few Moldies on your way, but as long you close the door behind you before they actually pass through it, you'll be fine.
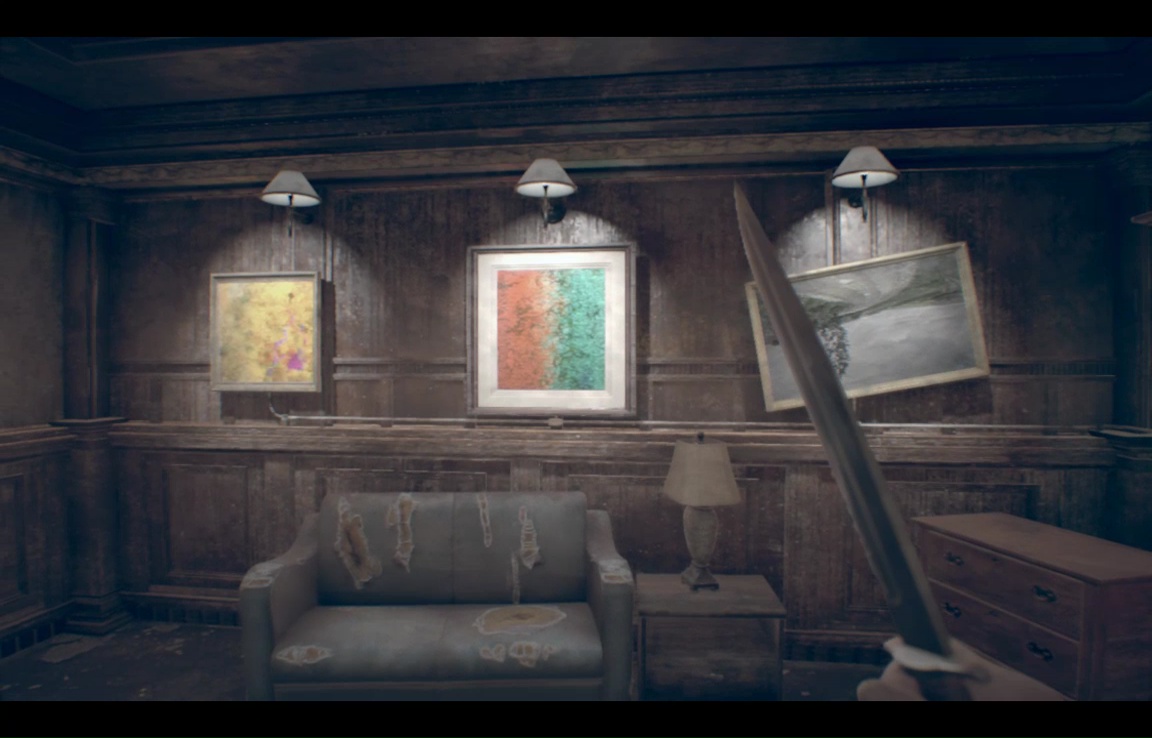
There's a puzzle here, but it's a pretty simple one. The paintings on one wall are (1) obviously askew) and (2) rotatable. Turn them to match the painting on the opposite wall to unlock a treasure trove of corrosives.
Returning, the Molderati in the dining area should be gone, but there's now an armless shambler hanging around in the corridor. If you haven't got your 'Things Got Personal' achievement yet, now's an excellent time.
The Guest Room on this level (where Mia's flashback began) is now a save room. You can pickup some ammo and a Corrosive there, as well as saving your game and picking up any special items from the inventory box (you do not, alas, get access to Ethan's arsenal).
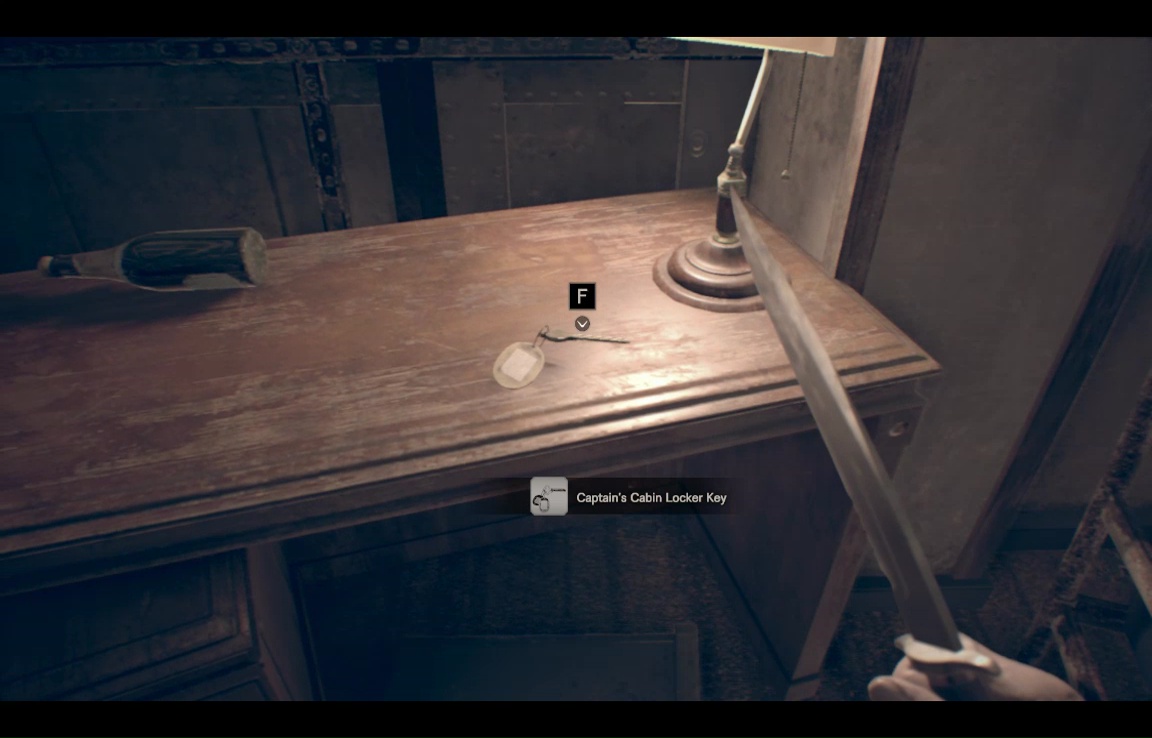
Our next stop is the bunk room, currently split into two by wreckage. The accessible half has some gunpowder and a chem pouch in the microwave, but it's the other half we're after. Use a Corrosive to melt the lock, and claim the goodies within, including the Captain's Cabin Locker Key on the desk.
Stop back by the Guest room and clear enough space in your inventory for a new weapon, 'cause it's machine gun season. Head back up through the elevator shaft to the Bridge. There are hostiles here now, but easily evaded as you head straight back to the captain's cabin.
Claim the P19 machinegun, drastically shifting the balance of power on this miserable hunk of tin and mucus.
You'll get to test it right away, as a shambler has materialized just outside the door to the cabin.
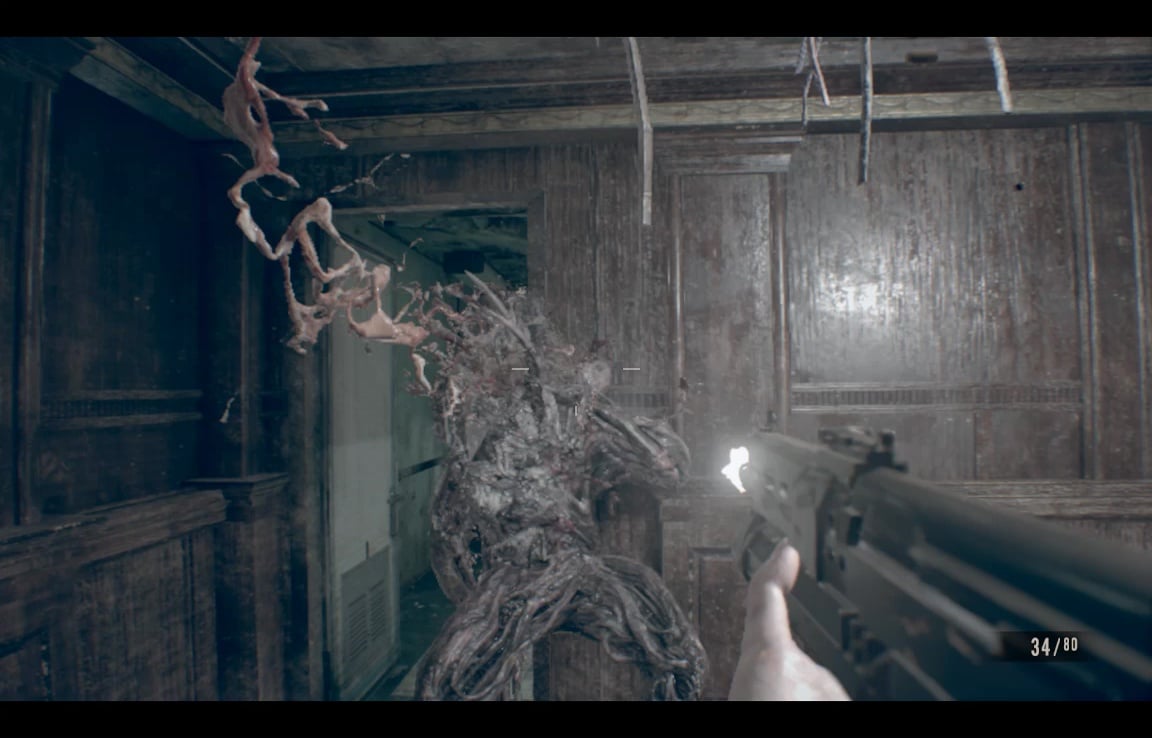
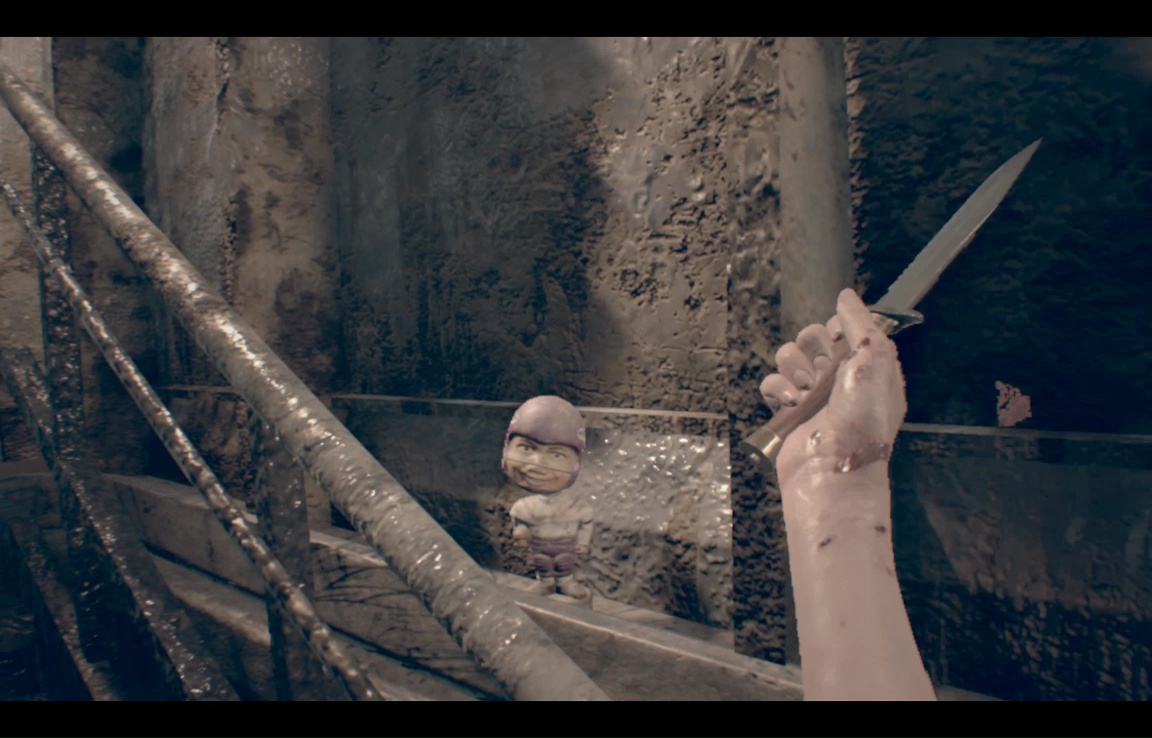
Yup, gun's still working. Now that you're armed, go back to the stairwell and take out that Mr. Everywhere bobblehead.
Return to the elevator shaft and return to floor 2. Save your game, then make for the room on the opposite corner of this floor from you (small door past a lock box- it's in the northeast corner of the map with a little ladder icon).

Climb the ladder of this rust-depository, and shoot the bobblehead here- the last one aboard ship.
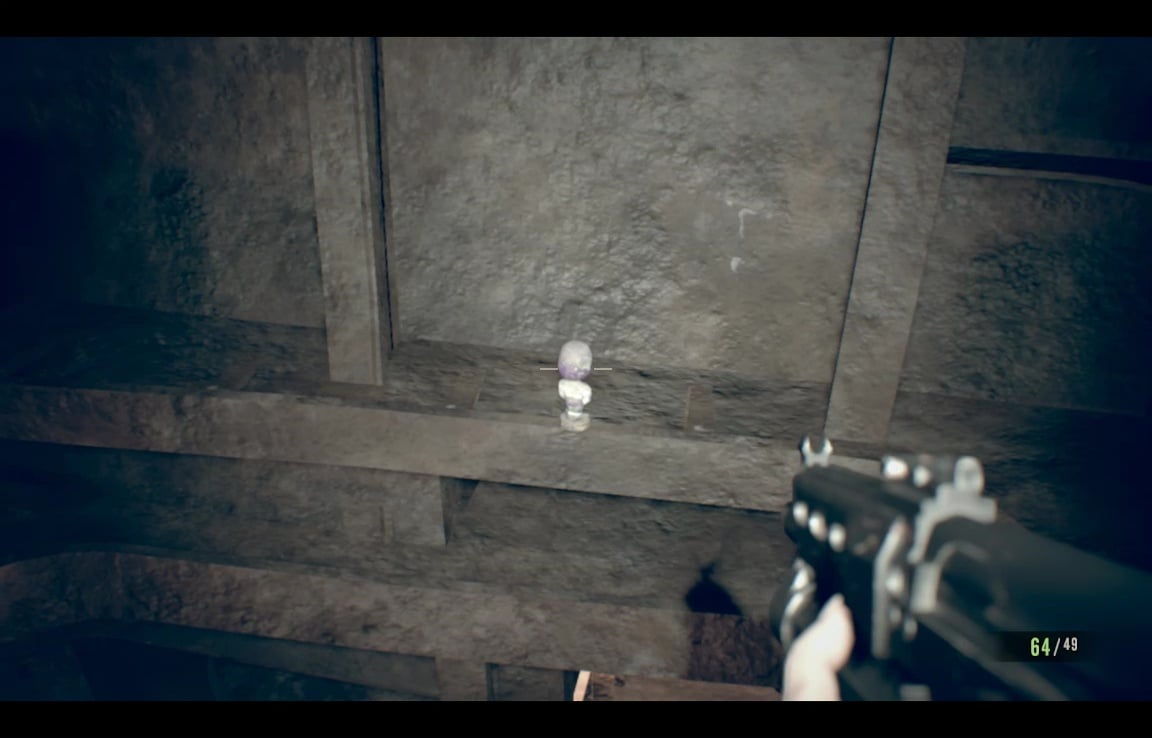
You'll also want to open the red metal box here- it's the only lockpick Mia ever gets, and she'll need to secure an Antique coin later. Climb down the ladder and back to the elevator shaft. Drop down to Floor 1 this time- this is the area you entered earlier in the level, when you dodged some moldies and used a fuse to open the door.

The moldies here now are… strangely unobservant- you can stalk and shadow them with ease.
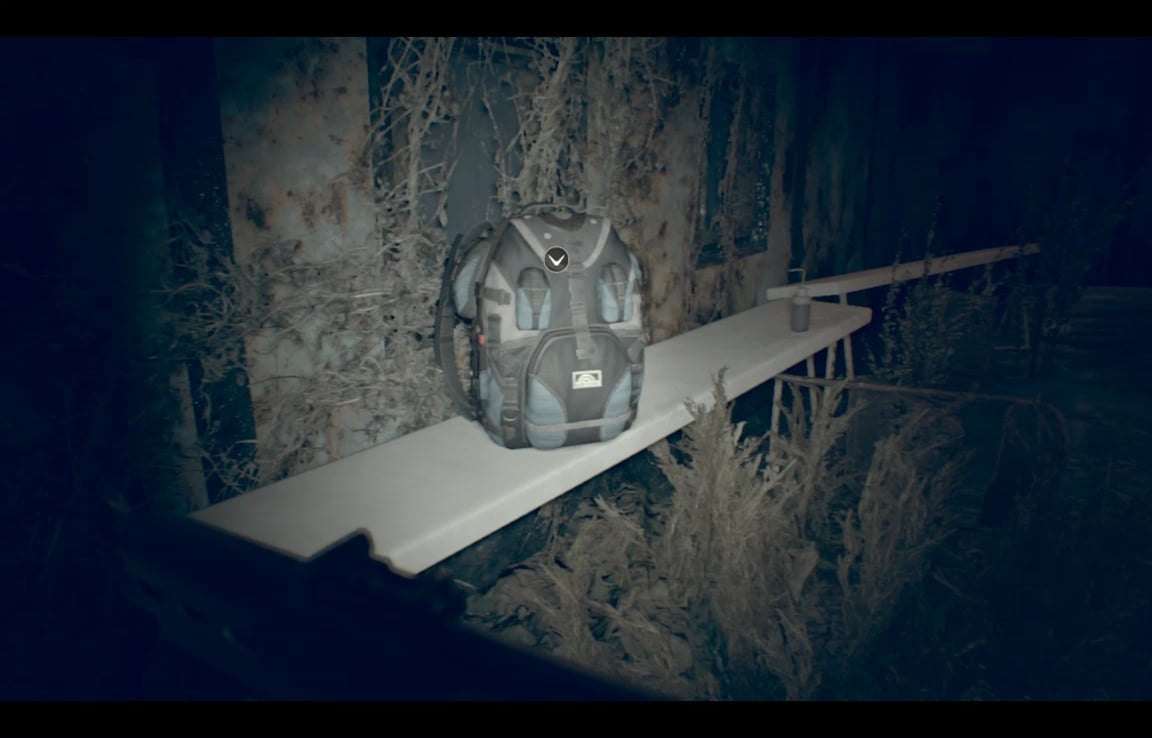
Alas, there's no backstab bonus in RE:7, so either evade them or gun them down, as desired. You can loot quite a few things from these rooms, including two journal entries, but the real prizes are in the Recreation Room. Use a corrosive to get inside and claim a bundle of loot, plus a backpack upgrade to carry it all in.
Once you've looted the floor, remember to grab the fuse, and then exit through the elevator shaft.
Take the stairs up to the third floor, just like when you first entered this part of the boat. Pass through the tv room, and into the room where you sent your semi-final message to Ethan. Use the lockpick on the box here for your second-to-last Antique Coin.
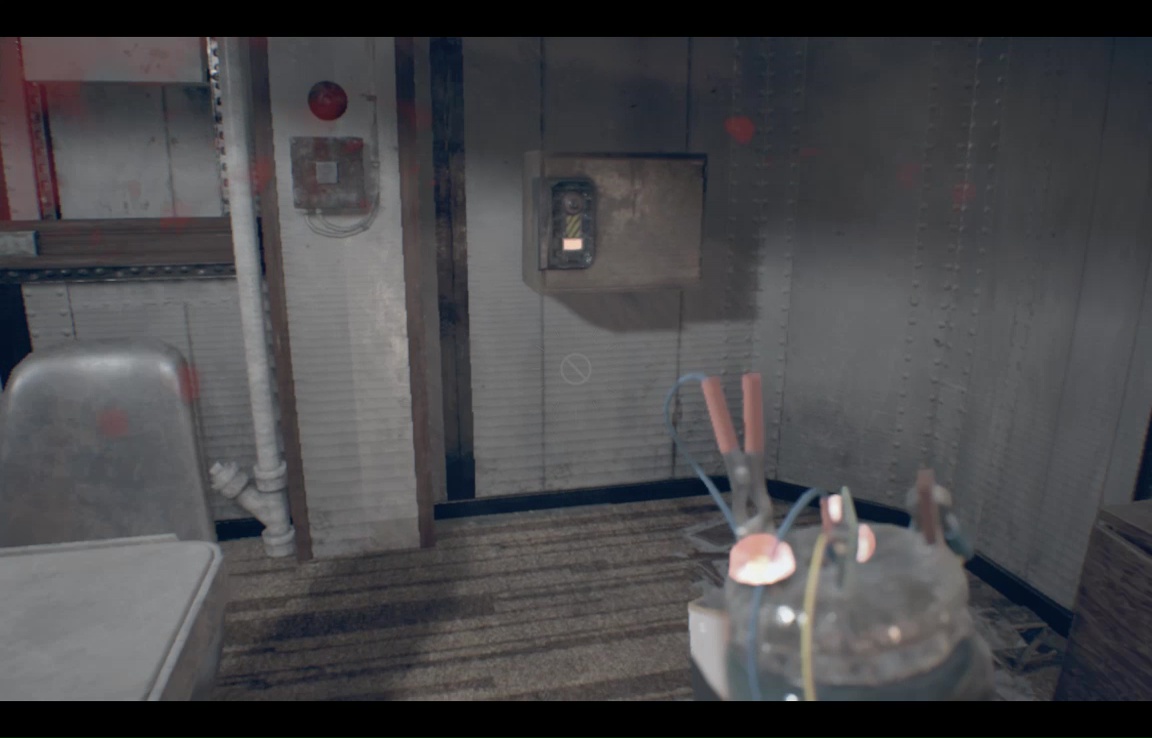
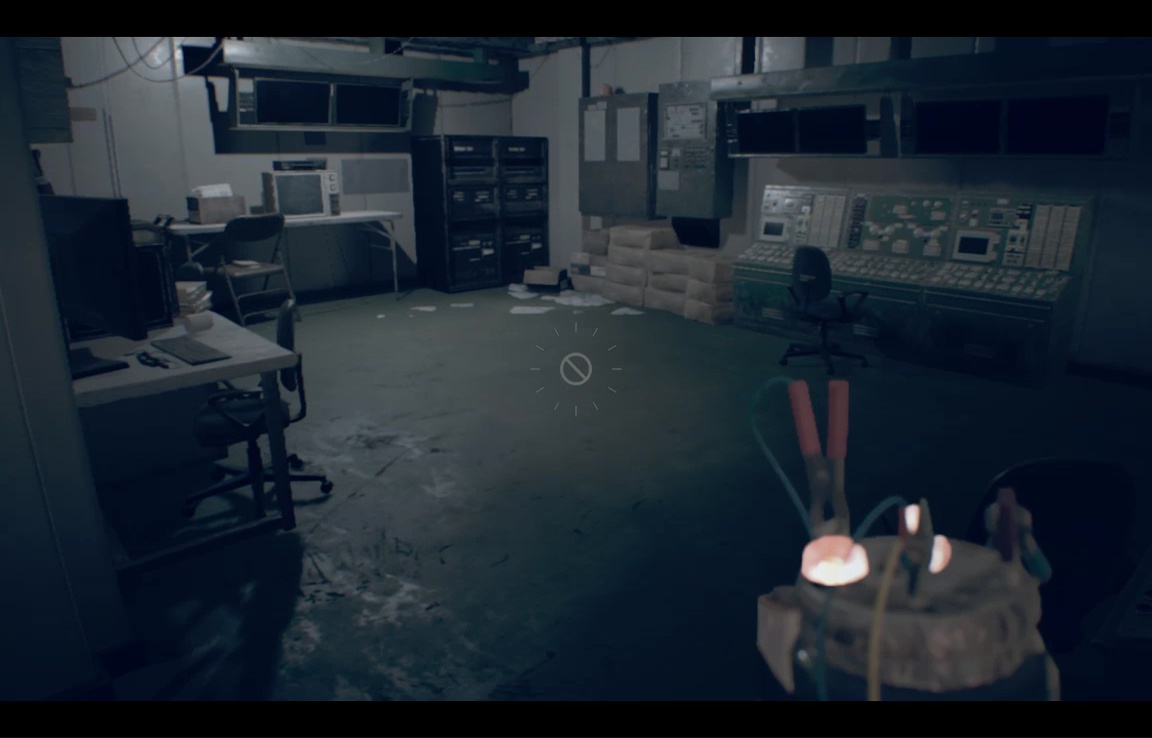
Use some Corrosive on the Control Room door, and follow the hall down through the Shower Room, and into the Sickbay. Make sure you have the remote bombs equipped, then walk into the middle of the room- a large size vomintg Moldy will suddenly appear behind you. This is probably the easiest place to get the 'That's a Spicy Meat-a-ball' achievement. The Moldspawn is very huggy- just let nature takes its course, then jam a smartbomb up its nostril and blow it to hell.
Loot the room for some chem fluids, and for the power cables you need, which are connecting a small wheelable display to the wall in the corner.
You now have everything thing you need to reach Ethan, but once you repair the elevator you won't be returning to this section of the ship. Explore and loot anyplace you still want to, then return to the elevator and plug in your acquisitions.
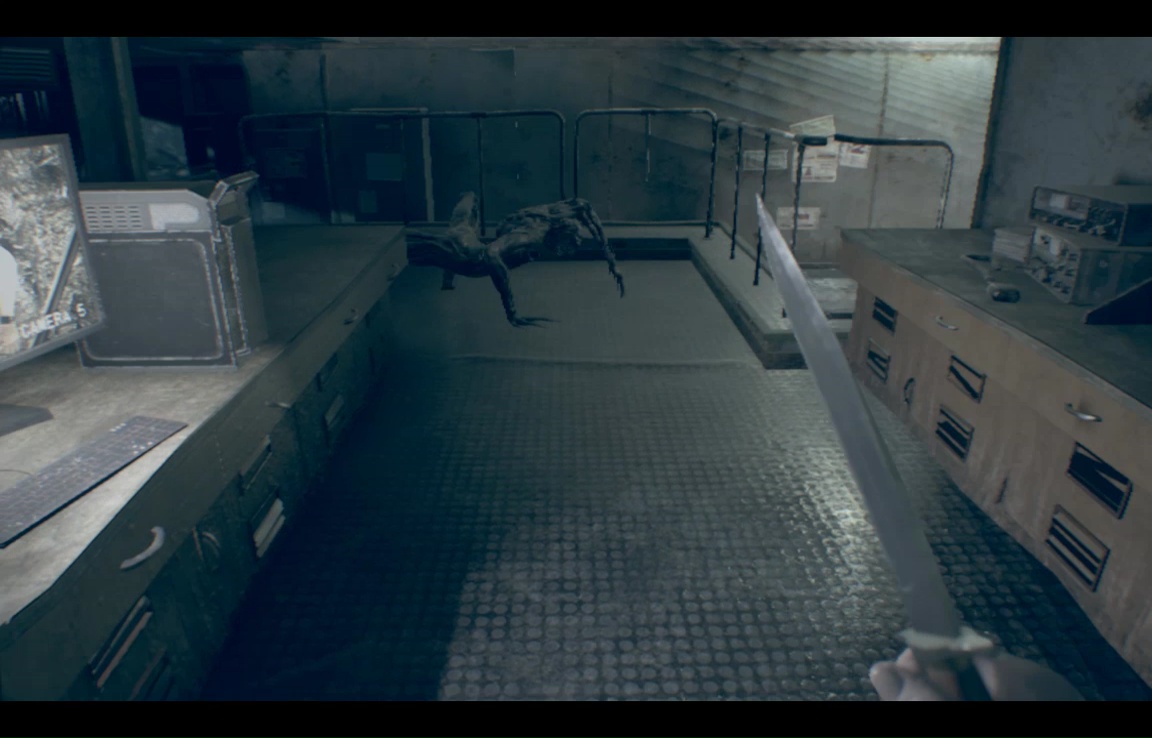
Take the elevator to S2, which you should remember from the flashblack. The layout is still the same, but there are more Moldies on patrol. Keep a particular eye out in the big pipe room, where a crawling Scyther will drop from the overhead pipework, xenomorph style. A bomb will get him out of the way, and few skullbullets will dispose of the shambler that attacks a few yards later. Out in the hall, a quadfoot drops from above, and is also an ideal skullbullet candidate.
The room with double doors still has plenty of good loot, but the staircase room has changed a little. Now you have to go up the stairs, and they're guarded by a scyther (one bomb to kill), and a fatty vomit blob that only manifests when you reach the top. This can be taken out by multiple bombs laid in its path, or a single bomb if you can get it to grapple you.

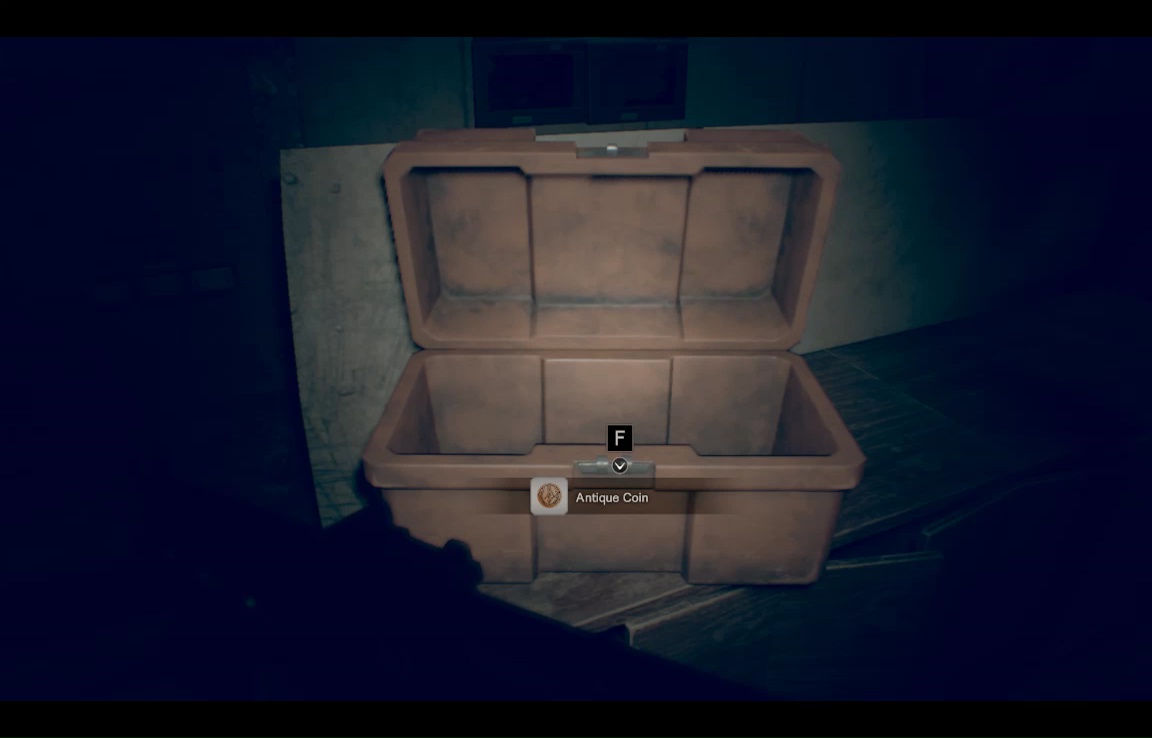
Grab a replacement bomb on the ground level here, then smash the crates up top for supplies, and pass through the door. As you round the corner and go down the steps here, you'll see a lock box.
This box contains the last Antique Coin in the game. Huzzah. Corrosive open the box to claim your prize, and pop the 'Pelicans in Your Pocket' achievement.
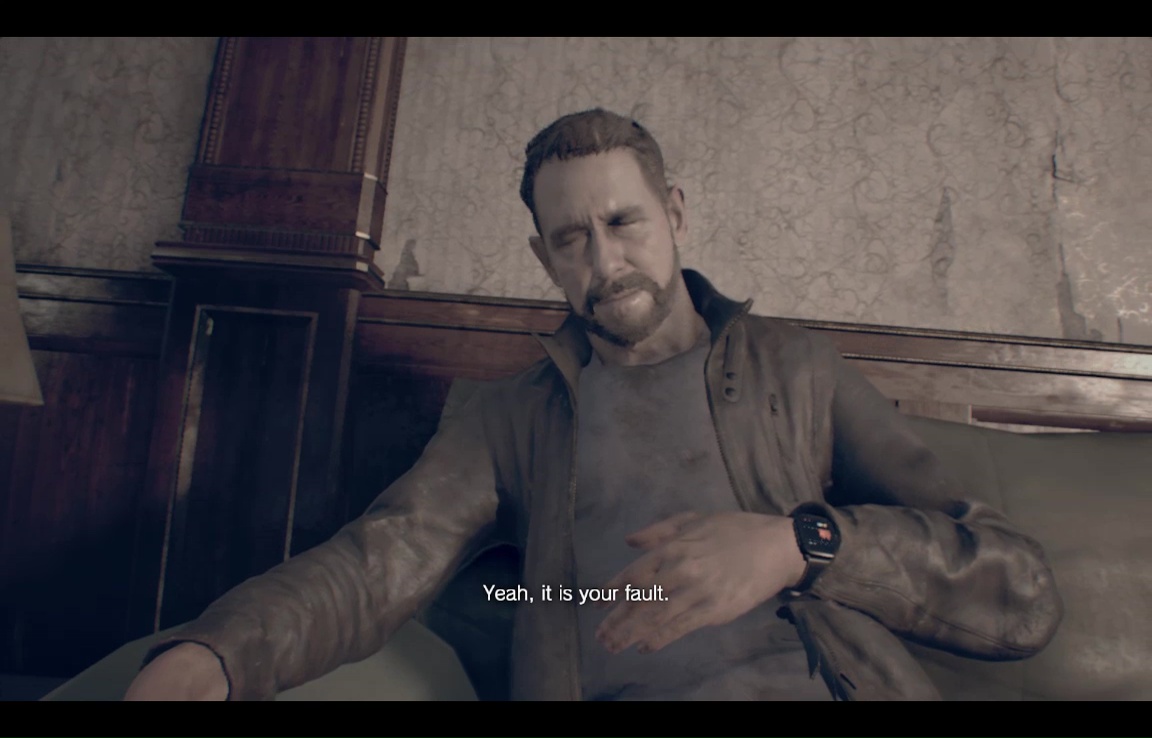
There are two more bombs in a lockbox in the old luggage compartment, but when you're ready to end this chapter, go back into the room where Evie first called you 'Mommy.' And there's Ethan.
After an extended and informative cutscene, you're Ethan again. It's a linear path out of the ship- down the stairs, ducking through a hole in the wire mesh, then out the door and into the swamp.
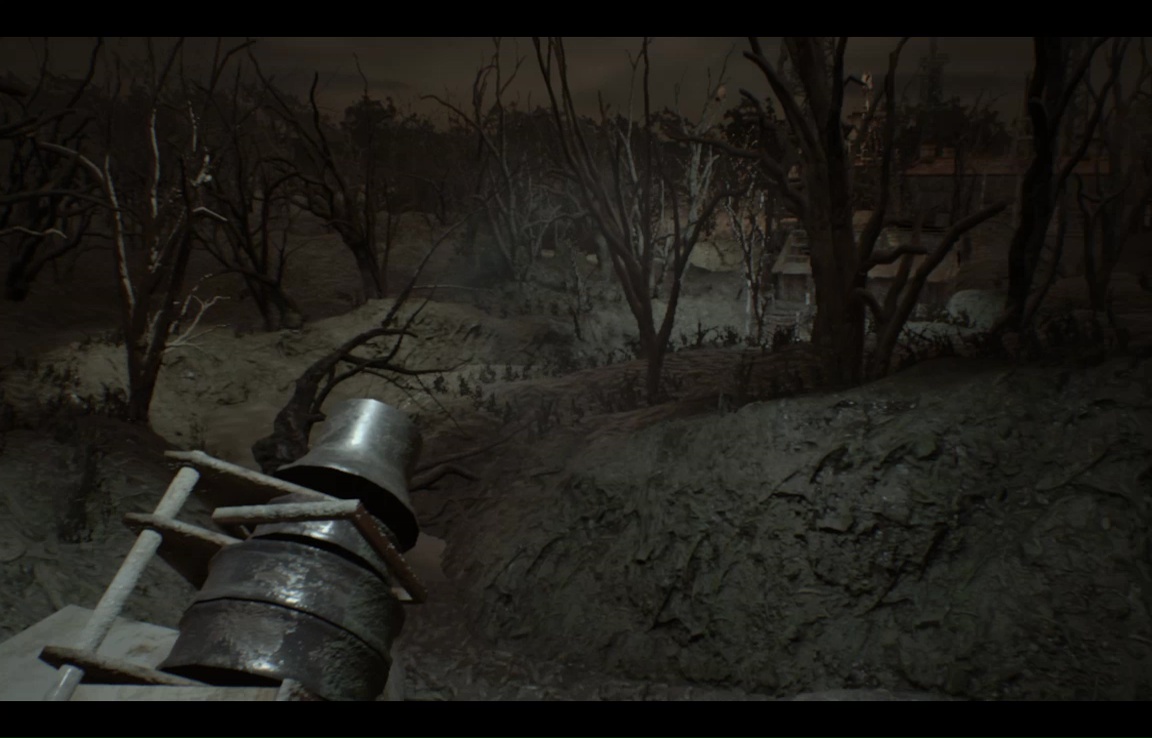
Just keep going straight ahead (noting the helicopter above) until you see a little shack. Walk under the pier where a ladder will take you into a save room, and the final chapter.