
Level portal location (hub access): Cloud Cuckoo Land (lower area) – From the lower area entrance, use the catapult in front of you to reach the giant cuckoo island to the right. The level will be on the bunk couch.
The group will begin the level amidships on Metalbeard's boat. The crew needs to find five instruction pages to make a vehicle to infiltrate the Octan tower so let's get infiltrating. Take control of Vitruvius and use the nearby secret knock point (to the right) to get through the large door for the first instruction page. Then, head back out and over to the bunk couch. Above and to the left of it you can spot a target for Vitruvius' staff.
Knock it down and use the parts to rebuild the panel on the floor. The bunk couch can now be pushed up to the nearby wall and a pink jump point will appear. Swap to Wyldstyle and bounce up to the bow of the ship. A cage near to where you land can be smashed and made into a ladder for everyone else to use.
_________________________________________________________
Pants – Explosives (Wily Fusebot), Repair (Construction Workers)
From where you start the level, there will be a cabin door behind you to the right. Throw some dynamite (or just blow it up) to gain access to the cabin. You may need to wait a few seconds for the fire to die down. Once you are inside you will see a large wheel at the back of the room. The purpose of this is to put all the panels on the wheel and spin it twice.
Destroy the board in front of the wheel, use explosives on the furnace and activate the small machine to the right of it to get all the panels for the wheel and a valve handle. Place all the panels on the wheel and take the handle over to the valve on the left. Spin the wheel once and two panels will drop off. After fixing them the pants should materialize.

Minikit 01/05 – None
In the same room as the above collectible, once the pants have appeared. A switch will rise up from the wheel. Pull on it and the minikit will appear.

Minikit 02/05 – Destroy 4 cannons
Scattered around the ship are four cannons to be destroyed. The first is in the left area (the bow of the ship) next to where you obtain the flaming torch and gunpowder. The second is amidships (next to seasick Unikitty and the engine that can be used to float the characters into the air. The third is on the next part of the deck up, with the rainbow block collection behind the wall with the target on it. The fourth and final cannon is beside Metalbeard at the stern of the ship.

_________________________________________________________
Swap to Batman and use his grappling hook to pull down the flaming torch (kinda dangerous on a wooden boat actually). Then smash the nearby barrels and lay a trail of gunpowder to the ships magazine (Really dangerous!). The side of the ship will rupture outwards, revealing the room within. Drop down and smash all the crates in the room to get the pieces for a wooden ledge. Head out onto it and use the grappling point above to pull down the bowsprit (the pointy part at the front of the ship). Swap to Vitruvius and build the blind courage ledge for him to cross.
As soon as you start crossing, don't stop unless you want to be shark food. Grab the second instruction page from the end and get flung into the air. After pulling down the climbing wall for Wyldstyle, swap to her and head on up. Then jump into the funnel (yes you read that right). After an eventful interval you should arrive on a new deck area towards the stern of the ship with an instruction page to nab nearby. Once you have it, break the cage next to you for the part of another ladder.
Swap to Emmet and drill the cracked panel next to the steam engine. Parts for a grapple point will litter the floor so build it and swap to Batman to use it. Now that you are in an upper area, a target panel will be on a wall nearby. Smack it with your baterang to reveal a massive haul of rainbow blocks (who knew Metalbeard loved rainbow blocks so much?). Grab the valve handle that comes flying out and drop back down to the lower area to attach it to the steam engine. Once activated, this allows the other characters to reach the higher deck.
Take control of Unikitty and smash the rainbow blocks (Metalbeard: Awww…..) for the parts to a catapult (is that all she ever builds?). Get flung onto the stern and grab the instruction page right in front of your character. The final page can be obtained by using the nearby master build spot and creating a cannon. Shoot the character you like least out of it and along the way, the final instruction page is yours. Swap to Emmet after you land and use the construction panel to build your generic looking (intentionally) spaceship.
When you arrive at the Octan tower, it's time to bring out the big guns. Metalbeard and Unikitty. Metalbeard is easier to use in the fight but Unikitty is funnier, Take out the turrets with Metalbeard's cannon or Unikitty's fireball attack. Then either stomp or nom the waves of onrushing robo swat, rocket robots and robo construction workers. Once all twenty have been defeated the rest of the gang will disembark from the spaceship.
_________________________________________________________
Minikit 03/05 – Heat ray (Bad Cop)
After the spaceship lands, look behind it for golden block canisters on the back of another spaceship. Puddleize them to find the minikit.

_________________________________________________________
Swap to Emmet and drill the casing off the pillar of the platform at the rear left of the room. This reveals a silver lego pillar for Metalbeard to destroy. After explosions happen, a pink jump point for Wyldstle materializes so use it to jump her onto the platform, dealing with any robots in your way. A switch opens up a panel in the wall that displays a broken circuit. Metalbeard can improvise a connector by grabbing a robot and tossing him into the open panel.
This activates the lift next to the platform. Change over to Batman and head up to find a grapple point on the wall that can be opened for the final piece of a master build spot. Build the massive terminal for Benny and hack it successfully to open the locks protecting the door. Take control of Metalbeard and blast the silver lego blocks on the doorway to open the way to a new area.
In the next area, micro managers and robo swat will try to block your path. Teach them the error of their ways with Metalbeard or Unikitty.
_________________________________________________________
Minikit 04/05 – Flight (Superman)
Look through one of the airlocks on the right side of this area to see the minikit floating in the void. Don't bother trying to jump for it as it is out of reach. Use a flying character to nab it instead.

_________________________________________________________
After clearing the area, a drop ship will arrive with more troops. Swap to Batman and pull open the hatch on the side of the ship with his grappling hook. This shows a circuit for Metalbeard to complete. Grab a robot and throw to overload the ship and make it crash. The stricken ship can now be used with the master build point to create a giant set of stairs. Change to Vitruvius and climb the stairs to find a massive blind courage ledge to navigate. Just be careful with the jumps and you should be fine.
Once he is across, use the secret knock point nearby to open up a circuit panel and a set of floating platforms. Two micro managers will join the fray but are easily disposed of with Metalbeard's cannons. Swap to Benny once the coast is clear and hop up the floating platforms to the terminal and hack it. This will give you control over a robot construction worker that Metalbeard can throw into the circuit panel to activate the large lift. Now that Metalbeard can reach the upper platform, take control of him and blow up the large silver doors on the rear wall to advance.
This leads you into the relic room.
_________________________________________________________
Minikit 05/05 – Flight (Superman), Lord Business
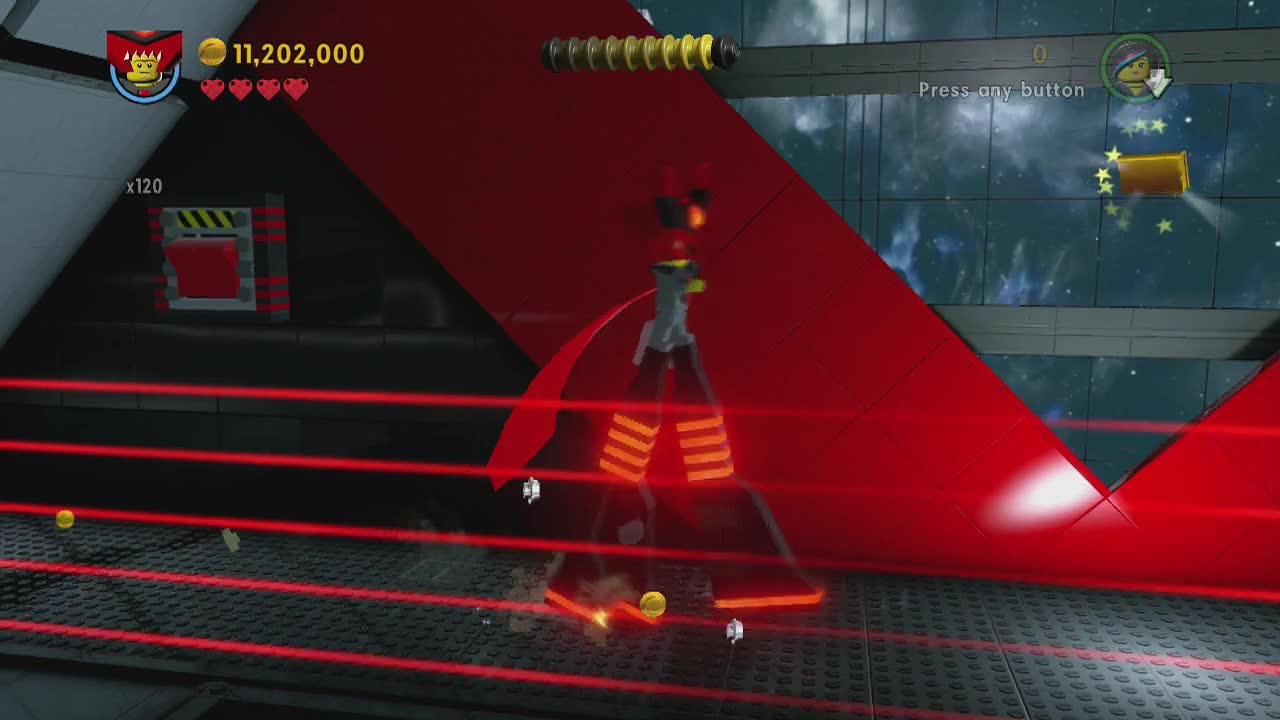
In the relic room, fly all the way to the back of the room (in front of the final laser barrier) and swap to Lord Business. You can find his leg extension machine to the left side of the room. Up-size him and walk through the laser barrier to the switch on the left side of the rear wall. The final minikit of the level will appear in the middle of the back wall.
_________________________________________________________
Swap to Wyldstyle and use the nearby jump point to clear the lasers and then travel over to the master build spot on the left. This makes a large ramp that the rest of the group can use to safely cross the deadly beams. A cracked panel for Emmet to drill up reveals the third part for a master build spot. Make the floppy disk platform and bounce over the lasers. A master build spot on the left can be made into a slingshot. Let it fly to bring the chair close enough to be used in the master build point on the right.
A simple code sequence needs to be put in on the calculator (I wonder if you can spot it). The code does include the dot so make sure it is all included. Hop on the buttons: 0 . 2 5 6 9 7 in that order and the lasers will deactivate, leaving the group free to traverse the hall. Swap to Batman and use the nearby grapple point to pull down the foil and finish the level.
_________________________________________________________
The Special – 205,000 studs
Obtain the above amount of studs to complete The Special and receive a gold brick.
_________________________________________________________