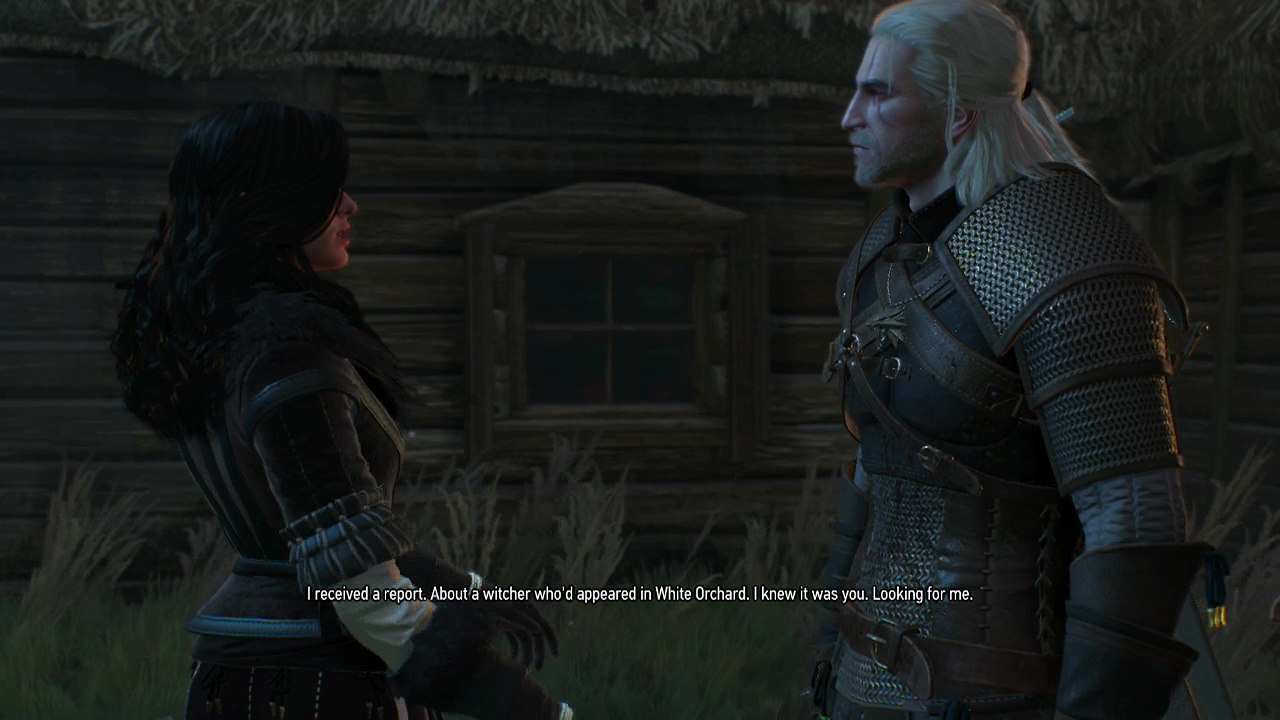
STORY 01 – Lilac And Gooseberries
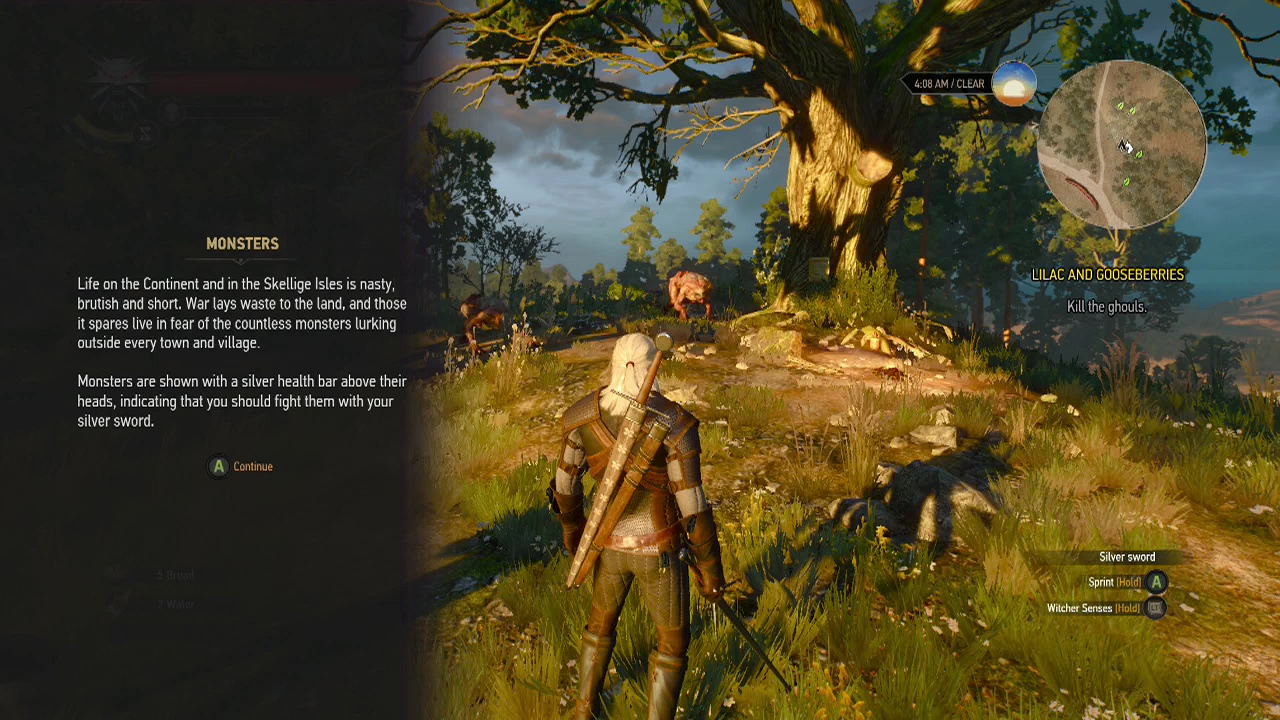
Objective: Kill the ghouls
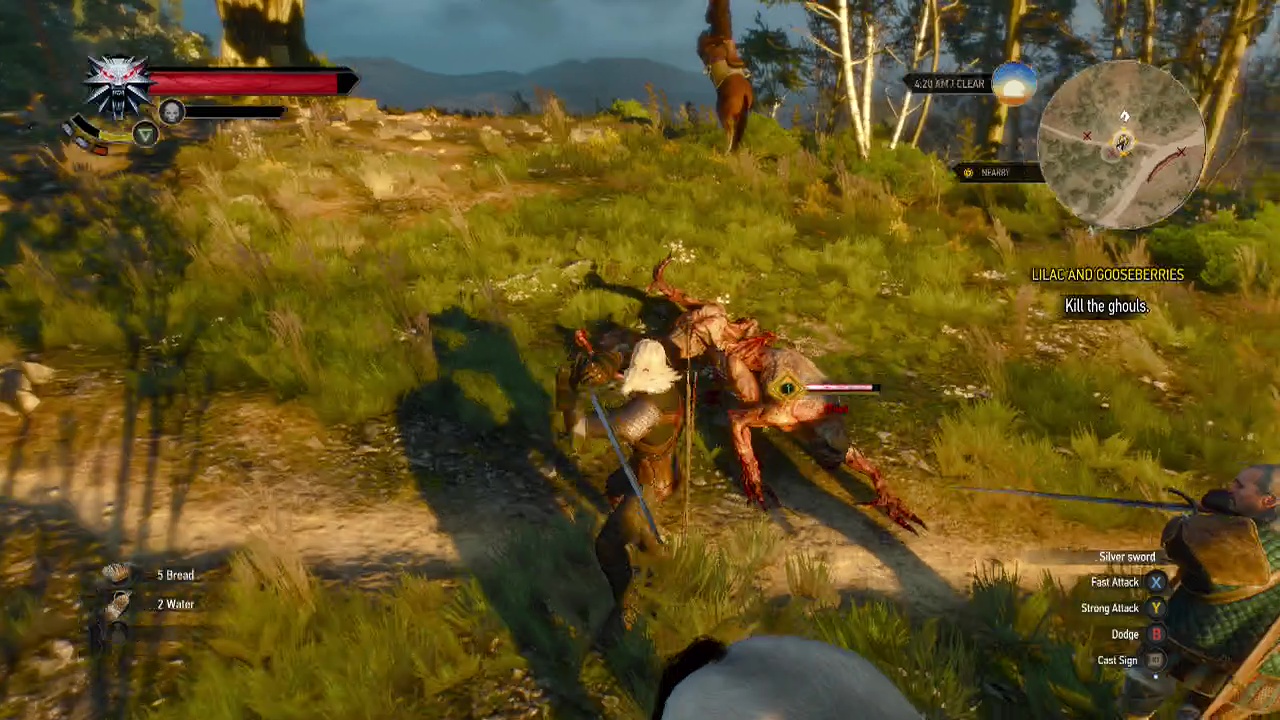
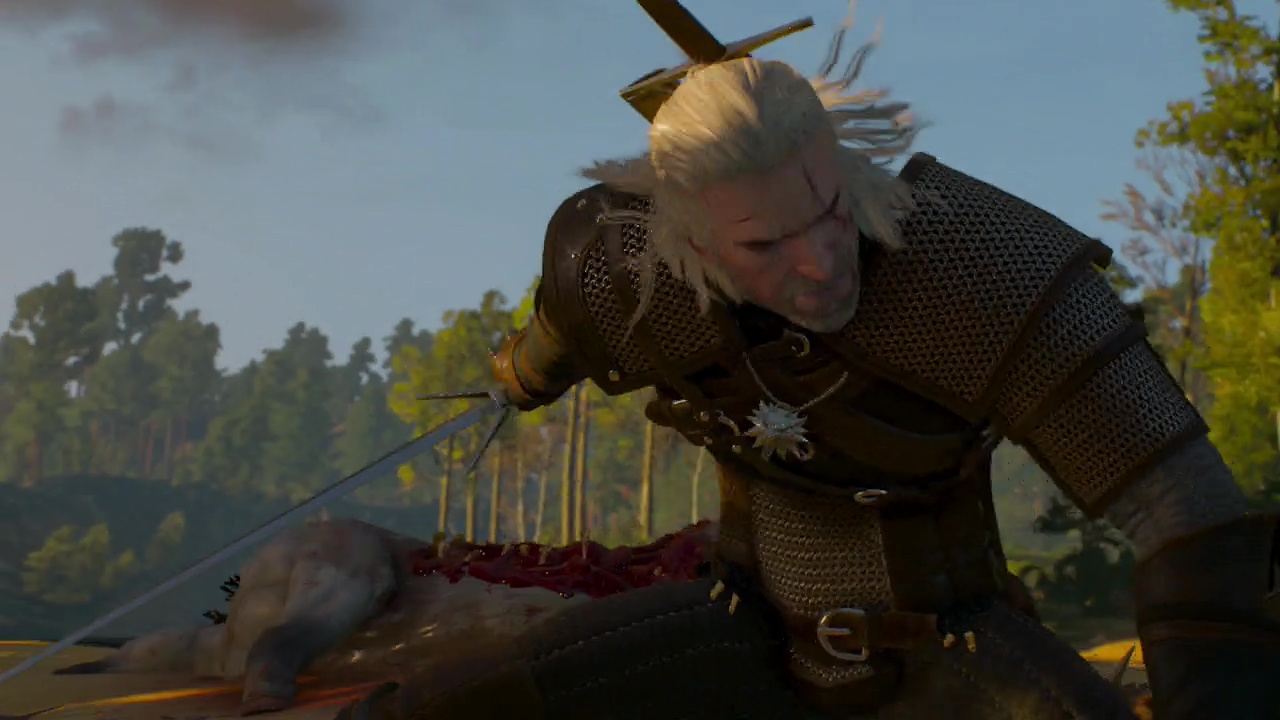
Immediately after the scene ends, Geralt will be standing facing a group of five ghouls. Ghouls are monsters (shown by their silver health bars) and are weak to necrophage oil – which you probably don't have yet, but keep it in mind for future battles. Draw your silver sword (if it isn't out already) and get to work on the small mob.
Remember to use parry (hold LT) when surrounded and try to get short light attack combos (X,X,X – Xbox or Square, Square, Square – PS) in before returning to parry stance to avoid taking excess damage. You can also use signs, igni to set some of the ghouls on fire for damage over time or aard to stun a ghoul for a heavy attack combo.
Objective: Follow Vesemir
After the fight ends, if you have taken heavy damage, you can meditate to regain health (press the start button and pick the meditation option in the menu, then use the LS to select how many hours you wish to meditate and press A (Xbox) or X (PS) to begin) or regain it slowly passively as you move around the open world. Don't forget to pick up the piles of loot next to the bodies of the ghouls for valuable alchemy and crafting ingredients.
When you are ready to go, mount up on your horse (press A (Xbox) or X (PS) near your horse 'Roach' to climb on) and use the LS to follow Vesemir. You can increase your speed as you go by tapping or holding down the A (Xbox) or X (PS) button. Keep trailing behind Vesemir on the trail until a scene triggers.
After the griffin flies off, you'll have a brief chat with the peasant you just rescued. During this you will get a dialogue choice:
"You don't owe us a thing."
"We could use a few crowns."
Objective: Go to the tavern in White Orchard
Once the scene ends, get back on the road as Geralt heads towards the inn in the nearby village. Follow the markers on the mini-map along the roads until you arrive at the small stable in front of the inn. A scene will quickly take over here as you head inside to talk to the innkeeper. You'll get a quick rundown on shops before getting the chance to talk to some of the local populace about Yennefer's whereabouts.
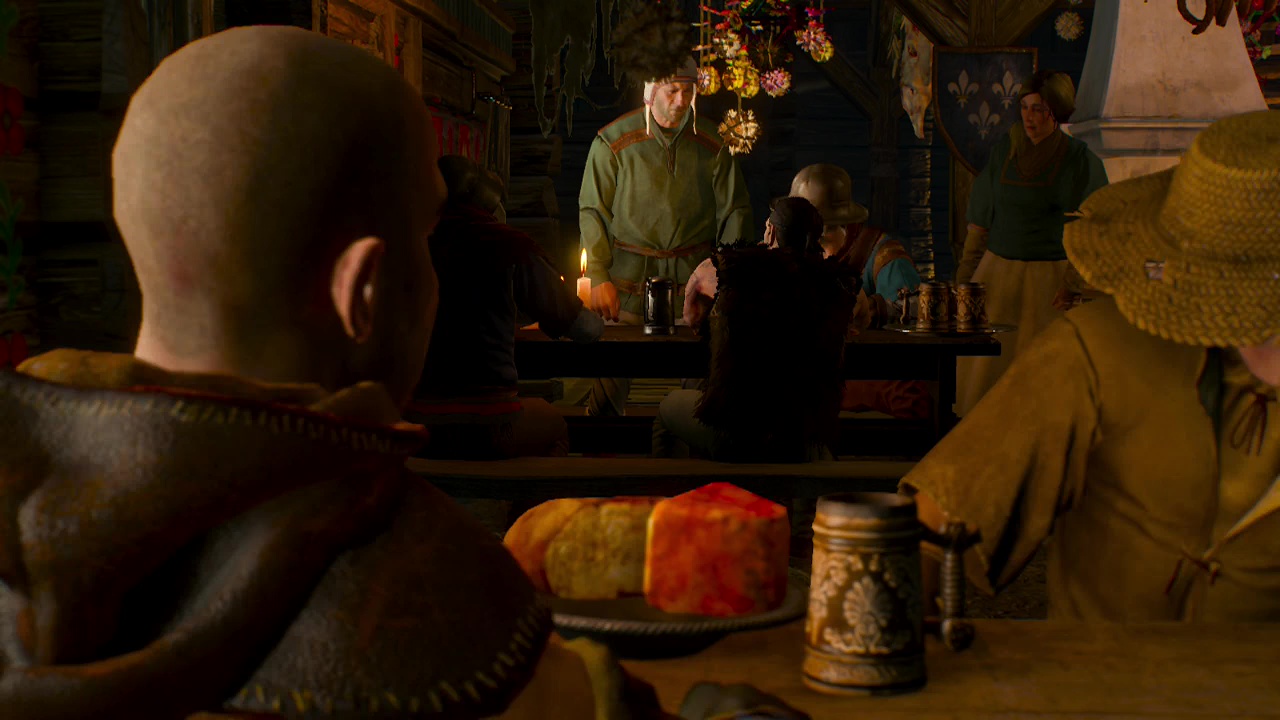
Objective: Ask travelers about Yennefer
Head over to the nearest table to talk to the two men there. They seem very standoffish about talking to you, so you can use your axii sign to make them talk to you. Using dialogue options with this sign can give you bonus experience and get reluctant people to talk to you (especially if you improve it's effect by leveling it), but it can also result in unexpected fights or mistrust from other people who see it performed, so be careful using it. In this case, there is no downside to using it, so pick it for some free xp and information about Yennefer.
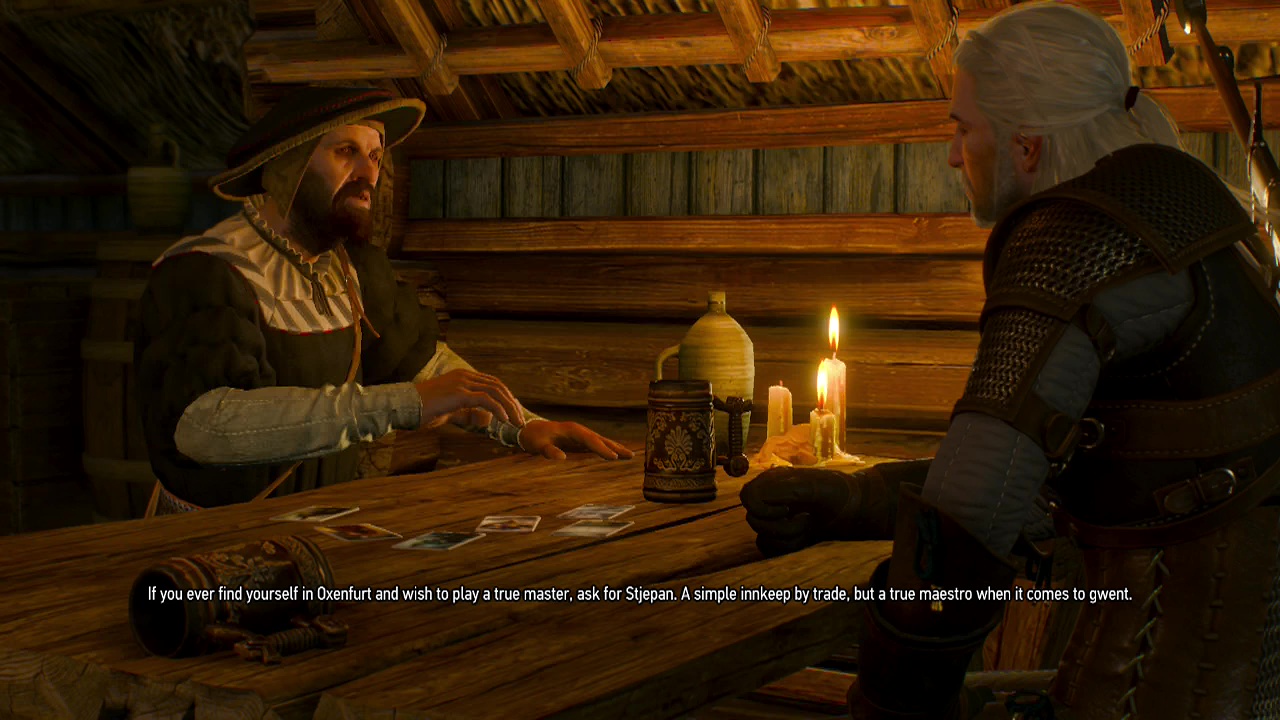
Talking to the next marked group will introduce you to the game of gwent, a card game which the tutorial does a fine job of explaining. You can choose to play the cards tutorial or to skip it. Additional cards can be found to improve your deck by completing certain quests or buying them from merchants (such as the innkeeper here). After finishing your chat with the scholar, approach the last marker for a solid lead on Yennefer's recent movements.
Objective: Ask the Nilfgaardians about Yennefer
Now that you have a lead, it's time to chase it up. Leave Vesemir to bandage his wounds and leave the inn. As Geralt walks out the door, the three ruffian's from earlier will be standing outside, ready to challenge you to a bare knuckle brawl. When you are given a dialogue option, choose the axii sign dialogue "Back off" to remove one of the enemies from the ensuing fight and some free experience. You can try for counterattacks and finesse if you like, but in truth they do little damage and fall fairly quickly to your blows, even on harder difficulties.
Hop back on your horse and follow the marked trails until you arrive at the Nilfgaardian garrison. Climb the stairs to the entry gate to have a quick talk with the guards. Afterwards you'll be given entry. Walk inside and approach the tower at the back of the garrison to meet captain of the local regiment. Turns out he knows where Yennefer went, but is unwilling to part with that information for free. Looks like you're going to be reaquainted with that griffin you met earlier if you want to find out where Yennefer went.
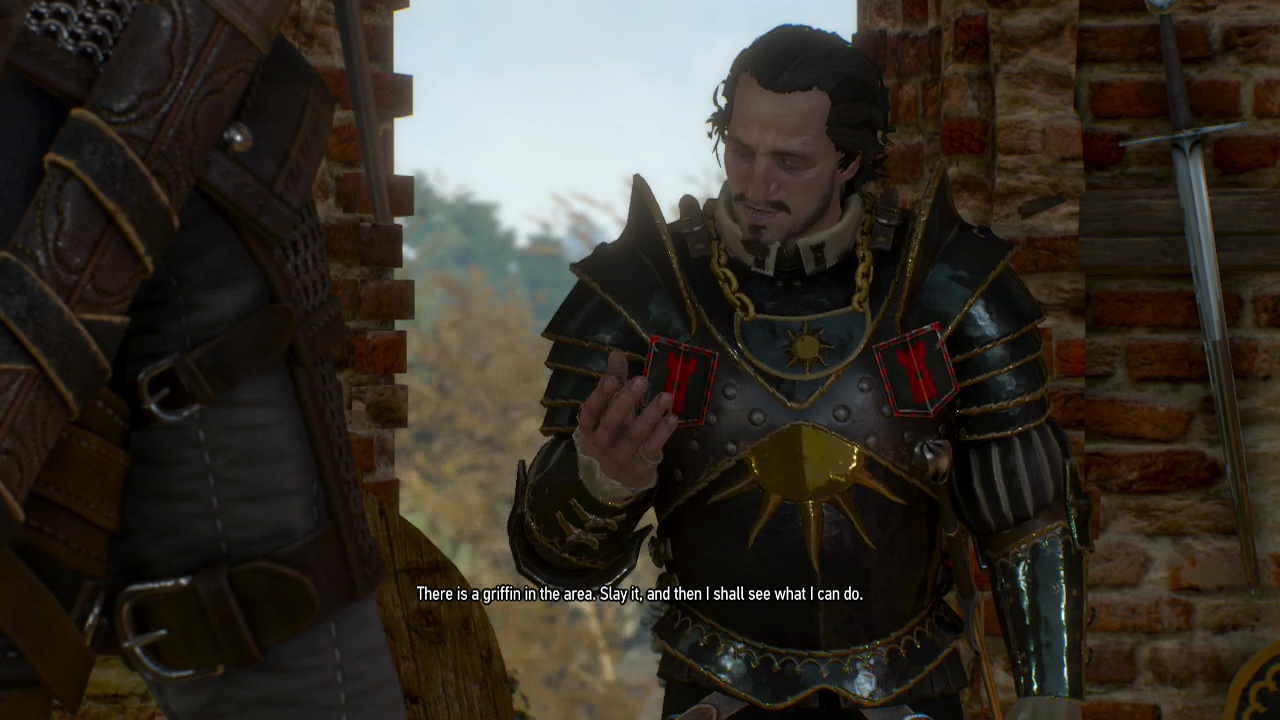
Objective: Complete the griffin contract
STORY SUB-QUEST: The Beast of White Orchard
Recommended Level: 3
Note: You can approach the hunter or the herbalist in either order, but both must be completed to advance the quest.
Objective: Ask the hunter where he found the bodies
Leave the garrison the way you came and head down to the base of the wooden stairs. When you reach the bottom, you'll get a quick scene showing a nearby signpost. This is your introduction to the witcher's fast-travel. Simply walk up to and interact with a sign to open the world map and select any sign icon to teleport there.
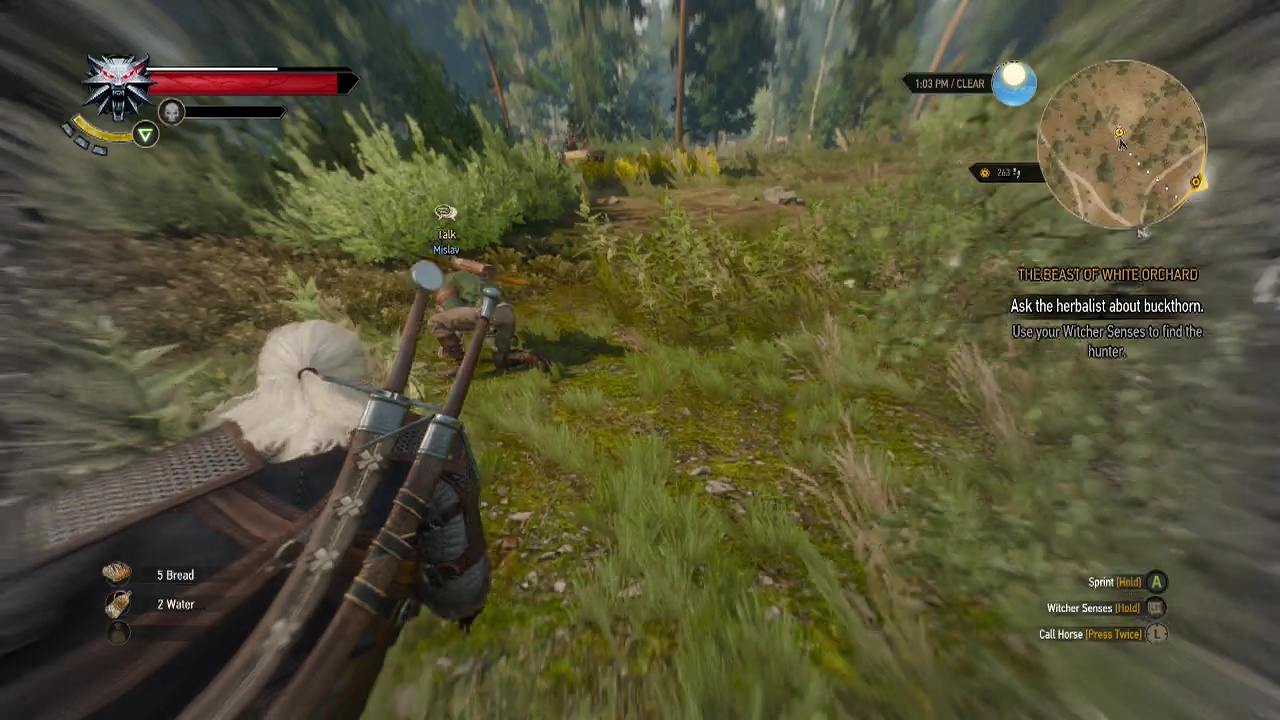
Take advantage of this to travel to the Woesong bridge, likely the closest signpost to the hunter you have at the moment. Ride the short distance to the hunter's cottage and rap on the door when you arrive. Looks like the hunter is out… hunting. Wow, how unexpected.
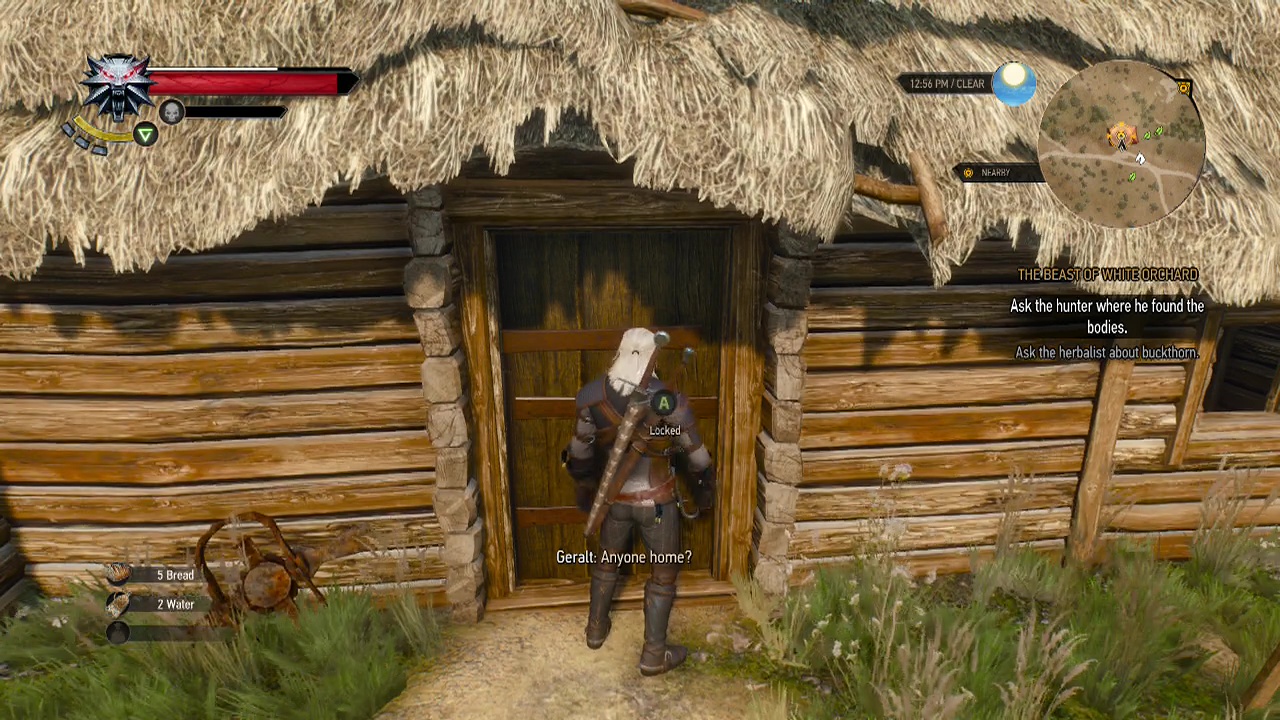
Objective: Use your witcher senses to find the hunter
Use your witcher senses (LT) to spot red footprints in the dust in front of the cottage door. Examine them and continue using your witcher senses to follow them along the trail and into the nearby scrub. A short distance away from the cottage, you'll find the hunter crouching down to examine some tracks.
Initiate conversation with him to find out he's hunting some wild dogs in the area, and he needs to deal with them before he can lead you to the site of the griffin attack. You'll get a dialogue option during this:
"Why not." (help the hunter kill the dogs)
"No time."
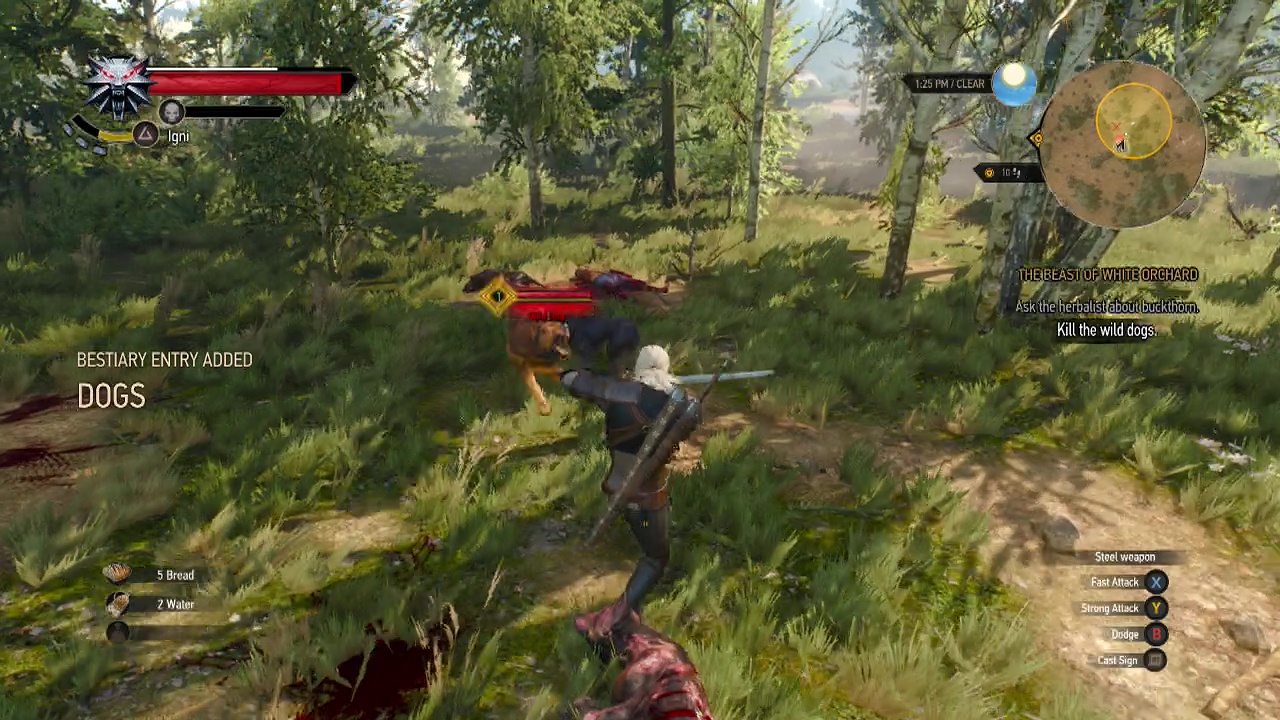
Objective: Kill the wild dogs
The hunter will take the lead and travel towards the nearby pack of wild dogs. Stay on his heels until he says "too late." When he does, you can either stay back, letting him pick off the dogs with his bow or move in to help. The dogs, while aggressive, are really only a threat if you rush into the middle of the group swinging your sword.
Instead, move in carefully and pick off the dogs on the edges when you can, while the hunter provides additional ranged damage. You can also use beast oil on your steel sword to increase the damage you deal to the dogs, taking advantage of their weakness.
Objective: Talk to the hunter
Either way, when the dogs are all dead, loot the bodies and talk to the hunter once again. You can find out a little bit of the hunter's history if you like before you head to the site of the griffin attack.
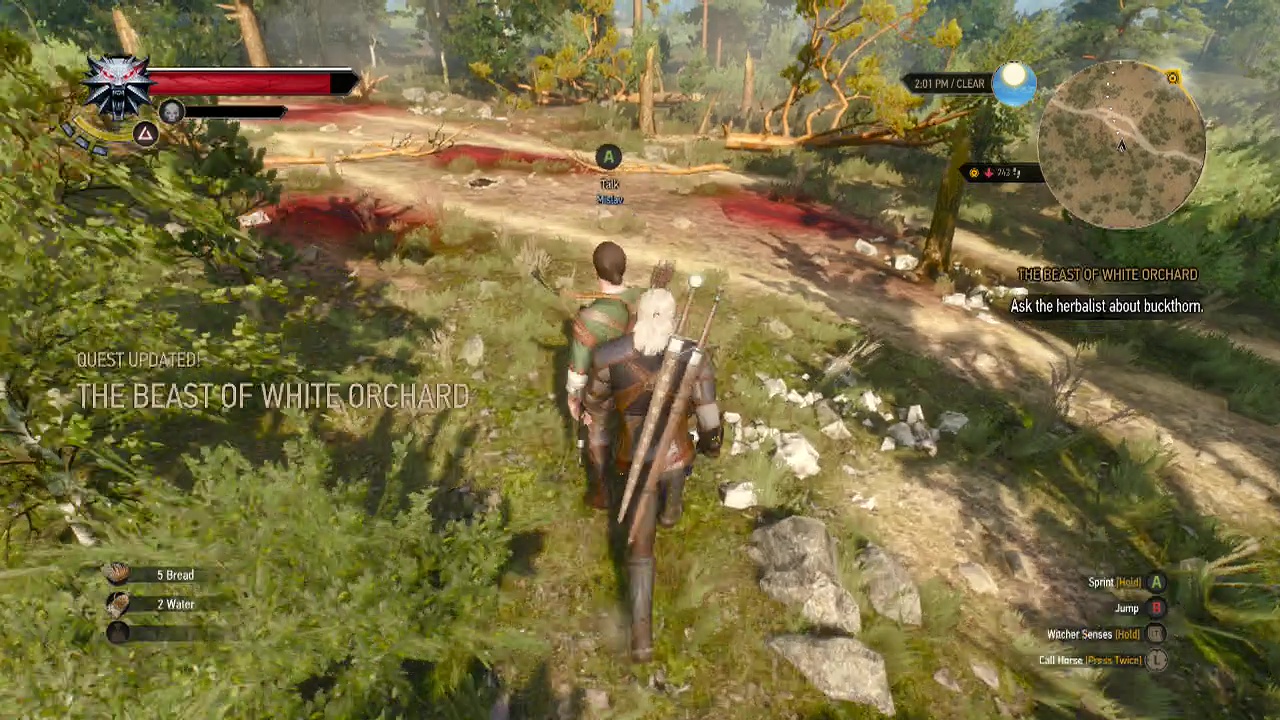
Objective: Follow the hunter
The hunter will then make a beeline towards the griffin attack site, so simply follow him until you arrive at the path covered in pools of blood. Guess we're here. You'd never be able to tell.
Objective: Examine the site of the Nilfgaardian soldiers' death using your witcher senses
Now that Geralt is at the site, use your witcher senses to look around. You can examine the bottles and bloodstains, but the key item here are the footprints near the South edge of the circle. Look at these to find a trail of footprints that leads into the nearby scrub.
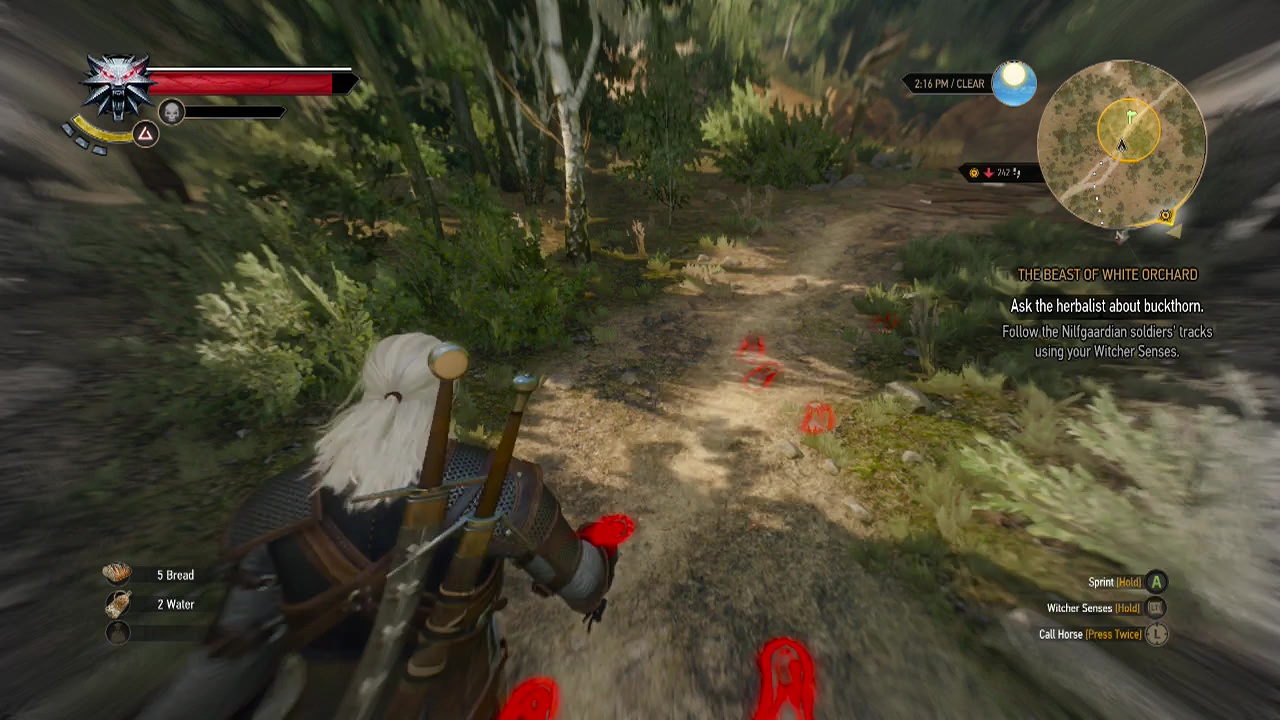
Objective: Follow the Nilfgaardian soldiers' tracks using your witcher senses
Follow them with your vision, stopping a couple of times to climb ledges and jump a small gap between some rocks. At the end of the trail you will find the griffin's nest and the corpse of it's mate.
Objective: Search the griffin's nest using your witcher senses
Examine the body of the griffin to ascertain some important information about the current griffin problem. Looks like it was retaliating for the killing of it's mate. Hunter part done.
Objective: Ask the herbalist about buckthorn
The herbalist is fairly close to this location, so call your horse and ride to her hut nearby. After a short conversation, a marker in the nearby lake will show where you can find some buckthorn.
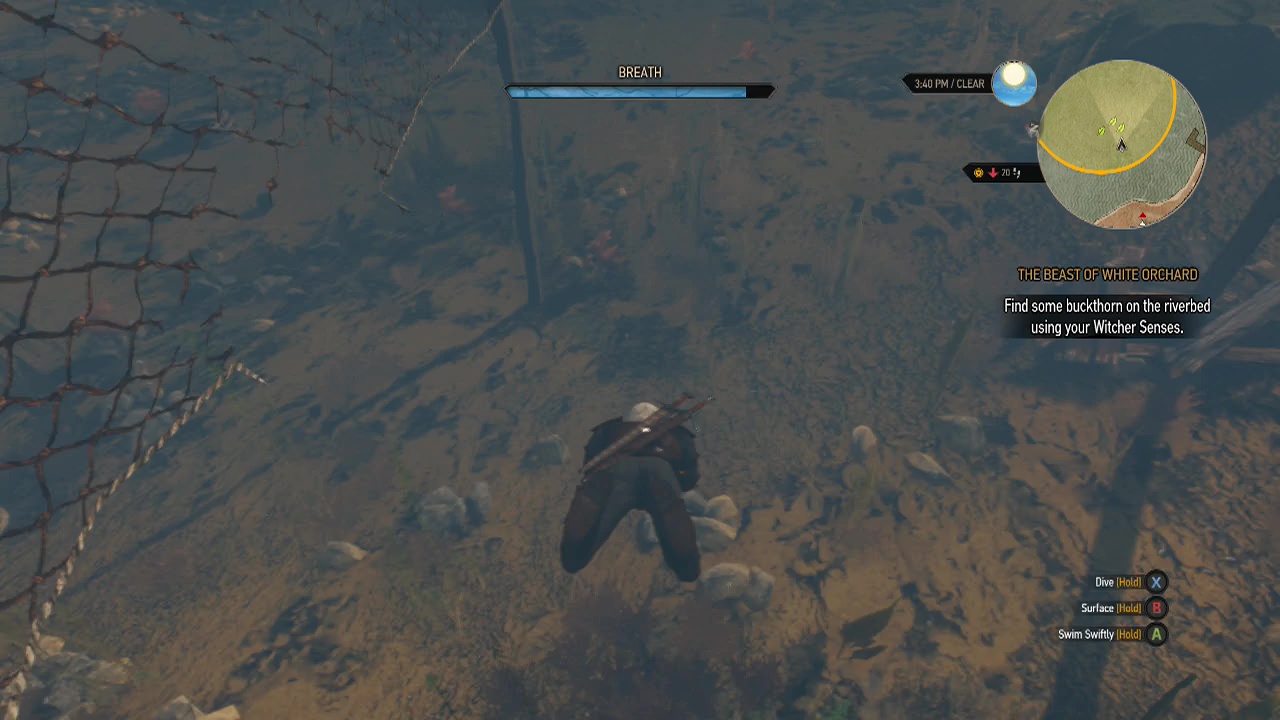
Objective: Find some buckthorn on the riverbed using your witcher senses
Ride to the lake a short distance away and dive in. Swim out to the circular marker and dive down towards the leaf emblems on the map (denoting herbs) below. Grab one of them to obtain the buckthorn you need to lure the griffin.
Objective: Talk to Vesemir
Now it's time to return to the inn, regroup with Vesemir and put your plan into action. Fast travel back to the village and walk over to the inn to talk to Vesemir and tell him you have everything ready.
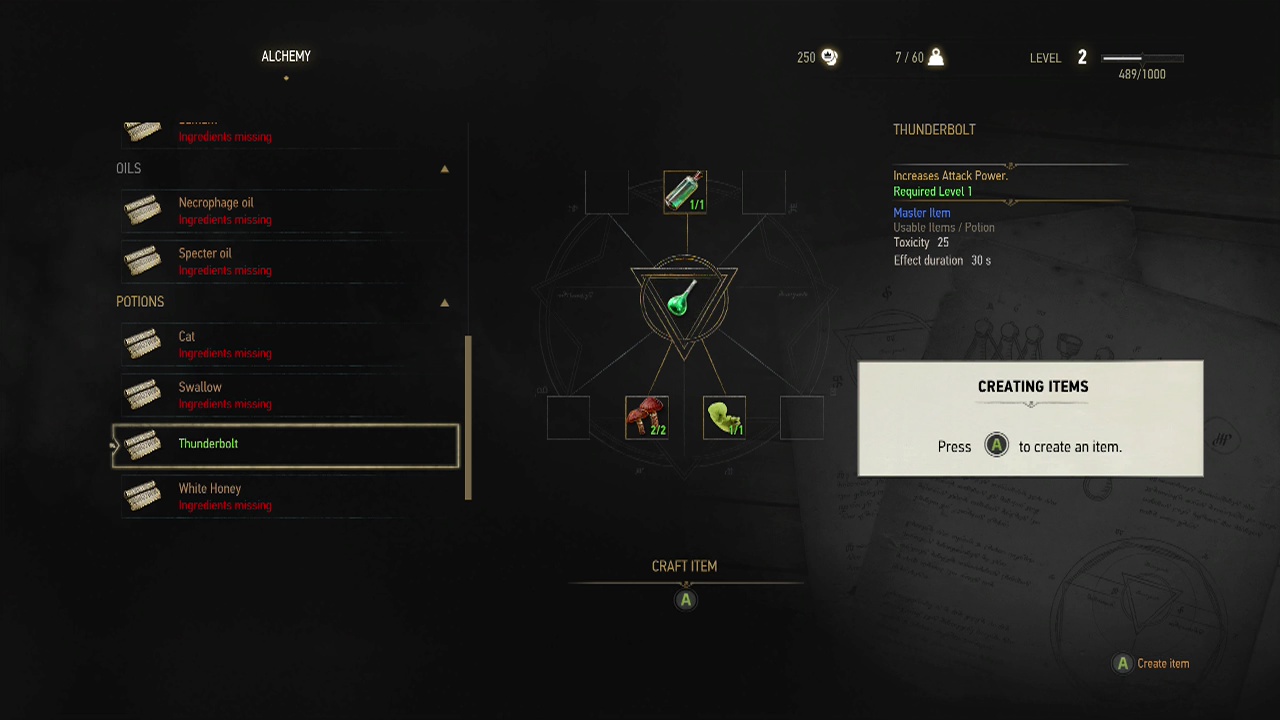
Objective: Prepare to fight the griffin
After you tell Vesemir you're ready, the alchemy screen will pop up and you'll get the chance to brew your first potion. The thunderbolt potion increases attack power for thirty seconds, making it handy for dealing with the griffin. Follow the prompts and place it in one of your quick access slots (making sure you have food or a recovery potion in the other slot for the battle ahead). Once you've placed the potion in the slot, it's time to head to the ambush location.
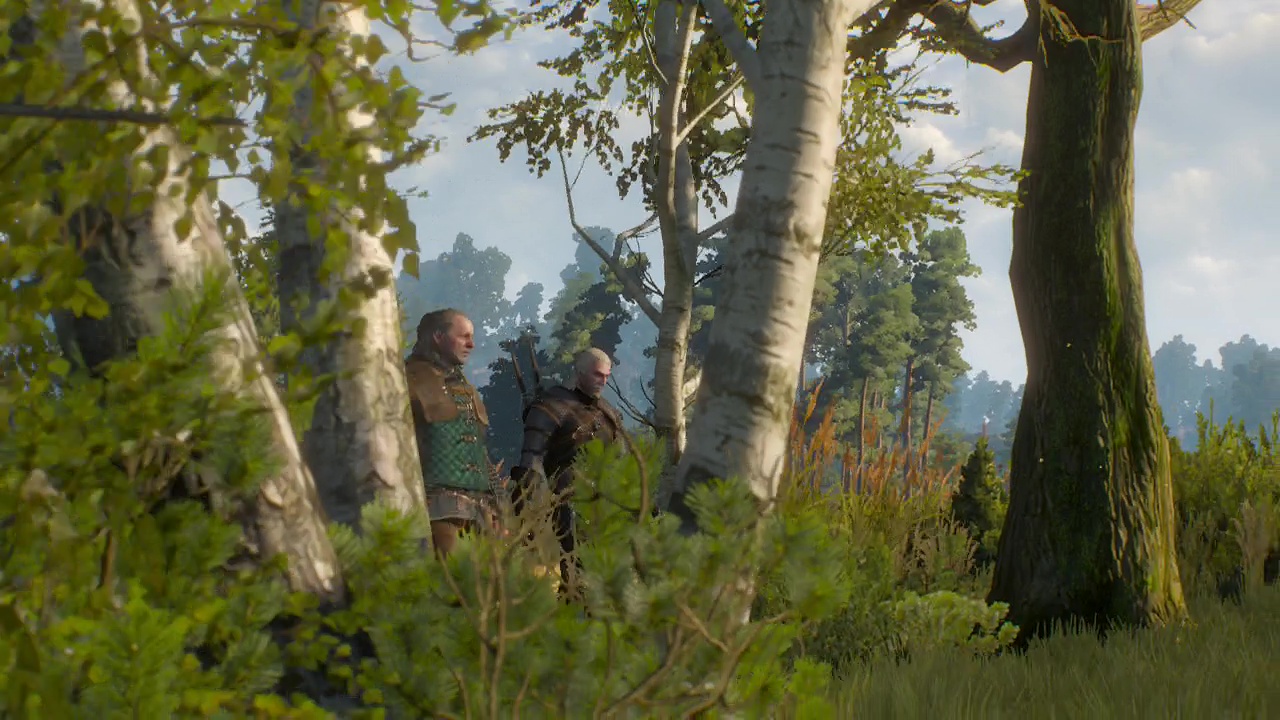
Objective: Meet Vesemir in the field where you plan to ambush the griffin
Follow the marked trail to the field close to the village (oh yeah, this is a safe place to fight the griffin where no innocents will be harmed, considering two or three villagers are about five meters away. Genius!). Don't forget to save your game before talking to Vesemir.
Trigger the scene to watch the wait for the griffin. During this, you'll obtain a crossbow which is useful for damaging enemies at range. While not as powerful as your sword, it can be handy for flying targets or enemies that maintain their distance from you in a fight. You can use RB to fire it when selected from the quick access menu.
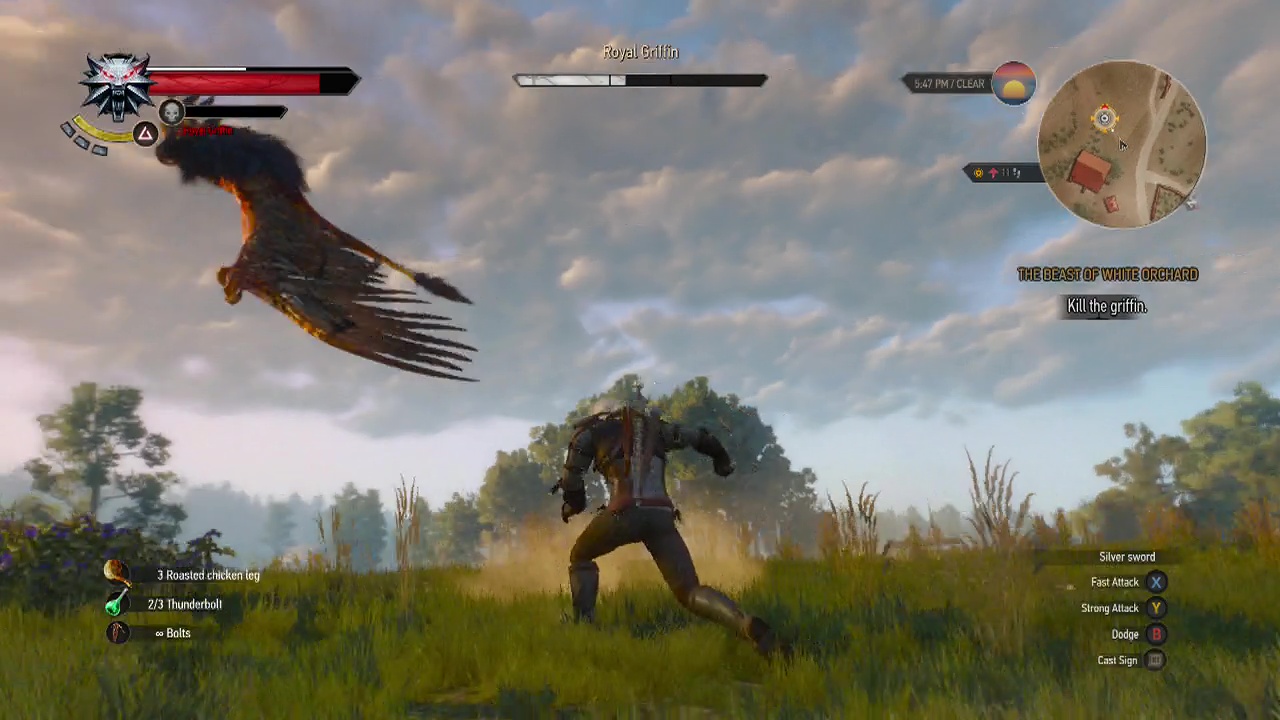
Objective: Kill the griffin
Now the real fun begins, the griffin is a monster so draw your silver sword. The griffin is weak to grapeshot bombs, hybrid oil and the aard sign. So make use of these if you have them (you will definitely have the aard sign, so make sure to take advantage of it. Don't forget your thunderbolt potion to increase your damage. Parrying doesn't work very well against the griffin, so use rolls to avoid it's attacks when you can.
The griffin is fast and will swing it's wings at you, dealing a fair bit of damage. It tends to have a short gap between swings, so skilled witchers can avoid a swing, slash once or twice and roll away from the next one. Use your aard sign to stun the griffin when you can to get in a few heavy strikes and disrupt it's attacks. When the griffin flies into the air, use you crossbow and roll away from it's diving attacks when it gets close to avoid damage.
After dealing significant damage to it (half to two thirds), the griffin will fly off to the base of a nearby windmill. Use this opportunity to heal up if you need to before pursuing it (you can use your witcher sense, but it's easier to just follow the mini-map). When you close on it, get ready for an aerial attack before you can fight it on the ground once again. When it touches down again, reapply your thunderbolt potion and resume the ground based tactics from earlier to finish it off and claim victory.
Objective: Take a trophy from the griffin's corpse
Now that the griffin is dead, have a brief chat with Vesemir before grabbing the loot from the griffin's body. When you pick up the griffin trophy, a short scene will trigger.
Objective: Collect your reward from the Nilfgaardians
Now it's time to claim your reward. Head to the closest fast-travel signpost and teleport to the Nilfgaardian's garrison to talk to the captain once again. After finding out what you need to know, you'll have a time based dialogue choice:
[take the coin] (150 crowns earned)
[turn down the coin]
End sub-quest
Objective: Prepare to leave White Orchard with Vesemir
Now that you've got your information, it's time to meet up with Vesemir and find Yennefer. Fast-travel back to White Orchard village and enter the inn once more.
STORY SUB-QUEST: The Incident At White Orchard
Recommended Level: 2
Objective: Kill the bandits
Walk inside to watch another scene play out. Oh well, guess some people never learn. The three idiots you beat up once already when you were here have gotten some friends, weapons and want to say hello. When you regain control, make sure to parry as there are five or six enemies moving around. The Igni sign can be useful here to catch multiple enemies on fire at once, as well as quen to protect yourself from stray attacks.
End Sub-quest
Once all the bodies have hit the floor, a scene will take over and the first story quest will come to an end. Welcome to the life of a witcher.