
STORY 05 – Wandering In The Dark
Recommended Level: 6
Note: This is a fairly long quest with several monster fights, make sure you are prepared and stocked up before starting.
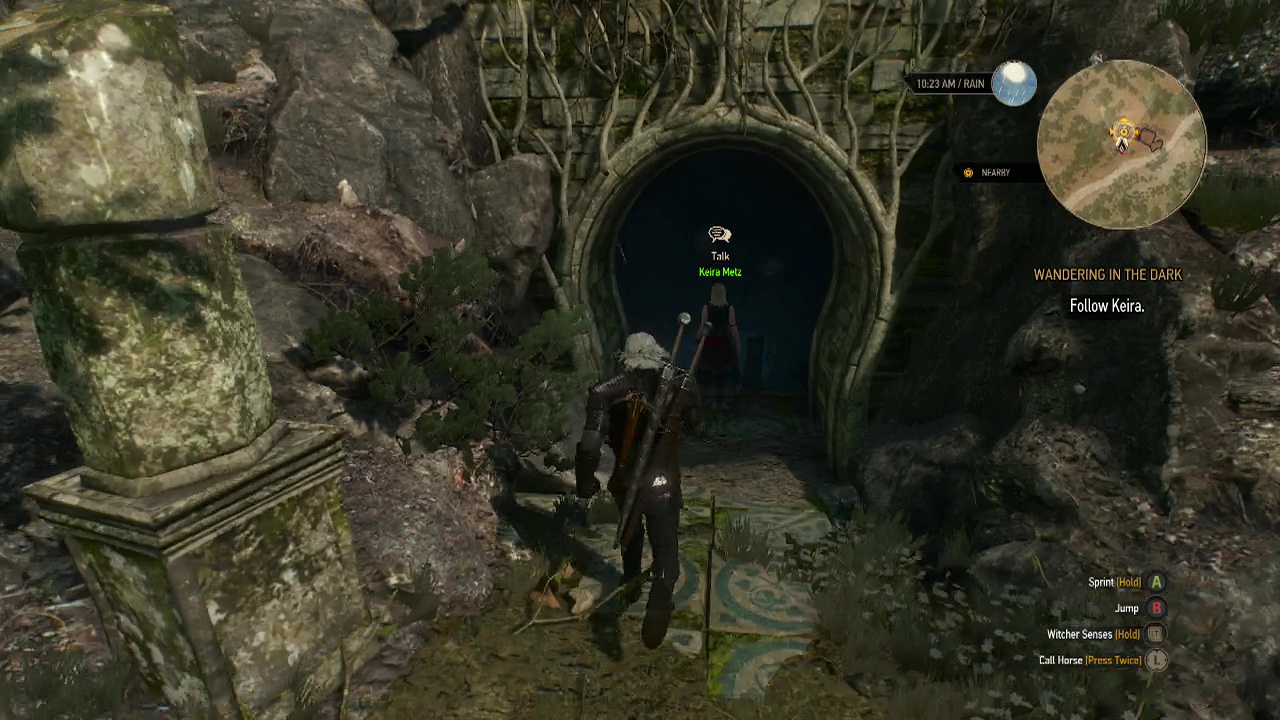
Objective: Follow Keira
At the entrance Keira should take the lead, casting a luminescence spell to light up the area around her. Follow her down the stairs, filling your pockets with loot along the way. As you pass through the first doorway, a scene will trigger. Watch the wild hunt teleport away. After the scene, follow the walkway…
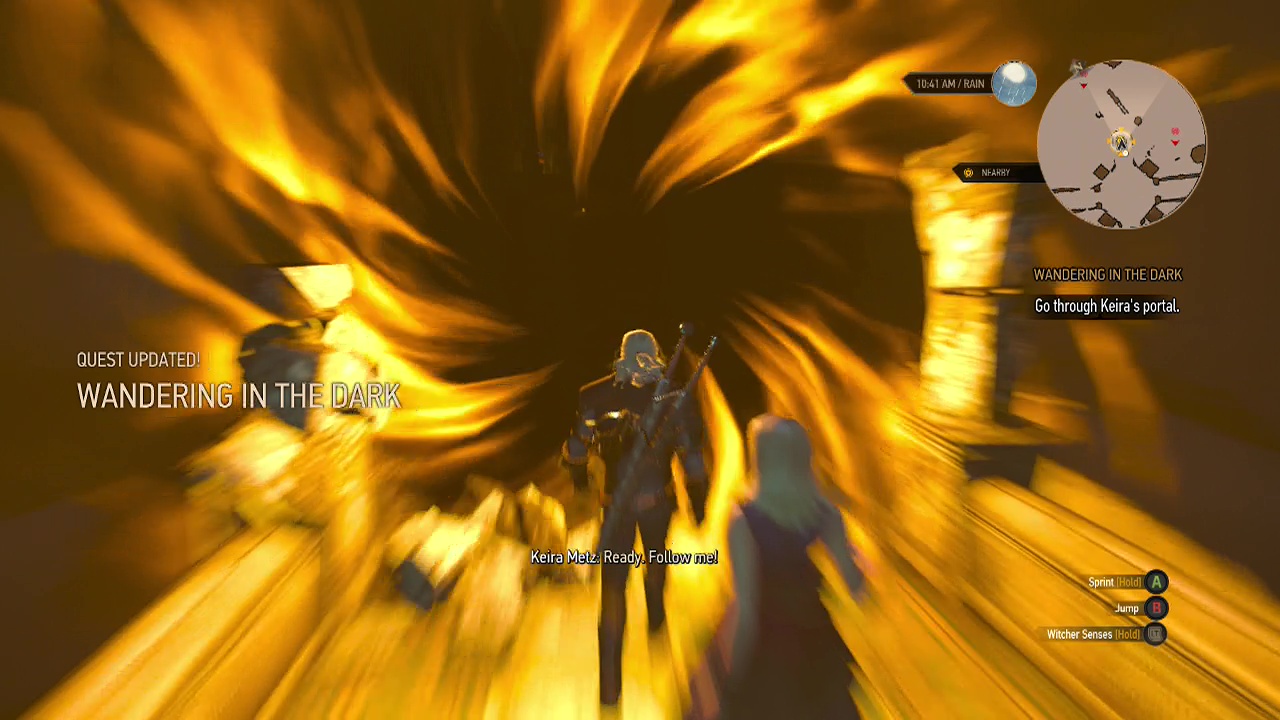
Objective: Go through Keira's portal
… and enter the portal when Keira creates it.
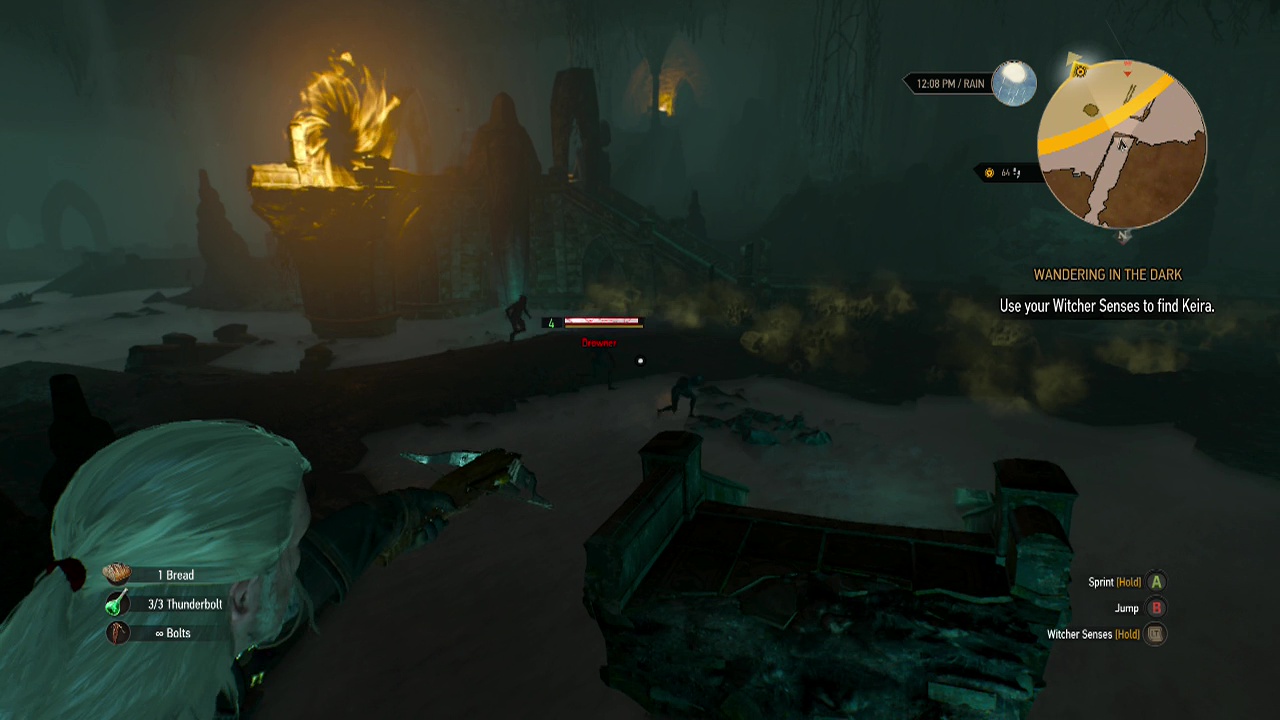
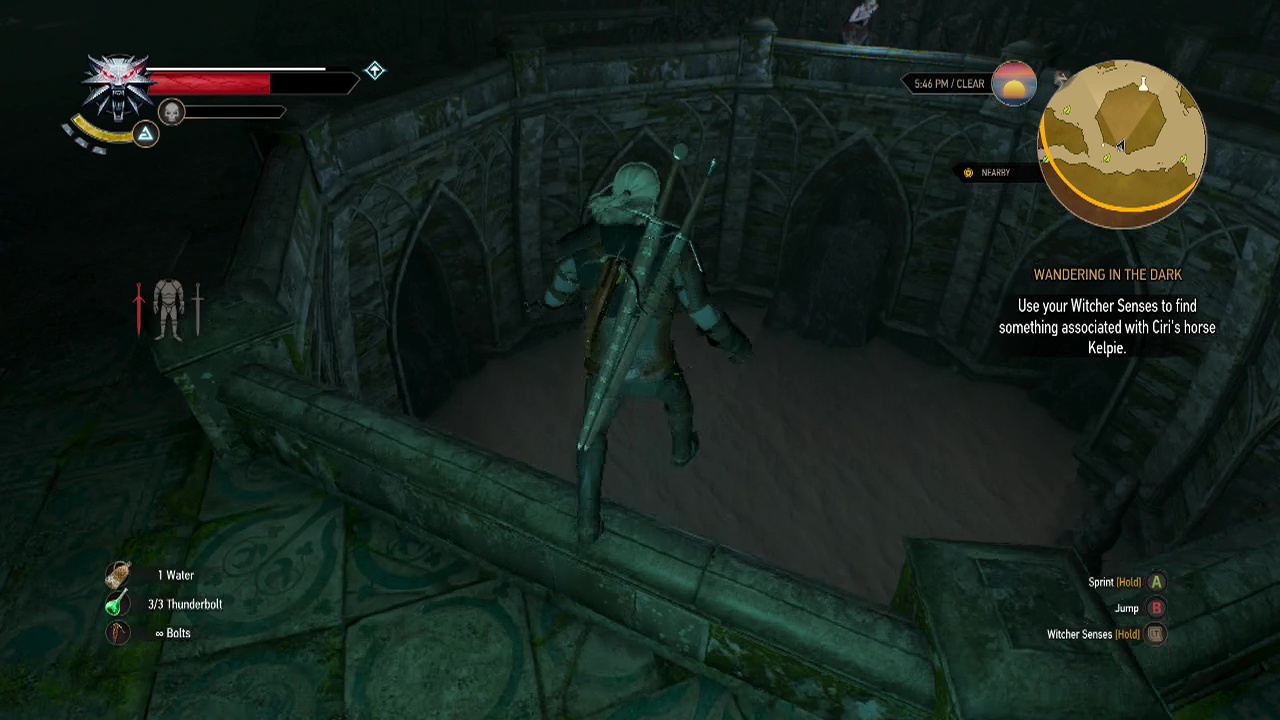
Objective: Use your witcher senses to find Keira
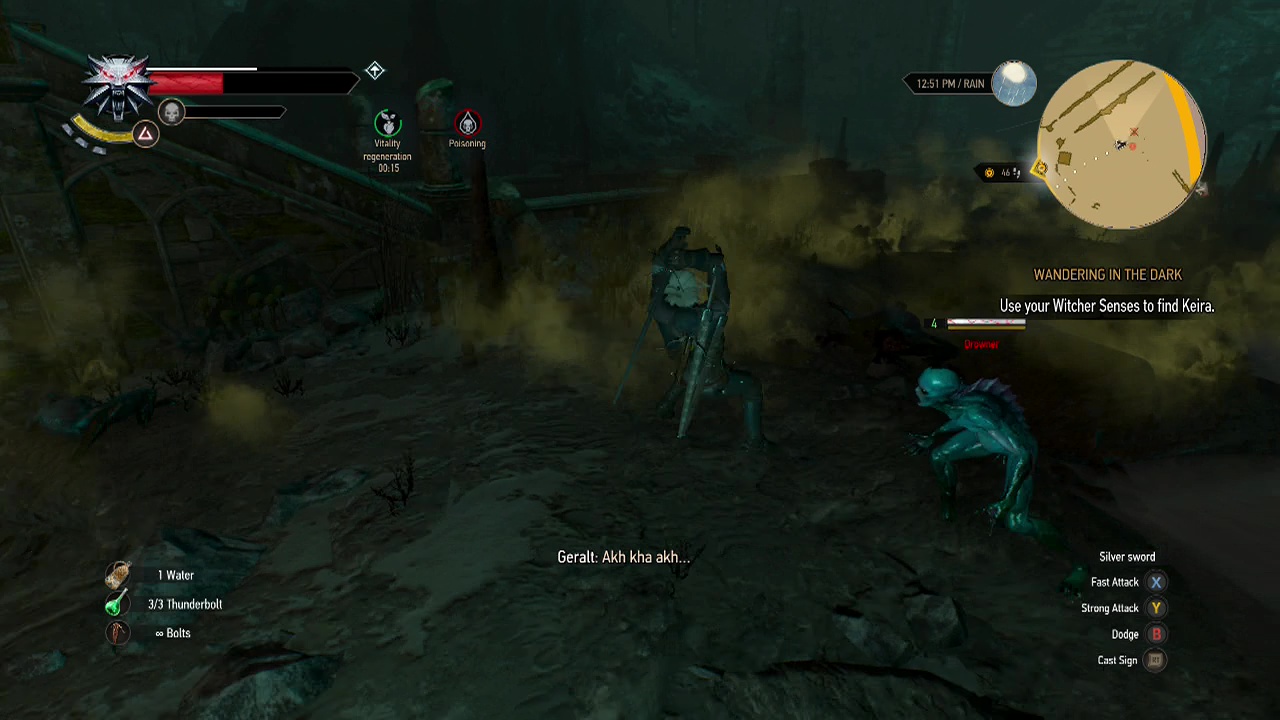
When you arrive on the other side of the portal, you will be facing a small group of drowners just ahead. Pull out your silver sword in preparation before nearing them. Drowners are quick and aggressive attackers that are weak to necrophage oil and the igni sign (setting them ablaze can be a useful tactic when they are bunched up). You will likely also want to make good use of the quen sign (especially on higher difficulties), to protect your health from their attacks.
If they enter the water, your only means of attacking them (besides luring them out of it) is the crossbow. While a slow method of damage, it is relatively safe to just pick away at them from range. So keep it in mind as a strategy if you are having trouble facing them directly. As always, try to single out enemies and bring them down quickly to prevent being surrounded.
Once the first group of drowners is out of your way, walk into the water and swim through the sunken passage to reach the other less waterlogged end. Take the left path at the junction here to emerge into a large cavern with a portal on a walkway in the center. Guess we know where Keira came through. Defensive players can use this high vantage point to shoot the drowners on the cavern floor, picking them off slowly but safely (and avoiding the poison gas clouds as well).
Offensive players will want to prepare their weapons and top up their health before descending to the cave floor to do battle with the group of three drowners. Use the same tactics as before, just be very careful to avoid detonating the gas clouds with igni and try and stay out of them to prevent health loss from poison.
Once the cavern floor is clear of enemies, climb onto the walkway and take the stairs up to investigate the portal. A marker trail will appear here, so start following it down the stairs on the other side. Follow it to the right at the first intersection below to hear Keira scream out.
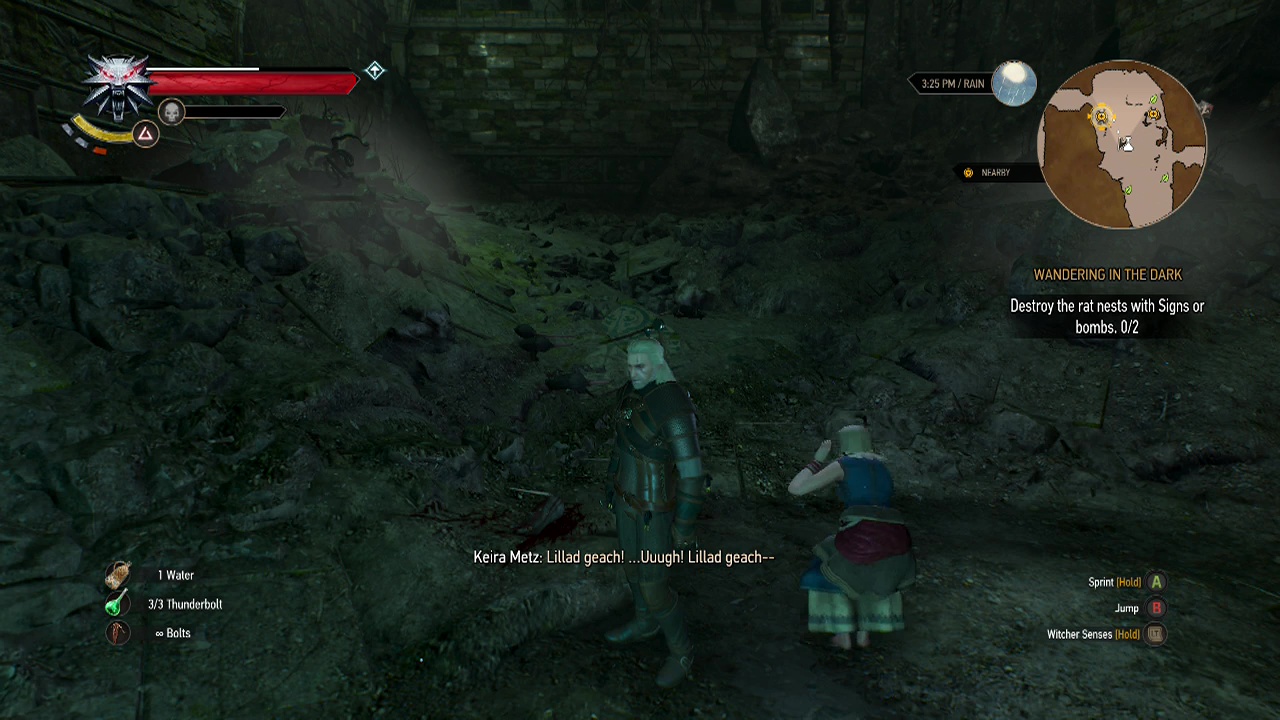
Objective: Destroy the rat nests with bombs or signs (2)
At the bottom of a hole in the floor, you'll find Keira being assaulted by several rats. The rats pose little threat to your health, so you can rush in and start swinging or just head straight for the monster nests that they are coming from. Monster nests can only be destroyed with certain bombs: grapeshot, samum or dancing star. Or by using the aard sign to blast them to rubble. The aard sign is quite efficient in this case if you haven't got any of the other bombs, so get close to the nests and blast away with it.
Once both nests are destroyed, a quick scene will play showing Keira regaining her composure.
Objective: Explore the elven ruins and look for information about the mage
Keira will take the lead once again. Follow her into the next chamber to find the elf you are searching for… or a projection of him anyway.
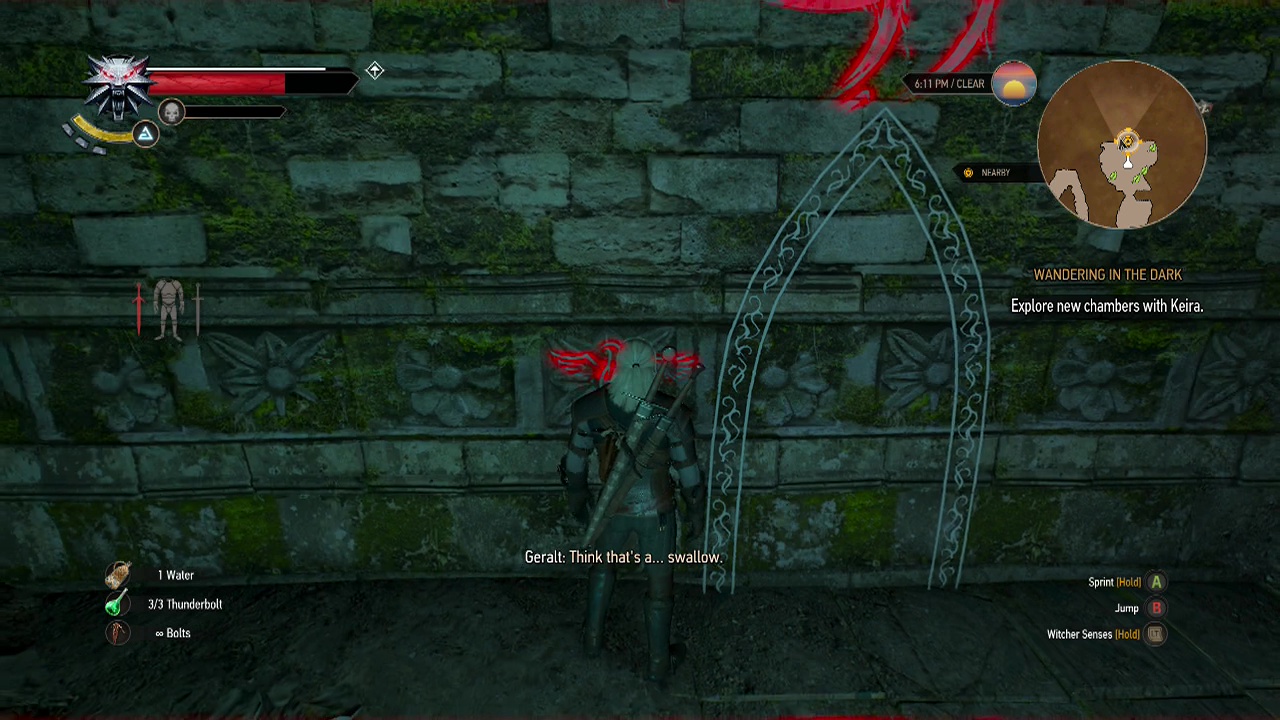
Objective: Explore the ruins and follow the swallow symbols
After watching the projection play out, walk out through the doorway into another large cavern with pools of water across the floor and dancing wraiths floating across them in the distance. You'll also see more of the poisonous gas spread across the floor below. The best way to deal with this area is to avoid the gas and trigger the wraiths, then move to an area free of gas to engage them. Wraiths are vulnerable to several things: moon dust bombs, specter oil as well as the Yrden and Quen signs.
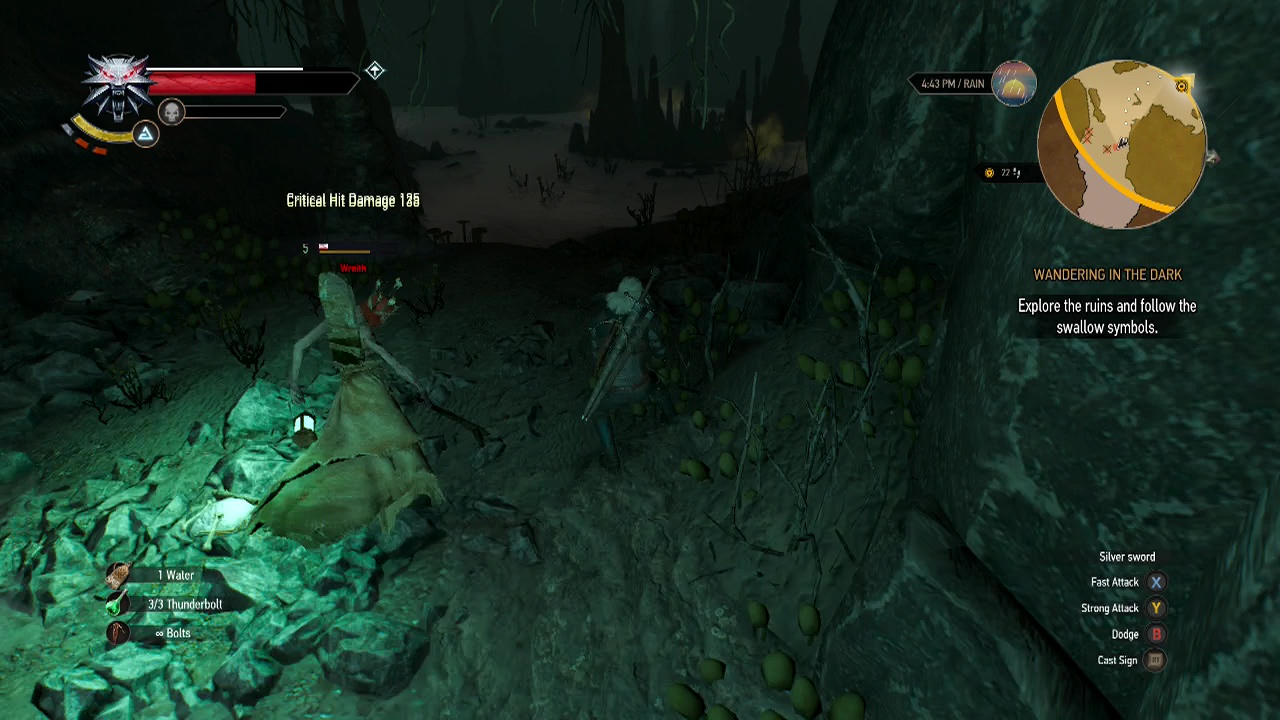
An effective strategy is to use Yrden to set up an area that the wraiths cannot disappear in (as they normally teleport behind Geralt to attack). Laying down the Yrden sign or casting the Quen sign to shield yourself from back attacks will make the battles much easier. When the wraiths trigger either sign, lay into them with your silver sword to bring them down fast. Replenishing the sign when needed.
You will have to contend with three or four wraiths in total here before moving on, but the good news is that they are normally spread out and will engage Geralt one at a time.
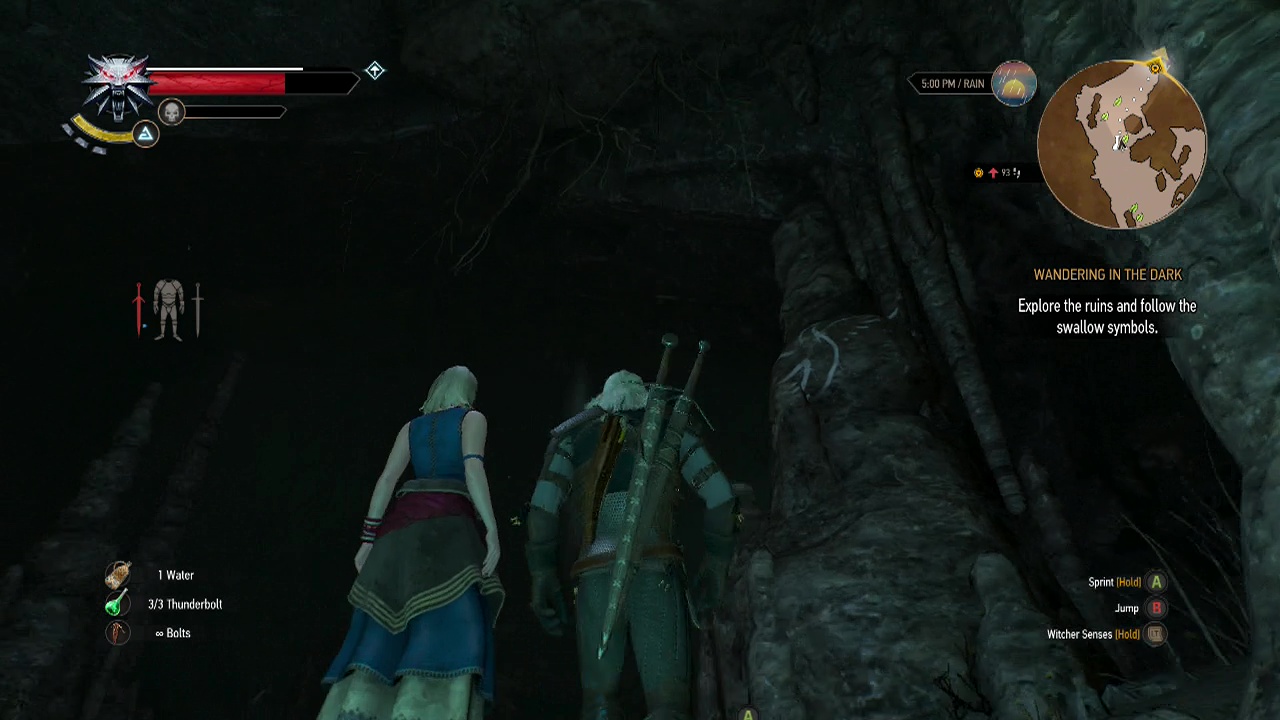
Once the wraiths are dealt with, return to the stairs that you entered the room from (North on the map), and explore the side cave to the right from the base of the stairs to find a swallow sign. Keira will point it out for you. When she does, the area search circle will vanish and the trail marker on the mini-map will appear for you to follow.
Follow the path through the cave, clambering up some rock ledges as you go until the walls become stonework once more and you emerge into a large circular room looking down to a pool of water below.
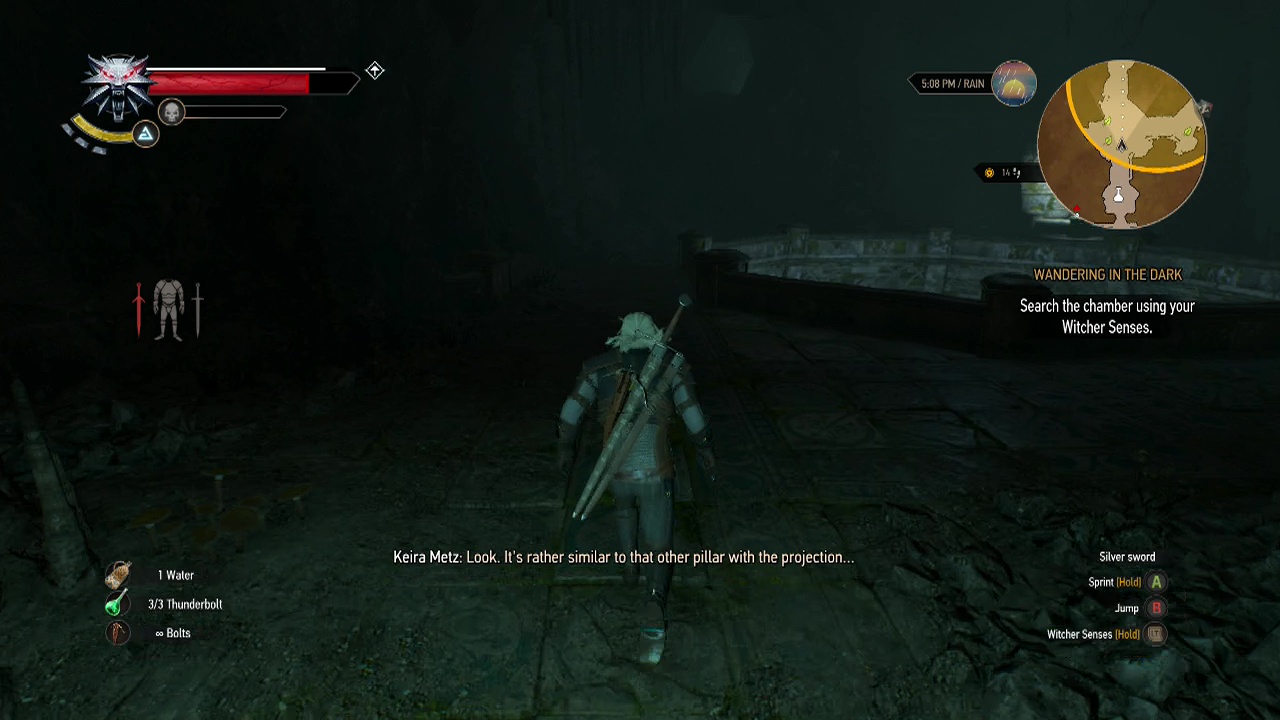
Objective: Search the chamber using your witcher senses
Approach the elven projection at the back of the chamber to get your clue on solving this next riddle. Geralt will work out that you need to find a rune resembling a horse, but there aren't any resembling it on the walls of the chamber. Eagle eyed players will spot a ledge up one of the walls above but be unable to reach it.
To access it, jump down into the pool in the center of the room and swim down to find a water filled tunnel leading away from you. Pick up the loot from the chest here before following the watery tunnel. When you emerge from the other end, climb up the stairs to find the missing horse rune on the wall.
Objective: Rejoin Keira
Touching it triggers something back in the chamber. Follow the tunnel back to the chamber, to find a new path open to you.
Objective: Explore new chambers with Keira
In the new room, you'll find the outline of a portal with a swallow sign beside it. Touch the swallow sign to activate the portal and step inside to trigger the electric roller-coaster boogie once more.
Objective: Examine the next room using your witcher senses
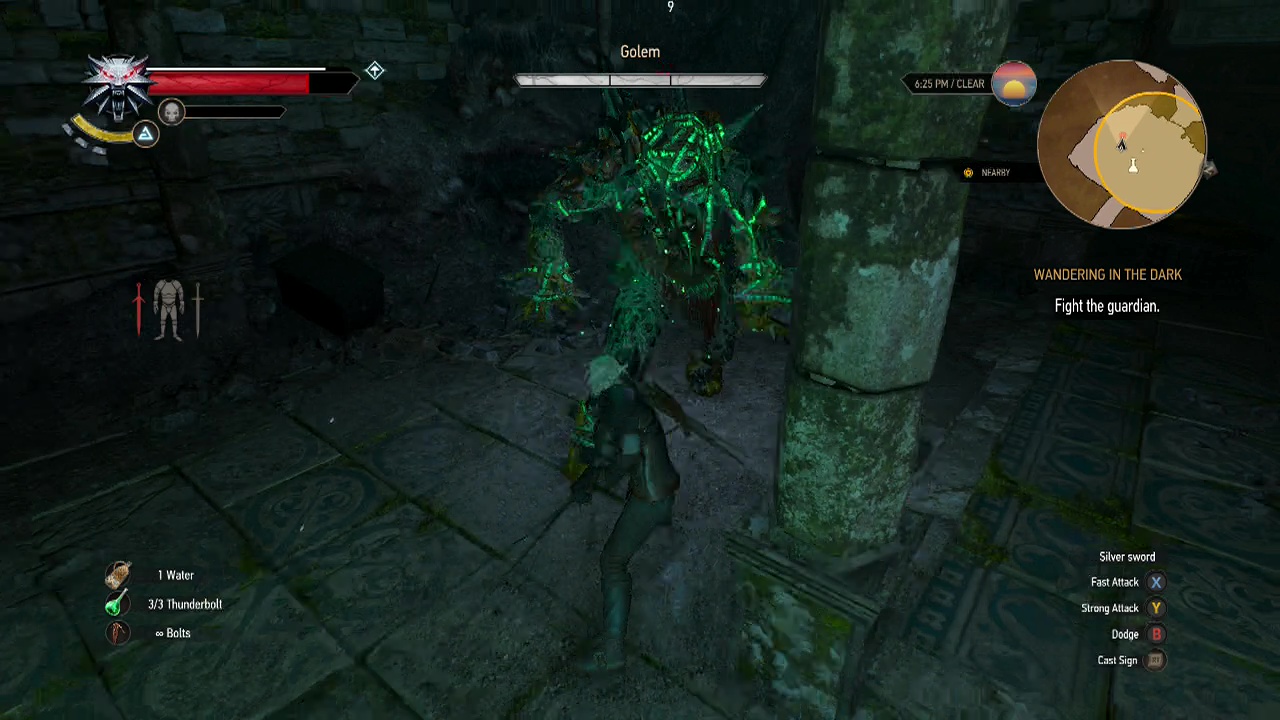
Walk into the next room to see a solitary statue in the center of the room. Oh wait, it's a golem. Great.
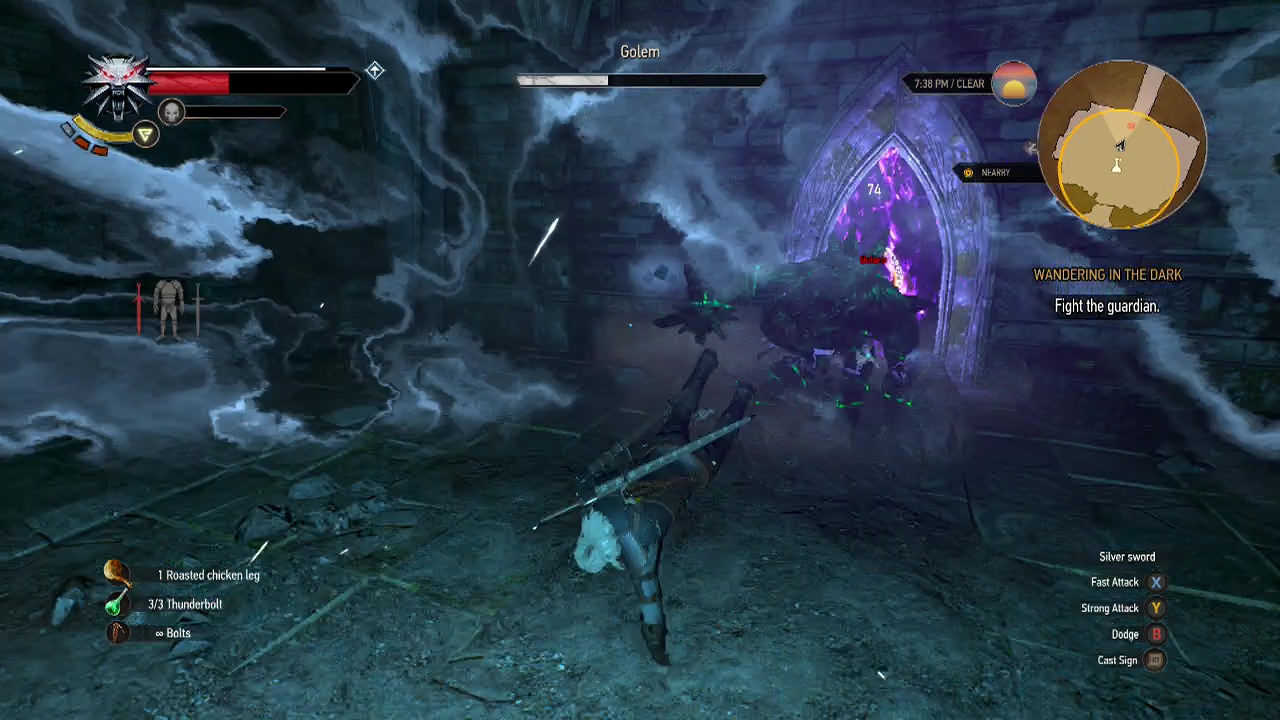
Objective: Fight the guardian
The good news here is that Keira will help you in this fight, continuously casting spells to disrupt the golem's movements and attacks. The bad news is the golem hits hard and has a pretty big health bar. The golem, while slow, can hit hard if it connects. Use the Quen rune to protect yourself against damage while you fight this monster.
The golem has several basic close range swings which are pretty easy to avoid with rolls. The main source of damage will likely be it's ground smash attack that hits an area around it. This will even connect if you are rolling away. Use quen and initiate your roll away from the golem quicker to avoid taking damage from this attack.
When fighting the golem, try to flank it and time your heavy strikes (light attacks do next to no damage) to coincide with Keira's spells so you hit when the golem is still reeling from her attack. Doing this can allow you to get in a couple of heavy strikes safely before dodging away from the golem's counterattack.
When the golem drops below two thirds health, it will add a new attack to it's repitoire. The golem will roar loudly and then run towards its target, flailing wildly for heavy damage if it connects. Geralt will need to roll out of the way twice (the golem corrects it's aim after the first roll) to avoid this attack. Keep hacking away at the golem and avoiding it's strikes until it eventually falls.
Objective: Continue exploring the ruins and follow the swallow symbols
Loot the body of the fallen golem, climb up the ledge and take the door leading out of this room. Take the left path at the next split to find the next swallow portal. Trigger the swallow switch and away we go once again. Into another scene. Looks like we managed to cross the bridge after all that.
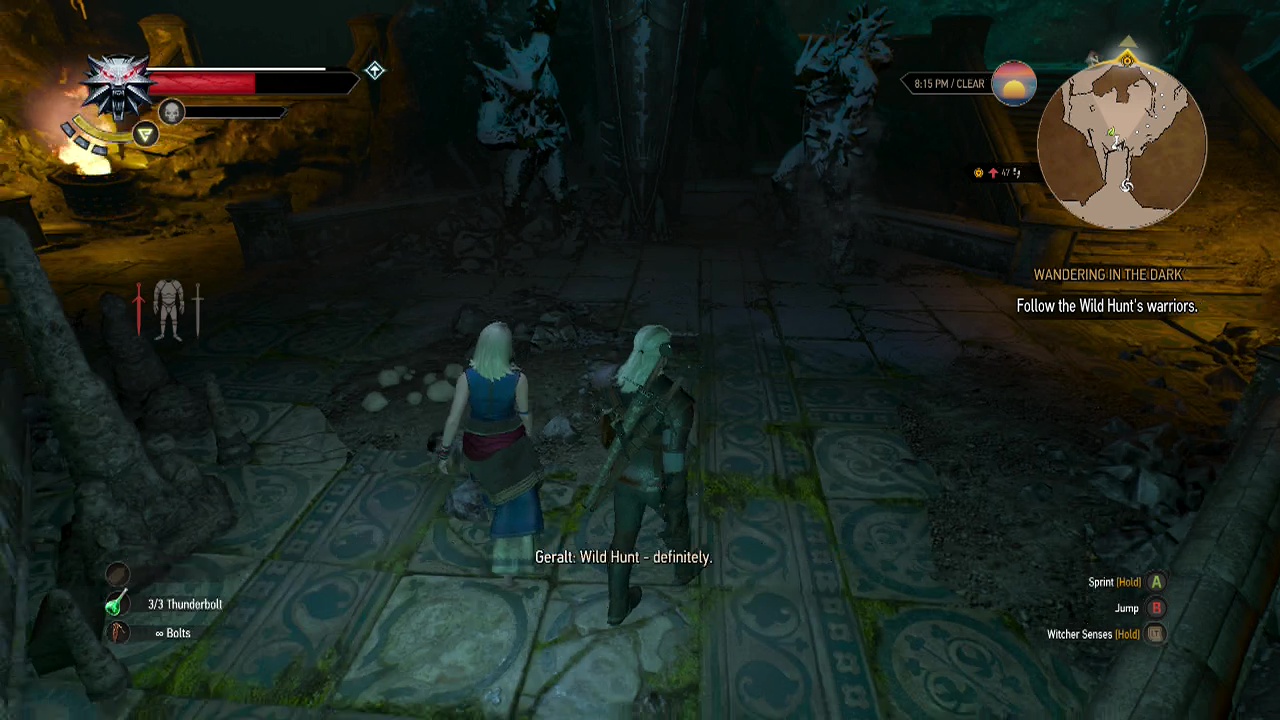
Objective: Follow the wild hunt's warriors
Follow the combination of mini-map trail and destruction left in the wake of the wild hunt until you enter a new chamber and yet another scene takes over.
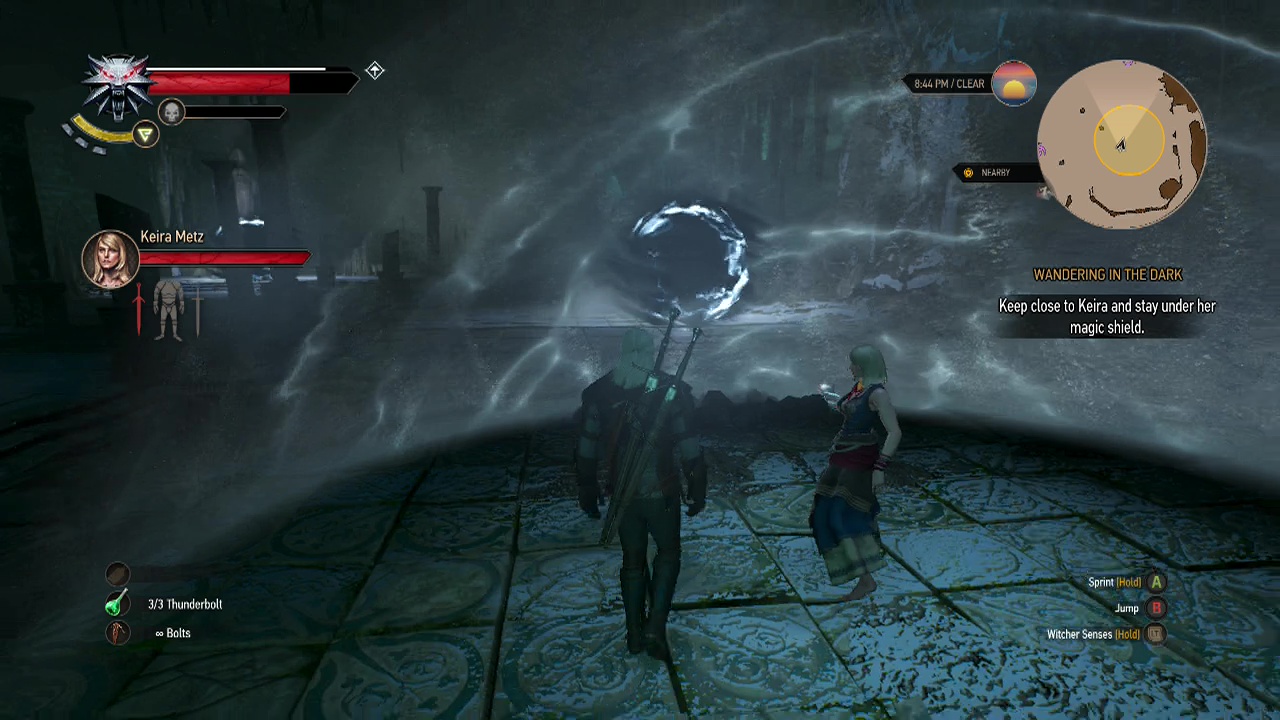
Objective: Keep close to Keira and stay under her magic shield
Despite the daunting look of this sequence, it really boils down to a series of three small fights against groups of three or four hounds of the wild hunt. Hopefully you still have some healing resources to heal up hits you take in between the fights. hounds of the hunt are vulnerable to dimeritum bombs, element oil, the igni sign (obviously due to their ice based nature) and the axii sign to disorient them while you slice them up. The quen sign also works well for soaking up blows if you are agressive and take them out quickly.
Keira will begin to cross the floor and begin sealing the closest portal. Keep near her when she moves to avoid taking damage from the extreme cold outside the shield.
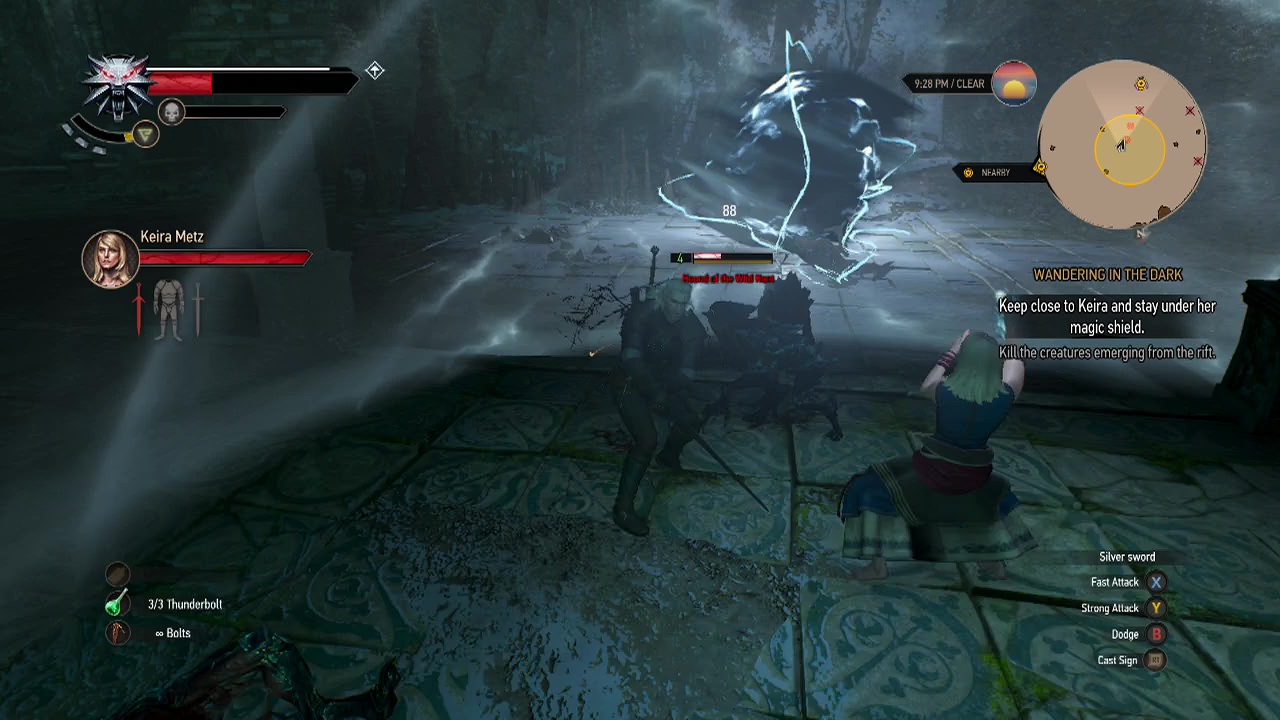
Objective: Kill the creatures emerging from the rift (3)
As she starts to close the first portal, hounds of the wild will begin to emerge from it and attempt to attack both her and Geralt. A health bar for Keira will appear at this point. From this point on until all three portals are sealed, you will need to protect her from losing all her health.
Engage the hounds quickly, intercepting them as they attempt to attack Keira. You will need to kill all the hounds at each portal for Keira to seal it (not time based). Use the tactics described above as well as light strikes to quickly knock the hounds away from Keira to claim victory and seal each portal in turn. When the battle is over, Keira's shield should vanish and a scene will trigger.
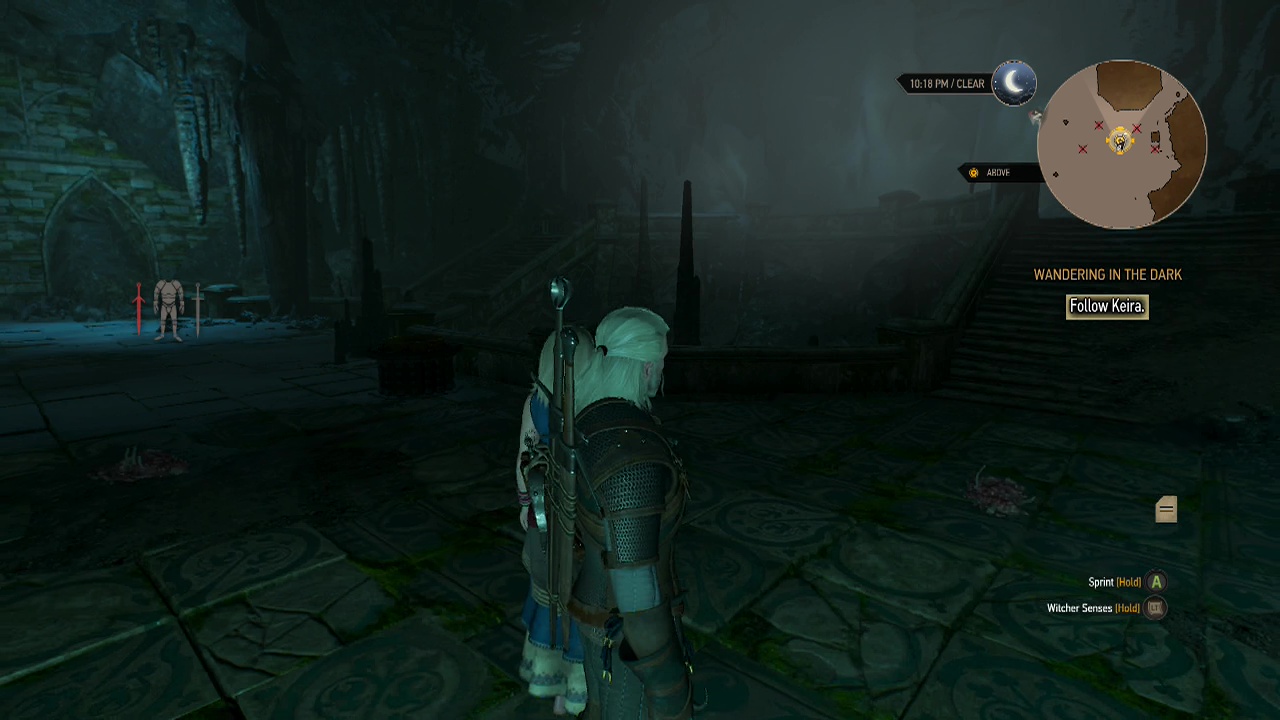
Objective: Follow Keira
Pick up the items from the fallen hounds and follow Keira once again. At the top of the stairs, she will dispel an illusory wall to reveal another path to travel down. At the first corner, you will see a partially broken doorway in the wall that you can optionally blast through with aard for a battle with a lone foglet (weakness: moon dust bomb, necrophage oil and quen sign – fights like the wraiths, teleporting behind you to attack) as well as some decent loot in a chest.
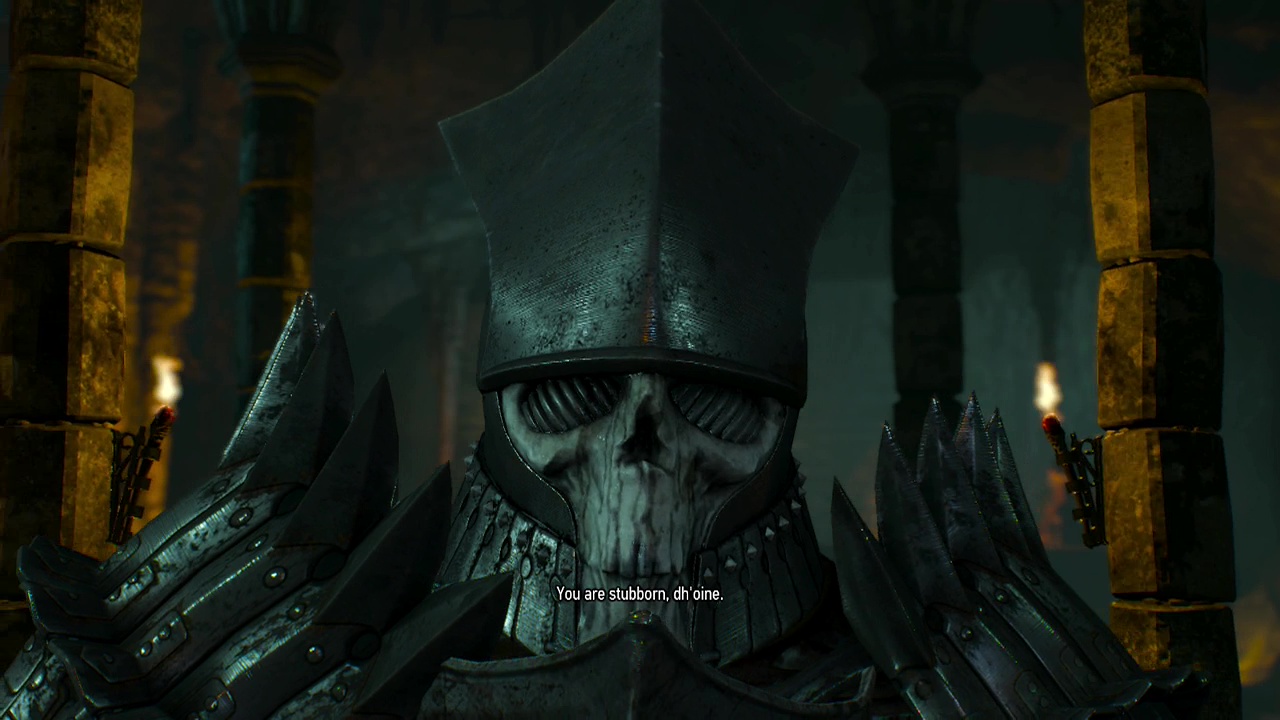
Follow the main path to see a ledge at the end with an open in front of it. Kneeling in this open area is one of the wild hunt warriors we saw earlier. Looks like they left one here to block our path forward. Watch the scene as the warrior and Geralt face off.
Objective: Fight the wild hunt warrior
Similar to the golem fight from earlier, the wild hunt warrior will be under constant assault from Keira, disrupting it's attacks. Once again you should use this to your advantage and time your stirkes to match Keira's attacks to get in more damage safely. Use the quen sign to protect yourself from counterattack damage and stay close to Keira when you can so her attacks strike faster (the further away she is from the warrior, the longer her strikes take to travel to it).
Use strong attacks to deal your damage and hit once or twice before rolling away, using your quen sign to soak up any damage. Repeat this long enough and you should whittle away the warrior's health bar without taking much in the way of damage. When the warrior reaches half health, he will summon a portal (similar to those in the shield battle) that spawns three hounds of the hunt and cover himself in an impenetrable shield.
Take on the hounds with the tactics we used in the shield fight (light attacks, quen sign to prevent damage and igni to set multiple hounds on fire) to cut through them quickly. When all of the hounds are dead, the shield on the warrior will vanish and the battle will resume once more. The portal summoning will repeat once again when the warrior reaches a quarter of his health, so be prepared. When you finally drain the last of the warriors heath, he will fall to the floor, dead at last.
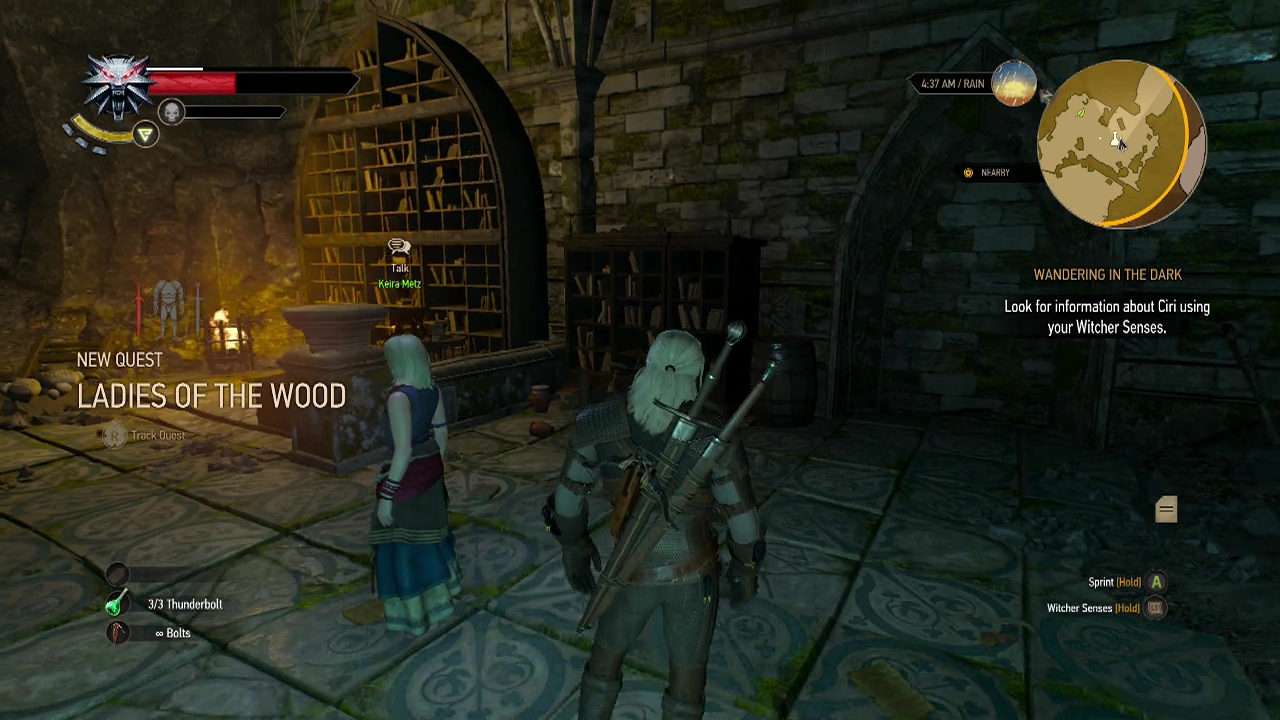
Objective: Look for information about Ciri using your witcher senses
Pick up a decent haul from the body of the fallen warrior before investigating the study of the elven mage at the back of the area. Approach the projection of the elf again to find out where you need to head next. Crookback swamp. Finish looting the study to find a tome with information on the ladies of crookback swamp and how to get there. Once you have everything, approach the arch at the back of the room and examine it with your witcher senses.
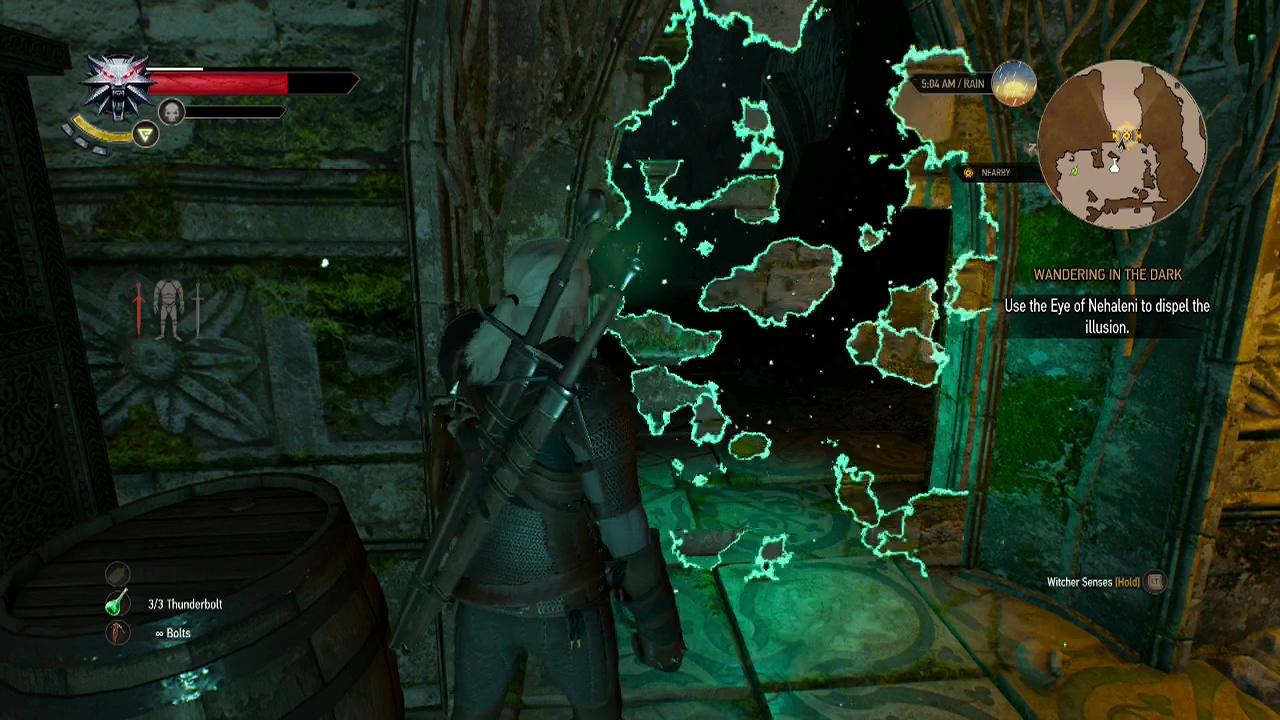
Objective: Use Eye of Nehaleni to dispel the illusion
Keira will give you a medallion to dispel illusions (like she did at the wall of ice earlier). Simply approach an illusion and press A (Xbox) or X (PS) to dispel it.
Objective: Follow Keira
Walk through the newly opened archway and follow the path. at the next intersection, Keira will sense fresh air coming from the right passage. She will also present you with a dialogue choice.
Fine, I'll help (triggers sidequest: Magic Lamp) *Note: This is a very short sidequest found in the room to the left that requires you to light four lamps in the right order. See the sidequests section for more information.
I'm going straight to the bog. (ignores the sidequest) *Note: Wow, could take those words the wrong way.
Either way, when you are ready to leave, simply head up the right passageway and dispel the illusion at the end to emerge into the sunlight and conclude the quest.