STORY 06 – Ladies of the Wood
Recommended Level: 6
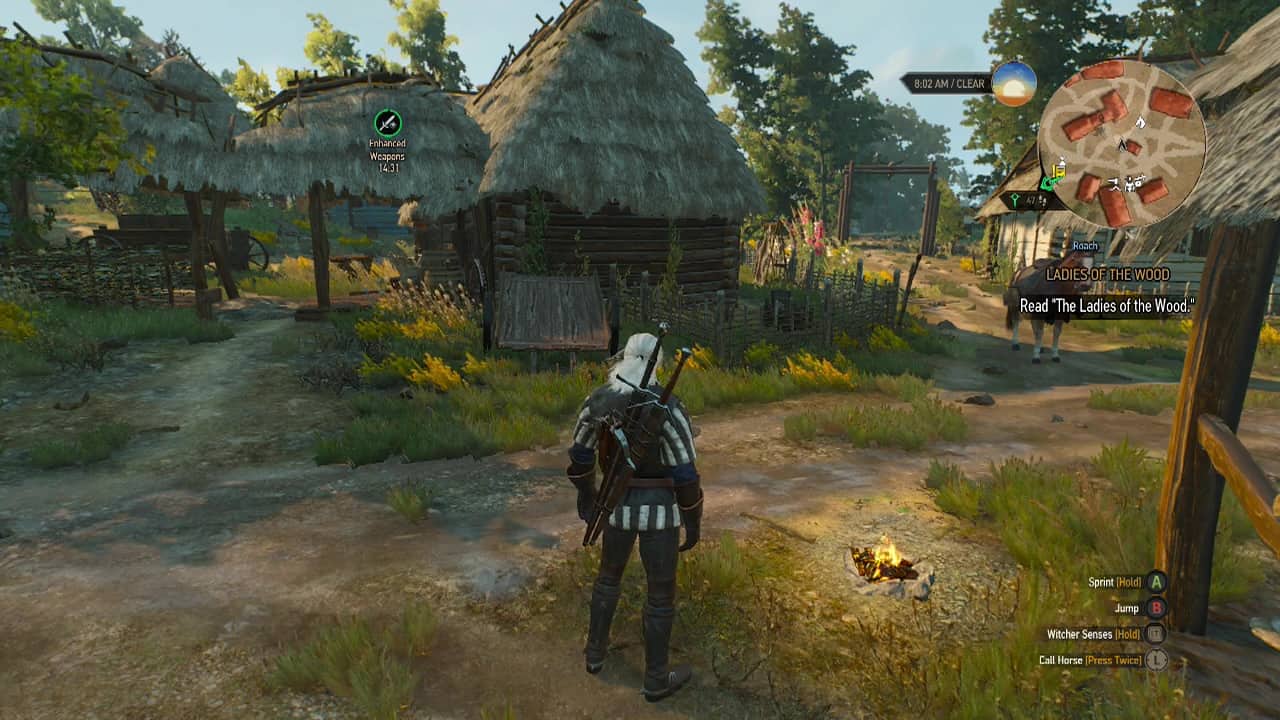
Objective: Read "The Ladies of the Wood"
At the end of the Wandering in the Dark quest (story 05), you picked up a volume named "The Ladies of the Wood." Search for it in your inventory under quest items and read it to update your objective.
Objective: Find the crones of Crookback Bog
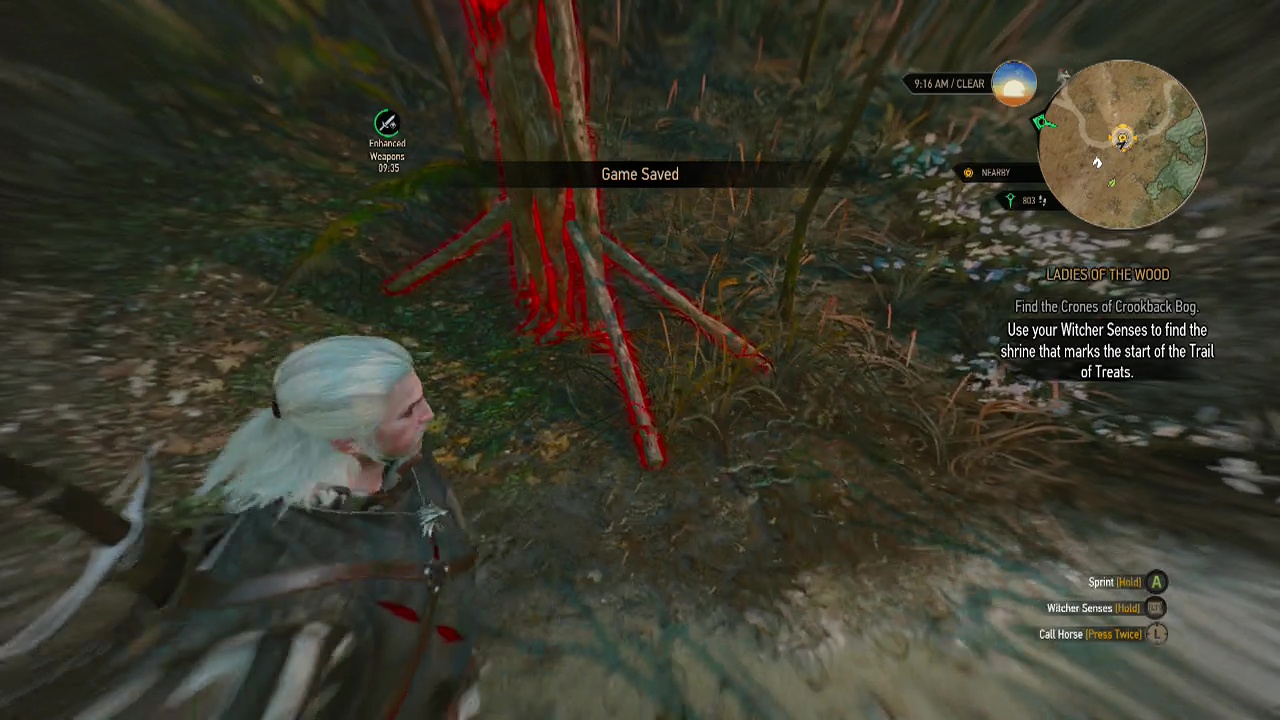
Objective: Use your witcher senses to find the shrine that marks the start of the Trail of Treats
Follow the new trail on the mini-map for a fair way until you arrive at a swampy area. When you reach the marker, use your witcher senses to spot a glowing red human shaped carving with a necklace of sweets around it's neck. Examine it to begin your march along the trail of treats.
Objective: Follow the Trail of Treats using your witcher senses
From where you are standing next to the carving, begin following the trail, while staying between the glowing red sweets hanging from the trees. The path is very obvious (simply follow the dirt trail) until you near a large house and a scene takes control.
Objective: Go to the hut and talk to the boy
Once the scene ends, you'll be in a square with buildings all around. Follow the mini-map trail into one of the nearby huts and try to talk to Travik. Unfortunately Gran will get in the way and stop you talking to him. Looks like we'll need to distract her somehow.
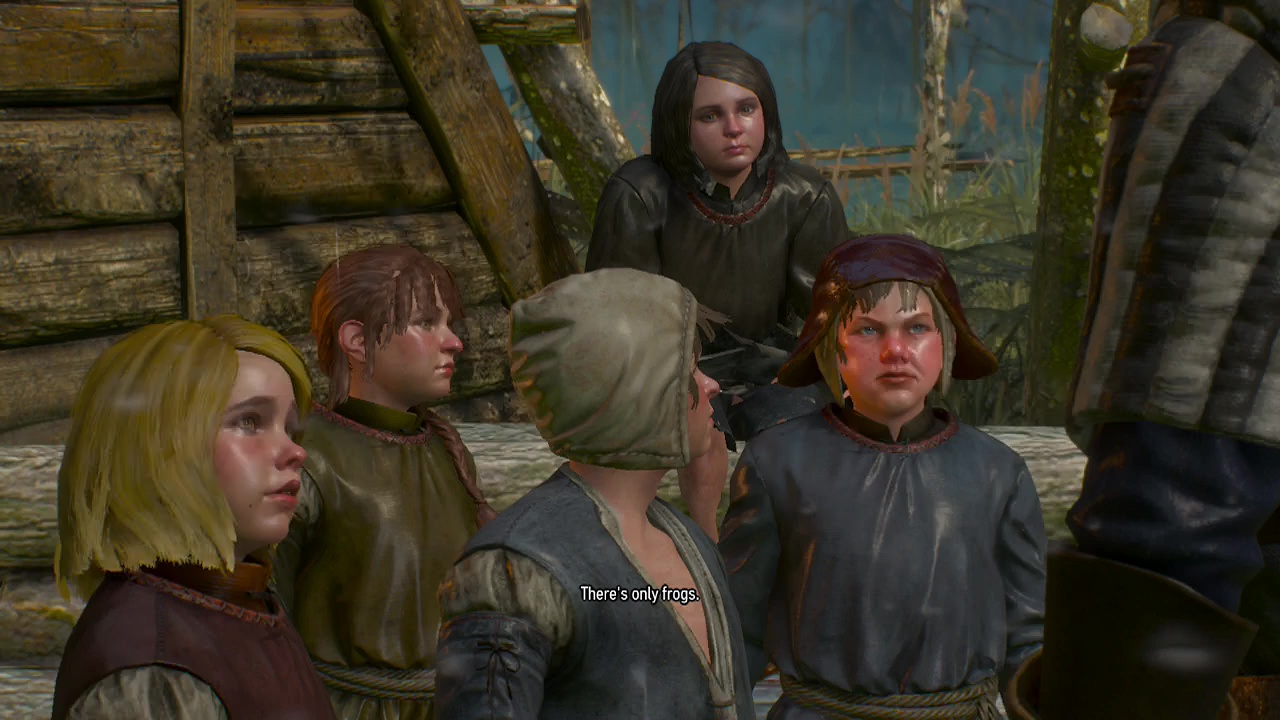
Objective: Ask the children in the swamp village about Johnny
Objective: Find a way to lure Gran away from the hut
Talk to any of the kids outside and ask them to help you while you talk to them. When you do, they'll challenge you to a game of hide-n-seek, offering to help you with Gran if you manage to find them all.
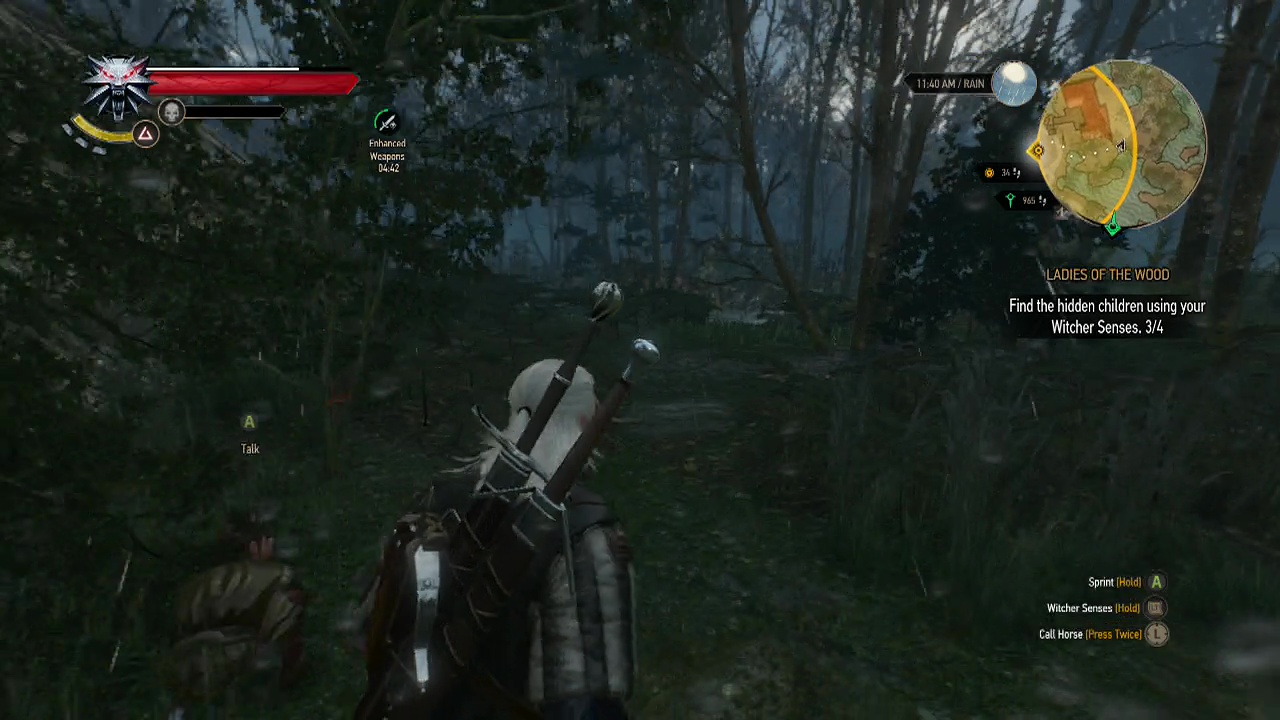
Objective: Find the hidden children with you witcher senses (4)
All of the children except Aynara are either inside of just outside of huts in the area. If you have problems locating them, watch the vide from the 12:30 mark to see their locations.
Genny. Behind the East hut hiding inside a bush
Mikula: Under a window inside the North-West hut
Yagna: Inside a bush behind the North-East hut
Aynara: Right on the South-West edge of the search area next to a tree
Now the kids will keep their end of the bargain and you'll get the chance to go inside and talk to Travik. After a quick chat, you'll need to scour the swamp for this "Johnny."
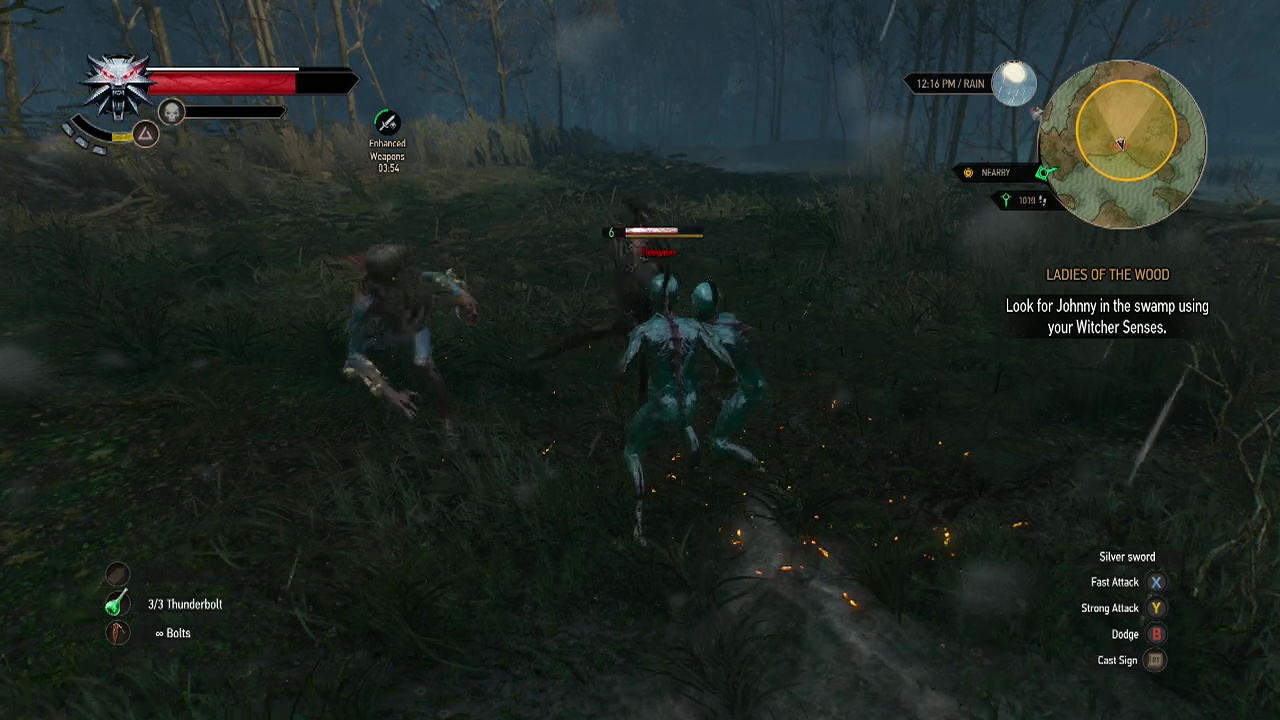
Objective: Look for Johnny in the swamp using your witcher senses
Note: Make sure you are prepared to deal with several groups of drowners in the next few quest steps (repair your silver sword and stock up on health items etc).
Start following the trail on the mini-map out into the swamp. A short distance away from the swamp village, a group of two drowners will pop up from the water. Remember that they are weak to necrophage oil and the igni sign. Don't forget to use the quen sign to protect yourself from damage as well.
Alongside the drowners will also be a water hag, these enemies move in a similar fashion to drowners. They are vulnerable to northern wind bombs, necrophage oil as well as the igni sign and quen sign. Use the same tactics as you did in the previous quest (light attacks, keep quen active and use igni when the enemies are clustered together) to bring down the enemies fast.
Objective: Find Johnny's footprints
After the fight, you'll get the opportunity to use you witcher senses to look for traces of Johnny. At the North edge of the search area are some of Johnny's footprints. Examining them will have you on the trail once again.
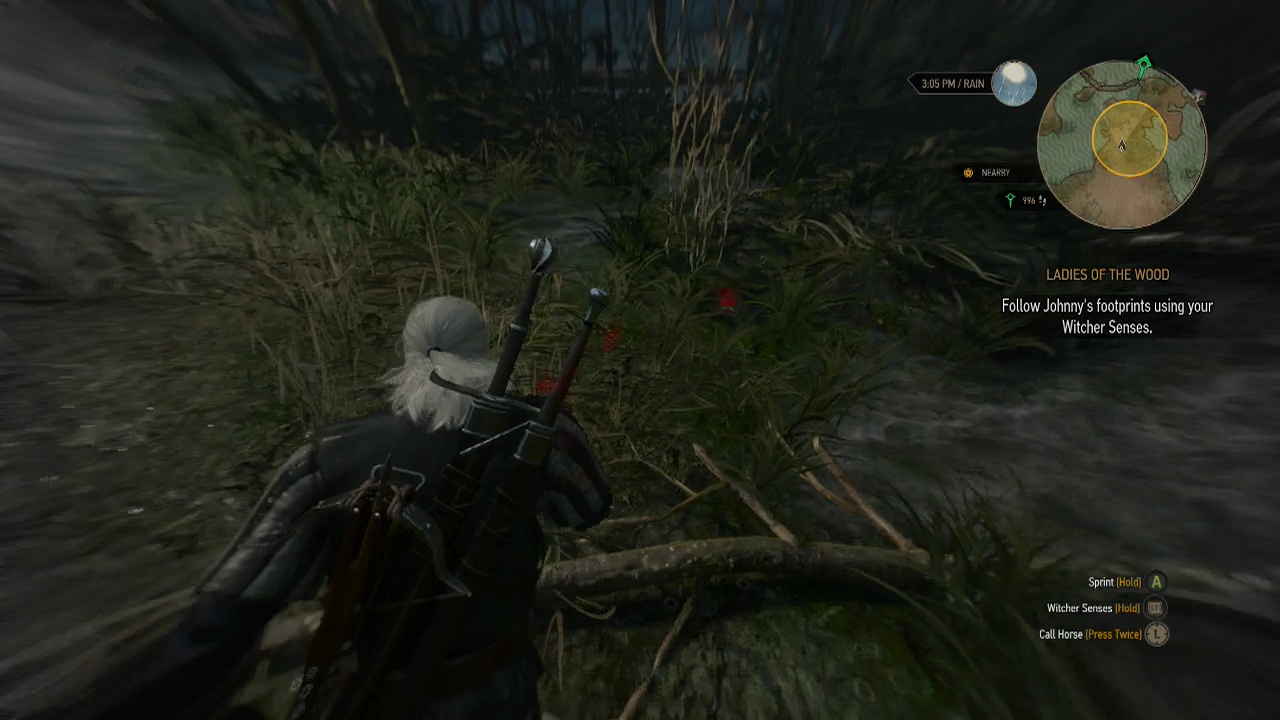
Objective: Follow Johnny's footprints using your witcher senses
A little ways on, you'll run into another group of drowners (four of them), so be ready with your igni spell and silver sword once more. Once this lot is slashed and bleeding across the landscape, resume following the footprints until you arrive at a strange burrow (mentioned by Travik).
Objective: Lure Johnny out of his burrow
Call to Johnny to initate a scene where you finally meet the elusive friend of Travik.
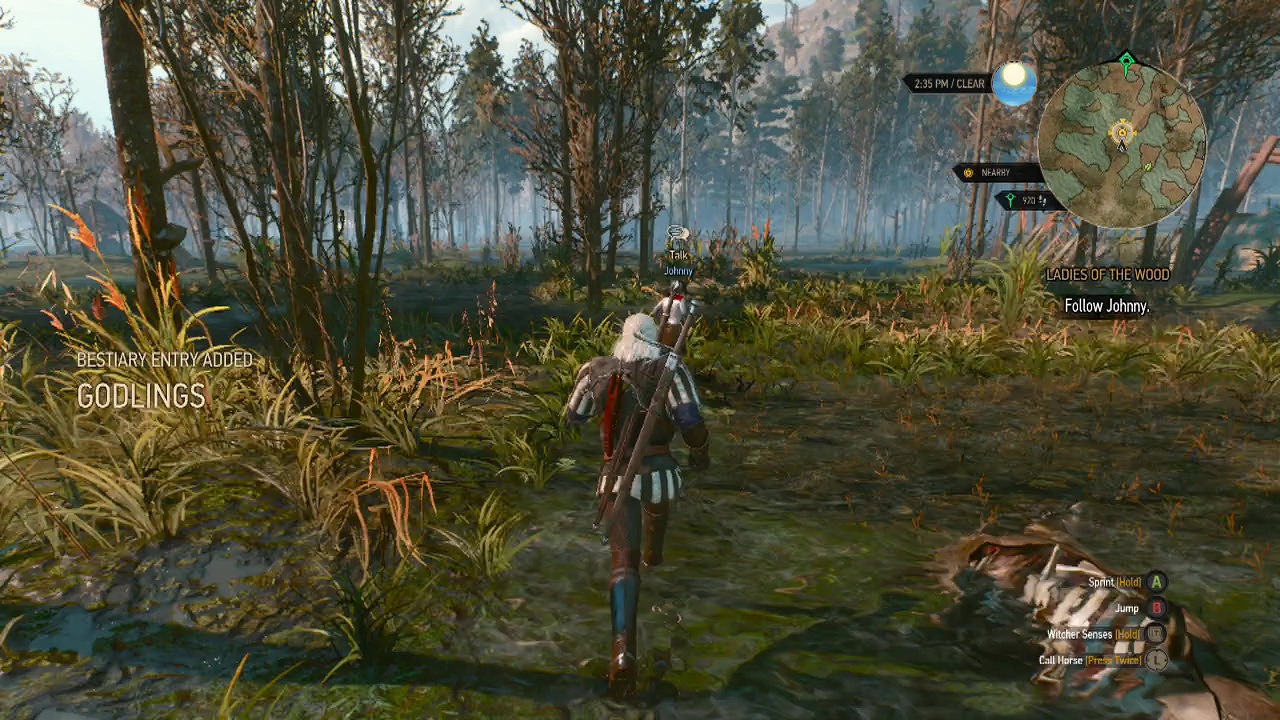
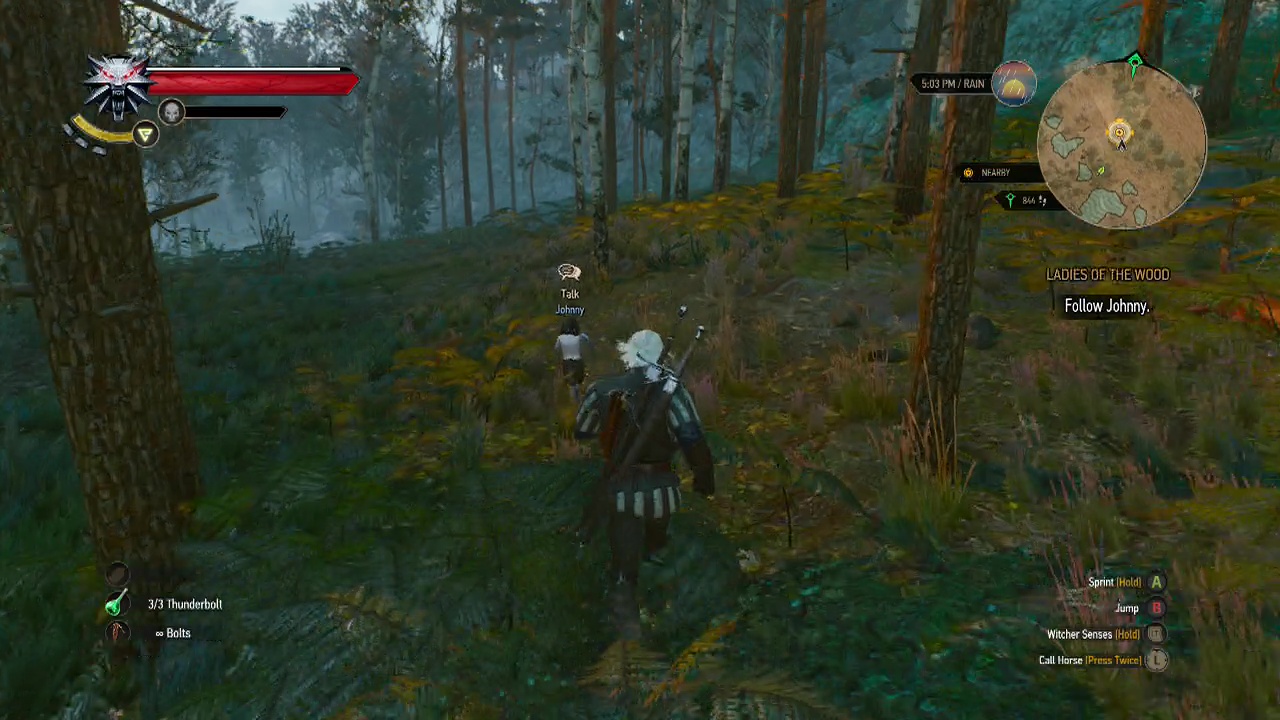
Objective: Follow Johnny
Looks like we'll have to help the little fella find his lost voice. Start tailing the godling through the swamp. After several seconds, you'll run into four drowners once again (geez, these guys are becoming like grunts in Halo).
Objective: Defeat the monsters
Slash and grab once again to resume your swamplands jaunt with Johnny. Describing the same fight two times is more than enough, folks.
Objective: Follow Johnny
A little further on our nature hike, Johnny will stand still at the base of a cliff. As you get close, a scene will trigger. Johnny's missing voice is apparently in the nest on top of that cliff. Figures. Time to break out the rock climbing equipment.
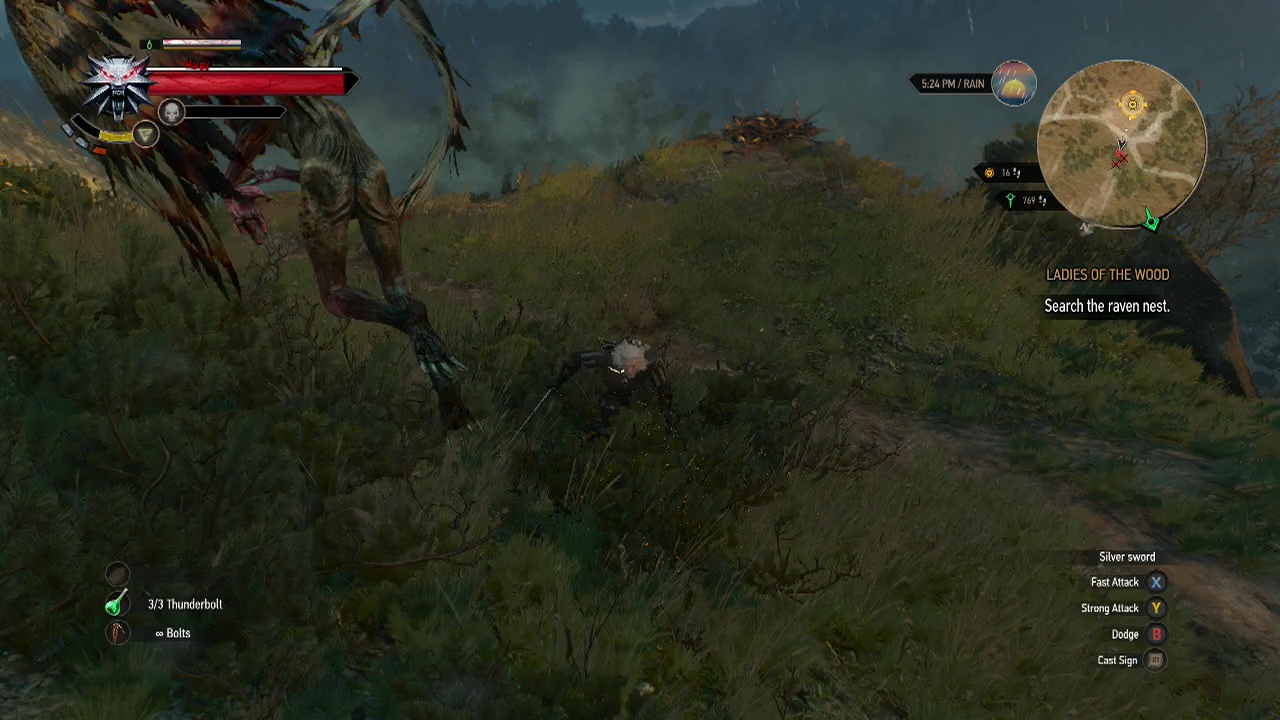
Objective: Search the raven nest
Not really. Both sides of the cliff have paths leading up to the nest so you can go either way. Just be careful as there may be a wyvern up there as well as the three required harpies you need to defeat. If there is, try to quickly dispatch the harpies, grab the stuff from the nest and flee (remember to sheathe your sword if you want to loot the nest). Or if you are high enough level (or can take advantage of the wyvern's weaknesses, try killing it. Wyverns are weak to golden oriole potion, grapeshot bomb, draconid oil and the aard sign).
If things are normal on the other hand, when you get to the top of the cliff, you will be assaulted by three harpies and JUST three harpies. Harpies are weak to grapeshot bombs, hybrid oil and the Aard sign. This sign is useful for stunning the harpies and knocking them out of the air to finish them off quickly. A harpy on the ground is quite weak and can be instant killed with a quick light combo (after a hit or two an X (Xbox) or Square (PS) prompt will appear, allowing you to finish off the harpy in a single blow.
While fast, the harpies don't really deal much damage. So maintain your defenses and try to stun them or swipe them to the ground when you can to finish them off. Once they are all gone, loot the bodies and then empty the nest (making sure to take the raven feather for a subquest later in this story quest). Once you have the jar and the feather from the nest, return down the cliff to Johnny.
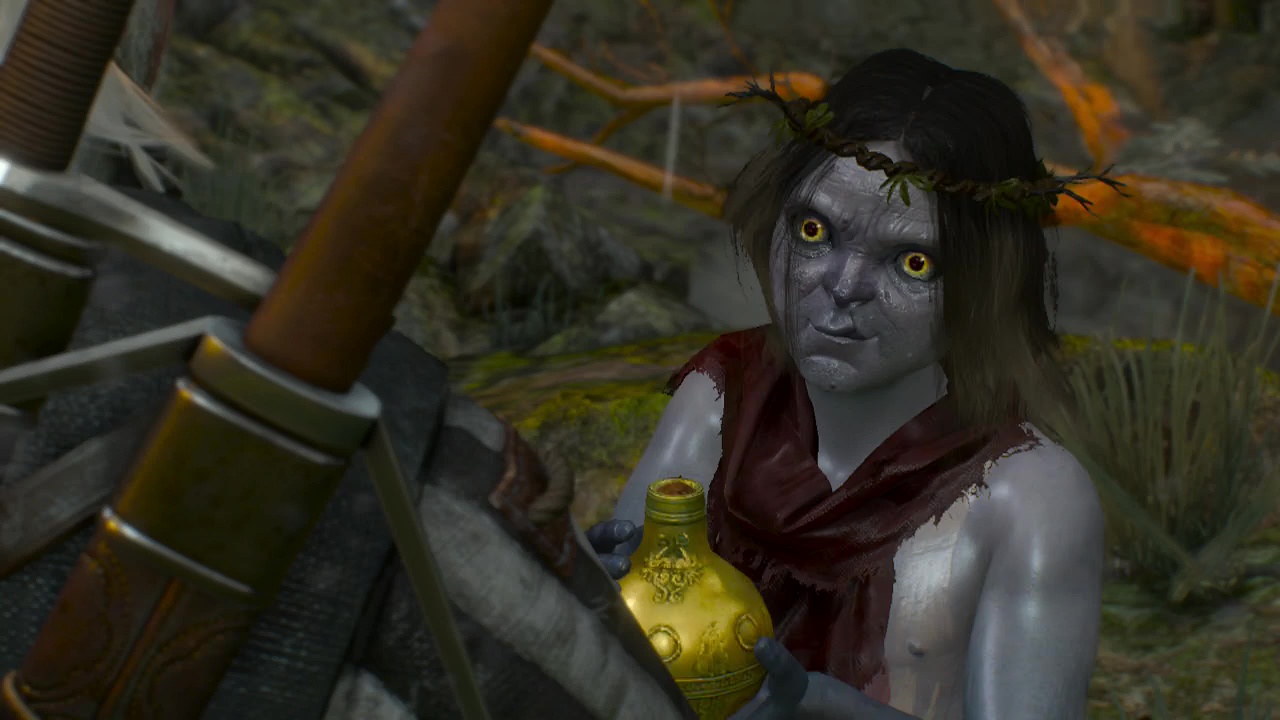
Objective: Give the bottle to Johnny
At the bottom of the cliff, hand over the bottle.
Objective: Follow Johnny to the swamp village
Ugh, make it stop. Make it stop! Yeah, no wonder the crones stole Johnny's voice. Like a blunt, rusty handsaw on my eardrums. Anyway, now that he's audible again, follow Johnny back to the village. On the way, Johnny airlines will make sure you have to fight yet another batch of enemies (for no extra charge).
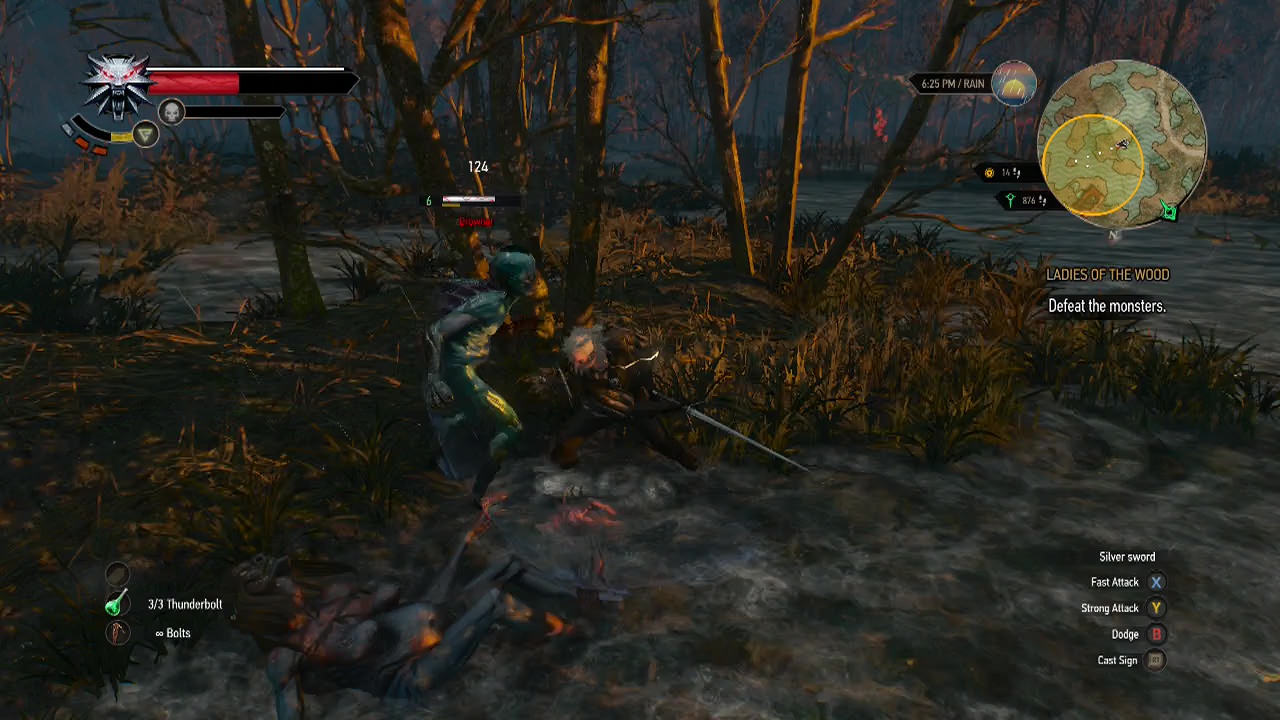
Objective: Defeat the monsters
Yeah, yeah. We've all been here before. Splurt, slish, blarp, both drowners and the water hag are dead once again.
Objective: Follow Johnny to the swamp village
When you arrive at the swamp village, Johnny will weave his magic (or at least his silver tongue) on Gran. Ugh, that sentence really shouldn't exist. Afterwards, she'll finally take you to see the ladies of the woods. Listen to the ladies request and you're on your way once more to the nearby village, to help them with their problem.
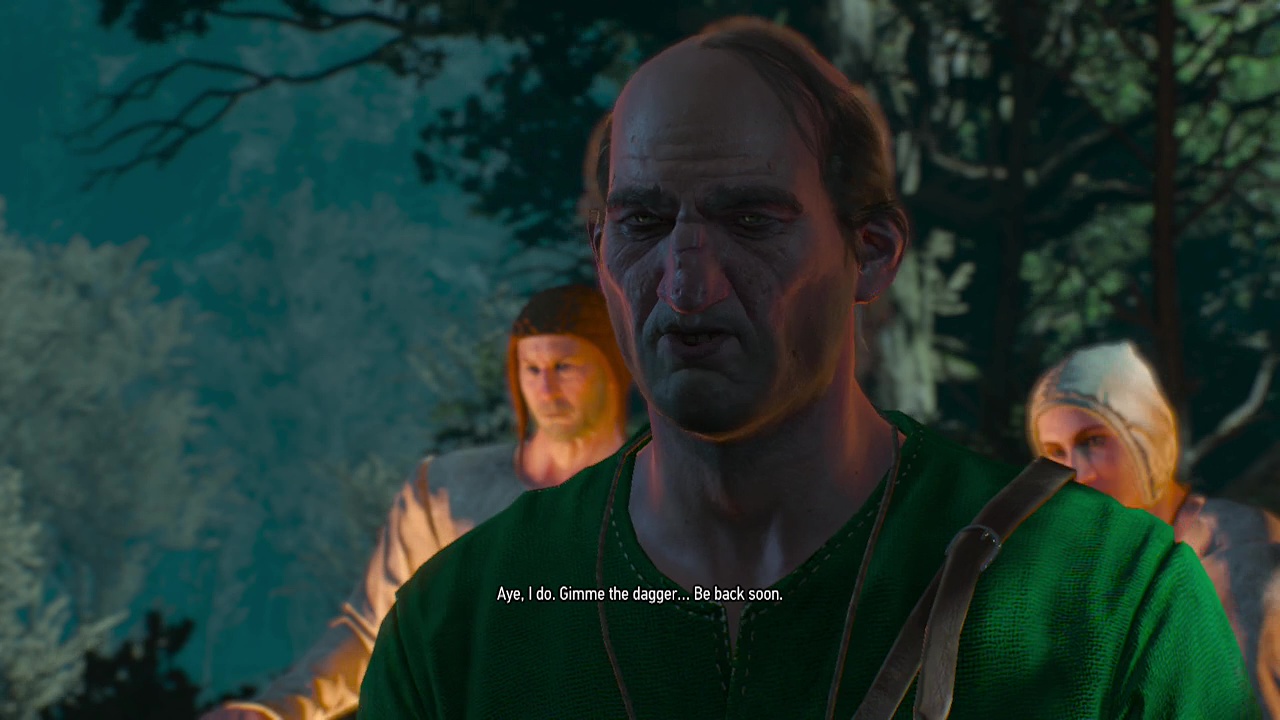
Objective: Talk to the ealdorman of Downwarren about the village's problems
A short trek across the swamp awaits you as you follow the trail on the mini-map. Climb up and out of the muck to find the village of Downwarren. The ealdorman is easy to spot with his green tunic. Walk over and have a lovely little chat.
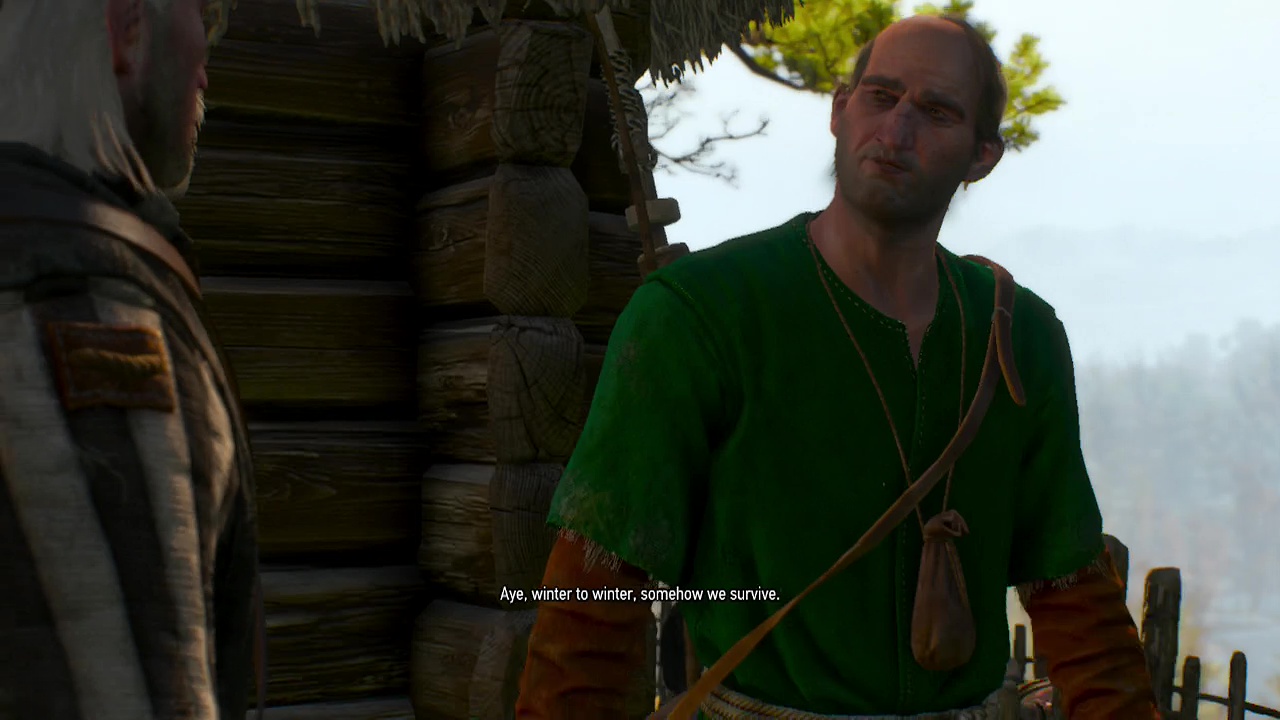
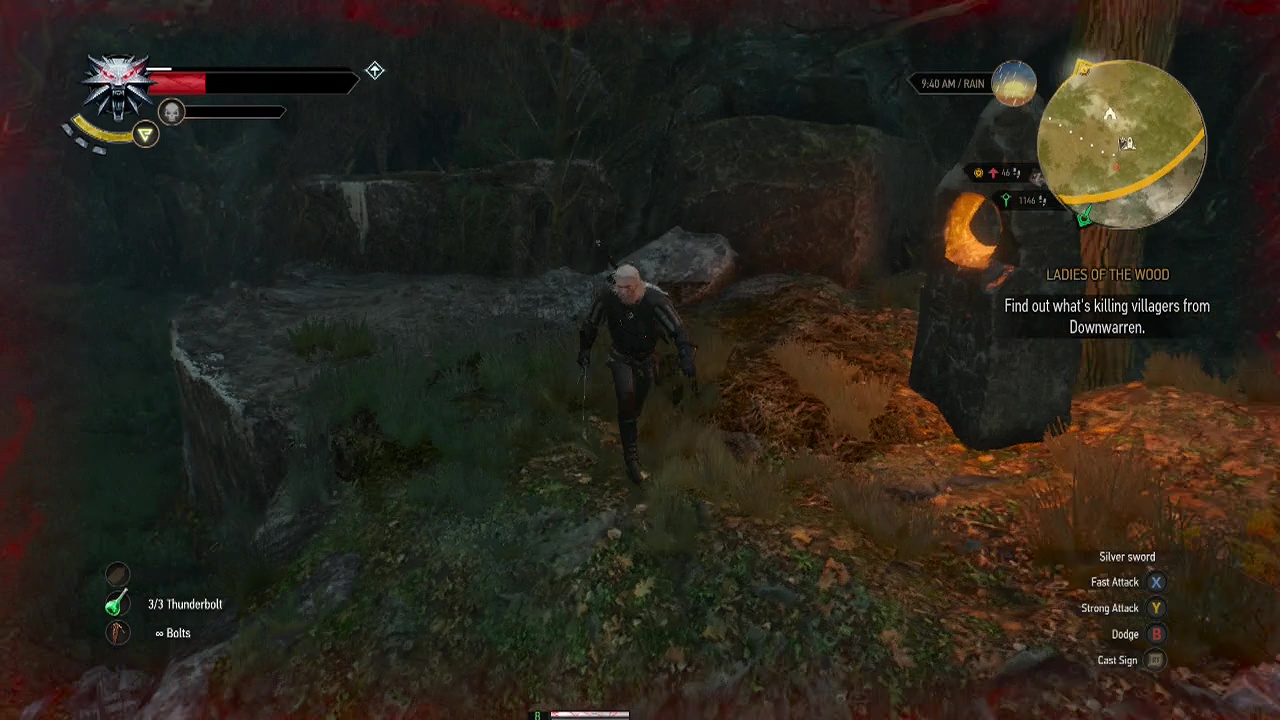
Objective: Find out what's killing villagers from Downwarren
A short ride away from the village as the mini-map flies is the Whispering Hillock (where villagers have gone missing). As you get close to the tree at the top, a new sub-quest will appear. The next few objective coincide with those from the subquest below. Continue following the regular story quest section until you talk to the spirit underneath the Whispering Hillock. When you do, you'll have a dialogue choice that allows you to undertake the optional sidequest or to just continue on the main story quest instead.
Objective: Find a passage leading under the hill using your witcher senses
On the West side of the hill you'll find a cave icon and a level 8 werewolf. Yeah, the werewolf is quite powerful and has the ability to cast a massive regeneration buff on himself (regening him from near death to full health in around ten seconds), so unless you are overleveled for this quest, don't bother taking him on. Instead, sheathe your sword and sprint past him into the mouth of the cave. He will stop pursuing you once you are inside.
Objective: Explore the cave
Despite the map, only one path is open to you. Follow it and dive into the water, emerging into the center of the hillock.
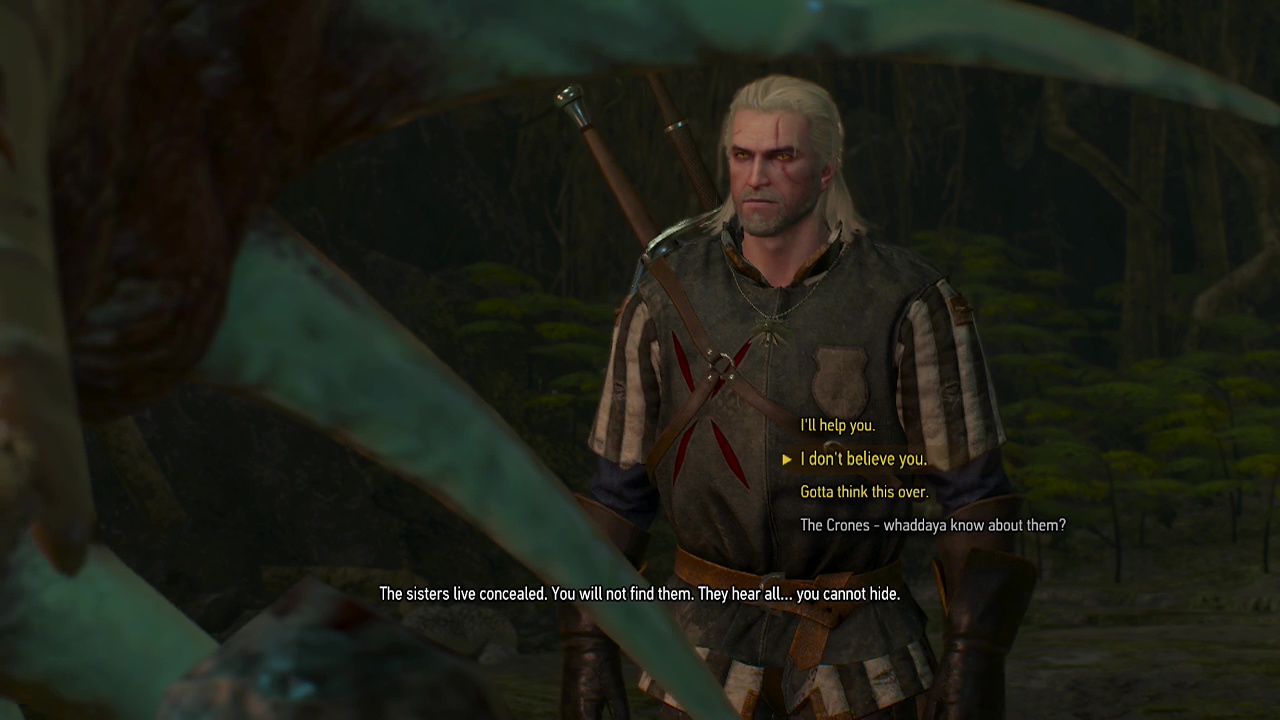
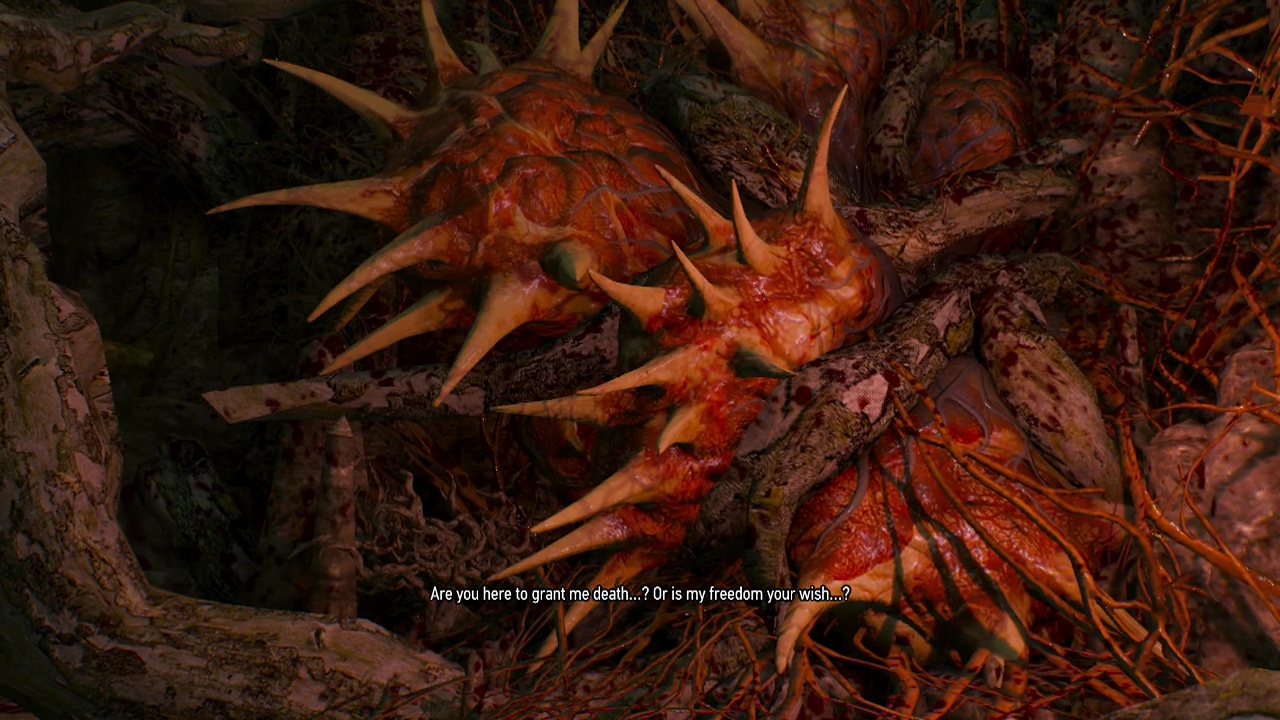
Objective: Solve Downwarren's problem (choice outcomes can be found in red text below)
Annnd here's the choice, people. A spirit (evil or otherwise) has been trapped down here by magic and wants to be released to save the children of the swamp village from the ladies (crones) of the woods. Helping the spirit will trigger the optional sub-quest below. If you start it, the spirit will create a path out of the hillock for you to retrieve the items needed for it's ritual. If you decide the spirit must die, you skip the sub-quest and go straight on to a relatively easy fight against the spirit. Skip to the sub-quest below if you decide to take that path, otherwise prepare to take on the spirit.
Once the battle begins, the spirit will shield it's heart in a dome of energy. When it does, three endrega workers will emerge from the nearby walls and attack you. They do relatively little damage and are quite suceptible to the igni sign and fast attacks from your silver sword (they are weak enough that you don't really need to prep for these guys). Use quen if by some twist of fate your life gets low, but otherwise simply hammer away at them. Once all the workers are dead, the shield around the spirit's heart will vanish. This is your opportunity to get some damage in. Hack away with light attacks at the roots protecting the heart, then slash away at the heart itself.
After taking around half damage, the process will repeat again. The heart will shield itself and three more workers will appear. Resume the worker slaughter, slash the roots and the heart again when they become unshielded and you will emerge victorious. If you took this path, skip the sub-quest below and move onto the next objective after it.
Choice Outcome: Killing the spirit results in the children of the swamp village all dying. When Geralt returns with the Baron later, Gran (Anna – the Baron's wife) will be horrified at what has happened and in a state of shock. When Geralt is unable to do anything for her, the Baron takes her in search of a healer.
OPTIONAL STORY SUB-QUEST: The Whispering Hillock
Recommended Level: 5
Objective: Find where the voice is coming from using your witcher senses
On the West side of the hill you'll find a cave icon and a level 8 werewolf. Yeah, the werewolf is quite powerful and has the ability to cast a massive regeneration buff on himself (regening him from near death to full health in around ten seconds), so unless you are overleveled for this quest, don't bother taking him on. Instead, sheathe your sword and sprint past him into the mouth of the cave. He will stop pursuing you once you are inside. Despite the map, only one path is open to you. Follow it and dive into the water, emerging into the center of the hillock.
Objective: Speak to the spirit in the cave beneath the Whispering Hillock
If you're taking this sub-quest, say you'll help the spirit. When you do, it will ask you to find three things to complete the ritual. A raven's feather (you should have got this earlier when you obtained Johnny's voice from the raven's nest). You'll also need the bones of the spirit's previous incarnation (from a coffin to the West) and a wild black horse from the meadows nearby. Once you have all three items, you'll be ready to reincarnate the spirit.
Objective: Find the bones of the spirit trapped beneath the Whispering Hillock
Travel pretty much due West from the hillock (following the mini-map). When you get close to the marker, prepare to take on a level 8 water hag. The water hag likes to throw muck to obscure your vision (I really hope it's mud). She will also sink into the ooze, reappearing elsewhere to attack.
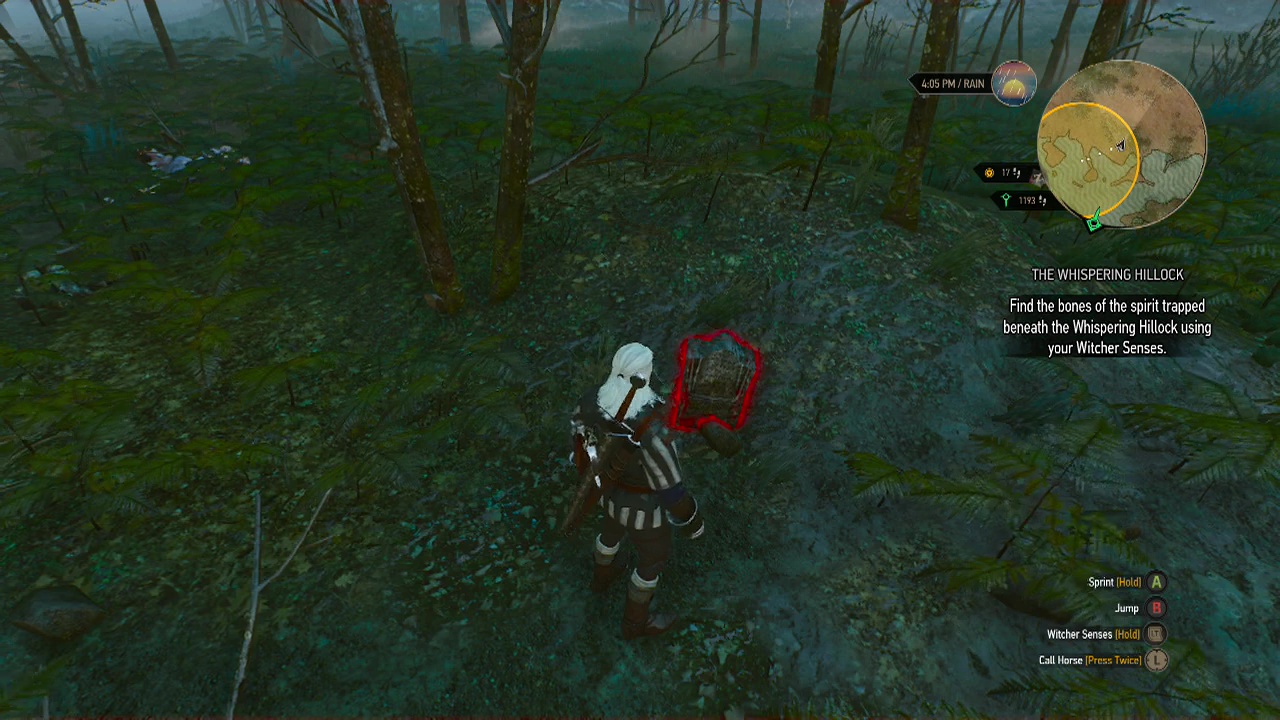
Despite this, she is still relatively easy to take on (like the weaker versions you fought earlier in the story quest). Use igni or quen for offense and defense and keep swinging away. Since there is only one of her, you can't be blindsided or surrounded for once. Use this opportunity to practice your rolls and dodges if you can. Once the hag is dead, use your witcher senses to locate a coffin poking out of the earth nearby that contains the spirit's bones. Tick another off the scavenger list.
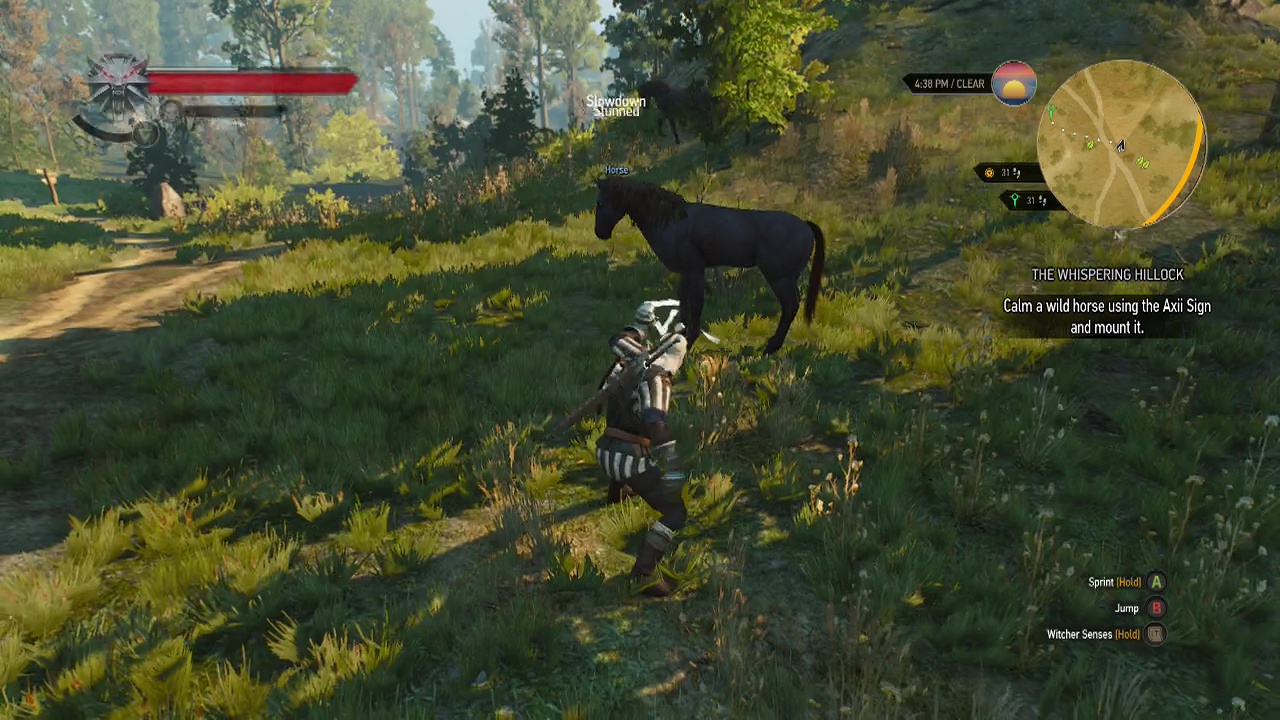
Objective: Calm a wild horse using the Axii sign and mount it
Ride a fair way South from the hillock to find several wild black horses roaming the meadows in this area. To tame a wild horse, you need to approach it slowly (around half walking speed) and cast the axii sign on it to stun it, allowing you to mount it and ride it. Do this and you have your final item on the list.
Objective: Bring a black horse to the cave beneath the Whispering Hillock
Ride the black horse back along the trail on the mini-map and enter the side of the Hillock. When you approach the spirit, a scene will trigger where you get one last chance to change your mind before perfoming the ritual. Once you choose to go through with it, watch the ritual play out and watch the spirit be reborn.
Choice Outcome: Doing this sub-quest saves the orphans at the swamp village. But as a result, Gran (Anna – the Baron's wife) will be cursed by the crones as punishment. After Geralt lifts the transformation, it seems the curse will kill her shortly afterwards. After her death, returning to Crow's Perch to see the baron triggers a scene showing that he has hanged himself due to the loss of his wife.
End optional sub-quest
Objective: Tell the ealdorman of Downwarren you took care of the problem
Either way (sub-quest or not), leave the hillock to find the ealdorman and some of the villagers standing over the body of the werewolf outside (wow, these guys are apparently better than a witcher). Talk to the ealdorman to collect the ladies payment.
Watch the long scene play out and make whatever dialogue choices you wish until you are in control of Ciri. Yep, Ciri, the girl you are looking for.
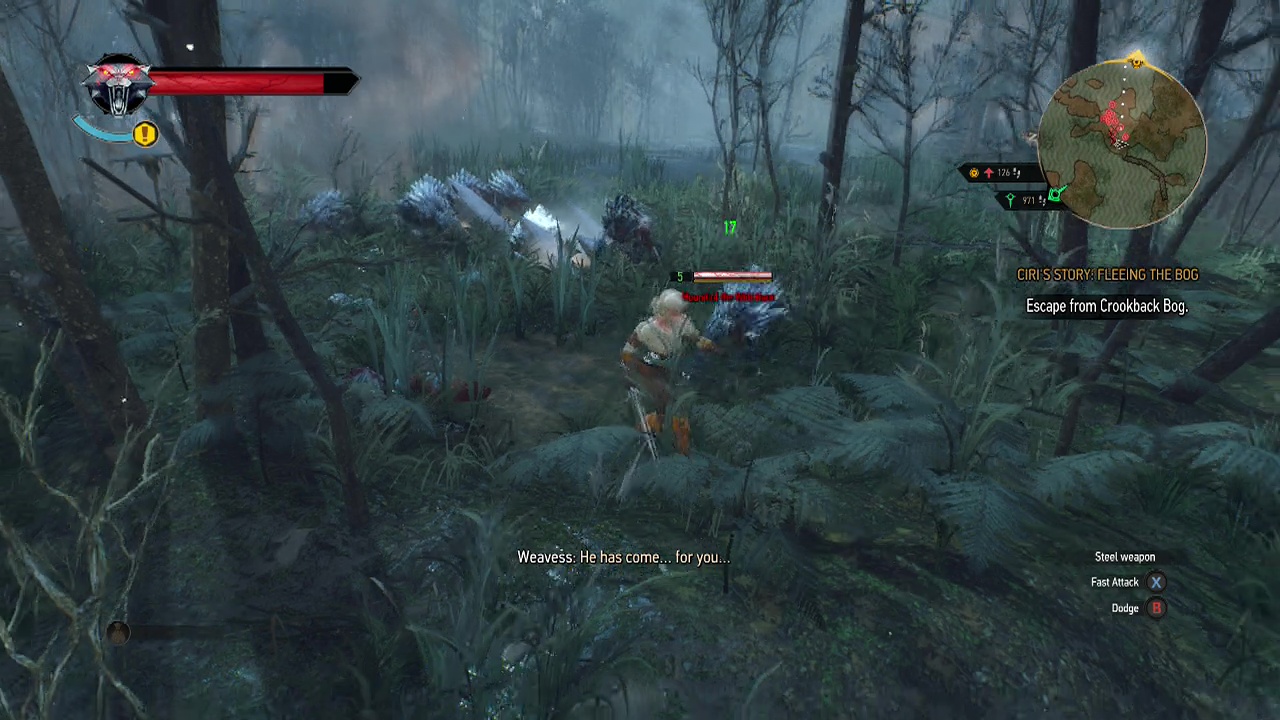
STORY SUB-QUEST: Ciri's Story: Fleeing the Bog
Objective: Escape from Crookback Bog
Despite the hazardous situation, you may want to have a play with Ciri for a bit before fleeing for safety. Her powers make getting the "Kill five enemies in ten seconds" achievement a breeze. Simply teleport onto the pile of hounds and start attacking to get it. Once you've had enough fun, simply teleport A (Xbox) or X (PS) towards the marker on the mini-map. Once you reach it the sub-quest will end and a scene will trigger.
End sub-quest
Watch the rest of the scene play out. Saying whatever you wish once again and this lengthy story quest will finally come to a close. Looks like we'll need to find another lead for Ciri.